

Nelsonian
-
Posts
918 -
Joined
-
Last visited
-
Days Won
11
Content Type
Profiles
Forums
Blogs
Events
Gallery
Downloads
Store
Posts posted by Nelsonian
-
-
Does it sound anything like this
If so you could have big problems.
-
-
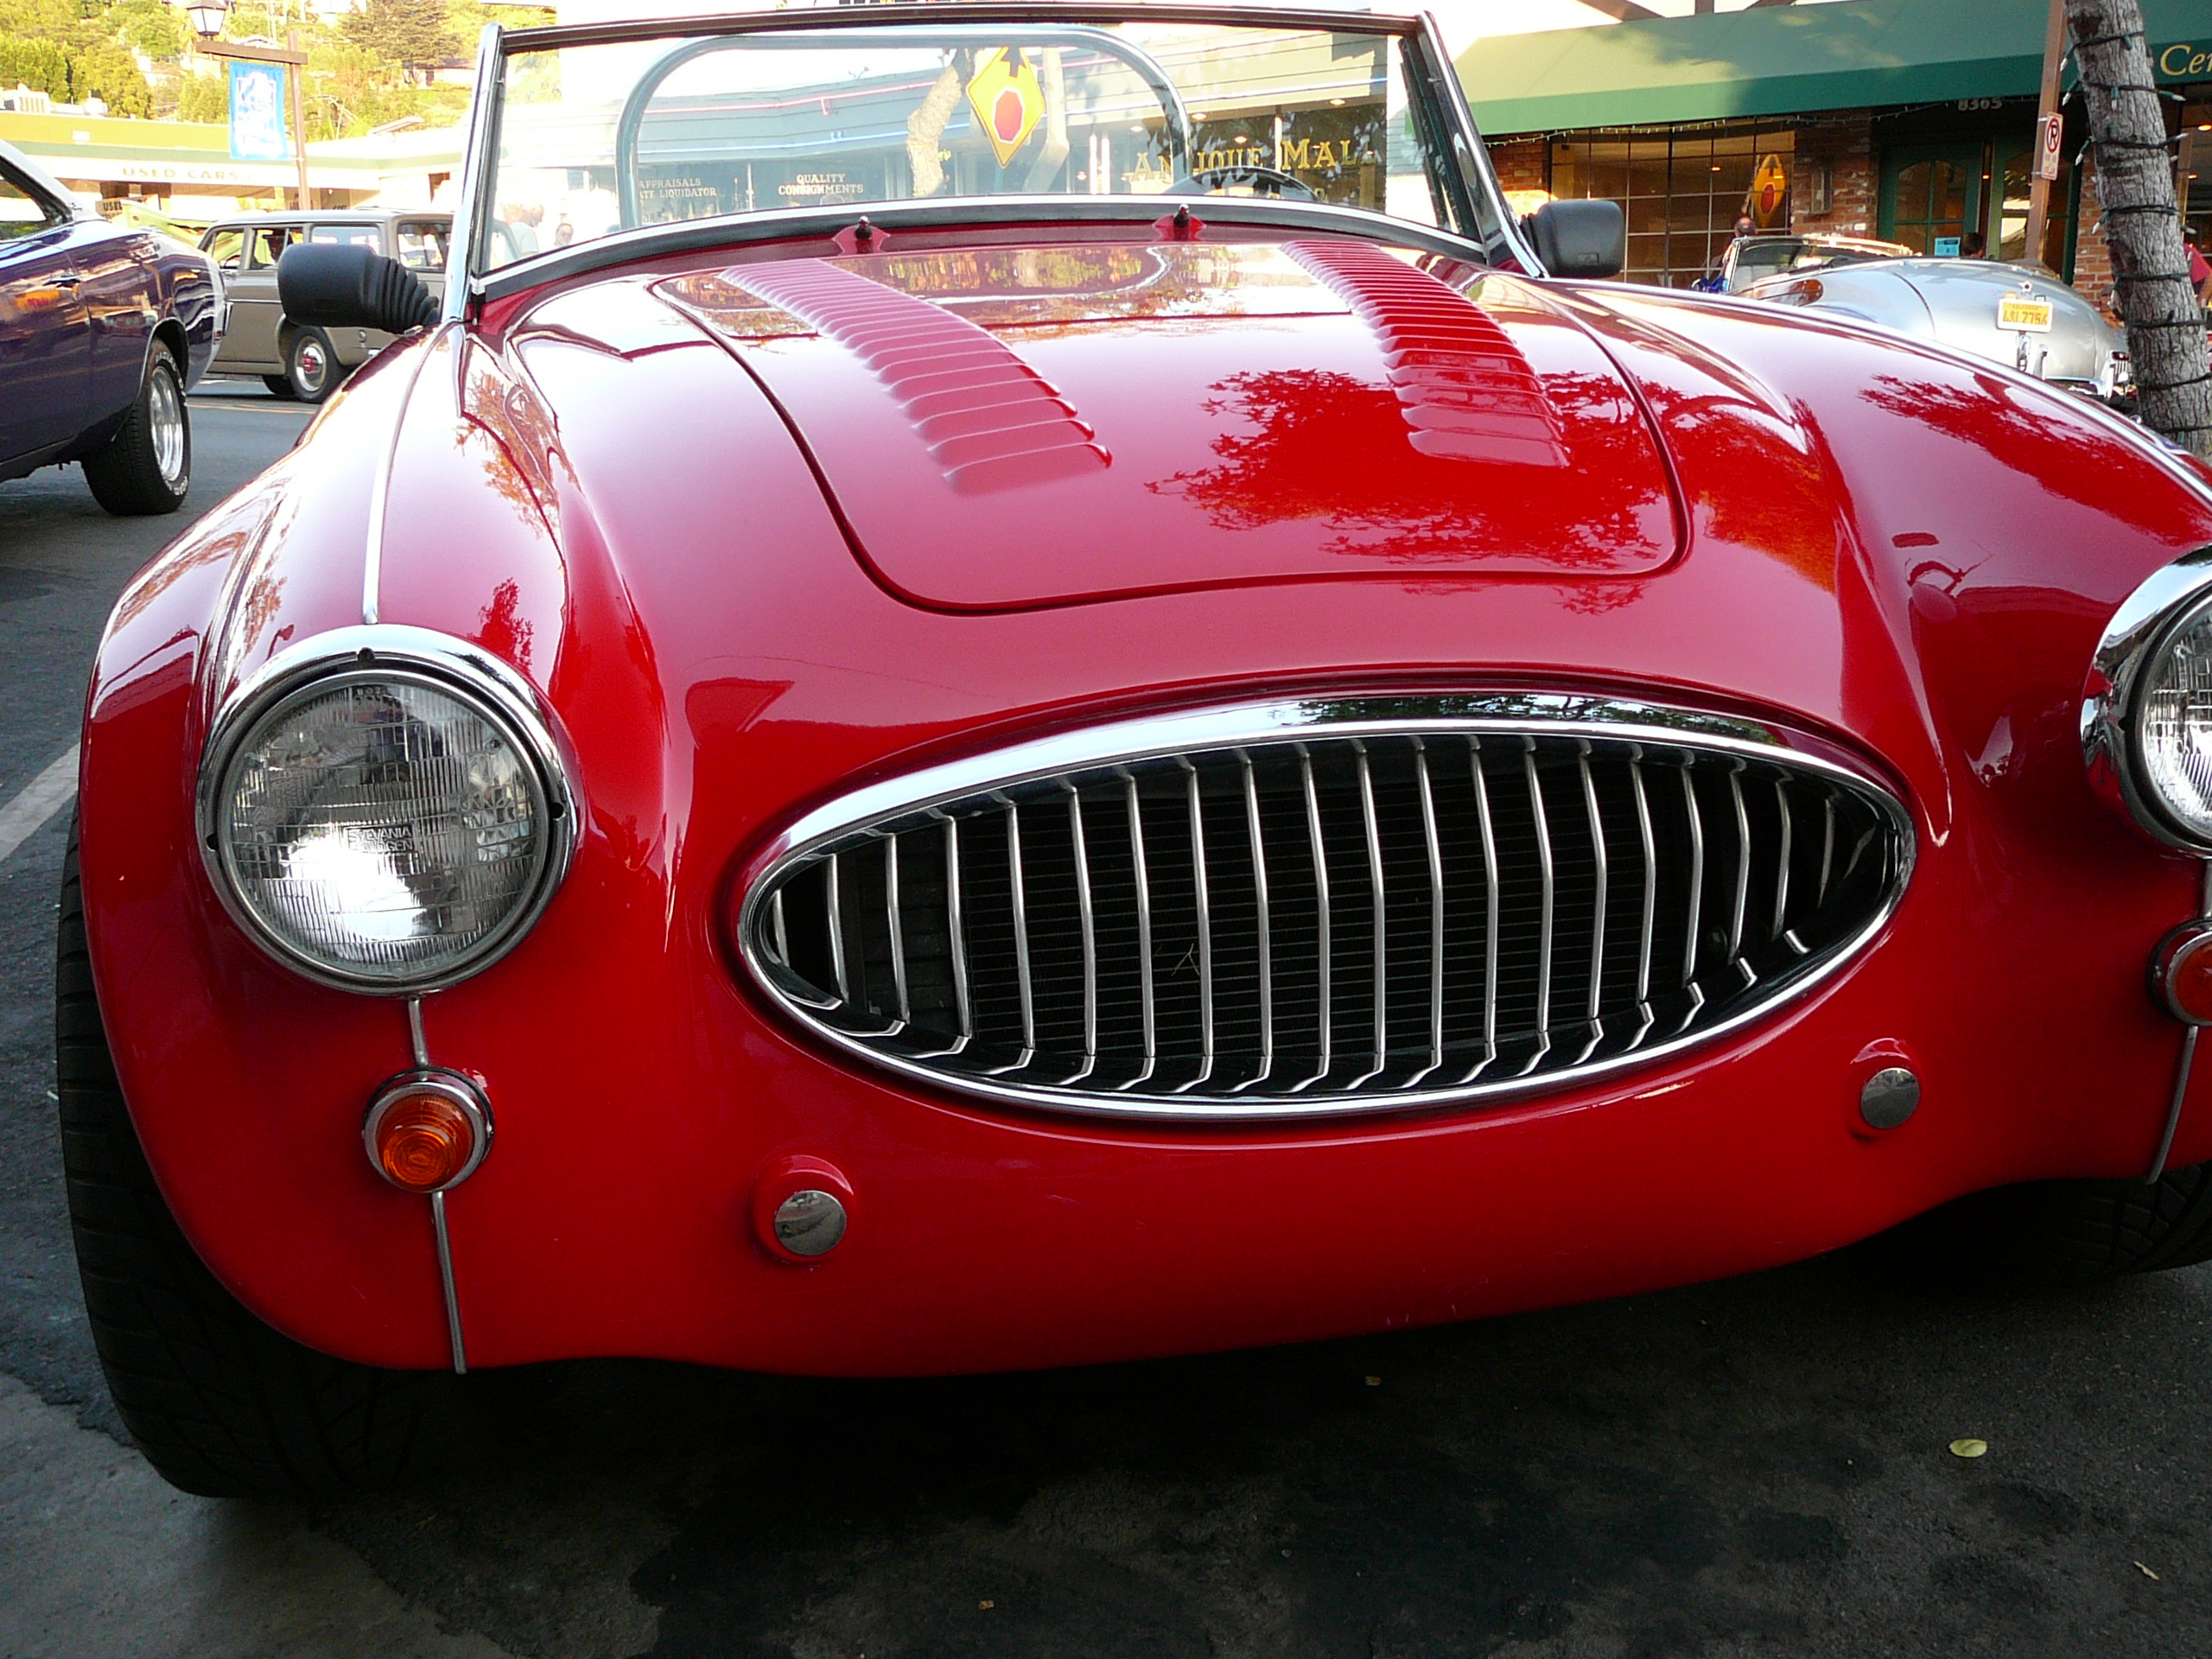
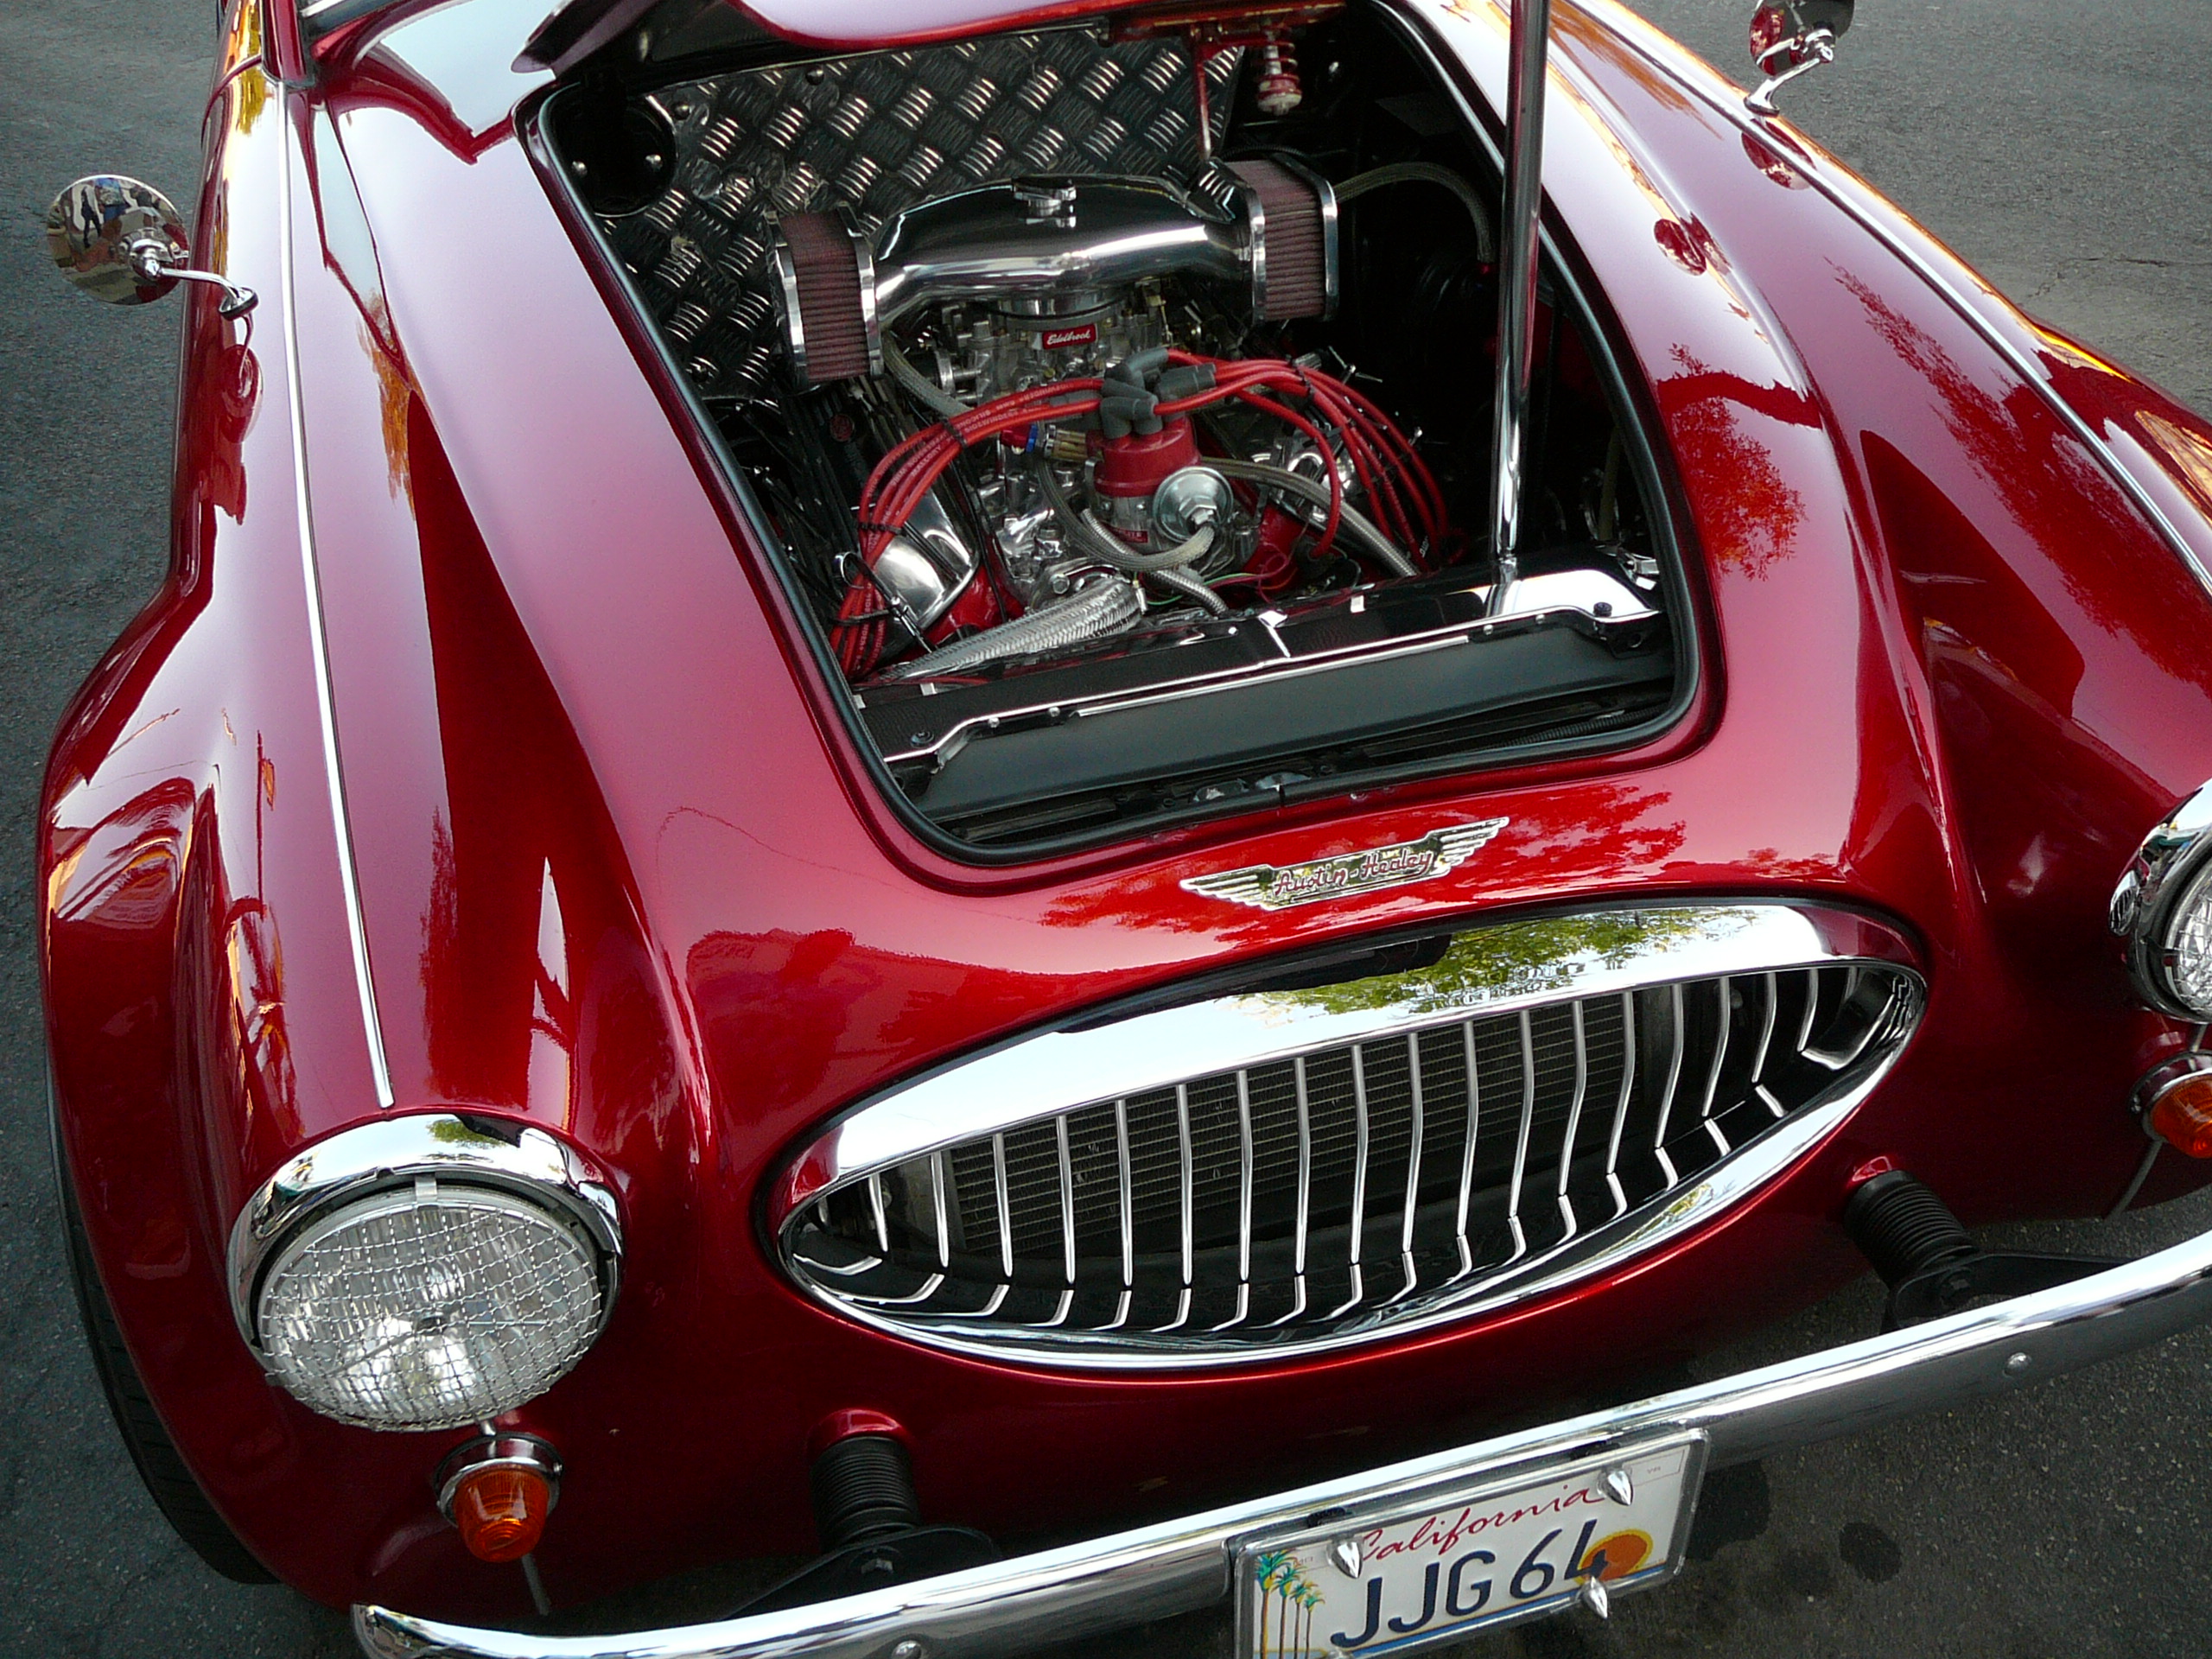
Ahh yes, Austin Healy 3000. I definately like the lines on them. Here is one that I snagged a few pictures of at my towns free summer car shows.

-
I just called my paint supplier / painter and he told me I can use 600+ and wet sand them down until they are gone and then check to see if I have to re-apply the base or not.
I just rolled the car into the sunlight to see how the paint looks outside and wow it looks good IMO !
Well now thats just great. Just when I thought I had my color choices narrowed down to Honda s2000 silver, Mercedes 744 briliant silver and Porsche silver you have to go and remind me of this chrome silver. Seriously though it looks great and in reality I now have another color to choose from. It's funny how you don't think twice about colors until you are ready to apply paint, then it seems to get complicated, at least for me.
-
To answer your question,that would be a no for my z in it's current state, However several members rides on here and cars I have seen in person at MSA shows, have kept my attention like a kid who stumbles on to his first playboy.
-
I'm in the same boat as I bought a right side dogleg at the new $75 price and was also told the web site would be updated to reflect price changes. I bought that part a month and a half ago.
-
If you cant find one, I have a very clean non webbed egr mani that could be blocked off. Just throwing it out there again, if you have trouble finding a non egr....
-
As far as the steering column covers. Maybe. I'll have to see how demand goes for some of this stuff.
Derek
I have been trying to get many members on here with the materials,skill and know how to do just that, for awhile now. I will soon try and make my own by floral foam carving, then fiberglass, But, if it was made by someone eith this type of expertise, Hint, Hint????
-
what, you haven't heard about the newest craze, mudbog autocross its sweeping the nation. I seriously doubt rickybobby will get his asking price.
-
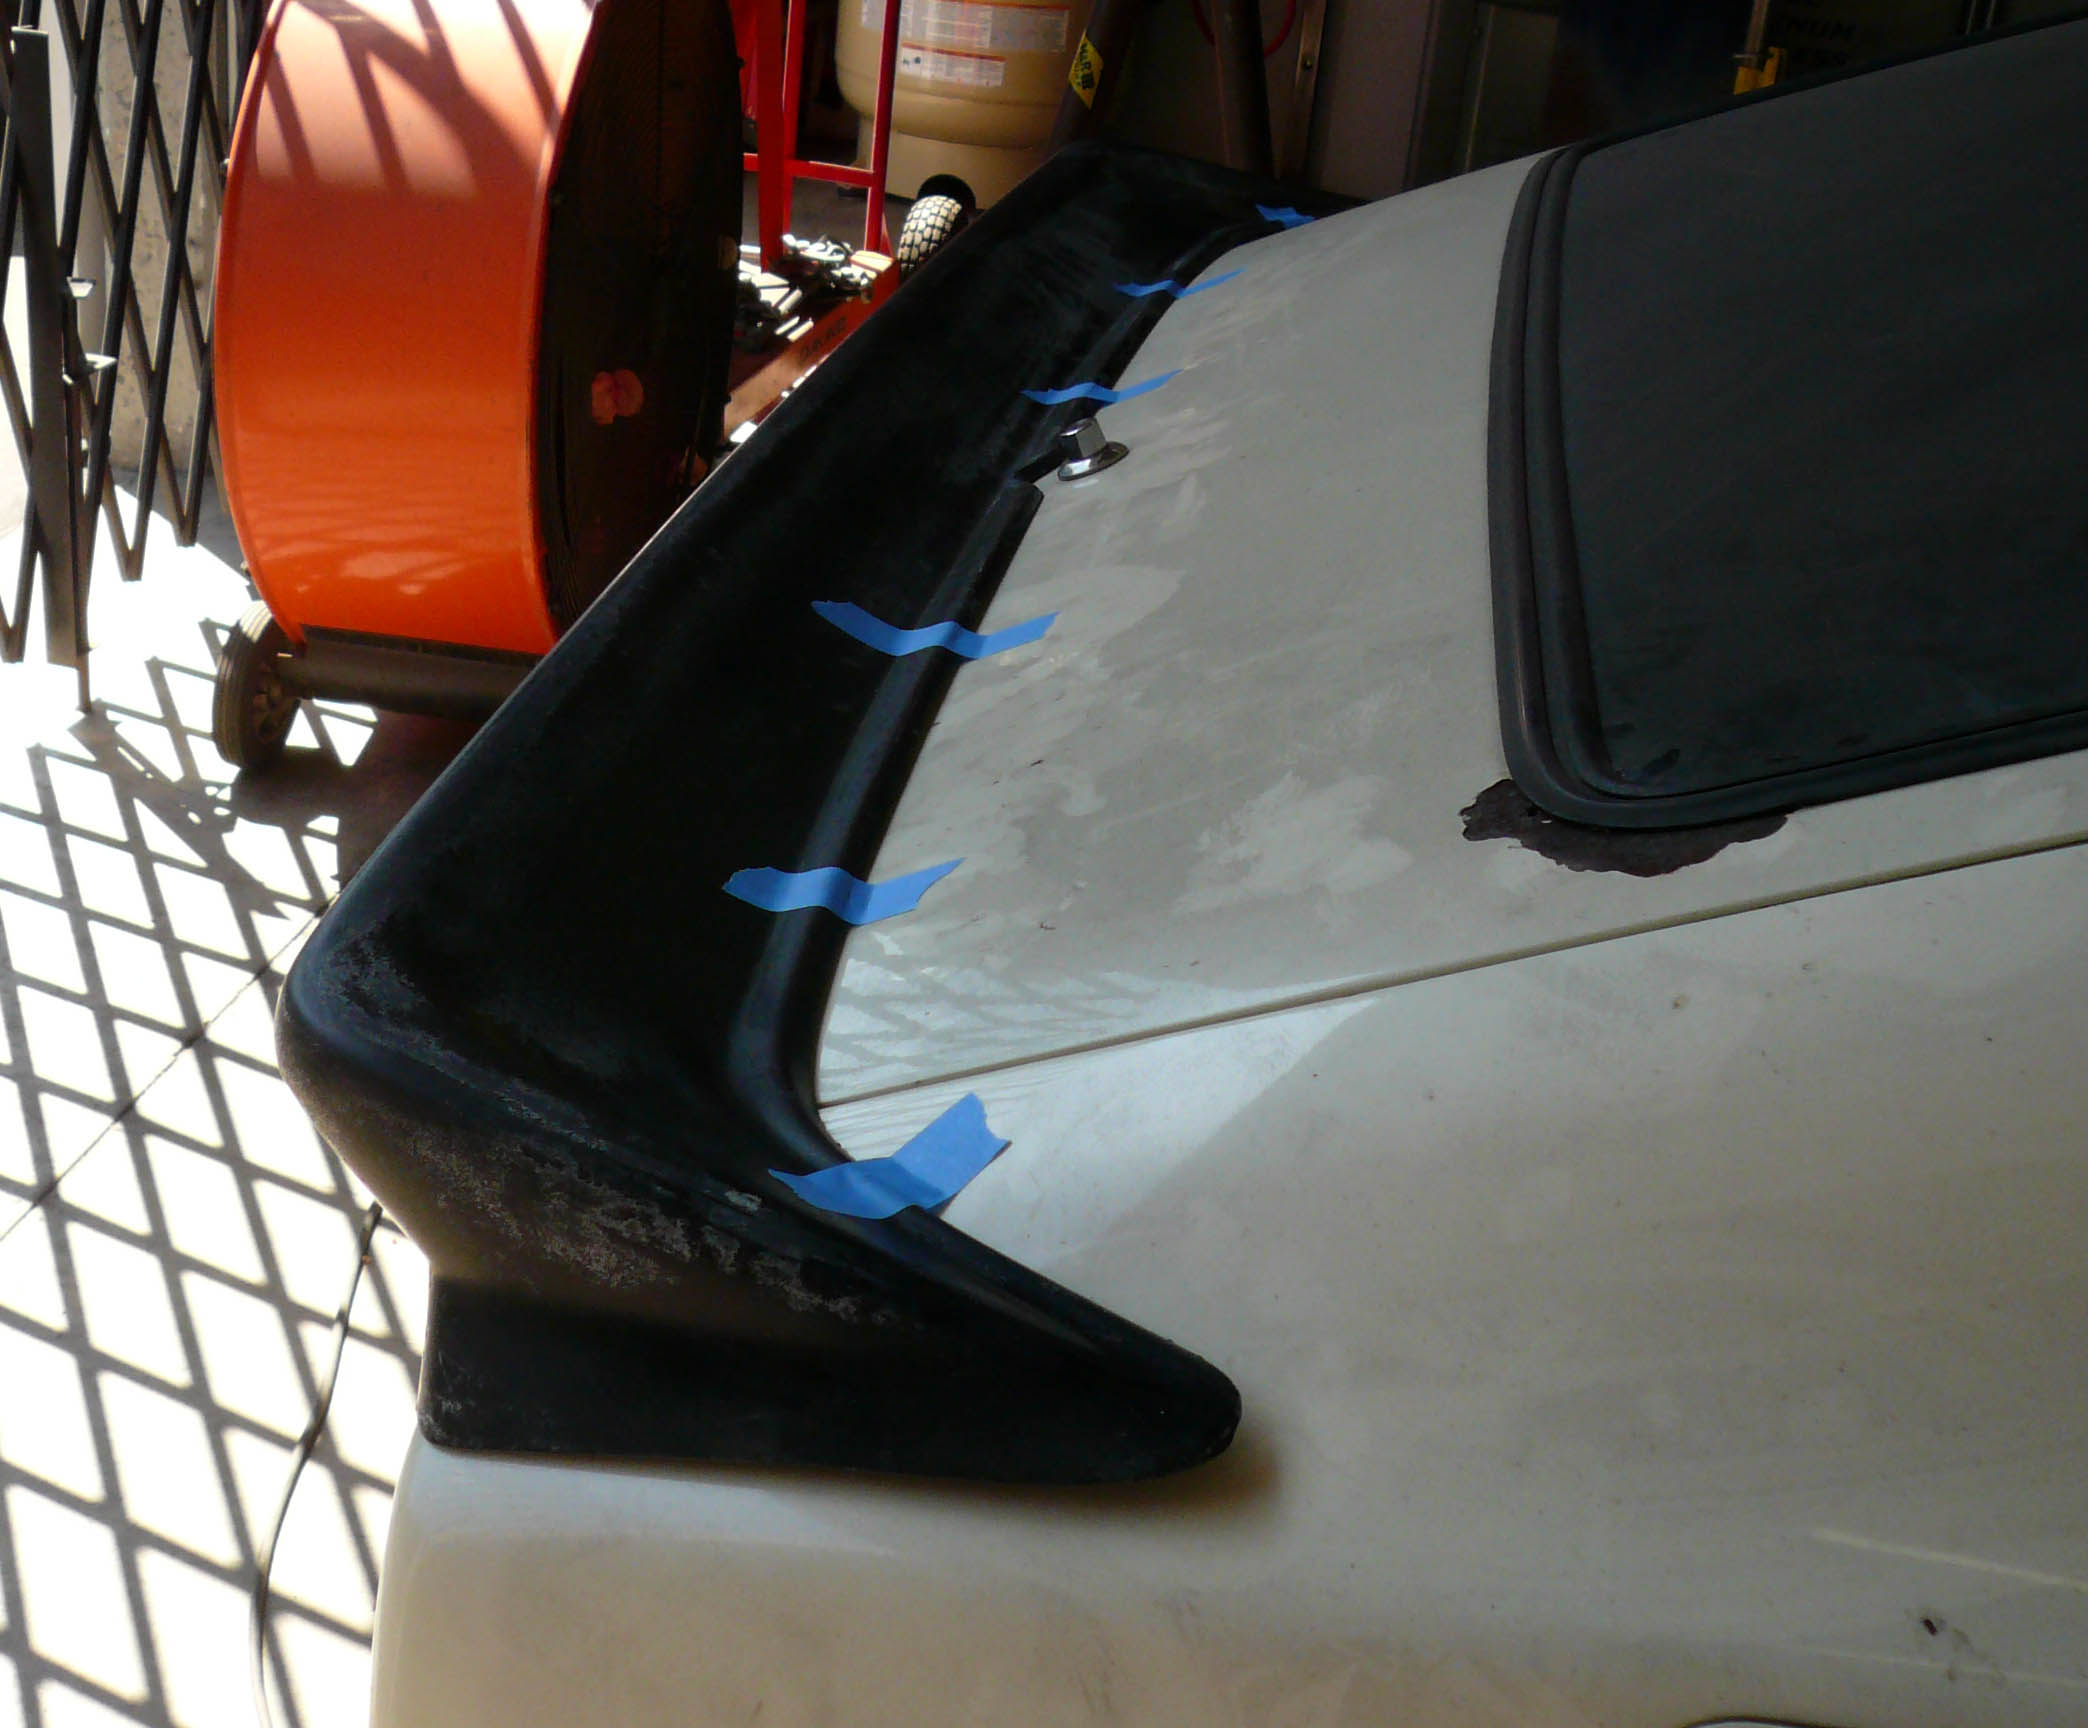
The spoiler comes with two pre drilled bolt holes on each side intended for the hatch to be drilled. The bottom contour allows straight edges so that an adhesive or strong two sided tape could be used also or instead. I purchased a good amount of the 3m two sided tape from a previous group buy on here quite some time ago, and would provide that as well if you wanted it. The spoiler should get a preliminary quick sand as any fiberglass piece requires before paint is applied.
-
I used 2 buckets. One for heat (ceramic) and one for sound. You could just use 1 bucket (2 gallons) for the sound part. I had removed everything down to the metal, so I needed something for the heat against the firewall and floorboards. Remove all of the interior plastic panels and your seats and spay away. It is water based so it cleans up easily.
Smoorenc,
Just curious as to your first hand experience and results after installing this product and driving with it. I will have my car stripped down to bare metal as soon as it gets out of the fabrication phase and am very interested in this.
-
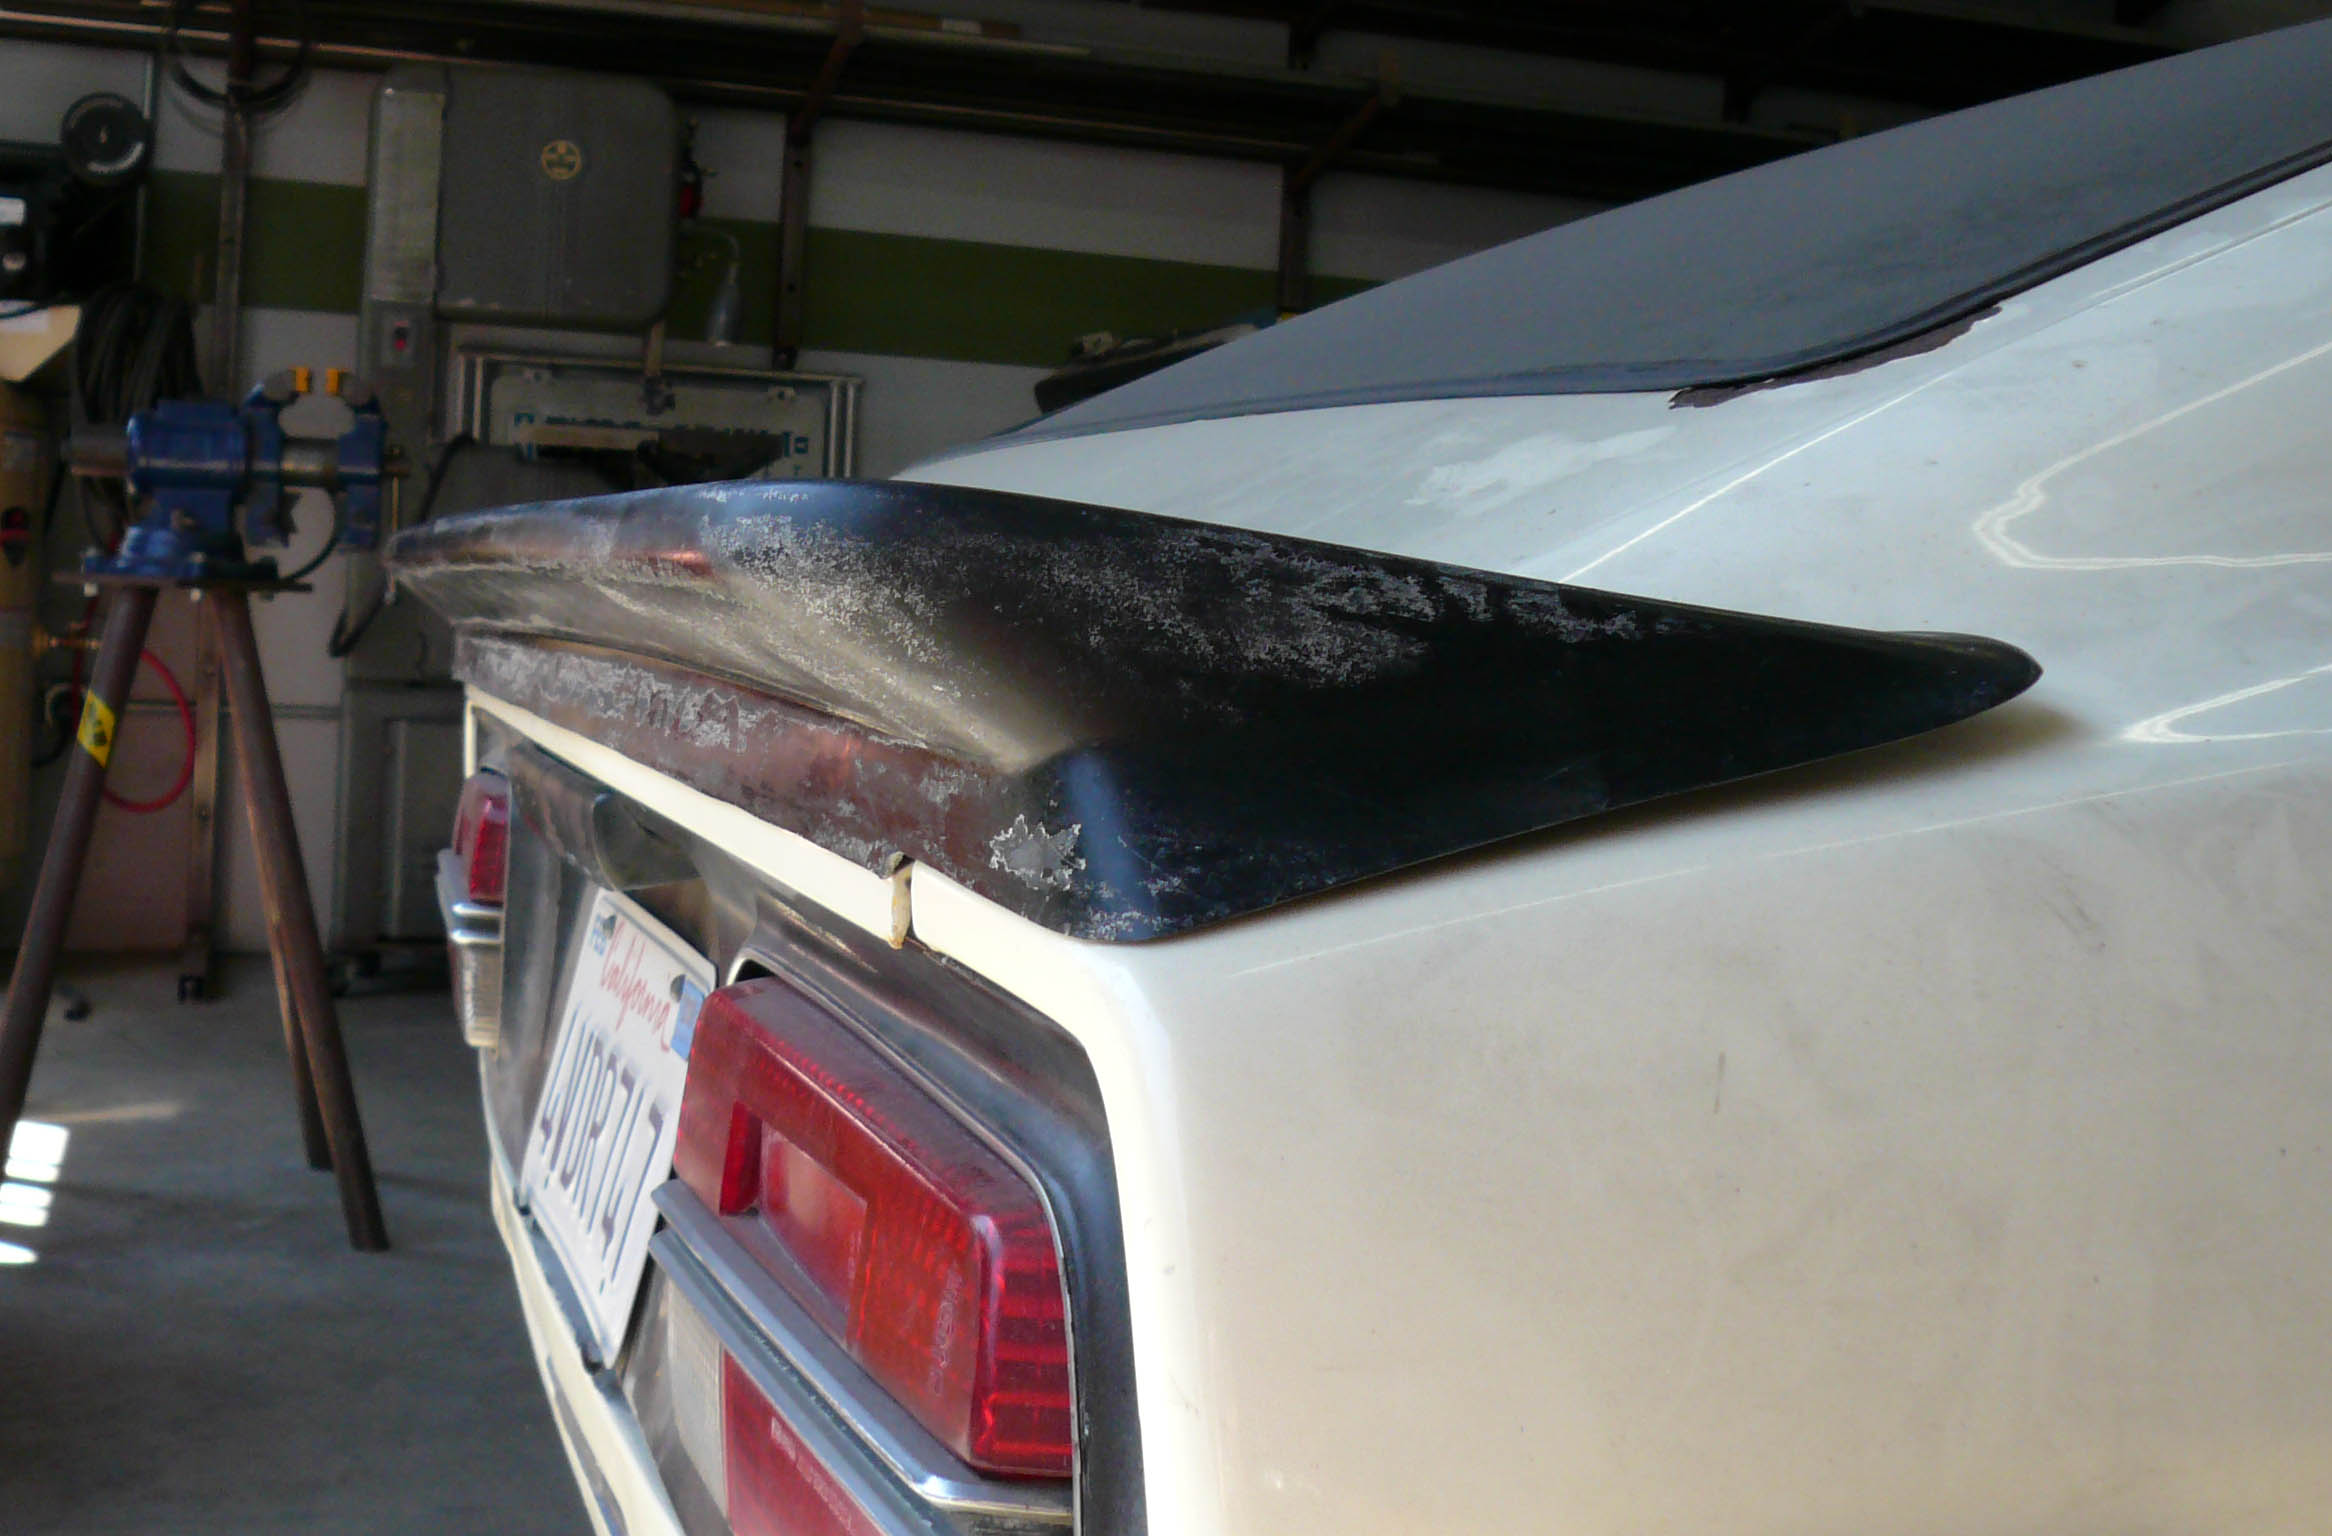
I bought this spoiler awhile ago from JimCook Racing for $150 and it is virtually the same as the MSA "classic spoiler". I was originally going to cut and make this a three piece spoiler blended into the body lines as seen in provided pics by (I believe a HybridZ member whos car and results I really like). As time has gone on with my build I acquired a new BRE spoiler which I will end up using instead. I am asking $100 + shipping for a quick and easy sale. I can have this sent out from a business to a business for posibly a discounted shipping price. Pm me if this interests you.....
-
I have a new, unmounted Jim Cook low profile rear spoiler for sale. It is the same as MSA's version.... I can provide pics if needed....
-
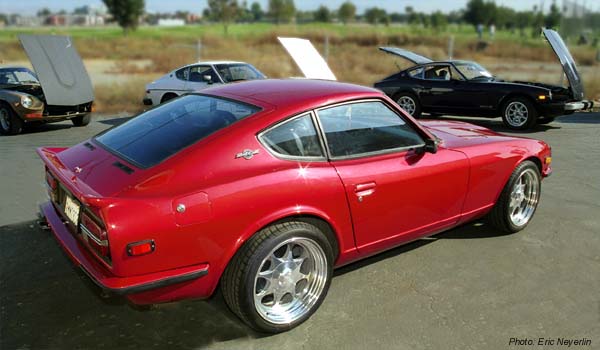
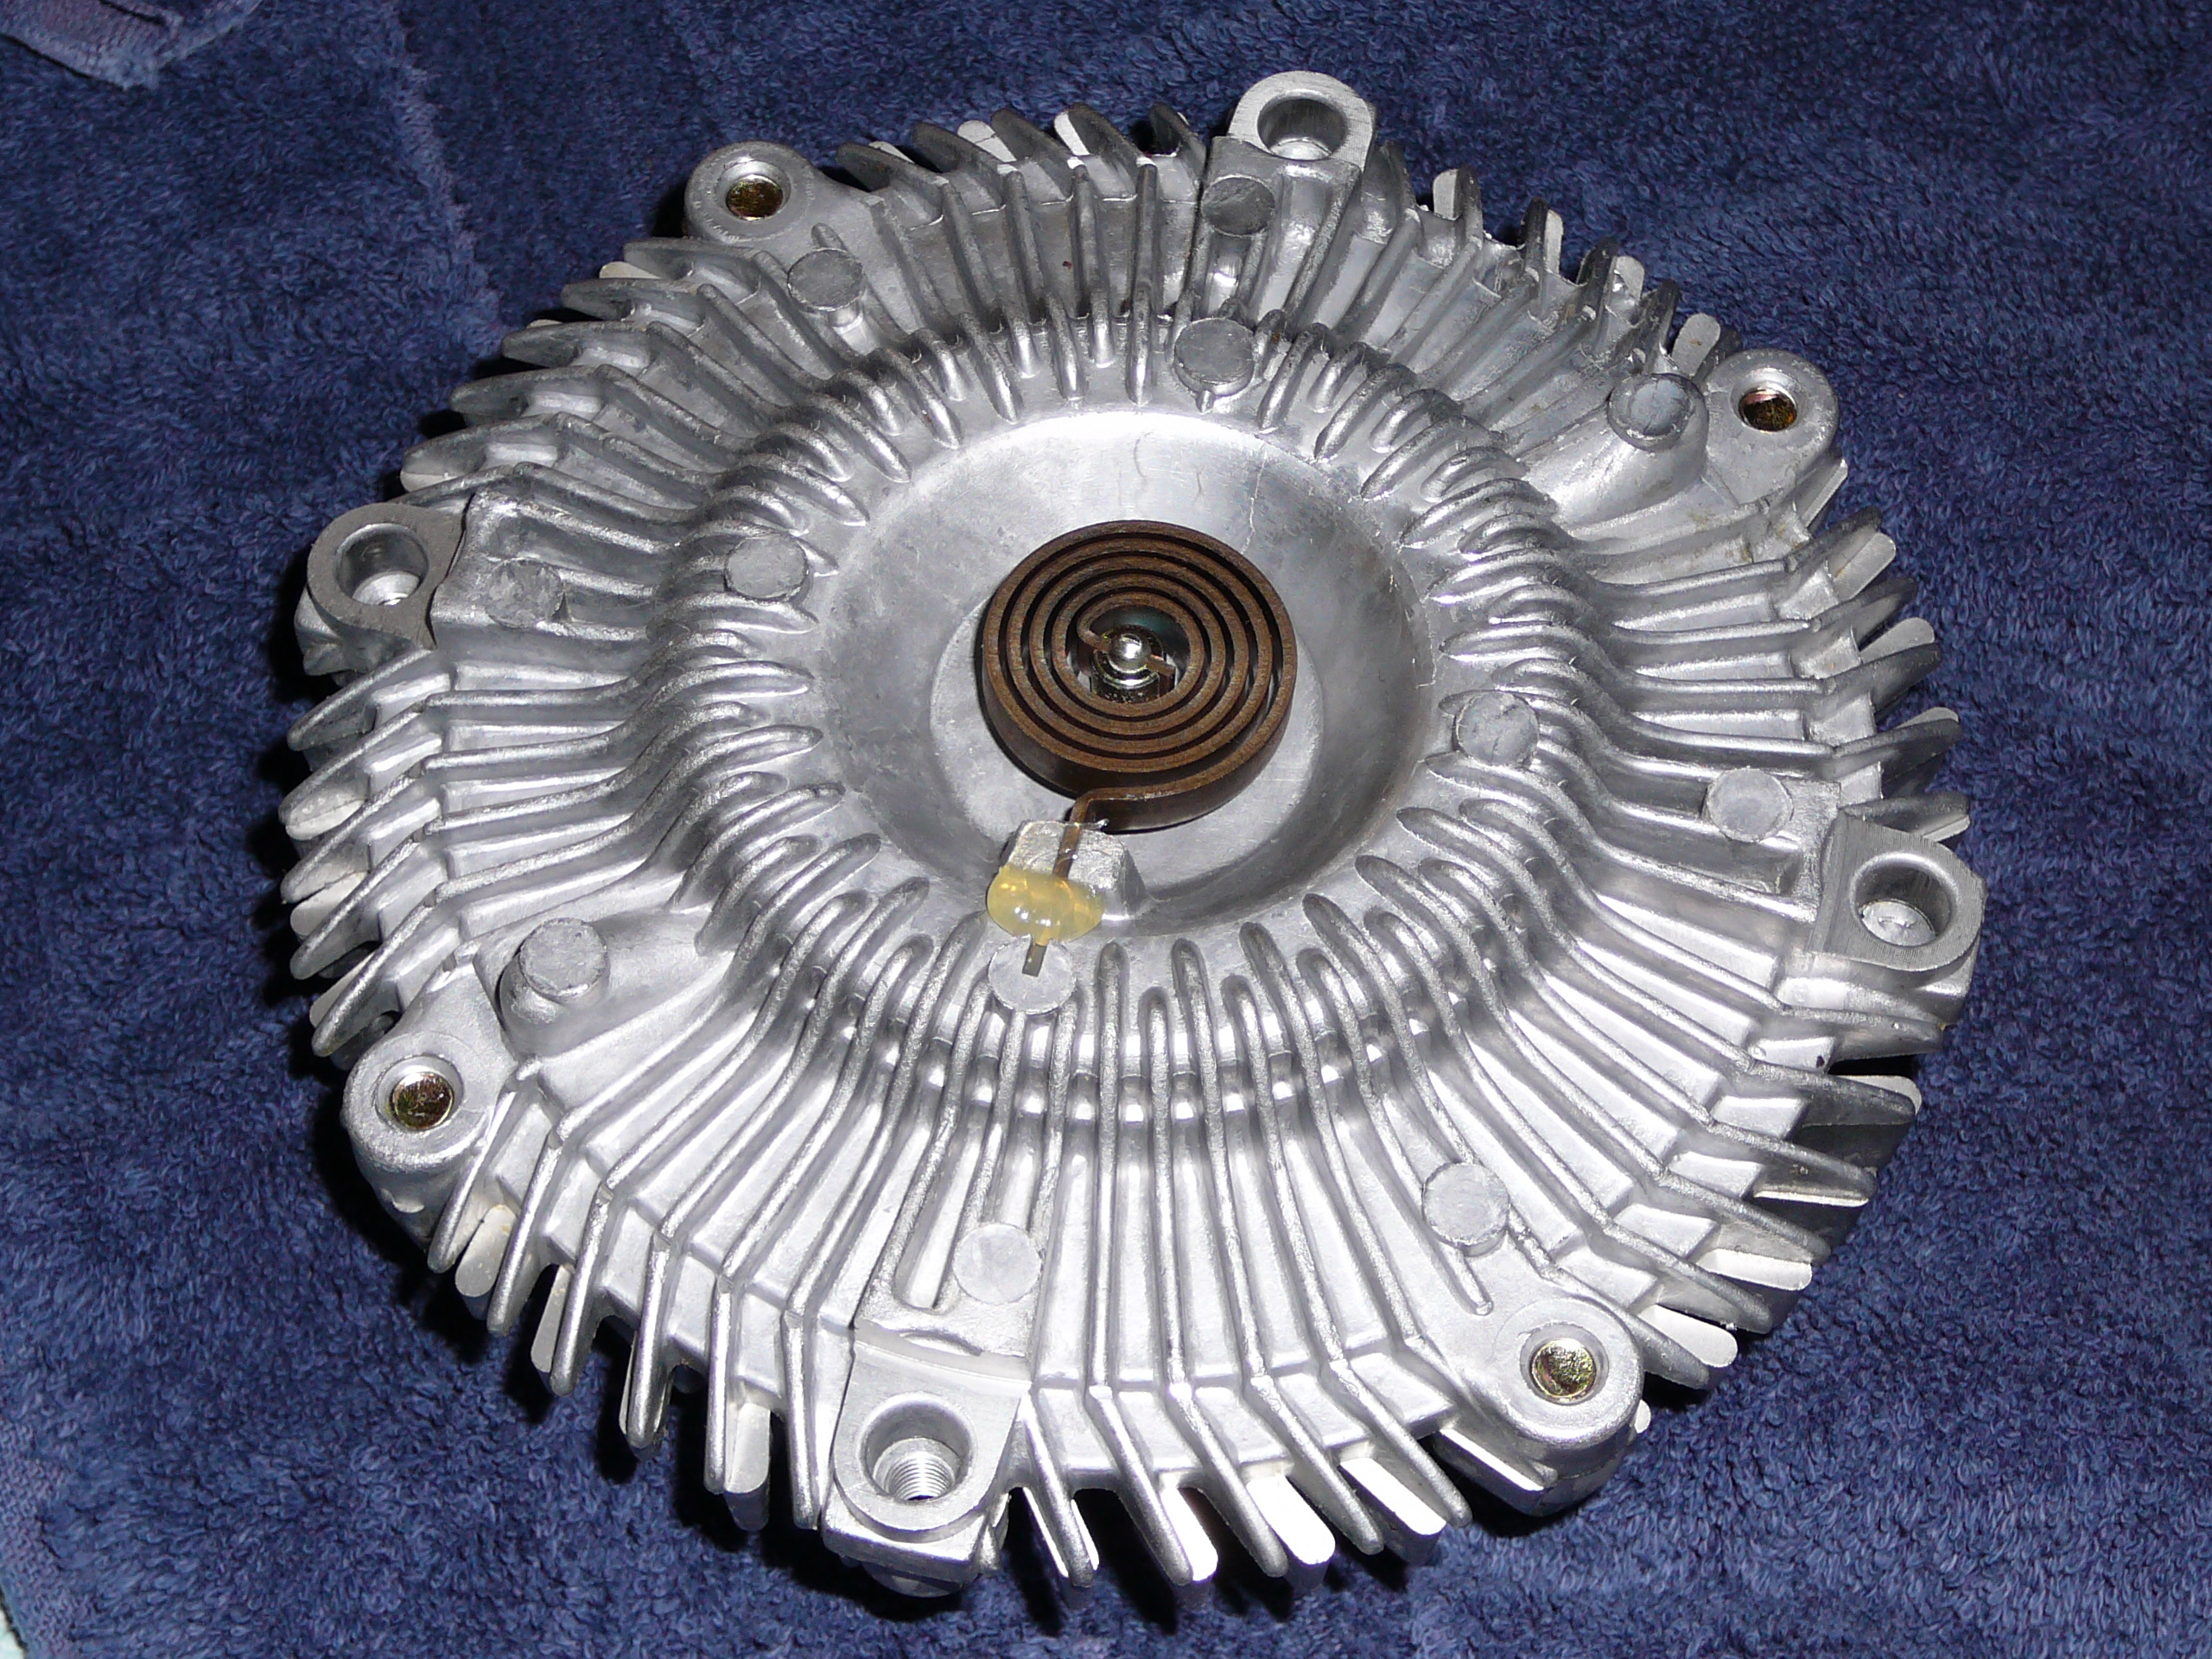
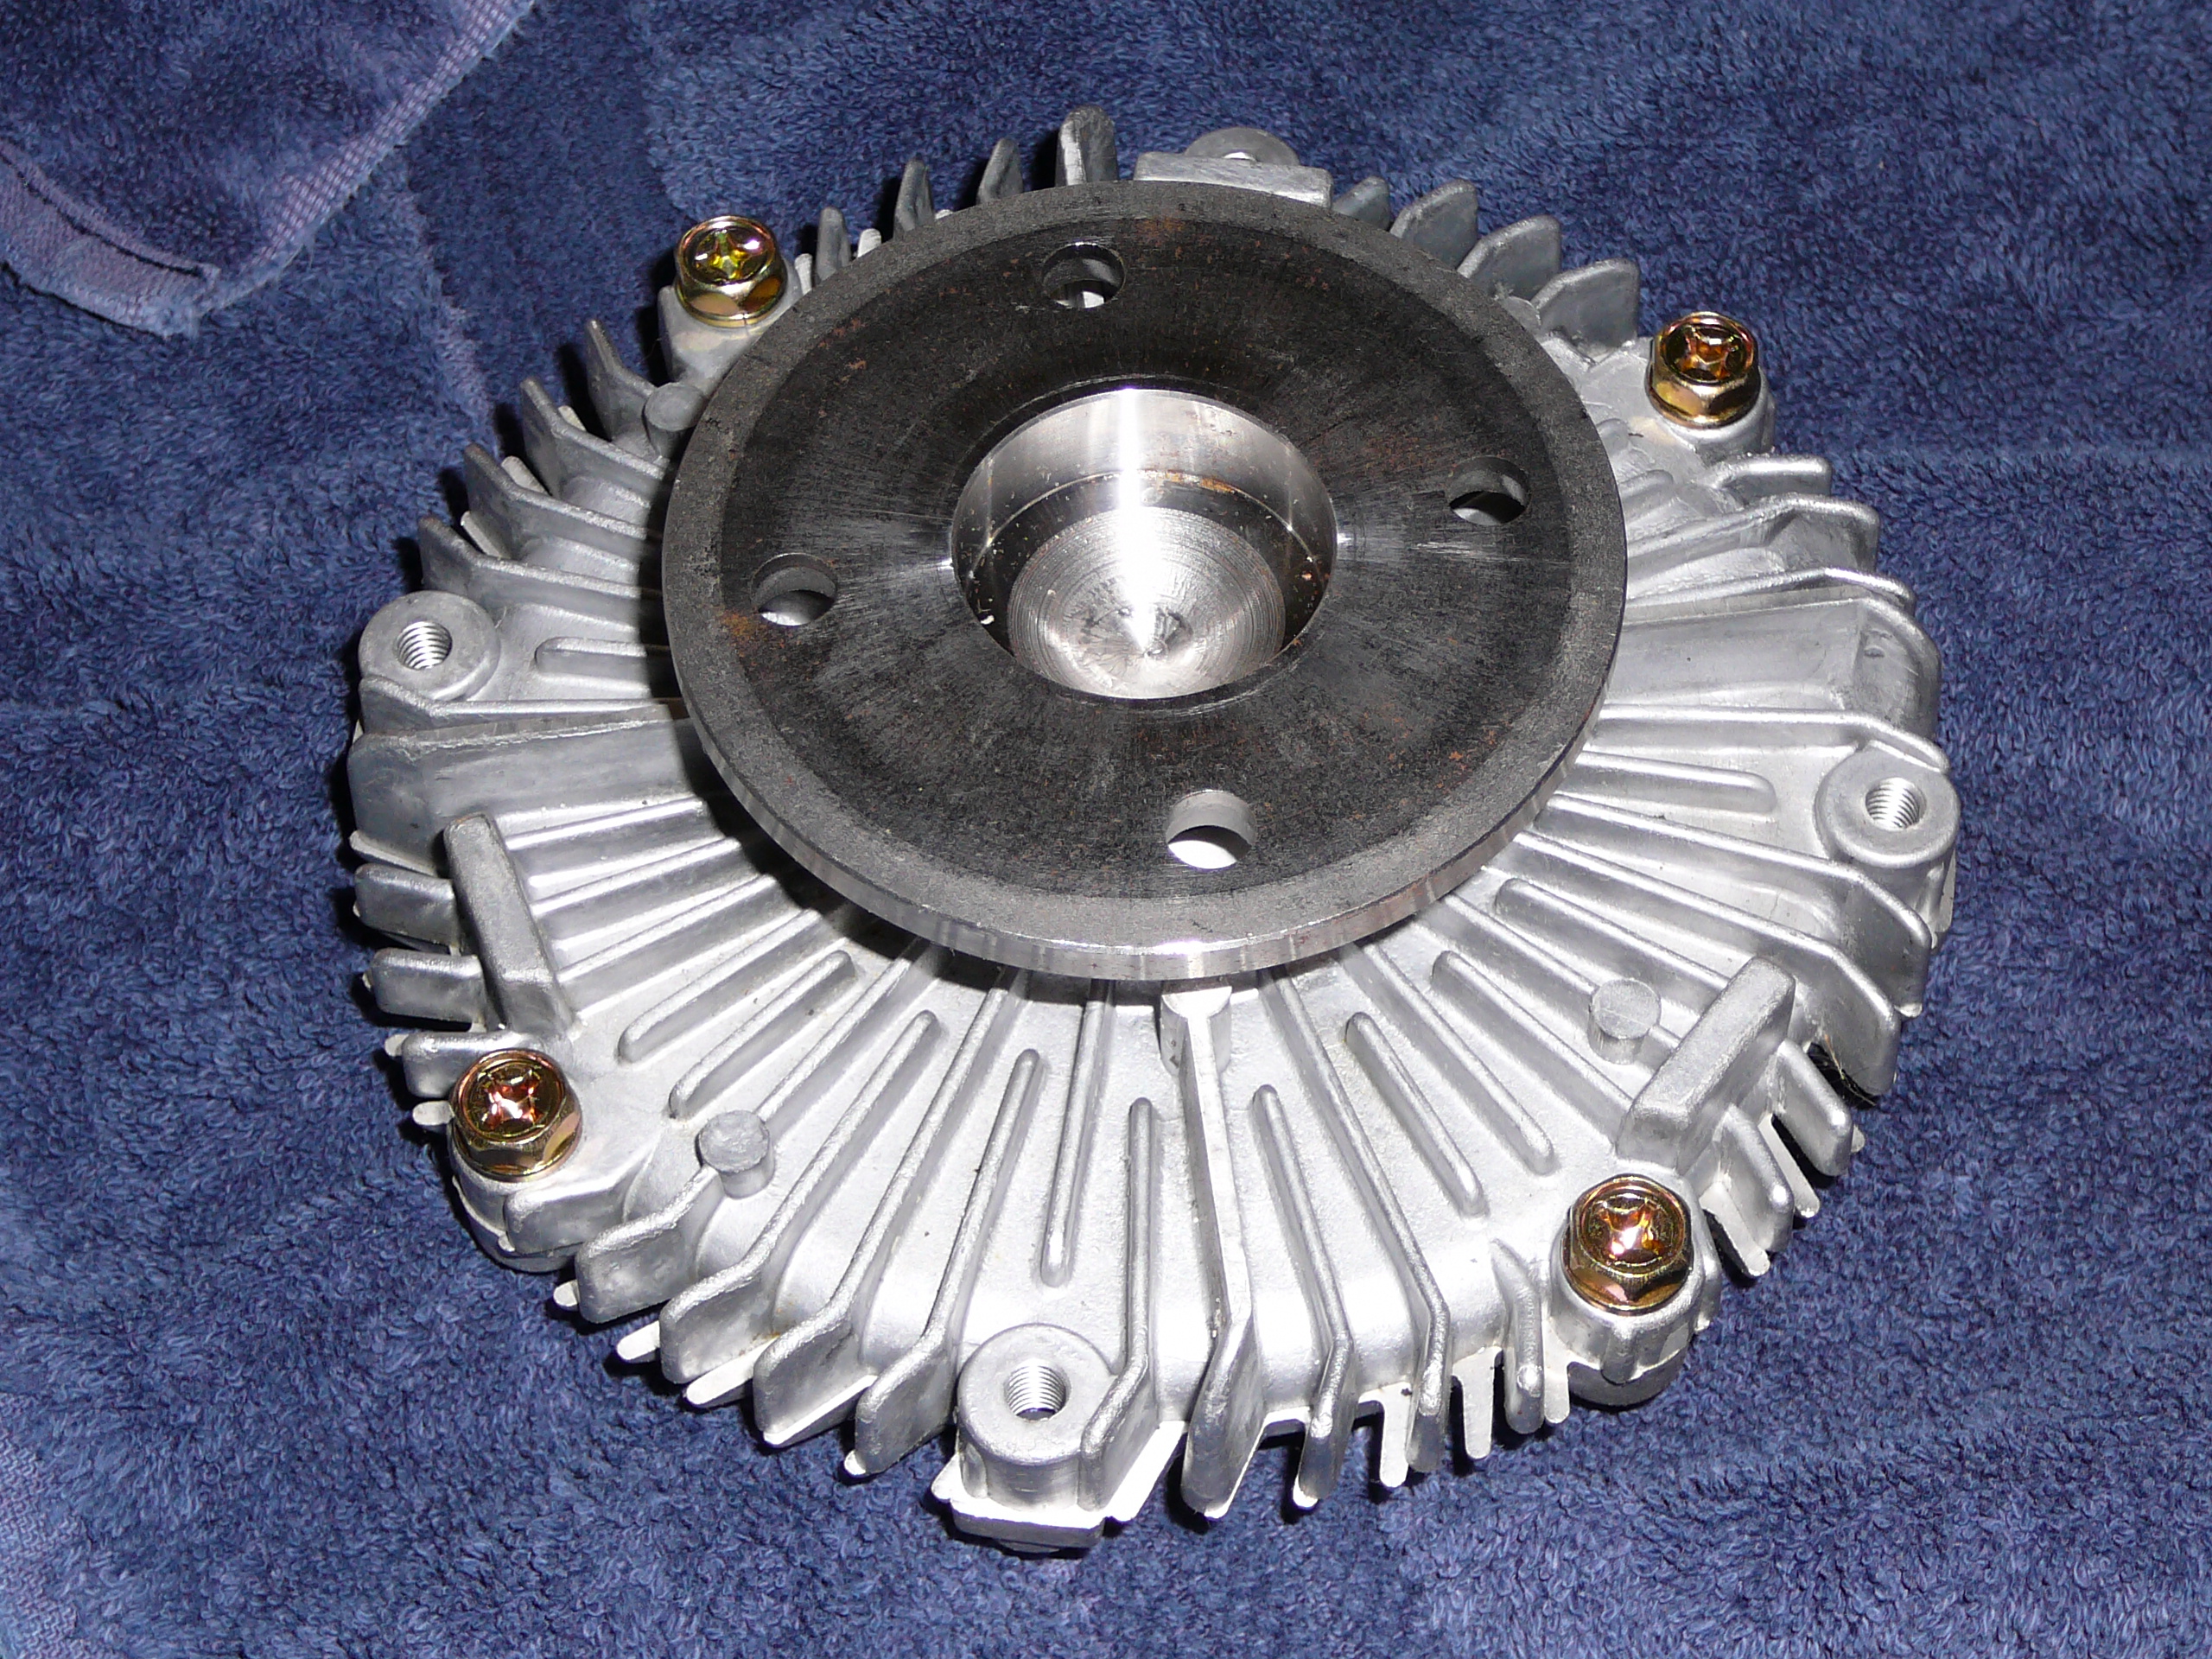
I have this one brand new from Victoria British, now Black Dragon as well as new unused fan. Would this be what you are after?
-
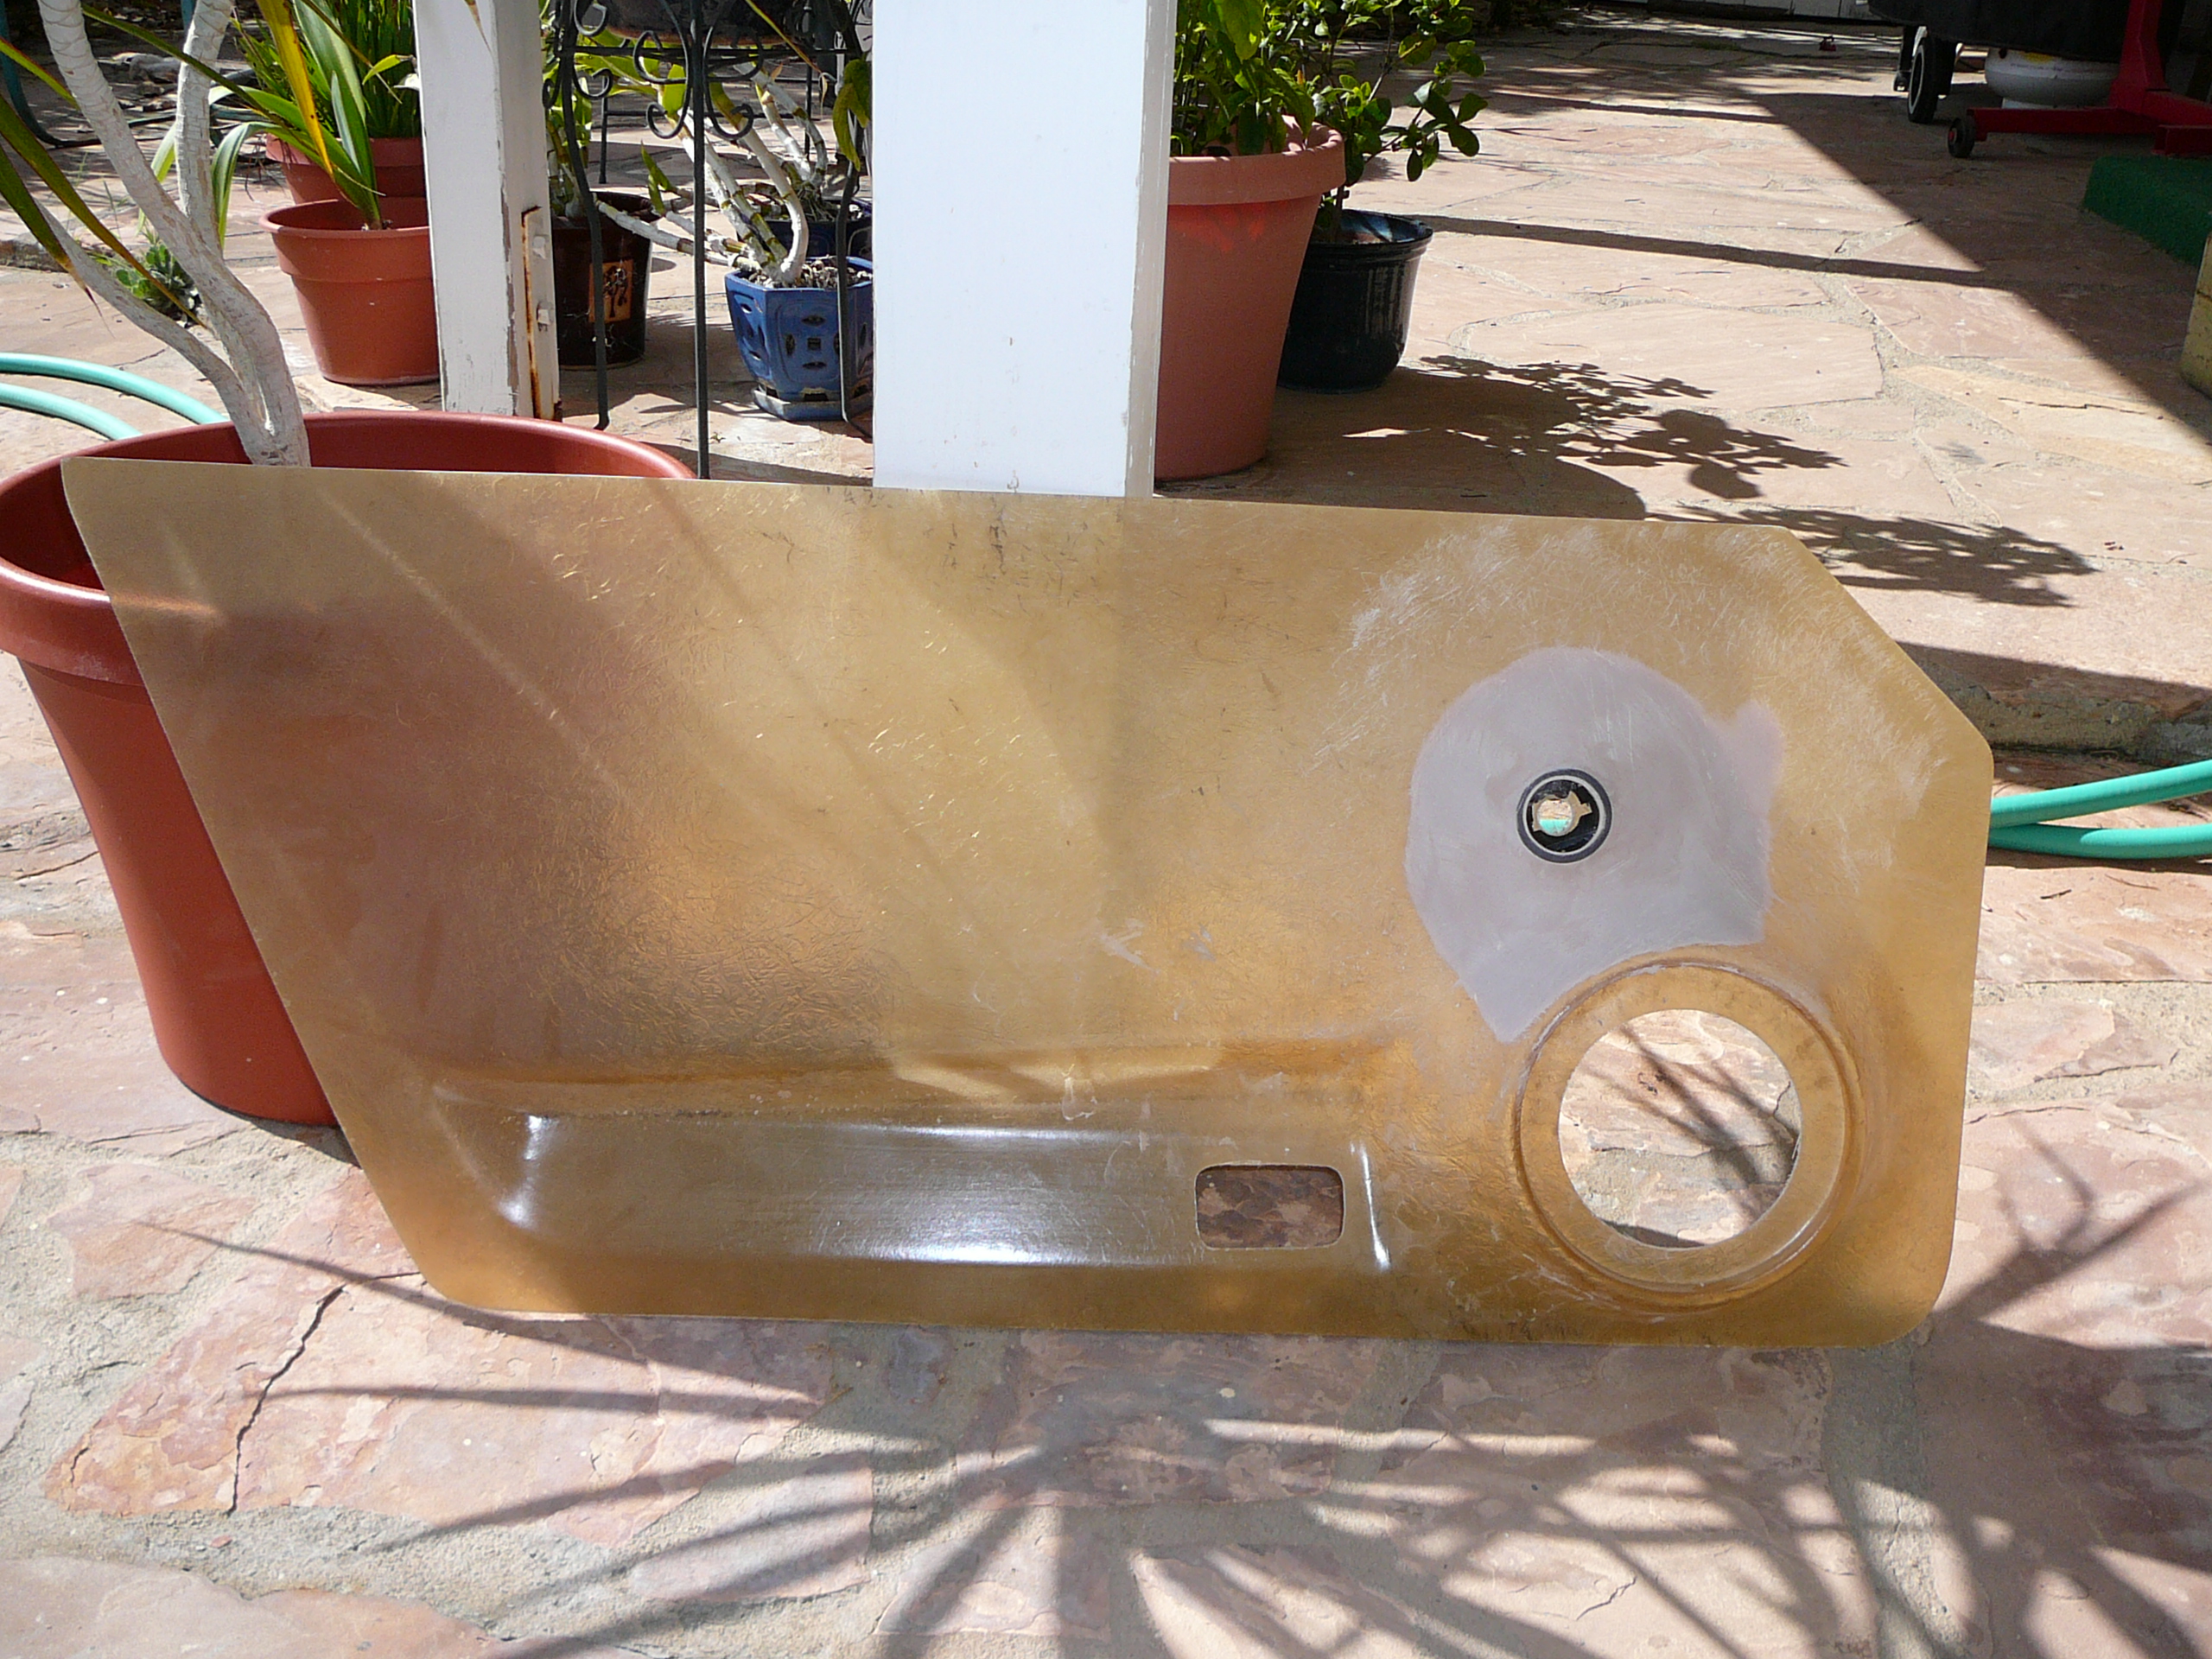
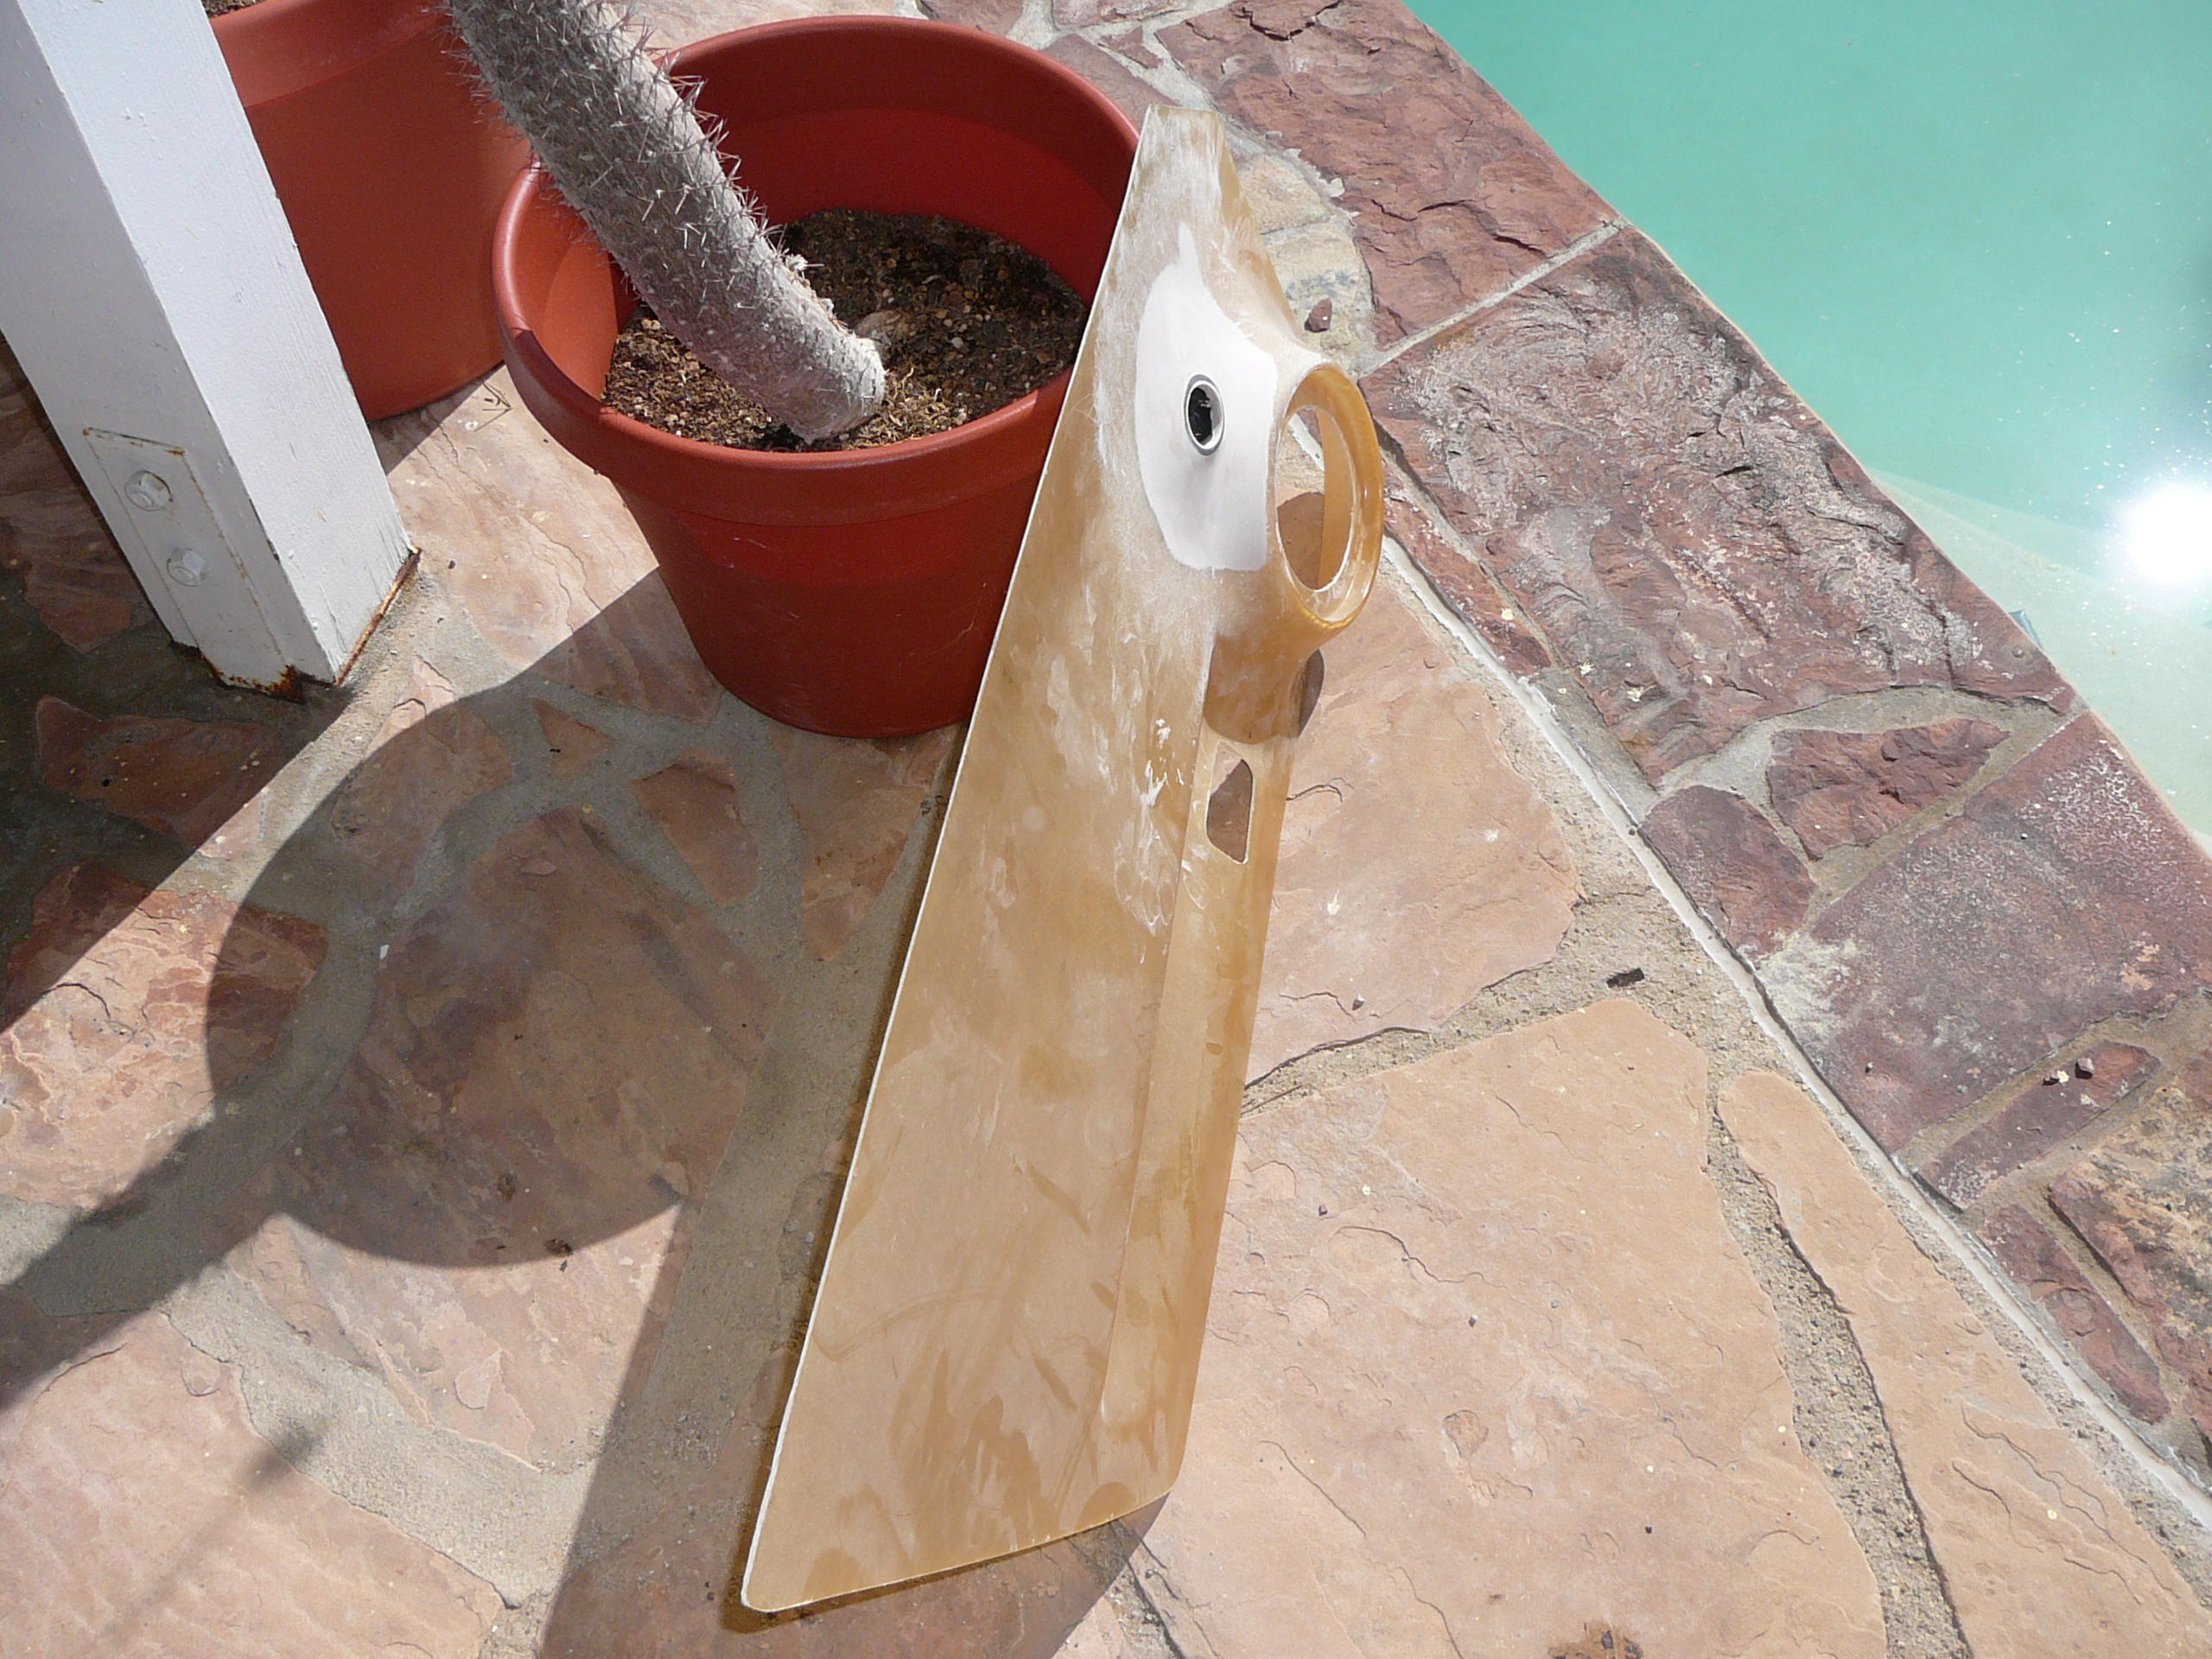
I also purchased the fiberglass panels from the group buy. I had a local stereo shop add the tweeter provisions for my 6 1/2" Infiniti components. Using these panels eliminates use of the stock window crank as it impeads it's space. This was not a problem for me as I wanted to go the route of Spal electric windows any how. My plans are to wrap this door panel in a leather boder with alcantera insert when time permits for the interior portion of my build.
-
^^^^ I agree with what has been mentioned above and would only add yet another option with a well rounded and integrated top, center pod for a boost or air/fuel gauge.
-
Hey Derek,
What do you think about showing some of that vacuum forming magic on the spare tire well for 10" or 12" subs? Just throwing it out there.....
-
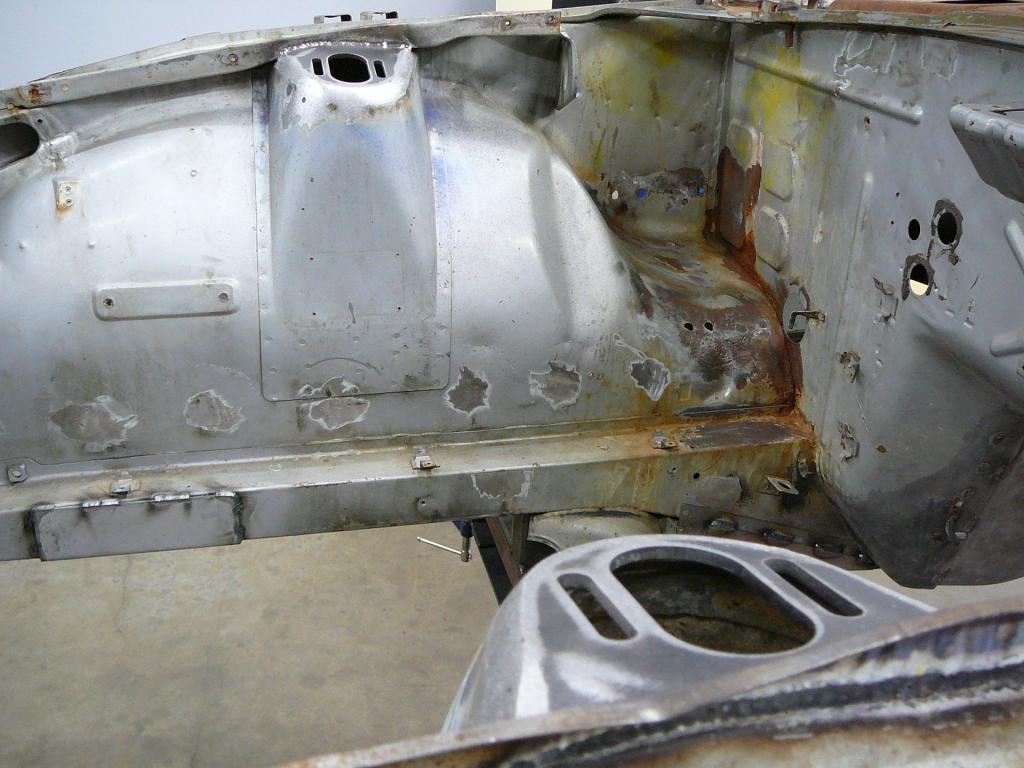
I am taking every opertunity to fill every nook and cranny with Eastwood's internal frame coating to encapsulate whatever rust I can get at. Hopefully this stuff works as advertised. Here are some more pics....
-
Future plans/parts for the car consist of:
Wilwood 4 piston brakes, sectioned struts Ground Control coilovers (225/250lb), Driveshaft Shop custom 280zxt cv axles, Modern Motorsports billet 280z stubs/comp flanges, r200 lsd, AZC rear billet mustache bar & uprights,ebay special front/rear shock tower bars, AZC camber plates, Zrace products rear adj control arms, AZcarbum's front adj control arms tc rods, MSA fr/rr sway bars, in tank ATL black box gas tank conversion, Classic Tube stainless hard brake lines, 240sx 5spd trans, Fidanza light flywheel, Rota RBR 17x9" front & rear (hopefully), Mitsubishi EVo 9 Recaro seats, Momo steering wheel & shift knob, rebuilt stock dash with Autometer analog gauges, Hybridz member made door panels with 6" speaker provisions, Spal electric windows, All interior plastic covered with Alcantera or micro suede, Italian perforated black leather shift boot and brake boot.
Engine consists of rebuilt l28et (3500 miles fresh),ZRace products harmonic dampener kit, Jim Wolf Tech cam & springs, Nismo adj cam gear,HKS 1mm metal head gasket, Ported/shaved n42 intake mani, 240sx tb, (240Hoke) custom front intercooler piping Treadstone intercooler, Tial bov, Tial 38mm wastegate, Ported stock exhaust mani, (240Hoke) custom 3" downpipe with piping to the wastegate wrapped in DEI heat wrap, 3" pipe to Apexi exhaust, Palnet fuel rail, RC 550 fuel injectors, freshly rebuilt Turbonetics T3/To4b, 60-1 comp, .82 A/R, stage 5 turbine, ACT clutch, AZC stainless radiator, Spal 16" curved vain elec fan......... Ecu still researching, but heavily considering Haltech, Wolf v5......
-
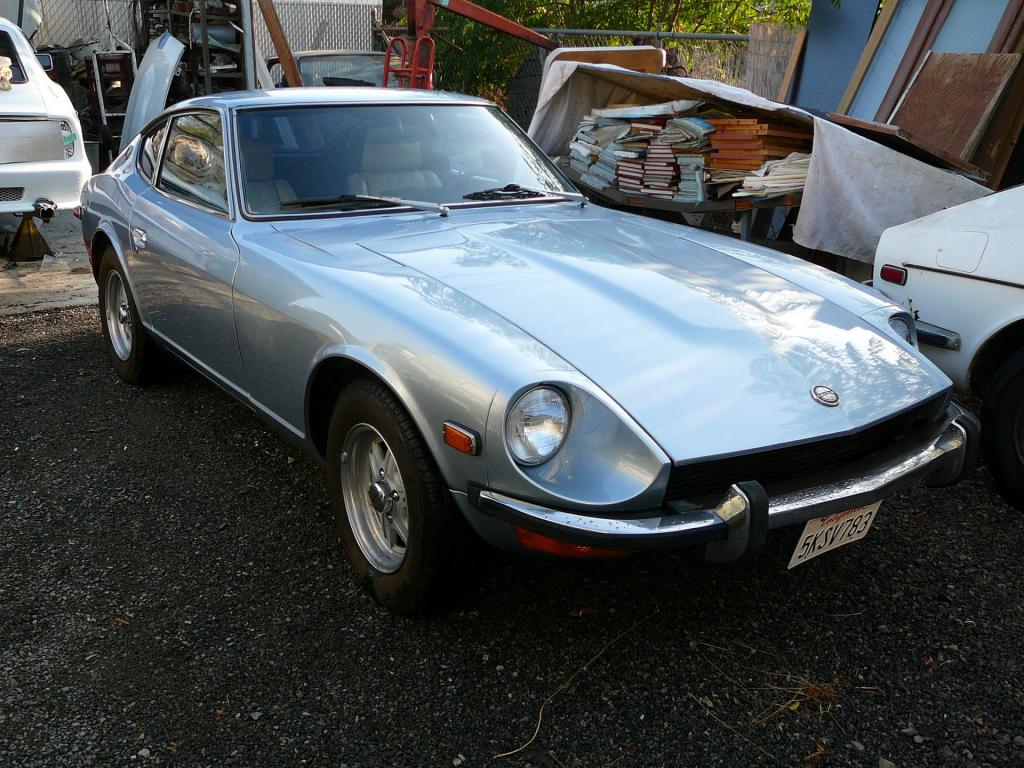
I have been planning for years now to create a build thread for this project but only getting around to it now. Ok, where to begin. In 2004, I purchased a local 1973 240z in very much original state right down to the stock steel rims with hubcaps. I always new that performance modifications were the main goals for this car. I had just started a new job at this time and my salary was certainly going to limit my plans for out right performance. I started off with the most basic and effective changes, (replace points dist with electric dizzy, round top carbs for the flat tops). I began my regular routine of junk yard reconnaissance missions always on the hunt for automotive treasures. Shortly after a few trips to the jy, I picked up a decent set of 280zx six spoke rims to give a little upgrade in the visual department. As weeks and months sped along, I continuously read and based decisions off of current threads here and formed a long term plan for a turbo transplant.
Funding was (is) still a challenge for this project, but I came to grips with taking my time and doing it very thorough and complete from the start. I scored a completely rebuilt l28et in Oceanside,CA, that only had 3500 break in miles on it and a relevant warranty still in tact. A little time and haggling had me going home with the engine, stock ecu/wiring, and a new megasquirt version 2.2 for a good price. I barely drove the car with it's stock l24 for only a few hundred miles then made the decision to attend to some of the visible rust concerns in advance of adding more power and torque. Having had this car off the street and at a friends house for some time, I slowly started filling my "parts wanted list" from many members here. The parts collection started to grow, and as more time went by I found my self with the next level upgrades and even doubles and tripples of some parts,(transmissions, air dams, spoilers,etc).
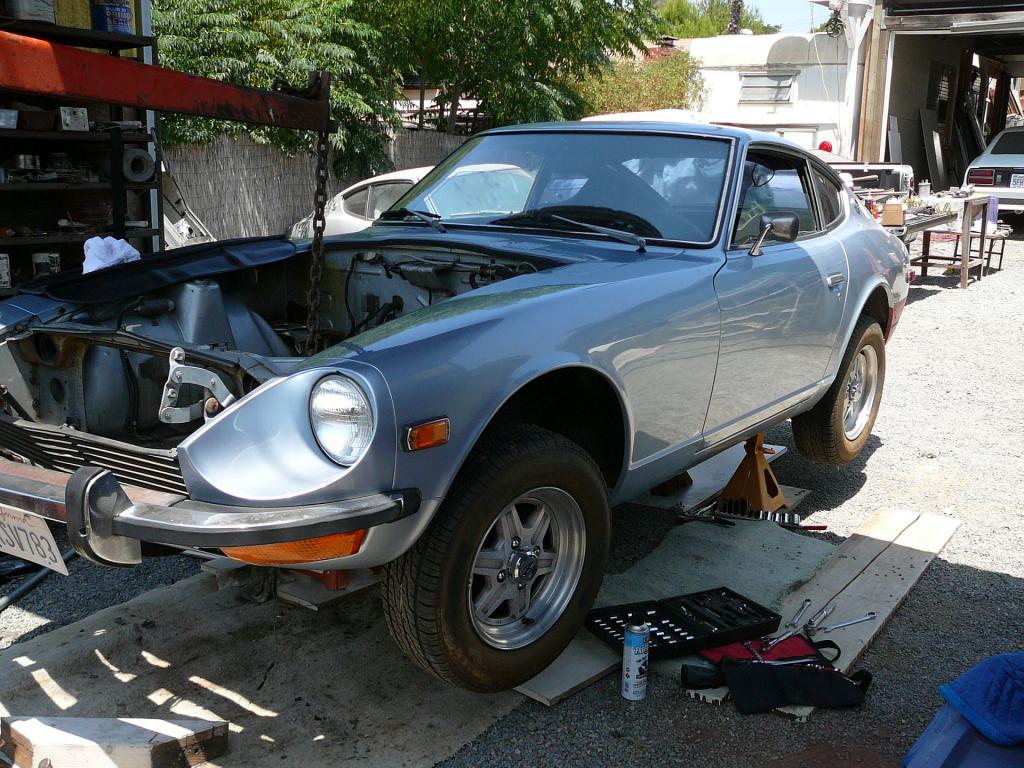
Somewhere around 08' I ended up breaking my left index toe while surfing very fun waves down in baja, (hence the Purple Toe Project name). This resulted in a one month sick leave from work as I was unable to adhere to the city policy of steel toe boots at all times. Here is where the "while I'm at it" mantra took affect and snow balled into the current goal of every thing changed for the better. I began disassembling the car and bagging/labeling all hardware to make it easier when reassembly finally became a reality. I planned all along to remove all the old undercoating and bring the car down to bare metal to see and fix any needed rust issues and fortify by chasis strengthening.
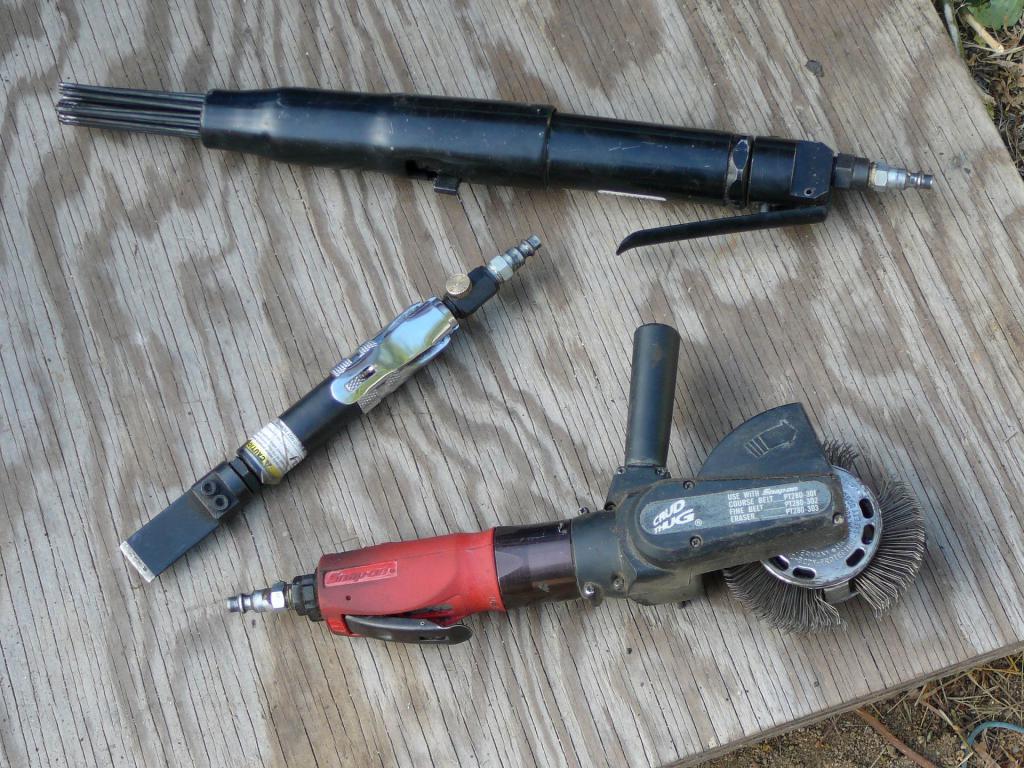
Fast forward to June 2010. I receive the info that I have 18 days to remove my car from the property it was on as the house was up for sale. At this point I had a completely stripped car sitting on the rotisserie still in need of the undercoating removal. I shifted into high gear, took a few monday/fridays off and ground off all the bottom. My arsenal consisted of Snap On Crud thug, harbor freight needle scaler/ pnumatic scraper. I tried the Mister Muscle oven cleaner route but it soon became a concern for contaminating the ground, as well as burning skin after grinding off with the crud thug. My friend allowed me to work on his property, but did not want caustic materials close to his dog. I got everything stripped on the underside, and started to focus on the engine bay removing the flexable wiring tabs to clean it up.
I scooped up a truck camper cart or dolly off of craigslist and strapped down the freshly stripped body to it. In July I had a towing truck take the car on dolly to Time Machine Racecraft in Oceanside, CA. where ther current in depth rusteration has been taking place. My goals at Time Machine were to:
{Have a new oem rear patch panel applied, pass Tabco dog leg replaced, battery tray area fixed, tc arm gusset added, new Zedd floors, Baddog frame & sub rails, AZC camber plates, 4 point chromolly roll bar, new seat mount brackets, fill antenna/badge holes}.
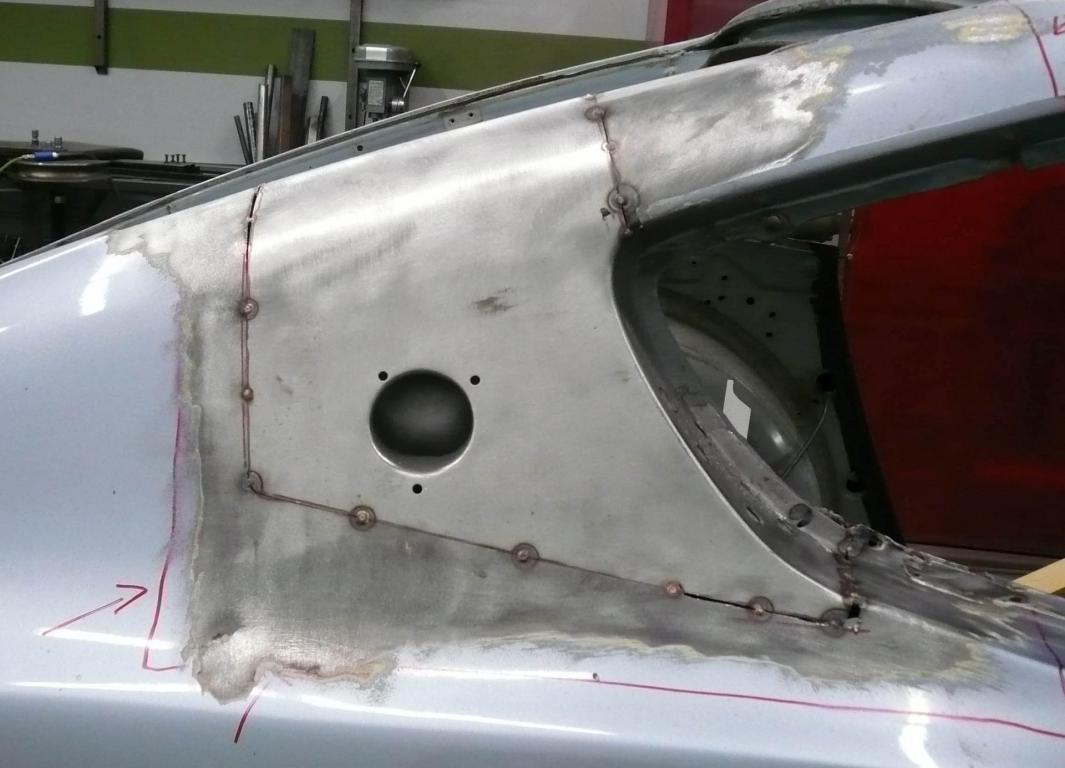
Along the way we have had to address unexpected rust issues from the previous owner doing a horrible job fixing a passengers side rear end wreck. Discovered under a nice paint job, was a section of metal covered in 1/8" of unpropperly mixed bondo, just waiting to absorb and hold moisture. The repair job was by far the most amateur work I have seen to date. Tho Chung, Owner of Time Machine Racecraft, took a good piece of patch siding that I provided and filled in that puzzle piece. I cant say enough good things about Tho's attention to detail and welding skills, truely an artist with a welder. So here is where I am currently with my build, with plans to have the paint blasted and then the whole car epoxy coated. The car will then sit for a few monthes until I can get teh funds to have a bodyman apply the subtlez kit and paint the car. I look forward to the day I can reassemble and finally drive this car again. -
Derek,
It's exactly this type of creativity that unexpectedly allows a new option/product for our beloved cars that makes me happy to be a part of this Hybridz. A big thanks goes to you for even making this a possibility. I may be into a set later on after the first four have installed and reported back.
-
That is a super cool thing you are doing. I hope she really enjoys all the work and effort when it's finished, thumbs up!!
-
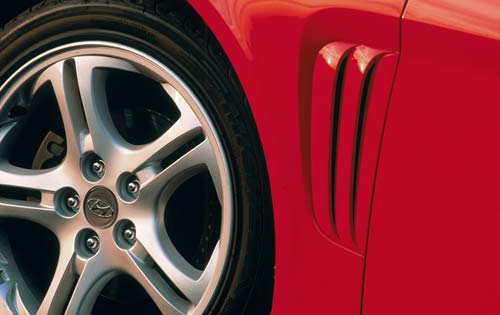
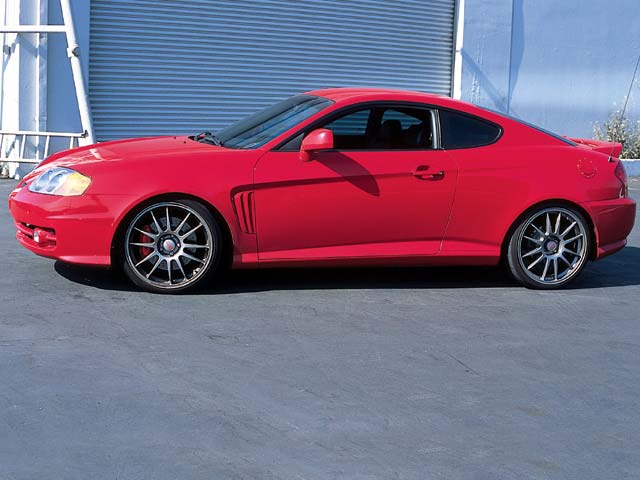
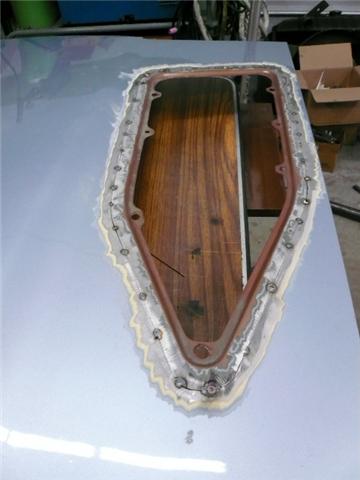
I was putting alot of thought into venting the inside fenders close to the firewall and using the exterior vents from an 03' Hyundai Tiburon on my 73' fiberglass subtlez kit. I thought these would fit proportionatly and have a nice fish gill appearance. I decided against going through with it though and got muy inspection lids vented, and had a stock 82' turbo naca duct welded into my stock unvented hood. It sits flush just like a zx stock hood would. Some pics to show what I am talking about.
-
I have very good 280z stub axles with newer arp wheel studs. The warped hardware only hasless than 4000 miles.
Edit: let me try that again. The wheel studs have less than 4k on them and they are not warped.....


Nelsonian 240z
in S30 Series - 240z, 260z, 280z
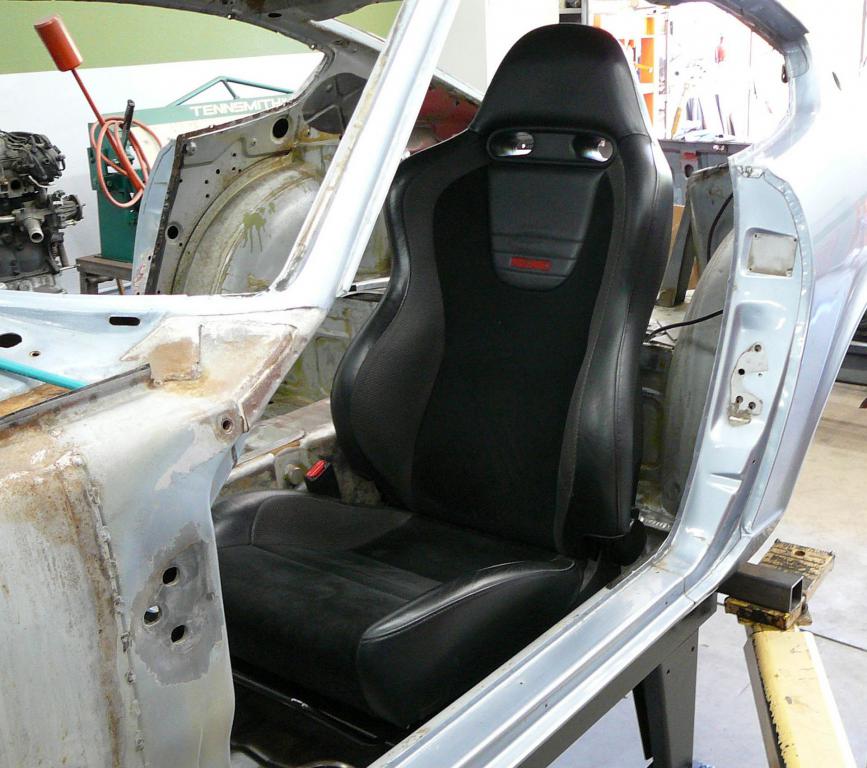
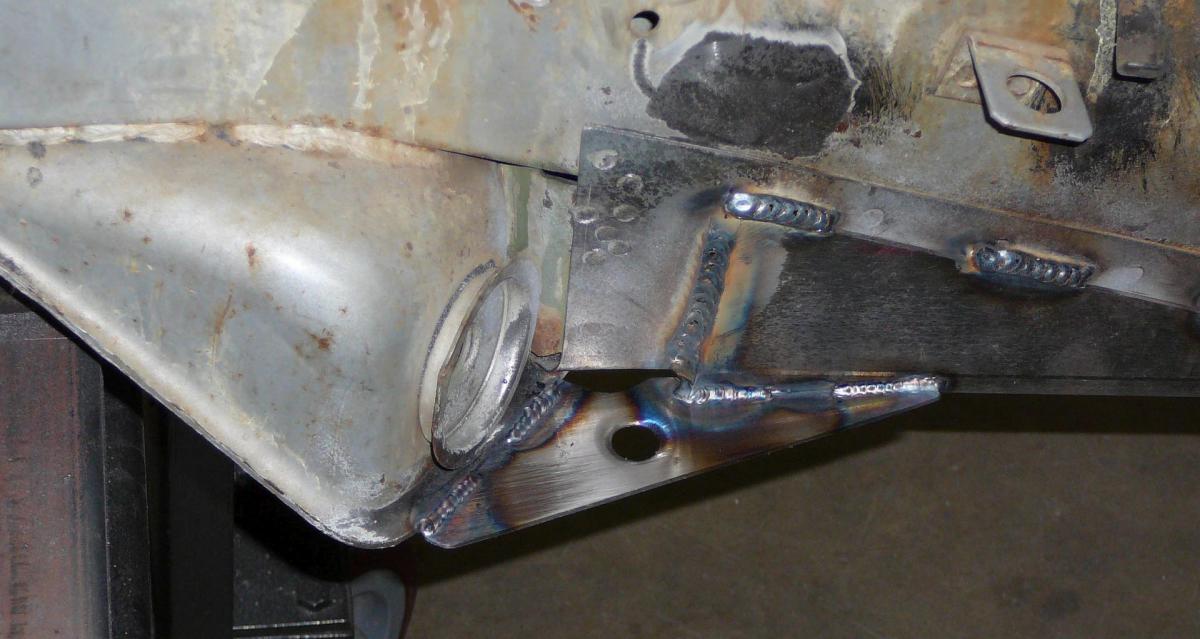
Posted
A few pictures to add as to the current state of my build. The seat mounts for the Recaro's are finished, and the 4 point roll bar is tacked in place and ready to be tigged. Tho started working on the rear wheel well enlarging, in preperation for Rota rbr's. More to come each week...