Slow78z
Members-
Posts
159 -
Joined
-
Last visited
Content Type
Profiles
Forums
Blogs
Events
Gallery
Downloads
Store
Everything posted by Slow78z
-
Feeding My Addiction (turbo build)
Slow78z replied to Slow78z's topic in Gen III & IV Chevy V8Z Tech Board
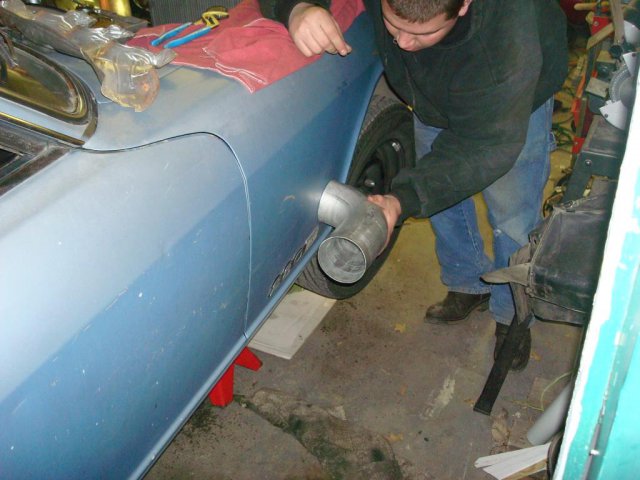
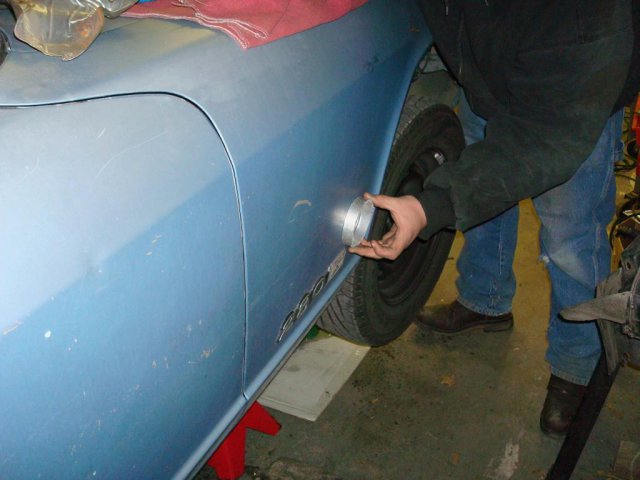
Thanks Sunny. That's what I'm thinking for an exit. I'm not that big on cutting holes in the Z buuut, I've always thought a fender exaust would be cool. -
Feeding My Addiction (turbo build)
Slow78z replied to Slow78z's topic in Gen III & IV Chevy V8Z Tech Board
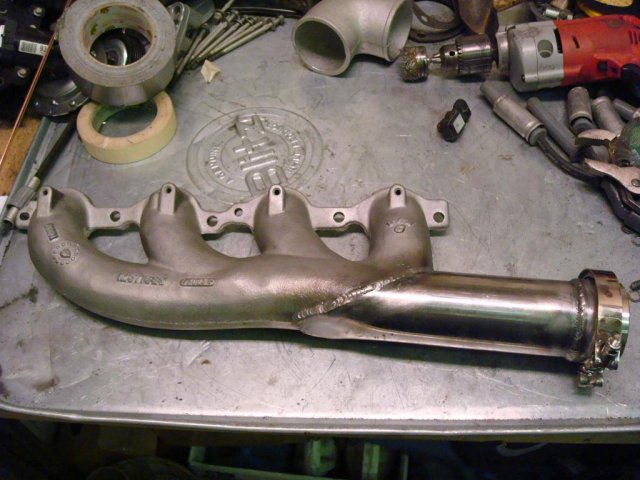
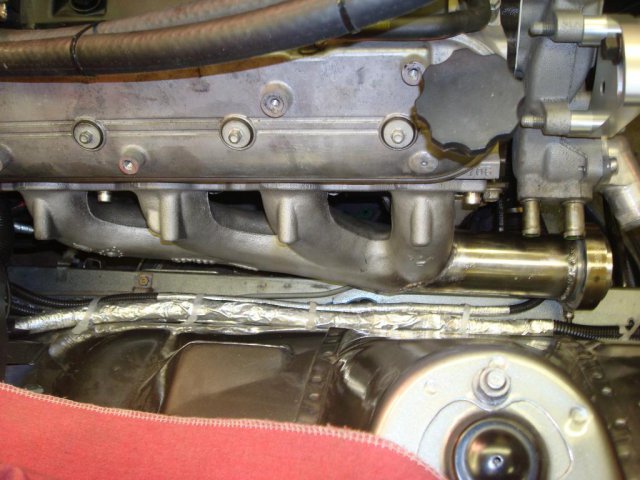
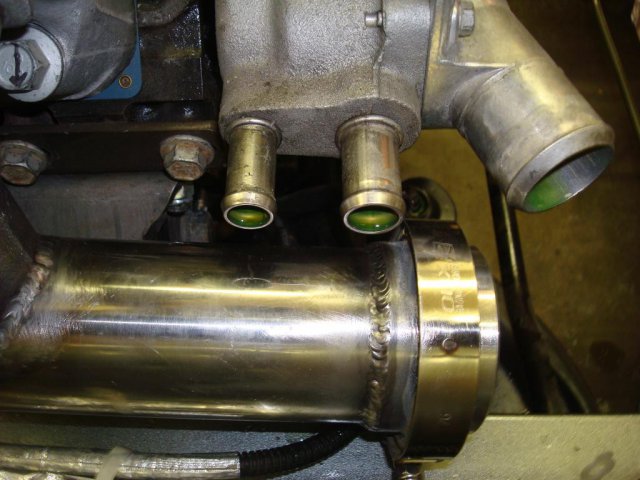
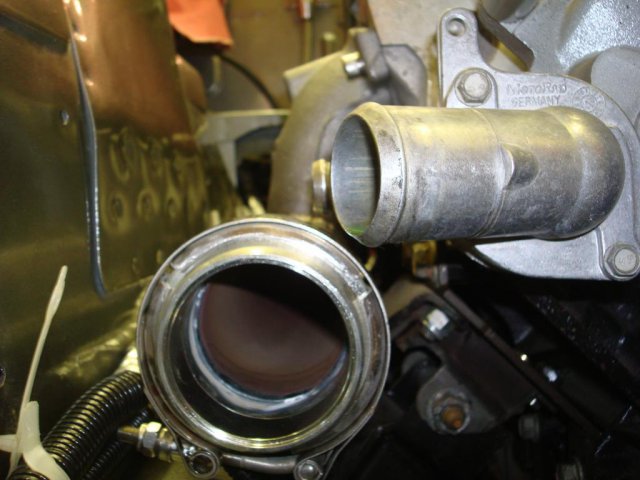
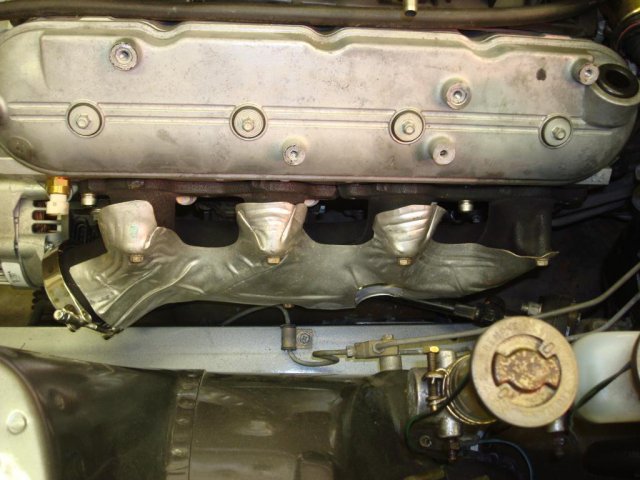
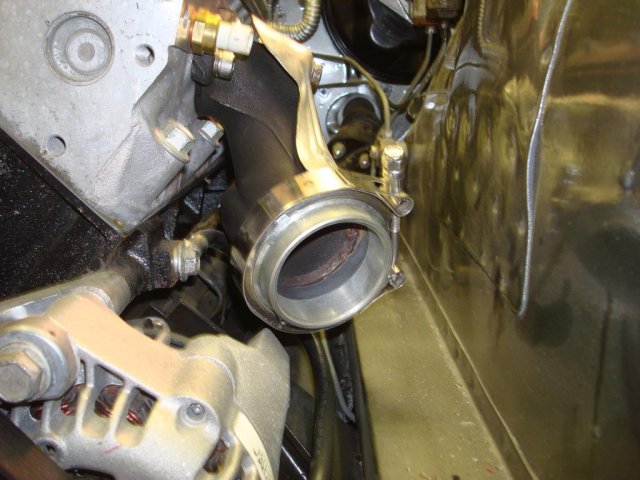
I got some tig welding done today. After finding out the headers would not work I tried to fit a LS4 front exhaust manifold on the passenger side but that wouldn't work either. It was too tall and hit on the frame. I had still another idea, take a truck manifold and modify it to work which is what happened. Here are the pics. Here is the drivers side manifold. I traded for this one and it already had the v-band welded on. -
Feeding My Addiction (turbo build)
Slow78z replied to Slow78z's topic in Gen III & IV Chevy V8Z Tech Board
The more the merrier. We just don't need those bad words around here mister. I can bearly bring myself to say it, coyote. Lol -
Feeding My Addiction (turbo build)
Slow78z replied to Slow78z's topic in Gen III & IV Chevy V8Z Tech Board
That's what I thought. Lol. It's the latest fad in LS builds. -
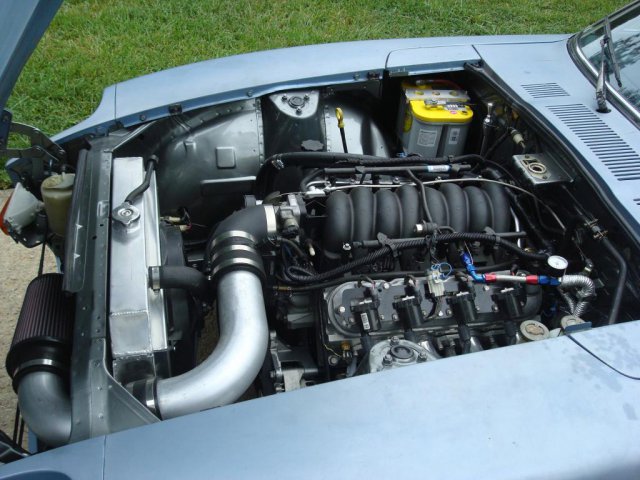
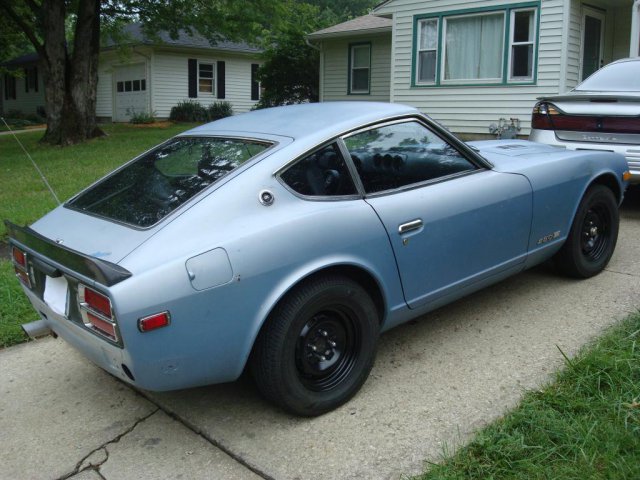
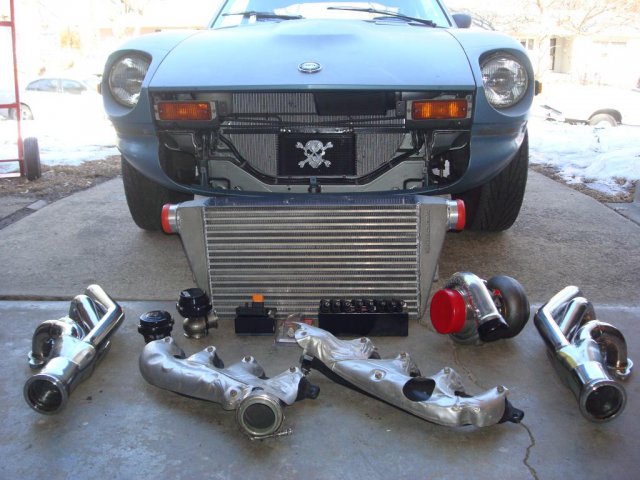
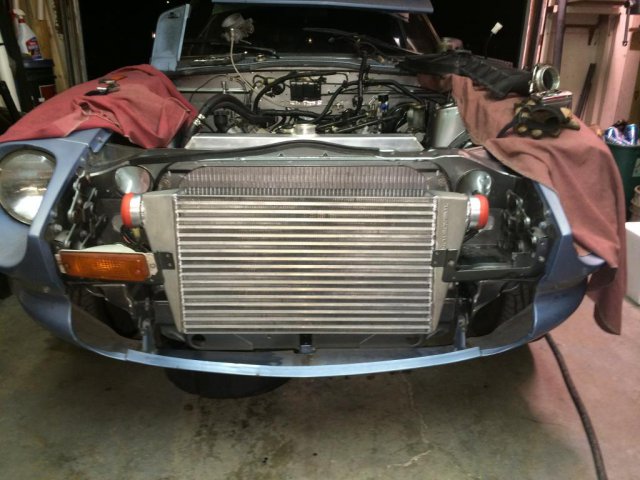
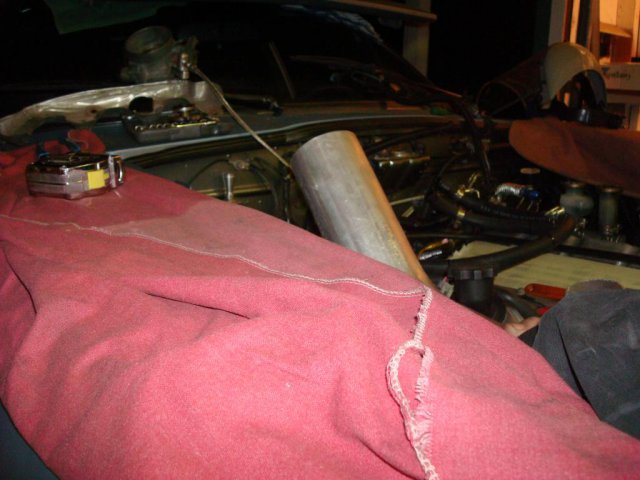
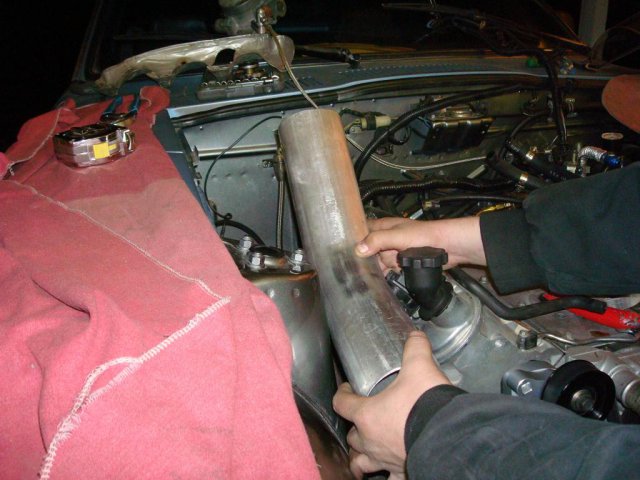
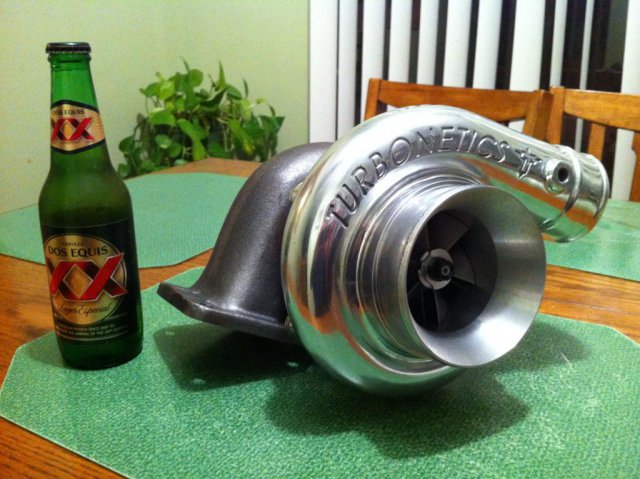
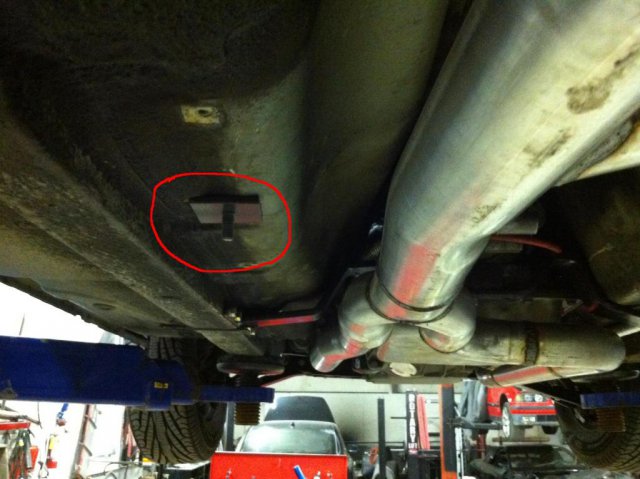
This past summer I just completed my 5.3?/4L60E swap and let me say it was the best choice I could have made for an engine transplant. Parts are redily available from many vendors and upgrades are endless. The power and torque are great but there comes a time when you just get used to the power and the itch for more becomes evident. Therefore I have decided to install the turbo that I purchased before I even bought the engine. I have had the turbo for quite a while and Turbonetics has even made changes to the design since this has been sitting in the box on my office floor. LOL The turbo is a Turbonetics 72mm. It's part of the Hurricane series and is named Sylvia by it's producer. The Hurricane series is intentionally made smaller for easier placement in limited spaces. It is a little smaller than what most people run but it should serve me well with quick spooling and responsiveness. I will also be using Tial's Q 50mm bov and Precision's 46mm wastegate. As for the hotside, I will be going with SS 2.25" tubing and v-banded truck manifolds. I originally wanted to go with the Ebay SS up and forward headers but the passenger side would not fit. It hit on the passenger side strut tower. I've seen others on here that have fit so I'm guessing I have a different manufacturer's headers. I'm undecided on the downpipe at the moment. I want it to exit somewhere up front but have a few options. The charge side will be using 3" aluminum tubing with a 26" X 12.5" X 4.5" intercooler from Treadstone. The inlet and outlets of the inercooler go a little past the holes in the core support so I'll be cutting those off and welding on some cast aluminum 90's. For fueling I'll be going with E85, 60lb injectors, and a KB boost a pump. Here is what I'm starting with A few parts Partially installed intercooler. I need to order and install a few pusher fans in front of the radiator so it's just sitting in there till I know what space the fans will need. Here are a few of the ideas we had for exhaust outlets. Bull horn out of the fender short and stubby out of the fender Flush cut out of the hood vent Updates will come as the project progresses so stay tuned and enjoy!
-
It weighed 2860 without me in it on the scale at the track. It is about 3100 with me in it. Our track gets prepped really good being its a NHRA sanctioned track. I think that helps out a bunch.
-
Sweet stance! Love the unpainted look also. I'm headed to Kansas City today to pick up my set of up and forward ebay headers just like those. I was thinking I may have to cut mine short also Mattd. Now that I've seen yours, it seems like a good idea.
-
Yes sir, the fit great until the front of the engine. After that one of the lines makes a 90 to the drivers side and the two more 90s ending back over to the passenger side. I just cut off those crazy bends and then bubble flared the ends so the hoses wouldn't come off under pressure.
-
Those mounts look so simple and clean compared to the JCI mounts. I wonder how well the metal on the subframe will hold up at that location. It will get some good testing by you for sure. Looking good!
-
The dipstick is from Lokar. What shots of the cooling lines would you like? I'd be happy to take more shots. The lines from the tranny up to the front of the engine are stock Z28 lines. From there they go into short rubber hoses and then into more hard line that is running along the frame.
-
Thanks for the good words. I did use the stock heads. They were freshened up and I used a set of OEM replacement felpro head gaskets. They have worked great so far.
-
LS1, T5 6 what speedometer are you using
Slow78z replied to PLATA's topic in Gen III & IV Chevy V8Z Tech Board
You might try calling Abbott and asking what they can do for you. I have found there customer support to be very good and prices reasonable. At least they could check out your box and find out if that's the problem. Good luck. -
Mine probably has a little bit more in it. I was disappointed when I saw how busy it was at the track. I didn't even get to play with tire pressures. My friend that was watching said I was still spinning a little in first on launch so it might have a little more go power. I also wanted to try and foot brake it also but I don't think it would have helped much. Now if I had a transbrake, that would be the ticket. But that would probably also lead to more broken parts. I'm faily content with what it can do but I'm sure it will wear off shortyly. What kind of 2-step do you use Rebekahsz? I think I'll probably need one with the turbo setup.
-
LOL
-
Thanks!
-
It's Turbonetics' Hurricane series turbo named Sylvia. It's a 72mm. They are a little more compact for tight spaces.
-
That dash looks awesome. Your going to have to wear shades at night when you turn on the dash lights and they start reflecting off that chrome. Lol. Great work! BTW, every piece of chrome added will add 5 horsepower!
-
Sure. 195/70 r 14's 11.908 at 115.40 with a 60' of 1.813 M/T 26X8.5 14's 11.742 at 114.44 with a 60' of 1.665 With the street tires I foot stall to about 2K and roll into it otherwise it wheel hops. With the slicks I idle until the last amber shows and then floor it. The 3200 stall matches up to when the cam starts to make power so I think that probably helps with launching. I like how you put it "less blood and guts" is probably a benefit of the auto. I watched a couple of your drag racing videos the other day. What RPM do you launch from with the two step?
-
Thanks! I came across a few threads talking about half shaft loops and think its a good idea. Anything could happen when your booking it at 120 mph and one breaks. I guess the worse would be the axle some how locking up the rear tire and causing an uncontrollable spin. I bet one loop right in the middle would give protection for both ends.
-
I found a set of slicks on Craigslist for a killer deal so I quickly grabbed them up. Tonight I realy let loose on the Z for the last test and tune of the season. The track was packed all night long so I was only able to make two runs before the track closed. Boooo. My quickest run was a 11.74 at 115mph with a 60' of 1.66. WOW do slicks make a difference! I think I have ran as fast as I can go with my current setup so this winter will be spent adding my Turbonetics turbo I purchased way back when I started this whole swap. Bout time!
-
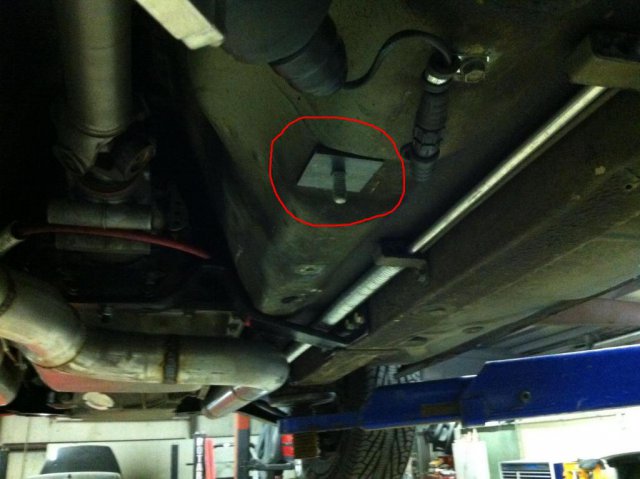
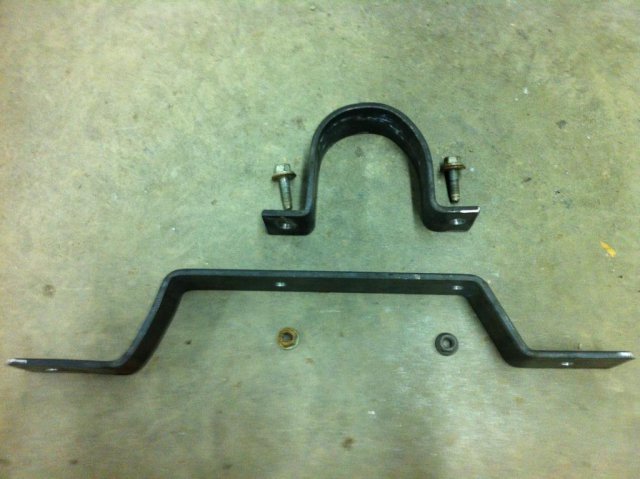
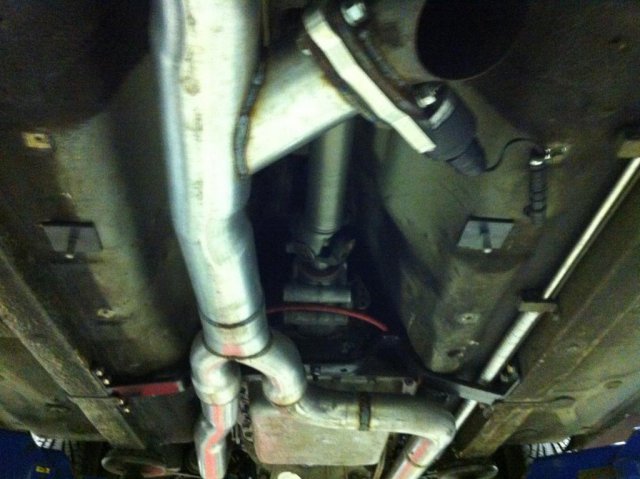
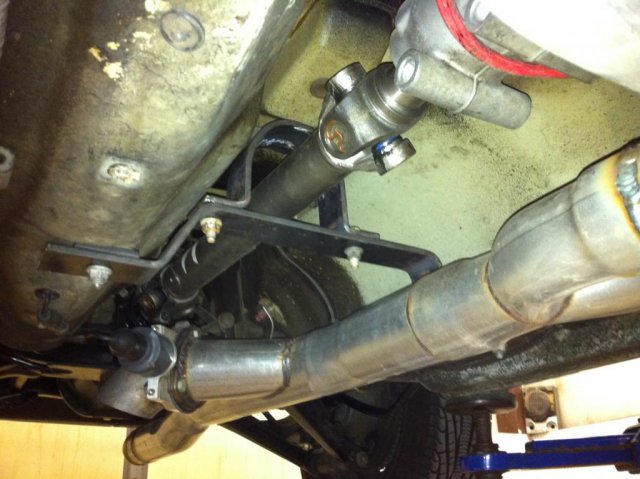
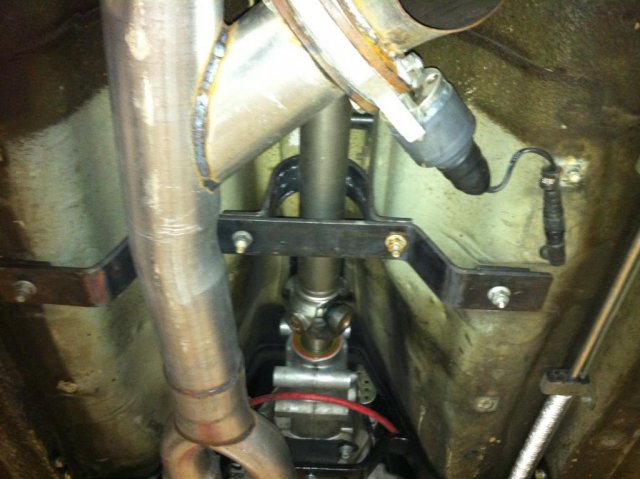
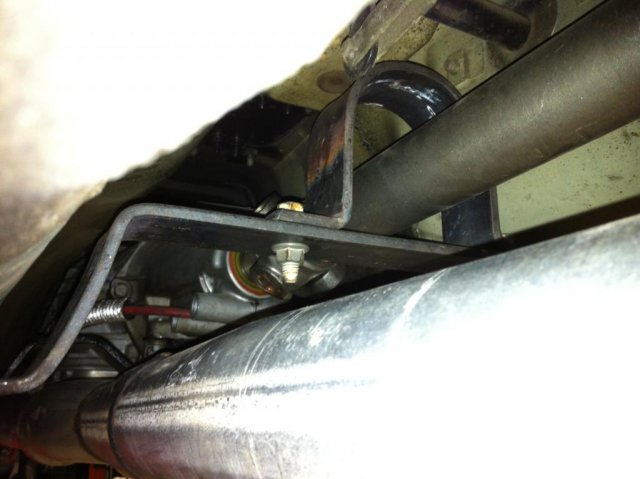
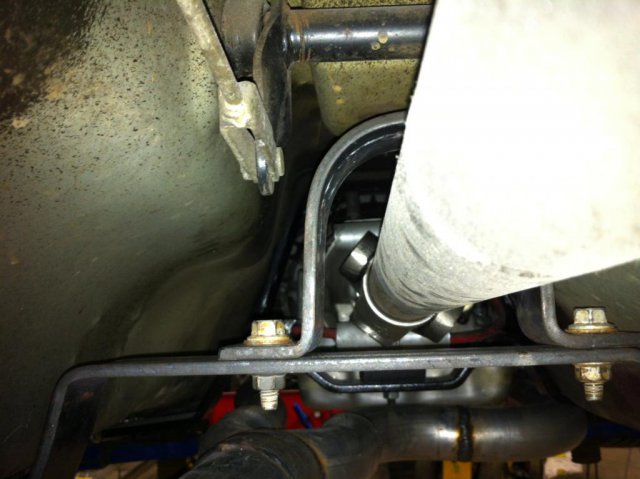
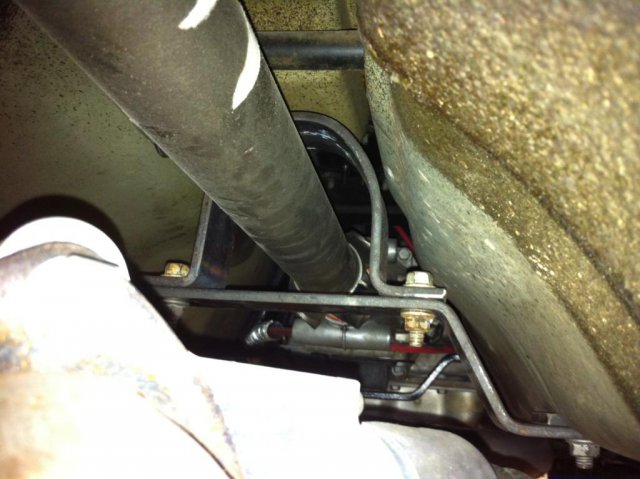
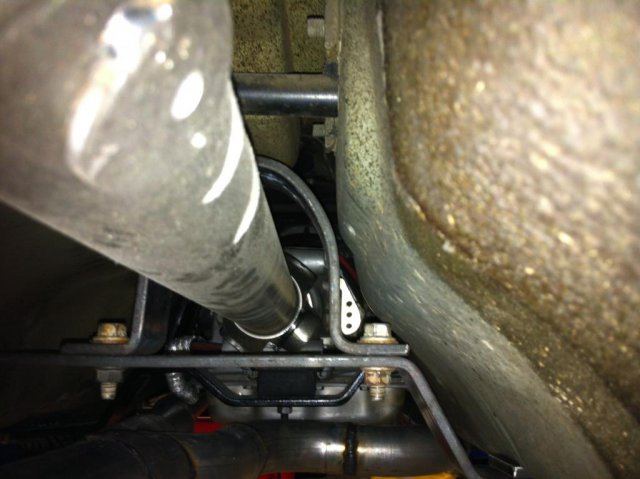
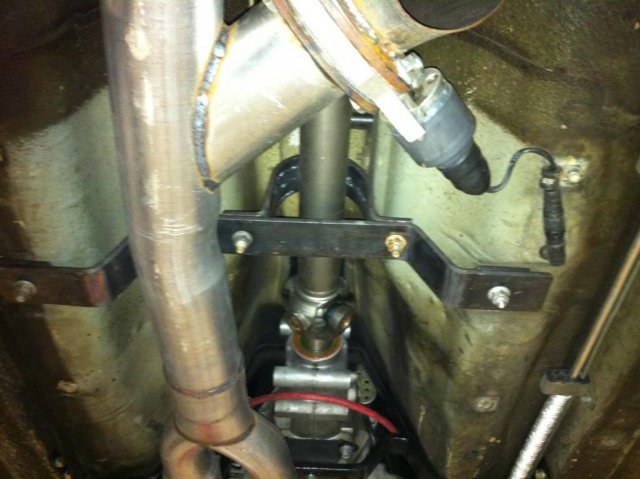
I finally scored a set of slicks so my next step was to make a driveshaft safety loop to pass tech. I looked at numerous pics on the web and on this forum for inspiration and finally came up with this two piece design. It wasn't to difficult to make and should be easily removable if need be. It was made from 1/4" X 2" bar and some bolts. Here are the pics. I used two prexisting holes that were originally used to hold the factory heat shield in place. They both had nuts tack welded to the floor pan under the seats. The seats were removed for access to the nuts. The nuts were then removed by cutting the tack welds. My mounts consist of a 10mm X 1.5 bolt and thick washer for the topside. On the bottom a drilled and tapped 2" X 2" X 1/4" piece of bar to act as the nut and washer to the bolt going thru the floorpan. The floorpan is then sandwiched between the washer on top and the washer/nut on the bottom. The next step was make a templet of the crossmember using some mechanics wire. I then used some of the 1/4 X 2" bar and made a duplicate of my template with the help of a torch to heat up the metal for bending. Next I drilled a few holes and mounted the crossmember. From this point I could make another template for the loop and then duplicate that piece with some more bar. A few more holes were drilled into the loop and crossmember to connect the two. This is the finished product. Overall I spent roughly $8 in metal and the bolts I had laying in the bolt bin so it was an inexpensive fun project. Parts list; 4' of 1/4" X 2" bar 4 10mm X 1.5 bolts 2 10mm X 1.5 nuts
-
Slicks are definitely on the list. As long as I launch easy it will hold up until slicks fit in the budget.
-
The Z and I headed back out the track again on Friday (10-11-13) and had some more fun. We didn't break anything this time and ran some good times. The first pass was a 12.27 which was a whole 1 100th of a second better. It hooked good so I gave it all the next run. It wheel hopped again even with the new struts I just installed. I was able to lift quickly, keeping it in one piece and finished with a high 12 second run. The next coulpe of runs I ran the cutout open and that seriously killed the torque. More high 12's. Finally on the last run of the night I finally dipped into the 11's. It ran a 11.90 at 115 with a 1.813 60ft. I know It's not that fast but it was exciting as hell for me. I think I said yes about 20 times while driving through the pits. LOL There is still one more test and tune this season and I'm going to try and make it. A friend has a few nitrous kits laying around and I might ask nicely if he'll let me borrow one for next time. We shall see.
-
Manual Street Car 1/4 Mile Shootout
Slow78z replied to SUNNY Z's topic in Gen III & IV Chevy V8Z Tech Board
I hate it when the season comes to an end. I've got one more test and tune night and I'll be done also. Darn cold weather. I'm moving to Arizona!
