BrandenZ
Members-
Posts
237 -
Joined
-
Last visited
Content Type
Profiles
Forums
Blogs
Events
Gallery
Downloads
Store
Everything posted by BrandenZ
-
Hoke performance LS2 engine and T56 mounts
BrandenZ replied to mrk3cobra's topic in Gen III & IV Chevy V8Z Tech Board
I would be very surprised if they didn't, given how much bigger the Hawks headers are, which do fit. That said, you should definitely check with Austin first. He was patient and willing to help me with countless silly questions across my swap. Ugh. RIP intake manifold! The good news is, that's easy to swap out. Depending on how your fuel is setup, you may want to swap the inlet rail to the passenger side anyway. Just get them to replace it with a FAST manifold instead! For reference, here's a pic of my Hawks, reduced immediately from 3" to 2.5"... -
Hoke performance LS2 engine and T56 mounts
BrandenZ replied to mrk3cobra's topic in Gen III & IV Chevy V8Z Tech Board
I just recently finished my LS2/T56 install using Hoke's kit and was extremely satisfied with it. I was provided one of the beta kits, so I'd imagine the quality has only improved since then. Even the beta version IMO was extremely high quality, and in my eyes "future proofs" my swap. The only change I made to what came from the junkyard was swapping to the Corvette oil pan like you mentioned. I used the GTO alternator, sensors, etc. without issue. I had the car weighed at all 4 corners prior to the swap, and plan on having it done again, but don't have those numbers just yet. Based on my previous measurements and also what it looked like at the alignment shop, Hoke's kit appears to have shifted the weight distribution more to the rear than the L6, and also a better balance L/R as well, both positives in my book. It will definitely provide a lower center of gravity as well. I used Hawks longtube headers, and although it's _extremely_ tight, it all fits, works great, and sounds incredible. Since you mentioned ground clearance, I will say the headers do sit low (below the oil pan), but I think that's just a necessary evil with 3" collectors. I immediately reduced to 2.5" and ran dual 2.5" all the way back to 2 Borla Pro XS mufflers and it's tucked up in the transmission tunnel enough for me to feel OK about it minus right at the collector. I have plenty of pictures across various stages of the swap, so feel free to PM me and let me know if there's anything in particular you'd like to see. I'm also happy to answer any other questions you may have as well. It's a big undertaking, but having now come out of the other side of it... boy is it worth it! -
If you've already got 16x8 to fit, you can probably run 245/45s on them without clearance issues. I'm not sure I've heard of anyone going 16x9 without flares, though. The closer to 0 you are, the more likely you are to hit the fender, and the more positive you go, the more likely to hit the spring. If you go with 2.5 OD springs/coilovers, you'll get a bit more clearance. I'd mock it all up and measure a _lot_ before buying anything. Ideally, see if you can find someone with 16x9 rims that'll let you temporarily borrow one for a test fit.
-
I'm running 16x8, +26mm offset rims in my 240z, 245/45/16 tires at all 4 corners, on 2.5" OD coilovers. Iirc I've also got 3/4" wheel spacers on the rear. I also rolled all 4 fenders and am running -2.8f / -2.3r camber to make it all happen. 225 is safer/easier, but 245 is possible if you're willing to build your entire suspension / break setup around it, and pay for a custom 4-wheel alignment.
-
Unfortunately there's nothing underneath the factory setup that you can just bolt to. What I did was use two pieces of bar stock, which I drilled to attach to the front and rear of the cell, then attached them to the car with 4 angle brackets (one on each corner), which were welded to the frame rails / chassis. You can get a bit of an idea with some of the pictures found here: http://forums.hybridz.org/gallery/album/1291-fuel-cell/ It really wasn't that hard. Everything used to mount the cell itself I bought from Home Depot. I'd argue that I spent more time taking precise measurements and mocking everything up than fabricating anything. In the end, it was cutting 2 pieces of bar stock to the correct length, appropriately locating 7 holes on each (3 for the cell, 2 x 2 for the angle brackets), drilling 2 holes per angle bracket, then welding them up and attaching everything. As far as the car itself, nothing was cut out other than the spare tire-well. 1.5 years and a handful of autox + track days later, and (knock on wood) no leaks, gas fumes, or fuel starvation!
-
Keith what do you think about 245 r-comps, using the subi R180 cLSD, for autox and track?
-
From the album: Drivetrain
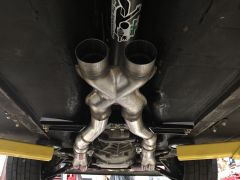
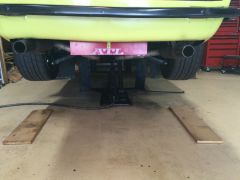
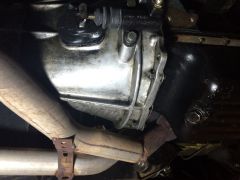
Dual exhaust -
From the album: Drivetrain
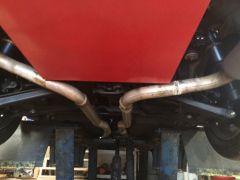
<p>Dual exhaust under-chassis view</p> -
From the album: Drivetrain
Exhaust by transmission -
From the album: Drivetrain
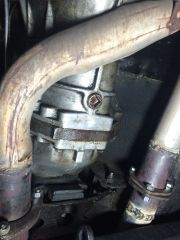
Exhaust by transmission -
From the album: Drivetrain
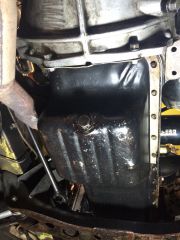
<p>Exhaust by pan, running back up to 6-2 square port header (matches E88 head)</p> -
From the album: Drivetrain
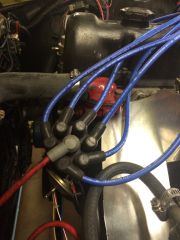
<p>Distributor converted to optical pickup, using magnecore spark plug wires</p> -
From the album: Drivetrain
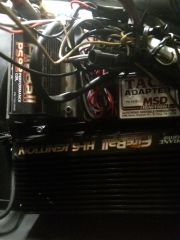
<p>Crane HI-6 ignition, Crane Fireball coil, MSD tach adapter</p> -
From the album: Drivetrain
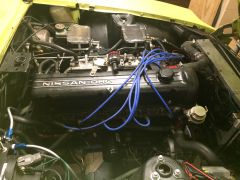
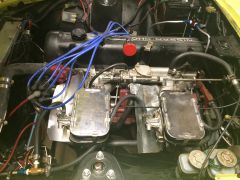
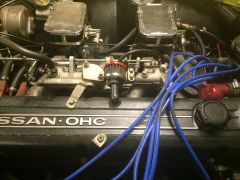
F54 / E88 engine, 10.4:1 compression, dual weber DGVs -
From the album: Drivetrain
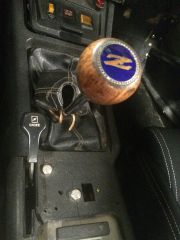
<p>Shifter and boot</p> -
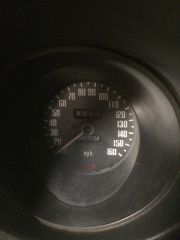
From the album: Drivetrain
<p>Working 240z speedo</p> -
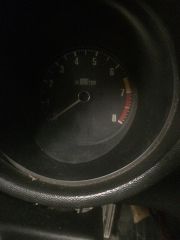
From the album: Drivetrain
<p>Working 240z tach, using MSD tach adapter</p> -
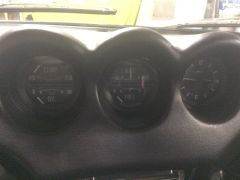
From the album: Drivetrain
Full working 240z gauges, including (working) clock -
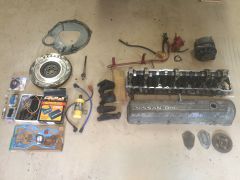
From the album: Drivetrain
Various spares -
From the album: Drivetrain
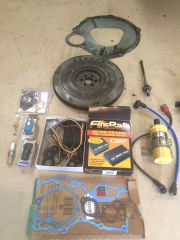
<p>Other spares including accel coil, Crane XR700 ignition, various gaskets, carb rebuild kit and jets, plugs, oil filter, etc.</p> -
From the album: Drivetrain
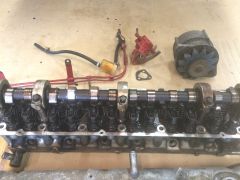
<p>Spare P79 head, 280z alternator, mechanical fuel pump, fuel lines and filter for mechanical fuel delivery</p>
