BrandenZ
-
Posts
237 -
Joined
-
Last visited
Content Type
Profiles
Forums
Blogs
Events
Gallery
Downloads
Store
Everything posted by BrandenZ
-
Rear strut assembly issue
BrandenZ replied to BrandenZ's topic in Brakes, Wheels, Suspension and Chassis
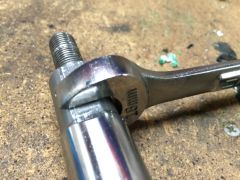
Attached is a picture of the machined strut
-
-
-
From the album: Rear strut issues
-
Rear strut assembly issue
BrandenZ replied to BrandenZ's topic in Brakes, Wheels, Suspension and Chassis
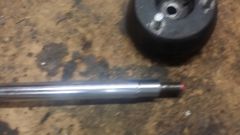
Had an extra rear lying around and was able to machine the stepped surface (directly below the threaded part) to fit an 18mm wrench. In a vise, putting 50 ft/lbs on it with the wrench was no problem. Can you think of any reason not to go ahead and go this route? It's on a surface of the strut that does not compress into the canister. It's the only way I can see to lock the shaft in place and get measurable torque on the upper nut... -
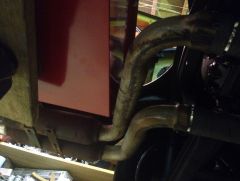
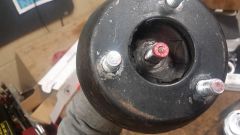
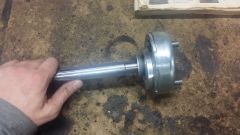
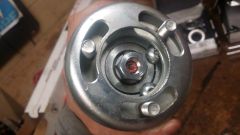
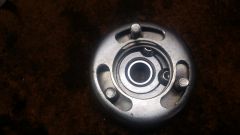
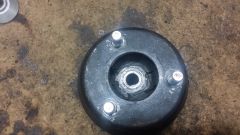
So I'm trying to install K-Mac camber plates in the rear, with the ground control coilover kit, sectioned strut tubes, and tokico illumina struts. The issue I'm having is ensuring the strut top hat nut is torqued to spec. With the stock insulators, they notch in. However, the K-Mac has a spherical bearing and no such notch. Here's what the strut looks like attached to the K-mac tophat: The topside view of the strut and topnut: The original setup / stock insulator, note the notch that locks the strut to the tophat: About all I can get is ~25 ft/lbs on the assembly (using vice grips and a rag). To get it any tighter I'd risk marring the surface of the strut shaft, likely causing damage to the seal. I have K-Macs on the front as well, but the MR2 tokico struts have a notch in the upper part of the shaft that I was able to lock into place with an open ended wrench. As you can see from the pictures, the 240z tokico struts do not. The only notching is in the threaded section, with is inaccessible once installed in the K-macs. I'm honestly not sure how anyone could secure the topnut using this kit, the way it's designed. Assuming that ~25 ft/lbs is not nearly enough, does anyone have any suggestions at all for how to properly install this? Thanks in advance for someone pointing out something that I'm hopefully missing!
-
From the album: Rear strut issues
-
From the album: Rear strut issues
-
From the album: Rear strut issues
-
From the album: Rear strut issues
-
From the album: Rear strut issues
-
From the album: Rear strut issues
-
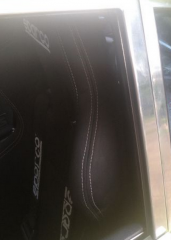
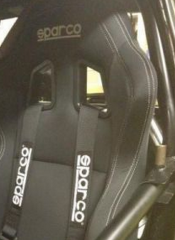
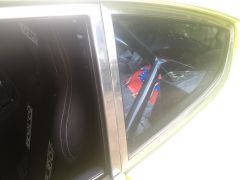
It's honestly been so long since I did the work, I can't recall exactly where I drilled. I do remember that there was room to offset very slightly to the left or right, and also to the front and back. Mine basically sits against the roll bar (which is against the B pillar) with it locked fully towards the rear: I'm able to slide it a bit forward and recline it more than enough for my purposes. There is a bit of compromise on the recline, where if I wanted to recline it much more, I'd have to slide it further forward. However, in my case I believe that's because of the roll bar. If you look at the pictures, the ears of the seat are competing for space there... but if you take the bar out of the equation I'm fairly confident that they'd clear the B pillar entirely. I suspect that you could drill the sliders out in a more rightward offset (for the driver's side) to gain the clearance you need. Worst case, you could always delete the stock rails completely and build custom mounts to locate the driver's seat exactly where you want it.
-
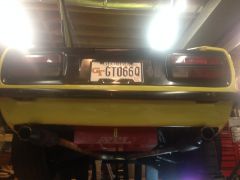
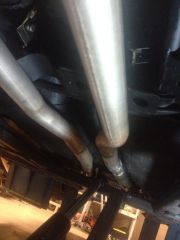
From the album: Z_Pics
-
-
-
From the album: Z_Pics
-
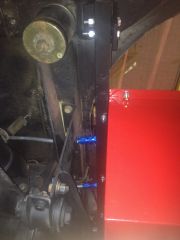
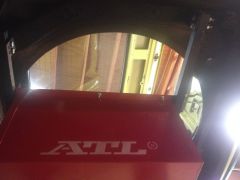
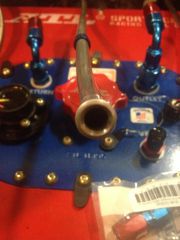
From the album: Fuel cell
-
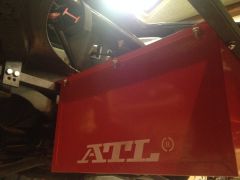
From the album: Fuel cell
-
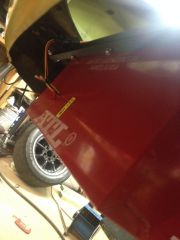
From the album: Fuel cell
-
From the album: Fuel cell
-
From the album: Fuel cell
-
From the album: Fuel cell
-

From the album: Fuel cell
-
From the album: Fuel cell
-
From the album: Fuel cell
-
From the album: Fuel cell