Search the Community
Showing results for tags 'vinyl'.
-
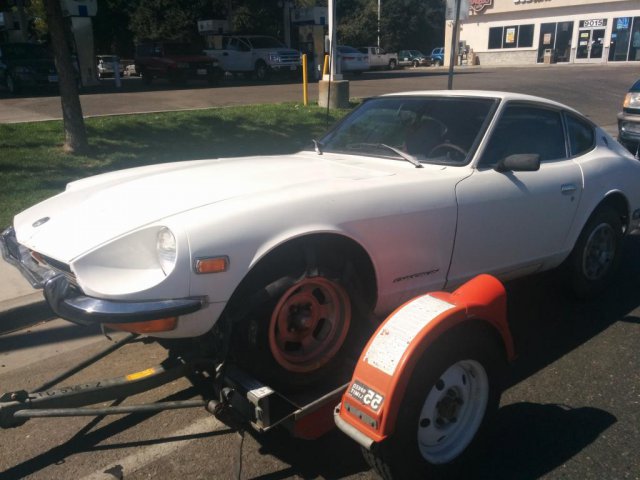
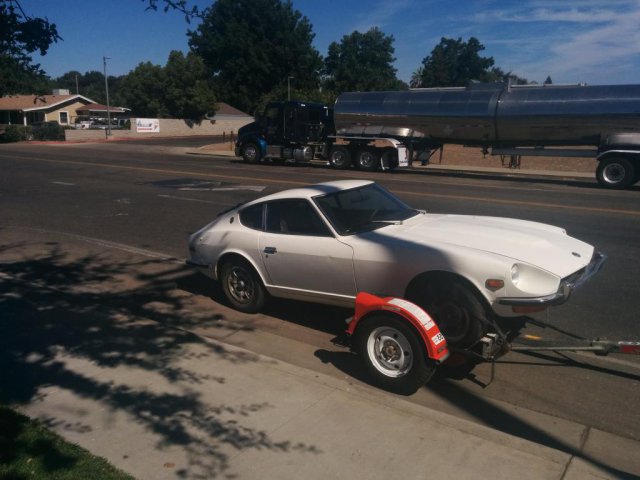
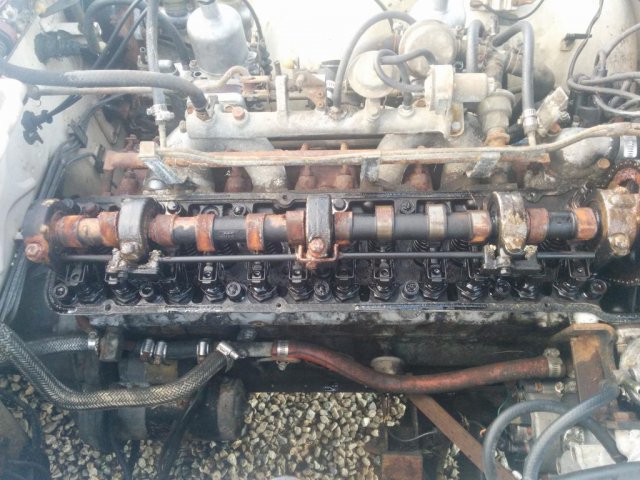
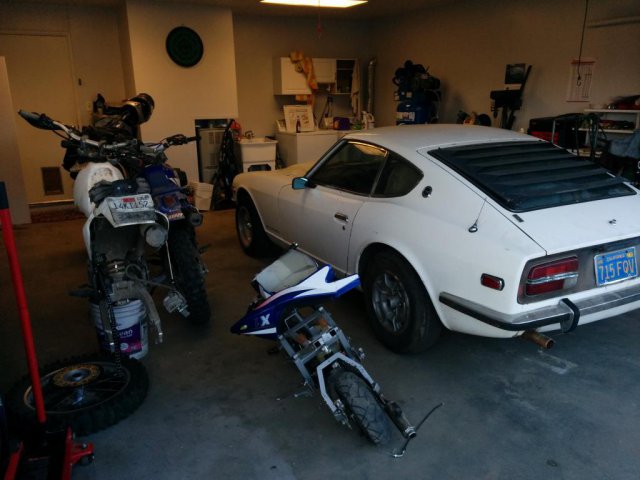
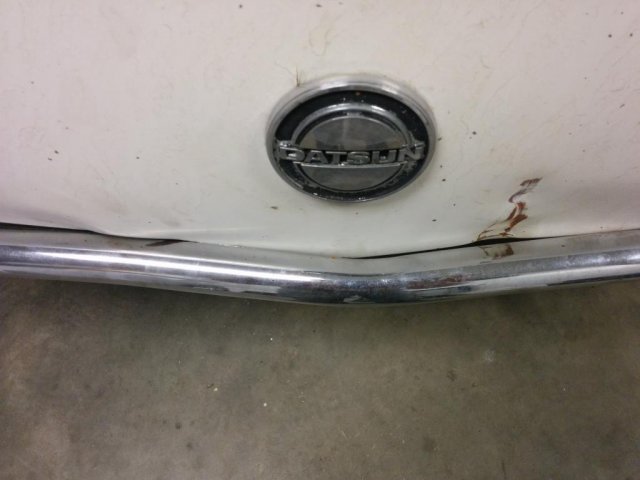
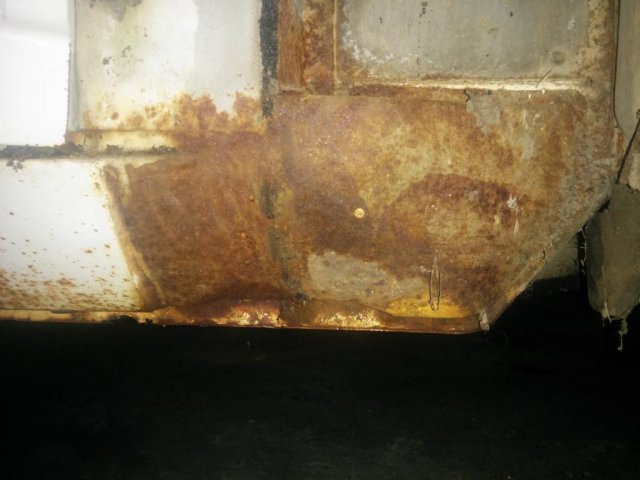
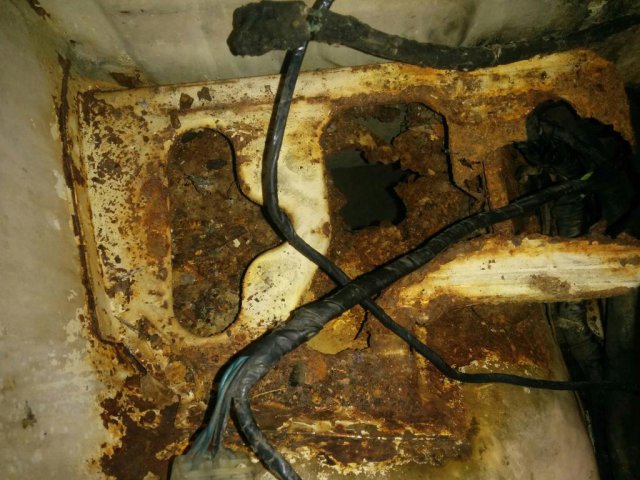
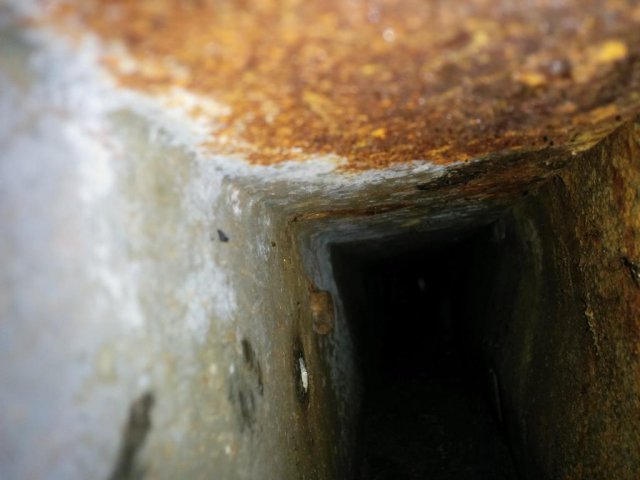
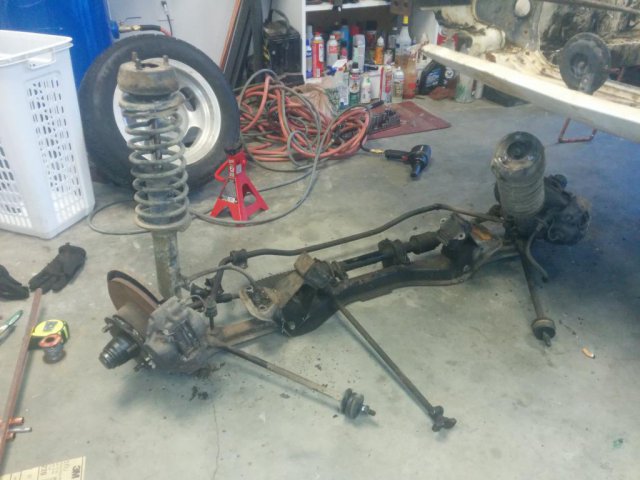
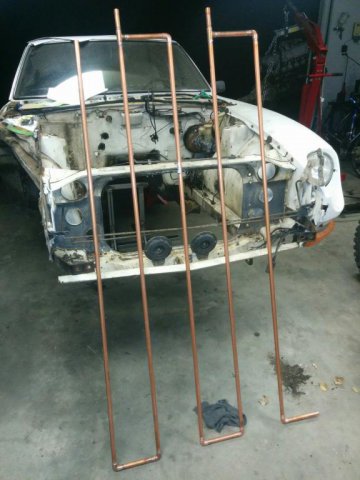
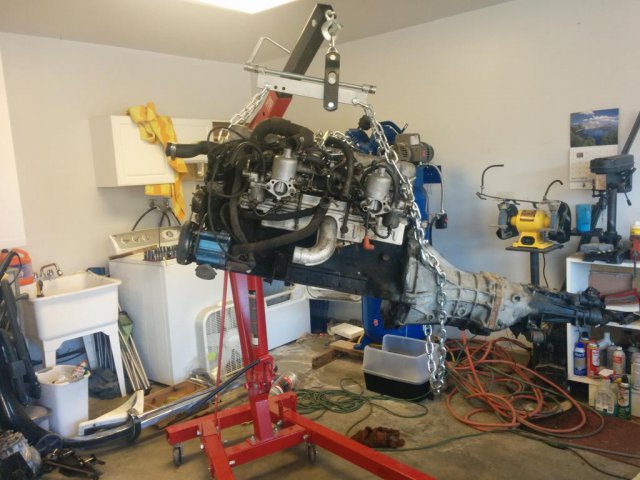
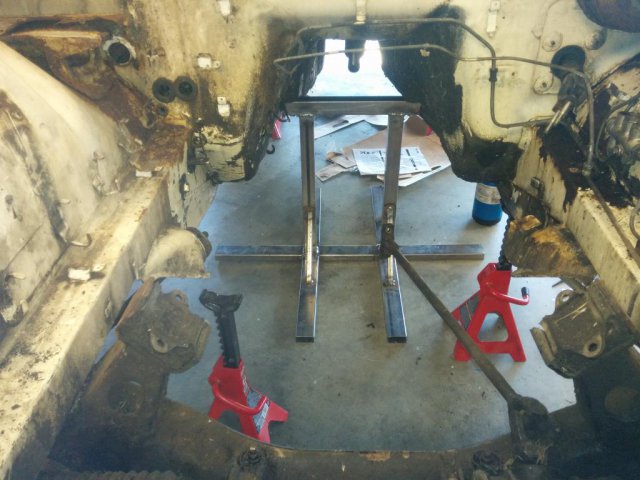
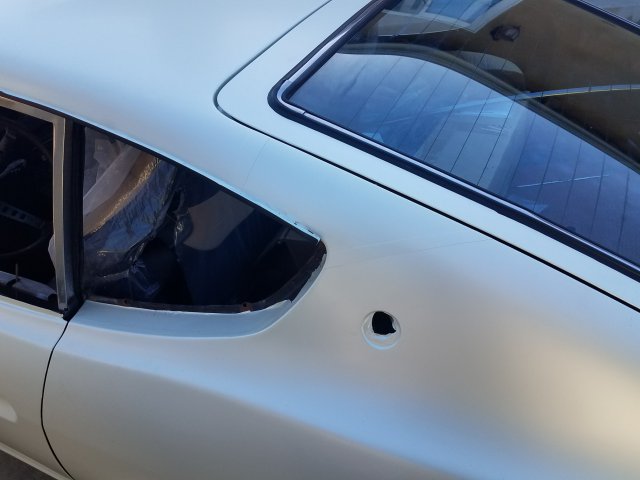
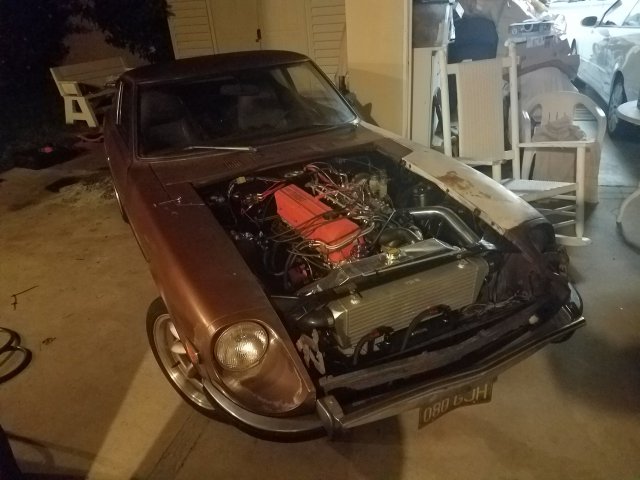
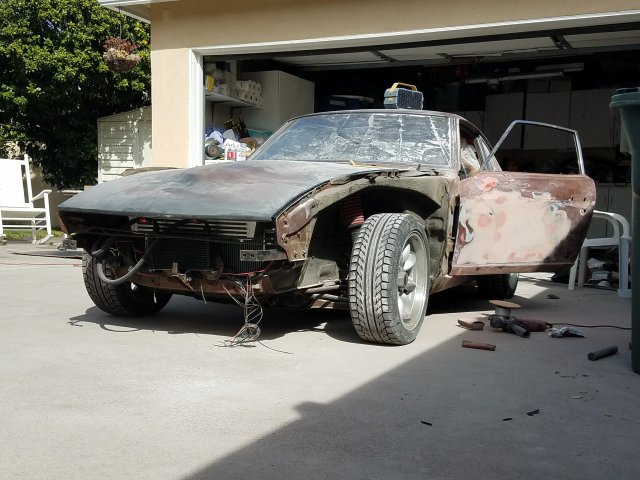
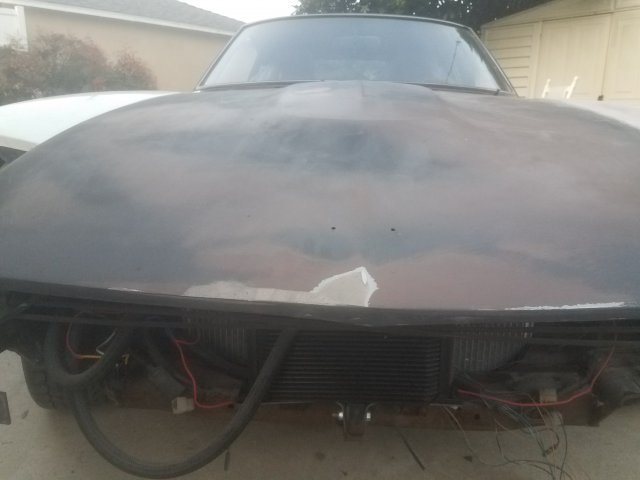
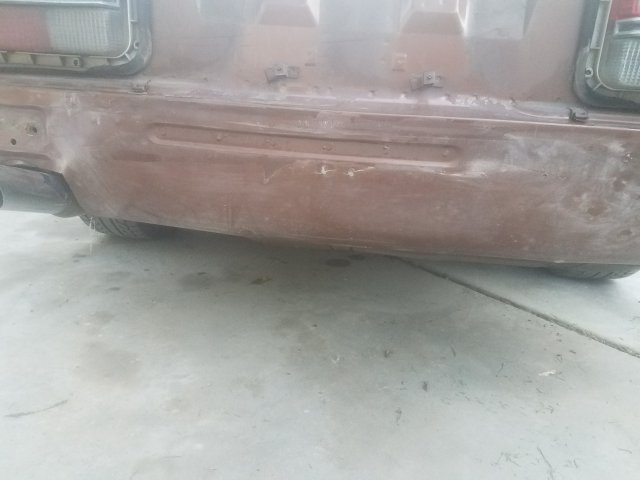
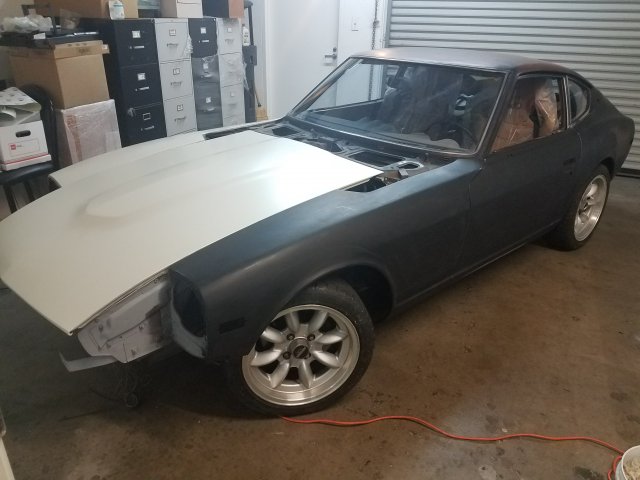
Hey guys, I recently bought a 240z and it ended up having more rust than I originally thought, thus begins my new winter project. Pulling her home with my 1987 2WD Toyota Pickup. That was a long haul between northeast of Sacramento and Southern California. The truck performed well though! The car sat for a while and the engine internals have rusted. The overview plan is to pull the engine, fix the front half of the car's rust problems, swap the SUs from the L24 to my rebuilt L28, install the engine, and drive it while fixing other things (interior). Some hood damage. Hopefully I can bump these out. Starting to inspect for rust on the passenger side frame rail/firewall interface. It's definitely in need of some work. Inside engine bay rail. Engine removal In preparation for cutting into frame rails I dropped the front suspension to remove as much stressed from the rails as possible. Stand I welded up to support car from the transmission mounts. I've made a little more progress -- started making patch panel templates and cutting metal from the battery tray area. It looks like I'm going to be replacing a lot of metal around the battery tray area -- frame rail, battery tray inner fender, a piece of the firewall, and passenger side floor pan. Hopefully driver side isn't this bad.
- 76 replies
-
- restoration
- metal fabrication
- (and 19 more)
-
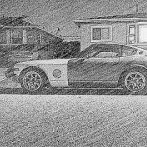
Just Vinyl Wrapped my 240z... Here are my thoughts
supershanesta posted a topic in Body Kits & Paint
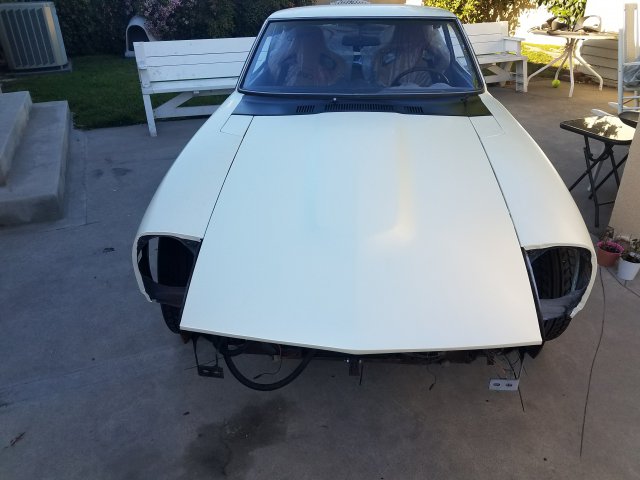
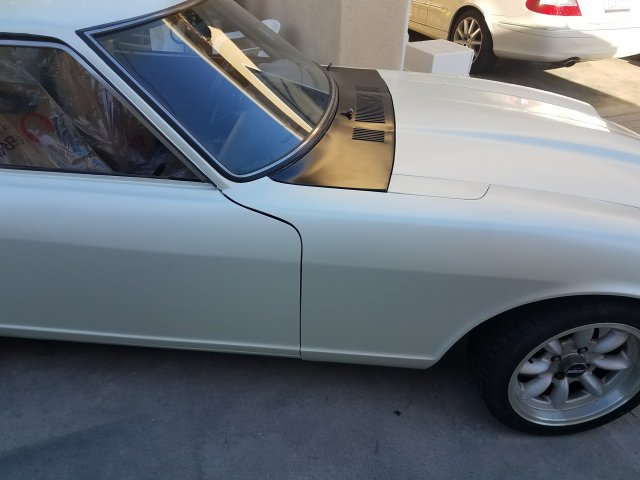
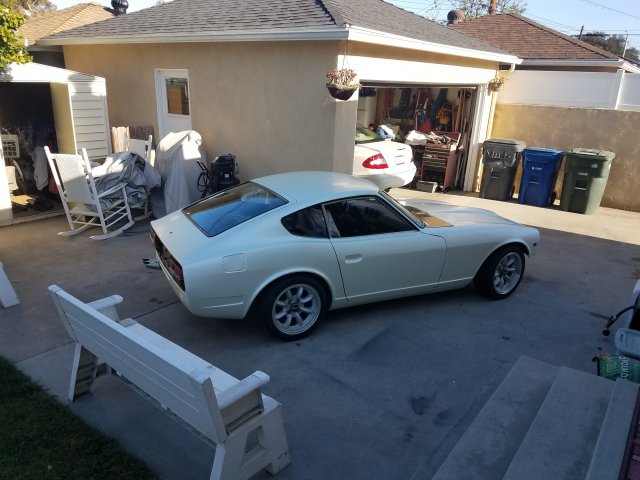
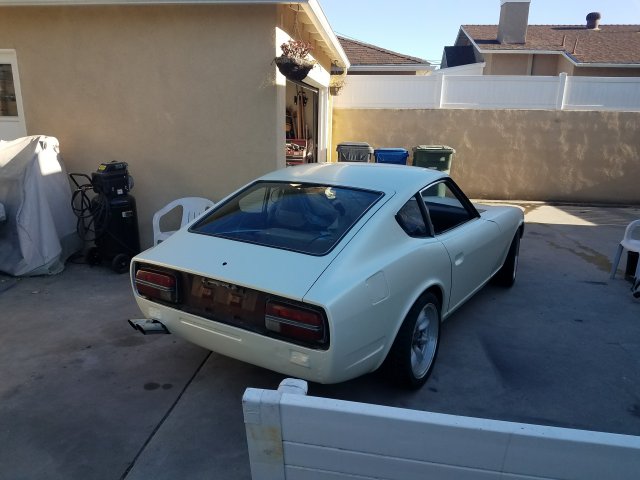
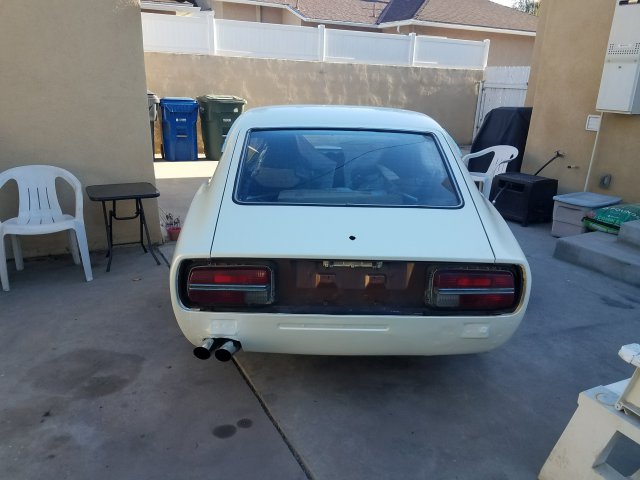
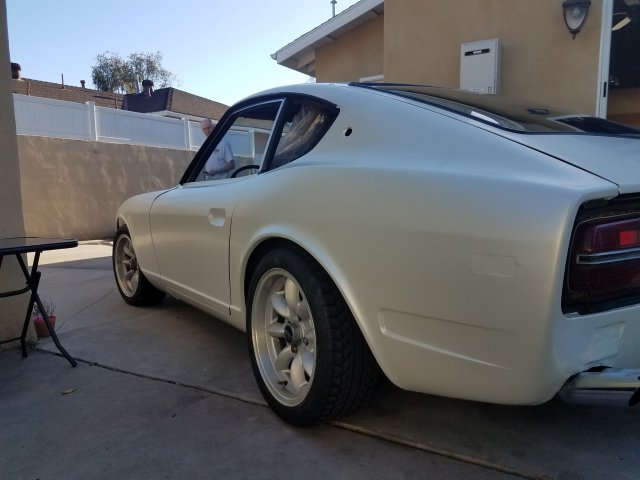
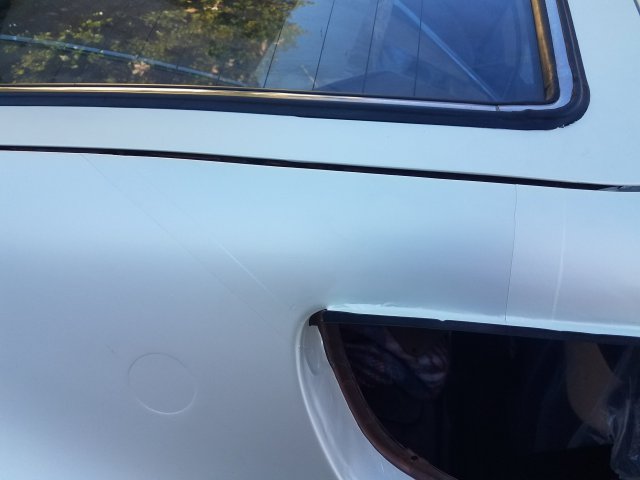
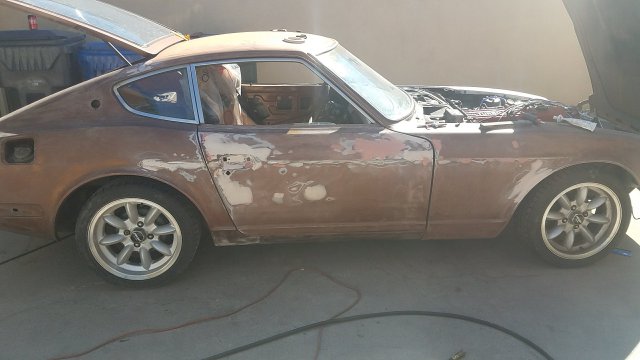
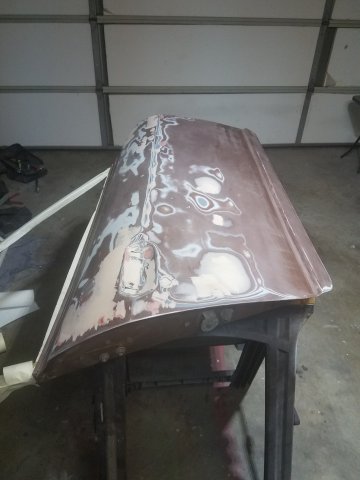
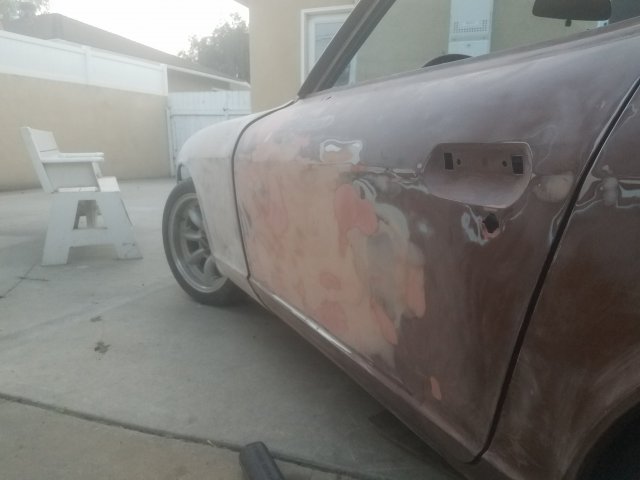
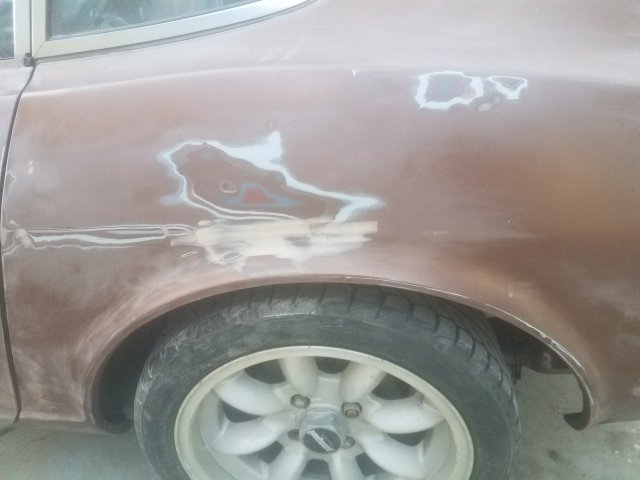
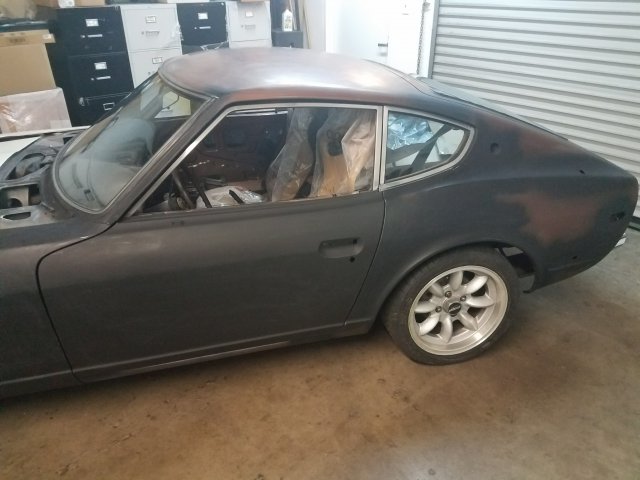
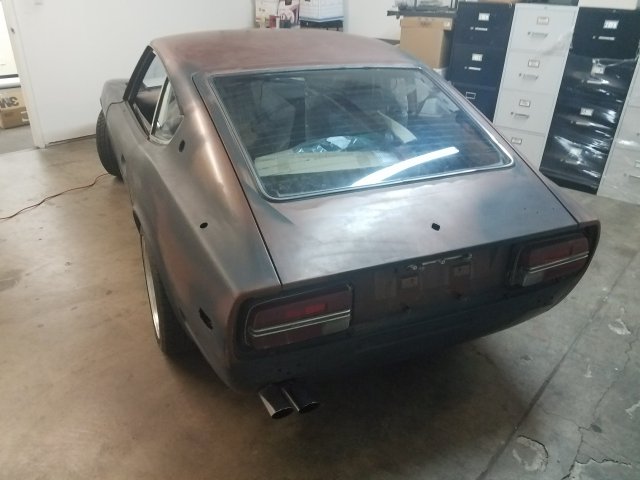
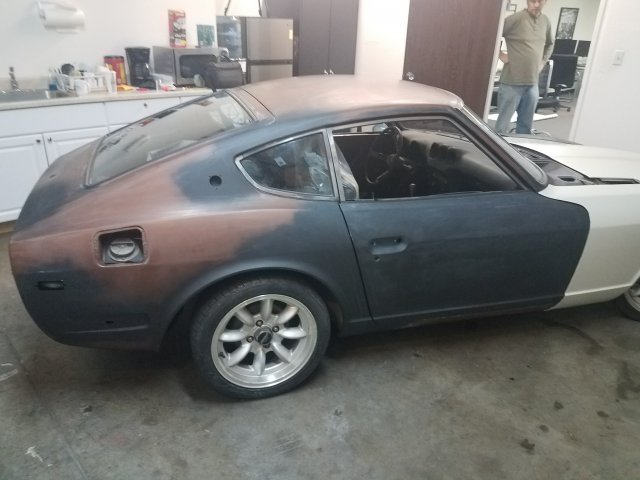
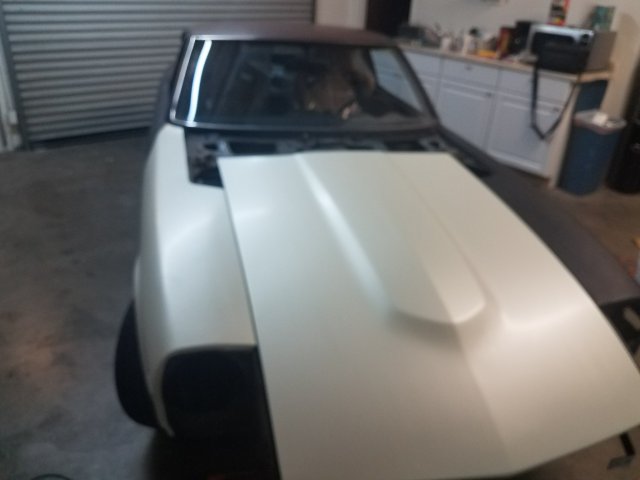
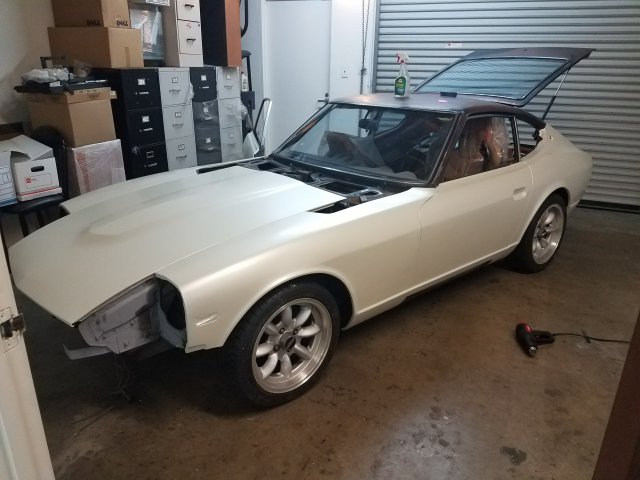
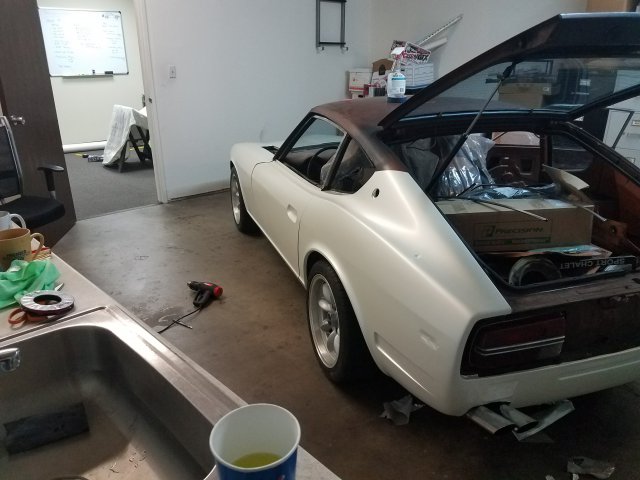
Hey Guys, I have been trying to figure out what I wanted to do for color uniformity on my datsun. I really wanted to get the car sand blasted and do a complete overhaul, but after swapping a l28et in the car, building and installing the megasquirt, and all the other tid bits... I was way over budget to say the least. To be cost effective I decided to do a vinyl wrap. 3m vinyl to do the whole car was only 500 bucks! The car itself was in no shape for vinyl. It had chips, dings, rust, you name it. I had to do all the body work to straighten it out. Here is some before pictures. The paint had to be sanded or removed to metal and bondo was applied. First time ever really doing body work and it looked OKAY. I did have a professional come and do the final things to the driver's side fender and door. Lots of chipping paint that needed to be sanded. After things were sanded and looked pretty good, spray can primer was sprayed on the trouble spots, then sanded, then black rustoleum, then sanded. Finally I wet sanded the car with 1000 grit and made sure all surfaces were smooth. Then the fun began. Vinyl took around 20 hours to finish in a weekend. This did not include the headlight buckets, turn signals, or cowling which I am still trying to figure out. The car being unibody caused issue. The rear bumper section is 1 piece which is then overlapped 1 inch by the quarter panel which is then overlapped by the roof. Knifeless tape was key to get smooth lines. The hood is harder then it looks because of the round center bubble. Really have to stretch and pull to get in on right. Also getting the vinyl to stick properly on the back required cleaning all edges and even applying loctite super glue.... I know not the right way, could use primer 94, but actually works! Just don't get that near any exterior surfaces or you will leave marks on the laid vinyl. Fenders are one of the easiest. Tucking around the wheel arch was a little tough. Make sure to clean these back areas so that no dirt is in between were you want the vinyl to stick on the inside. This is were I started to notice that my rusto paint would start to peel if we kept taking off and re-applying the vinyl. There are spots were you can see this for sure, but oh well.... it cost 500 dollars. Also you would get specs of shit for the same reason, small pieces of paint peeling up. Moral of the story. Only works on really good paint or paint that is strong against the body. Should have spent more time in that regard. Rear bumper area was pretty easy just a flat piece. The quarter panels were the most difficult. Trying to get around the rain gutter was a challenge. We accidentally cut the vinyl and had to pivot to a new plan regarding the roof. Paint was peeling up if we removed it so we went with what we got. If we were to peel it off... I would have to sand the whole quarter panel over again. Made it work, just needed to add an intermittent piece between the quarter panel and roof. Getting around the back taillight area was a little hard as you really need to stretch it. I assumed the inner edge would mostly be hidden by the taillight panel, but more is exposed then I thought. Might try to adjust this better. Roof and hatch were also pretty difficult. If you have old shitty gaskets around the glass. CHANGE THEM. Tucking underneath that shit would have been way harder than it already was. I got new rubber were needed and it was way worth it. If you mess up on a part like that... there goes 70 bucks in vinyl to redo it. Tucking worked best with knifeless tape in my opinion. Don't forget the sides of the windshield... I used a small inlay for that. Also the bottom area below the door is an inlay. Here is the vinyl result.... get it... vinyl result Might keep the windshield wiper area black... its scary when you see all the spots were it needs to be cut! Here is a picture of how we did the inlays from quarter panel to roof. It turned out pretty damn good if I say so myself. I have learned a lot about this process as I went because there is not too much info about unibody cars. I would say that this is a pretty difficult job and very tedious. Details are important, missing a cut or making a mistake can make it look bad. We had mistakes, bumps, paint chips you name it, but the point of this was to get the car looking good for a couple years for cheap until I am ready to get the car painted. What I would suggest if you want to do this... - Make everything really smooth. - If painting, take your time and get it to stick well. Paint peeling and sticking to the vinyl was the biggest issue I experienced. - Have a friend. My dad worked the whole time with me.... I can't thank him enough. I did a trial hood before all this on my own and it took 2 times as long and looked way worse. - Plan out all the cuts before you apply. Thought I would share my experience. If you have any questions about it let me know. I hope to reassemble the car in the next 2 weeks.- 18 replies
-
- 2
-

-
- vinyl wrap
- wrap
-
(and 2 more)
Tagged with:
-
Guys i am trying to figure out the best way to glue the factory vinyl back on the strut towers. I know contact adhesive is what most people use. Is this really the easiest/best way to do it? With all of the different angles and cuts of the vinyl coverings, it seems like it won't be easy to do on the first shot. Most seem like they start from the top, with the vinyl inside-out, and work their way down. But is there an adhesive that can be used that won't bond on contact like the contact adhesive? Something that once the vinyl is in place, can be moved around a bit to make sure the vinyl is where it needs to go exactly? Any help here would be appreciated. Getting this vinyl glued on is stopping me from finishing a lot of the trim work as it goes underneath quite a few pieces obviously. Thanks
- 2 replies
-
- vinyl
- strut tower
-
(and 2 more)
Tagged with:
