redneck1545
Members-
Posts
216 -
Joined
-
Last visited
-
Days Won
1
Content Type
Profiles
Forums
Blogs
Events
Gallery
Downloads
Store
Everything posted by redneck1545
-
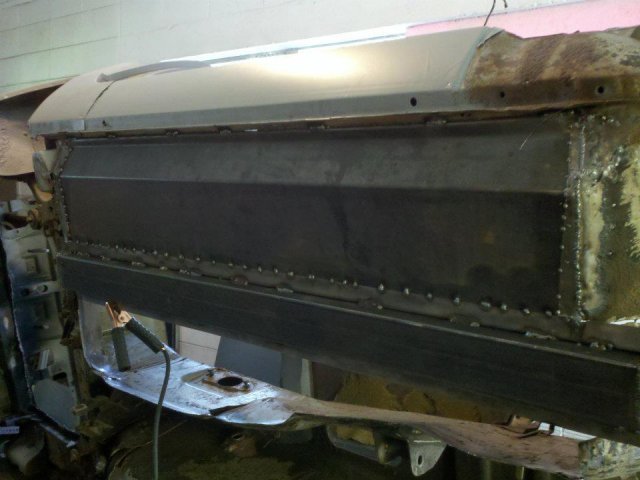
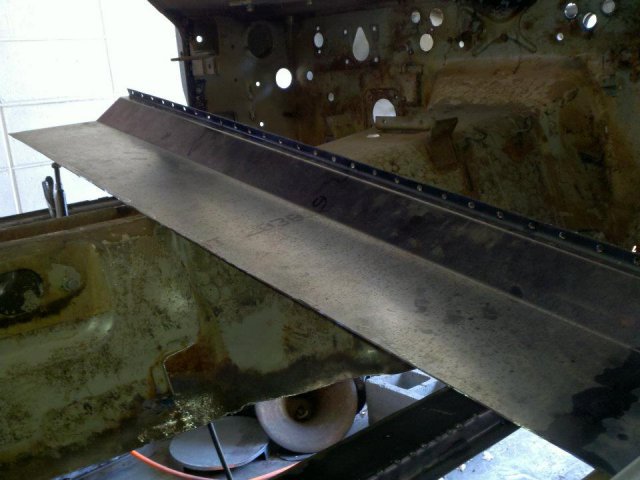
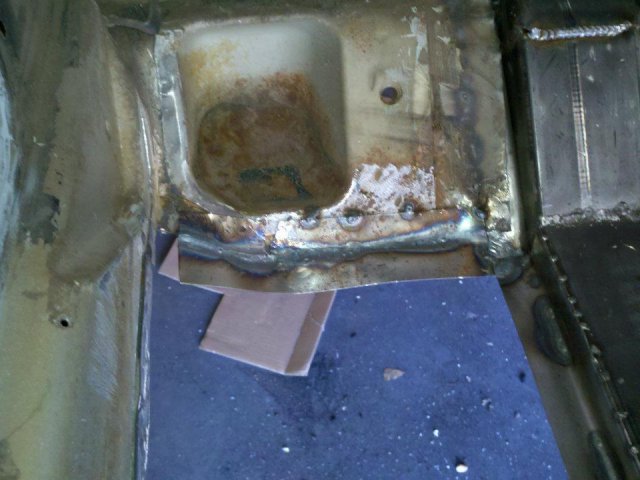
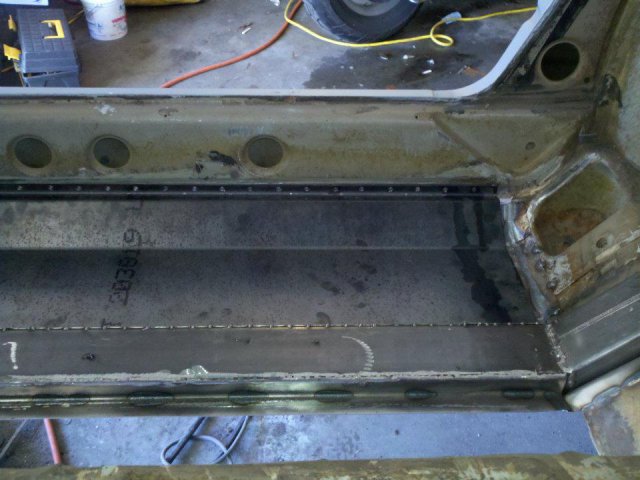
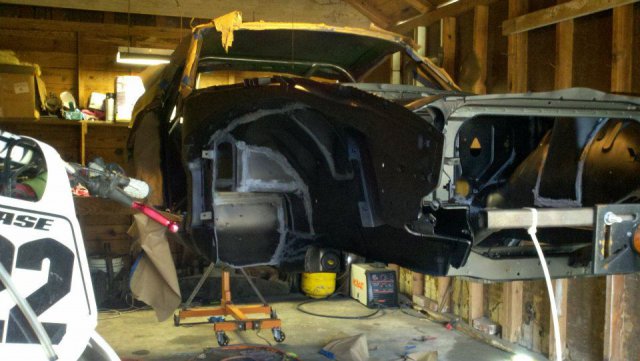
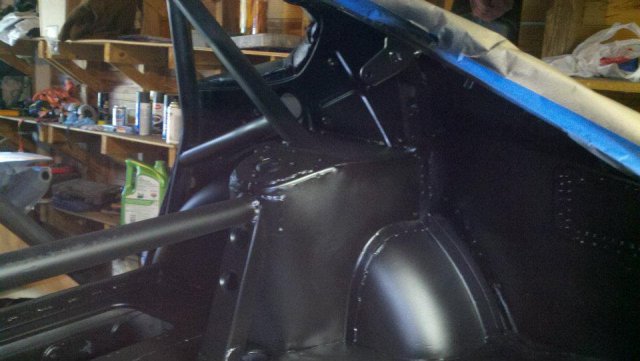
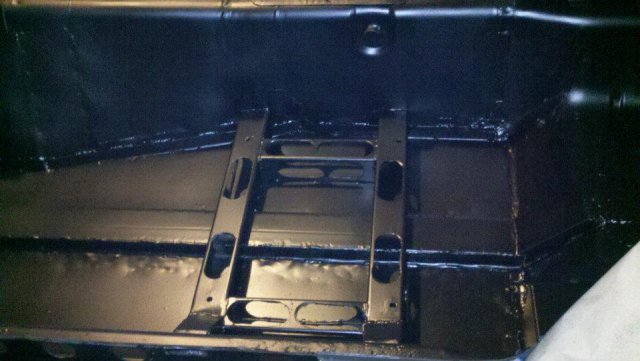
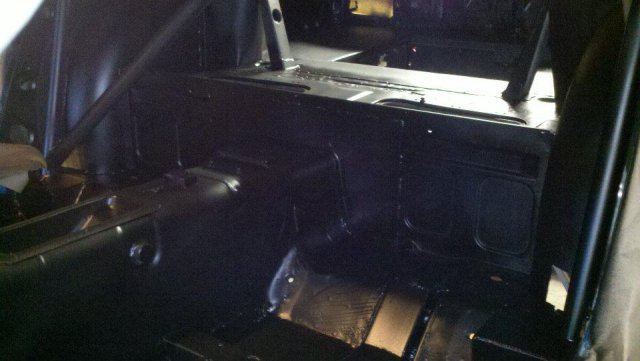
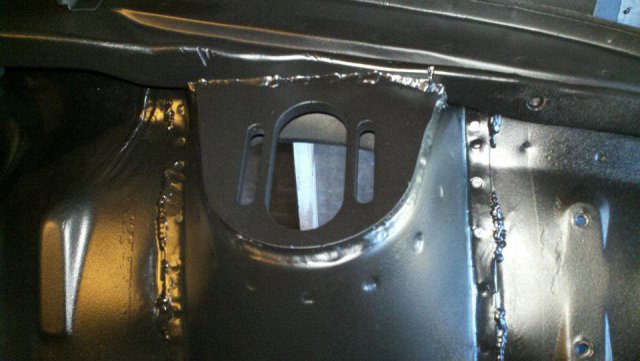
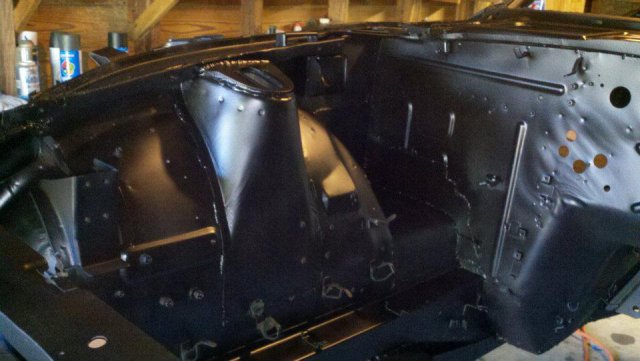
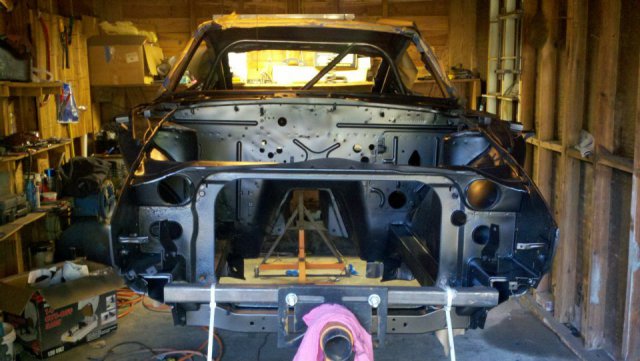
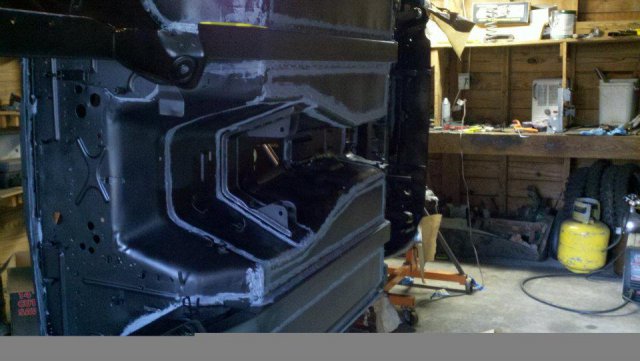
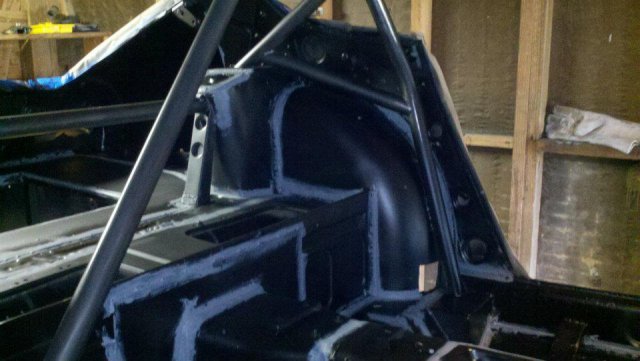
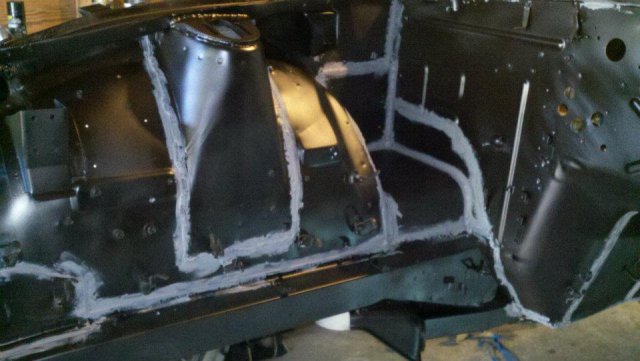
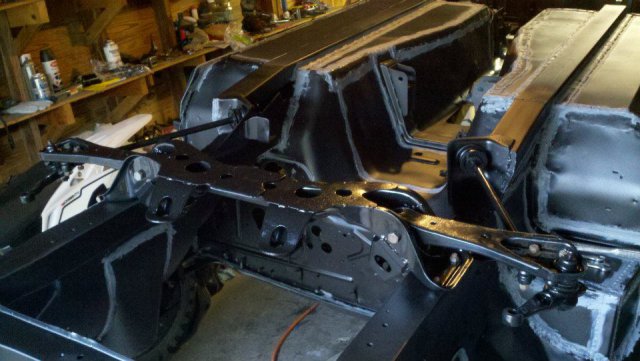
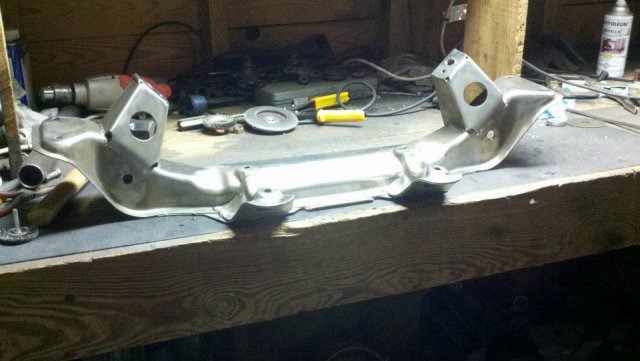
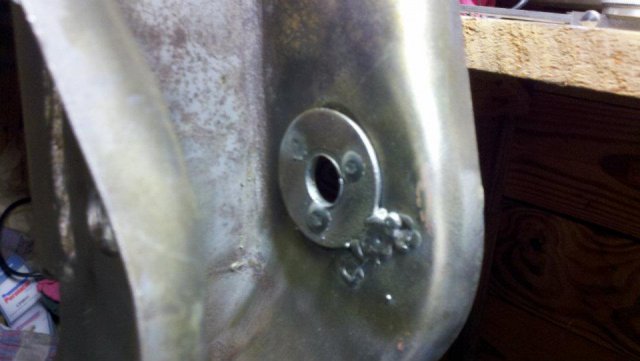
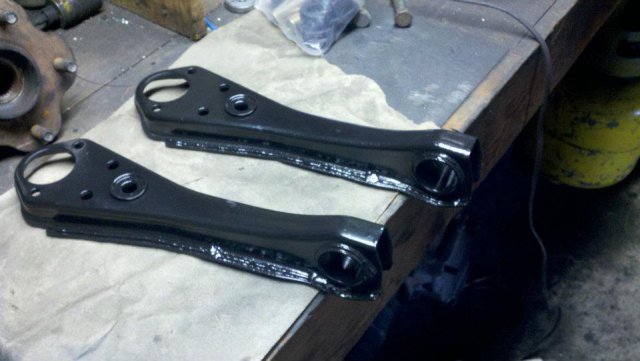
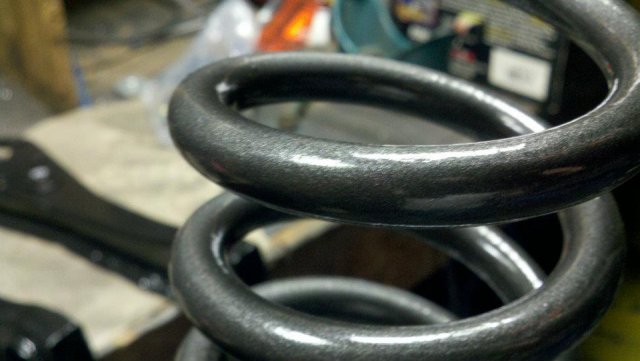
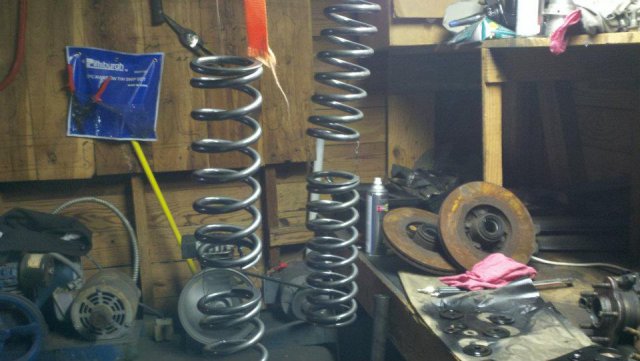
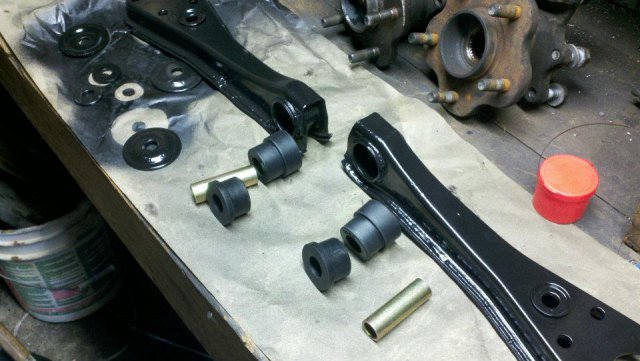
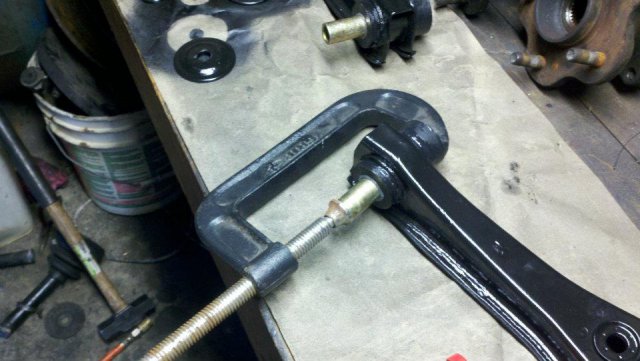
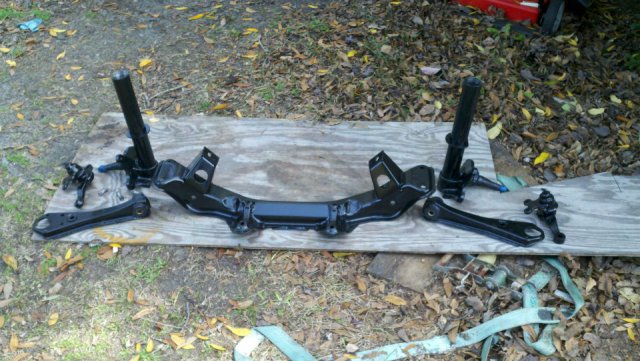
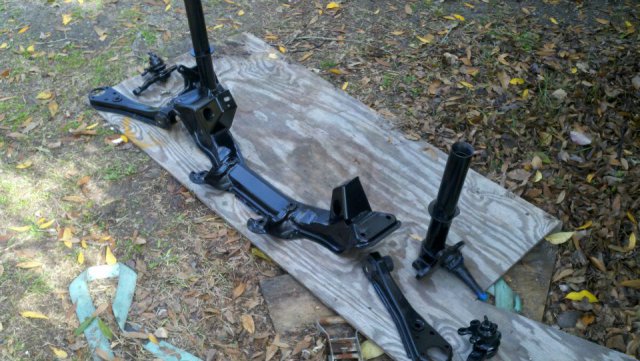
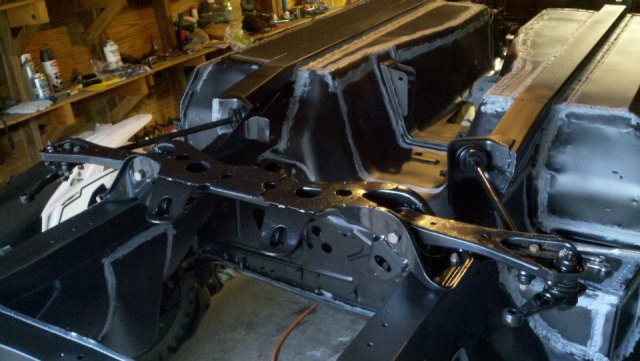
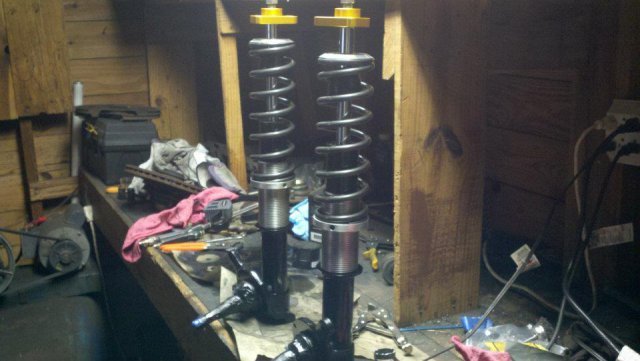
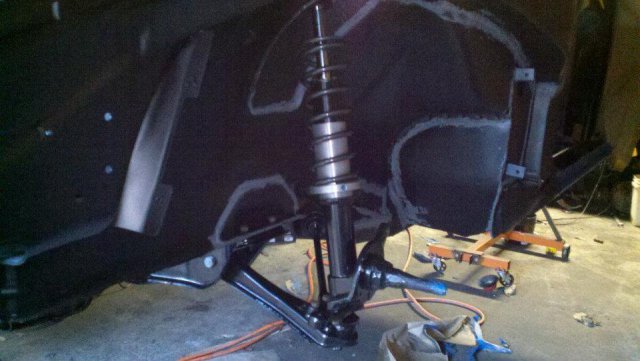
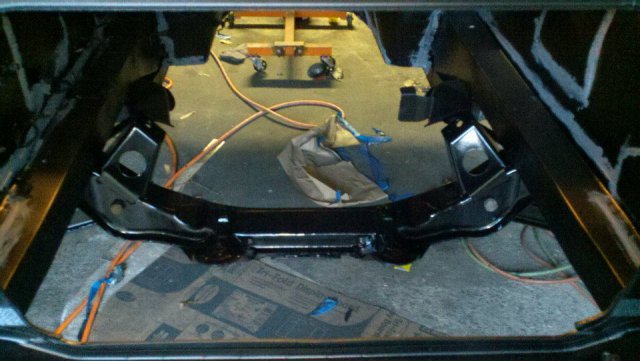
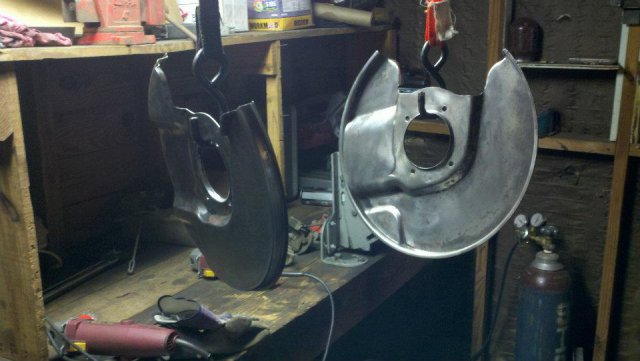
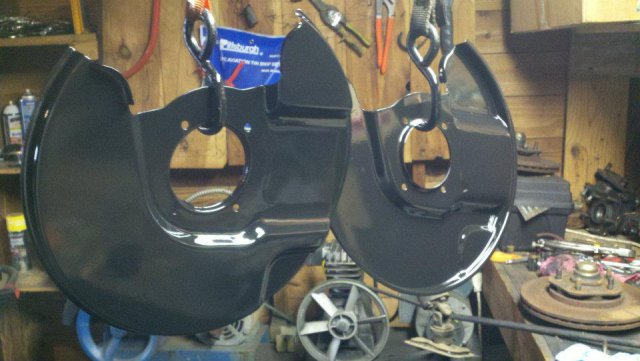
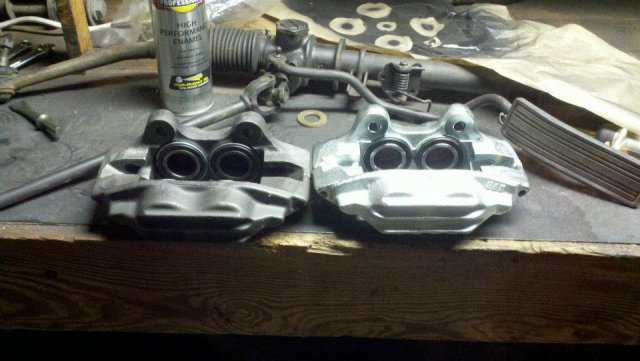
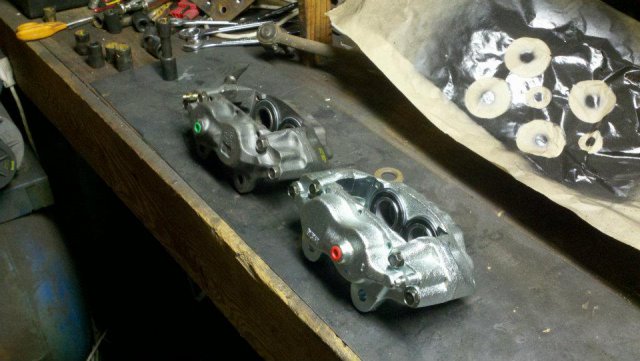
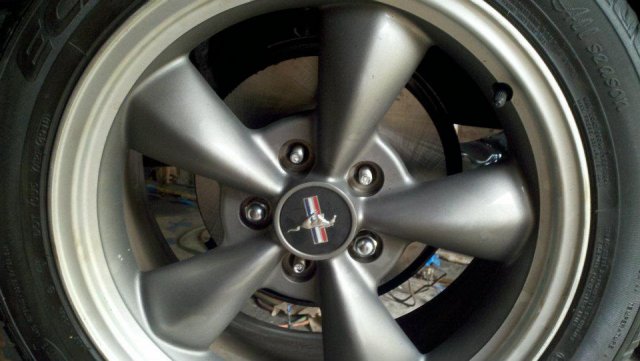
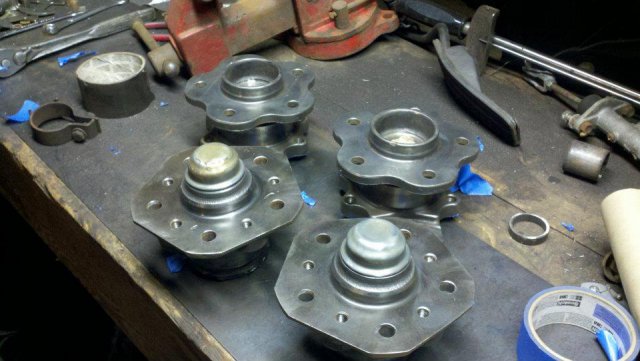
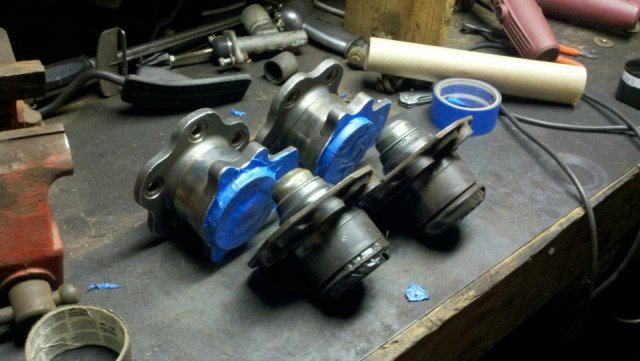
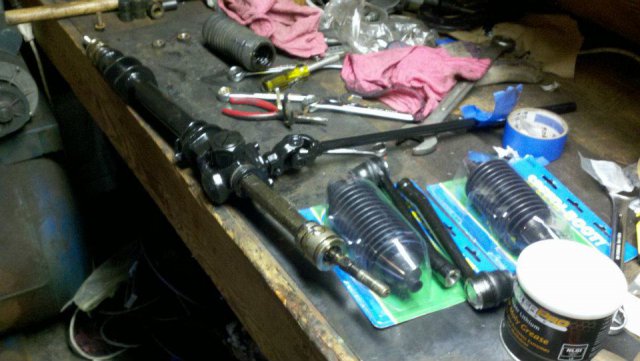
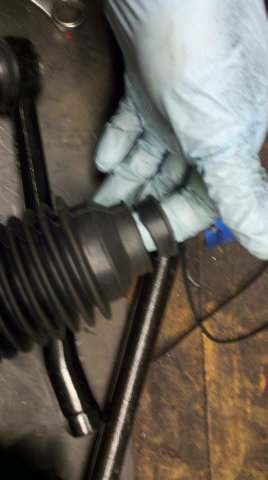
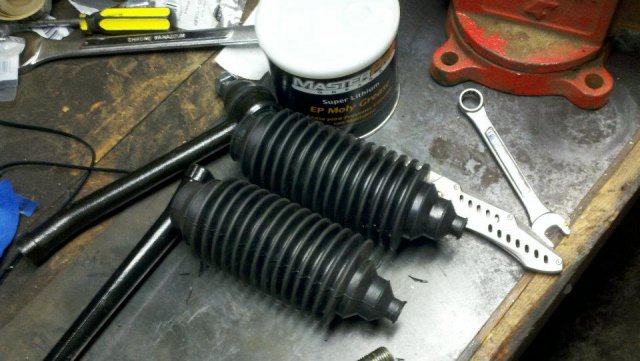
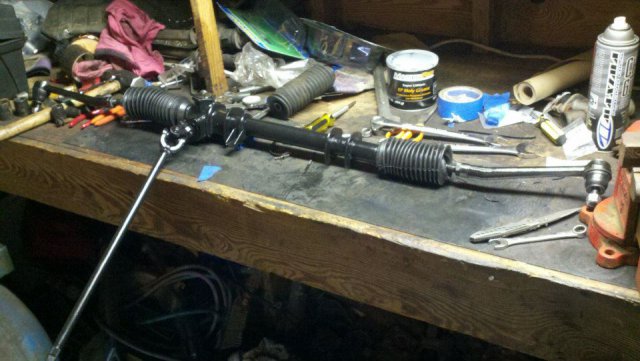
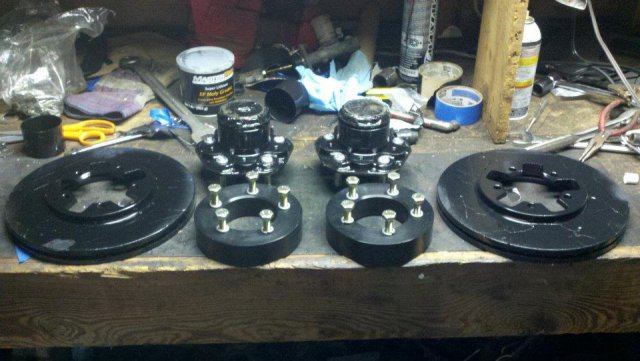
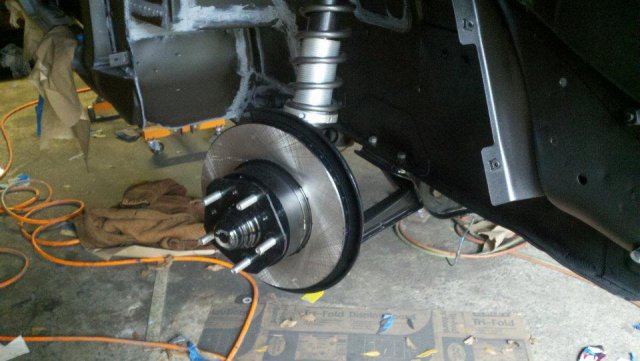
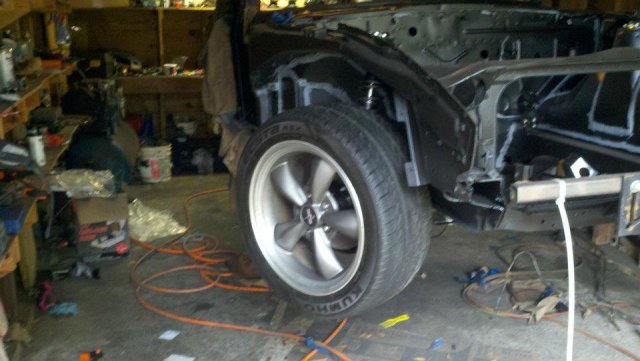
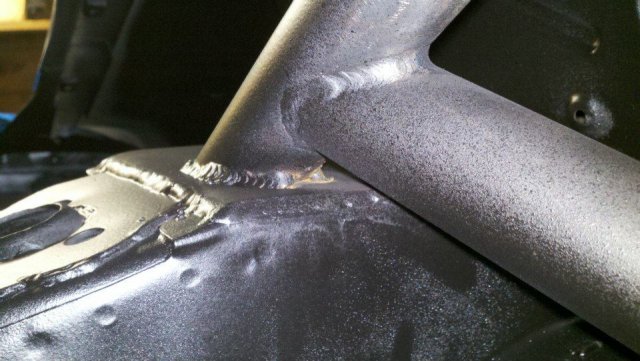
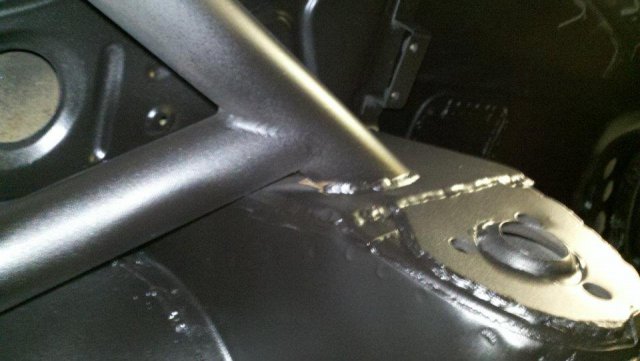
Update, Some old floor pans pics... Repainted and seam sealed... Suspension Stuff, stripped, painted and installed...I did relocate the LCA pivot point up by about 3/4" I think and slotted the engine mount holes in the crossmember. All suspension components have hyperflex energy bushings installed as well. And now the brake stuff...Typical 4x4 S12W vented rotors with z31 hubs up front and Q45 hubs in the back. Honda odysee Studs up front and ARP studs in the rear. (can give part numbers if needed) The front z31 hubs have the same inner and outer bearings as the s30 but they do use the dust seal from the z31 hub. Just slap the hub up there and run it on the spindle with the nut, dont bother trying to "hand" fit the hub to the spindle as it will take more effort. I will be running a 1" wilwood master cylinder with a rear proportioning valve. I'm changing all my lines over to 3/8-24 threads as its easier to connect to the wilwood stuff instead of having a monstrosity of metric adapters. Also rebuilt the Steering rack with some speedi boots from advanced auto parts. They are universal botos and have to be cut to fit but they work great. I used generalpurpose lithium grease on all the rack componets. Question about the cage though. My welds dont encompass the entire tube at the mounting plate ebcause of the angle required. It's REALLY hard to get a MIG torch head in there. Im considering getting it TIG'd in that location before I paint it. Could I leave it alone and spray some paint on it or should I be worried about the weld not going all the way around the tube? The joints on the cage were all Tig welded except for the mounting plates to the car and the bar to the plate joints. Any help would be appreciated. Comments are welcome!
-
http://forums.hybridz.org/index.php/topic/65455-fuel-cell-fuel-plumbing-install-w-pics/page__p__613247__hl__%2Bfuel+%2Bcell+%2Bplumbing__fromsearch__1?do=findComment&comment=613247 I copied his design and used a 15gal cell so my dimensions are a little different. I REALLY need to upload some pics to reflect the status of my current build. I haven't updated anything on here in a LONG while. The only thing I changed was I welded my nuts inside the 1x1 down legs instead of doing like he did and have the bolts welded in them with threads sticking out the bottom. My bolts run up into the down leg itself and all you see when its all bolted up are the bolt heads. I also ran a thicker sheet to cover everything up with too. He used 22ga I believe whereas I used 20ga. This is the best fuel cell design I've run across which is why I copied it. There's alot to consider when doing this though. Everything he did was well thought out. The support bars running horizontally prevent any excessive frame damage should a rear end incident occur. I'll update my old thread sometime soon and post it here if I can remember.
-
Is this a good welder at a decent price?
redneck1545 replied to ORANGEV8Z's topic in Fabrication / Welding
Get a hobart 140 or a lincoln/miller 135. You'll spend a little more but it will be worth it in the long run. As John stated, this technology has come a loooooong way. -
lol that would be important wouldn't it...haha 74 early model s30 260z
-
My project has finally hit the day where its long awaited return to the road is approaching. I find myself in need of a few fasteners and other various hardware components. I currently need a set of caliper-strut housing bolts ASAP. I also need the brake line straps that go on the undercarriage as well as the rear sway bar bushing straps. I'll add to this topic as I realize what else is missing from my bags later on. Please PM me with available parts!
-
In all honesty if thats a "BAD" spot to you, then you should really consider looking at some of the rust repair threads on here. No doubt you will find more areas like this but I'd be ECSTATIC if that spot or a few like those above was all I had to deal with. I had feet sized holes in my floors, battery tray completly rusted through, firewall rust, trunk hatch area rust, rear-end damage from previous collision and so on. To repair that section you could buy a sheet of 22ga steel and cut out a small piece and weld it on after you cut out the rusted area. clean it up with an 80 grit flap disc and wire wheel after your done and it will look like new. Lurk around in the metal fabrication area for a while and you'll get a good idea of what has been done to repair these cars and what the typical problem areas are.
-
Just like paying someone 800-1200 bucks for a head gasket....seems outta reach if you dont know what your doing, until you realize all there is to do is loosen and tighten bolts. Welding is like having sex...sometimes your good, sometimes your great, and sometimes you messed up so bad ya gotta start all over. But in either case, practice makes perfect! or darn close anyways
-
What did you do before you knew how to turn a wrench? I hadn't sprayed, welded, or fabricated anything of the sort until I stripped down my z. Half the fun in building the car is LEARNING HOW TO DO THOSE THINGS YOURSELF! Since I stripped my car I learned how to blast, strip, spray, weld, fabricate, and design metal so much so that i've built my own floor pans, seat mounts, roll cage, fuel cell cage, and the list goes on. Take classes if you need to but youtube and a little reading goes a long way. Learn how to do the things you can't do or afford to pay someone to do for you and tackle them yourself and in the end you'll end up with a much more satisfied result. Keep in mind don't tackle EVERYTHING that feels over your head...even I payed a professional to weld my cage for me after I notched all the tubing.
-
Removing Lower Diff crossmember with RT diff mount.
redneck1545 replied to SUNNY Z's topic in Drivetrain
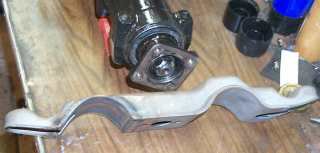
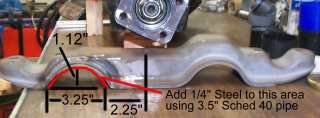
I would also Like this info. My setup will be a little different as I'm using the Techno Toy tuning front mount for a shortnose r-200. I was looking at pete's site and saw where he cut a section out of the diff mount to make duals easier but if we can do away with the whole thing except for the control arm mounts anyways then I dont wanna bother with cutting out a "notch" like pete did. -
Recommendations on an inexpensive welder
redneck1545 replied to Dershum's topic in Fabrication / Welding
I have the hobart handler 140 and have no regrets. Think I paid 450.00 for it on sale. It has given me no problems. Yes, it has its limitations but is excellent for body and sheet metal work. I've made everything from 20ga repair panels to 3/8" thick mounts for my rotisserie. I have little experience welding so this machine was a good match for price and needs. Keep in mind a good welder will help a new welder learn quickly with little issues. A cheap welder usually causes problems and will lead an inexperienced welder down a road of inevitable regret and usually leave them paying a professional to do the job because they think they cant learn to weld. Dont chase or create problems by buying a cheap welder. Invest in good equipment and do the job right the first time. Even with a budget in mind,I'd recommend setting aside about 500-800 bucks for a welder and all the equipment needed. ie; welding gloves, wire, gas, helmet. I think i've got about 600 in my whole setup and thats only because I had my own gas tank already. Don't get anything smaller than a 40cu ft tank by the way. My tank runs out before a 2lb spool of wire does and trips to welding shop for refills gets old fast. Best of luck to ya and your decision. -
I was commenting on your post above saying "delete" it was intended to be a joke...har har har
-
Coil-over install - sectioned struts
redneck1545 replied to redneck1545's topic in Brakes, Wheels, Suspension and Chassis
I pieced together my own kit. I just dont like to buy something in a kit just because all the leg work has been done before by someone else and they are selling a "kit" to ease the install. All of these parts can be bought for cheaper off of racing websites and they are all made out of the same material. You have a much higher freedom of choices with piecing together something on your own such as choosing spring lengths/rates, sleeve lengths and anodizing color, and the best part is its CHEAPER! I have about 450.00 in my setup because I bought second hand struts, springs, and sleeves with brand new top hats and camber plates from techno toy tuning. The GC "kit" only includes springs, sleeves, and perches. I only have about 150.00 wrapped up in those parts. The ride and handling will be the same as anyone else with that particular spring rate setup 250/225 lbs with tokico HP struts. -
Coil-over install - sectioned struts
redneck1545 replied to redneck1545's topic in Brakes, Wheels, Suspension and Chassis
No opinions? O, Johnc where art thou??? -
Dang man...Is this thread that bad??? I mean I know I haven't updated in a while but really...the tool shed??? after all my hard work??? lol
-
Coil-over install - sectioned struts
redneck1545 replied to redneck1545's topic in Brakes, Wheels, Suspension and Chassis
I'm almost finished with my coil-over install. I have stripped and painted all of the front suspension parts and springs. I ran into one more question and hopefully Johnc can chime in here and give some input. When I measured the length to cut out of the strut I used the old gland nut on the upper strut tube housing. The nissan glad nut is longer in depth as well as has more threads than the one Tokico provides. With the addition of a 1/8" thick washer at the bottom of the strut tube I can get the needed "crush" on the strut within the housing when the nissan gland nut is torqued down properly. The Tokico gland nut does not screw in as far and is not as long as the nissan one I used to measure. When I screw in the tokico gland nut the strut has about 3/8" of play before its seated in the top of the gland nut. The tokico gland nut has a recessed grove that fits fairly tight to the circumfrenece of the tokico strut and prevents any wobble on the top side of the strut once it is torqued down. In hindsight I could have cut off about an additional 1/4" ish of the top of the strut tube housing and taken up this extra slack If I would have used the supplied tokico gland nut to do my measure ments with. But now that the tubes are already welded and painted I've settled on simply adding a spacer at the bottom of the strut housing to take up the slack. My question is in regards to which gland nut to use. Would it be better to use the old nissan nut and my 1/8" washer I had planned on in the beggining, or would it be wise to use the tokico supplied nut with the proper grove for the strut itself and fab up a larger washer and have the assurance the strut will not wobble in the housing? The strut will sit about 3/8" higher in the housing if I built a spacer for the bottom of the strut and use the tokico nut. -
I really wouldn't worry about getting all that stuff out with a torch and scrapper. I hit the "teardown itis" bug a long long time ago too but stopped after I blasted the chassis and removed all seemingly appropriate seam sealer. The reasoning behind not wanting to remove ALL the sealer as you are doing now is that your not going to have any way to fill that area back in when your done. There will be exposed metal between the layers of crimped sheet metal that will start to rust over time no matter how much sealer you coat the top of the actual seam with. I would follow johns advice and try a different welding technique to get the desired outcome. I followed the same procedure as outlined above and my welds penetrated the seam without contamination. As far at the 1"-1" bead/gap ratio I would lean more towards the 1"-2" bead/gap ratio due to the cost of welding material and gases and amount of work for a given result. Stitch welding all the seams is alot of work as it is, no need in making it take longer or cost more than it has to. Your not going to get the chassis THAT much stiffer by adding a bead ever other inch. Lay a stich about an 1" long with a 2" gap between the stitches and that will be plenty. Trust me, your going to be systematically stitching every seam you see and when your admiring your work and thinking your done there pops up another seam that needs to be welded. Its a ton of work, adding a bead every other inch is only going to make the job last longer and cost more in the end. Let us know how it turns out!
-
Found this site for you. Scroll down and play the flash video. I shows you what you should likely do in this scenario. Although I would do as john suggested and speed up the process. The video shown is the type of "bead" you should use but the welder settings are a little low for what you need to do. I just turned up the heat a bit and added a little more wire and started knockin out beads fairly quick. Just dont forget about the duty cycles on lower end machines. http://www.mig-weldi.../thin-metal.htm
-
^^ i second that. I stitch welded all my seams with about a 1" "tacked" bead every other inch and I never really got any contamination. I did pretty much what john said. Found out what seam I wanted to stitch weld. Added a tack at the beggining of where I wanted to start the stich weld and then another tack at where I wanted to end the stitch. Skip two inches and start the process all over again. When I was done "tacking" I went back with a wire wheel just for a final quick clean-up before I added the stitched bead. I was using .023 wire as well with a higher than normal heat and slightly higher feed speed settings.
-
I blasted mine with coal slag and didn't have any problems except for the wheel well archs in the passenger compartment. I scrapped all of the sealer off that I could get to before I blasted though.
-
Here's my roll bar I did a while back, I took all of 74_5.0_l's measurements on the main hoop except I used 1.5" .095 wall DOM tubing for it. I changed the location of the rear stays for a cleaner look IMHO. http://forums.hybridz.org/index.php/topic/101790-roll-cage/
-
LOL your fabrication skills are far better than mine if you can throw something like that together in a week. He did go through the firewall but he had a horizontal bar running just up under the top of the firewall and two vertical bars in each of the corners. He tied his door bars into this. My only suggestion would be to run a continuous front hoop with bends at the corners instead of running the vertical bars to a horizontal bar like he did. He has his front "hoop" in the engine compartment. Most of the others on here run theres inside the passenger compartment. I can see the justification for placing the hoop in the engine bay with a tube front end though. Shorter bars to tie into the tubed front end pieces means less leverage and stress on the joints. Maybe someone with alot more knowledge than I can chime in. Its kinda hard to see in his pics but take another look at the front frame connection photos where it lists all the sizes and you'll see what im talking about.
-
^ same, I found that welding through paint, is well...welding through paint. The hot arc typically burns through any paint and splatters pretty bad. I just painted the surface with Zero-rust and when I needed to weld something in an area I already painted I hit it with a wire wheel to expose bare metal and sprayed it with paint after I welded and it cooled.
-
I pretty much copied his cage design with a few changes to the rear mounts behind the main hoop. I plan to add a low front hoop under the dash at some point and then penetrate through the firewall to the strut towers and such up front. I didn't want to add a halo or a-pillar bars as mine is a street car. He has a pretty rock solid tubed front end IMHO and it would be a good basis to modify to fit your own needs. I won't be tubing, unless I suffer from a similar accident as he did
-
Not a problem. He outlined alot of the measurements and tube sizes in his pics too so that should make things alot easier for ya.
-
Following a front end accident 74_5.0L_Z tubed the entire front end. Firewall forward, all tube. Check out his gallery and you will be able to see what he did.
