-
Posts
583 -
Joined
-
Last visited
-
Days Won
3
Content Type
Profiles
Forums
Blogs
Events
Gallery
Downloads
Store
Everything posted by tamo3
-
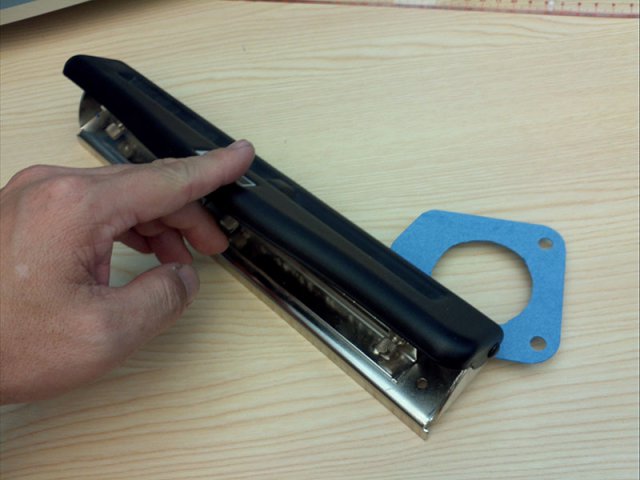
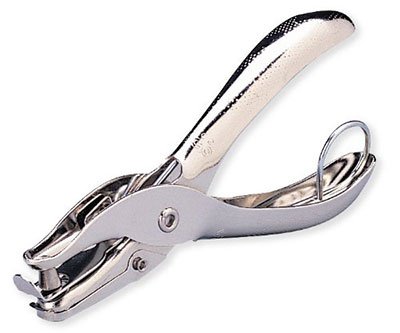
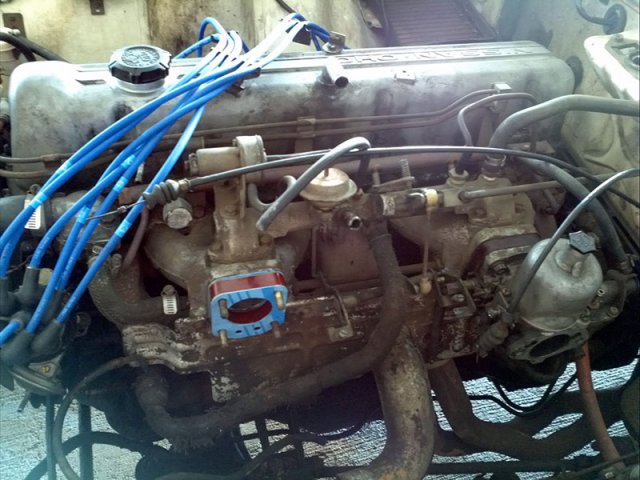
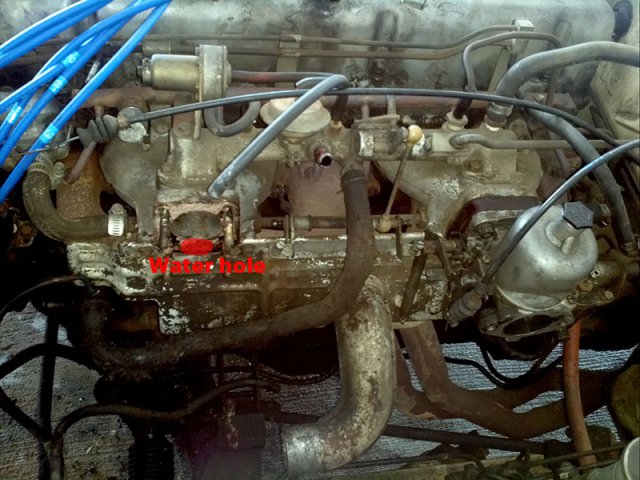
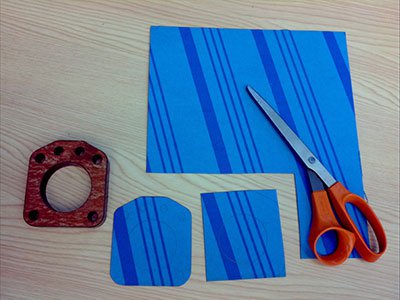
This is the 1st time making own gasket. Cutting gasket paper is no problem, but making holes is a bit difficult. I used paper punch to make holes. After several punch, I can make decent size of hole. I wish I have single paper punch hole tool. Regular size paper punch cannot make holes for the water holes. 1st time try, fitting was good. Clean up air intake manifold surface with break cleaner and put Permatex Form-A-Gasket Sealant between gaskets. After installed front(left) side SU carb, I forgot to install linkage appropriately. I don't want to remove SU to destory newly installed gaskets. I decided to remove rear(right) side SU and make new gaskets for it.
-
Thanks emeraldlion for encouragement!
-
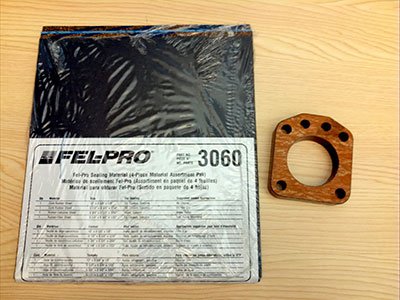
I find out issue. Right (rear) SU carb spits out. When I check air flow, front is OK, but rear carb is too much. There is a hole at front gasket / insulator that messed up air intake balance. I try to tune up as this condition, but I gave up. When I remove the front SU carb, hot water splash around! I did not know my 3 screw SU carb has cooling water circulating. I order SU carb rebuild kit at ZTherapy. While waiting, I'm making gaskets as the first aid. I purchased assorted gasket material set(FEL-PRO 3060 $10.09) at O'Reilly Auto Parts store.
-
Bad news, engine will stop if RPM is low. I think it's carb setting. I need to search more for this trouble shooting.... When I check fuel filter, it looks like fuel can be seen only 1/3 level. Is it normal? Shouldn't it filled full?
-
Good news! I narrow down one of the problem. Unplug one of spark plug wire and put spare plug on it. Connect jump cable from Battery negative to this plug to try to start engine. I did not get spark. It was bad rotor in the distributor. After replacing rotor in the distributor, I got spark lightning. I put it back and spray starting fluid, engine get started!!
-
I plugged wire correctly.
-
Engines still not start. I sprayed "Starting Fluid" to the carb, but still not start.
-
My car does crank, but not starting engine. I will try this later...
-
Thanks emeraldlion for warm welcome. I try to post my progress with keep my motivation high too
-
Thanks Leon. Sure, I love to attend meeting sometime. Unfortunately, my 240z stop running from last week... Try to find out what's wrong with my engine. It was hard to start engine during winter. I though due to the cold weather. I thought something wrong with electric. I was told not to use used parts for electric staff from junkyard. So, I purchased new parts and installed. Changed to new Spark plug to BPR6ES-11. Changed to new Spark plug wire NGK NE61. Changed to rebuild distributor from dual point to single point. Install Pertronix Ignitor 1761. Changed coil to Blaster 2. Battery kept charging with Harbor freight battery charger. http://www.harborfreight.com/automatic-battery-float-charger-42292.html Still not running. Following trouble shooting thread now... to figure out the issue. http://forums.hybridz.org/index.php/topic/56488-engine-wont-startrun-beginners-read-this/
-
I saw limited edition of Lamborghini Gallardo LP-540-4 Bianco Rosso. It build only 10 car for Japan. I usually don't like white car, but I like white 240z. Red and white combination is really nice. I may think about painting same theme with this one.
-
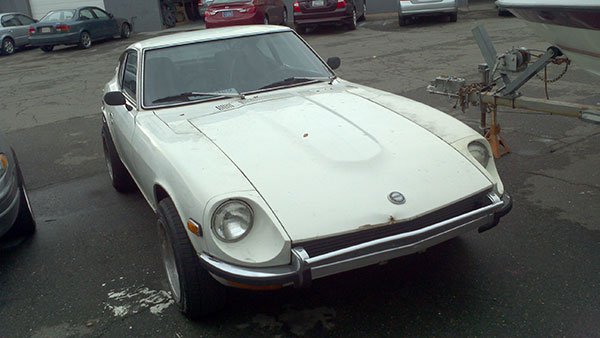
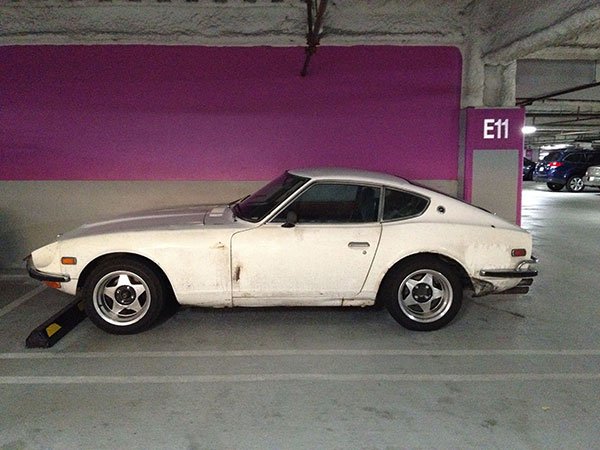
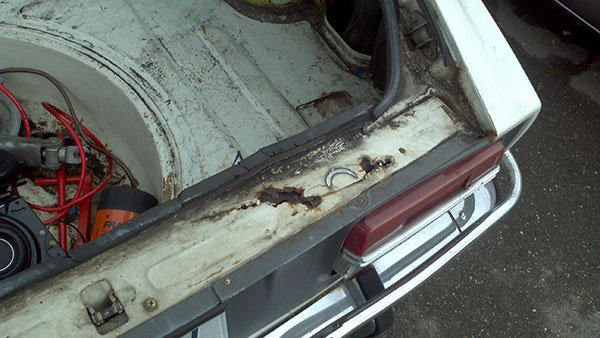
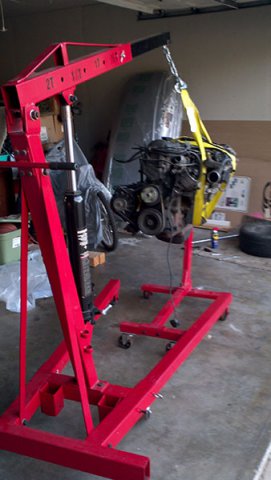
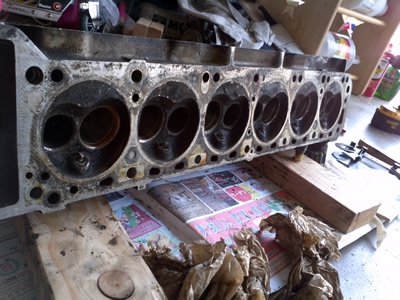
Here is my 240z '72 Project. I'm not a mechanic, I'm just beginner. Never, rebuild an engine, never modified a car before. Just start learning about car recently. I'm native Japanese and has access to read Japanese restore old car magazine to study what common technique. However, this forum is one of the best resource to study with skillful community. I really appreciate advice and feedback from this community. Goal: Restore OK body condition 240z for daily driving street usage. I have no plan to drag race, but interested in drive at circuit. However, I want to tune Engine to N42 3.1 with P90 head ported. Would like to get a bit over 200HP. Gather re-usable parts as much as possible from junkyard to build this car within the budget. Plans: Break upgrade. Front Toyota Caliper, Rear 280zx caliper. Diff upgrade. R200 with LSD. Engine swap. Swap in 280z engine. Auto to manual transmission conversion. Electronic upgrade- wiring, distributor, alternator. Interior need to fully upgrade. Exterior. front XENON Air dam, rear BRE spoiler. ZG carbon flare will be nice. Air Conditioner. Want to install A/C from 280z sometimes. Coil over conversion. Initial condition of the car. Got '72 240z Automatic fairly good body condition. Also, 280z engine (N47 head with N42) and P90 head. Try and error rebuilding engine at my garage on my spare time. Try to keep 240z as running condition until 280z engine is ready to swap. Driver's side floor has rust and hole. Passengers side is OK. Both fender has rust on usual spot. Driver's side of fender has big dent on it. Driver's side dog leg and rear flare hand dent on it. Rear hatch opening has really badly rusted hole. It could be 3 years long project to complete that what I want my 240z to be. Thanks for looking.
-
That's really nice Z. Is it pure white or Perl white? tamo3
-
Thanks Leon for the more clarification. I totally got it. I heard putting fuel pressure regulator after carbs will have better chance to avoid percolation than putting in front of carbs. This is same thing is what you mean about cooling fuel line. Once I got triple carbs, I will set up as Plan A. Thanks, tamo3.
-
Thanks for your information. jimmyjones000, Have you experience any lack of gas when you speed up 3rd gear or more with high Rev? What I heard that fuel line should run from front to back to have stable flow. Due to the gravity with speed, if the fuel line runs from back to front, sometimes fuel won't go through well. Leon, I agree. Plan A looks like most effective fuel line. However, I see a lots of Japanese people use Plan B. Josh280z I read several articles and blogs that fuel pressure regulator should always located after the carb. i don't know why. http://translate.google.com/translate?sl=ja&tl=en&js=n&prev=_t&hl=en&ie=UTF-8&layout=2&eotf=1&u=http%3A%2F%2Fwww6.airnet.ne.jp%2F~magic-as%2F20100702fuel-line%2Ffuel-tuning.html
-
It looks like Bre front spoiler
-
Thanks Miles for the detail of instruction and your photo. I really appreciate it! I can picture how I should put them together now really well. regards, tamo3
-
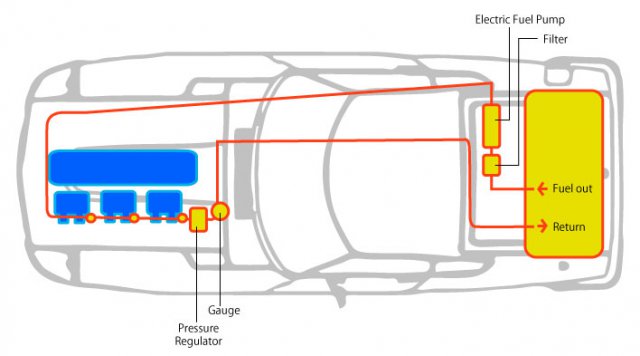
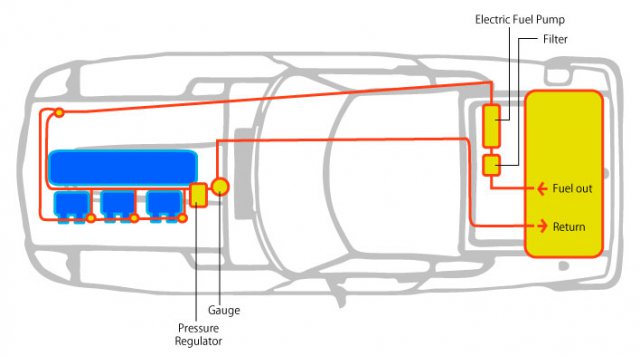
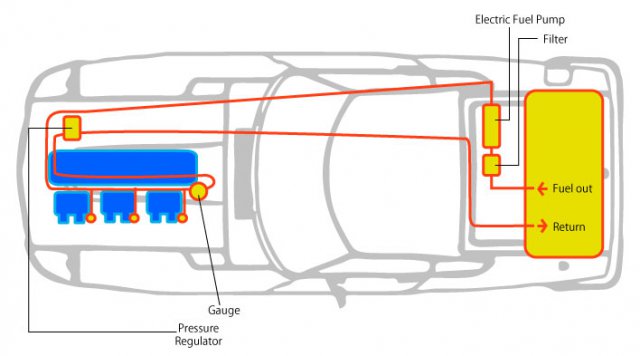
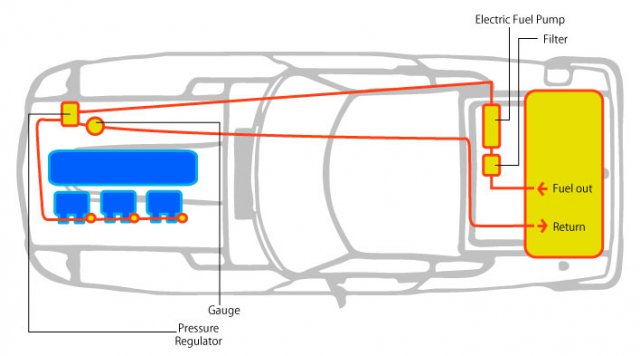
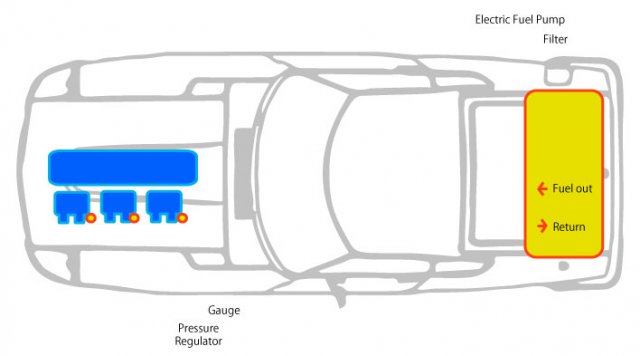
I would like to install triple Weber 45 DCOE carb in near future. When I research web how folks install fuel line, there are several way. I'd like to hear your best practice to install fuel line for the triple carb. Plan A Plan B Plan C Plan D I don't know whether Solex and Weber should be different for the fuel line layout. If you have your own setting, could you draw based on this template? Template Thanks, tamo3
-
Thanks Miles, BluDestiny. I did search, but I missed this one. I already got SummitRacing SUM-G1438 as a oil pressure cut off switch. I need to study where I should put it. Should I put it near fuel pump or near ignition key. I will look for Green/black wire on passenger side. tamo3
-
They are really famous. Look at 2000GT restoration. http://www.studiotimecapsule.com/restoration_of_twiggys_toyota_2000gt It's amazing!!
-
I would like to install Carter GP4070, electrical fuel pump to my '72 240z. I would like to put triple Weber 45 DCOE in near future. Does anyone have photo where the wire should go though? Also, where should I put wire come from? Do I need relay for this? If someone has wiring diagram, I really appropriate it. Thanks for your help in advance. tamo3
-
Here you go. http://www.xenonz31.com/vlsdInstall.html tamo3
-
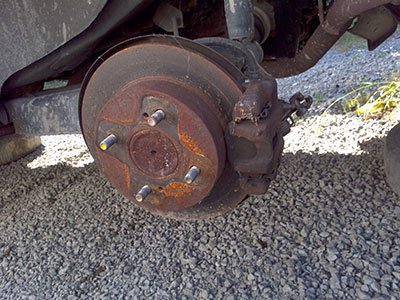
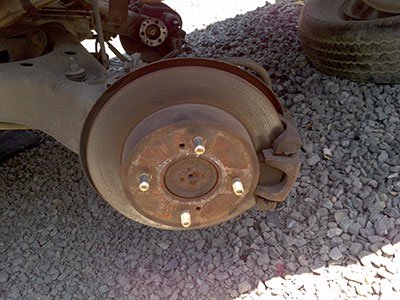
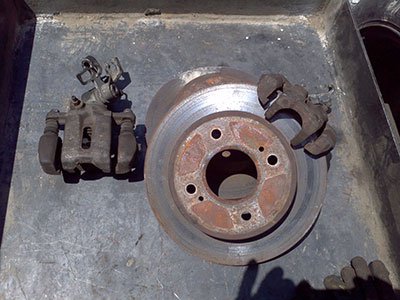
I have a chance to get to junkyard and grab Rear Break Bracket from '82 Maxia(810). It was really hard to get rid of rear axle stub. When I look at the rotor and caliper on Maxia, it looks similar to 280zx caliper and rotor. I wonder whether those are same thing or not. This is '82 Maxia This is '83 280zx A lot of people mentioned get Maxia bracket and get 280zx rotor & caliper. Don't we just need to get everything from Maxima? Just wonder... tamo3


