-
Posts
421 -
Joined
-
Last visited
-
Days Won
2
Content Type
Profiles
Forums
Blogs
Events
Gallery
Downloads
Store
Everything posted by yellowoctupus
-
Car sold about a month ago to a real enthusiastic local guy here in NH. I wish him the best of luck, and hope he enjoys it as much as I have over the years. Thanks to everyone who followed along on this long journey. Purchased 2007, sold 2024.
-
Fyi, if anyone's looking for a sweet, built Street z, mine is finally up for sale. I've had it long enough, and we are doing an overseas move next (wife is still in the Navy). Just PM me, the car is located in New Hampshire but can assist with transport if you need it shipped.
-
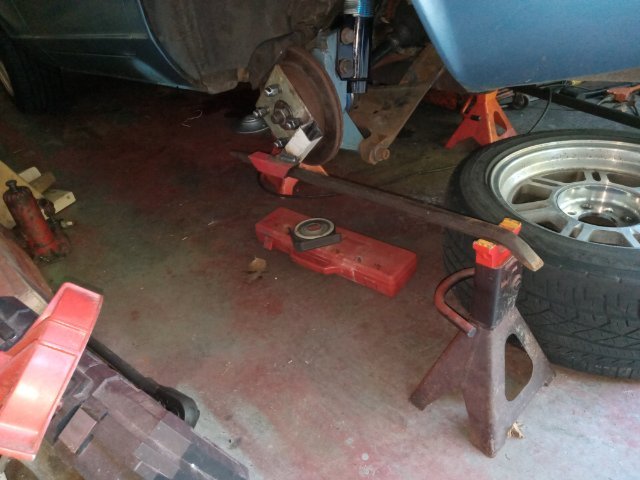
Needed to torque on the axle nut a few months ago when I redid the CV axle and swapped out the struts. Welded a few pieces of scrap square stock onto a steel plate. Worked like a champ. Not sure how I did it last time, but I don't think it was real pretty.
-
Soooooo I have a trifecta of maintenance items to fix: Drivers Wheel bearing. Not too bad. Done. Drivers Inner (tripod style) CV joint. Had a spare from buying the passenger's replacement a few years ago. A pain, but done. Struts (of course doing both sides at the same time). Of course, the strut I originally purchased was for a 94-04 Mustang, HOWEVER what I got was apparently a set of Belltech 1" lowering struts for that application. 1" longer, I can flip modify the spacers where the strut mouts to the body to make up the length. The Belltech had slotted holes on the upper of the two "lower" clamp bolts. That gave me camber adjustment. These don't. I'm tempted to just drill the holes out big instead of opening the holes up lengthwise with a carbide burr. Both options sound like no fun.... Hope ya'all had a fun 4th of July!!
-
Anyone seen any updates on this build? Looks like he was bolting on the rear suspension from Apex a few years ago then.....nothing.
-

Anyone completed a coyote swap in a s30 yet
yellowoctupus replied to Coyote280z's topic in Ford V8Z Tech Board
I was waiting for my old 4.6DOHC to die and then go to a 5.0 but it keeps handling boost like a champ, so no 5.0 yet! Should fit pretty easily though, I believe it's a bit smaller than the Mark VIII engine. -
Radiator Notes: American Eagle Radiators: Generally made in China. They do make SOME $700+ US radiators, but the AE634 is no longer in production and is made in the same place as the Champion Radiators they also market (I called and asked.) Champion Radiator: CC634 Also made in China. This stemmed from an 11yr old "Limited Lifetime Warranty" Advance Auto radiator that started leaking on me. They no longer offer a replacement radiator AT ALL, so they're going to credit me the original purchase price towards a competitor's radiator. Fair enough. Recore on my (most likely China) tanks, $400 at a local shop. Ouch. No idea on how the tanks are with electrolysis etc. Could pinhole a year later. Griffin does have some generic fit units for around $400 but that's more leg work (and more $$) than I feel like doing right now. A friend who does a LOT of Z cars has had good luck with the China eBay units, so I'm going to give that a shot. Sigh.... On the plus side, the gargantuan oil leak I just got is behind the oil filter housing, and is only a gasket (hopefully). AND, you have to drain the coolant, so I'll get it at the same time. 2 birds, one mess of oil and coolant. Yippee. At least I don't have to have it together to drive to work tomorrow...
-

Heavy Duty frame rails and connectors
yellowoctupus replied to toolman's topic in Gen III & IV Chevy V8Z Tech Board
FYI, a 4th speedometer option is to find a GM speedo that will 'fit' inside the Z housing and mount it in there that way. Takes a little bit of time to make it look right, and probably some junkyard searching, but I did that with my Ford swap and it's worked perfect for 10+yrs. I considered suggesting mounting the OEM stepper motor inside the Z housing, but then you need the electronics from the GM gauge cluster somewhere and hope the sweep angle is the same between the GM and Datsun gauge (not likely). -
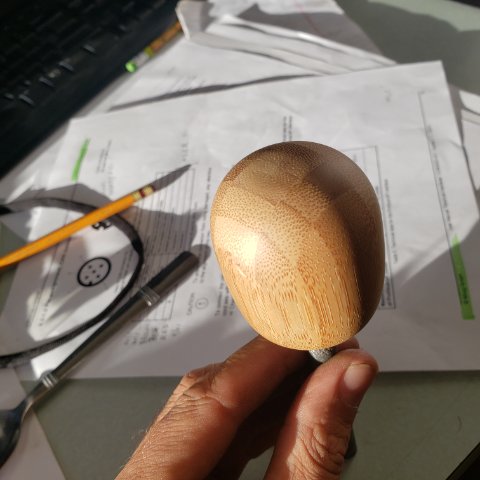
I keep finding pictures long after the work was done.... Bamboo shifter knob made from a cheapo spice rack someone left in our house when we moved in. There's a LOT of pieces laminated together to make it.
-
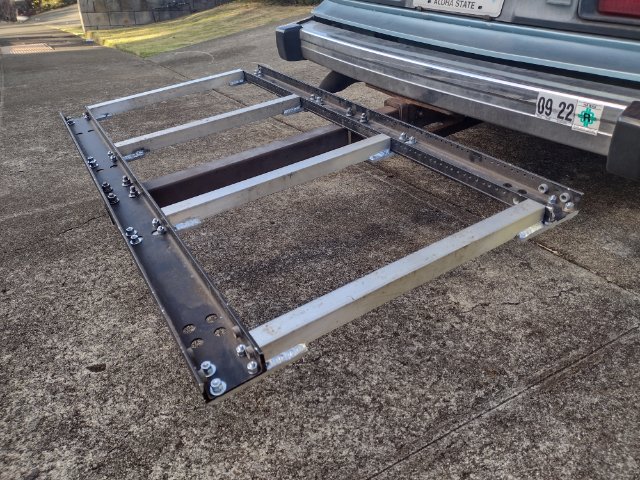
Made a nice light rack out of computer server racks I had too. I was able to take it on the plane as it all unbolted. Lotsa hardware though!
-
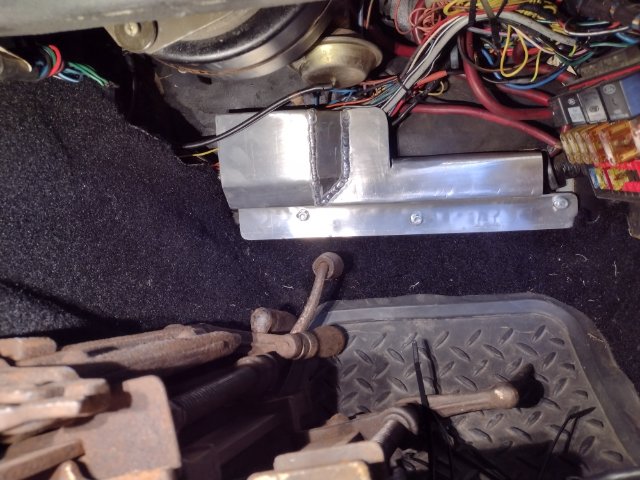
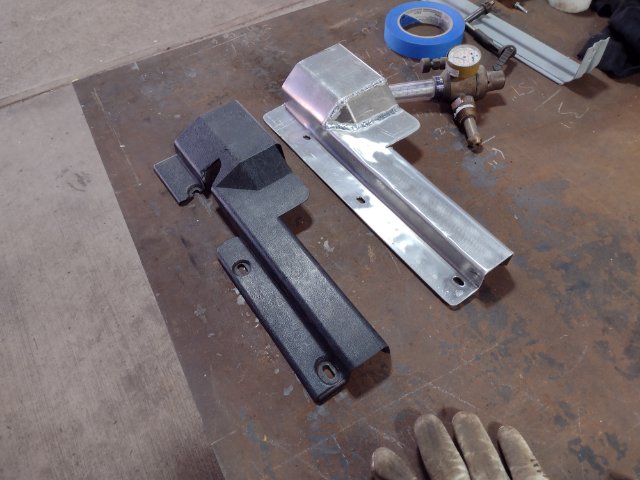
Right before we moved I made a new passenger's side wire cover. The old one was brittle and kept getting more cracks in it, so the aluminum one will probably outlast the rest of the car.
-
It will be neat to see if the 14yr old paint is any good! (The only paint job it ever got after the factory was back in 2008). My dad used to have the paint locker (ie, an old stand up freezer) heated with a 40W incandescent bulb during the winter but I think he stopped doing that about 10yrs ago, so I'm guessing it's shot now. Too many thaw/freeze cycles by now. There's a few other spots on the rockers and one on the passenger's door near the mirror (weird spot for rust...) that need attention first too. Once I get the welder gassed up I'll see what I can do about welding in some patch panels.
-
Well, the Z made it to NH (2weeks ago, this is old news now I guess). Mostly without harm. Unfortunately, whoever loaded it on the first truck rolled the ignition back to the lock position which jammed the steering. So, they loaded it backwards which of course caught air under the rear louvers, causing them to eventually fatigue and snap in half. The bottom half stayed latched to the hatch, the top half flipped up onto the roof and it rubbed down to the original paint/primer at least. Good thing it needed another paint job, otherwise I'd be REALLY PO'd. Additionally, they were supposed to deliver it to my parents house south of Buffalo, NY as I was not expecting to have a house lined up yet, but the driver apparently refused to take his truck down the windy roads to get to their house. Somehow, the company owner was using the wrong phone number to contact me so the car got delivered to Albany, NY where I think the company is centered. So, instead of taking it to Buffalo, I convinced him to just deliver it to NH as it was a shorter distance for his driver. The delay was just long enough that we had a house lined up and it got dropped off in my driveway. Anyways, after taking the ignition all apart, I found out that I could pull the key back just a tiny bit (1/16"?) and it would unlock fine. Just a tip as I see it is a common issue on these super high mileage ignitions.
-
280zx will probably have to make up your own mounts. ZX's are not a terribly popular swap car, unfortunately. You might want to start your own topic to get attention to your project, rather than hijacking one about a different series Z car. That said, welcome to HybridZ, we look forward to seeing some photos in a build post.
-
That reminds me of AMC back in the 70s and 80s. I had an '84 Jeep Cherokee (ok, they were made by AMC at this point, Chrysler wasn't on the scene for them yet). STOCK it had a 2.8L V6 (Chevrolet), and a Chrysler 304 automatic transmission. At the same time, you could buy a Grand Cherokee which was running a Motorcraft (Ford) Duraspark ignition system. It was like they were building cars out of everybody else's parts bin. No wonder they got bought out a few years later. I had a Duraspark ignition box that I ran in my '65 Mustang that had a big shiny AMC sticker plastered on it (as it came out of a Grand Cherokee at the junkyard), I always thought that was a little funny. On a different note, the Mustang's long gone (sold a few years ago in Hawaii, and for as much time as I spent building that car I do not miss it at all!) but the Z's 'Coming to America' or at least back to the mainland. My wife got new orders and now we're on the East coast, in Portsmouth, NH. The car made it back to California on the Matson boat and is theoretically coming cross country at the moment even though I haven't heard anything about it in 11 days... so if anyone sees it come up for sale somewhere let me know . If anyone's curious, it cost roughly $900 to get a car from Hawaii to the west coast, and another $1500 to get it cross country. Not cheap, but cheaper than trying to find a clean shell and start over again I guess.
-
Thanks, glad somebody is off Facebook still checking on ol' HybridZ besides me. The Ford section just gets no love these days....
-
-
-
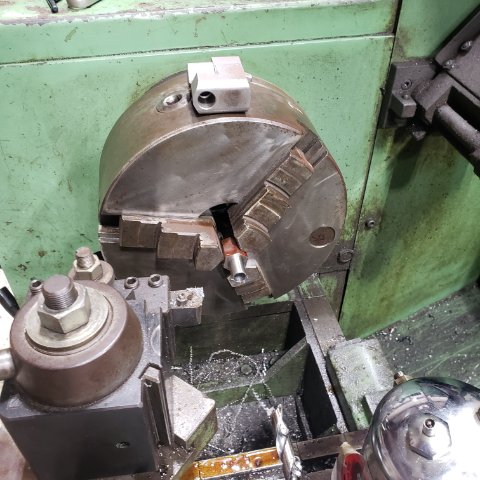
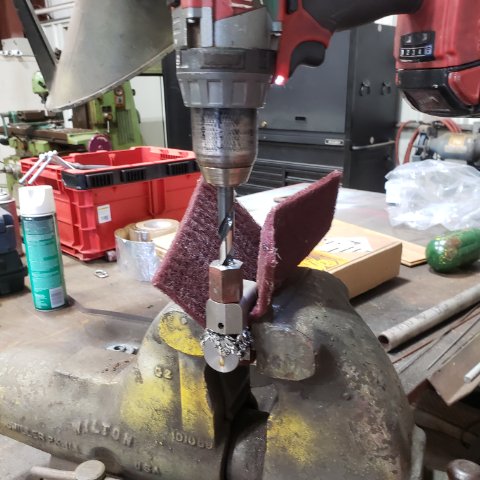
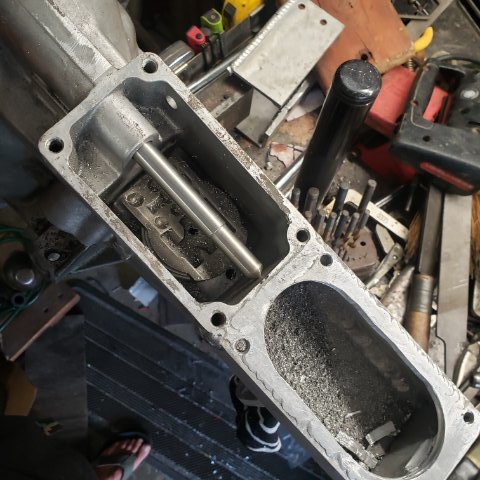
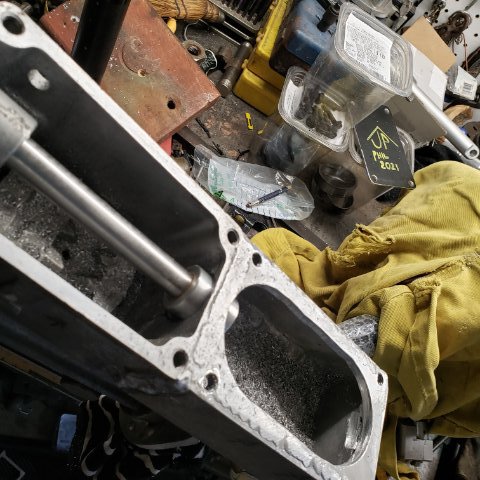
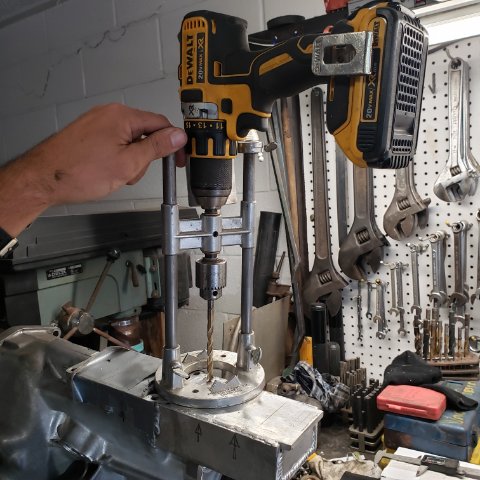
I'll let the pictures do the talkin'. Some of the parts were made just to make sure the OTHER parts came out accurate (drill bushings etc).
-
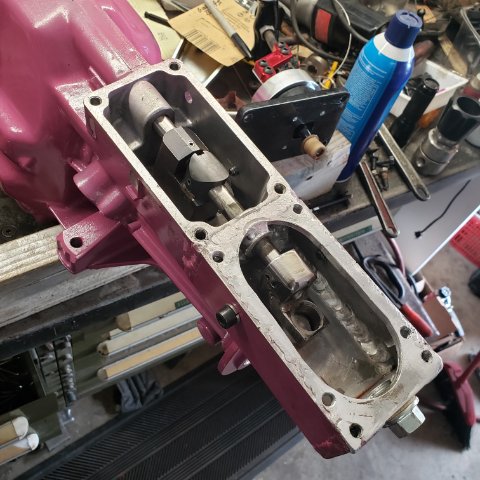
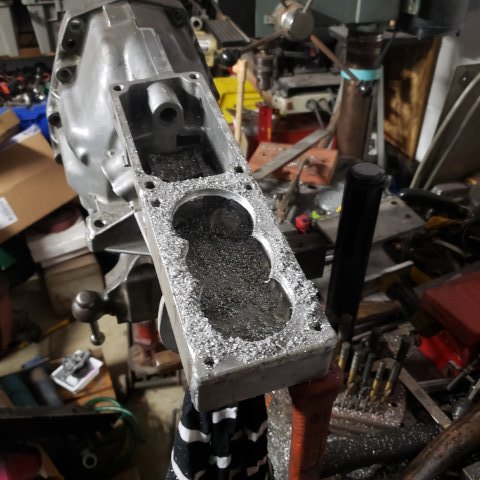
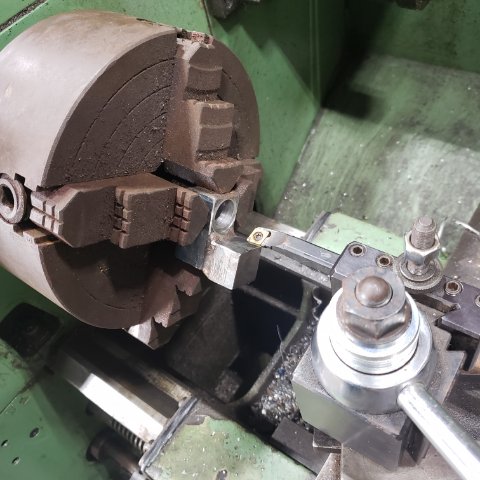
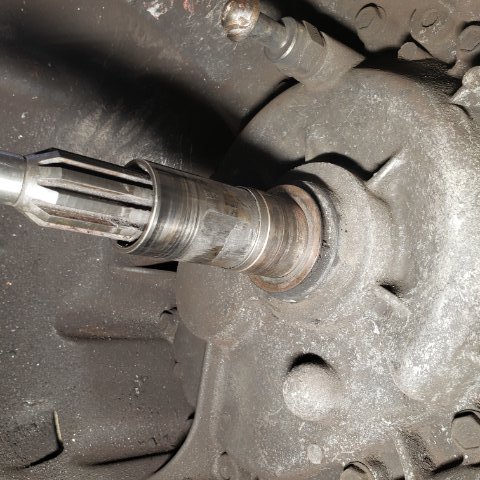
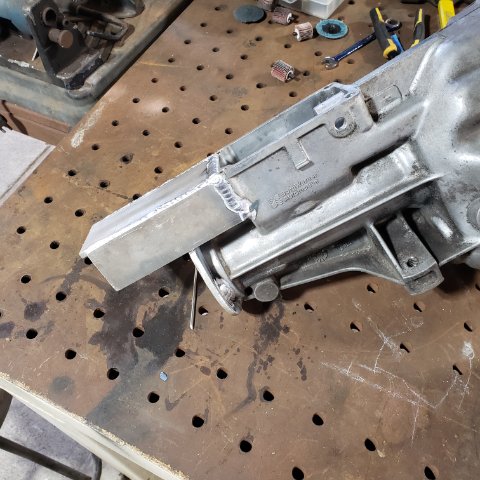
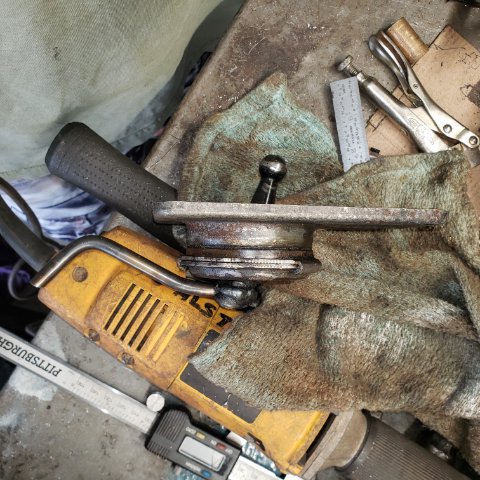
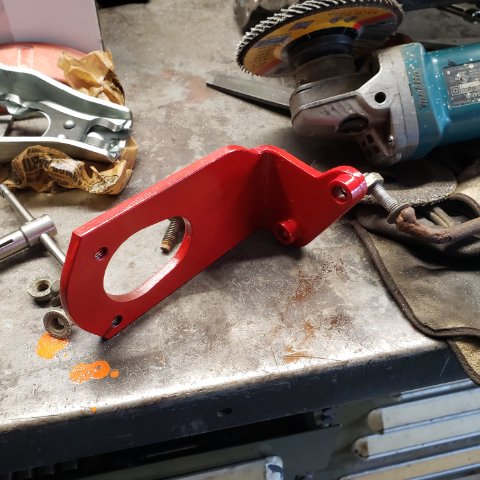
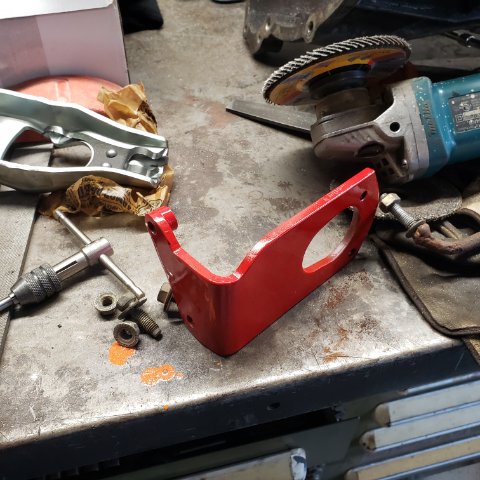
Yearly update time! Throw out bearing died in a BIG way a few months ago. Since it's somewhat of a colossal pain to get the transmission in and out of this car I decided to get everything else 'permanently' squared away while I'm in there. New Exedy clutch+ pressure plate, McLeod flywheel, etc. Replaced the throw out bearing guide tube. Available aftermarket only. Ebay, etc. Also, move the shifter back about 3-4" to get it to line up with the center console shifter boot. That's been a big project in itself. Lots of fab work, everything's gotta be JUST right to be tight and smooth but not too tight, of course. (this is the 'original' shifter I made to get it under the center console. Not ideal, but worked for what...10yrs?) Almost there. Also fixing the old heater/head coolant port that's been like that since I bought the car, making stainless fittings with a dvrs/pass side head crossover port to reduce hot cylinders 7/8. Oh, ALSO also made (the red thing) a bracket to better mount the slave cylinder. I have a drawing I'll upload later for the masses that are interested.
-
If you're on Facebook, there's a Megasquirt group which may be able to answer some of your questions. If somebody out there has done it, (especially odd, euro engines) it was probably with a MS unit.
-
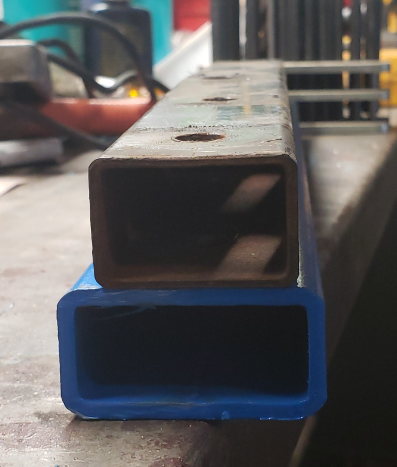
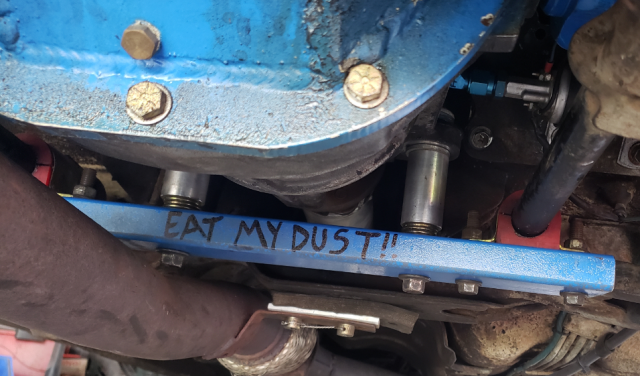
Another 'clunk worthy' item. My front diff mount has been holding up pretty well, however I used a somewhat thin walled steel tube when I made it (what I had in the scrap pile at the time...) and it has been bending and compressing the diff bolts into the tube, so there was play there too. I got a thicker walled tube this time ( blue one) and removed the diff ear rubber bushings and just solid mounted it there. The assembly still has the polyurethane LCA mount bushings to take up vibration etc.
-
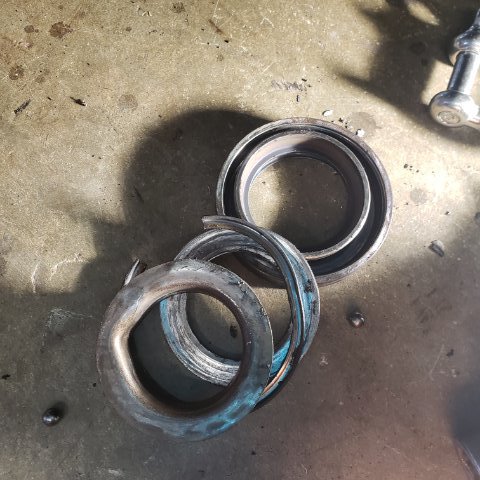
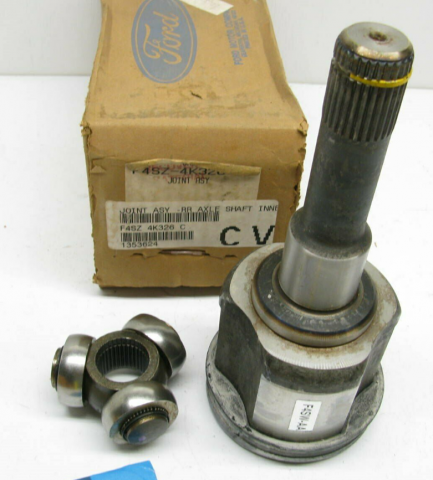
I ate up an inner CV a few weeks ago. Not a single needle bearing was still in the rollers. It was still somehow driveable, but what a mess. Here's the PN for the new 'inner assembly' only, as it's getting hard to find full assemblies OEM. Aftermarket axles normally have the wrong spline count on the center bar so those are not an option either. This PN is for the non-abs models, which of course suits me fine. Axle is all back together, and is nice and smooth again. Explains the nasty clunk I had for a while. POST Edited 07/08/2023: Inner CV requires 250g (8.8oz), Outer CV requires 225g (7.92oz) EP (extreme pressure) / CV specific grease. This always seems to take me a while to find in the factory manual, so it's here now. Outer boot gets tightened after axle is assembled, and distance from wheel bearing seating face to other END of axle is 28.86". (Also, after relieving any built up air pressure in the boot.) PS, photo PN is small, it's F4SZ-4K326. Did 2nd factory inner joint today.
-
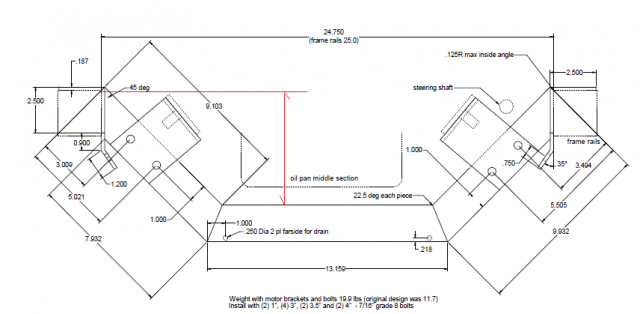
I'm assuming you are going by these designs: https://www.lainefamily.com/240Z_V8_Conversion-files/240Z_Conversion_Drawings.pdf From the dimensions shown in his PDF, you should have 6.3" from the top of your frame rails to the top of the lower tube. (9.103" * sin(45))-(0.187" * sin(45)) = 6.3" I have been running a similar design for my supercharged 4.6 for years with two through-frame rali bolts on each side (vertical holes). No problems, you don't need extra beef. I didn't even weld in sleeves to keep the frame rails from crushing. I would allow for the whole cradle assembly to slide front and back to facilitate engine installs. (don't weld studs in from the top or overthink it generally). One thing I WOULD do if I were you is add a bolt in plate (I actually thought Brian's design incorporated a bolt in center section) to allow the oil pan to be dropped without jacking the engine off it's mounts, etc. Next time my engine's out i am going to change my design. It's had a minor oil leak for years that I can't be bothered to pull the whole engine/trans etc to deal with.
-
Dude! Great pictures! Car looks like it came out really clean too. Right down to the OEM hood latch ( I had to remove mine when I went from the SOHC to the DOHC 4.6....) Glad to see you're enjoying it. The 'in car' picture from the Mini almost has a video game appearance to it.


