FLC
-
Posts
75 -
Joined
-
Last visited
-
Days Won
1
Content Type
Profiles
Forums
Blogs
Events
Gallery
Downloads
Store
Everything posted by FLC
-
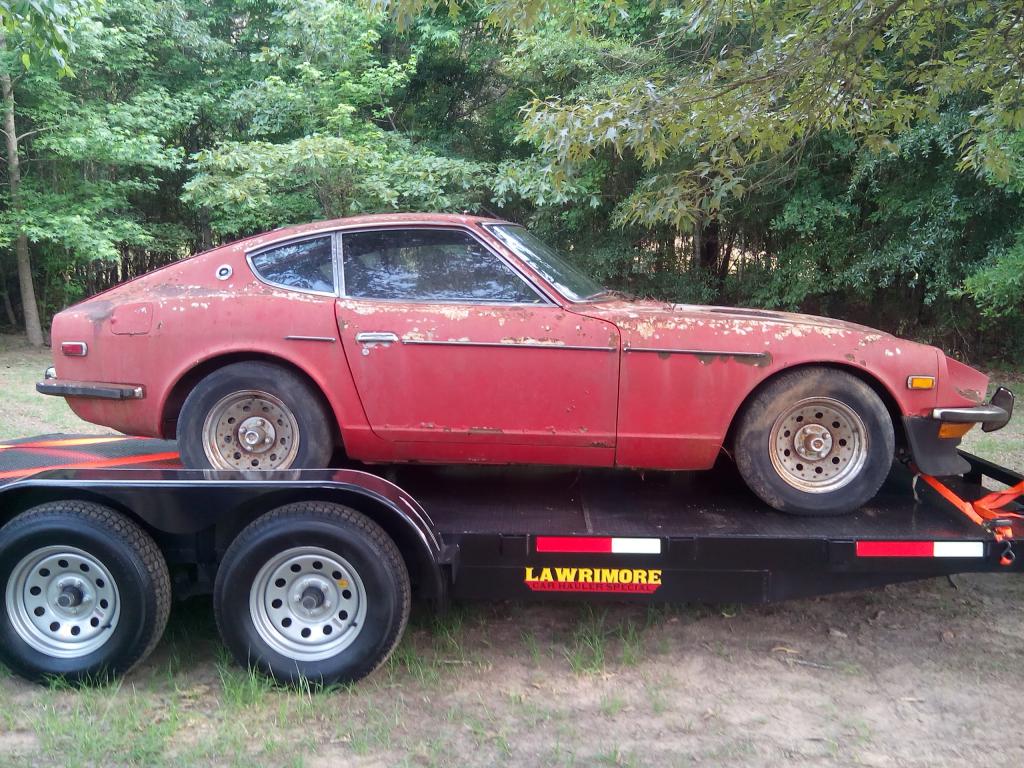
In some ways it's good and bad the rockers are solid doors the whole outside all the way around is good but the floor pan is toast from what I can tell. the battery tray I think is good but it does have some pretty big dents on the tail where their garage fell on it in a tornado. The vin is hls30140021 I think it's one of the first 73s can someone tell me
-
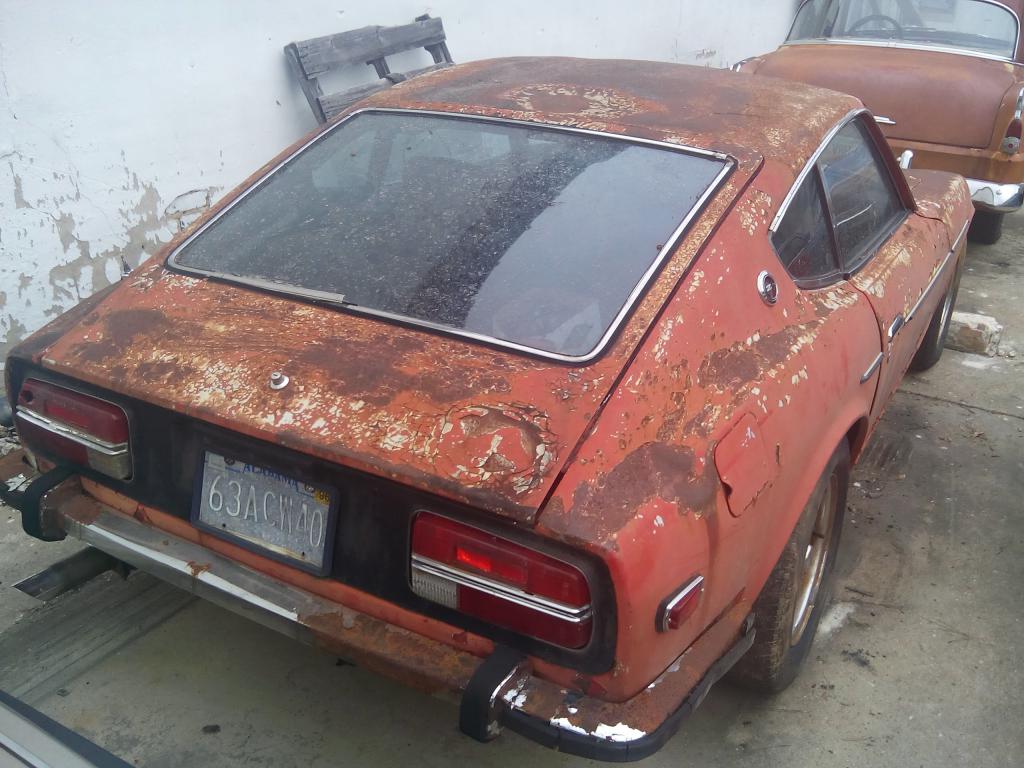
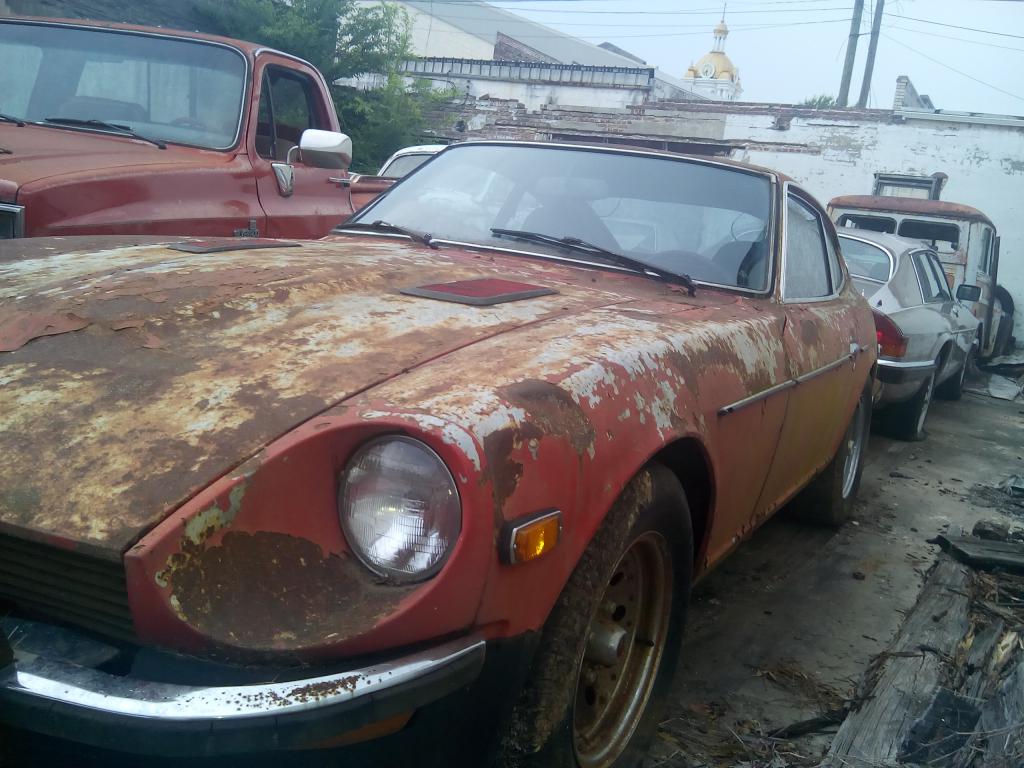
Some pictures

-
Picked this up yesterday saved it from being scrap. I don't know much about it haven't had a chance to clean it up and look over it much. guy says it was running when they parked it the tag says 96 haha. I don't know what I'm going to do with it yet parts, sell, keep, idk. What do y'all think
-
Nothing in particular
-
Now if you install the motor with a roll of duct tape and some wood screws, I think someone might want to have a word with you. Heck yea that's my kinda build! Headed to Wal-Mart to get the camo kind now!
-
The hate wouldn't be from the swap it would be about the way I go about the swap ie not spending any money for upgrading supporting mods like brakes. It would be very basic just to putt around in when I'm done
-
I may be taking the plunge on this new coyote motor thing. A guy has a wrecked 2011 mustang with a good engine and wants to buy just my 2012 body so he's buying/trading with me and we're keeping drivetrains so i'll have a complete coyote setup with no home. and being the generous person i am i would be willing to shelter this in my 240z. This is not all set in stone yet because i also have a 66 mustang coupe i could put it in but it is a pretty big project and i don't think i want to tackle this just now so we'll see. i cant remember were i got my number so it could of just been a typo idk This is where i would start the build if i did http://forums.hybridz.org/topic/112621-starting-new-project-73/ I would try to get out of it as cheap as possible because i got a lot of other stuff going on, so go ahead and let the hate fly! But i have already spent a ton of money to restore this car to better than original condition and have everything i need to complete it although i never intended it to be a v8 car. you can see what ive done so far
-
I would check the condition of the switchs and harness on your column including your horn switch. Have you tried replicating the fault at different steering wheel positions while wiggling it. Taking the switches apart and cleaning them isn't too difficult. That would be a good place to start.
-
Well if your anything like me you should get 3 cars one all stock a tweener and full out custom. i like the benifits of each one all stock it's a fun antique car to take to carshows and have a sunday drive. a tweener beause z's are very capable cars with simple upgrades will satisfy anyones lust for spirited driving. and a full out custom cause you can haha. i'm working on my inbetween car now. once i buy a house and settle down i'll start my custom. This probably didnt help much but you should start by seeing in which of these categorys you fall in and start from there.
-
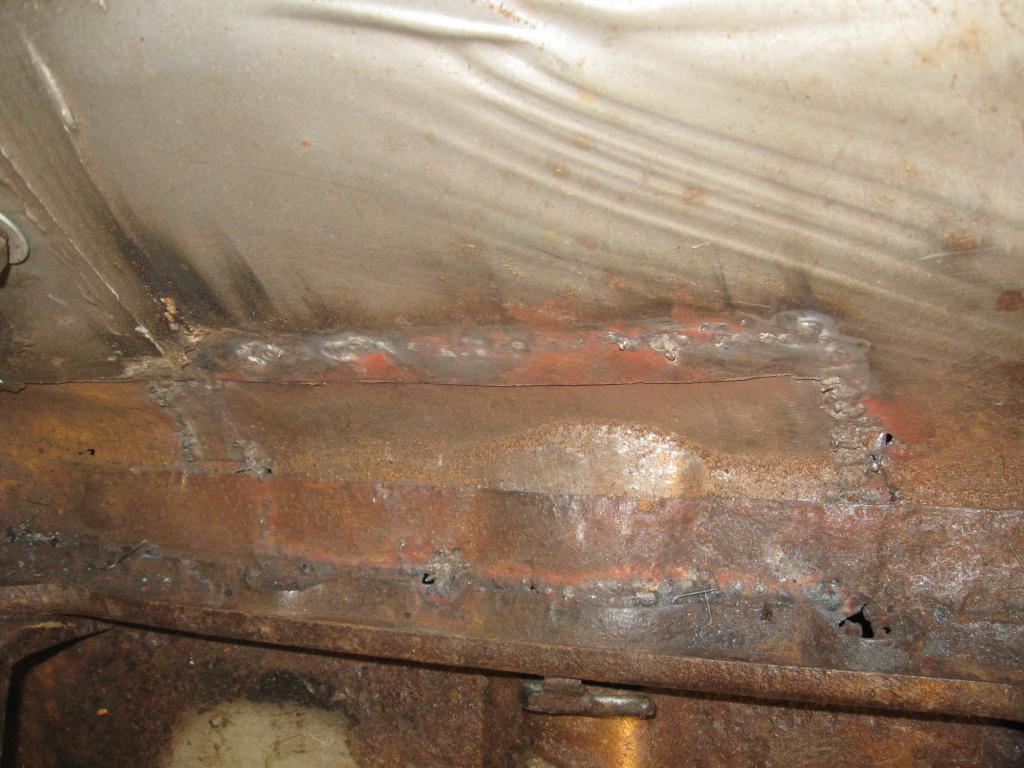
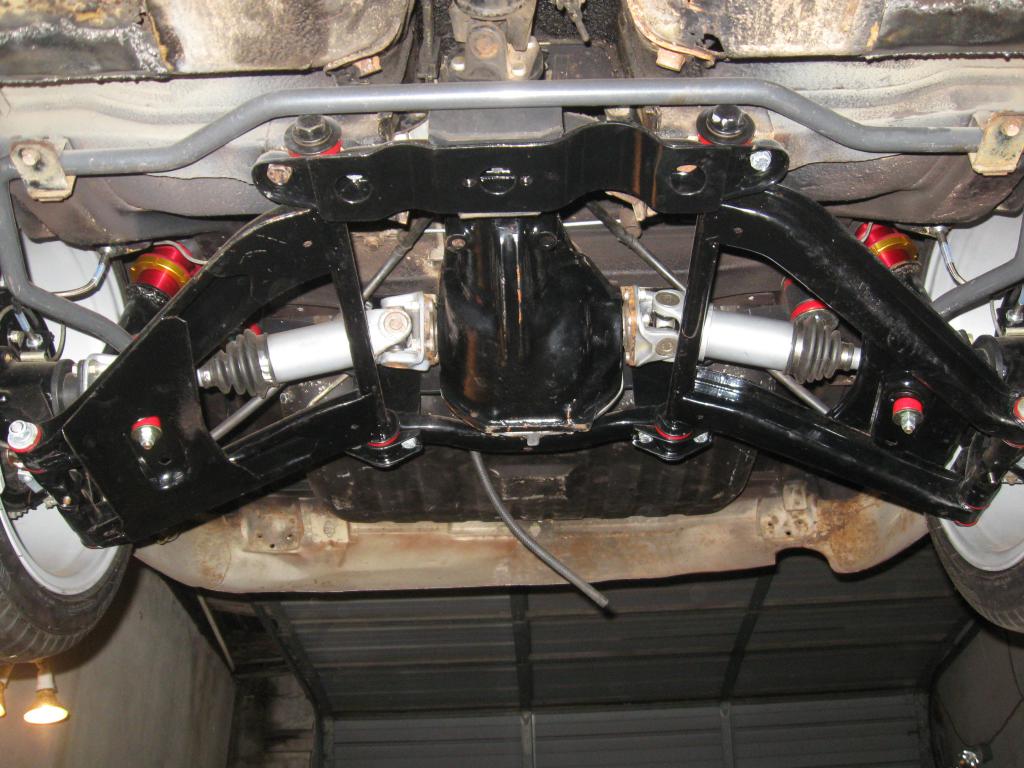
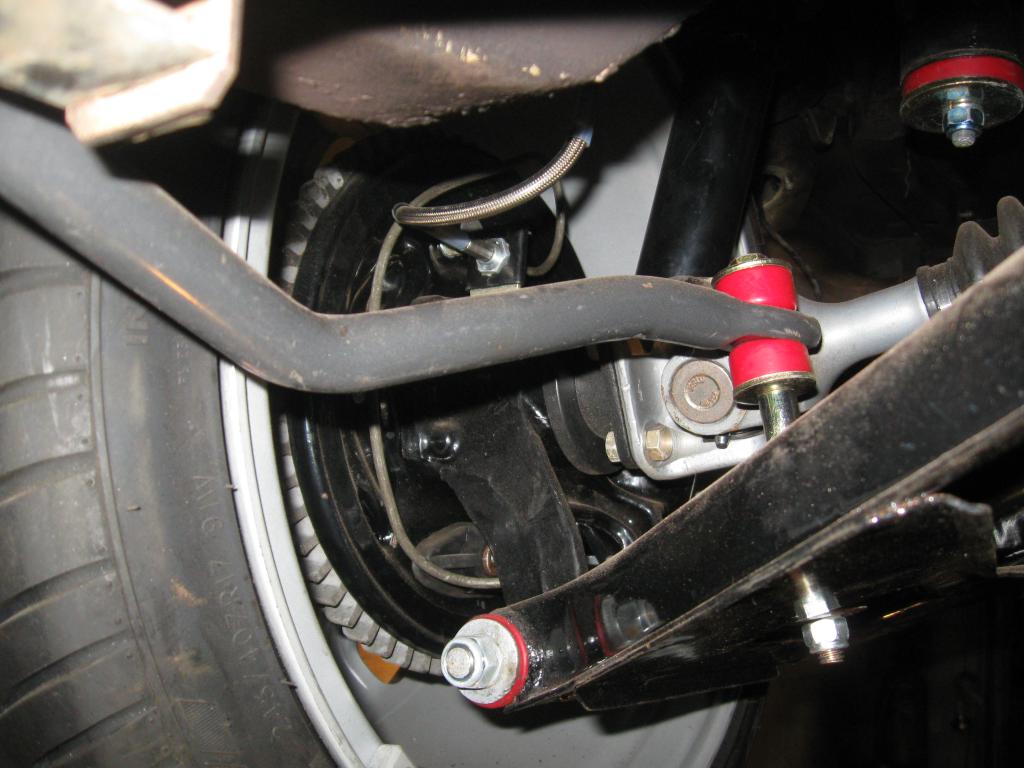
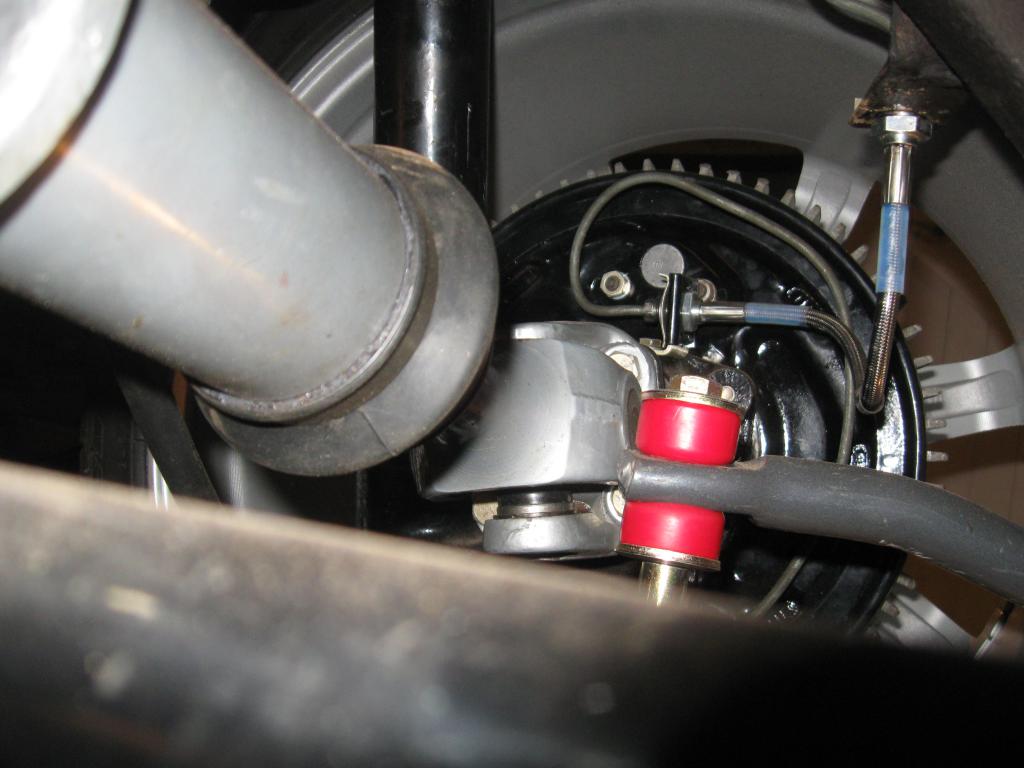
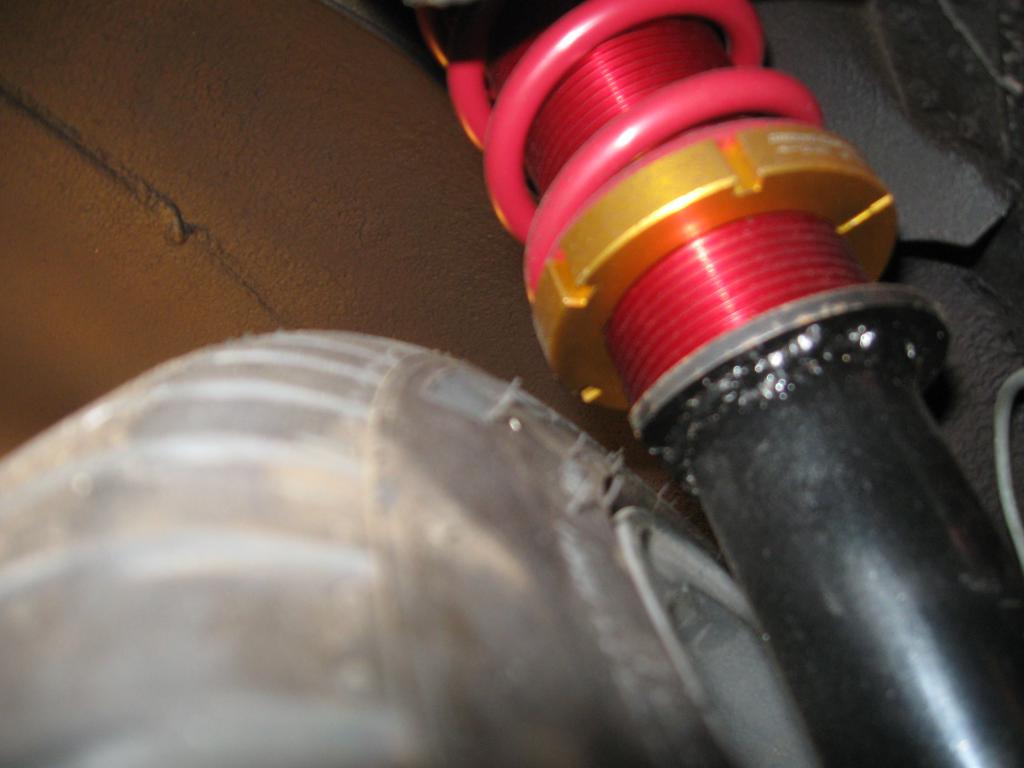
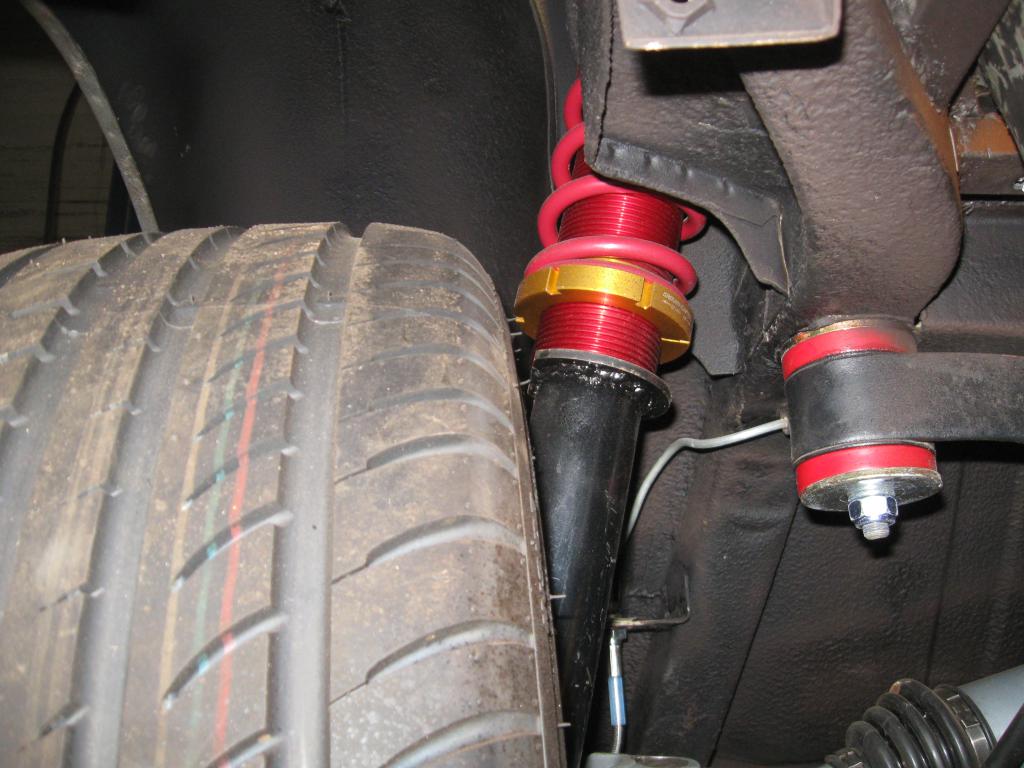
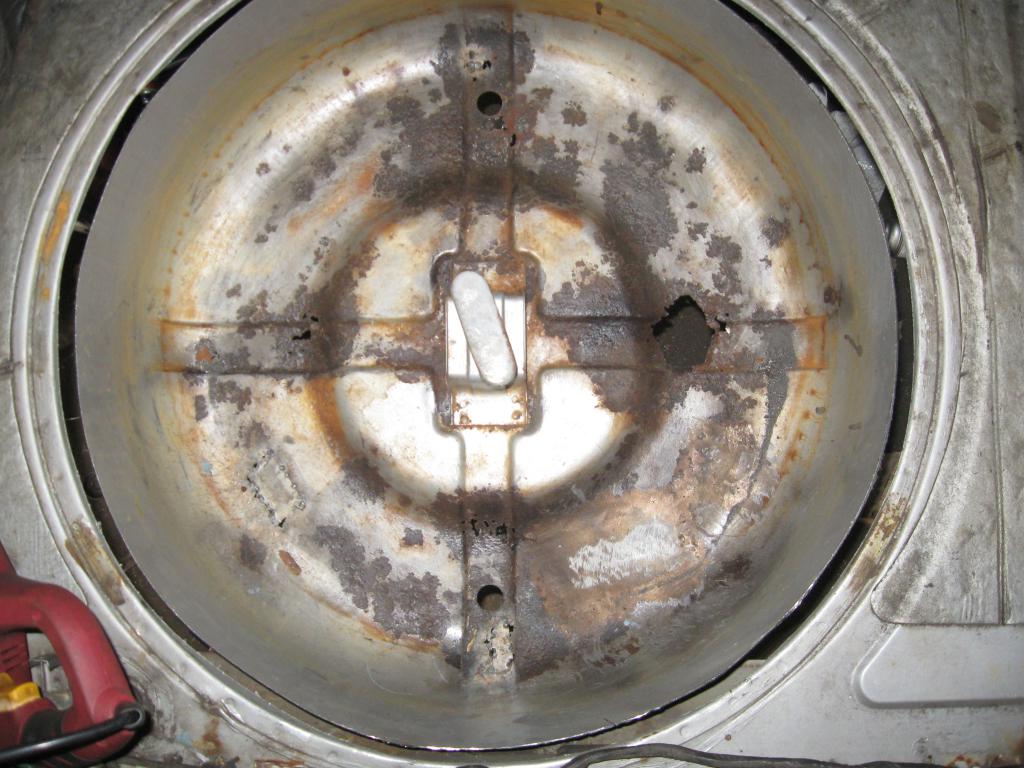
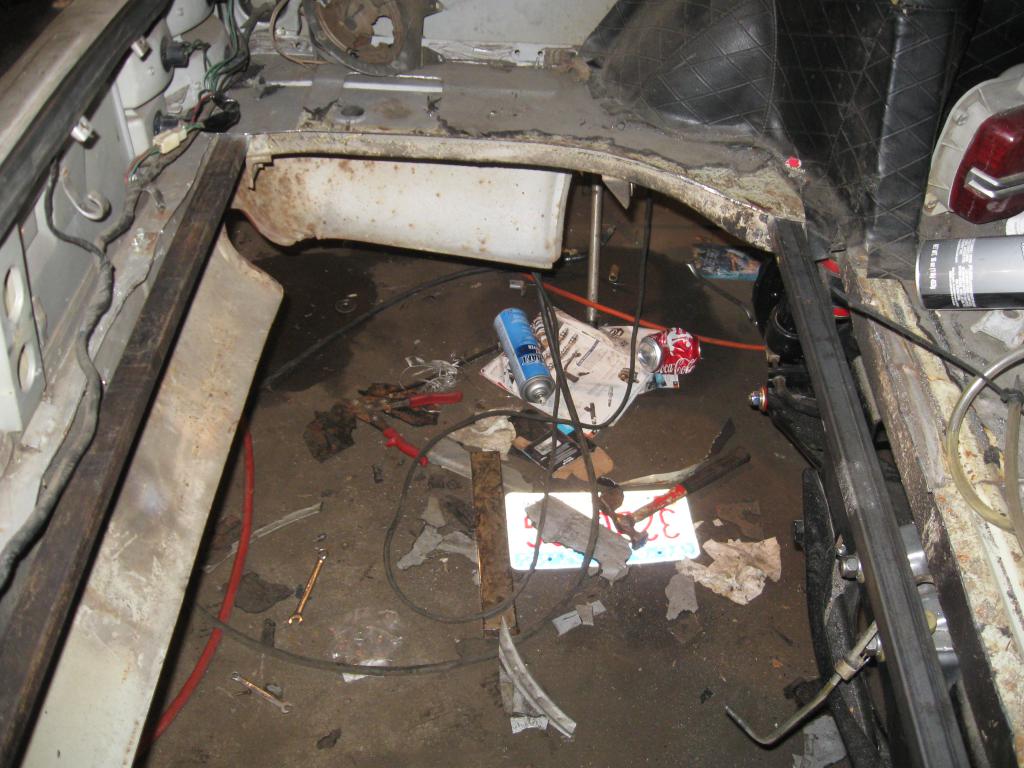
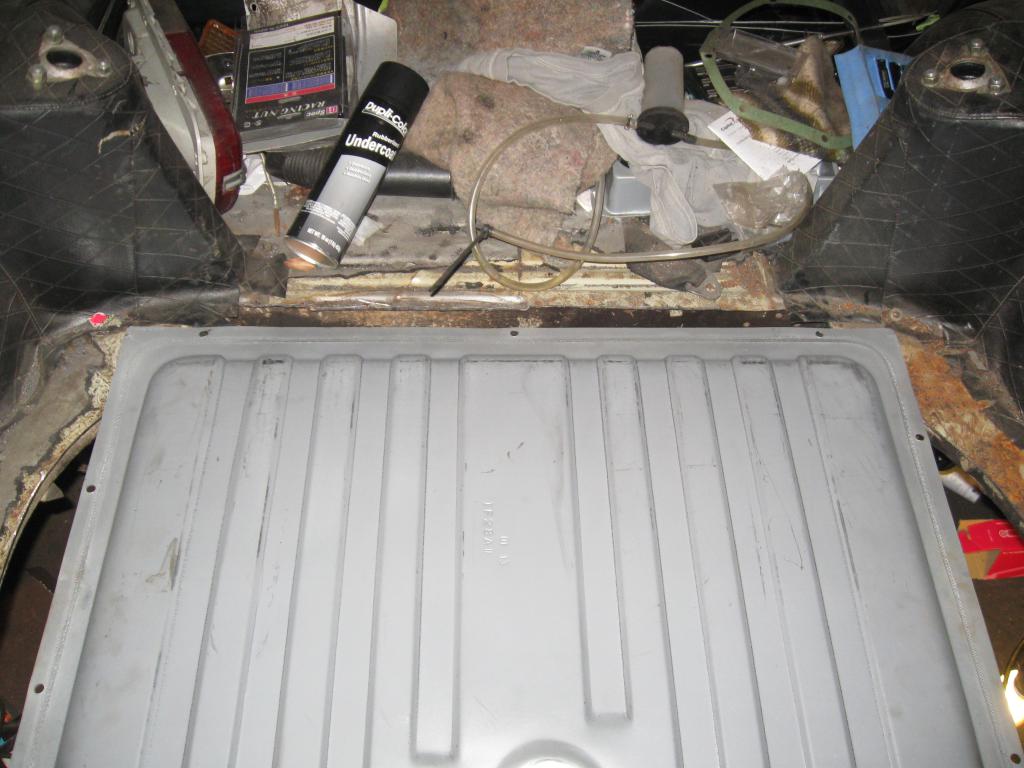
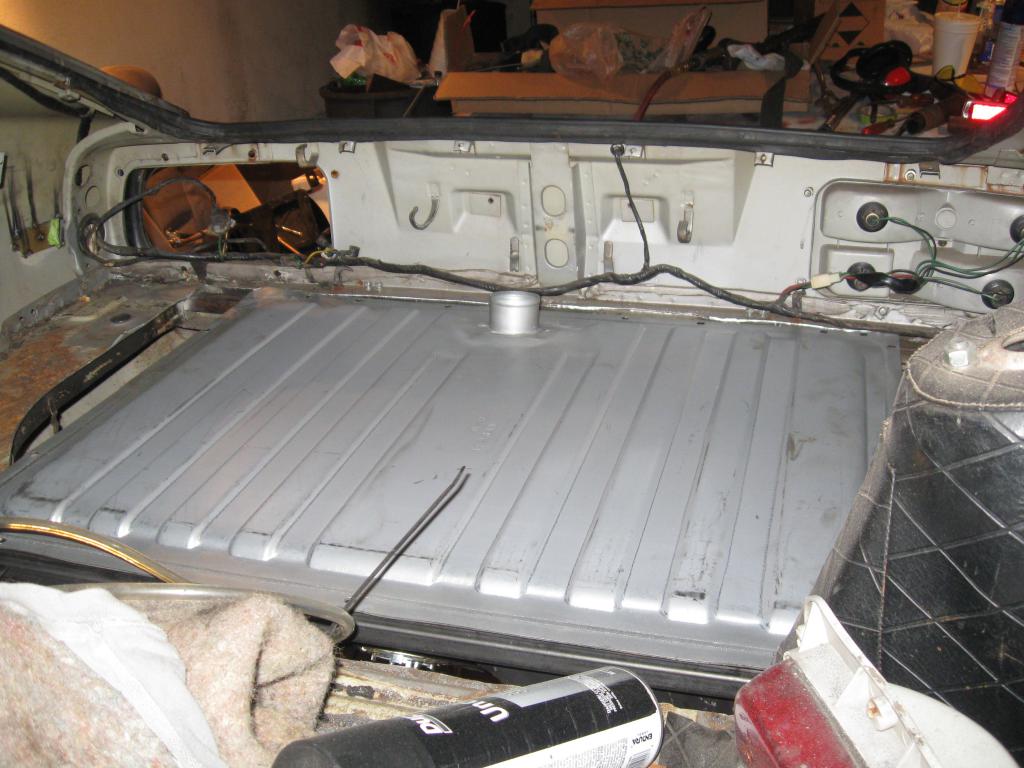
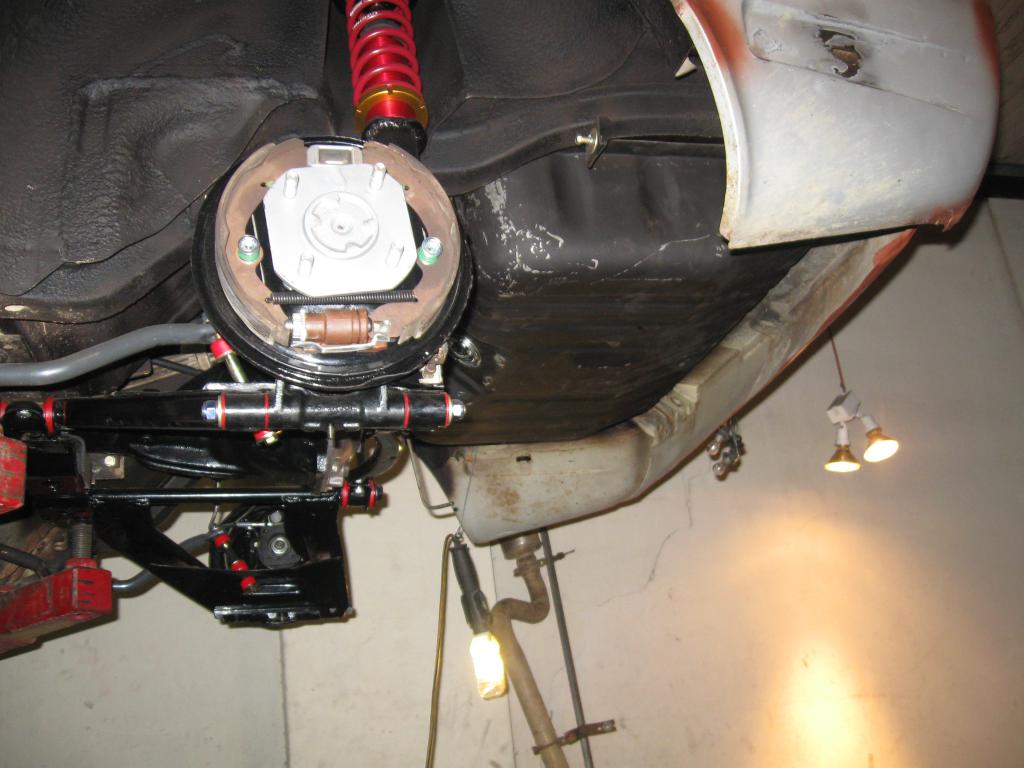
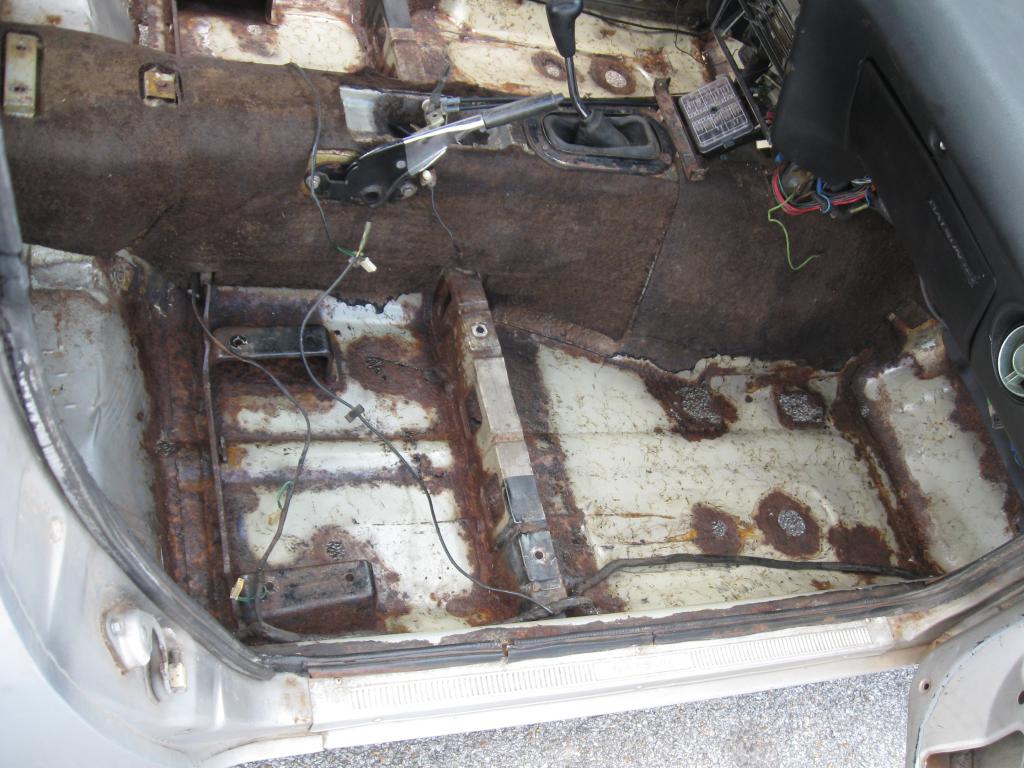
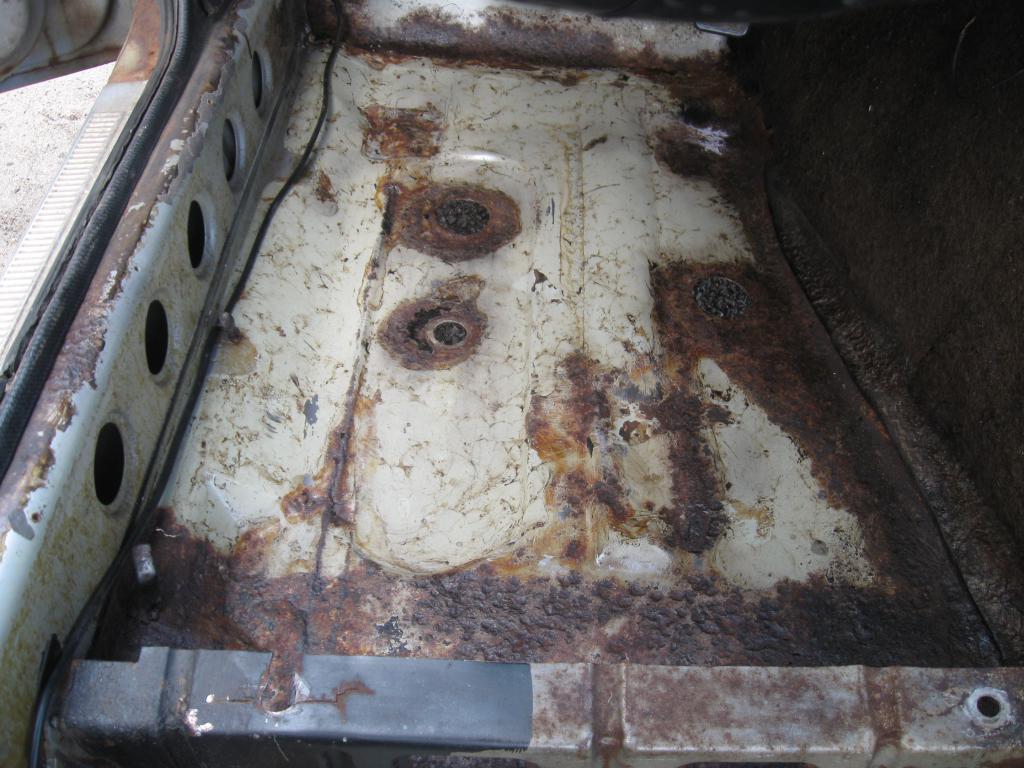
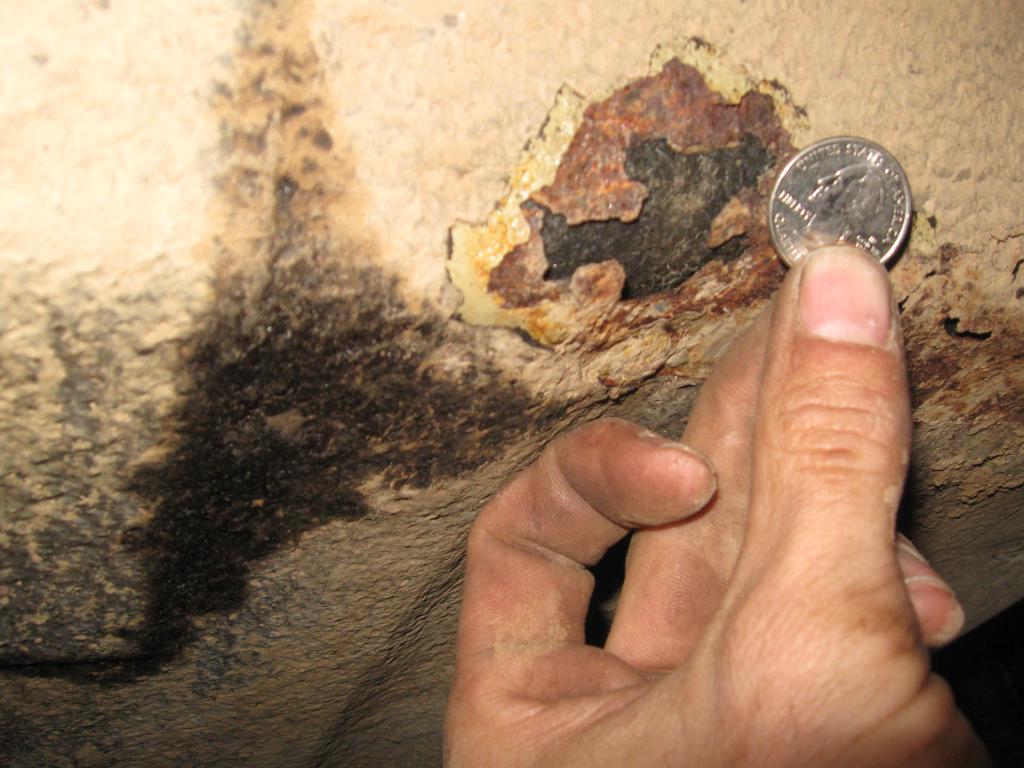
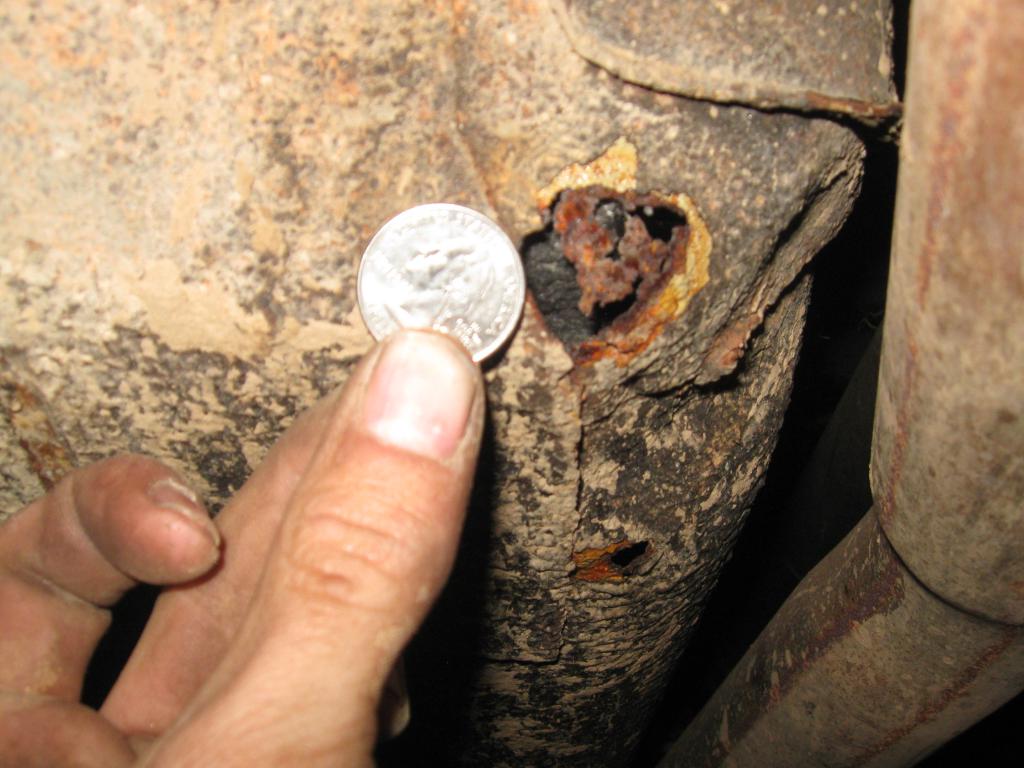
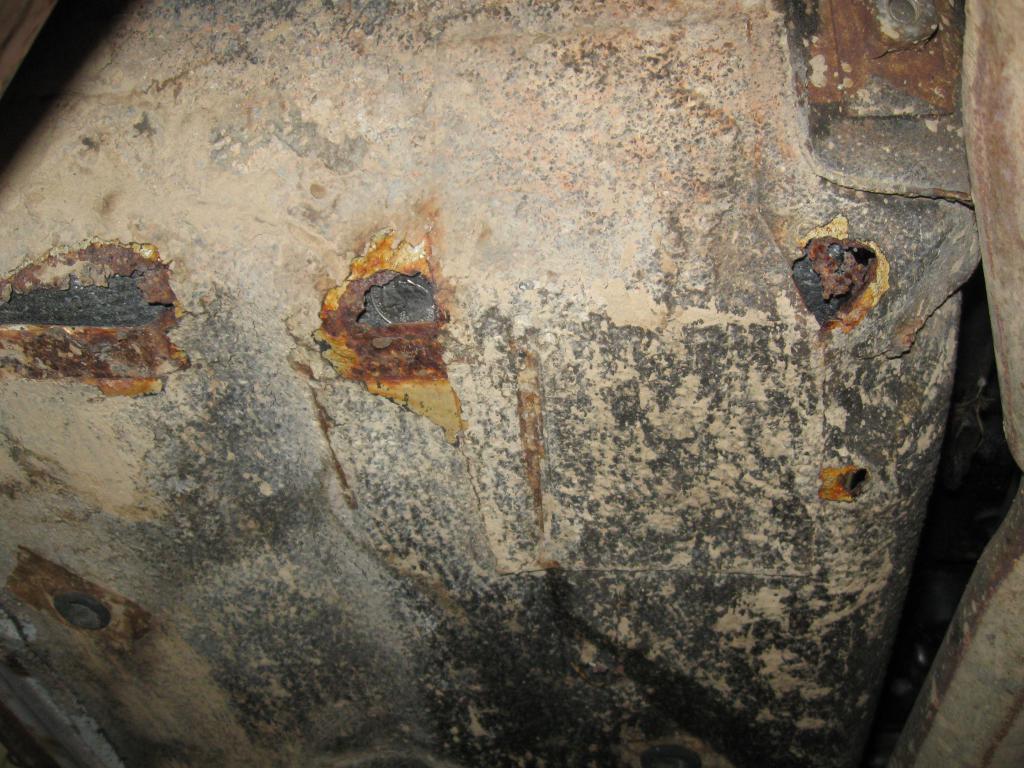
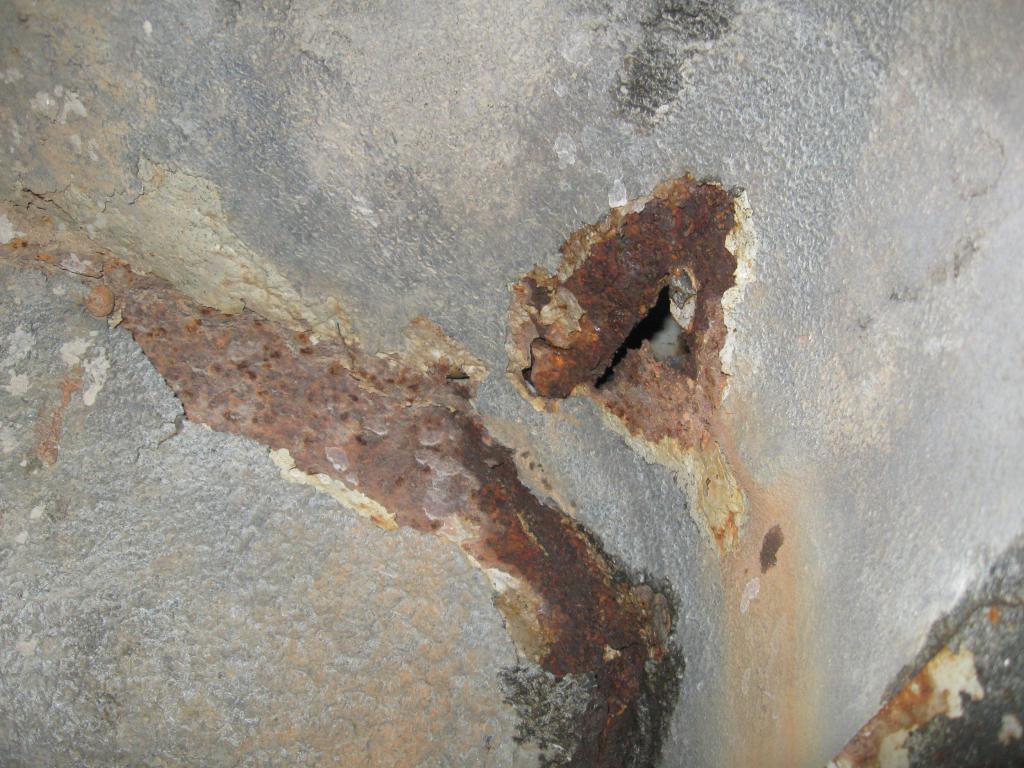
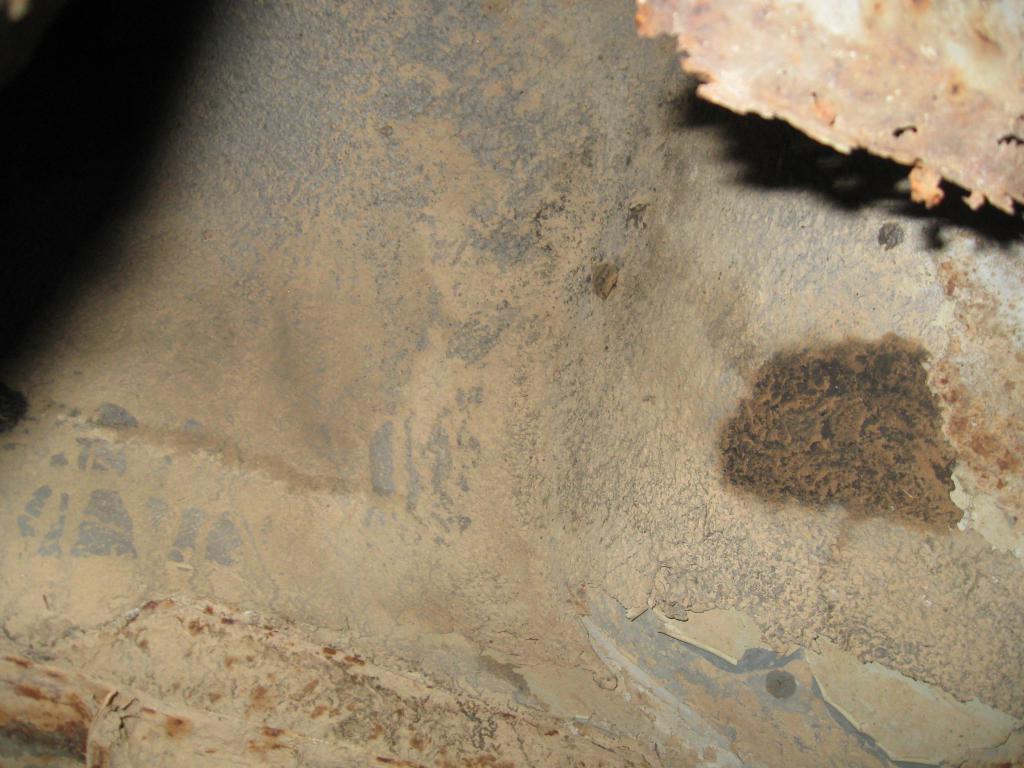
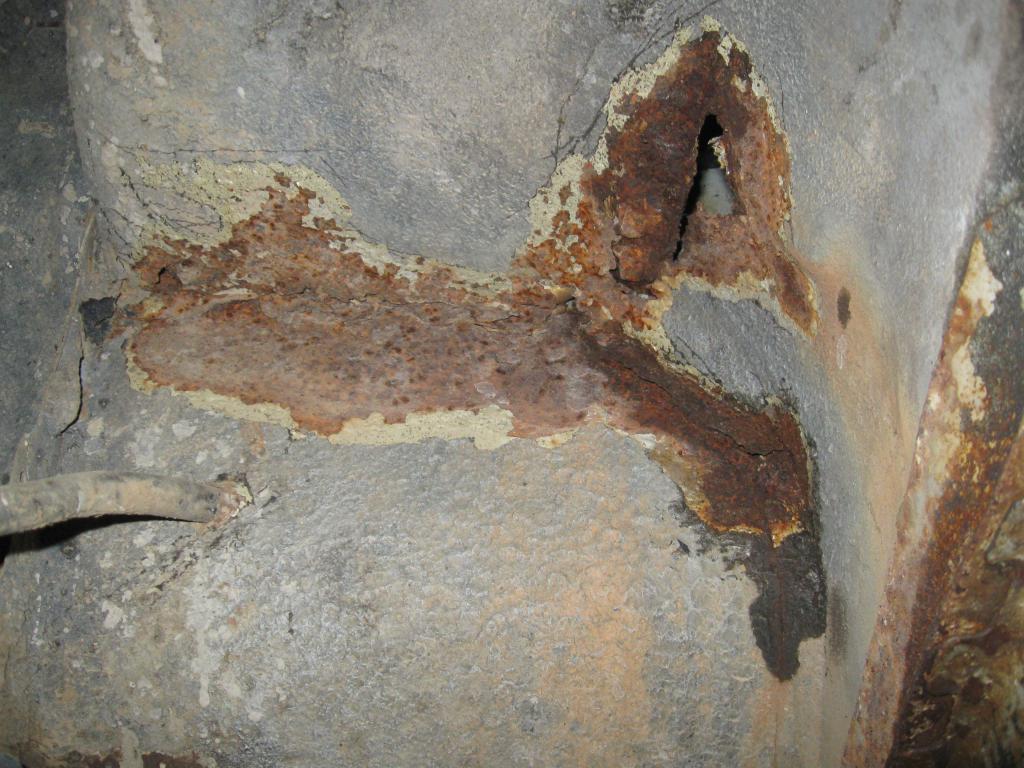
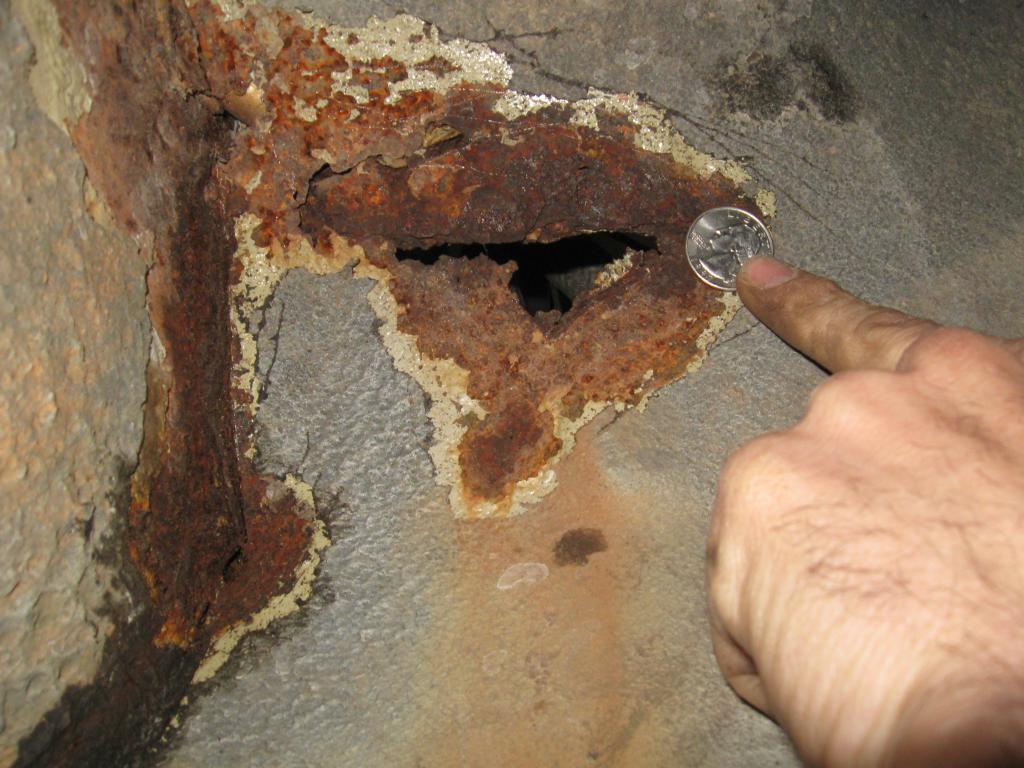
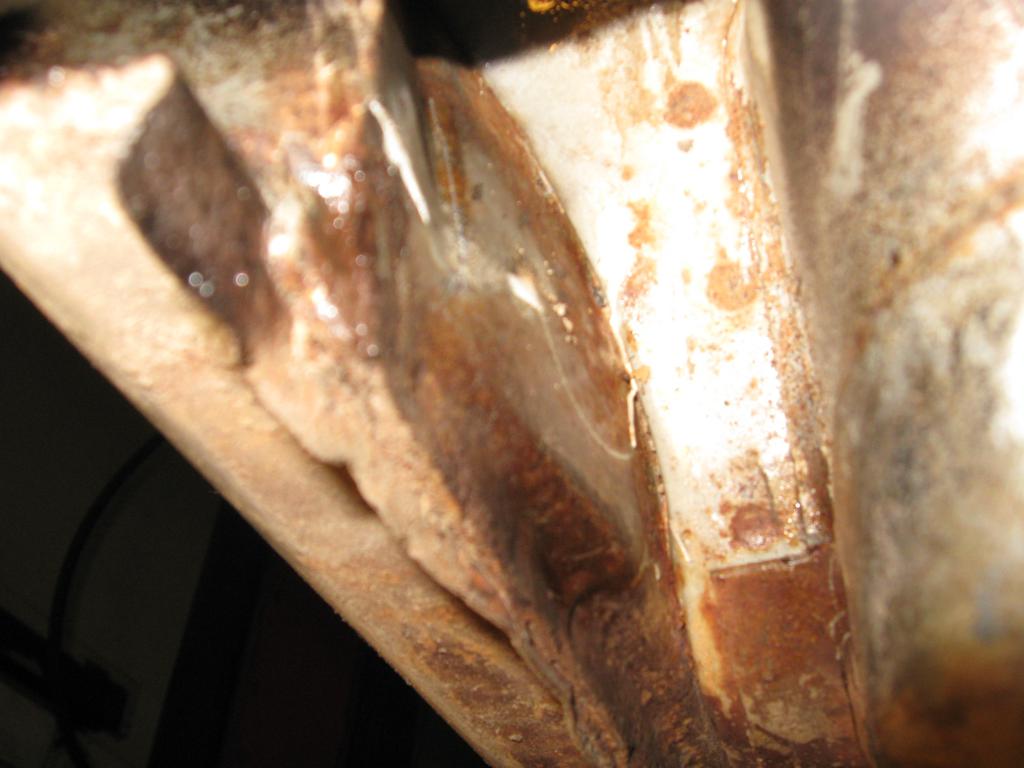
More rust porn for you rustophiles. these hole in the rear section of the floor pan was the worst part of the whole car. my rear end is finally all put back together it was suppose to be a 2 week job some things happened here and there and what you know a year later. this is with gas tank installed Does anybody have a set of swaybar busings for an aftermarket rear sway bar i think its 7/8, i lost mine plrease forgive me ive had theses bars for like 5yrs in a box i'm bound to lose something. Powder coated halfshafts good idea, powder coated flanges not so good. GC coilovers with 245/45/17 on 17x10 with a cm.ish to spare oh right. The rear section is almost complete finish up some welding smooth everything out and then can move on to the front and then paint!
-
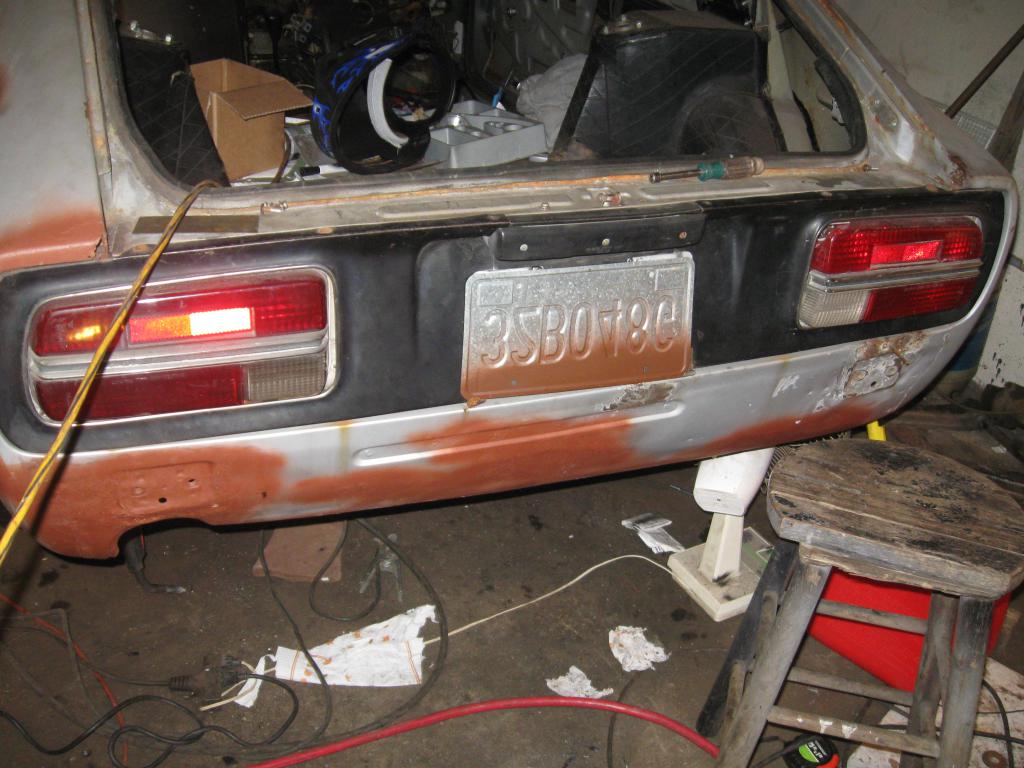
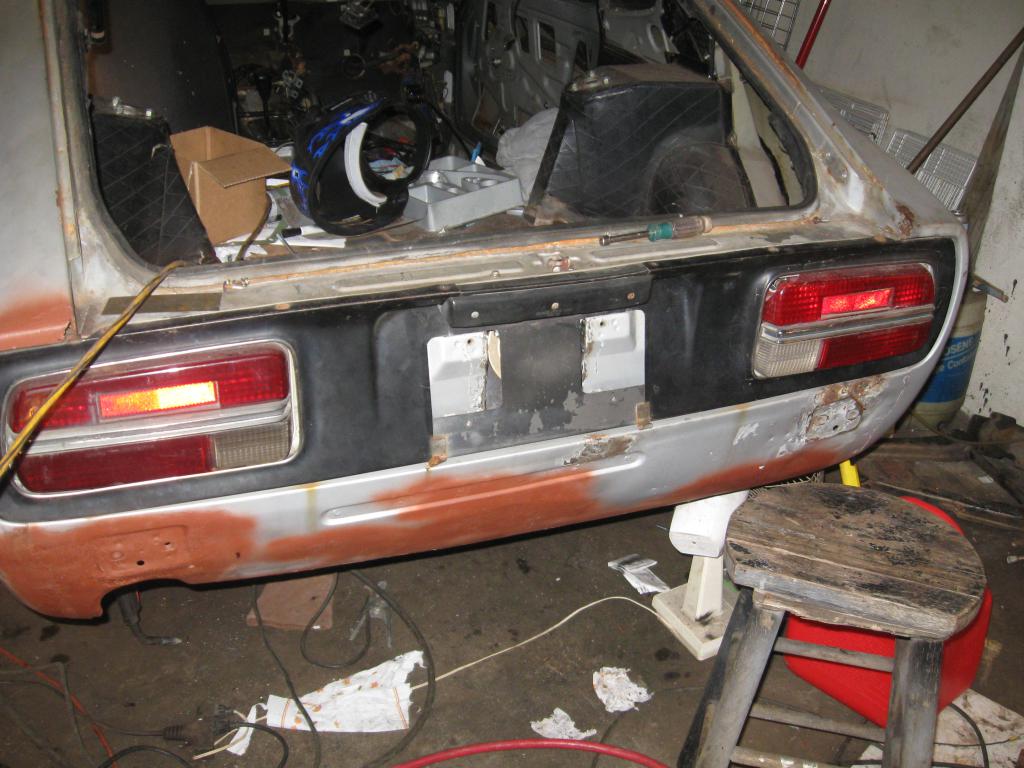
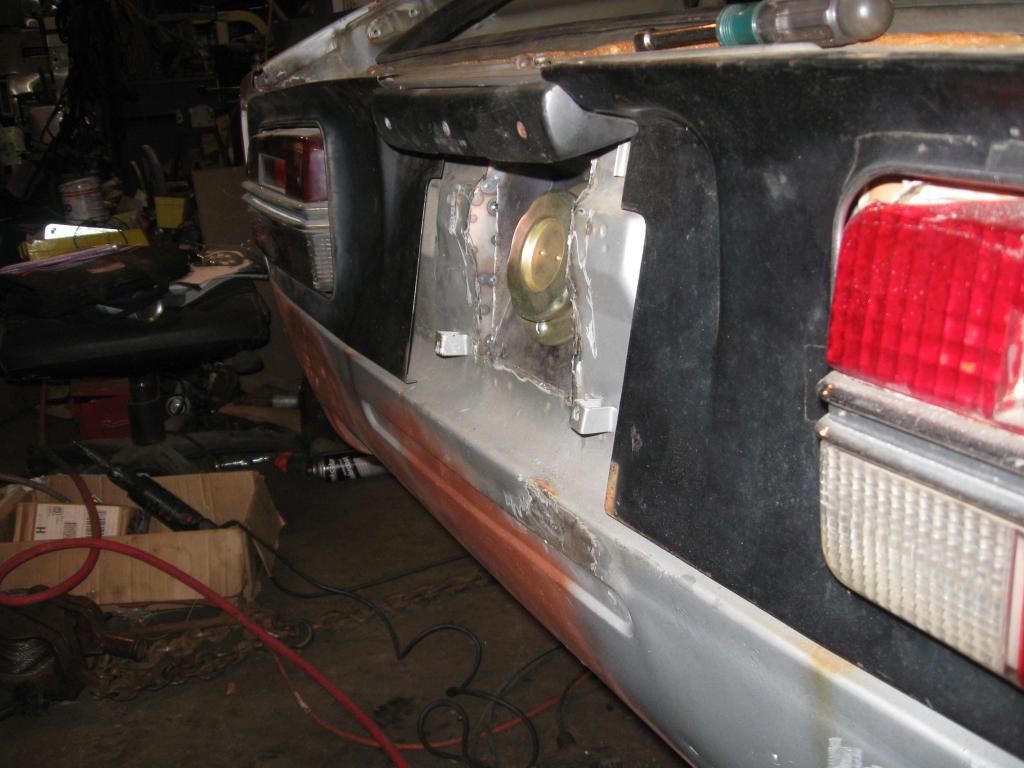
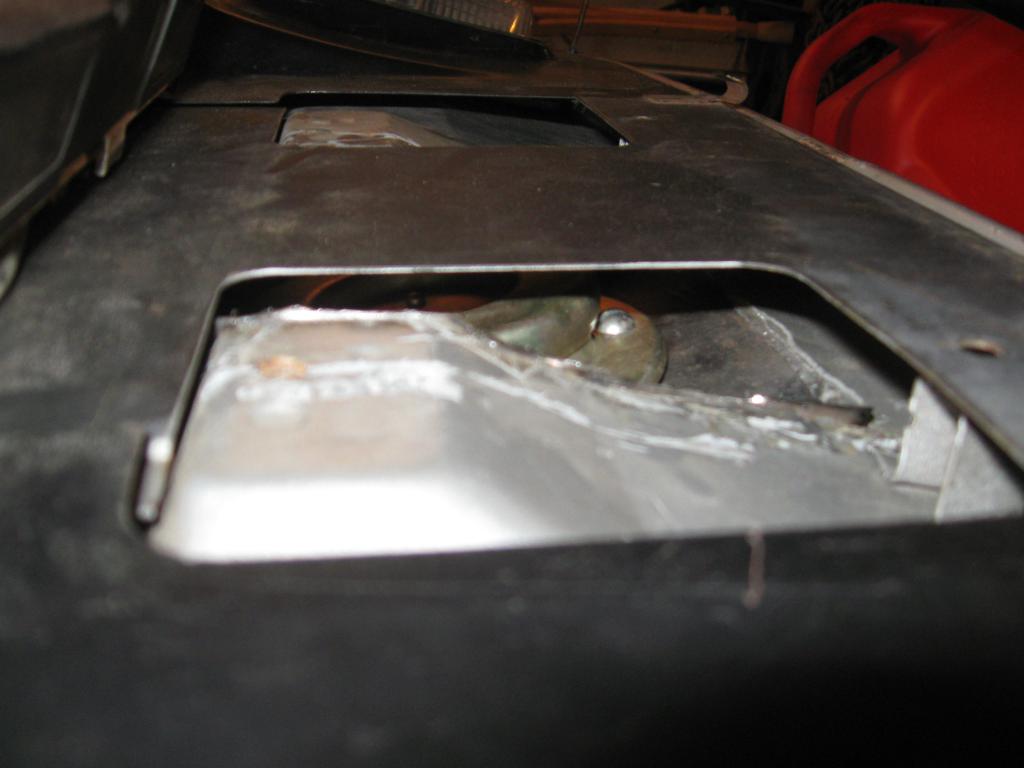
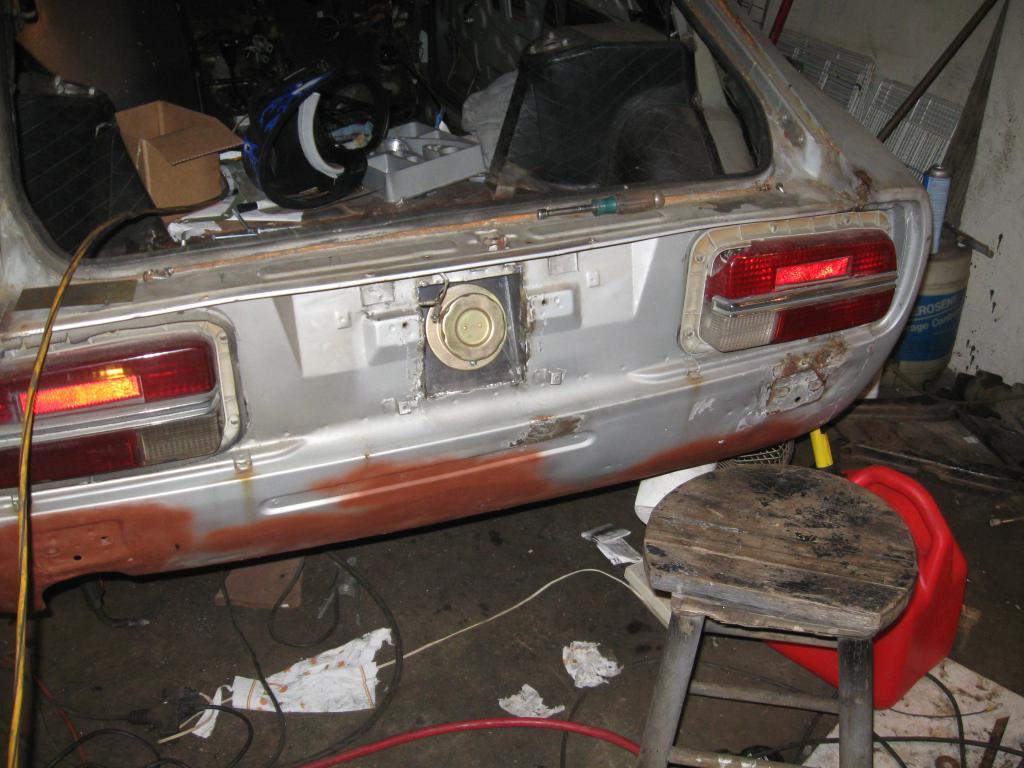
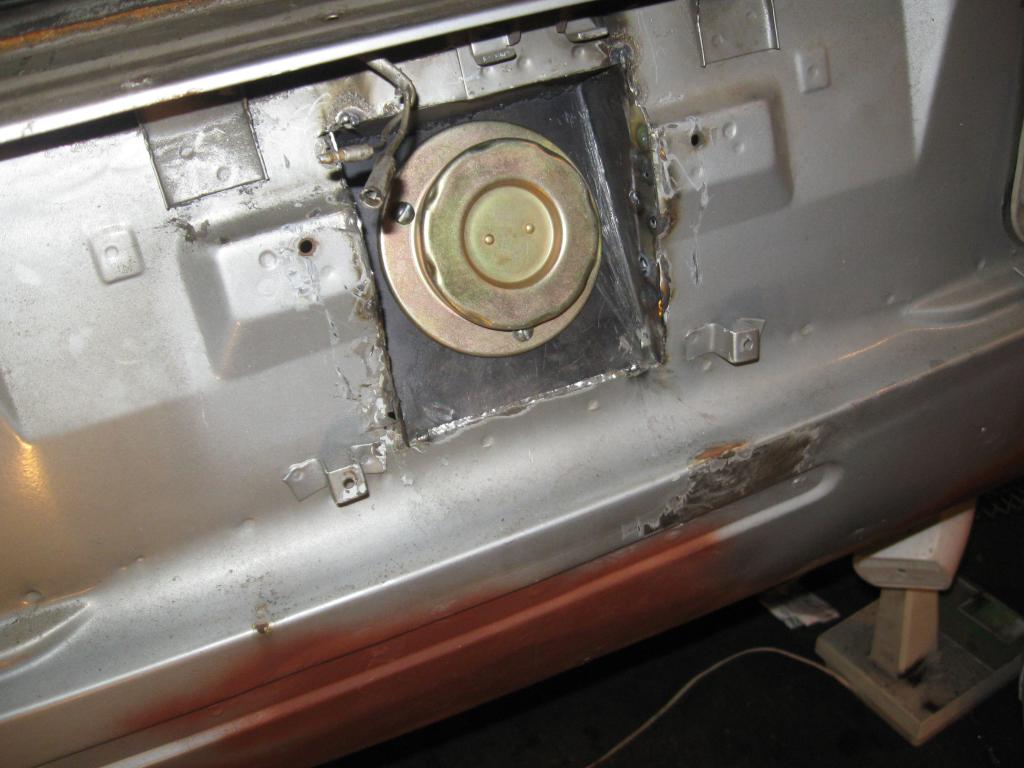
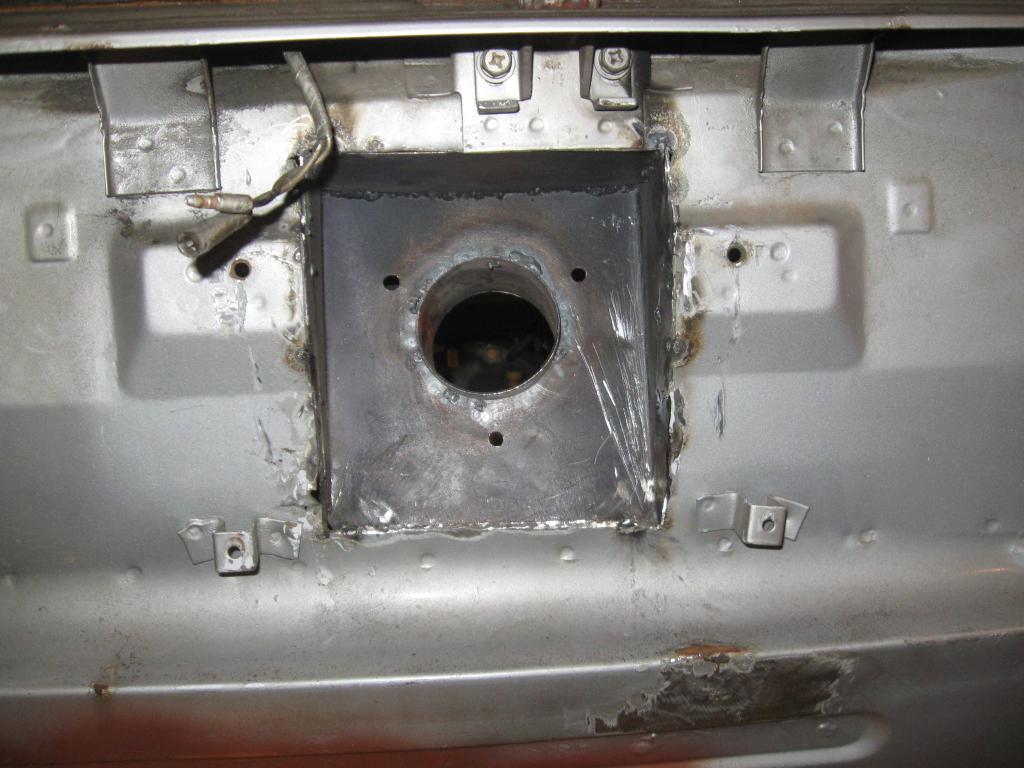
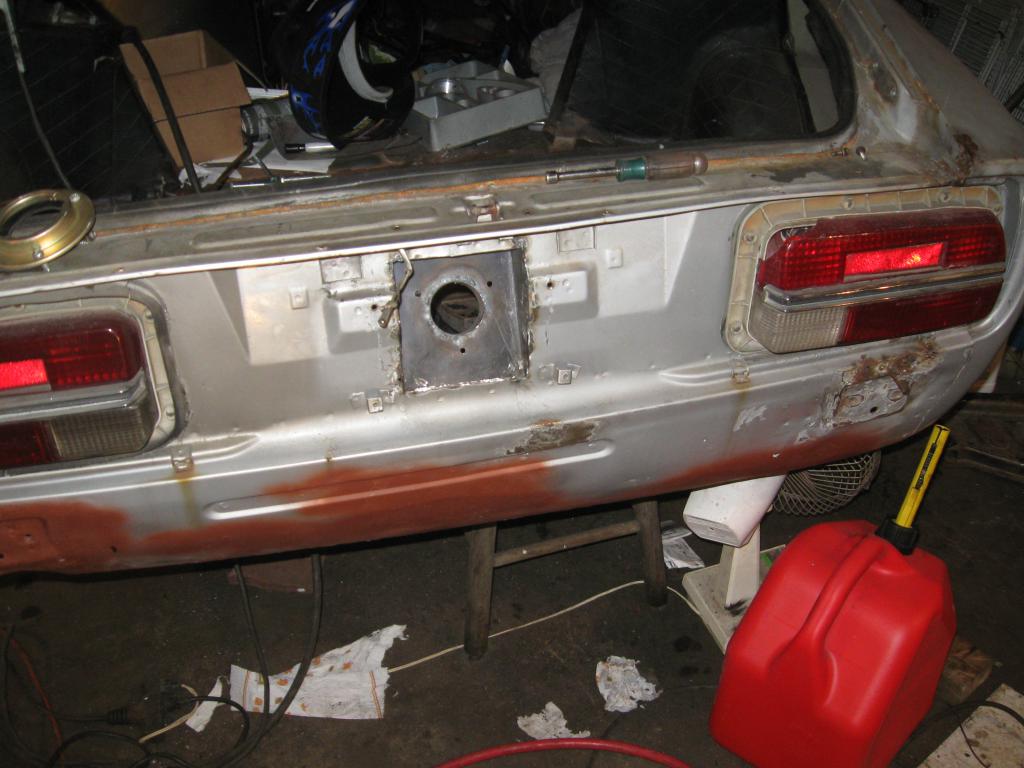
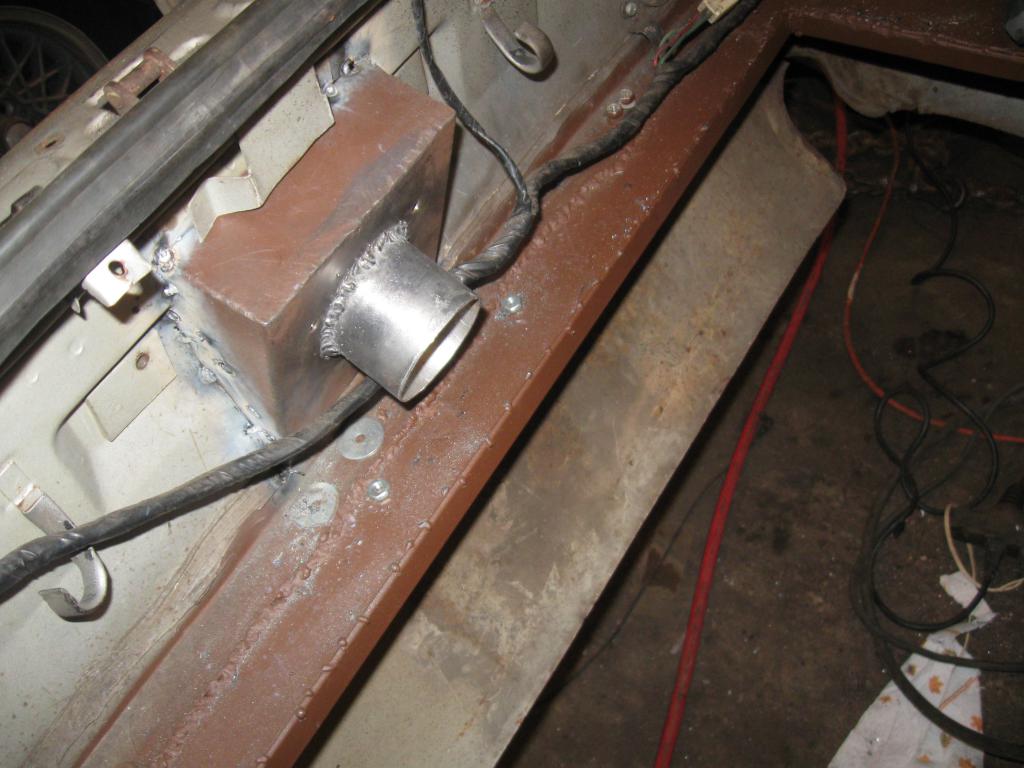
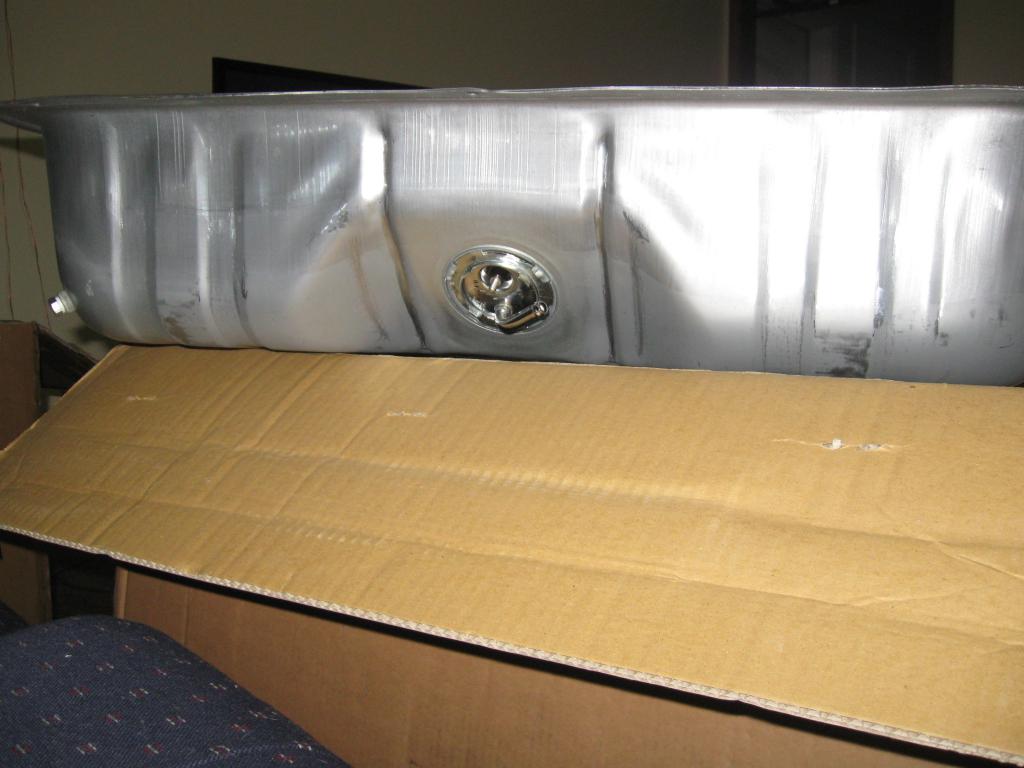
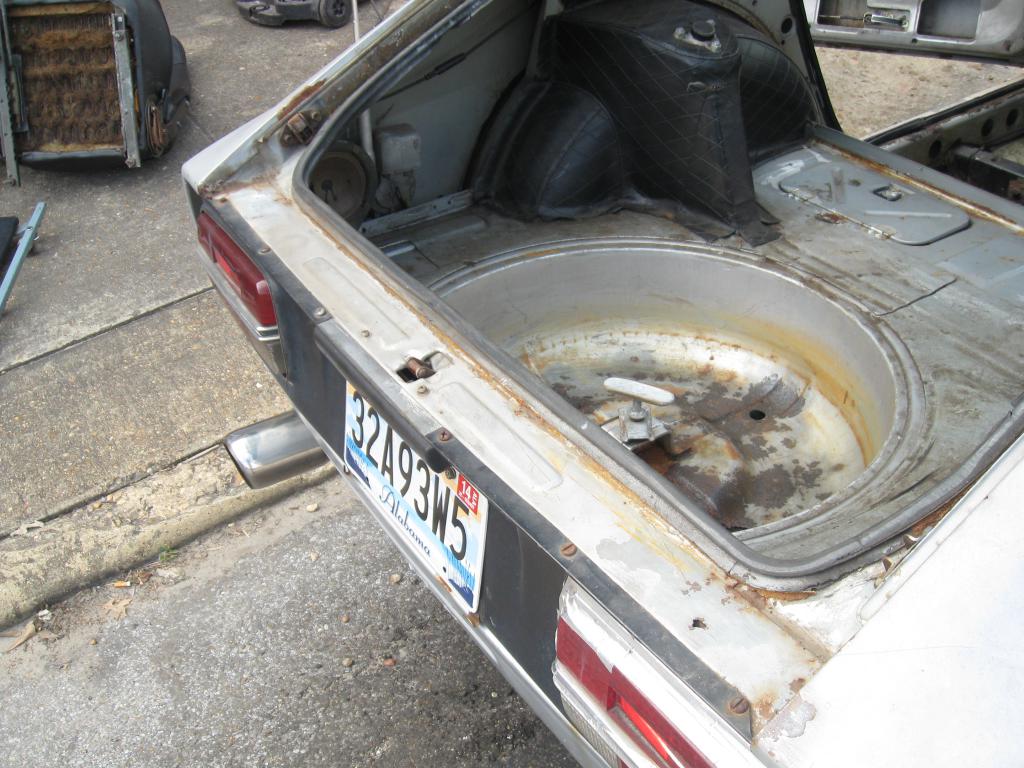
Here are some images of my rear gas cap idea this will be my second one like this my first one had round light this one will use the factory lights. I'll have to find different way to mount my tag but the idea is to keep it look as close to original in the rear as possible. My buddy works at an aircraft shop and he plates all my gold stuff for me. I believe most of the fab work is done i just need to finish welding it solid. I was dreading doing it but once i got started it didn't take long it usually never does just trying to find the courage haha.
-
Oh also got my driver half shaft in but its nearly compressed at full droop. I swapped out the r180 for the 200 and used the half shafts that came with the 200 I checked them against the 180s and they appeared to be the same length can some one help me with this conundrum!
-
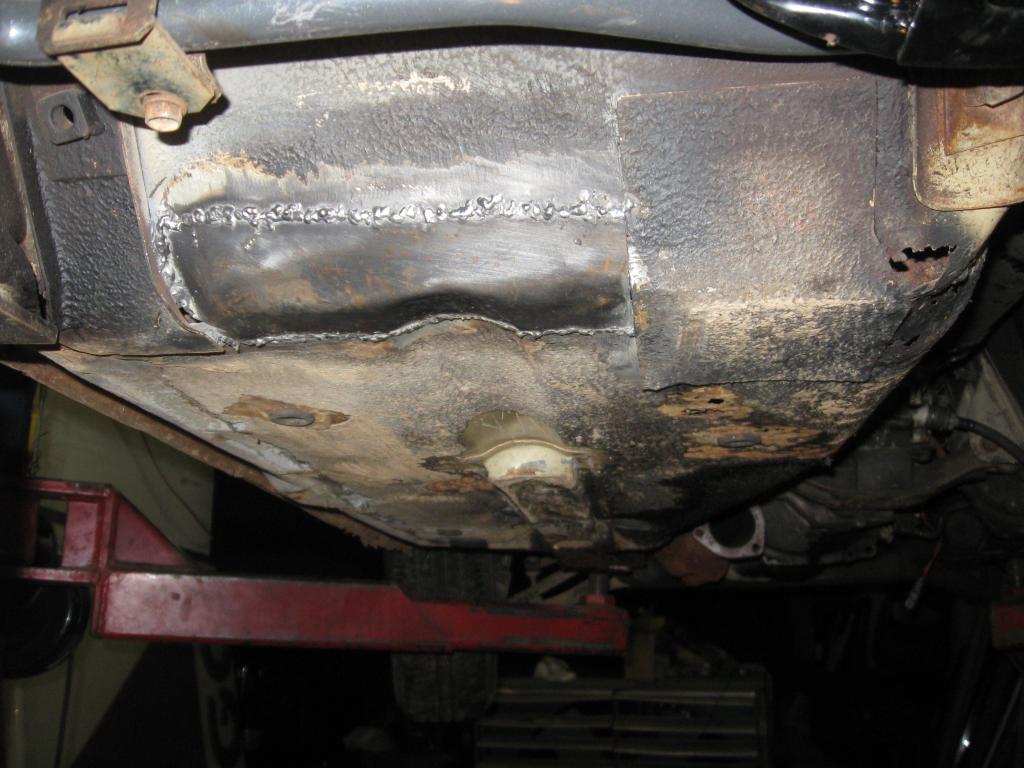
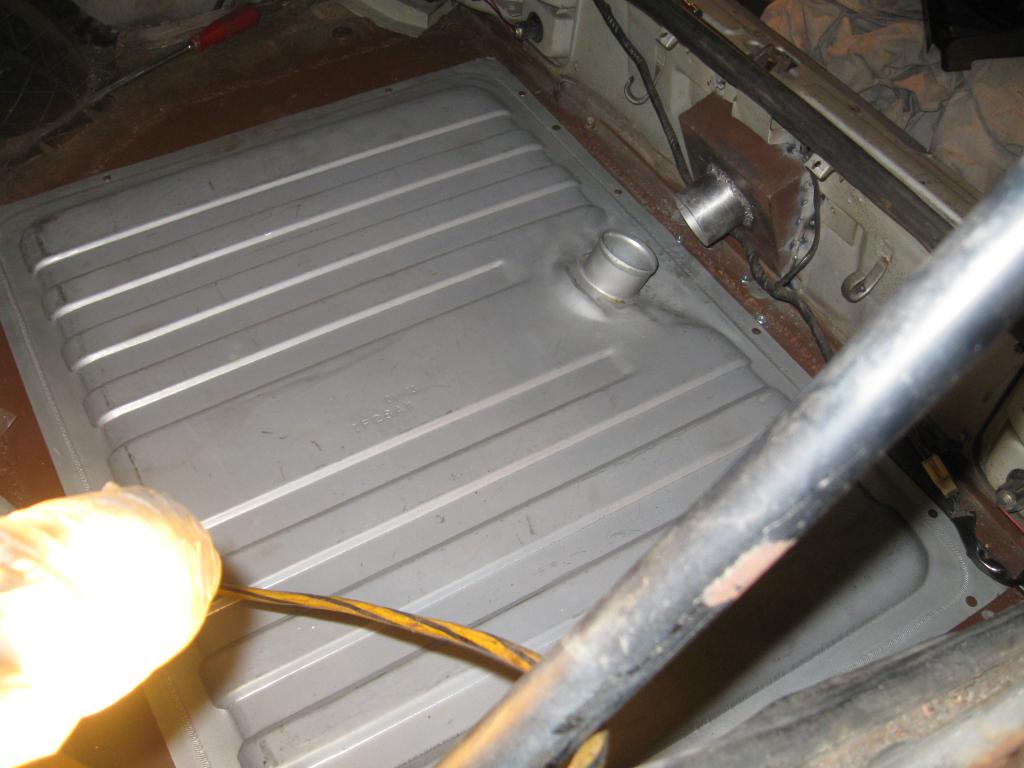
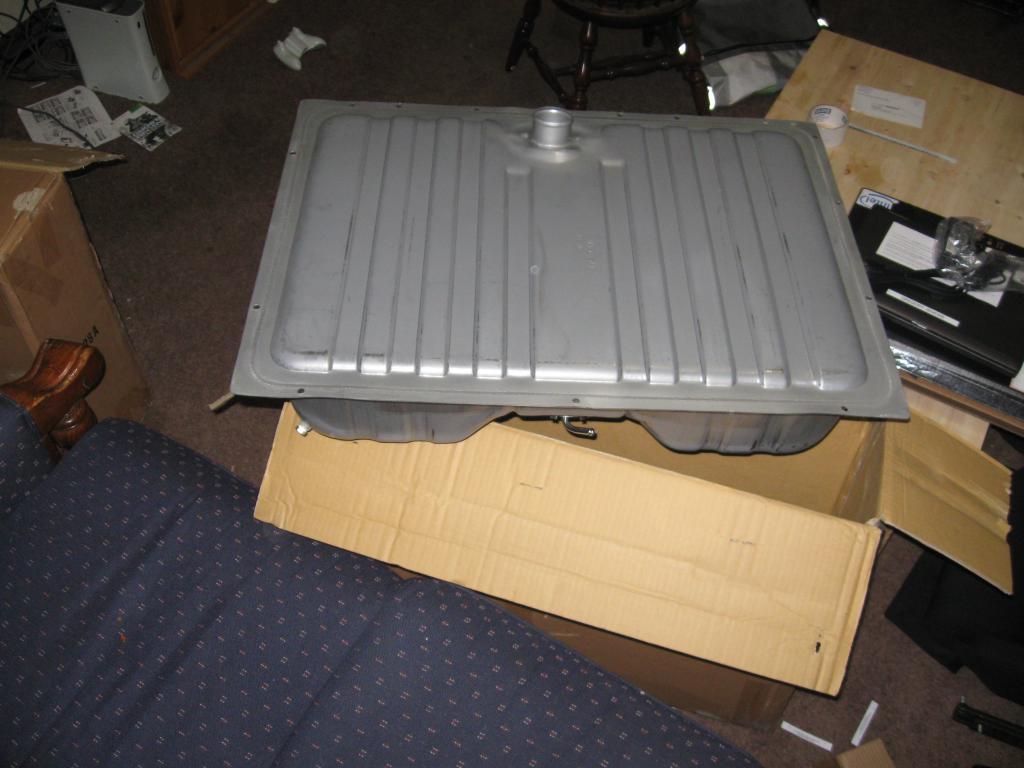
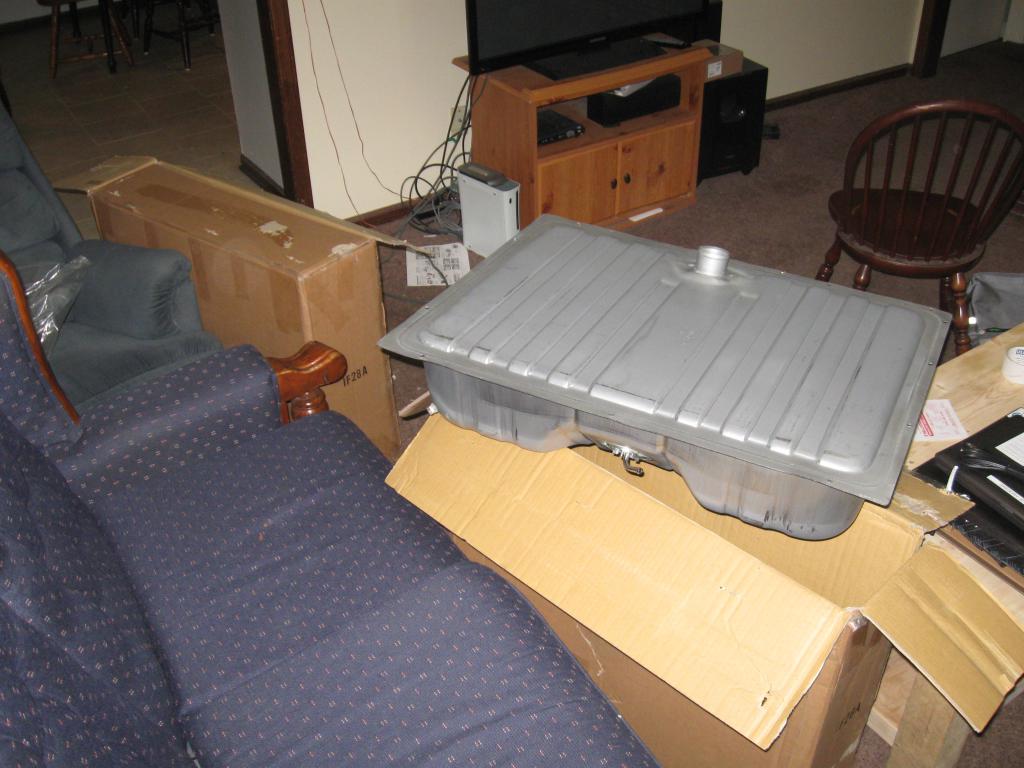
Finally back to the grind quite literally! Now that it's warm I can get started again this weekend I finished up my gas tank frame finished fabricating the gas cap mounting bucket and welded up some on the rear section of the floor board. I'll post some pictures tomorrow
-
I'll build it for you haha don't think it hasn't crossed my mind about pulling the motor out of my 2012gt I bought new into my 73 then throwing twin turbos on it I already got the Garretts for it
-
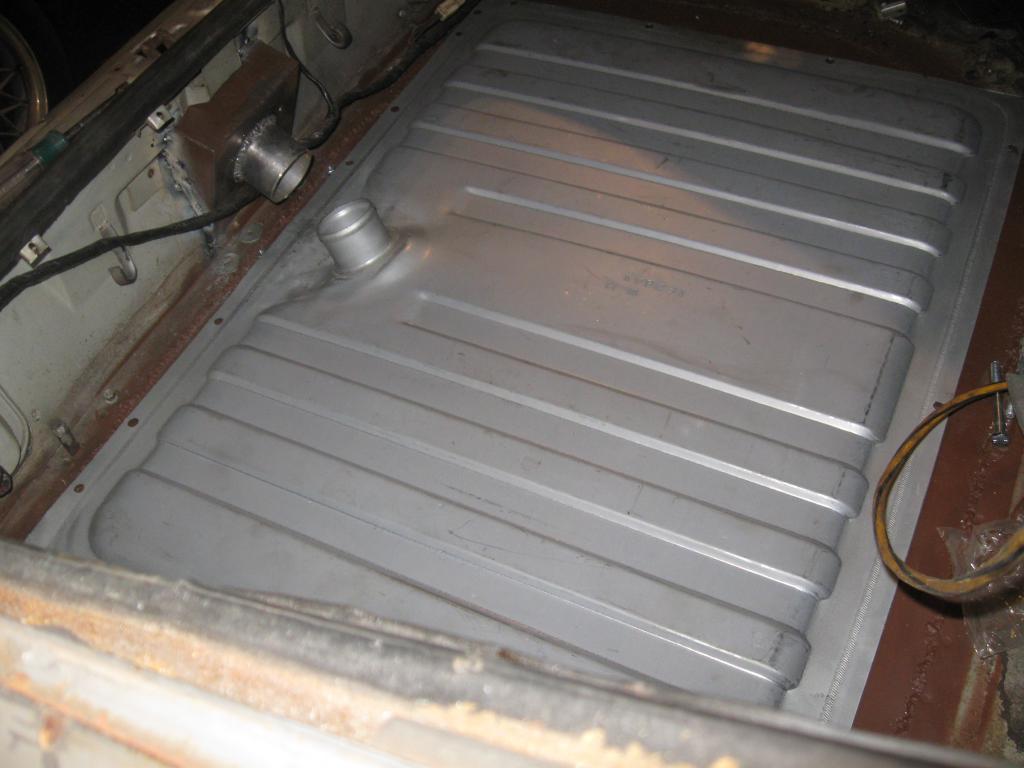
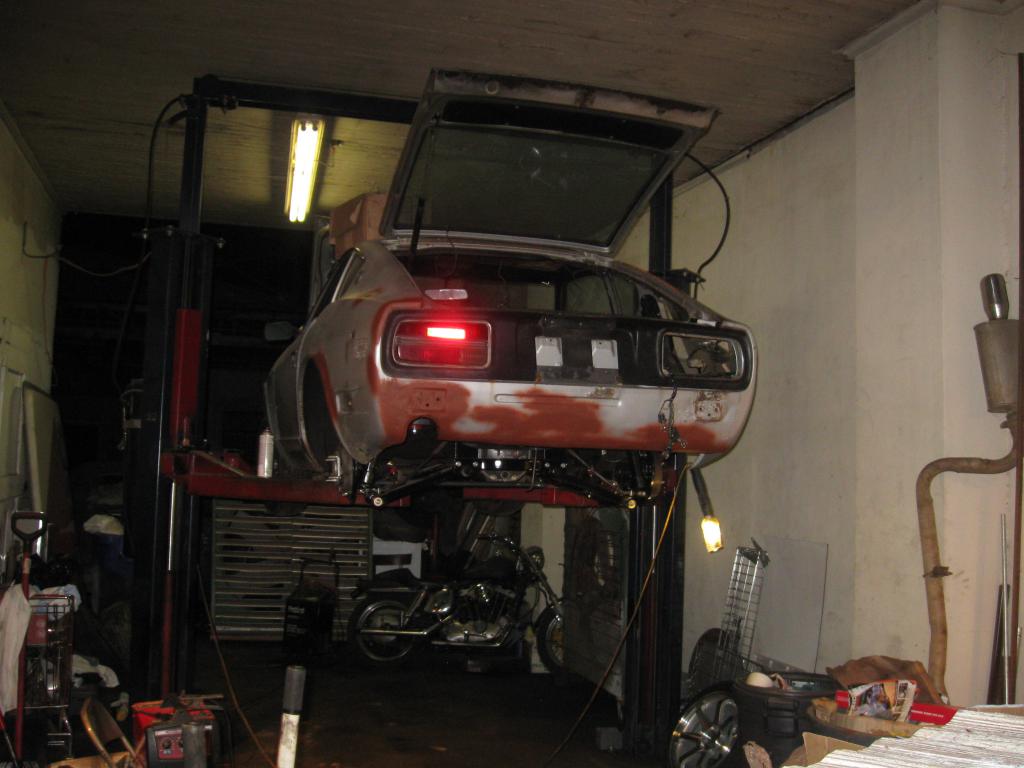
Welded a frame in place and set the tank in there i still need to drill the mounting wholes and weld up the rest of the floor. I'm away on a work trip but will be back soon i hope to get everything together before it starts to turn cold. I always wanted a z with a sun roof.
-
My new tank came in and it's the weekend,Yea! now i can go get started working again. Awe and now it's rainning.
-
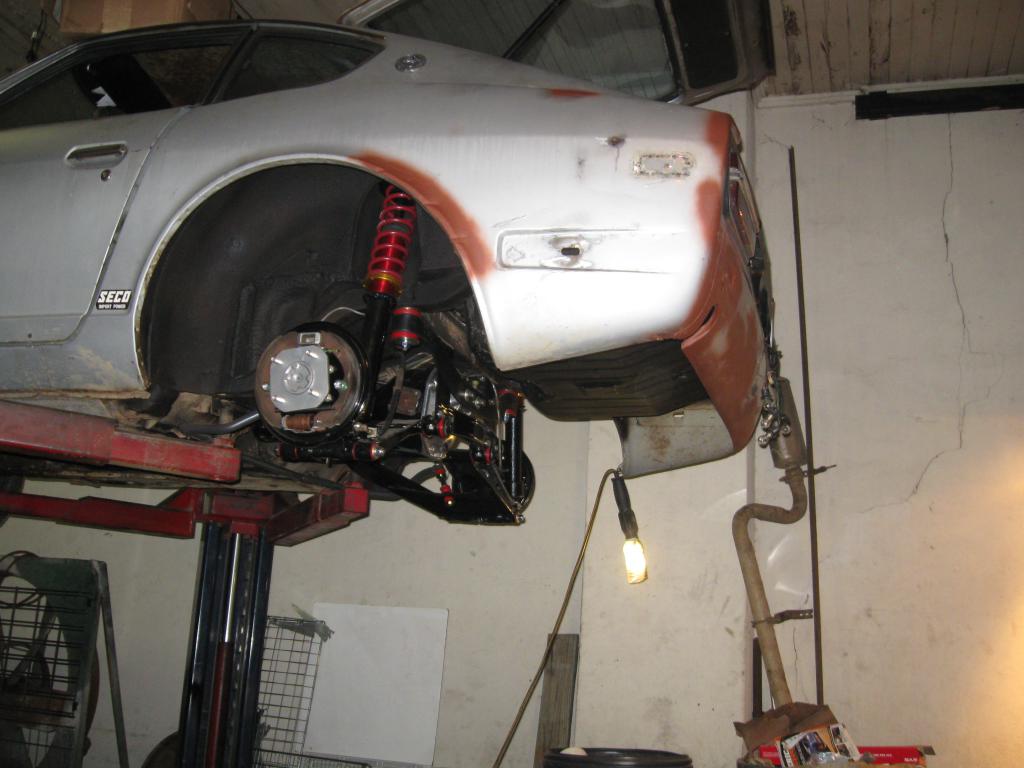
He're some of the bucoddles of parts i ordered for it i've been working on it off and on so far iv'e got the whole rear suspension sand blasted and powder coated new kyb struts g/c coilovers, complete prothane polyurethane bushings even the outers even though they cost me 65 dollars to press them out and the machine shop left the bushings in the control arm and sleeves on the pins, so i cut and torched them out pisses me off ripped me off like that! new bearings for everything inner outer wheel bearings both pinnion bearings and carrier bearings with all new seals. new wheel studs.Everything on the brakes, wheel cylinders, russel lines, brake hardware kit, pads, drums powdercoated the backing plate. All bolts, clips, retainers, clamps, etc. have been glass blasted and re gold zink plated along with some new ones here and there all new lock nuts and lock washers. Rebuilt both half shafts with new u joints new bellows powder coated them. R200 rearend blasted and powder coated buffed the cover. msa sway bar. Thorough cleaning and rubberized under coating sprayed on. Probably some more stuff but can't think of it right now. Really the only thing i have left for the rear is new fuel lines, reinstall the gas tank and weld up some wholes in the tire well where water leaked in from a bad trunk seal. and i'll have that half of underneath the car done! yea which will probably be this weekend and it only took me 6 months lol
-
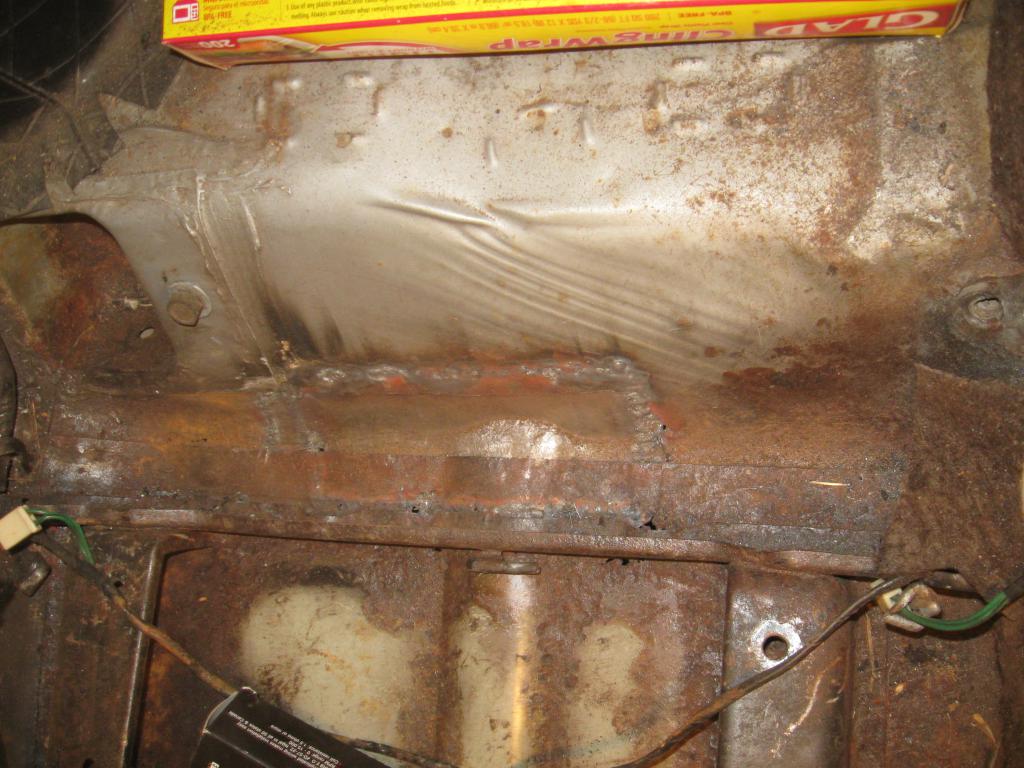
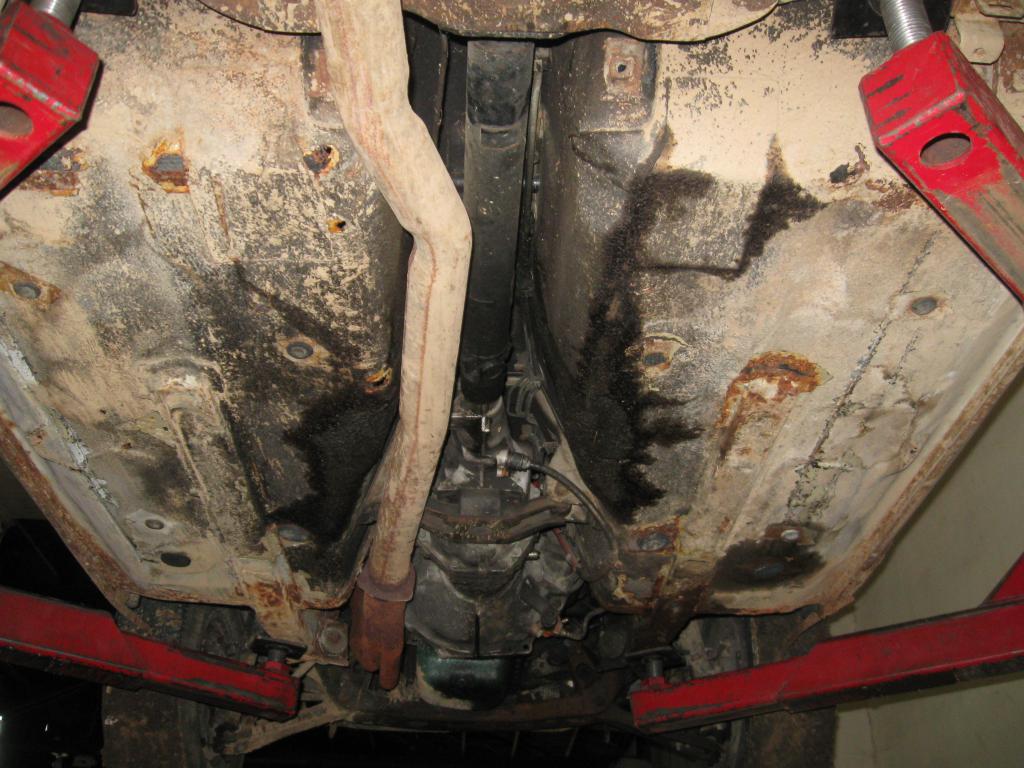
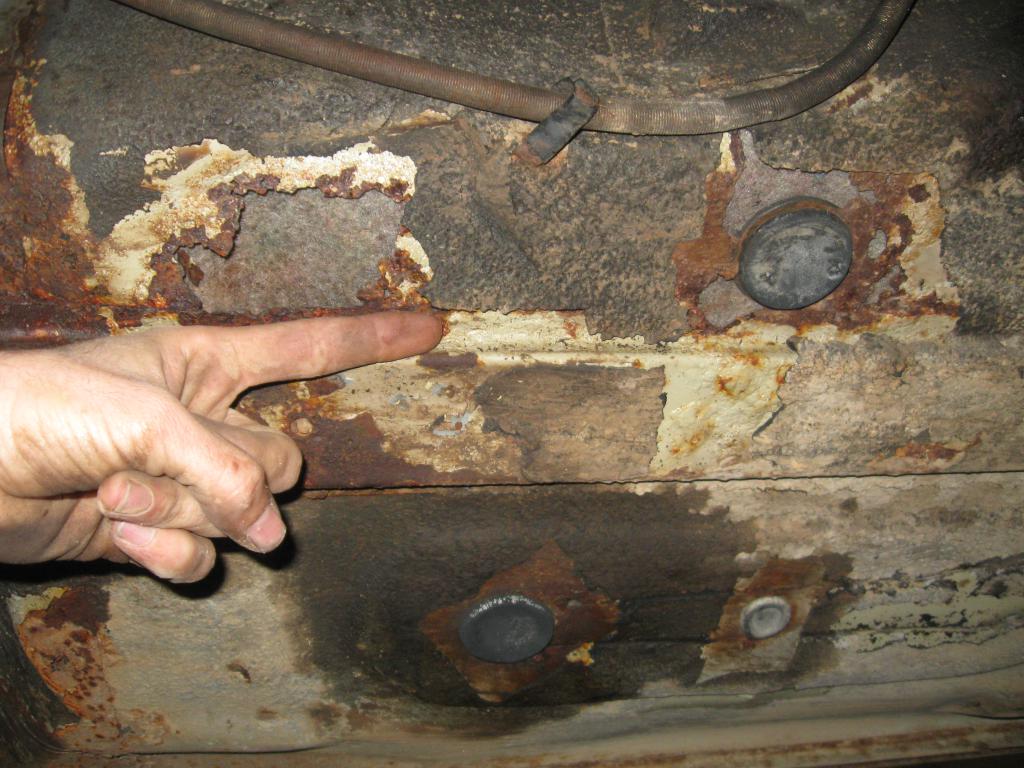
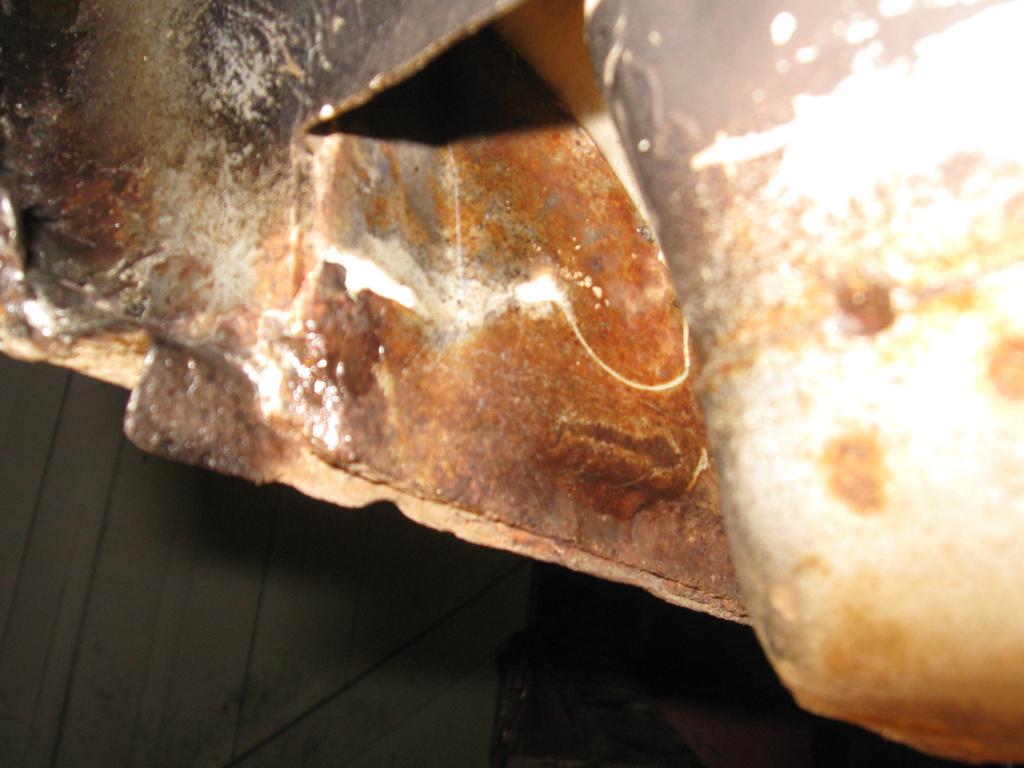
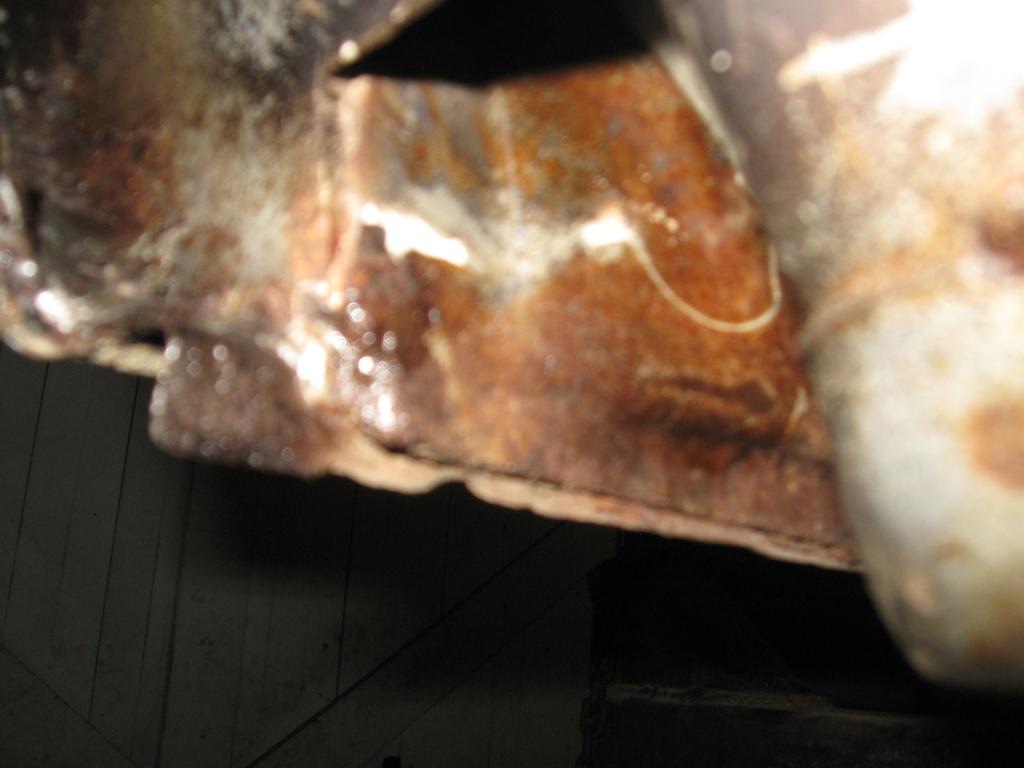
ignore the oil stains my battery fell off the stand and landed on the oil filter burning a hole in it an oil went everywhere.
-
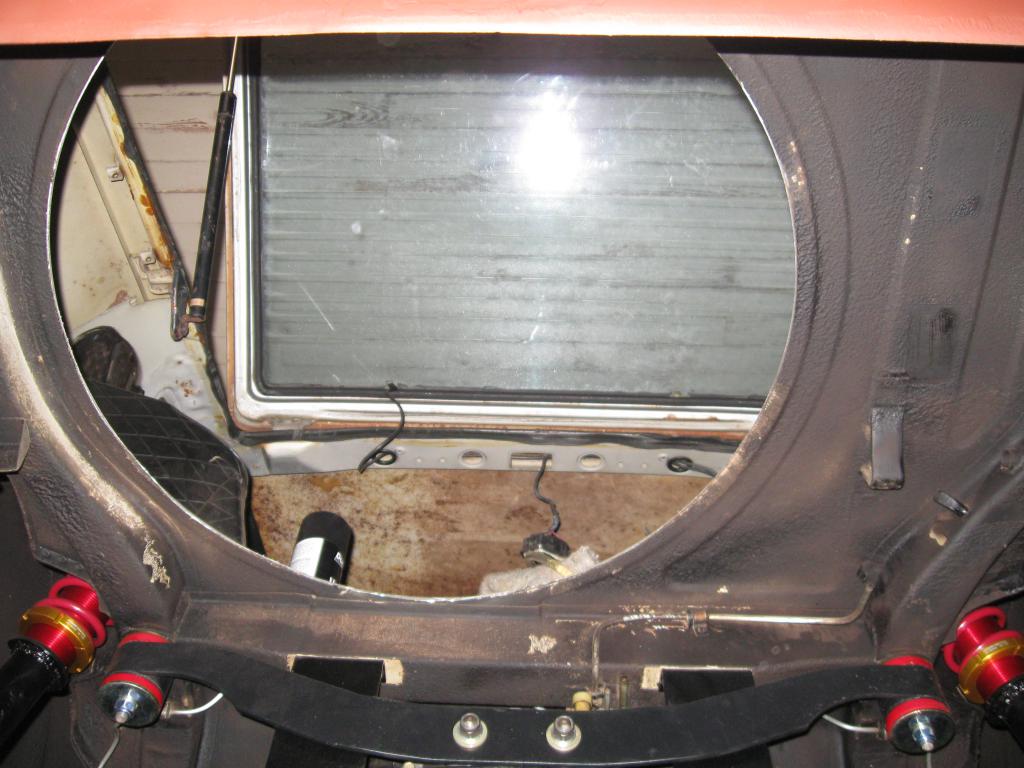
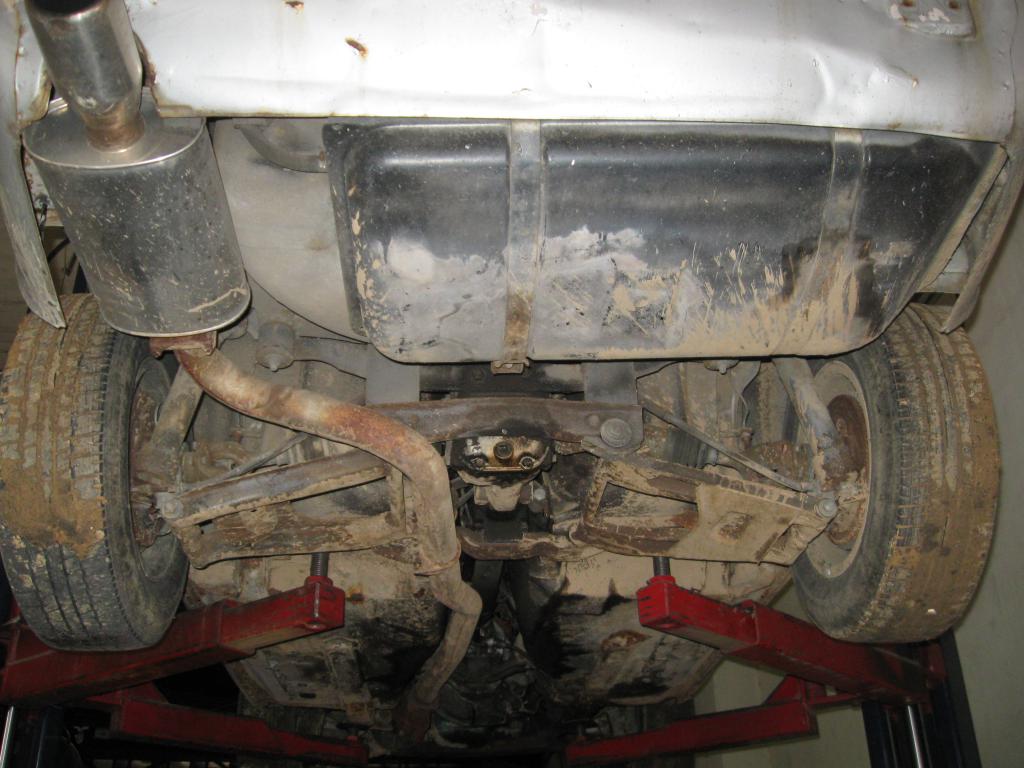
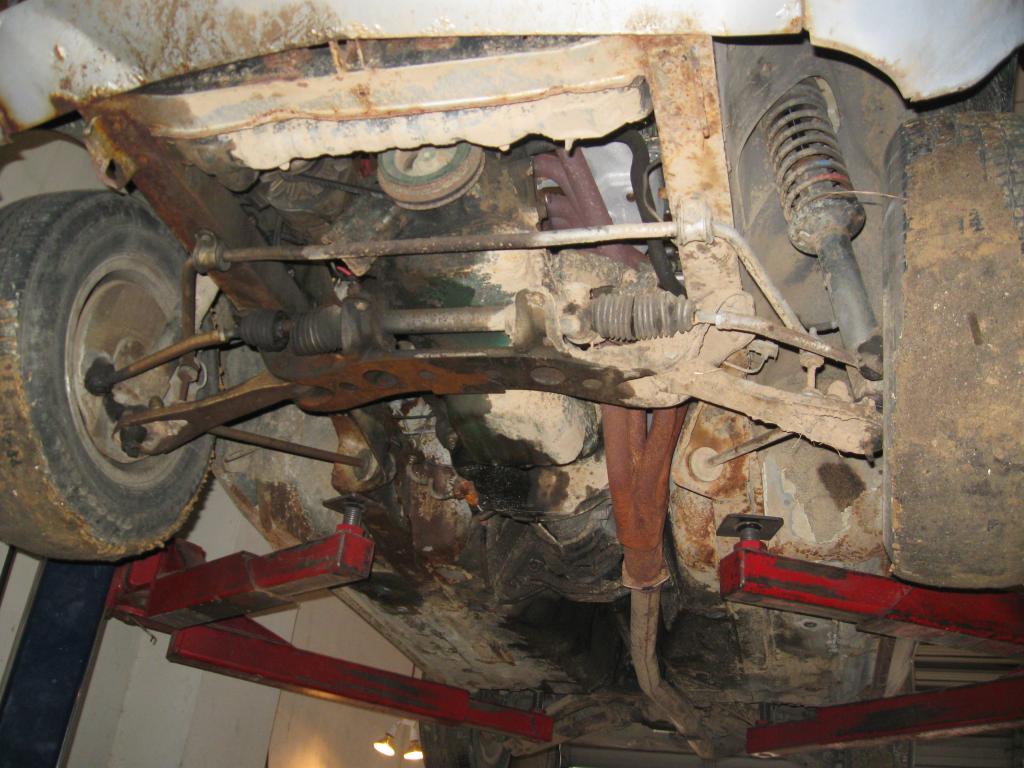
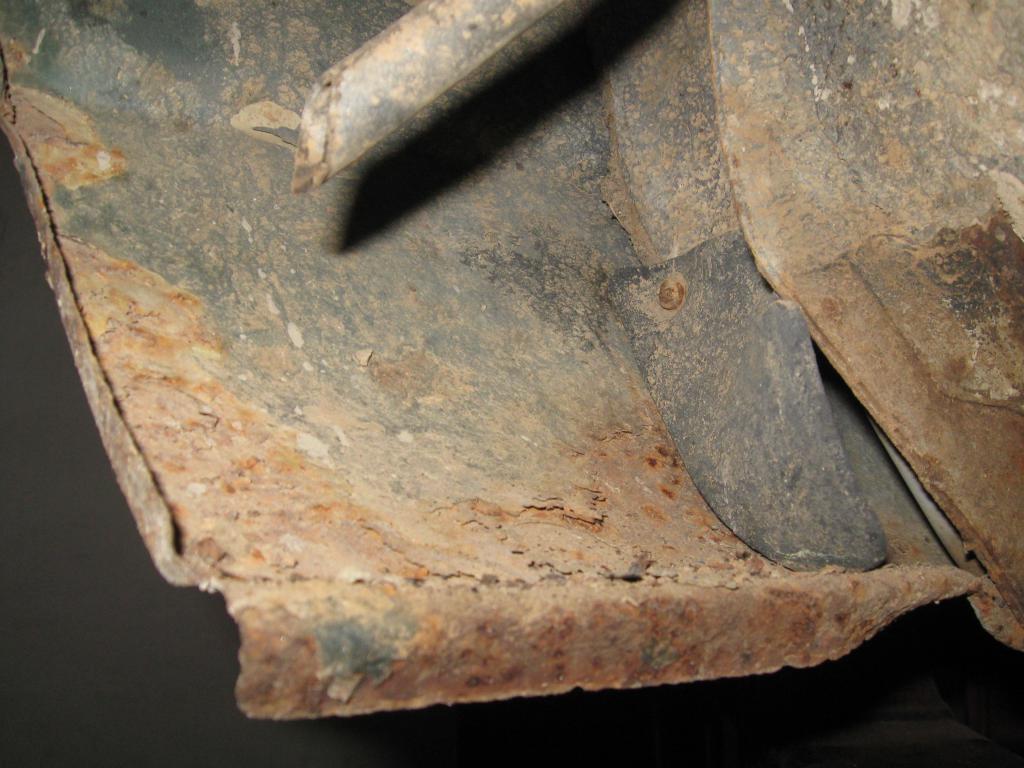
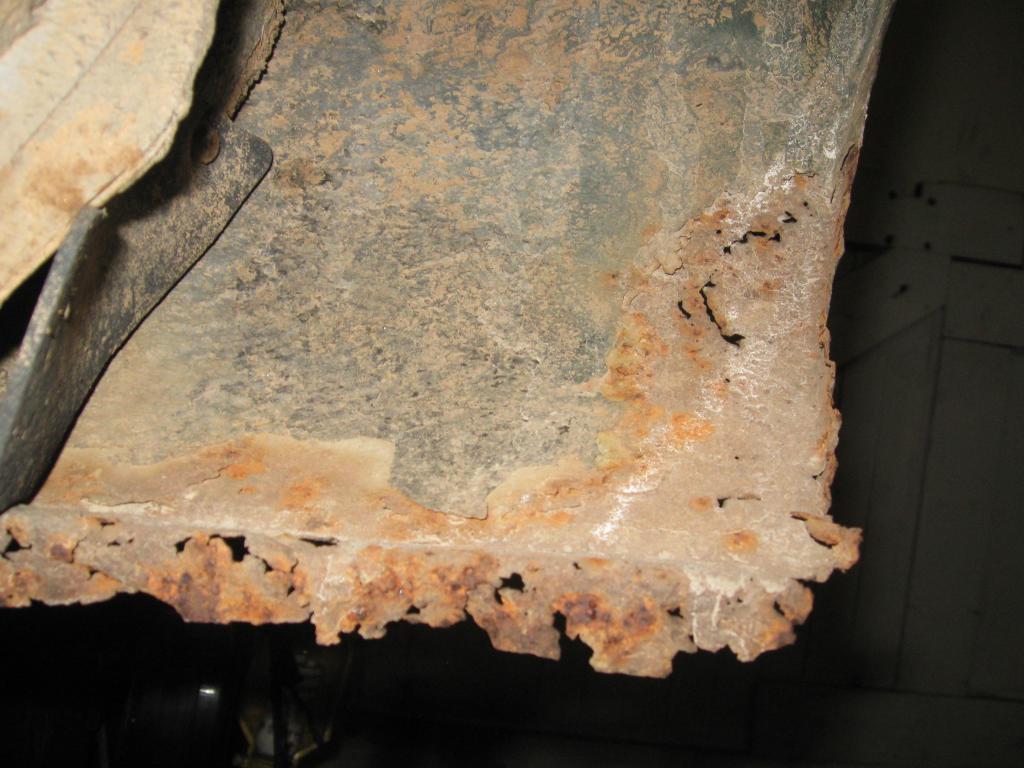
Here is some good shots of the overall under body condition. Not to bad i don't believe.
-
Good job!
-
Brainstorming Aero ideas for Windtunnel II
FLC replied to JMortensen's topic in Windtunnel Test Results and Analysis
I think a good idea would be kinda like civic something said, but find the optimum vent locations through the hood area to create a pressure zone in front of the windshield to help lower the cd which is by far the biggest problem on the z. Another thing would be a rear diffuser angle, although this might be application specific. Since i know theres a thread and plans now i'll be brainthundering on it. -
I just got my ground control setup a few days ago and when i test fitted my top hat on to my strut it just slides down to the bottom of the ram isn't it supposed to stop at the base of the threads? i want to retain my factory strut mount so i guess i don't need it at all but not sure i think i may be pulling the exhaust trick on it like mentioned above.
-
240z, 260z or 280z, chassis/body differences
FLC replied to Teekass's topic in Brakes, Wheels, Suspension, and Chassis
The doors changed from flat to slightly swoopy in 73. i'm referring to the top of the door were the window trim rests. So i imagine the theres a slight difference in the body to match as well. -
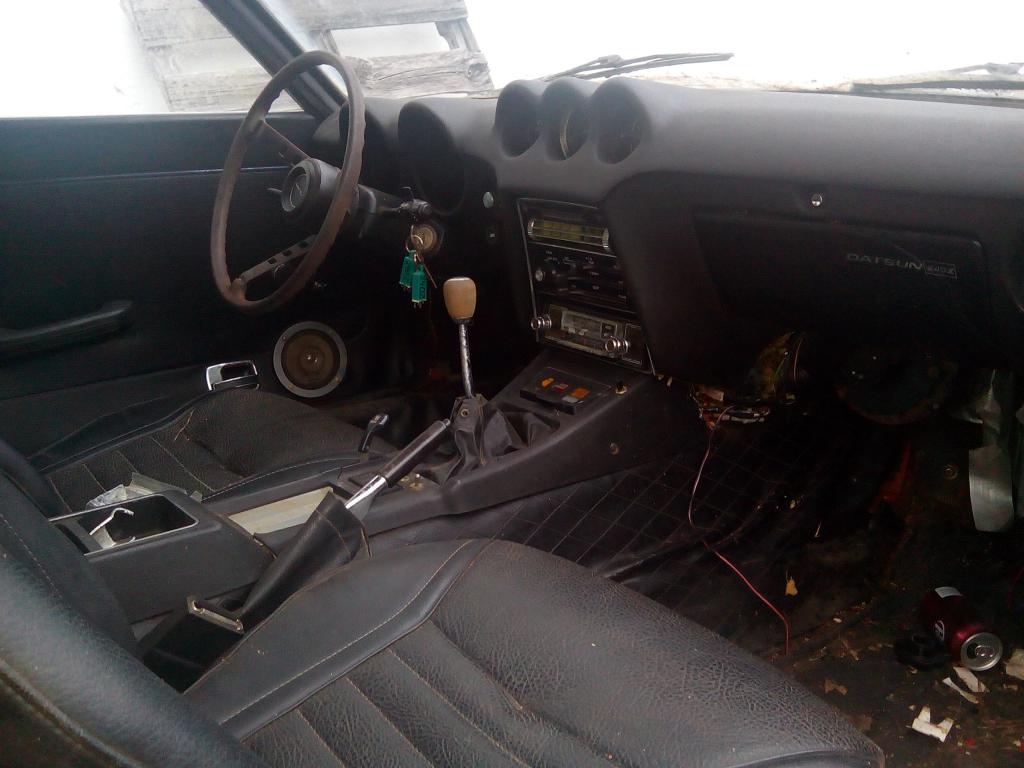
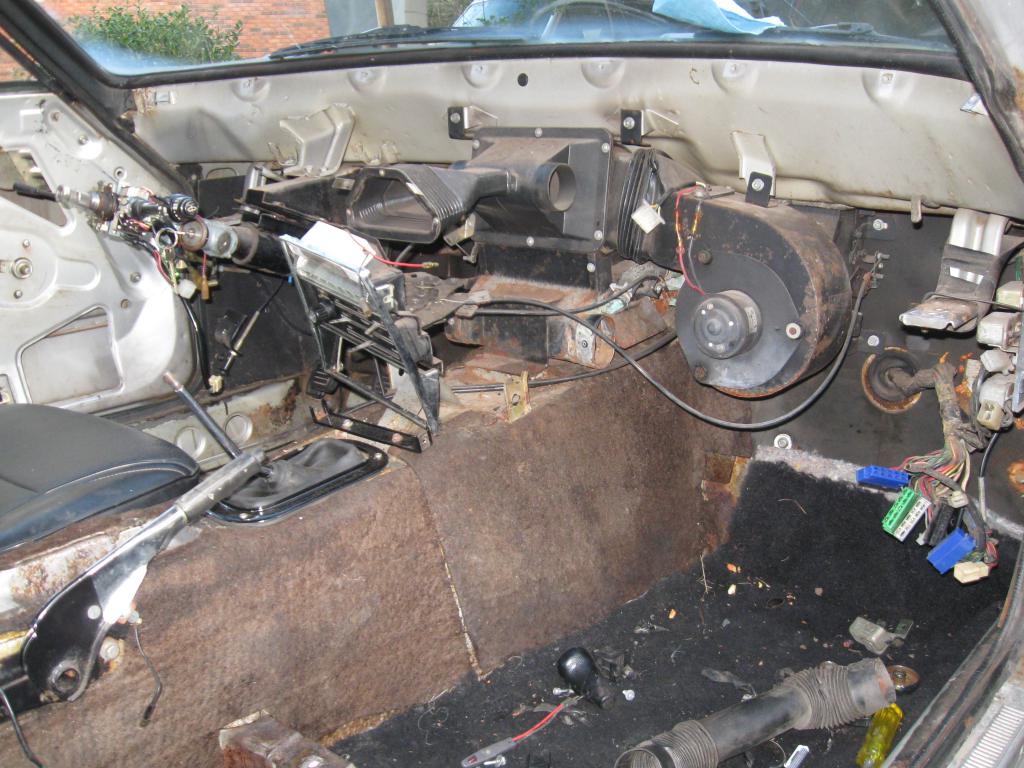
P/o cut random holes in the door and looks like he tore it some how in the upper right side on the inside frame structure not sure how or why my guess is he used tin snips, pliers and a ton of patience to get it to look all gnarled up. Also cut most of the center fuse block up too(leaving to little wire to repair), i guess try and fix the lights because they weren't working. He put switches in for the taillights and headlights but never bypassed any anything???. turns out the right rear side marker light was corroded causing an electrical short. Some funky ignition wiring. Now that i think about it there is a l28 in a 240 so this alternator is putting out more than the stock voltage regulator can handle I'm not for sure about that going to do some research before i point any more fingers. And i'm sure 'll find more as i tare deeper in to it. not complaining cause i like a challenge haha.
-
Progress on my insane VQ35HR 240Z project
FLC replied to markrolston@mac.com's topic in Nissan V6 Forum
What type of foam did you use for your intake? i used some "Great Stuff" canned insulation foam you can buy at home depot to make molds for a glider wing i built but it didn't turn out as nice as yours there was tons of holes and lacked uniformity. Also what type of core material did you use for your splitter? great project mine will get built eventually so enjoy being on top while it lasts lol.