

proxlamus©
-
Posts
2145 -
Joined
-
Last visited
-
Days Won
1
Content Type
Profiles
Forums
Blogs
Events
Gallery
Downloads
Store
Posts posted by proxlamus©
-
-
you know for $27k for the premium Genesis.. and almost $23k for the base..
I think I would rather buy a low mileage used Nissan 350z for the money... whatcha guys think?
-
Spooler can you explain why you feel the Wilwoods are better?!
Braking performance? Heat fade? What kind of pads did you have on the 4x4 setup?
-
well that solves it...
I have a street car I enjoy taking to the track like 2-3 times a year. thats it
Why bother spending soooo much on Wilwoods! If they are good enough for VARA race cars.. its good enough for a street/play car.
If I had a full blown track car that never touched the roads it makes sense that Wilwoods would be ideal.
-
its a throttle body as an exhaust cutout
-
So i've been heavily debating which brake setup I should go with on my baby..
Arizona Z car's Wilwood 4 pistons brake setup $789 + proportioning valve
- or -
Toyota 4x4 VENTED calipers and 300zx rotors $360
I am trying to justify the price.. I would like some more help!
Toyota 4x4 vented setup
Pros
- Cheaper
- Parts and rebuilds are cheap and over the counter
- 4 pistons
- Cheap and easy to find pads
Cons
- Cast iron?/steel? calipers
>> added weight
>> retains heat longer which is bad
- smaller rotors
- they dont look as cool
Arizona Z car Wilwood setup
Pros
- Look amazing
- Weight Savings with aluminum calipers
- Better heat dissipation with aluminum calipers
- Bigger rotors
- 4 piston
Cons
- Expensive
- NEED a proportioning valve
- Replacement parts and rebuilds are order only and slightly higher costs
- Pads are order only and also slightly higher in cost
These are things I can think of off the top of my head and I'm sure there are plenty of other pro's and con's im hoping you guys can point out!
I need help understanding that they are both 4 pistons.. with the same pad material and the same amount of braking force from the 280zx master cylinder.. shouldn't the car stop the same?!
-
lol funny story im about to fix the SAME spot on my Z tonight!!
-
impressive welds on that cage!!
Tig or Mig on those bad boys?
-
roostmonkey just made a ton of R/t mounts..
$62 shipped is a great deal
I thought you were converting to a Z32 transmission? I may be mistaken.
The fidanza flywheel is soo weird to get used to .. but you'll fall in love with it soon!
-
http://forums.hybridz.org/showthread.php?t=144819
One of our vendors currently sells them for a 240z and 280z.. very very moderately priced!
-
Subaru and Suzuki dropped out of the WRC...
The WRC now consists of.. Ford and Citroen. booorriinnngg
I cant believe this.. seriously?
-
lol.. be nice!
that was his first post! i wouldn't call him a 2 year old! just needs to do more research!
-
No offense.. but your driving a 30 year old sports car designed to be cheap and affordable...
The car was not built for aerodynamics.. I severely doubt changing the mirrors would provide any beneficial effect to the performance of your car. In fact this would hinder the safety of your car. On top of that your spending money on something that can be truly beneficial.
We all know what can be done cheaply to slightly improve the aerodynamics.. but I think the mirror idea is pointless.
Sorry man
-
Aww man!
Remember i sent ya a PM saying you will need to do some slight tapping on the actual transmission tunnel to fit the adapter. Either that or cut off the corner of the bracket with an angle grinder or something.
I didnt realize the bracket touched the tunnel untill I finally raised the unit in place.
Like I mentioned the unit was a quick prototype... but works with a bit of massaging. The machine shop didn't charge you much did they?! I feel bad now
-
I love being cheap!
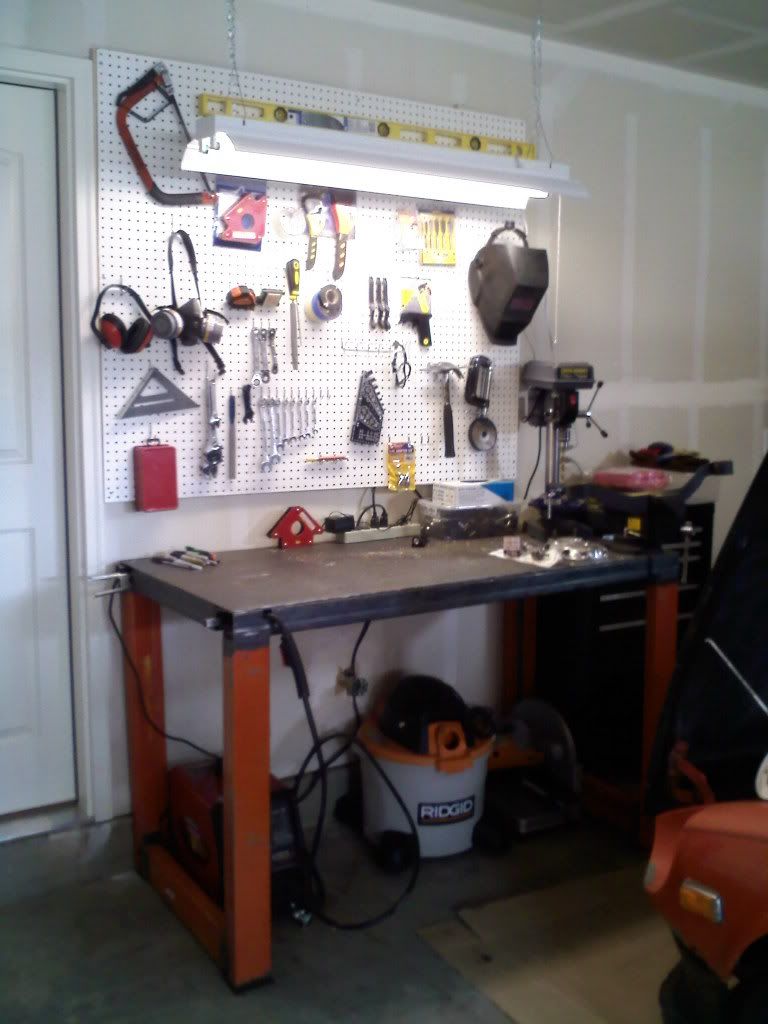
I found this peg board in the scrap bin at home depot.. $1.01 and the peg hooks at harbor freight on sale for $2.99! The 1x2's in the back were $2.10.

Its actually starting to look like a shop bench! yay!
-
Nice!
I really would like to do this now!!
Thank you for the write up and sharing the info! saweett!
-
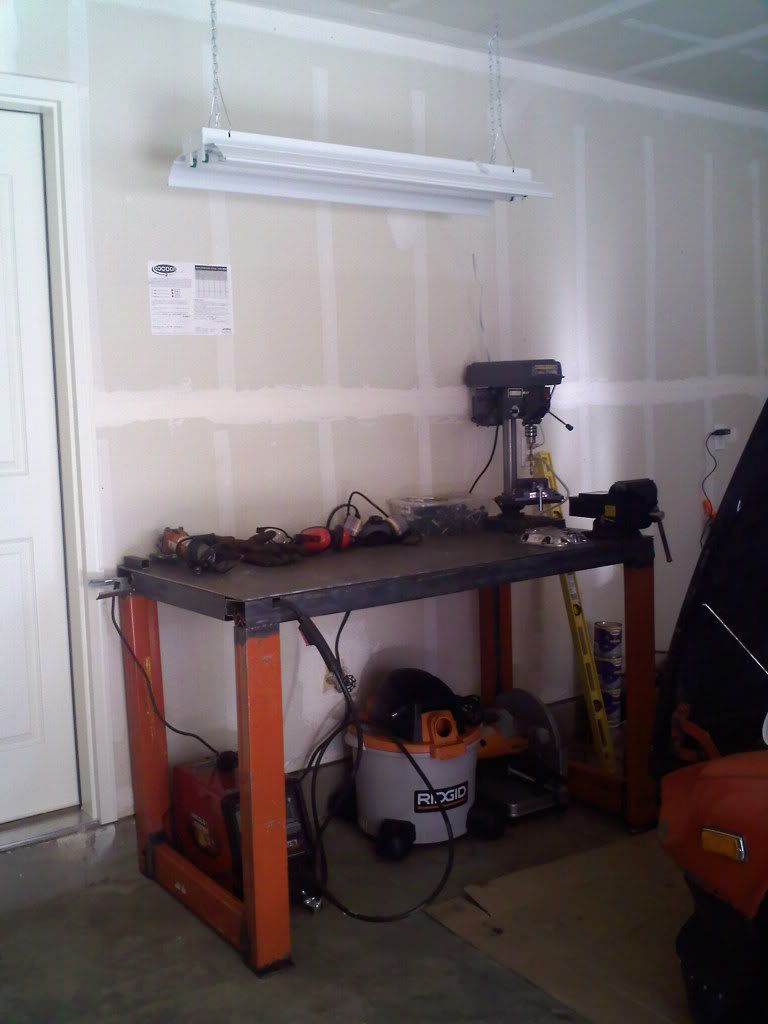
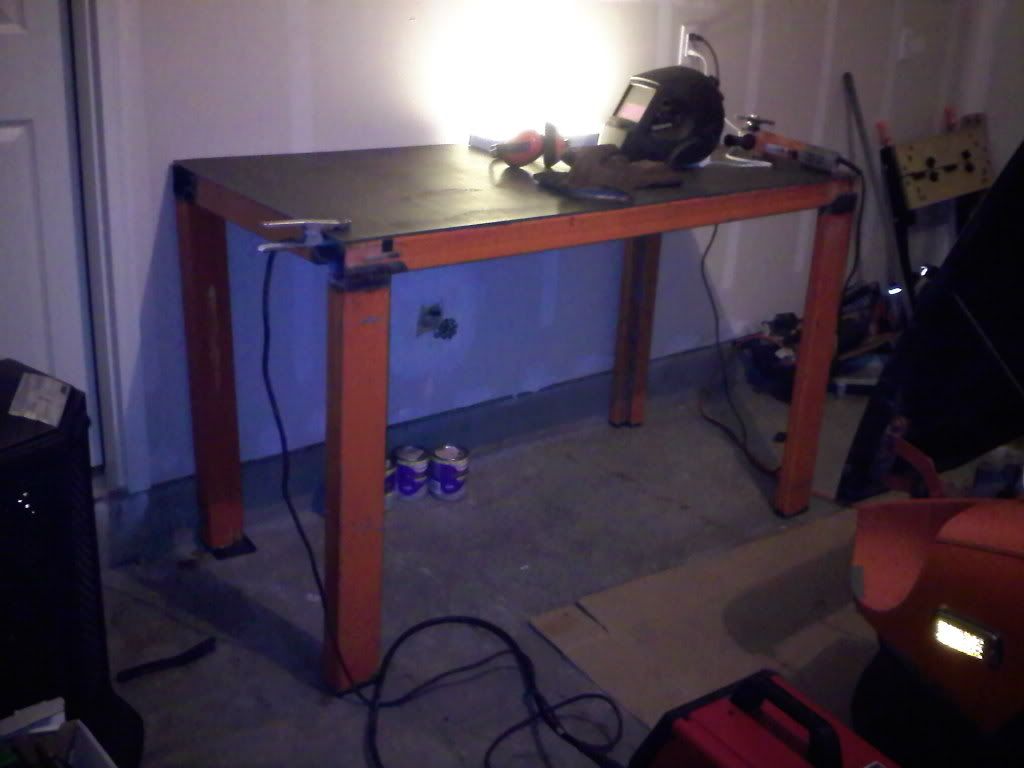
I added some new cross beams for more support!
now it's rock solid!! I was going to add a bar across the rear of the bench but its sooooo sturdy as it is! why bother! lol
I also added a worklight, 5" vice and threw some crap under the bench... I know its a mess!!
All she needs now is PAINT!
oh well
-
Ken didn't you buy my relocator?!
what additional work was required?!
-
Well I finally bit the bullet and decided to build a workbench!!
I was pondering the idea of what the hell I could use to build the frame.. keep in mind im cheap.. very very cheap and I hate spending money.
I currently work at Home Depot until I finish up my pilot ratings and hopefully get hired on someday from someone.. and one day.. it dawned on me. pallet racking! I'm standing in a warehouse full of it!
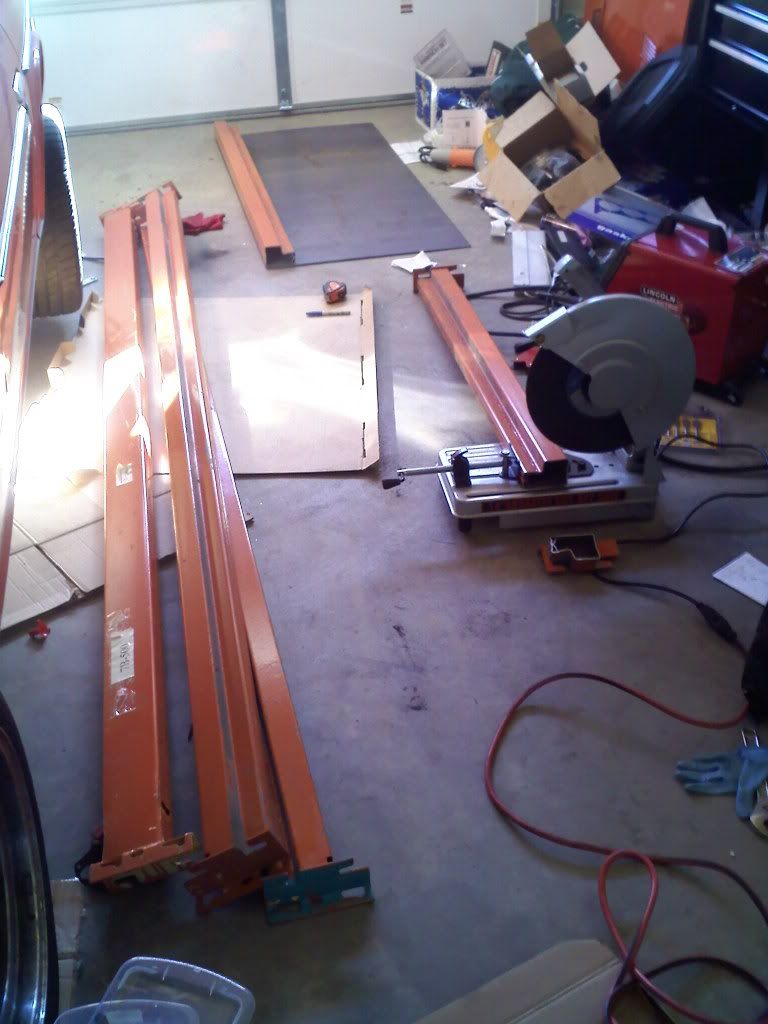
I didn't want to steel the racking and get fired.. so I tried craigslist. Someone was closing out a warehouse and was selling 2x3 cross beams at 112" inches long. I figured I could grab 4 or 5 beams and start chopping them up. The guy only wanted $10 per beam! 5000 pounds capacity each.. it'll do.
The next step was figuring out the table top.. i could grab some OSB.. but I want to weld.. so I found some 3/16" thick steel for $60 + $5 labor to cut it.
I don't want to post my measurements because everyone is different.. we are all different heights and have different size workshops/garages. But my particular bench is 28"x60". Its perfect for me.
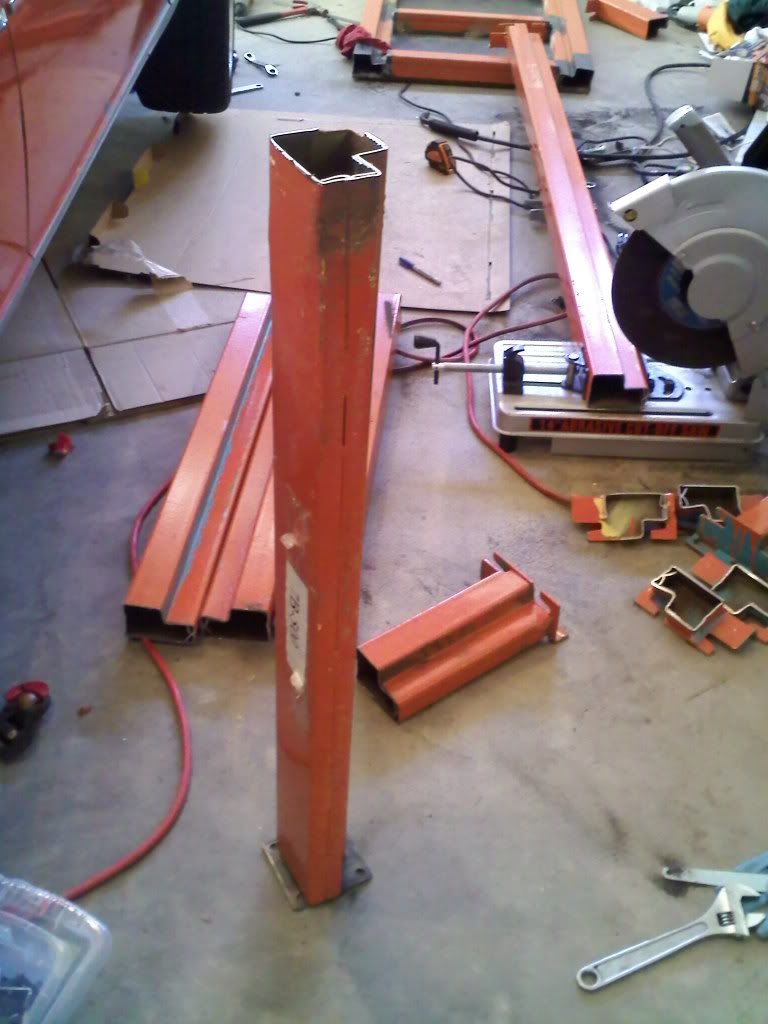
Pallet racking laid out and i'm beginning to cut it all up
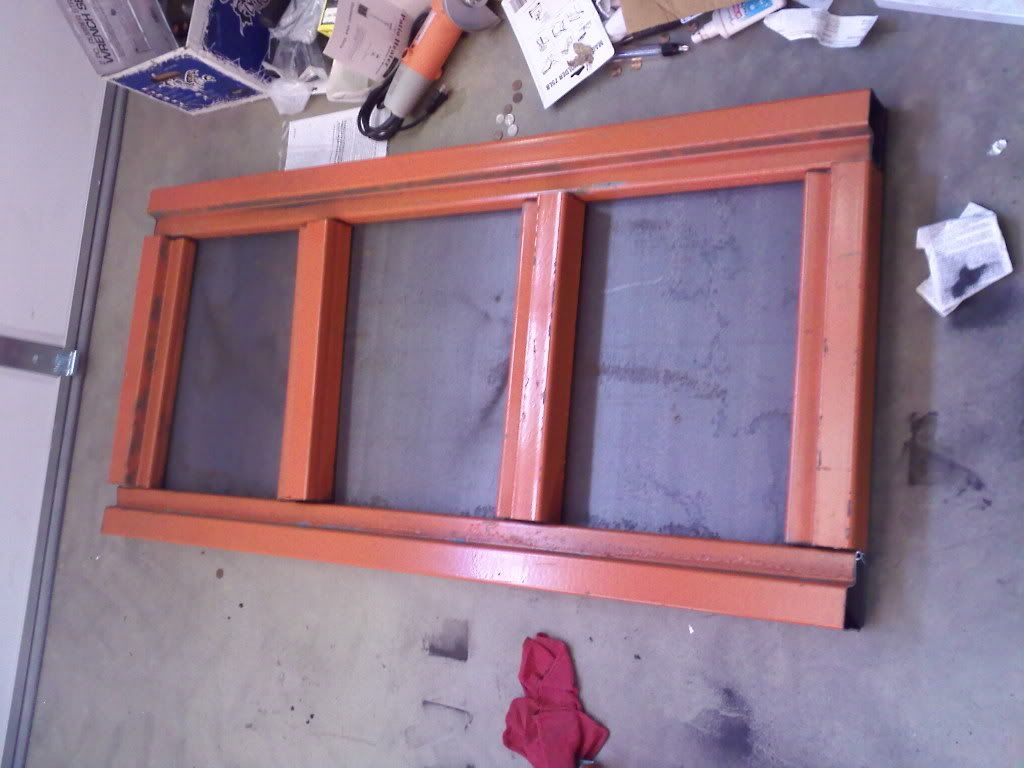
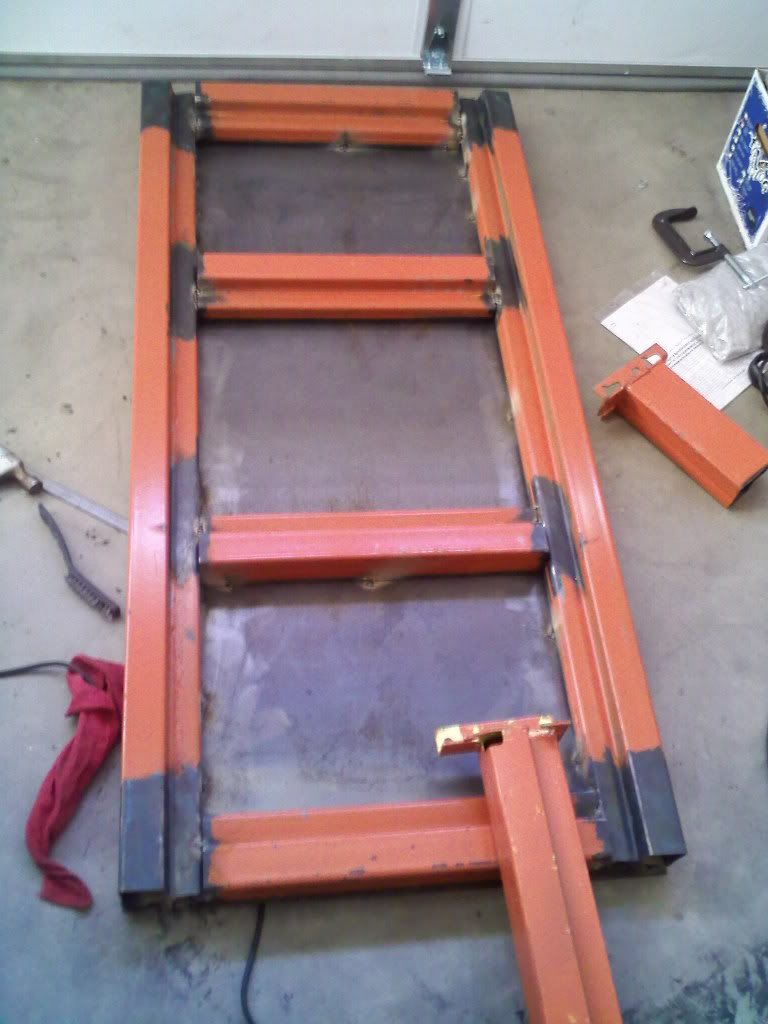
Table top mock-up and supports
Legs and plate steel to bolt onto a caster or keep free standing
Table top and supports tack welded together somewhat. This is in the early stages. I had to grind off the powder coating
The bench is not yet finished. It's a bit wobbly so I need to add some cross bracing or square it up some.. needs to be a bit stronger.
Anyway... I need to do a little more cutting.. grind down all the paint and paint it black.. and weld on new cross bracing... then she should be complete!
I'll add a tube for holding my MIG gun, attach a vise and some other random crap..
but here ya go.. $105.
-
You know I think the biggest problem is my 021u code.
I tried switching once to 029 and I don't know what happened but no matter what the settings my car ran like absolute crap. I couldn't figure it out. So if 021u works.. it works lol.
Maybe I'll try to update again over the next few weeks. Then maybe the unit will work!!
-
what is the white car buried under all that snow?!
-
This is Austin's old setup (240hoke)
-
i went to a linkin park concert when I was younger and was taking pictures and taking video clips of some songs..
the security guards took my memory card!! I couldn't believe it!
I dunno what it is.. but linkin park and metallica freak out when anyone uses their music. wtf
-
First, let the part cool completely after welding.
Use a torch with a rosebud tip and get a 900F temperature crayon (Tempilstik). Mark each side of each welded joint with the crayon 1" from the weld. Use the torch to heat a joint until the crayon marks melt. Cover the joint with a heat blanket or something to slow the cooling process down. Proceed to the next joint. If you're really anal, heat all the joints equally and at the same time before letting the part cool down.
What you're trying to accomplish is to relieve any stress buildup and resulting distortion from the welding process.
EDIT: Before you go through all of this, you can take the part out of the welding jig and see how much distortion exists. If its just a little bit, I probably wouldn't worry about stress relieving the part.
Is there anything wrong with heat quencing?! Rather then allowing the part to gradually cool down.. why not dunk the part in a bath of oil. This would work harden the part dramatically.
or should suspension parts avoid work hardening?!
-
Thanks Z-gad!!
i wonder why the website doesn't post it!?


Wilwood versus 4x4 vented .. pro's vs con's
in Brakes, Wheels, Suspension and Chassis
Posted
Ah that makes more sense.. I am running the non vented setup right now and its terrible.
This thread is discussing the vented 4x4 setup vs the wilwoods from azzcar.