dmoralesbello
-
Posts
254 -
Joined
-
Last visited
-
Days Won
3
Content Type
Profiles
Forums
Blogs
Events
Gallery
Downloads
Store
Everything posted by dmoralesbello
-

280Z Restomod Progress
dmoralesbello replied to dmoralesbello's topic in S30 Series - 240z, 260z, 280z
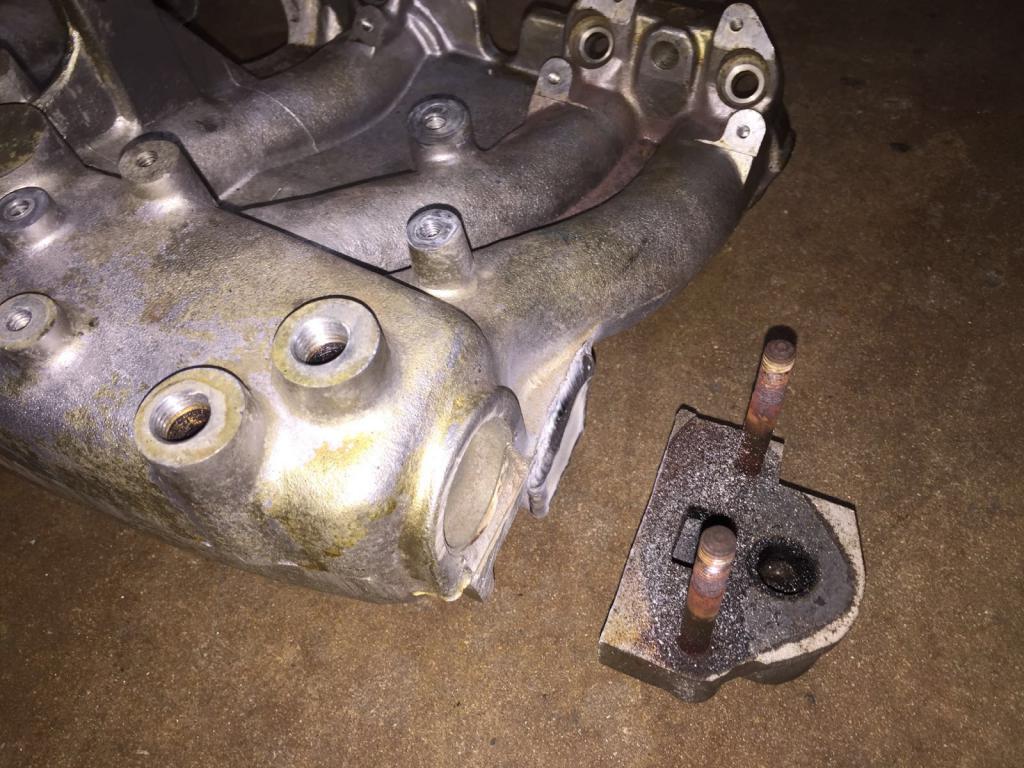
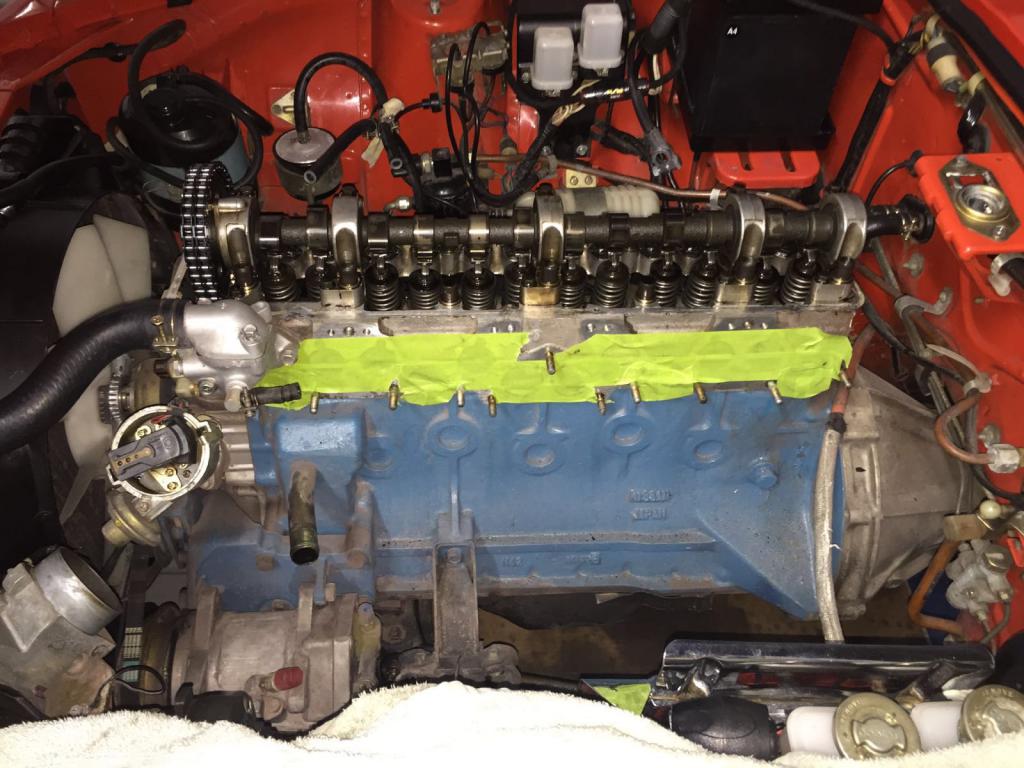
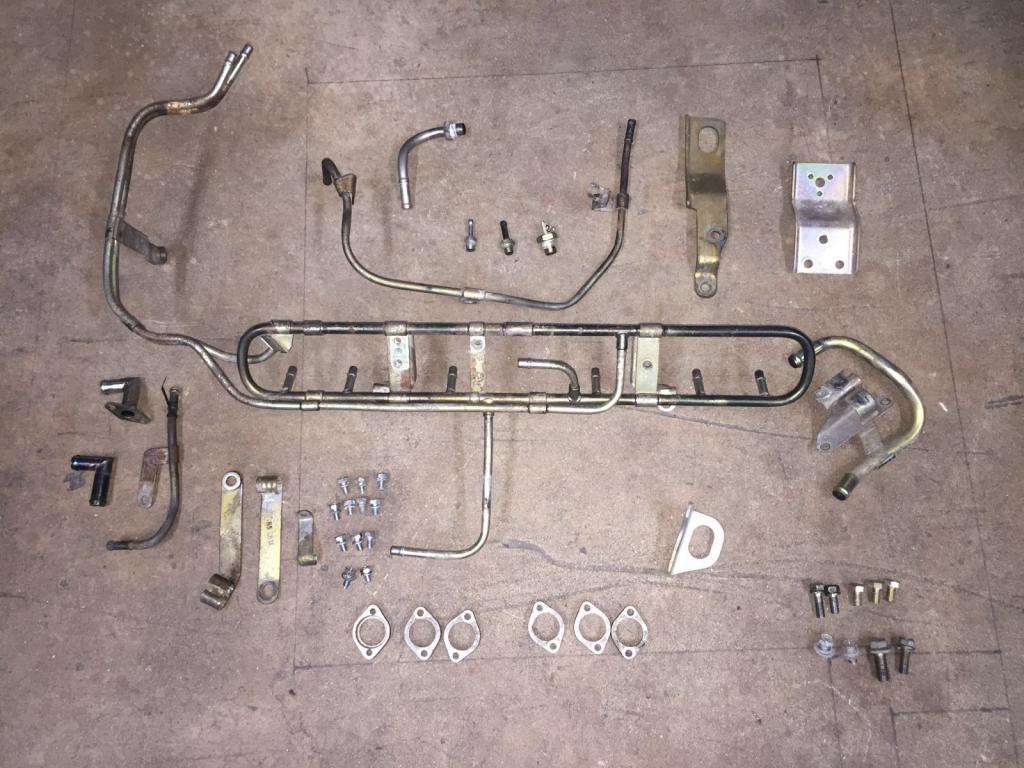
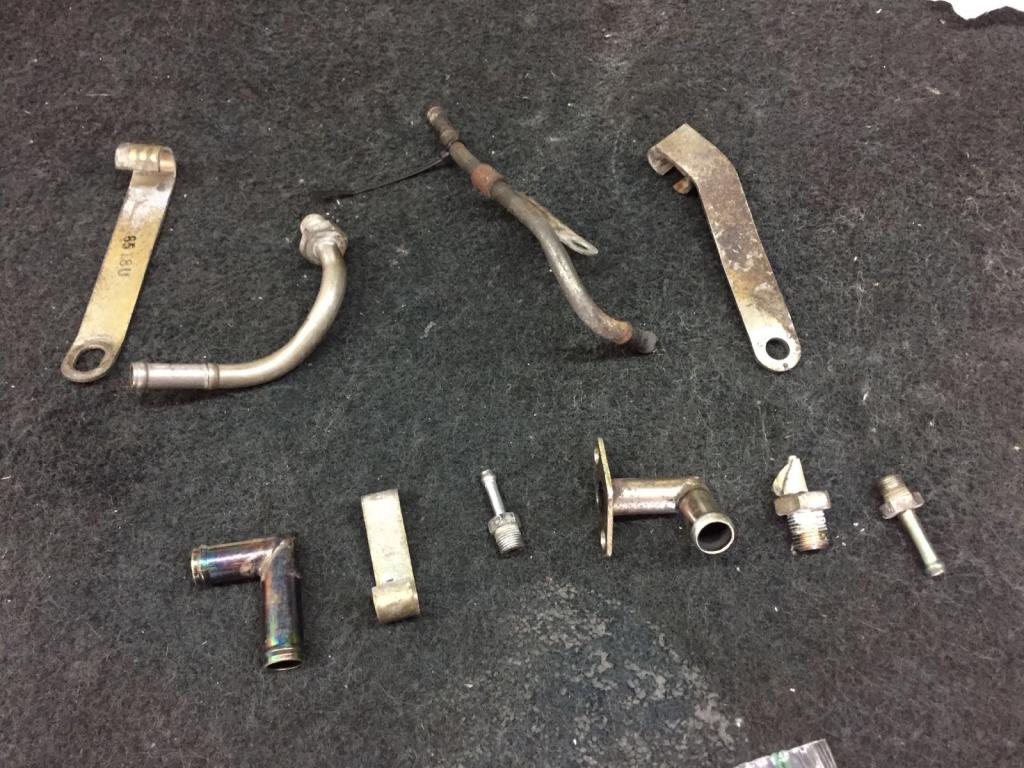
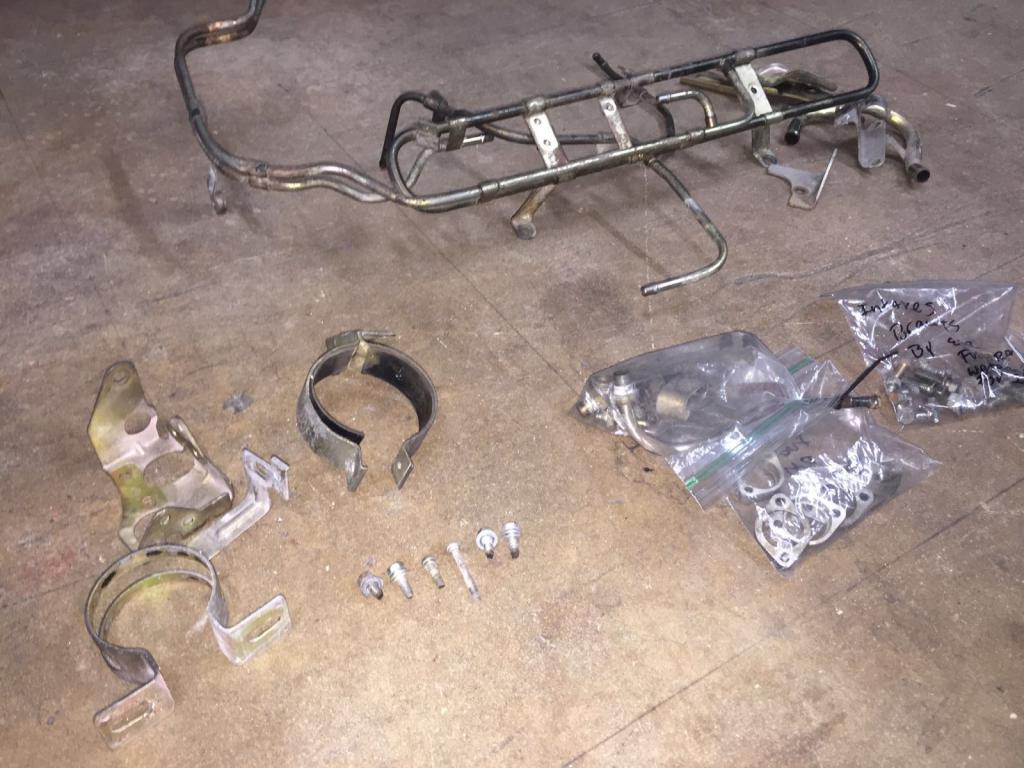
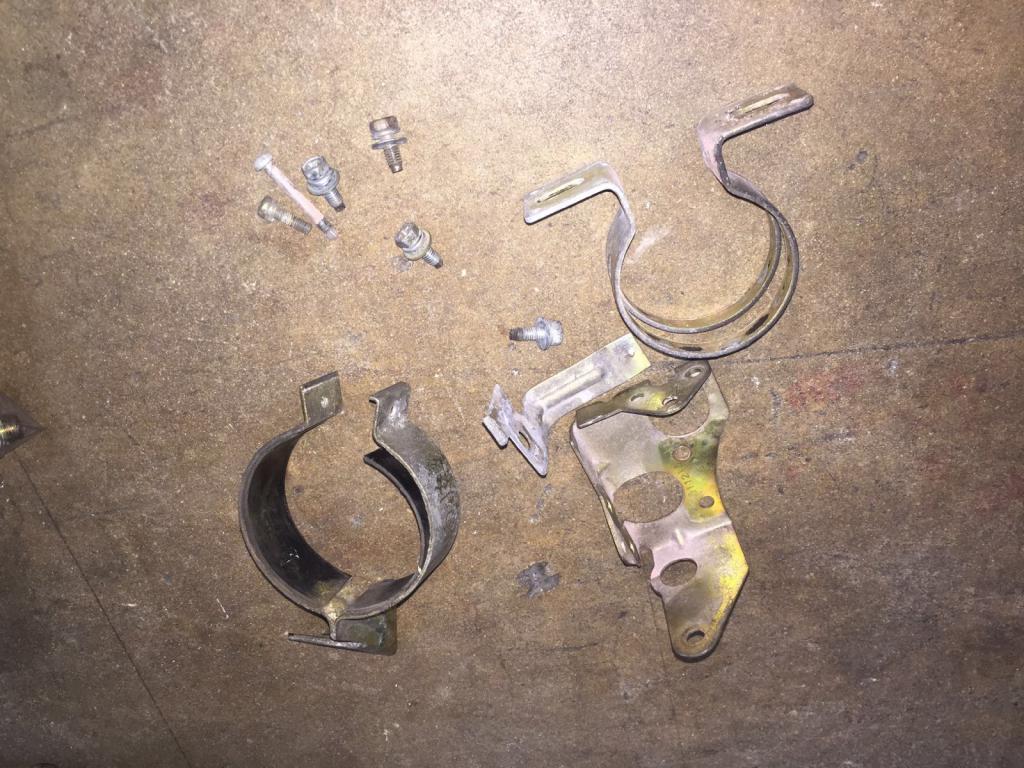
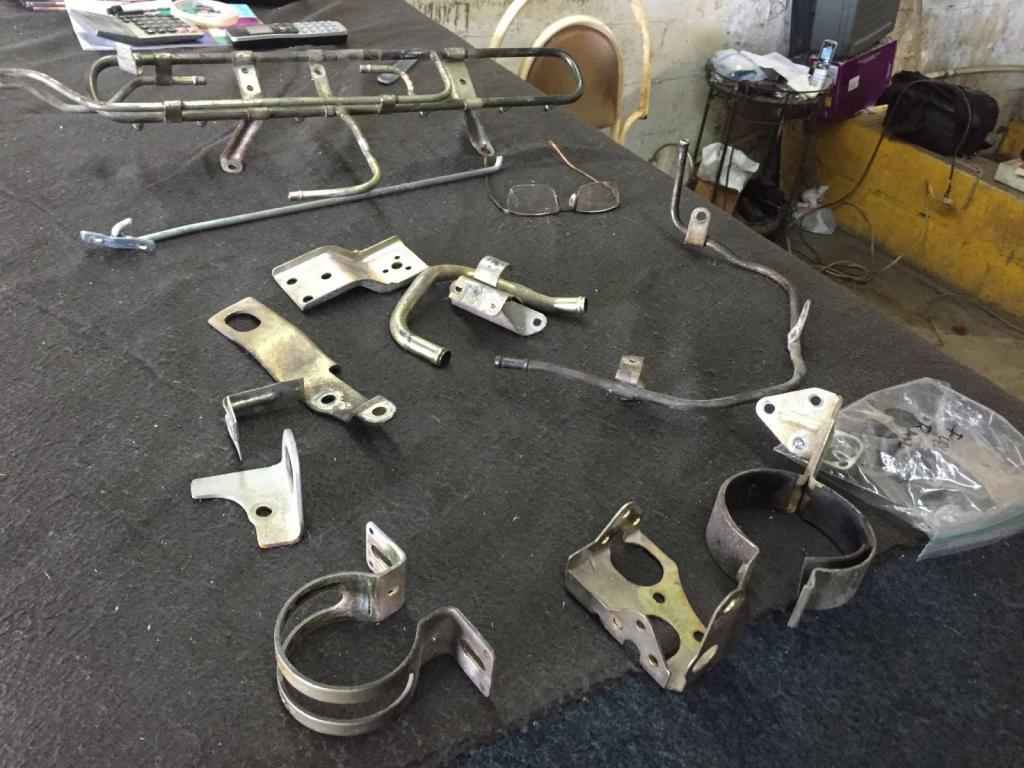
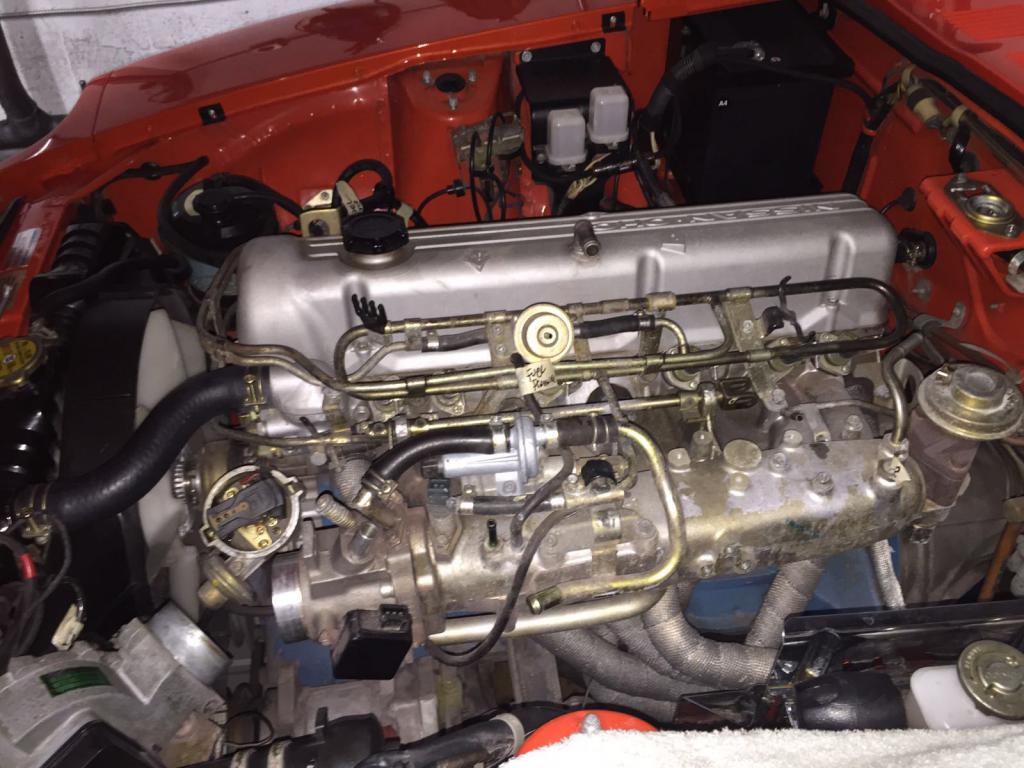
Productive day today at the shop. Disassembly of engine parts for refinishing started. EGR "amputation" happened as well. Parts went to the platers for nickel finish, valve cover and intake plenum and other bits to powdercoater, and headers for ceramic coating. Ordered all new SS fastener kit from ZCar Depot as well as the new motor mounts from Nissan.
-
Congrats and welcome! She looks great from the pics. Inspect closely and send lots more pics when you can.
-
280Z Restomod Progress
dmoralesbello replied to dmoralesbello's topic in S30 Series - 240z, 260z, 280z
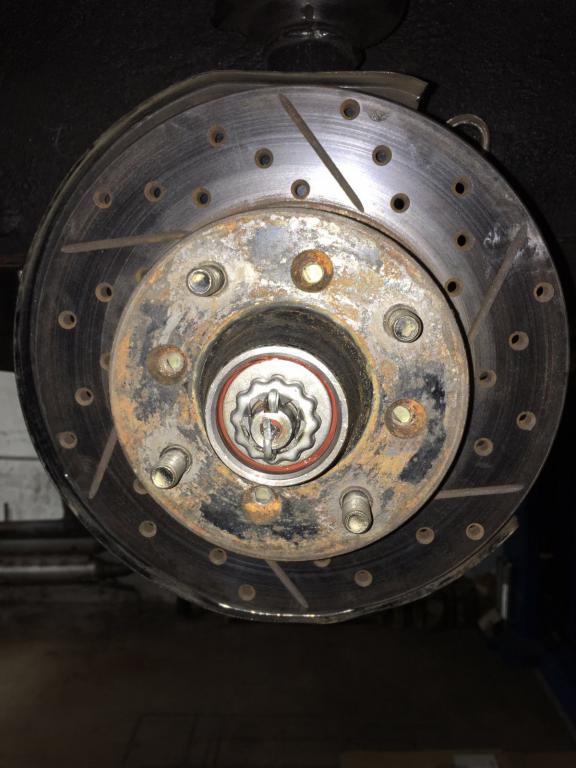
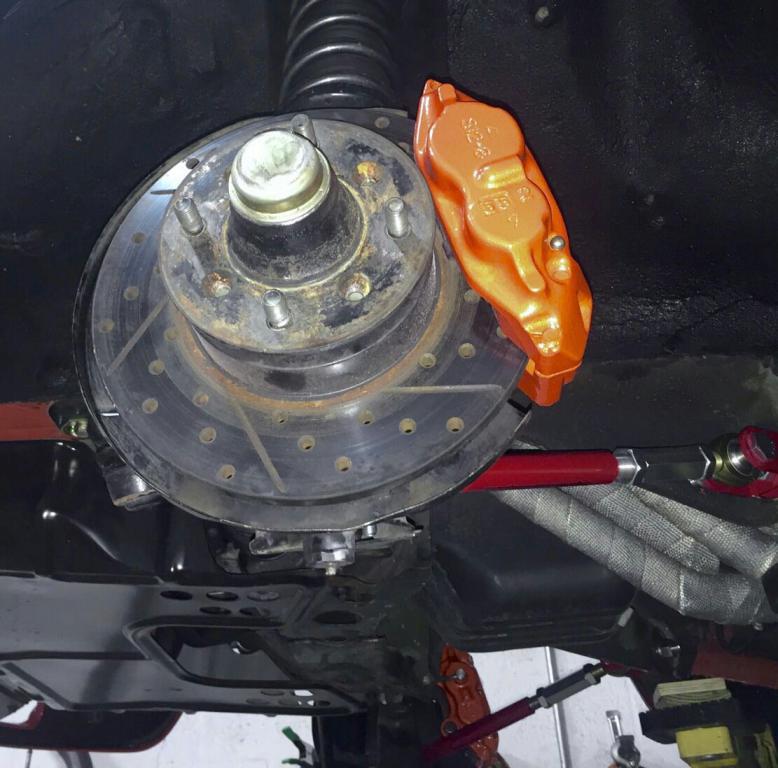
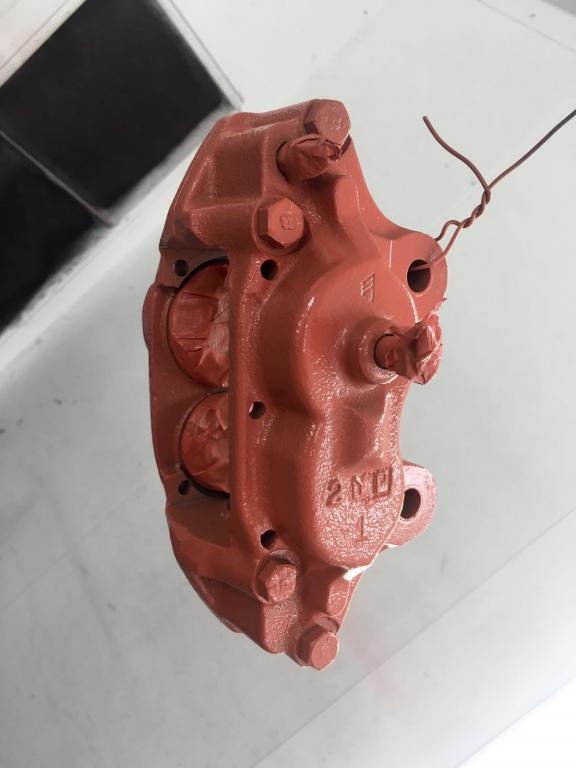
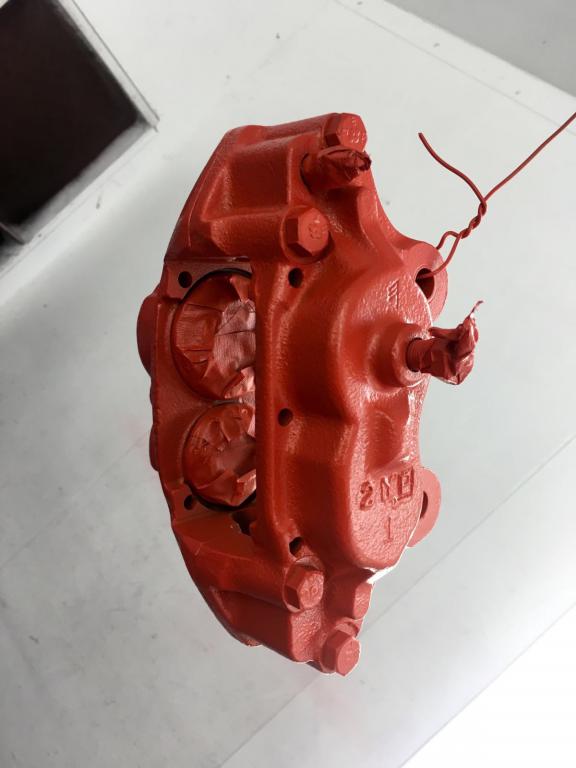
Got the new front wheel bearings installed along with my my freshly painted orange pearl calipers. Hopefully the rear bearings and calipers will be ready in the next couple of days, put wheels and tires back on, set the car down and start on the engine components to send them out for ceramic coating, powder coating and plating.
-
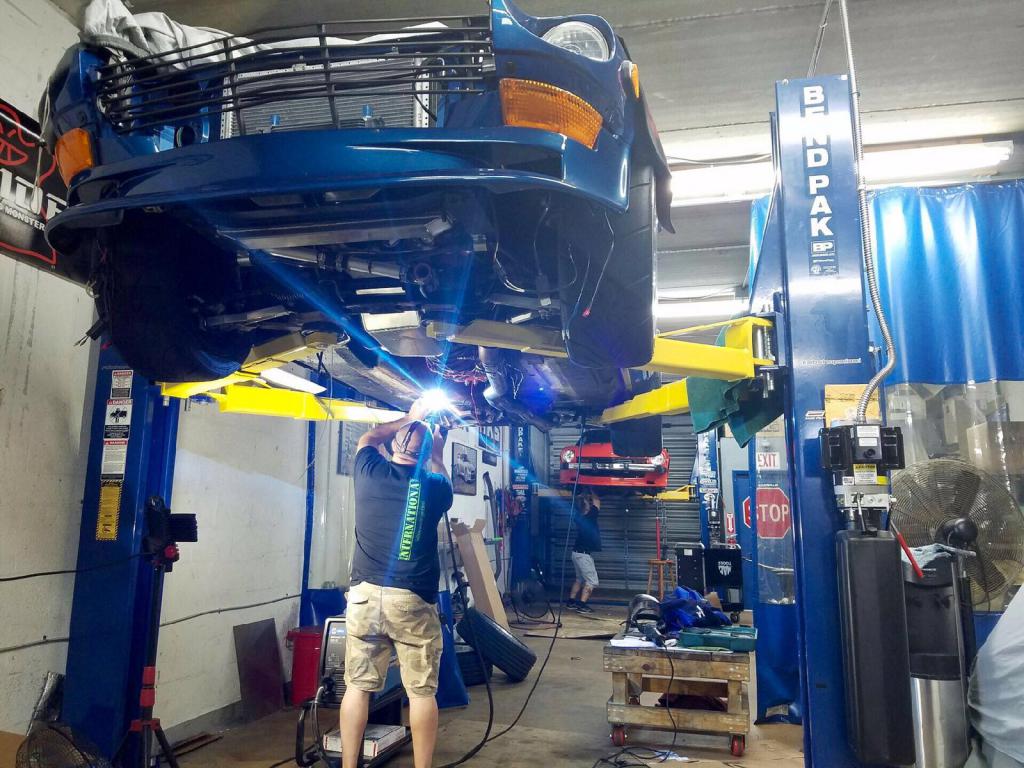
280Z Restomod Progress
dmoralesbello replied to dmoralesbello's topic in S30 Series - 240z, 260z, 280z
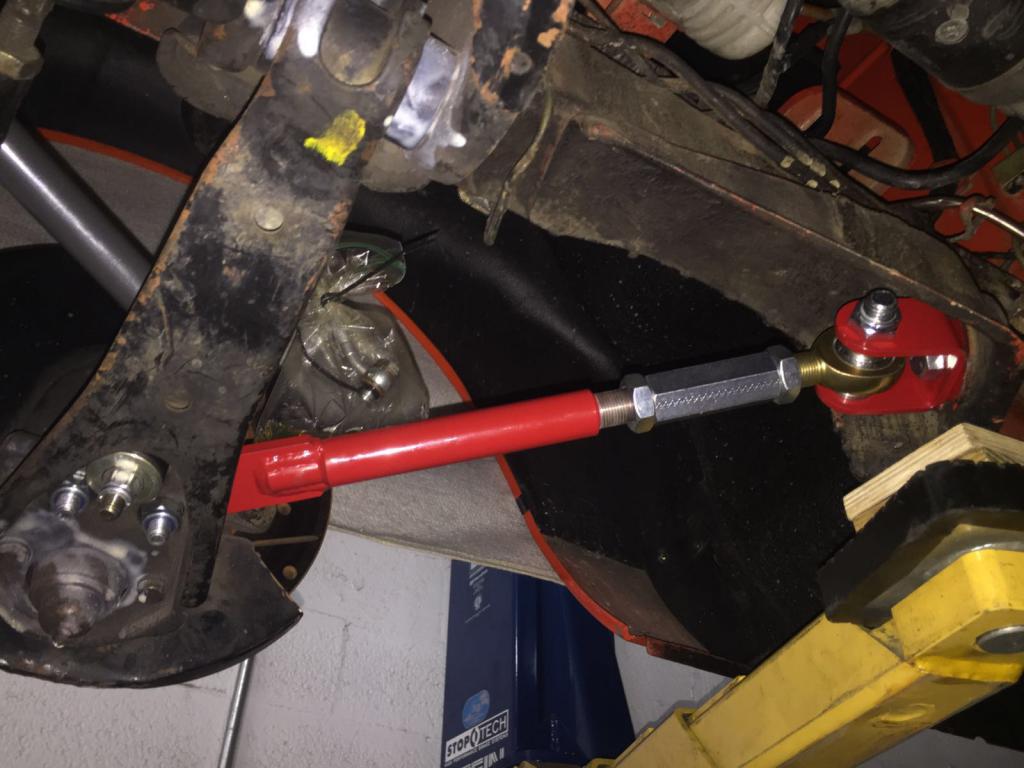
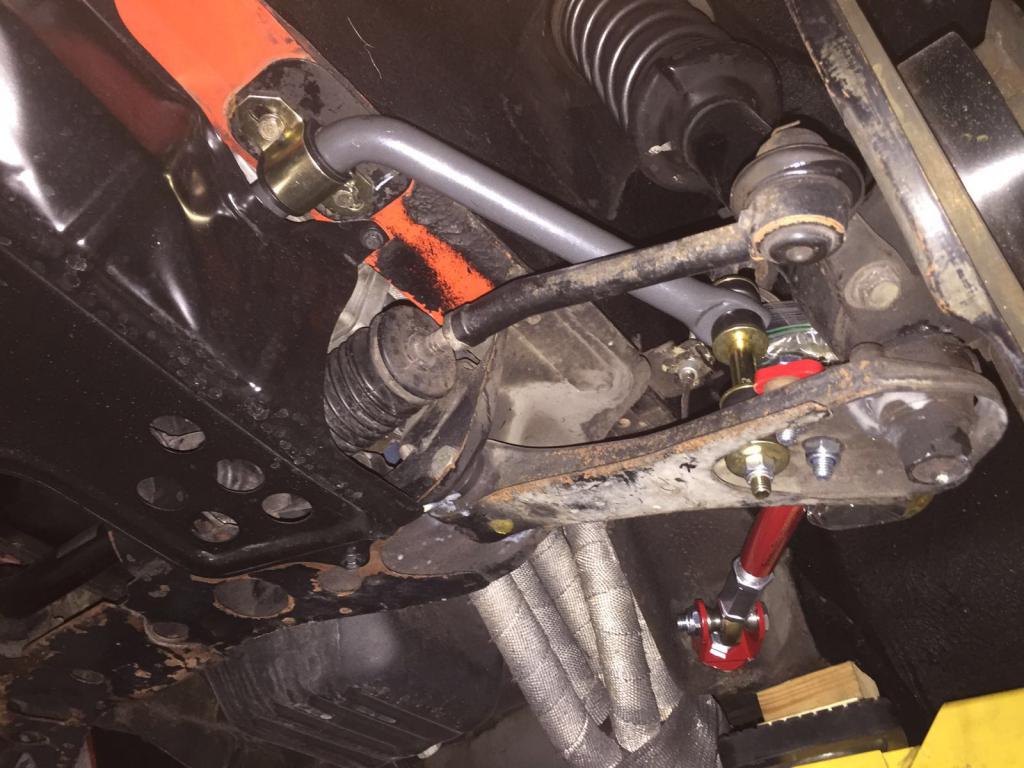
Douglas Arditti at Fabshop Miami has been busy and got the MSA front and rear anti-sway bars on as well as the Techno Toy Tuning TCAs. Hopefully he'll get new front and rear bearings installed this weekend before putting the painted brake calipers back on. First pic shows 2 Zs at Doug's shop. Needless to say this guy is obsessive and does top notch work. After driving the car with the new beefier sway bars and the TTT control arms I can say that the difference is very noticeable. I was expecting a harsher ride (according to most of the opinions from the forum) due to the control arms attaching directly to the chassis without the benefit of the bushings found on the stock set up. I cannot notice any additional vibrations being transmitted into the car with the TTT arms. I do notice a MUCH tighter front end with better steering response and a much flatter ride during cornering with very little roll. I'm very happy with the ride quality and improved control.
-
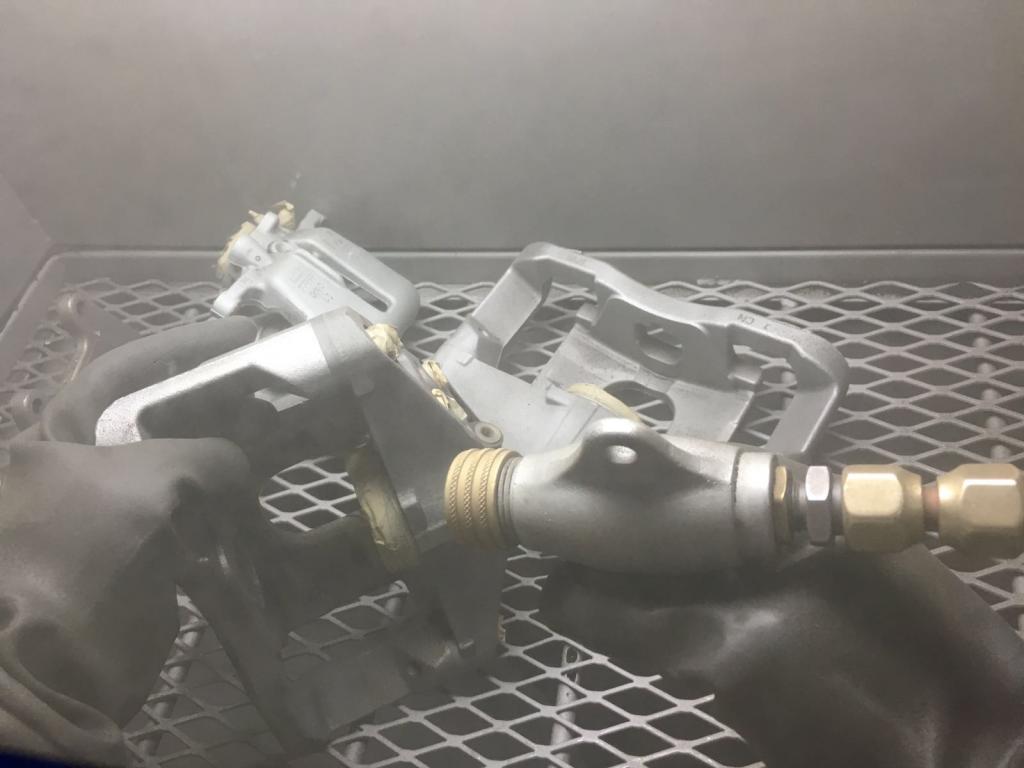
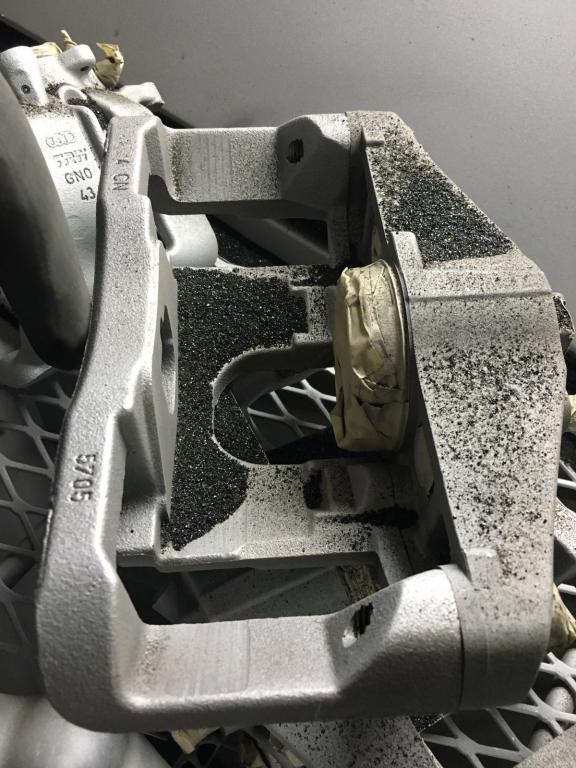
280Z Restomod Progress
dmoralesbello replied to dmoralesbello's topic in S30 Series - 240z, 260z, 280z
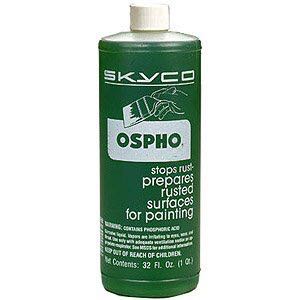
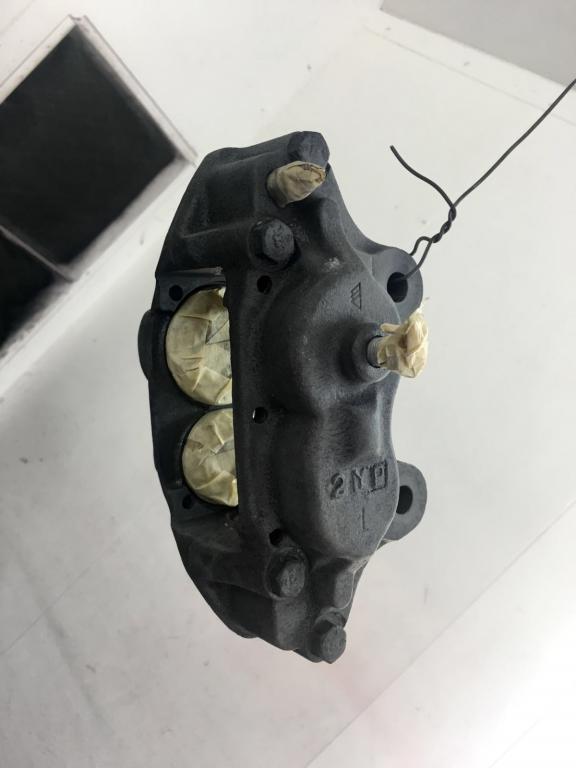
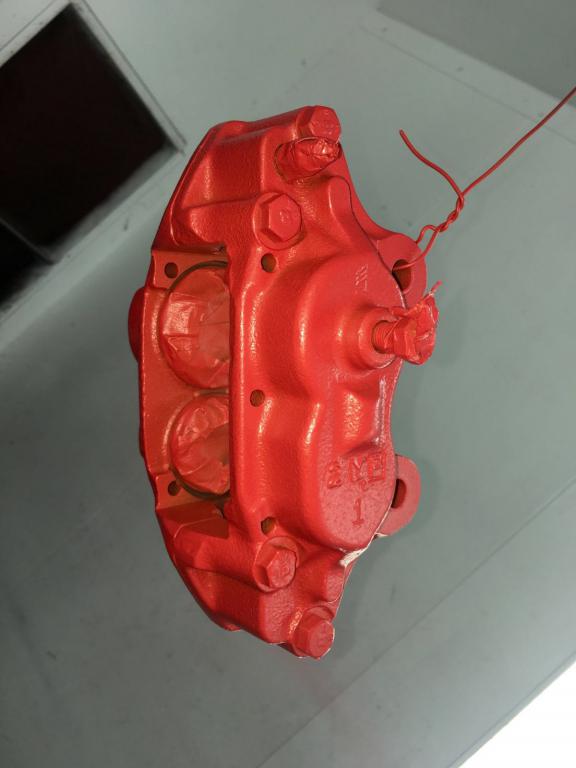
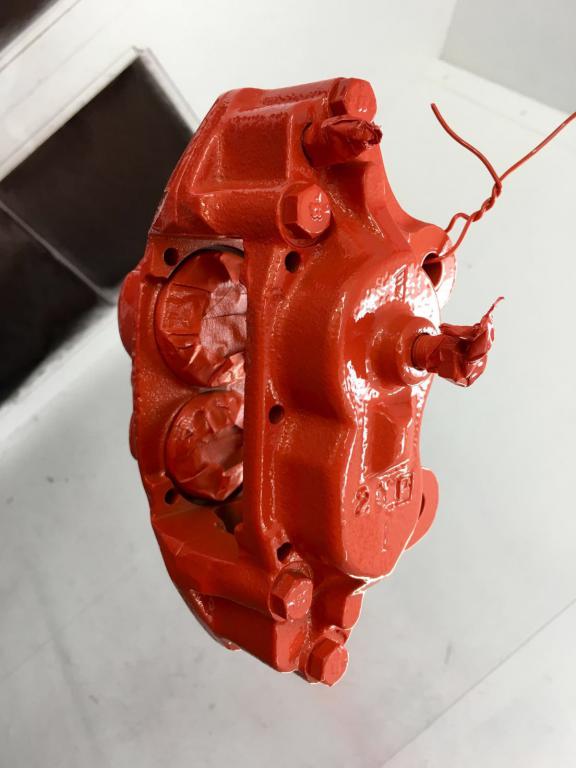
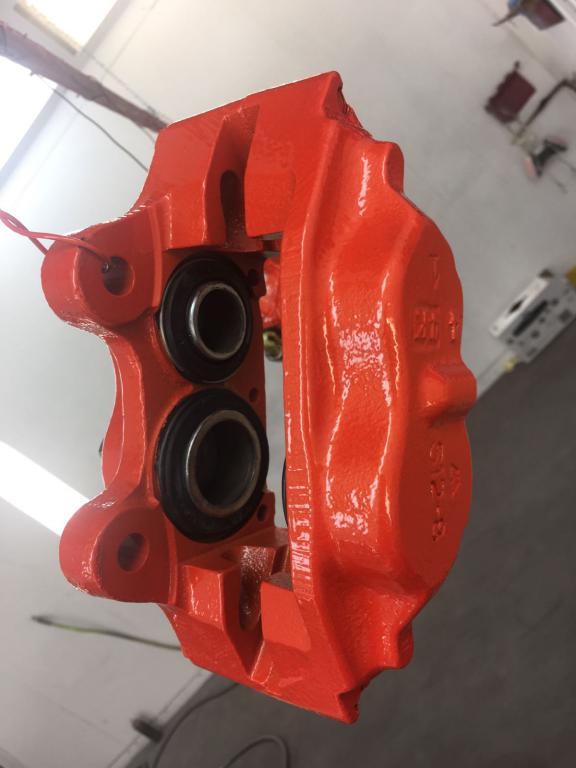
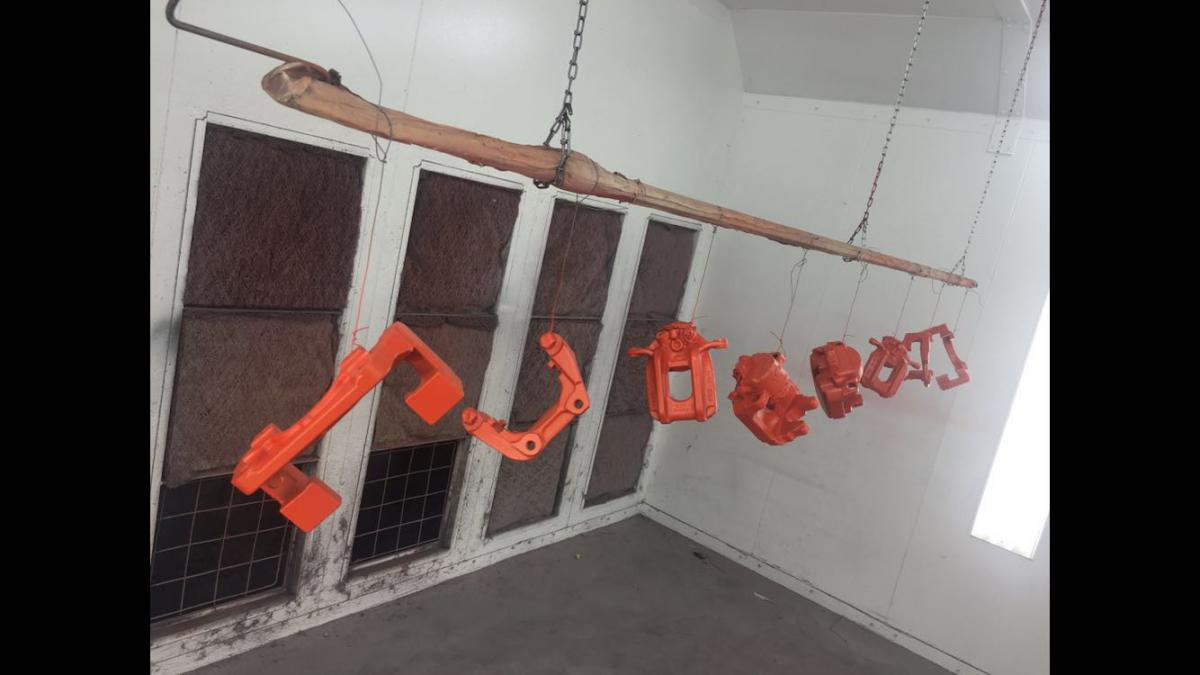
Haven't updated in a while but finally decided to repaint my brake calipers. The rears had been done inadequately and the paint was starting to flake and the fronts had not been painted since I installed them and had quite a bit of surface rust. Didn't cut any corners this time: sandblasted them before putting on a coat of Ospho phosphoric acid treatment, then e coat, orange base coat, pearl coat and finally clear. This process should assure a nice long lasting result.
-
I bought the TTT control arms a few weeks ago and will install them shortly. I'll report back as soon as I've got them on the car. They look amazing out of the box and customer service was excellent.
-
What mirrors are these?
dmoralesbello replied to dmoralesbello's topic in S30 Series - 240z, 260z, 280z
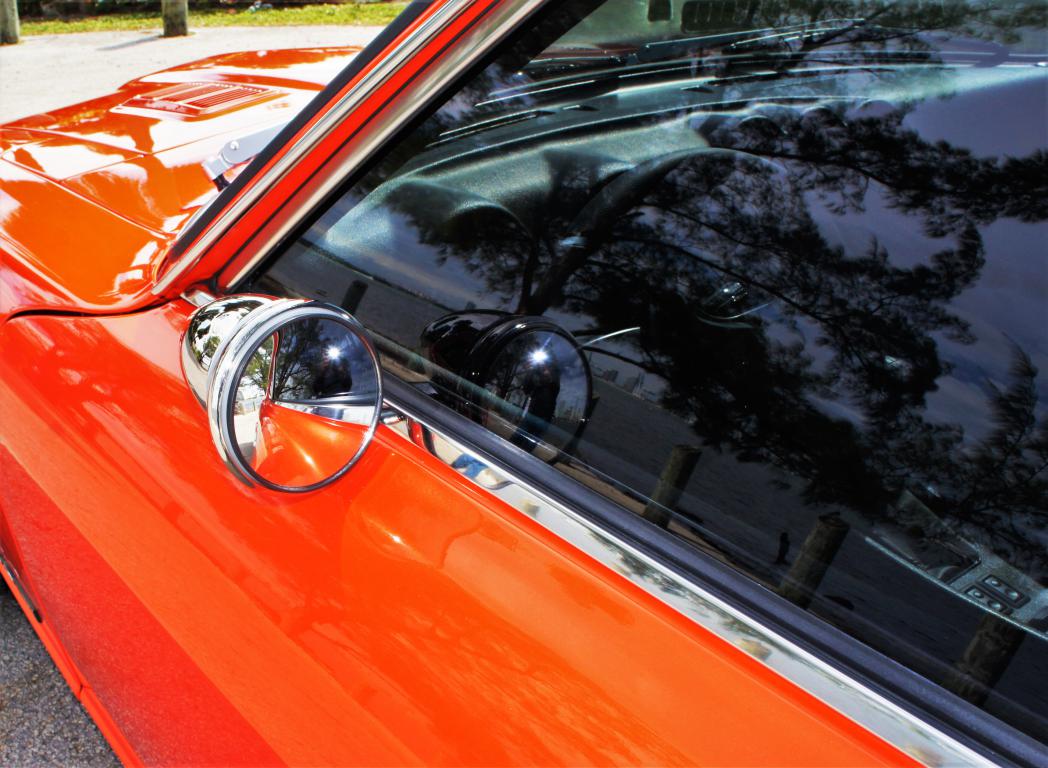
Good catch GeeZ! Searched for Honda S2000 mirrors and came up with the following info: They are meant as replacements for Honda and are called Spoon Sports Aero mirrors. Vivid Racing sells them. Really pricey IMO. Here's the link: https://www.vividracing.com/catalog/spoon-sports-aero-mirror-honda-crz-zf1-1113-p-150758800.html -
I've been searching information on the mirrors used by Star Road in this beautiful yellow Z but have found nothing. Does anyone here have any idea where these came from?
-
77 s30 turn signal issues
dmoralesbello replied to Kamaka Z's topic in S30 Series - 240z, 260z, 280z
I'm pretty sure the '77 280Z has separate flashers for the turn signal and for the hazard lights. They are both under the dash on the driver's side, one above the steering column and the other on the fender wall (not sure which one works either circuit). Did you check them both? -
Great engine bay!
-
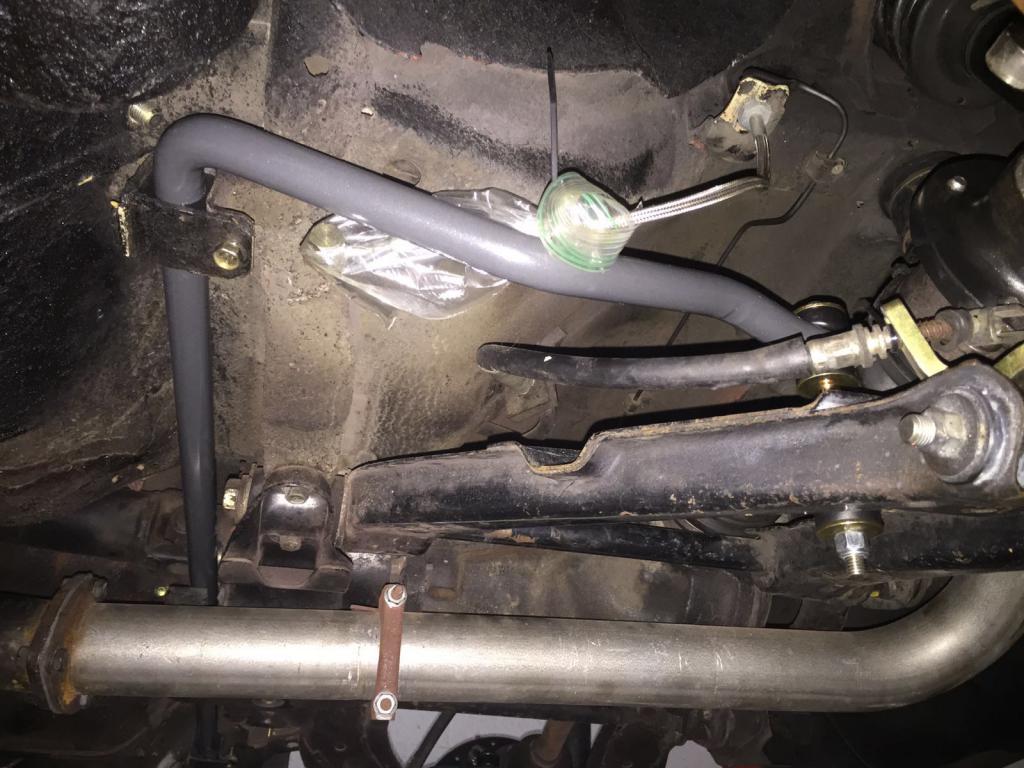
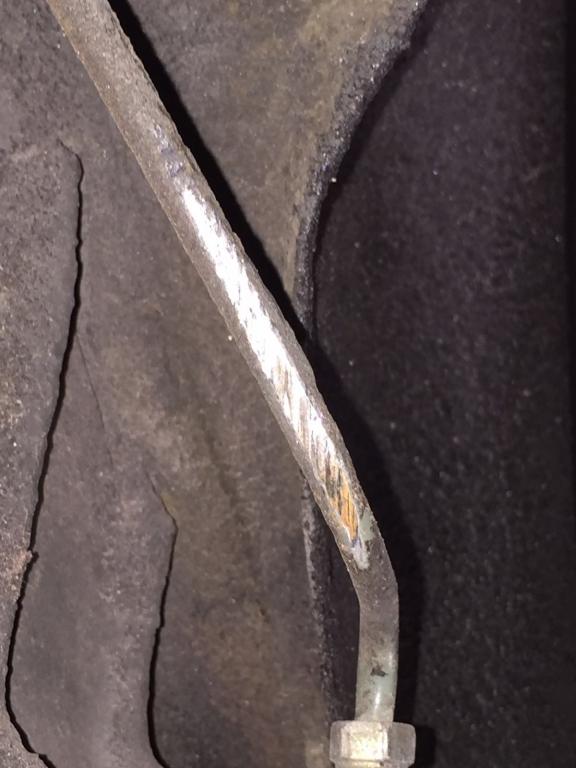
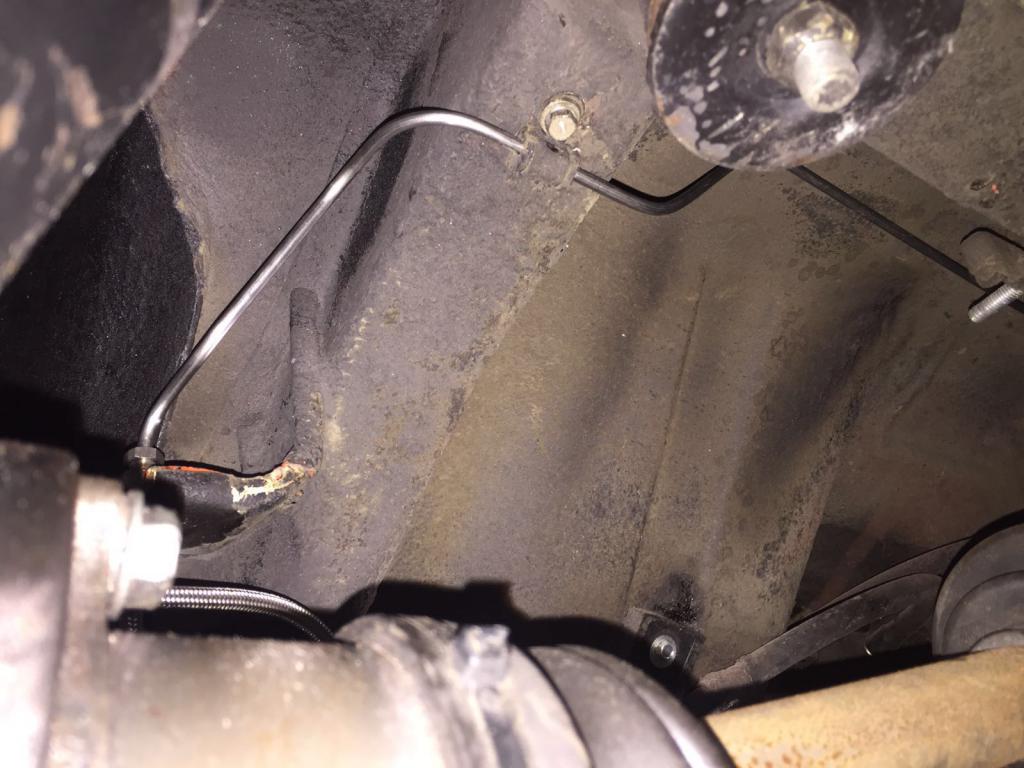
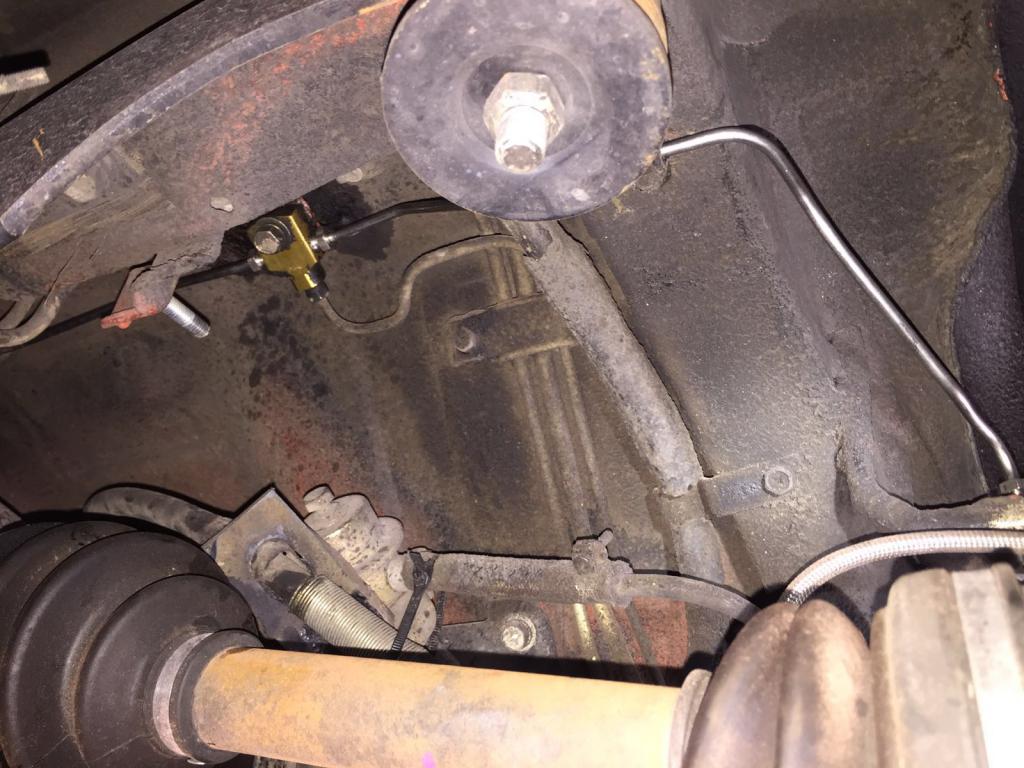
Scary Incident: No Brakes !
dmoralesbello replied to dmoralesbello's topic in S30 Series - 240z, 260z, 280z
Excellent point! Will do. -
So I was travelling northbound on I-95 at 10:30 am Saturday (moderate traffic) about 70 MPH when upon pressing the brake pedal was surprised by no action at all. The pedal went all the way down to the floor! Slowed the car down by downshifting and applying the handbrake and very fortunately was able to get off the interstate and park in a gas station. A bit scared to say the least. Popped the hood and found the forward reservoir totally empty, the rear reservoir was full, the drivers side rear wheel (on the inside) covered in brake fluid. Once I removed the wheel I found scrapes and a tiny perforation on the solid brake line angle close to the junction to the braided stainless steel hose that leads to the caliper. After analyzing the situation it seems that the most likely cause of the scrapes (almost looked like someone had filed down the brake line) was the SS line flexing up and down with the movement of the rear wheel and rubbing continuously on the hard line until it finally perforated when I strongly applied the brake pedal Saturday morning. I inspected the other side and found the same situation: scraped hard line at the same spot. I thought this report might be useful to some who have done brake upgrades with SS hoses (I have an MSA rear disc upgrade and SS hoses) and thus avoid a similar scary situation. I have now changed the two segments of damaged rear brake lines for new SS hard lines and twisted the flexible braided ss hoses so they won't come near the new lines when the suspension is compressed.
-
280Z Restomod Progress
dmoralesbello replied to dmoralesbello's topic in S30 Series - 240z, 260z, 280z
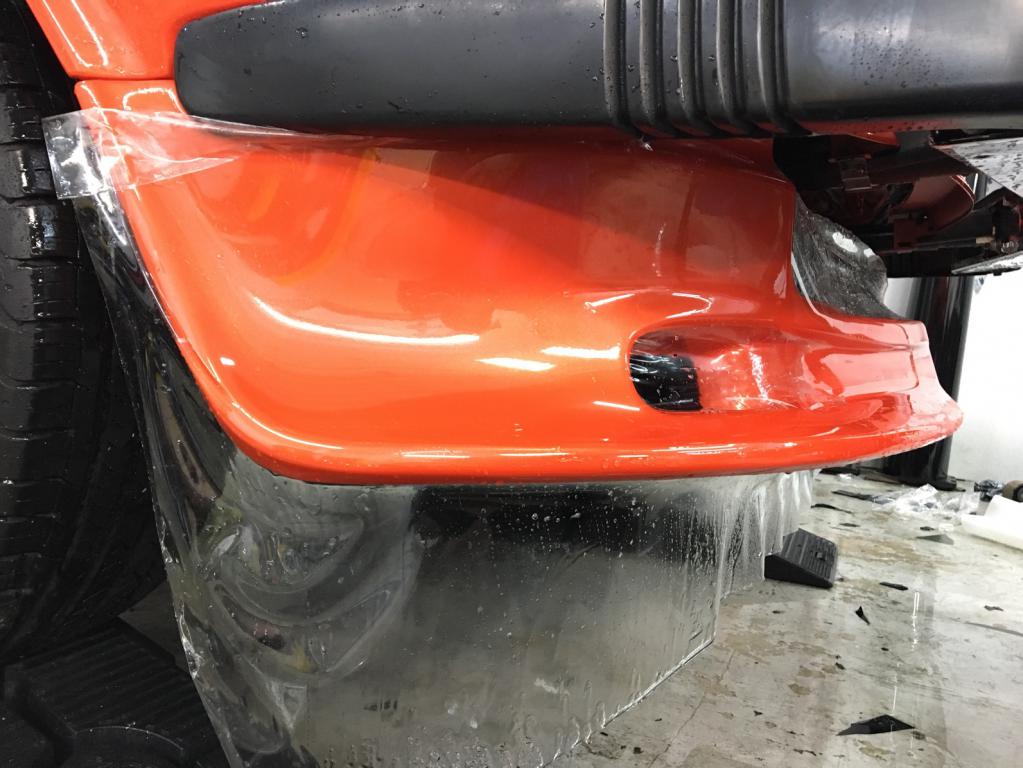
Thanks Nelsonian. The film we used is Xpel Ultimate self healing clear film. It was expertly applied by the guys at Sign Savers in Miami, FL. -
280Z Restomod Progress
dmoralesbello replied to dmoralesbello's topic in S30 Series - 240z, 260z, 280z
Thanks pal. Very happy you appreciate it. I wish you the best of luck with your Z and lots of posts. -
Here are a few better pics of the finished look.
-
I went with LED lighting in my '78 Z because of it's efficiency (less power consumption from the electrical system) and crisp white illumination yet also wanted my headlights to look stock when off. I ended up using the MSA headlamp reflectors (which have a hooded fitment for an H4 bulb) with a Phillips high output H4 LED bulb. Because of the cooling fins on the back of said bulb I had to mod my headlight buckets to extend them. After completion the headlights look period correct and the lighting is top quality and correctly focused. Hi-lo switching is immediate too which is not the case with HIDs. Please refer to the post in my restomod topic for pics of the process. http://forums.hybridz.org/topic/123252-280z-restomod-progress/?p=1160649
-
280Z Restomod Progress
dmoralesbello replied to dmoralesbello's topic in S30 Series - 240z, 260z, 280z
Thanks guys. I get more comments and thumbs up from people when I drive this car than with any other other car I've ever driven. It is sooo cool! -
280Z Restomod Progress
dmoralesbello replied to dmoralesbello's topic in S30 Series - 240z, 260z, 280z
Thanks Scott. It was a incredible feeling of deja vu when I finally drove the "finished" car. After driving the heck out of my '77 280z for 4 years (77-81) I waited 35 years to get that feeling again. Truly awesome. -
280Z Restomod Progress
dmoralesbello replied to dmoralesbello's topic in S30 Series - 240z, 260z, 280z
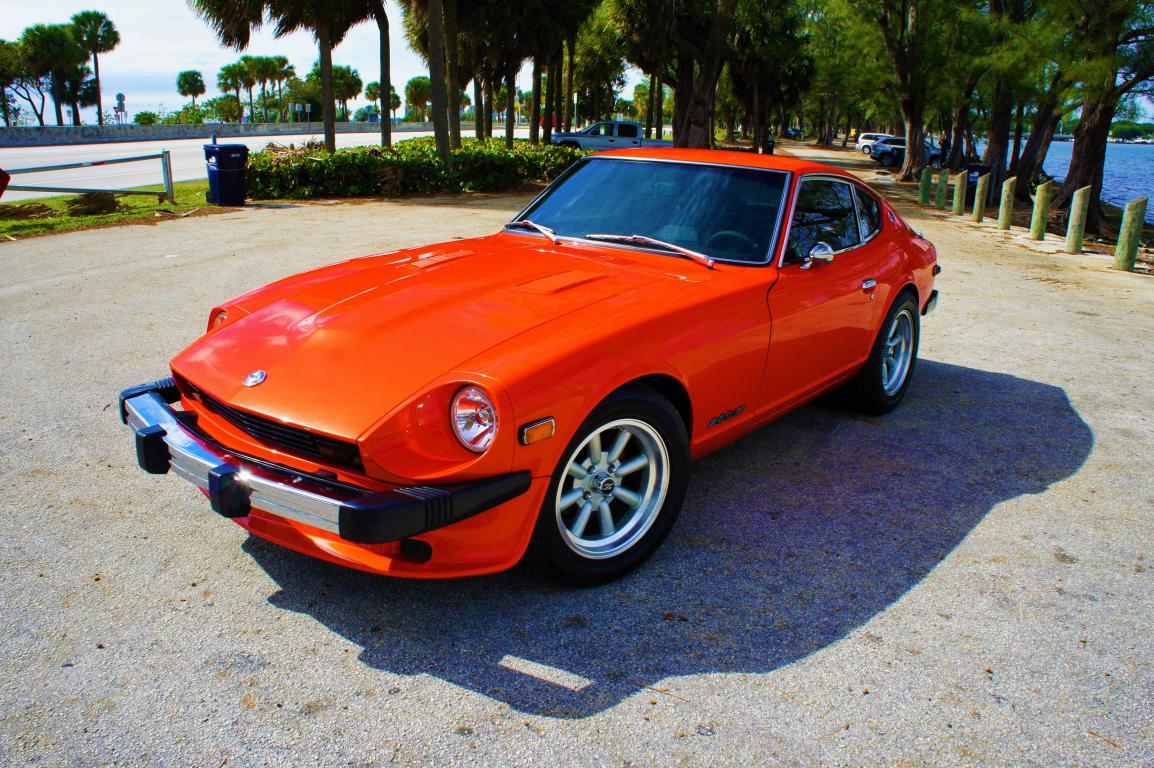
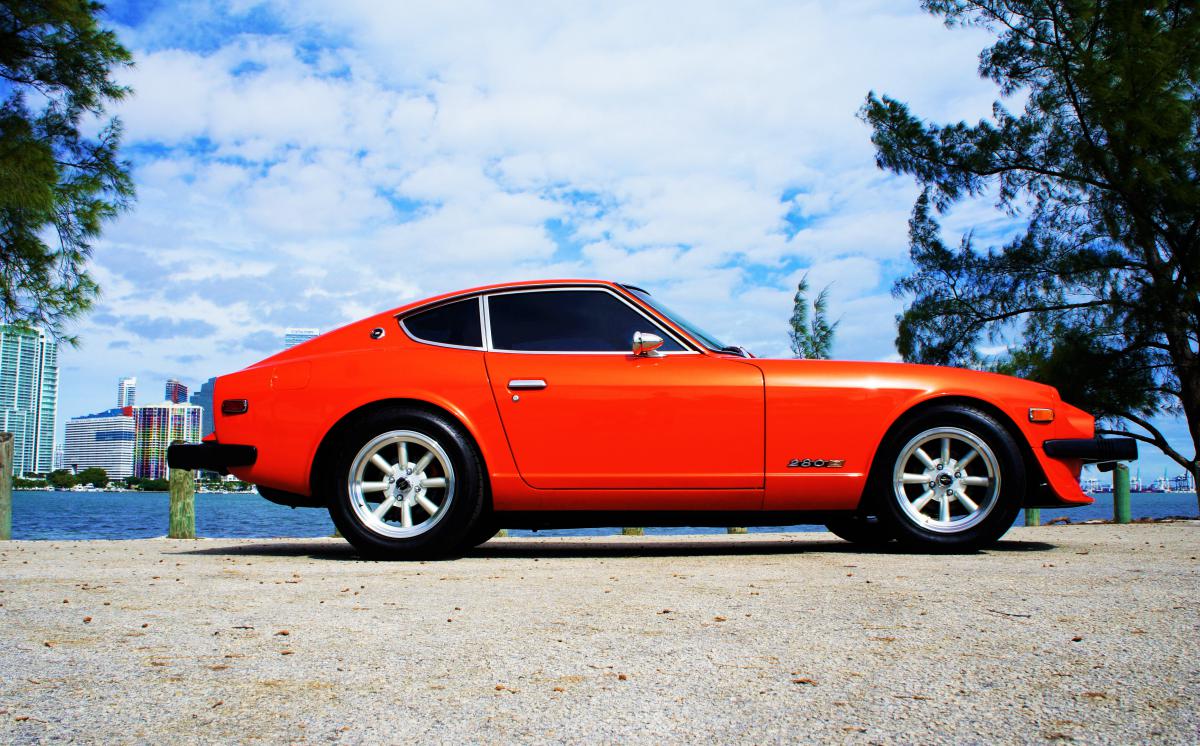
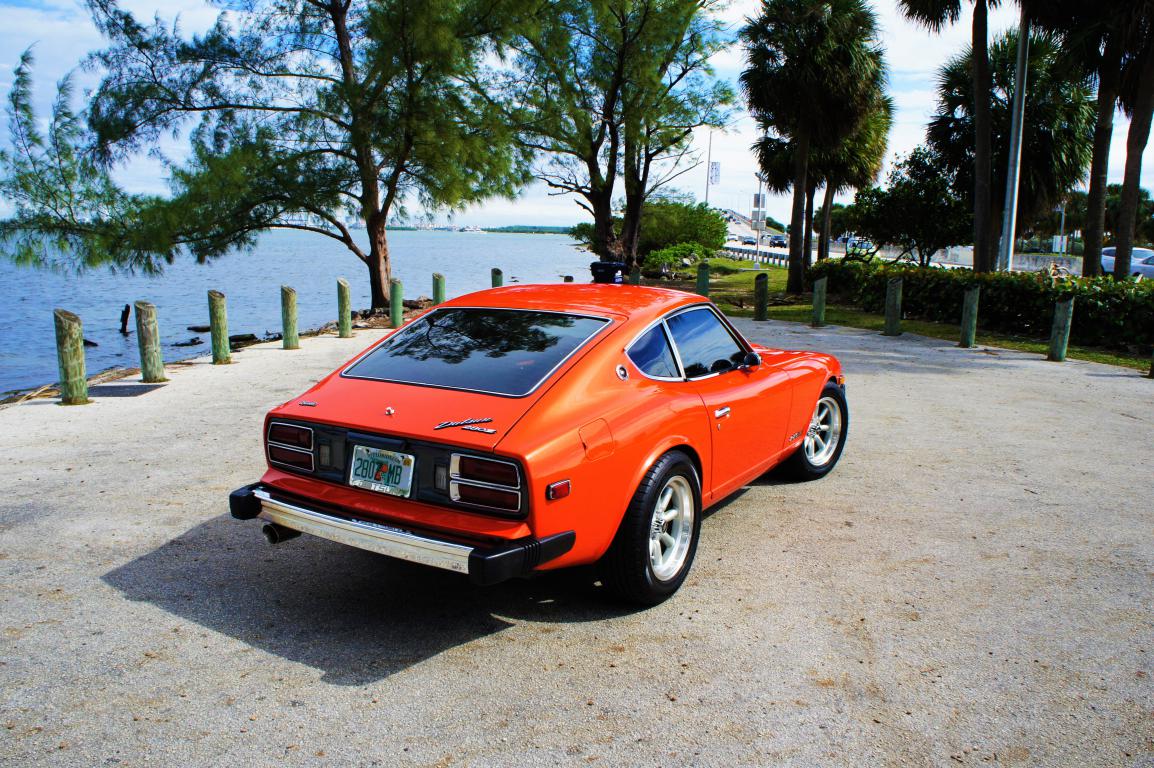
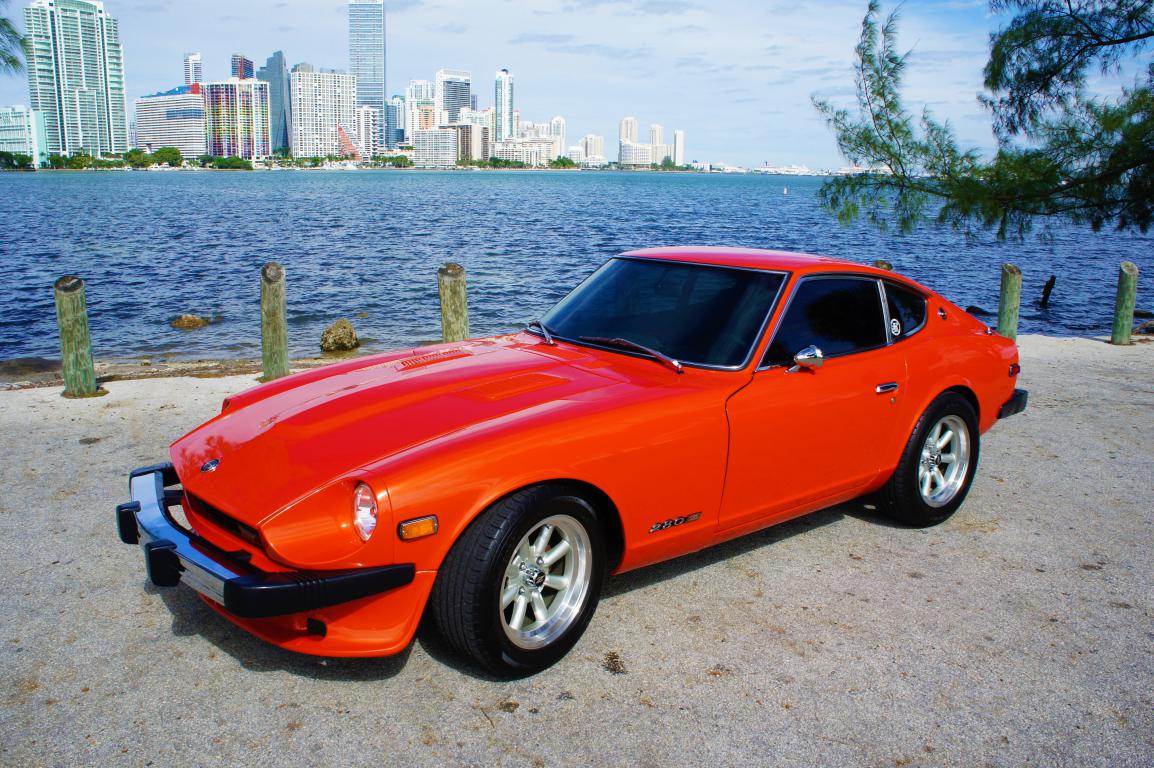
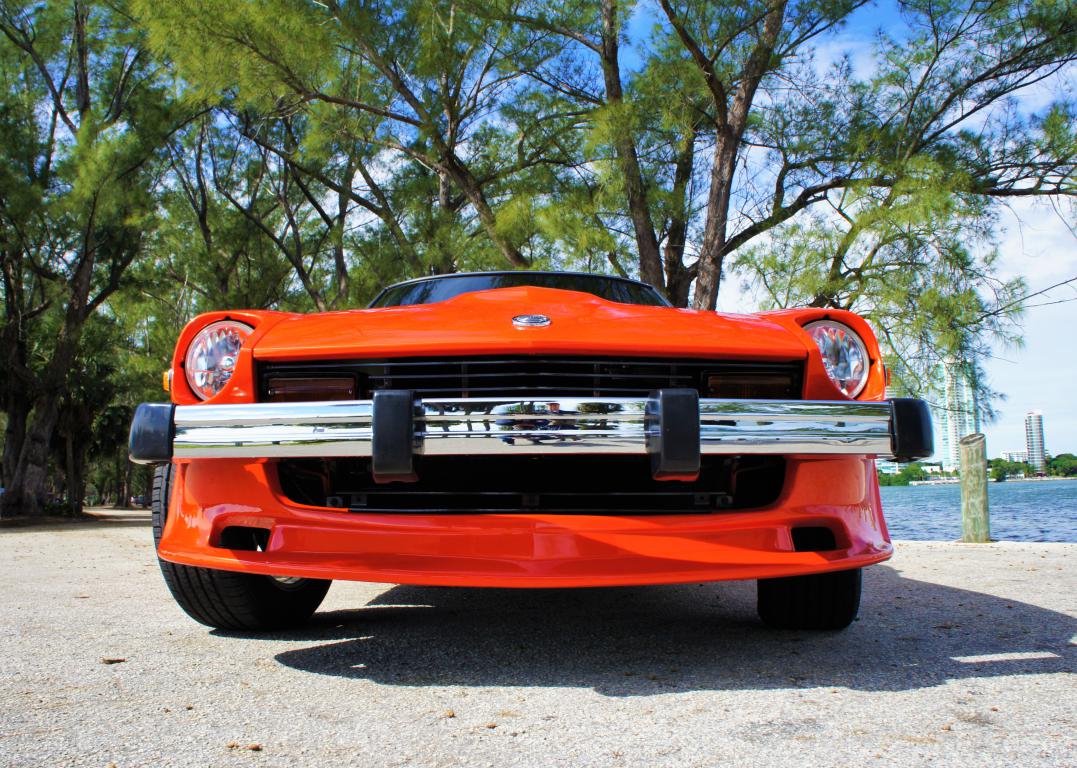
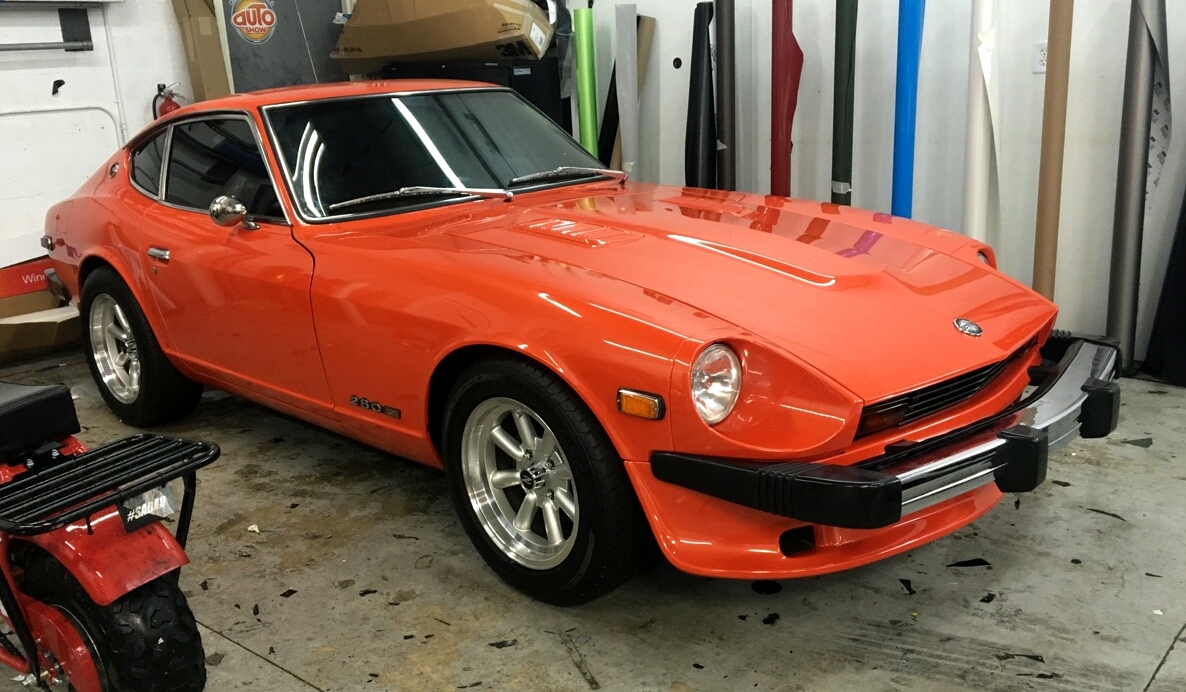
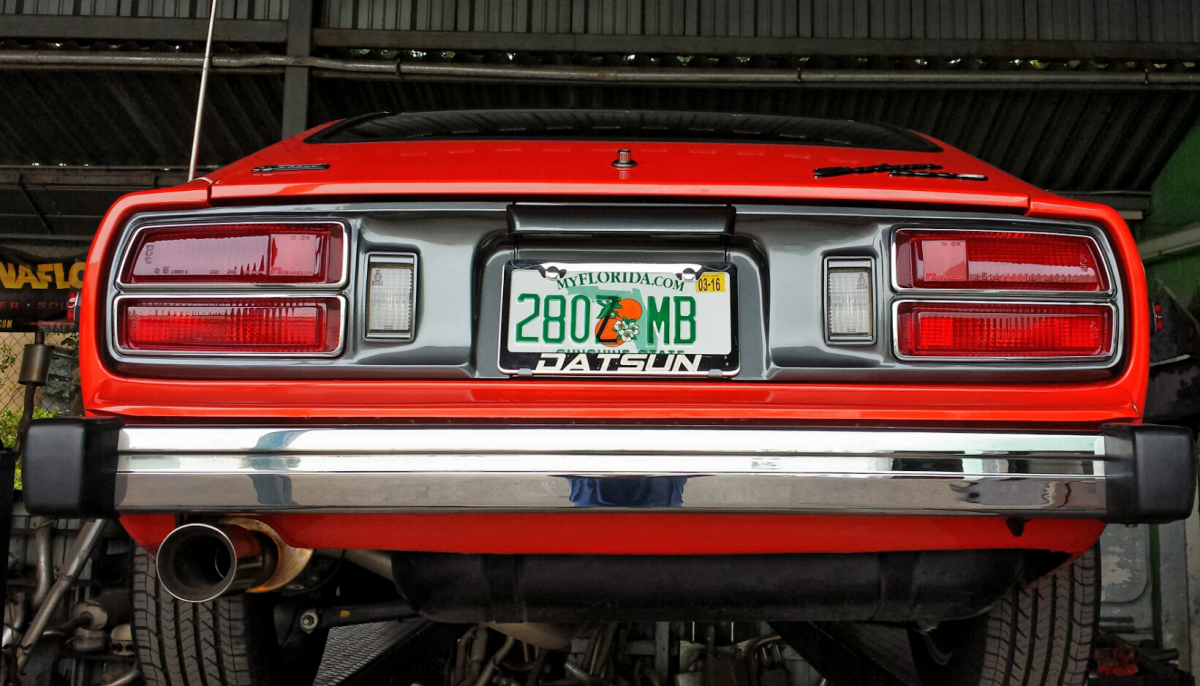
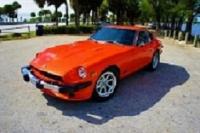
Finally got some good shots with a real camera of the Z. I'm so happy with the way it's turning out. Next phase of the project is plating (zinc, ceramic, etc) different components in the engine and engine bay which I'll start on in late February. For now it's just ride and enjoy time for my son and I.
-
280Z Restomod Progress
dmoralesbello replied to dmoralesbello's topic in S30 Series - 240z, 260z, 280z
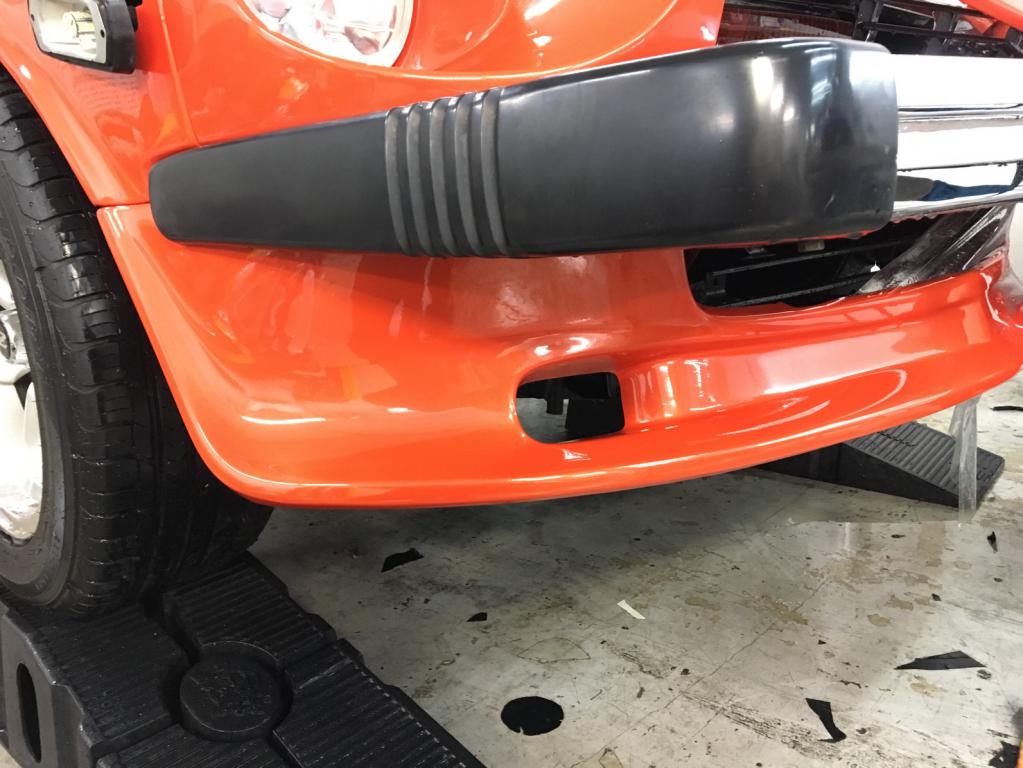
After the time/ effort/ cost of the paint job and since the car is going to be driven I decided to get clear film paint protection applied to the airdam, fenders, hood, access doors and cowl. The stuff is invisible and "self healing" and has a lifetime warranty. Should prevent most minor paint chips. Also refreshed my window tints with ceramic film which cuts down the effects of UV rays on the interior and can be practically clear as was applied on the windshield itself. Definitely a dash saver.
-
280Z Restomod Progress
dmoralesbello replied to dmoralesbello's topic in S30 Series - 240z, 260z, 280z
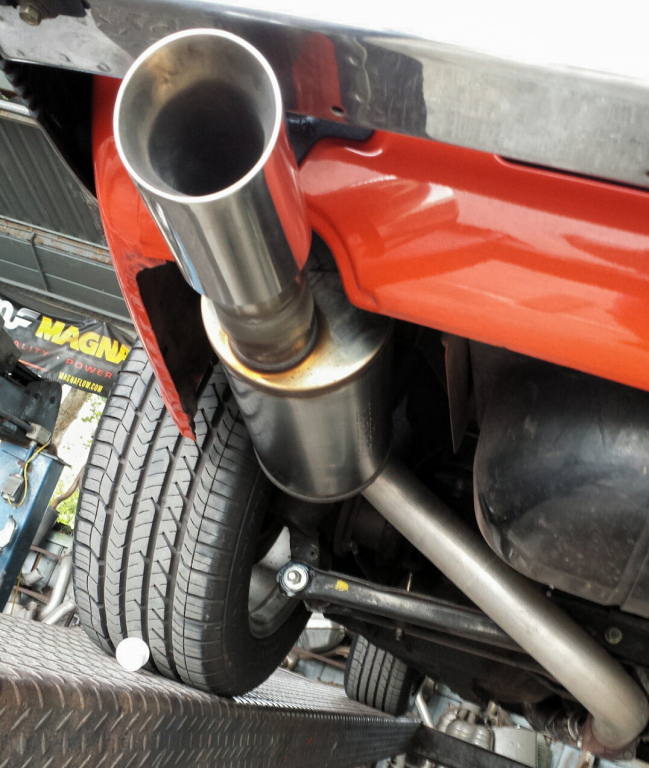
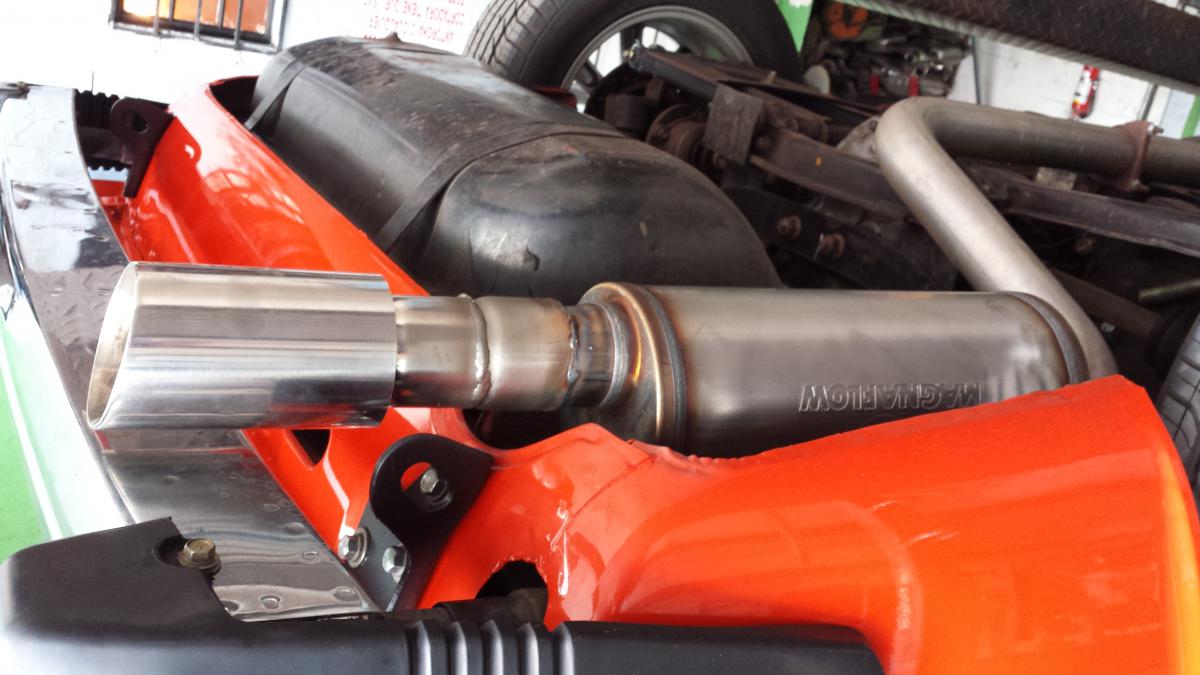
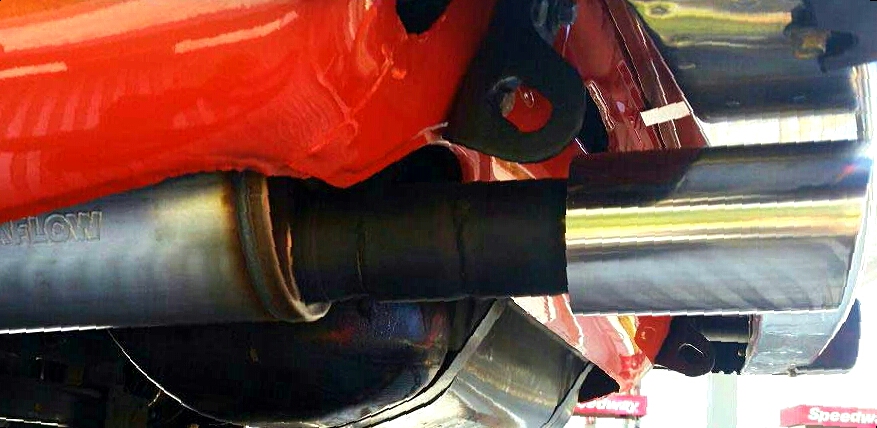
Moving on to the exhaust. I had eliminated the resonator 2 weeks ago and left the muffler the PO had installed. Nice unit from MSA I think but I wanted a bit more sound, deeper, sportier. Ended up choosing a cylindrical unit from Magnaflow which looks cool, is quite a bit lighter and gives me a sportier, louder sound without any additional noise in the cabin. No drone at cruising speeds either. I'm not too crazy about the way the tube that leads from the back of the muffler to the exhaust tip looks with the welds so I'll probably paint it Hi Temp black this weekend. Here it is painted with ultra hi temp black:
-
280Z Restomod Progress
dmoralesbello replied to dmoralesbello's topic in S30 Series - 240z, 260z, 280z
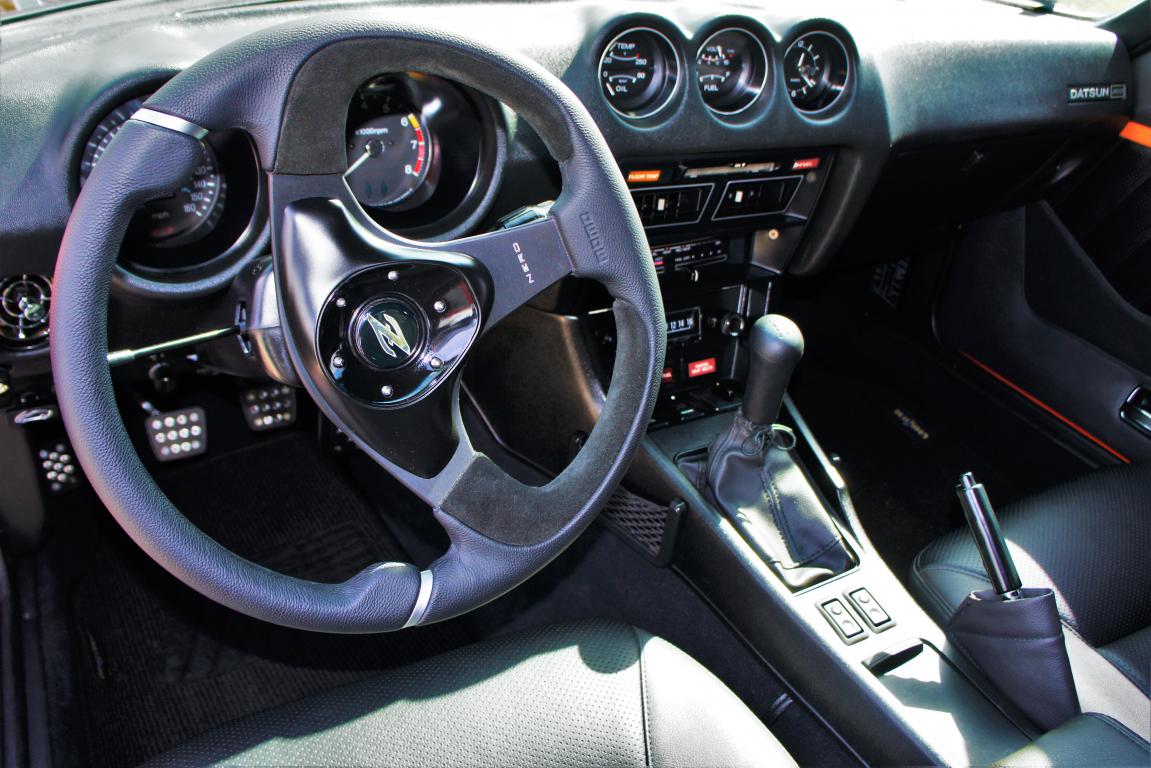
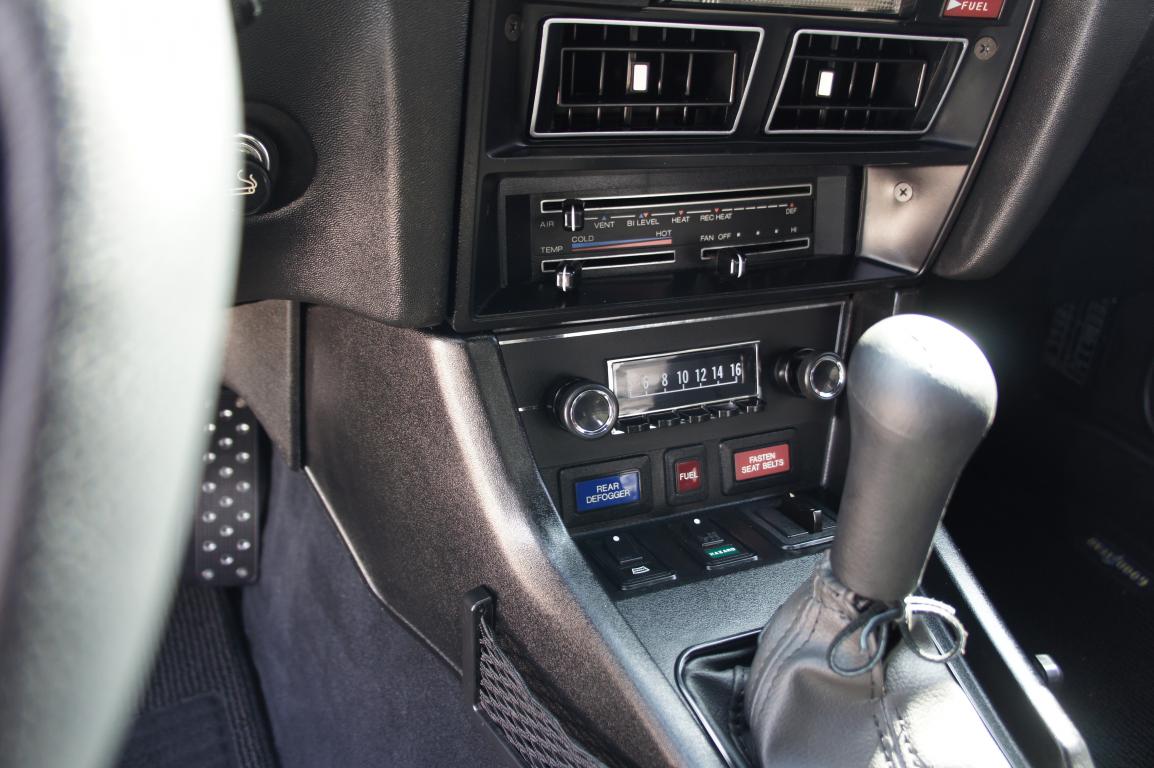
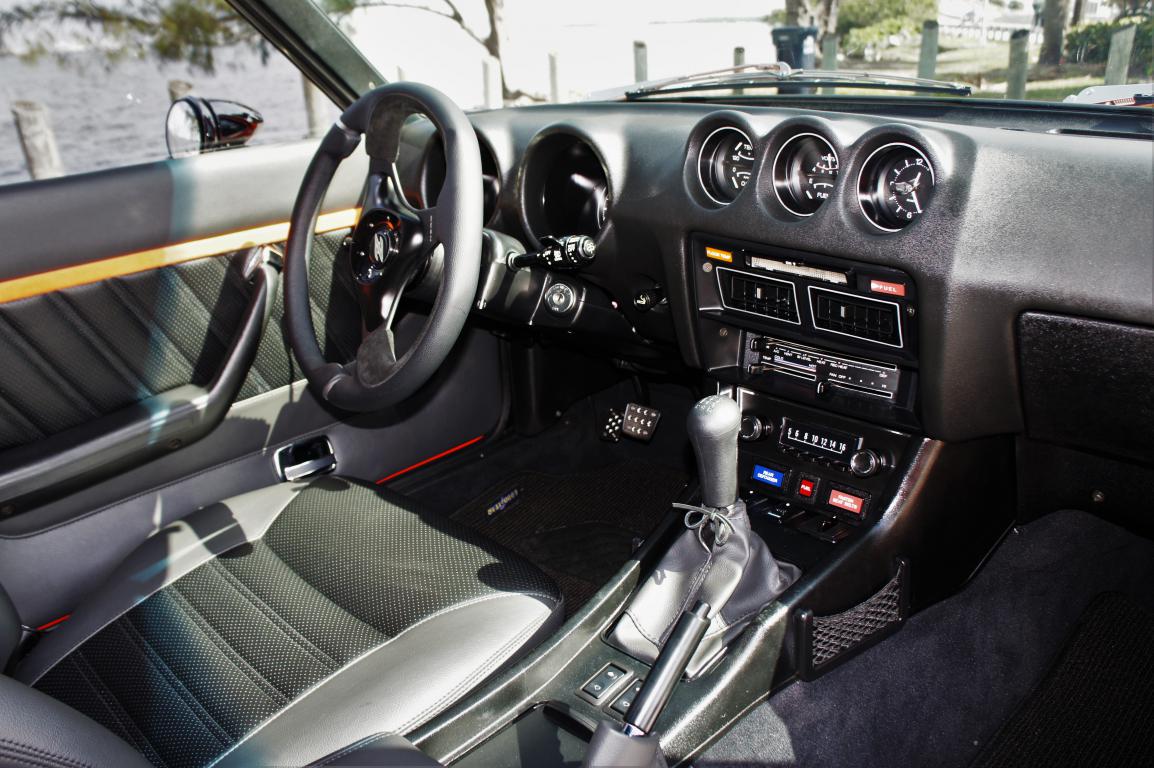
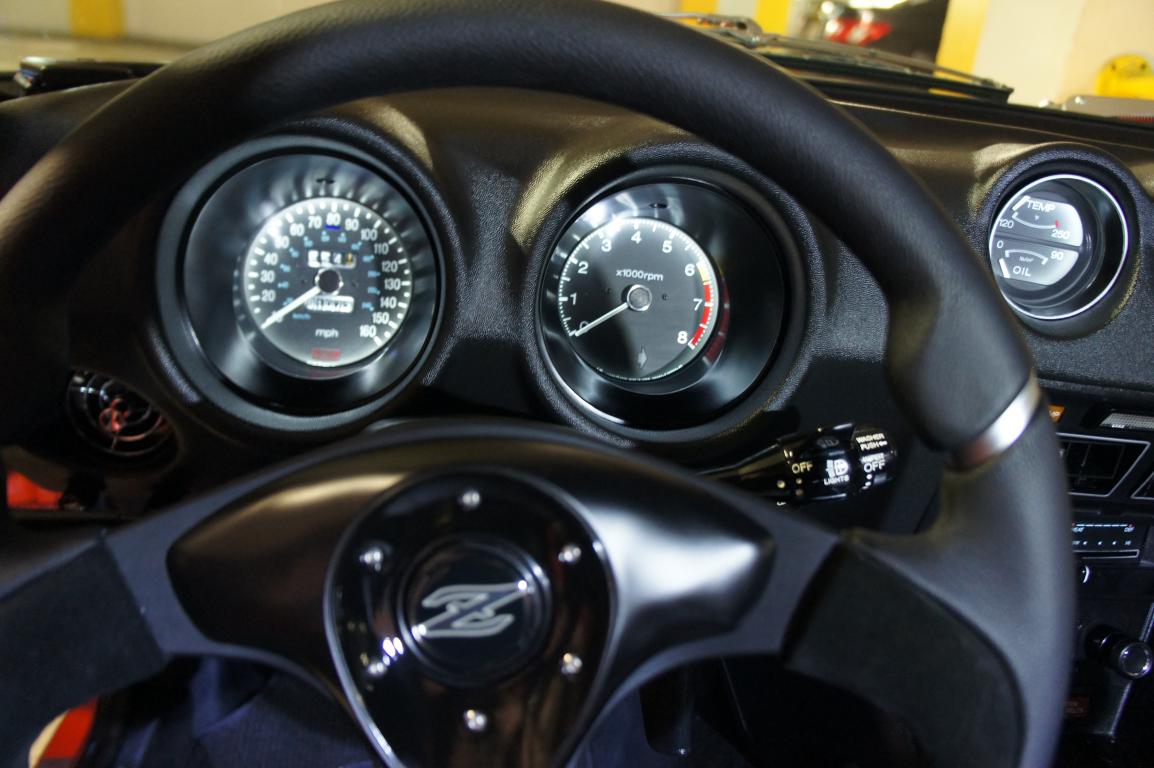
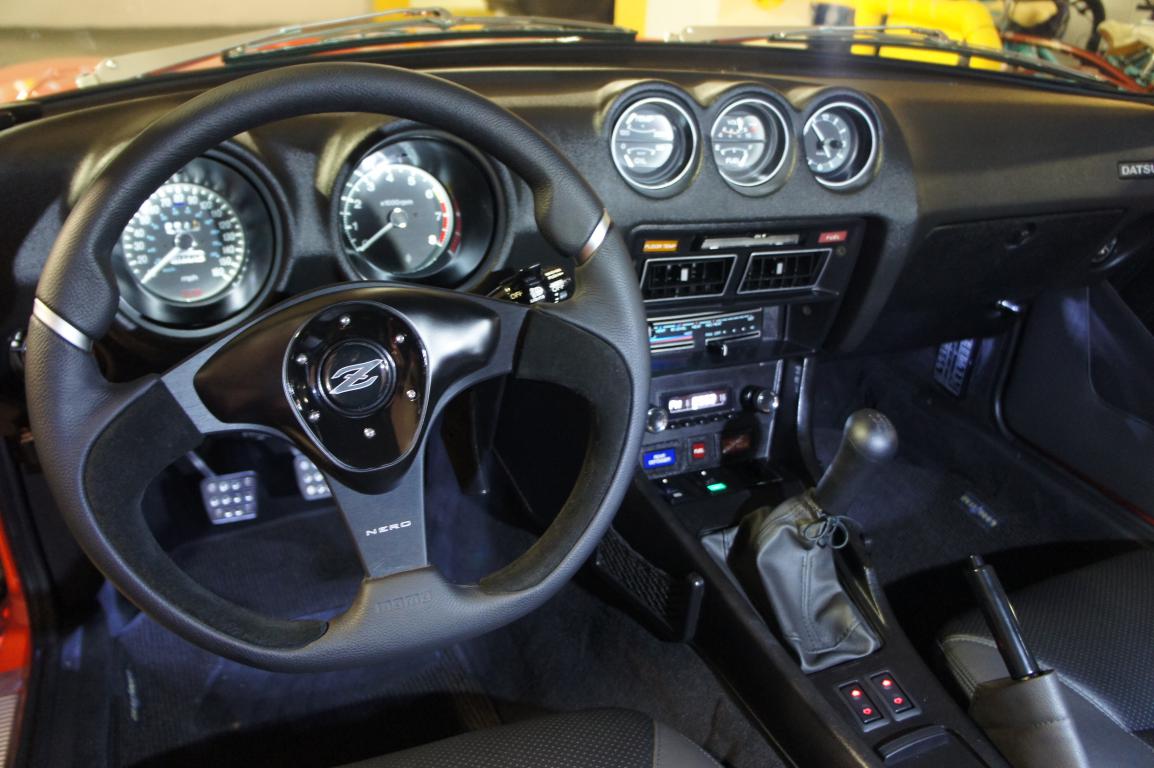
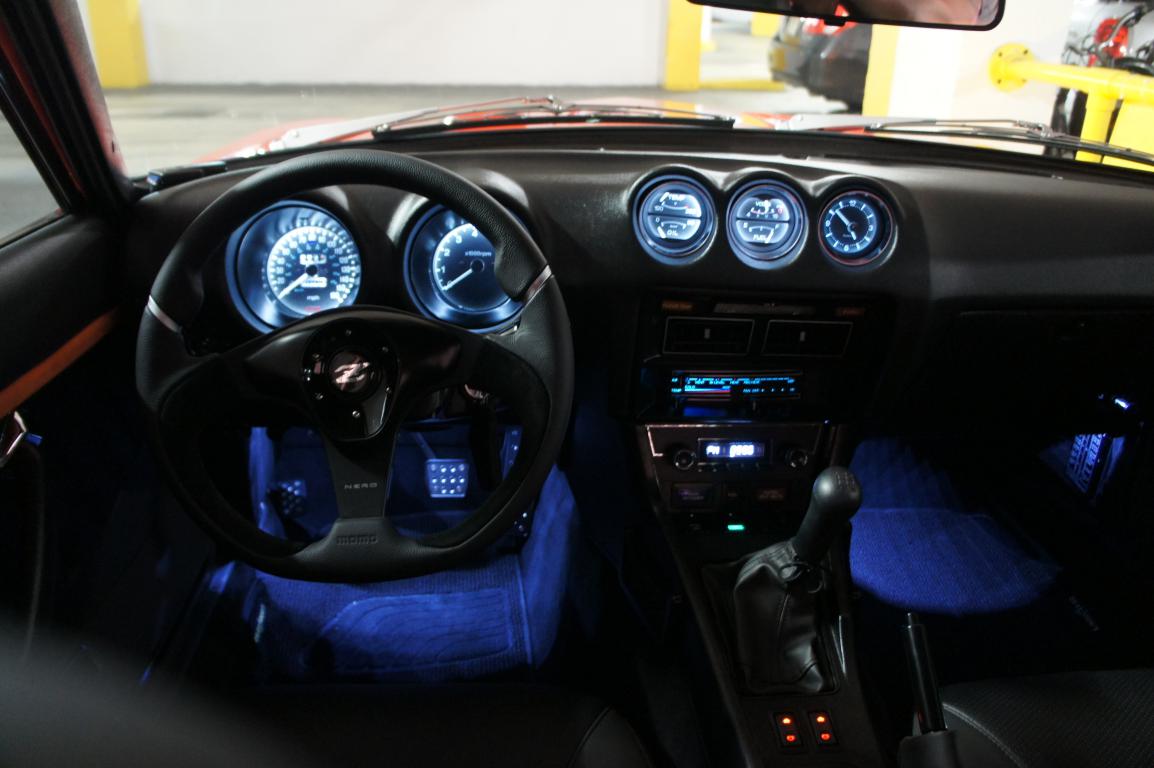
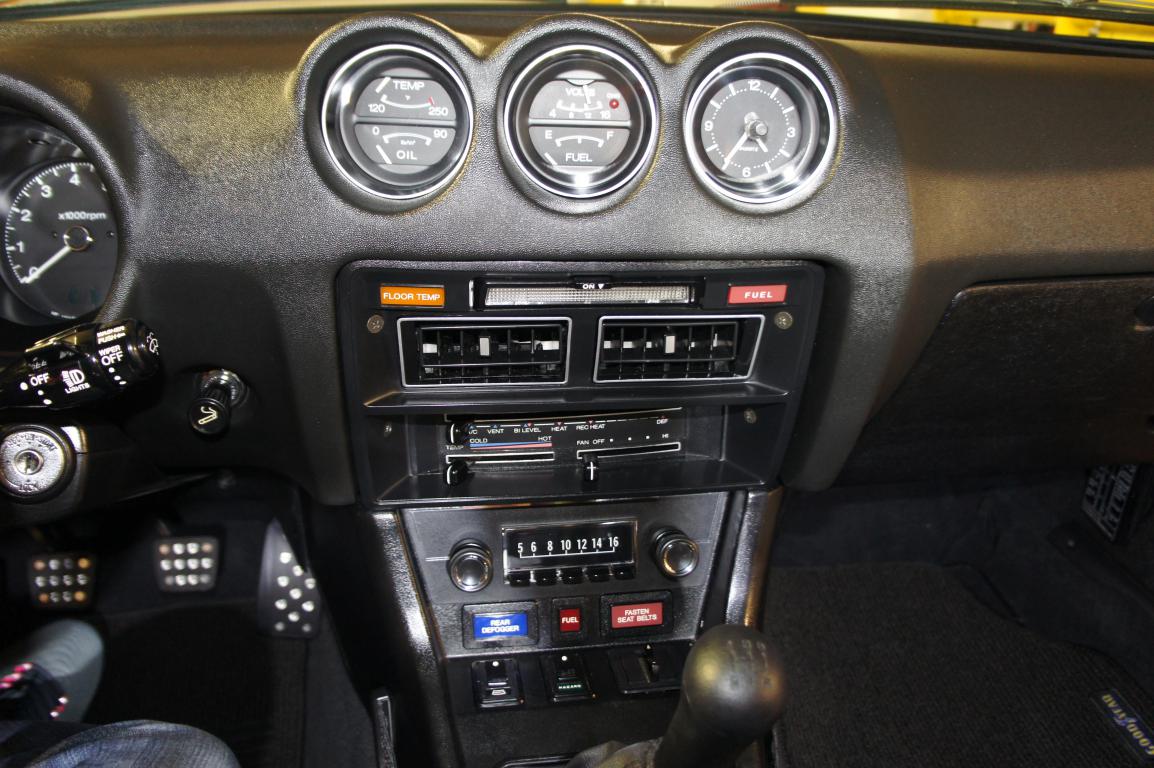
While we were doing the front speaker install I decided to add a little "ambient lighting" under the dash, directed at the floor. Used 2 self adhering strips of 20 LEDS which I picked up at Pep Boys. On the driver's side I placed them on the pedal support and on the passenger side under the glove box. I tapped into the lighting to the AC control box so it all lights up when I turn on my lights. Looks pretty cool together with the LED lighting I had set up before in the instrument panel and was very simple to do. White LED instrument lighting: Instrument lighting plus "ambient" lighting under the dash: Better pic without flash (although it looks whiter and not as bluish in real life):
-
280Z Restomod Progress
dmoralesbello replied to dmoralesbello's topic in S30 Series - 240z, 260z, 280z
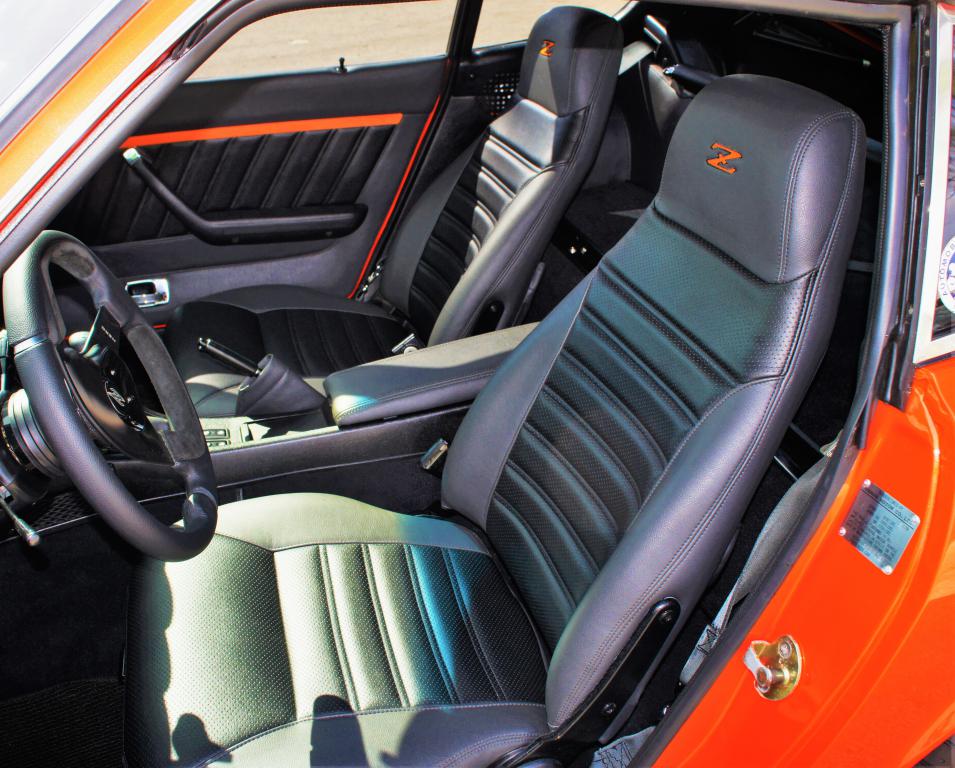
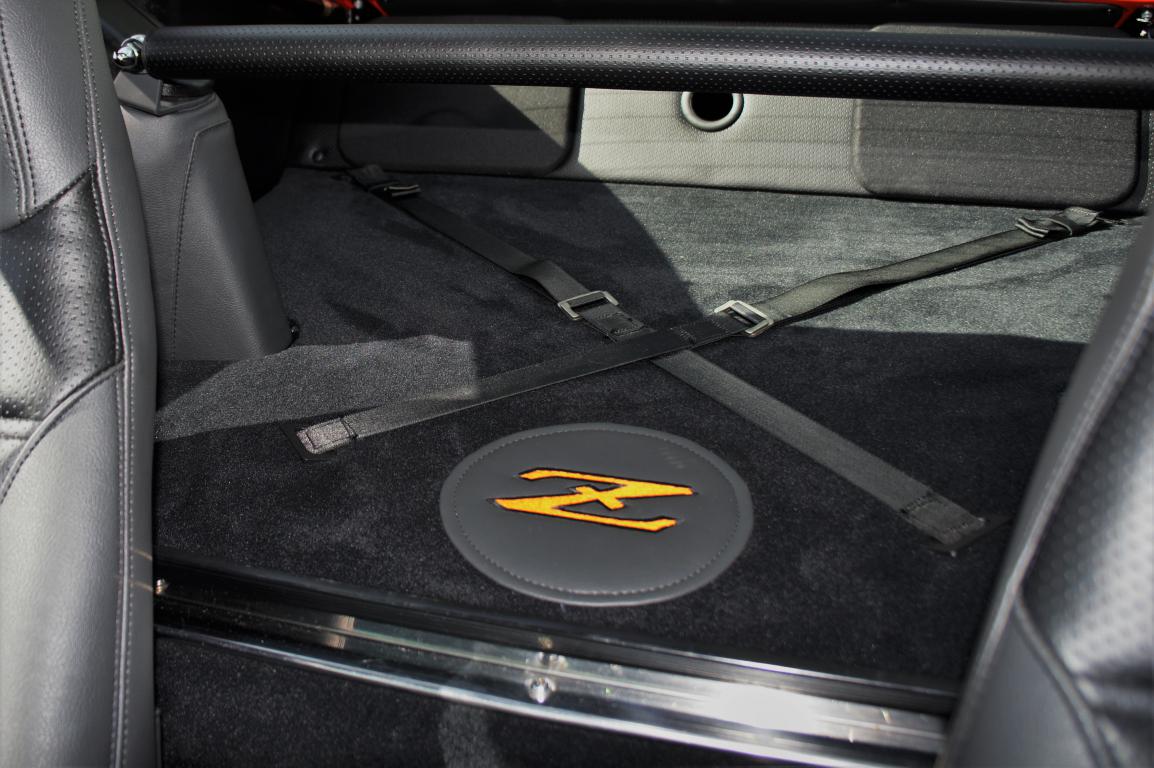
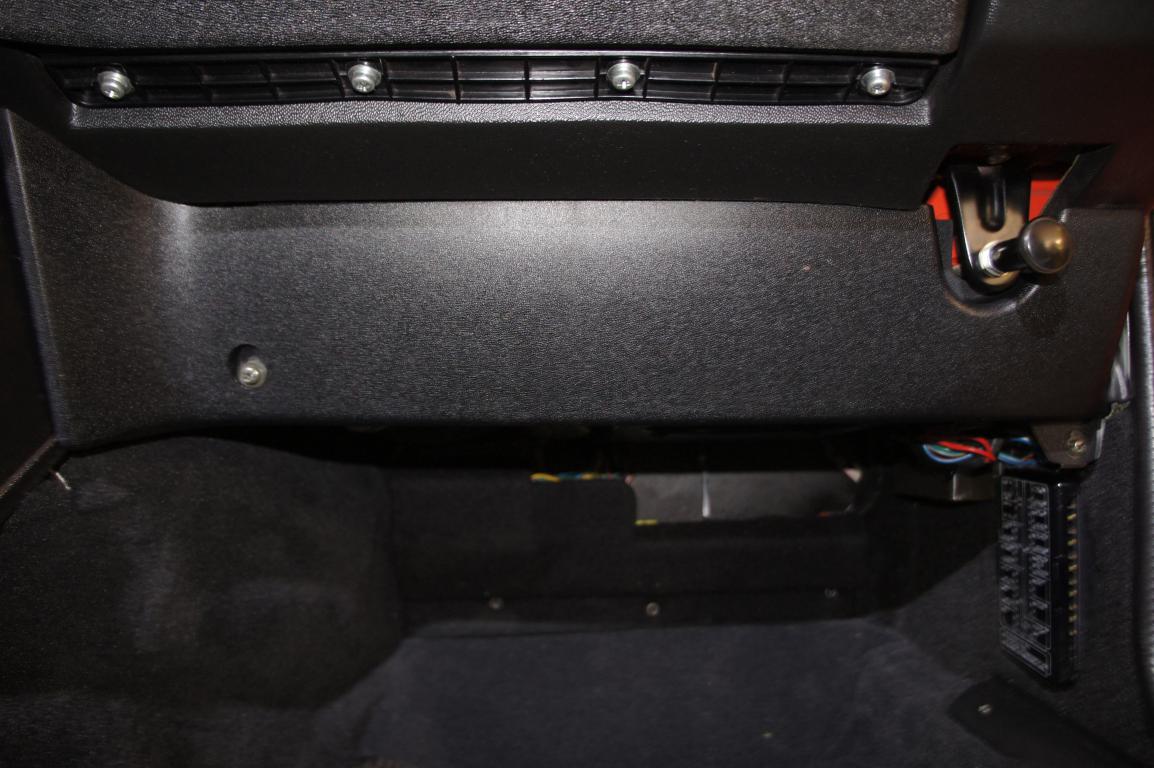
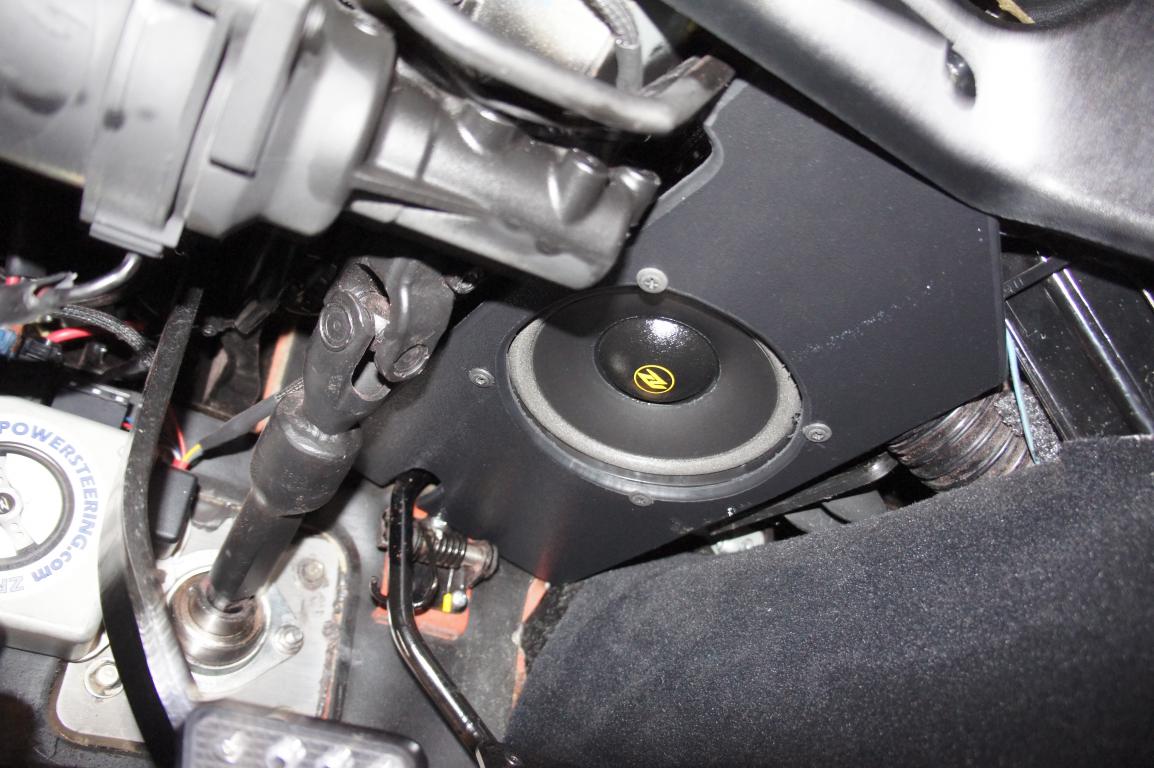
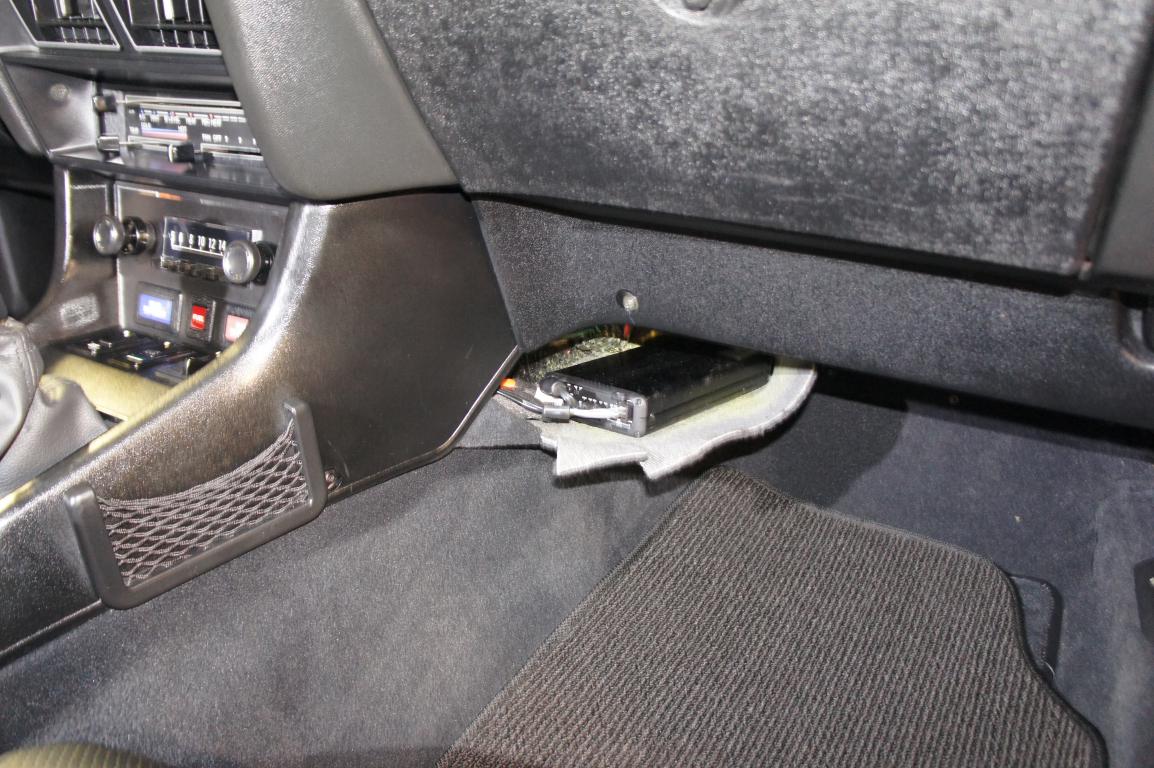
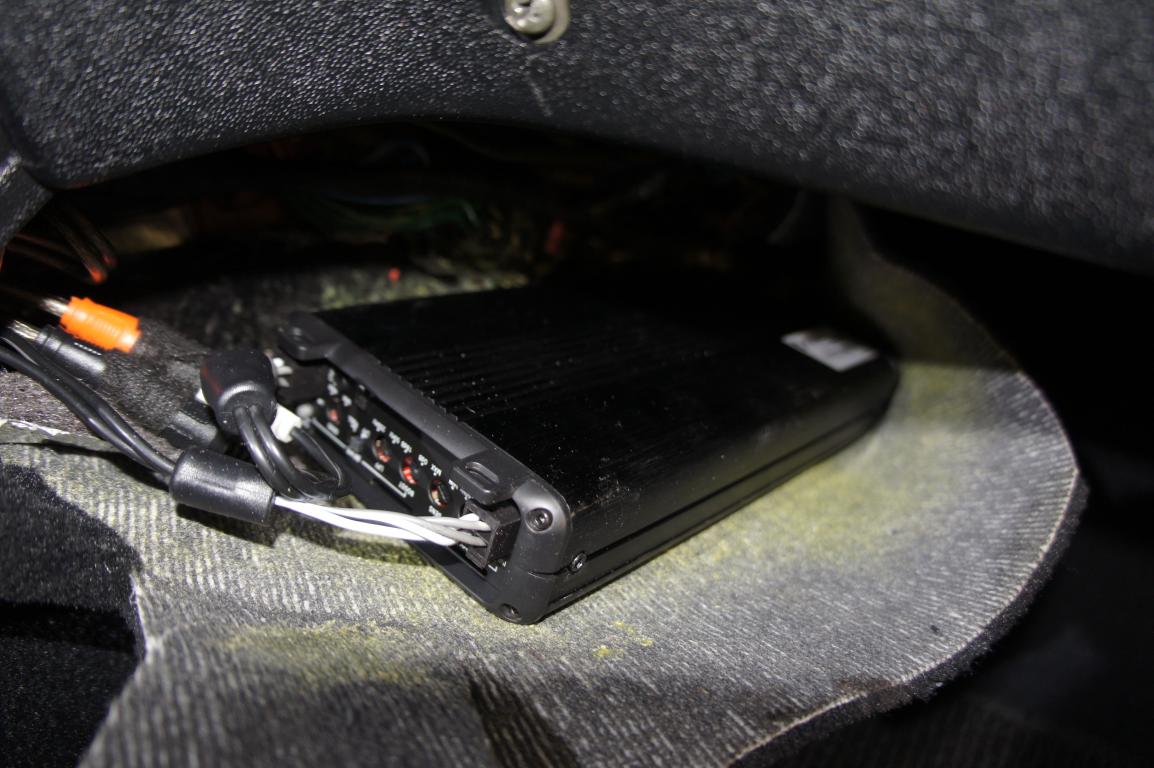
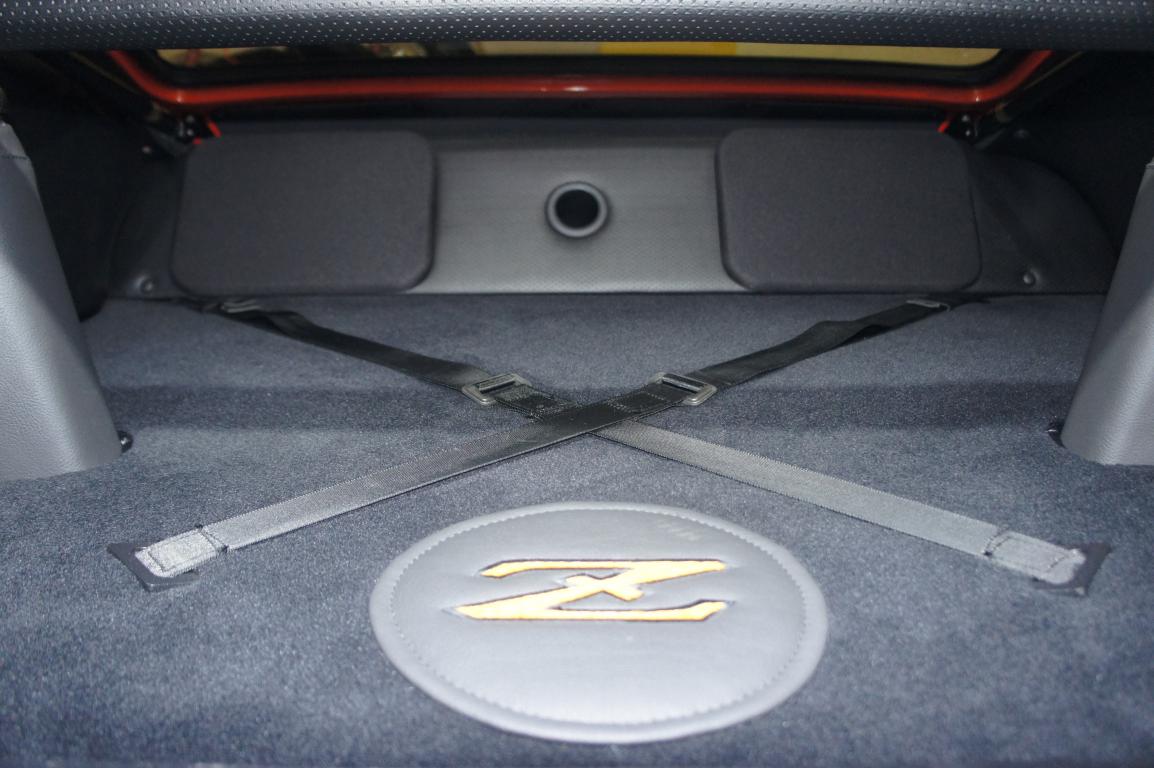
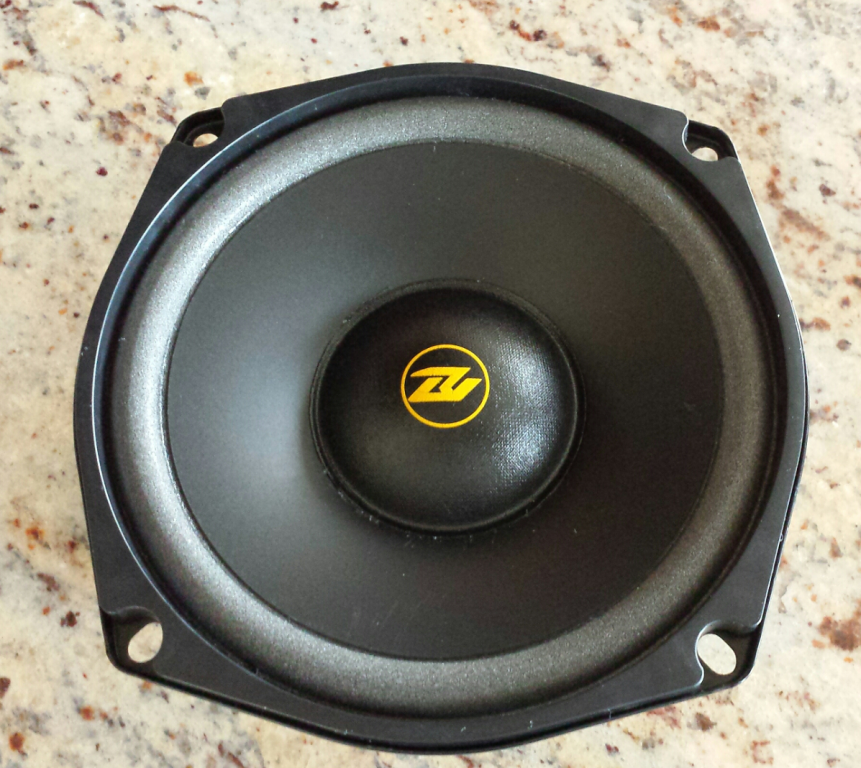
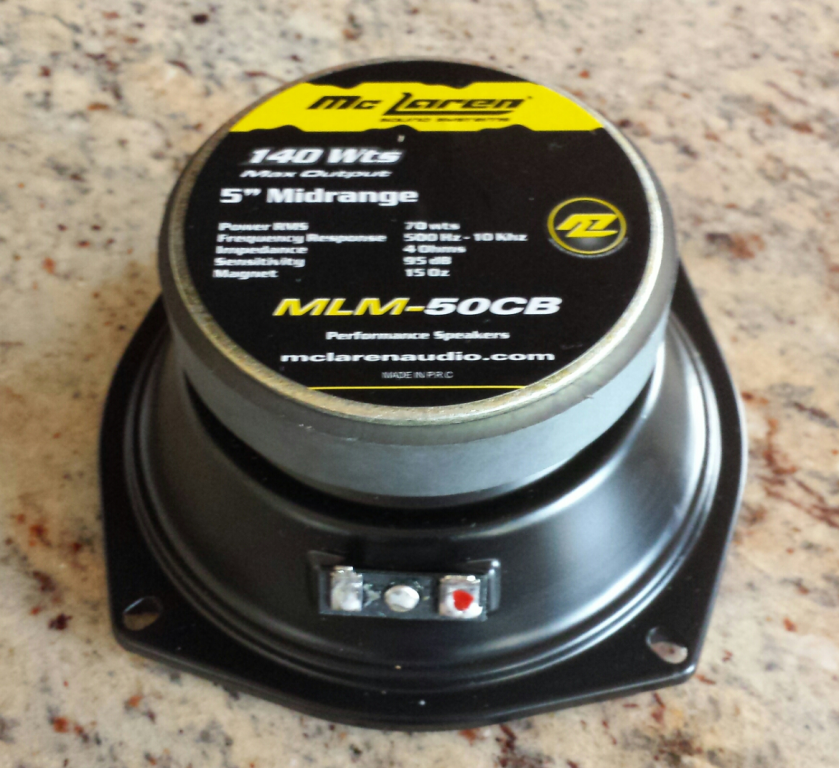
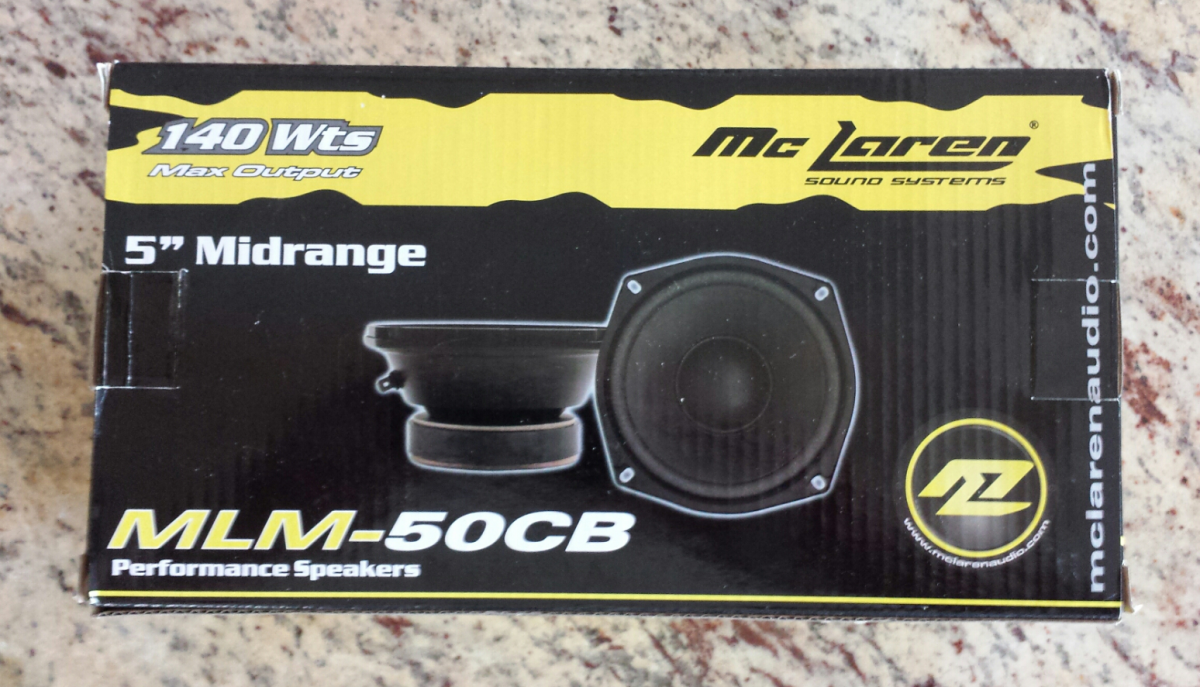
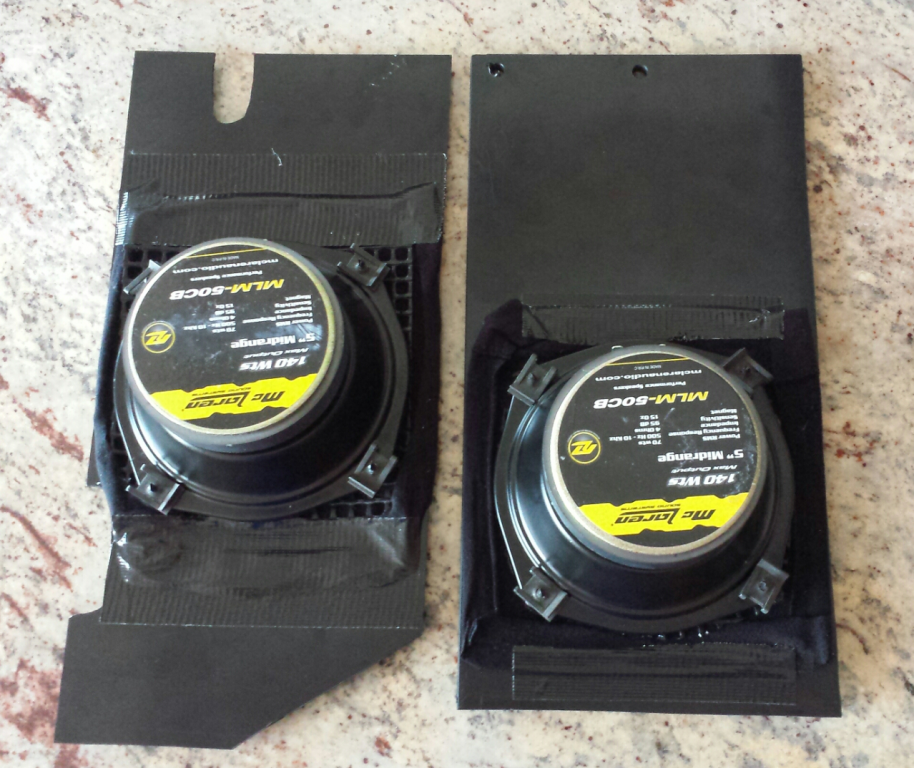
Starting with the Retrosound radio which I discussed previously in this topic, the sound upgrade is complete and and I'm enjoying balanced, crisp highs and mids from the front and side speakers with excellent bass response form the rear 6x9 Infinity speakers. It's being all pumped from a very compact Miura amplifier (80 watts x 4 channels) which we located beneath the carpeting to the right side of the console (close to the firewall) and is quite undetectable. The front speakers are McClaren Prosound 5 inch sealed basket units which are closed in the rear (not vented like usual speakers) so there's no need to add a box or enclosure making them very easy to fit in tight places. We fabricated custom panels out of 1/4 inch black ABS plastic (with similar texture to the OEM dash) into which the 2 front speakers were fixed and tucked away under each side of the dash. Although ideally high frequency sound should be directed toward the listener, in virtue of keeping everything "invisible", we had to count on the power and quality of the front under dash speakers to bounce sound off the floor. It has proven to work very well. I also decided to remove the rear speaker grills and make them less noticeable by simply covering them with black speaker fabric. Here are a few pics to illustrate the set up: Speakers and ABS panel: Driver and passenger side mocked up under the dash (before speaker grill installed): Amplifier location: One of two USB ports in the glove box: Overview of the final install:
-
Here's a pic of the final look of the ZPowersteering unit install with the motor to the left of the steering shaft, painted flat black and I still had enough space to mount a speaker panel to the right of the steering column. I will also add that I'm getting more accustomed to the feel.
-
Reverse Switch acting up
dmoralesbello replied to dmoralesbello's topic in S30 Series - 240z, 260z, 280z
Update: Cut off the old connector and crimped a new one onto a clean wire end and the lights work perfectly now. Thanks to all for the help.