-
Posts
254 -
Joined
-
Last visited
-
Days Won
3
Content Type
Profiles
Forums
Blogs
Events
Gallery
Downloads
Store
Everything posted by dmoralesbello
-
Congrats on your new Z! If you want to install a totally modern radio BUT with a cool vintage look you might want to check out the RetroSound multimedia receivers. Excellent sound, straight forward install and looks just right in the Z cockpit IMO. MSA sells them. Here's a link: http://www.thezstore.com/page/TZS/PROD/classic08c01/50-1289
-
280Z Restomod Progress
dmoralesbello replied to dmoralesbello's topic in S30 Series - 240z, 260z, 280z
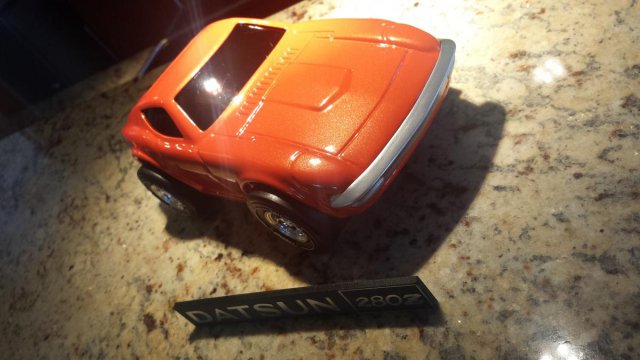
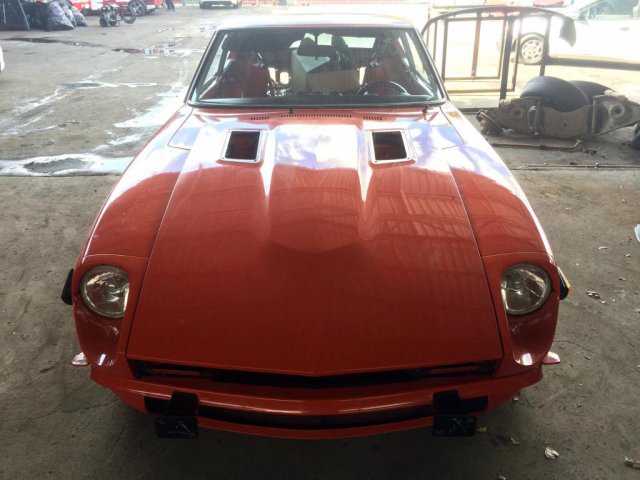
That color is Lamborghini's Arancio Argos Pearl. Fantastic in the sunlight. -
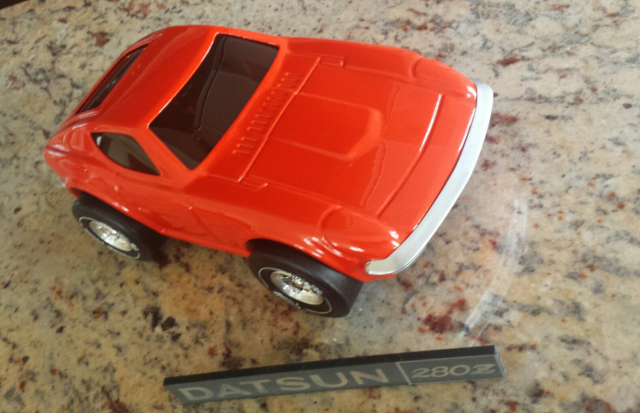
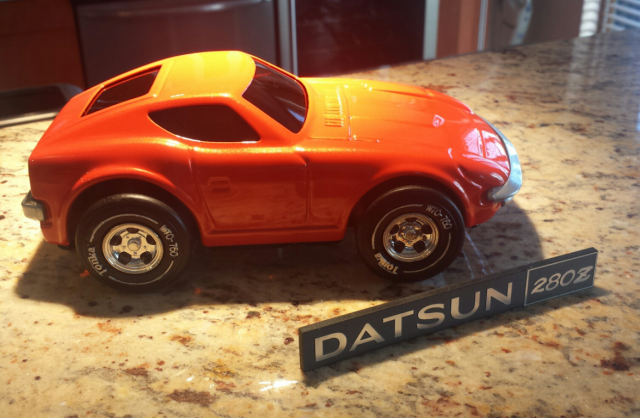
My project is still in progress but here's a vintage Tonka Toy Z and the real thing sprayed in Lamborghini's Arancio Argos Pearl paint.
-

280Z Restomod Progress
dmoralesbello replied to dmoralesbello's topic in S30 Series - 240z, 260z, 280z
Wow! Thanks RPMS. It's a real pleasure to put all the planning and work into one of these gems and have others appreciate it. It's going a little slow now but I should have more progress to post in 2 weeks or so. -

280Z Restomod Progress
dmoralesbello replied to dmoralesbello's topic in S30 Series - 240z, 260z, 280z
I'm stuck waiting on the paint shop to continue getting my hood, airdam and grill painted and I'm getting desperate! I've been promised some progress in the next 2 weeks and I will post new pics as soon as I have them. -
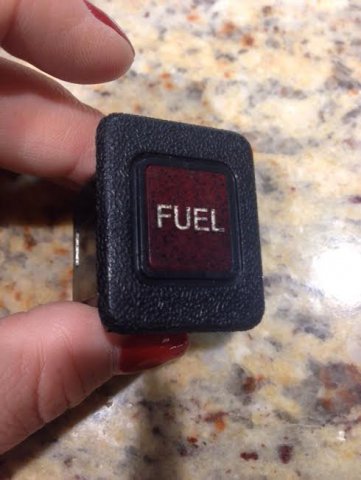
I just picked up a square, red "FUEL" warning light that fits in the square slot below the radio in the middle of the center console between the blue "REAR DEFOGGER" and the red "FASTEN SEAT BELTS" warning lights. I'm happy to be able to remove the blank plate I have in that spot and place that "FUEL" light. I realize that it will be redundant but I rather have the non-functional warning light than the blank plate. The question is: What model Z had that red "FUEL" light in that spot? I've looked at every picture I could of all the different Z center consoles and can't find one with that warning light.
-
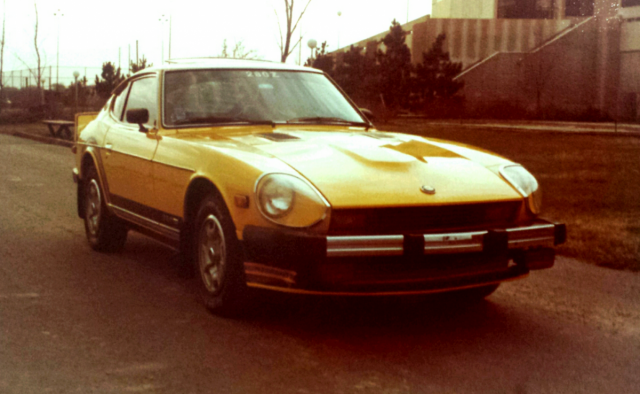
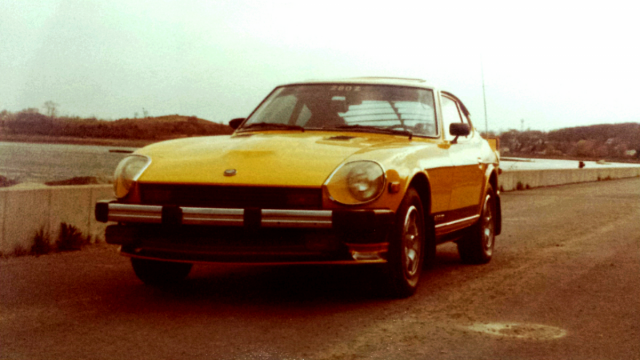
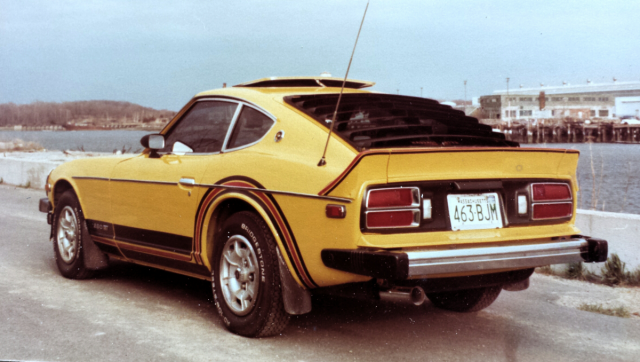
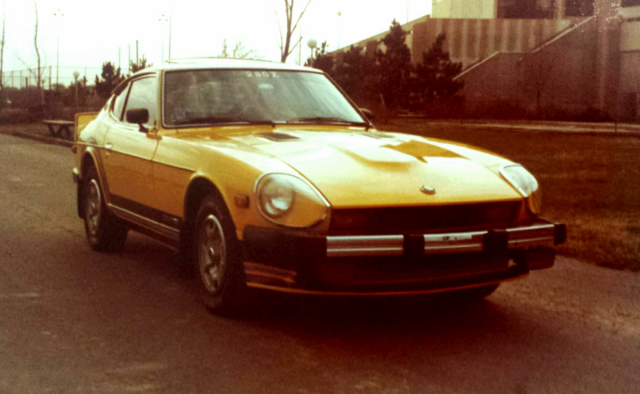
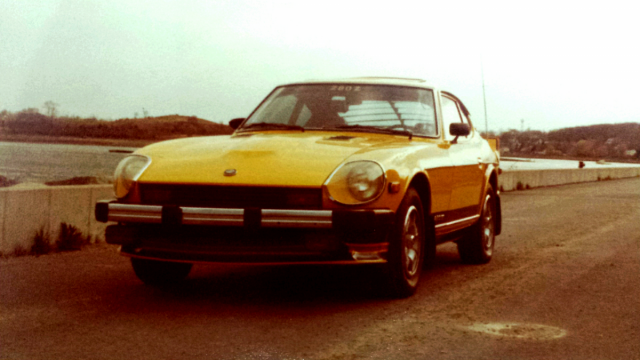
Vintage 1978 pics of my '77 280Z which has been the motivation to owning and "restomoding" another one now.
-
Hey Chris, congrats on the effort to get these done. I had an original JDM set on my 280Z back in "77 and there's really no comparison with the current plastic-no trim ring repros that are available today. I don't have a set now that I could use to help you with measurements and templates but would encourage anyone who does have a set to cooperate in this effort. I would certainly be interested in a set when done. Don't give up. All we need is 1 person that's willing to help.
-

280Z Restomod Progress
dmoralesbello replied to dmoralesbello's topic in S30 Series - 240z, 260z, 280z
Thanks Jay! I wanted to capture the original feeling I got when I first drove my new 280Z back in '77, but since time smooths out all the imperfections, I had to go with similar but improved methods and materials on this restoration. -

280Z Restomod Progress
dmoralesbello replied to dmoralesbello's topic in S30 Series - 240z, 260z, 280z
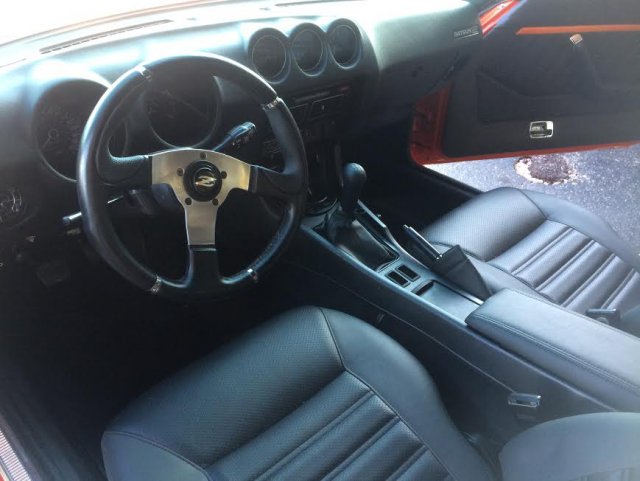
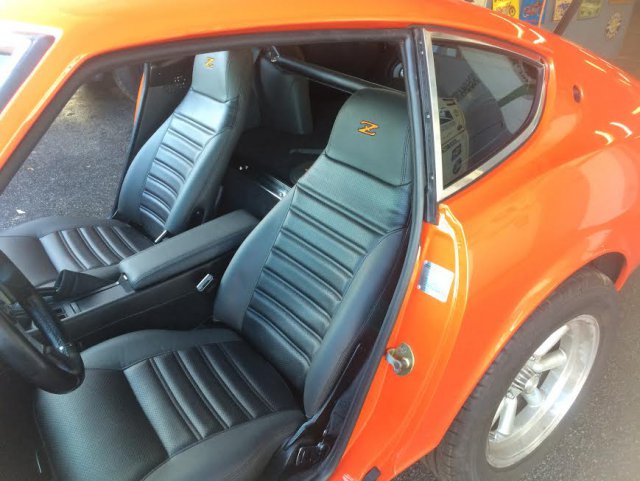
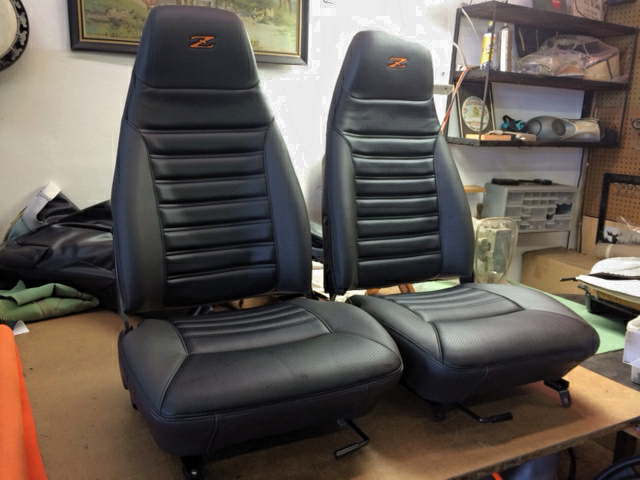
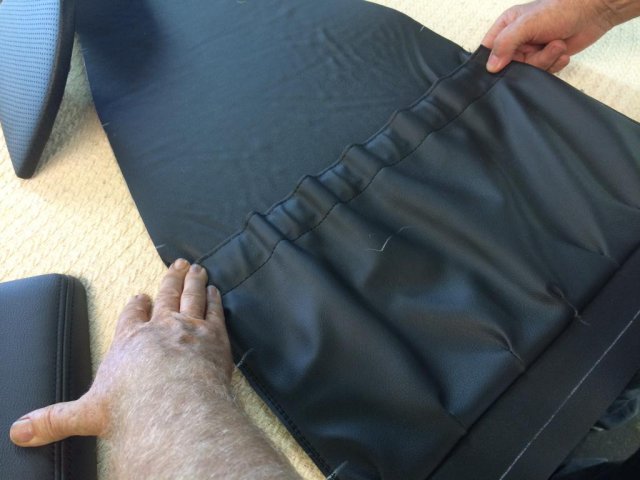
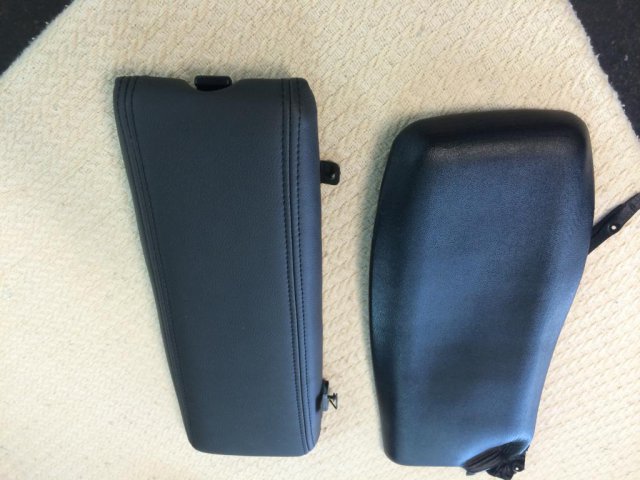
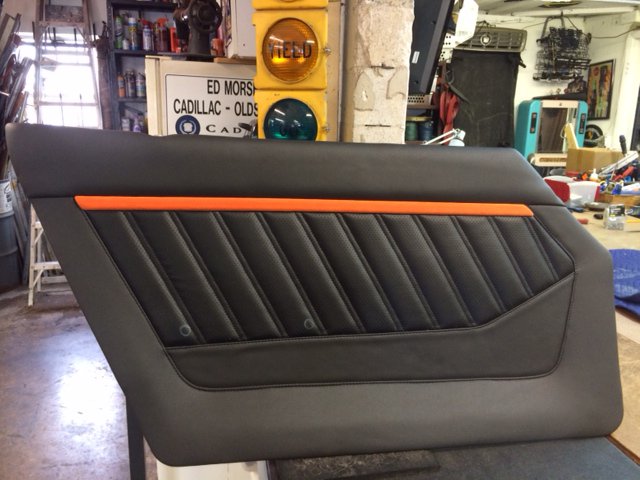
Upholstery is done. Great job from Shamrock Auto Trim in Miami, FL. They do top notch work including celebs' cars (Lenny Kravitz) and movie jobs for The Fast and The Furious. -

280Z Restomod Progress
dmoralesbello replied to dmoralesbello's topic in S30 Series - 240z, 260z, 280z
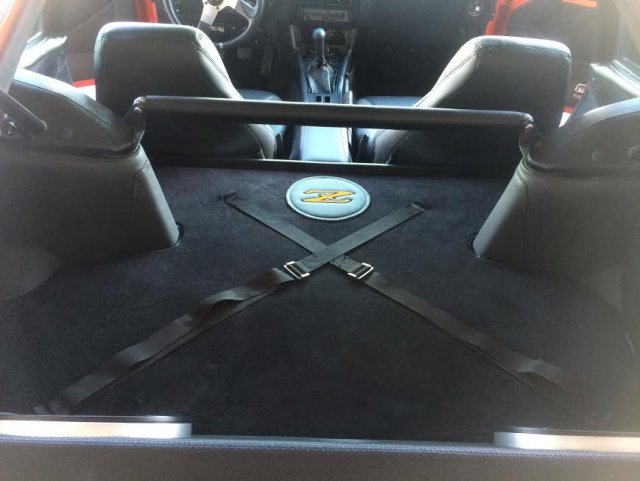
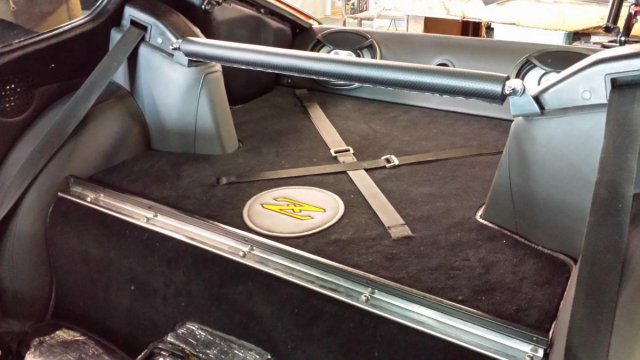
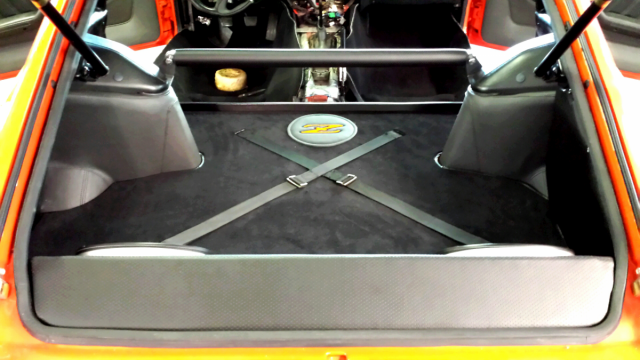
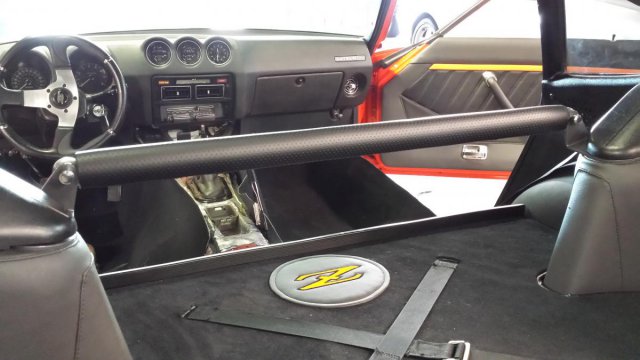
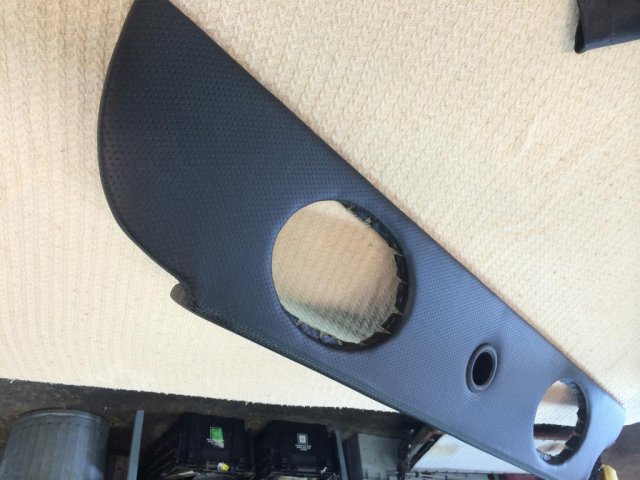
The rear deck carpeting, strut towers, speaker box and padded strut bar are all finished. Next up is the carpeting on the floor pans. We decided to cover the strut bar pad with the same perforated material that was used in the center section of the seats and on the speaker box. I think you'll have to zoom in on the pics to appreciate it. The Z logo on the carpet looks yellow in the pics but is in reality a bright orange much like the car's body color. -

280Z Restomod Progress
dmoralesbello replied to dmoralesbello's topic in S30 Series - 240z, 260z, 280z
Seattlejester: The modified bucket actually contacts the inner fender liner and bulges it outward about a quarter inch. Not enough for clearance problems I think. Once I road test it I'll let you know. I will also post pics of the completed buckets. In the meantime I hooked up all my LED tail lights and the electronic flashers seem to have done the trick: all turn signals and hazard lights work perfectly. -

280Z Restomod Progress
dmoralesbello replied to dmoralesbello's topic in S30 Series - 240z, 260z, 280z
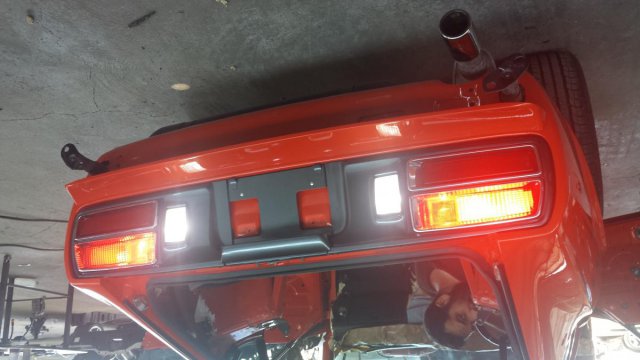
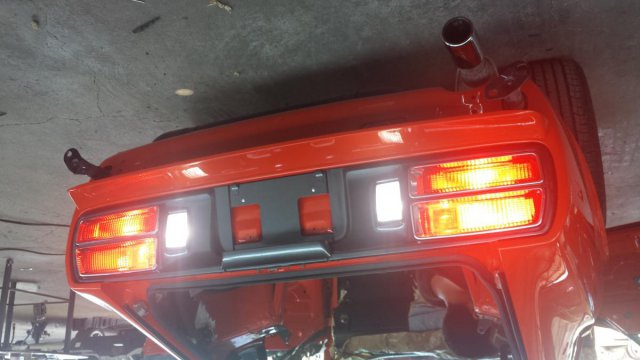
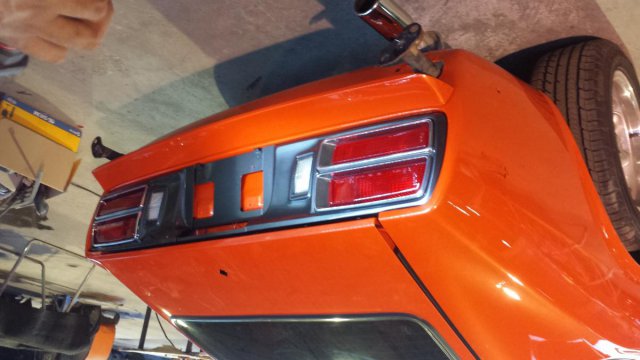
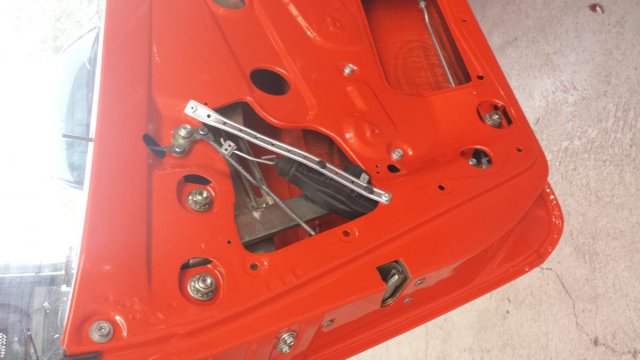
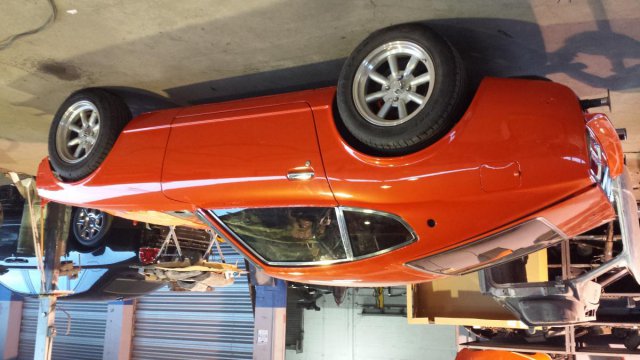
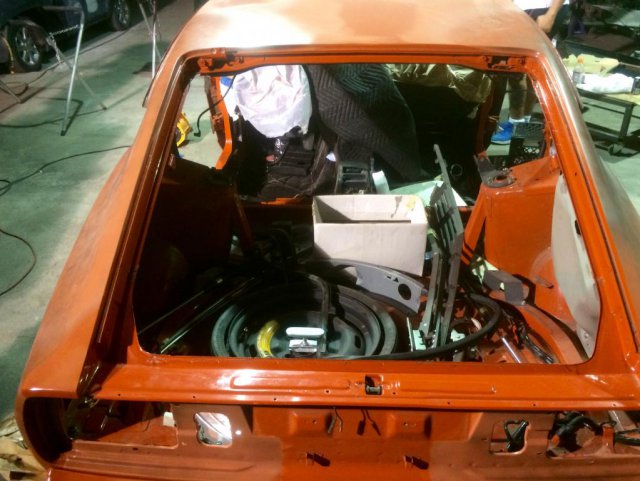
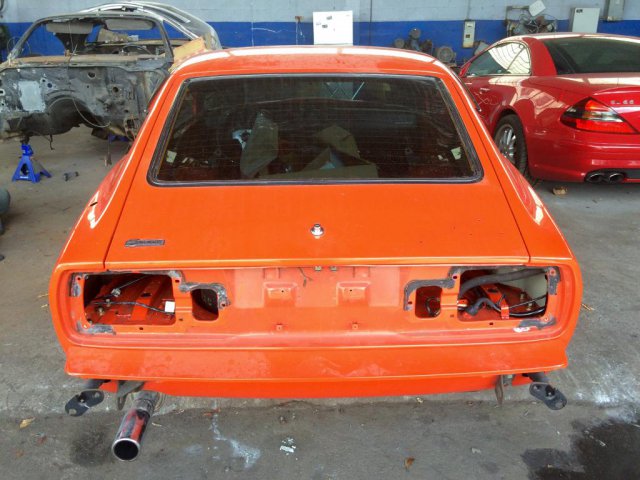
All the glass with new seals, rear hatch and tail light assembly with LED lighting went on today. Power door lock actuators are in as well. BTW, I'm sorry for the flipped pics but I can't figure out why this happens (they look right side up in my files). -

280Z Restomod Progress
dmoralesbello replied to dmoralesbello's topic in S30 Series - 240z, 260z, 280z
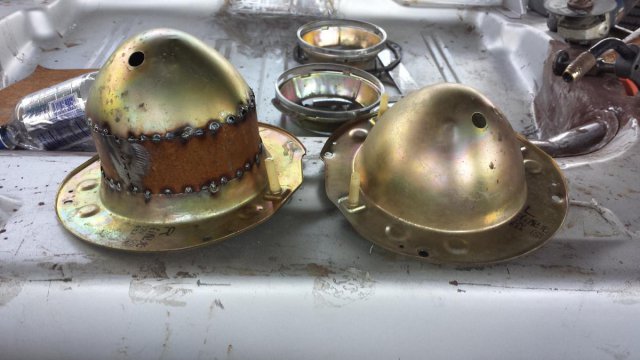
Forgot to include my headlight bucket "extensions" to fit the new LED bulbs. Not quite finished but worked well in the mock up. -

280Z Restomod Progress
dmoralesbello replied to dmoralesbello's topic in S30 Series - 240z, 260z, 280z
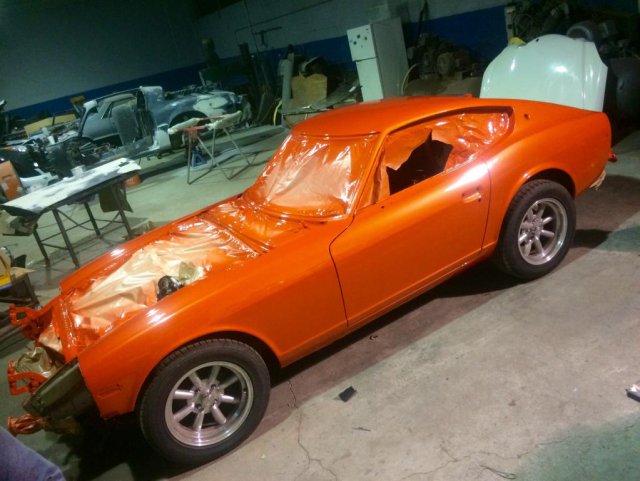
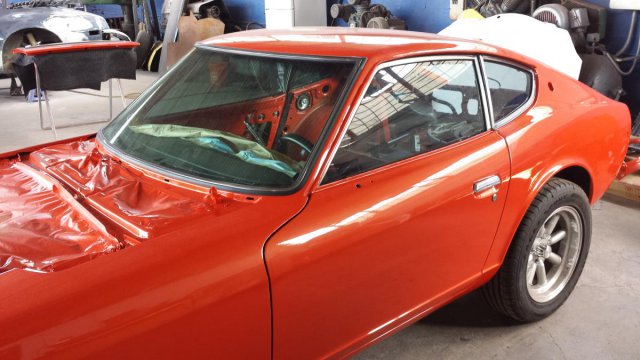
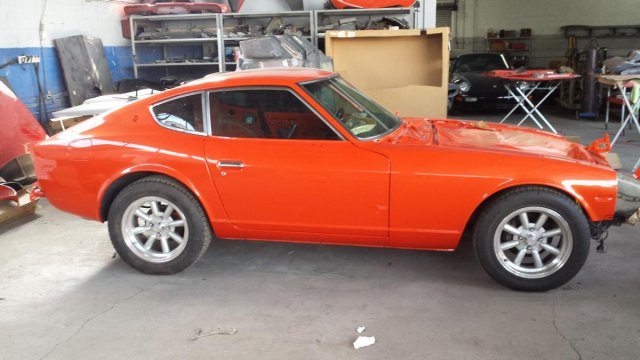
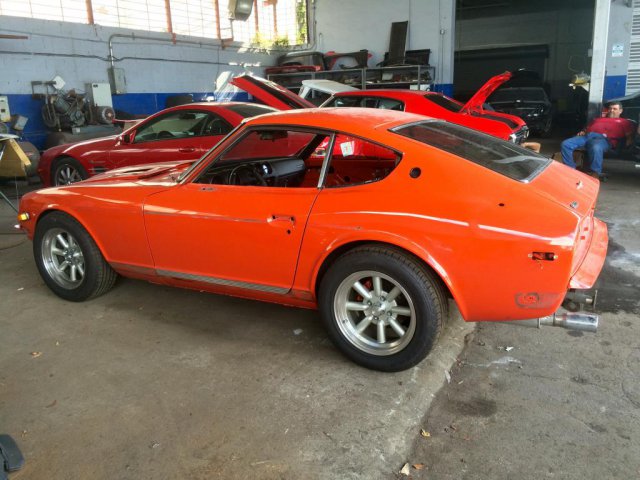
Here she sits with doors attached once again. All the glass with new rubber seals goes in today. Upholstery continues on Monday. I'll update periodically. -

280Z Restomod Progress
dmoralesbello replied to dmoralesbello's topic in S30 Series - 240z, 260z, 280z
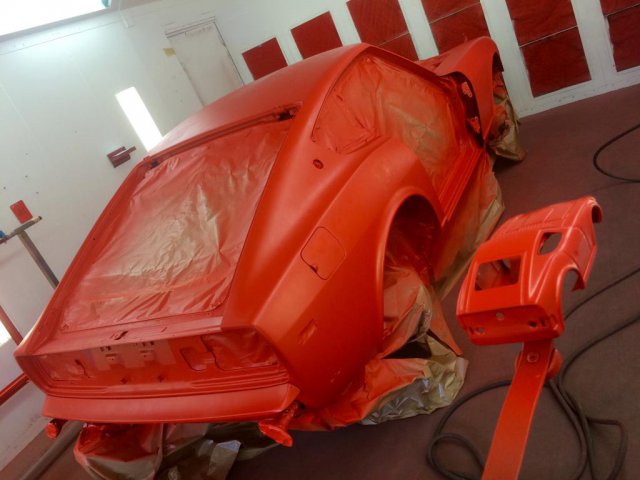
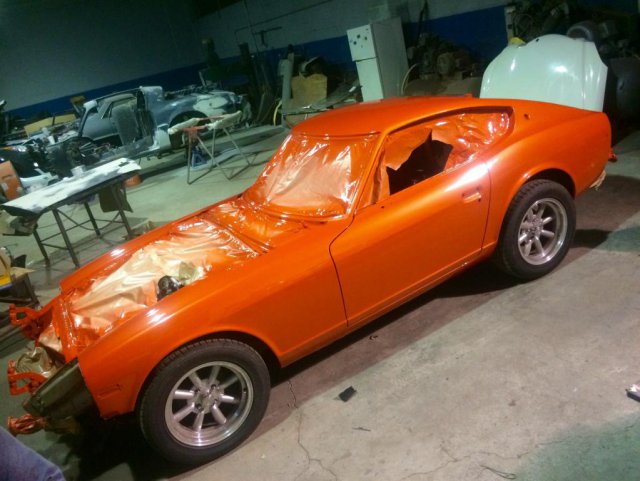
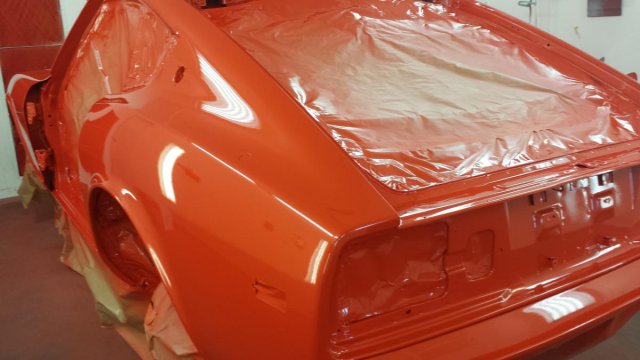
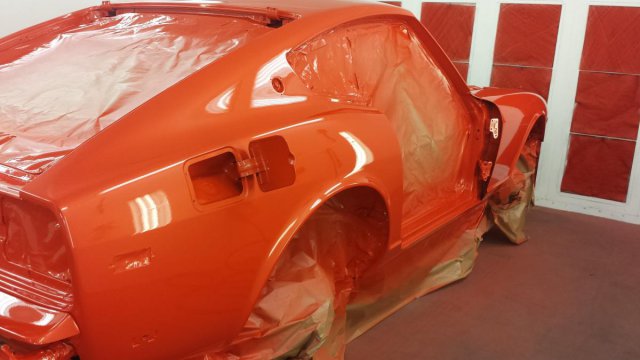
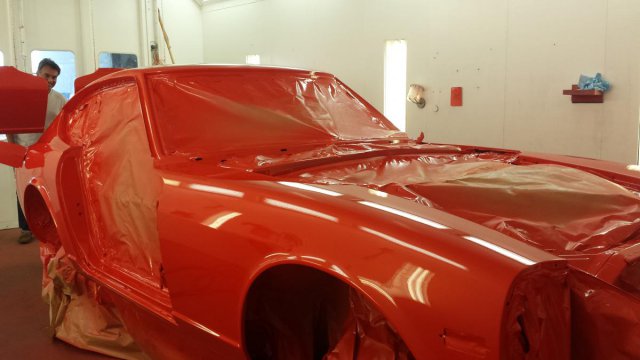
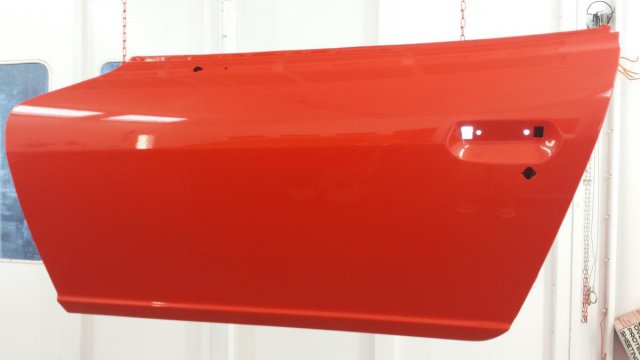
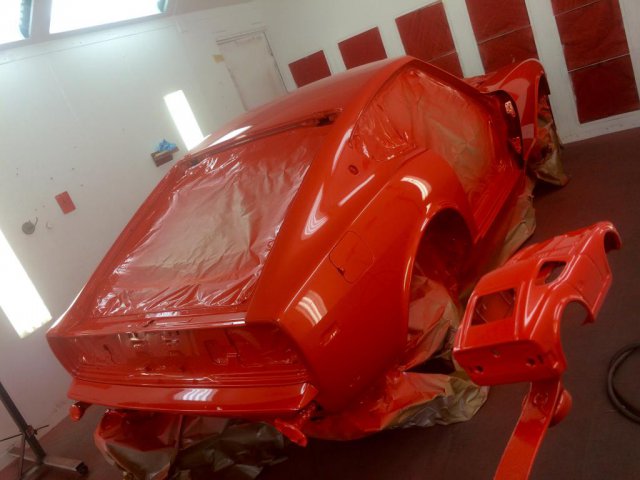
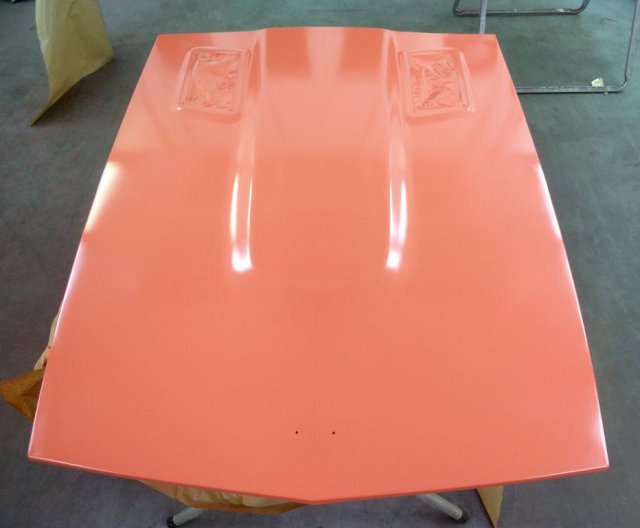
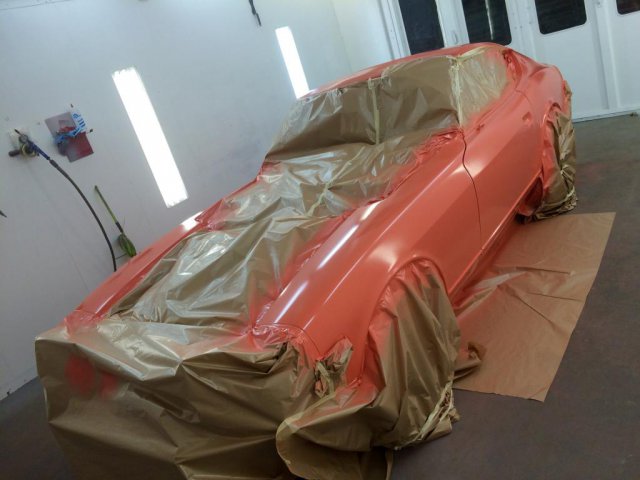
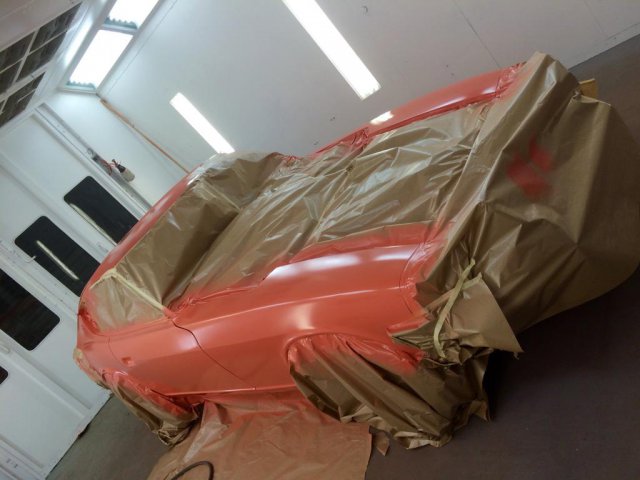
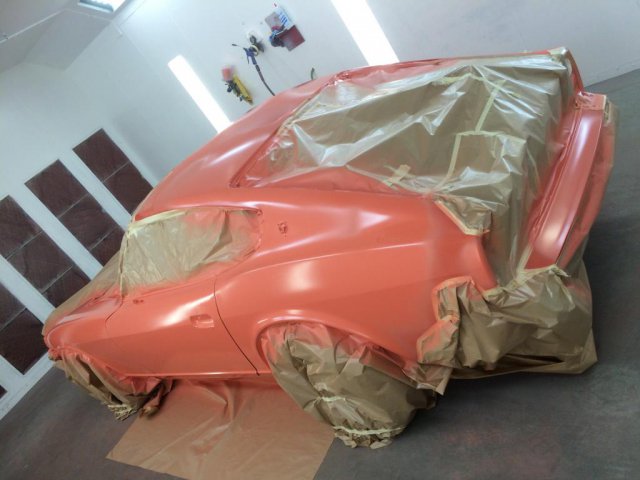
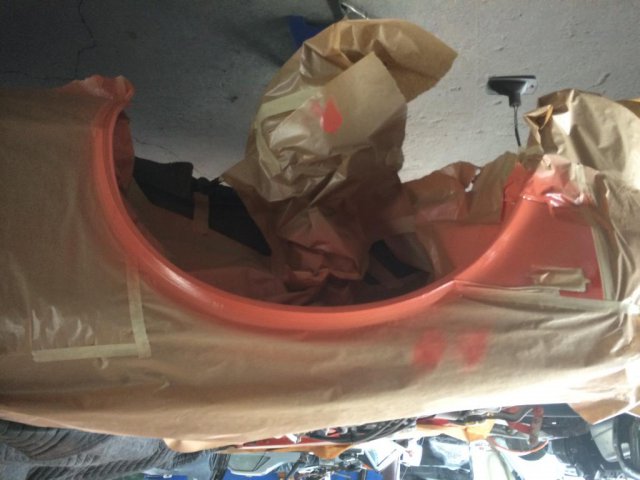
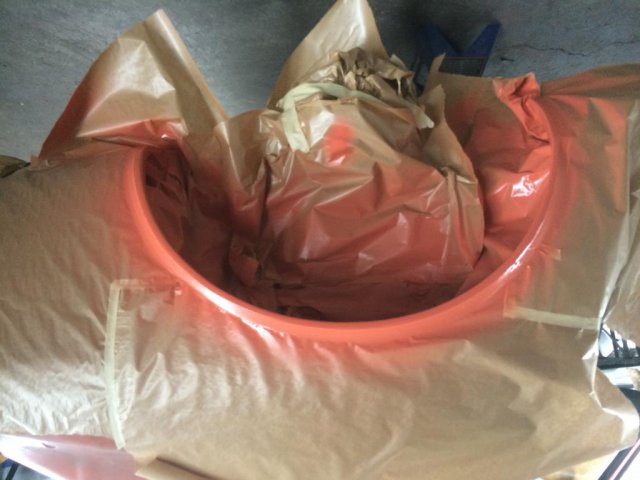
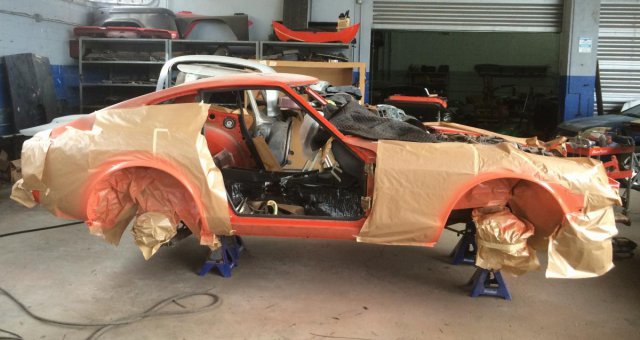
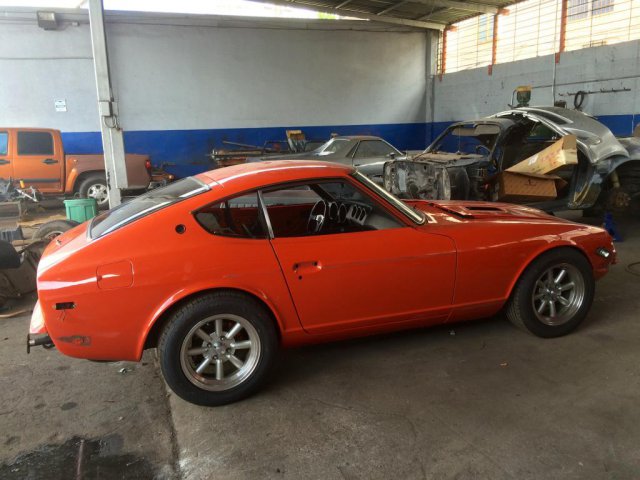
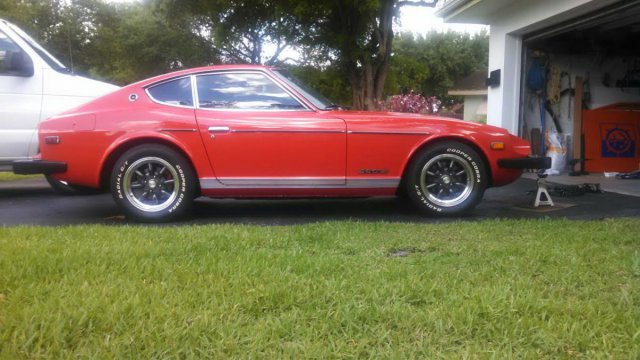
Finally the 3 stage paint was applied. After much debate we decided to keep an orange color which had the same base as the original Datsun 110 code that was on the car. This coincided with a 2015 Lamborghini orange (Arancio Argos Pearl) used on the Aventador. In conclusion the new color is much like the original color BUT with a pearl final stage before the clear coat. The effect in sunlight is amazing. Just for fun, a vintage Tonka Toy Z was sprayed with the same 3 stage paint simultaneously: Hey, I figured if I can't play with the full size toy for a while.... -

280Z Restomod Progress
dmoralesbello replied to dmoralesbello's topic in S30 Series - 240z, 260z, 280z
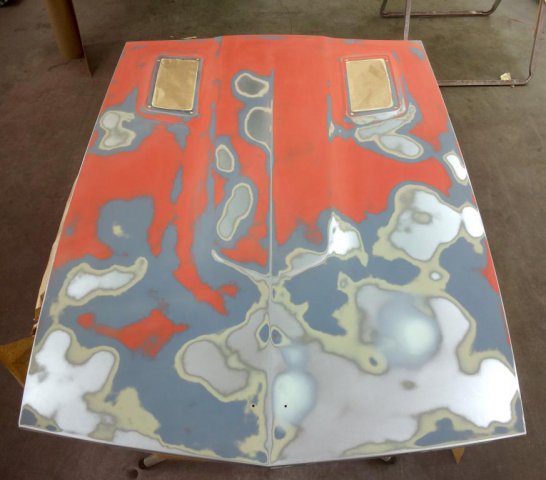
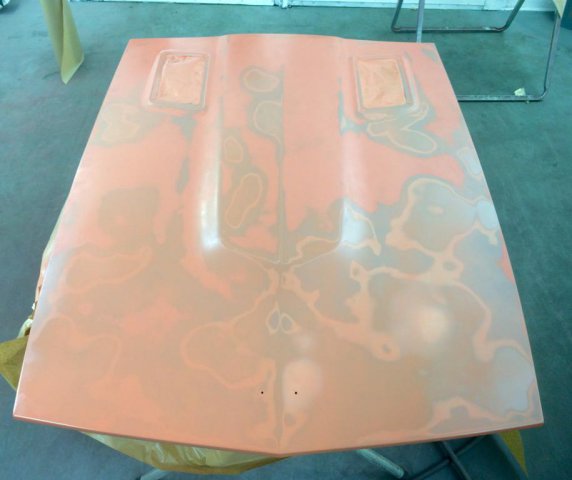
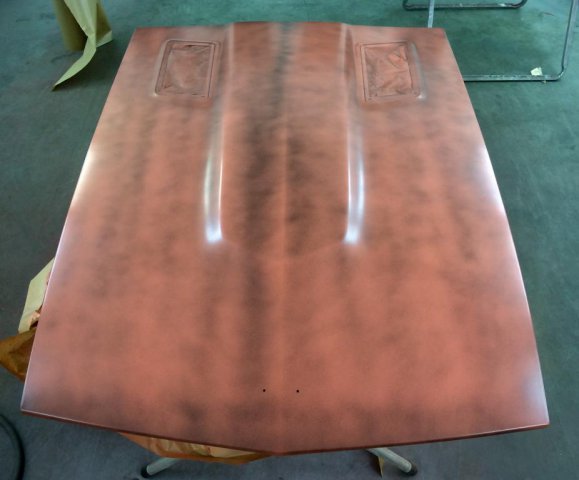
Once the bodywork was completed, the epoxy primer was prepared with orange tint and applied, followed by a black guide coat. Hood Body -

280Z Restomod Progress
dmoralesbello replied to dmoralesbello's topic in S30 Series - 240z, 260z, 280z
All fenders got "rolled" by hammering: And the front fenders were pushed out about 1/2 inch to better line up with the shape of the airdam as well as create more clearance for the tires. -

280Z Restomod Progress
dmoralesbello replied to dmoralesbello's topic in S30 Series - 240z, 260z, 280z
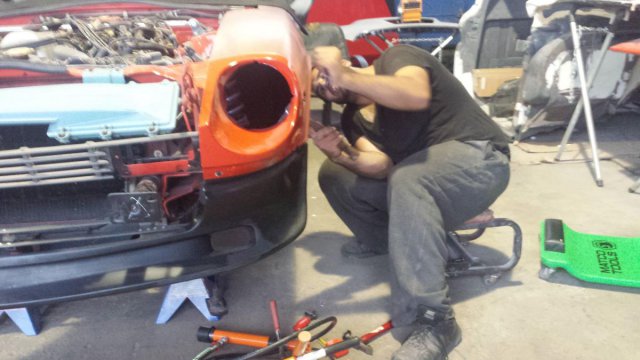
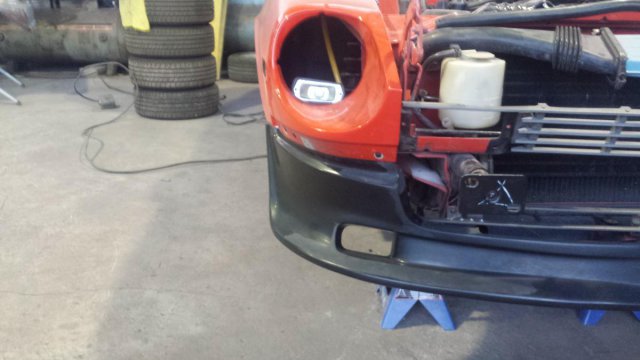
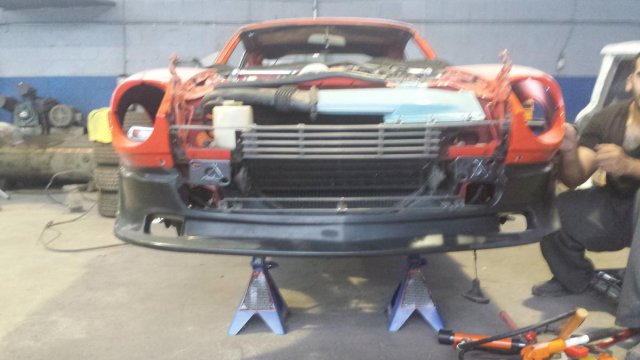
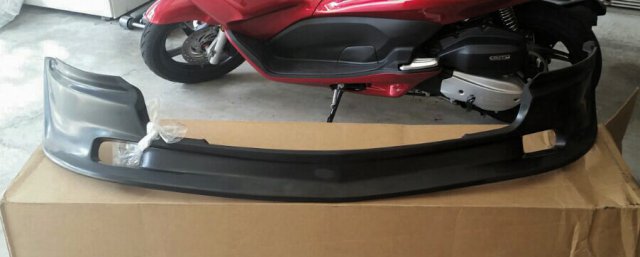
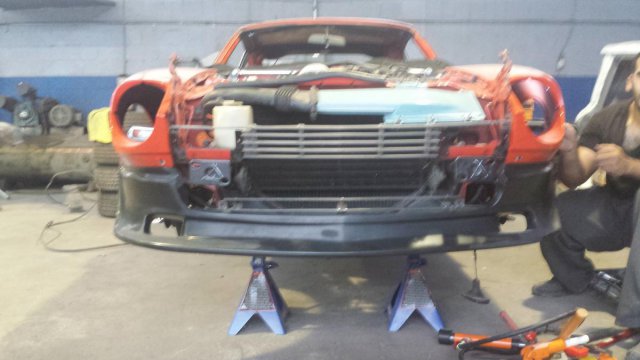
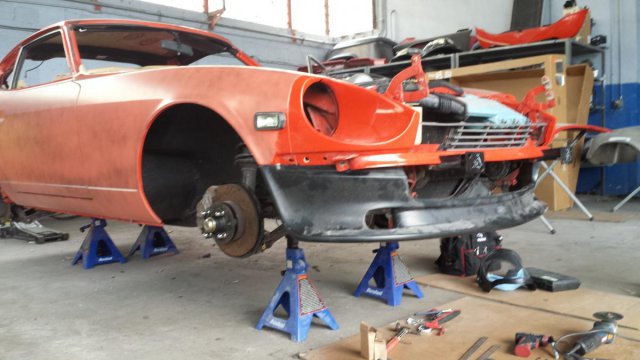
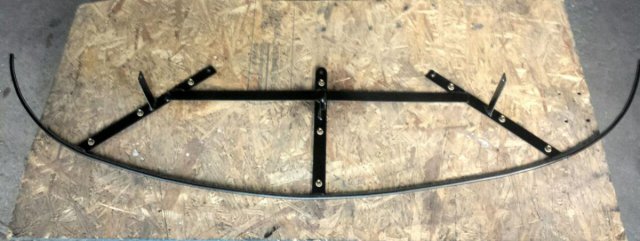
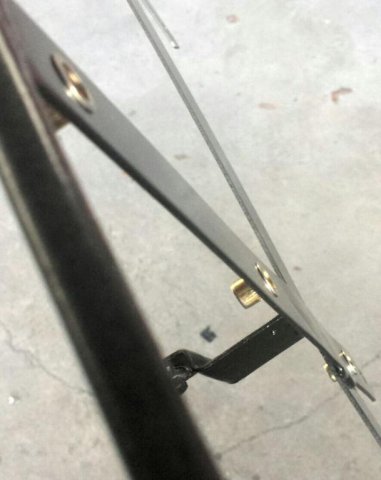
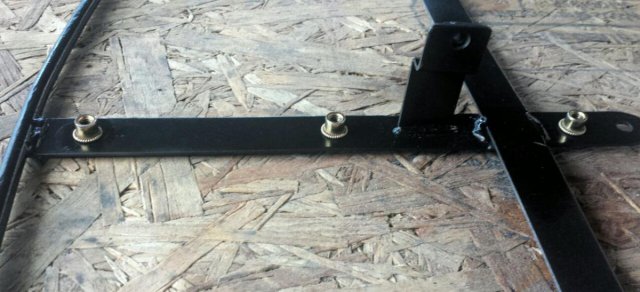
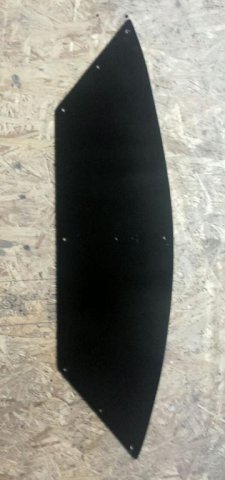
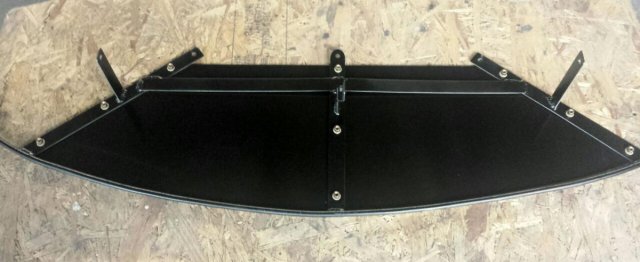
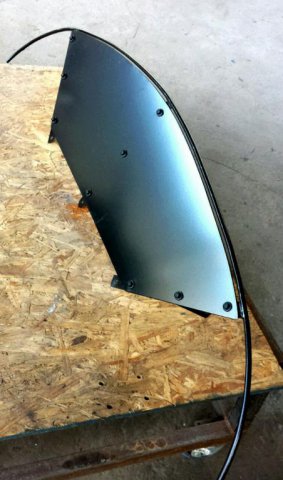
Airdam install included fabricating a steel and aluminum frame. The steel rod fits right behind the airdam lower lip. The aluminum floor that's attached to the frame is intended to look like a continuation of the OEM underside protector, increase airflow through the radiator and reinforce the whole set up. -

280Z Restomod Progress
dmoralesbello replied to dmoralesbello's topic in S30 Series - 240z, 260z, 280z
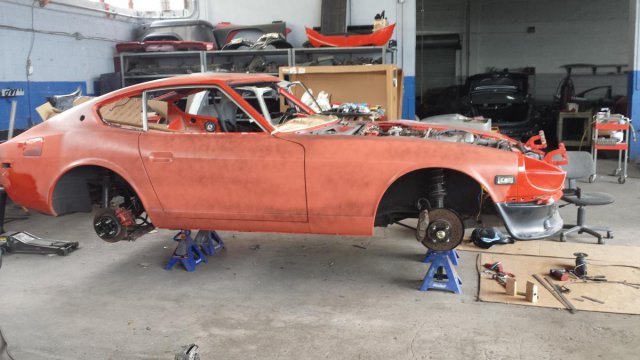
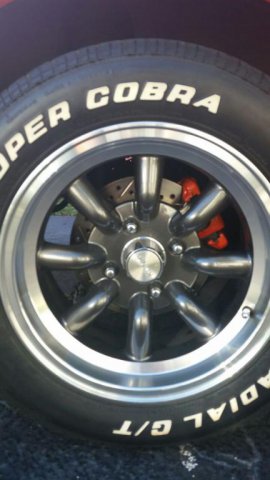
In the meantime the bodywork progressed removing the lower panels and trim molding and filling all 64 holes , smoothing out all imperfections, replacing lower valance with an MSA polyurethane airdam and rolling the fenders to fit new 16x7 Konigs and new rubber. -

280Z Restomod Progress
dmoralesbello replied to dmoralesbello's topic in S30 Series - 240z, 260z, 280z
-

280Z Restomod Progress
dmoralesbello replied to dmoralesbello's topic in S30 Series - 240z, 260z, 280z
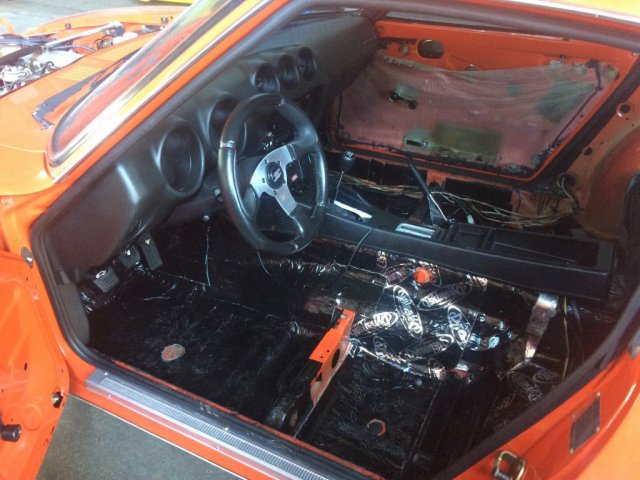
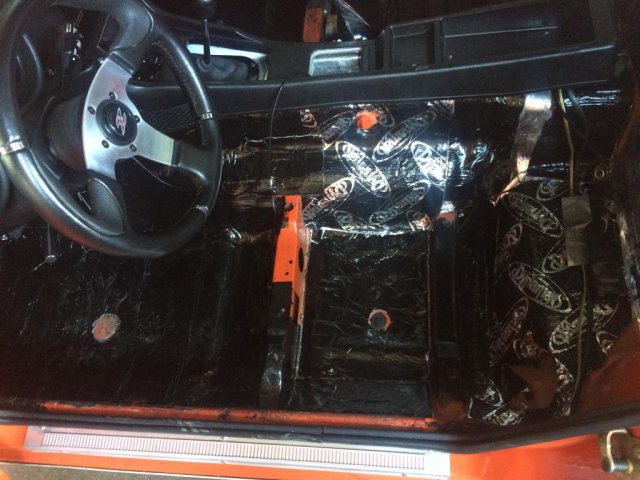
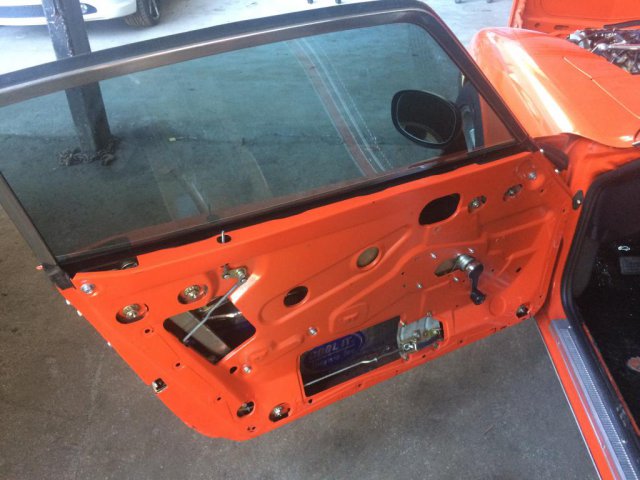
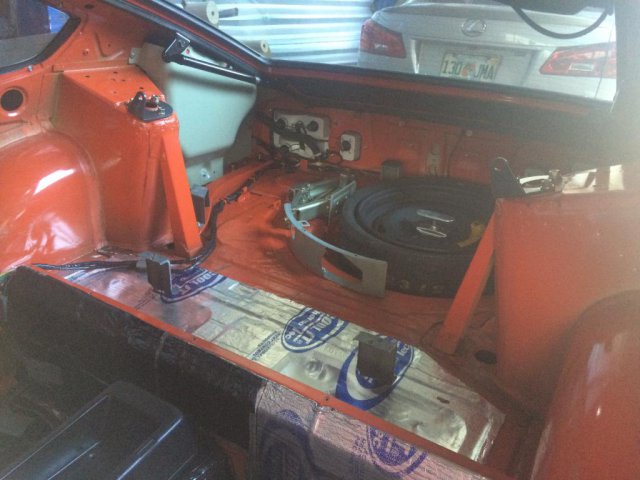
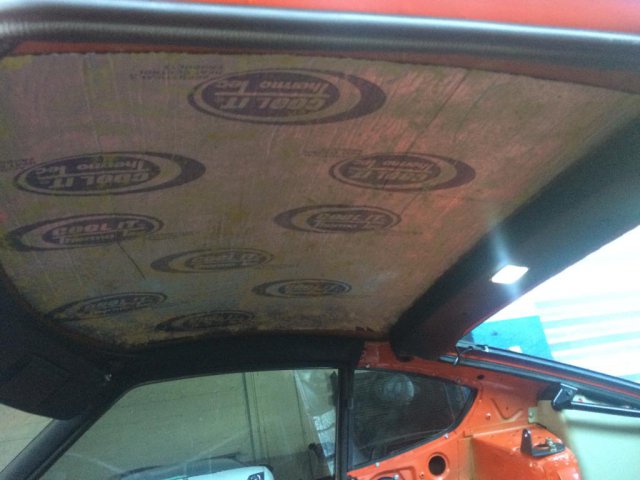
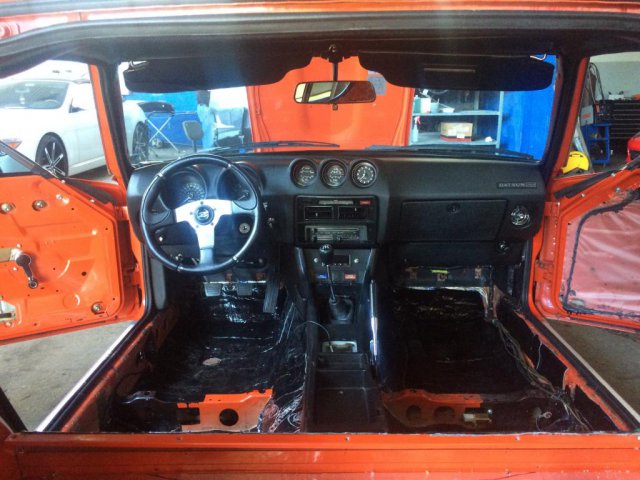
Carefully took out all the upholstery and confirmed that there was absolutely no rust anywhere . Applied Dynamat, updated the original seats with hi performance modern foam padding, freshly painted frames and rails, best available vinyl with a fresh new design that combines smooth black and textured graphite grey on the seats, door panels, roof liner and rear speaker box. Mercedes Benz black carpet will go on the floors soon (hopefully next week). -

280Z Restomod Progress
dmoralesbello replied to dmoralesbello's topic in S30 Series - 240z, 260z, 280z
Rear brake disc conversion, upgraded rotors and calipers up front, larger MC, and Eibach lowering springs took my stance to where I wanted it.

