dmoralesbello
-
Posts
254 -
Joined
-
Last visited
-
Days Won
3
Content Type
Profiles
Forums
Blogs
Events
Gallery
Downloads
Store
Everything posted by dmoralesbello
-
I have fumes coming into the cabin as well. All my rubber seals are new but the hatch couldn't be adjusted to close totally flat with the new hatch seals so we've given it a couple of months for the seals to soften and will be adjusting the hatch itself today to close tighter and hopefully completely. I'd forgotten to seal the inside hatch panel so I'll do that today as well and keep my fingers crossed. Thanks for the reminder!!!
-

280Z Restomod Progress
dmoralesbello replied to dmoralesbello's topic in S30 Series - 240z, 260z, 280z
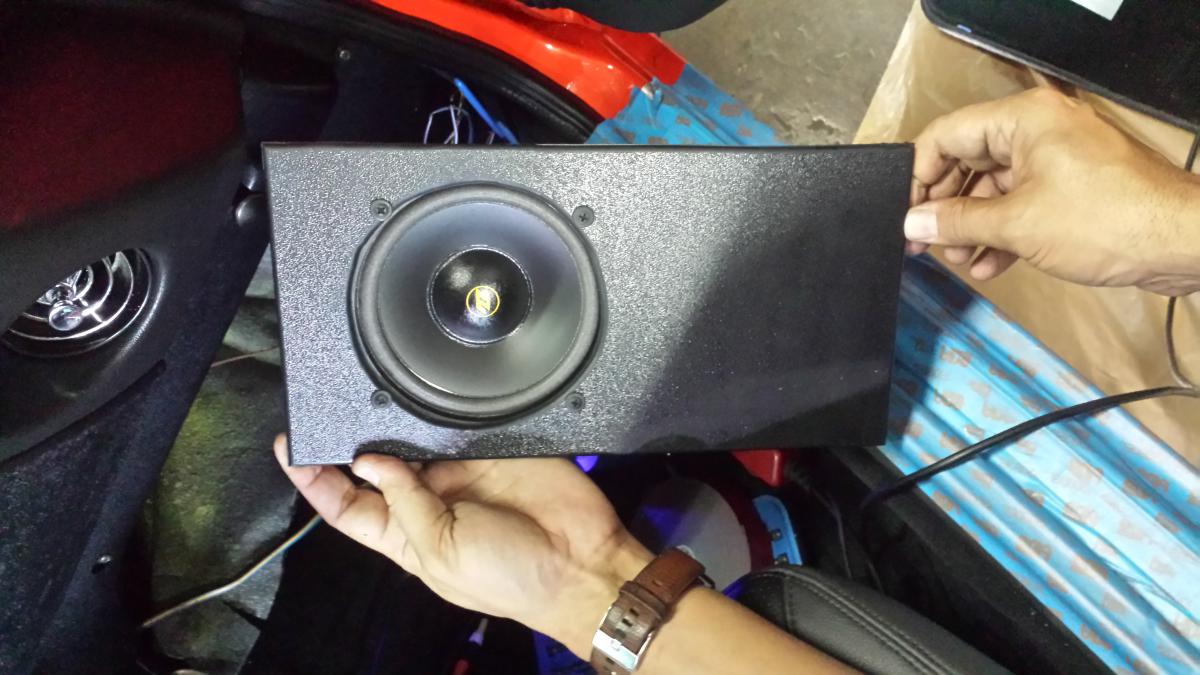
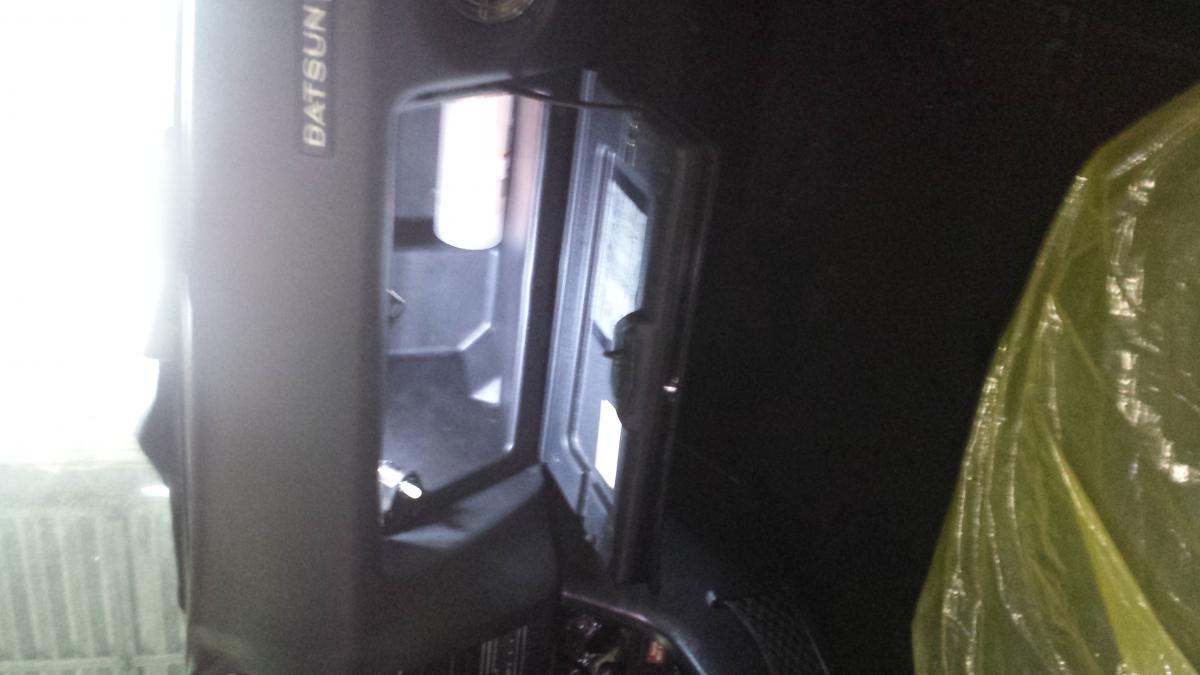
So, while taking advantage of some vacation time I've also been upgrading the sound system. Added a great little amplifier that fits easily under the carpet toward the firewall (almost behind the radio) and are fabricating two ABS plates that will hold 5 1/4 inch enclosed speakers under the dash (totally unseen). Here's an initial pic of the right side ABS panel and speaker. More to follow once all the details are worked out since I haven't seen this audio set up before on this forum.
-
280Z Restomod Progress
dmoralesbello replied to dmoralesbello's topic in S30 Series - 240z, 260z, 280z
Thanks Greeko. In the meantime I've been doing a little work cleaning up the engine bay: new spark plug cables, heat guard and general cleaning. Re-plating the fuel rail and numerous other items, painting the valve cover, ceramic coating the plenum and headers will be done in late February but here's what it looks like so far.
-
TimZ, I looked at my set up yesterday as I was looking for a space to mount two 5 1/4 speakers under the dash. I suppose you are correct and the unit could be rotated 180 degrees and placed to the right of the steering column but I couldn't wedge it much higher than on the left side so I left it where I had it (left of the steering column). Once painted flat black it's virtually unseen and I'm in the process of fabricating ABS panels to mount a speaker in the space to the right of the steering column (see 280Z Restomod Progress).
-
Reverse Switch acting up
dmoralesbello replied to dmoralesbello's topic in S30 Series - 240z, 260z, 280z
Found the probable culprit: a slightly corroded lead just where one of the wires joins one of the female connectors. I did't have a connector at hand so I'll be changing it out this afternoon and hopefully the problem will be fixed. -
Reverse Switch acting up
dmoralesbello replied to dmoralesbello's topic in S30 Series - 240z, 260z, 280z
Are these connectors really "underhood" ? I thought they were located on the right side of the transmission. -
My reverse lights have been malfunctioning intermittently: when I put the car in reverse sometimes they light up and most times they don't. I searched this forum and found nothing specific. I will go under the car and check/clean the connectors to the switch but if the problem persists I will have to source a new switch. I've seen $10 switches from Black Dragon, $38 from MSA, $45 from Z Connexion (apparently Nissan OEM) to $70 ones from another site. Any experience from the forum members with any of these? Are they all basically the same units or is there a true reliability difference among them? Thanks all.
-
Interesting TimZ. Let me take a look at my set up again and look for the reason why I didn't locate the motor on the other side of the steering column but I do remember that the placement I decided upon was based on the easiest fit. I'll let you know. Thanks for the idea.
-
I've never driven a car with electric power steering before so I really don't have a valid comparison. If you turn it all the way to max assist there is no road feel at all and you can definitely steer with one finger.
-
I finally have something to report regarding the ZPower steering kit after having driven the car about 150 miles the last couple of days. Funny thing was that at very first I thought I wasn't getting any power to the unit since the steering felt as if I hadn't done a thing. I had tucked the rheostat control knob (which regulates the amount of assist) up and behind the dash so I'd forgotten about it. All I needed to do was turn the knob clockwise and the unit came to life. It makes a huge difference. The feel takes a little getting used to and you do need to play with that control knob until you feel it assists you just enough for effortless driving but still permits the wanted feel of the road. You could always decrease assist for highway driving and just turn it up when you're in city traffic or are going to maneuver the car for parking. It's also totally silent during operation. Now that I'm satisfied I drilled a 1/2" hole to the right of the dimmer control knob (close to the steering plastic covers) and permanently installed the control knob for easy access with my left hand and painted the motor itself flat black to make the portion of it that juts barely under the dash much less conspicuous.. I'll post pics of that tomorrow. In conclusion this unit is expensive, not easily installed in 3 hours (took me six to eight hours) but does what it's intended to do: decrease steering effort.
-
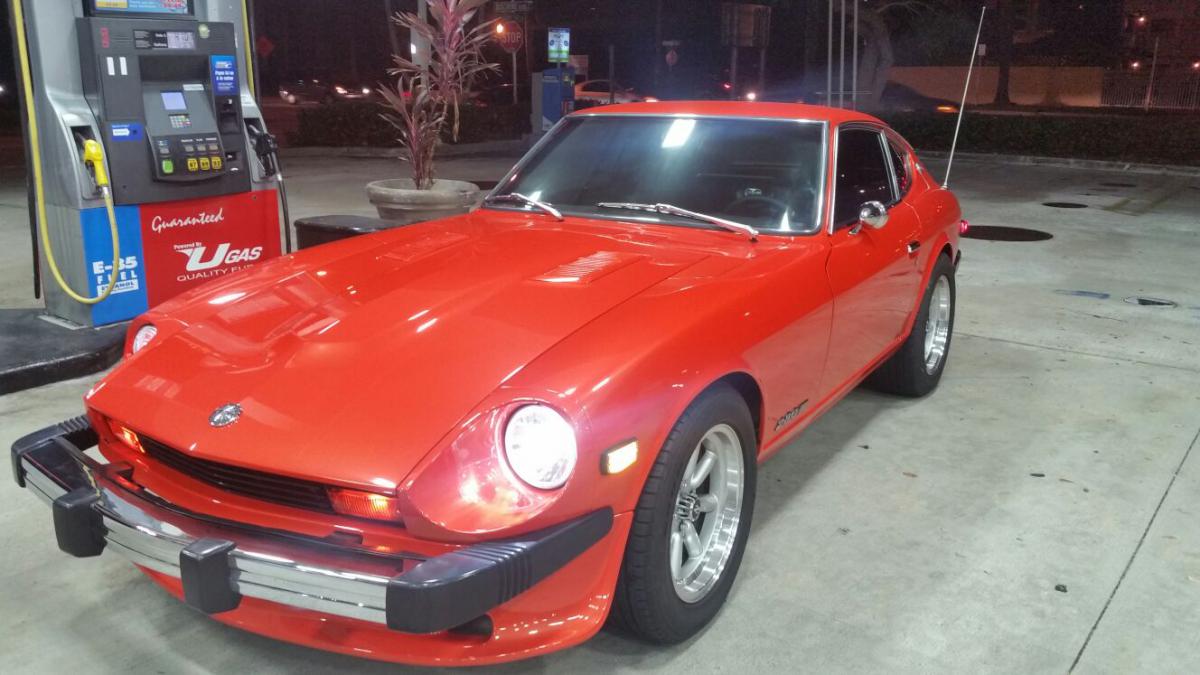
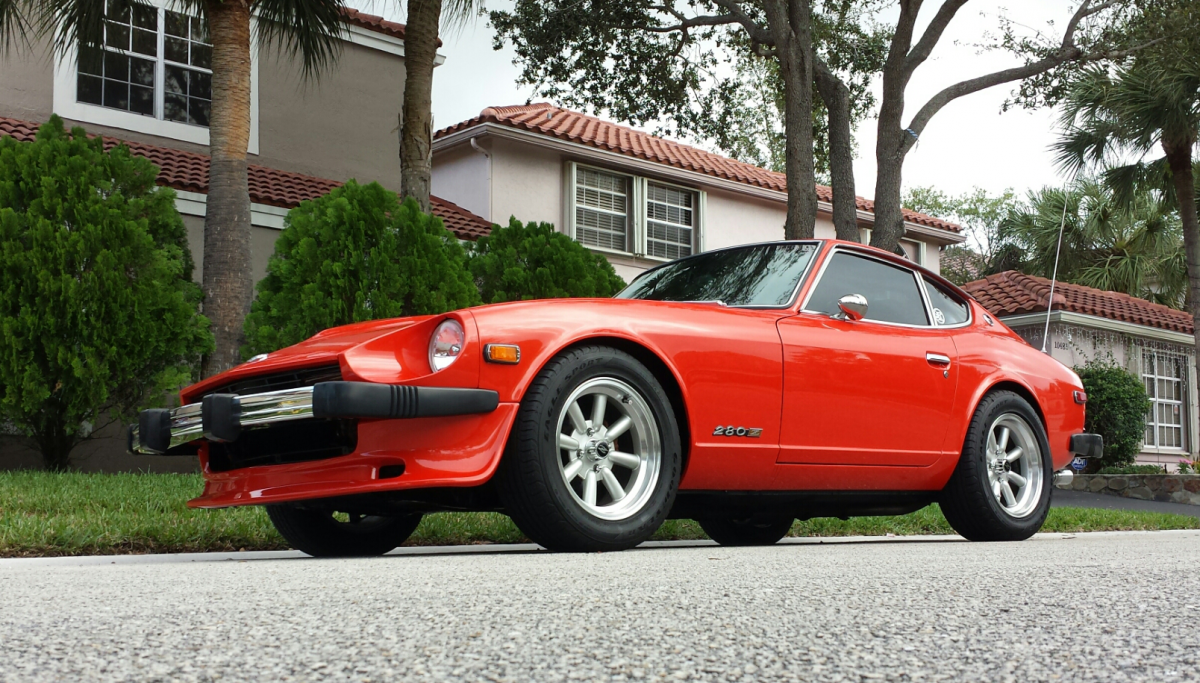
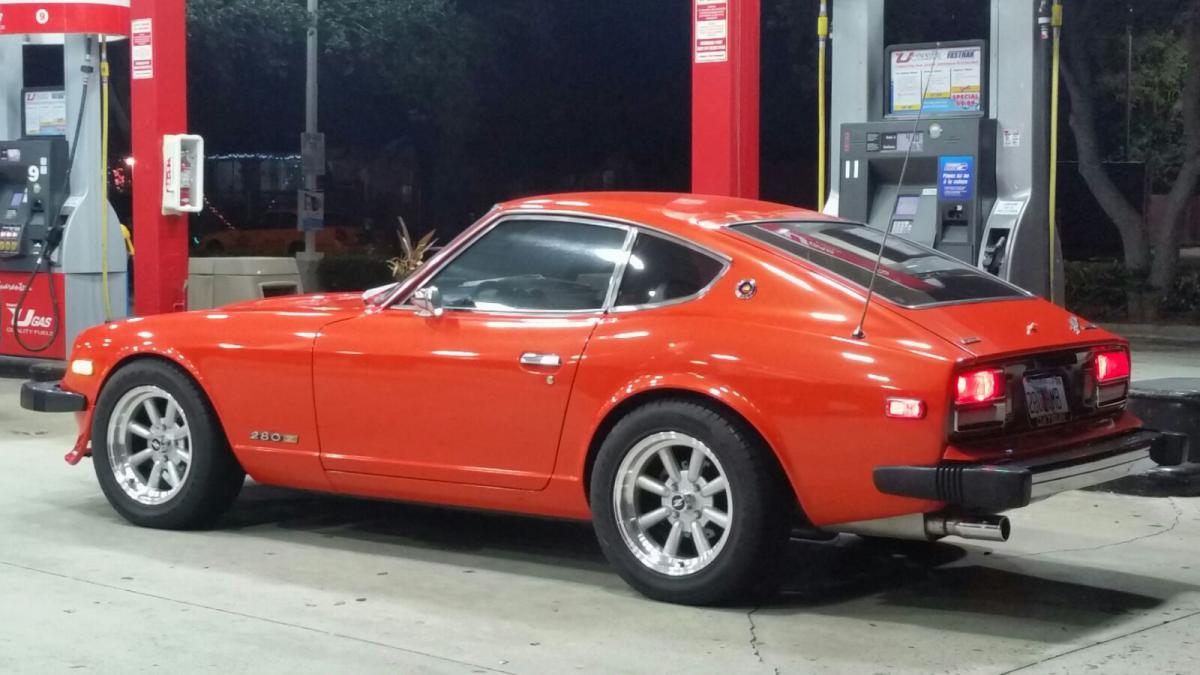
Can't help myself! Here are a couple more
-
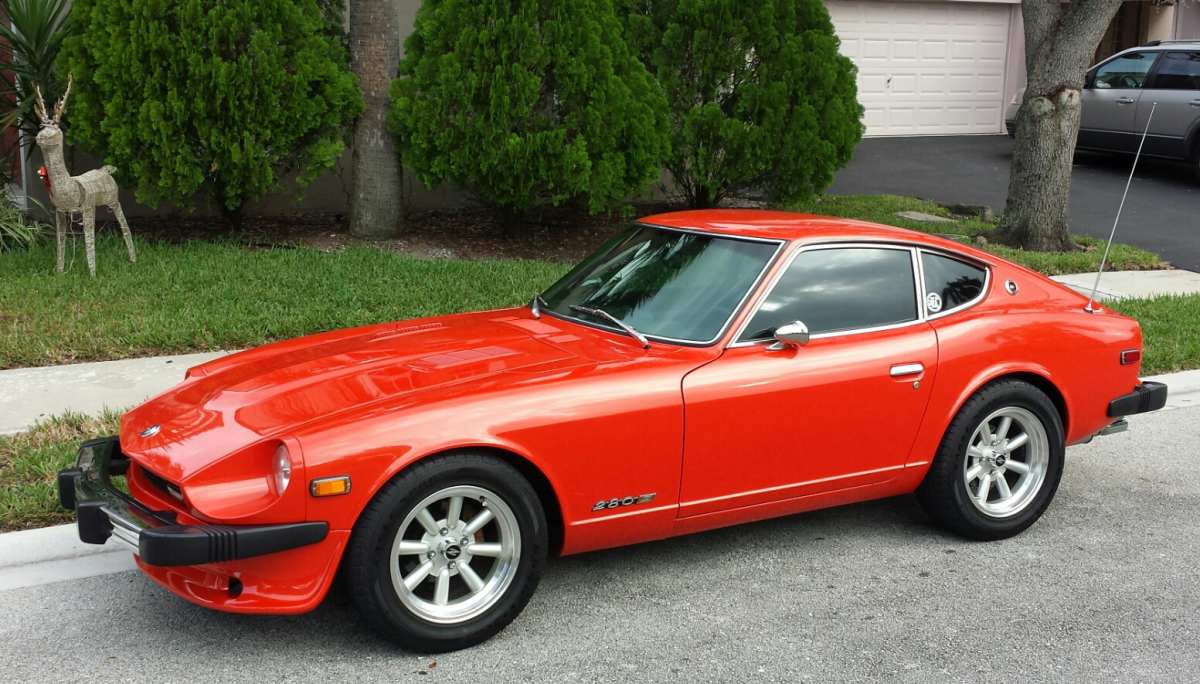
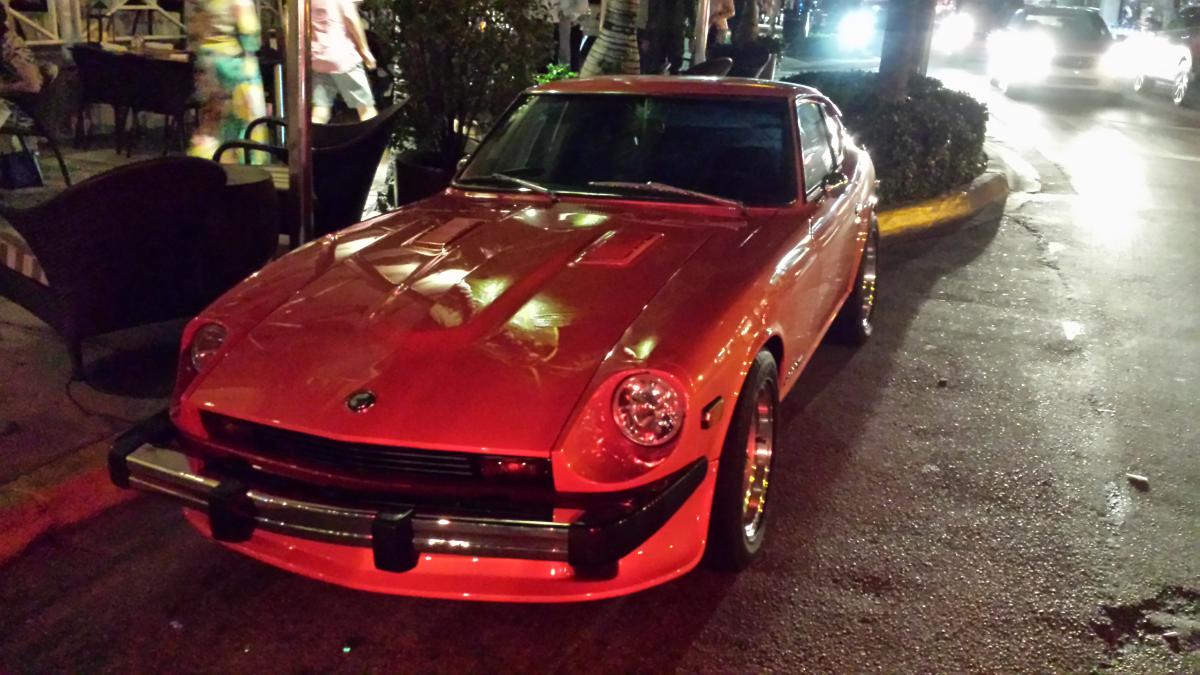
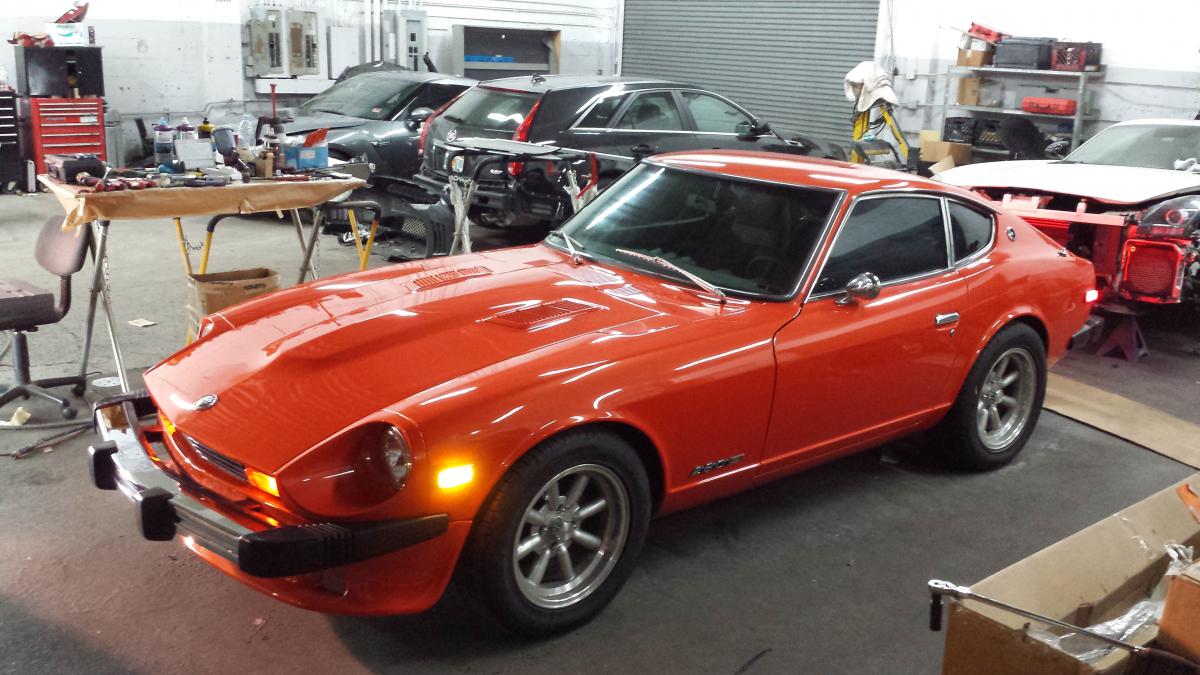
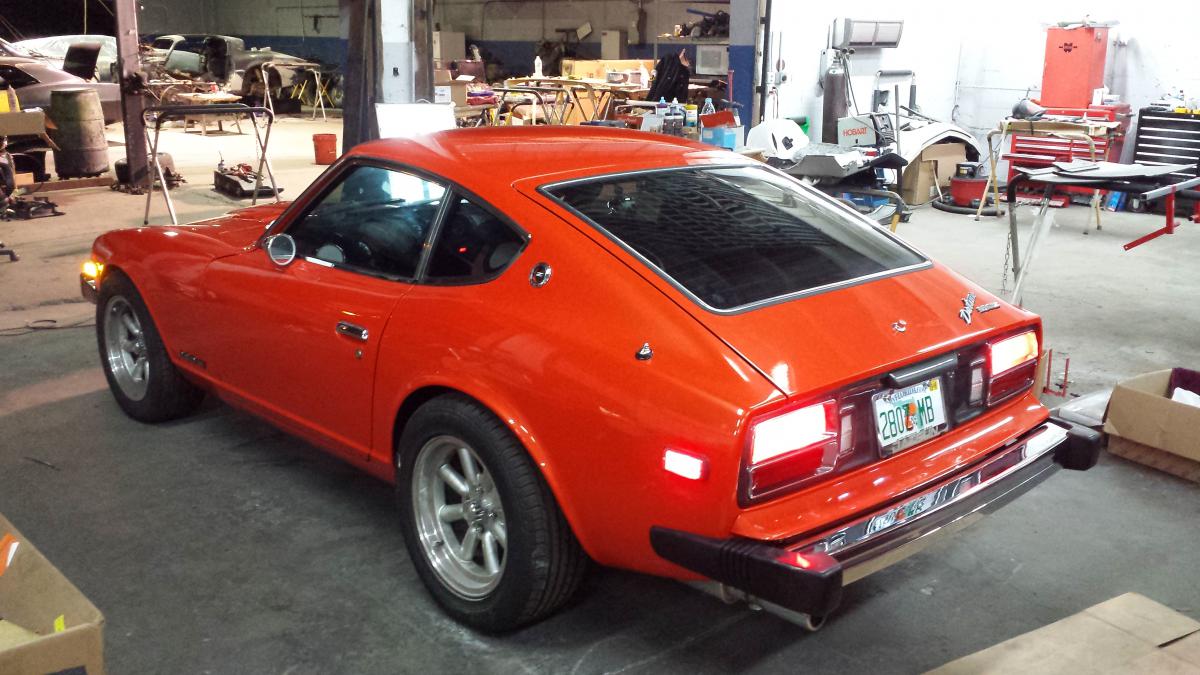
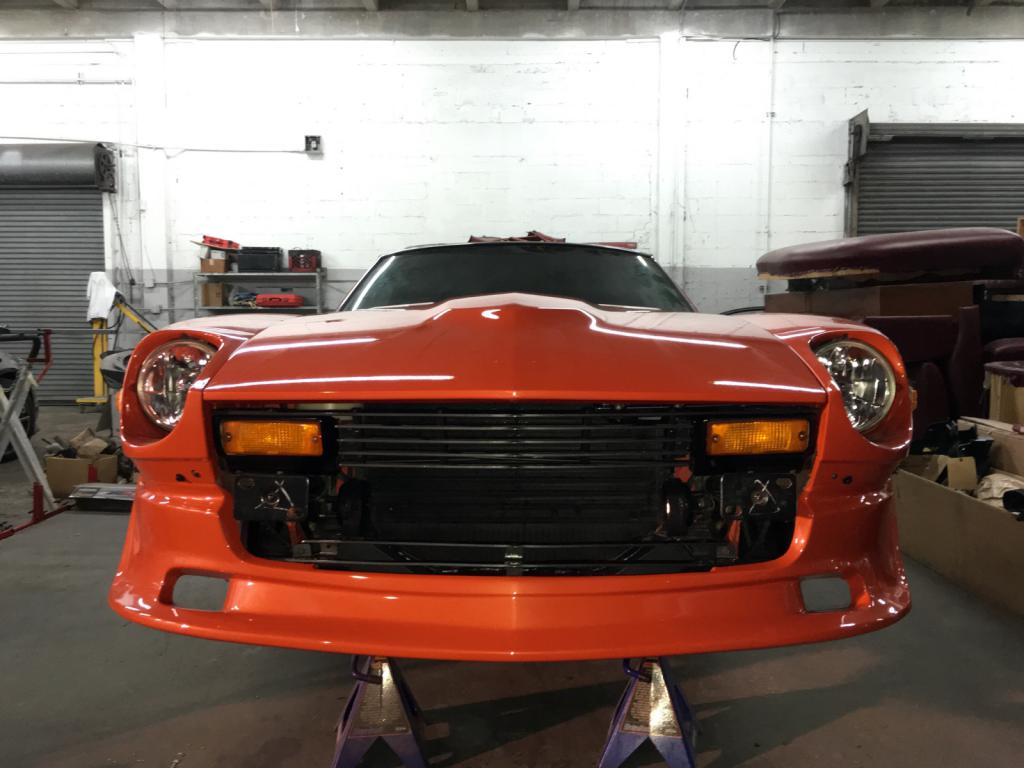
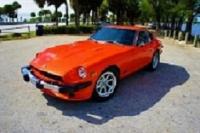
Some pics of my new(re)born 280Z. I'm loving this thing!
-
280Z Restomod Progress
dmoralesbello replied to dmoralesbello's topic in S30 Series - 240z, 260z, 280z
Drove it to my daughter's house today (around 100 miles round trip). Biggest surprise difference from before the restoration was that the shimmy in the front end at about 70 MPH is totally gone. I had not been able to get rid of that shaking in spite of balancing the front tires and having the front end tightened and aligned a couple of times. No additional work was done on the front end so I think the only probable cure to the shimmy is the presence of the new front air dam. Quite the pleasant surprise. [
-
280Z Restomod Progress
dmoralesbello replied to dmoralesbello's topic in S30 Series - 240z, 260z, 280z
As I said before, my son and I took the Z out on it's maiden run to Ocean Drive in South Beach where competition with exotic supercars like Ferraris, Lambos, Mercs, RRs etc. is rampant. The reaction from passersby to the Z was incredible. Many people gave thumbs up while others pointed and took pics and videos. I really never expected this much attention and it seems my 13 year old boy now believes this is a pretty cool car.
-
280Z Restomod Progress
dmoralesbello replied to dmoralesbello's topic in S30 Series - 240z, 260z, 280z
Update on the Zpower steering kit: So it turns out that all I had to do was check the rheostat that controls how much assist you get from the unit. I had turned it all the way counterclockwise which in fact turns the unit off. I played with it today as I went for a 40 mile drive and ended up setting it at the highest assist level (fully clockwise). At this setting parking is a breeze and you just have to adapt to the new feel at highway speeds. Not a big deal really. I do feel a small amount of play in the steering but I'm not sure what to attribute it to. In conclusion it is an important improvement if the car is not meant for racing or autocross but for cruising instead. -
280Z Restomod Progress
dmoralesbello replied to dmoralesbello's topic in S30 Series - 240z, 260z, 280z
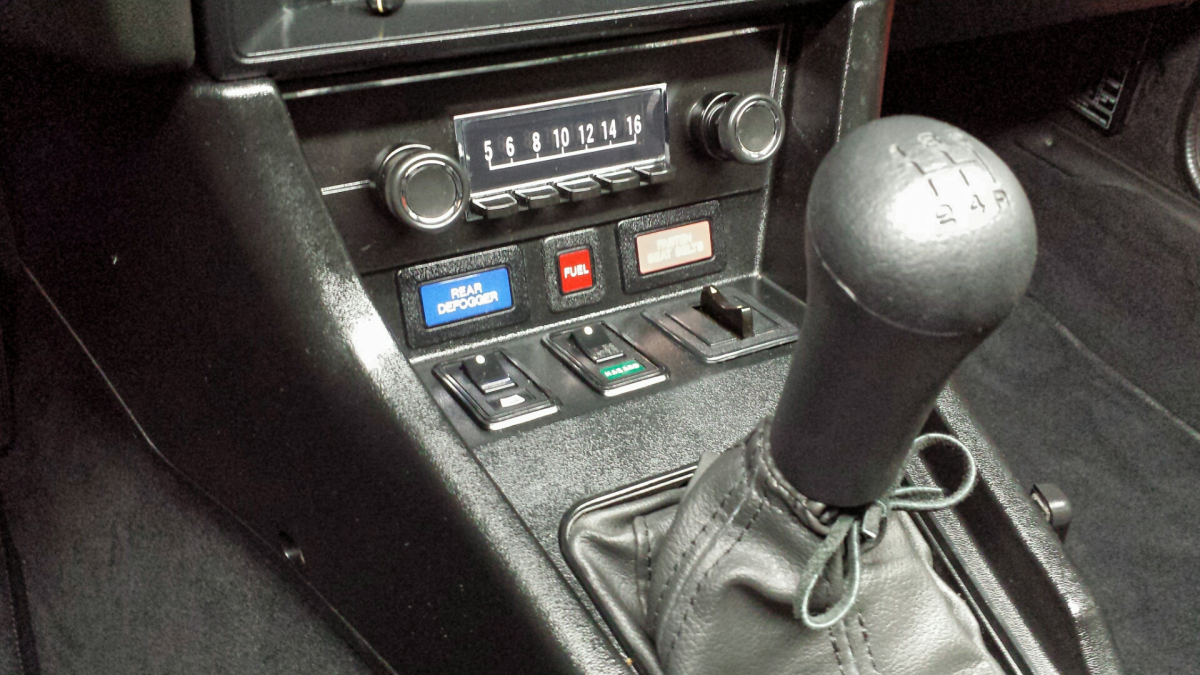
The trim plate you get from Retrosound is the simple flat plastic plate that you must cut down to the correct shape using their markings. I used that plate, trimmed it carefully, beveled the edges and applied 1/8" chrome pinstriping tape in the same pattern as the OEM plate. Make sure you degrease the plate well so the pinstriping tape sticks and make your angled cuts with a fresh X-acto knife. I also decided to use the Blaupunkt style front knobs (from Retrosound) and kept the black rear knobs that I got in the original kit. The chrome trim on the new front knobs picks up on the chrome accents on the trim plate and makes for the final vintage look. -
280Z Restomod Progress
dmoralesbello replied to dmoralesbello's topic in S30 Series - 240z, 260z, 280z
Thanks Chris. I really don't want to add up the costs because the whole idea of the build was to get back what I had in '77. It's not meant to be sold but instead to be handed down to my 13 year old son who was actually pretty involved in the build so monetary value is (at this time) unimportant to me. The elbow grease was definitely considerable, as was the mental work in deciding the direction we should go in and the parts to replace. The fun factor has been immense and I'm hoping it will continue as (as you all know better than me) the build is never really over. Thanks for the appreciation. -
280Z Restomod Progress
dmoralesbello replied to dmoralesbello's topic in S30 Series - 240z, 260z, 280z
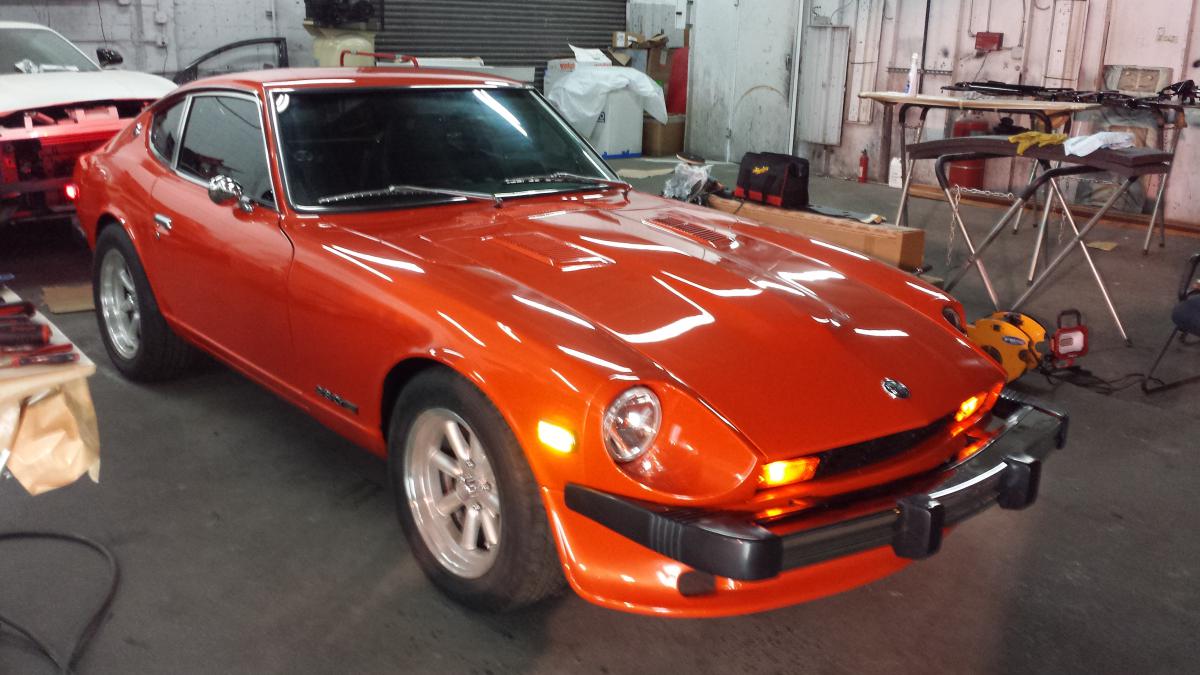
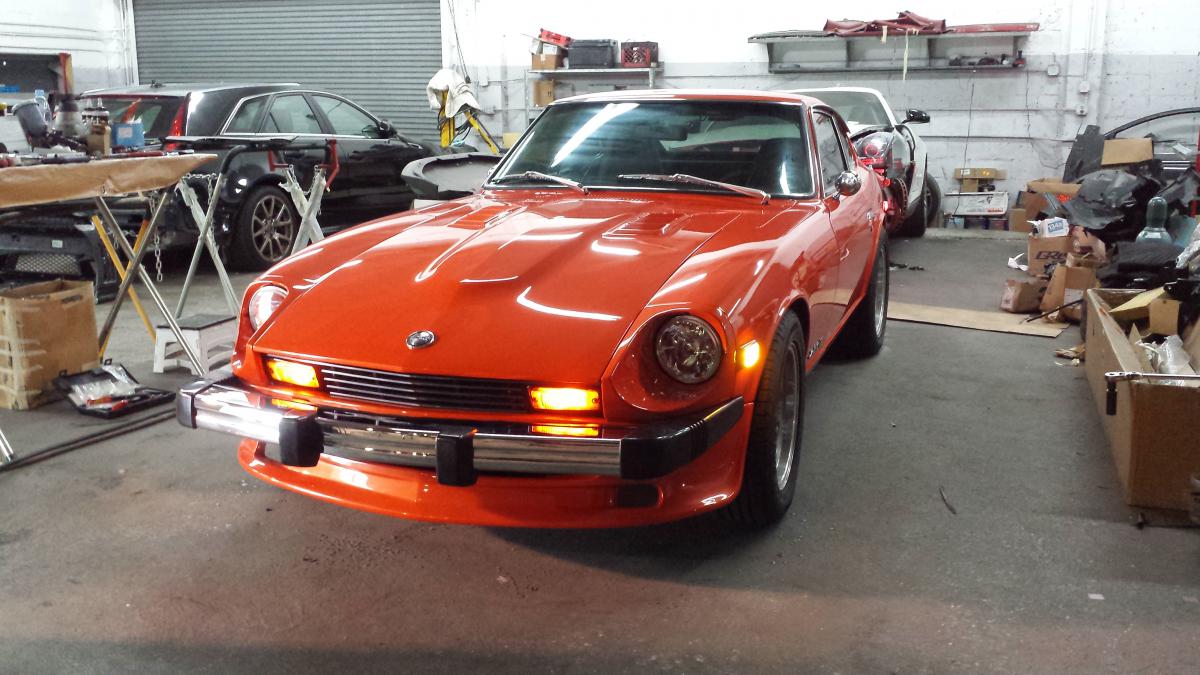
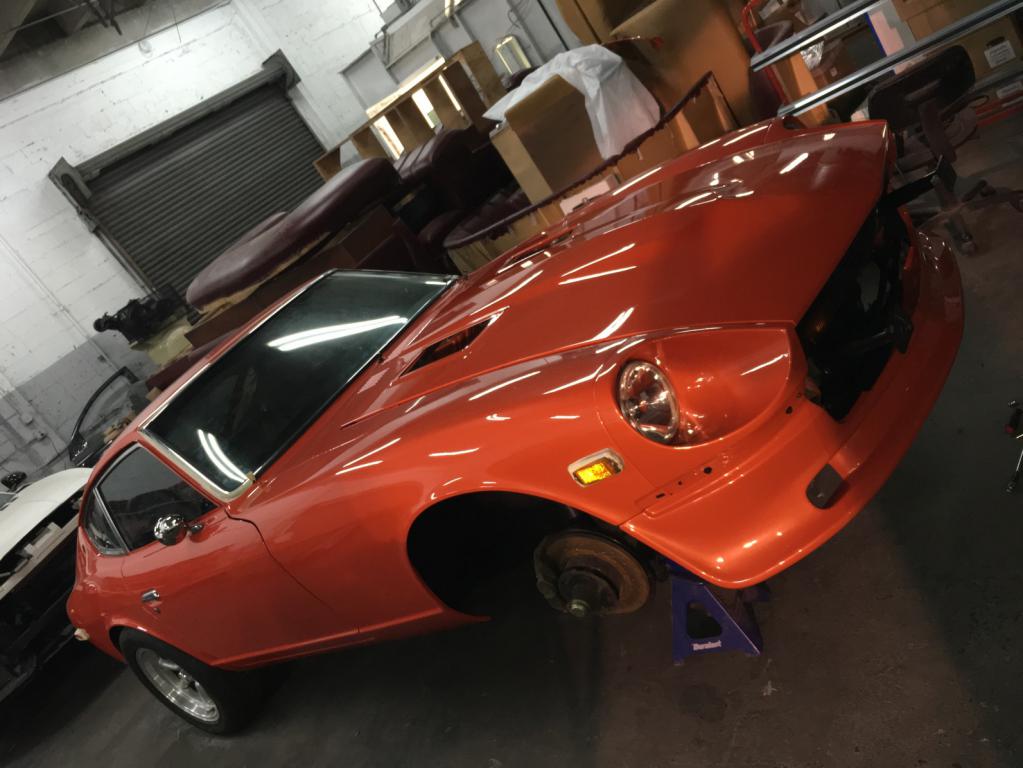
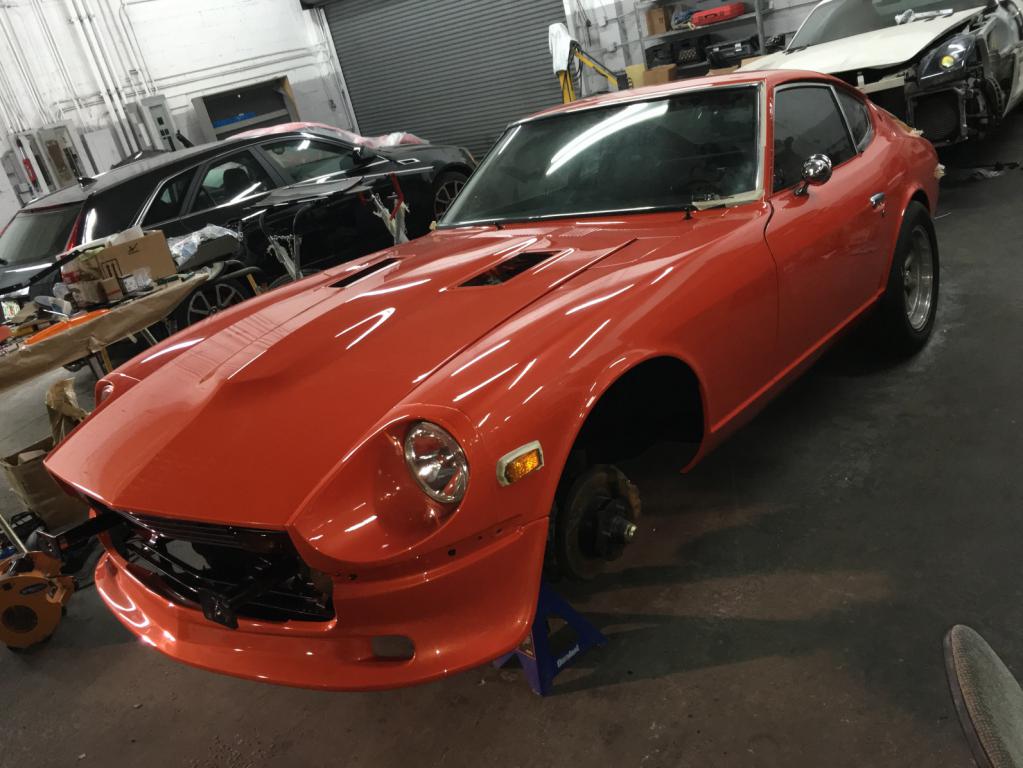
So we pulled yet another all nighter and completed the build. All systems were OK except for the passenger side door lock which gets stuck even though the actuator clicks (probably just a clearance issue) and there seems to be no power to the electric ZPower steering unit. I'll be checking those issues soon. Only drove it around the block but I'm happy to report no tire clearance issues so far regarding the fenders or the liners which bulged out toward the tires about 3/4" after the headlight bucket mod. Needs a good wash and detail but here are are a few crappy cell phone pics. Better pics with a real camera coming soon. It's gonna be a very merry Christmas!
-
280Z Restomod Progress
dmoralesbello replied to dmoralesbello's topic in S30 Series - 240z, 260z, 280z
So we've finally fitted the hood and airdam back on the car for the final time. All the gaps are set and it all lined up very well. So here's a question to you all: Since we had two sets of front parking/turn signal lenses we experimented with the OEM amber color and did another set in medium smoke: Which look do you prefer? OEM amber or smoked?
-
280Z Restomod Progress
dmoralesbello replied to dmoralesbello's topic in S30 Series - 240z, 260z, 280z
You can see the pedals at PerfromancePedals.com. It takes about a month to get them once ordered but I love the way they look and feel. No slipping at all. I hope they hold up in time. -
280Z Restomod Progress
dmoralesbello replied to dmoralesbello's topic in S30 Series - 240z, 260z, 280z
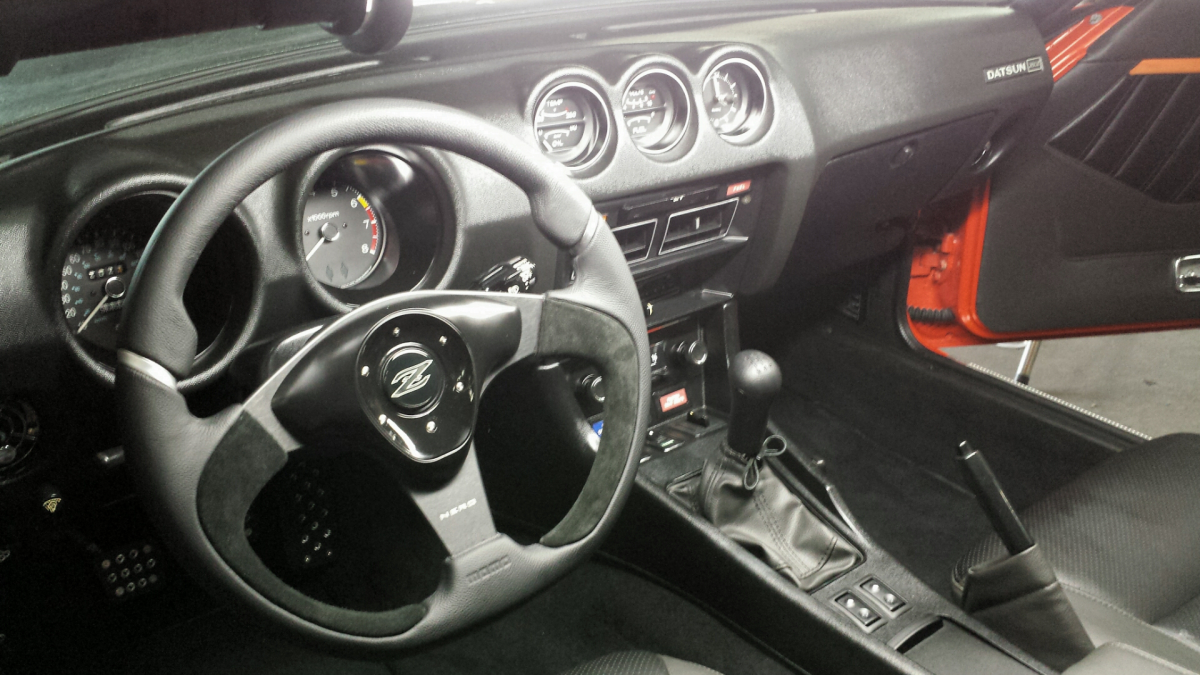
Finished off the dash including a Retrosound radio with chrome accents on the trim plate to simulate the look of the original radio set up, refreshed instrument cluster and a Momo Nero wheel.
-
280Z Restomod Progress
dmoralesbello replied to dmoralesbello's topic in S30 Series - 240z, 260z, 280z
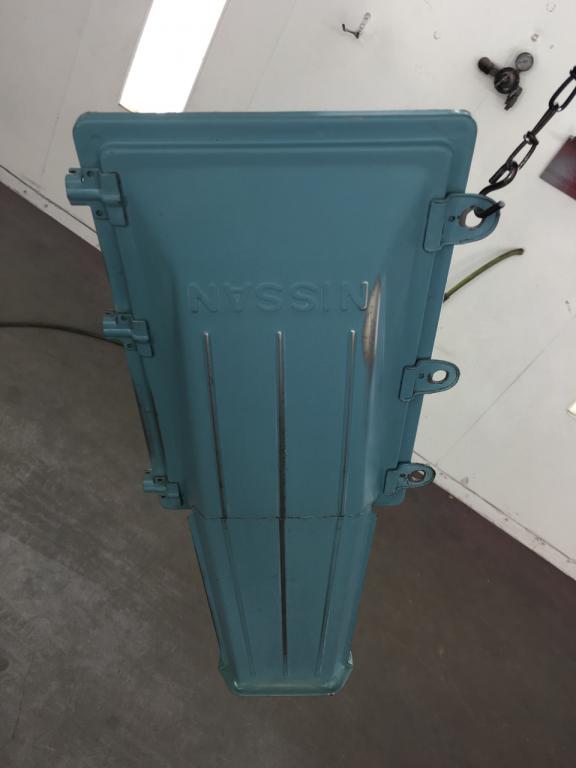
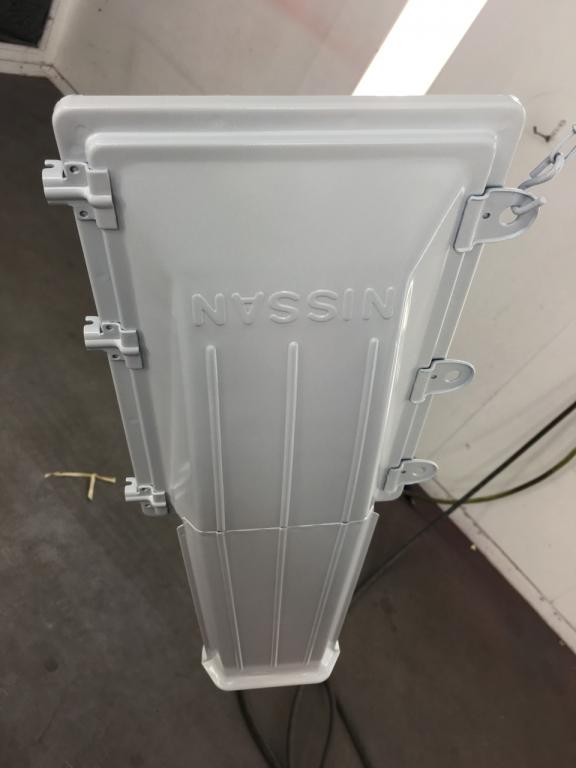
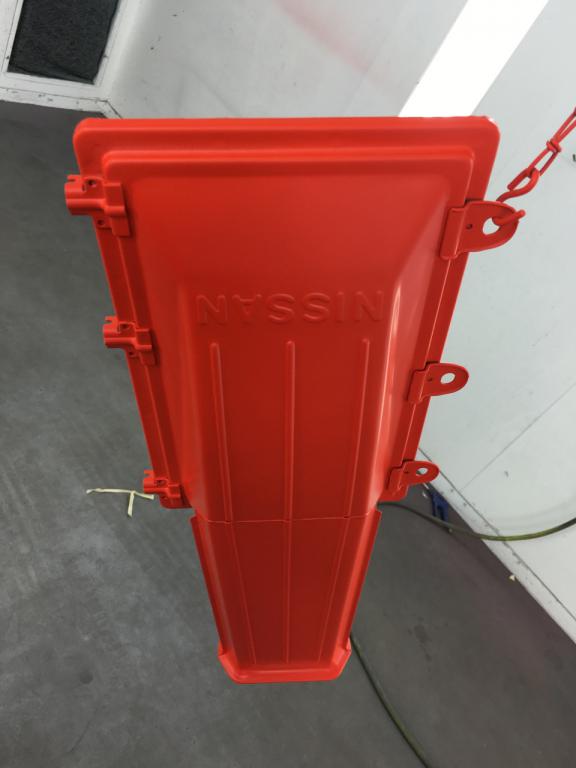
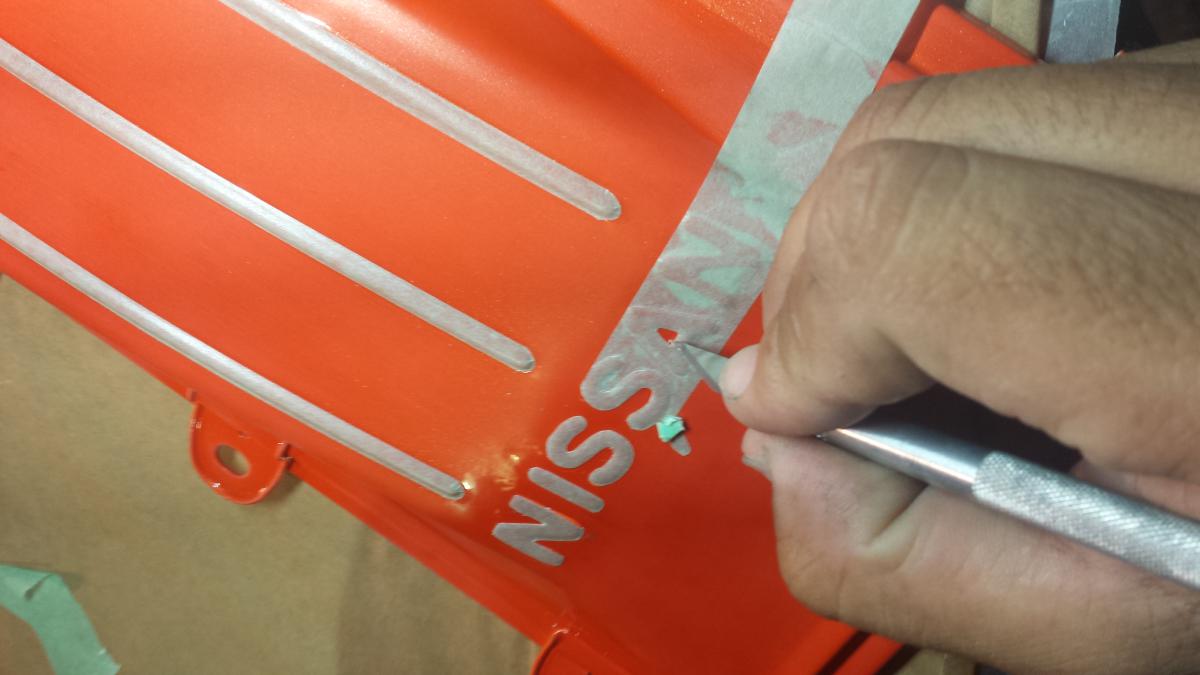
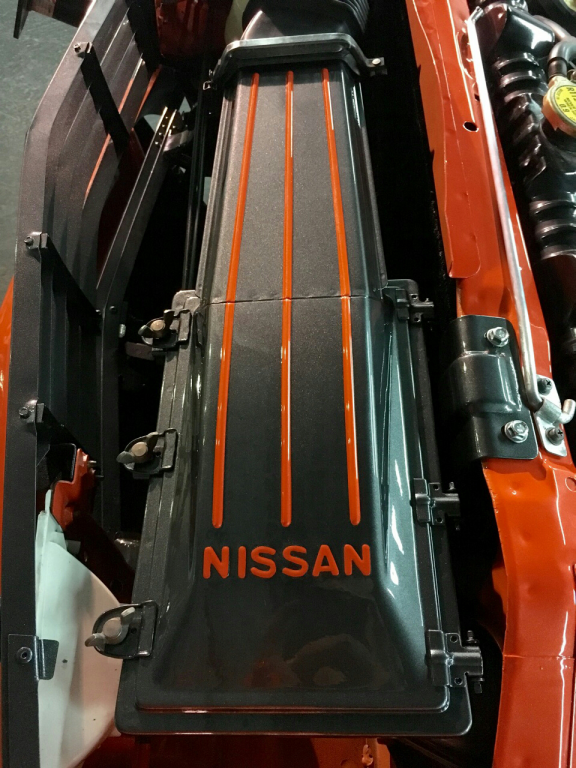
Got creative today with the air filter box and decided to paint it dark metallic grey with raised lettering and stripes in body color orange. The same color scheme will go on the valve cover soon.
-
LED light in glove compartment
dmoralesbello replied to Bob_260's topic in S30 Series - 240z, 260z, 280z
Did as Bob suggested today and it was a breeze. Thanks again.
-
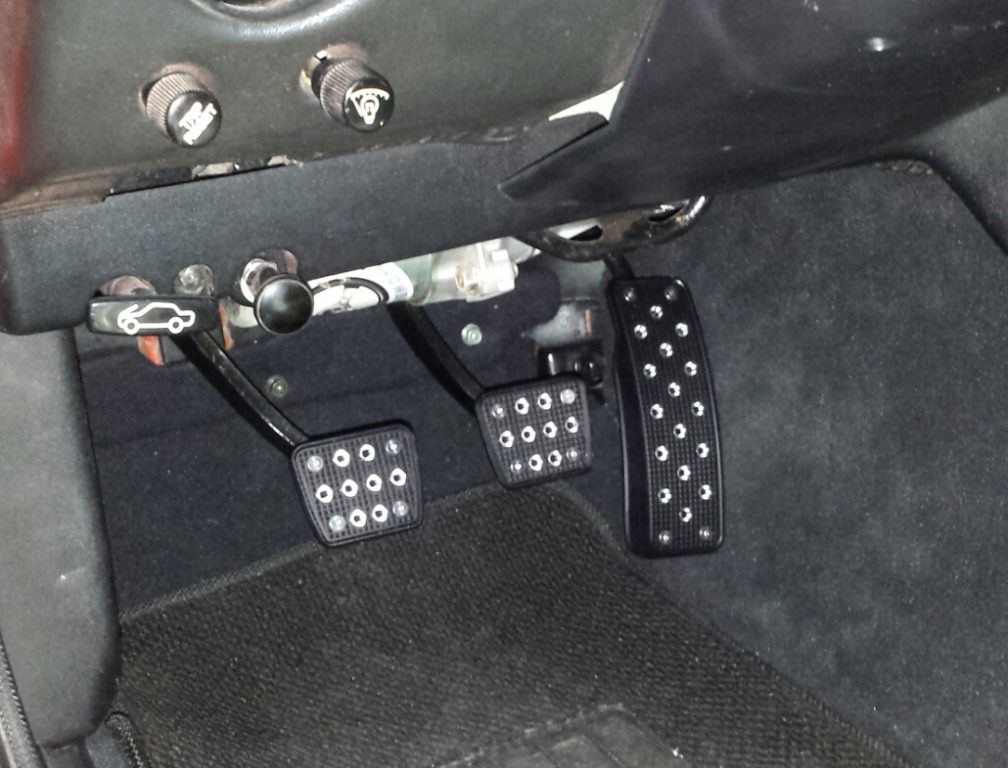
I took this quick cell phone pic today to document the Performance Pedals but noticed that you can actually see the motor to the ZPower Steering unit protruding slightly below the edge of the dash board (silver bulk). It does not impede your feet from acting on the pedals but illustrates the limited space available for this install (at least in my 1978 280Z). I will be painting the unit black to make it less conspicuous.
-
280Z Restomod Progress
dmoralesbello replied to dmoralesbello's topic in S30 Series - 240z, 260z, 280z
While still in the wait for final assembly (very probably will be complete by the end of this weekend) I installed Performance Pedals. Great product though on the costly side.