juxsa
-
Posts
92 -
Joined
-
Last visited
Content Type
Profiles
Forums
Blogs
Events
Gallery
Downloads
Store
Everything posted by juxsa
-
su carburetor 100% New SU Carburetors for Our Z's
juxsa replied to RoundtopsCarbs's topic in Vendor's Forum
Whoa these are neat! If I had seen these 2 years ago I would have gotten a set -
With the 5.3 do you need to use a ls1 intake manifold? Are you going to build your own mounts or getting a kit?
-
For sure. Thank you!
-
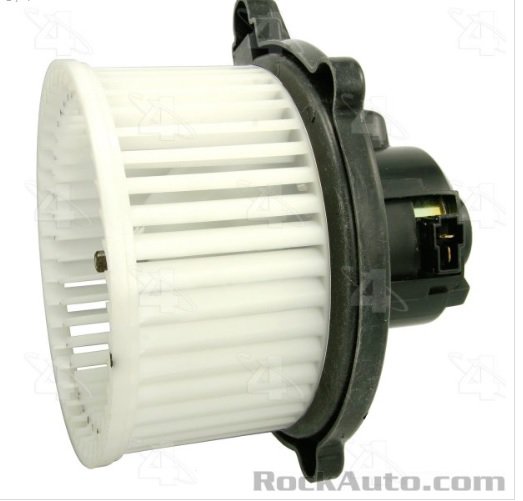
do you need the kia blower housing/cage or do you just need this part? I'm looking at getting it from rockauto

-
OK I confirmed that the blue wire is hot at the tach and the black ground wire is good. I put the multi meter on frequency setting on the blue/white wire while pressing the throttle I get a verity of numbers. How likely can it be that both tachs I have are bad?
-
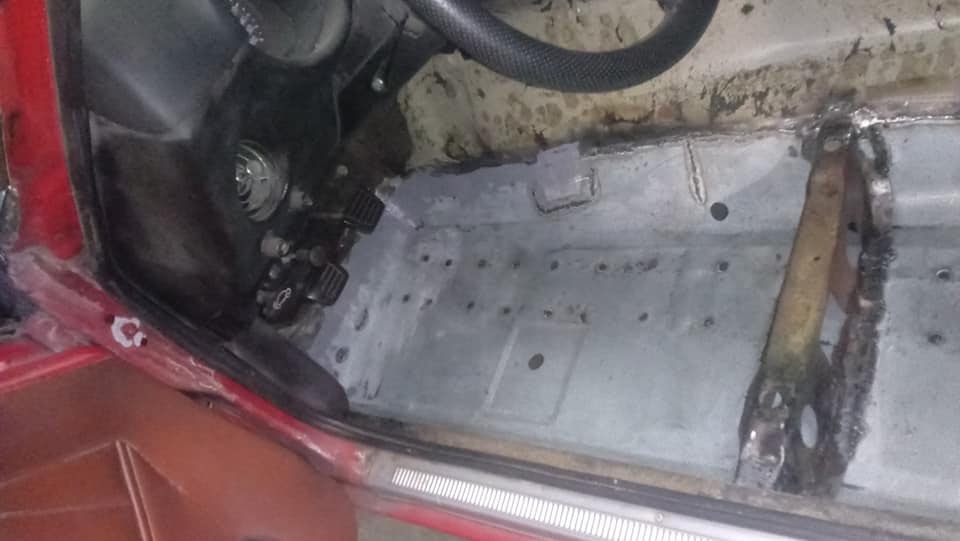
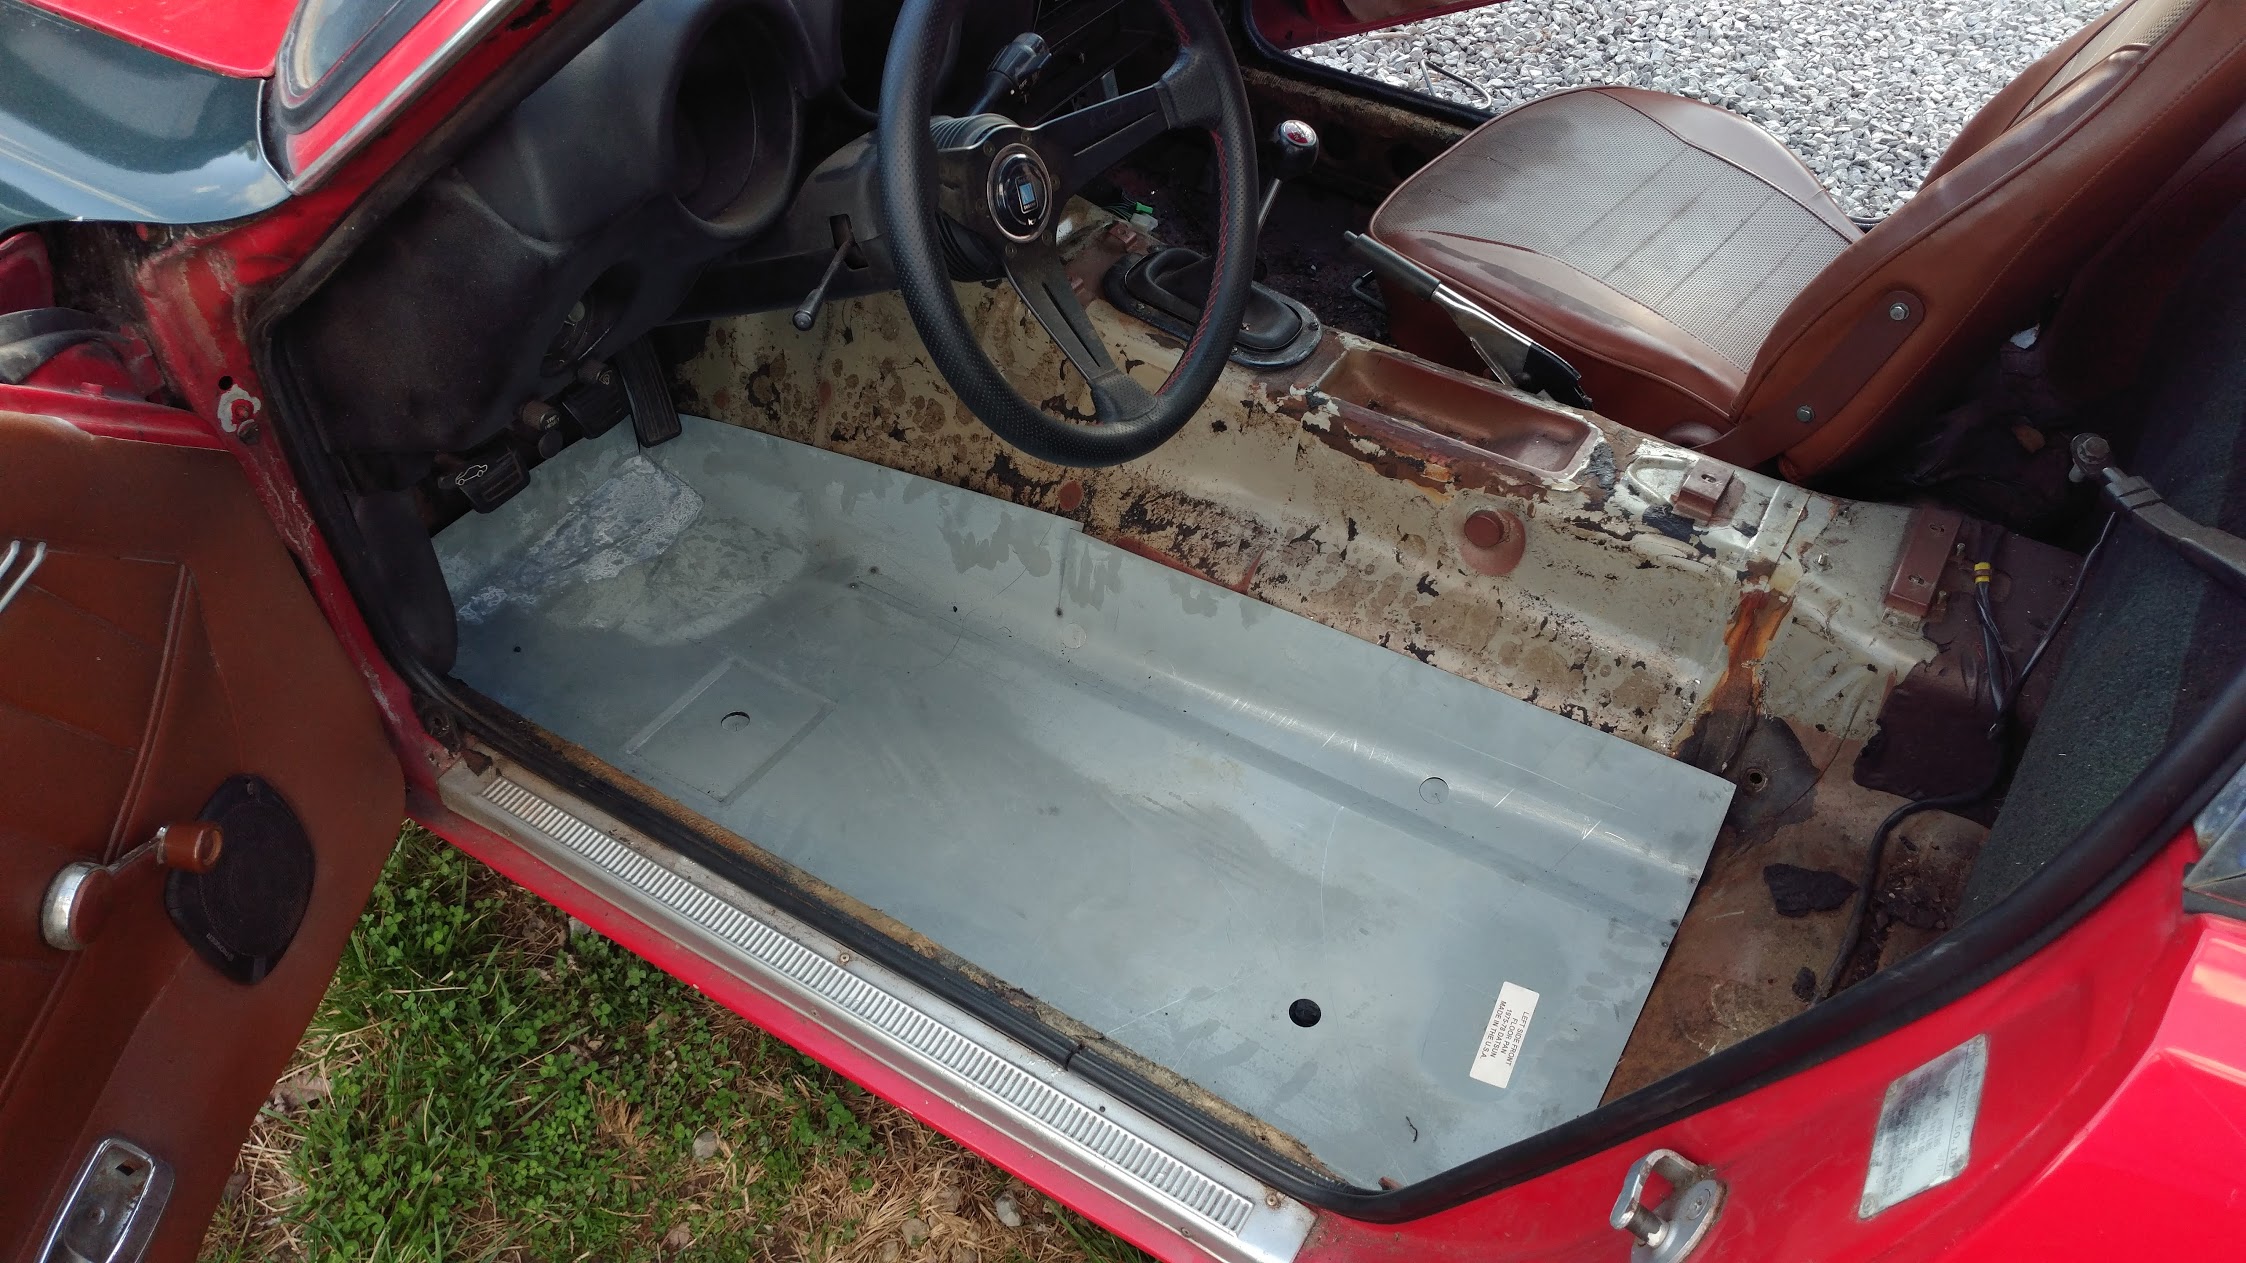
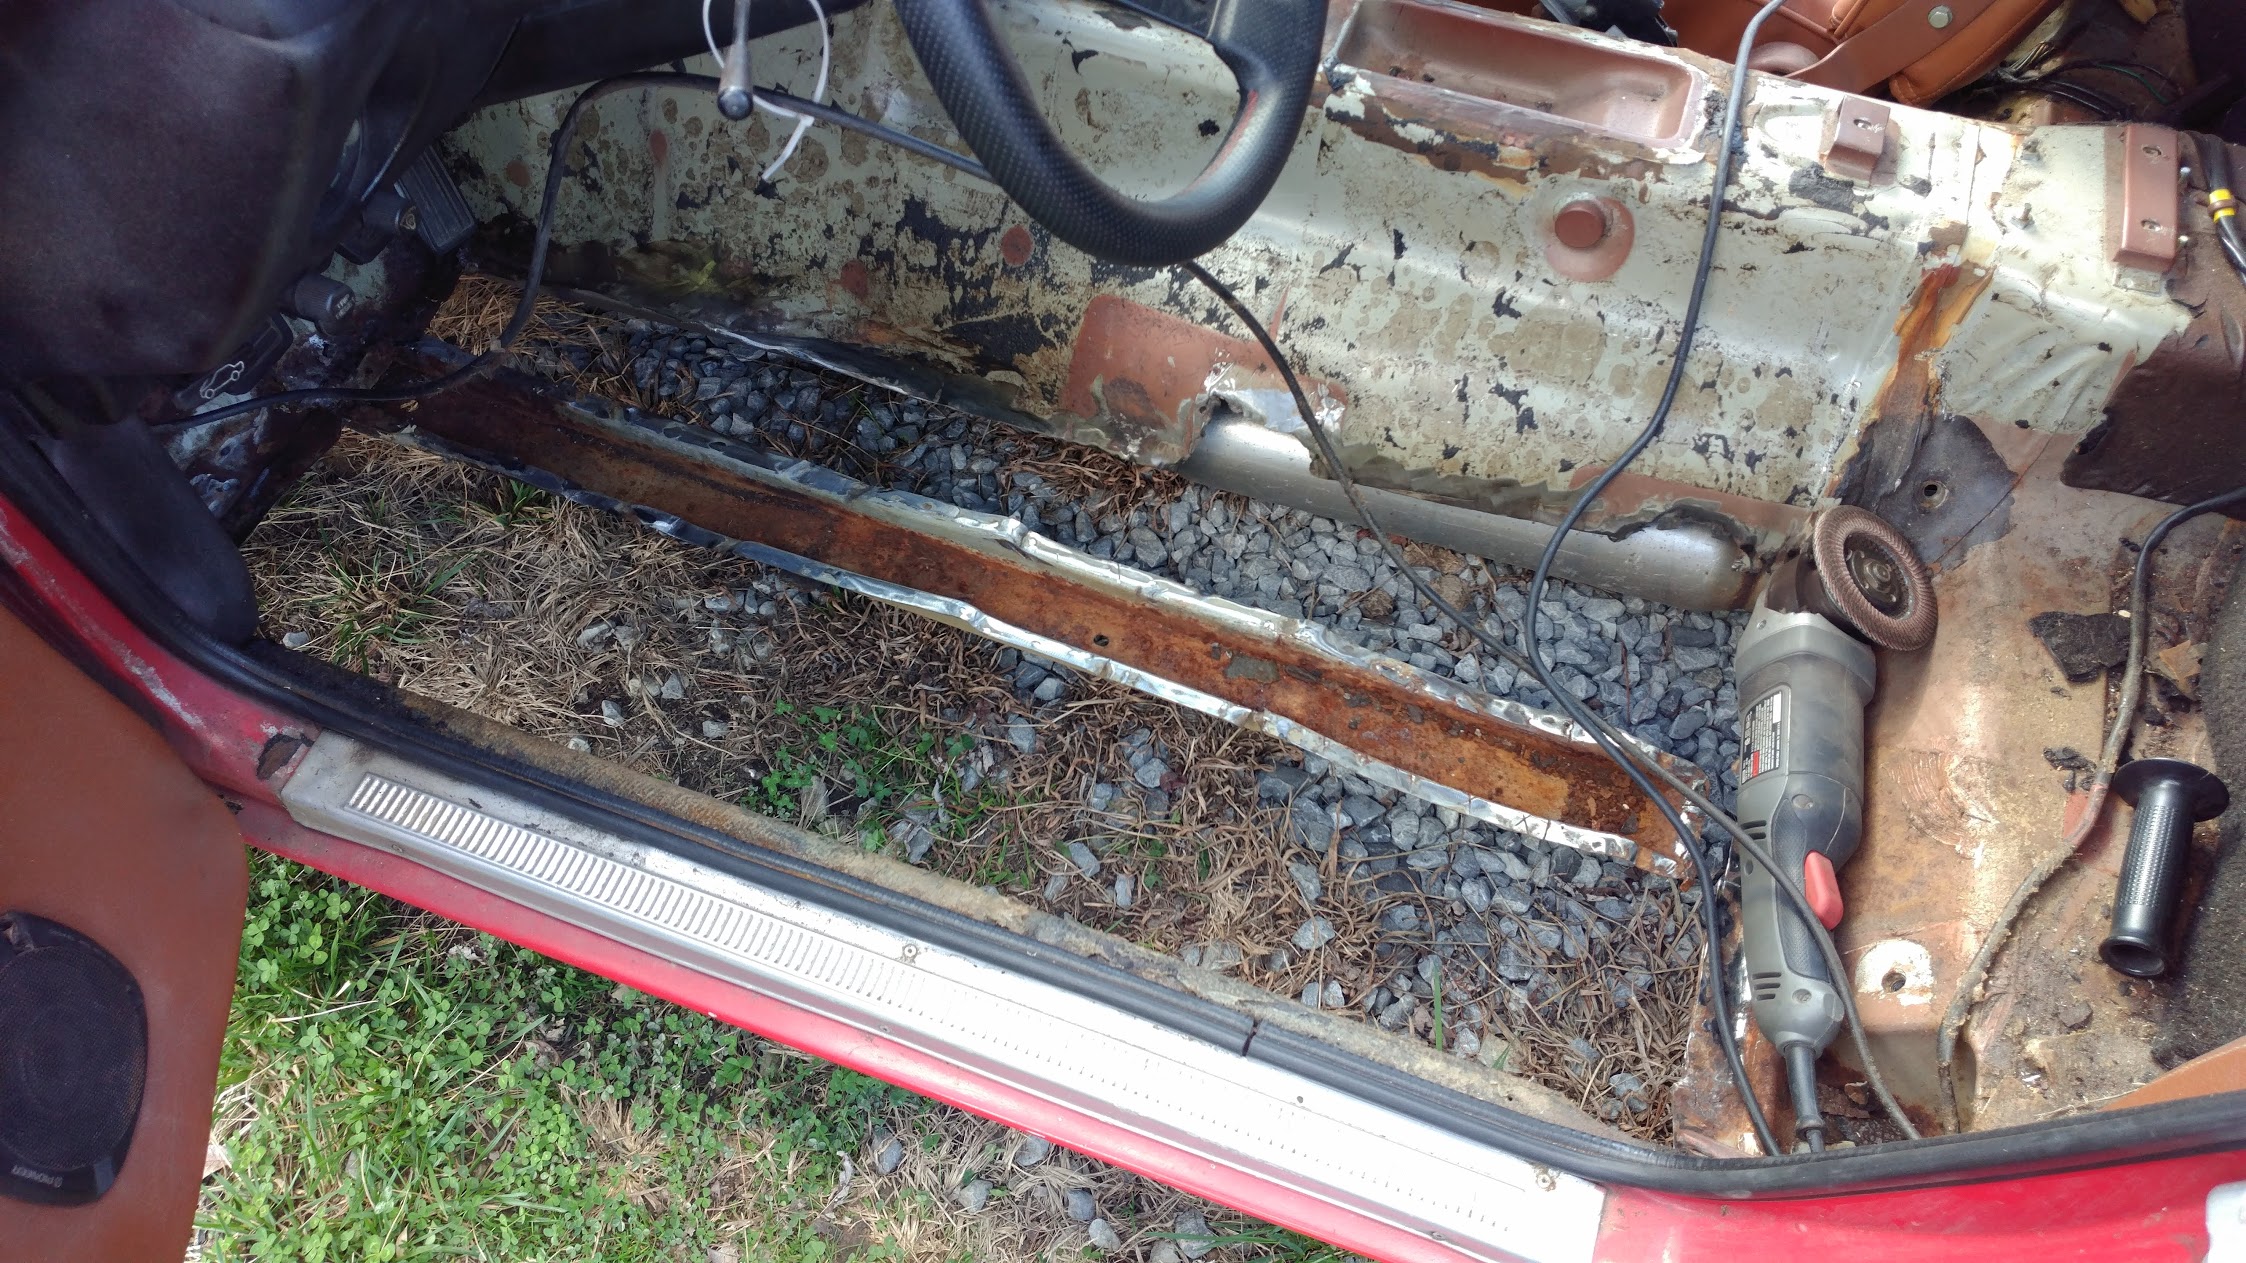
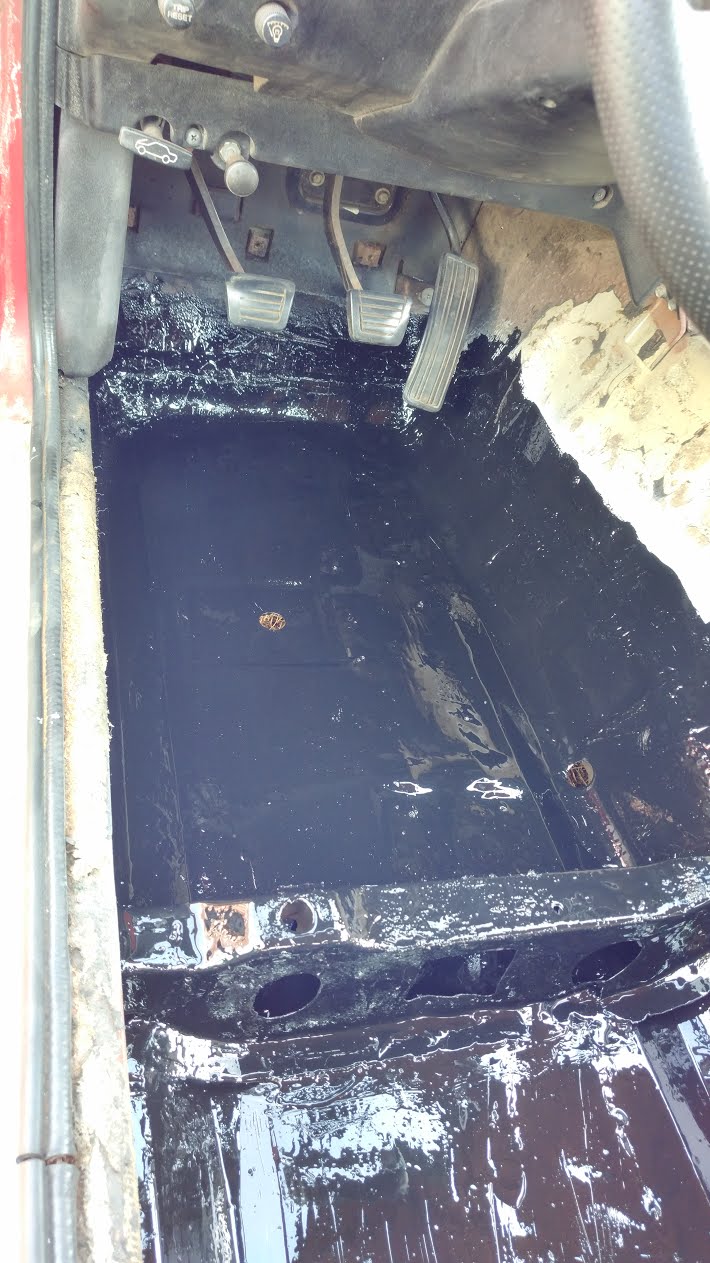
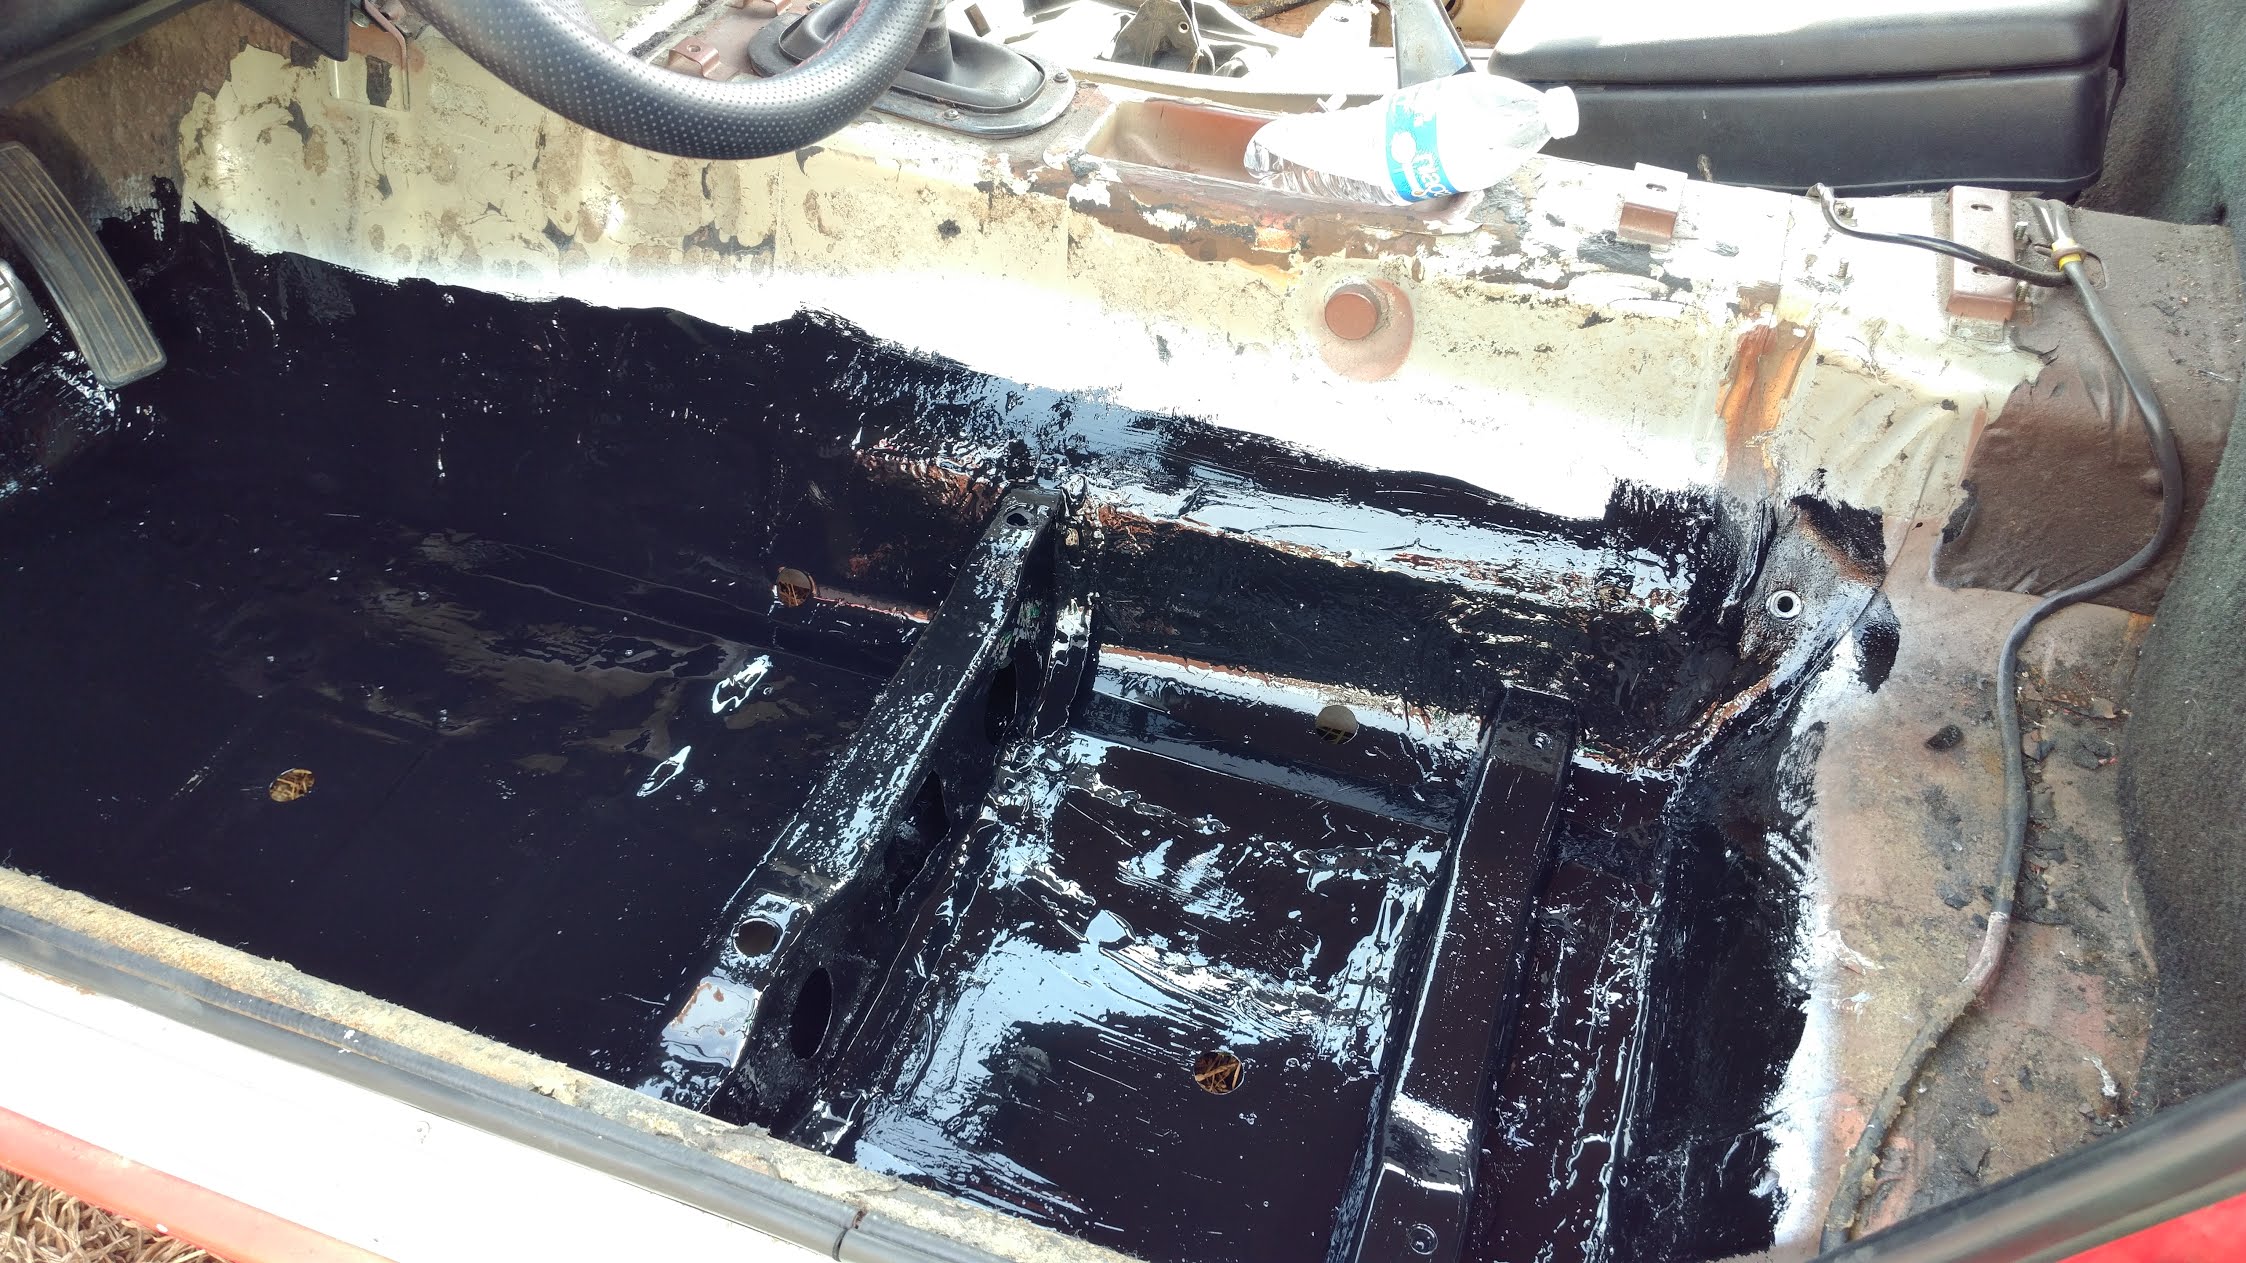
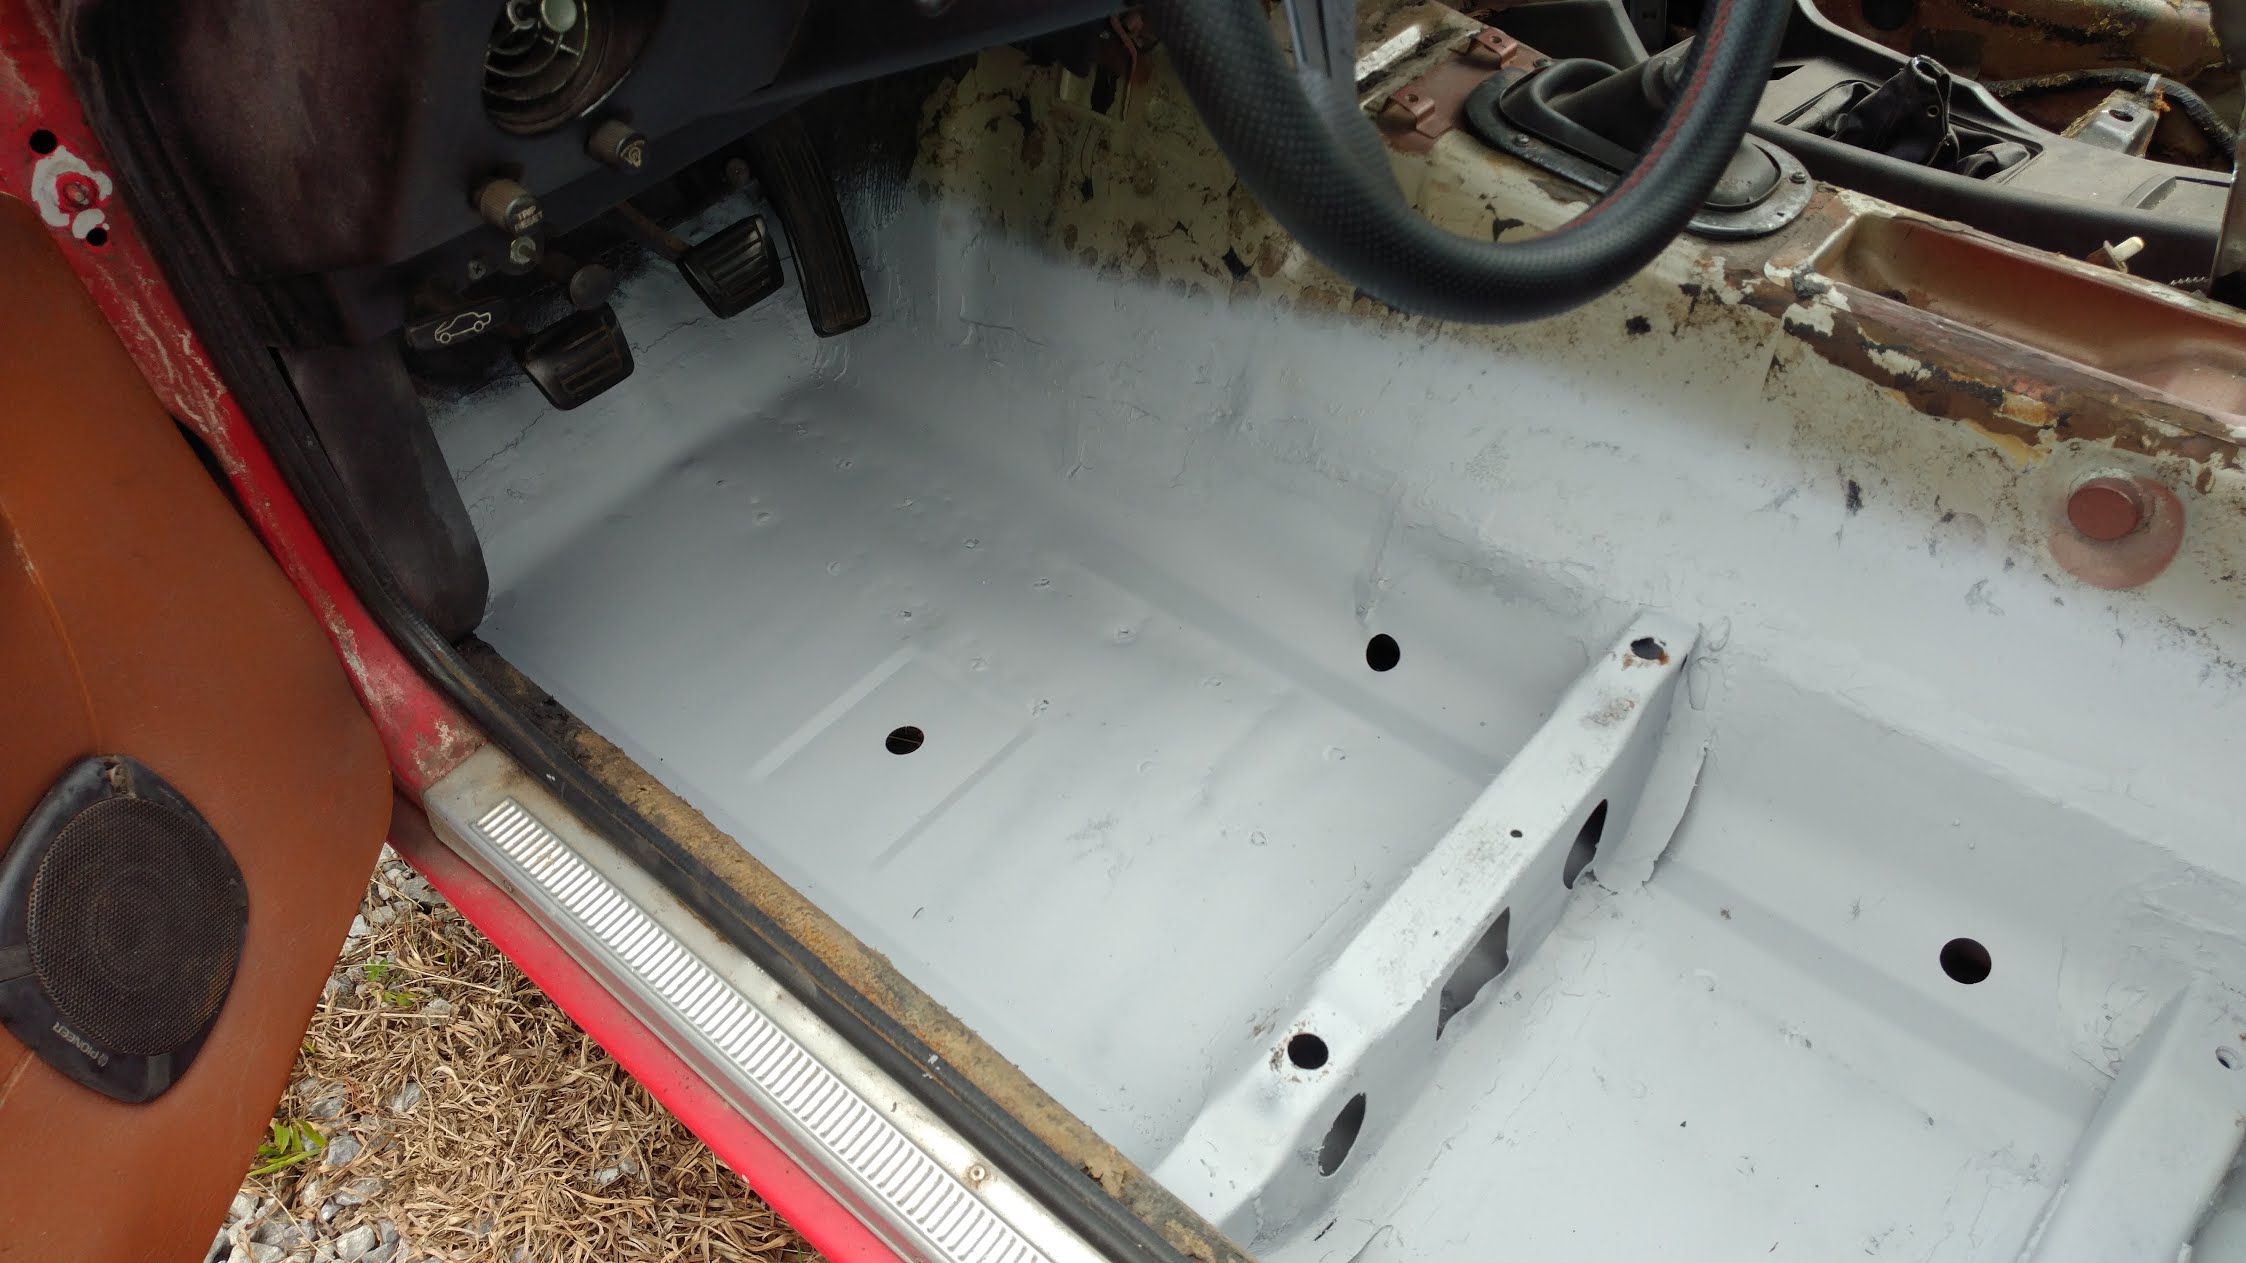
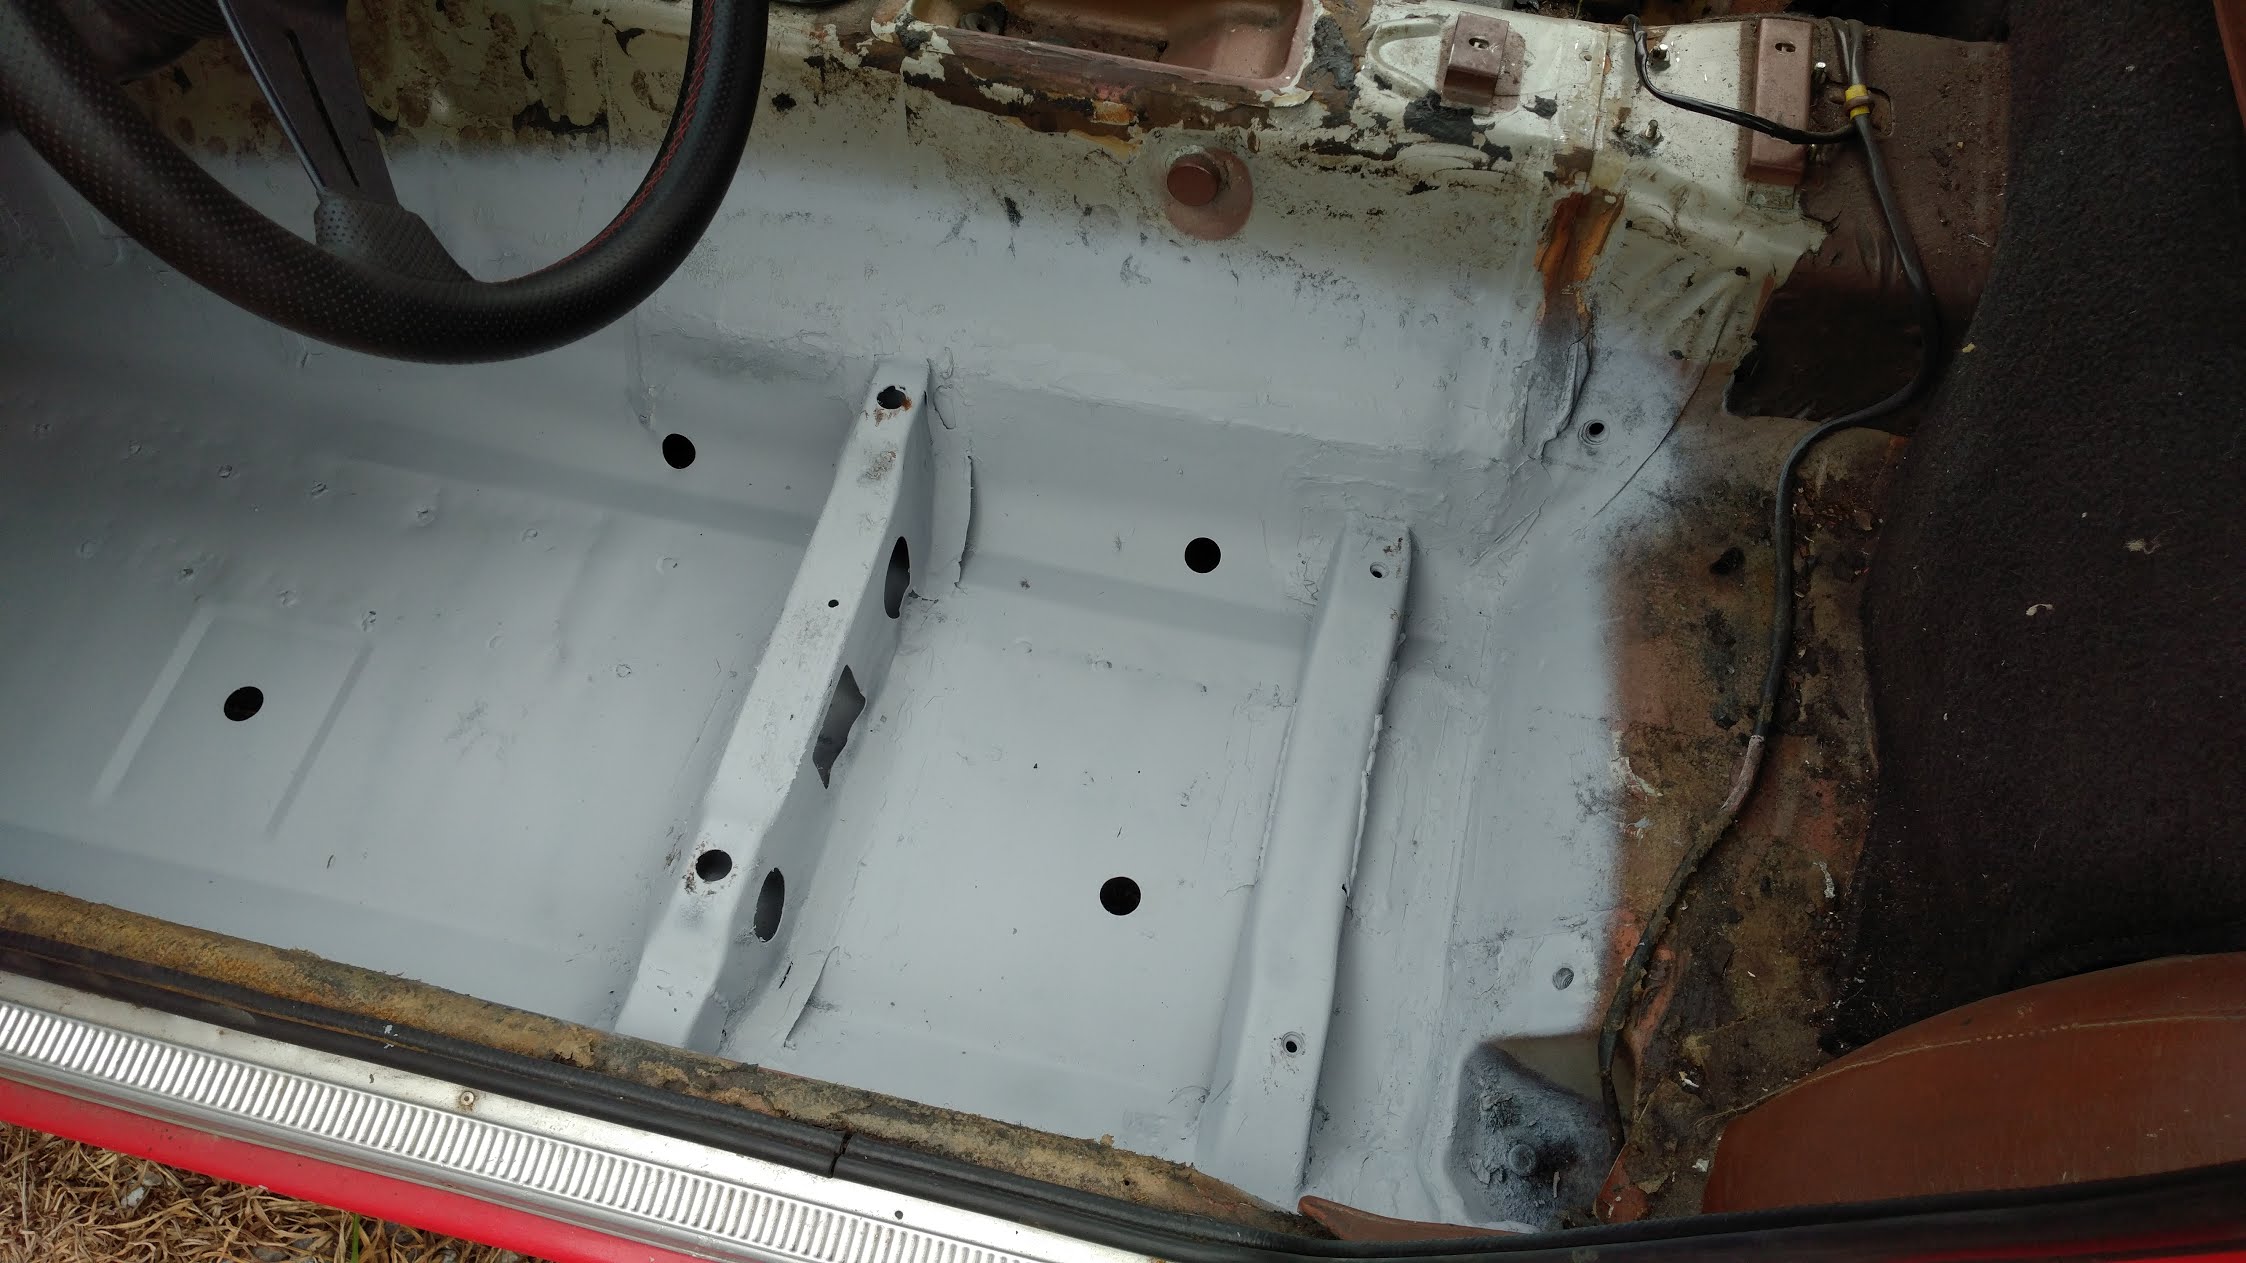
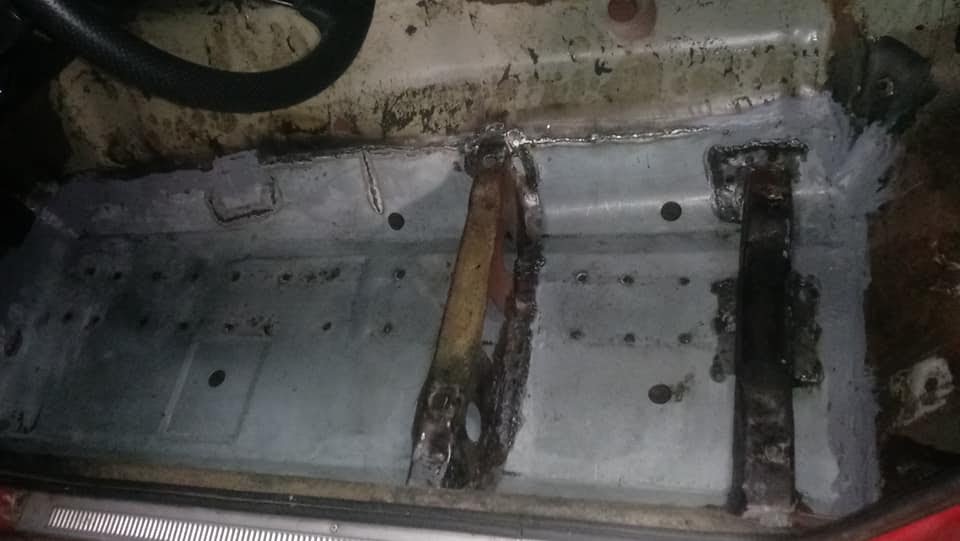
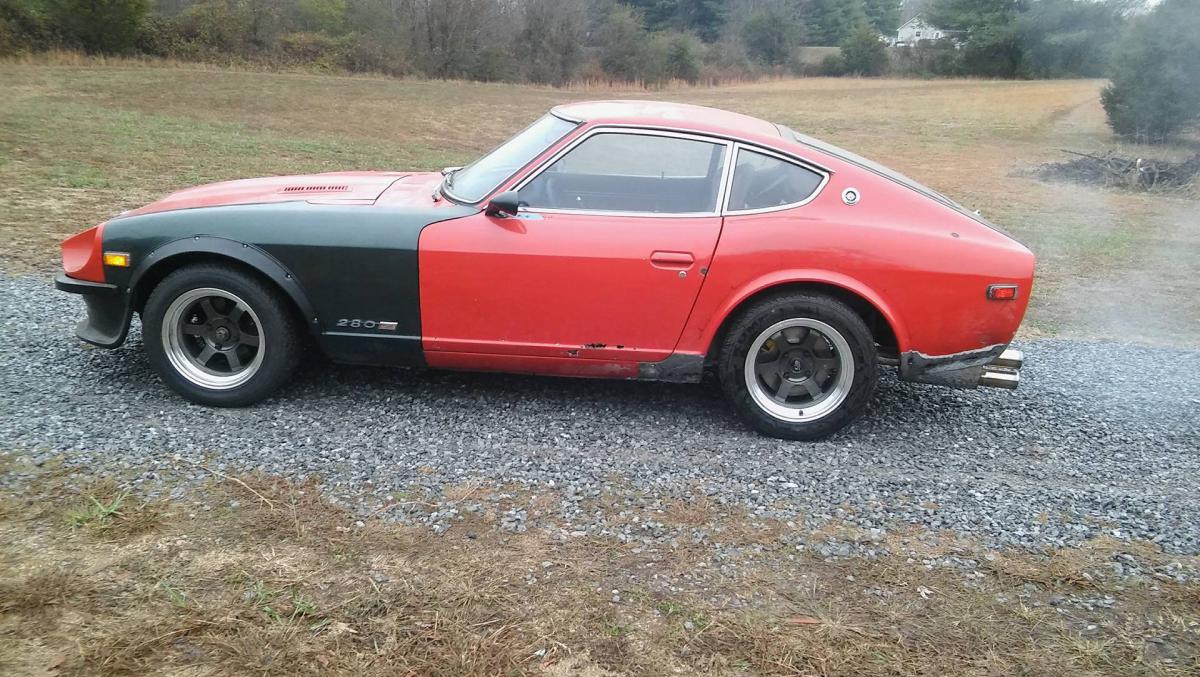
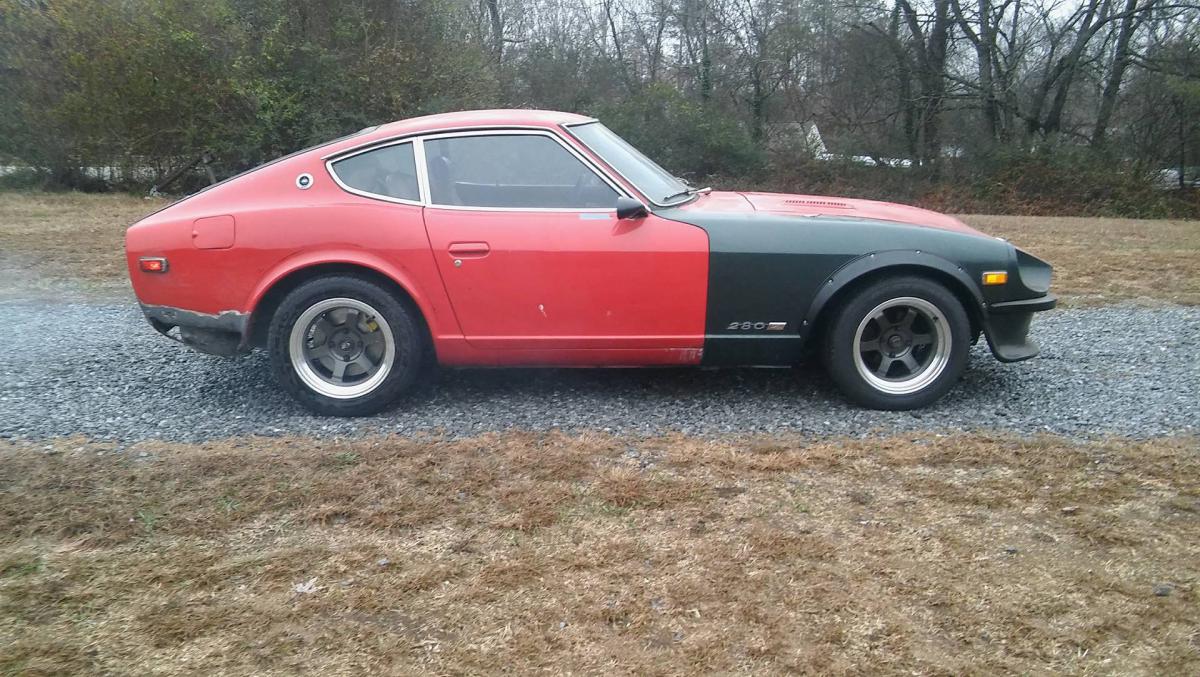
man it has been a long time since i updated this thread. I have done quite a bit since then... i'll let the pictures do the talking. Still have to replace the passenger side floor pan. I'm a little irritated with myself though because I meant to hammer out the dents in the floor pan rail (Where someone previously had jacked the car up) before welding the pan in and I forgot to do it
-
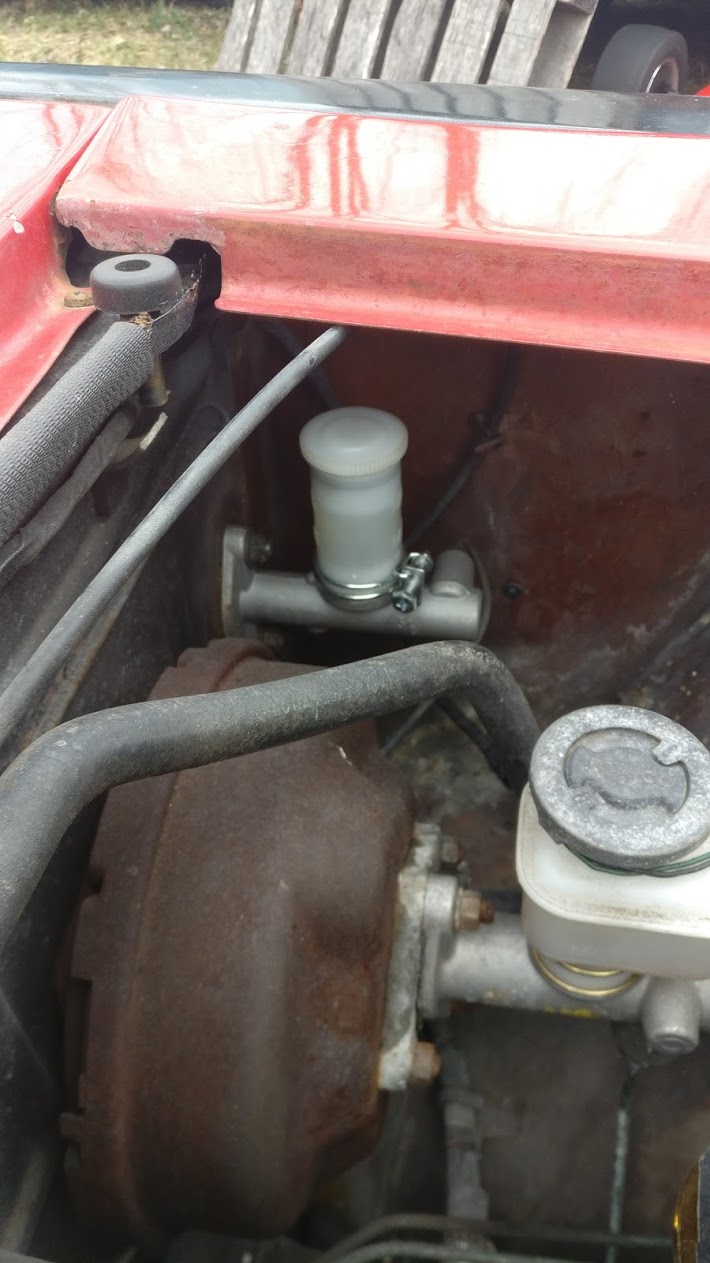
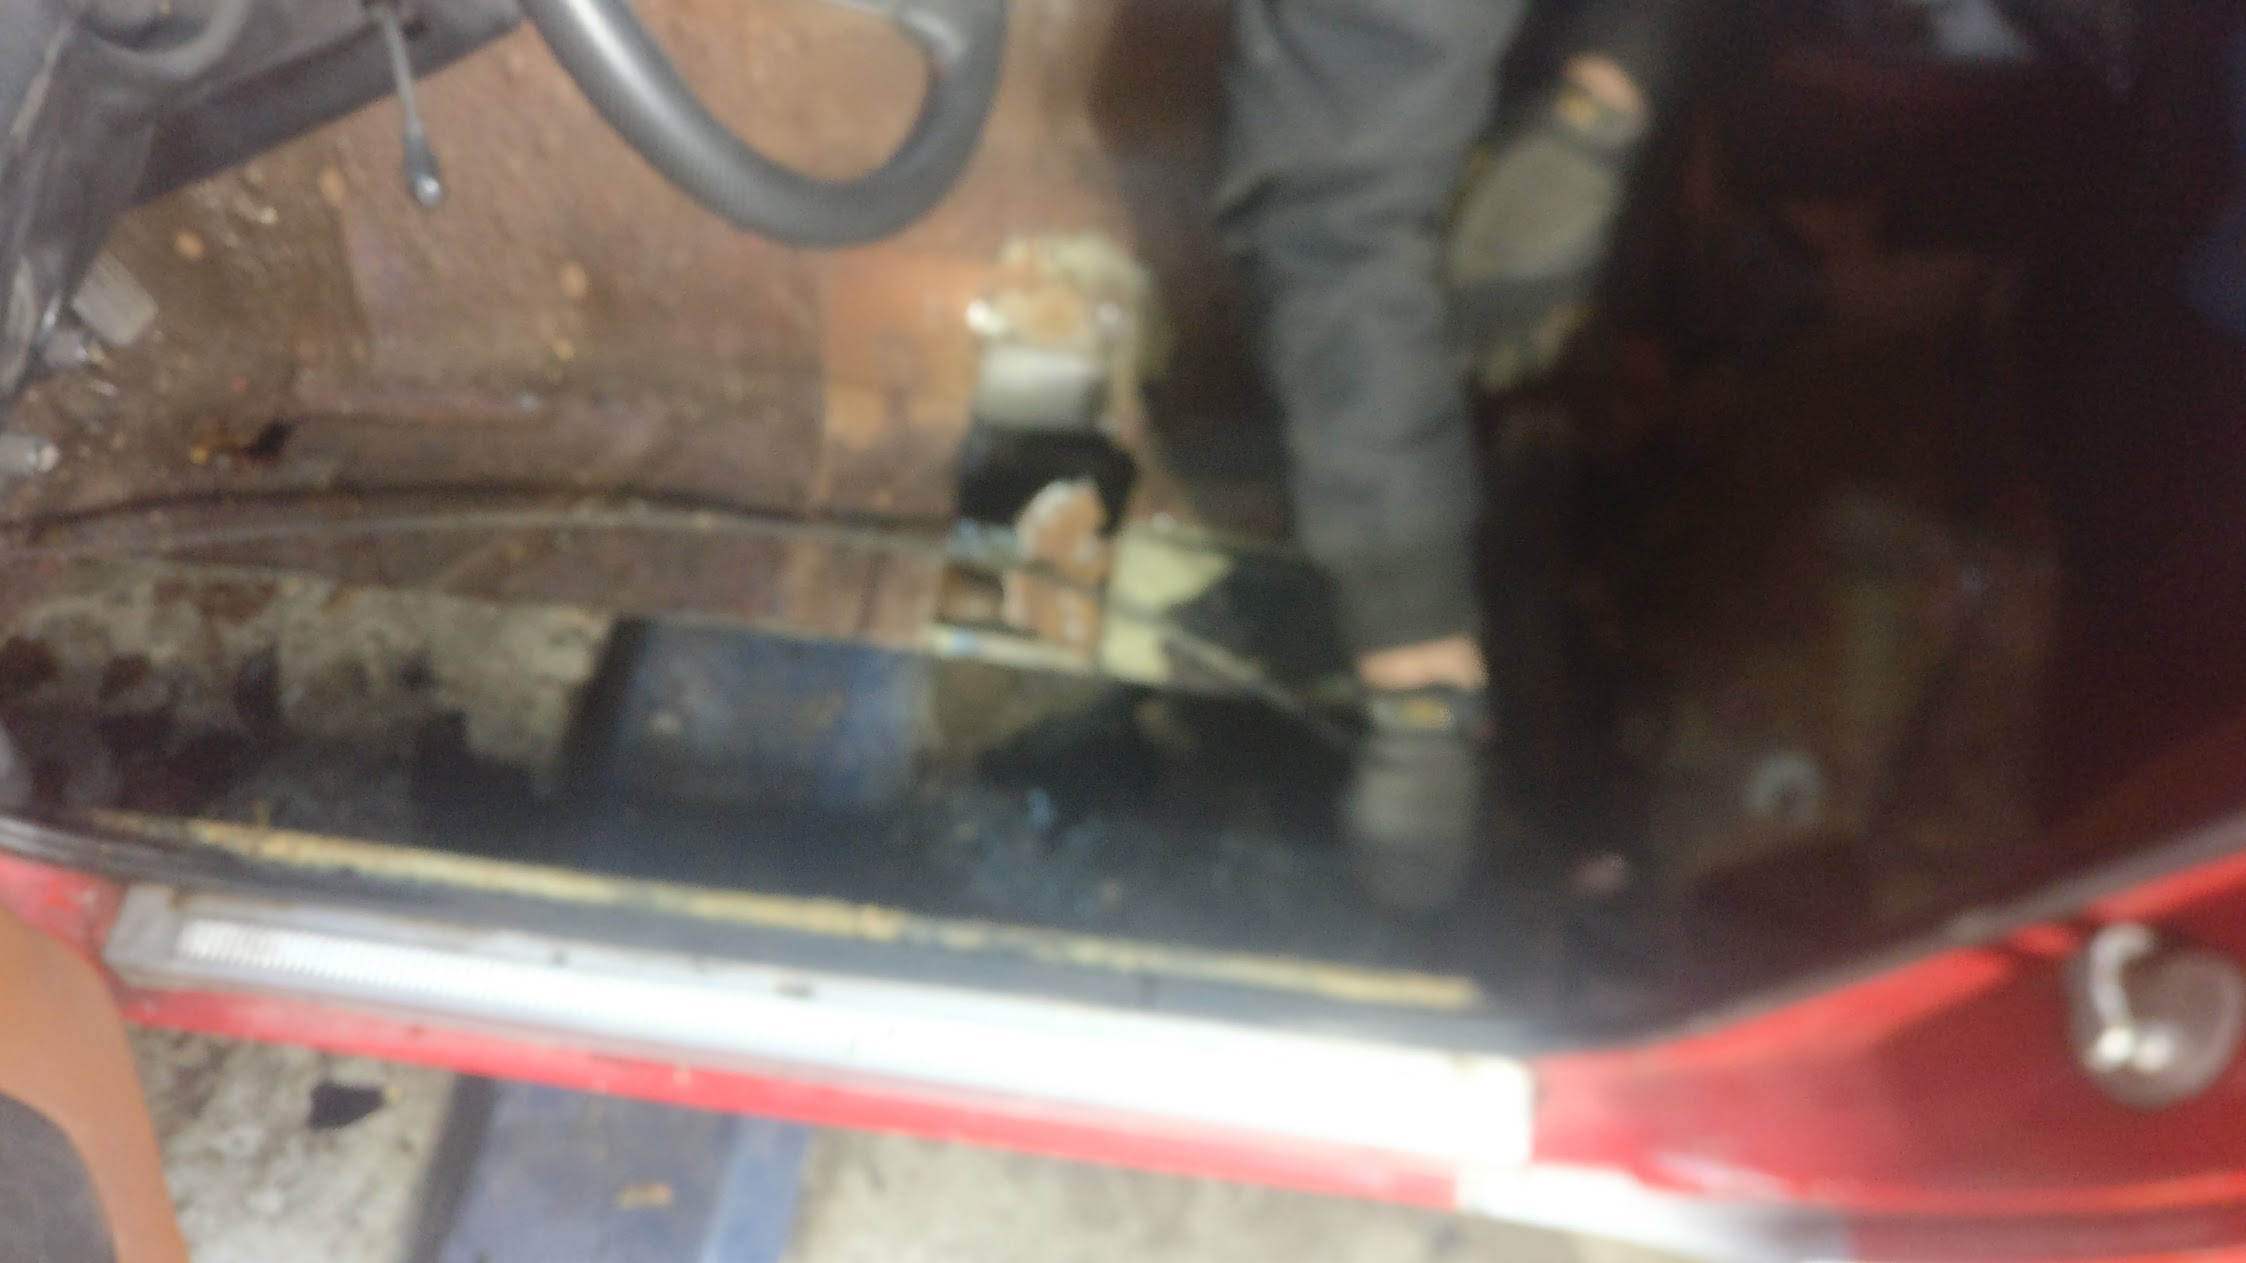
I guess I should have done a better search instead of starting a new thread. but here's a cut and paste from the thread i started. Maybe someone here can assist? 1978 280Z tach issue with SU carbs and GM HEI My tach isn't working. I have confirmed that the solid blue wire is hooked up to the negative terminal on the coil and that in the passenger floorboard area the resister is hooked up to the solid blue and the blue/white wire. I currently have the hazard switch unplugged and also have the stock ignition box un hooked. How should I confirm that the tach is getting signal and power? Which colored wires that the tach plugs into the factory harness should I check to see if the tach is getting power? Thanks
-
1978 280Z tach issue with SU carbs and GM HEI My tach isn't working. I have confirmed that the solid blue wire is hooked up to the negative terminal on the coil and that in the passenger floorboard area the resister is hooked up to the solid blue and the blue/white wire. I currently have the hazard switch unplugged and also have the stock ignition box un hooked. How should I confirm that the tach is getting signal and power? Which colored wires that the tach plugs into should I check to see if the tach is getting power? Thanks
-
I apply seam sealer and let it cure, then I primer and paint.
-
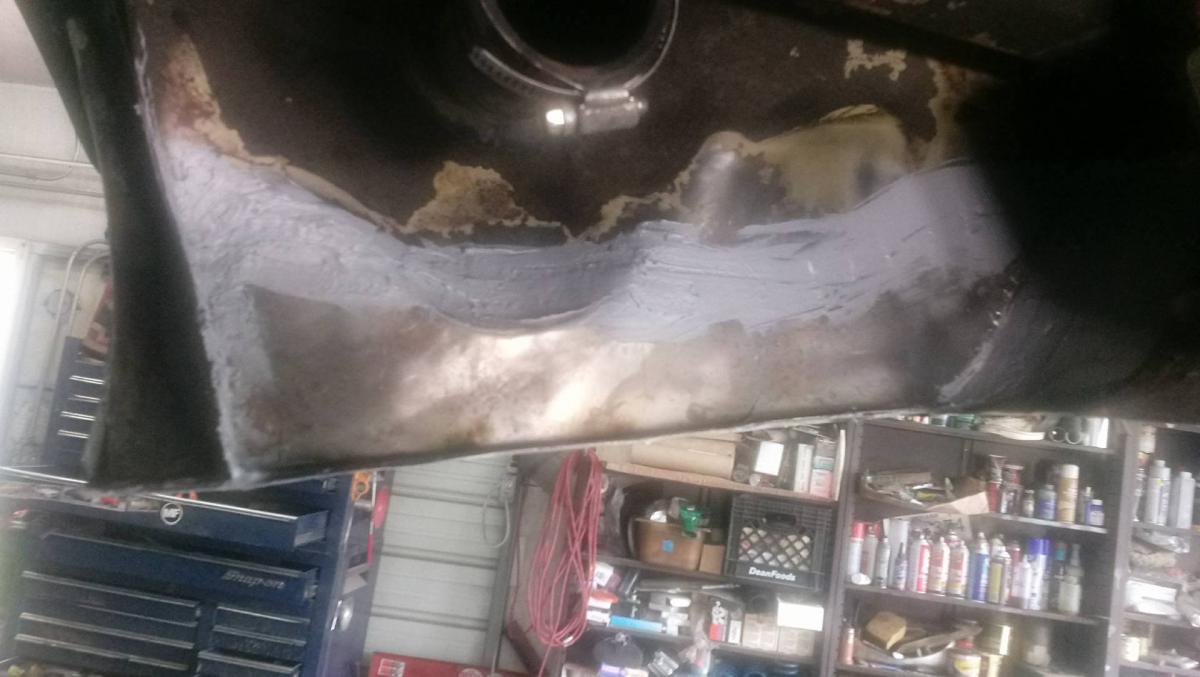
Tack welds then seam sealer. 3M 08505 seam sealer is what I use but I am trying out a tube of 3M Dynatron 550 on those patches I put on the rear inner fender. It's about 1/2 the price and appears to be the same product
-
a little more picture action
-
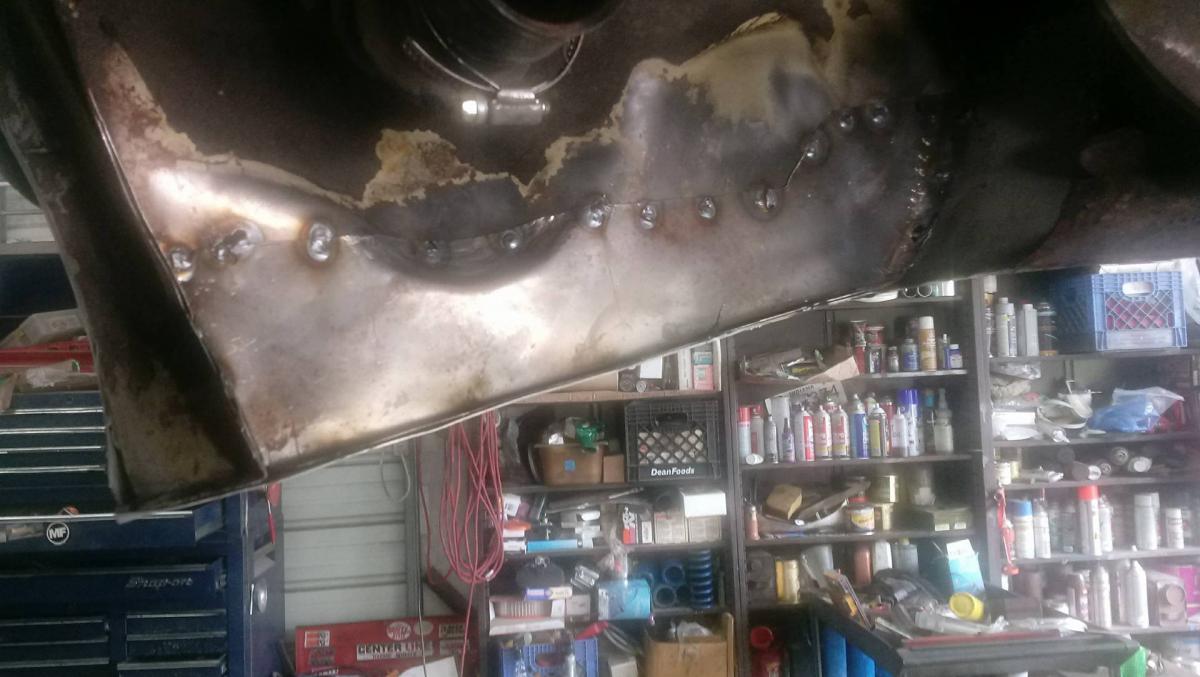
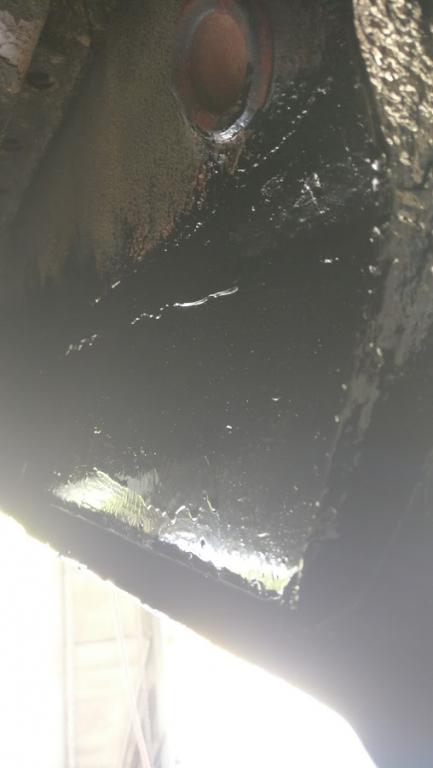
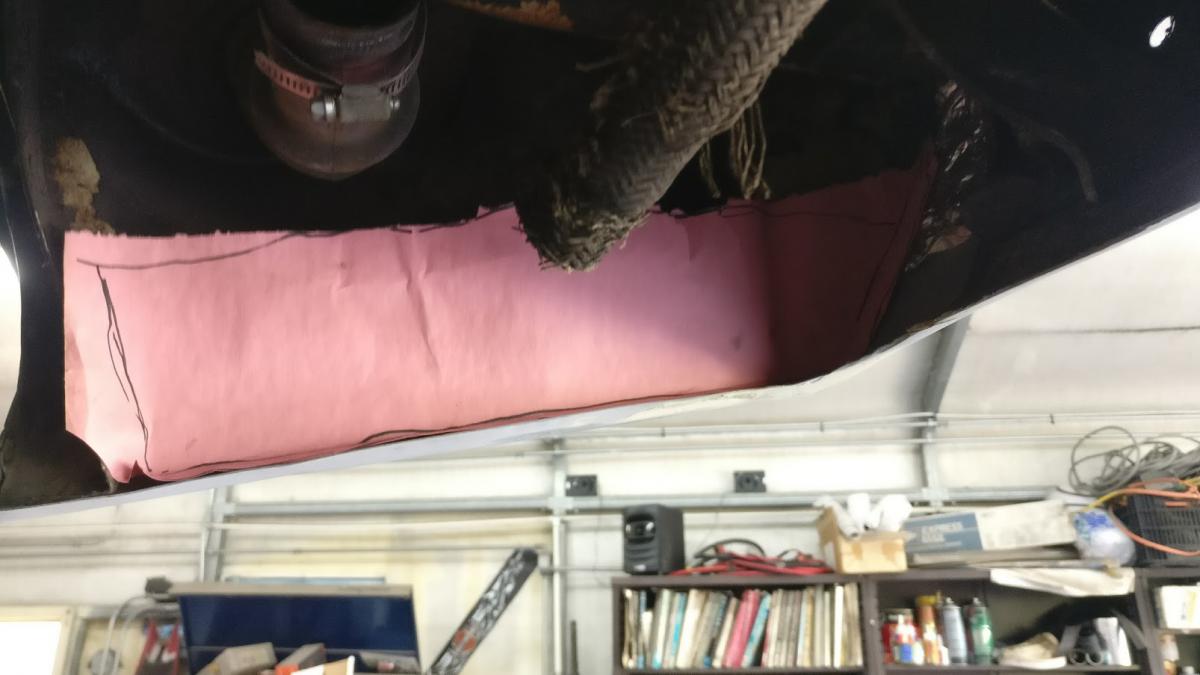
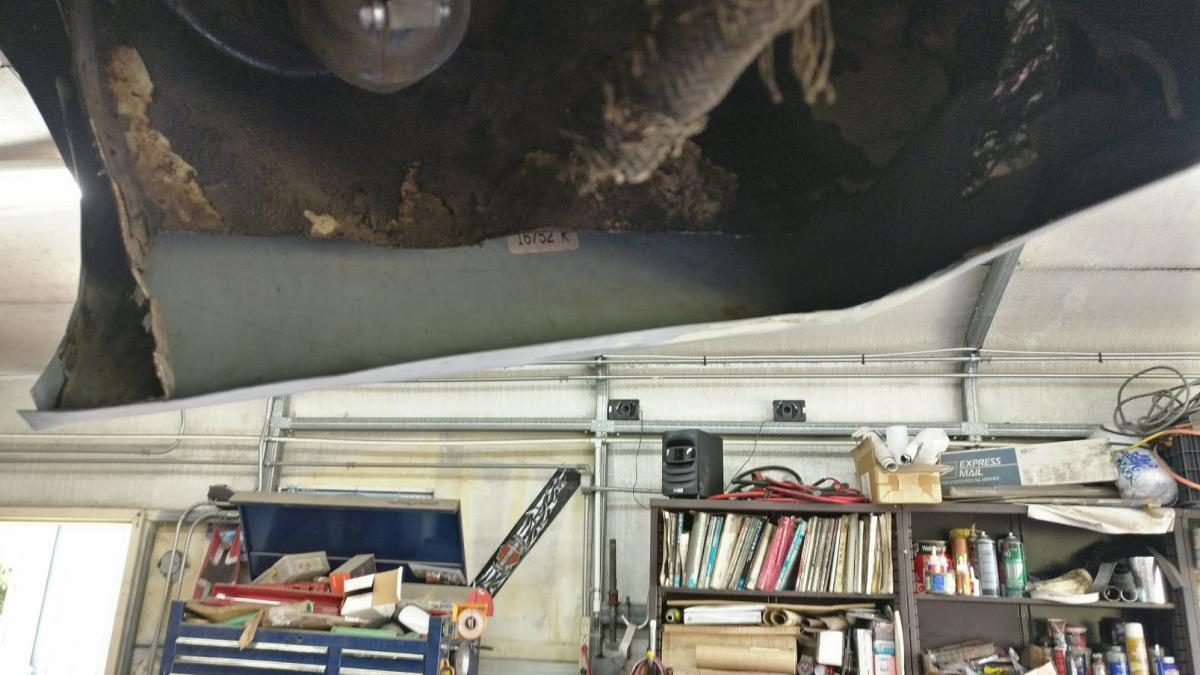
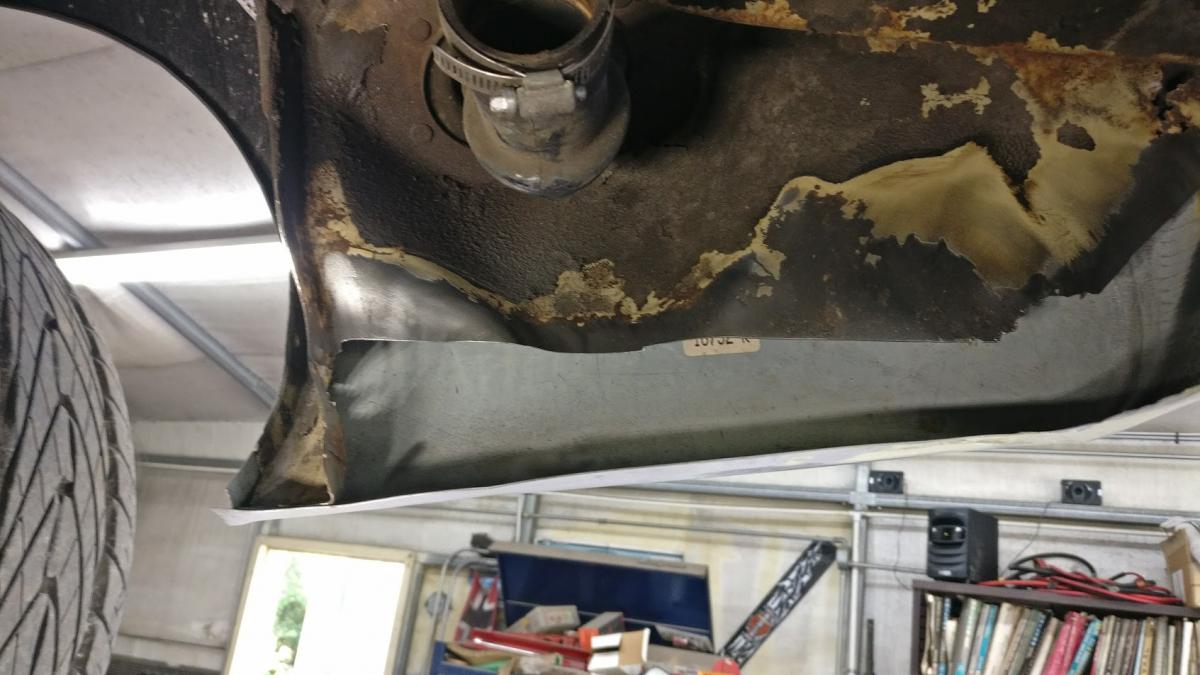
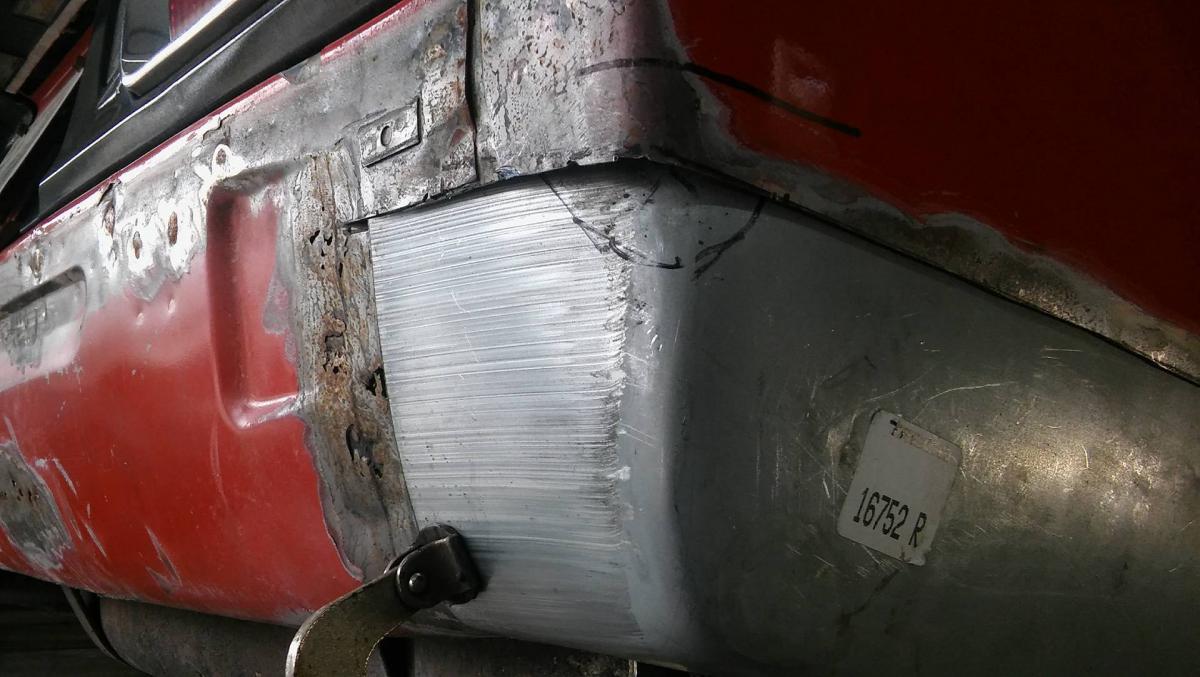
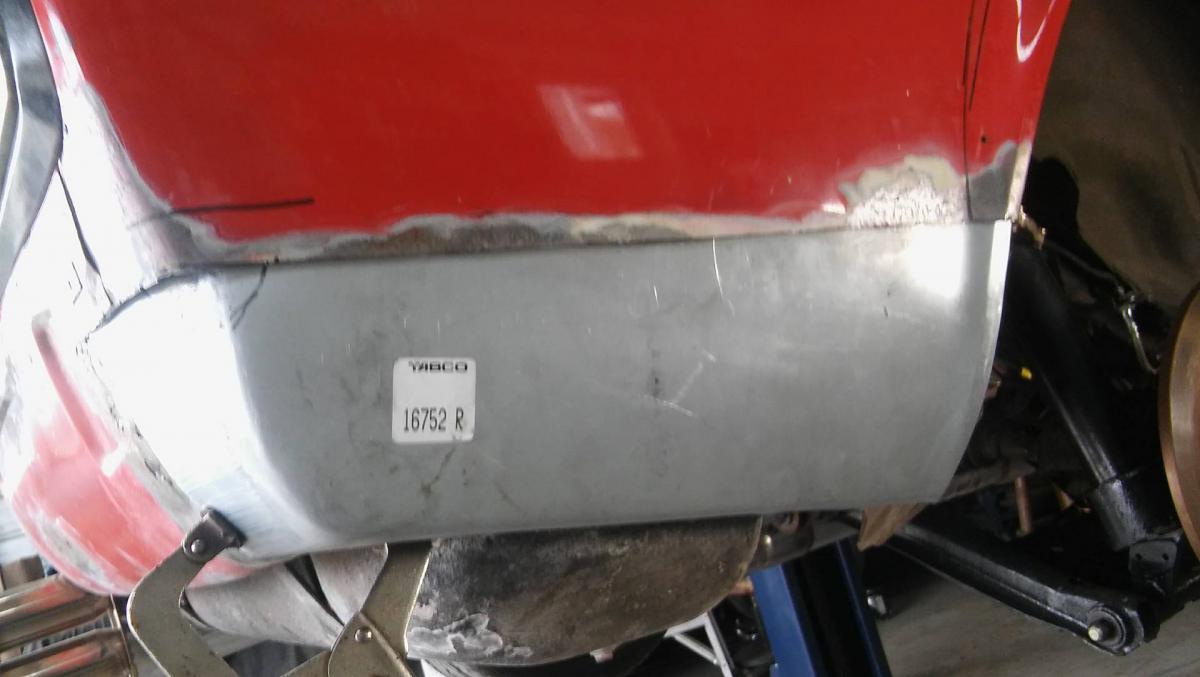
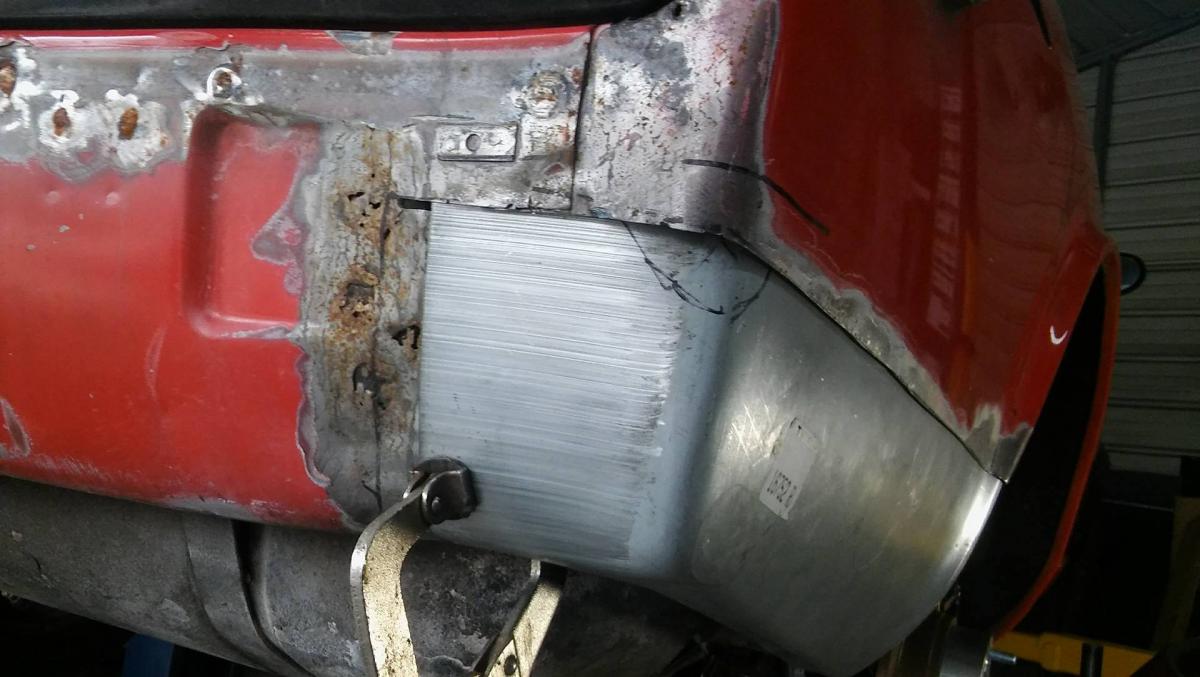
more sheet metal repair. the picture with the black coating is the drivers side rear inner fender. The other pictures are from the passenger side. I got the sheet metal cut from the paper template but didn't have time to fold it/bend it and weld it in. Likely do that later this week. I'm hoping to get the gas tank back from the radiator shop this week too.
-
Right on!!! I've been enjoying the pictures of ol' glory on the datsun facebook groups!!! Tony has been teaching me how to weld and do body work.
-
I drove the crap out of it on Saturday during ZDayz and had a blast. I dropped the tank off yesterday at the radiator shop to boil it out and seal it. I figure I should be able to pick it up early next week and get it back in that weekend. My buddy is going to be making some more of the Datass emblems soon with a higher resolution printer (mine was printed super low rez as it was a prototype). ill talk to him to see if he wants to sell them.
-
Don't have any pictures to post but I got the drivers side rear inner fenders welded/sealed up. Still have to do the passenger side rear inner fender though. The other weekend I took her to hwy 129 (the dragon) for ZDayz and had a blast. It was a lot of fun seeing my car keep up with the newer 350z and 370z. I also discovered that the source of all my fueling problems was a bunch of crud in the tank. I dropped the tank this weekend and will be taking it to a radiator shop to get boiled out this week.
-
looking forward to seeing your thread as your build progresses
-
Thank you!!! I still need to weld in some sheet metal for the drivers side rear inner fender. After that, other than redoing the floor pans and rust repair on the hood, she will be a rust free car.
-
so pretty
-
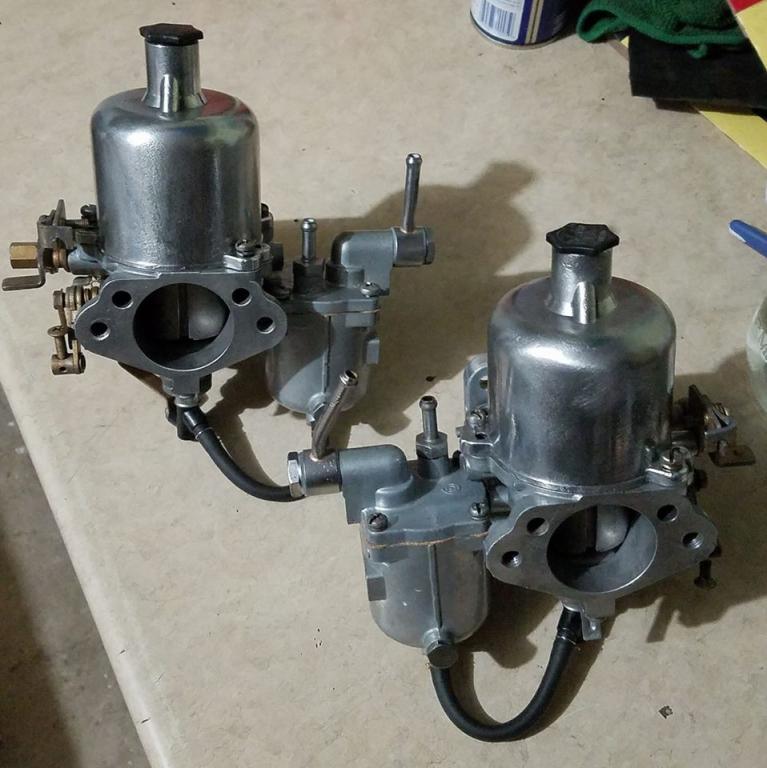
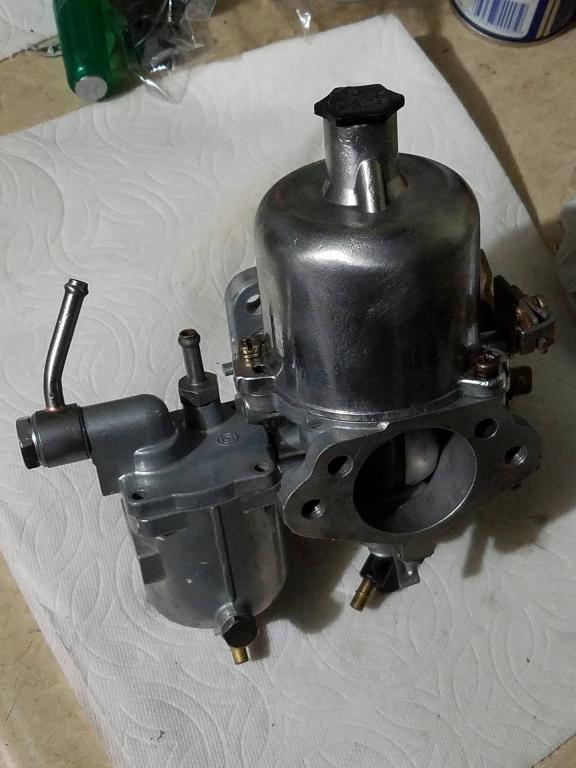
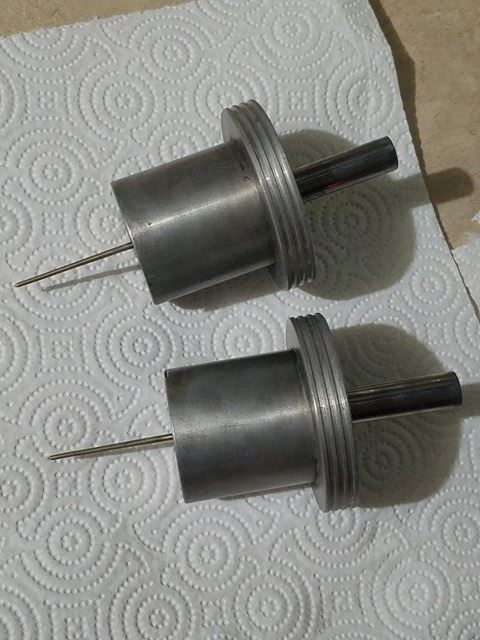
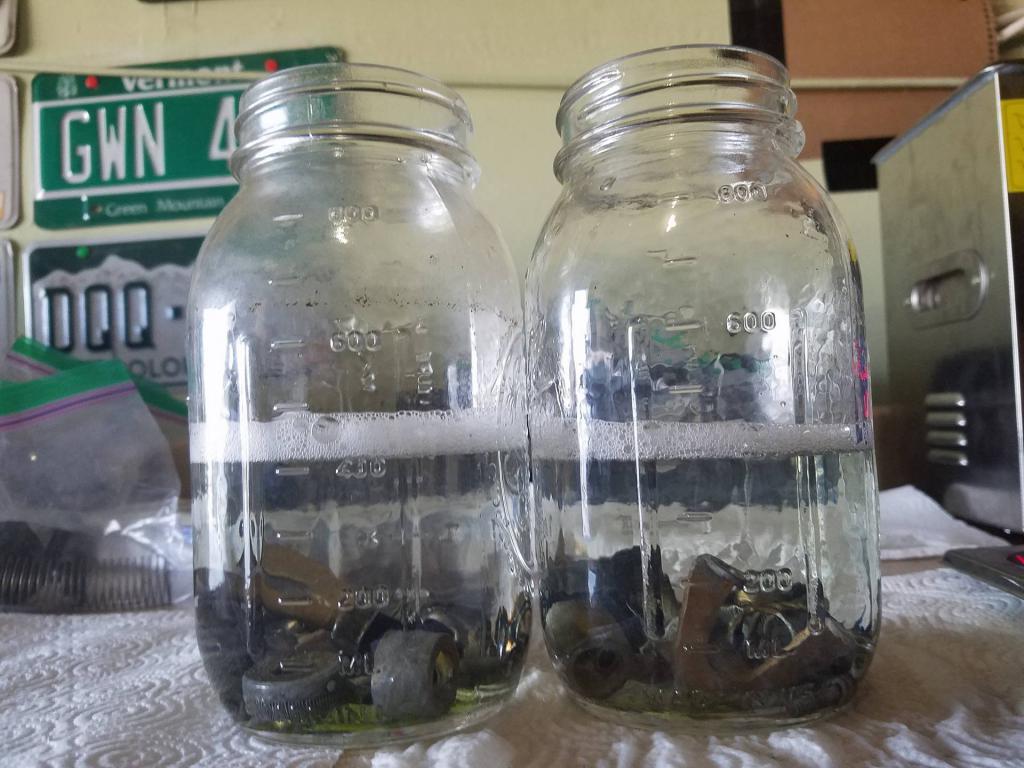
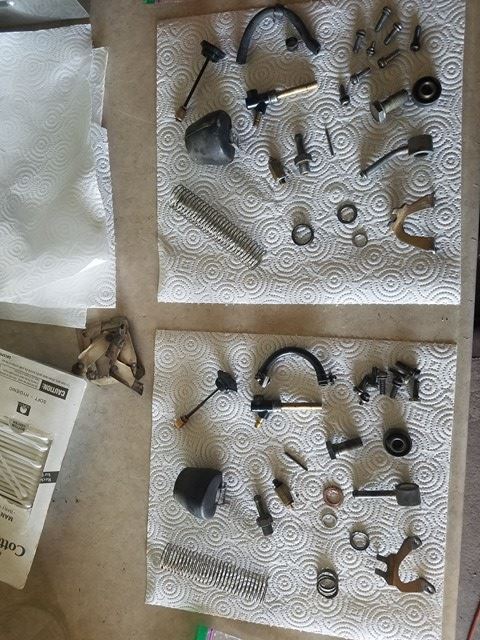
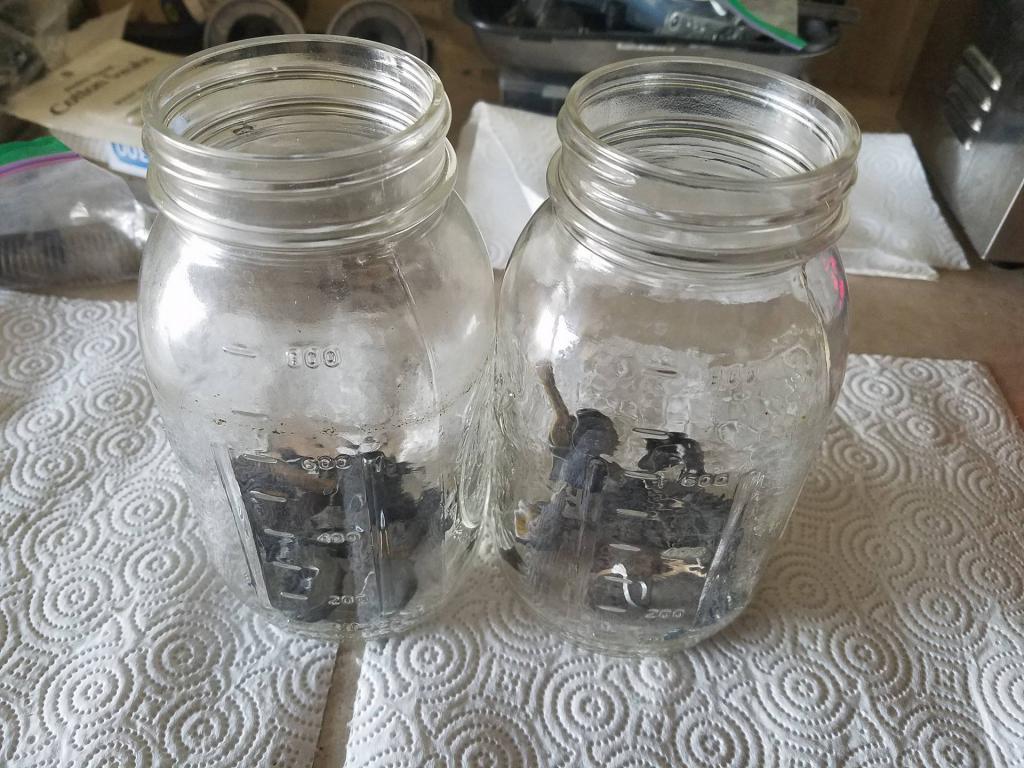
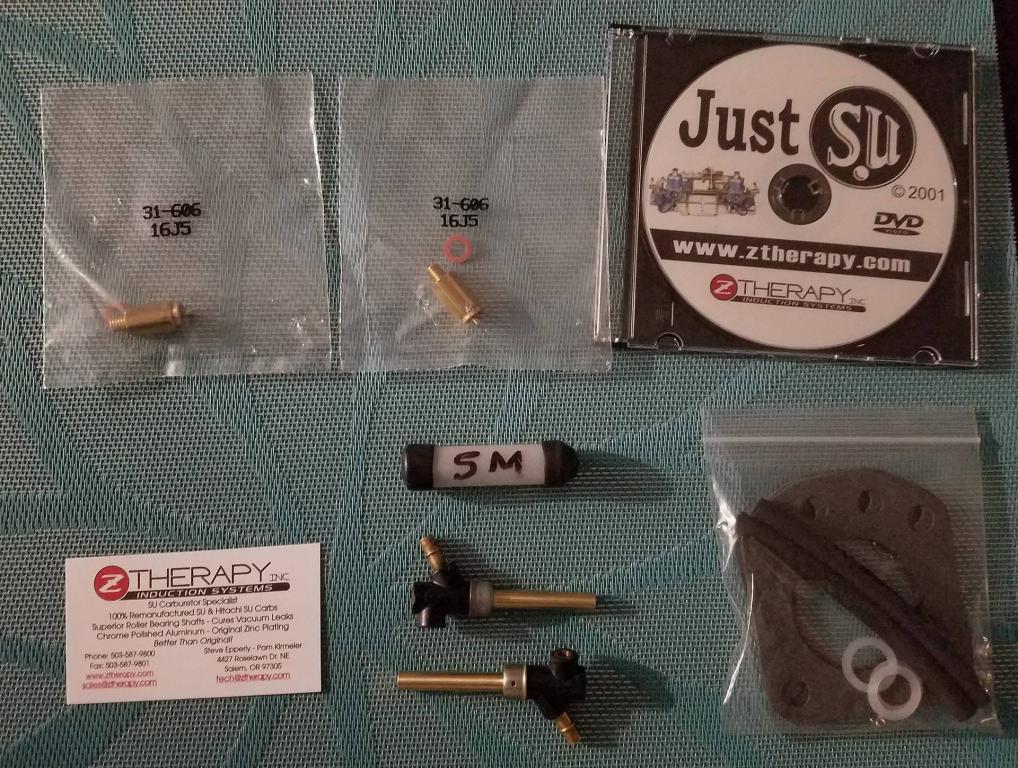
was having fueling issues so decided to go ahead and take apart the carbs again and do a full on rebuild. Those Ztherapy rebuild kits are no joke and worth the coin. I should have got their kit back when I first rebuilt the carb last fall.
-
had some fun with my friend's 3D printer
-
Don't have any new pictures to post but I got the other side welded in. I still need to weld up the inner fender to seal the hatch area from the outside. Currently I am driving it around and tinkering with tuning the SU carbs. But this thing drive amazing. I'm really impressed with how it handles on twisty roads compared to my '01 Audi A4.
-
and some more pics... hopefully ill be able to finish the other side later this week
-
Finally got some time to put in some sheet metal
-
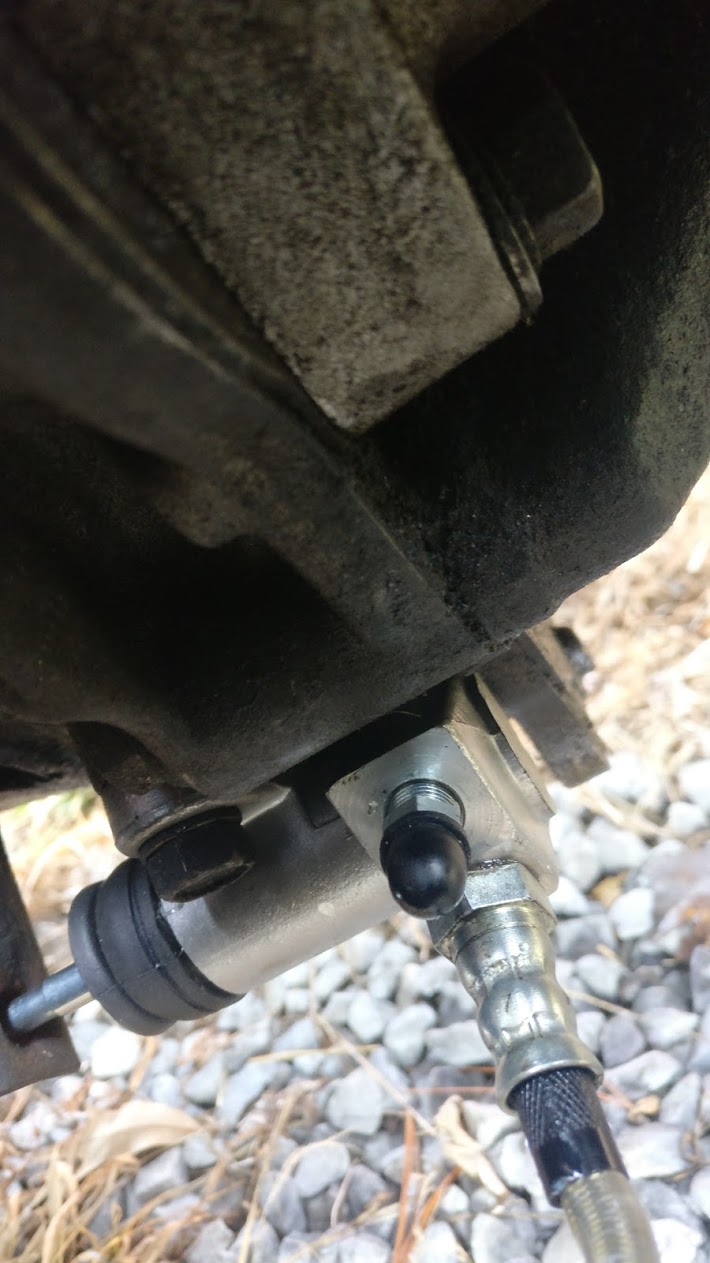
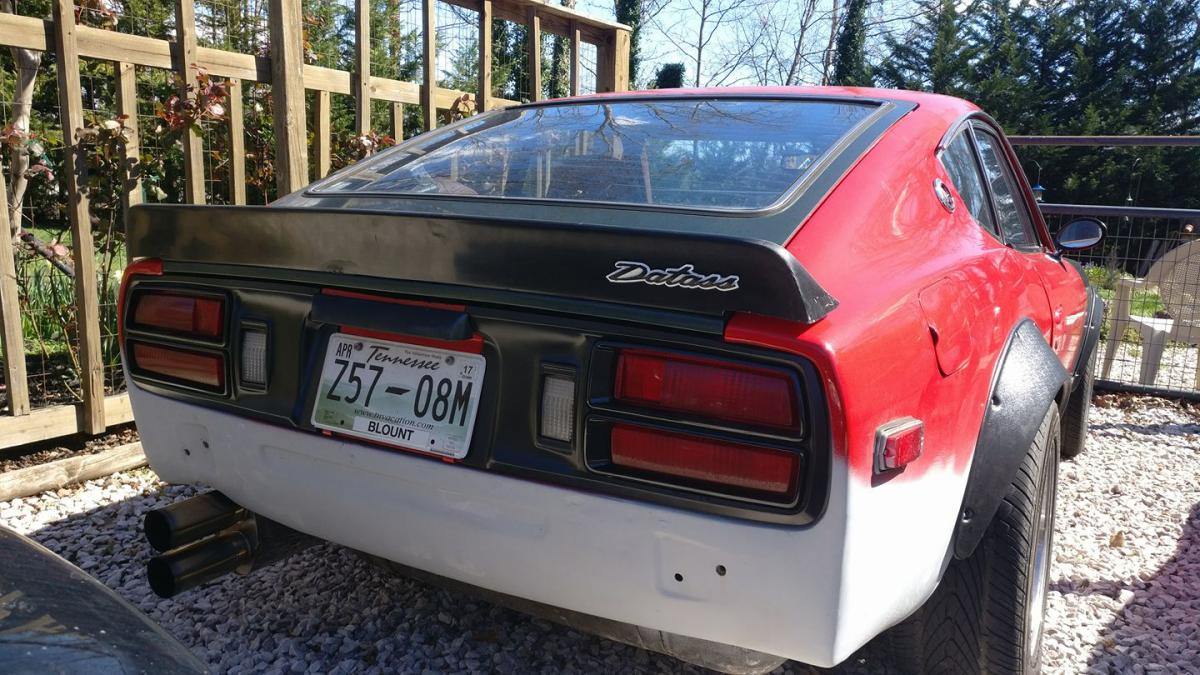
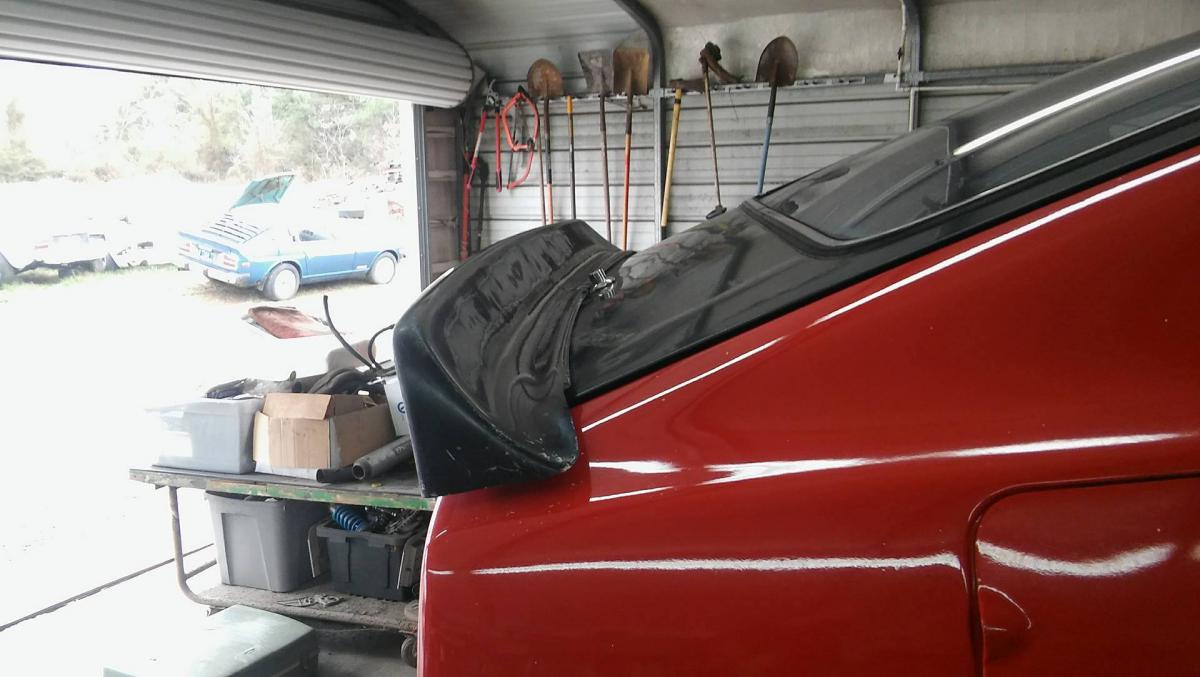
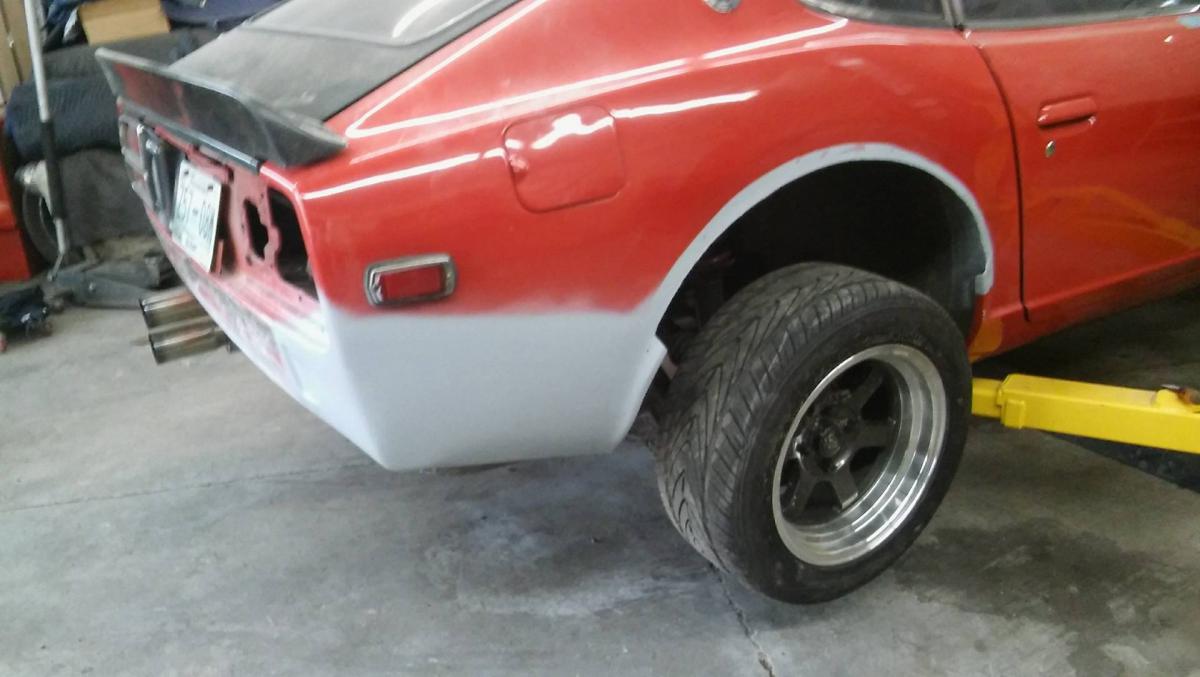
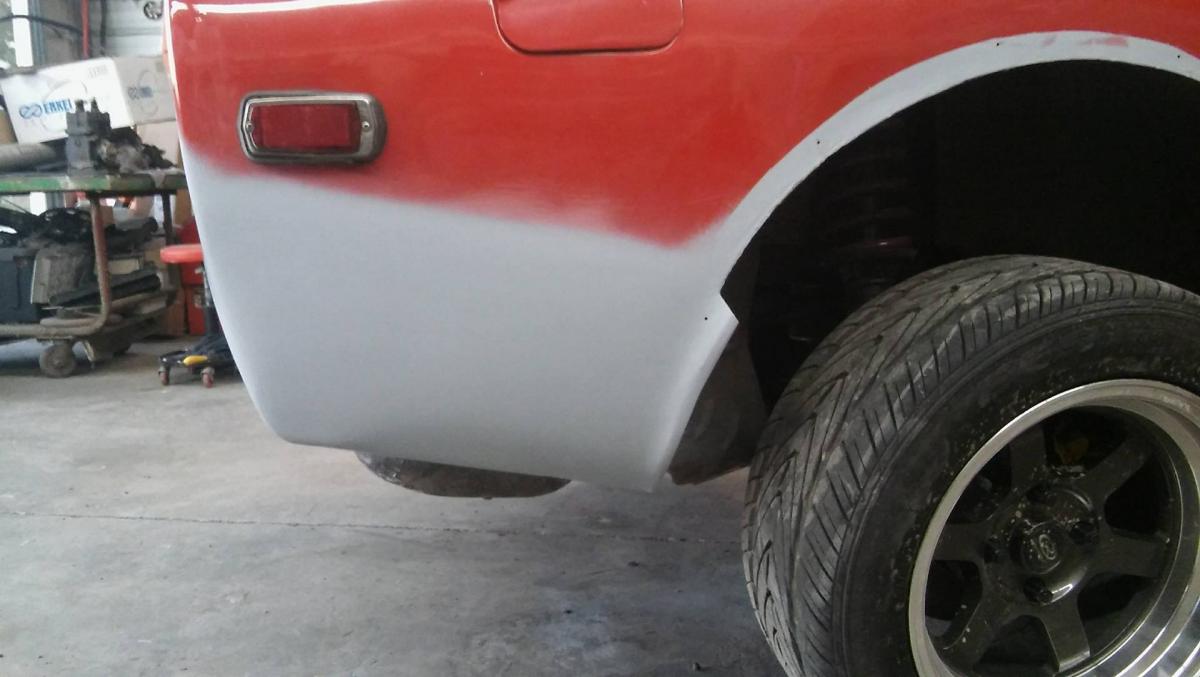
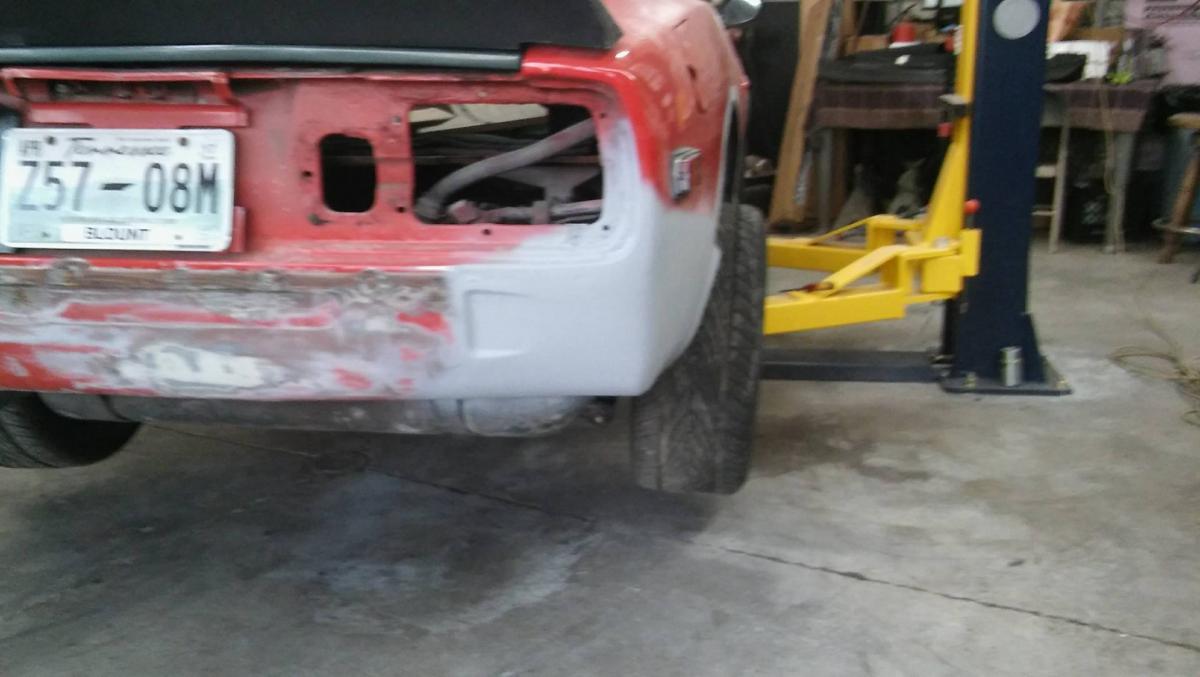
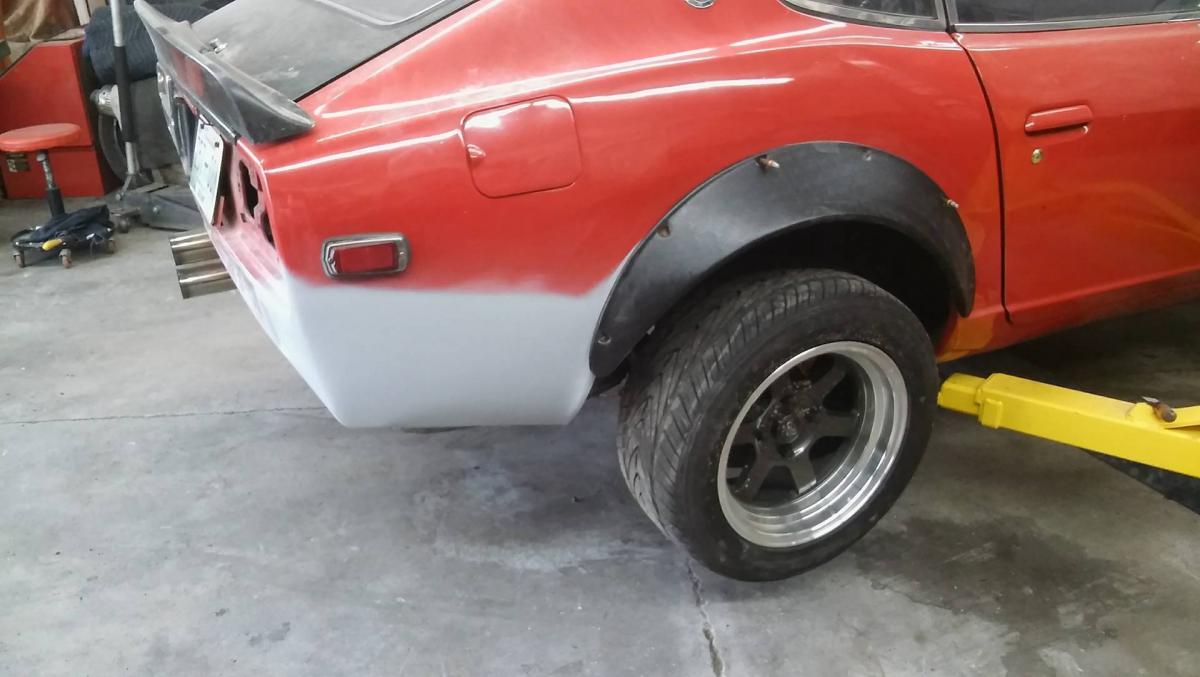
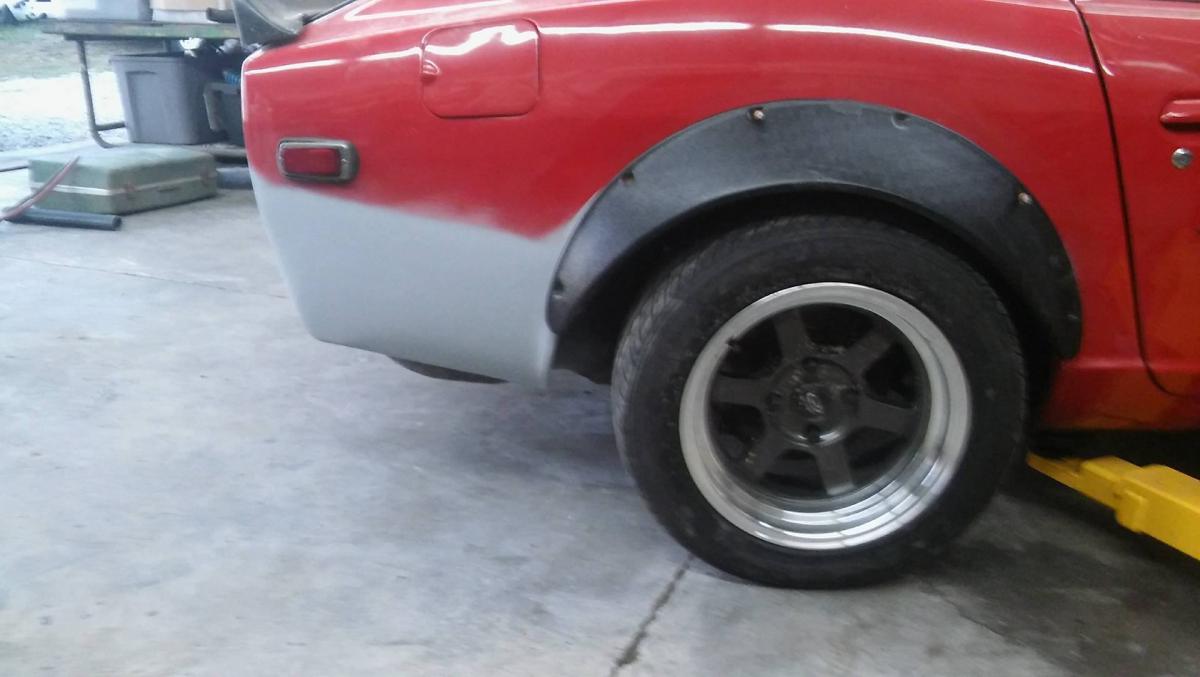
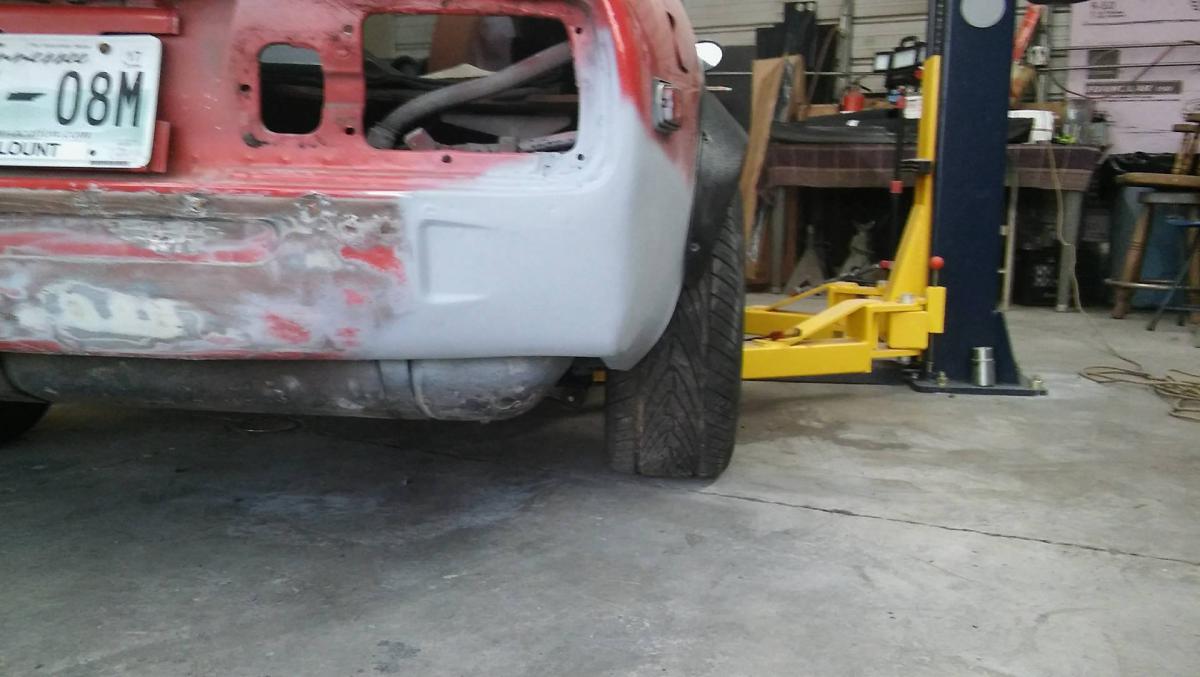
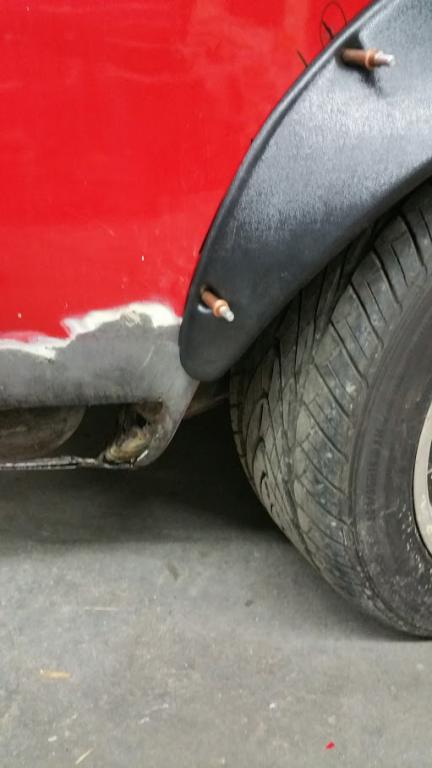
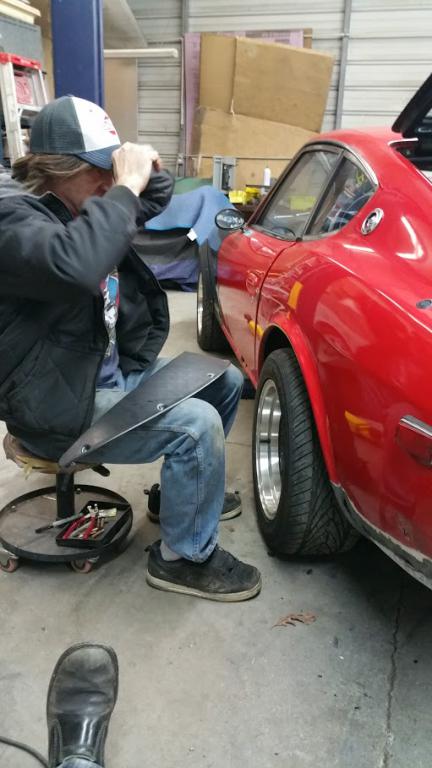
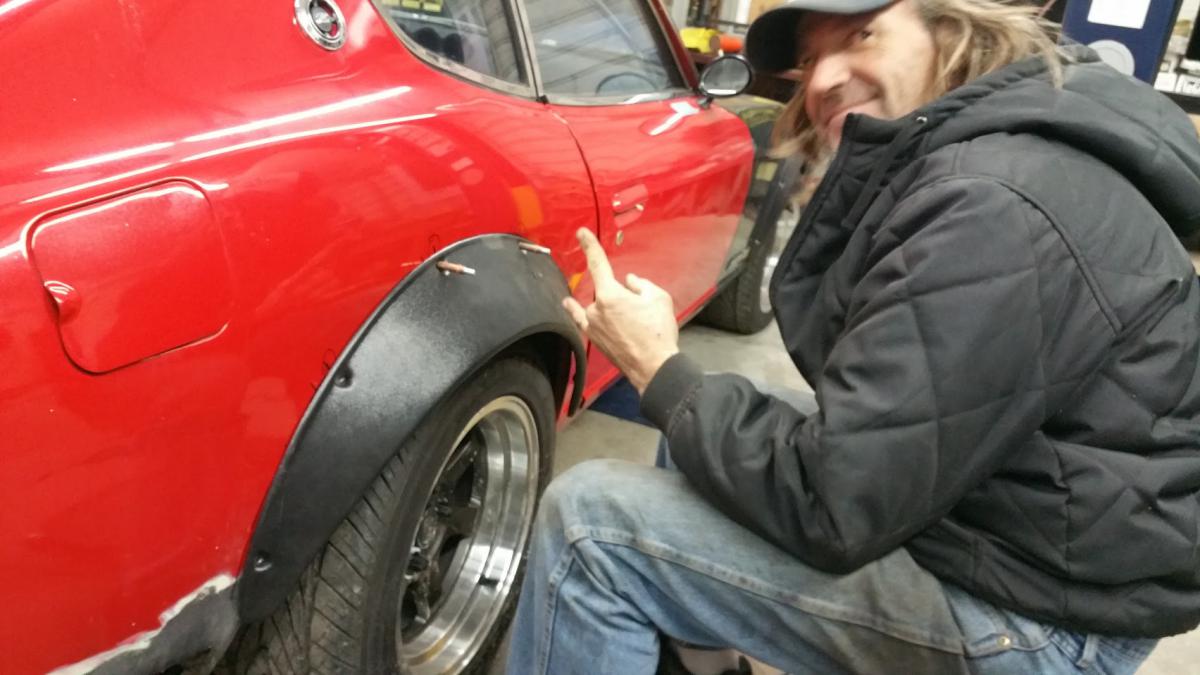
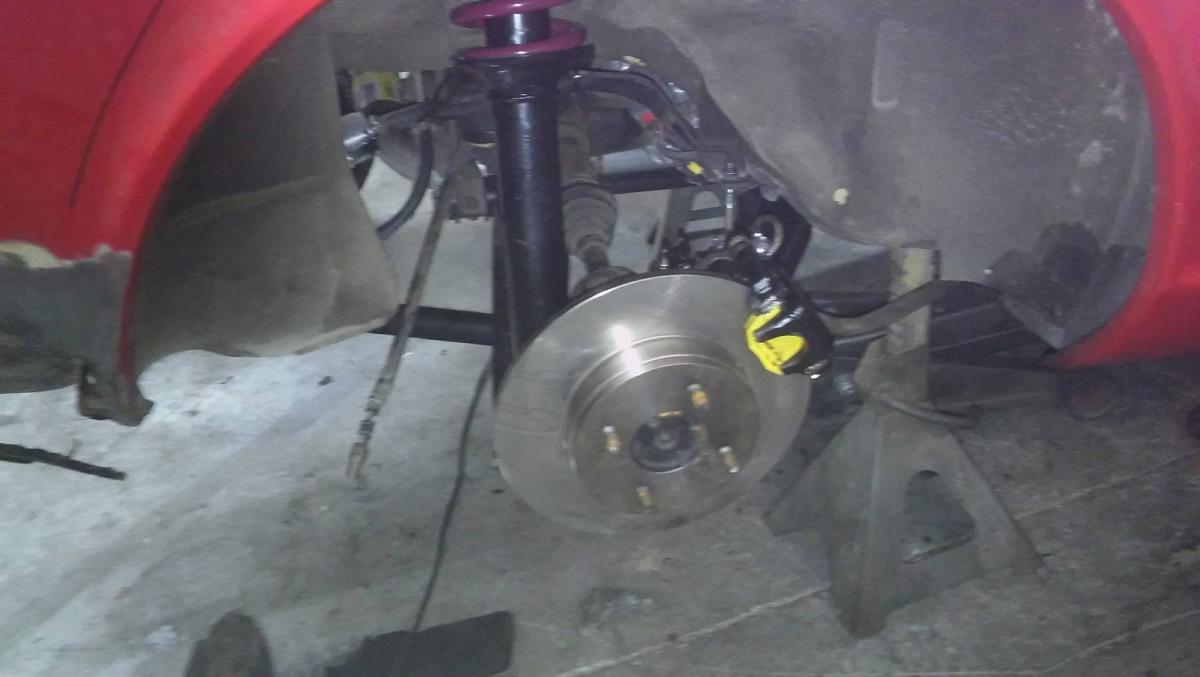
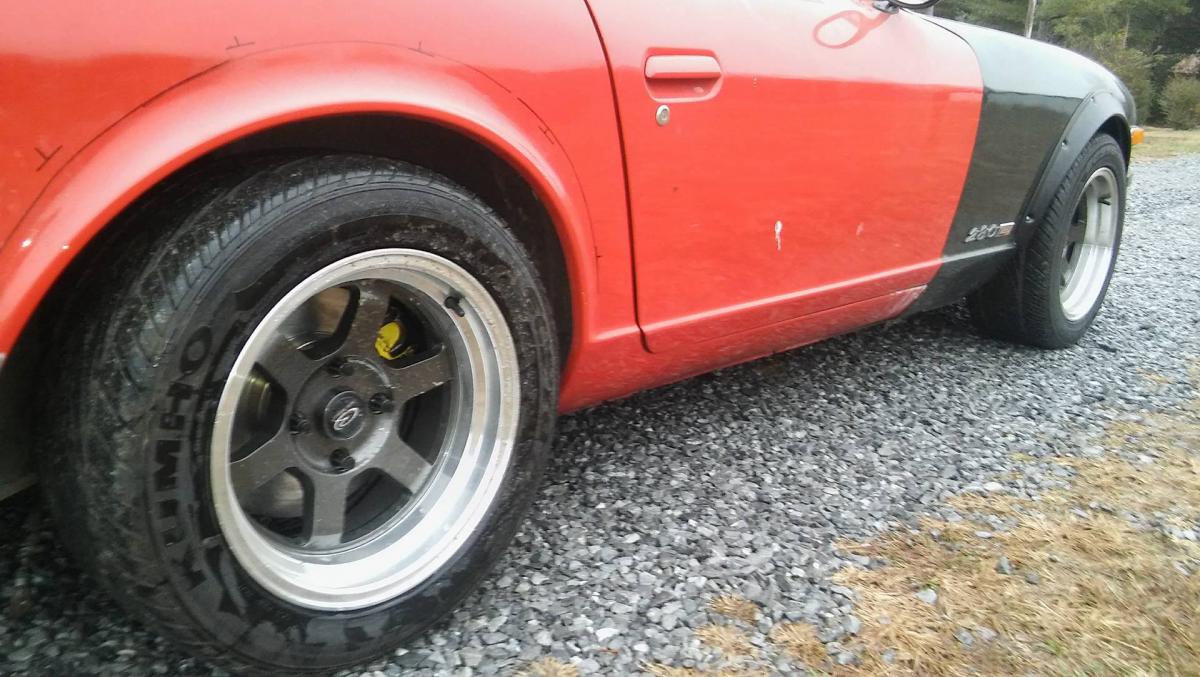
Today I got the E brake cables hooked up to the S13 Calipers, Painted the rear tail light panels and bezels, and mounted the rear fender flares so I could figure out what size wheel spacers i'll need. Here are a couple of pics of mounting the flares. I didn't rivet them in yet because of still needing to weld in the patch panels.
-
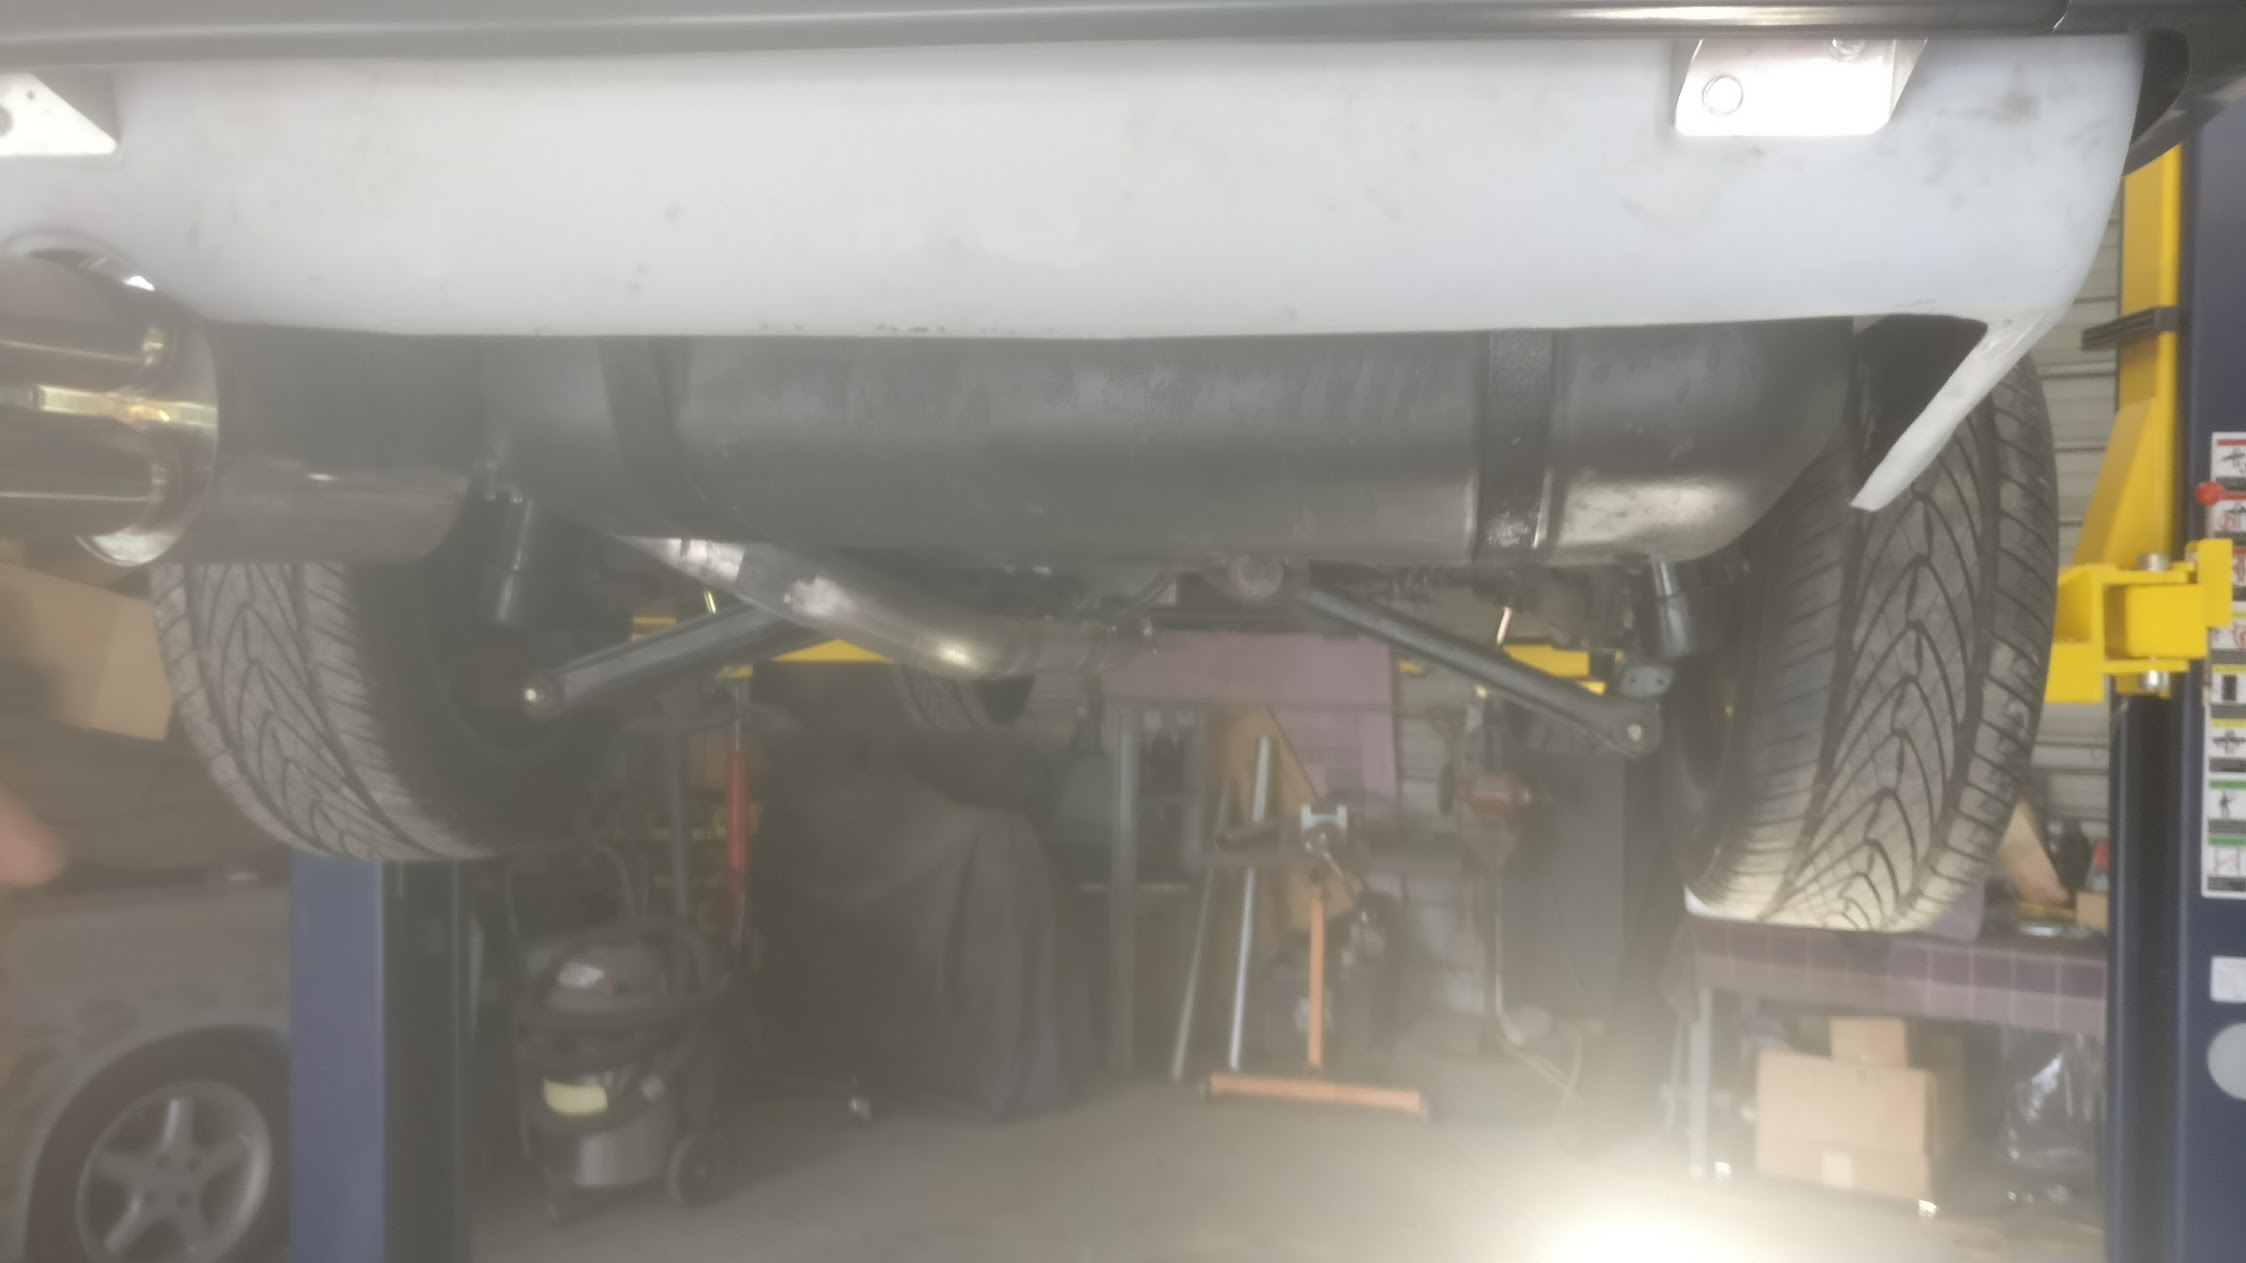
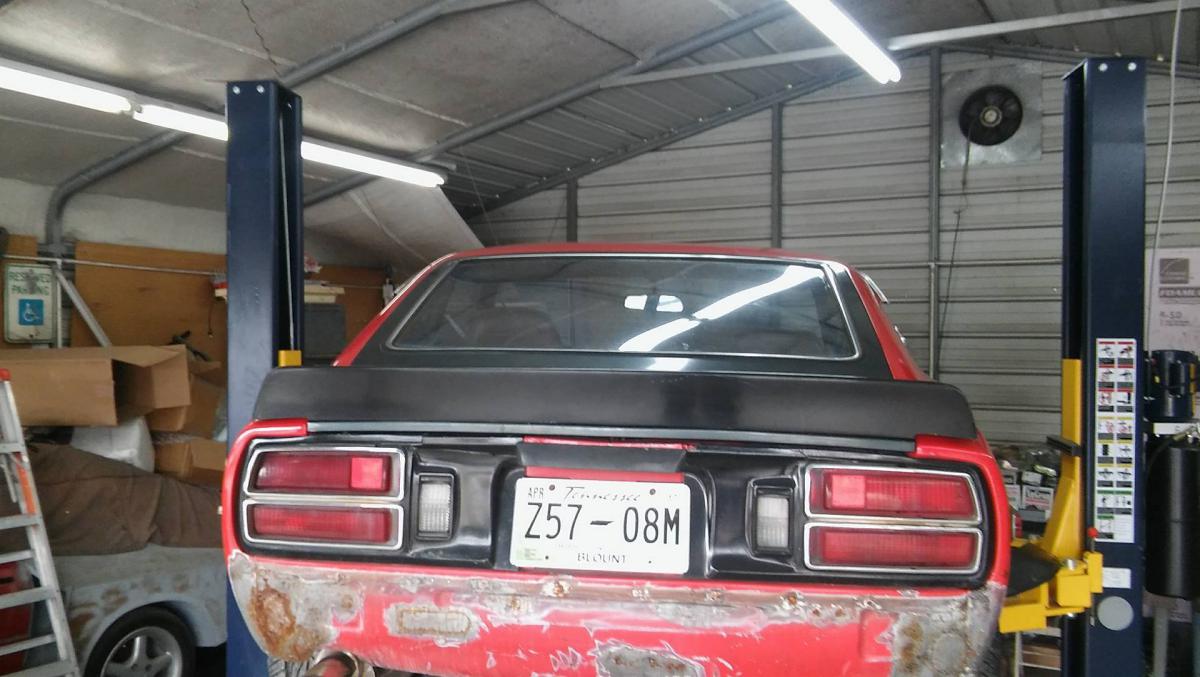
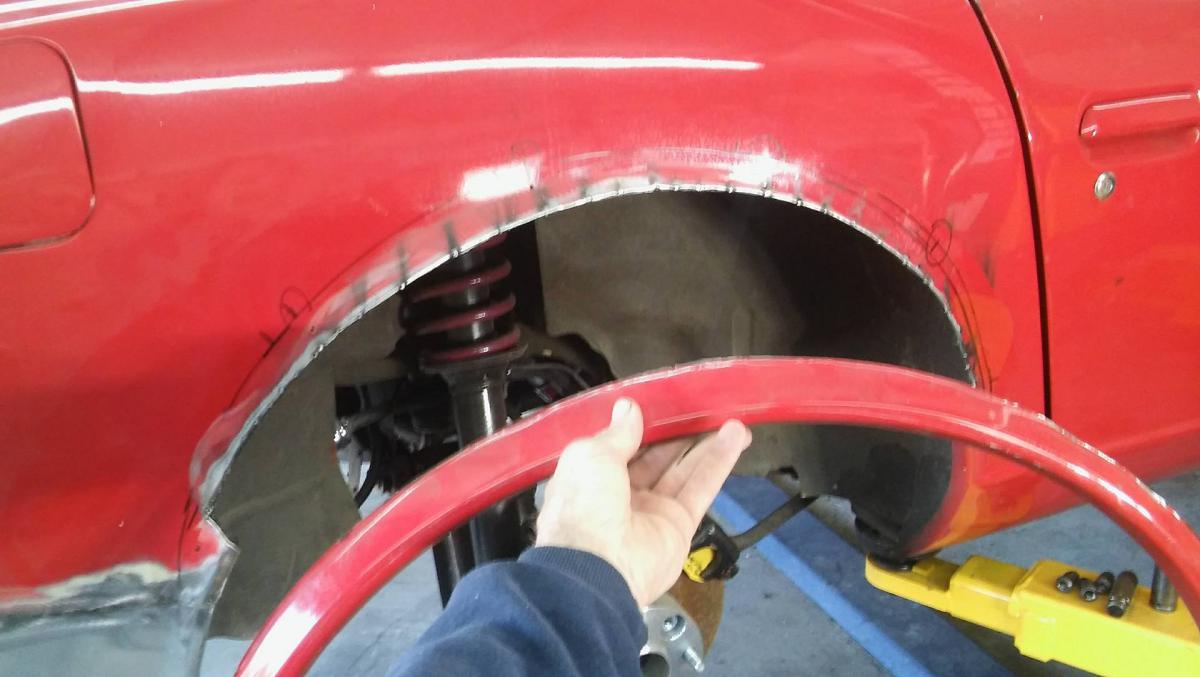
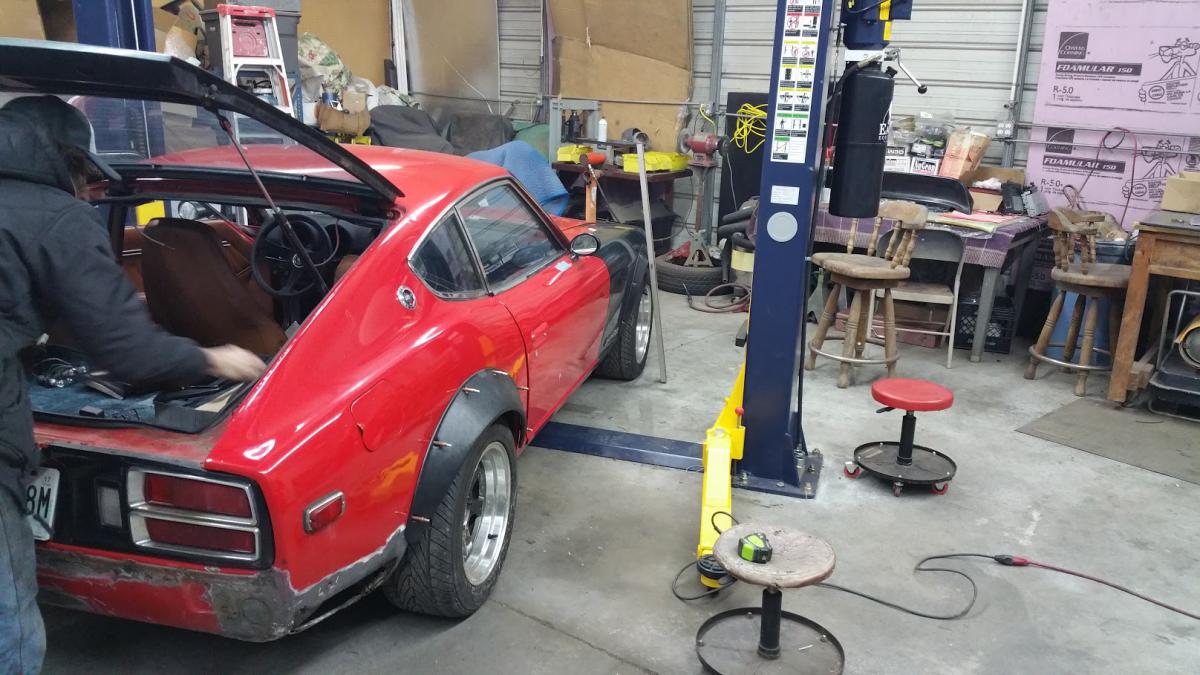
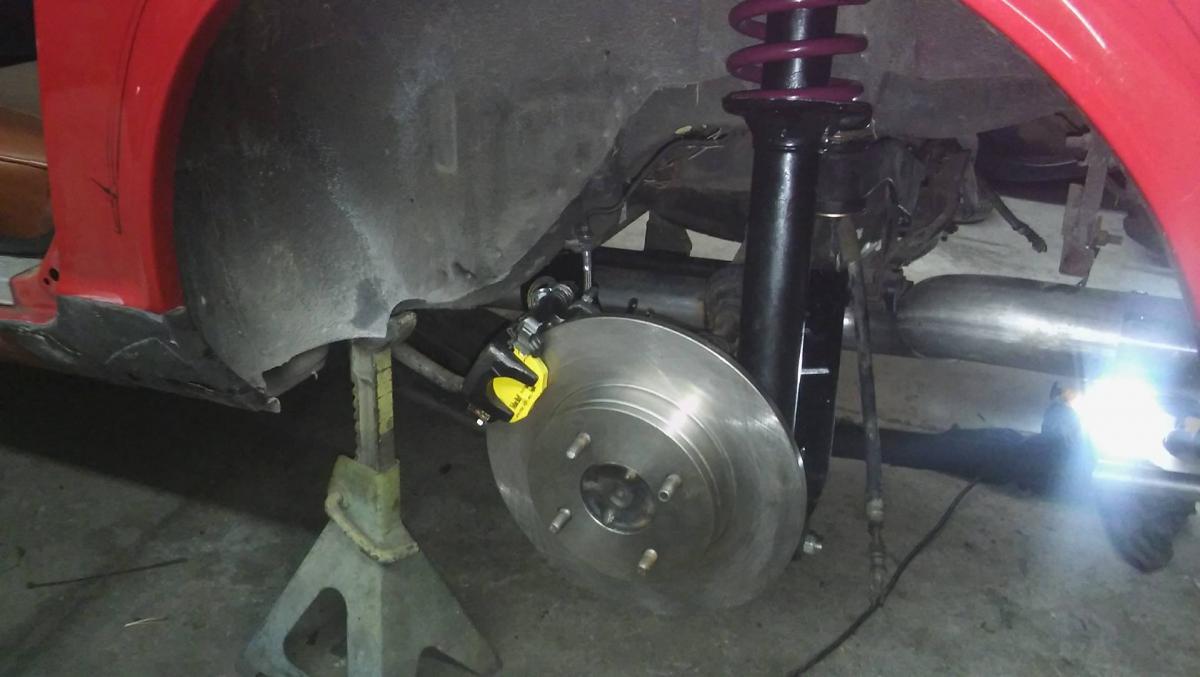
Got the front suspension bolted fully on with bump steer spacers that MSA sells but I guess my 15in wheels are a little wide so i'll need to get some wheel spacers. The tierod is rubbing the wheel. With the flares that I am using though I was going to need them any way. I also got the rear bolted in with new bearings so all is good there. Going to pick up an axle nut tomorrow and finish it up this weekend along with bolting down the ebrake cable. I just had to get it rolling to get it out of the garage since my buddy just got a 2 post lift. it is going to be sooooo much easier to work on it once that's installed!!!