A to Z
-
Posts
1076 -
Joined
-
Last visited
-
Days Won
33
Content Type
Profiles
Forums
Blogs
Events
Gallery
Downloads
Store
Everything posted by A to Z
-
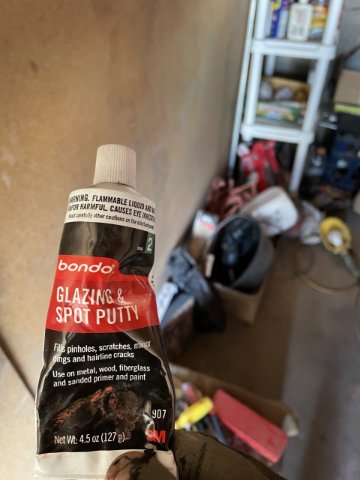
 SPRAY MAX 2K Gloss Clear....****DO NOT USE THIS!!! IT HAS ISOCYANATES IT IN, IT IS VERY POISIOUS, IF YOU BREATHE IT, IT CAN KILL YOU. **** I used it today and it screwed me up a tad even just a hour maybe 2 with a mask on (dental mask). VERY bad stuff. Please read and heed. It is the same as some of the professional body work and paint stuff. Those guys wear respirators to protect them. A shade tree guy can try to use it like KRYLON and hurt themselves BAD. Please avoid this and stay away from paint with Isocyanates in it. Like I said, just a tad exposure and I can feel it.
 -
SPRAY MAX 2K Gloss Clear....****DO NOT USE THIS!!! IT HAS ISOCYANATES IT IN, IT IS VERY POISIOUS, IF YOU BREATHE IT, IT CAN KILL YOU. **** I used it today and it screwed me up a tad even just a hour maybe 2 with a mask on (dental mask). VERY bad stuff. Please read and heed.
-
SPRAY MAX 2K Gloss Clear....****DO NOT USE THIS!!! IT HAS ISOCYANATES IT IN, IT IS VERY POISIOUS, IF YOU BREATHE IT, IT CAN KILL YOU. **** I used it today and it screwed me up a tad even just a hour maybe 2 with a mask on (dental mask). VERY bad stuff. Please read and heed.
-
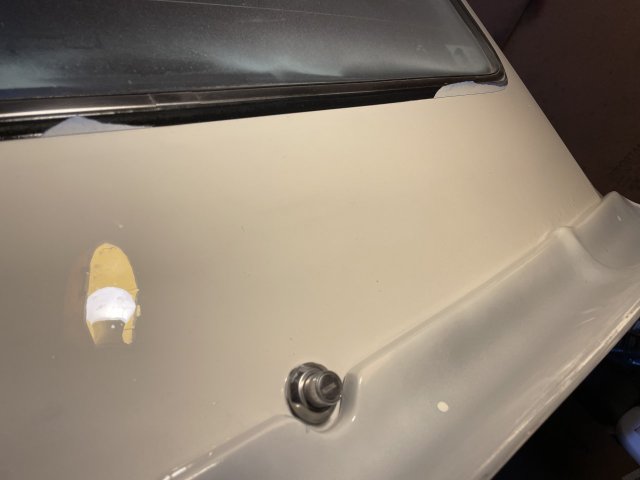
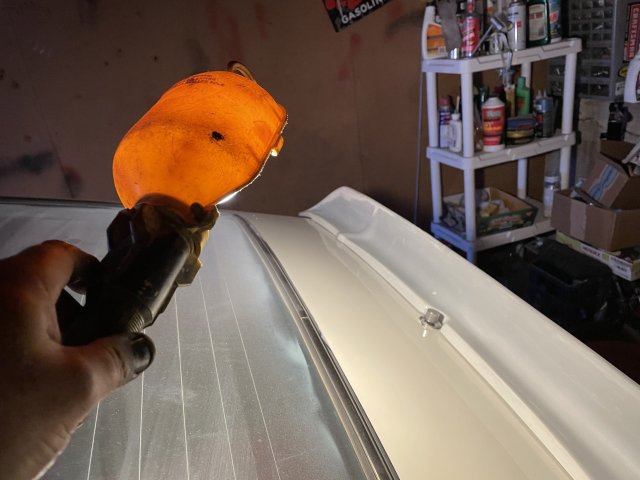
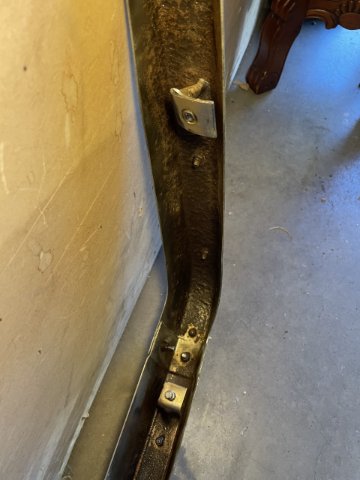
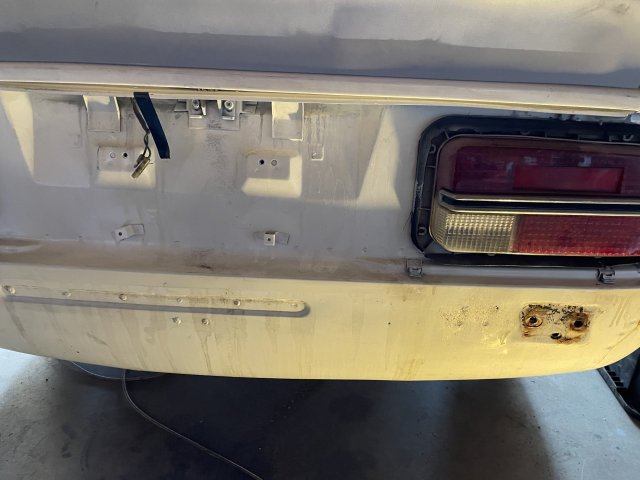
I then went ahead and painted inside the rear bumper. The rust converter was dry. The pic is terrible, but it at least gives an idea of what it looks like in there. That's Sunday, Cheers!

-
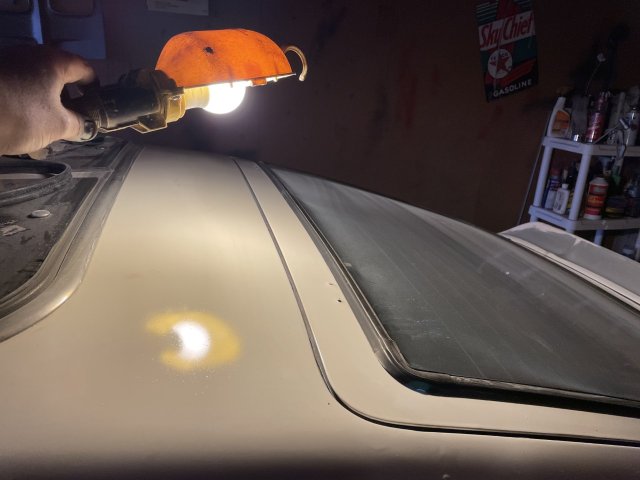
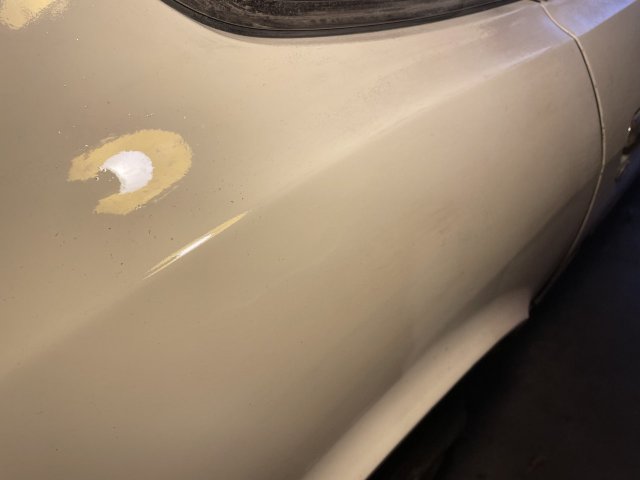
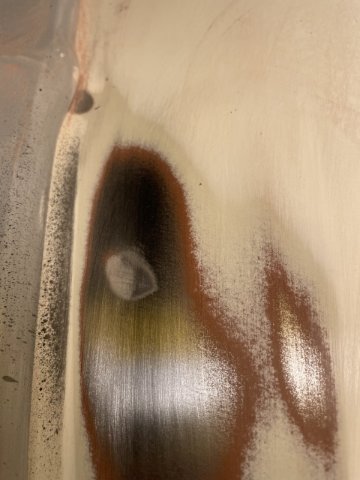
the spots I have to re-shoot. Prep is key! I thought it was good, it wasn't.
-
Life is so much easier when you buy a car in original paint and never been hit.
-
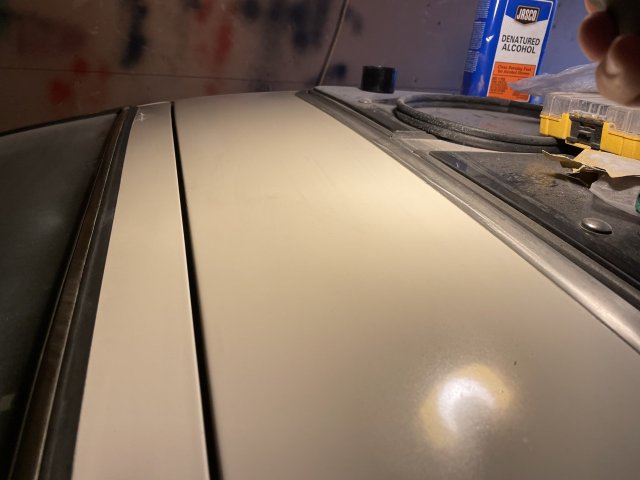
Ok....all ready, taped, prepped, FRESH PAINT! The rear spoiler will be semi gloss black.
-
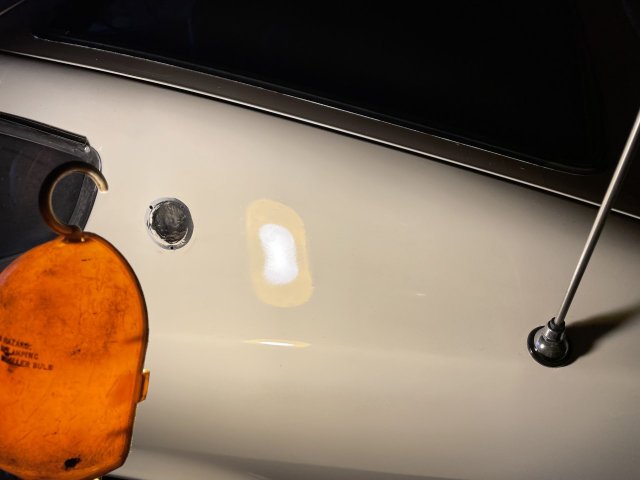
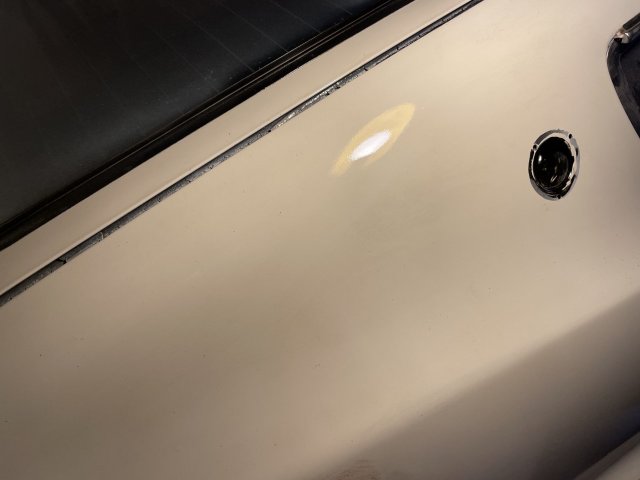
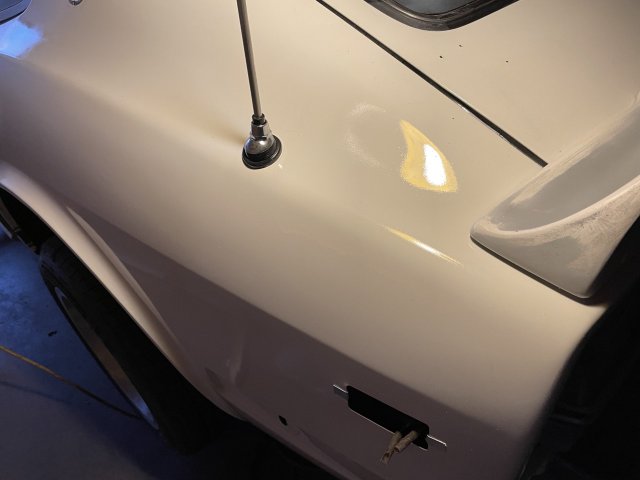
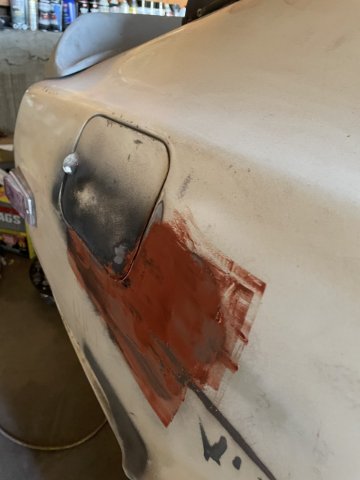
12-12-2021 UPDATE: So I decided to go ahead and paint the tail and the hatch, and the roof portion from the hatch to the sunroof, and the back pillar sand almost half of the quarter panels. First I had to finish sanding out the bad spots. I got that done, and began sadning teh rest with my orbital sander adn 1000 grit paper. (It actually privides enough adhesion for paint, and the majority of the existing paint is just cleared over....I simply go over the spots that need it with the white, then clear) Then the process of clean, tape off, and prep and then I went ahead and shot it with my Expresspaint.com Aerosol cans in 904 Kilimanjaro White where needed. After that I put several coats of aerosol clear with catalyst hardener in it, called "Spray Max 2K High Gloss Finish Clear Coat Spray Paint". ( EDIT: DO NOT USE THIS!!! IT HAS ISOCYANATES IT IN, IT IS VERY POISIOUS, IF YOU BREATHE IT IT CAN KILL YOU. I will go back to the non catylist clear. It will shine just like this but must be 2000 grit sanded and buffed, which is no sweat. I breathed some of this stuff today with a dental mask on and it is BAD!!! It was enough I can feel it now...WHEW! Never Again! I went and read about it. ) Everything went pretty well, except for 3-4 spots near the gas door, where the paint didn't adhere properly and just ran. . I I started sanding it out to redo , but the sun went down, and the paint needed to harden a bit more before I could really get it ready to reshoot. I will give this paint 1.5 to 2 weeks, like I do on the rest to get hard before I even THINK of color sanding it with 2000 grit and polish it out. Even wearing a mask, it is tough on you. I really need to get out of there and quit breathing it. It's terribly bad for me. Here are some pics:
-
Thanks, Chuck. Going to paint semi-gloss black. Then I will have to paint inside the "z" with white.
-
Thanks a lot, Ken.
-
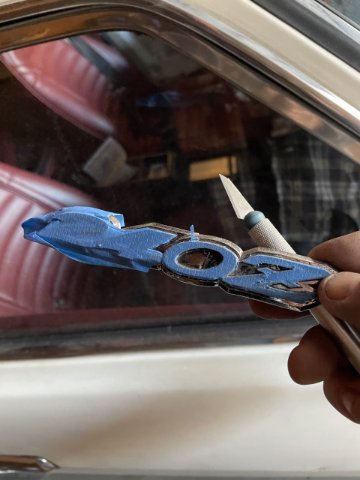
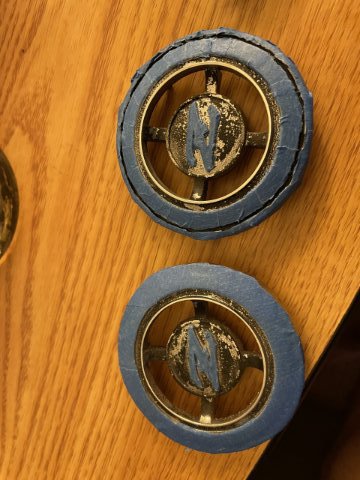
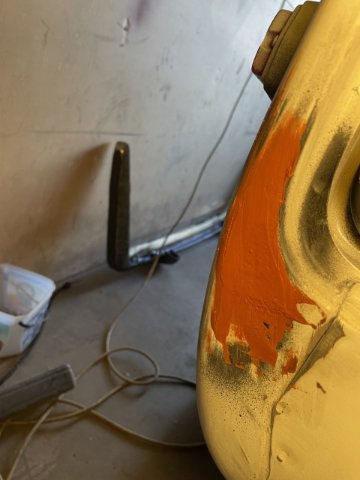
Ready to paint! I am thinking about trying the dark grey I used on the tailight light surrounds.....or white.....opinions? Imagine these on my tail in white and chrome on a white spoiler......
-
blocked and blocked....needed more mud, so....another coat.
-
ready to go except 3 spots being blocked out more.
-
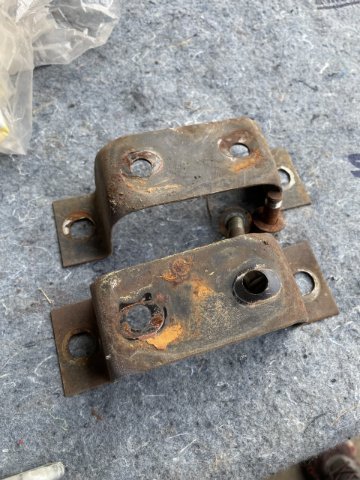
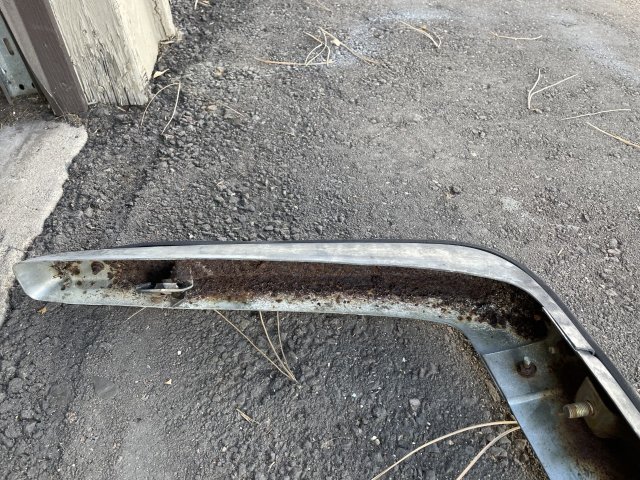
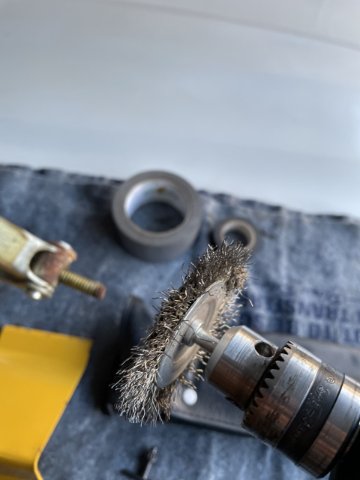
wire wheeled it up and painted it with rust converter
-
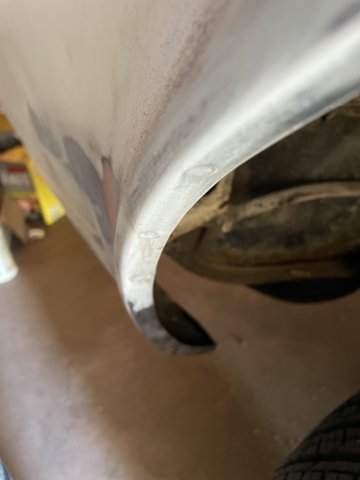
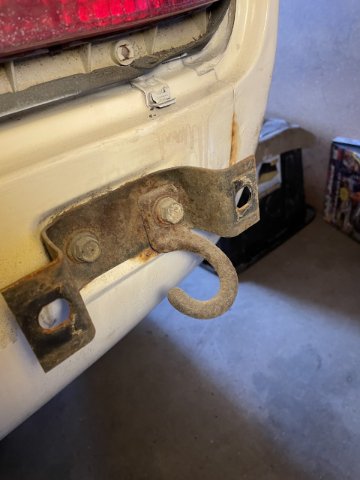
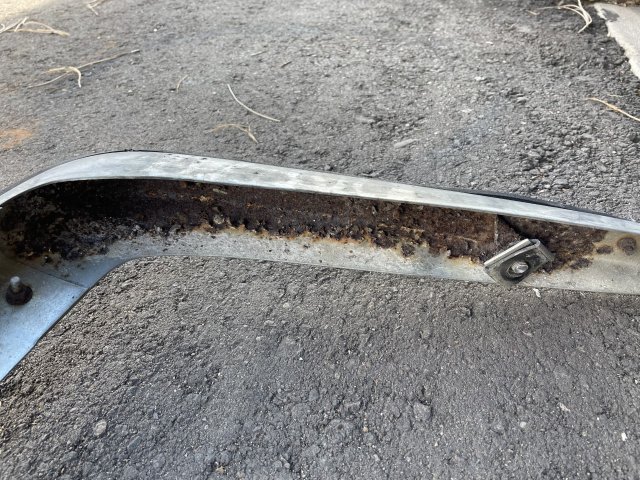
I can't tell you guys how happy I am that this rust is in a bolted on piece!
-
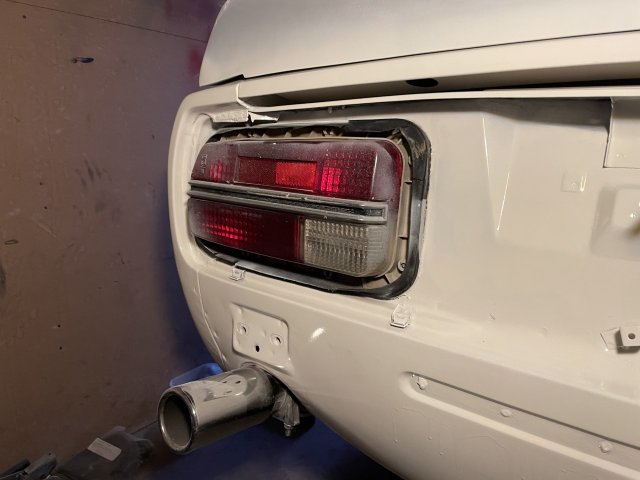
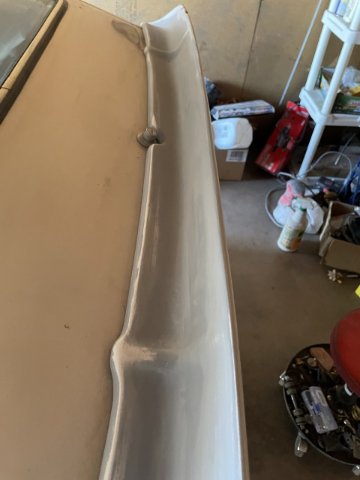
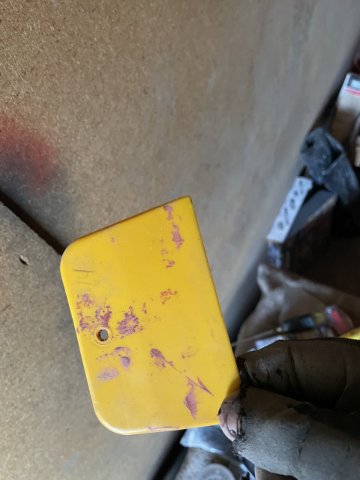
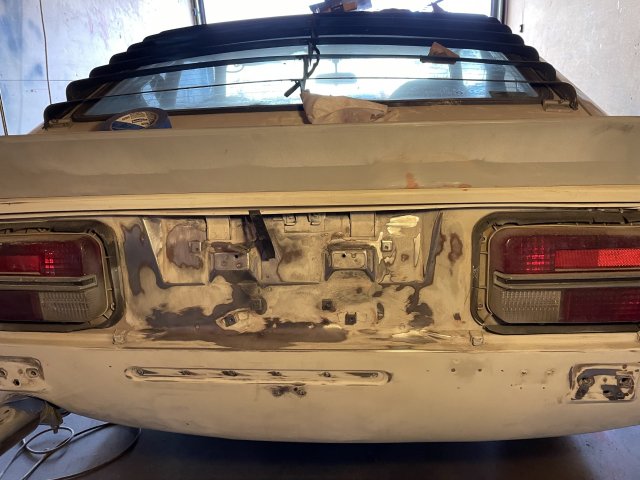
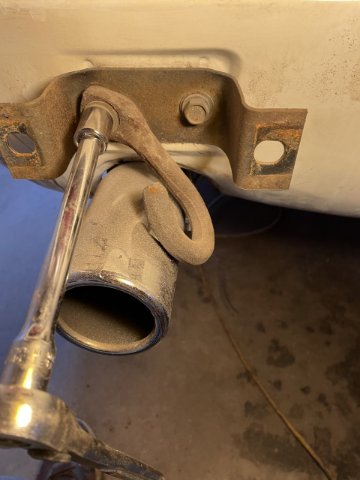
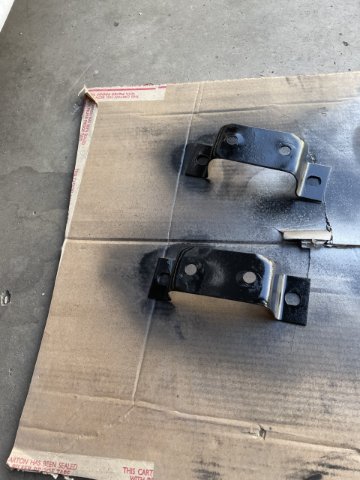
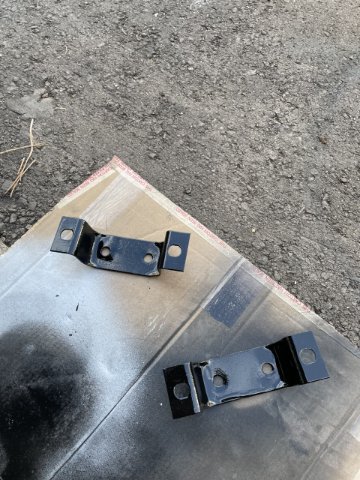
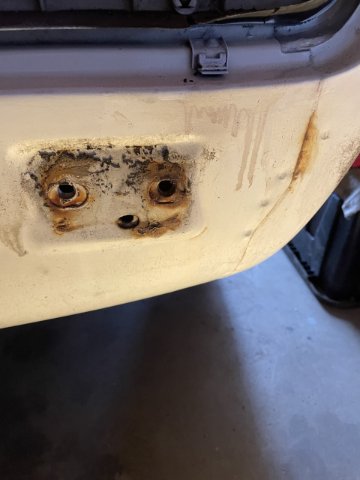
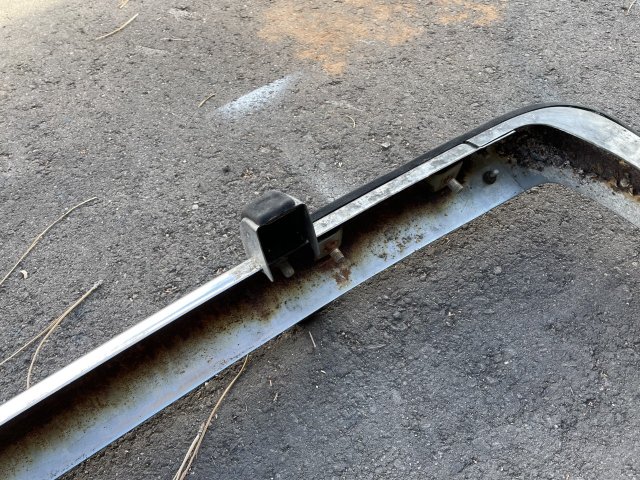
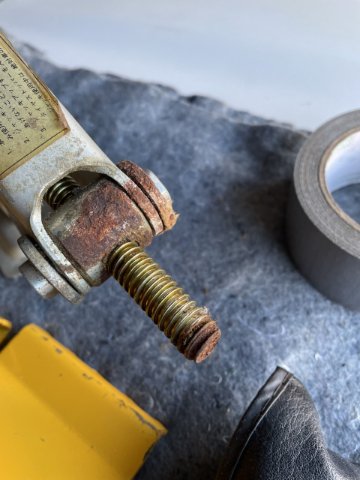
12-9-2021 UDATE: Went ahead and started on the tail of the car...or rather went back to it. Previously, I had painted back there, but it was awful, so I had to sand and grind off a lot of built up paint with runs etc. I started of course with the back bumper, the side bolt on the passenger (right) side is hard to get to until you take off the rock guard in the wheel well. However, the bolts on both sides snapped off. I was able to get the rest of the bolts off and pull it off. HEAVY rust inside the bumper. I was able to wire wheel it out and then I sprayed it down with the Loctitle rust converter I always use. I then removed the brackets cleaned them up and painted them satin black. I got the whole tail area sanded down but I have 3 areas I am still having to work. I am using glaze compound,and a flexible spreader to apply, and then using my dura blocks with 150 grit paper to get to level. One of the sides is around the gas door, I did repeated block sanding today, but required some more glaze. so I went ahead and put more on all three areas to harden up and then block again. Here are some pics:
-
I bought one from a guy a couple days ago, it is en route!
-
....and that was Sunday. Cheers!
-
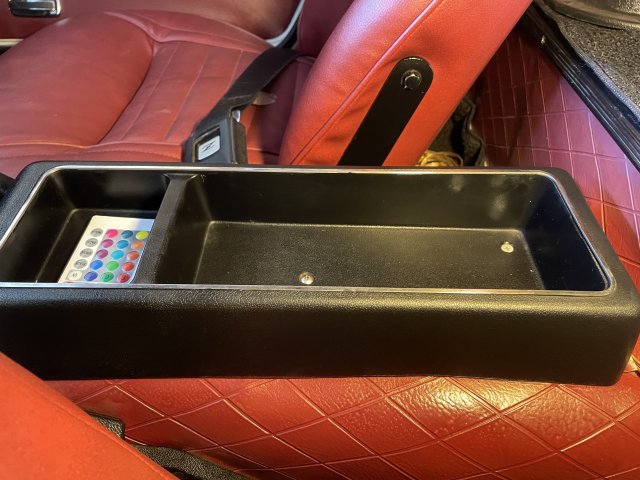
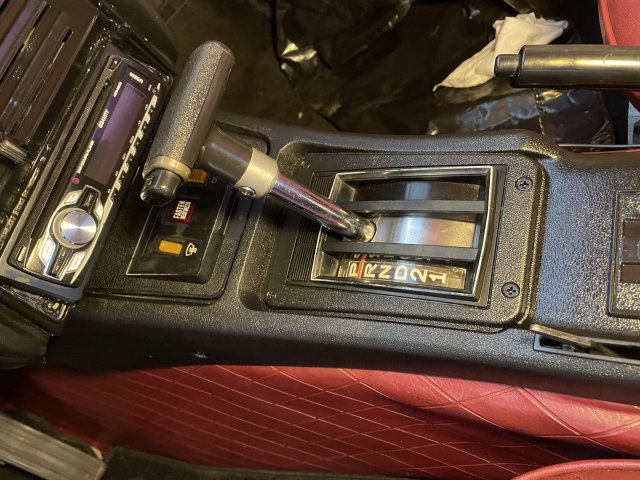
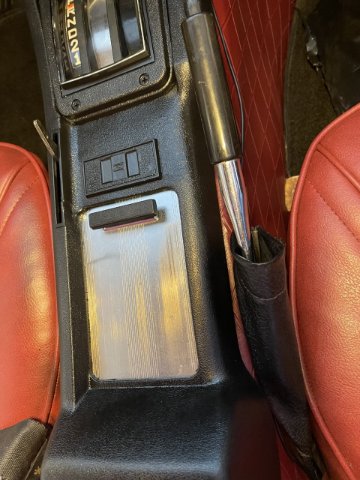
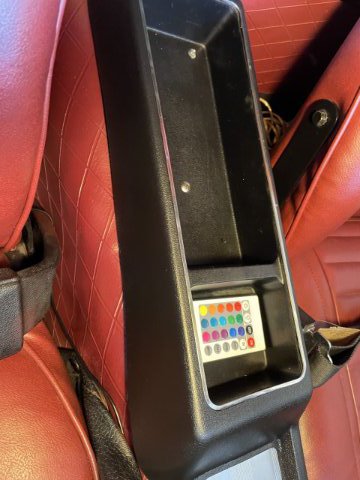
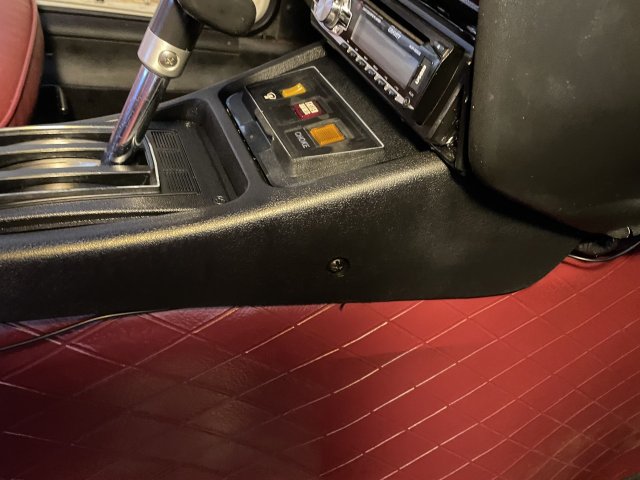
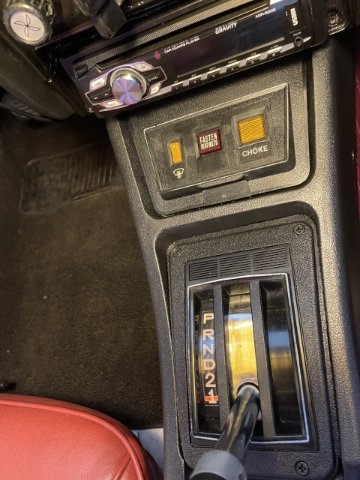
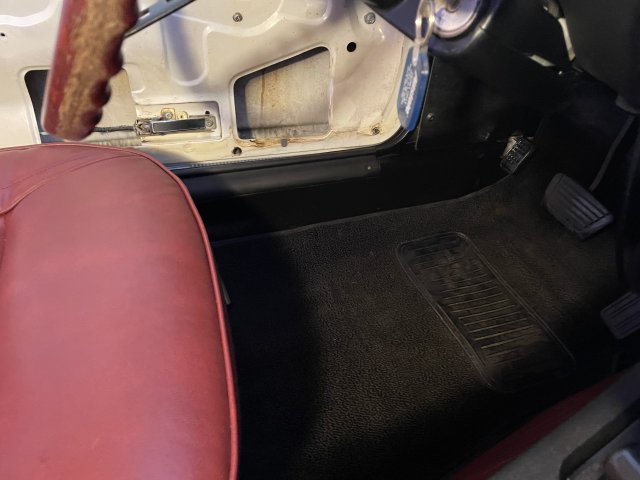
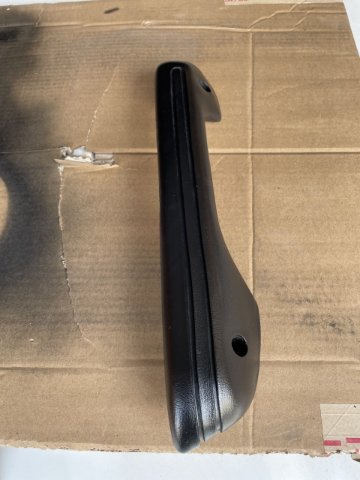
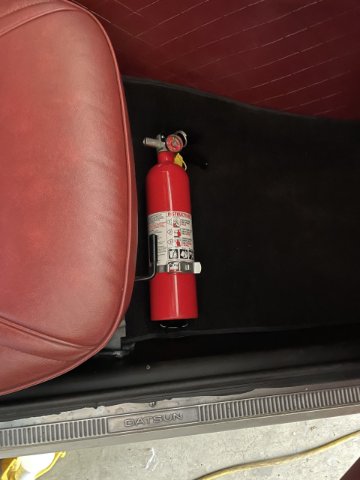
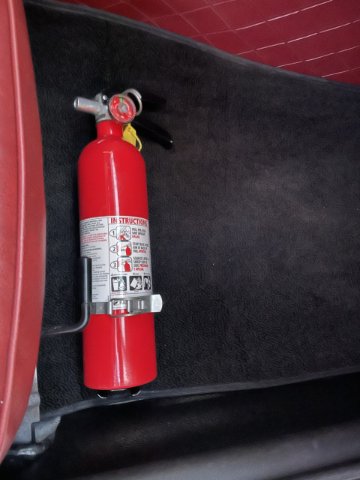
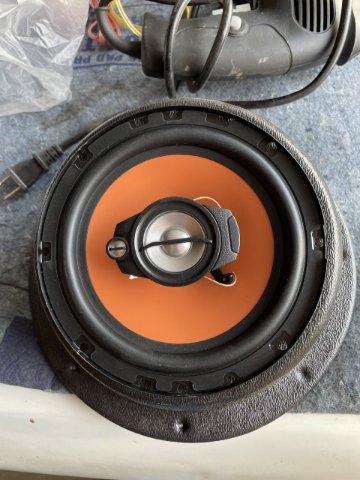
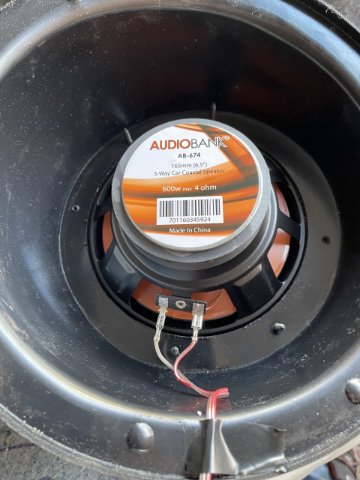
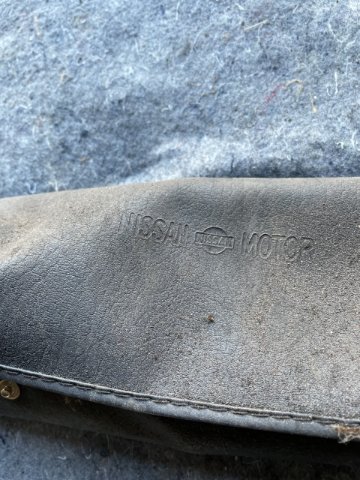
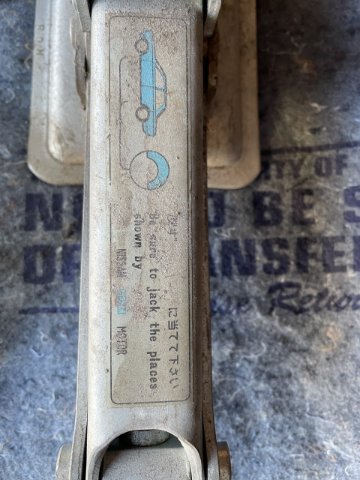
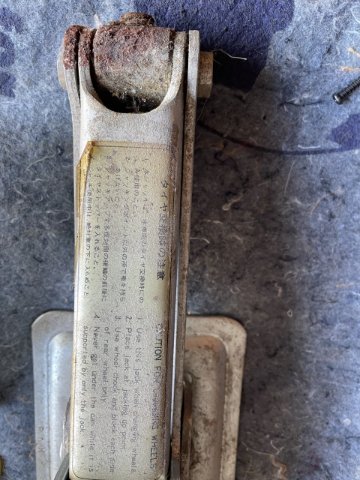
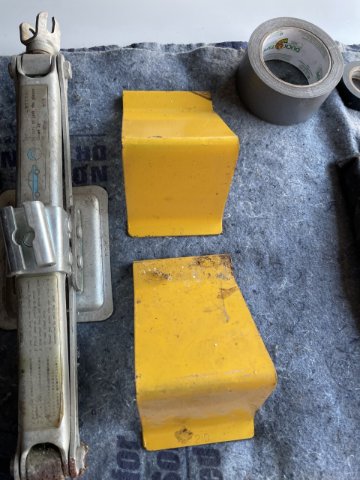
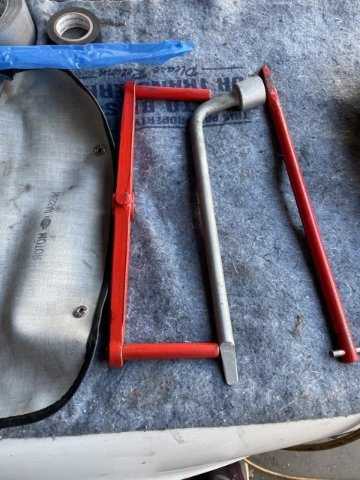
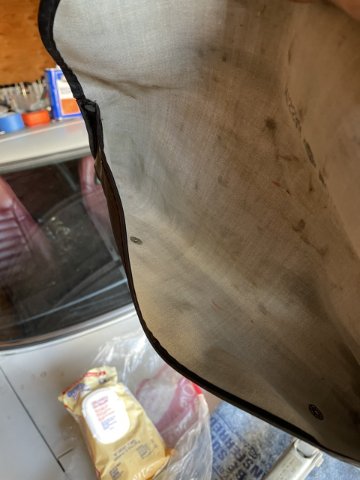
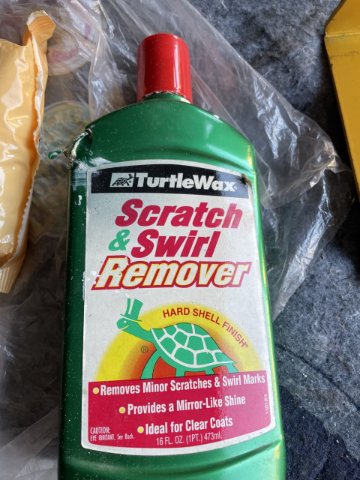
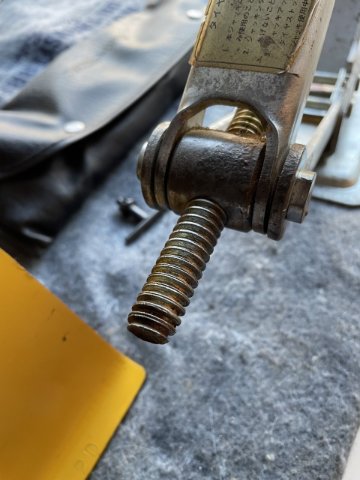
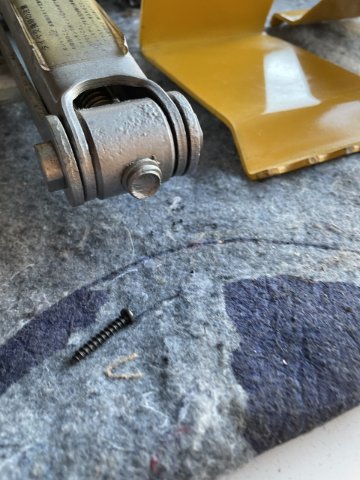
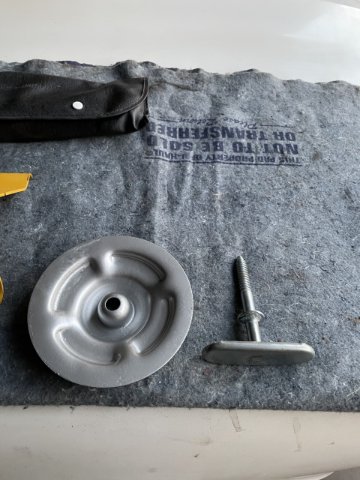
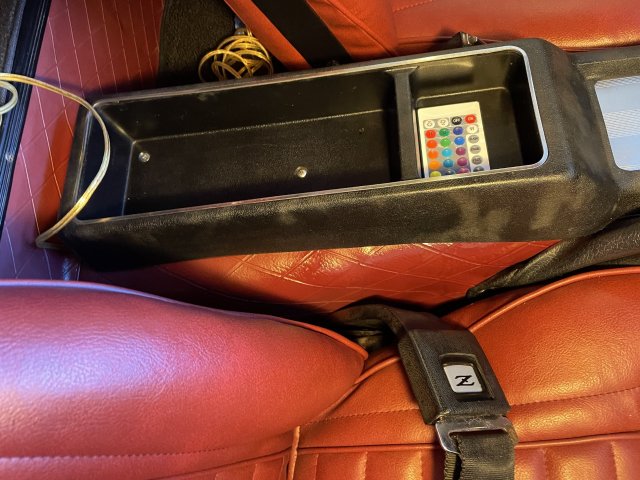
12-5-2021 UPDATE: Well, the interior SEM Landau Black paint came in, so I went ahead and prepped the console and lower inner rocker upholstery for a coat of paint. I also gave both arm rests a coat. I then went ahead and put my speaker pods and speakers together. Once I get the quick connects for the wiring that will be done. Oh....I went ahead and cleaned up the jack and chock blocks. The chock blocks, I just rubbed out with some Turtle Wax Scratch and swirl remover, the jack was in good shape except one end was rusty....so I wire wheeled that and touched it up with some silver paint. The tool bag is amazingly nice....cleaned it up and it is ready to go in, just have to clean up the boxes. I then mounted my fire extinguisher on the floor in front of the passenger seat, and took a few mintues and cleaned up the spare tire hold down hardware. It started getting cold and windy so I called it a day. Here are some pics to go with coffee. Happy Holidays! Fresh paint!
-
MSA used to sell a padded armrest for the 240Z. They no longer offer them. Do any of you have one you would like to sell?
-
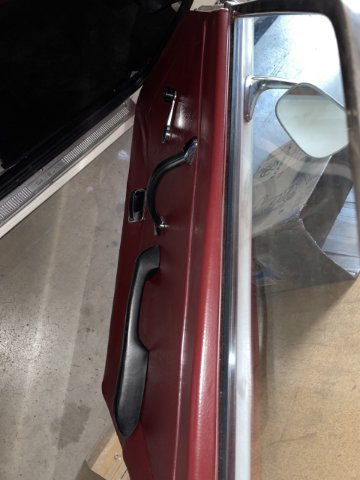
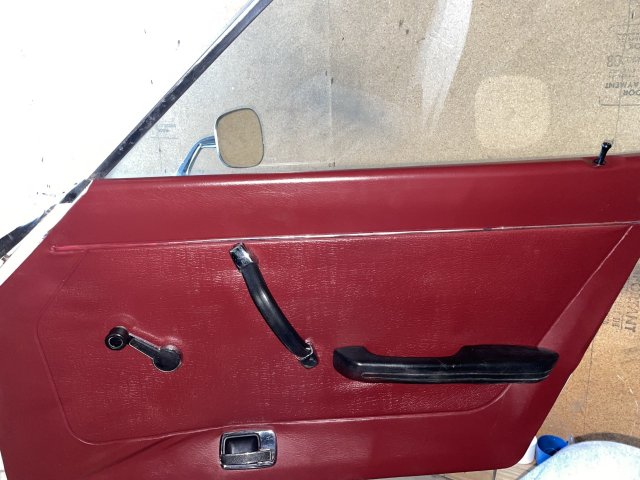
I will use a "Molotov" chrome paint pen to redo the chrome strips on the doors as well as the console later on.
-
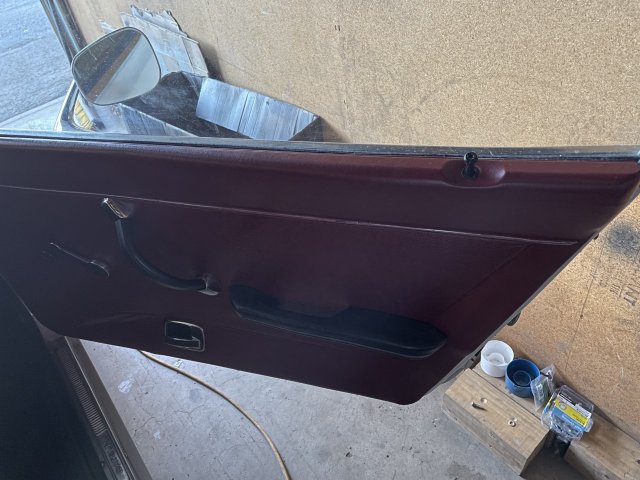
I put the door panel back together.....and that was Thursday.