

CrayZ
-
Posts
331 -
Joined
-
Last visited
-
Days Won
3
Content Type
Profiles
Forums
Blogs
Events
Gallery
Downloads
Store
Posts posted by CrayZ
-
-
Only thing cooler than a LS s30 is an RB s30.. If you dont mind me asking what did those wheels run you? im looking for a new set with a custom off set but cant seem to find anyone or style i like. I dont need a 3 peice wheel or anything crazy but i do want a specific design and a nice wide wheel.
-
Here are the installed lower control arms.

Thanks for the pics. I noticed you didnt use any of the washers? how is it driving? everyone i have spoken to is telling me they are a must
-
where did you get the carbon fiber hood vents?
-
Velocity stacks look fantastic! to bad i dropped 850 on an intake.. oh well its suppose to be a great upgrade
-
When you drop those LCA's in be sure and take a bunch of pics for the noobs Aka me!
-
Looks good . But i'd do something about your cold ( hot ) air induction , route it in front of the radiator . You don't want hot air going into your intake .
It's a temporary fix for now. The hole is cut to run it up front I just haven't ordered the tubing to get the filter out in front of the radiator. Now that you said that ill probably order it tonight.
-
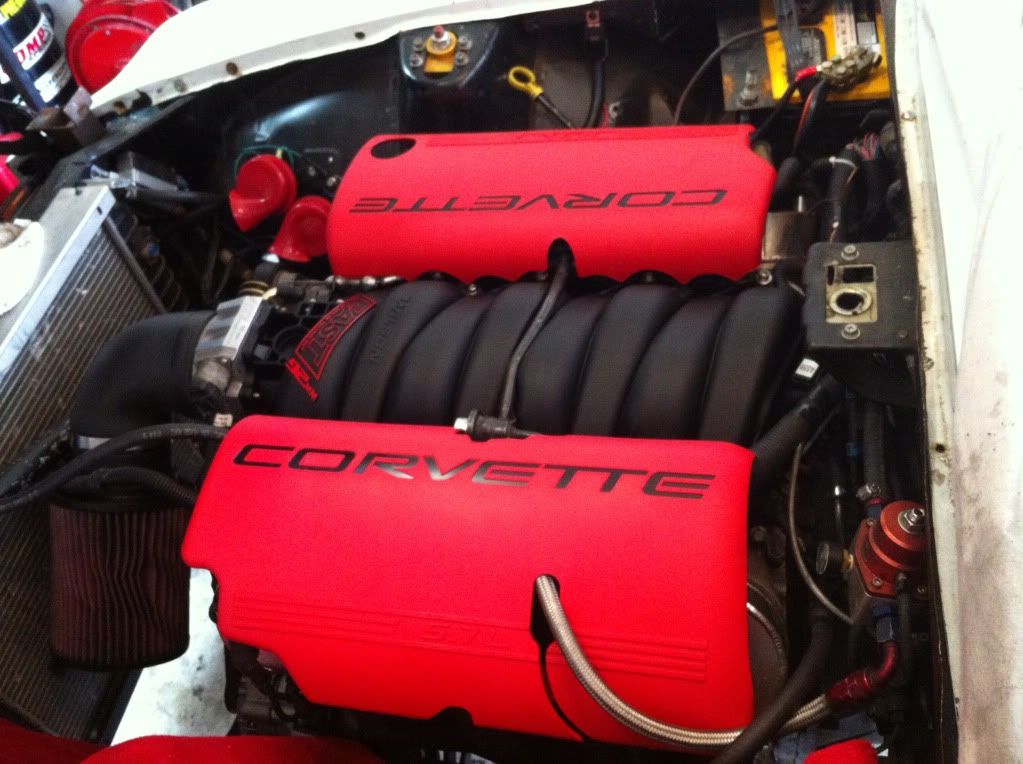
This weekend she got new blue top injectors, fast 92 intake manifold, bbk TB, valve covers, melling oil pump, pickup tube, fuel rail covers. After a tune, fresh dual exhuast, fuel cell and LCA's and she'll be ready to roll again.
-
I ended up cleaning out the pan, changing the oil pump and tube and checked the oil pressure. It was back up to 40-45psi at idle. I didnt think to check the bearings while I had the pan off but I'm thinking the same as rekahsz.. If it blows, it blows. It still runs fine with no smoke or signs of fatigue. For 5500 it was a steal of deal even though Ive dropped well over 5k Into it since Ive had my hands on it. I wanted you guys to give it a look see and tell me what you all thought about it. I. The mean time here are a few pics of the engine bay
-
The guy I bought if from told me it had a little less than 100k
-
Yeah I've heard of the pickup tube issue that's why I changed the pump and pickup tube. I cleaned the pan, put fresh oil in it and well see if it continues. The motor was a junkyard take out btw.
-
I proceeded to change my oil pump and pickup tube today due to some low oil pressure readings and i found this. The oil pump looks like its in perfect shape.
These bits seem to be "welded to the pan"
I know its difficult to see but the oil is greyish and slimy here
-
I'm just guessing based on how other seals work, and the FSM and other drawings. I usually just look at things like that and try to figure out what should be, not so much about how they ended up. Somebody previous could have installed the wrong seal when they changed pinion flanges and made a mess of it.
That's all I have. Looks like fun, good luck.
Well I do appreciate the help newzed! You have at least awnsered one of my questions. I'm going to order "the other seal" and work through process of elimination.
-
Hey Rick I noticed you where running TTT rear LCA's on your Z. I have a set that i am going to install on my 280 this weekend. Did you use any of the "shims" TTT provided? im not quite sure how they are to be installed. From the other pictures ive seen I cant tell how many or where they are being used. Do you mind shooting a couple photos to better explain how you used them for your application? Thanks in advance
-
Look at PD-9. Outside. From under the car if you want to do it exactly by the FSM procedure. Making little stars with your hammer and tool. The outer portion of the new seal pounds in to that rusty recess in your picture (looks like yours has been missing for a while, that's going to need some cleaning), then the pinon flange slips inside when you put it back together. The moving surface seal is around the flange, the static portion fits inside the diff housing.
That's my take on it. Most of the seals on the driveline, even the rear crankshaft seal in the engine, pound in from the outside.
The thing that confuses me is how the back of the seal is open and "cupped" when i pulled the original seal the spring portion of the seal was inside of the housing where the lip portion was inside the companion flange cavity "outside of the housing". This is impossible with this style seal as the "cupped" part is flush with the inner seal. Is the seal suppose to flatten out if you beat it into place? how could i get the spring inside of the housing and keep the rest of it in the cavity with this style seal
-
Kind of looks like you removed a piece of the original seal, the inner seal, and the rest has torn off. Maybe someone has had your diff apart before. Do they have the same diameter inside the sealing surface, where the "spring" is?
The seal replacement procedure is described on PD-9. Looks like it's meant for the big seal, not the tiny piece you have. A large hammer and a tool are shown.
Here's a blow-up of the 95 300ZX viscous diff, if it helps.
Yes they are the same but there are multiple seals with the same diameter. The main question i have is if the seal is put on from inside the housing or the outside.
-
This seal sits in between pinon shaft and housing
The driveshaft companion flange slides over the shaft and fits on to the teeth. The seal actually seals around the companion flange shaft
this is how the factory seal looked
This is how the seals in the fisch, dealer info yada yada looked
Am i missing something here? for the life of me i cant seem to find a seal that even closely resembles the one i pulled out. The people who i have talked to tell me that the seal can be installed with out taking the pinon out of the housing but none of the part numbers for the seals look anything close to what i need.
The part number that both nissan and infinity are giving me are 38189-n3112 and 38189-y081
-
Wrong thread, sorry!
-
Now if I can find out if the front pinon seal can be changed without ripping the guts out of the back of the diff i can start to plan my attach. The seals I've seen dont look like they drop in from the front of the housing.. It looks to me like the whole thing has to be taken apart. I can't find anyone that has had to change this seal to tell me one way or another.
-
The non-serviceable sealed part would be referring to the viscous coupling and not the gear oil. You can treat it like any other diff, except when the viscous coupling goes, it would have to be replaced.
Thank you
-
Can anyone educate me on these vlsd diff's? I've been reading alot about the VLSD and I haven't heard anything good. The main thing the scares me is that someone said they are a sealed unit and "non serviceable" there was talk of them using two different fluids. My front pinon seal was leaking, hince why I removed it in the first place. I planned to just swap the seal, fill it back up with diff fluid and call it a day. Have I missed anything here?
The last thing I want to do is put all this shit back together and run into issues. Since I have it out is there anything I can do to make it stronger/better?
-
I know I'm bringing back an old thread, but I'm a sucker for shift knobs!
this is mine for now. I have a black crown royal bag that's going on shortly to match a little better
Hope you don't drink and drive often.. That has field sobriety test written all all over it
-
Don't do it. The harnesses will pop off your shoulder and you'll smash you face on the steering wheel.
This made me laugh
-
You might as well wrap the stock one in vinyl if you're not doing away with the frame. The frame is where all the weight is in these things. As for the console I think those are dollars best spent elsewhere. As they are already quite light AND very low in the chassis. Unless its just a lipstick part in which case... see above.
I'm going to go out on limb here and say that most people that are in the market for a "factory replacement" carbon fiber dash are doing so for aesthetic purposes. If these guys where that concerned with the weight than an alternative dash board would have taken the place of the original long ago. With that being said every little bit counts and the goal here is to make a stand alone CF dash for under $1200 USD if push comes to shove and the steel frame needs to be used so be it, it won't bother me one bit.
-
Welp I measured the ring pinon and it was 7/78.. R200 it is


Rich's RB25 s30 build
in S30 Series - 240z, 260z, 280z
Posted · Edited by CrayZ
I dont have facebook. Is this the same guy?
http://www.newgenwheels.com/Styles.php
Also your wheels are 18x10 in the rear with a -40 offset right? are you having any issues with rubbing? did you do anything extra to fit a wheel that size? what size rubber is that in the rear, looks sick!