-
Member Statistics
33213
Total Members5167
Most Online
All Activity
- Today
-

Building Another Stroker Engine for the Track
Mitchel0407 replied to inline6's topic in Nissan L6 Forum
I love the look of the spray bar and the use of the stock fuel pump hole! I believe those are blocked from factory for the L28 engines, did you just cut it open? -
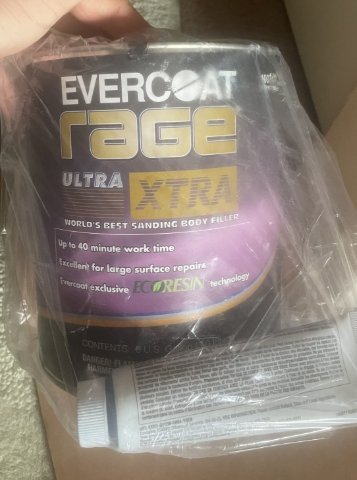
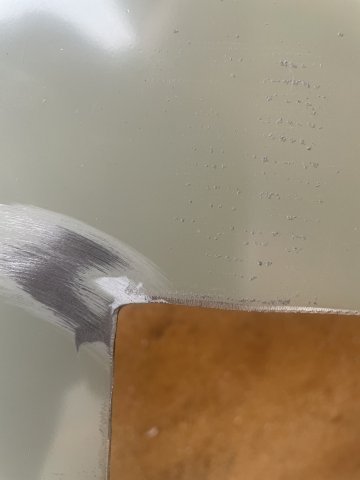
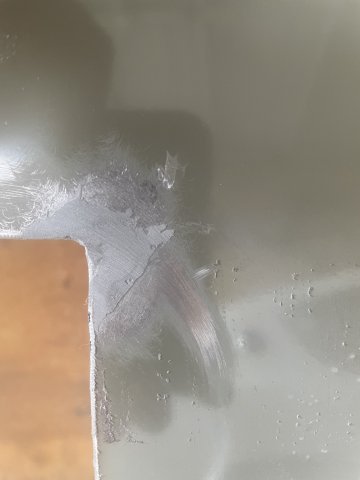
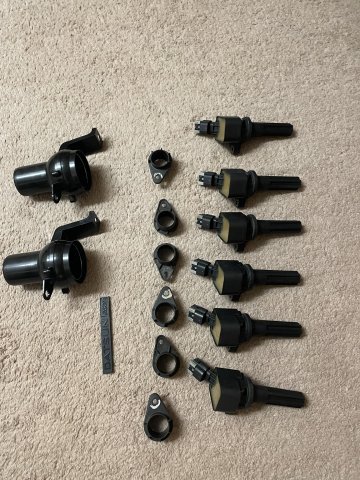
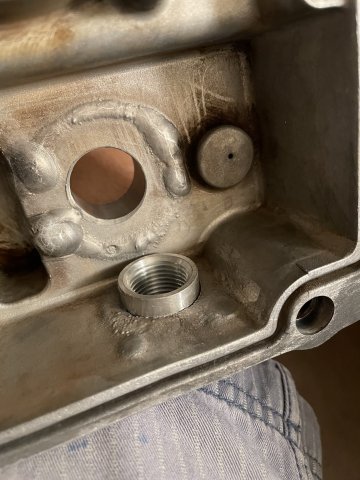
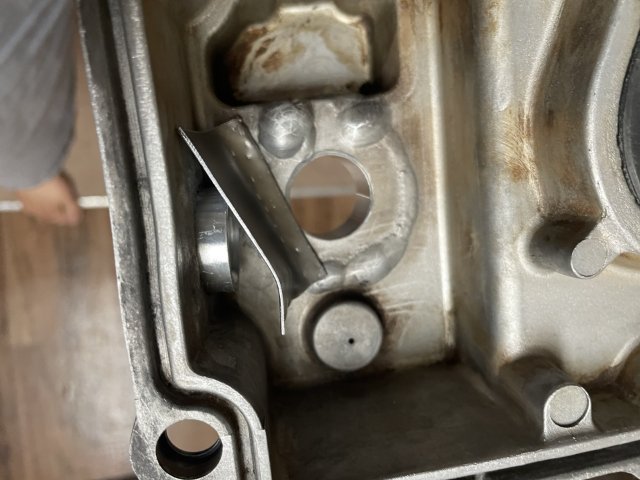
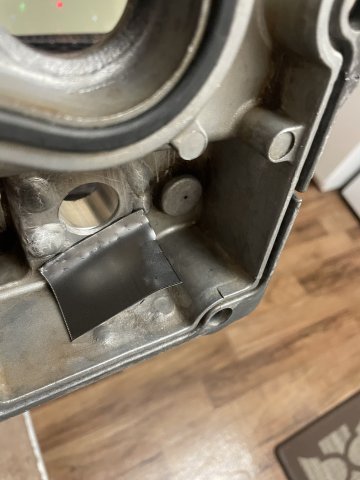
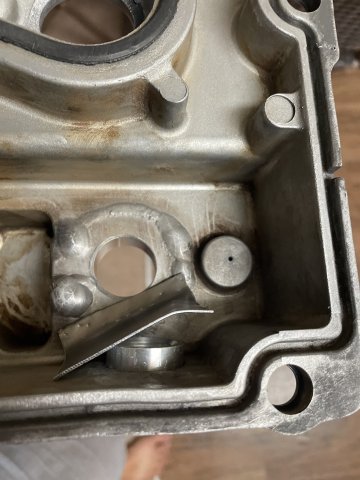
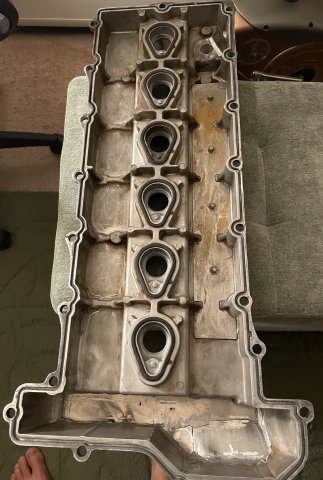
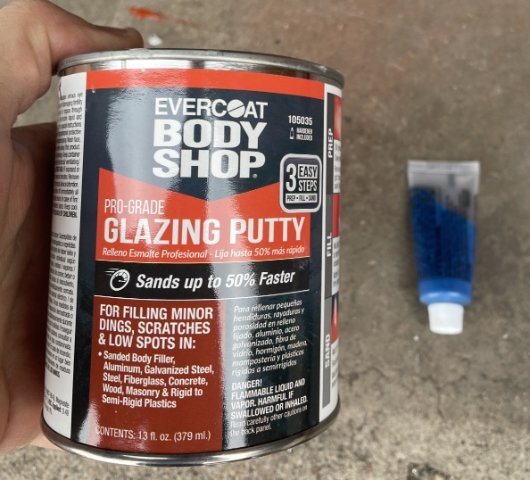
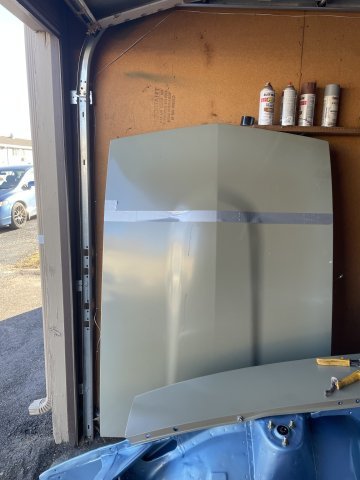
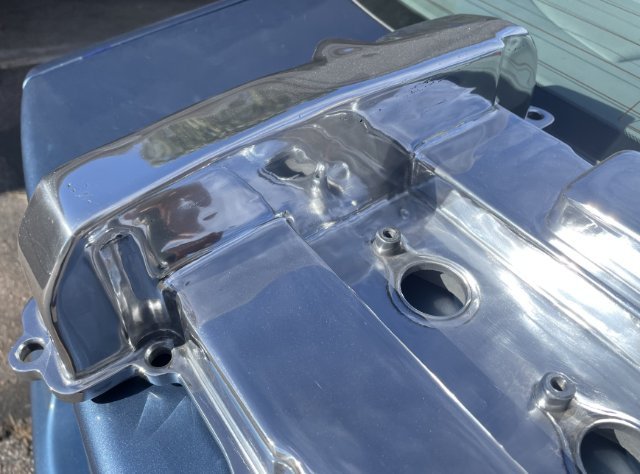
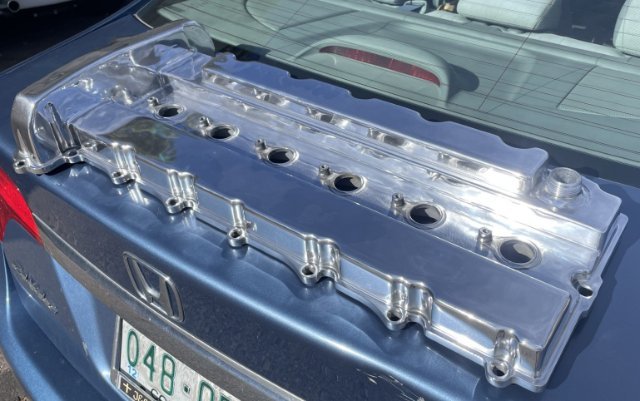
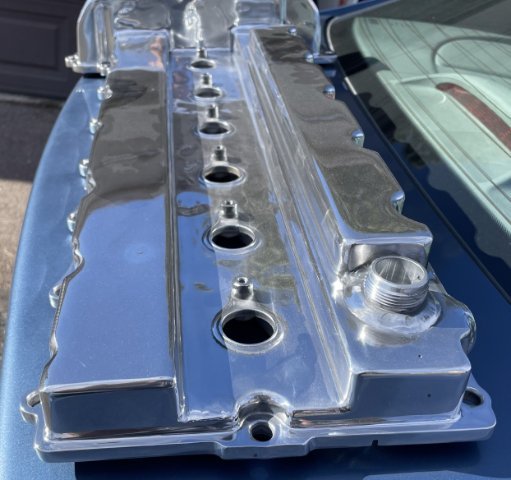
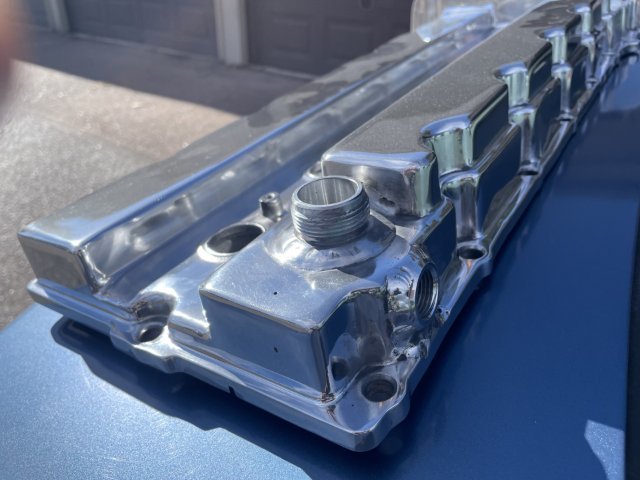
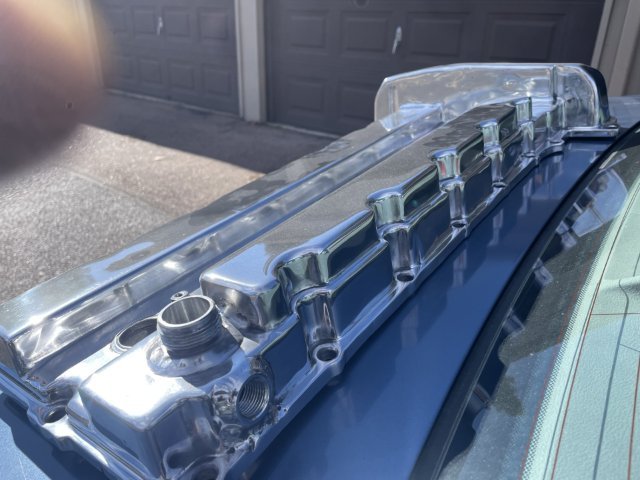
11-30-2025. Weird day for progress. Last day of November and its 15 degrees out . So, it was time to bring stuff inside to work on. My Rage Gold finally showed up, so I can begin the tedious process of making the doors, quarters, roof and tail smooth.....when it gets warmer. A couple corners on the hood had some nicks from cutting it, and I filled them with all metal filler and was able to sand them smooth quickly. All Metal is the only filler that can survive powder coating, so the hood is now ready for its trip to the powder coaters for gloss black just like my new hatch. I brought my valve cover in, as well as my coils, dash vents and dash name plaque. I used my bathtub, and some pine sol, water and an old toothbrush and scrubbed out the valve cover...it was full of dust from the polisher, then scrubbed my coils, fresh air vents from the dash and the dash plaque. 1974.5 is different, the dash vents are very unique, when it became a 280Z the next year the vents have a push pull knob in the center to open close the vent....these are just vents, with no door to open and close them. Since this is a one year car, there can't be many of these setups left........The dash plaque I will attempt to paint the letters etc with a paint pen, but I have no faith at all in my ability to do so. I have shaky hands. Anyway, it was mentioned earlier that the port I added for a catch can wasn't baffled, and that as such, I will just fill my catch can up with oil......so I asked A.I. on Chat GPT about it, and did some thinking, and came up with this.....I cut a piece of sheet metal and bent it and then used some JB weld bonding glue I had in the garage to make a baffle which will allow the pressure out but keep the oil IN. See the pics below. Once dried, it will function fine for keeping my catch can from filling up with liquid, and let the crankcase breathe. PICS:

-
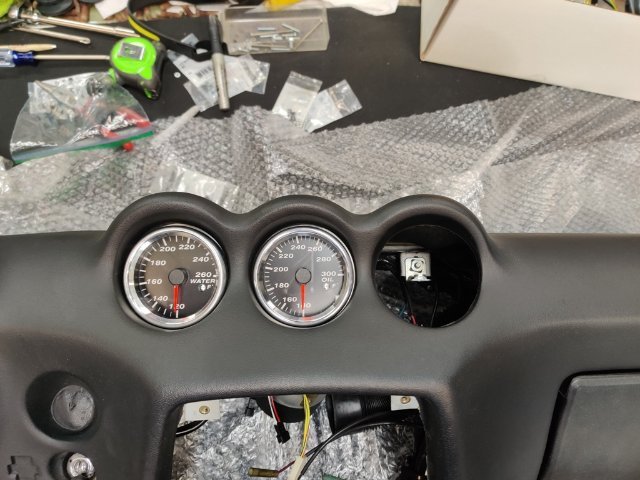
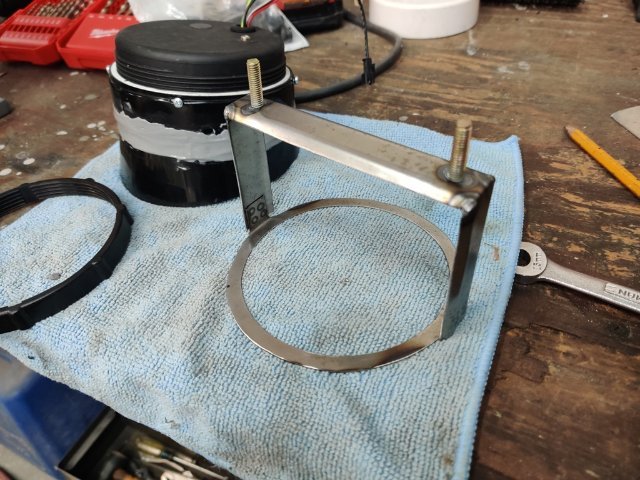
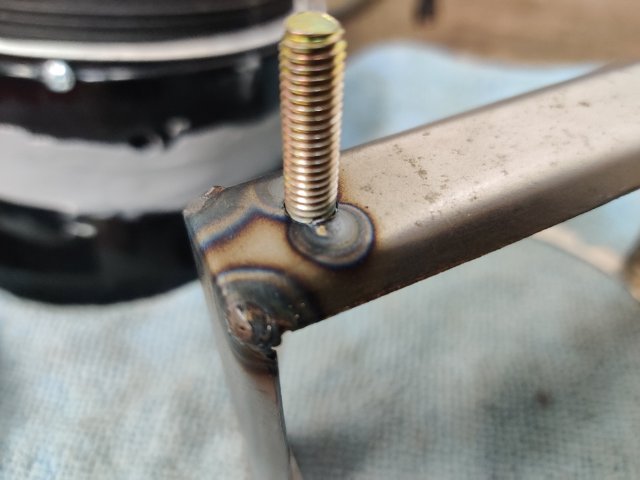
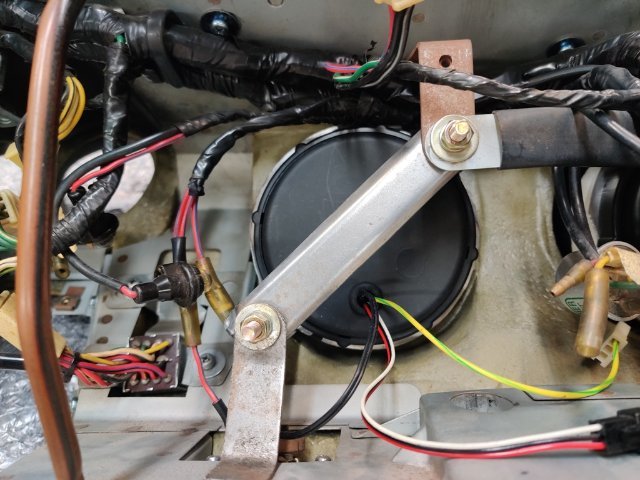
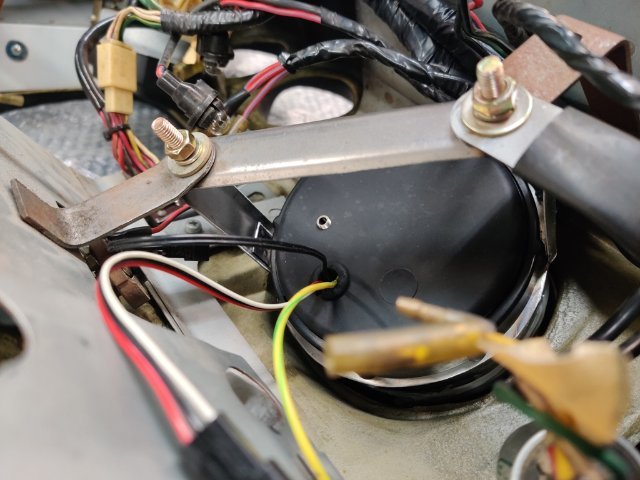
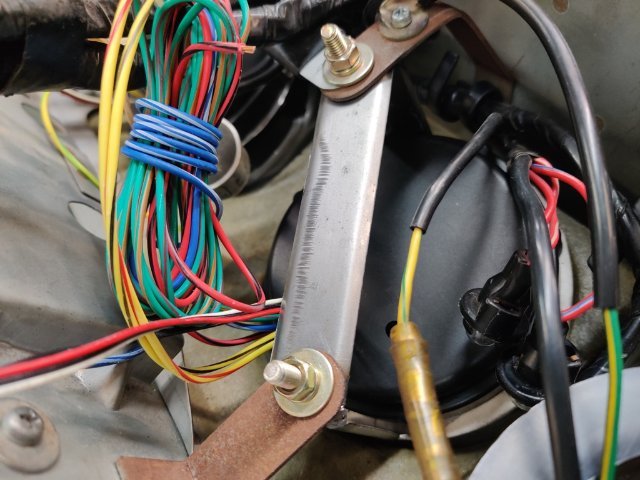
I worked on mounting the gauges a bit more this weekend. Some pics showing what I ended up doing for the tachometer: Basically, I drilled 4 holes through the outside of the modified gauge pod and into a sliver of a pvc pipe end cap. I just cut a section off the cap to make a round ring about 1/4" in thickness. The gauge goes in and seats against the much hacked remainder of the original gauge pod. Then the pvc ring goes in. Then the screws go through the housing into the pvc ring. This locks the gauge in place in the pod. Then the metal frame I made slides on. Then the trim ring that comes with the Speed Hut gauges gets spun on to lock the metal frame in place. I welded some M6 x 1.0 studs onto the metal frames. Backside showing metal frames for the tach and speedometer being secured to the original gauge mounting brackets. I also checked the fitment of the pod gauges. Because the bezels are a little under the size of the dash openings, I decided to buy some 3D printed mounting brackets I found on eBay. They will add a small ring of black trim around the gauge and facilitate a snug fit in the cut outs. They should be here in about a week. For the three center gauges, I chose water temp, oil pressure, and oil temperature, which I will probably install in that order from left to right. I have started looking at the wiring instructions... and comprehending what has to be done to get these functional. That is where I will pick up when I can.
- Yesterday
-

Fast Floridian's 240Z Track Build
74_5.0L_Z replied to FastFloridian's topic in S30 Series - 240z, 260z, 280z
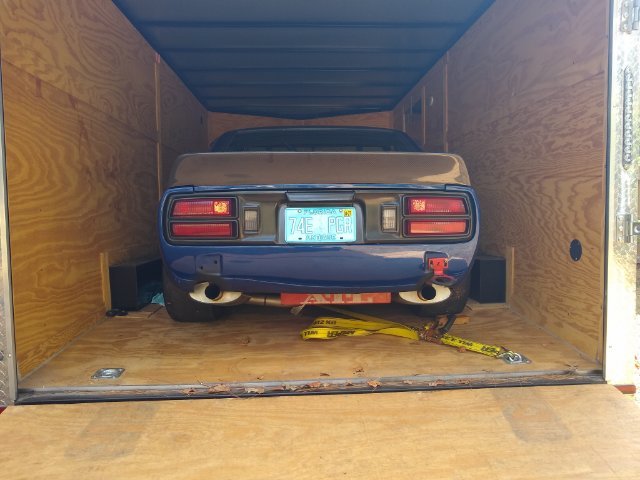
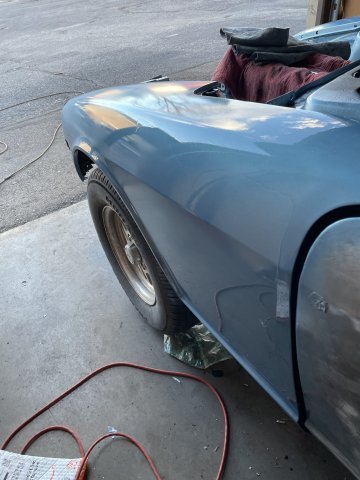
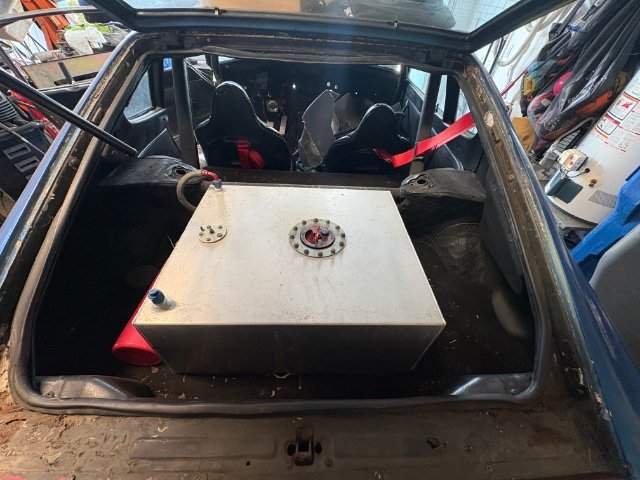
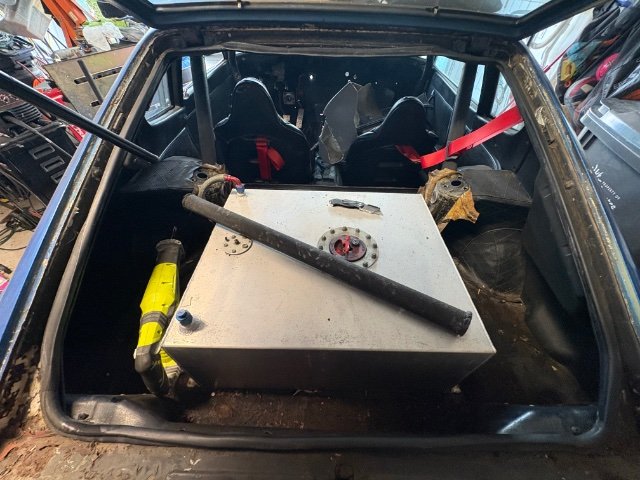
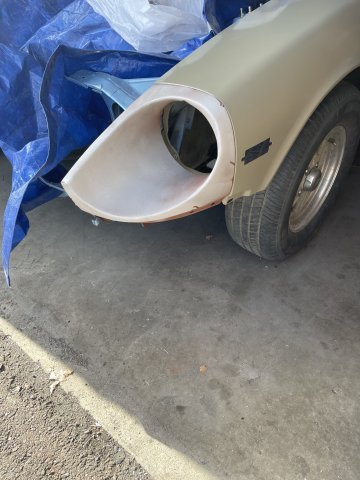
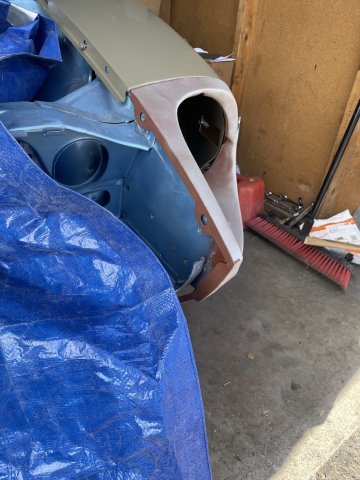
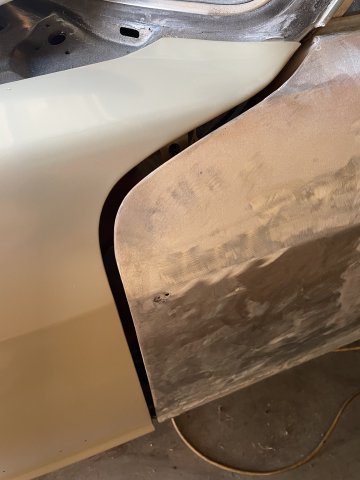
The access panel is to get to the fuel filler neck. I think I got the panel from Allstar Performance. I wish the panel was just a little bigger so that I could remove the filler plate though the opening. The one I have is just a little too small...
-
acotyk joined the community
- Last week
-

Fast Floridian's 240Z Track Build
FastFloridian replied to FastFloridian's topic in S30 Series - 240z, 260z, 280z
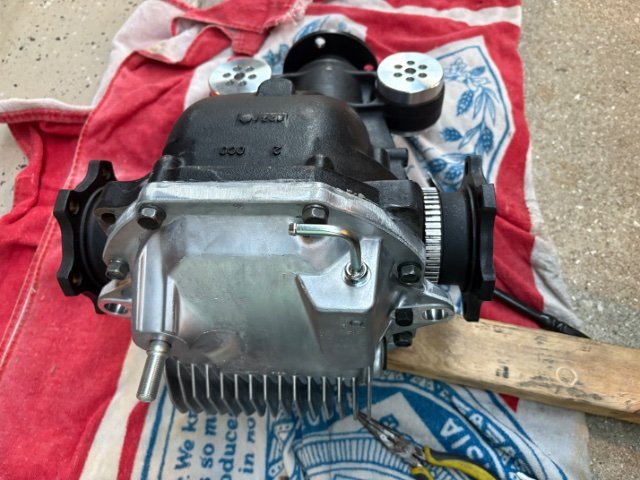
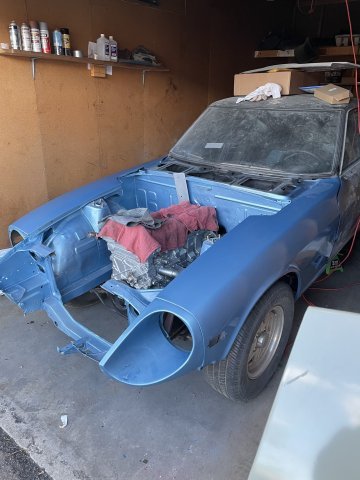
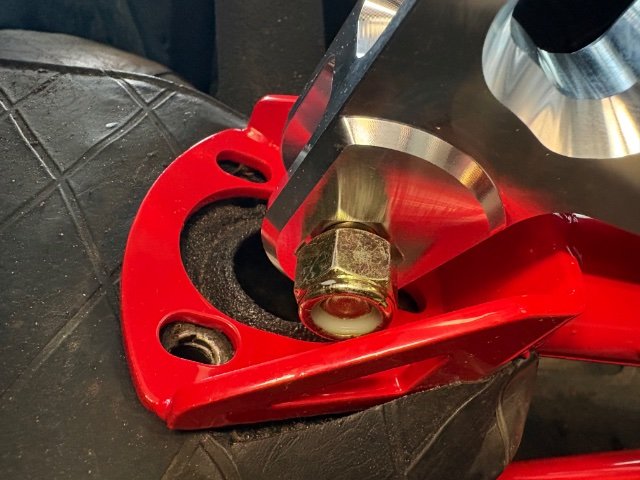
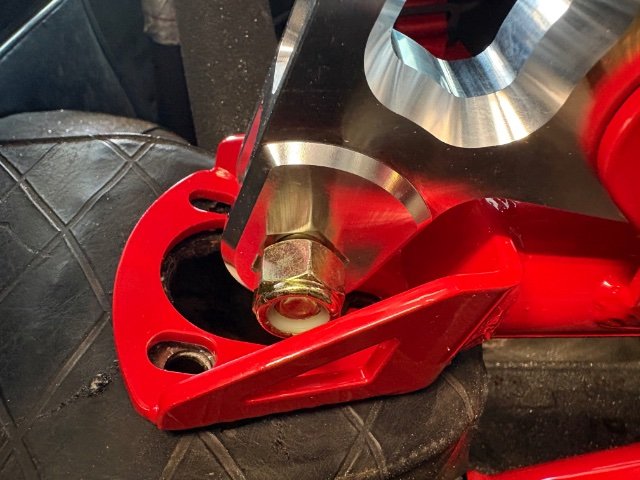
I replaced the stock 370Z diff cover with a Nismo one, and got it bolted and torqued to the subframe.
-
Fast Floridian's 240Z Track Build
FastFloridian replied to FastFloridian's topic in S30 Series - 240z, 260z, 280z
So is the fuel tank recessed below, and that is an access panel for filling? I’ll look into the black box as I’ll be running a fuel return as well. Hadn’t thought of offsetting the tank for balance, thanks. -
Fast Floridian's 240Z Track Build
74_5.0L_Z replied to FastFloridian's topic in S30 Series - 240z, 260z, 280z
-
Fast Floridian's 240Z Track Build
74_5.0L_Z replied to FastFloridian's topic in S30 Series - 240z, 260z, 280z
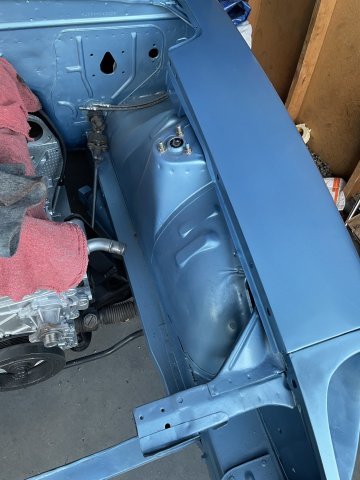
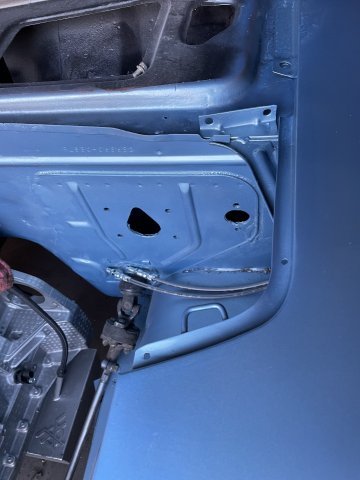
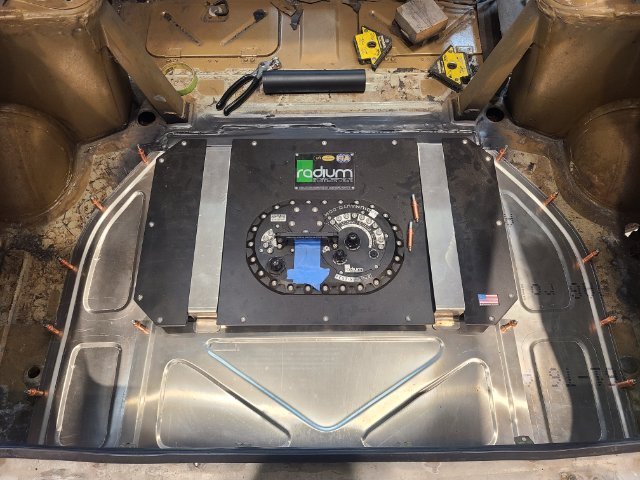
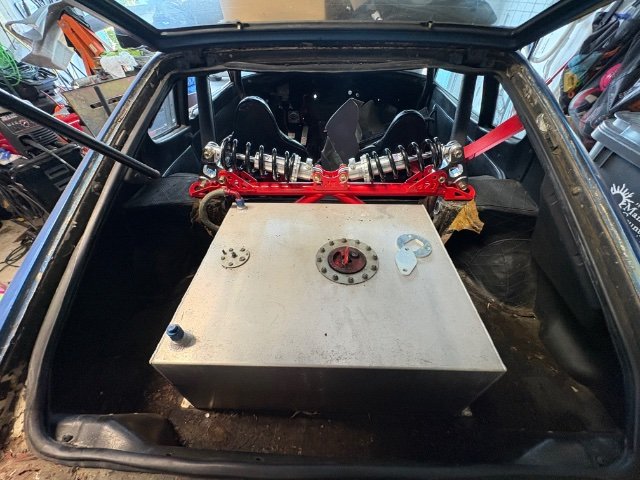
I have the ATL 12 gallon cell in mine. I also use the ATL Black Box sump with pump. The fuel return dumps into the top of the Black Box. I can use pretty much every drop of fuel in the cell without fear of starvation. My cell is below the rear deck and offset to the right for weight distribution reasons. You can just see the bottom of the cell in this picture:
-
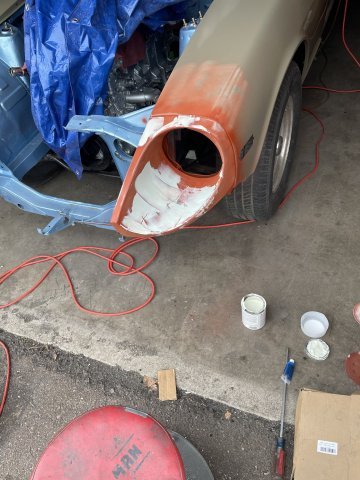
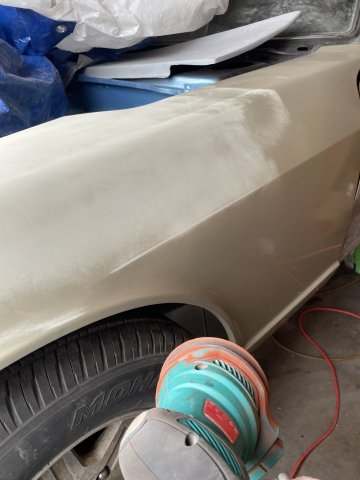
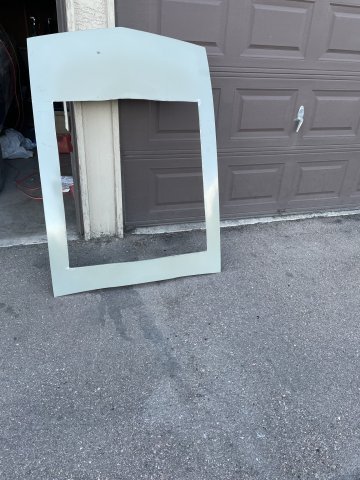
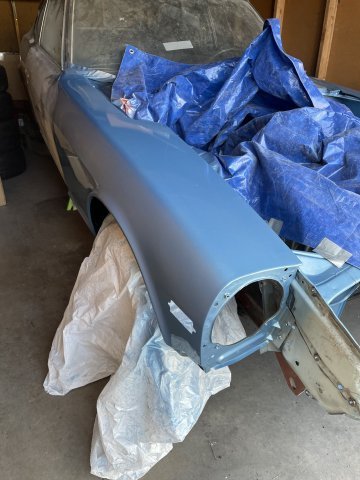
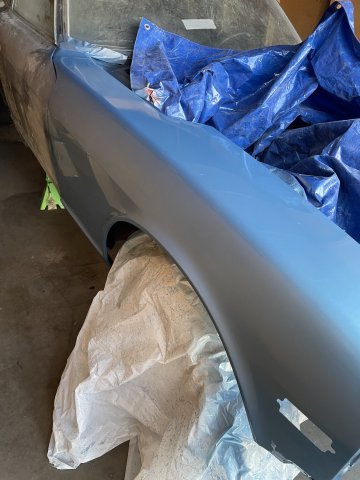
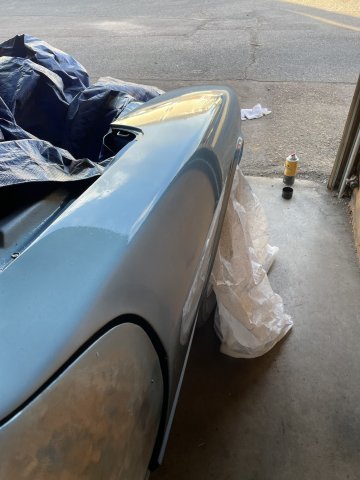
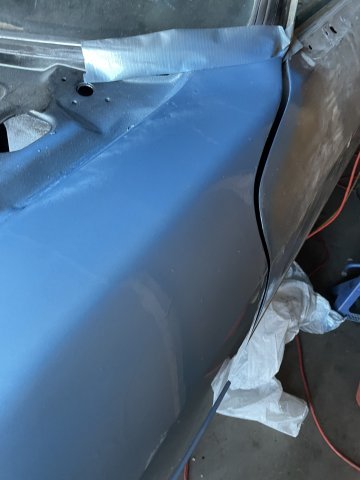
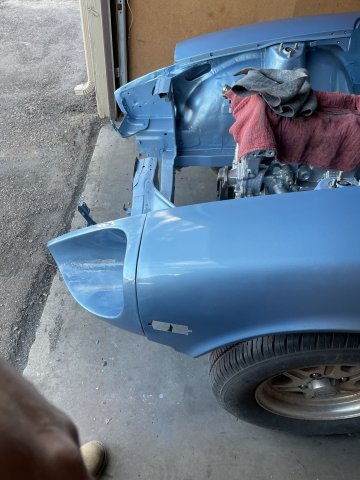
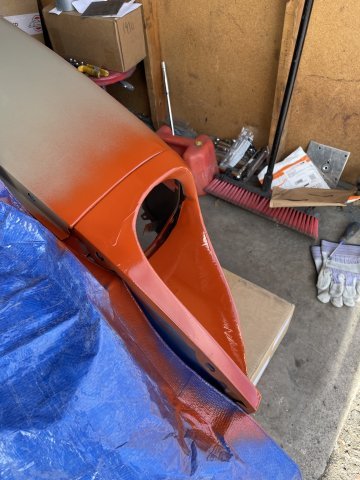
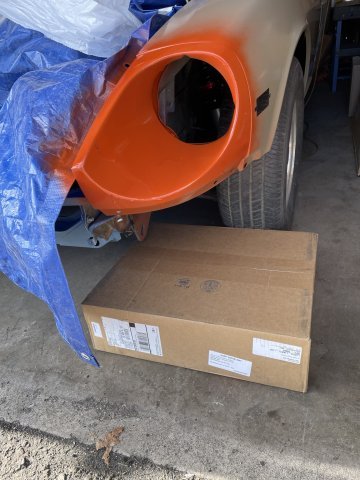
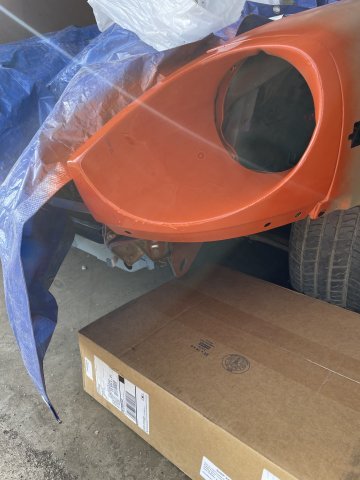
11-28-2025. I started today by sanding out and using some filler glaze on the left headlight bucket, and then sanded down both front fenders. Then I finished scribing out the hole on the hood and cut it. After that, I went ahead and primed and painted the front fenders and the one headlight bucket I currently have. There are 5-6 spots I will have to fix / paint correct, but progress is made. Pics:
-
Area27 in Canada is only 400m above sea level, so I'm not sure that accounts for the lack of nice airflow. I'll def take some stuff off the motor, and see what I can figure out. I'm still very new to the LS platform, so there's lots of learning to be had!
-
Fast Floridian's 240Z Track Build
FastFloridian replied to FastFloridian's topic in S30 Series - 240z, 260z, 280z
Decided to go with the ATL 12 gallon, just ordered it. It’s 10”. Will need to build a frame for it, should be good little project to practice some more welding. -
Yea Max is still arguing the problems with my doors was due to the amount of bodywork on my car. Yet he always goes silent when I post pictures of the holes being in the wrong place for the latch and pictures of the top ledge being too wide to let the door panel fit over it. Really weird situation but based on how successful his business seems to be doing I would say it's the correct business model to have in these modern times. I'm old and have this quaint idea that you should stand behind your product if you want to have a successful business. He's starting to push back on me posting my well documented problems with his doors and his lack of standing behind his product but based on the fact that the doors are unusable I'm going to get my pound of flesh
-
Similar to this pic below:
-
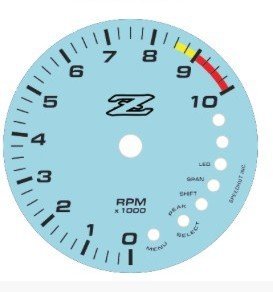
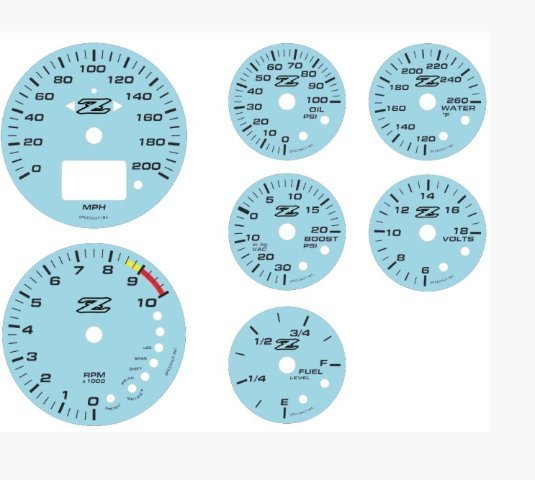
Got my proofs back from speedhut with the Z in there.
-
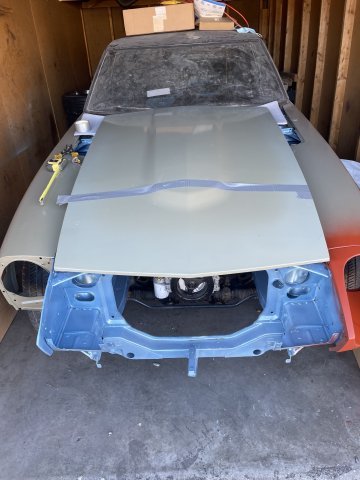
I can't tell from the tape what you're doing. Cutting a hole in the center of the hood for clearance? Making the hood into a donut or a U?
-
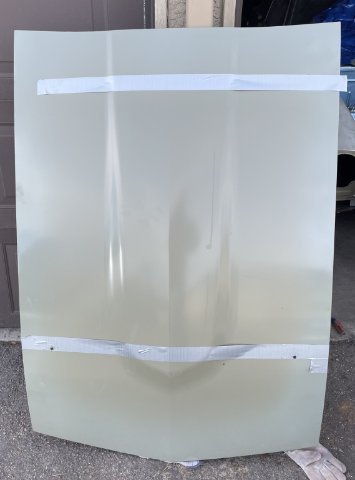
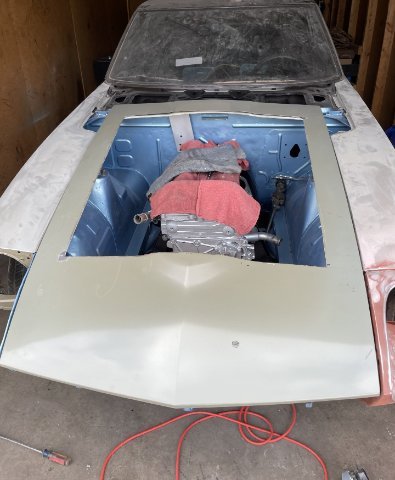
Happy Thanksgiving! I started the layout on my new hood before going in for the holiday. 13 1/4" from the front hood corners. this should allow for the radiator support to see seen, AND because some of the center bulge remains, those bends in the steel will help with keep the sheet metal rigid. I wanted to keep some the center bulge anyway, as it helps set the tone for how the bodies lines go back visually. the side will be cut to cover the tops of the struts, yet, show the tops of the frame rails and how there are no exposed brake lines. With the hood being black but the engine compartment blue, it will also set off the edges around the polished engine sticking up. At least in my mind.
-
I got mine on eBay.
-

Fast Floridian's 240Z Track Build
flatout replied to FastFloridian's topic in S30 Series - 240z, 260z, 280z
I did a 14 gallon radium cell in mine because i plan on possibly running e85 and we have some 30-35 minute sessions with some clubs. I have it raised like an inch and a half out of the floor to make the bottom height where I was visually happy. My cell is advertised at 11.7" tall so if the ATL 10 or 12 is shorter then flush with the floor should be perfect.
-
Fast Floridian's 240Z Track Build
FastFloridian replied to FastFloridian's topic in S30 Series - 240z, 260z, 280z
Thanks. That’s the fuel cell that came with the car, it’s too big (20 gal) and I don’t like it mounted on top of hatch floor. Going to explore Black Friday deals, thinking of going with an ATL because of the bladder and other safety features and I’ll recess it down as far as I can, hopefully it’ll sit flush. Trying to decide if I should go with 10 gal or 12 gal, 12 gal is a little cheaper for whatever reason. I should burn approx 5 gal a session at Sebring, the track I’ll frequent most. -
Fast Floridian's 240Z Track Build
flatout replied to FastFloridian's topic in S30 Series - 240z, 260z, 280z
I just found this site as i started building my Z, and will be following along as you finish up this project. We are on somewhat similar paths so this will be fun to watch it come together. -

Fast Floridian's 240Z Track Build
jhm replied to FastFloridian's topic in S30 Series - 240z, 260z, 280z
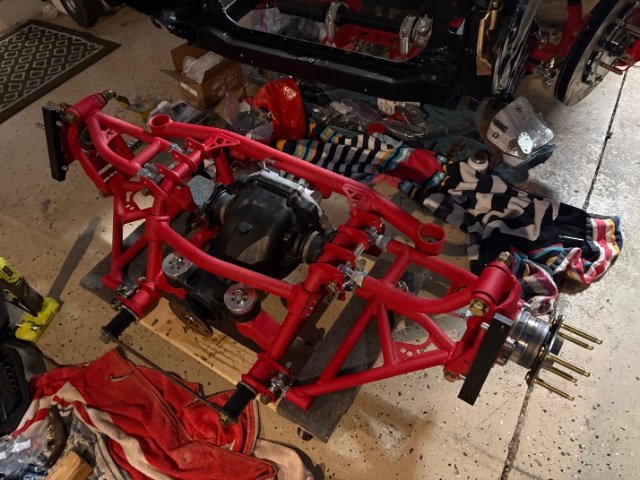
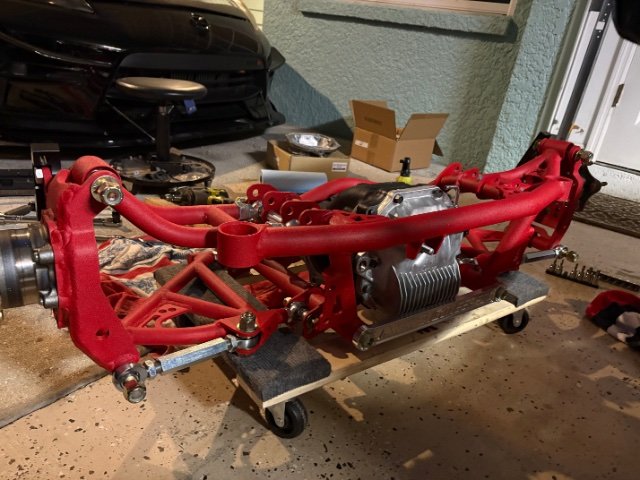
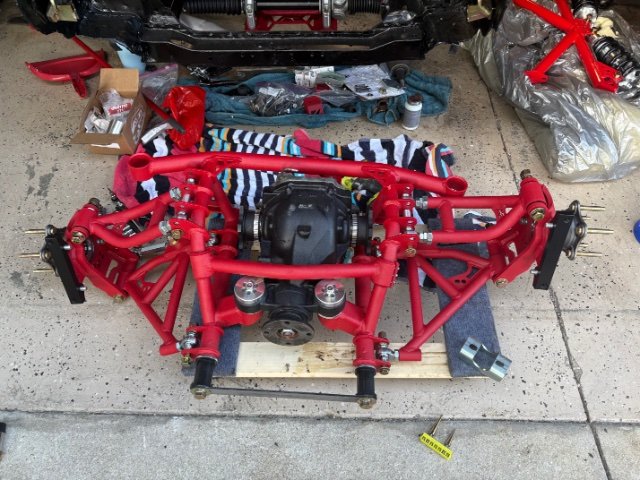
Wow, great progress! I love the cantilever design on the rear suspension. A few guys here have previously designed their own custom cantilevers; but AE is the only vendor that I'm aware of that has ever "mass produced" a system like this. Really interested to hear your feedback on how the whole TA package works once installed. Is that the final resting place for the fuel cell? If so, are you going to have a way to isolate it from the rest of the driver's compartment? -
Lower than 100kpa at WOT could be elevation too, if this log happen to be somewhere higher than your used to logging take that into consideration aswell. Id think where you have the filter should be a good spot for air. unless the aero is really creating a negative pressure spot for some reason. If thats not the case id think your on the right track with looking at valve train stuff. But don't rule out the sensor itself or the hose feeding it.
-
Fast Floridian's 240Z Track Build
FastFloridian replied to FastFloridian's topic in S30 Series - 240z, 260z, 280z
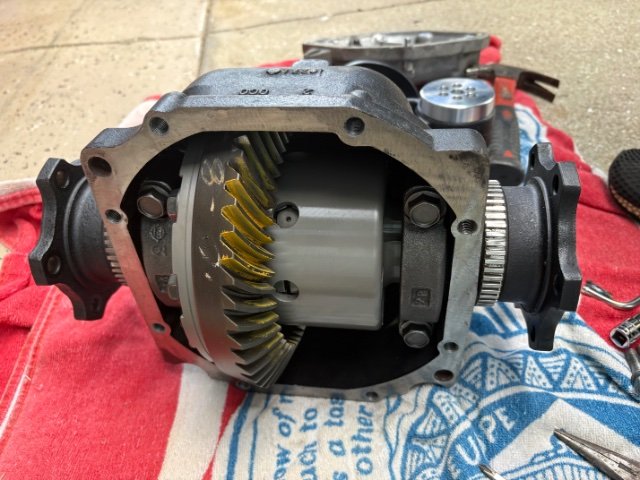
Waiting on a few parts, but worked on the rear suspension. I cut out a rear strut bar that was welded in and started prepping to install the rear shocks. Also test fitted the rear differential, almost ready to bolt up.
-
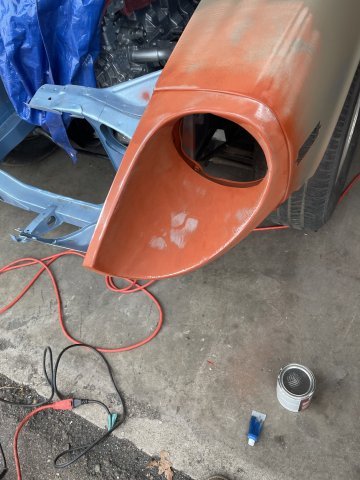
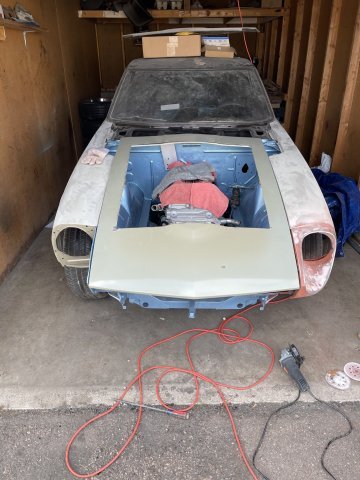
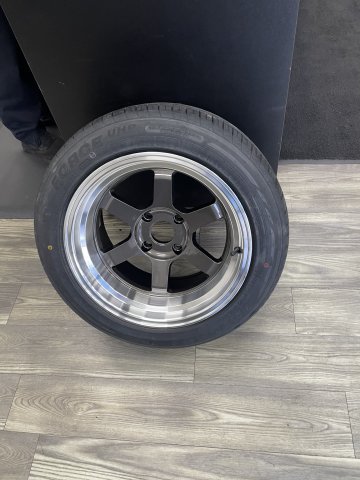
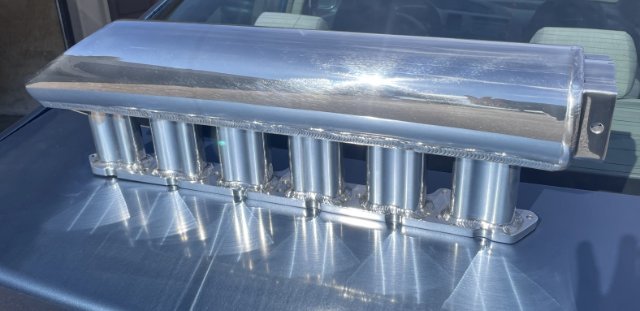
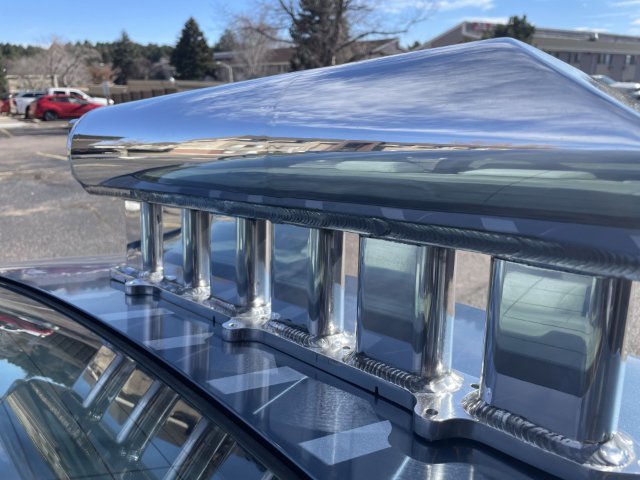
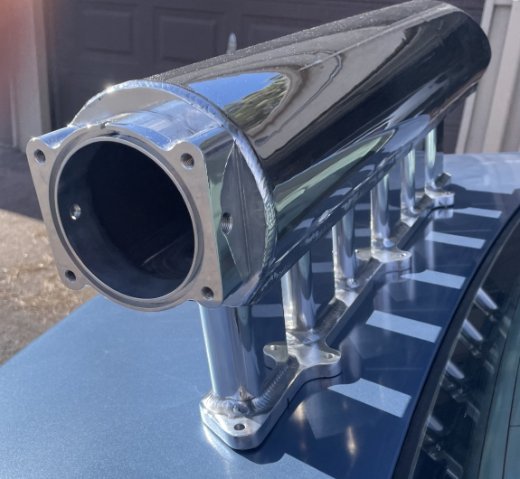
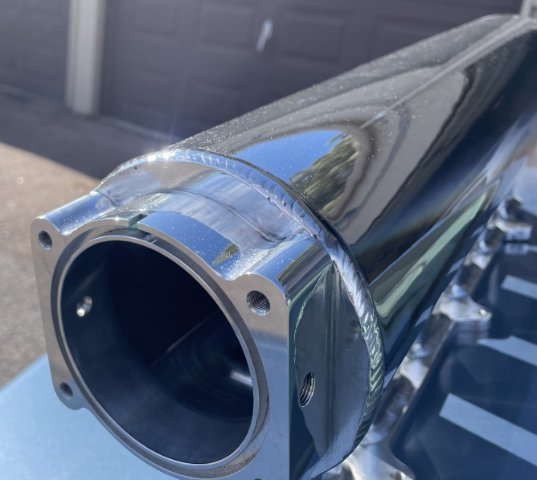
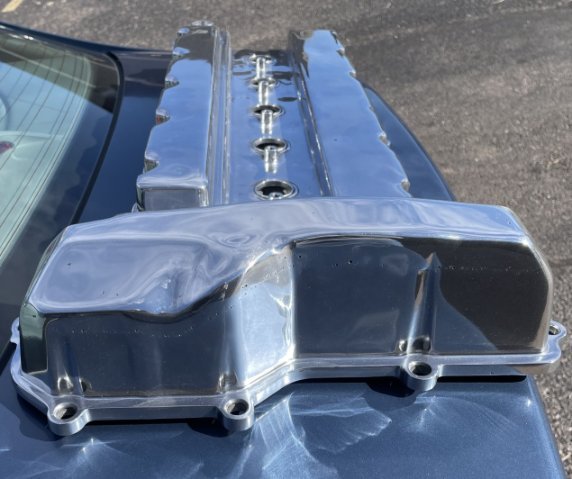
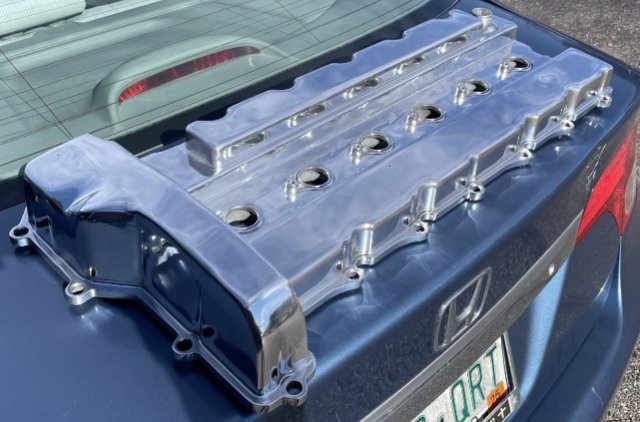
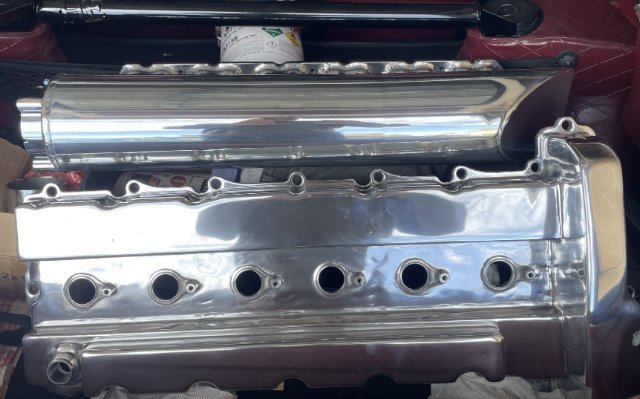
11-26-2025. I got the rear tires mounted on the wheels and balanced, and I was able to attach one headlight bucket and then started painting several coats of filler primer for deep scratches. The bucket has deep scratches in the metal in the bottom of the scoop portion, so this will get a start on filling them, and then I will put some glaze on there and sand it smooth and sealer prime it before color and clear. The other headlight bucket, after sandblasting revealed a crease in it, and I don't have the moxie to want to fight and fix a crease and make it look good, so I ordered up a reproduction bucket. I then got a call from J&S Polishing, and ran down there and picked up my intake and valve cover. Pics heavy.
-
Not super sure. At 100% throttle, the MAP sensor is really slow to respond and only climbs to 91.8kPa (atmospheric should be ~100). Here's a log at a good period of full throttle in 4th gear. Just pulling super lazily. This motor has always behaved like it's getting enough airflow. With 3rd gear sorted, I should be able to get it back out and do some testing. One theory is that with all the front end ducting, the motor is pulling a vacuum in the engine bay. Another is that the cam timing is off and needs to be tweaked. I think I might pull the front cover off and see what's up, and if there is anything obvious there before I get back out for next season. I've done cylinder temps, compression checks and leakdown and everything seems happy enough mechanically. Just something silly happening somewhere in the system.


-
Who's Online 0 Members, 0 Anonymous, 1361 Guests (See full list)
- There are no registered users currently online