Leaderboard

Popular Content
Showing content with the highest reputation on 08/15/26 in Posts
-
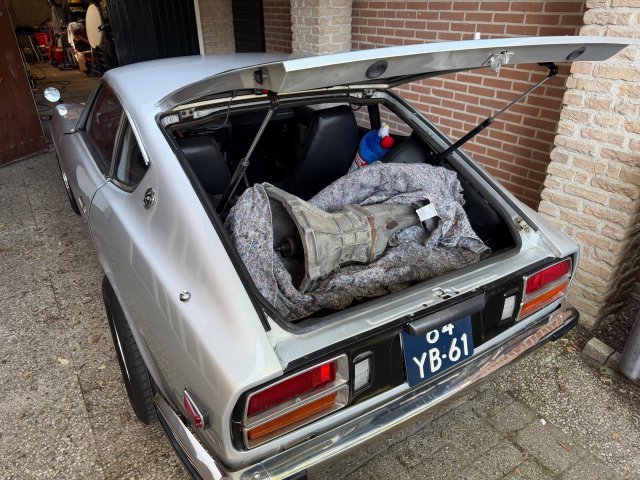
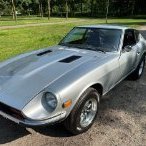
Finally had the time to head south and pick up the replacement transmission and enjoy a cup of coffee while we were at it. And what better way to pick up a transmission for the broken one in your Z then with said Z! 😂 All jokes aside she still drives fine except for a worn out syngro on second gear and a missing fifth gear. The replacement gearbox is a >80’s FS5W71B 5-speed from a 280ZX that’s been in storage for a long time. I’ll be ordering some new seals and transmission oil before switching out the gearboxes for some peace of mind.
 2 points
 -
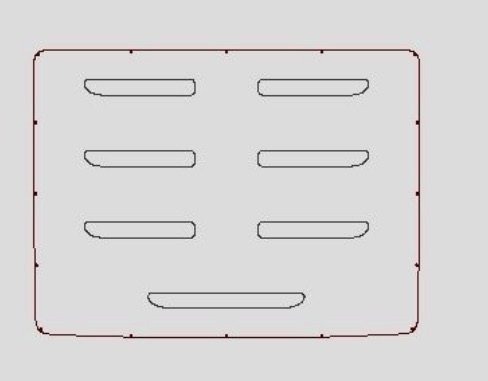
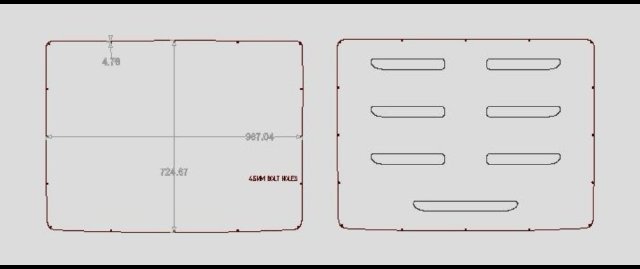
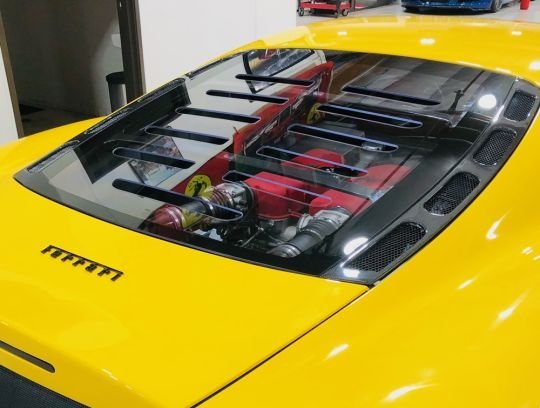
08-14-2026 ATLAS Z UPDATE/. Plastics 4 Performance has sent the final draft for my polycarbonate rear hatch "glass" for my approval. It is ready for production! The vents are to give the car an even more open air feel, which is what I want with this build. should look pretty cool. 8/32 bolts will be around the edge with a thin rubber layer between it and the lip on the hatch. Ferrari uses the vents for engine heat.....I used them because I like the look and as I said the open air feel.......no glass at all looks too unfinished to my eye. PICS:
1 point
-
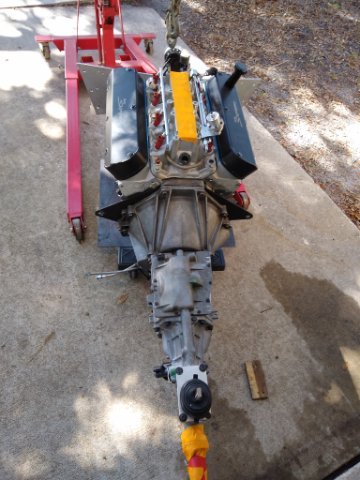
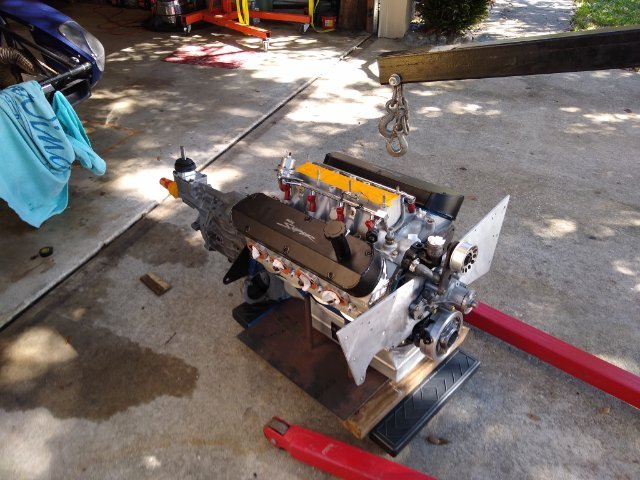
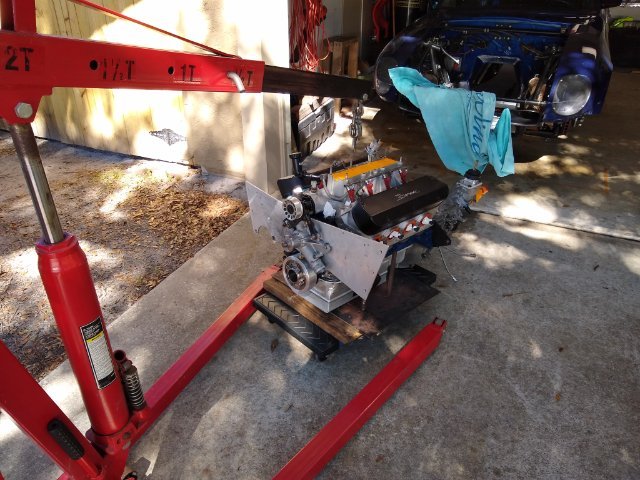
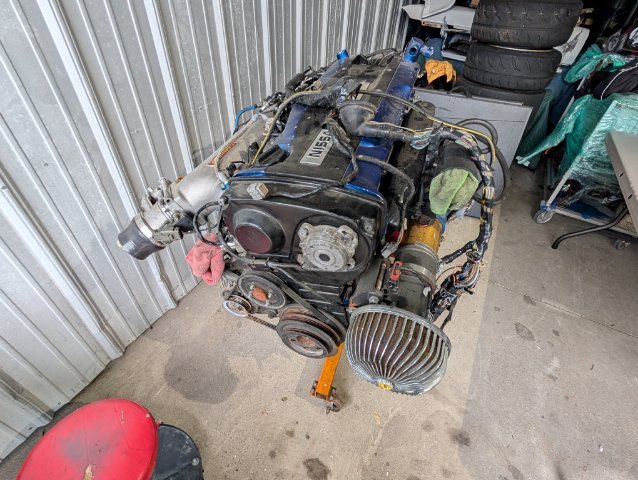
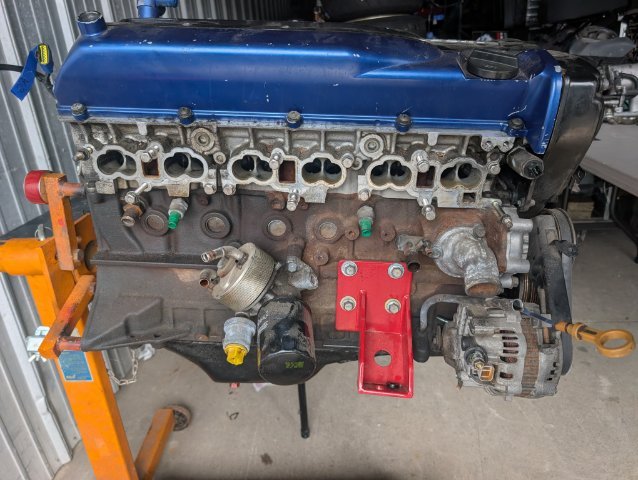
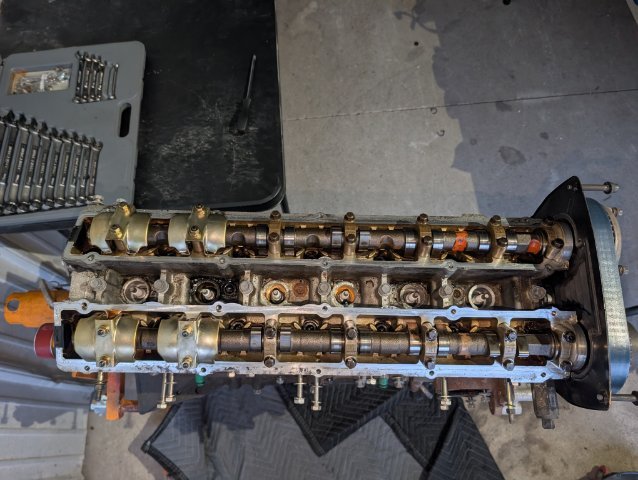
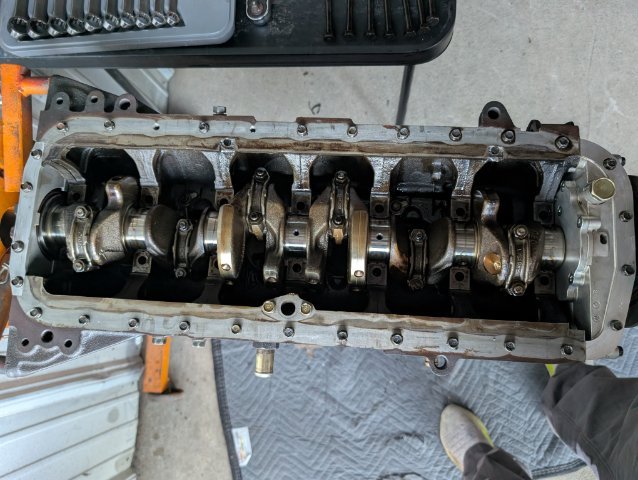
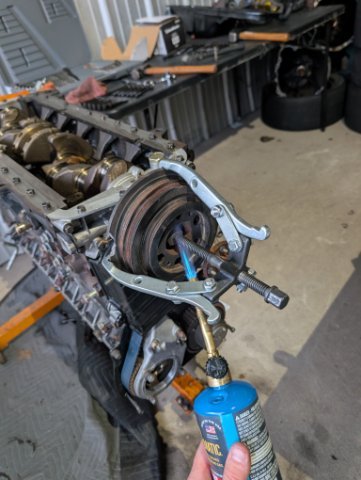
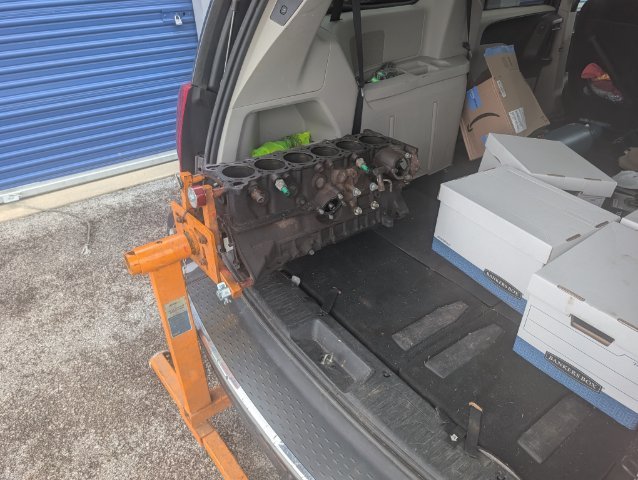
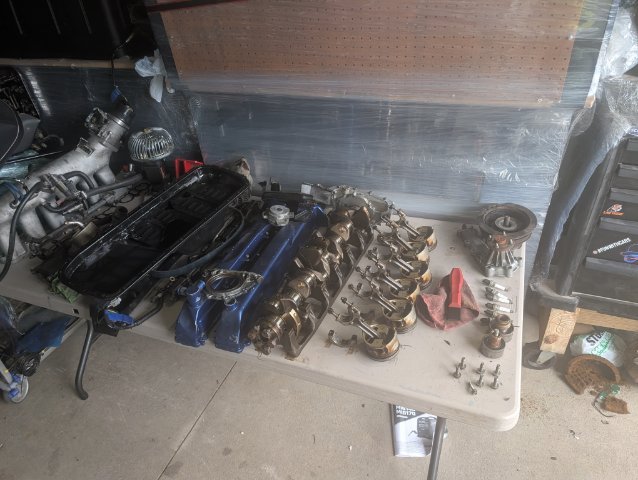
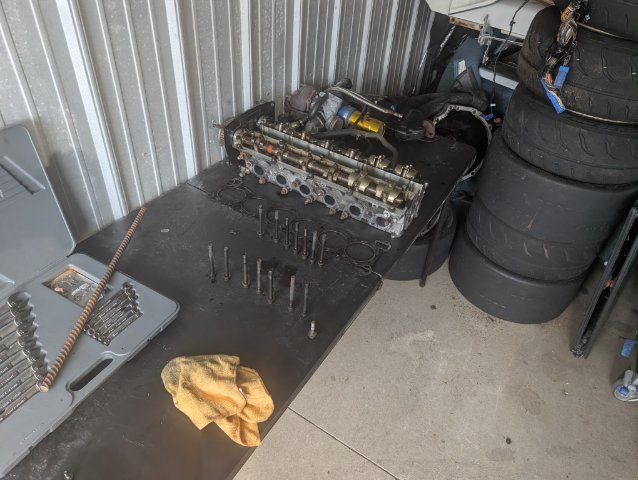
A few pictures from the last time the engine was out
1 point
-
The front plate mid plate set-up was way easier than regular motor mounts. I originally used stock mounts, but switched to the motor plates when I decided to make it purely a track car. The front plate is 1/4" aluminum and sandwiches between the water pump and timing cover. The rear plate is .090" steel and sandwiches between the block and bell housing. The front plate on mine attached to tabs welded to tubes at the front strut towers. The mid plate is attached to two tabs welded to the frame. I use a regular rubber transmission mount. You can buy front and mid plates for the SBF that have the water pump and bell housing bolt patterns already machined. The plates come with a lot of extra material that allow you to trim to fit about anything.1 point
-
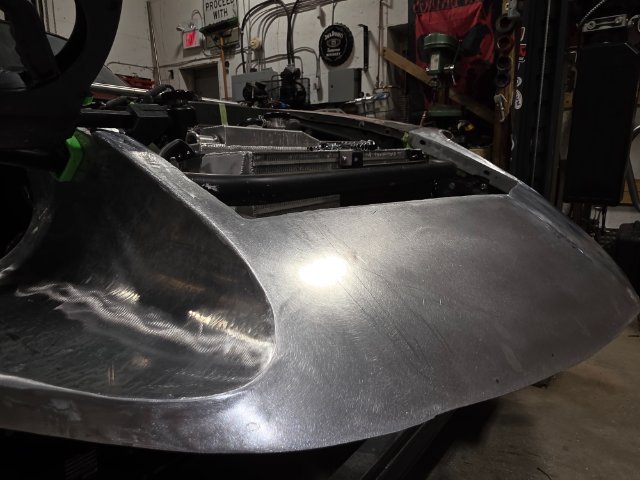
work has been to busy, small update. Headlight bucket has been welded in and planished. Everything is starting to look alot better and starting to feel like an actual car again, not just pieces.
1 point
-
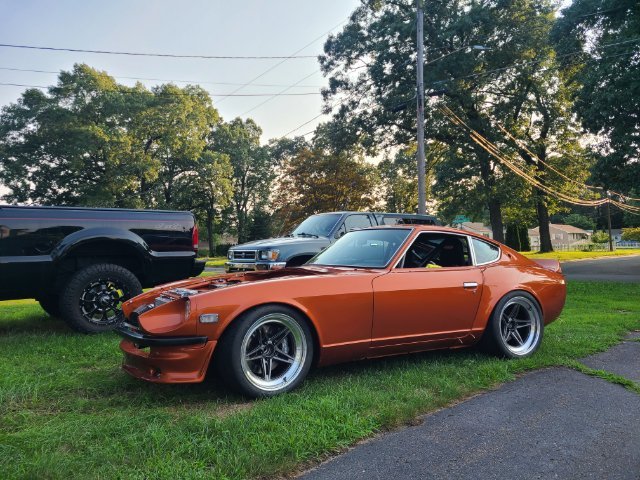
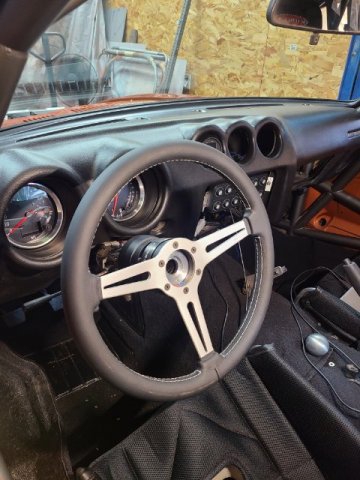
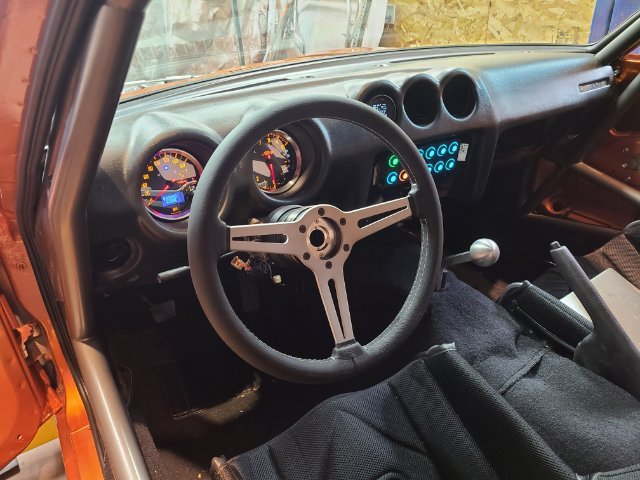
I drove the car about 3/4 of a mile around the block.... tune needs a lot of work (obviously), tires had a slight rub and it rattled a bit but was so exciting and such a relief after a year of hard work. Got the rest of the windows in as well. Wife offered to polish all the trim so I gave her some supplies and let her scrub away. also added a couple interior shots.
1 point
-
Alright, finally got some time to make some more progress. The engine is mostly disassembled, and I have mics and a bore gauge coming to measure clearances. I am planning on a stock engine, with the oil fixes, and a bigger turbo. I am not concerned with making a ton of power; anything will be better than the stock L24, and I just want it to not blow up immediately. I am new to engine work, and have a couple of questions: 1. Does anyone have any recommendations for what size oil restrictors to use? Enjuku sells oil gallery restrictors in 0.9, 1.1, 1.3, and 1.5 mm. 2. I have googled RB25 specs for rod and piston bearing clearances, but does anyone have a trusted source that they recommend? Thanks for all the help! I have read through the site and watched a couple of rebuild videos, but I'm still not 100%, and I don't want to make a stupid mistake.
1 point
-
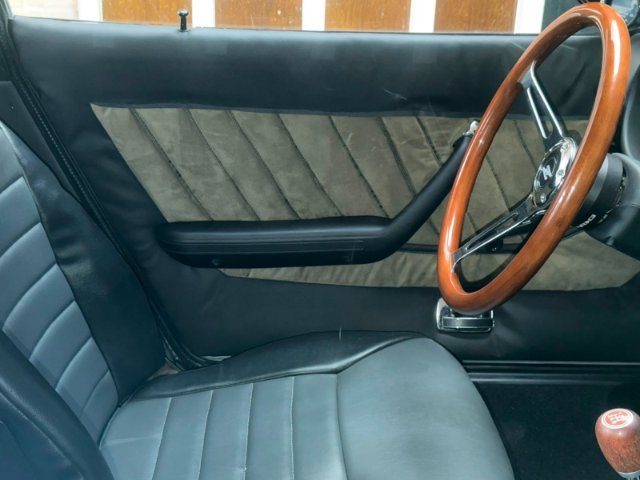
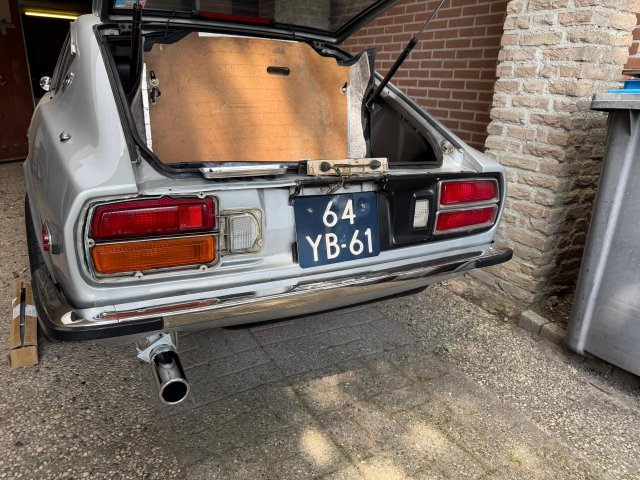
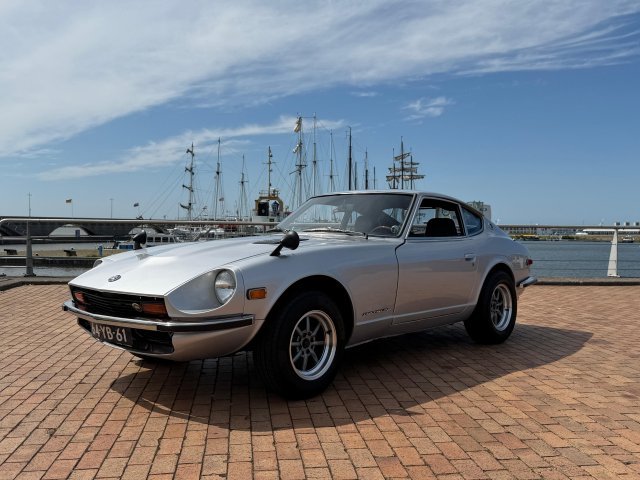
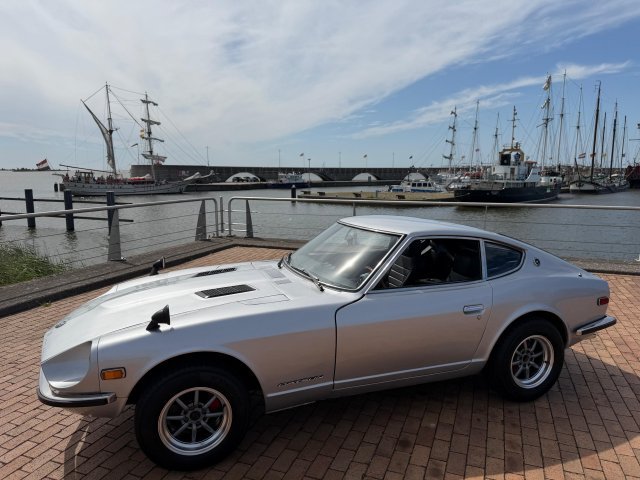
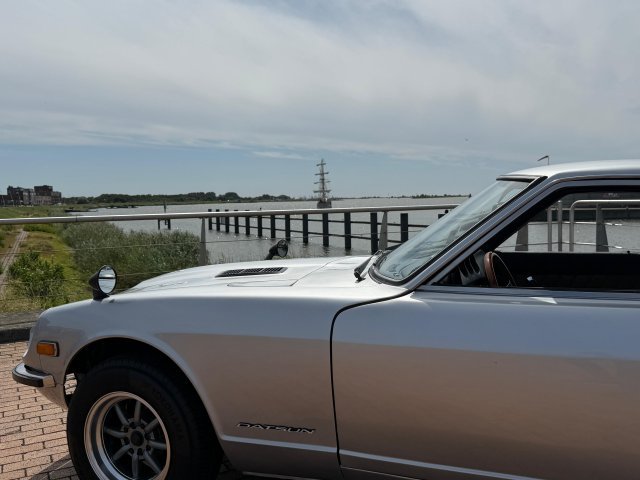
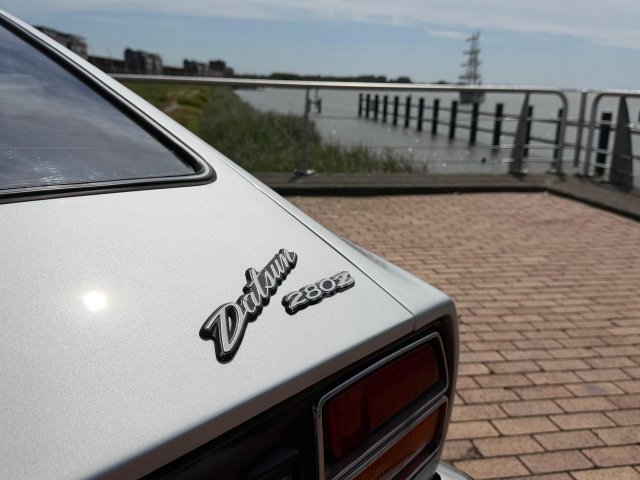
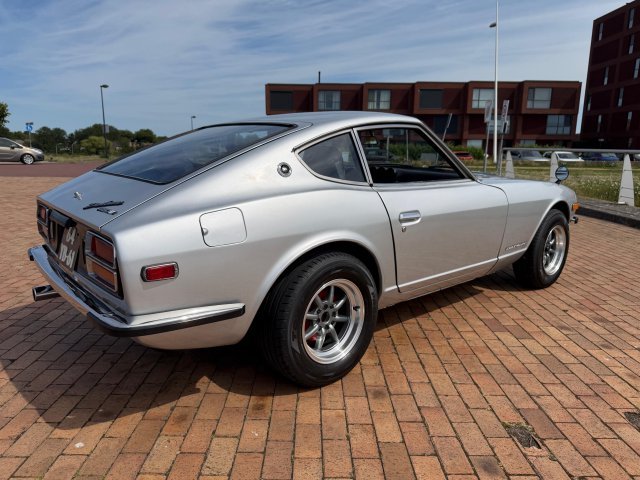
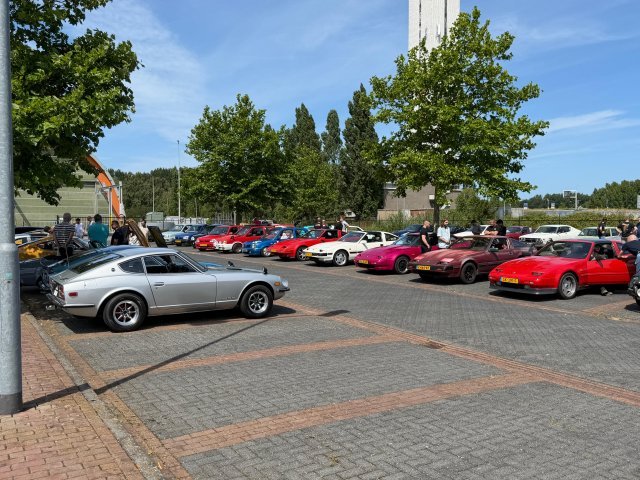
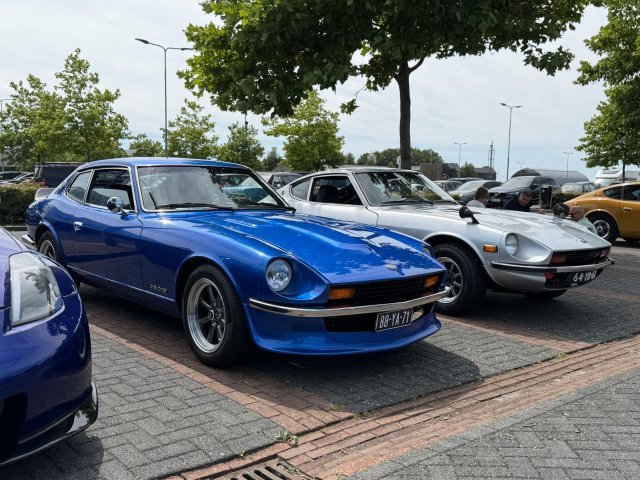
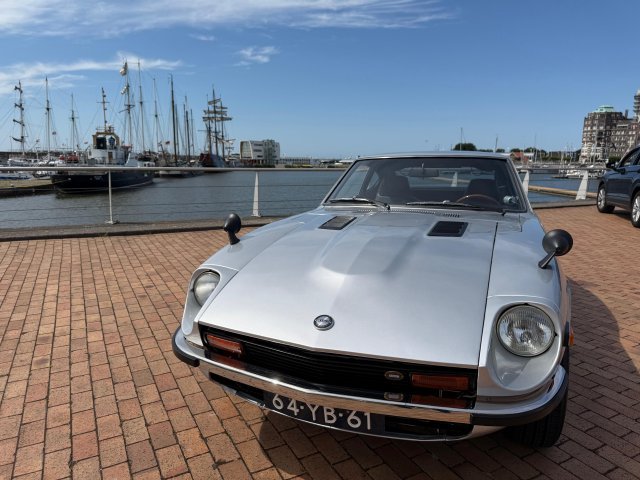
I finally had some time this weekend to work on the Z again and finish off some of the little things that where nagging me. I finished my DIY door card project and got them installed in the car. I must say that they turned out pretty good. The only finishing piece would be to add the wood trim back in but I would have to make one myself. A few weeks ago I managed to pic up a set of Euro taillights from an original Dutch 260z that where in excellent condition. So with the remaining time I had that day I quickly switched them out. Yesterday there was a small all Nissan/Datsun meet I attended which gave me the opportunity to compare my Z with others and do up some inspiration for future modifications. Afterwards I finally had the time to take some proper pictures of the car (with the car not half apart) and cruise along the dikes. WhatsApp Video 2026-07-13 at 09.15.40.mp4
1 point
-
im not happy voltage drops on this thing. best would be new fuse box re-route wiper and lights. i might try easy re-pin cause common, dome and lights uses same source. if that fuse box connector is some how the issue. on dome light i have not much draw, swap dome and light pins on end of connector1 point
-
so, i failed MOT. there was no brake lights. fixed that it was loose connector on brake light switch but i found that parking light fuse was burning hot, measured current draw it was 5.6amps, seems to be common problem to melt fuse box. i did my math thought aging pressed pins heat cycles might have added resistance between those two connection so i soldered every connection. as i said earlier every load has dropped voltage slightly, no load its 13.8volts, press brake and it drops 13.3V. lights on wipers on fan at full blast i remember seen under 12volts on lighter socket. lets see how it goes after this work, if that park light fuse still gets hot first aid is led bulbs1 point
-
I weighed the Z with the sr20det in it and it came in at 2395. The car has changed significantly since then. I plan to corner weigh the car later this summer. I have a spreadsheet where i track parts i've installed and removed with best guess weights. I believe the car is probably around 2521lbs, give or take. I'm not sure how much my rollbar weighs (i guessed 100lbs). I would like add a full leather interior with lots of sound deadening at some point. I have been eyeing the star road aluminum body panels. My dream is to make this car the Singer of 240z for me.1 point
-
you ever weighed this? I always thought a Z with a k series would have a great balance.1 point
-
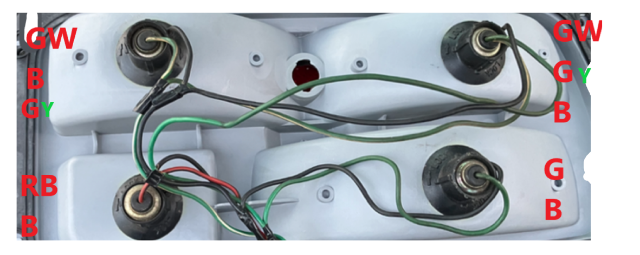
Oh, I think I figured it out. I do need a 3 wire bulb on the inner upper bulb to make the top two lights as brake lights. Per my first picture the 3rd wire on inner upper would be G which is shared with outer upper and outer lower, this is how early 240z's are. I need to snip top two G wires and run that to the brake output wire which I changed to GY on the picture which is Green / Yellow the color of brake switch output wire. Should look like this to make it work:
1 point