redneck1545
Members-
Posts
216 -
Joined
-
Last visited
-
Days Won
1
Content Type
Profiles
Forums
Blogs
Events
Gallery
Downloads
Store
Everything posted by redneck1545
-
still waiting on replies from both...
-
I paid 350 + shipping for it new. I will take 300 cash and I will pay for shipping. I am in Cleveland Tenn. 37312
-
replied to both via PM Thanks!
-
I plan on tying mine together with 1.5" X 1.5" square 14 gauge...and thats ONLY because of my crappy cutting job on the stands themselves as stated above...if the wheels werent lifting off of the front stand I wouldnt even be doing that much. As stated previously, there's simply no need to waste money on stuff that isnt going to make a difference in the overall effectivesness of what your trying to do with this thing in the first place. The engine stand idea works great as it is...no need for wider stance, no need for overkill on tying the stands together or beefing up the mounts or adding a crazy amount of cross supports. This was supposed to be a thread revival for +1 on the engine stand working theme...not the "i dont think its good enough so im gonna spend an additional 100 bucks on metal to make this thing indestructable" theme. again, just my 1/2 a cent
-
i need the "conversion" flywheel for a gen 1 (pre 86' 2 piece rear main block) engine to mate a 95' lt1 version of the t56 to not really expecting anyone to just have one of these laying around or anything, but it doesnt hurt to ask!
-
for rotisserie from engine stands! Built one this weekend and it only took me about a day...I had to run a 220v line to my garage for my crappy arc welder but it got the job done. my ugly welds are holding up so far, so im pleased to say the least. I differed from the original plans by using only two HF 1000lb engine stands and bought a 1 1/2"X3" piece of rectangular steel in a 2' length for 7 bucks at the metal yard instead of spending the 40 bucks on another stand just to chop up the upright. All was going well until i didnt square out my front mount properly and it came out with an angle...an i thought to my self, "oh no problem, ill just match that angle in the head of the engine stand upright so it wont be a pain to turn"...I thought about the falling out part when rotating and found a way around that. What i didnt think about was the angle was great enough that when turned upside down the "weight" of the car would be BEHIND the rear support wheels on the engine stand. I got the thing turned sideways and the front wheels started lifting up a few inches because of it....So im either gonna fix the mounts by cutting them off and re-welding them more level, meaning i gotta cut the front mount i made and the engine stand back up...OR I can just take a piece of 1 1/2" X 1 1/2" square tubing and tie the two stands together to prevent this from happening. what do you guys think?
-
ive been to every pull-a-part yard in ga and have found nothing so far... STILL LOOKING!
-
WTB- 280z stub axles and companion flanges
redneck1545 replied to redneck1545's topic in Parts Wanted
do you have the companion flanges to go along with the axles? and how much you looking to get for the pair? thanks! -
Im living down below warner robins but I frequently drive to kennesaw Thanks man
-
I need a pair of GOOD 280z stub axles and companion flanges for a q-45 swap. Let me know if you have any. Thanks!
-
bump... doesnt necessarily have to be right down the road either... im having trouble finding one and its the next big item on the list of needs at the moment.
-
I need a t-5 out of a 88-92 camaro in or around the atlanta area...will drive to pick up. Would like to find something with bellhousing, shifter, slave cylinder and all together.
-
i have the differential flange...not sure about the diameter though...i believe it is the 2" though. I can check on that this weekend. PM me if your intrested and we can work something out...can also sandblast and prime if you'd like
-
might wanna try to find your own slip yoke from a junkyard or something...that could bring the price down about 60-80 bucks im guessing I'm just planning on taking all my parts to my driveshaft guy and telling him i need this yoke to fit this shaft with this adapter plate at this length.
-
Cheapest way to install a Q-45 DIFFERENTIAL!
redneck1545 replied to redneck1545's topic in Drivetrain
I ordered the mustache bar from dave at arizona z car the other night as well as the front mount from techno toy tuning today. Before reading this thread I have given much thought to the stub axles in question and have decided to wait to find some 280z donor stubs and companion flanges before I shipe the cores off to ross at modern motorsports. yall are right...taking stupid shortcuts with the 240z stubs is just a waste of money waiting to happen. -
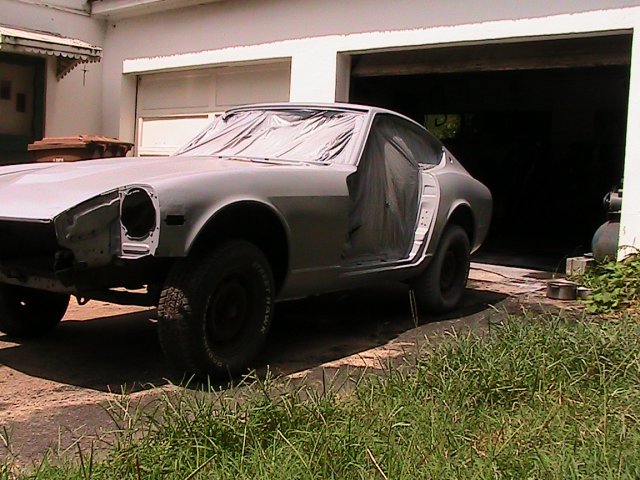
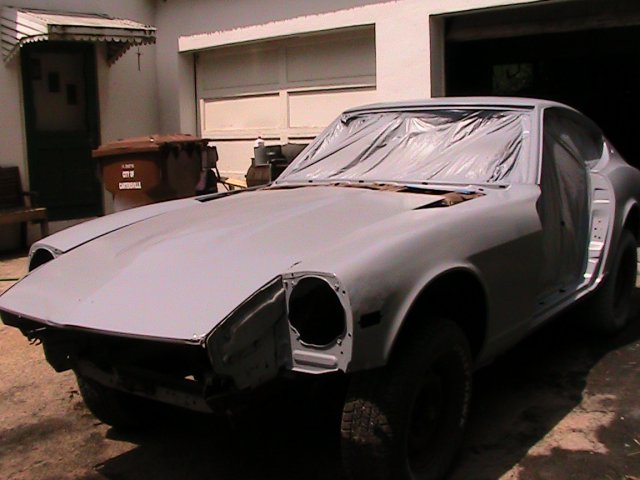
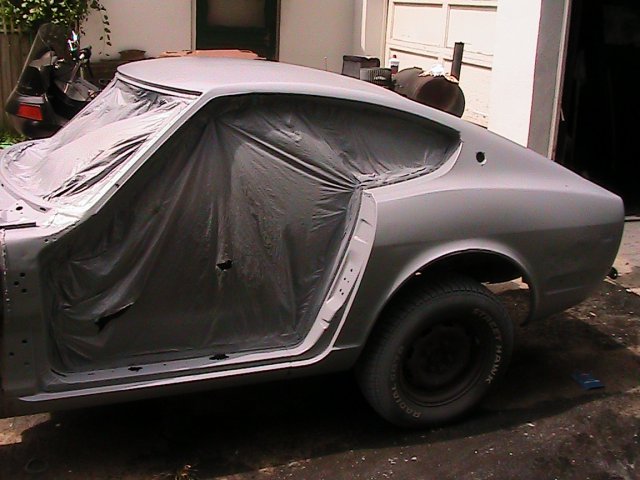
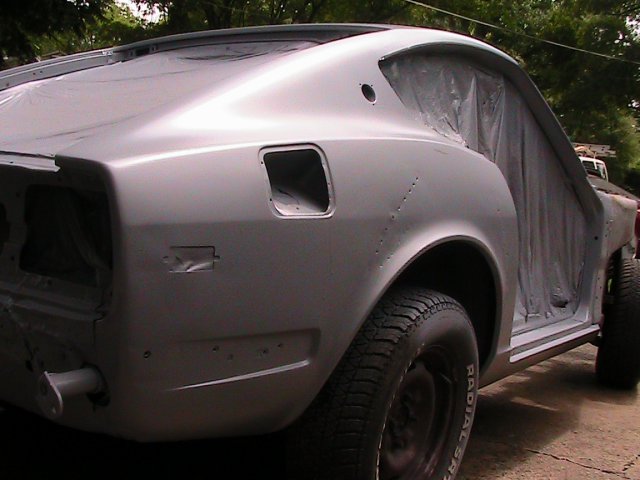
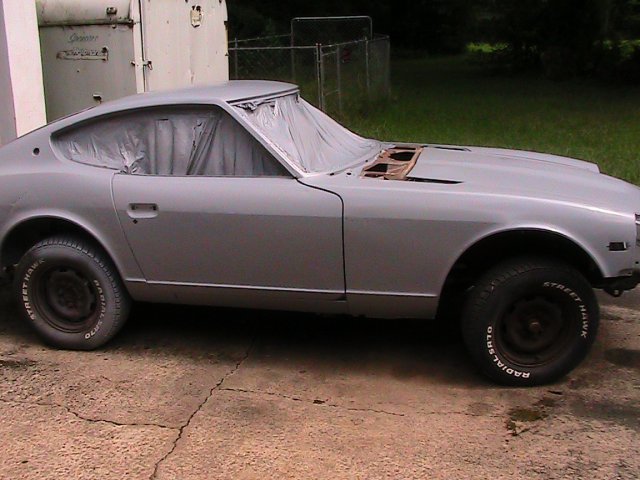
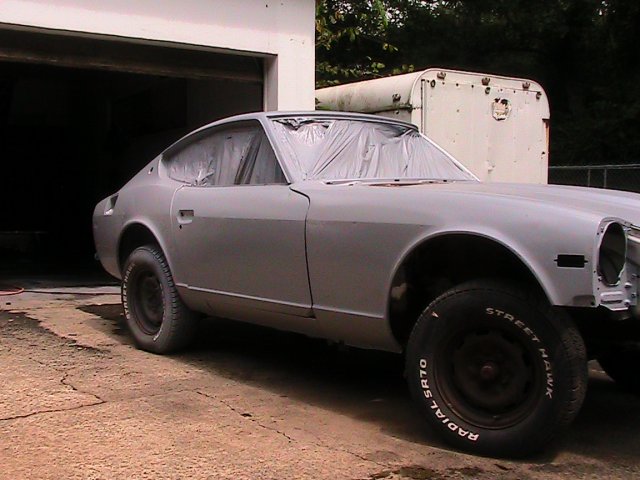
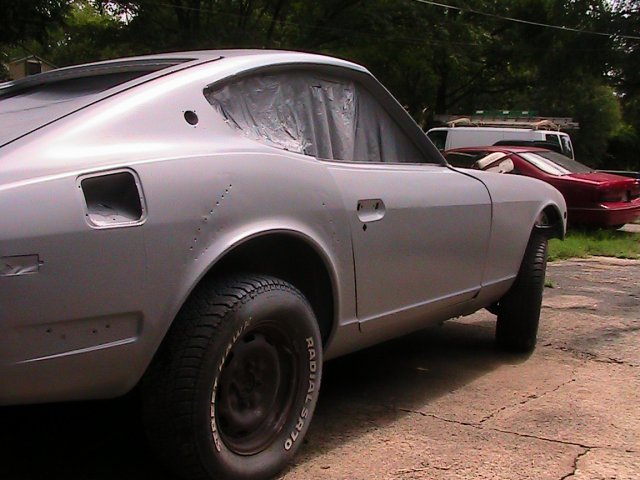
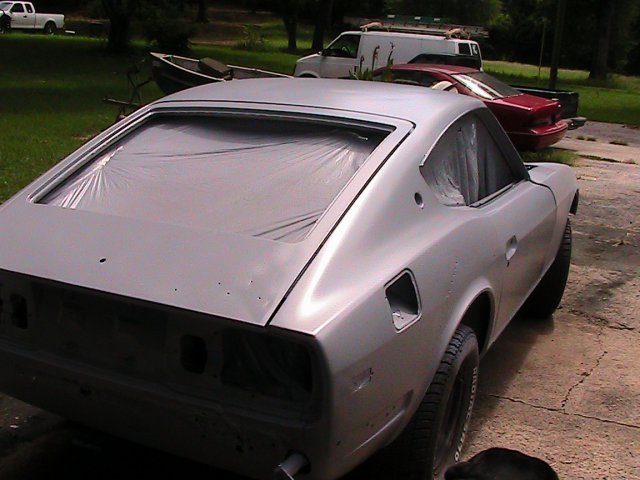
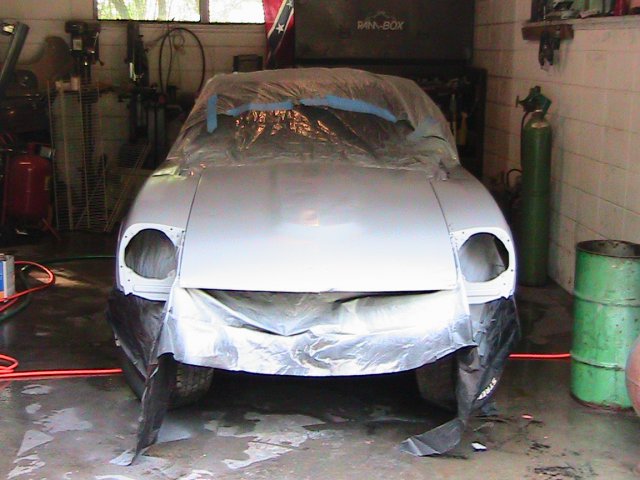
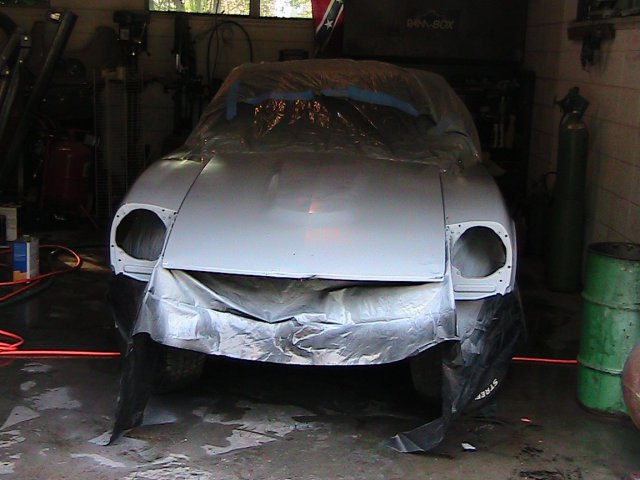
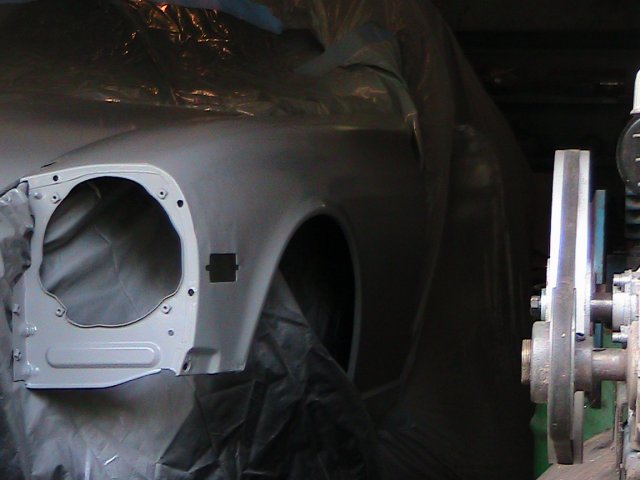
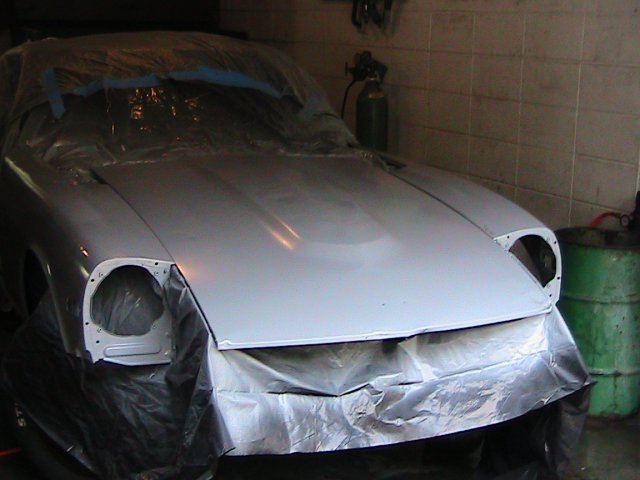
after more DA'n (i didnt paint it the other night and some flash rust started to take hold again) I finally got the rest of the exterior of the body in primer. Im not gonna upload a whole bunch of pics cause this page already takes forever to load an resize the current ones. Anyways, progress on the car is gonna take a back burner as school just started back and I've got to buckle down on that crap now. Good thing is I ordered a mustache bar from arizona z car for the q-45 as well as the front mount from techno toy tuning. Im looking for a 280z parts car to pull the stronger stubs and companion flanges out of before I ship those off to russ from Modern motorsport to get his axles and conversion flanges to round out my q-45 install. O yea and the rest of the exterior will also be blasted as well as the interior and undercarriage sometime in the near future. HOWEVER, im taking back my harbour freight 40lb pressure pot blaster and putting the 100 bucks towards something that will work a little better. I plan on renting a 50cfm tow-behind deisel powered air compressor as well as a 100 or 300lb pressure pot blaster from a tool rental place for about 200 bucks a day. I think it will be well worth the money over blasting for 10 mins and waiting on my compressor to catch up to continue...and the HF pot blaster gets clogged alot, has already blown of the hose due to the crappy hose clamps supplied with it as well as busted the air/water filter only after 2 uses. I just think my money would be better spent on something more powerful...even if it is only to rent it. So far ive used about 300lbs of media and only got the engine compartment, jambs, and windshield seal areas. Im thinking about another 500-600lbs will finish the car...i guess we'll find out soon enough. Enough talk...enjoy the pics
-
this same kit is also in the parts for sale section on this site.
-
Cheapest way to install a Q-45 DIFFERENTIAL!
redneck1545 replied to redneck1545's topic in Drivetrain
another question I wanna ask while I got it on the brain is what is recommended for the driveshaft. Currently I have an extra driveshaft out of a camaro that I planned on getting shortened and all that jazz. Somewhere on here I read a thread about someone using the q-45 driveshaft instead due to the larger diameter. What do yall recommend? I can go to the pull-a-part yard an get a driveshaft for like $13 bucks so its not a big deal if I should go the q-45 driveshaft route. -
Cheapest way to install a Q-45 DIFFERENTIAL!
redneck1545 replied to redneck1545's topic in Drivetrain
only problem with the billet ones is they are more money and require 280z stub axles which I currently dont have. Ive looked at the mounting package as well and while it seems like a great kit im trying to save some mula. I'm just thinking i can source the necessary parts from all three suppliers and effectively get the same install completed. -
and i've been doing some research and think i have found the cheapest way without fabricating anything to install a q-45 diff in this thing. ok so we've all heard about the techno toy tuning and modern motorsports kits for em as well as the arizona z car kit.(AZ kit can only use the front mount if you already have the $800 rear control arm kit from him also) I wanted to discuss my plan and reasoning behing doing what im doing. here's the plan... TTT front diff mount- $150 http://www.technotoy...etail.php?p=863 Arizona z car mustache bar- $219 http://arizonazcar.com/diffmount.html modern motorsports r230 conversion package with axles- $650 http://www.modern-mo...&products_id=57 Total for install=$1019 plus S+H... i figured first off why not spread the wealth around to all who have contributed to the manufacturing and designing of parts for this conversion to work in our z cars. Second, this was the absolute cheapest method of putting in a q-45 without spending hours of tedious fabrication/calculations and crap thats way over my head. If I purchased the complete swap kit from ross total would have been $1150. (which has received nothing but praise from what I have heard). The reason im buying the AZ mustache bar is the TTT mustache bar is $30 more than arizona's bar...and i like the way arizona's has the recessed socket screws. TTT is the only site that advertises the sale of seperate pieces of a rear-end swap package allowing me to just purchase the front mount from them. I'm hoping by purchasing these parts from all different suppliers will not turn out to be a bad idea and will still be a simple and straight forward install. any opinions on this approach cause im seriously contemplating shelling out the cash very soon but would hate to have things not work properly just to save 130 dollhairs Thanks
-
i got the body DA'd one last time before taping it up and degreasing before paint tomorrow...i think this time i might degrease during the evening and wait till about 4am to paint in the garage with the doors open and see if that helps with the grit from the air settling down in the wet primer.
-
Didn't get to do too much today...finished media blasting the door jambs, bottom of the rockers, gas filler area and some other places that a die grinder or orbital cant get. Kinda undecided on what to do tomorrow...i need to do some work on my daily driver so I dunno if ill have the chance to work on the z on the plus side of things the paint looks ok...got it out in the sun and saw a few runs and a little grit but hopefully wetsanding WAAAAAAAAAAY down the road will take care of those issues. I'm only doing all this stripping and priming as a first step before all the metal work an fabrication start...oh yea and another plus note, my dads friend has a miller mig welder fully setup and ready to go that i can borrow for FREE! so hopefully ill be able to make my "build thread" soon when i start all the frame an floor pan work.
-
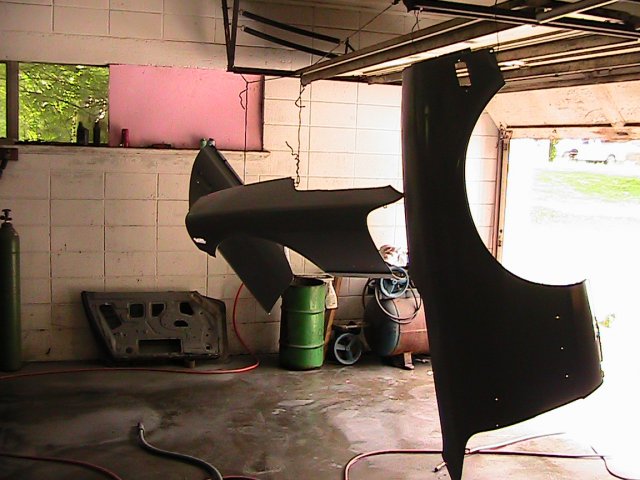
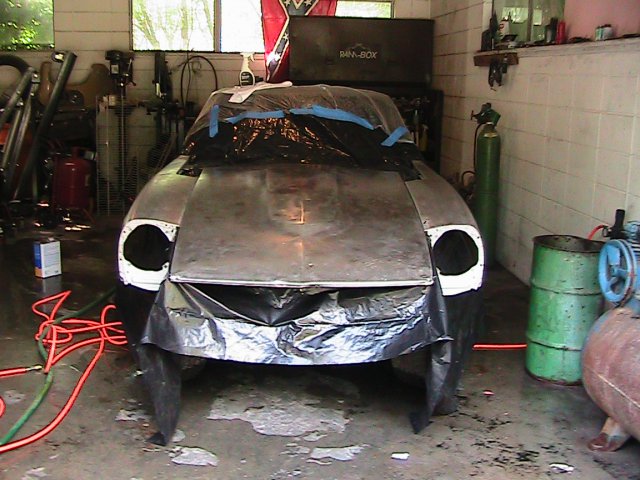
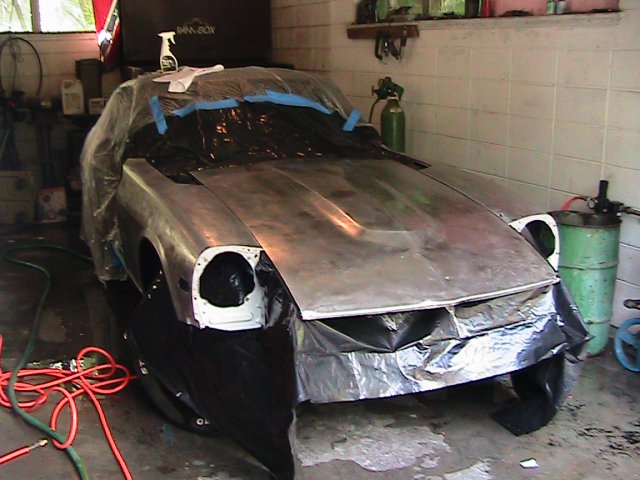
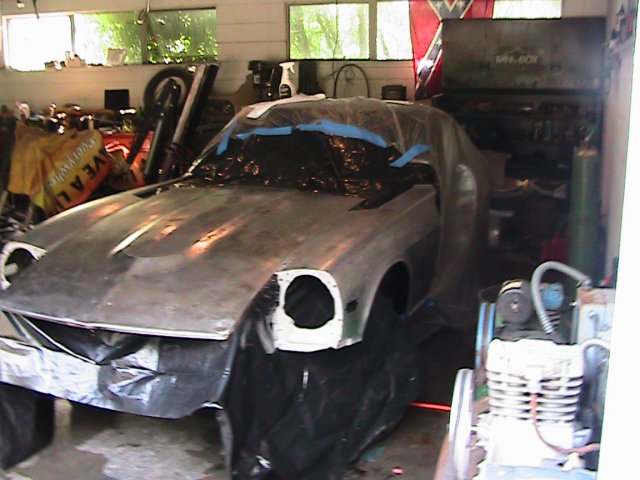
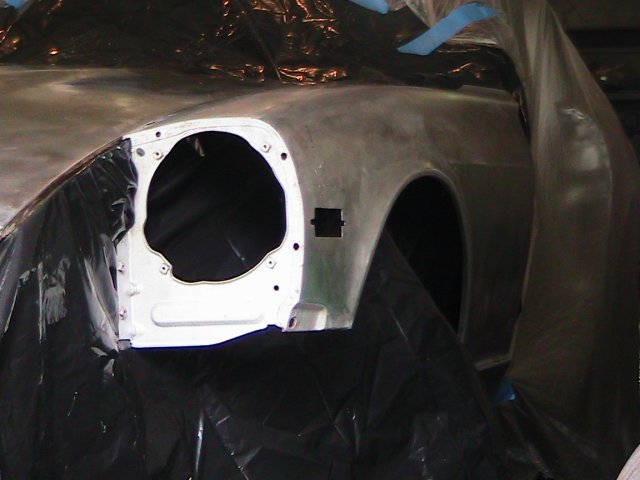
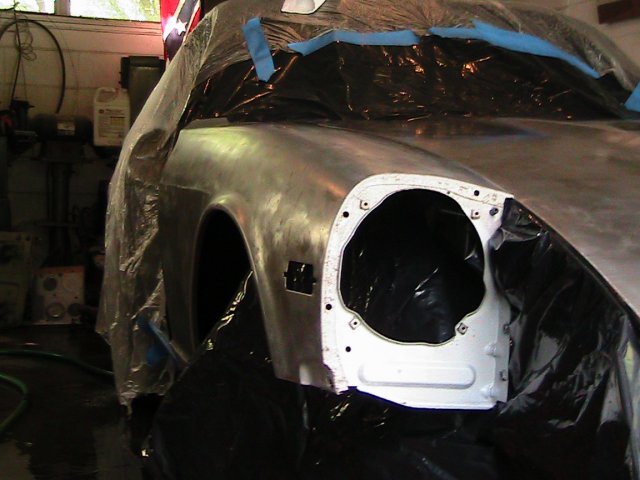
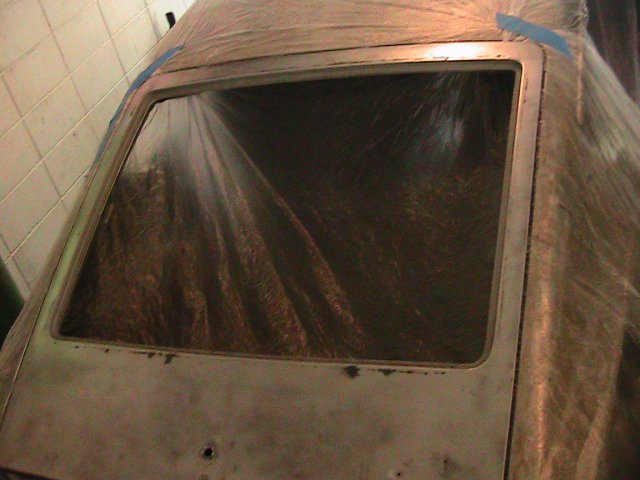
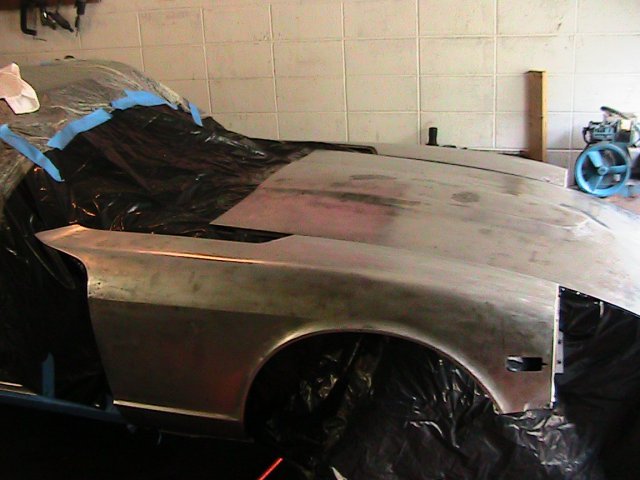
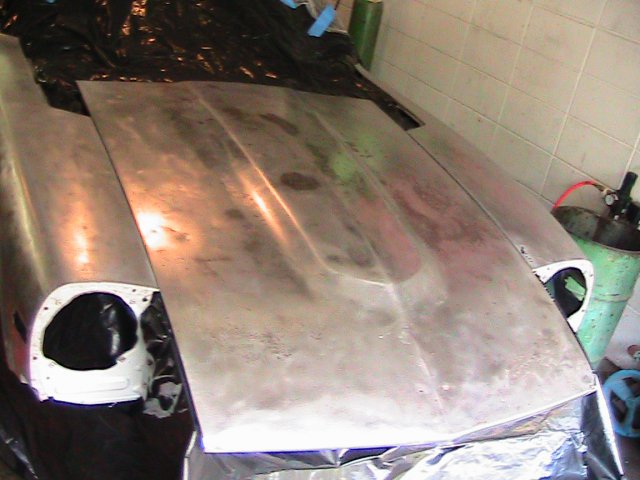
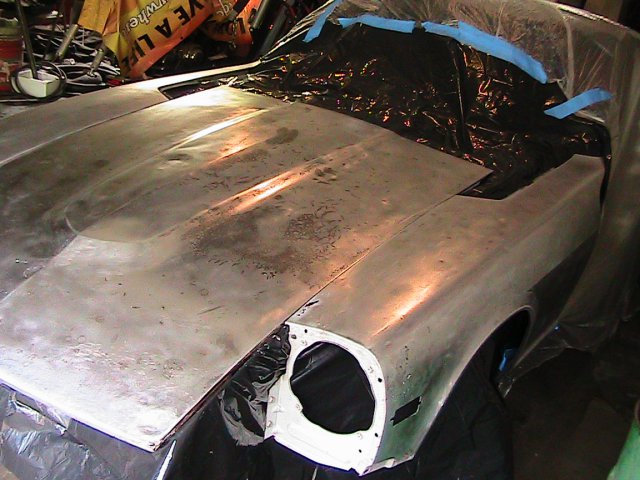
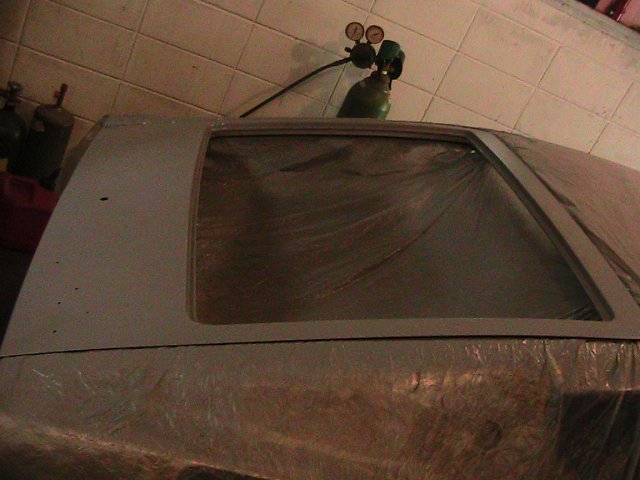
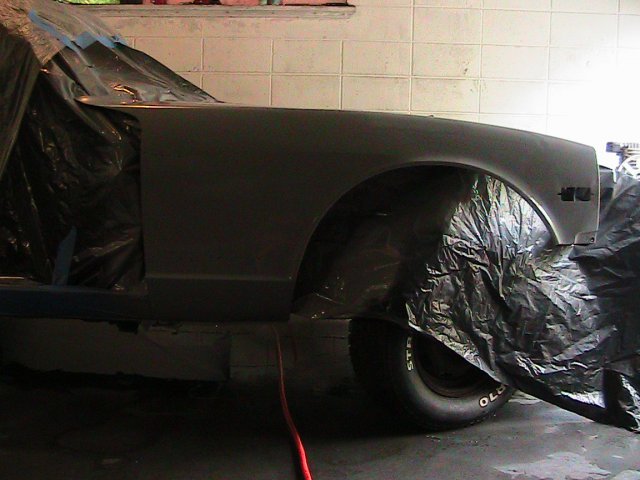
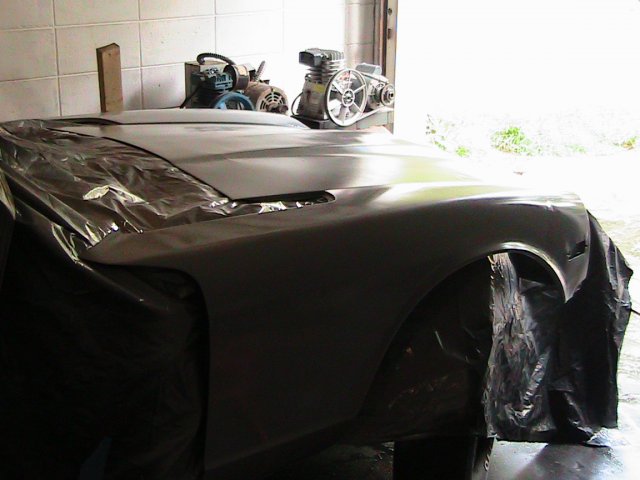
I snapped some more pics just after hitting it one last time with the orbital sander and cleaning with acetone. these pics are in the garage with crappy lighting so hopefully ill have some better ones up tomorrow sometime with it out in the sun. Today I got both front fenders, the hood and hatch in primer. All in all it turned out ok...got some crap that was floating around in the air to settle down on the paint before it dried even after cleaning the dust outta the garage and keeping wet floors the entire time so thats kinda a bummer but its not the end of the world.
