-
Posts
1201 -
Joined
-
Last visited
-
Days Won
7
Content Type
Profiles
Forums
Blogs
Events
Gallery
Downloads
Store
Everything posted by duragg
-
I didn't have the patience to hack out the old sound deadening. I just cut out some rust spots and welded in repairs in the bad areas. I might put a carpet kit over the floorboard... Not sure (already bought it, but also already bolted seats in). Grainger has hole plugs in every size (US Sizes) so I just ordered some that are close enough. My personal race car is half rusted out piece of ****, and half work of art (eyes of the owner). Thanks for the assist. TJ
-

My Complete LS1 Install Documemtation with Pics
duragg replied to a topic in Gen III & IV Chevy V8Z Tech Board
I could take all of these and make them into a PDF once and forever.... Or did somebody already offer this? Tj -
Thats what I did on a few little spots so maybe I will just continue. Cut some little Aluminum scraps and goop them in with seam sealer. I can always hack them out again later I suppose. Thanks.
-
Thats what I did on a few little spots so maybe I will just continue. Cut some little Aluminum scraps and goop them in with seam sealer. I can always hack them out again later I suppose. Thanks.
-
I guess the grommets don't have to be the PERFECT size as long as they fit. On account of ALL posts being worthless without pictures...
-
I am nearly done with my new panel and a Z with a stripped race-car like interior. But there are about 20 holes in the floor and firewall of various sizes from old wire bundles (complete rewire done). Some are half-inch, some are 1" some are bigger - All Metric of course and all different. Anybody have any quick and dirty ideas for plugging them up? I have some leftover seam-sealer, was tempted to cut little aluminum patches and goop them all closed. Maybe somebody has an even easier way to seal up the inside so I can stew properly in my own juices? TJ
-
I want to make some out of Aluminum when I am done with the panel. Should be kinda cool.
-

LS1 thoughts (Hollow, lopey idle) - Mentor needed.
duragg replied to duragg's topic in Gen III & IV Chevy V8Z Tech Board
That cam sounds nice, so maybe an LS can have a cranky idle. Especially without cats (not needed for my registration in AZ). Looks like the T-10 is a side-shifter that requires different shifter location. Lack of OD just isn't a factor for me since it is a weekend Blvd cruiser primarily. Will continue my hunt for a LSx/T56. Thanks all. Tj -
I am green, please go easy on me. I have also searched, but looking for some condensed thoughts. Soon I will look to put an Ls1 in my 1973 240Z (Rat-Z). This is a weekend driver toy car. Stripped with a race interior. Just a toy. I have other cars for transportation. I like the Ls1 for price and newer features (EFI). But alot of the Ls1 motors "Purr like a kitten", not what I want. I want that "Hollow" type sound, lopey, unstable idle. A little bit of "WTF/?" factor. Questions Engine: Is that all Cam / Headers? Or is that the perfect EFI? Do normal LS1 motors have a GIANT flywheel? (They all seem to idle and rev very gentlemanly.) Questions Tranny: I'd love a 4 speed for nostalgia purposes, like a Muncie M22. But the Muncie is a side-shifter and I want stock shifter location. Any other 4 speed choices? The T56 is just a lot of shifting for a toy car. Perhaps a 5 speed would be a good alternative (T5?) I could use a level-headed "Mentor" to bounce ideas off of in a private email setting. Volunteers?
-
Update time. * New ignition fixed the no-spark. Now have a full voltage XR3000 running. * New Clutch Master cylinder fixed that issue. * New Brake Master Cylinder in process. * Rewire is mostly done. * New internallly regulated alternator mounted and good at 13.8v * Ordered an entire Equus gauge package which should be here next week. Seats and harness are next. I am struggling wanting to spend $1k on a full seating / harness package. CL to the rescue?
-
All better now:
-
Chassis ground. Ooops. But still no spark. However with a real chassis ground the XR700 positively tested bad. Ordered new XR3000 today (12 volt / no resistor system).
-
I tried 3 coils so far and can manually trigger the coil. Even thought the XR-700 module is flashing the - side of the coil it still must be toast. I added the ballast resistor and it just started smoking. Never f'd with those before, maybe that is normal for a new one. Will replace ignition wires again - though my high tension lead tester shows them good. Will also get a new XR-700 module. TJ
-
Help, I am missing something stupid and can't figure it out. 1973 240Z Triples XR700 with optical trigger New battery New coil Ignition wires 3 years old. Car always ran good with Crane XR700 My brother had the car for a year and it developed a No Spark. I took it back and rewired the entire car (race car conversion basically - totally stripped). Still no spark. +12volts directly from a panel mounted toggle switch. Red wire from + of coil to Crane module gives +12 volts to Crane module. Yellow from Crane module to - of coil as depicted on wire diagrams for "flash" from optical pickup. Black from Crane module to ground. Test light from - of coil to ground flashes while cranking. Test light from + of coil to crane yellow wire (solo) flashes while cranking. I think this means the optical pickup is doing its thing. +12.6 volts at coil with Ignition switch on. When I connect the Crane Yellow and Red wires and depicted in the diagram the battery voltage droops to 10v. Coil gets HOT. Replaced coil, no change. WTF am I missing? Crane module bad even though it is "flashing" the coil properly? I find it odd that connecting the Crane module with engine off and ignition ON makes the coil SO HOT. And pulls the line voltage down so low. But maybe that is how they operate. Tj
-
I only have the one coil. Owned the car for 4 years and it always had a Crane XR700 with optical pickup and coil marked (USE EXTERNAL RESISTOR). Then I gave the car to my brother and he said it developed a "NO SPARK" condition, sat for a year and packrats destroyed the wiring. So I took the car back, rewired it and still have NO SPARK condition. +12 Volts from a toggle switch on the panel goes directly to the Coil +. I didn't put in a "Ballast Resistor" should I have?? ooops. When I hook up +12 to the coil everything is ok and I read +12.8 volts at the + terminal When I add the crane module wiring per the diagram the coil gets F-ing HOT and I read 10 volts on the + terminal. I wonder if the Crane XR700 module is toast, or the optical pickup is F'd and there is a continuous ground to the - Terminal of the coil. That would make the coil F-ing HOT, yah? Old cars rule!
-
Coil Primary Winding: Plus pole to Negative Pole is about 1.6ohms Secondary winding is 10,500ohms (10.5k). Maybe the XR700 is toast.
-
OK, while you are here... My brother had the car last and said there was "No Spark". I have rewired everything now and still no spark. Coil is Smoking Hot after having power for a few minutes. Crane XR700 with a coil and the optical pickup in the Dizzy. I think... +12V goes from battery (panel switch) to the + side of the coil. Wire from the - side of the coil goes back to the panel for the tach. +12volts leaves the + side of the coil and powers the Crane XR700 I think. Ehh. Need to pull the Crane manual and check this all out.
-
Hey, another question. I am deleting the heater core altogether. Do I just cap off the old lines? Or do I need to run them together? Tj
-
L24 with Triple Webers is fun to drive, but pretty slow. Maybe I will swap in an L28 for a while and keep my eyes out for an LSx motor. Got to get the car running again and back on the road. Then I need to think about real brakes and an LSD. Until I have real brakes and the LSD it doesn't seem smart to put in any big HP. Got a little work to do yet...
-
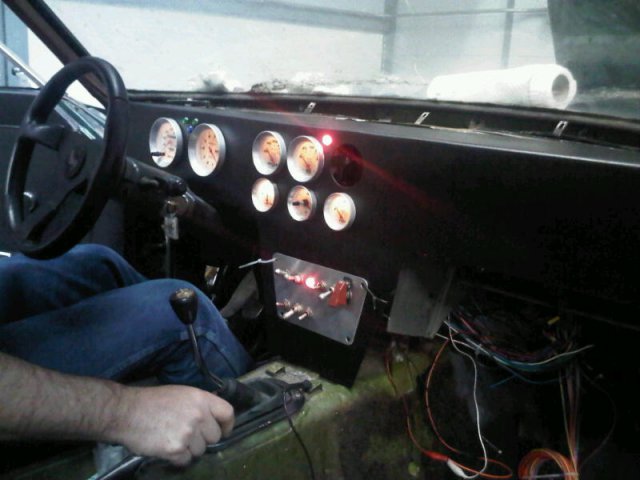
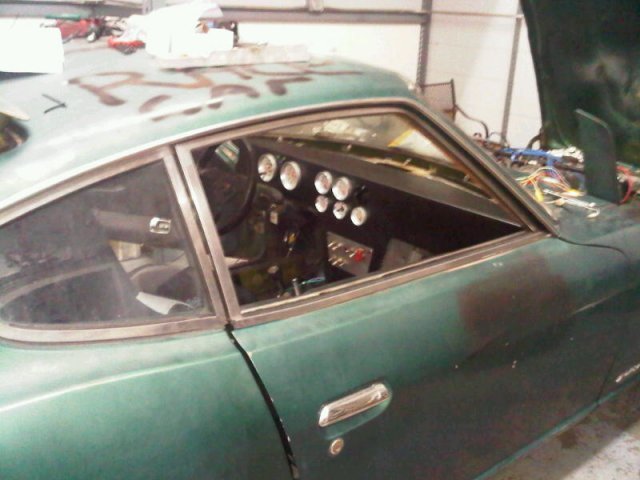
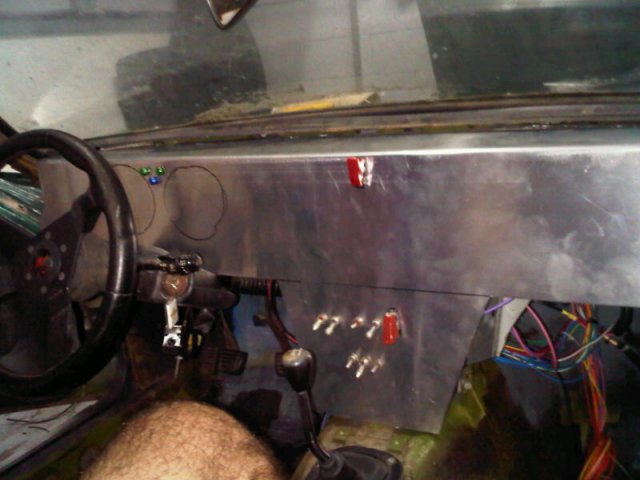
This panel is a "dash one" proof of concept mockup, so go easy on me.. All the electronics work, might change some switches and positions, but for now: Top guarded switch is hazards Down low from left to right 1) Master Switch 2) Instruments (and backup lights I think) 3) Fuel pump (Down Prime - Off - Up On) 4) Ignition (Up-Engine Run / Down-Engine Stop) 5) Red guard Start Below that Center - Running lights and Enable Left Low beams Right is high beams. Down by the shifter out of view is turn signals and reverse lights. Gonna make a real panel from water-jet .090" aluminum once the mockup is done.
-
I liked the idea of a "HOTAS" panel like that used in fighter aircraft. The left hand is always on the wheel and has no other jobs. The right hand manages the stick and switches since it has spare time. I'm just trying to be different.
-
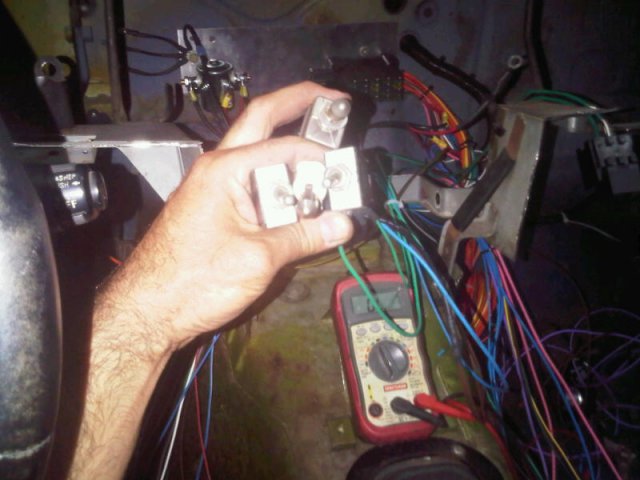
Figuring out the headlights and taillights was a chore. Recommend you completely abandon the stock scheme and just do your own thing. I made the turnsignals dedicated front and rear. Brake lights are the two top reds. I used a dedicated (3rd brake light) wire to run the brake lights Running lights are the smaller outboard red. Headlight circuitry using toggle switches is strange. I had to run the Hi-beam power through a low-beam switch and so on. It was just trial and error till I got everything to do what I wanted. I had to use DPDT switches in many places to get the indicator lamps working correctly and not feedback into other circuits (Hazard, High Beams, and T/S). Totally trial and error process. I like switches so it looks like a battleship in there.
-
I agree it could be trimmed down a bit more. Actually the cell phone image doesn't show the correct proportion. Probably going to do it over again once I figure out where I want all the switches and stuff. Next one would be .090" Al cut on a Waterjet. But this will work for now as mockup. Tj
-
My 1989 560SEC Benz has no cats and even with perfect 14.7 idle mixture it stinks. That is one of the benefits of Cat-Converters...smells like a "Summer's Eve".
-
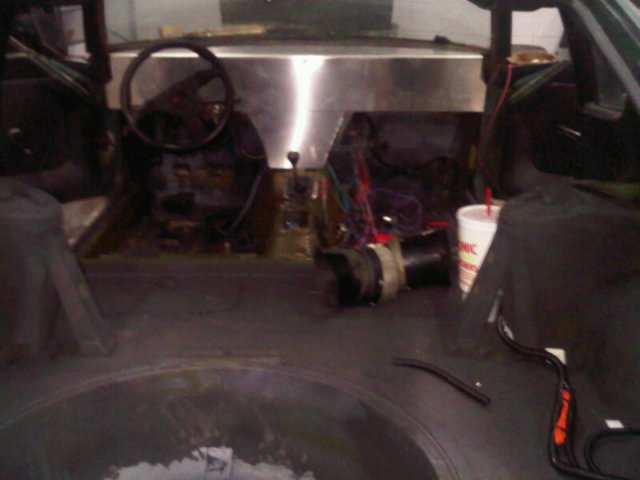
Good progress today. Installed a Master Relay and Master Switch. What you see in this picture is the Master switch on top. Below that are 3 switches. Center is Running Lights On. Left is low beams, right is high beams. Bought a new batter and new headlights. Got a rough cut of the .050" Aluminum panel cut and fit. Its rough. Kills me. I want to WaterJet a panel from .125" aluminum. But its a RatZ... But its a RatZ... But its a RatZ. Tony the sheetmetal magician at Superfinishers said he'd straighten it up once I get it all hacked up good. Tired. Thirsty. Done for the night. Tomorrow is Cruise on Central in Phoenix... Got to get the Benz ready cuz the Z won't be.

