-
Posts
1201 -
Joined
-
Last visited
-
Days Won
7
Content Type
Profiles
Forums
Blogs
Events
Gallery
Downloads
Store
Everything posted by duragg
-
Many thanks to Richard Lowell (Chaos Racing, AZ) for introducing me to Bob Ream at Imagine Injection. Bob Ream is recurving my L24 Dizzy ($65 bucks). A true cottage shop, he makes bitchin ITB EFI systems (www.imagineinjection.com) Probably cooler than my triples Webers.
-
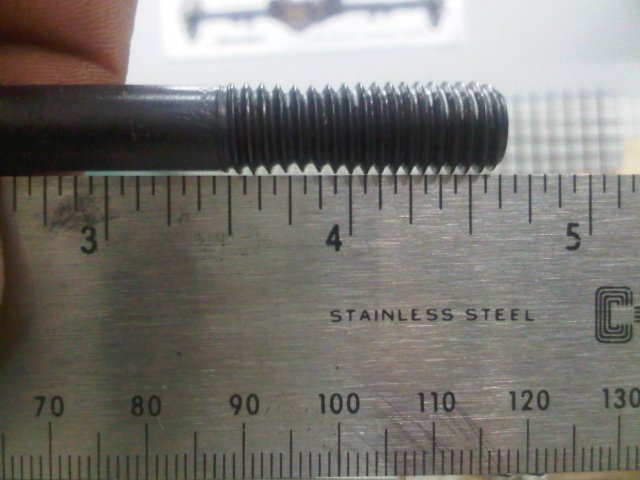
Done! That wasn't so bad at all. I suppose there is a little left to do. Need a few more 160 lash pads. Need a cover for the old fuel pump drive. Need some plugs for the old heater hoses ports. Need studs for I/E Manifold and probably some other odds and ends.
-
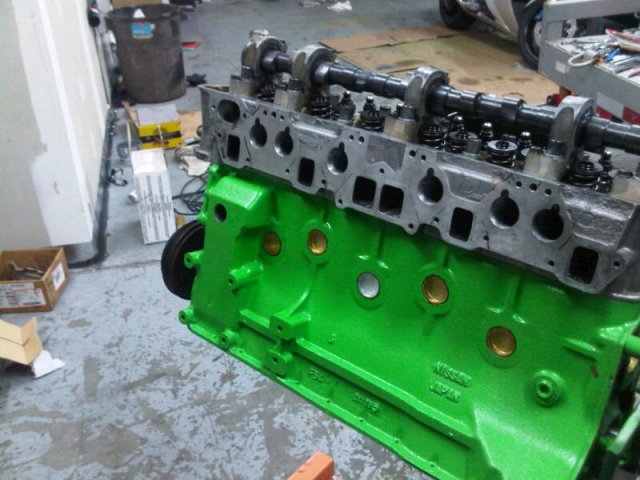
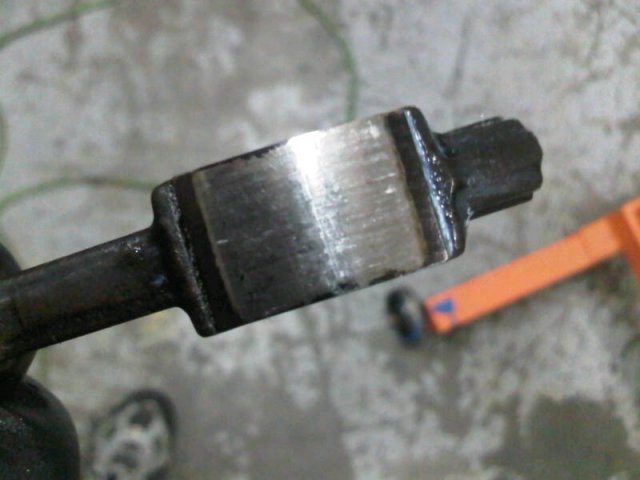
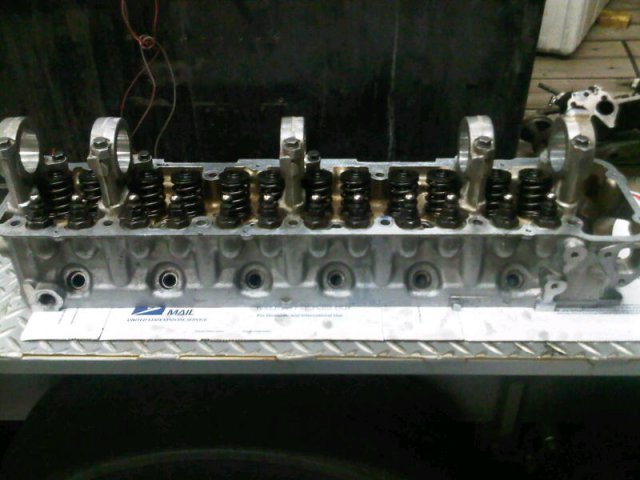
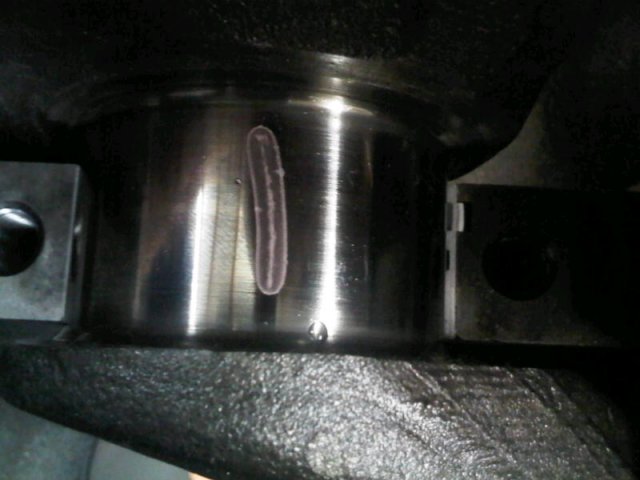
Head mating Block porn: The plug was in the cam, false alarm on that. Thanks to **** (short for Richard~?) from Chaos for the cheater tip on setting up the last pads. Using his method it took me about 12 minutes to determine that every cylinder needs a 160 lash pad except for 2 that need a 150. Ran some wipe tests with pretty decent results I think?? Good pic of the max compression showing the coil and seal clearance.
-
-
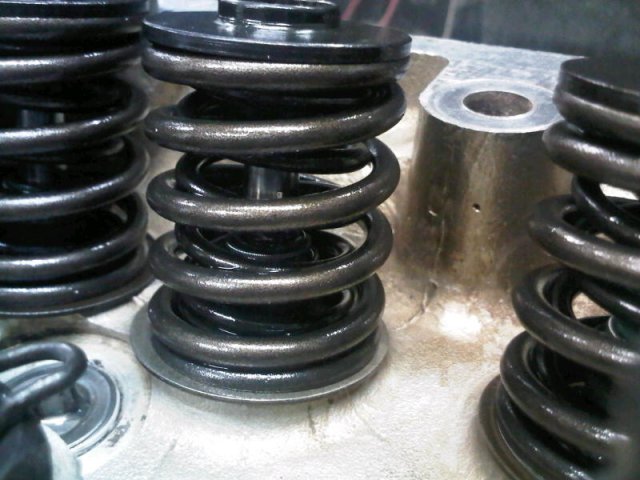
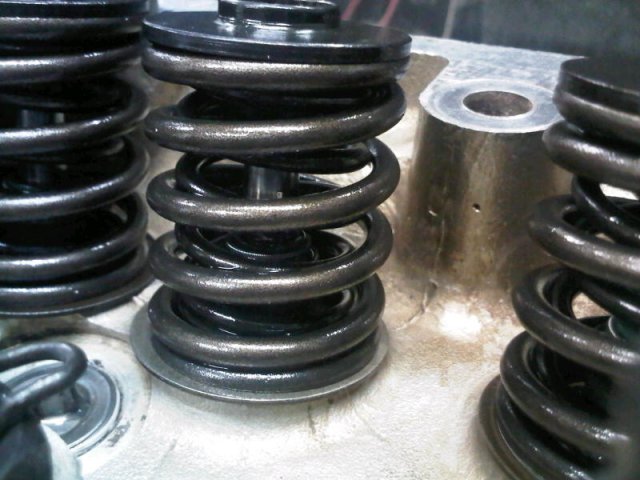
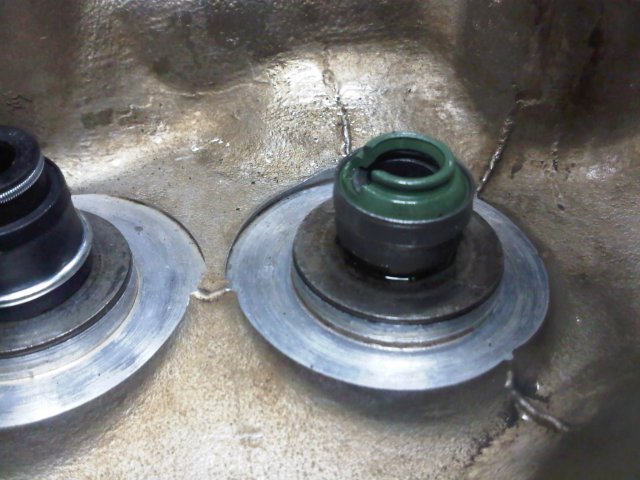
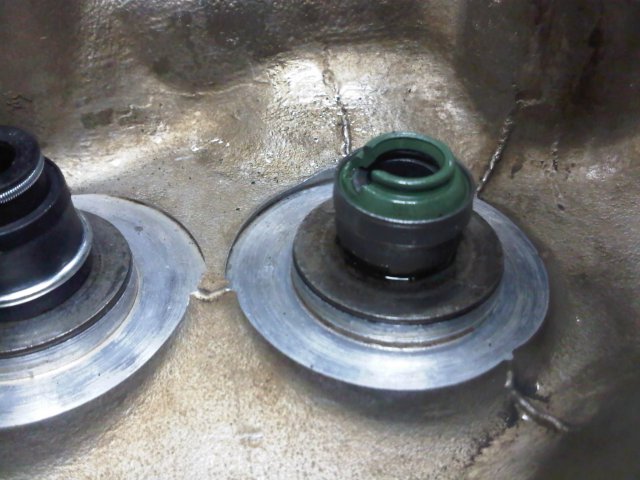
Ouch. THis is hard work. Installing the seals, valve, springs, retainers and keepers is hard work. But done. All valves are withing .003" of each other for installed height. Setting those mischievous ford stem seals is a PITA. MSA type spring and retainer kit just makes the drill that much more painful. But all went in. New Isky regrind cam rides true in the towers. Except they didn't put a plug in the end. I forgot about that until reading my engine books tonight and came across the reminder. Mounted the head on the block. But forgot to take a picture of the final product. One of the head studs started to feel funny past 50ft/lbs. I got them all to 60 and it was spinning like a top. Backed all the studs off and pulled this one expecting to find the threads gone. Happy to find the stud yanked. Remind me to get ARP head studs when I rebuild this rebuild. Started setting up cam geometry but hit the wall. Richard (L motor guru) is coming over Sunday to help me with the cam setup, wipe pattern and timing. I want a pro around for that. Beer tastes very good right now. Tj
-
All valves lapped and appear seating perfectly with some minor adjustments to the seat geometry. New Fel-Pro SS72686 shorty stem seals installed and some didn't go on well - see the stem seal thread. Another batch of seals in tomorrow and will try again. Setting the depth will require a little gauge block to be made this weekend. Progressing towards mating N42 head to the F54 block for the first time this weekend. Tj
-
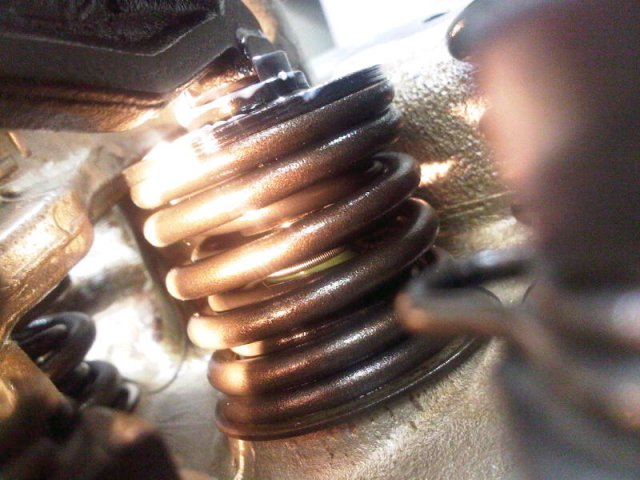
The SS72686 can net over .100" inch additional clearance from top of seal to retainer. I installed so the top of the steel barrel was about .550" above the height of the naked outer spring perch. This seems to leave plenty of room inside.
-
Just installed these SS72686 seals. They are short! and finicky. Just ordered my second set to replace the ones I screwed up. SHould have read "BRAAP"s post prior to the first install. The second install is gonna be great! PS - How do I get the ones on there off!
-
Cut the valve seats today. Its insanely easy with the right tools. Fresh neway cutters, the right pilot, good cutting oil and a sharpie marker. Tomorrow Mike will touch-off the valve faces and clean them up. Starting to scare more parts back together every day. Fun.
-

Turbo oil pump- identifying Black Dragon model?
duragg replied to zigzag240's topic in Nissan L6 Forum
I need to order the very same part. WHat is a cast iron melling? Is that a bad thing? -
I will probably drive mine all the time initially. Except it is summer here in Phoenix and no A/C. Cutting valve seats today. FSM says Exhaust .071" to .087". Seems like a big area, but will do as they say.
-
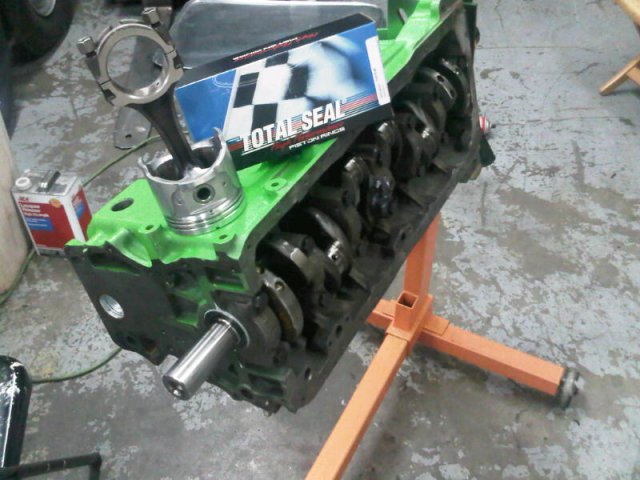
Yes. Total Seal gapless rings. Actually the top ring is standard, the 2nd ring is Gapless, the third is the oil control stuff. This is their standard kit for the L28. They had the +.040" in stock. Tj
-
-
Should there be more oil slathered around in that area? Does it look a bit dry? or is that how it goes? If you crank the engine now with the coil lead and/or plugs removed you should see oil barfing out from each cam lobe, no? I've learned the hard way in other engines that pre-lubing can be valuable in a new engine. If those lobes aren't cumming oil you need to know asap.
-
Crank is in and toqued, vent grate and baffle in, rear cap sealed (f'er better not leak, those stupid side seals suck). Started to load the rings and realized my ring compressor was no good. You gotta have the correct Total Seal compressor to get the rings in right. With the TS compressor you can watch the rings load into the compressor and then better install into the bore. Stuck until Monday.
-
-
-
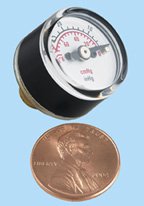
Might be neat to get tricky and install a small shutoff on each runner outlet so you can disable some or all. From that valve to a T with a small vacuum gauge on each runner. And a small check valve so each runner is sucking independently and not bothering the others. Then T-into a larger tube and go to one of those Vacuum chambers and onto the booster or wherever else. Entirely overkill but might be fun. I use one of those big vacuum reservoirs on my Triple DCOE setup but it only picks off the #6 runner and seems to work fine.
-
Why can't you shave the head a teence? I just bought 87mm ITM flat-tops which are vanilla. Somebody like ROss or JE might be able to tell you.
-
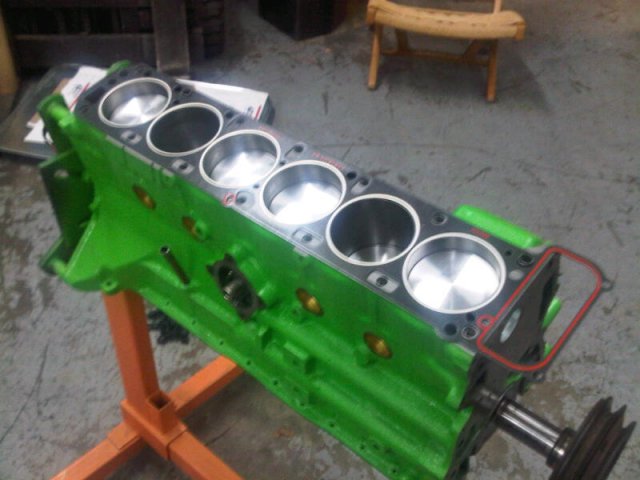
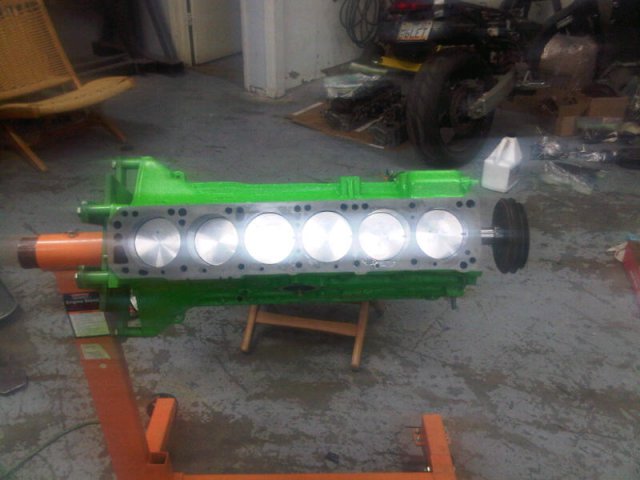
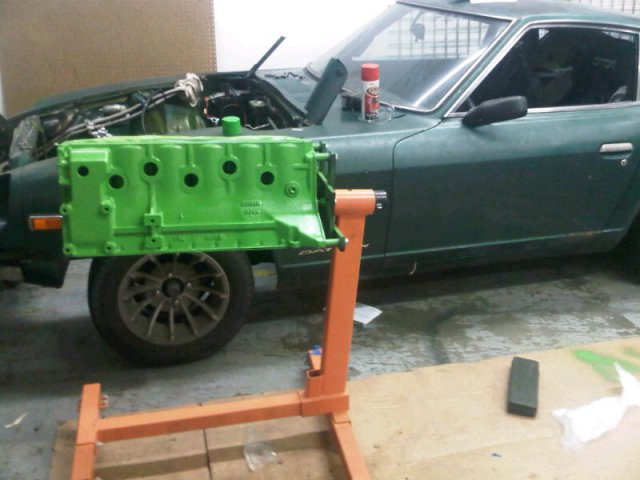
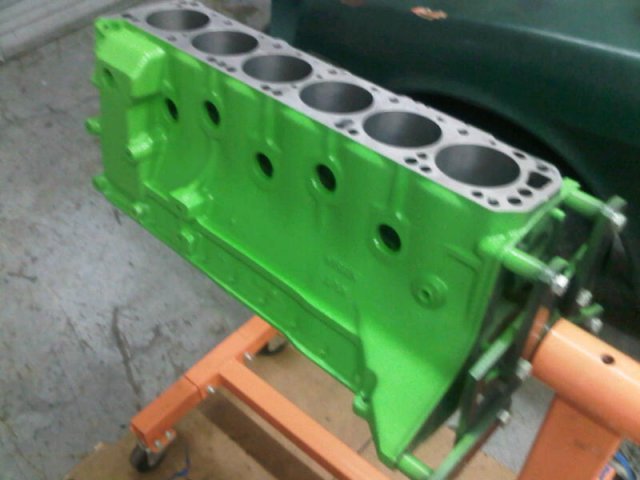
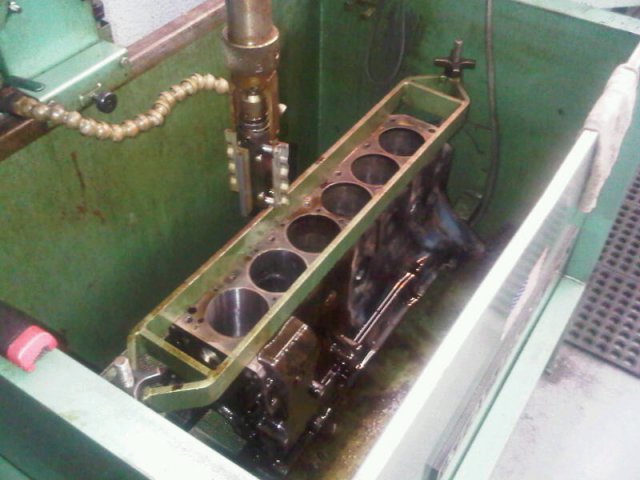
Monday: Back at it today. Mike got the new stones for the hone since the old stones were goofy and cutting a taper into the bore. I can assure you that honing a cylinder straight and true is an art. After I struggled to get the bores true and messed them up worse Mike took the old stones and cut then down to half height but left the shoe guides full height. This allows me to feel the choke better and made an amazing difference. We also stopped using the pneumatic stroke mechanism and began dialing the bores in by hand. Had I just let him do this job it would have been done perfectly. But this is my project and learning the art of honing is fascinating. Patience. Sneak up on it. Not my specialty. I want to hog and chop. It is surprizingly relaxing and "zen". The Datsun spec for taper is no more than .0008". We are shooting for no more than .0001" but will be happy with .0003". Piston to Block clearance of .0015 to .0020 should be fine. The pistons I pulled out where .004". Sunday I port matched the head and unshrouded the valves and tidied up the intake runners. The correct taper pilot for the seat cutters should be here late this week and can finish the head. Once the block is done I will lap the top surface and paint the block then reassemble the beeatch. Working on engines and metal and doing it yourself is an amazing learning experience and provides tremendous satisfaction.
-
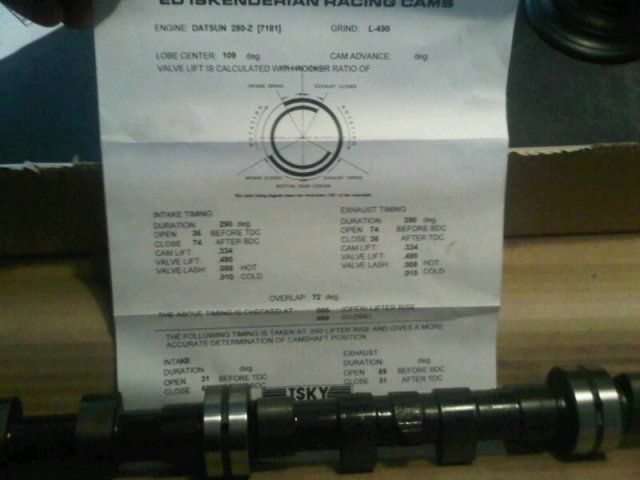
Cam returned from Isky today. I am impressed so far. THey were a bit of a pain on the phone. Short and not overly helpful. But based on recomendations and some videos of their L490 cam I chose them. Total cost about $138 including the return shipping. The cam was expertly packed and includes pre-lube, Isky stickers, some general cam articles and a grind-sheet with all the final specs. I like the fact that they stamped the regrind details on the tail of the cam to aid identification down the road. That is a nice touch.
-
I try to work all day before walking next door with parts to play engine-shop. I made it till 5pm today then wheeled the F54 next door and setup the hone-tank. WE have about .020 to remove and many thanks to Mike at SF2 racing for letting me take out the first .010. Under close security I didn't fkcu up anything too bad. Measuring: Honing: Mike offered: Hey how about you let me finish these up now that they are close... Ya, that's a good idea. Thanks ET. All that honing made me beer thirsty.
-
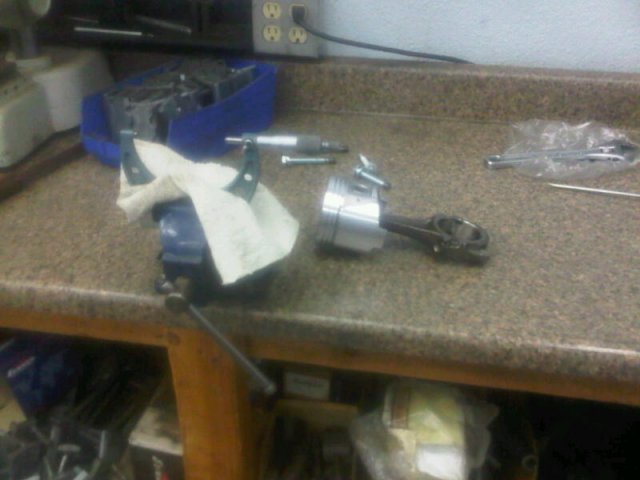
WTH. Mounted the bare pistons on the rods. Its a snug press but all went in good. Reading the instructions prior to pushing the pins will save time from having to redo the ones you put on backwards. THankfully I only had to reverse 2 of the 6 pistons so the oil hole was on the right side. Kluged one of the pistons a little but we cleaned it up and I think its fine now. Parts starting to show up. Have the Main Bearings, Water pump, remaining bearings and seals here tomorrow. Cam is at Isky for regrind. Total Seal made the rings on Friday and they are ready for pickup. Many thanks to Joe and Donna and Kevin at Total Seal for donating the ring pack. Its good to have friends in high places. Cleaned the heck out of the tranny in advance of its teardown next week. Engine hone is now free and the stones arrived so the block can get poked out this week. Ordered a .315 guide for the Sunen valve seat grinder, should be here Wednesday. Making progress. (edit for spelling)
-
Help - Order or things. Pistons pressed onto rods first before rings installed? Or Rings installed and then pins pressed through? I am thinking that pressing the pins in today and loading the rings just prior to installation (after end gapping) would prevent any damage during assembly.
-
I thought the protruding piston was part of the goal and they solved that with the 2mm head gasket? Not my area of expertise, just spent a month researching all that before ditching the stroker idea. I just bought ITM pistons for my L28 NA rebuild and they seem like decent quality, and cheap. zcarsource.com got them for me next day with a little discount.

