
Dragonfly
-
Posts
674 -
Joined
-
Last visited
-
Days Won
1
Content Type
Profiles
Forums
Blogs
Events
Gallery
Downloads
Store
Posts posted by Dragonfly
-
-
Motorcycle gas door seems like a nice touch.
What bikes have non-locking tanks?
I don't want to carry an extra key around, those things are heavy...
Good luck finding one that is the right style and is non locking, but a motorcycle key is about half the size of a car key. On my bike the key only goes into the gas cap up to the 2/3rds point on the key so if you find one like that you could shrink the key even more.
I like the LED idea but in reality I think that once the car is painted it is going to look better as a smooth panel with nothing breaking it up.
Dragonfly
-
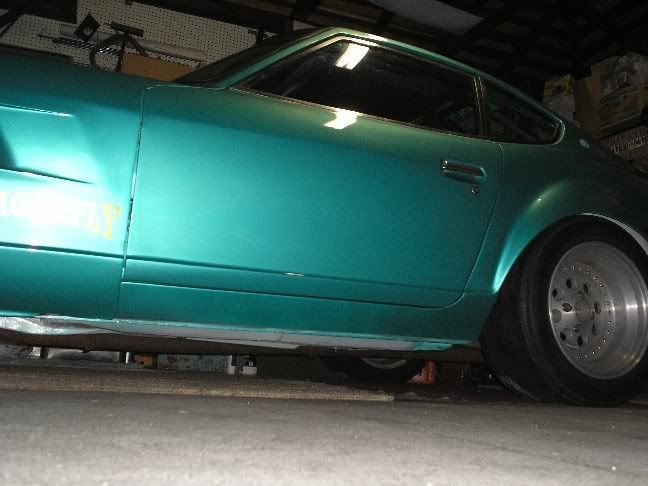
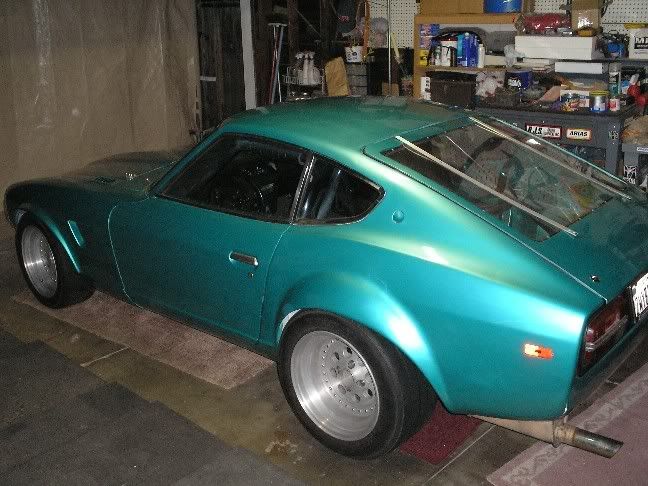
Realized I had a slightly bigger picture that you can see a little better.

The inside of the rims are painted black on mine.
Dragonfly
-
They really look like those cheap American Racing rims I see all the time on little Ford and Chevy pick-ups.
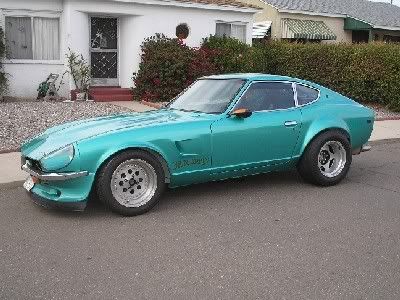
This is what I suspect to be the case. If you look at my sig you will see the same wheels on the back of my car, they do not have anything about the manufacturer cast into them only their load rating. I paid $1 each for mine from a guy who just wanted to get rid of them (10" wide would not fit his car).
Dragonfly
-
I got them from http://racing-seats-usa.com/. I ordered them on a Monday and got them on Friday. Oh and don't bother searching for them at a cheaper price, they are $698 for a pair of them. I think there is a price lock on them or something from Corbeau.
Some times you may get lucky and find a "no charge for shipping" deal which can help out on the cost. I got my MOMO's like that and it saved me a fat chunk of money not having to pay shipping.
BTW Those seats look great in your car.
Dragonfly
-
I like the idea of flush mounted side markers...
But what I considered but did not do (although I have most of the lenses for it) was to put 3 flush mounted lenses instead of one on each side. These lenses would be 1" wide and about 4" long and I was thinking of mounting them like this /// where they would blend in properly with the body lines. The other thing you could do albeit only for one side is to replace your fuel door with a motorcycle fuel tank door/cap. Just pick up a complete tank at a wrecking yard use your existing door to mark out where to cut out the motorcycle tank and weld it into the existing hole after removing the box portion inside the car.
Dragonfly
-
You guys are probably right, I was wondering why the clip was so short...
Dragonfly
-
that cop didn't even care. "He's gone" lol
Every cop out there would be a mental basket case if they did not learn to not care (in reality not get emotionaly involved) in situations like that.
Dragonfly
-
I'll check the crank on teardown. Hairline cranks sound scary.
How far are you going to tear it down? No matter how far, you should at a minimum take the flywheel to a machine shop and have it wet magged, if you go so far as to pull the crank take it as well. I think I paid about $40 for crank and flywheel wet mag and about $15 for the block to be magged, don't remember how much the rods cost because that was part of the cost of bushing, sizing, shot peening etc. but any way it is not expensive and it is well worth it IMHO.
Dragonfly
-
As long as you are able to properly drill each of the bolts for lock wire then you can lock wire them and know for sure they are not going to back out. If you do that make sure to use a high quality lock wire and not any of that crap that you find at Harbor Freight or similar establishments. Since this appears to be a reoccuring problem (has happened at least once before) I have to ask, did you replace the bolts? If you did replace them then I would suspect there is something possibly wrong with the crankshaft or flywheel. You could take out the flywheel and take it to a machine shop to have it wet magged to make sure there are no 'invisible' cracks around the bolt holes causing the flywheel to flex under load.
Dragonfly
-
This was my point in mentioning that the quoted post is talking about pressure plate bolts - NOT the flywheel-crank bolts. I don't believe that there is any issue with the flywheel-crank bolts being too long.
Seems like I've seen this get confused several times.
Datsunan had a problem with his flywheel bolts but is was because he left the spacer from a flex plate on the back of the crank which would not cause what OTM is talking about... but it makes me wonder if in the past longer bolts may have been used on his car then the spacer removed when the new flywheel was installed while re-using the longer bolts??? Just a theory.
Dragonfly
-
Unless you drive close to red line all the time you could reduce the size of the alternator pully. That will cause the alternator to turn faster at idle than it does now. I does have the potential to work the voltage regulator harder under regular driving conditions though.
Dragonfly
-
Thats close... but then close looks good and all the better since it fits. Did you also make sure that the tire doesn't rub in the 10 'O'clock and 2 'O'clock positions? I found with my tires (255/50/16 @ 26" dia) clear my flares but when jacked up to almost the point of coil bind rub rub in the 10 'O'clock and 2 'O'clock positions. Under most circumstances that is not a problem but as I recall you are stepping into the world of autox... unless you run a smaller diameter tire you may be finding a new rub point.
I just did the math and your tires (275/35/18) are 25.58" dia. so you may make it after all. Either way check and check again because we know you are going to be pushing it hard in the corners.
Dragonfly
-
I had a caliper bracket like that on my Z, so I put my longer studs in when I swapped rear wheel bearings. The bracket doesn't need to attach to all 4 bolt holes like that though. If you look at Ross's brackets or AZC's brackets, they only attach to 2 or 3 holes. You can grind the bracket down for clearance (just do it opposite where the caliper is) or you can pull the stubs. The 12mm Camaro/RX7 studs fit the hubs without having to redrill or anything, so that part is as easy as it gets.
Using the studs Jon is talking about (I used them on my car) you can since you have a disk brake set up (it is easier to pull the brake rotor) rotate the stub axle and there is a spot at about the 5 'O'clock position were the stud will just barely fit into the hole without having to pull the shaft. I then used a brass rod to tap each stud into place, then put the wheel on and tourque each lug nut take the car up and down the block jack it back up and re-torque each lugnut to insure all the studs are pulled up tight.
One other thing to mention about the longer studs... you have to use open lug nuts with them, if your lugs have chrome caps or ends on them you will either mess up your lug nuts or not get them tightened properly (most likely). My studs stick out about 1/4" past the end of my long lug nuts (I chucked all my lug nuts up on a laithe and drilled out the ends so the studs go through).
Here is a pic of mine with just the longer studs, I don't have any pics of the modified lug nuts.
Dragonfly
-
It would be easier to use an adapter, but I can't find them less than 1" thick.
Contact Jerry at http://www.zraceproducts.com I am sure he can take care of your adapter problem if you would prefer to use the adapter instead of going with longer wheel studs.
Dragonfly
-
Don't have a whole lot of practacle experiance with the 280ZX but I don't remember ever seeing one with an R180 and half shafts before???
Dragonfly
-
Now I have a stupid question. I've looked in my VB and MSA catalogs and also checked Tabco's website, and I can't find who makes the replacement piece for the top area. Can anyone help me out with that?
After reading this I called my buddy Jerry (owner of ZRaceProducts) and asked him about that piece. He informed me that he is in the process right now of having the stamps made for making that piece. For anyone who may be concerned about quality he also told me that he is in a contract with Tabco and they are making the dies and will be stamping these parts for him. Jerry is also in the process of purchasing all the other dies that Tabco has for S30's so he can insure there continued manufacture. At this time the work is not completed but he will let me know when they start production and I will post it on Hybridz.
ZraceProducts also has that piece as a smooth part with none of the original contours in it, but it still has the hole for the latch. Jerry told me that he has not set a price on these parts yet but he is going to try to match the prices from when they were previously available from other sources.
Dragonfly
-
Jon, found this in some of my old pics, thought it might help.
Dragonfly
-
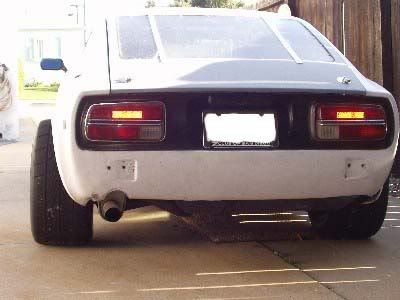
When I attached my new one I used rivits in the places where the tack welds had been from the factory. I have not had any problems whatsoever with it. Here is a pic from the outside after I was finished.
I do not have a pic of the inside but I used the shortest blind rivits I could. You may notice that there is fiberglass on the inside of the tail light holes on mine that has been painted over, that is because the piece that I found was for a 280z rather than a 240z so I had to cover the openings where the reverse lights sit at on the 280z.
Dragonfly
-
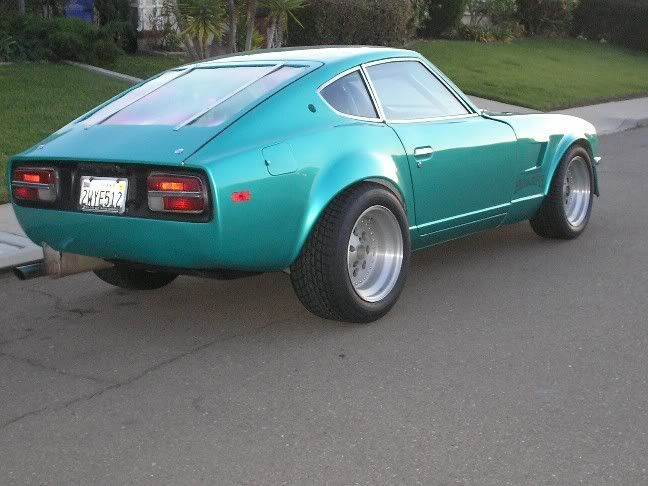
Here is an old picture of my car with 275/50/15's on the back (with a 10" wide rim), there is about 3/8" clearance between the tire and the coil over.
The followin two pics are with my new flares on the car and 255/50/16's, (again with a 10" wide rim) they do clear but if I hit a large bump at a moderately high speed they do rub and I am running 300lb springs.
These also have about 3/8" clearance between the tire and the coilover. I would recomend that you get some rubber on there, pull off the spring on one side, reconnect everything without the spring then use a jack to raise that tire up to full compression in the wheel well. Good luck.
Dragonfly
-
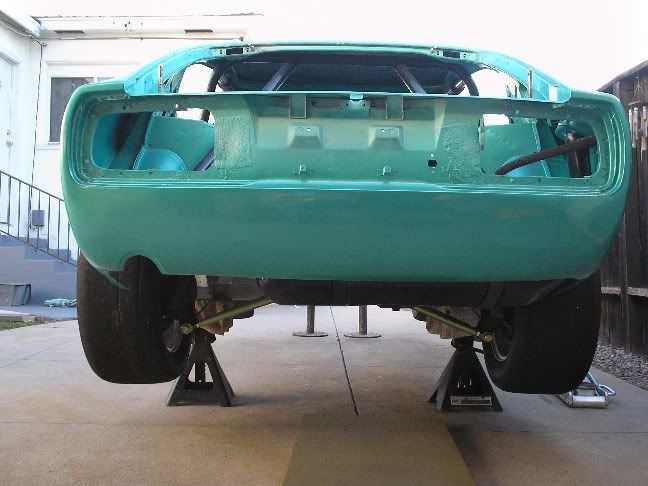
I'm a little concerned about the rust in the seam on the last pic. Don't know that there is too much to be done there, because all of these pieces overlap there so it seems like it might be a bitch to cut it off and really get a good look in there.
Little rust in this seam:
If anyone has any suggestions or anything, I'd love to hear them. I don't know much about bodywork...
Jon the portion that you have shown in this pic that you are concerned about is actualy fairly simple, if you go ahead and take it down to bare metal following the seams that have the rust in them you will see that the entire rear section (including the deck you want to replace) is all one piece. It is held together with a series of spot welds than run up the lower valance inside the overlap of the seem, when they reach the tail light cutout the jump above it to the deck portion where there is several inches of overlap. Remove all the spot welds and the whole thing comes out as a single piece. That piece used to be sold as a complete replacement piece but I am not aware of where you might be able to find it now. When I did mine I actualy found that piece in the back of a Z that was in the wrecking yard, the piece was brand new and still had the foam on the corners (I paid $18 for it).
Dragonfly
-
A little about me first... I am a Metrologist (calibration technician) for a living, so this is the kind of stuff I keep up with.
Most manufacturers if they do not advertise that they have an ISO certification (usualy 9001 or 17025) then they predominantly (but not always) do not use calibrated tools and instruments that are directly traceable to NIST. Even though the mfg. may have an SFI compliance for their part/s it doesn't mean that each part is dimensionaly the same. It happens that SFI is just up the road from me and I took it upon myself to talk to one of their techs about SFI 18.1 requirements for harmonic dampers. Because of liscensing etc. the spec is not available to the public but I was able to look at it and talk with them about it, the SFI spec 18.1 does not have any requirements for dimensional repeatability or accuracy, it does however require that the part pass a series of reliability test and then a sample of the part under test (damper) shall be machined out and tested on a standard tensile test machine...
What I am stating above is that just because a part meets or exceeds an SFI spec that part may still not be dimensionaly correct. For those of you who are pulling out your digital calipers to check everything there is something you should be aware of as well. The typical digital caliper has an accuracy of + or - 0.001 under ideal conditions, so you should only use use it to make a relationship measurement from one part to another and not as true dimensional measurement, if you want a true dimensional measurement for the ID of the damper you should use a very accurate and calibrated dial bore gage in a controlled environment.
I am starting to ramble now so I will just sum it up with: Don't trust any part to be exactly what it claims because it will usualy be close enough but not always right so don't be afraid to send it back and ask for a different one.
Dragonfly
-
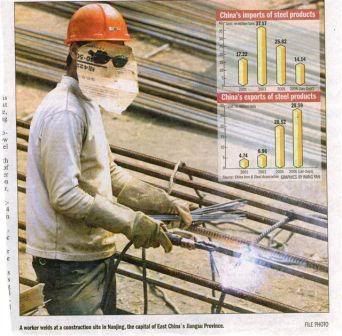
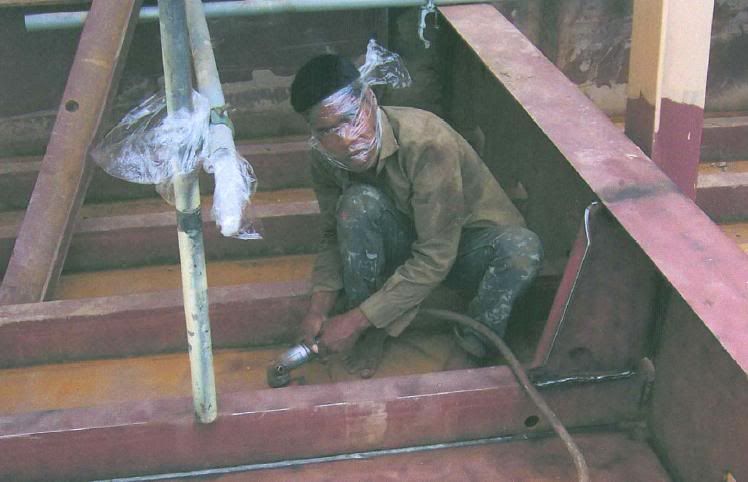
After reading this
from this thread http://forums.hybridz.org/showthread.php?t=123939 it made me think of these pictures:OBX is a company that has a reputation of producing cheap chinese knockoffs of quality parts.The pictures were posted in a different forum and was talking about the reasons things are done so cheap in china.
Dragonfly
-
After reading this thread I did a little research and found this on the site of a different mfg. (they do not make anything for L series engines).
Our entire range of dampers have been sized for a “tight†or interference fit on to the crankshafts for which they are intended. A loose damper will not function effectively and in time can destroy the key and damage the crank snout.It is important that the installation instructions are followed when installing a damper. The instructions recommend that the damper be heated in boiling water or on the lowest setting of a kitchen oven for 15 minutes, which expands the hub slightly easing installation, prior to fitting to the engine with a professional damper installation tool.
As all dampers have been assembled on very close tolerance mandrels it is highly unlikely that the damper is “too tightâ€. Damper bore sizes and tolerances are available if required; however in the event that it appears the damper is too tight, ensure the following procedures are followed:
1) Remove the damper carefully using a Professional damper removal tool.
2) Clean the crank snout with very fine abrasive paper to ensure no burrs exist.
3) Check the bore of the damper to ensure there is no paint residue, if required clean the area with very fine abrasive paper.
4) Re check the sizes, particularly the heighth of the crankshaft key as some Aftermarket crankshafts and keys do not meet OEM specs.
5) Prior to installation heat the damper in boiling water for 15 minutes or place in a preheated oven at a low temperature (max 250 deg F or 120 deg C) for 15 minutes. Remove from oven with insulated heatproof gloves, oil the crank snout and promptly install using a professional damper installation tool.
I hope this information helps out.
Dragonfly
-
Let's see if California can up the ante...
I know Texas, as well as a few other states, also increased financial penalties.
Here's what California is doing... http://www.thenewspaper.com/news/18/1831.asp
As far as the new laws in Virginia it is my personal opinion that there are a lot of people who have a very low price on their own lives and the lives of others, with these new fines that price threshold has probably been breeched for many of them and therefore they will try to evade rather than face the ticket putting there own life and the lives of everyone else at risk. Another personal opinion is that David Albo be investigated for what would be considered completely unethical and probably illegal if done by any other business owner.
Dragonfly


Wanted: Vent / Duct Ideas
in Body Kits & Paint
Posted
I took a look at my bike key this morning and I guess I fibbed a little bit... it is about half the size of my wifes car key (with key mounted alarm controls) but about the same size as my Z car key. But it still only fits about 2/3rds the way into the gas cap.
Dragonfly