

pat1
-
Posts
565 -
Joined
-
Last visited
-
Days Won
7
Content Type
Profiles
Forums
Blogs
Events
Gallery
Downloads
Store
Posts posted by pat1
-
-
check for intake leaks. put a boost leak tester and test for air leaks.
-
It can take a week or two. Don't forget this is less than half of what the wheels would cost you if you went and bought them retail. Rota is doing this as a favor to us so be patient he will get back to you. As has been posted several times its best to e-mail him with your exact specs. He will need to reference your e-mail as he gets a ton of phone messages and e-mails and its impossible to remember ever single one. Its not uncommon either to have his voice mail box full.
Two weeks and counting. Seems like a waste of time. Might be a good deal but time is money. I'd rather pay for customer service.
-
I have been waiting over a week for a reply.
-
I'll be glad to build you one. Do you have a rear wheel drive block or a all wheel drive block? The difference between the two is that the rear wheel drive block comes with a steel pan and the all wheel drive block comes with a aluminum pan. Most of the rb25's come rwd and I can build that pan three ways.
1: I can modify your stock pan to make it a rear sump pan that pan runs 250.00 plus shipping. I will need your pan and pick up as a core.
2: I can use your stock pan and I cut off the flange and build a custom pan from the flange up. this one runs 400.00 plus shipping. I will need your stock pan as a core.
3: I can build one from the ground up 100% from scratch. This one does not require a core or a pickup this one runs 475.00
If you have a all wheel drive block I can only make it one way that is 100% from scratch and this one runs 595.00 plus shipping. There is alot more metal work on these pans.
please let me know. I have some stock rb ft sump pans in stock and I can start the work asap. No waiting for your cores to show up. If you have any questions please let me know. I'll be glad to help you out
-
Those marks are only there for the alignment and will not line back up again unless you turn it over enough to to work the marks back to orginal place. In short if they lined up the first time and then your on the money.
-
I sent Kim a email 4 days ago with no reply. How long does it take him to reply to a email?
-
This is freaking sad as hell. One post a day. This is getting old. Come on guys. What happened?
-
is the pcm tuned for a n62 airflow meter? A rb20det comes with a j60 airflow meter. It will not run correctly if the pcm is not tuned for the n62 airflow meter. Grab a j60 airflow meter and try it.
-
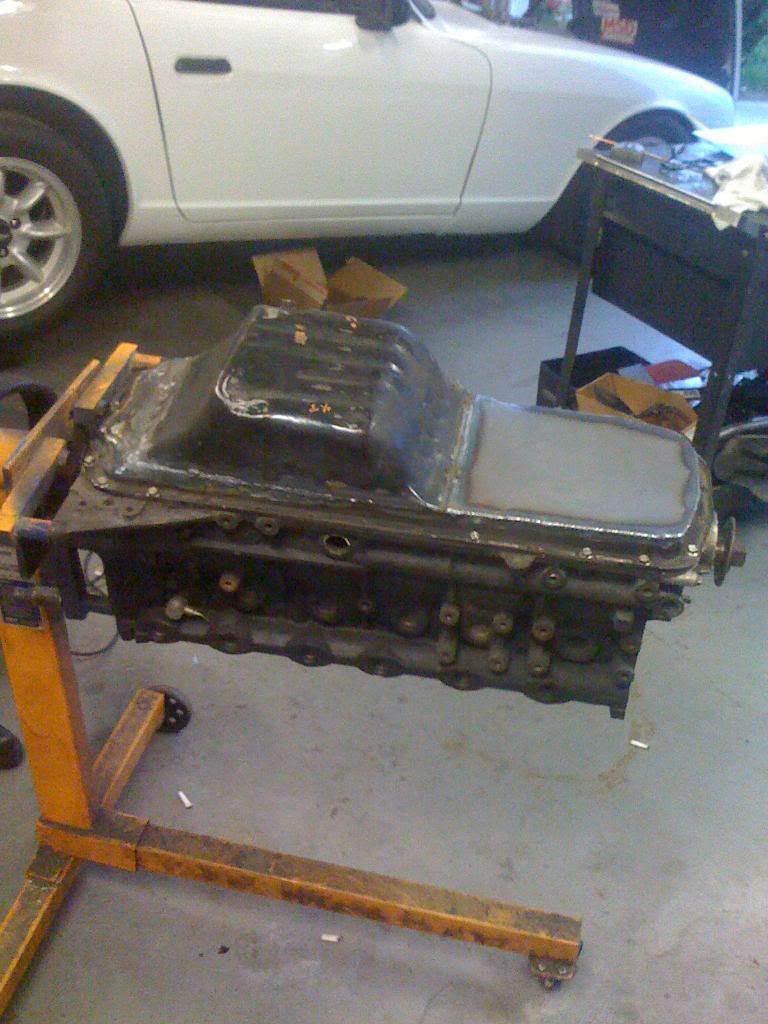
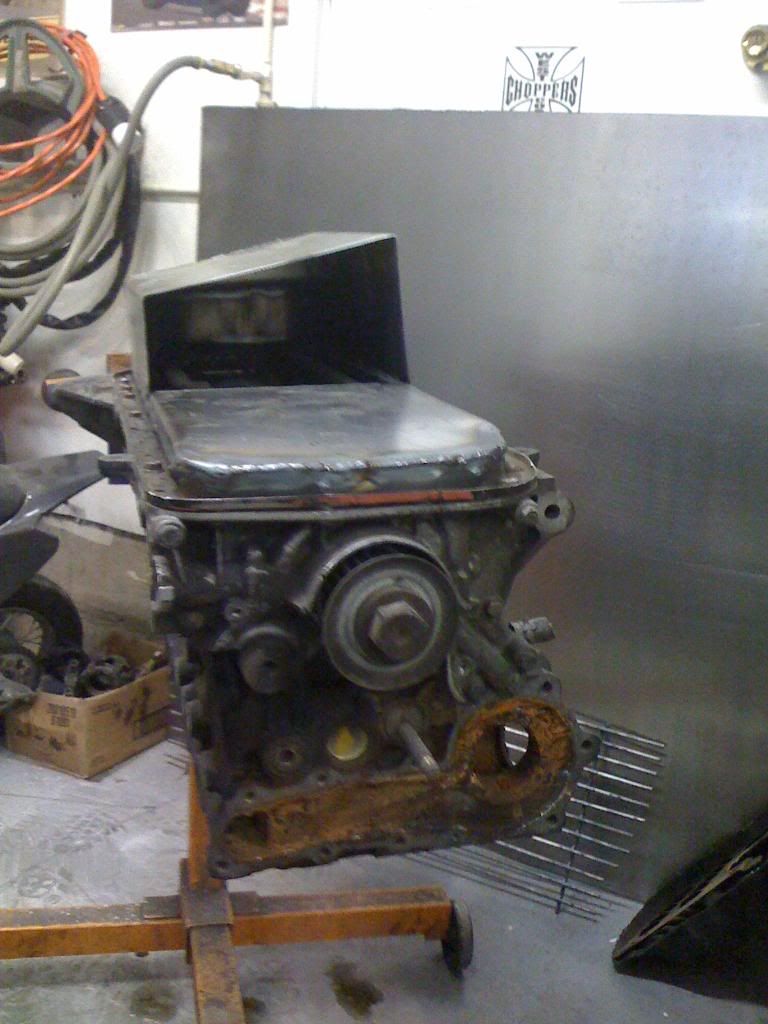
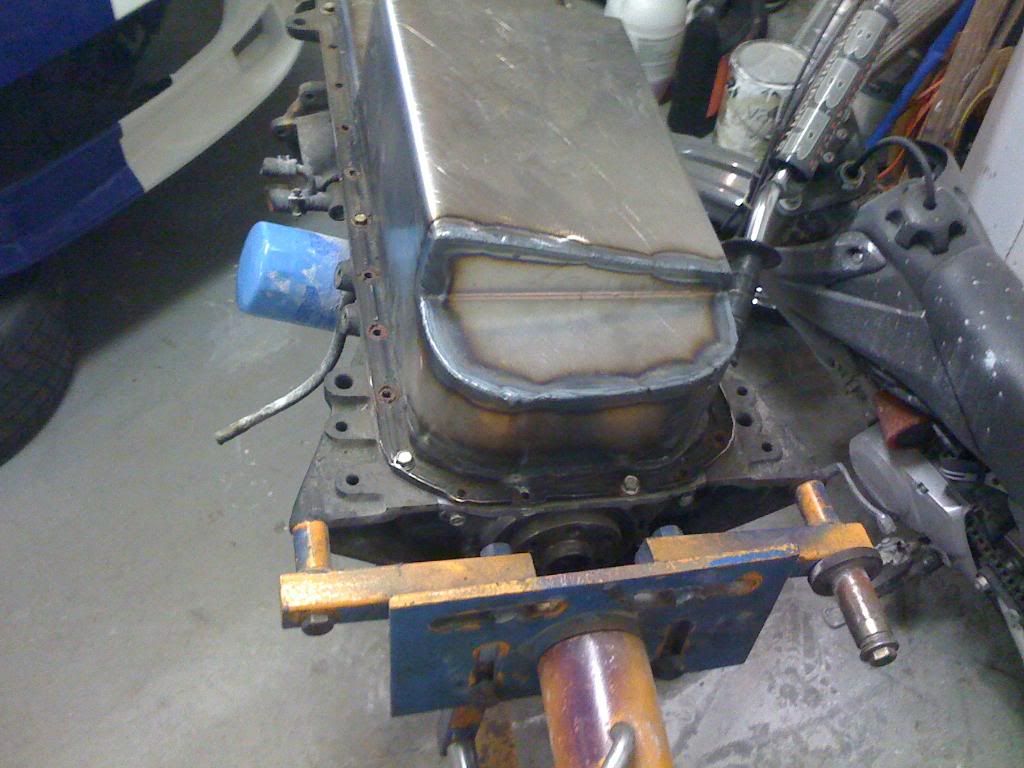
Here is a pan that I'm working on for boarderline. He supplied his stock front sump pan and I modified it to make it a rear sump pan. I'm trying to make these rear sump pans to fit any budget.

-
I have one out of a 76. Where are you located and make me a offer
-
lets start with pin number 43 which is the start signal. This wire needs a 12v signal only when starting. Behind your ign switch you will have the wire that goes to the start solenoid which gives a 12v power to starter when starting. My wire was black/yellow tracer (B/Y). Run a jumper from pin 43 to the B/Y wire. Your wire might be a different color. Do this grab a test light and check each wire on the ign switch. With the key turned to start find the wire that is 12v+ the run the jumper from the pin 43 to that wire and that part is done.
the pcm supplys the relay with a negitive signal from ecu pin 18,
connect one side of the relays coil wire to 12v +. Connect pin number 18 to the other side of the coil on the relay. On the contact side of the relay connect the wire going to the fuel pump and the other contact connector on the relay connect it to ground.
that should be it
-
You can use the stock fuse box and the stock fuel pump relay
-
+100 to appreciation, but I'm a little bit confused, could you provide pictures of the said steps? I've been sitting in my driveway scratching my head all afternoon, it took me a while to find the FP relay, and now I dont know what to do with it xD!
I wish I took pictures but I installed my rb last aug/sept and I didn't think about taking pictures. I did this write up from memory and sitting down one night and looking at the wiring diagram. I used a aftermarket 30 relay got at a parts store and ran new wiring to the fuel pump.
-
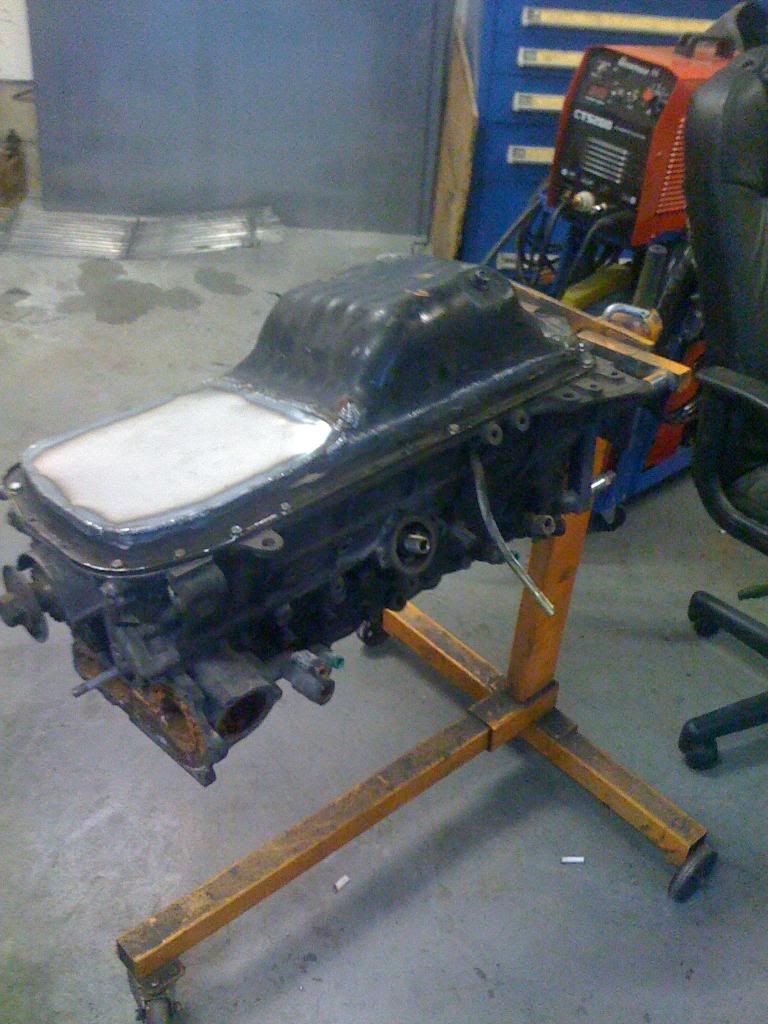
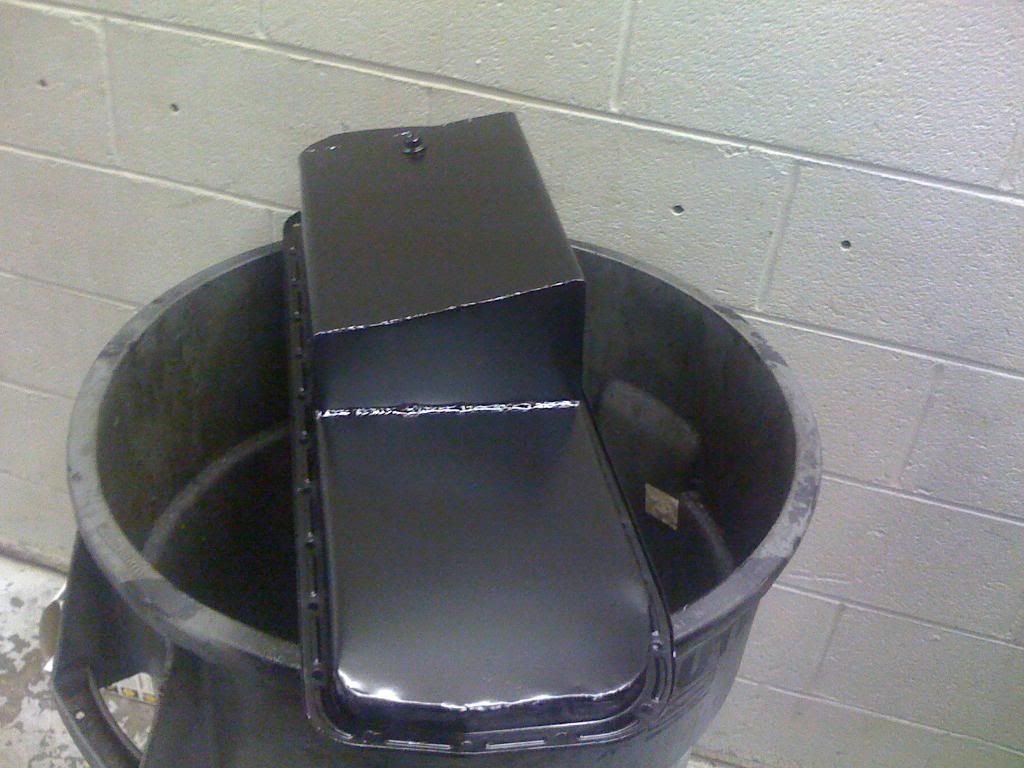
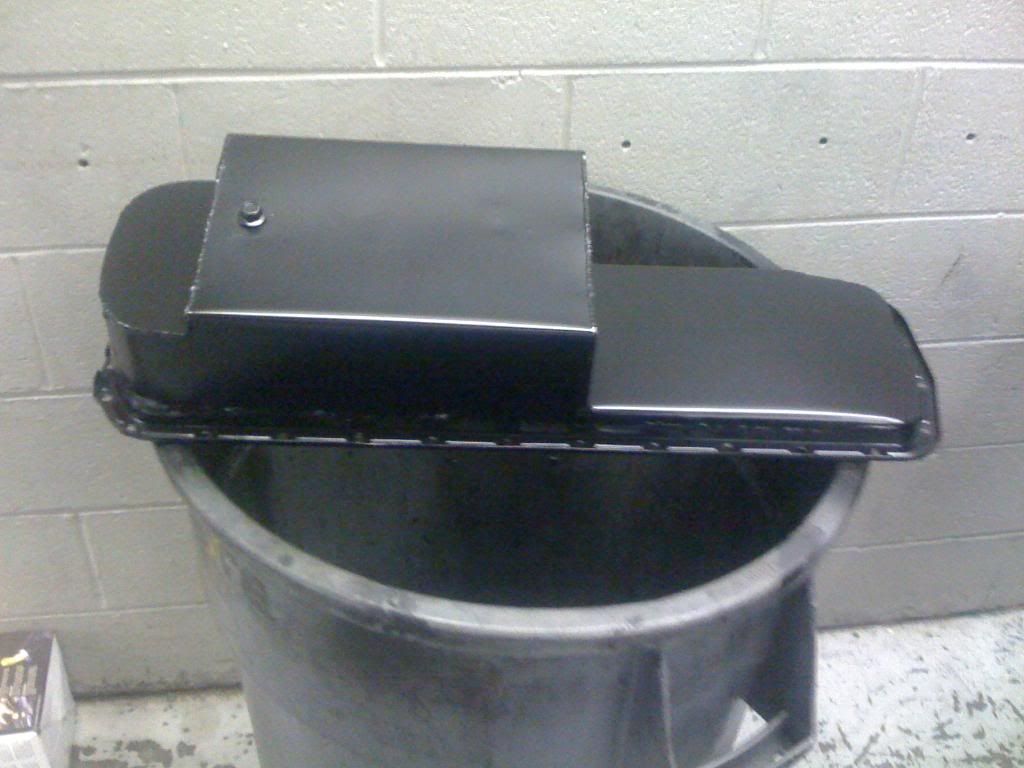
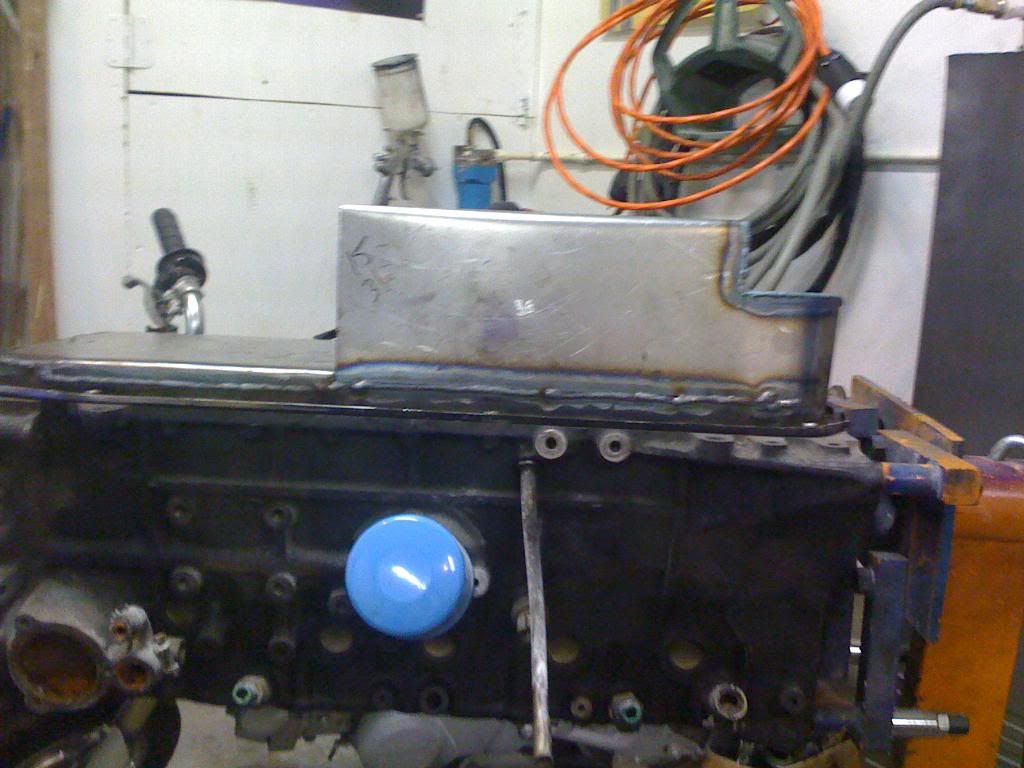
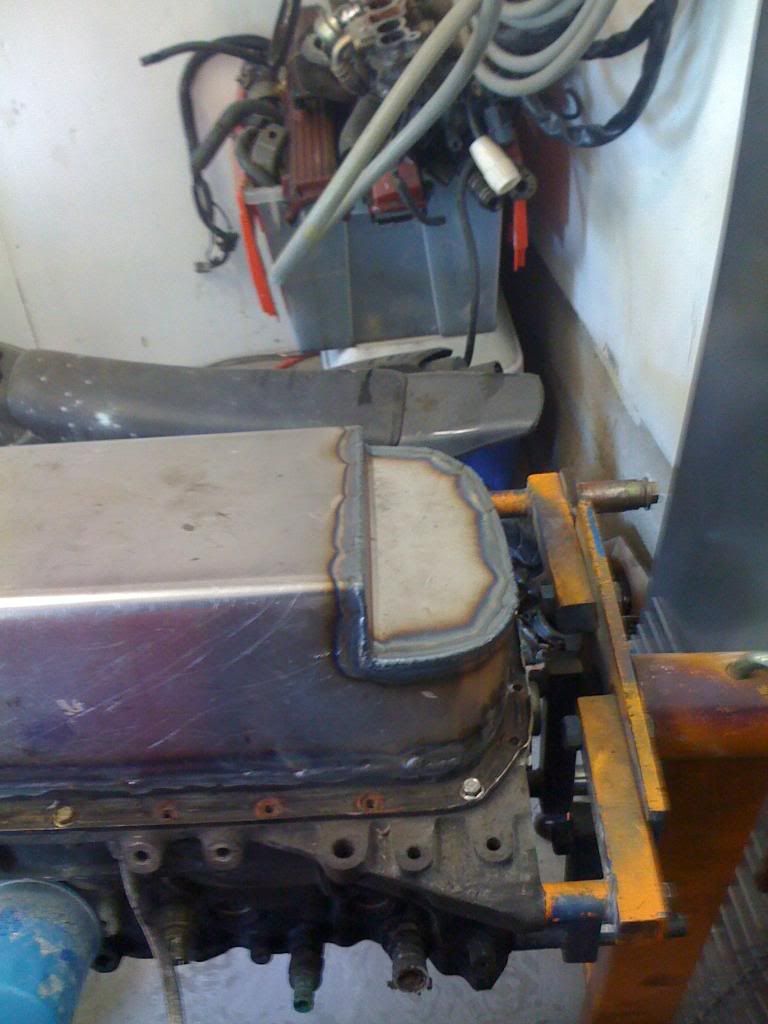
Here are some pics of Keith's pan. I just finished it last night and painted it today.
-
wow, very nice craftsmanship...
Thank you turboSE
-
I pm'ed you. I see you could not put them in with the trans connected right?
-
looks great Tanuki, I glad everything worked. Now I can sleep tonight LOL. I think nissan put two different oil pan mounting holes because of some of the vehicles were all wheel drive and needed the aluninum oil pan with the diff in the pan and some were not. But who knows. I know Mazda does some wierd stuff like this. It was nice chatting with you on the phone Saturday night.
-
I just wrote a write up on the wiring which includes the tach hookup. I installed my rb20 with the stock skyline mounts and I modified the stock Z trans mount. Search my posts and you will find all the info you will need. There is a few pics if my set up also on this forum. I used the stock Z driveshaft also. You will need a rear sump oil pan which I can build for you if you like. There are tons of pics of my work on this forum also. As for the ecu I used the one that came with my swap. Let me know if you have any questions. I'll be glad to help.
-
Man that sucks. I hope it gets easier for you. If you want fab up a template for the motor mounts and trans mount and ship it to me and I'll make you a set of mounts.
-
wiring guide for installing a rb20det in to a datsun Z
I'm hope this will help some people wire up a rb20 into there datsun Z. The wiring is very easy and anybody can do it. If you have installed a radio,cd player in to any car YOU can do this.
First thing install the engine and run your wiring harness in to the cabin. Find a spot on the drivers side kick panel to mount the ecu. I have a 280z so I put the ecu in the stock location.
here is the pin out diagram for a rb20det.FireShot Screen Capture #375 - 'RB20_ECU_Pinouts_jpg (800×459)' - wiki_r31skylineclub_com_images_9_9b_RB20_ECU_Pinouts.pdf
http://wiki.r31skylineclub.com/images/9/9b/RB20_ECU_Pinouts.jpg
study this and print it out.
Here is the wiring guide for the rb20
**Edit** Link Dead > http://www.rbforums.org/pics/rb20.jpg
print this also you will need it.
Ok now it's time to get to work on the wiring.
On your rb20 loom you will find a connector thats on the same loom as the connector for the airflow meter. The connectors you are looking for is a two 8 pin connectors. One is blace and the other is gray.
On this connector you will find 3 wires that need power. 2 for the wires need constant power from the battery. They are a white wire with a purple tracer(W/P) and a white wire with a black tracer (W/BL) and the next wire will need a switched power. Meaning that it needs power with the ignition on that wire is Black with a red tracer(B/R).
You can find the constant power and the switched power off the wiring going to your ignition switch. This is easy to find using a test light or a DVOM meter.
Next you will need to wire up the fuel pump.
First thing you will need is a 30 amp relay
connect one side of the relay
using your ecu pin out print out I provided above
connect one side of the relay connector 86 to switched power(Meaning power with the key in the on position).
connect the other side relay connector 85 to wire from ecu terminal 18 which is the Black wire with purple tracer (B/P)
Now connect the relay connector 87 to the wire going to the fuel pump
and connect the relay connector 30 to a body ground
now with the key turned to the on position you should hear the fuel pump running
Now it's time to hook up your alternator,starter and reverse switch on the trans.
I used this page to convert my alternator to a internal voltage regulator.FireShot Screen Capture #376 - 'Nissan_Datsun Z Car Voltage Regulator Conversion' - www_zcarcreations_com_howto_voltreg_htm.pdf
http://www.zcarcreations.com/howto/voltreg.htm
this is a very good write up on converting your alternator.
Hook up your stock reverse light wiring to the rb reverse switch.
I used the stock z speedo sender, I just swapped out the rb for the stock z speedo sender. I had to trim down the holder down abit with a grinder.
hook up the power cable to the starter and ground out your negitive battery cable to the block as it was on the stock Z engine.
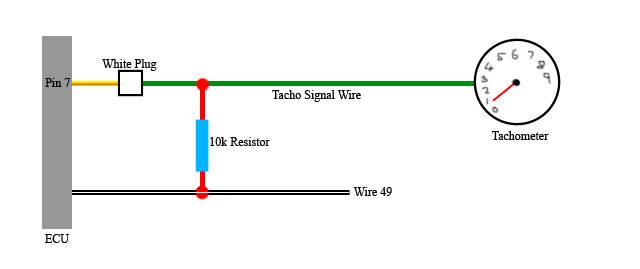
Now for the gauges I used autometer gauges, Which is alot more relieable than the 30 plus year old z gauges.
I used this diagram to hook up my autometer tach to the rb
Now there are a few more wires that need to be hooked up and then you are done.
pin number 44 on the ecu is the neutral switch
there is two ways to hook this up. One way is just to ground it out or run a wire to the neutral switch on the trans. This wire tells the pcm thats is in neutral.
Now you need to hook up the start signal pin number 43 to the signal wire going to the starter solenoid this wire powers up the iac valve and the ecu tell the iac vale to idle up. This wire NEED to be hooked up or it will start like crap.
You can hook this wire to the back of the ignition switch Black wire with yellow tracer (B/Y)
Now with the ECU disconnected check all the powers and grounds at the ecu with a DVOM meter. And then you are done. This is easy.-
 1
1
-
-
The wiring is a cake walk. It's easy there is about 10 wires. I was thinking a out doing a write up like the one on the rb25 wiring but I have been so busy building these rb rear sump oil pans. If I get time tonight I'll go out and write all the wiring down and post it up.
-
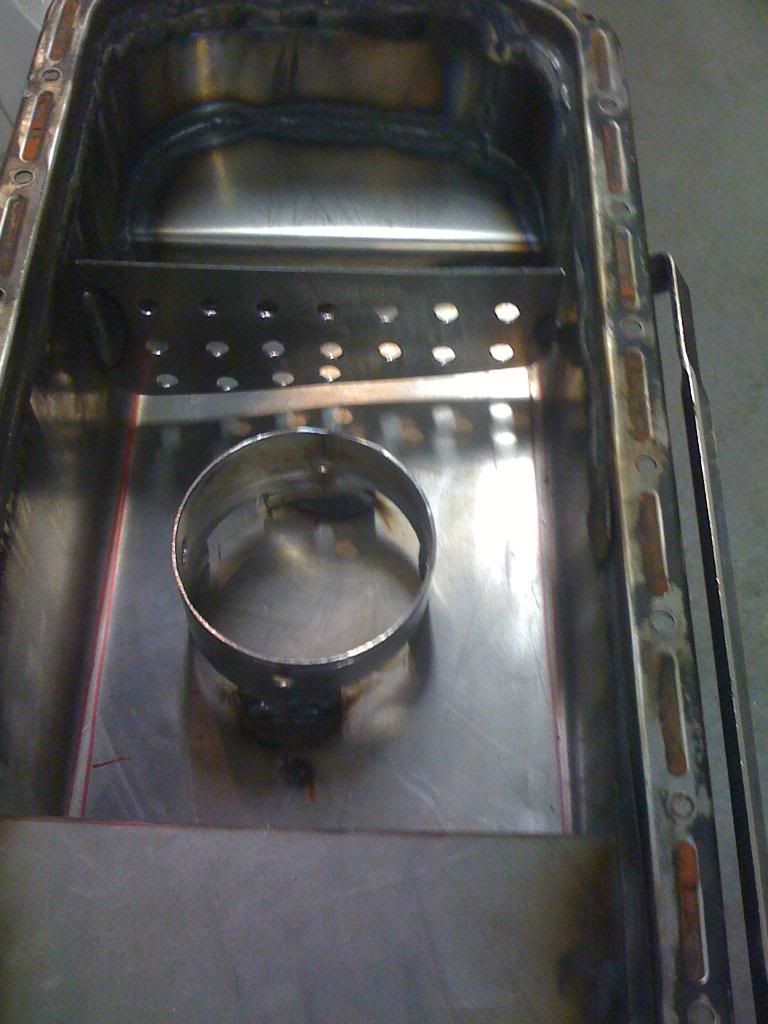
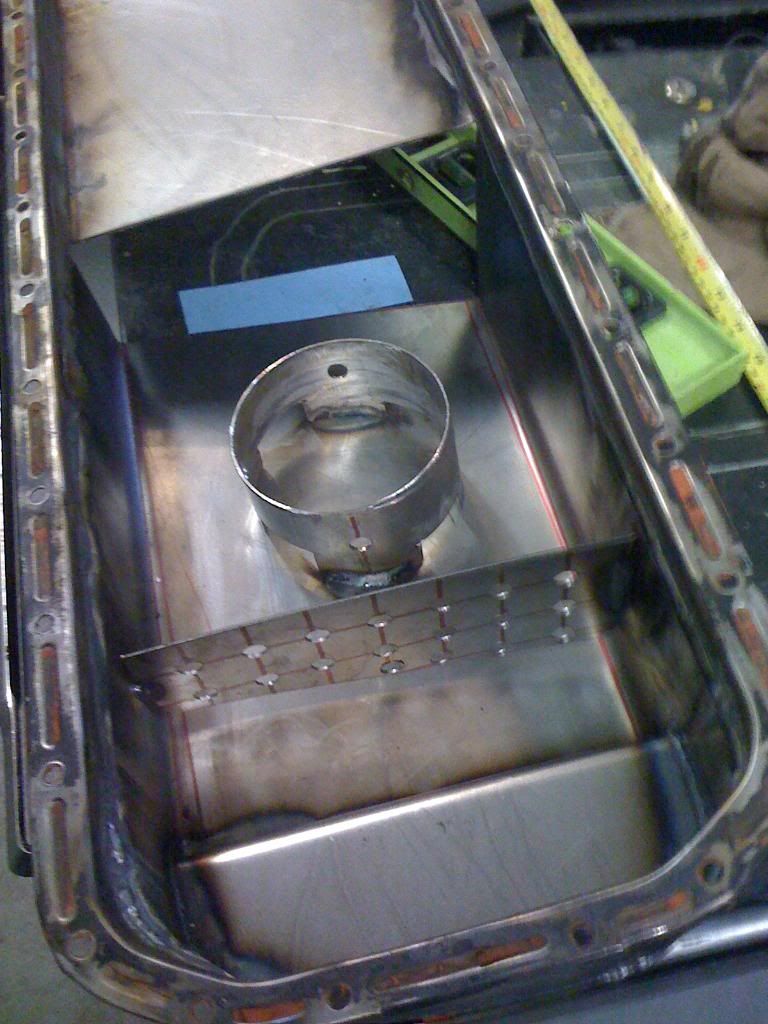
this is my cheaper ,more cost efficient rear sump oil pan. I call it my "economic recession pan" LOL. Ask for it by it's name. I know I know I'm bored. It has everything the other pans have same baffles same design but I used your stock front sump pan flange. Check out the pics
-
I'm glad you got it back.I don't know what I would do if mine was stolen.
-
You got it back? That's bada$$ man. Is it messed up at all?


rb20det mis or fuel cut
in Nissan RB Forum
Posted
No, not with a small leak. My rb20 had a very small leak at # 5 injector. I had a very small crack on pintle cap making my rb run like ass. I had to put a wideband on mine to see how it was running. I was running very lean in closed loop at idle. It took me awhile to find my intake leak.