Whitley_280z_2+2
-
Posts
124 -
Joined
-
Last visited
-
Days Won
2
Content Type
Profiles
Forums
Blogs
Events
Gallery
Downloads
Store
Everything posted by Whitley_280z_2+2
-
280z 2+2 resto mod
Whitley_280z_2+2 replied to Whitley_280z_2+2's topic in S30 Series - 240z, 260z, 280z
Big build updates to come soon! We found an LS1/T56 from an 04' GTO with lower mileage that is going in the car. With this engine, we found a unique tanksinc fuel system that I will be posting pictures of which will work nicely. I have two quick questions about the GTO engine for anyone that has done this swap ( I should probably post this in the chevy section). 1) Has anyone used stock 04 GTO exhaust manifolds successfully in an S30? 2) Am I correct in thinking that the GTO oil pan will not work because of the front sump and I need to switch to the F-Body style? Thanks in advance! -
Anyone done a supercharged LS?
Whitley_280z_2+2 replied to fusion's topic in Gen III & IV Chevy V8Z Tech Board
I found this build a while back... -
280z 2+2 resto mod
Whitley_280z_2+2 replied to Whitley_280z_2+2's topic in S30 Series - 240z, 260z, 280z
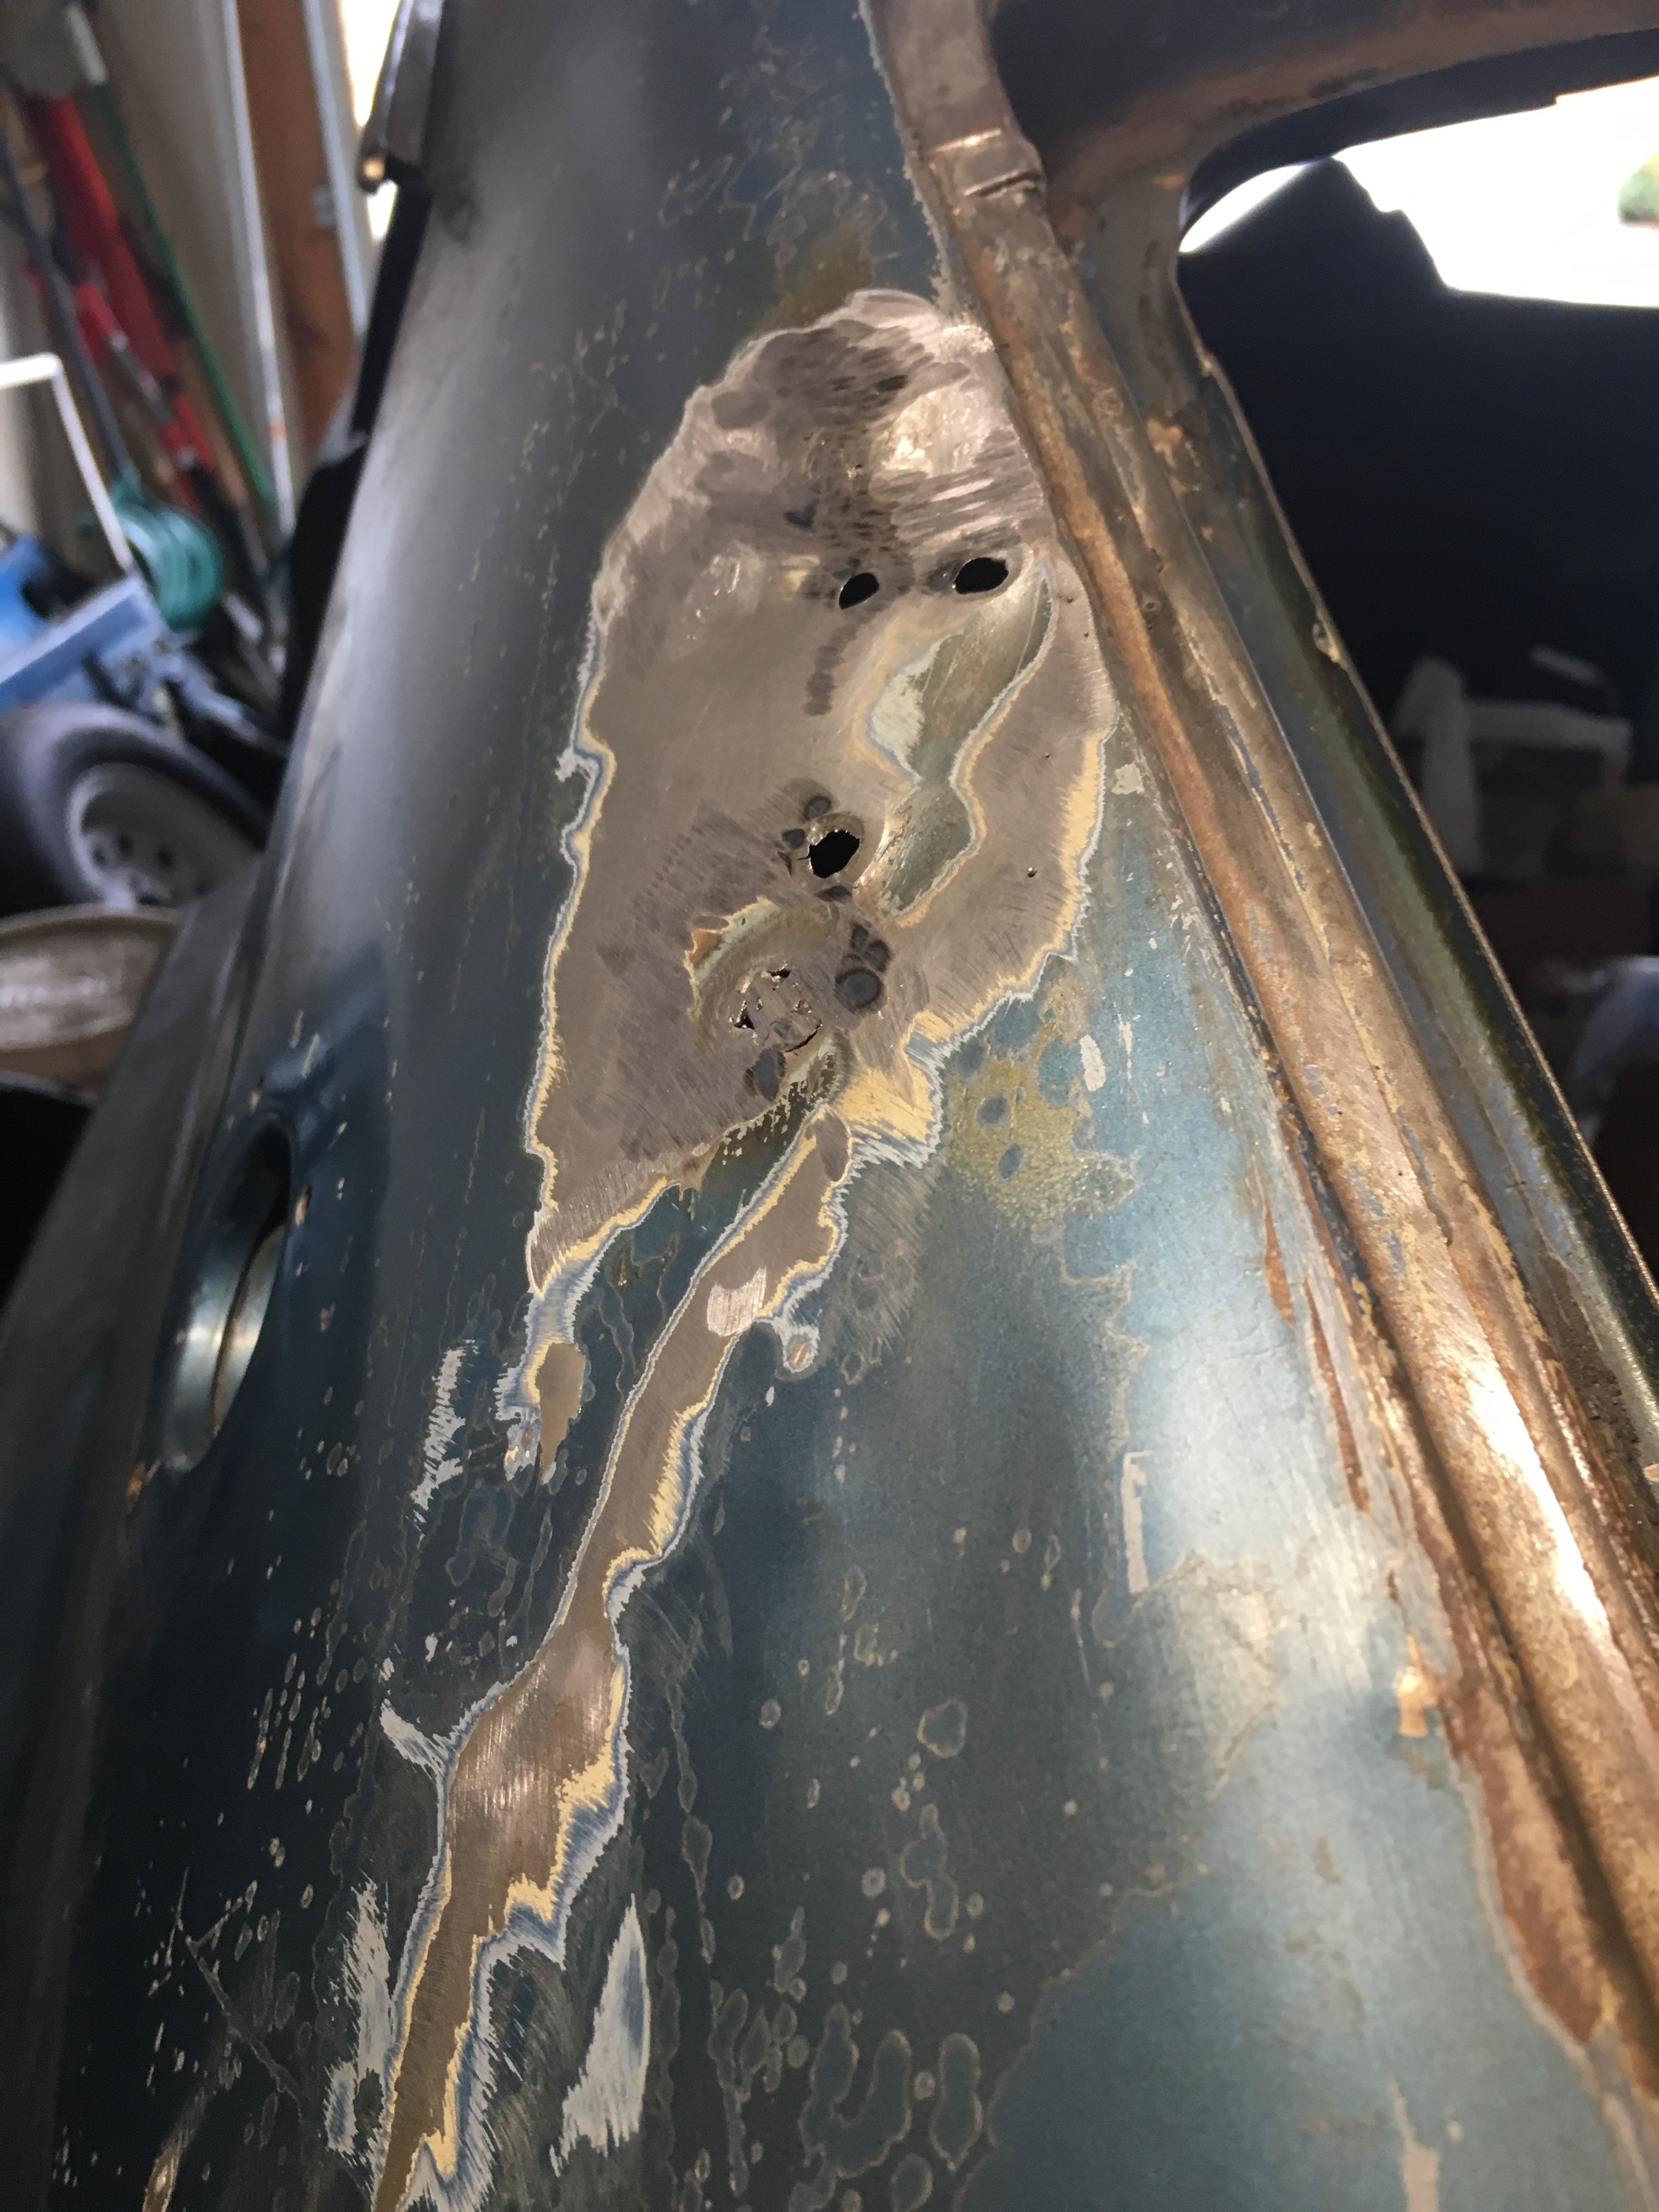
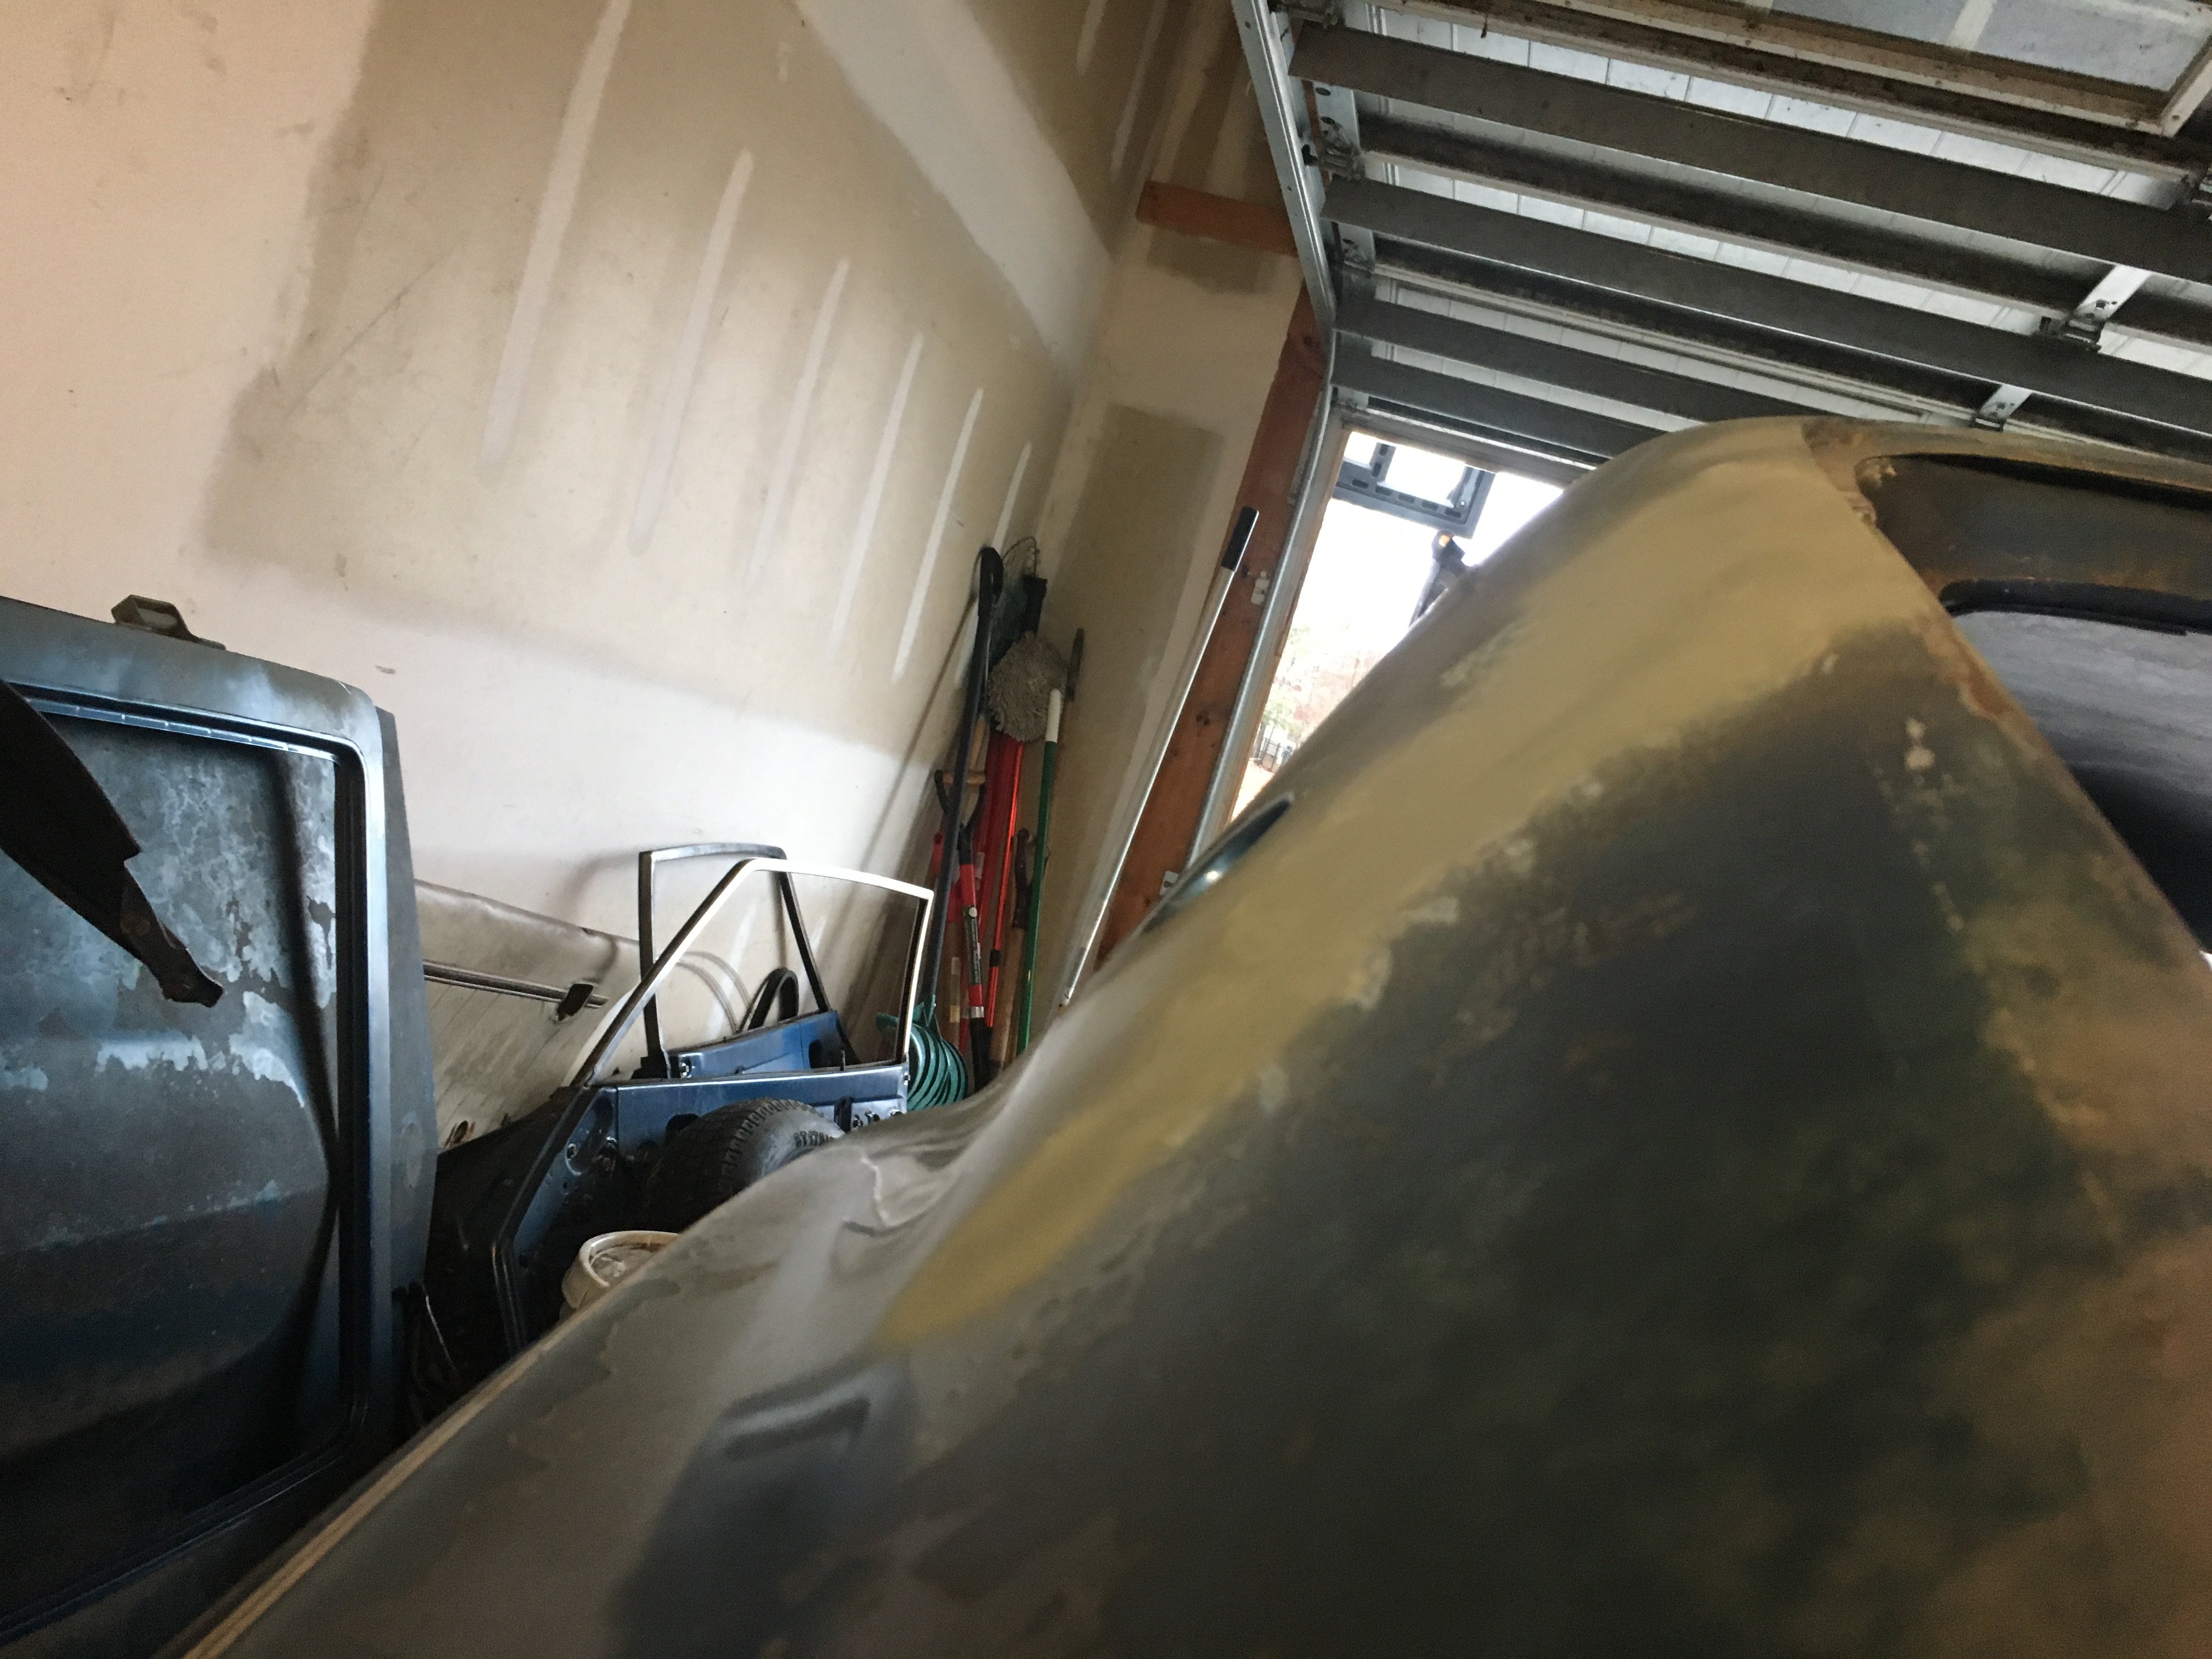
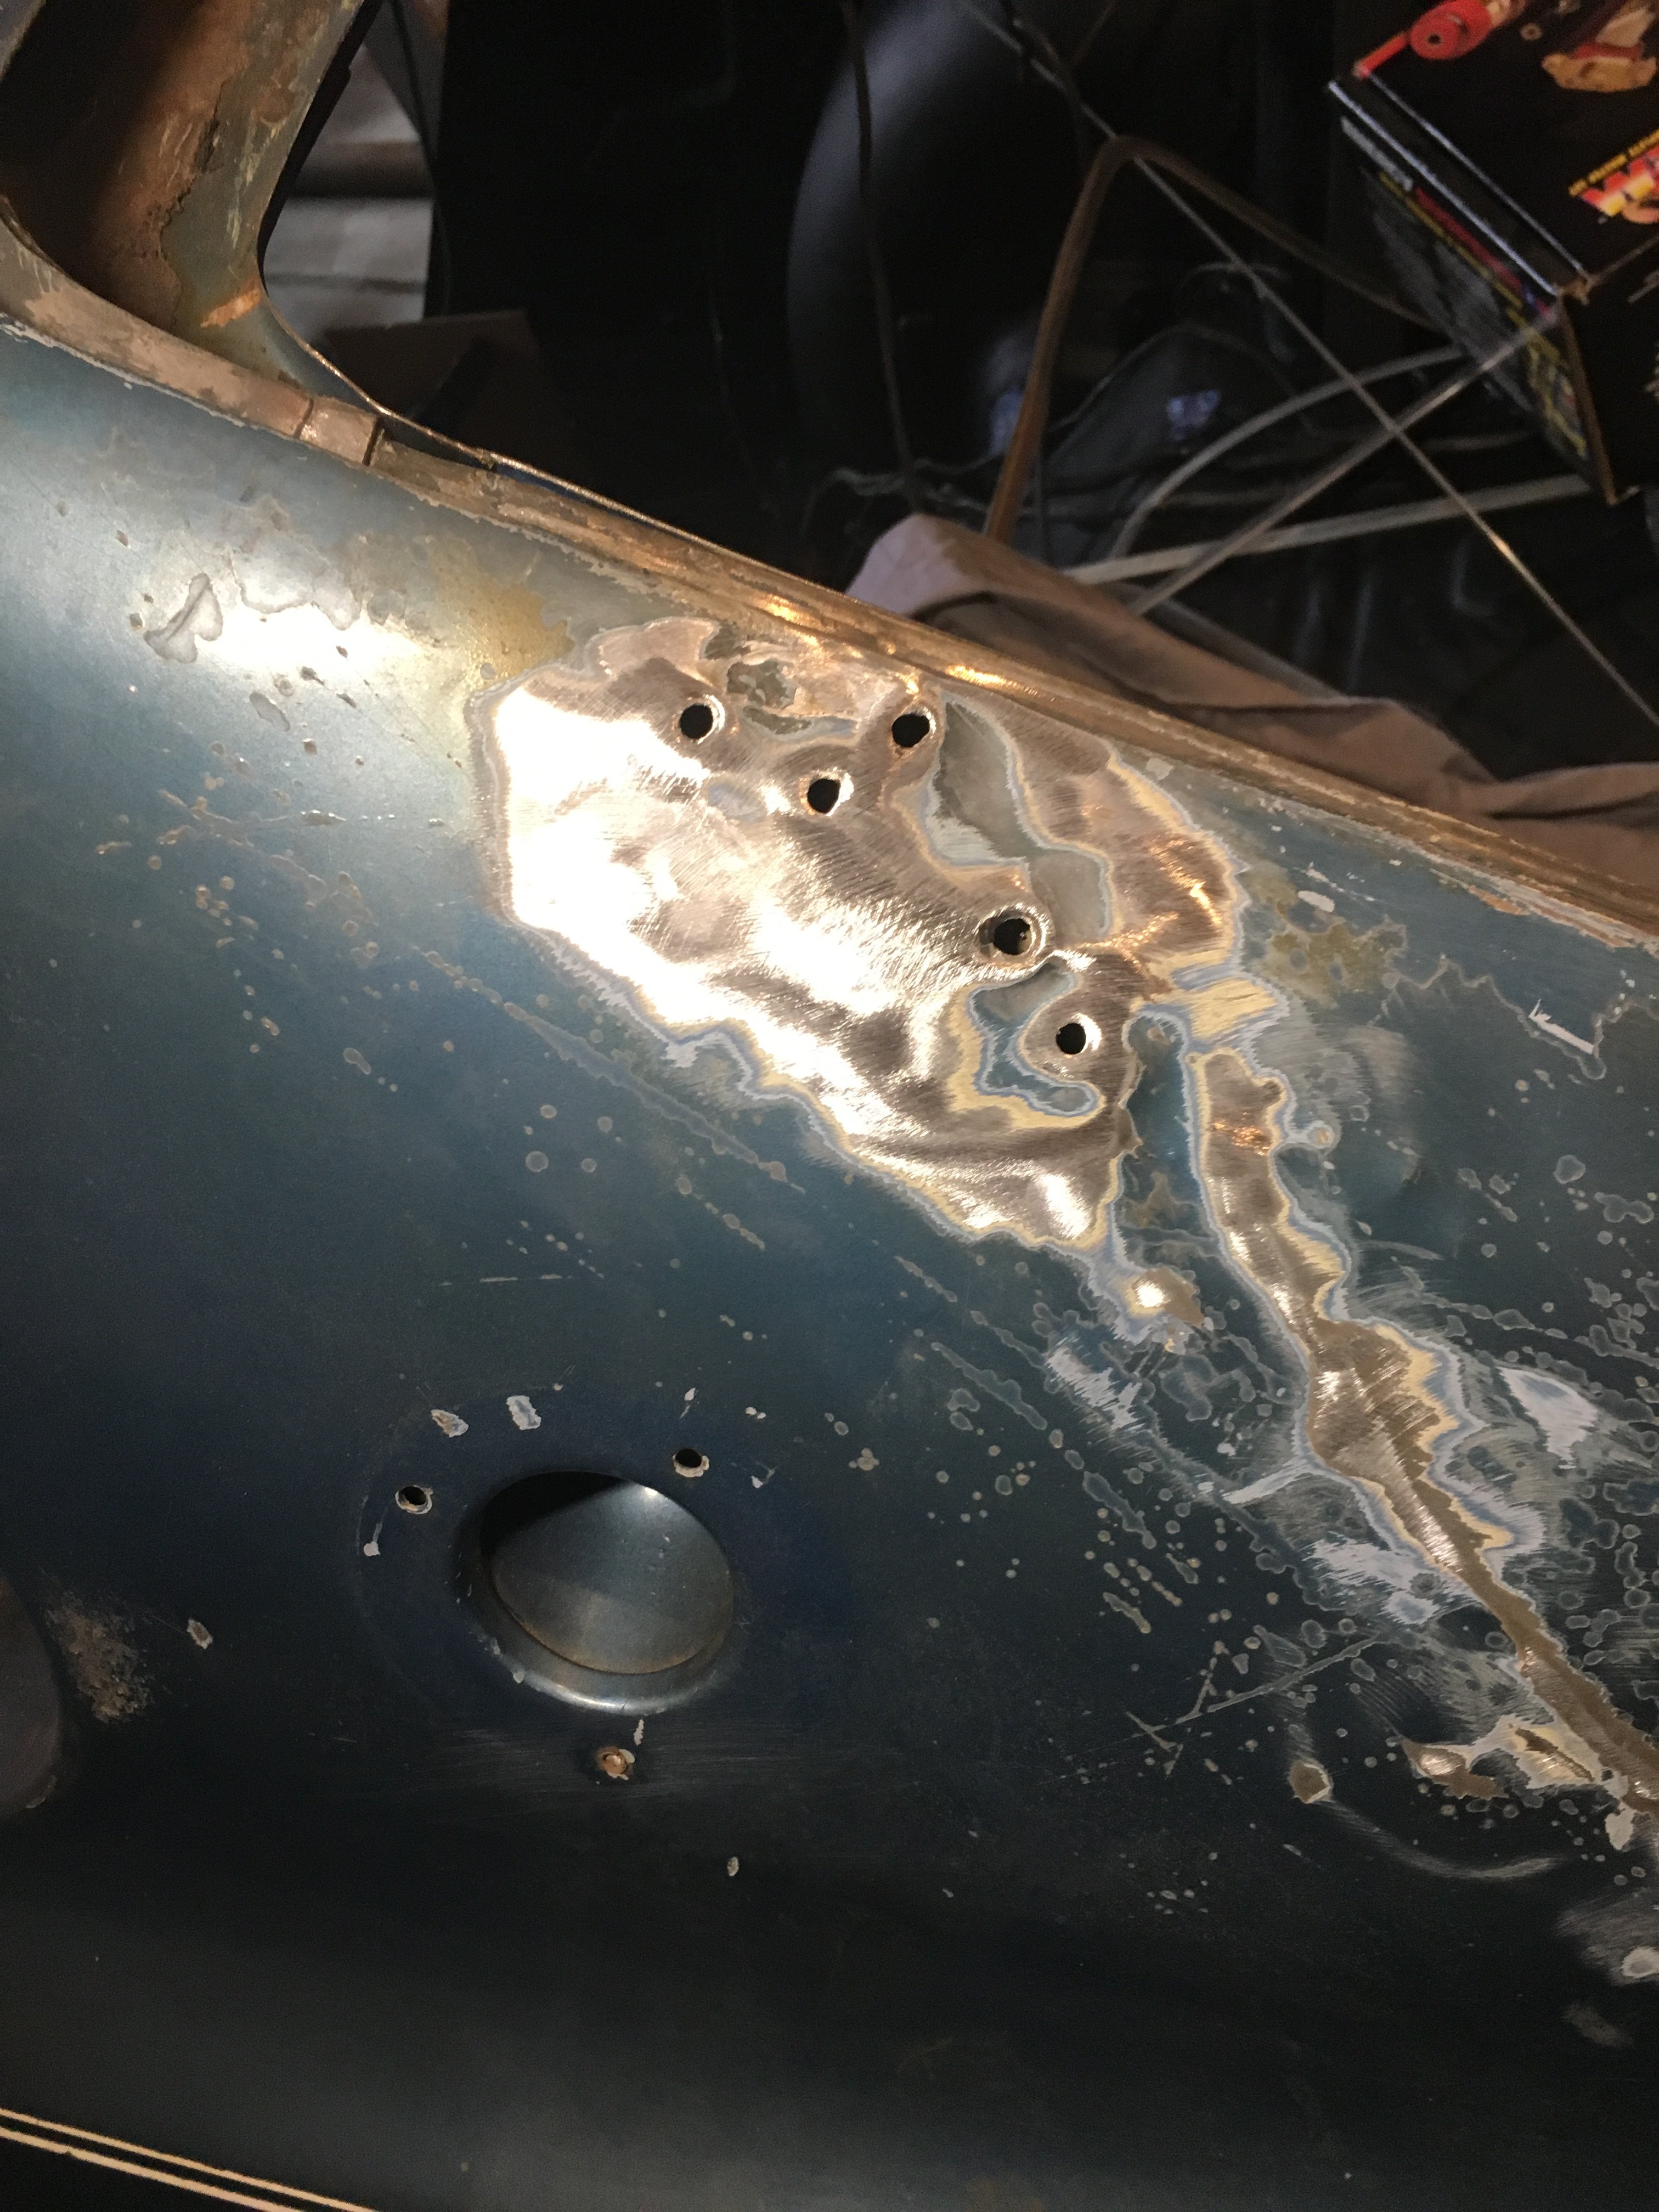
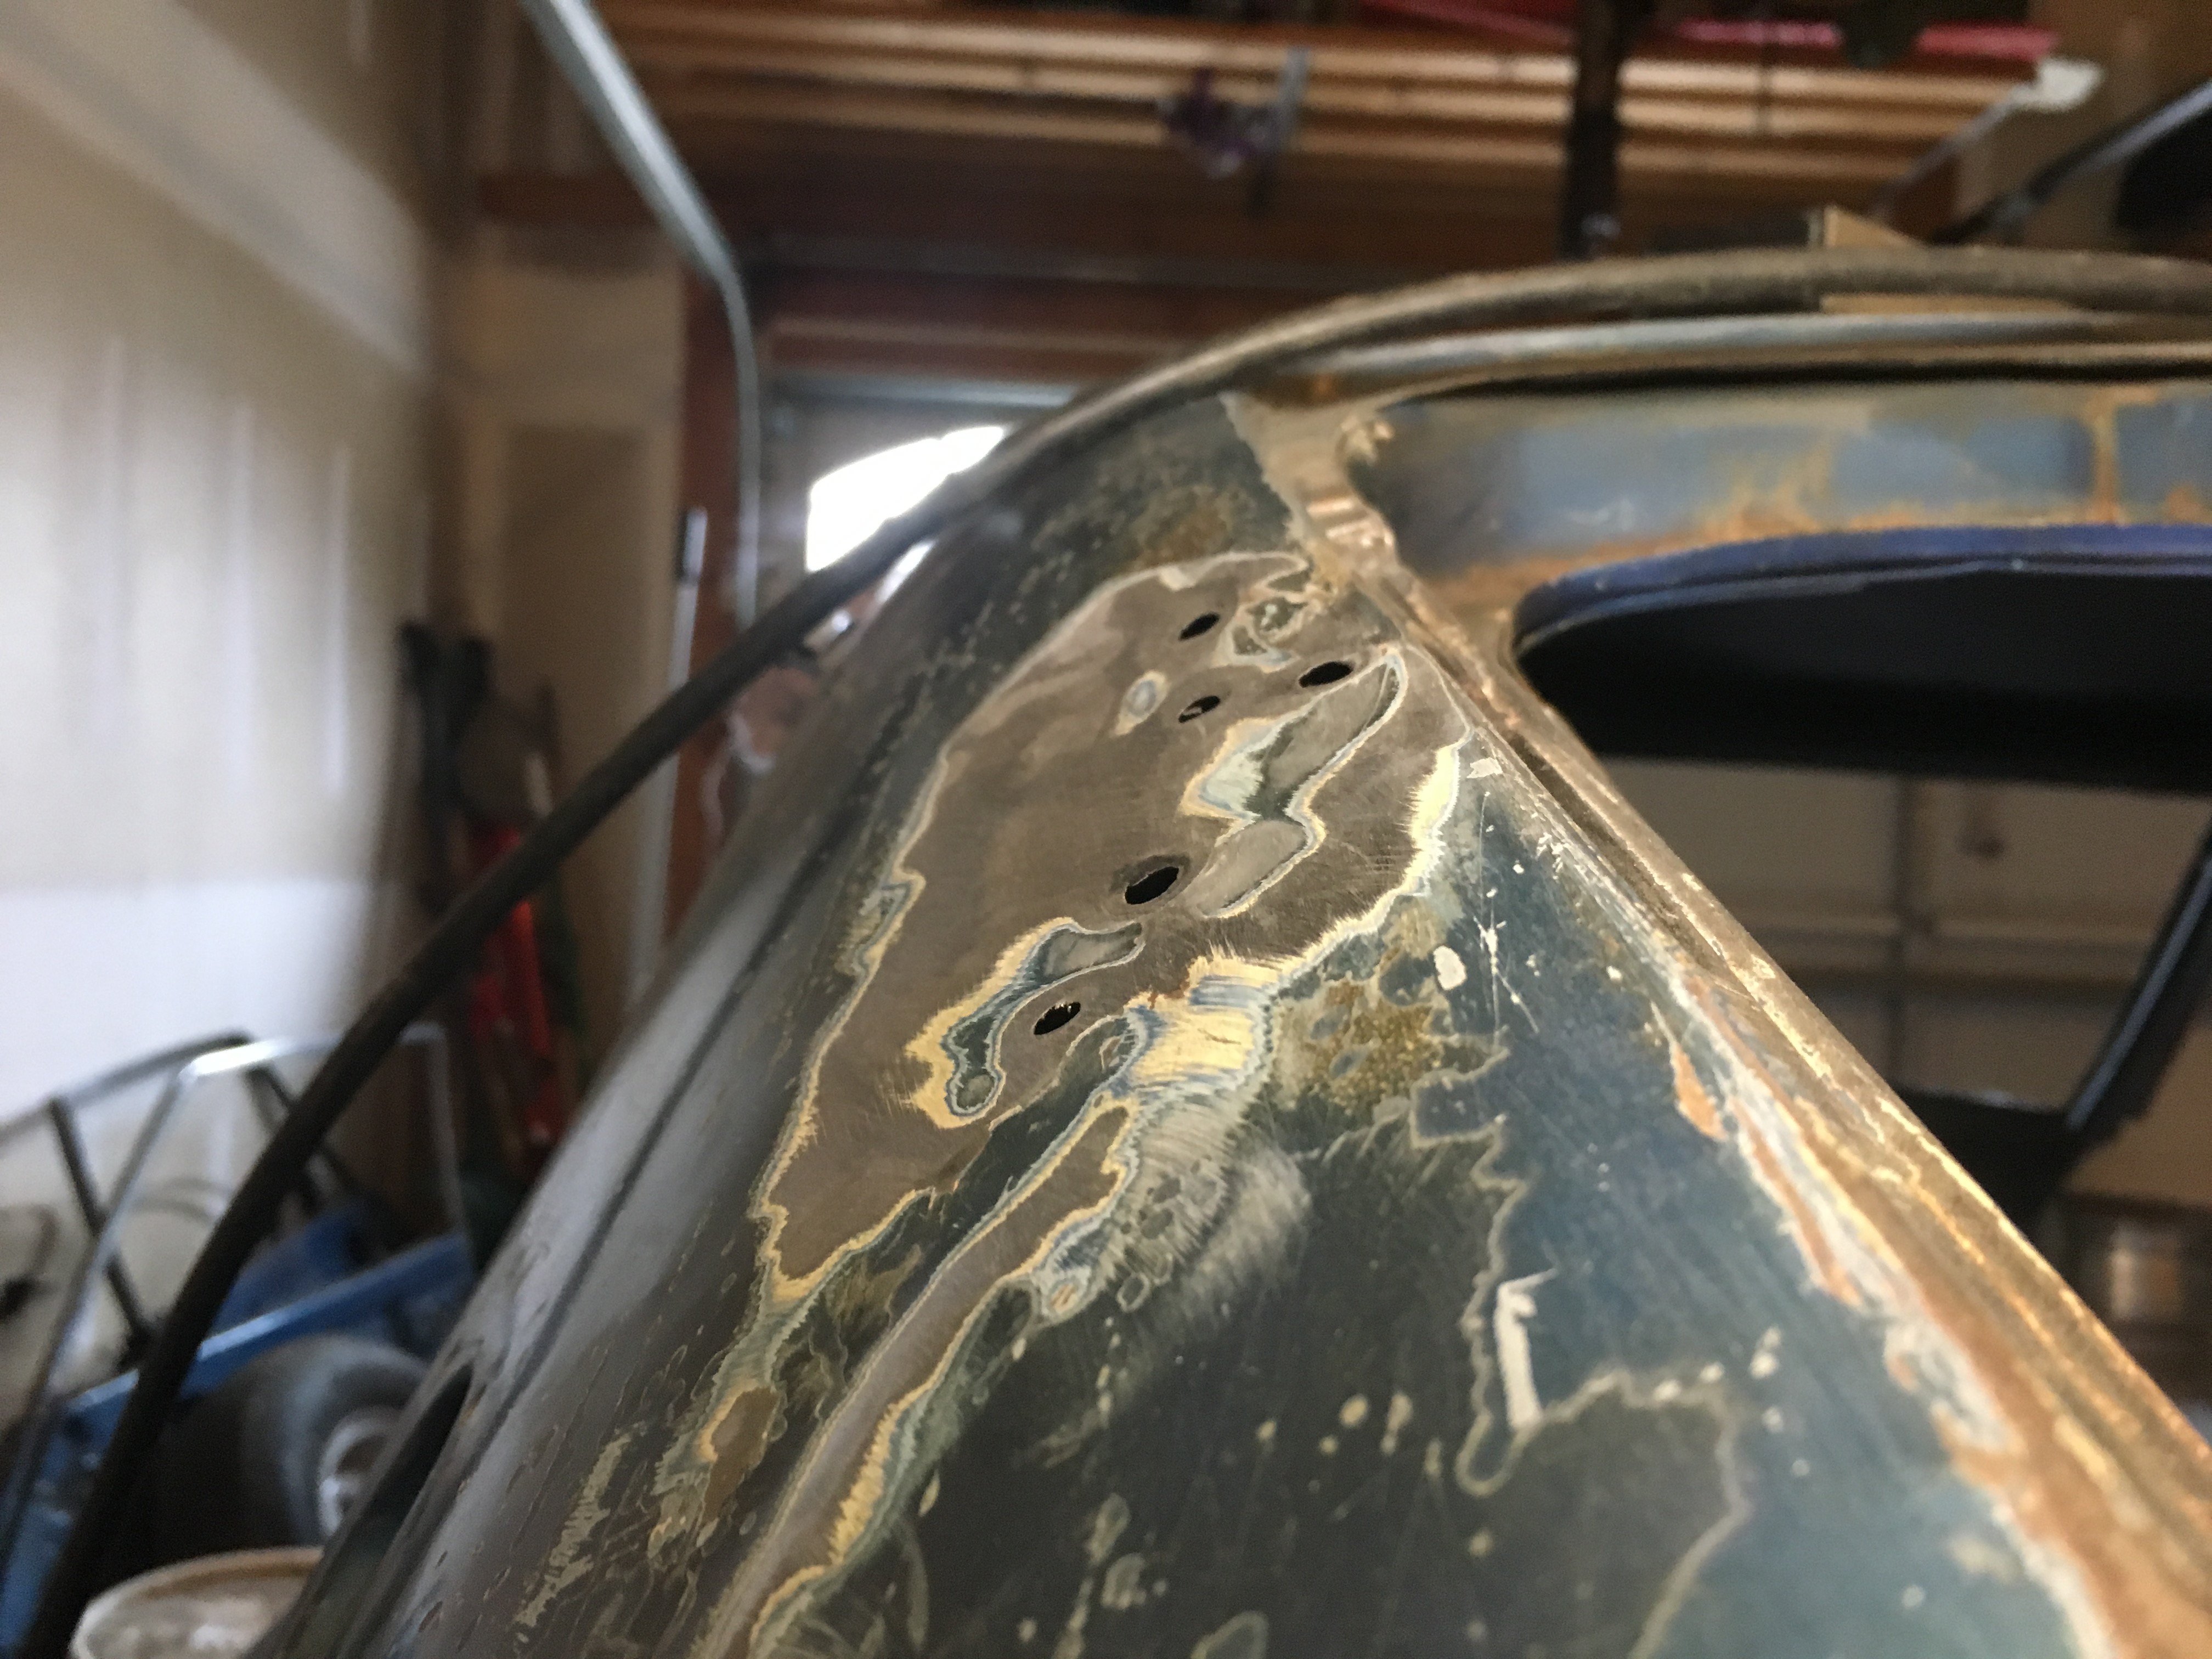
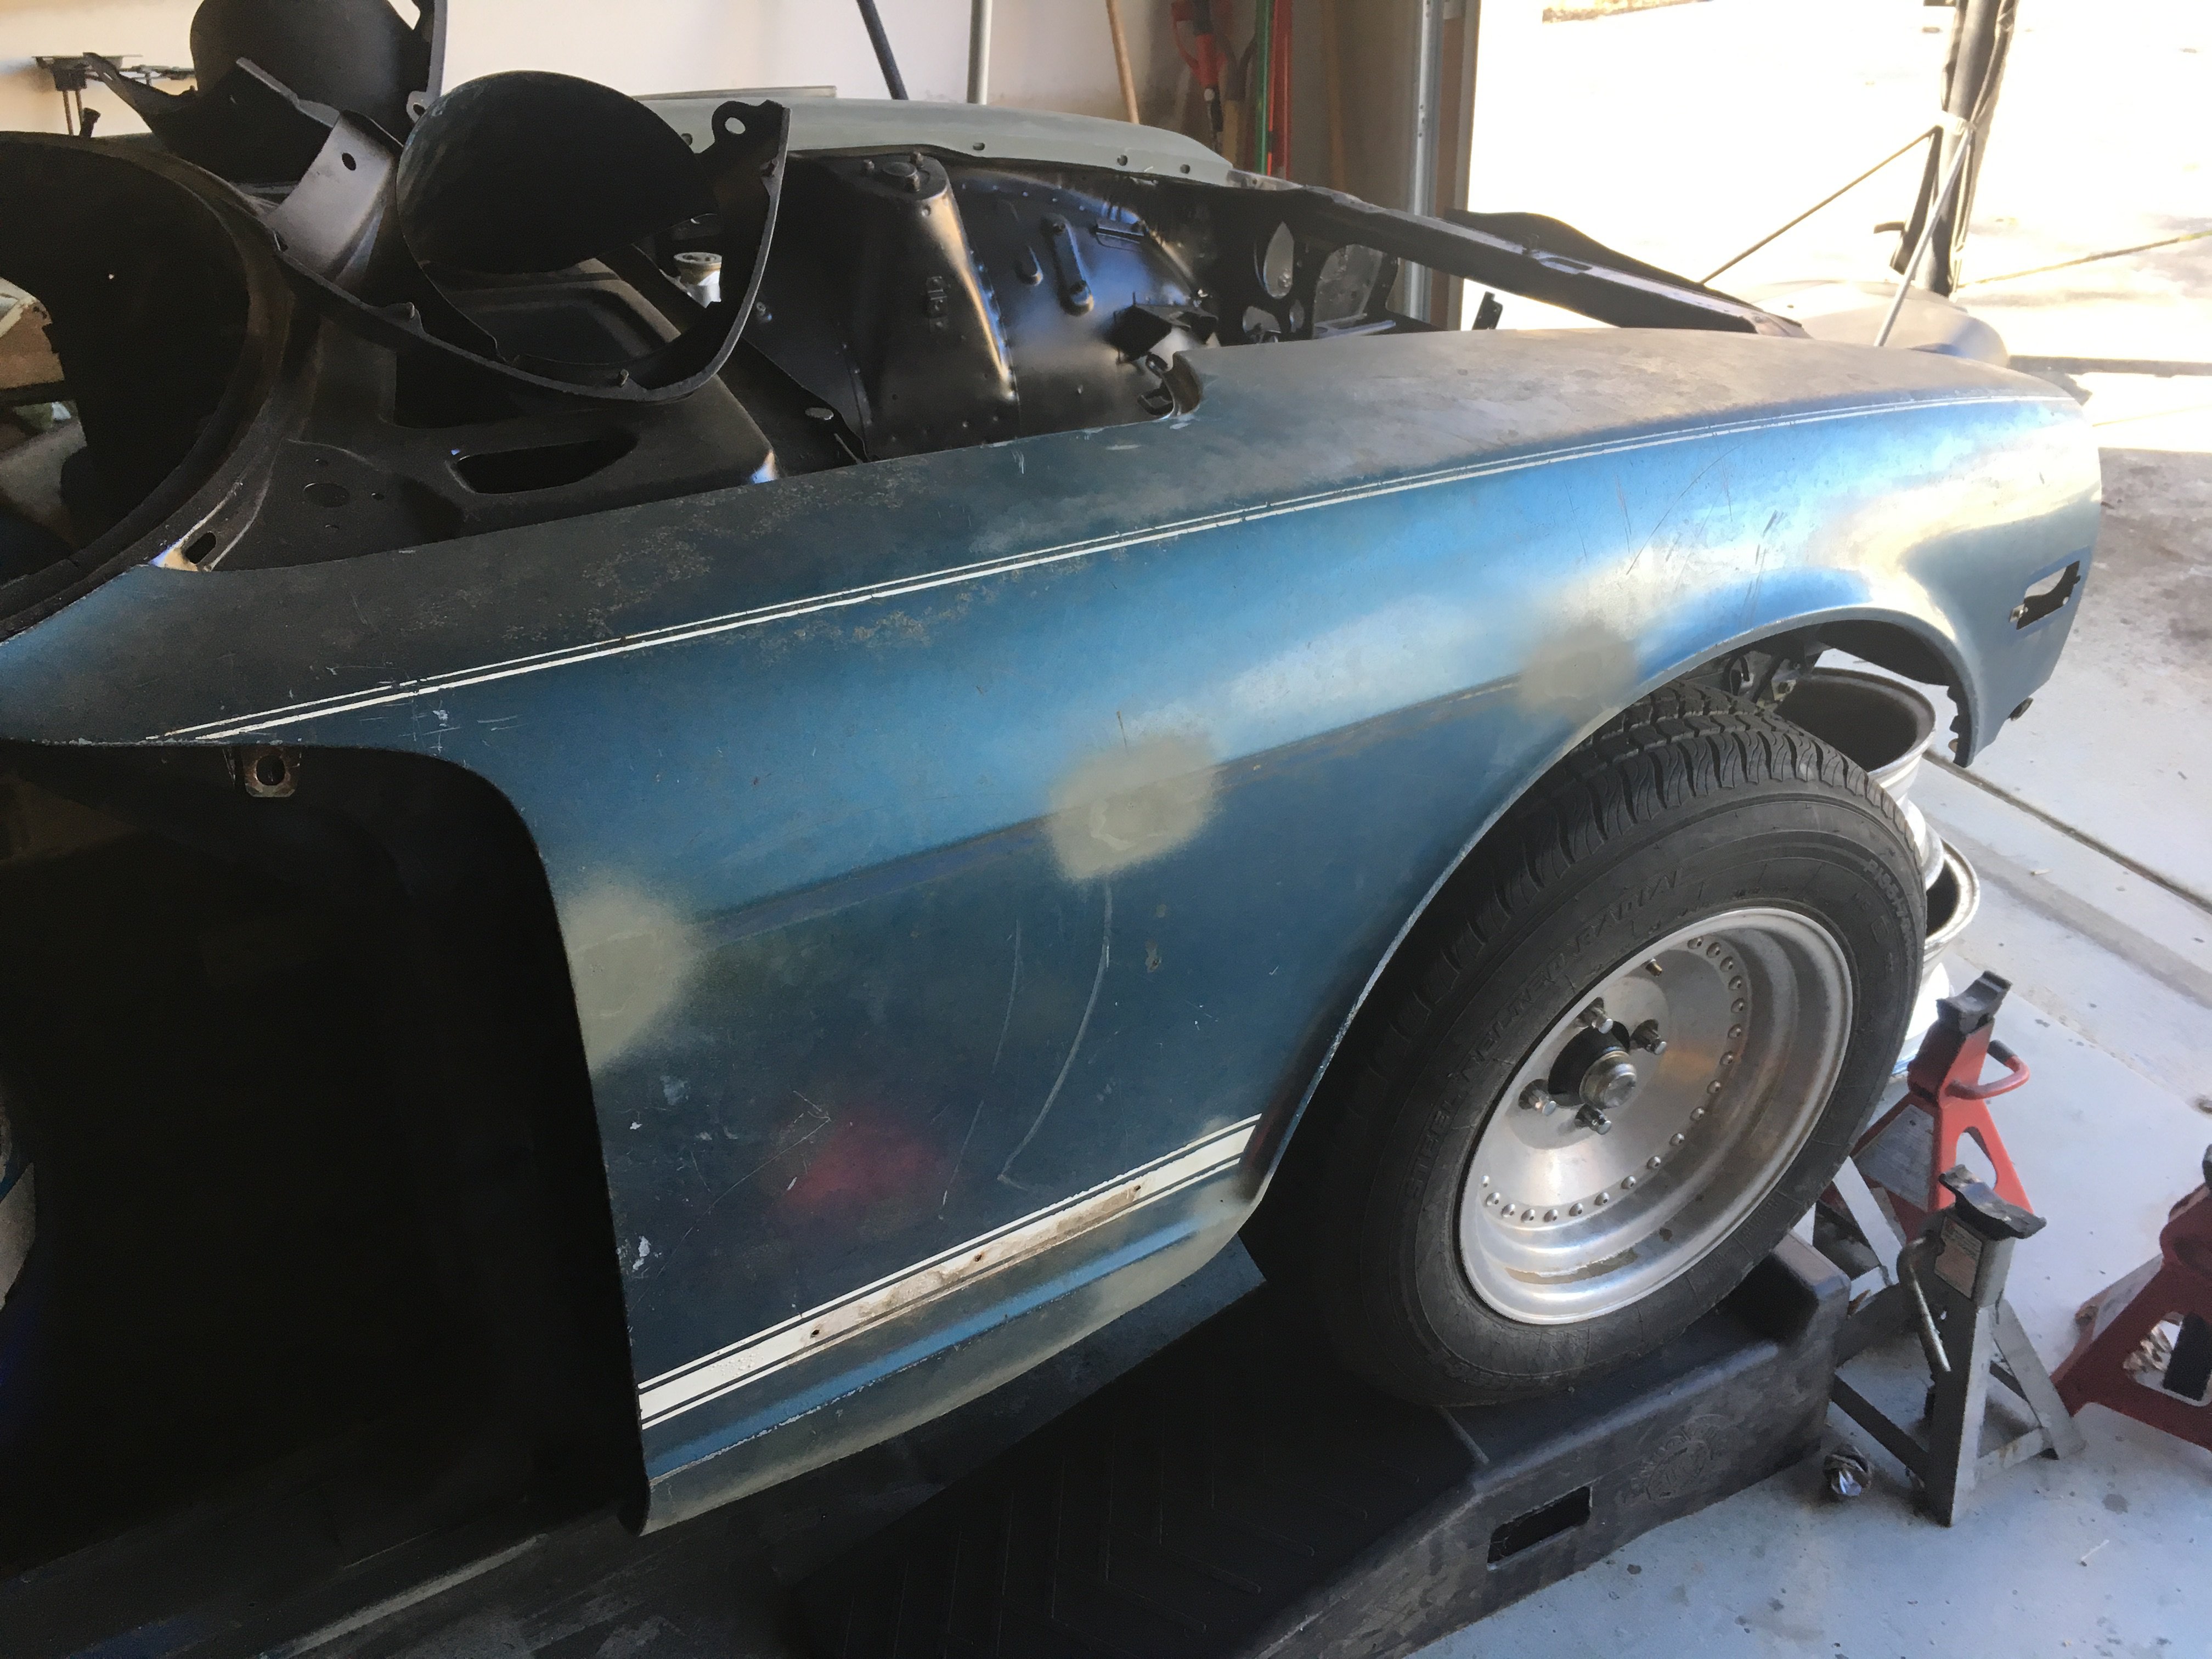
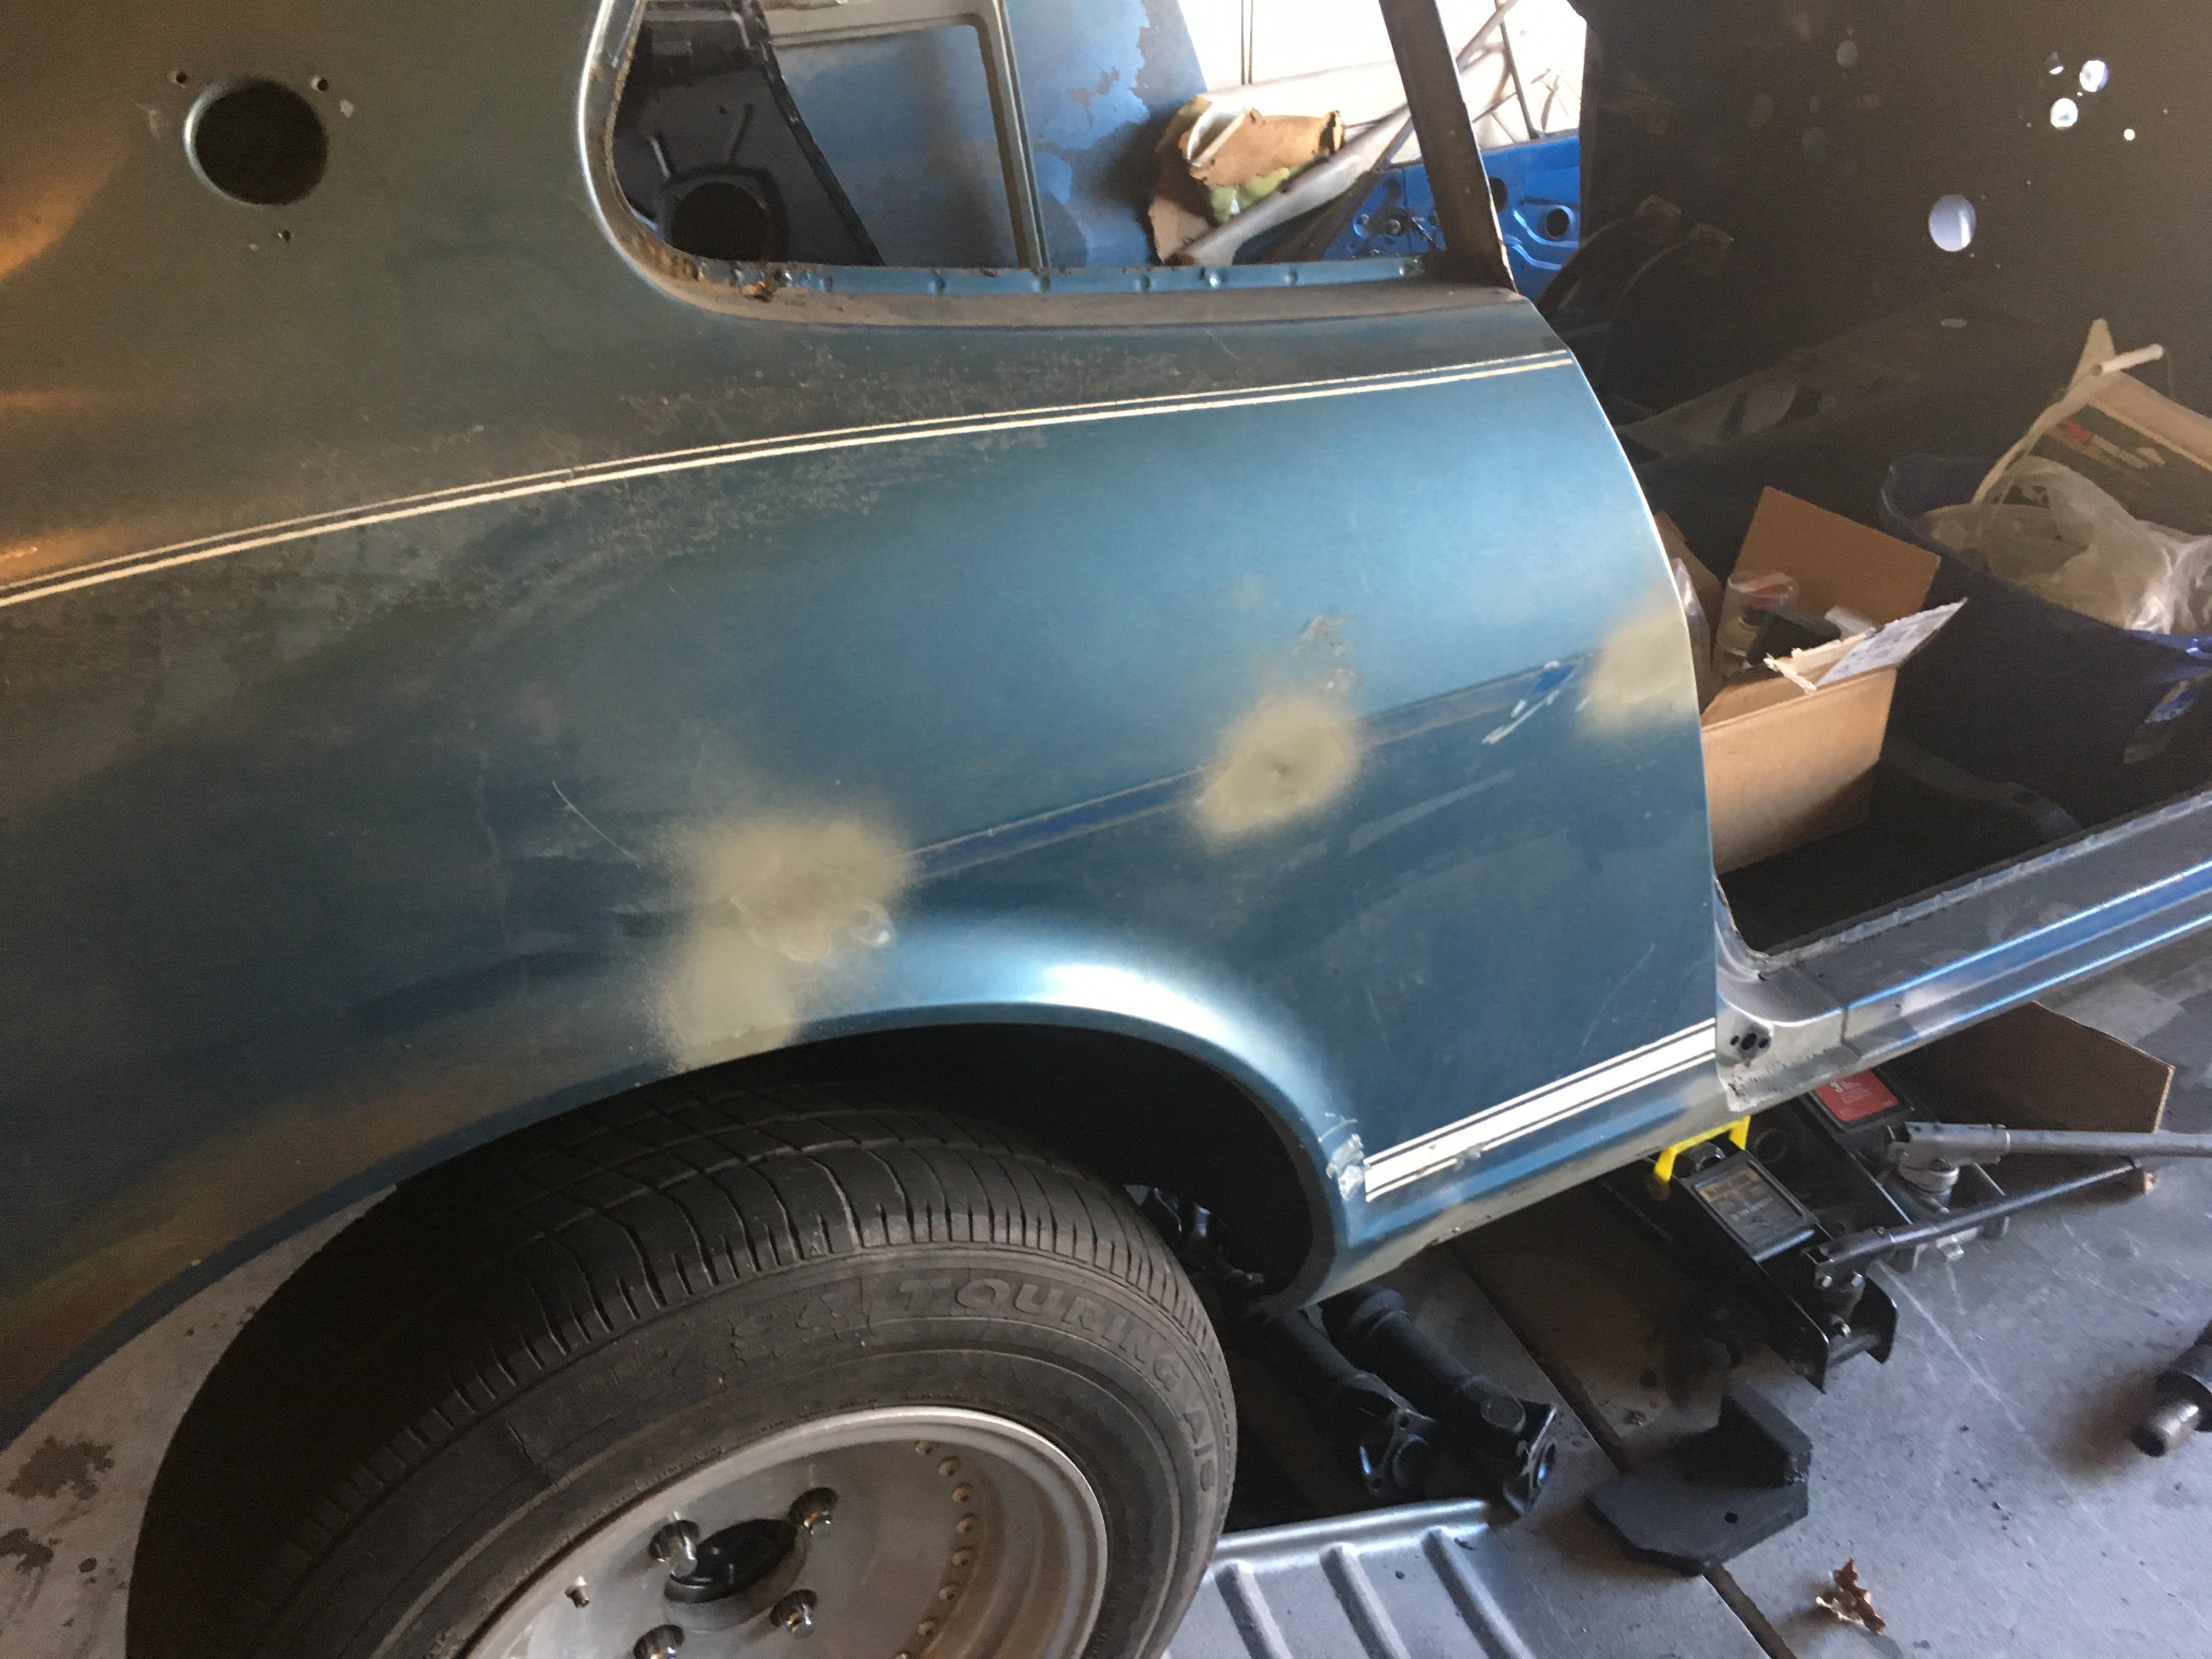
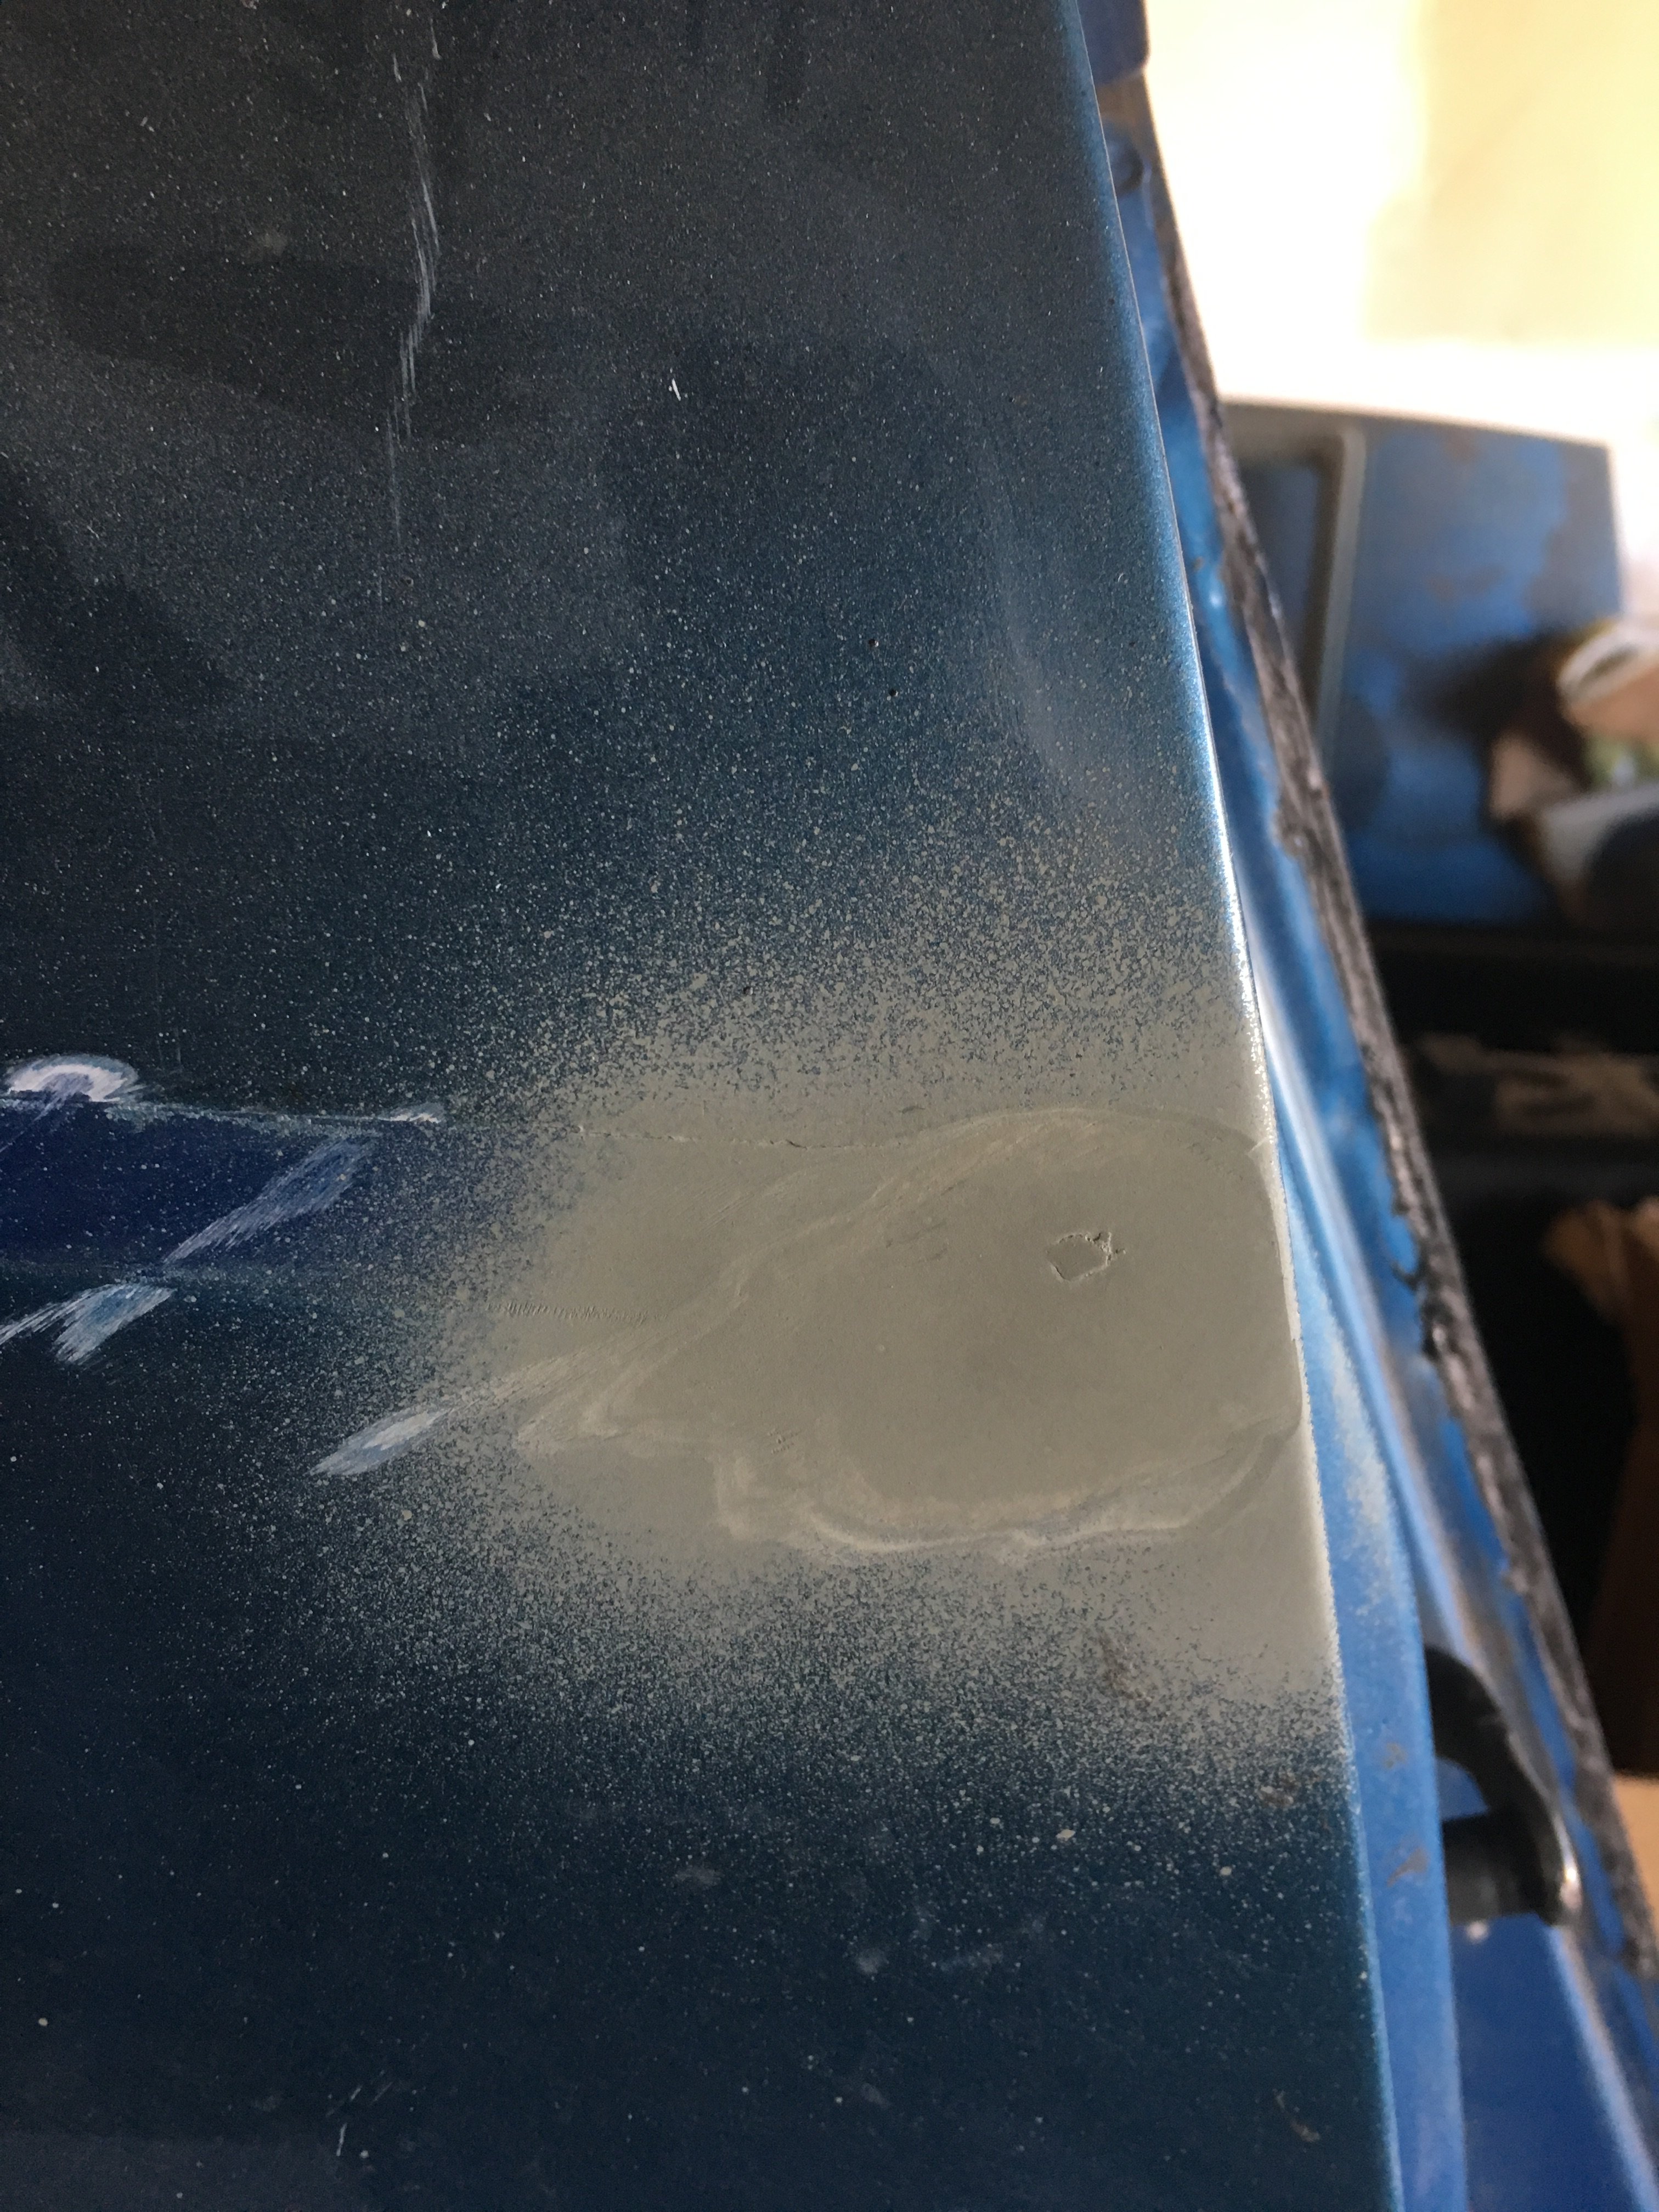
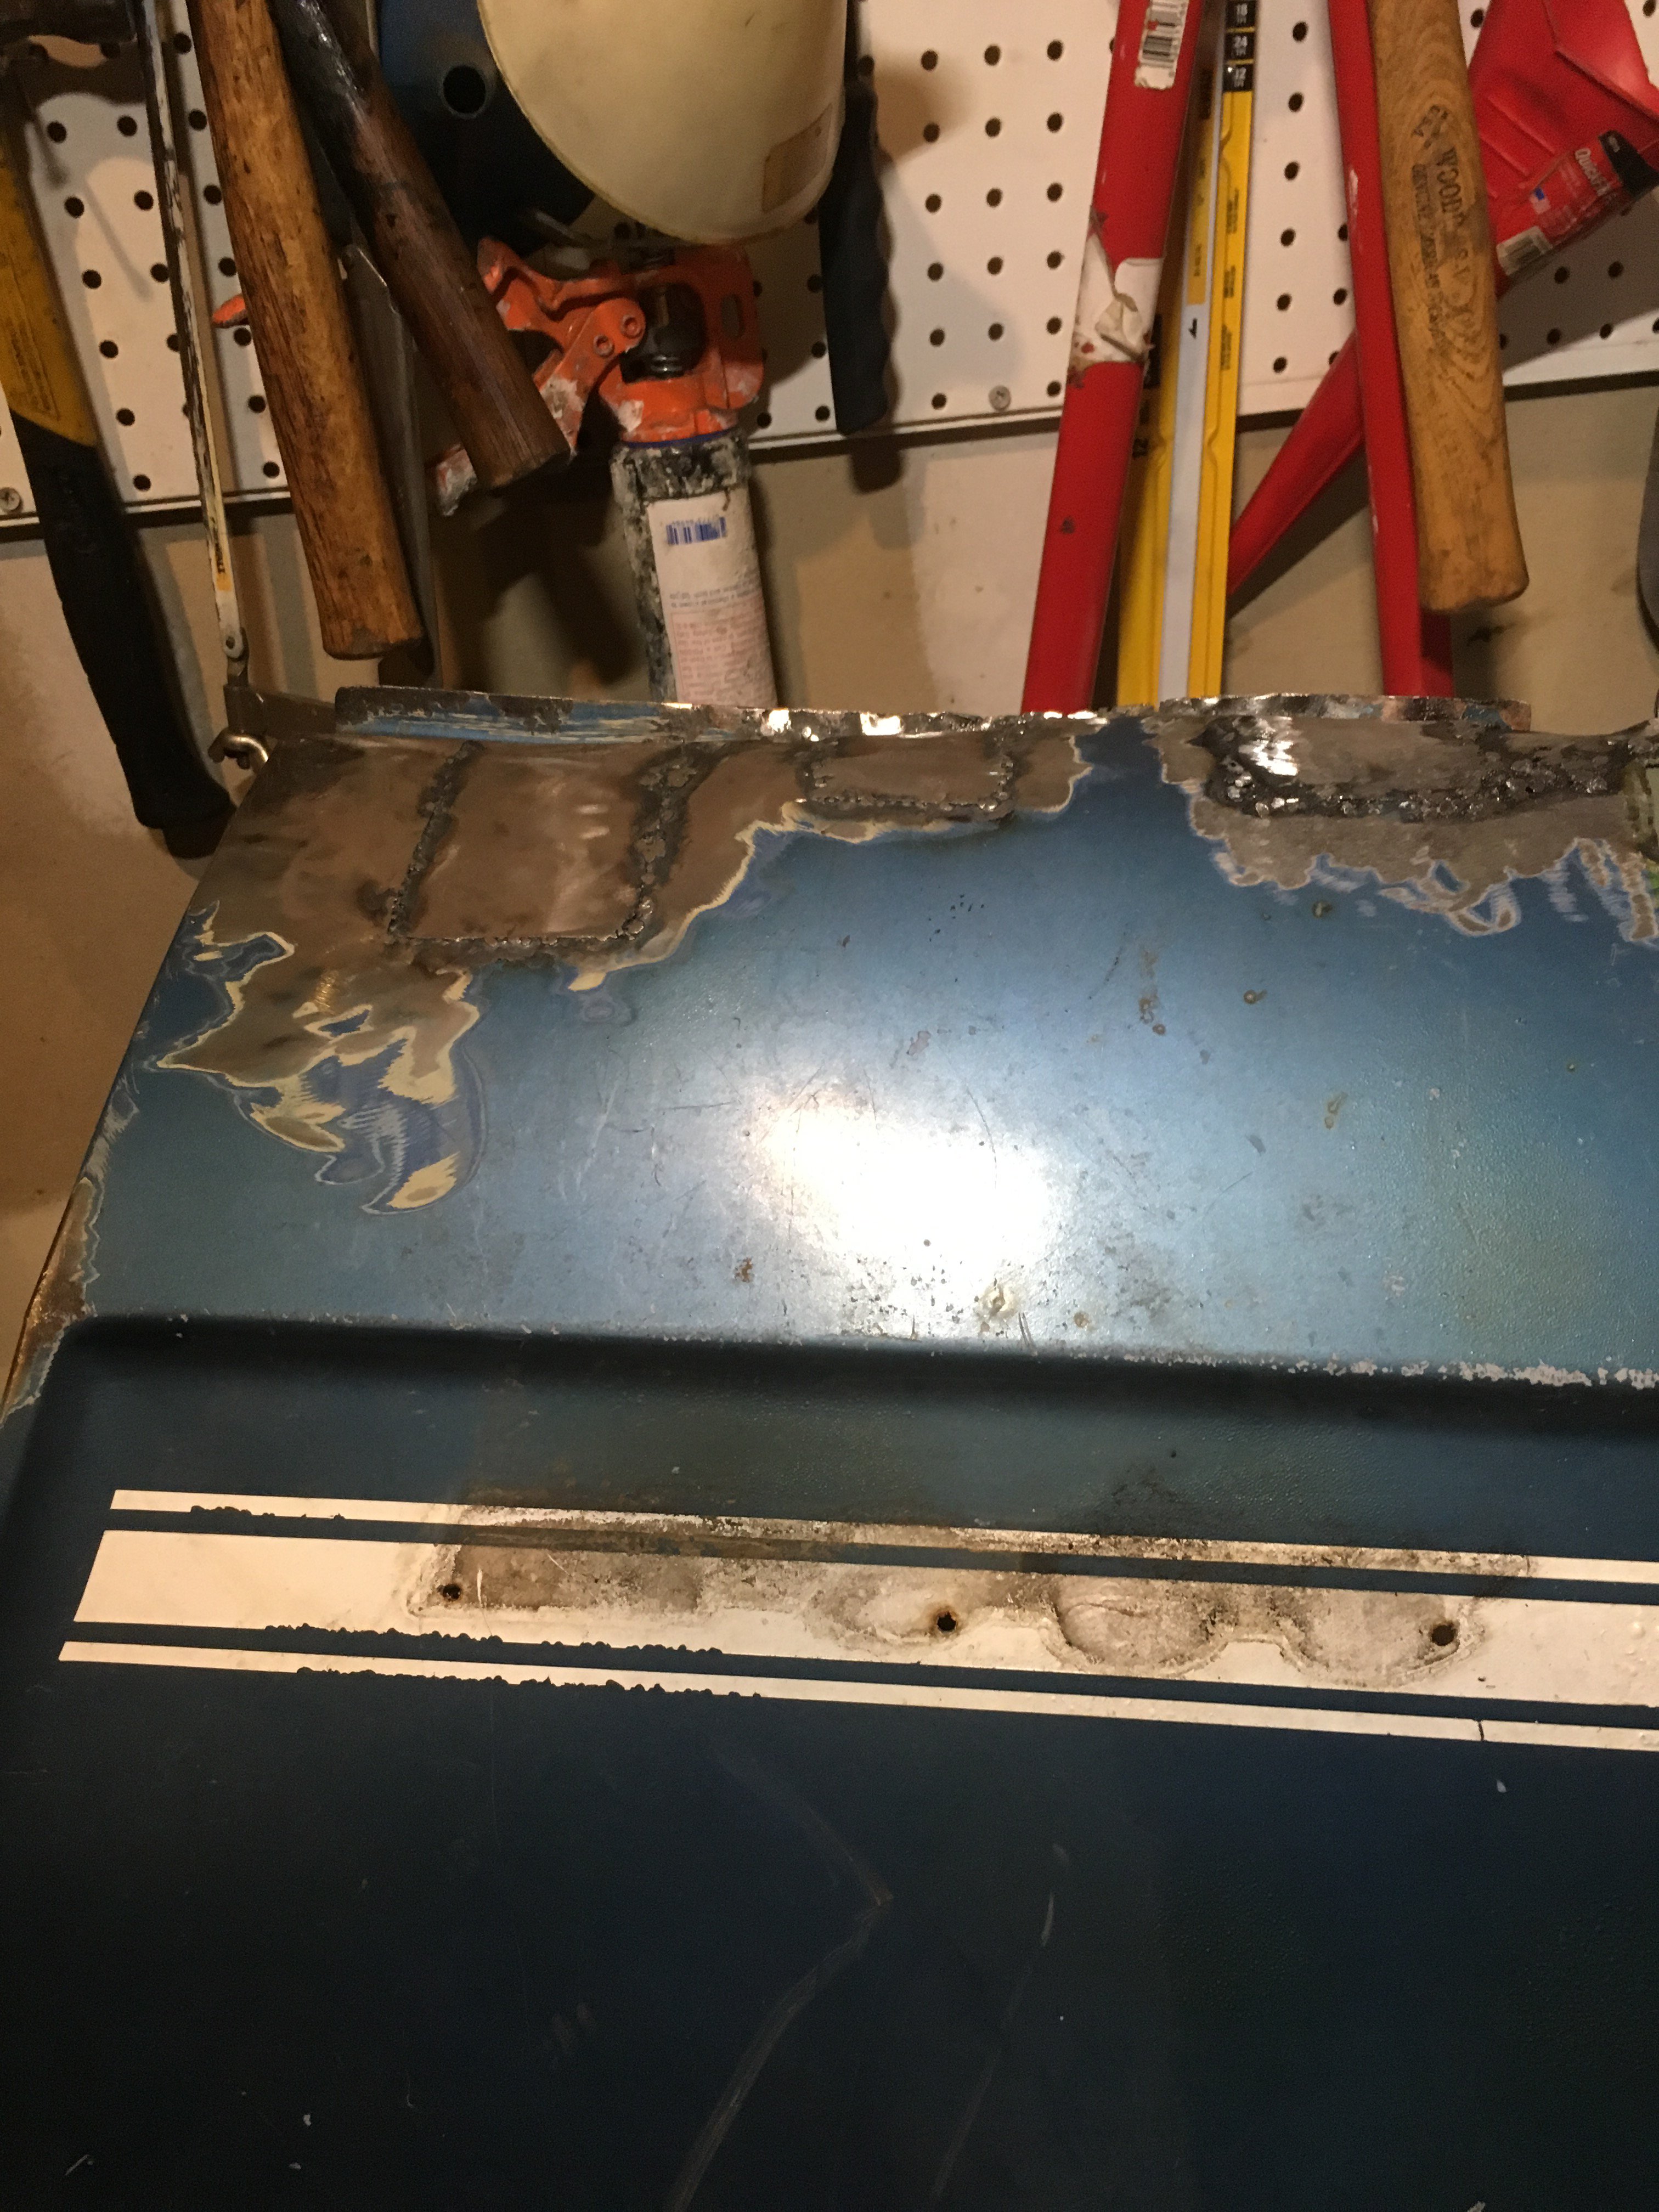
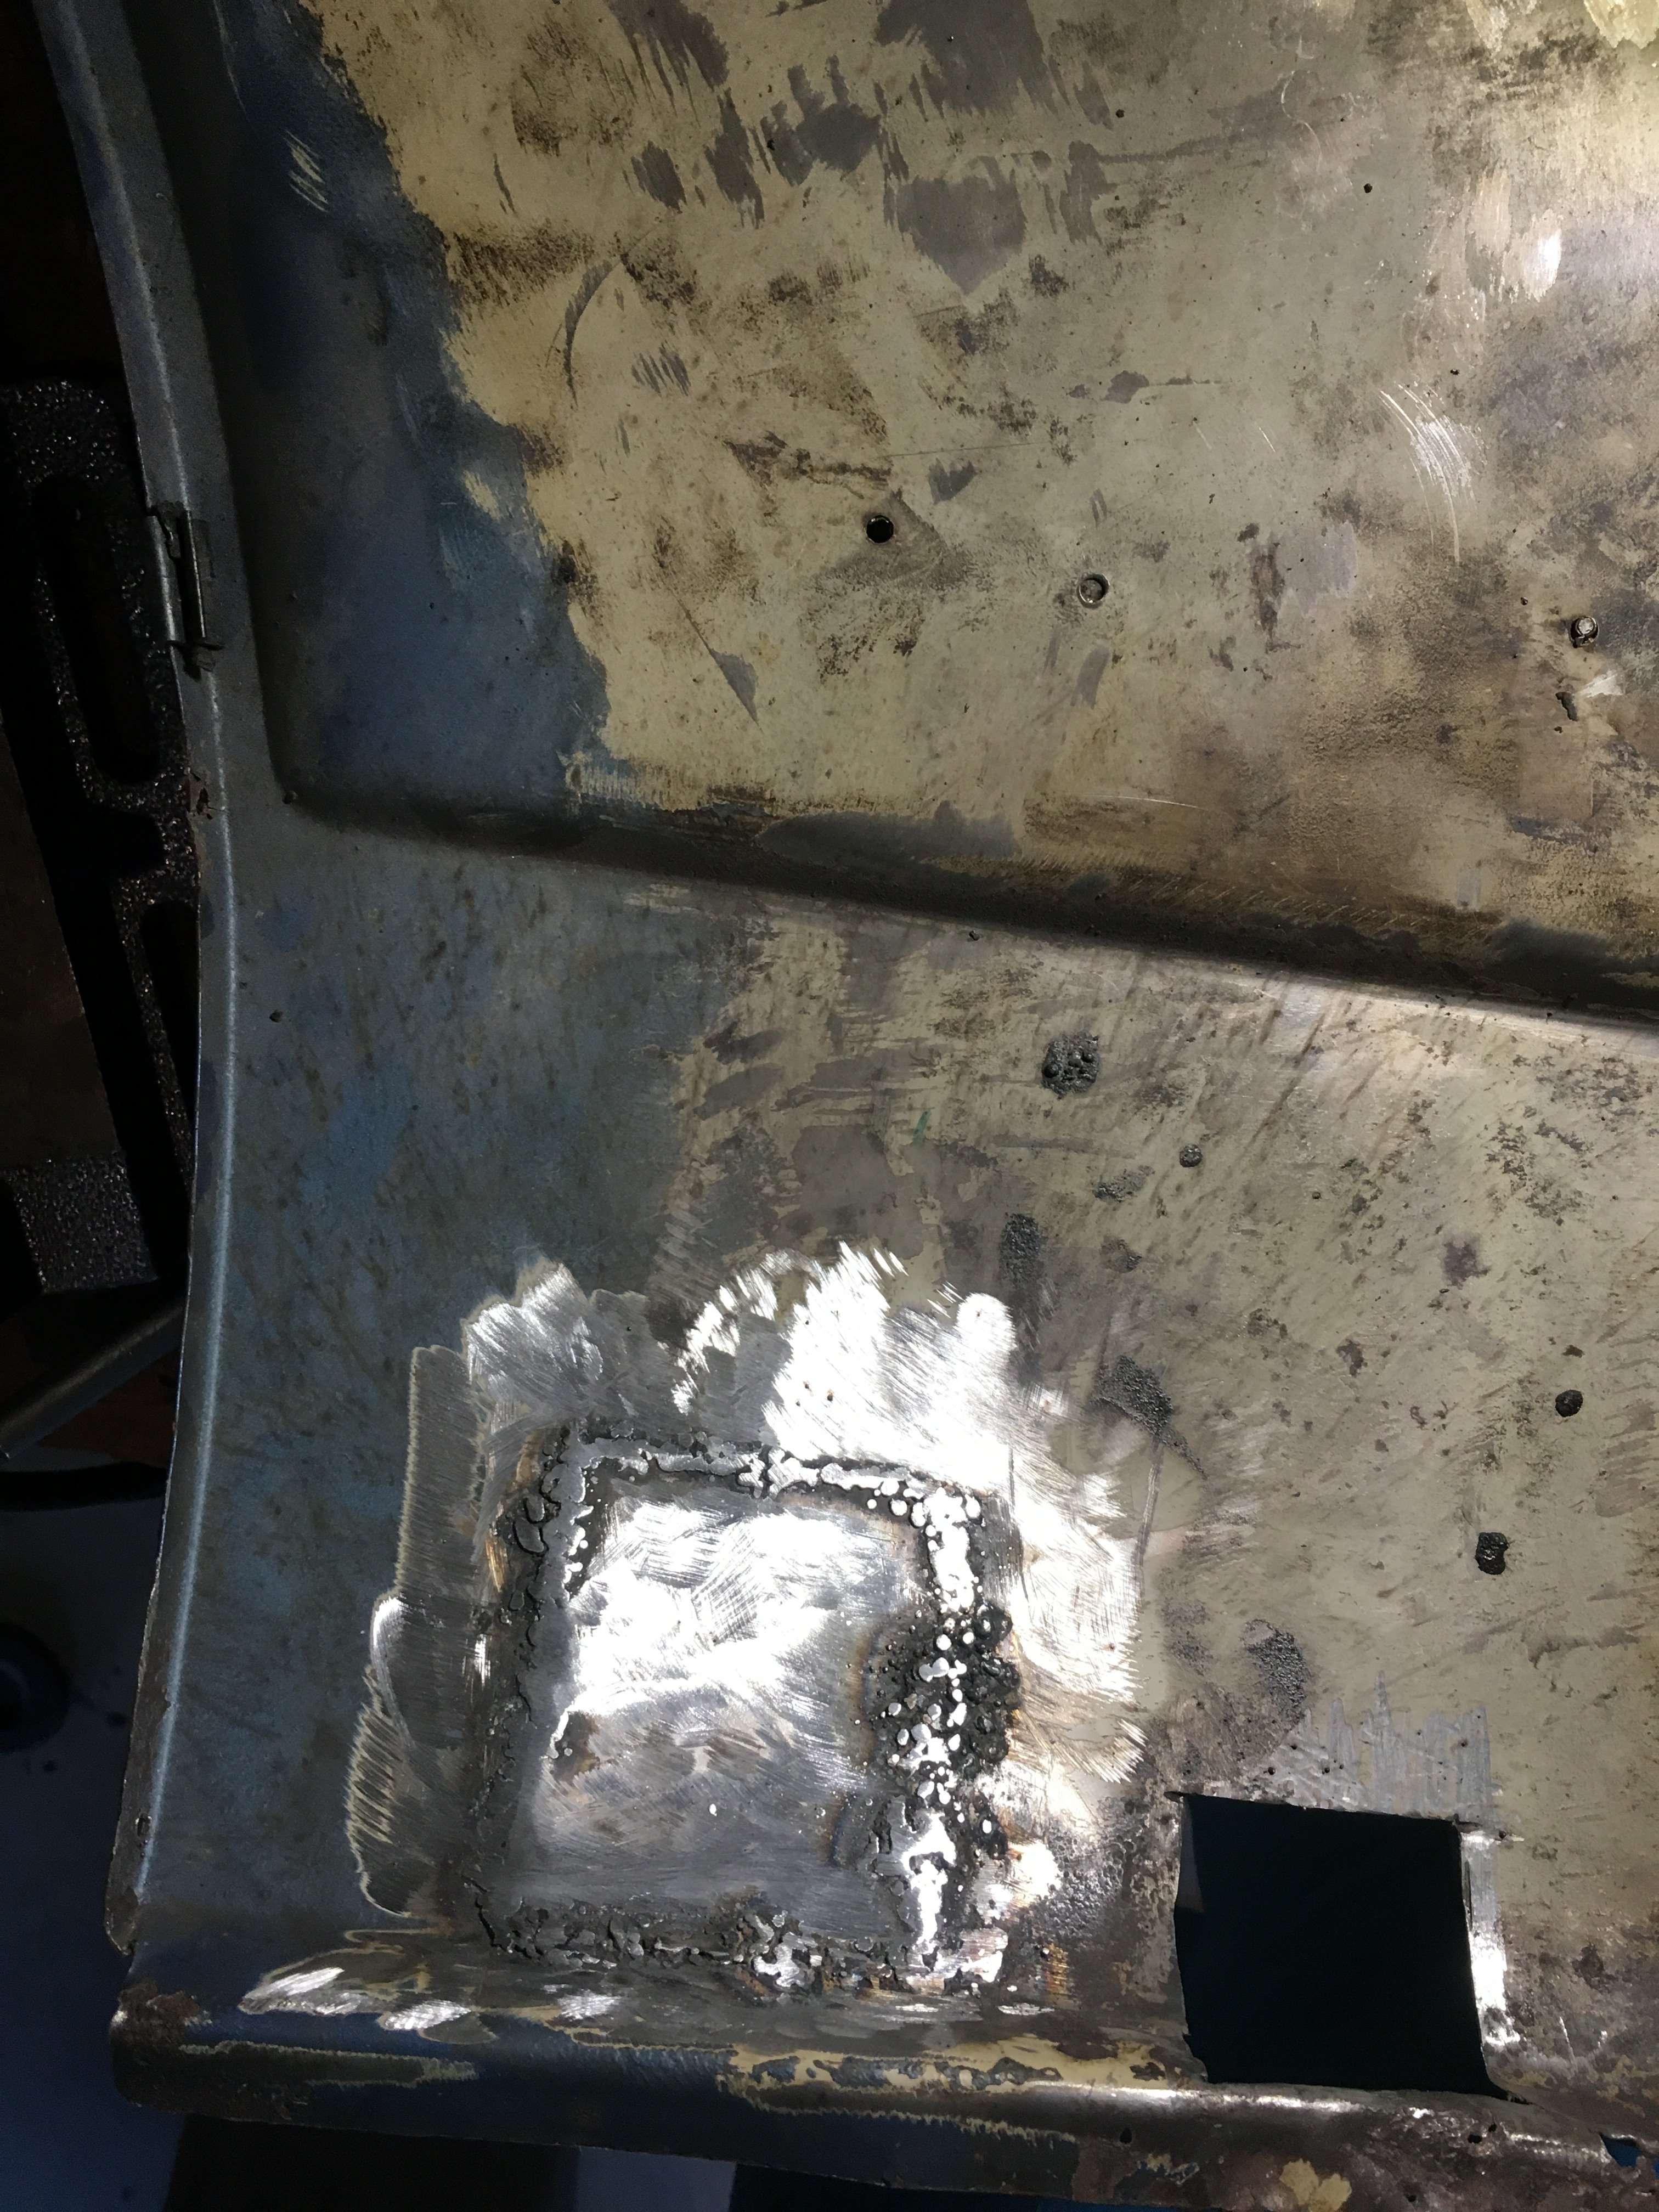
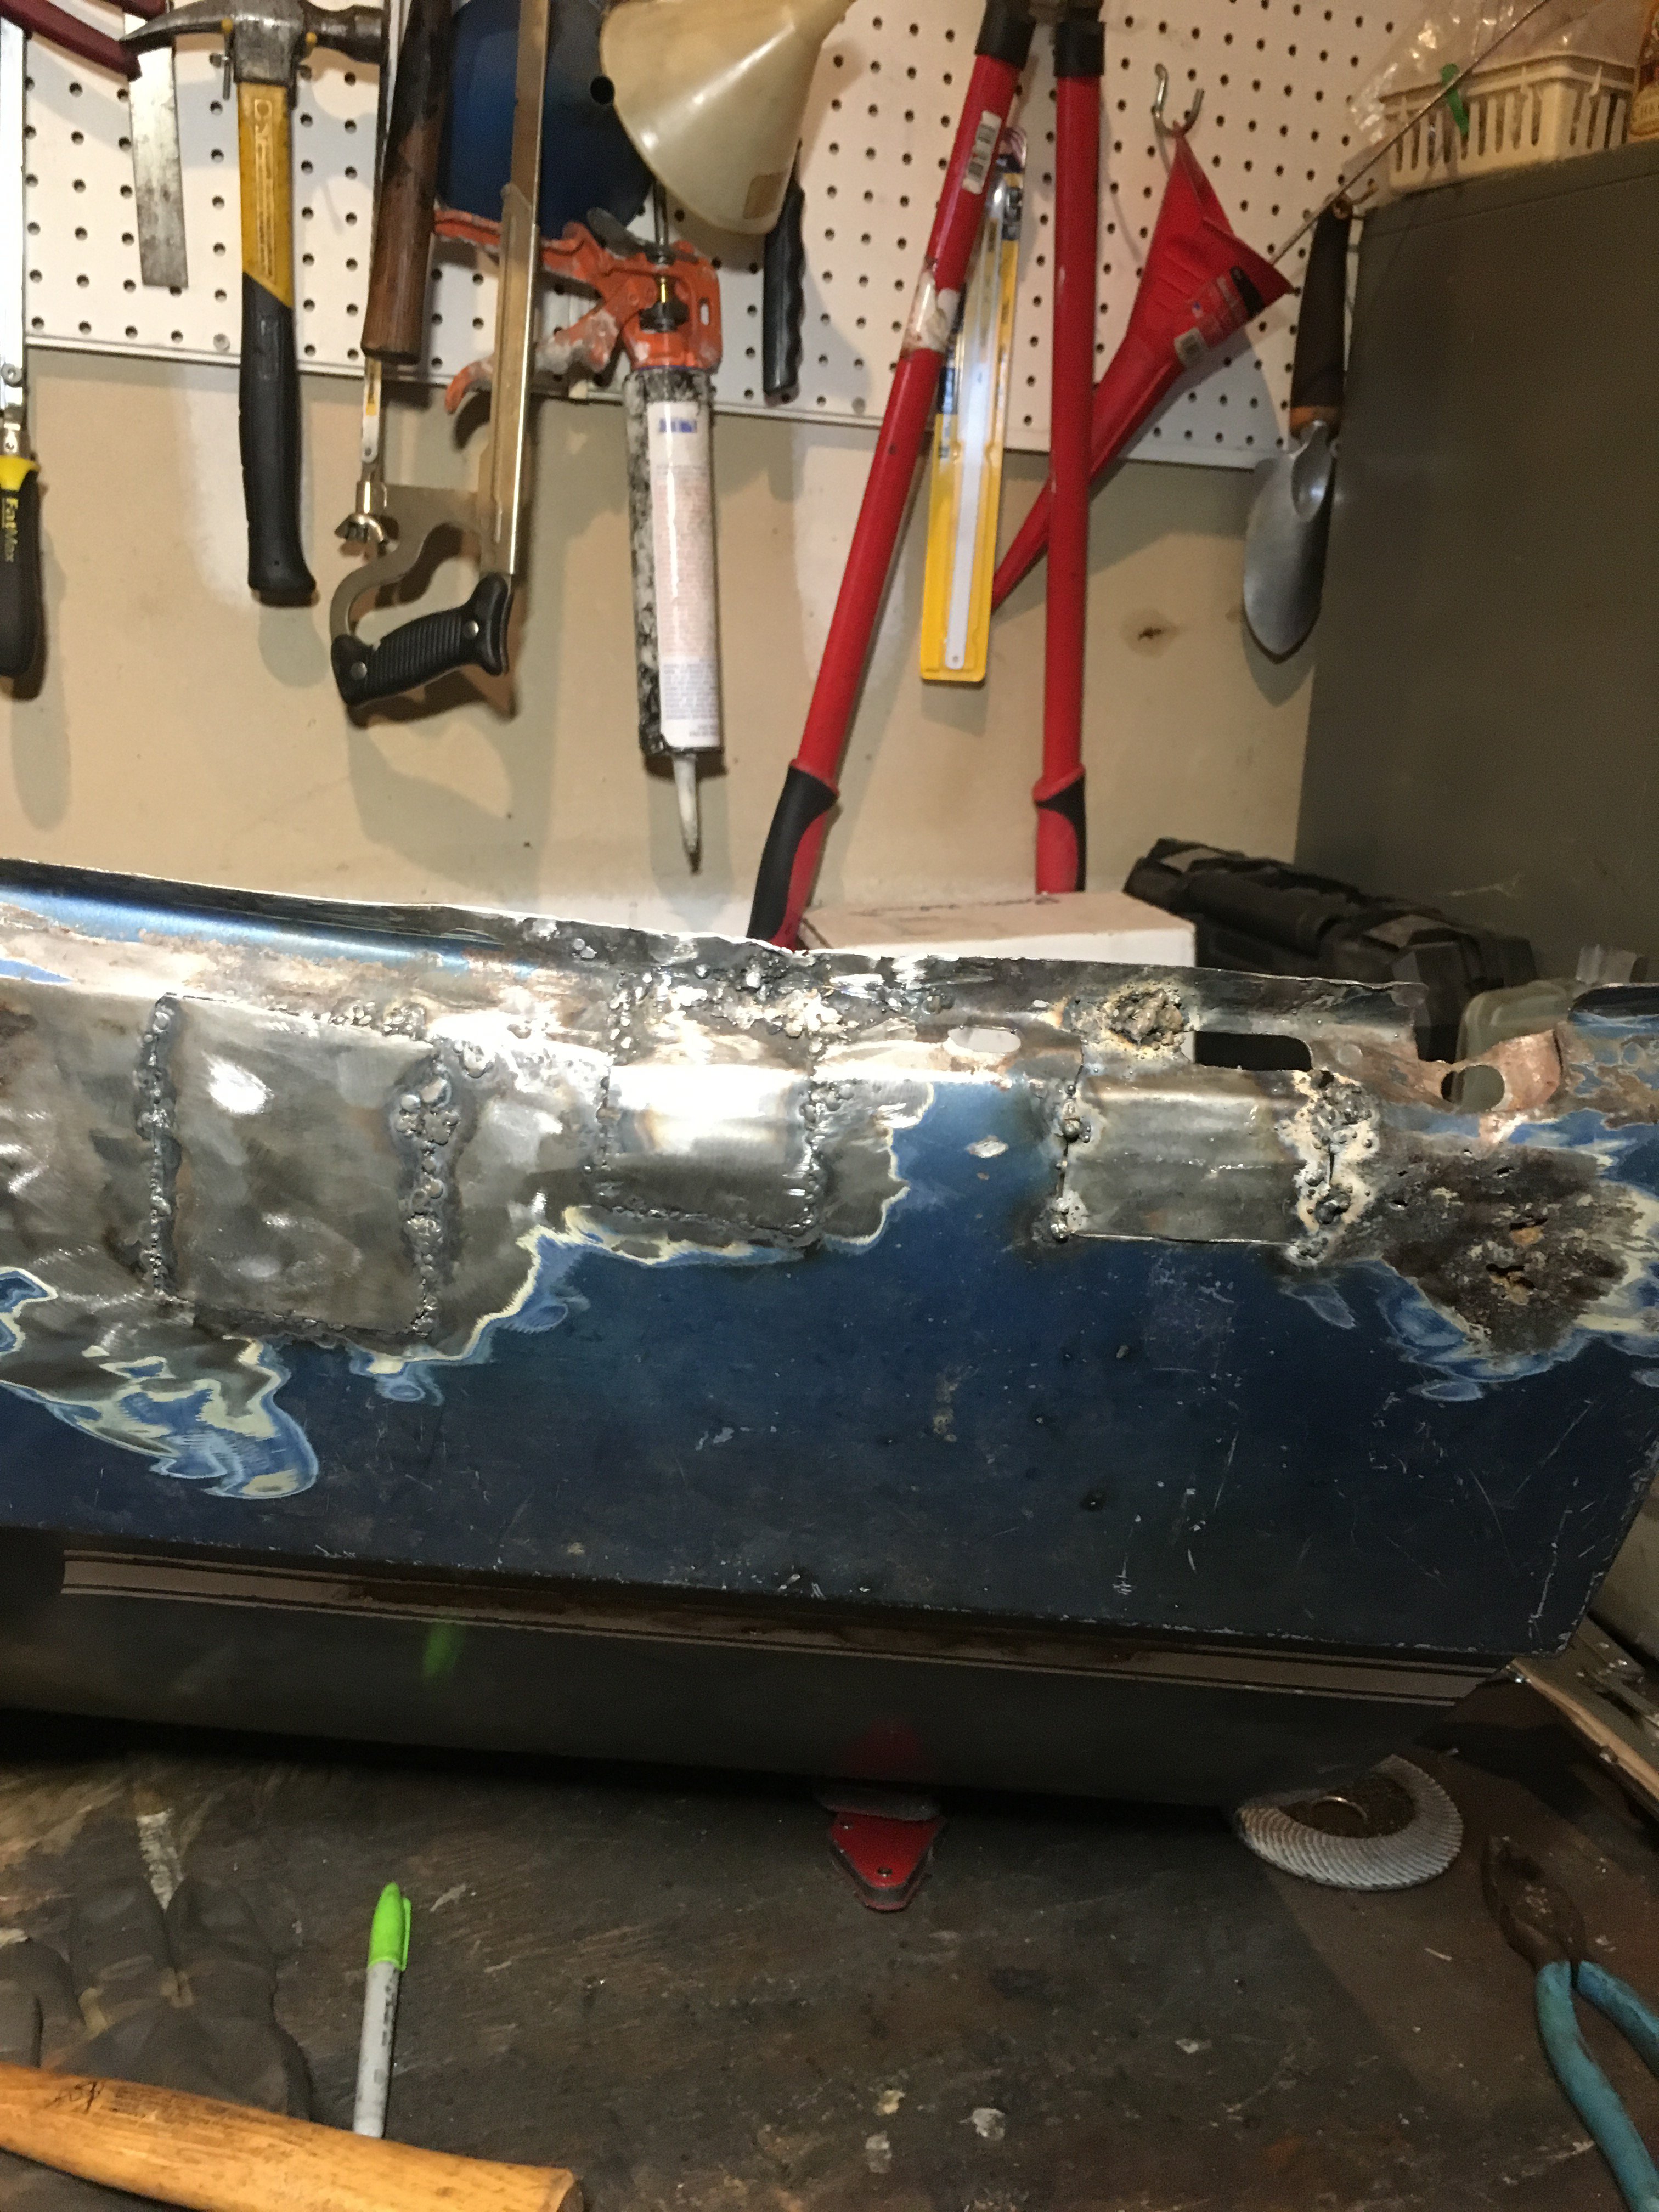
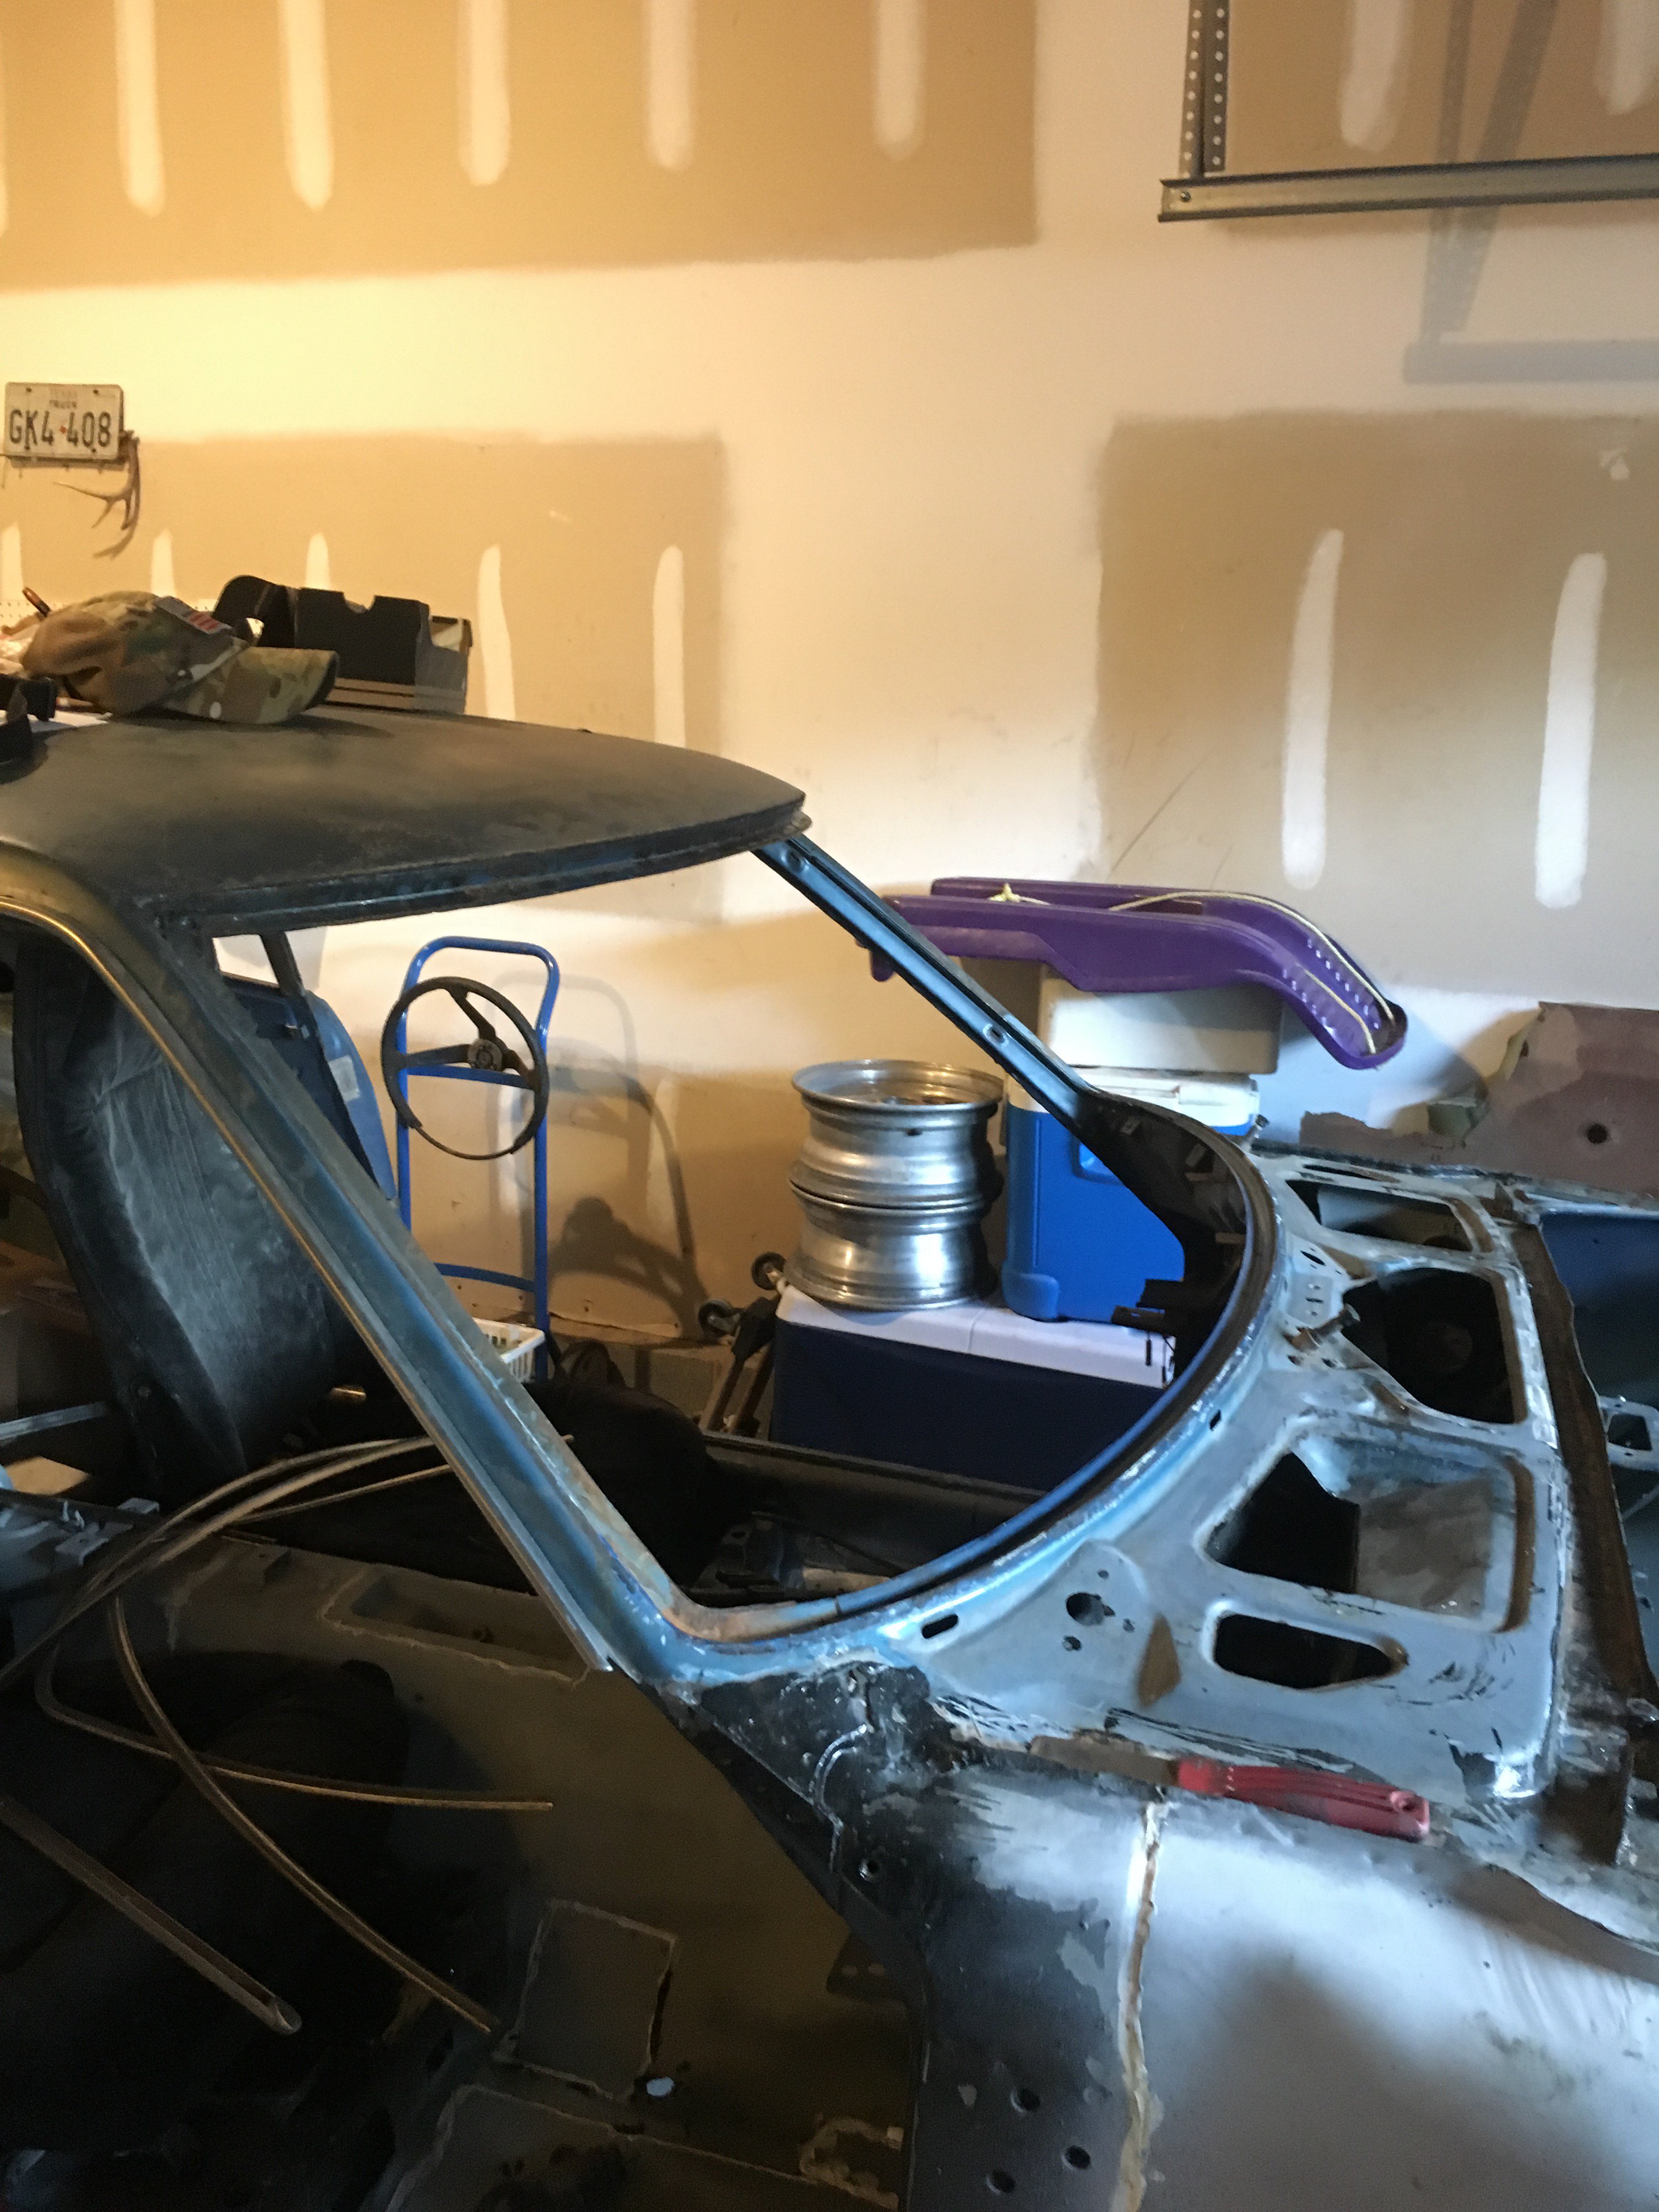
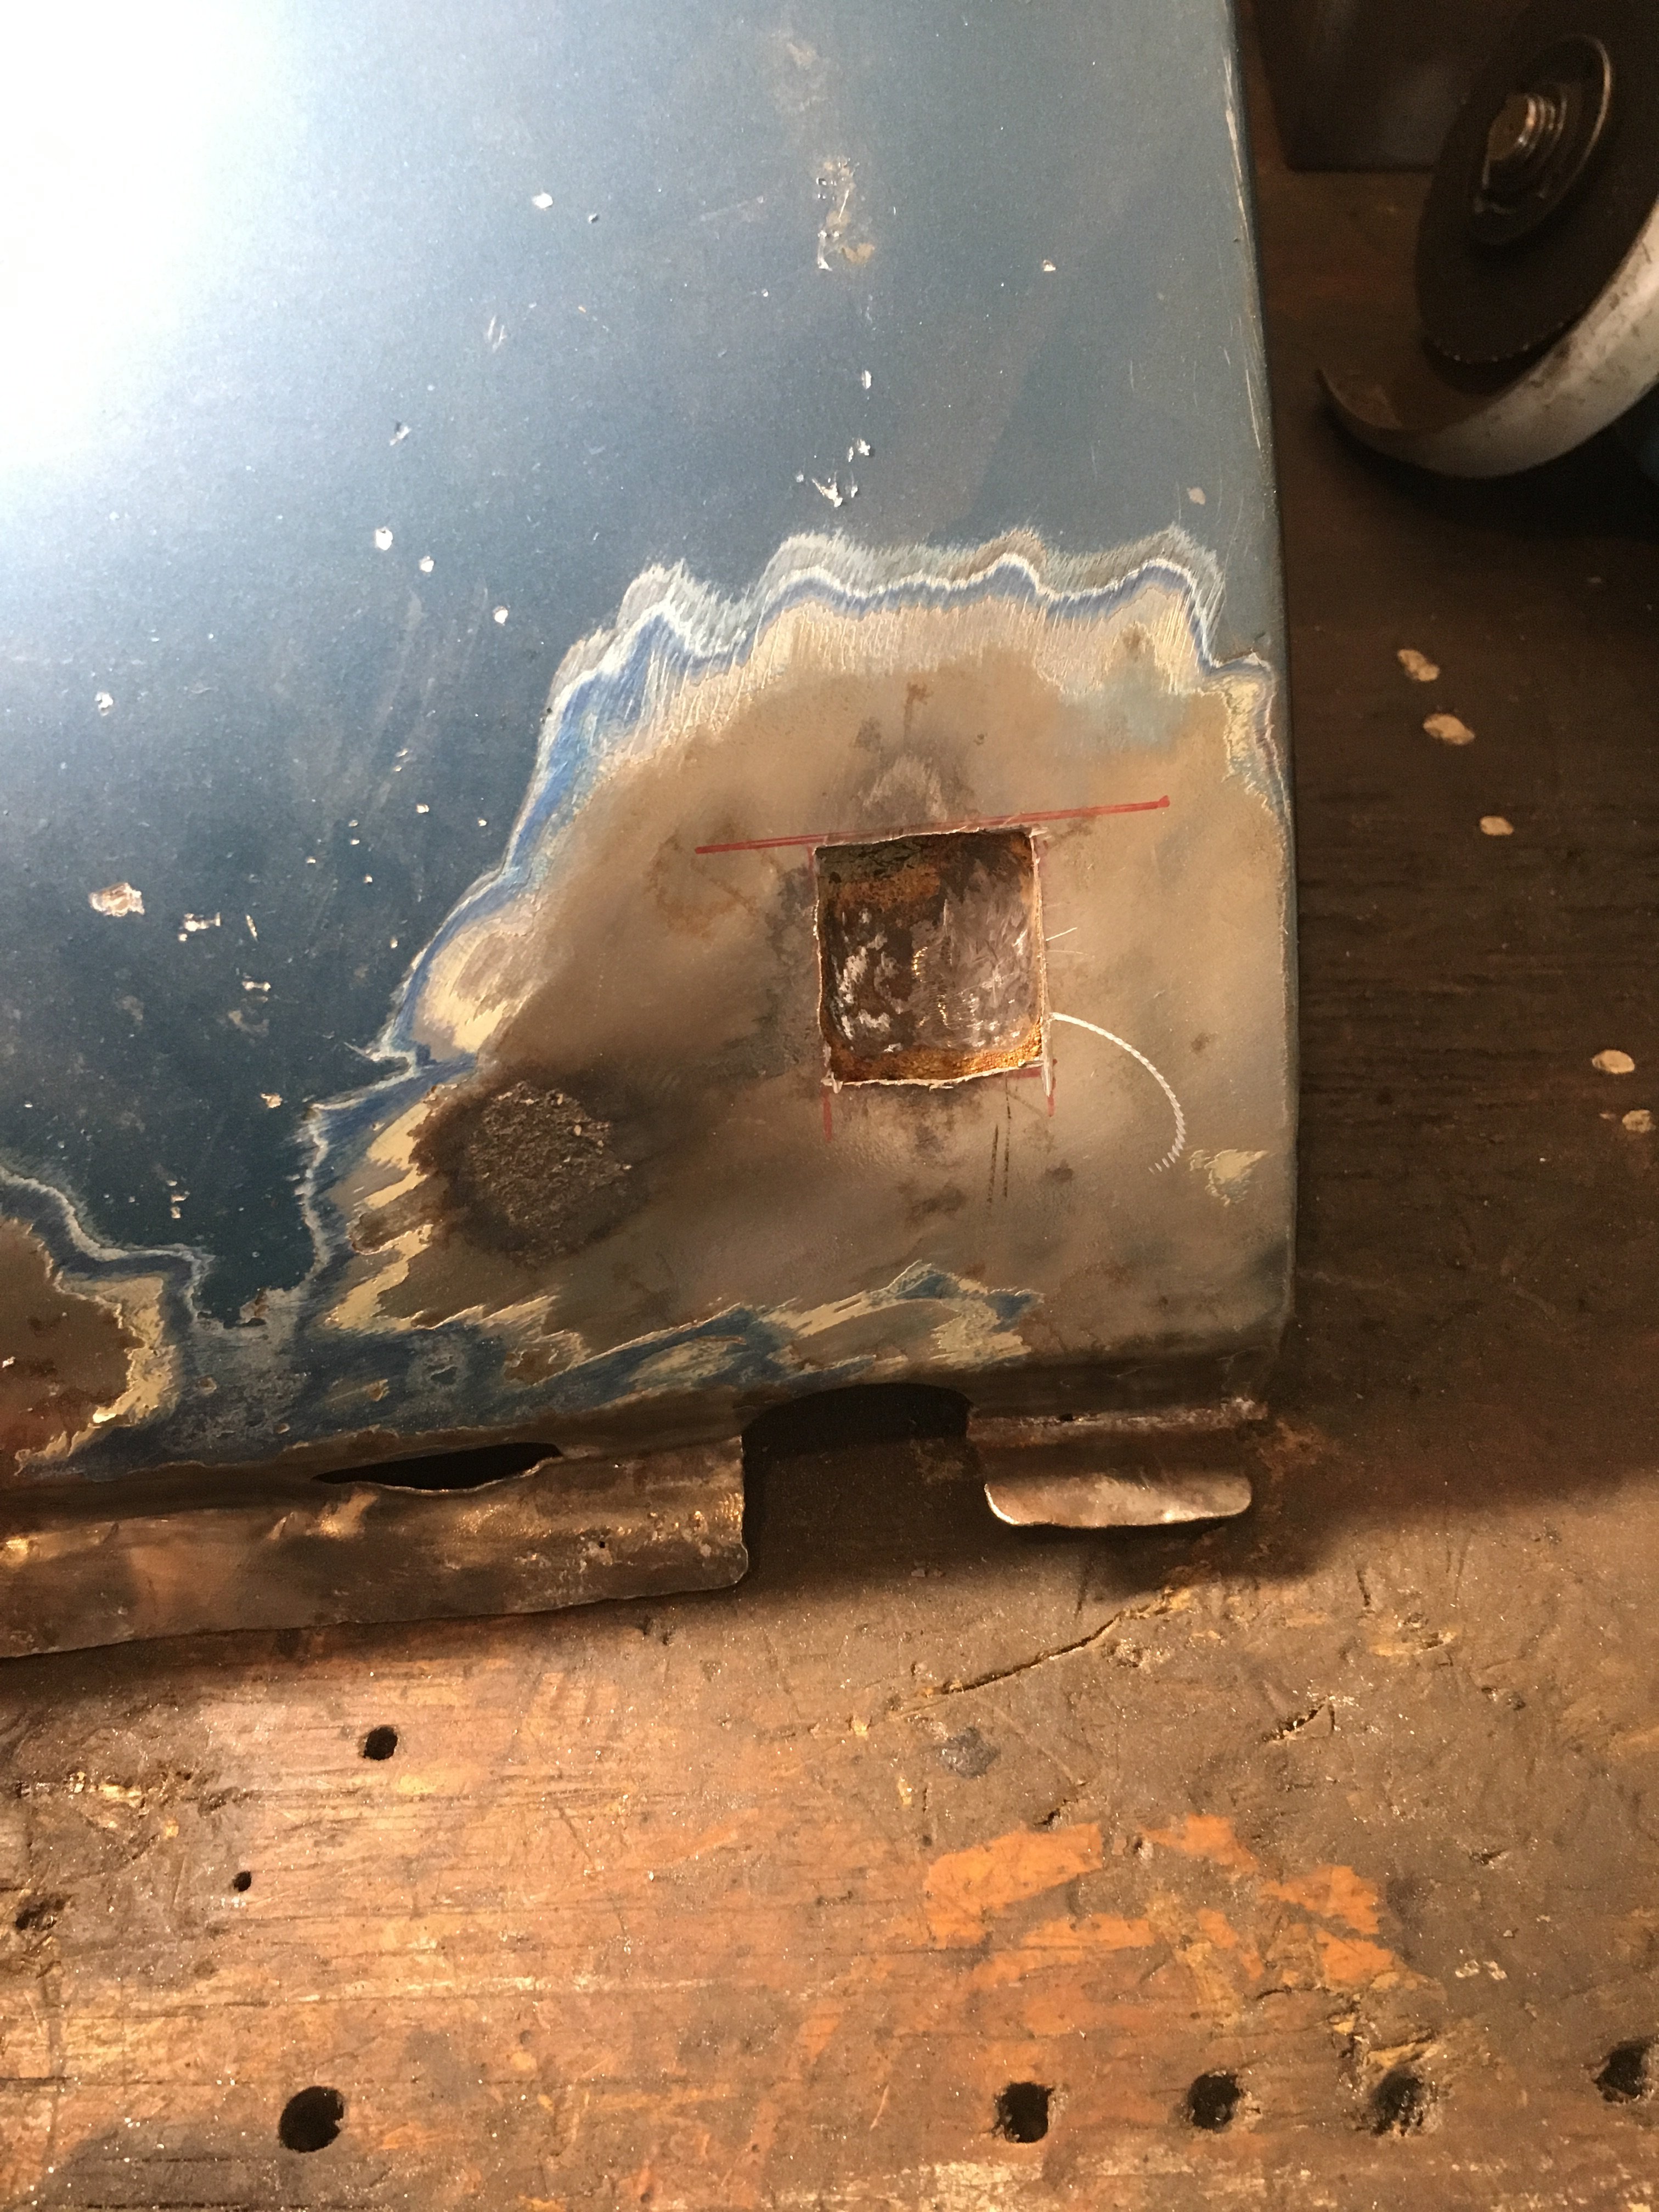
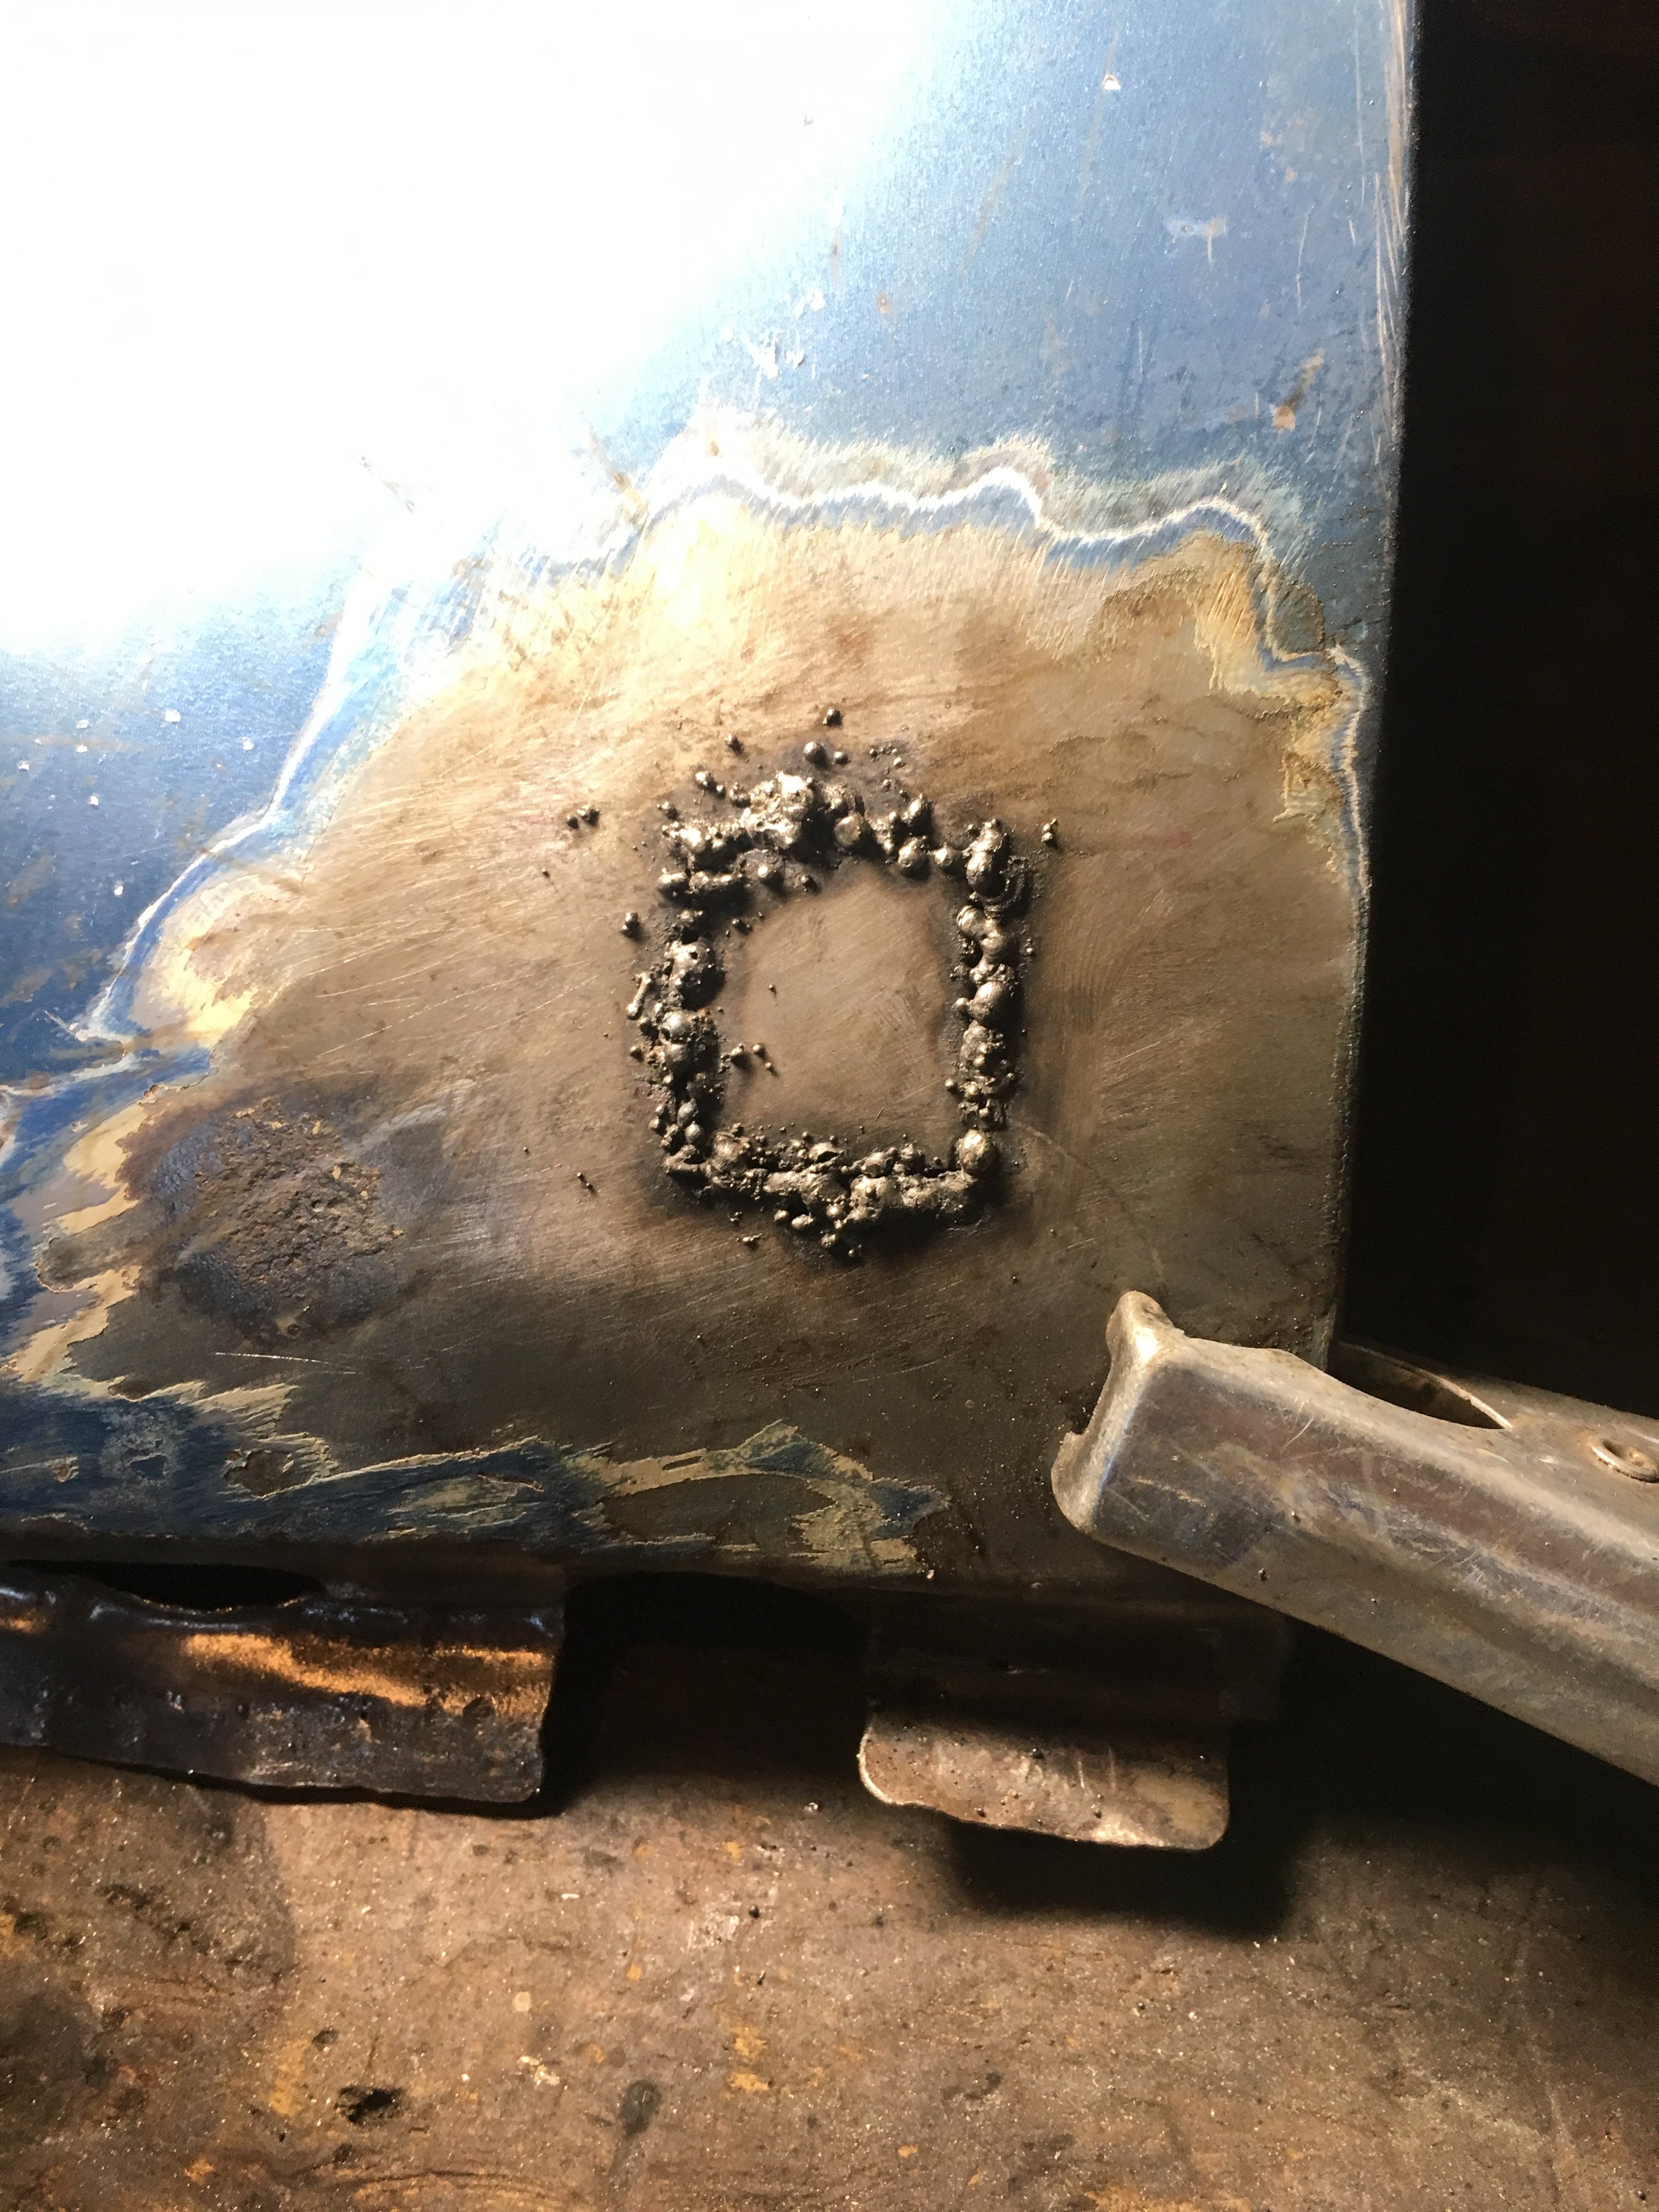
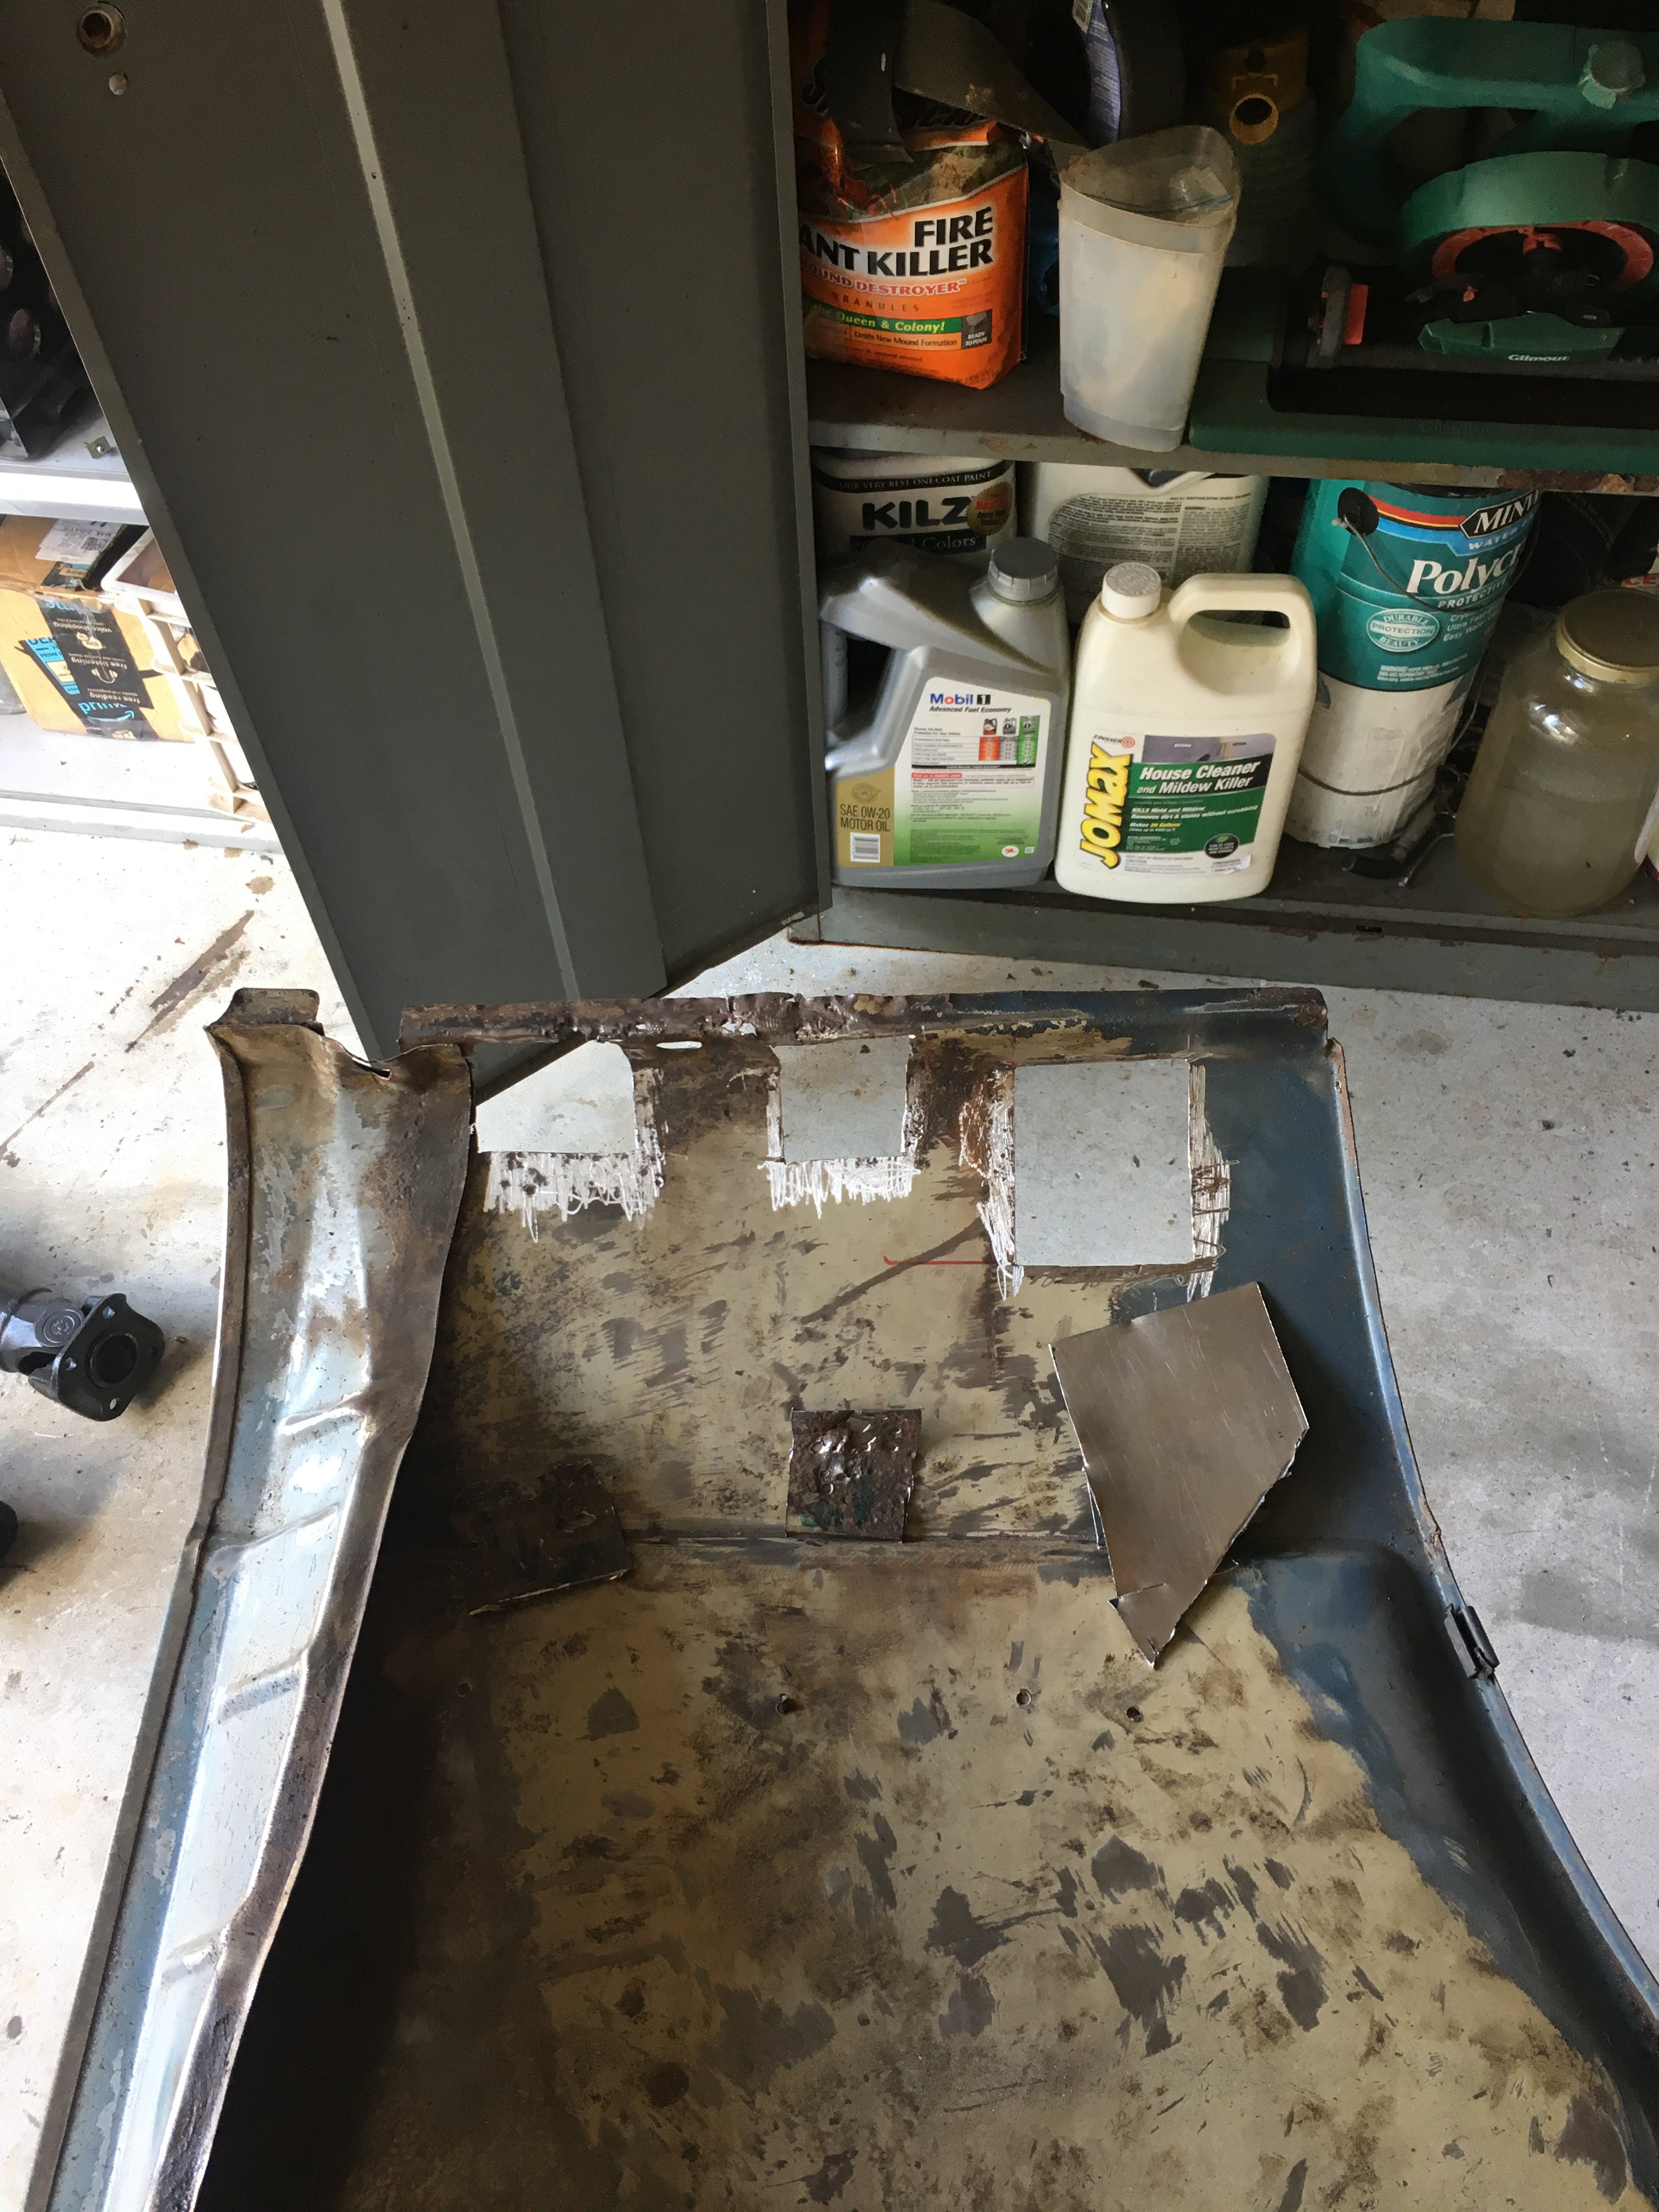
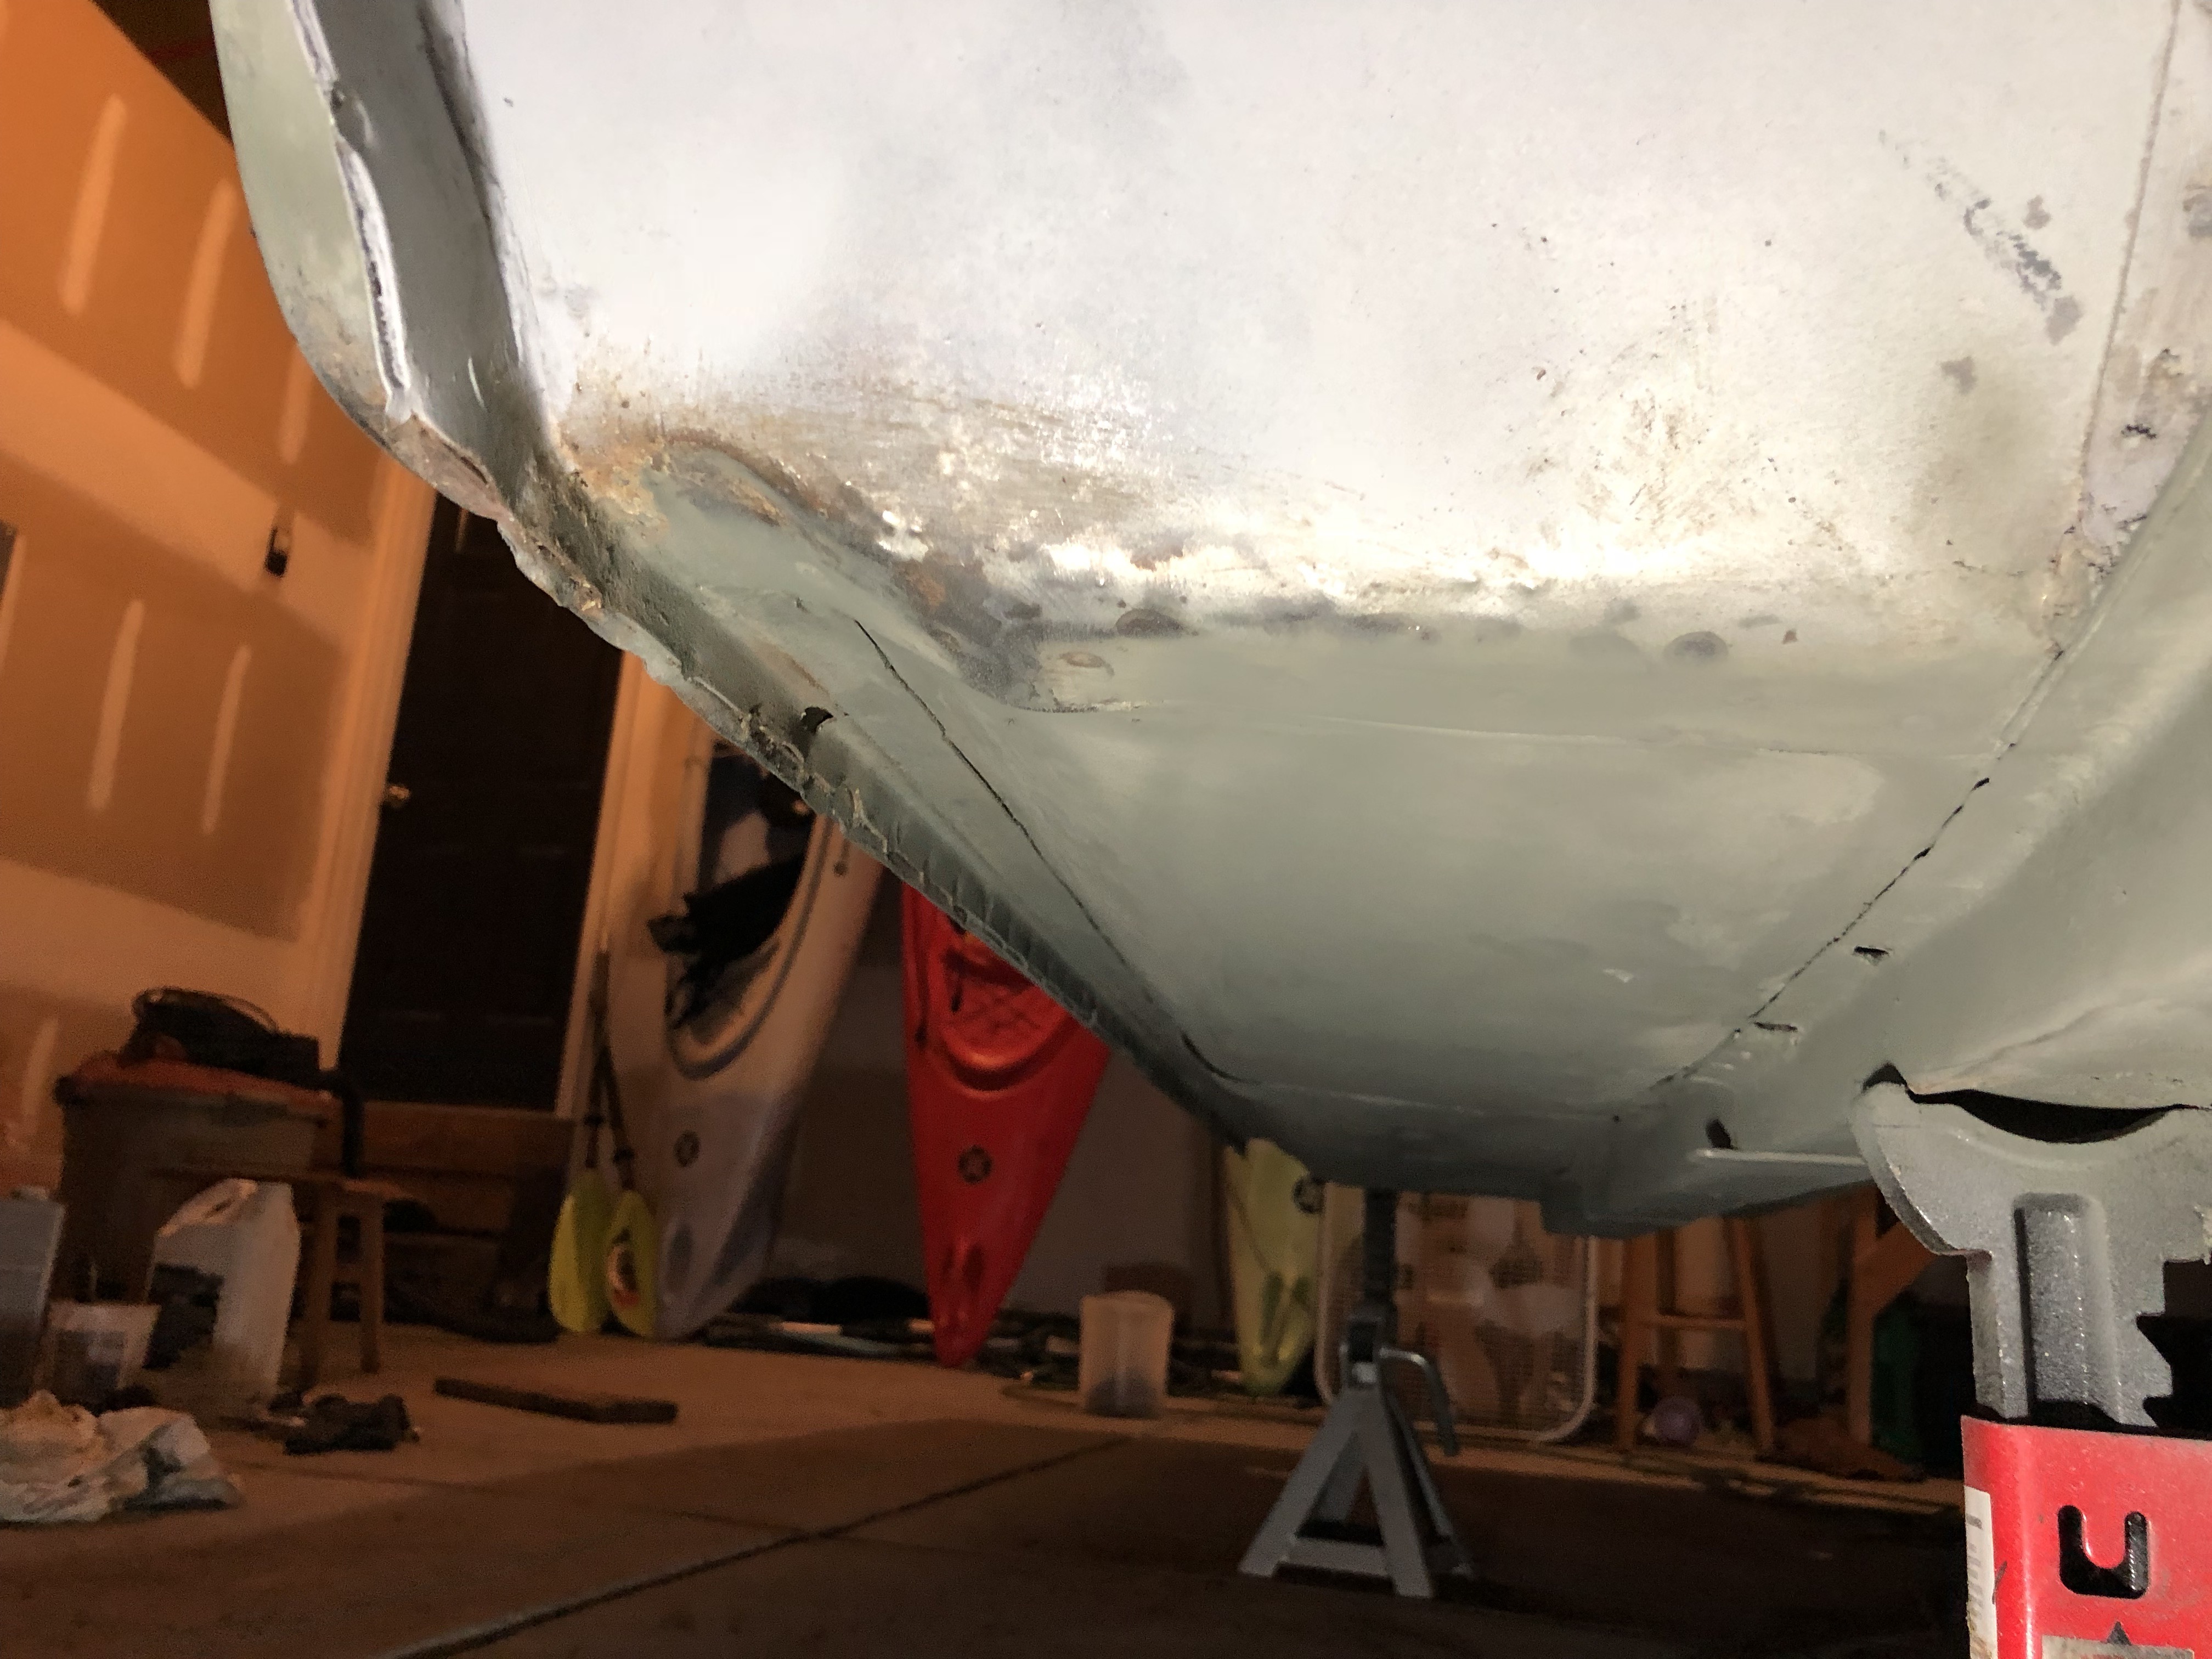
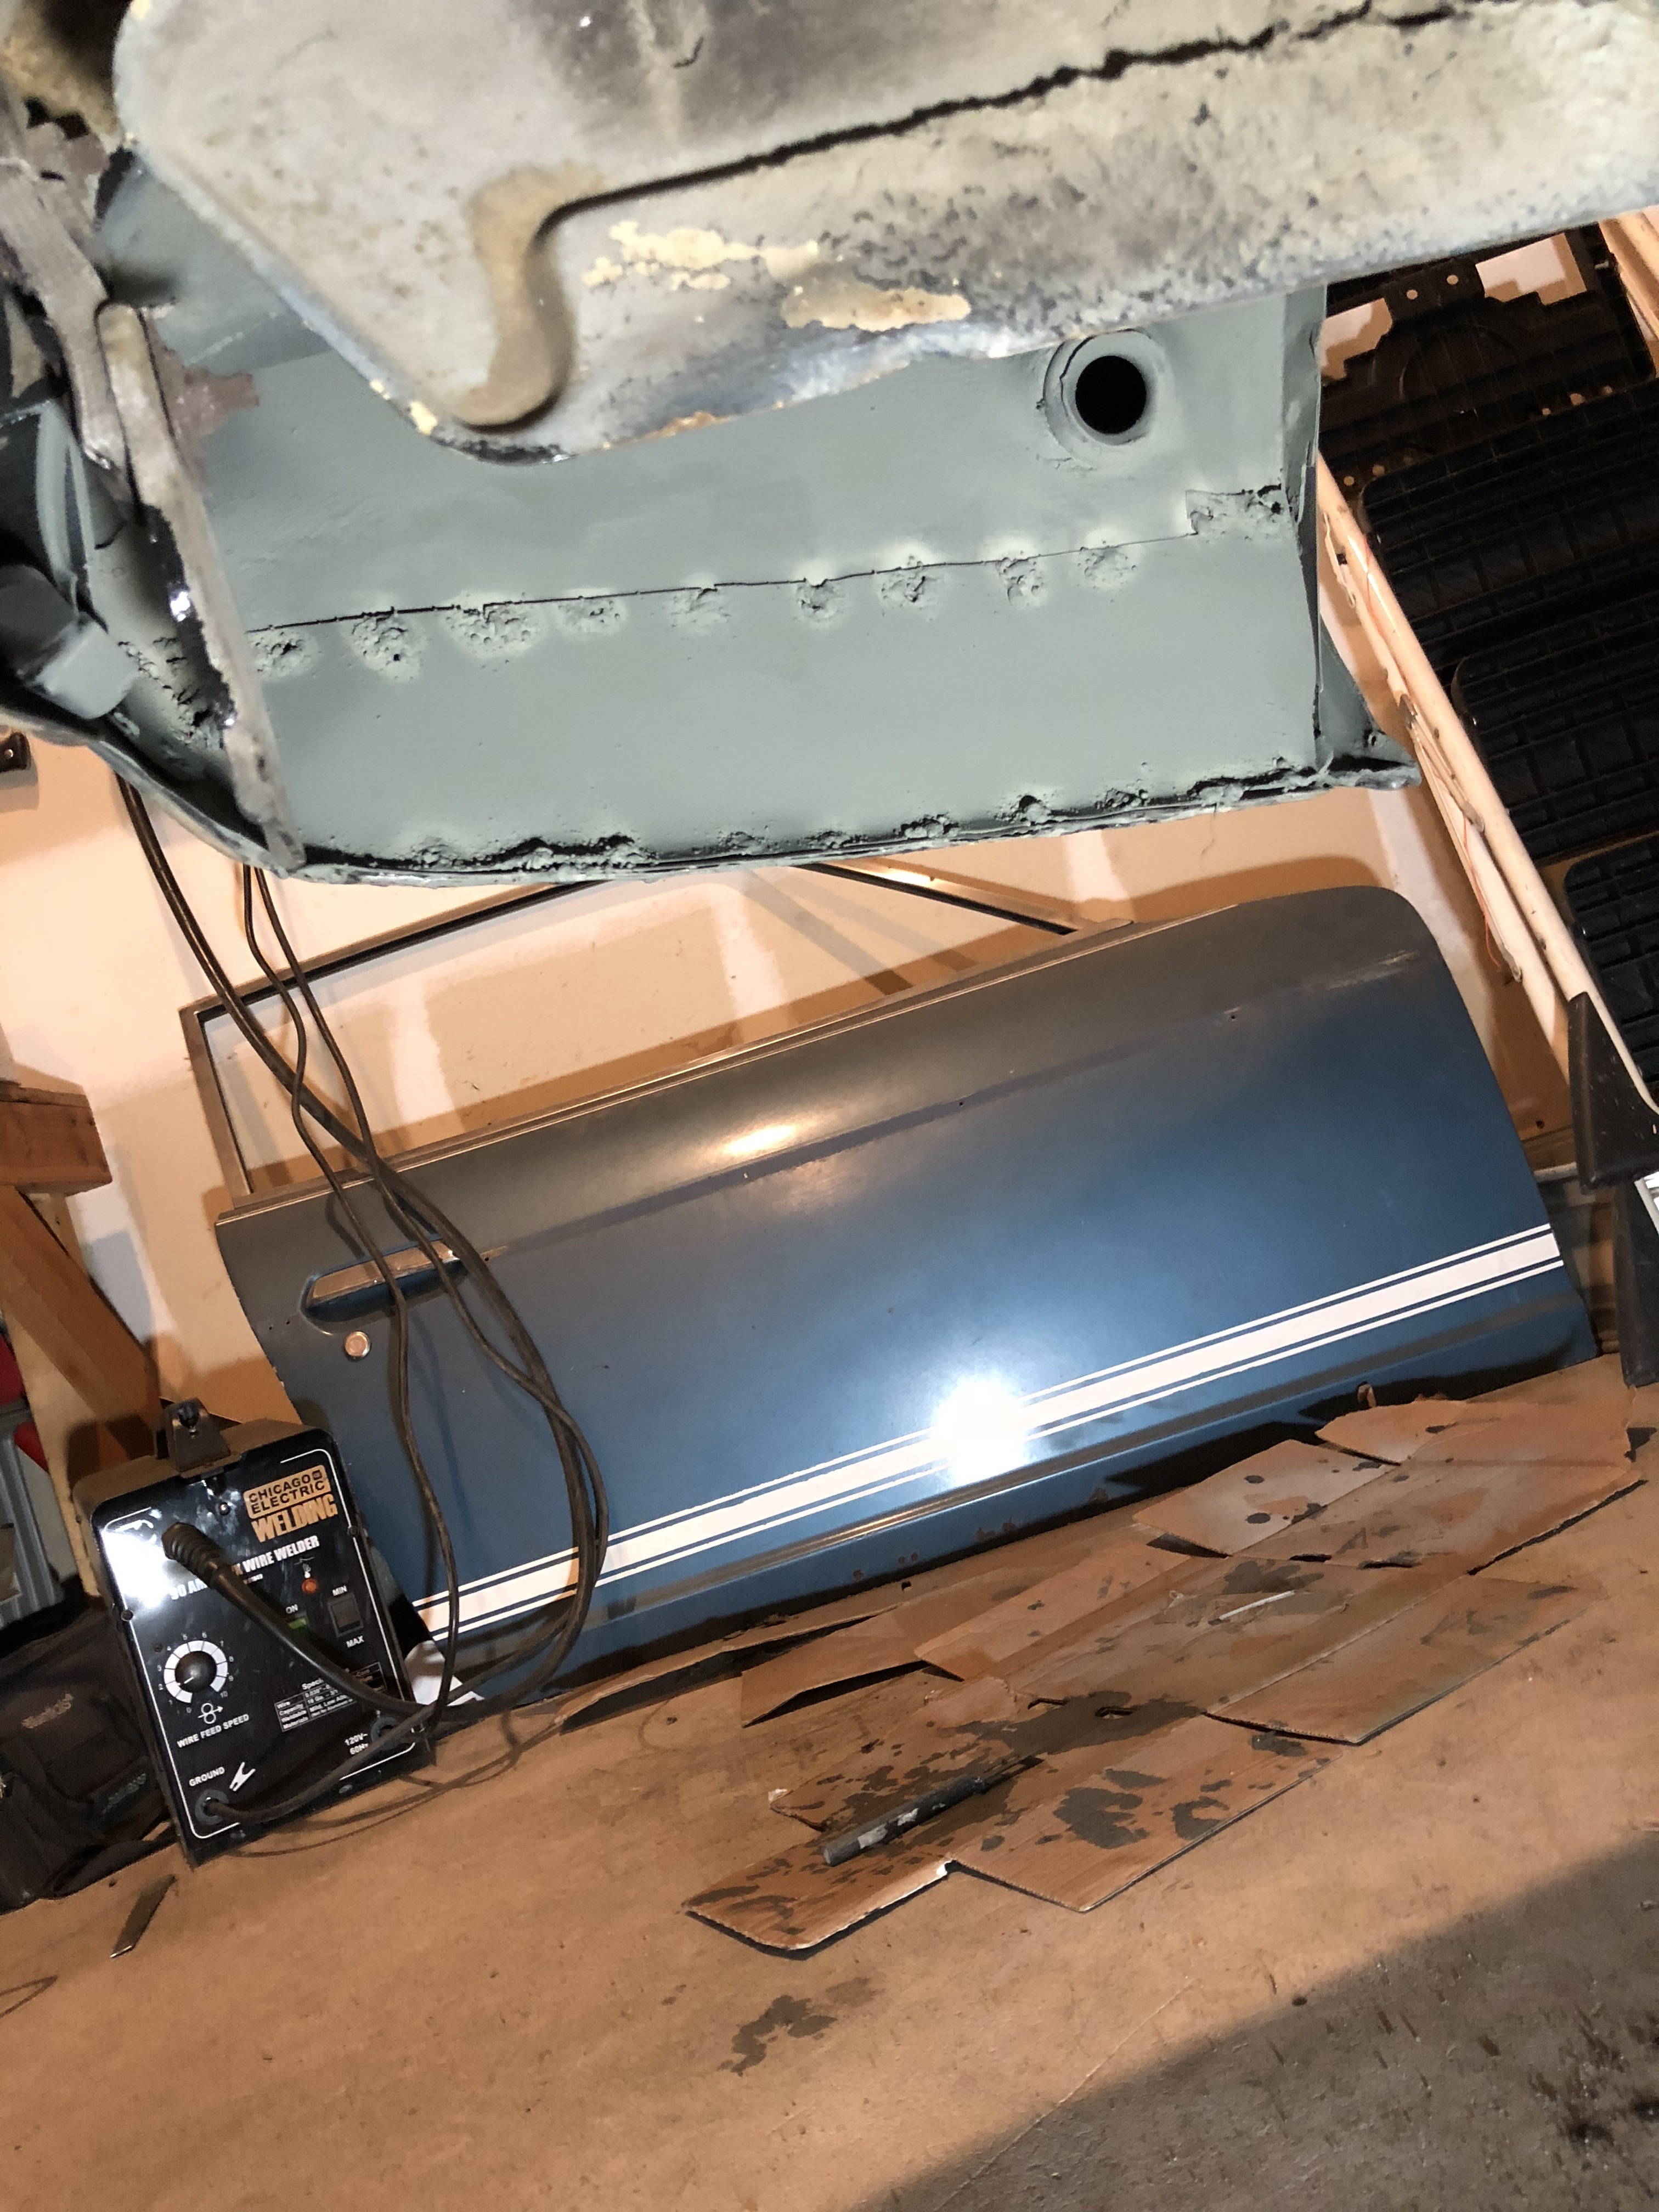
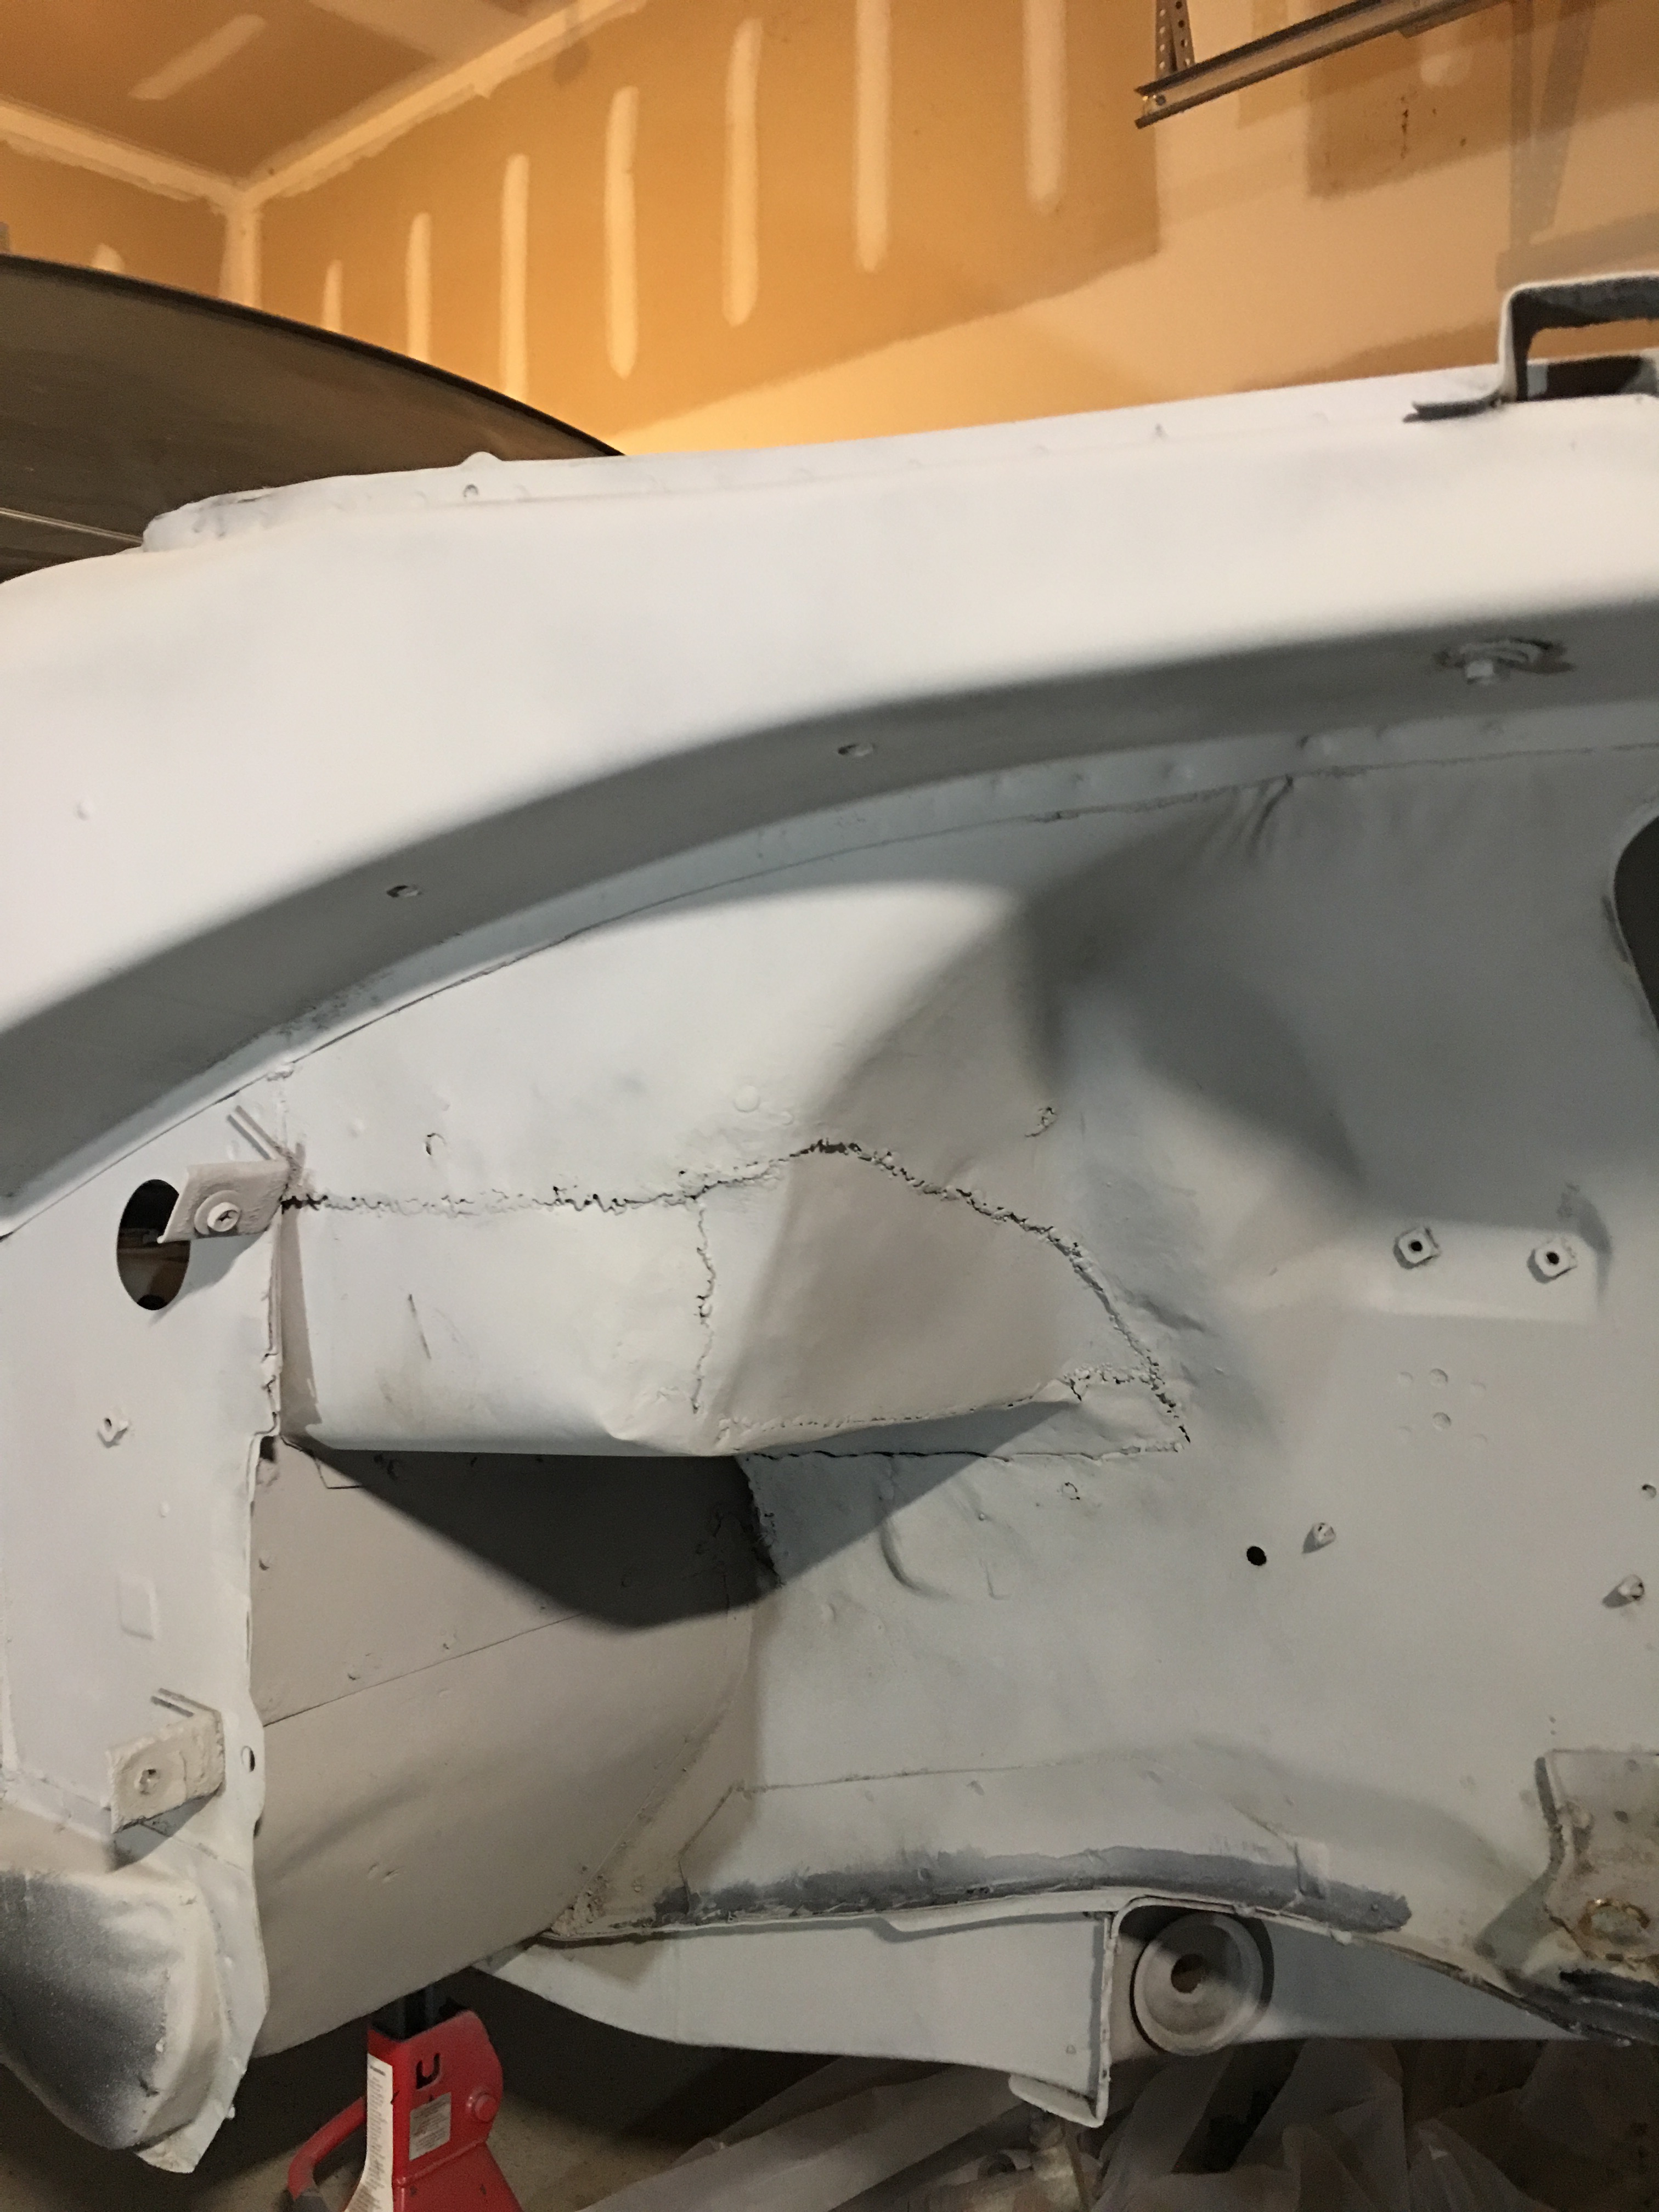
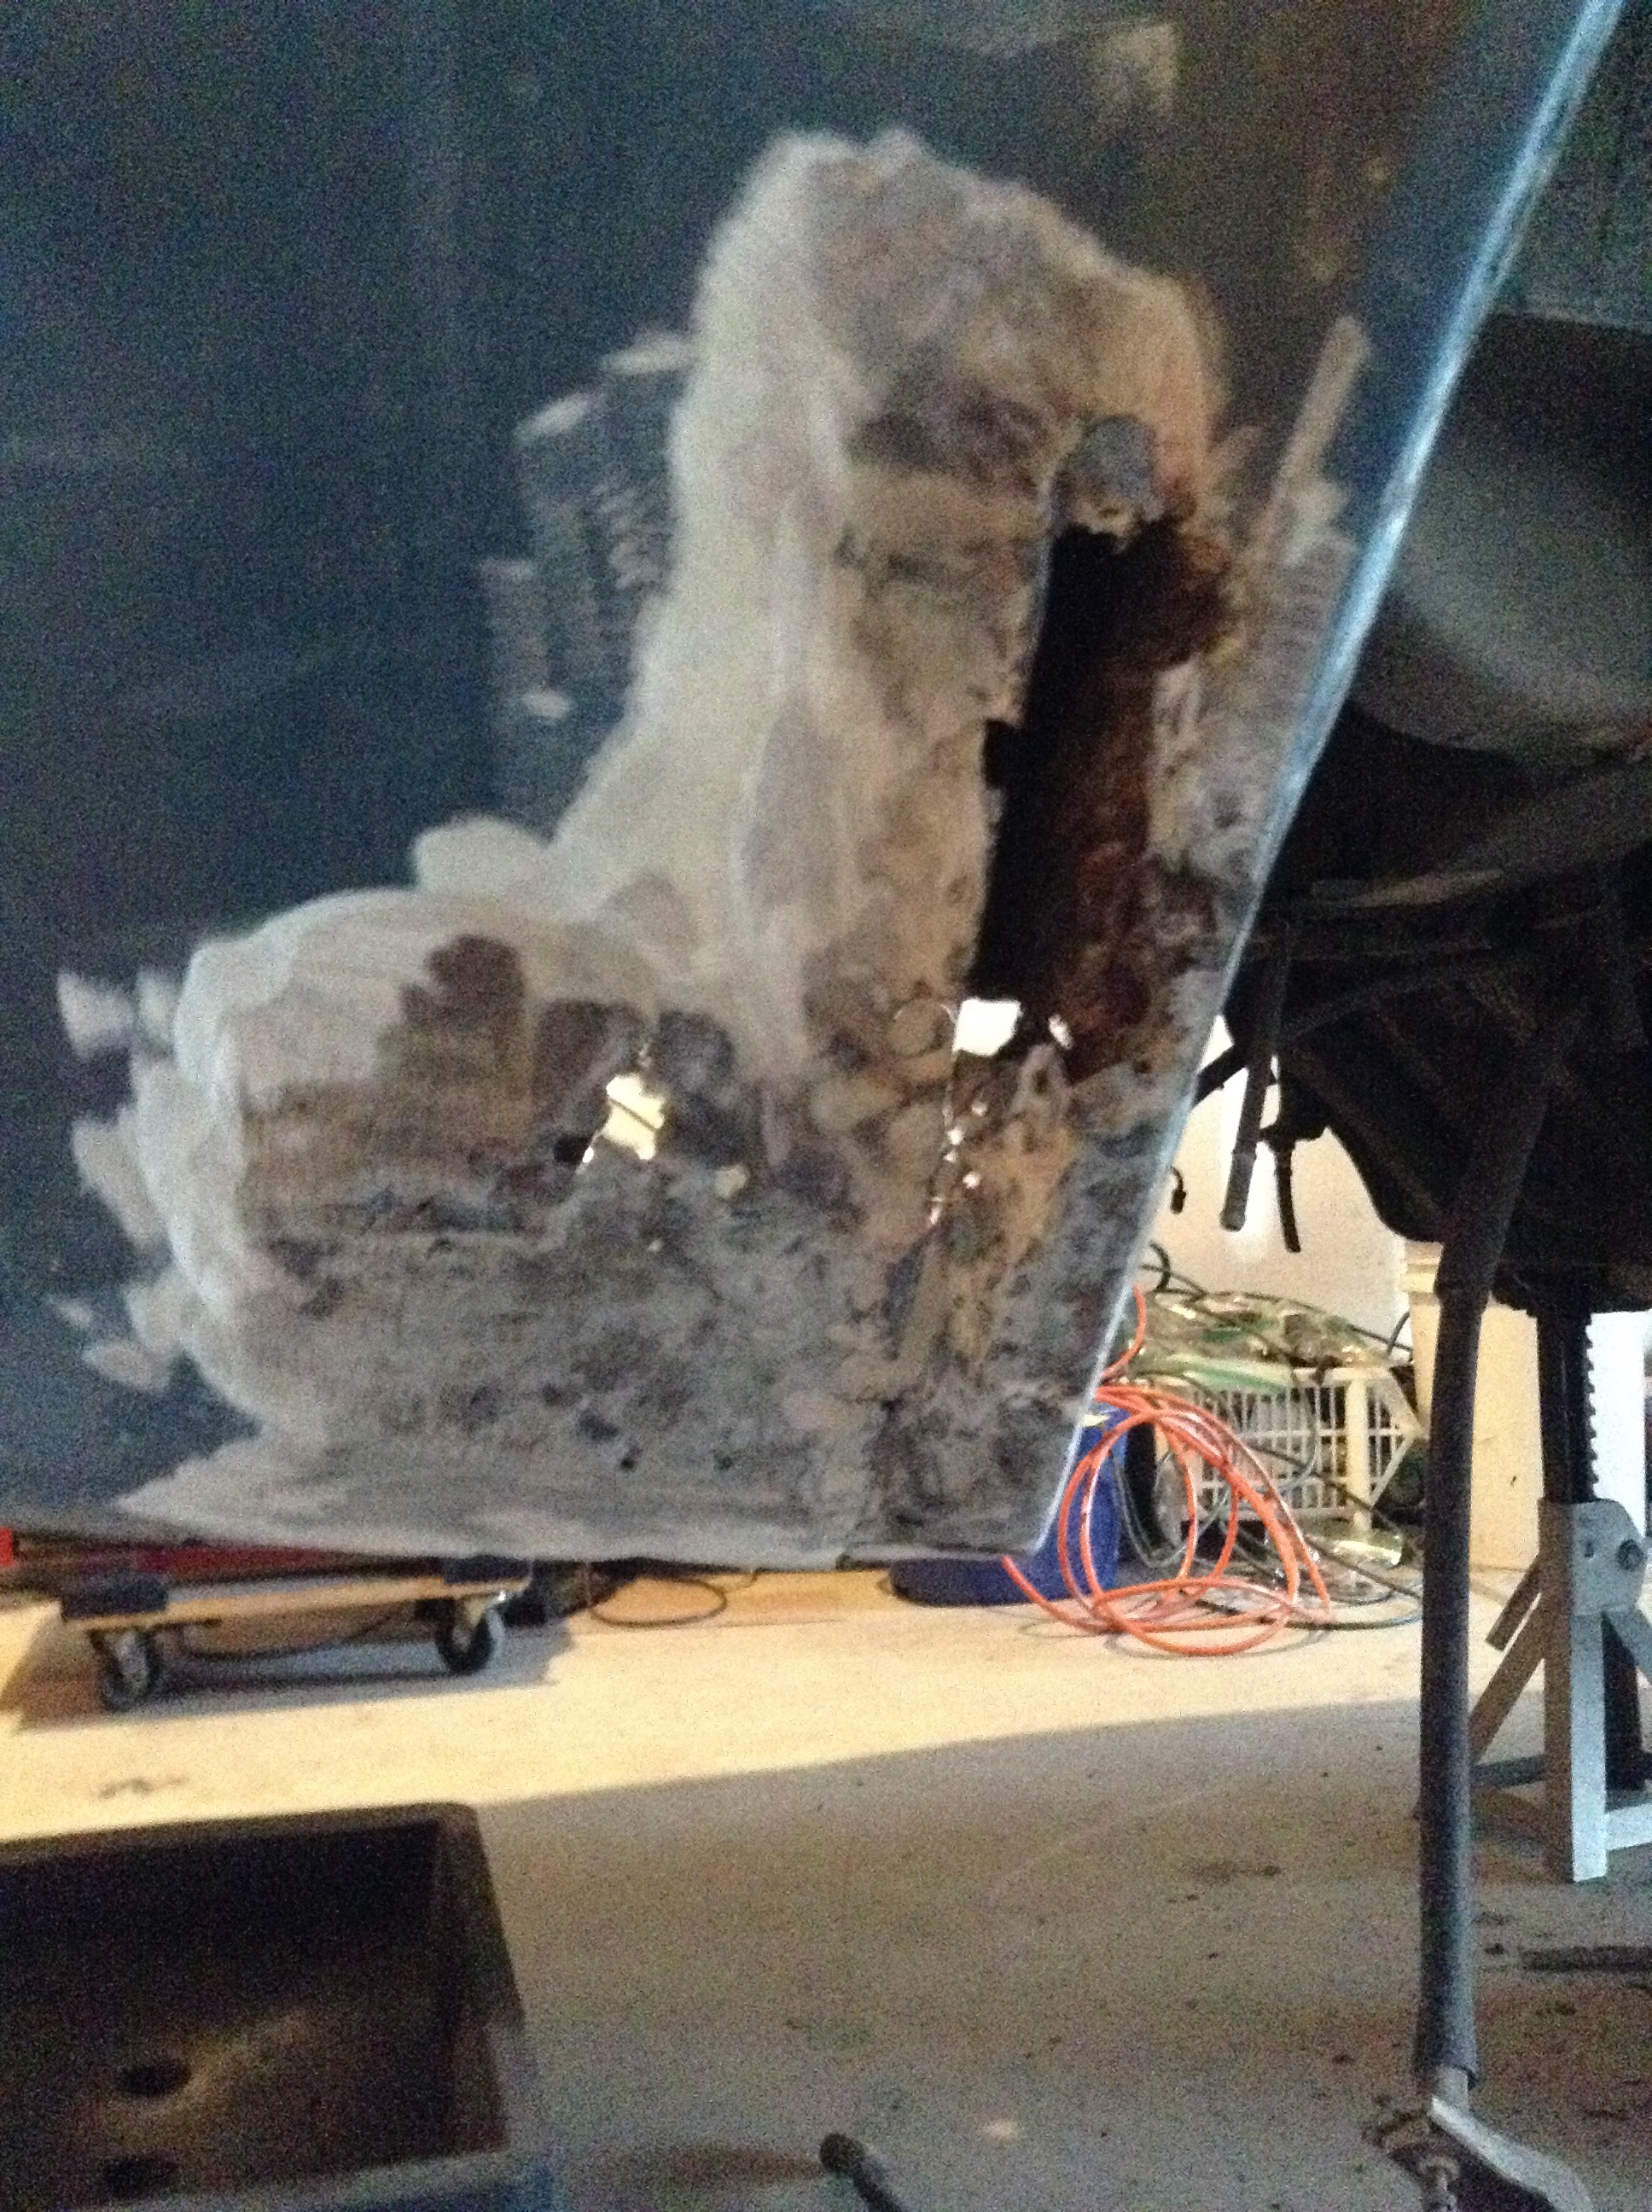
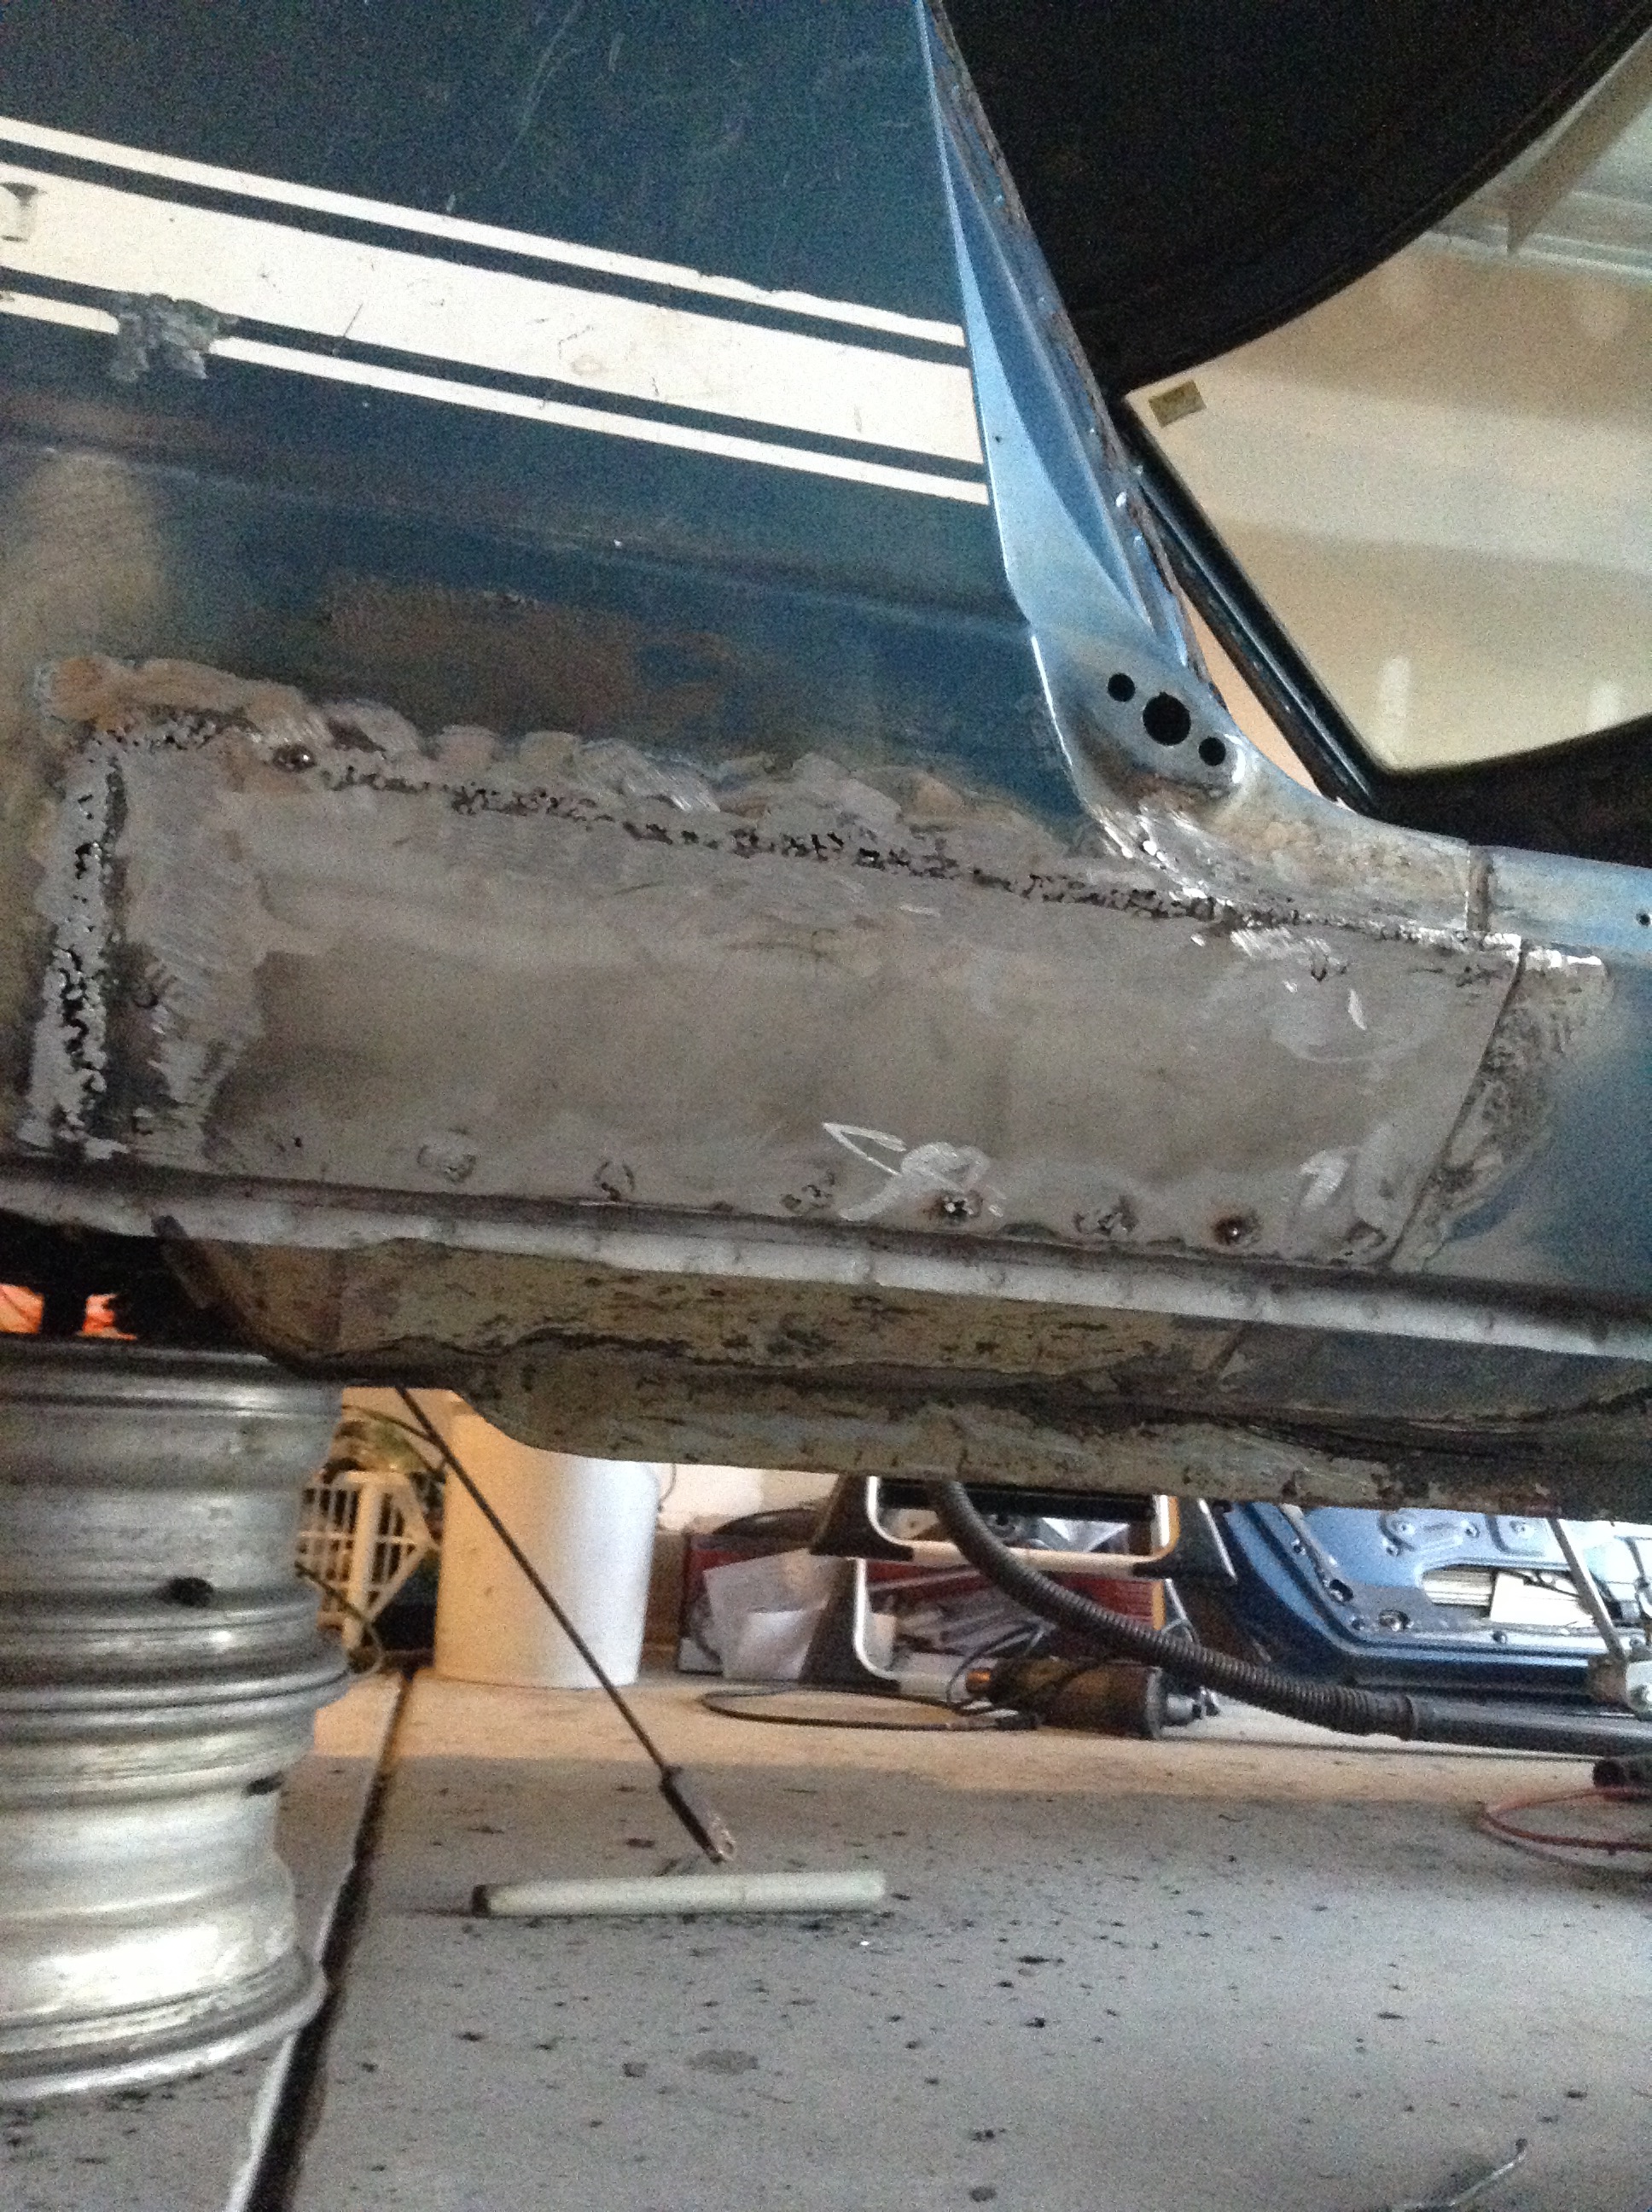
After welding up the trim holes I started thinking about the big dent in the rear fender area. The previous owner said it was caused by a tree falling on the car. This is what it originally looked like: The plan was to have profesionales fix this spot but I decided to give it a try. First, I hammered down high spots and then pulled out the creases / craters with a slide hammer. Next, I welded up the holes left by the self tapping screws where the slide hammer attaches. Finally, a quick coat of temporary primer. The finished result is far from perfect, but now we can just use body filler to fill in the remaining imperfections.
-
280z 2+2 resto mod
Whitley_280z_2+2 replied to Whitley_280z_2+2's topic in S30 Series - 240z, 260z, 280z
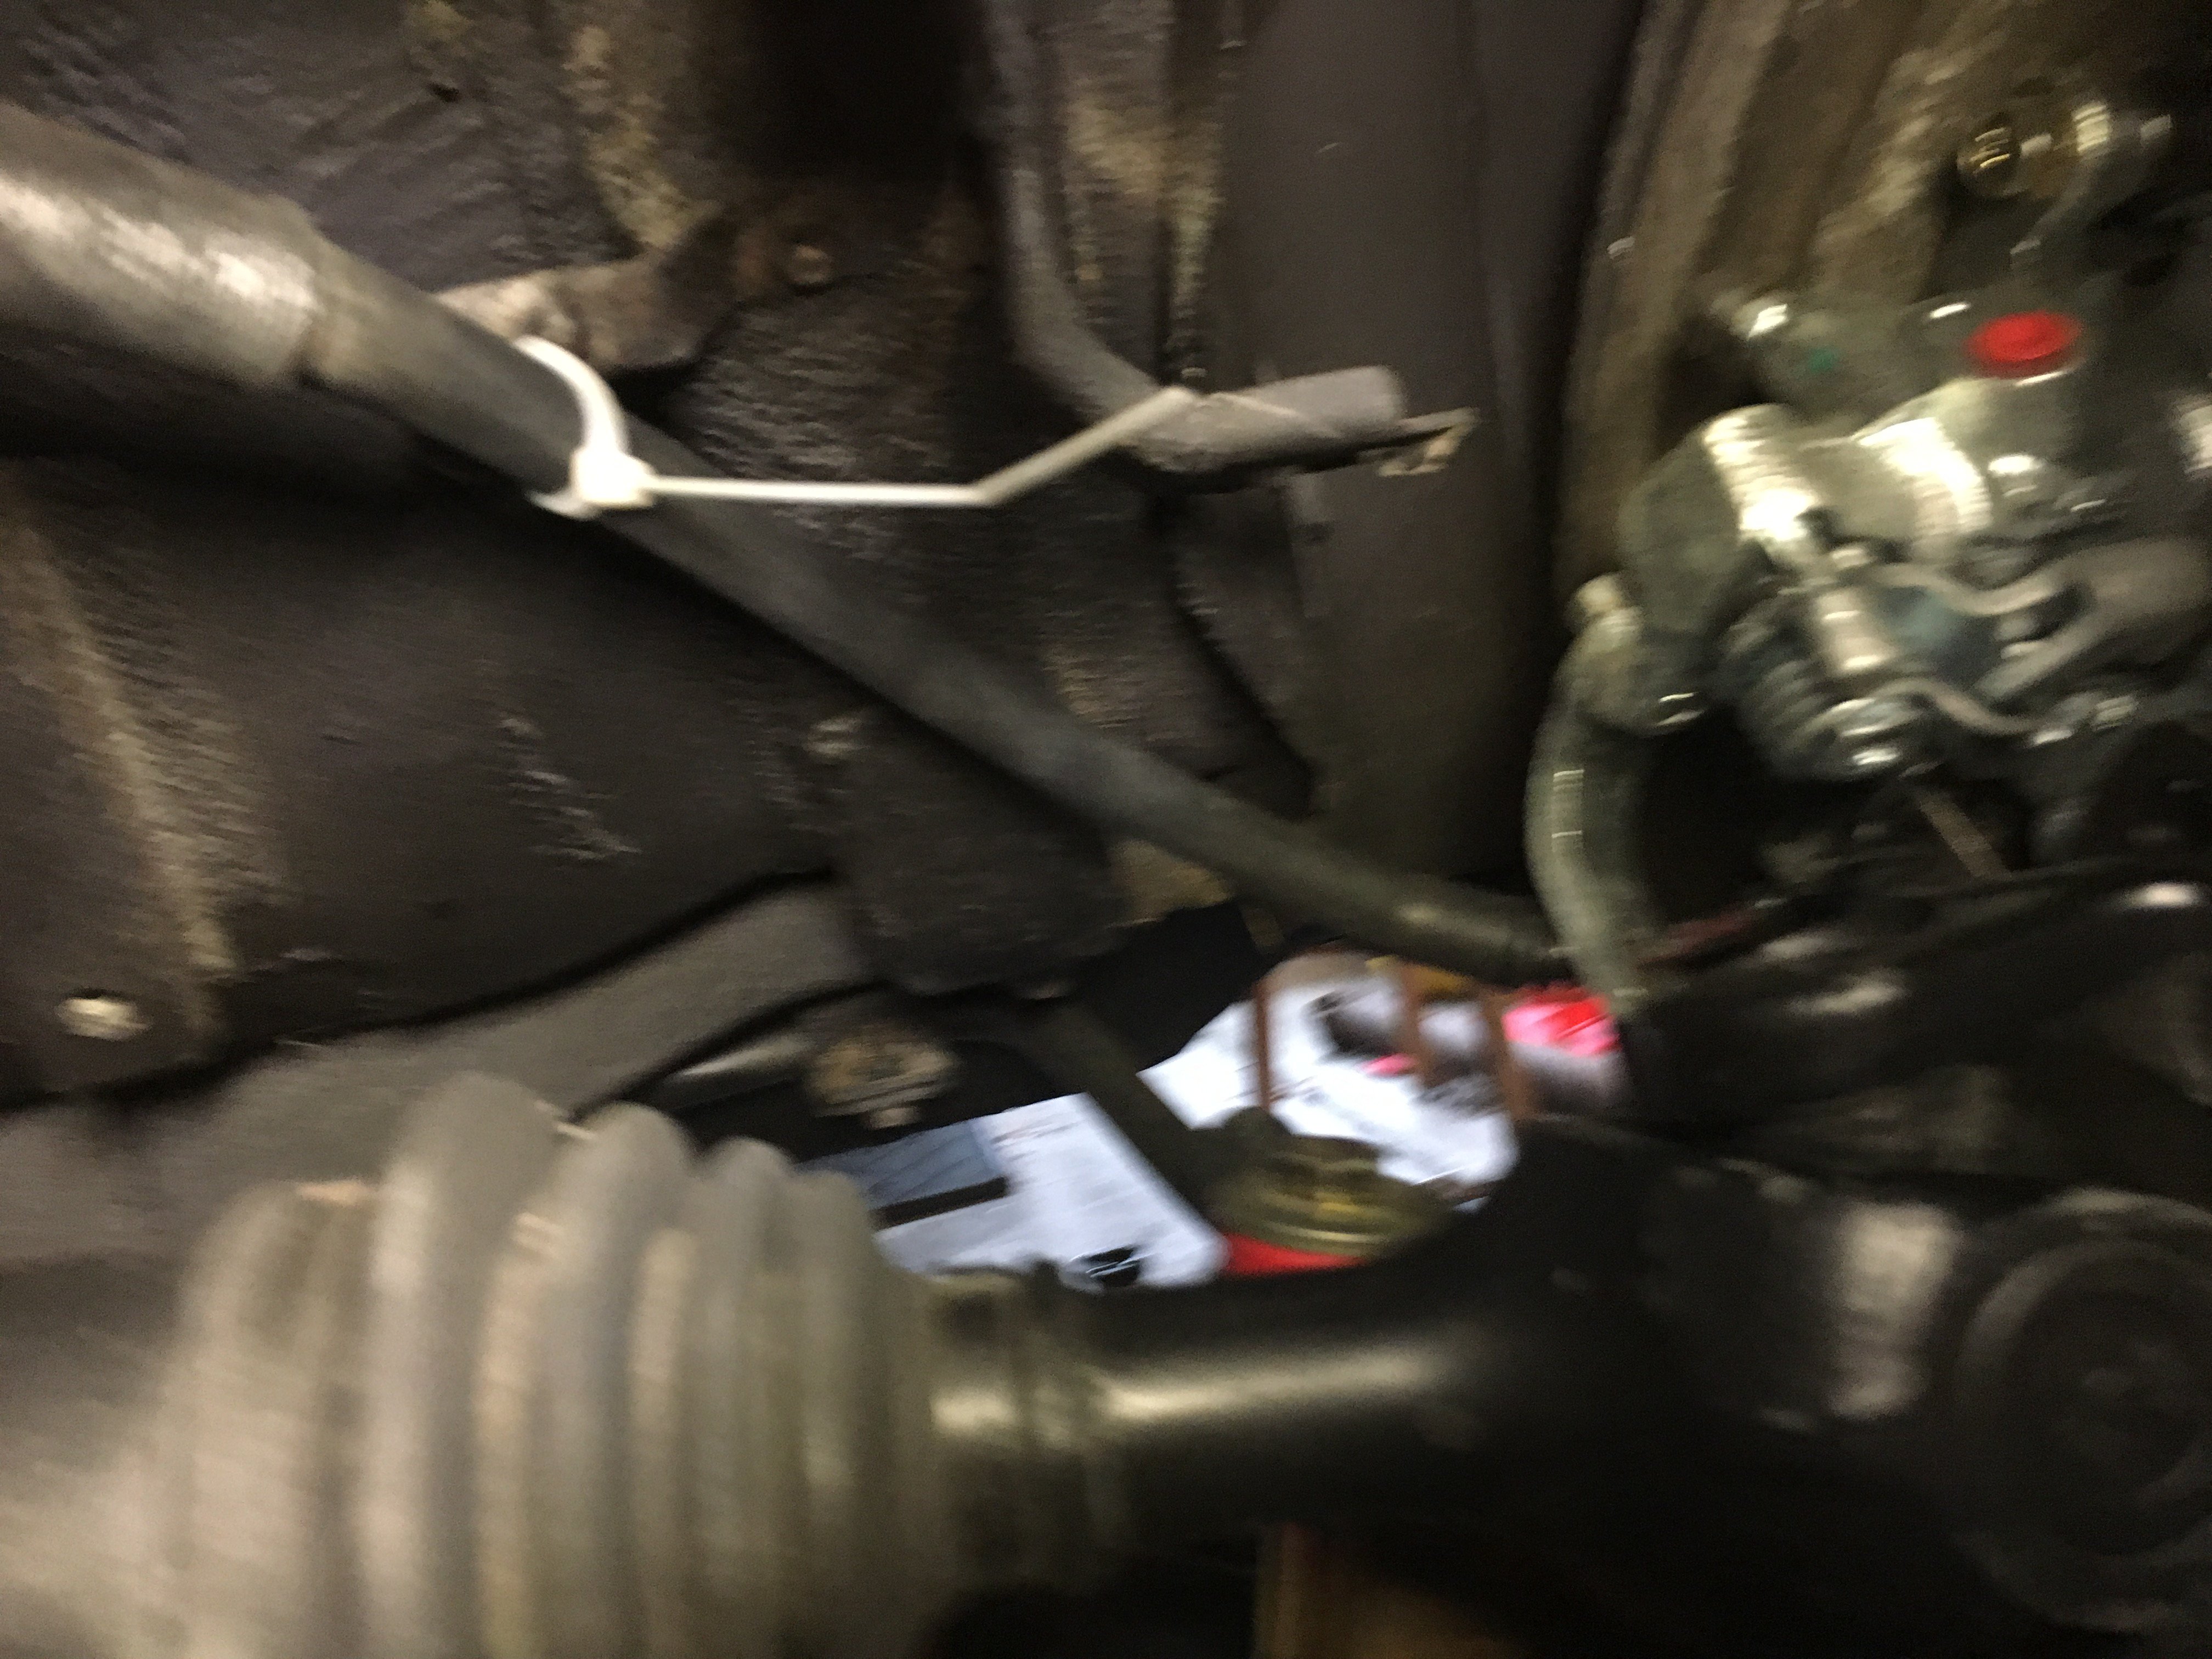
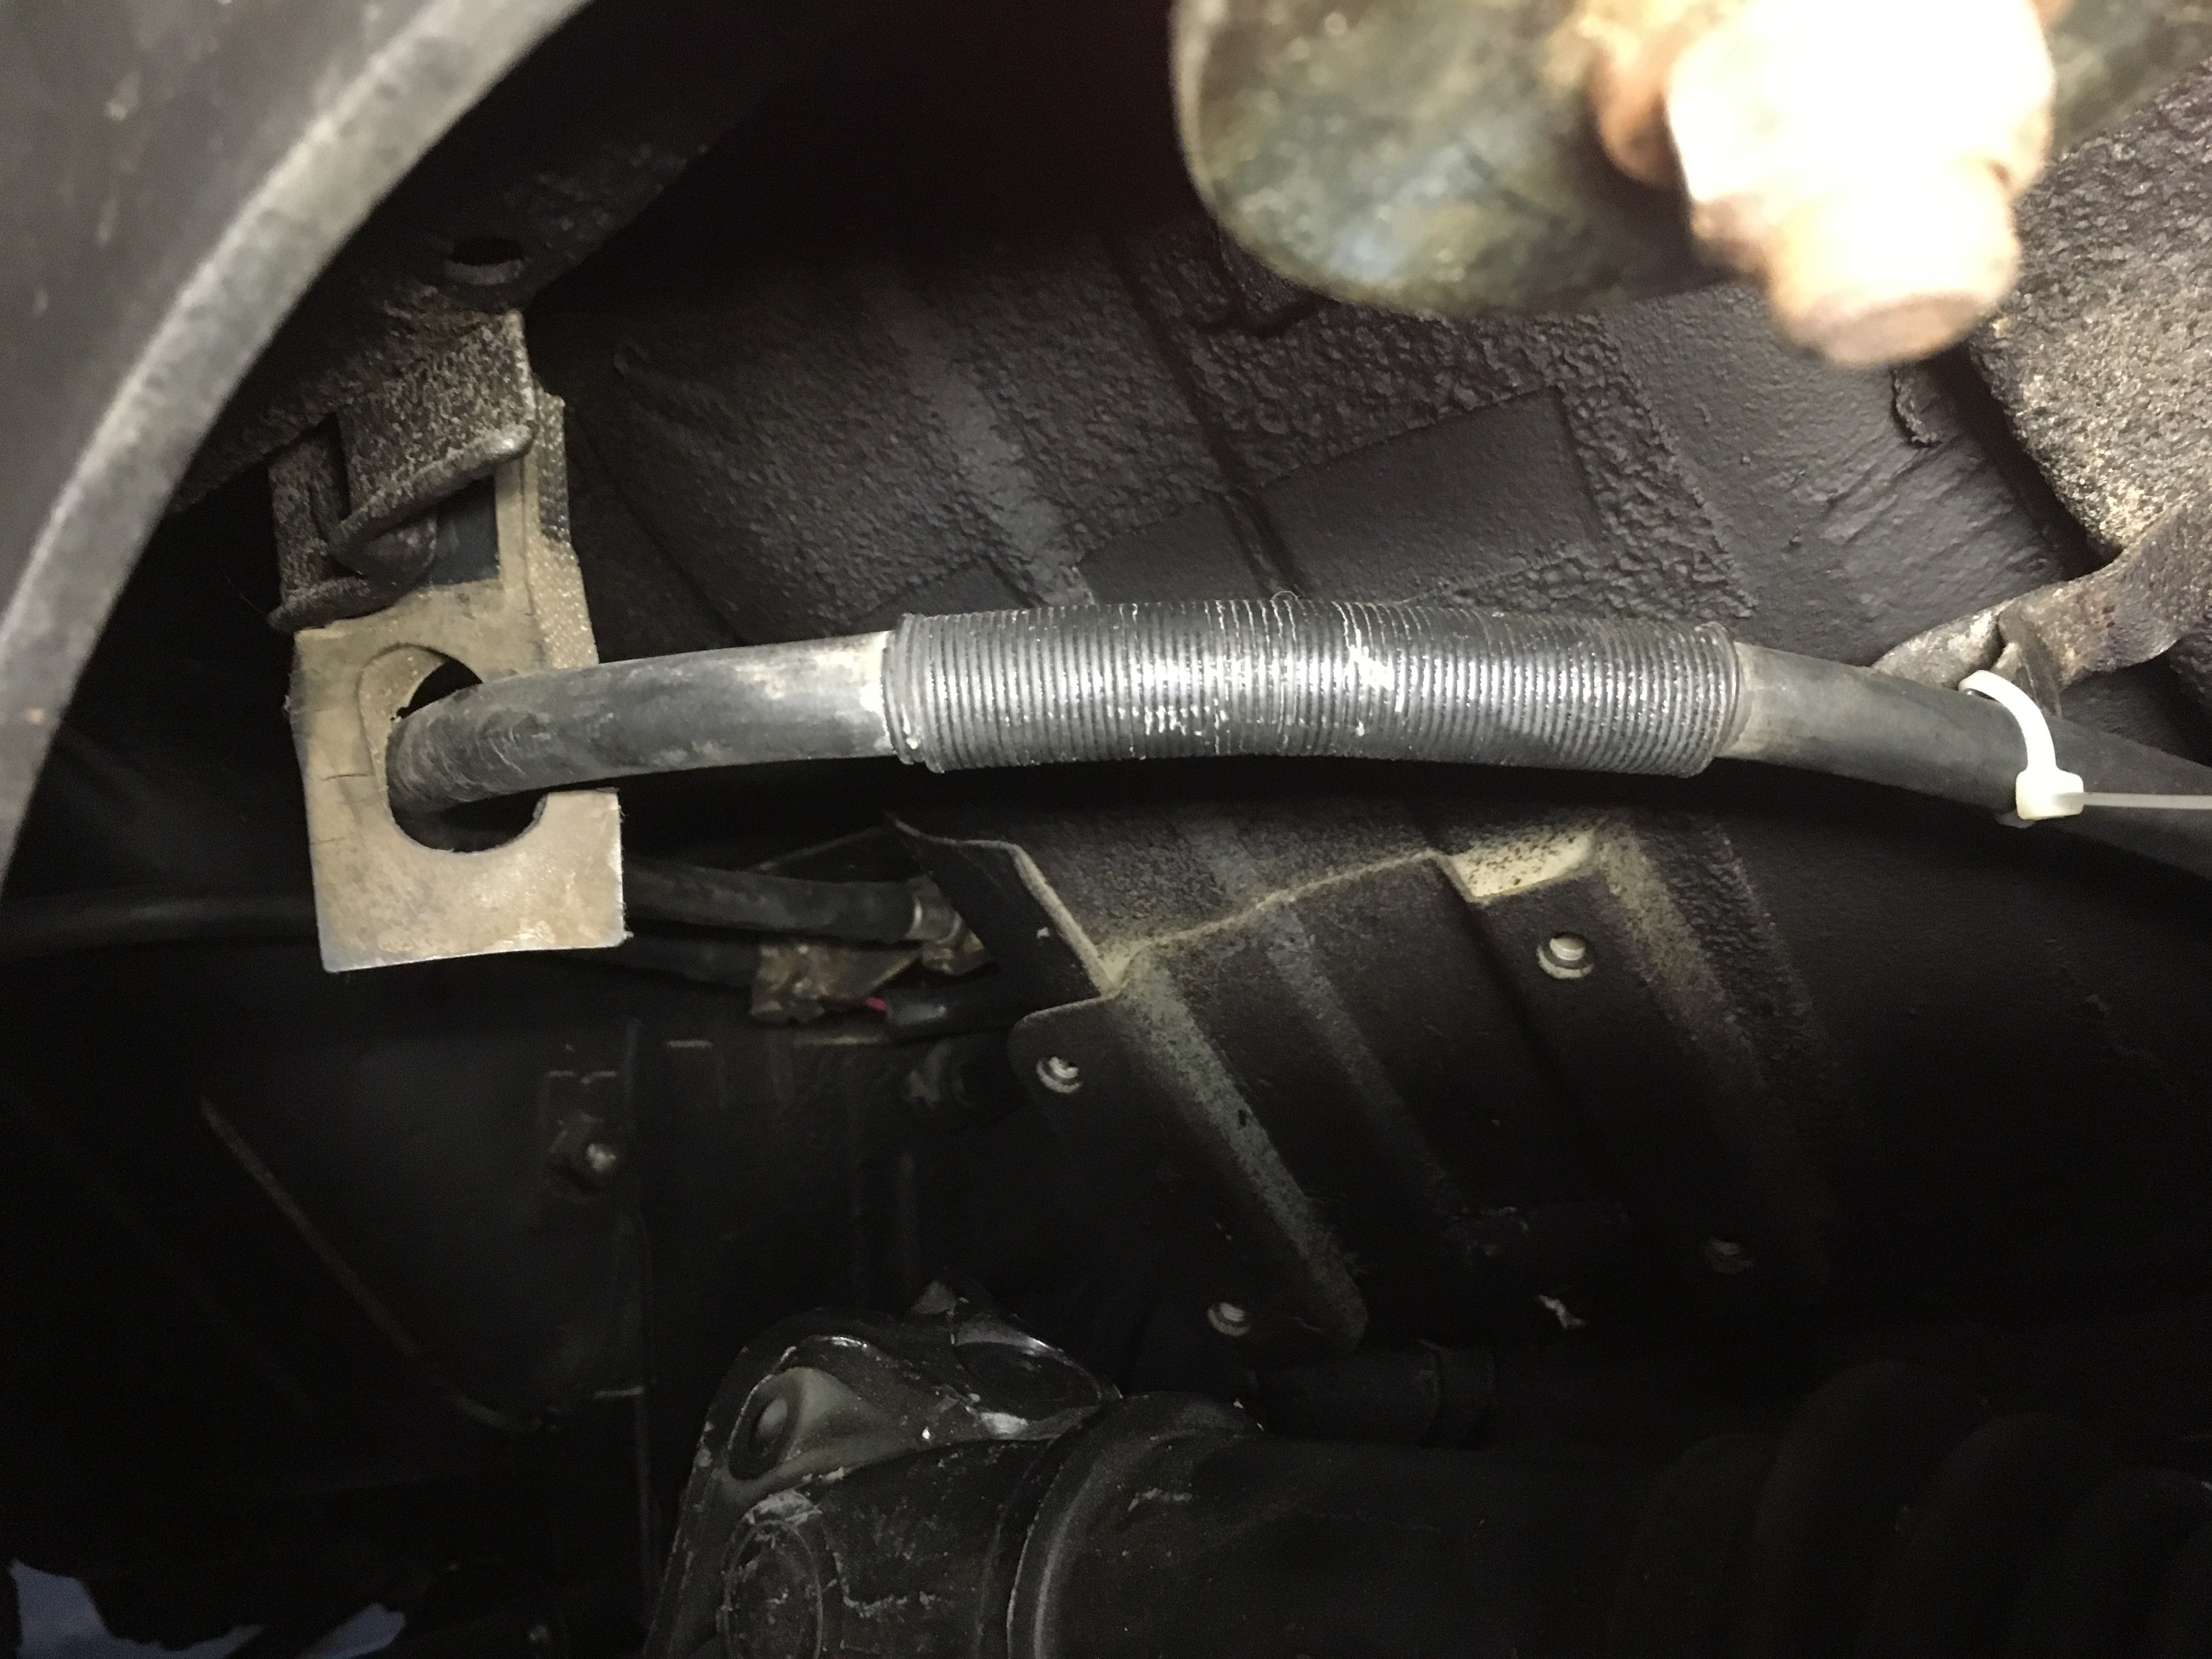
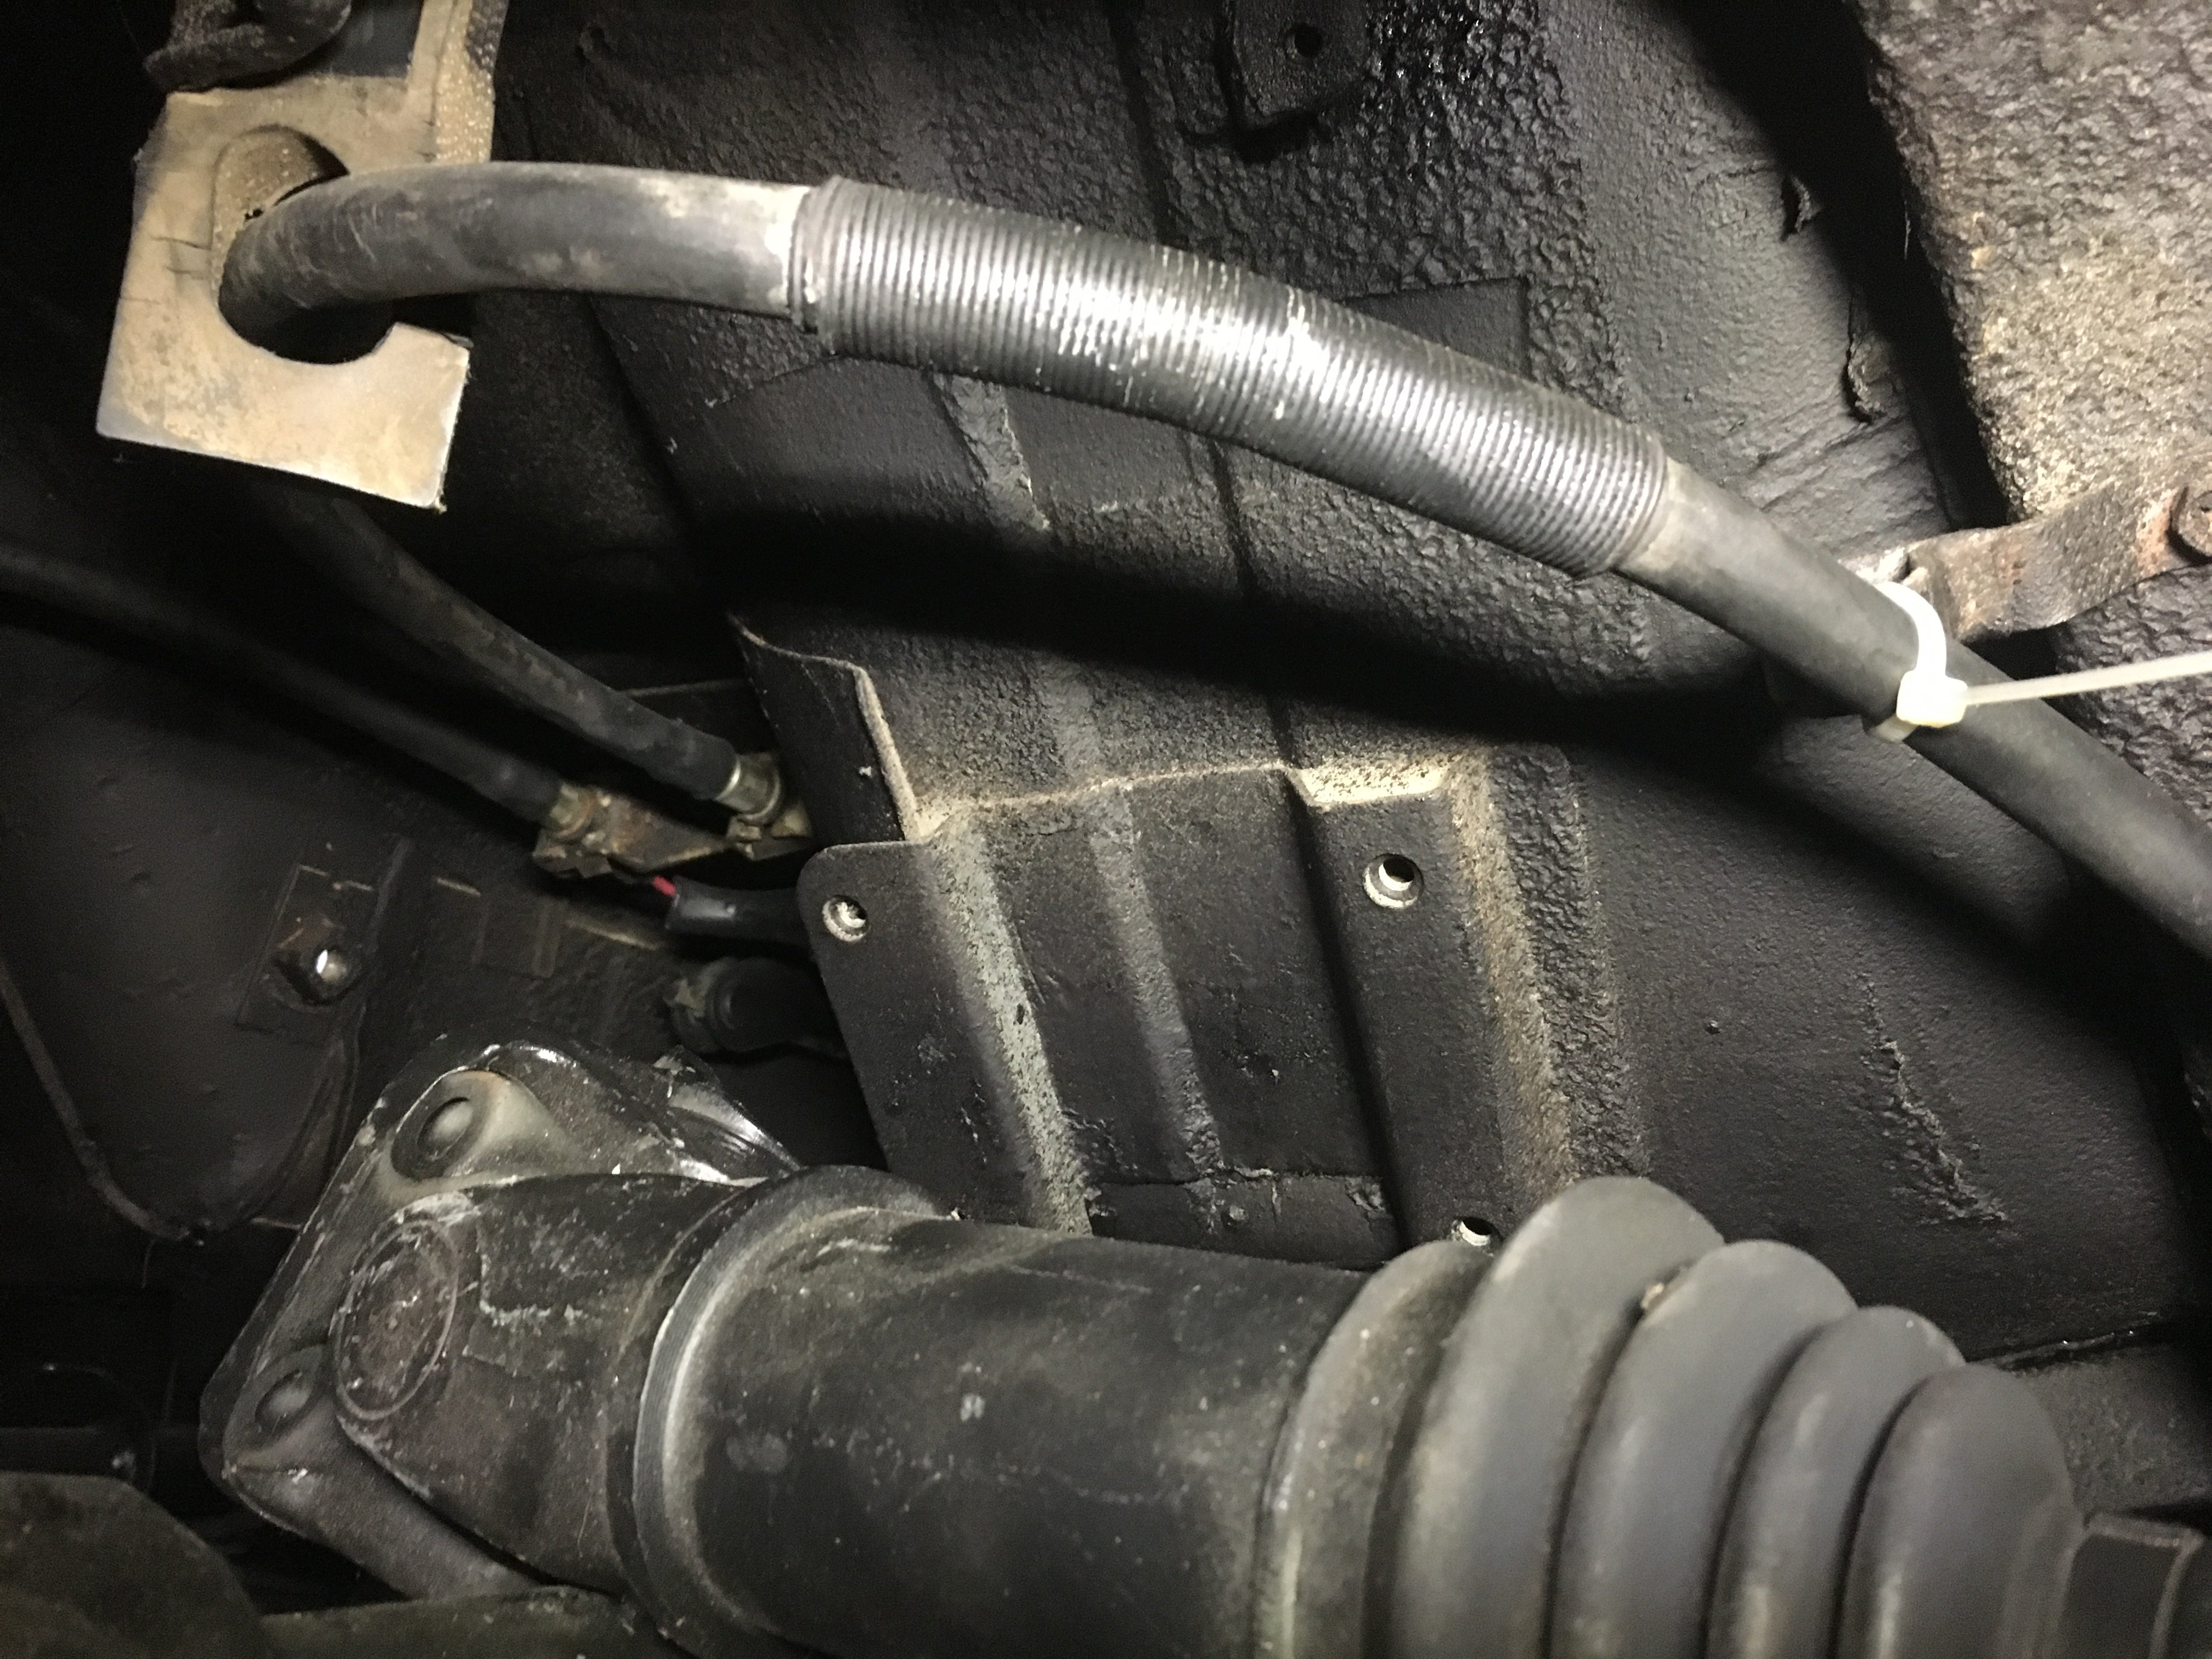
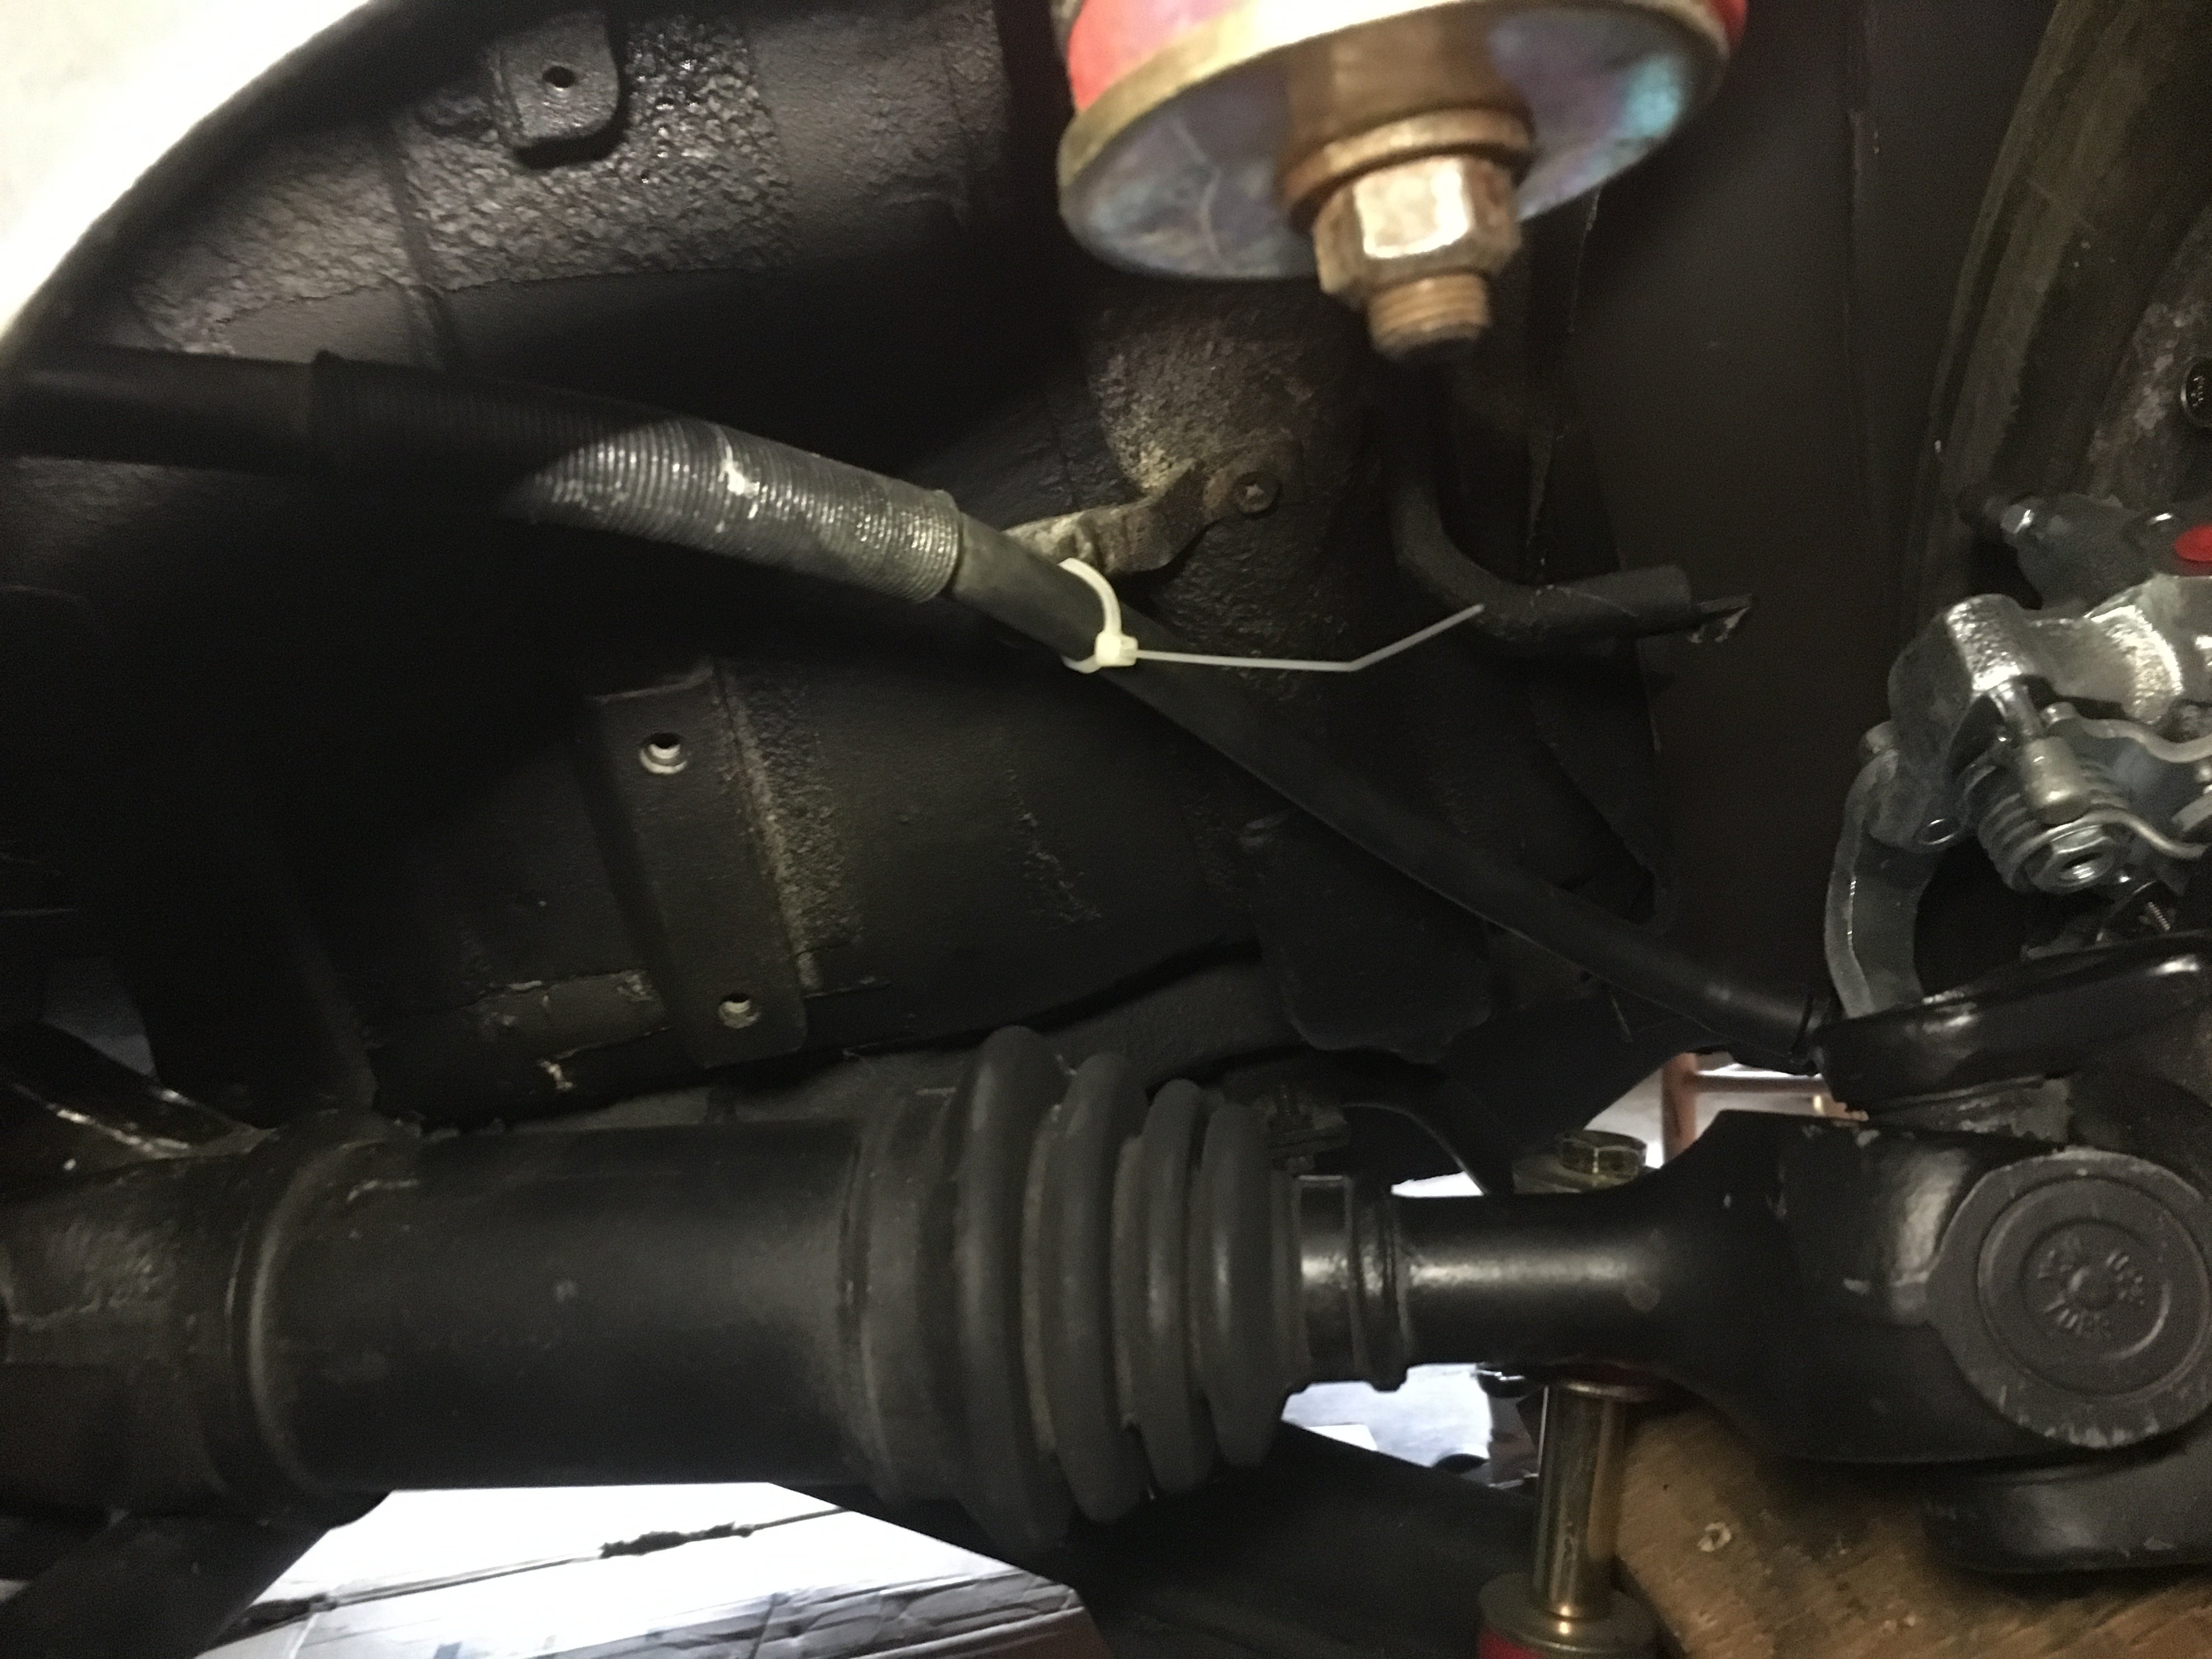
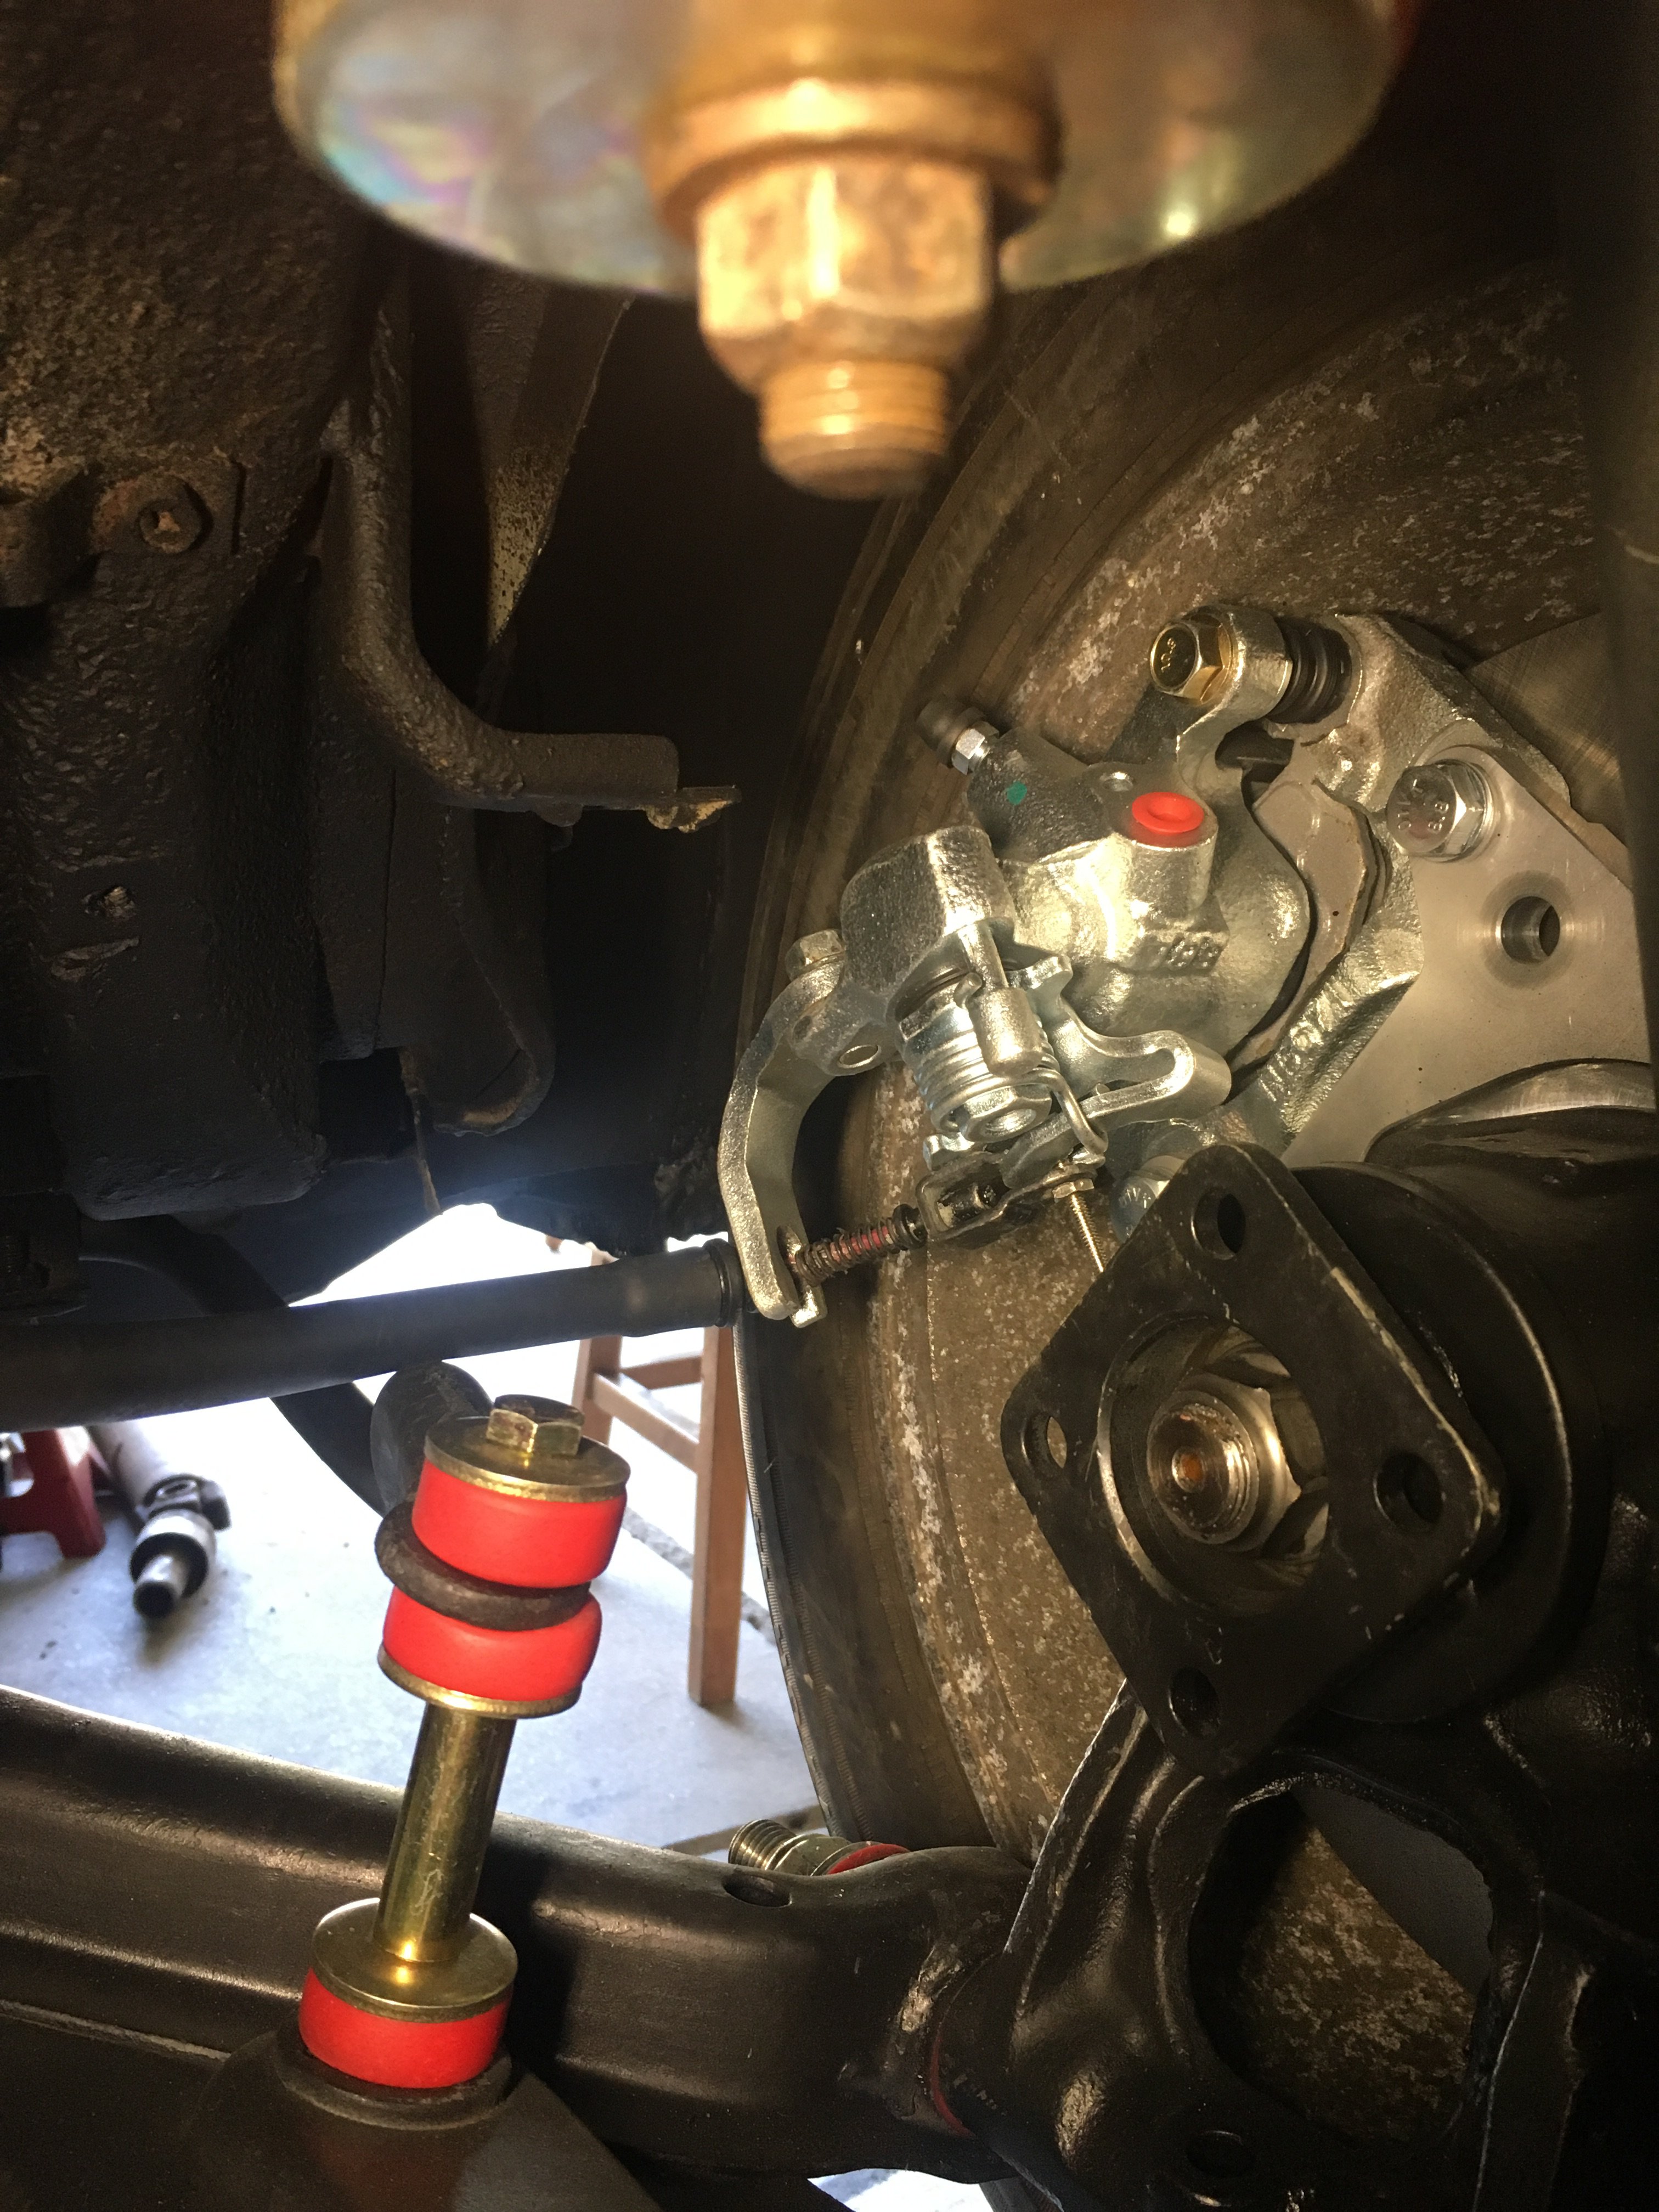
Sure! I'm not sure I did it the right / best way. I did test it out and it works fine except I still need to drill out the bracket on the actual caliper. I just tried to run it a smoothly as possible while keeping it at the right length. I'll run it through the loop it's zip tied to eventually. sorry its blurry Hope that helps! let me know if you come up with a better idea.
-
280z 2+2 resto mod
Whitley_280z_2+2 replied to Whitley_280z_2+2's topic in S30 Series - 240z, 260z, 280z
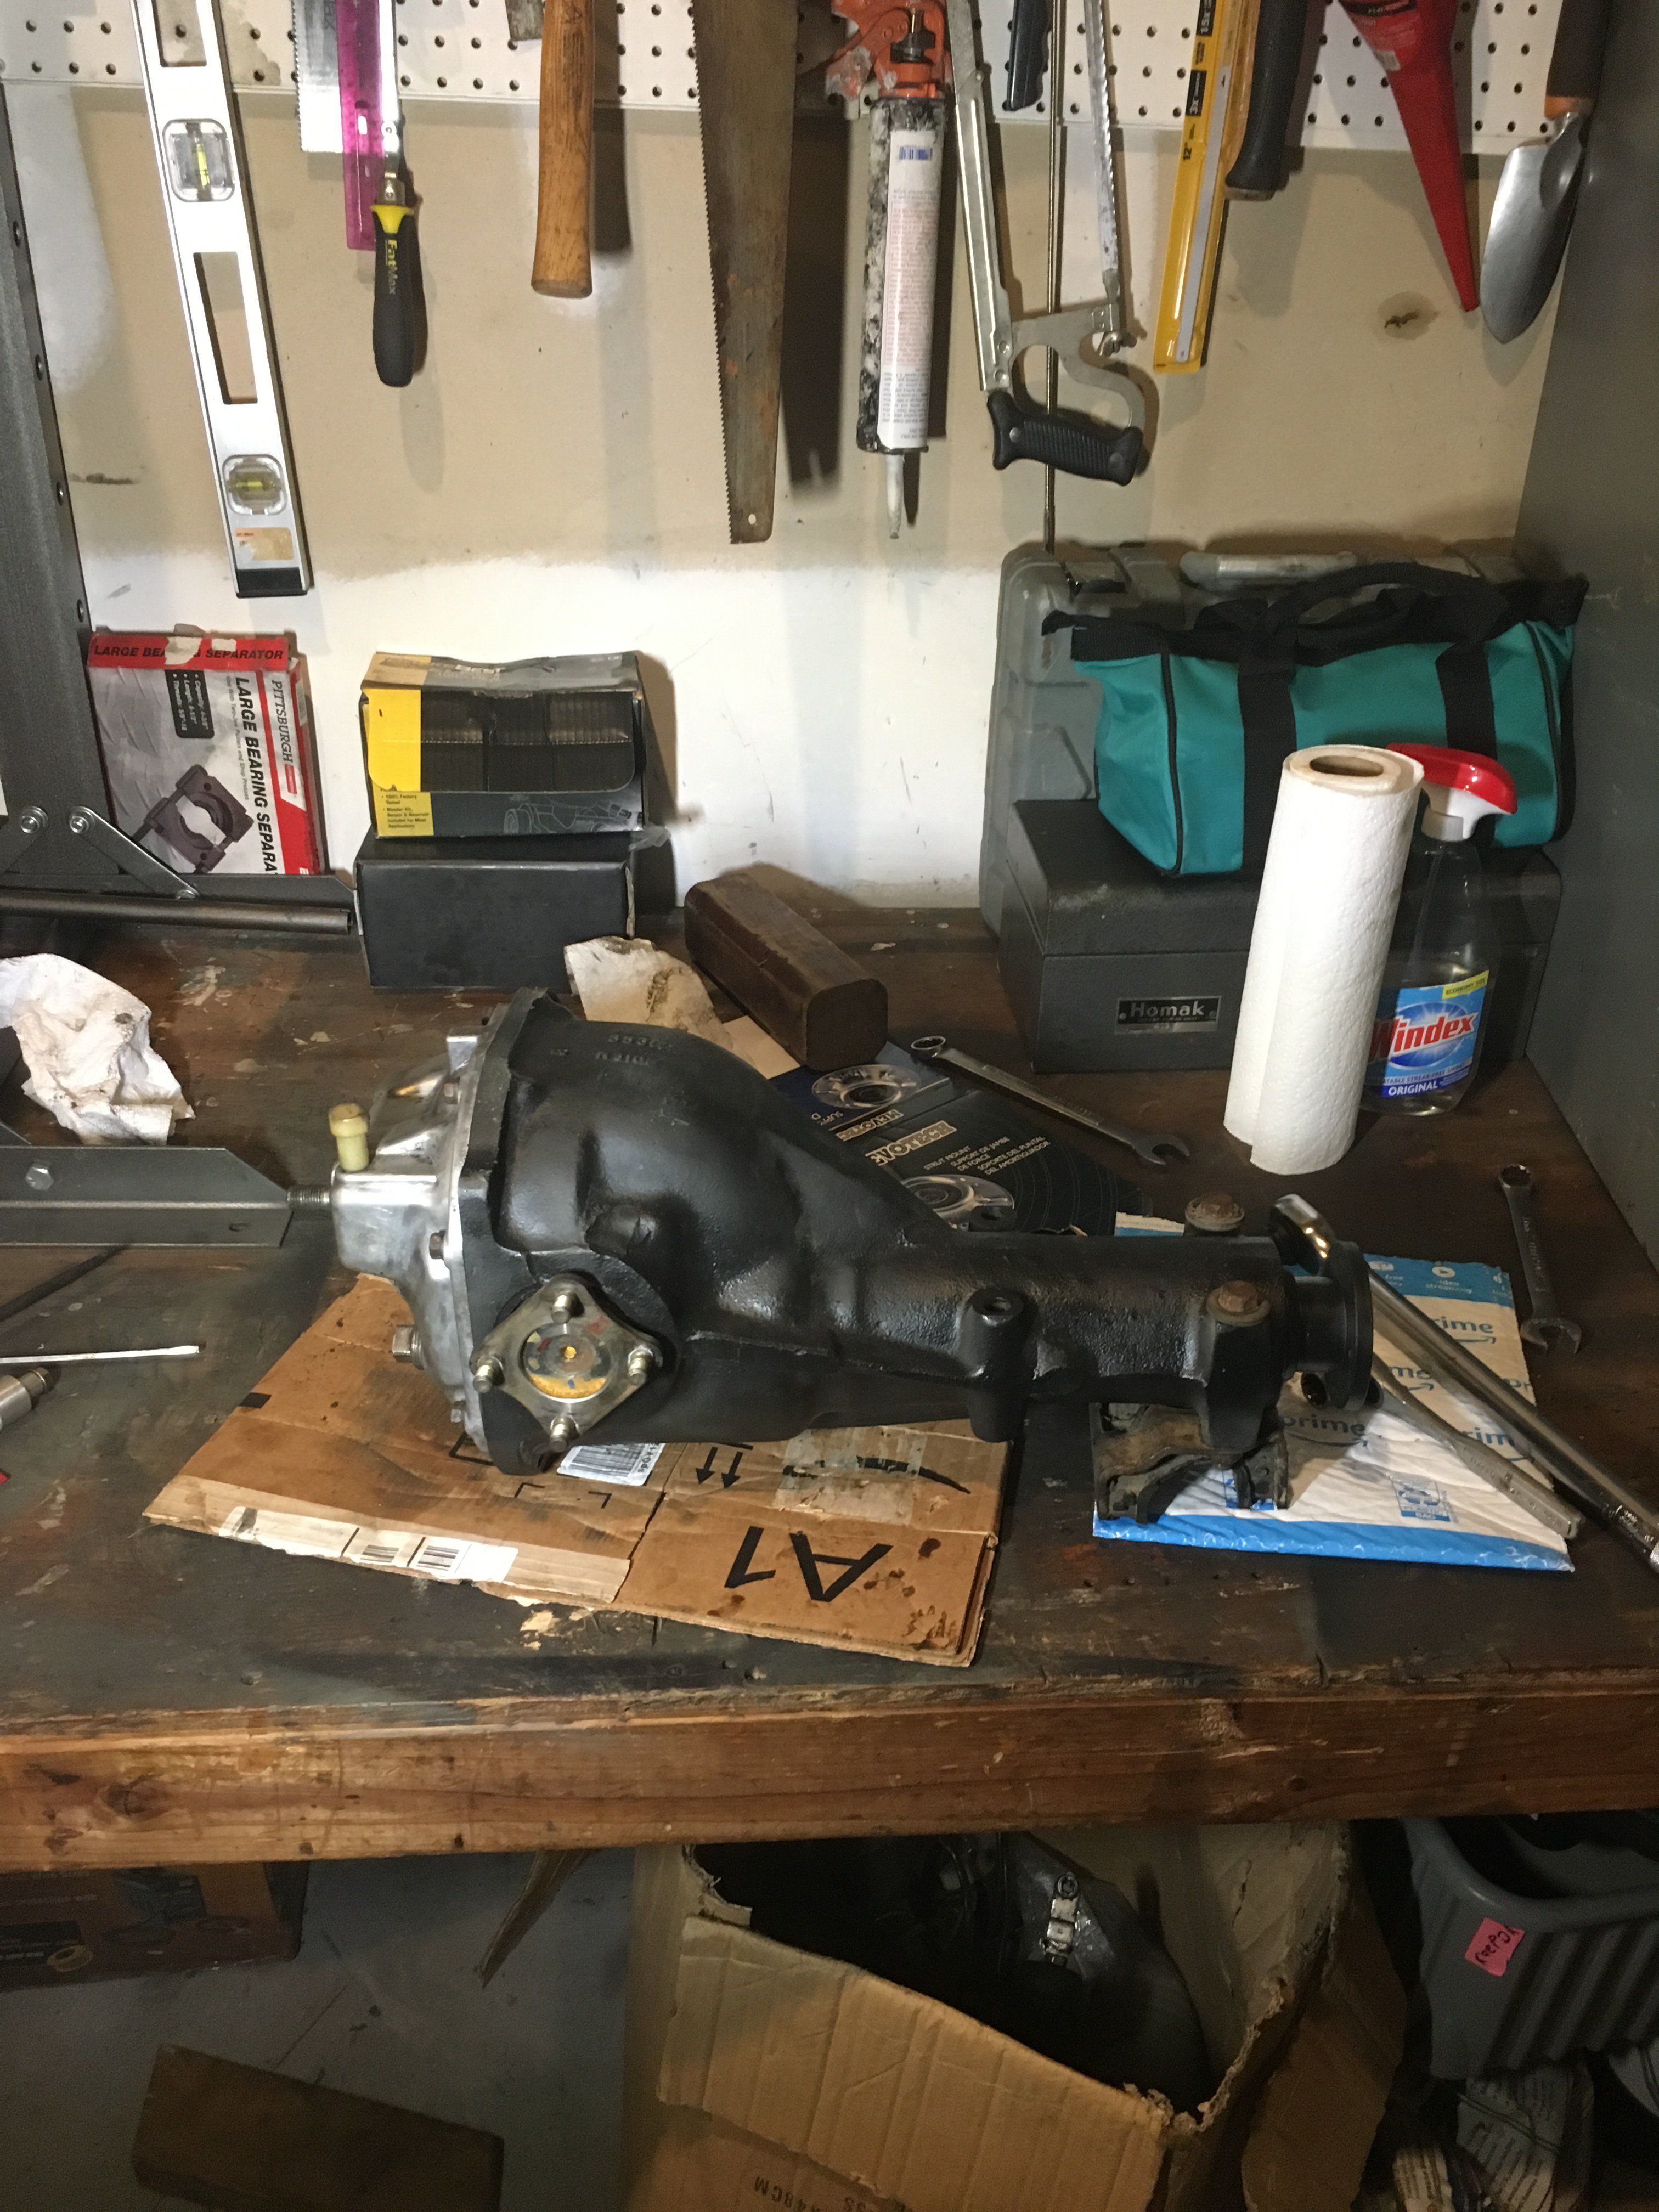
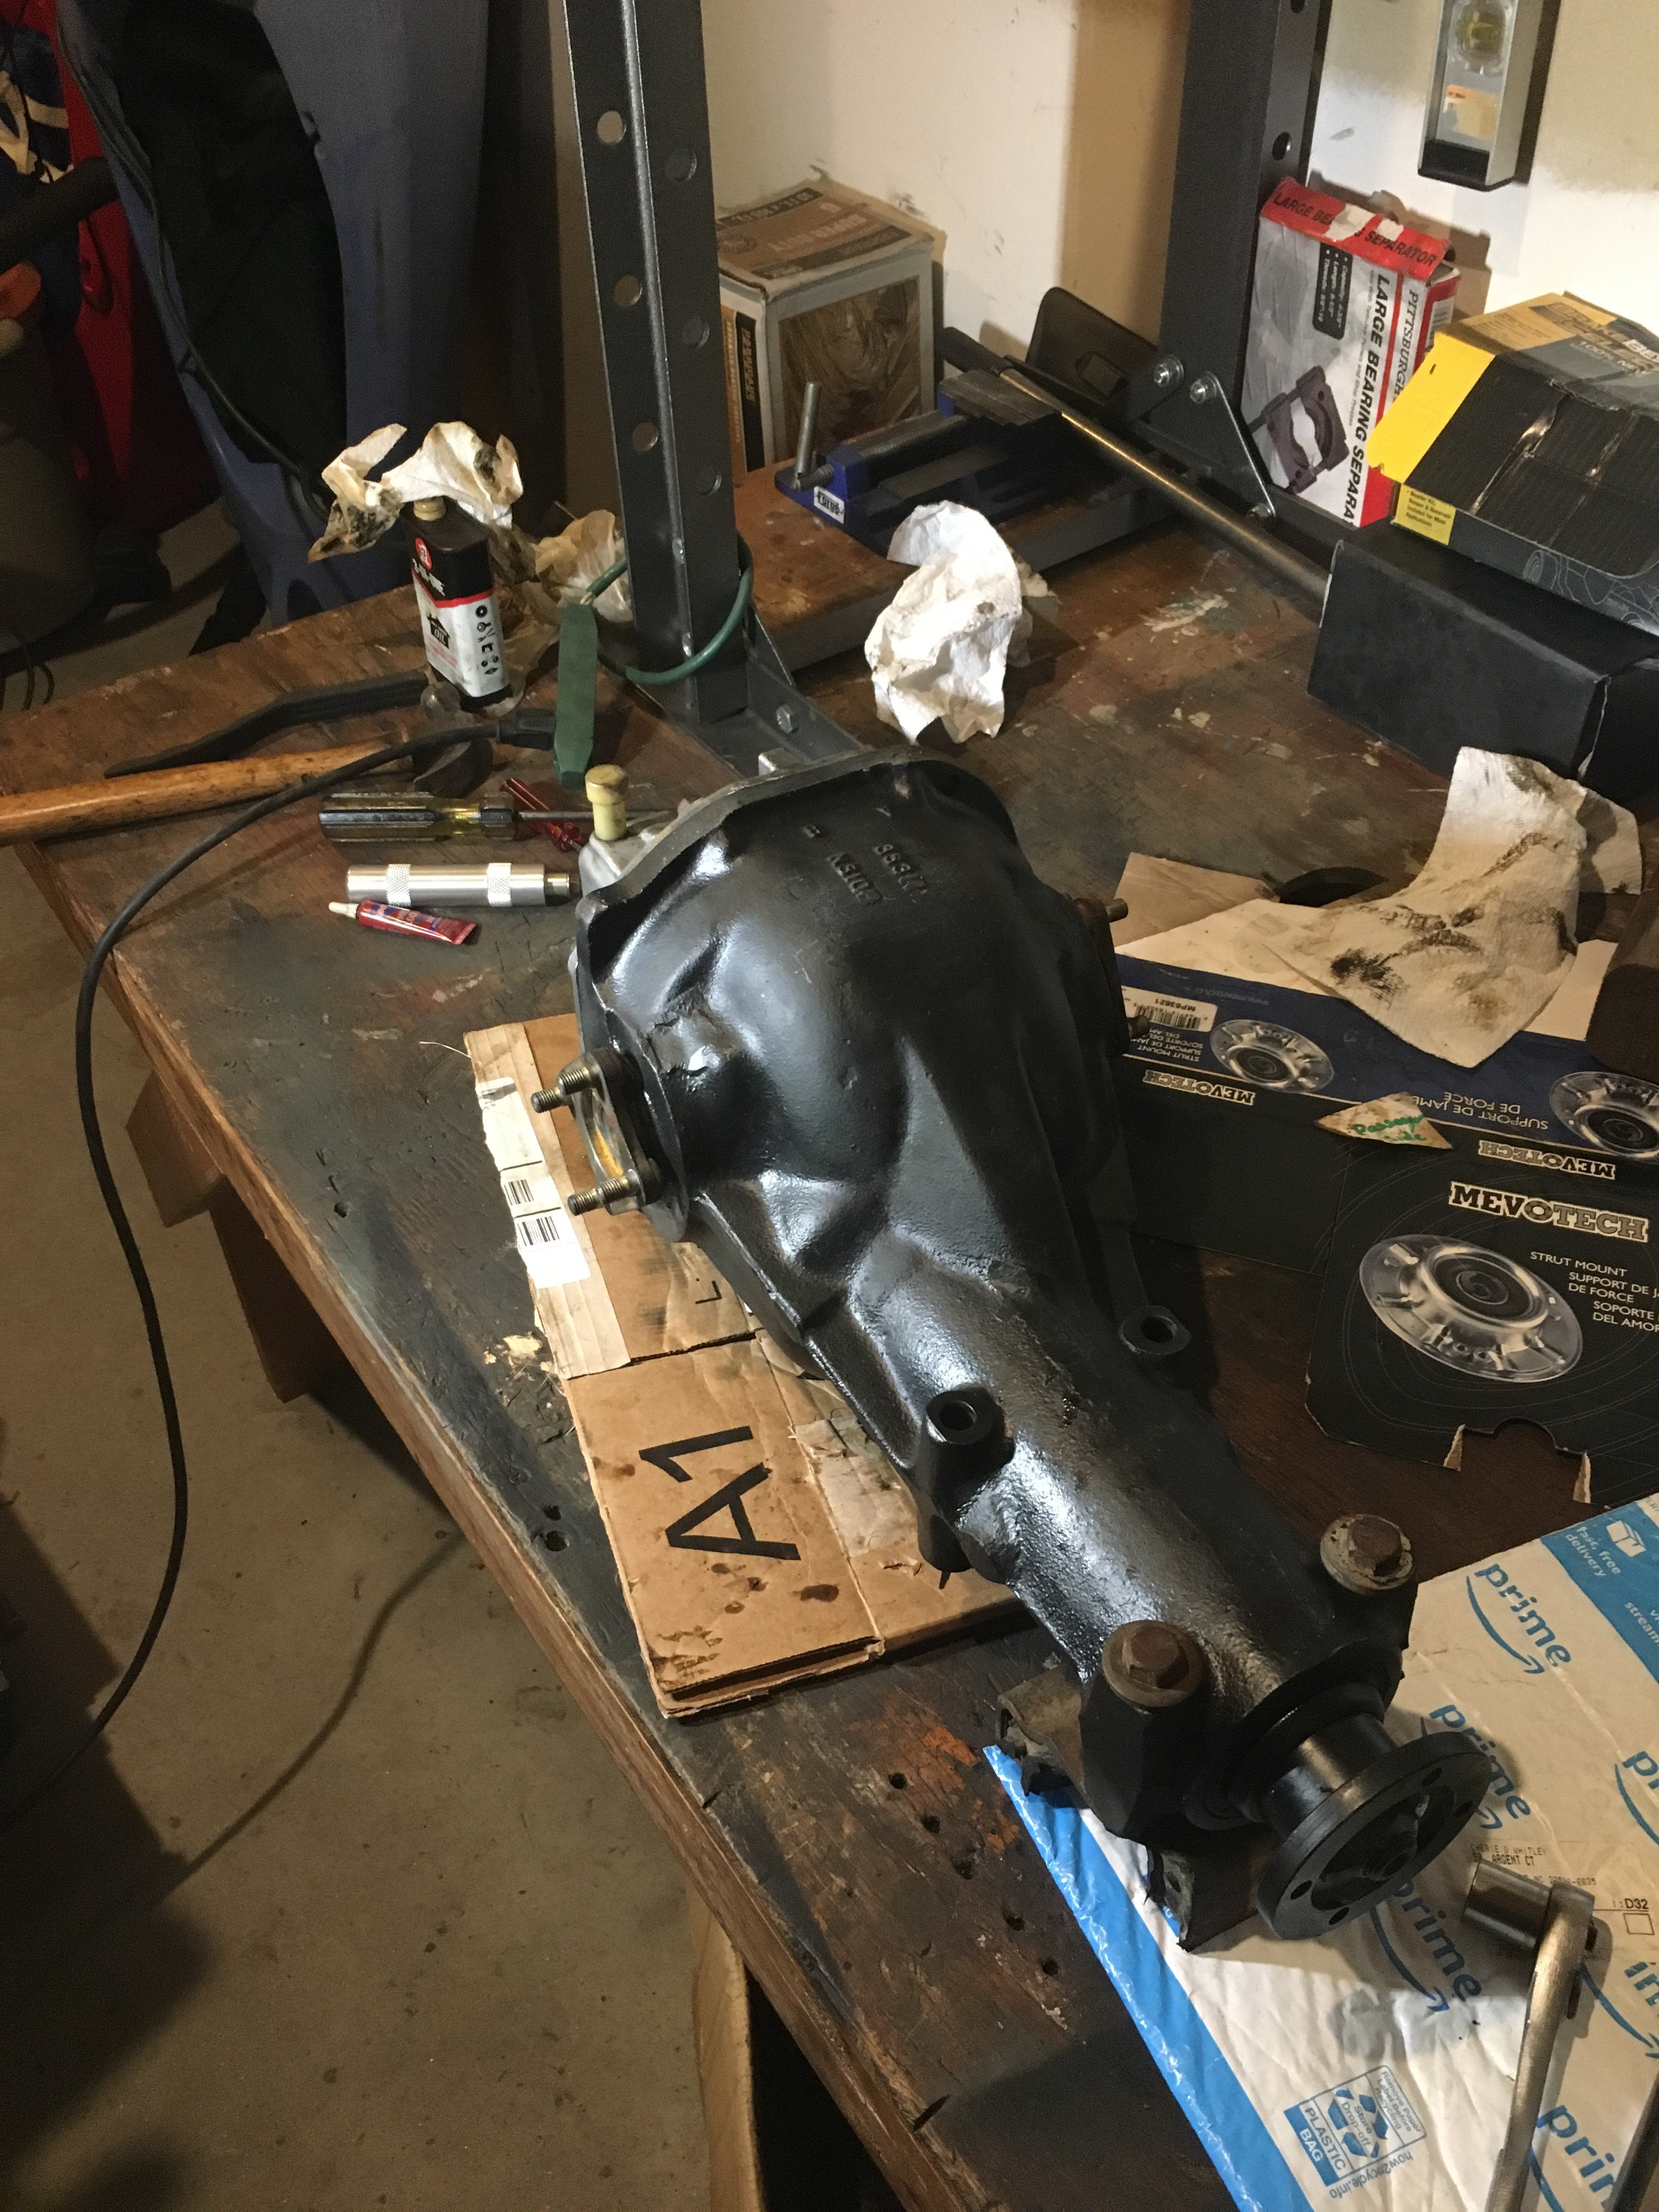
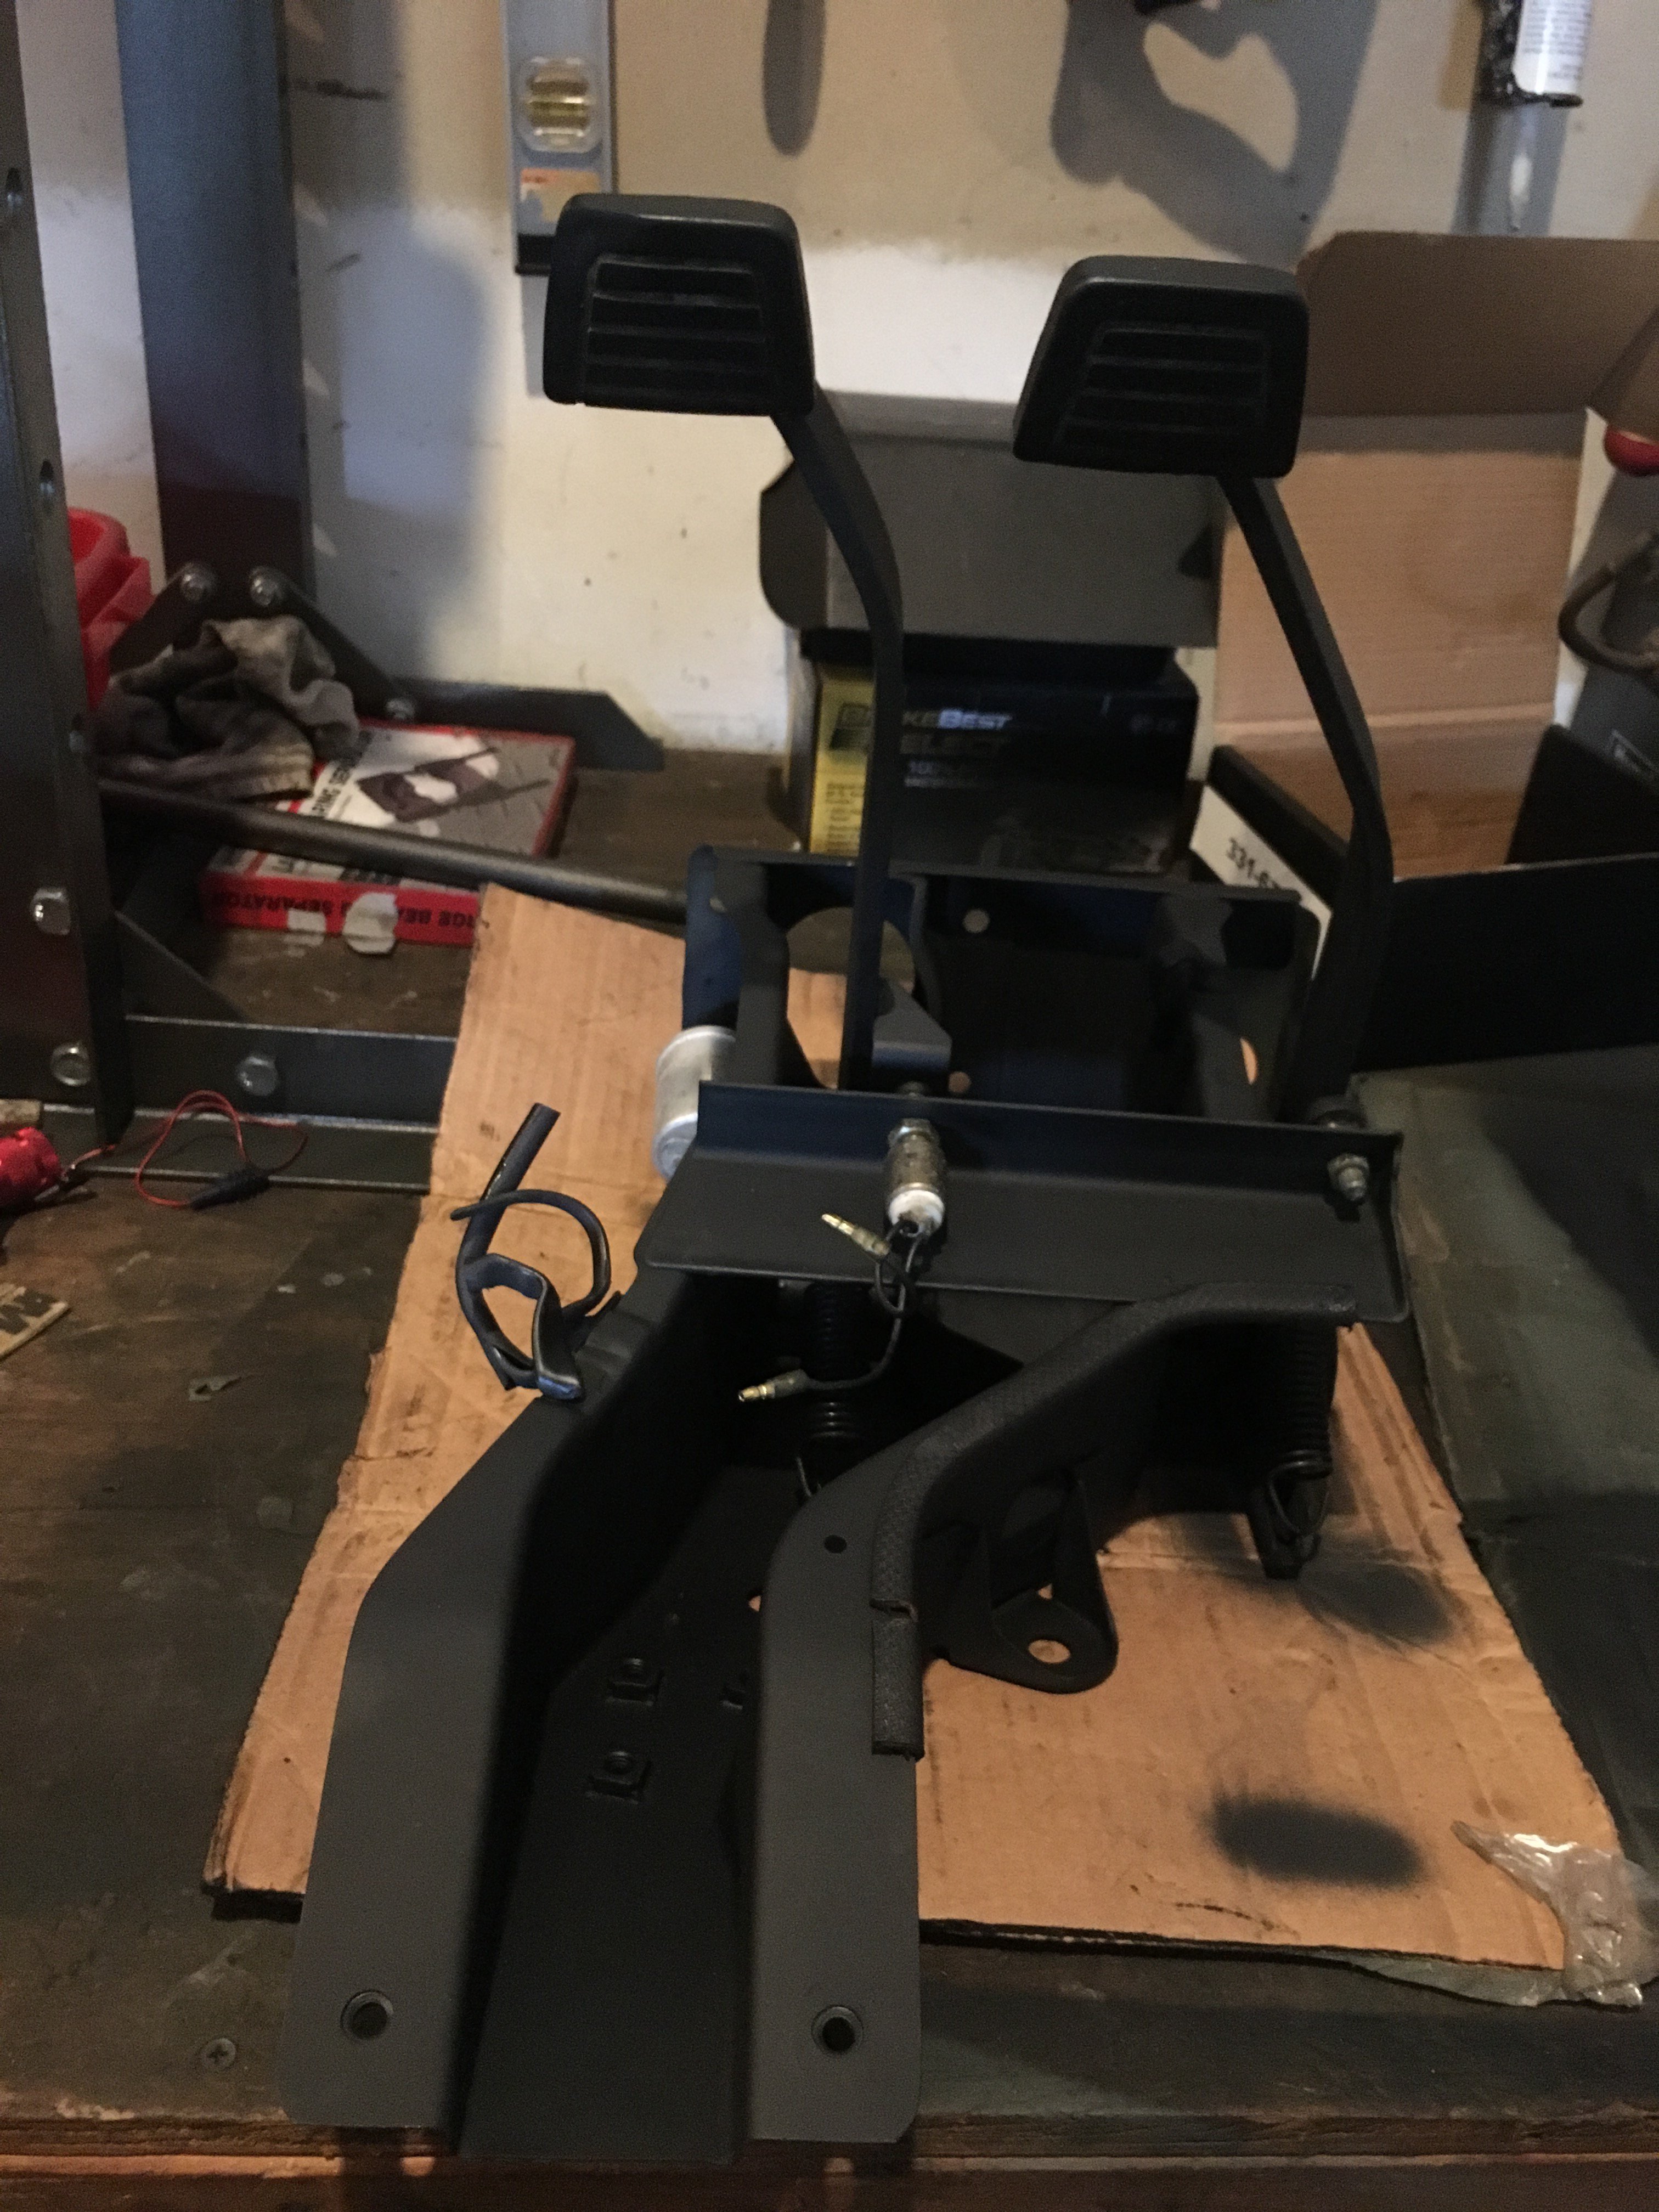
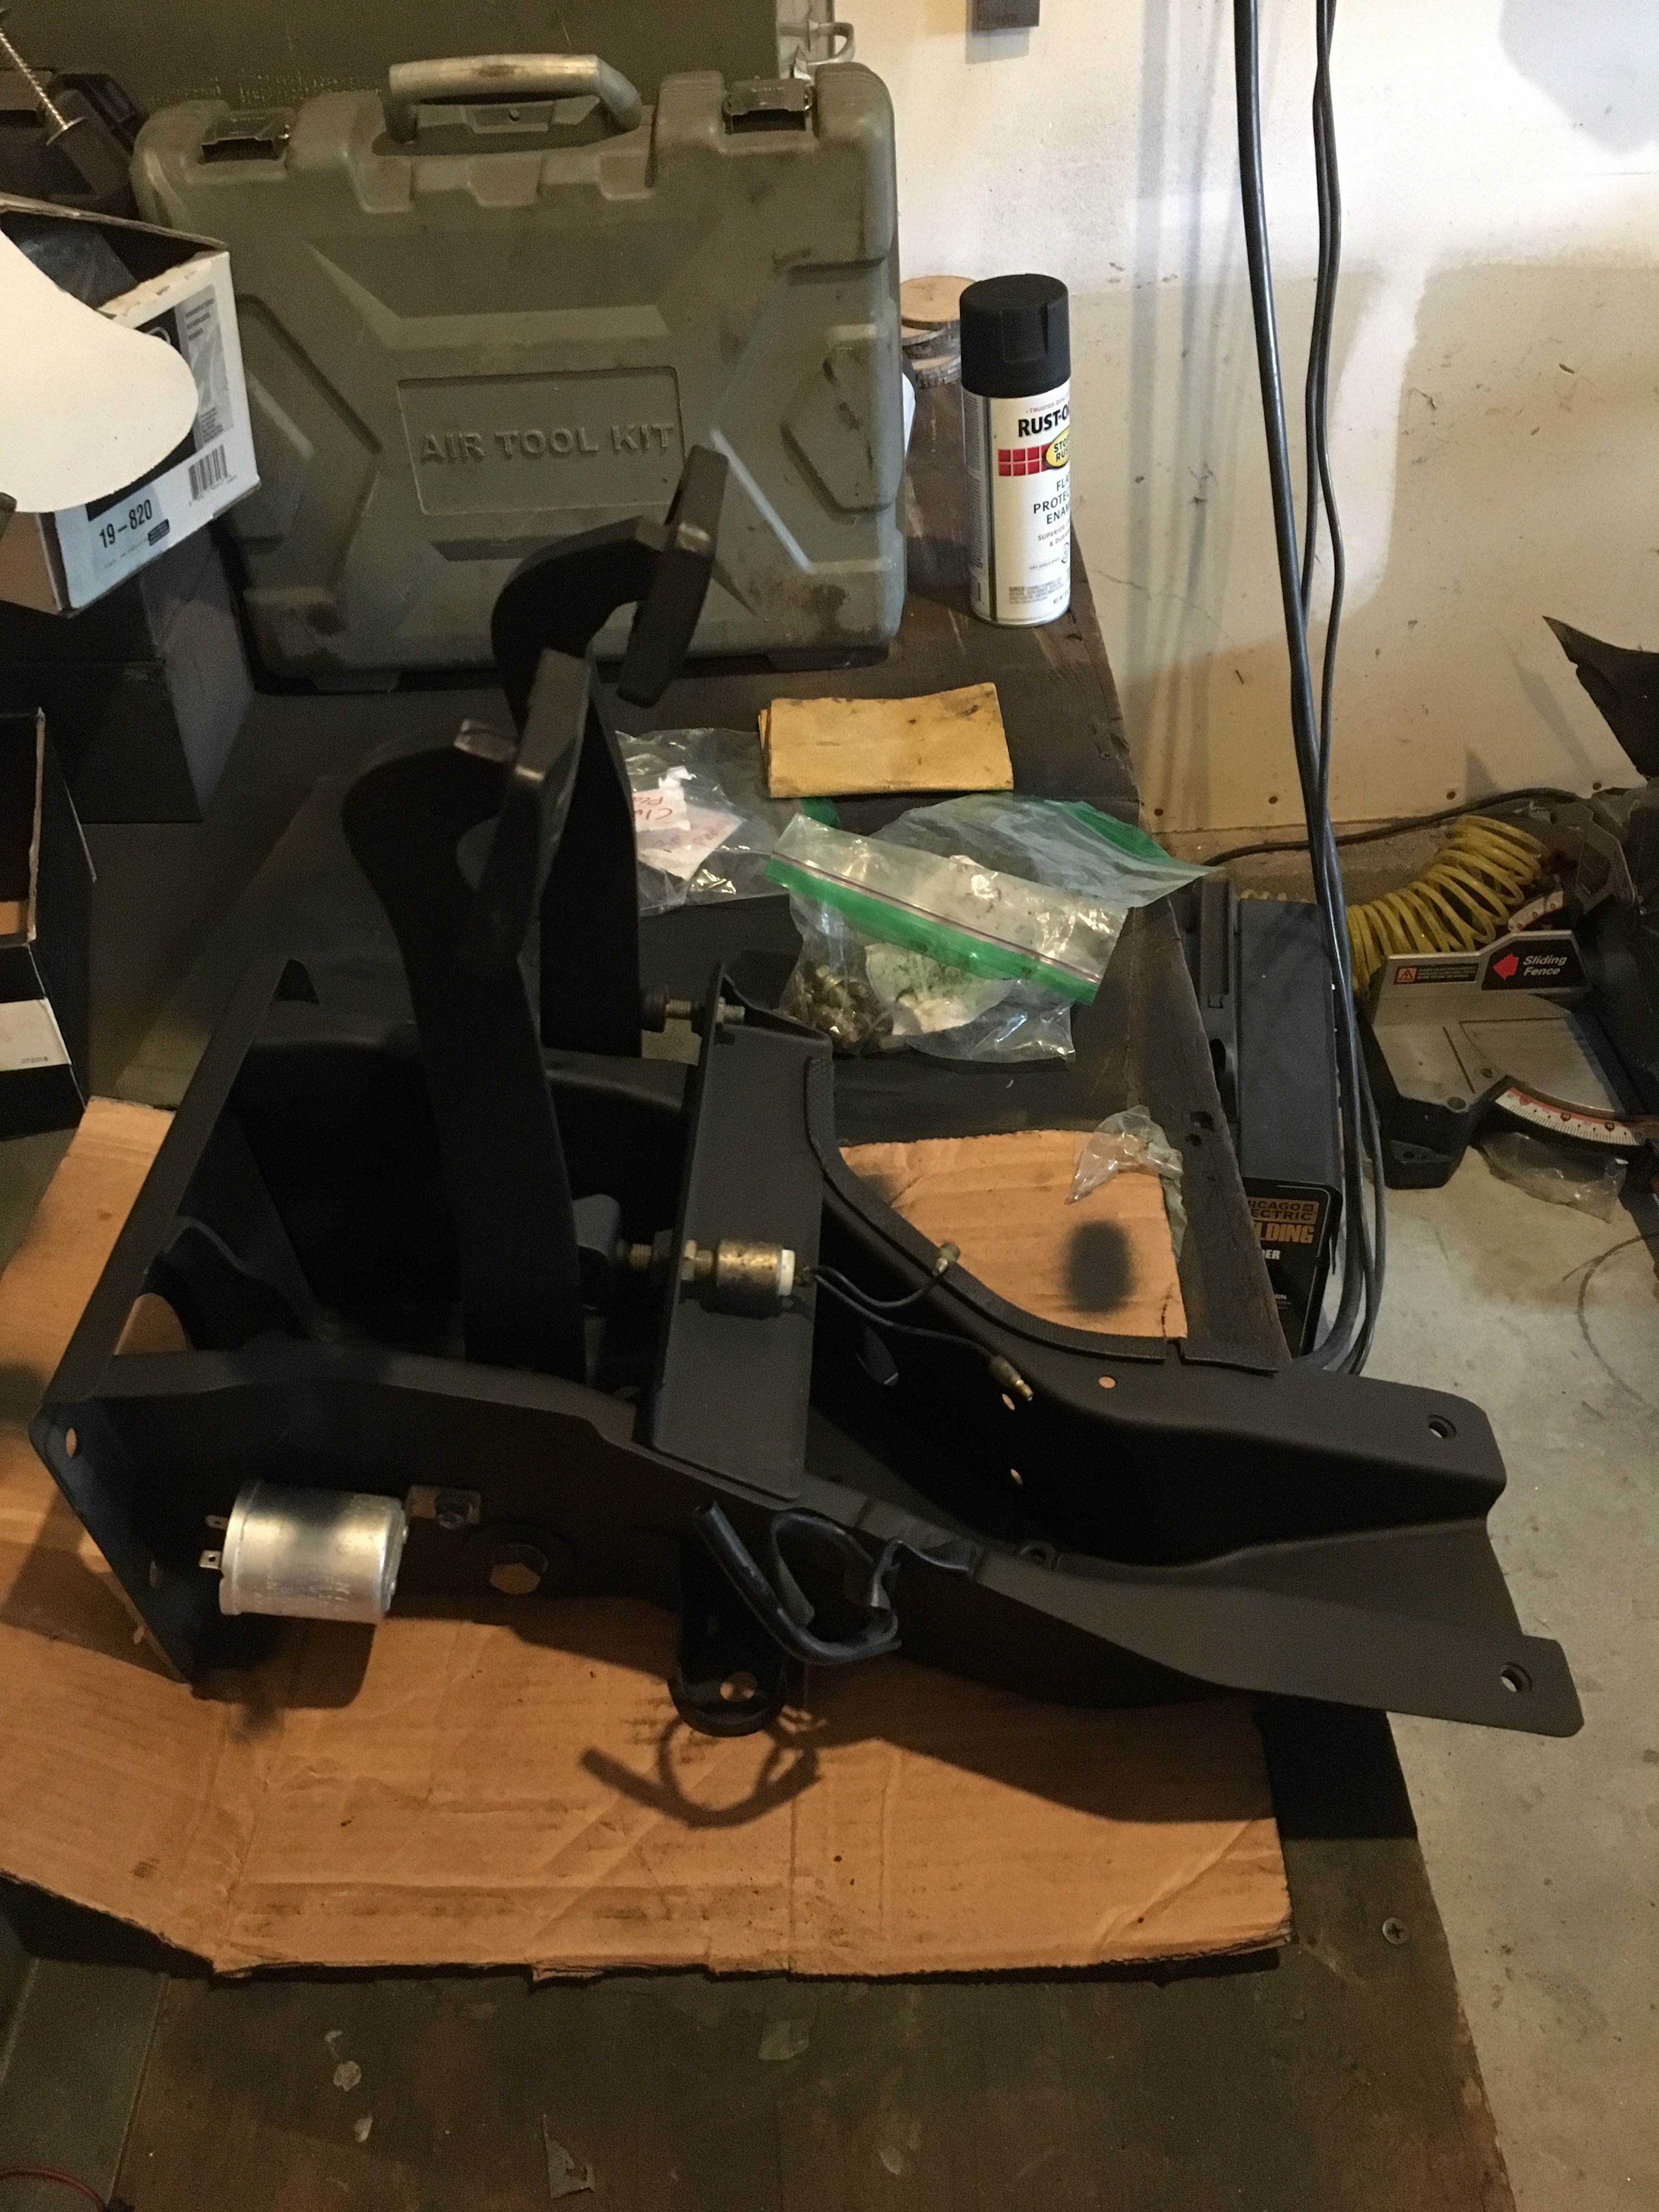
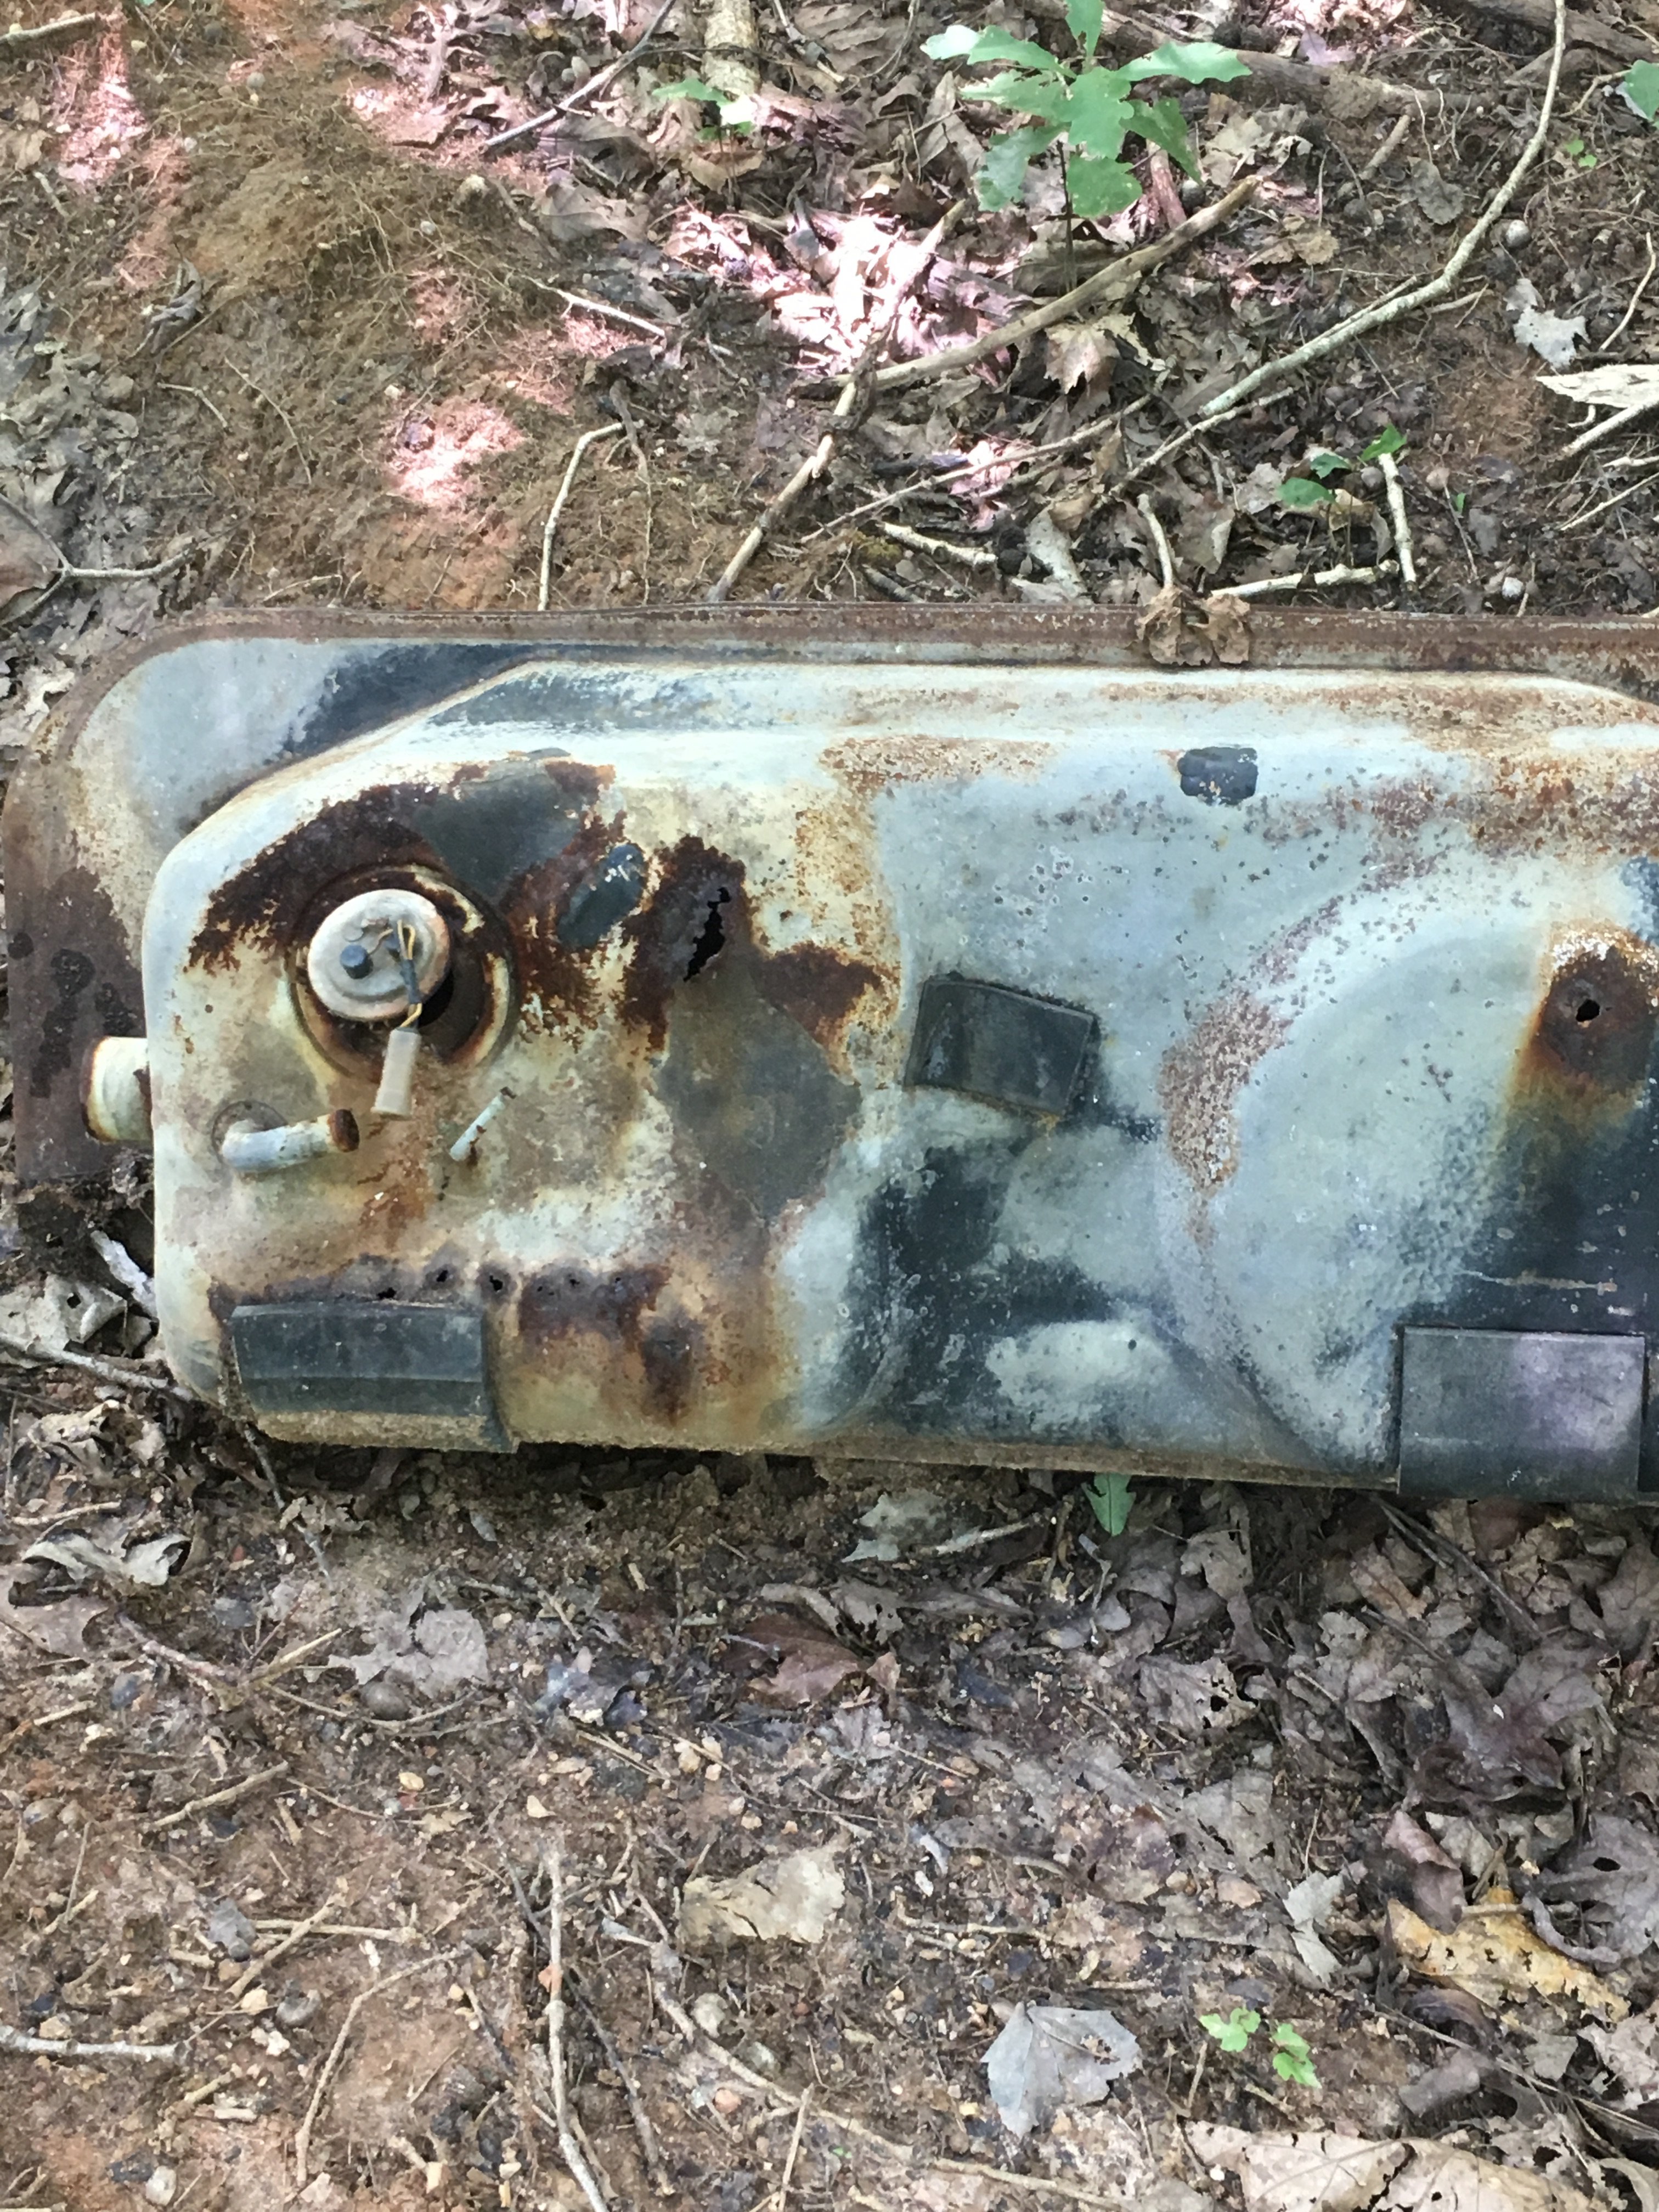
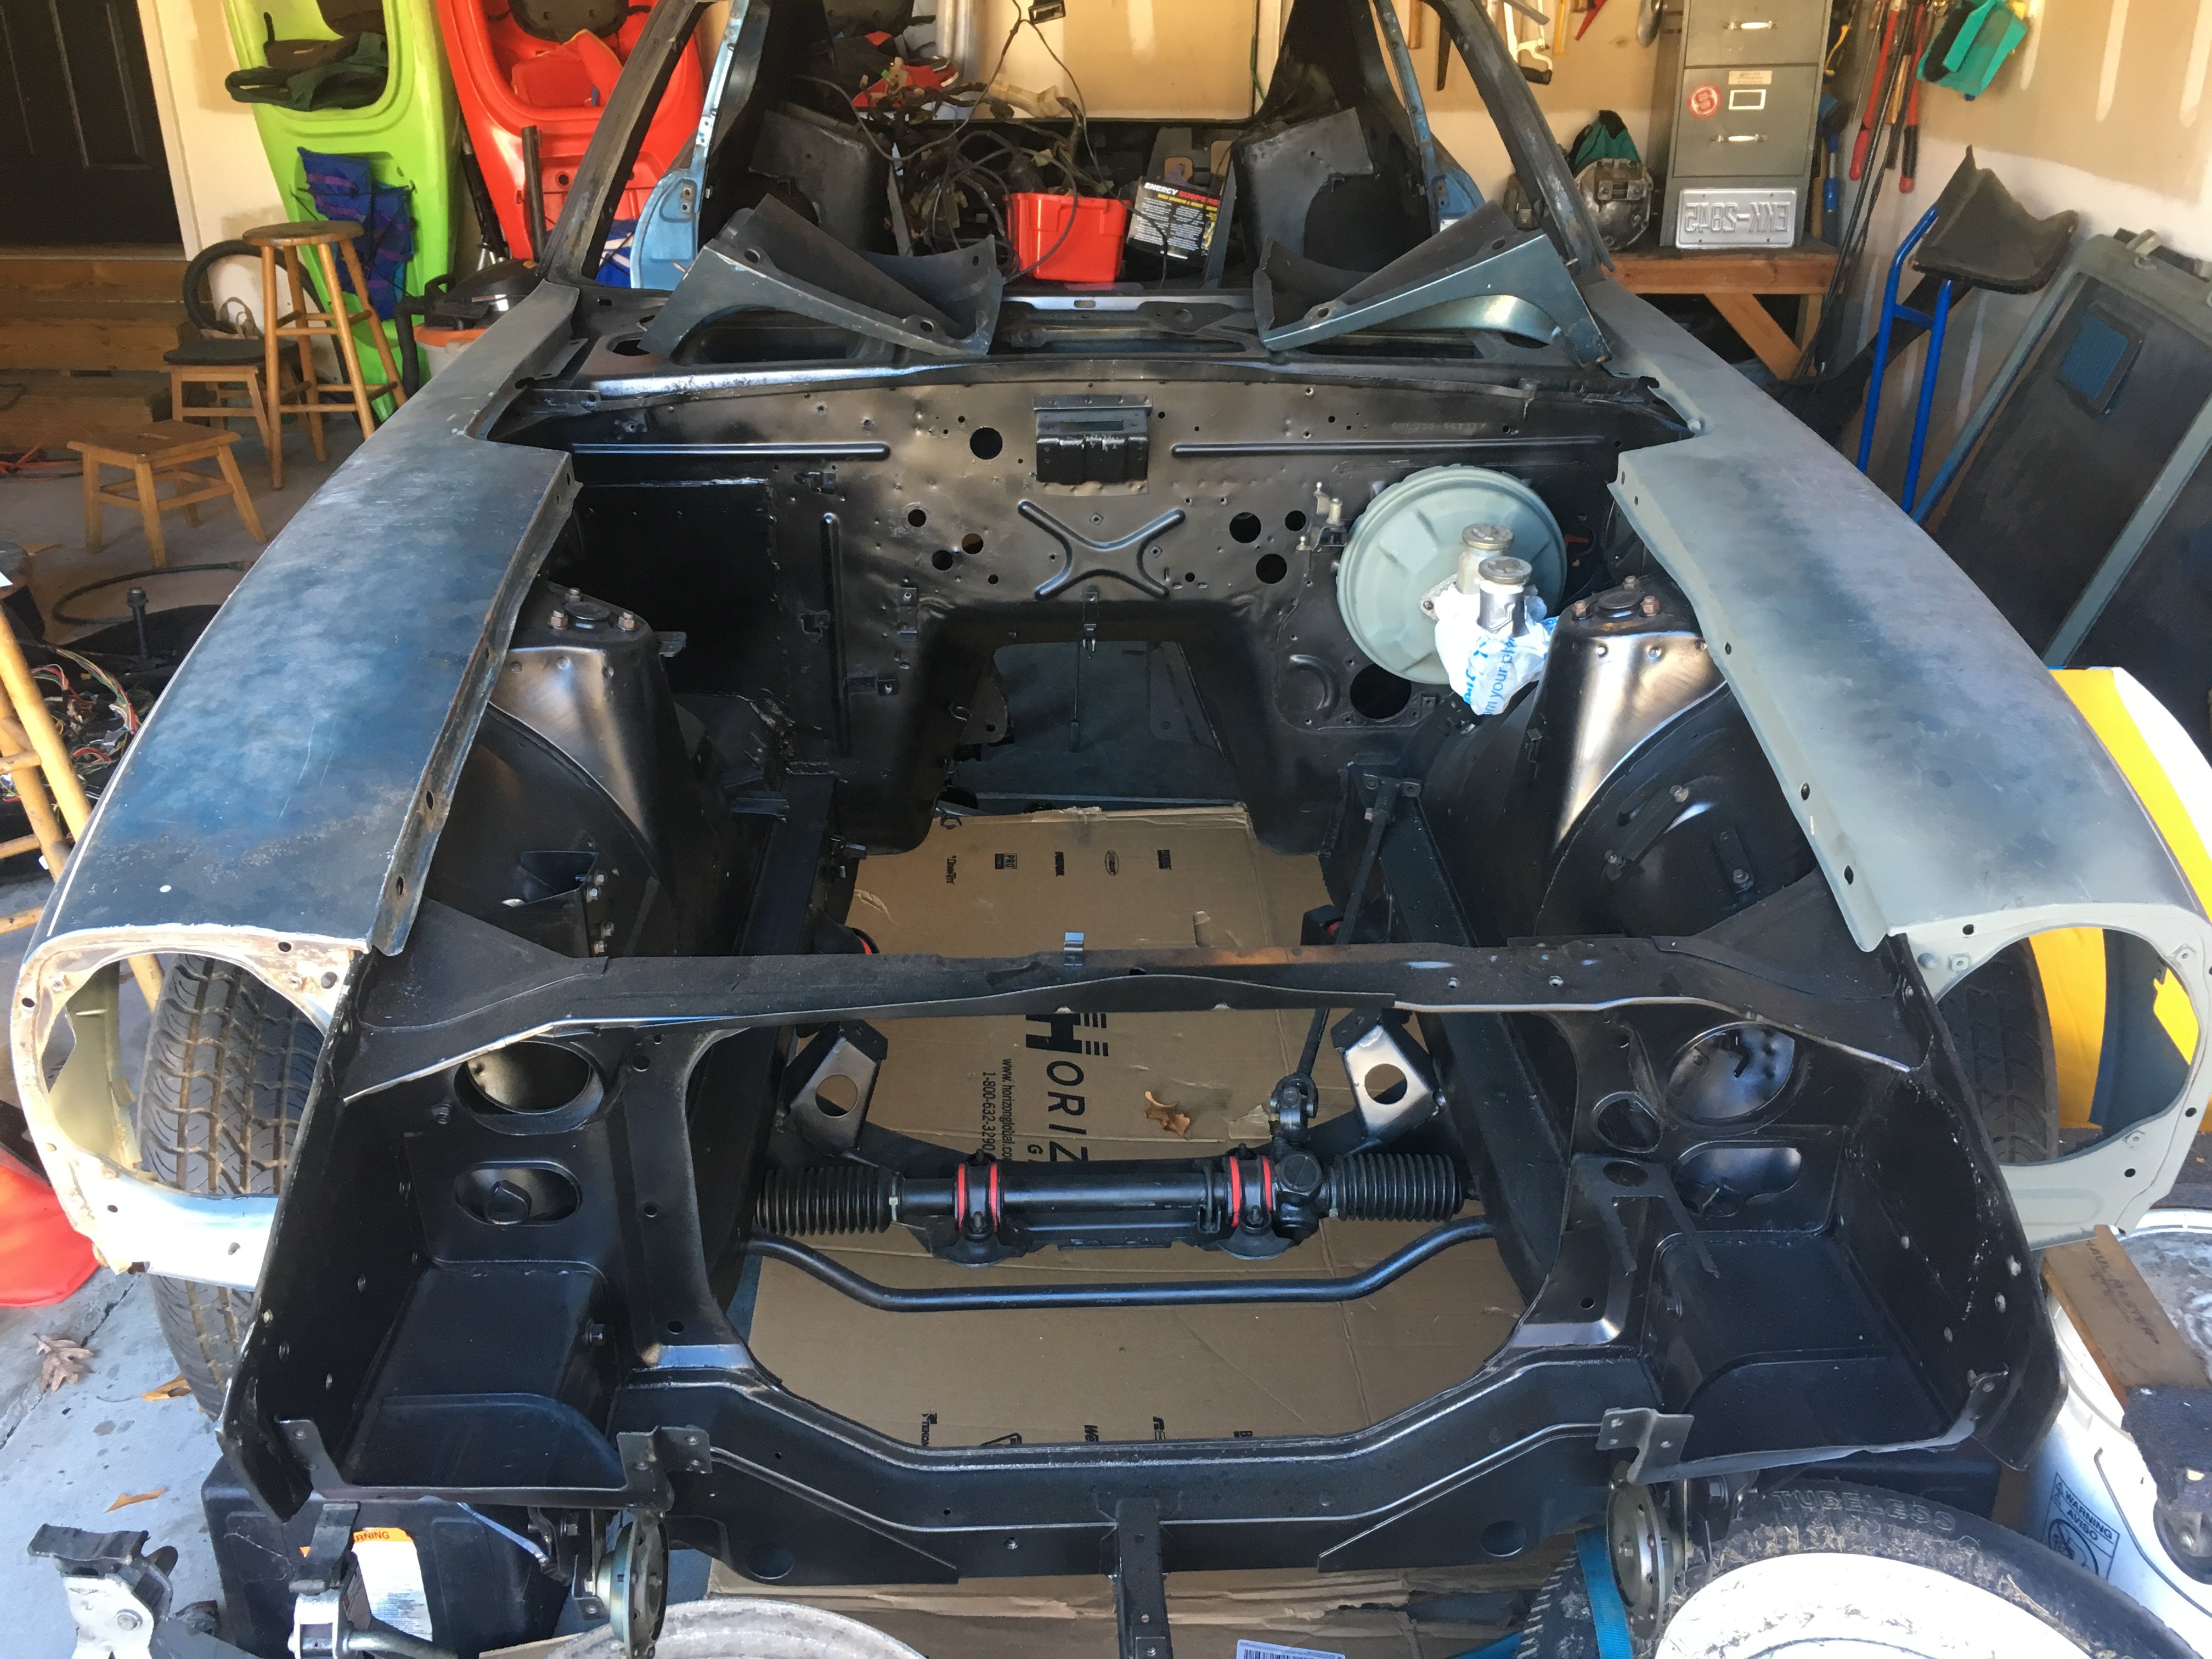
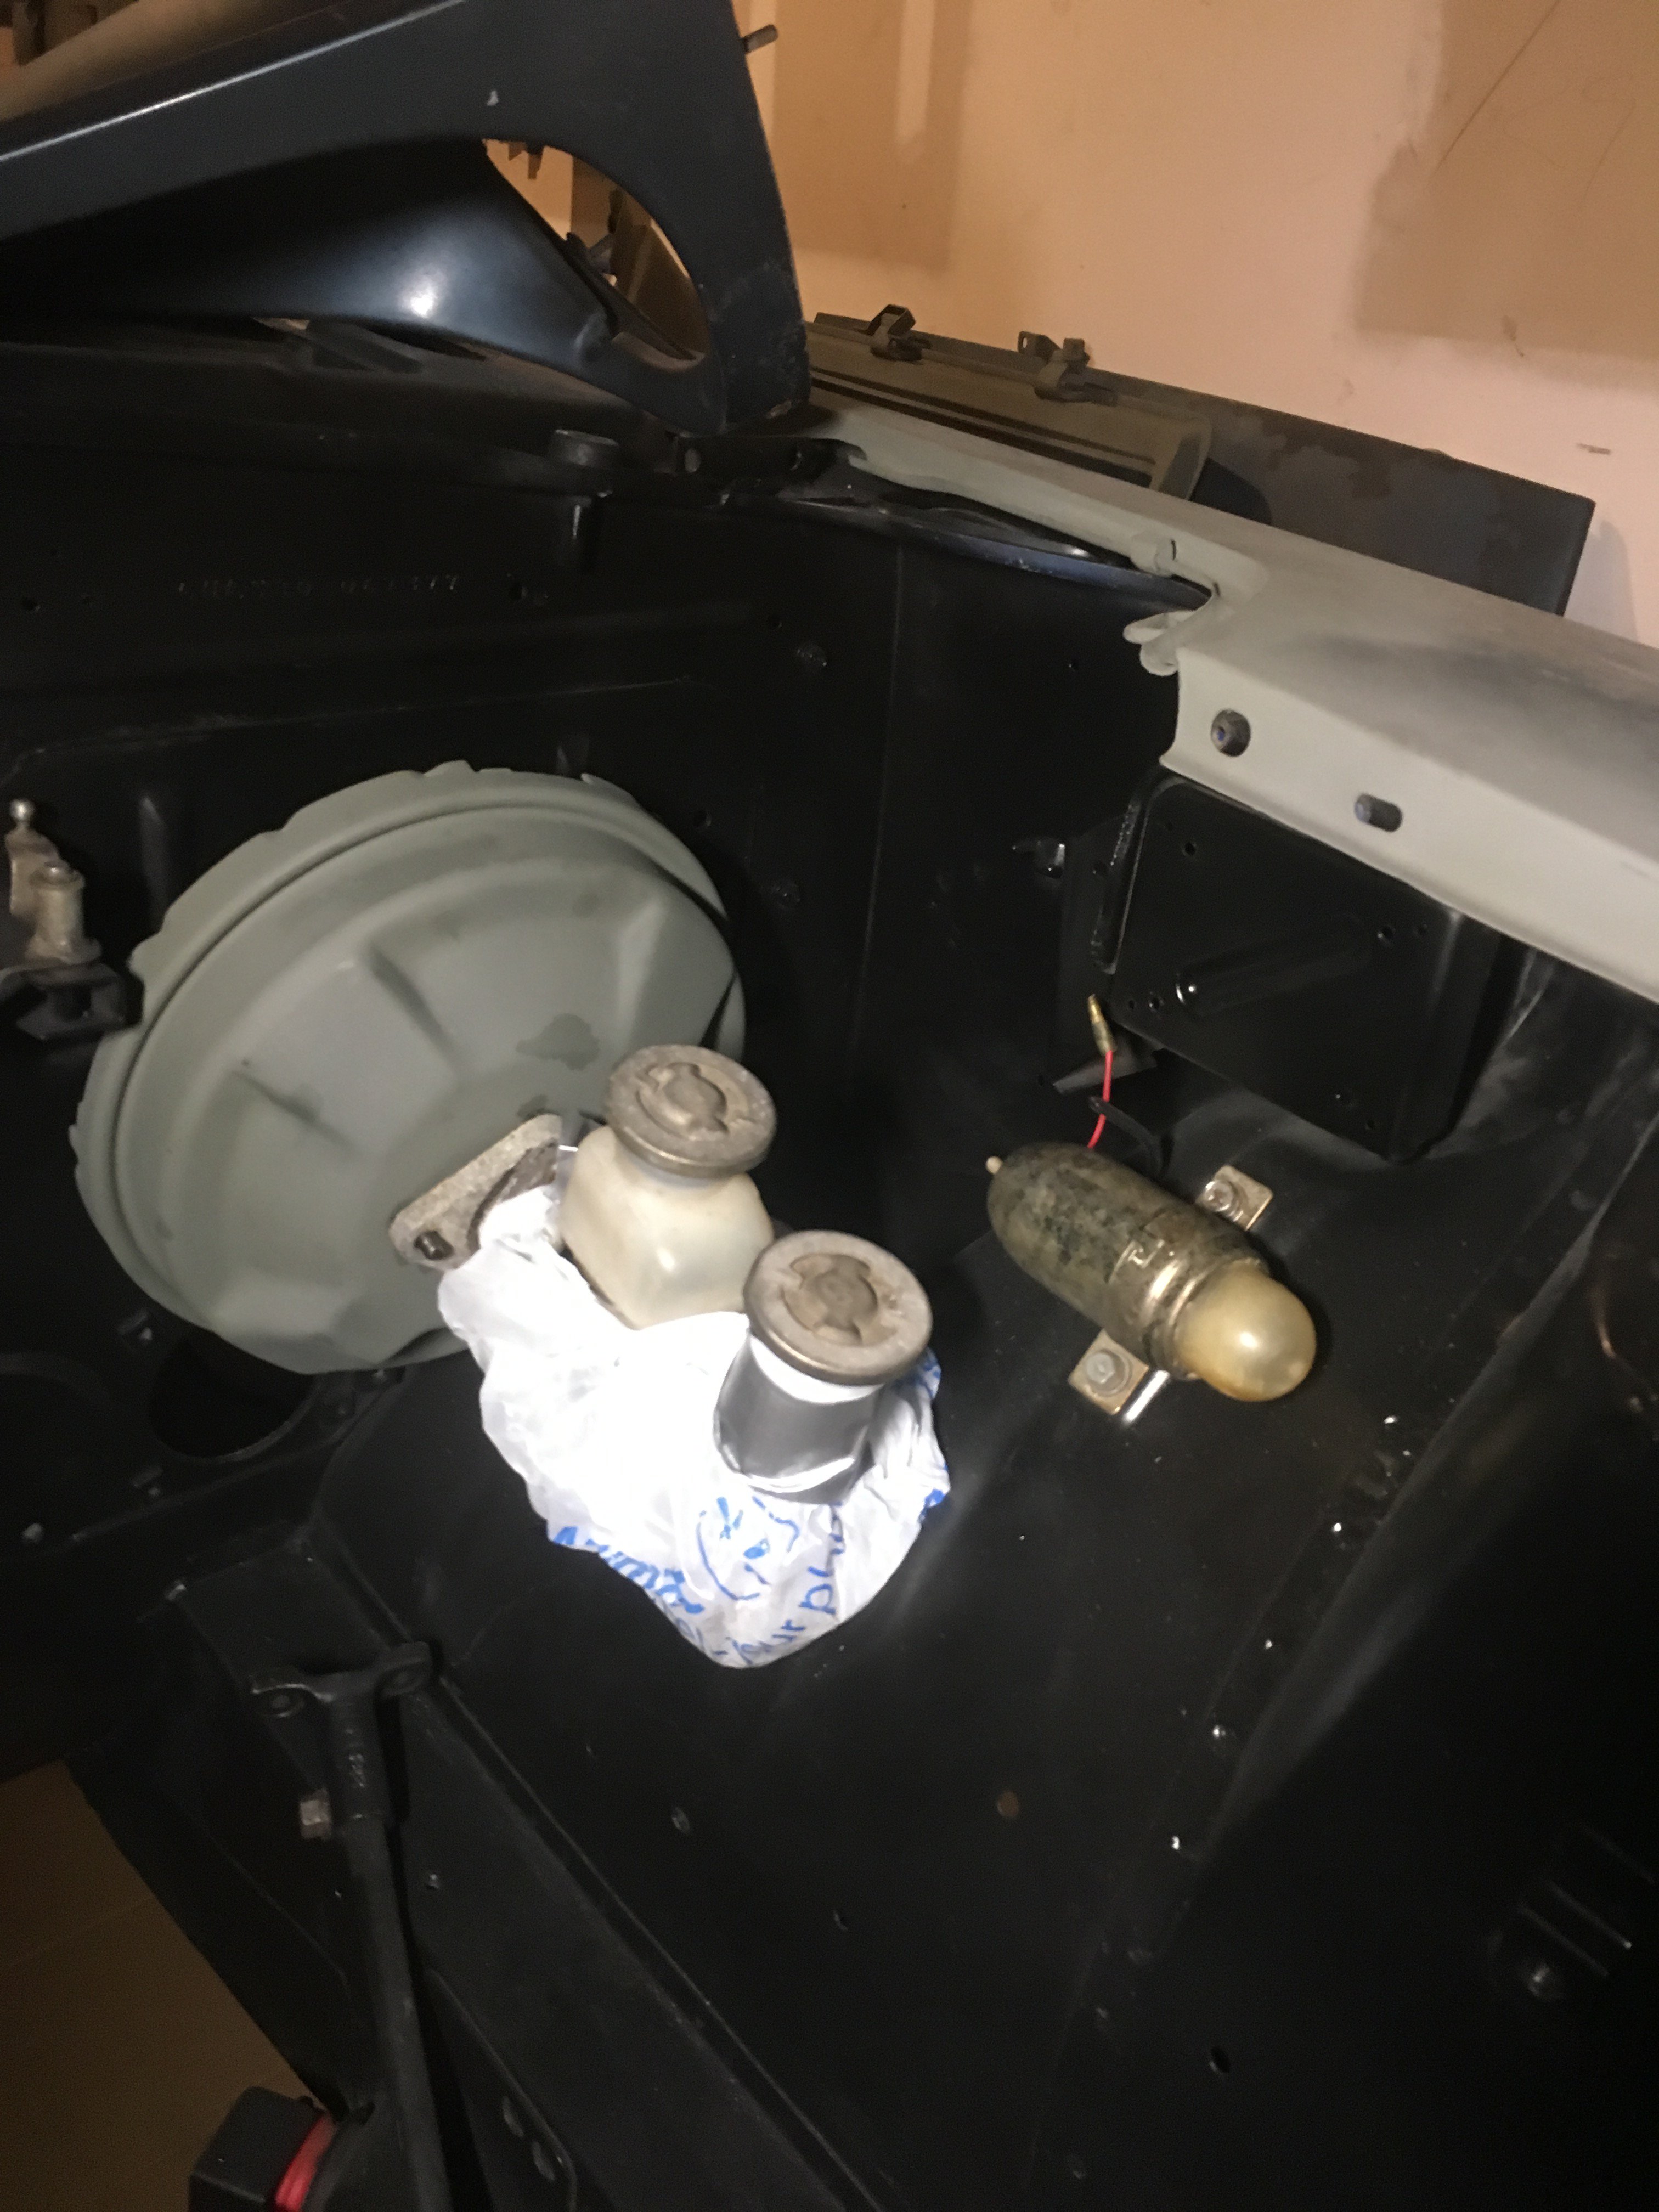
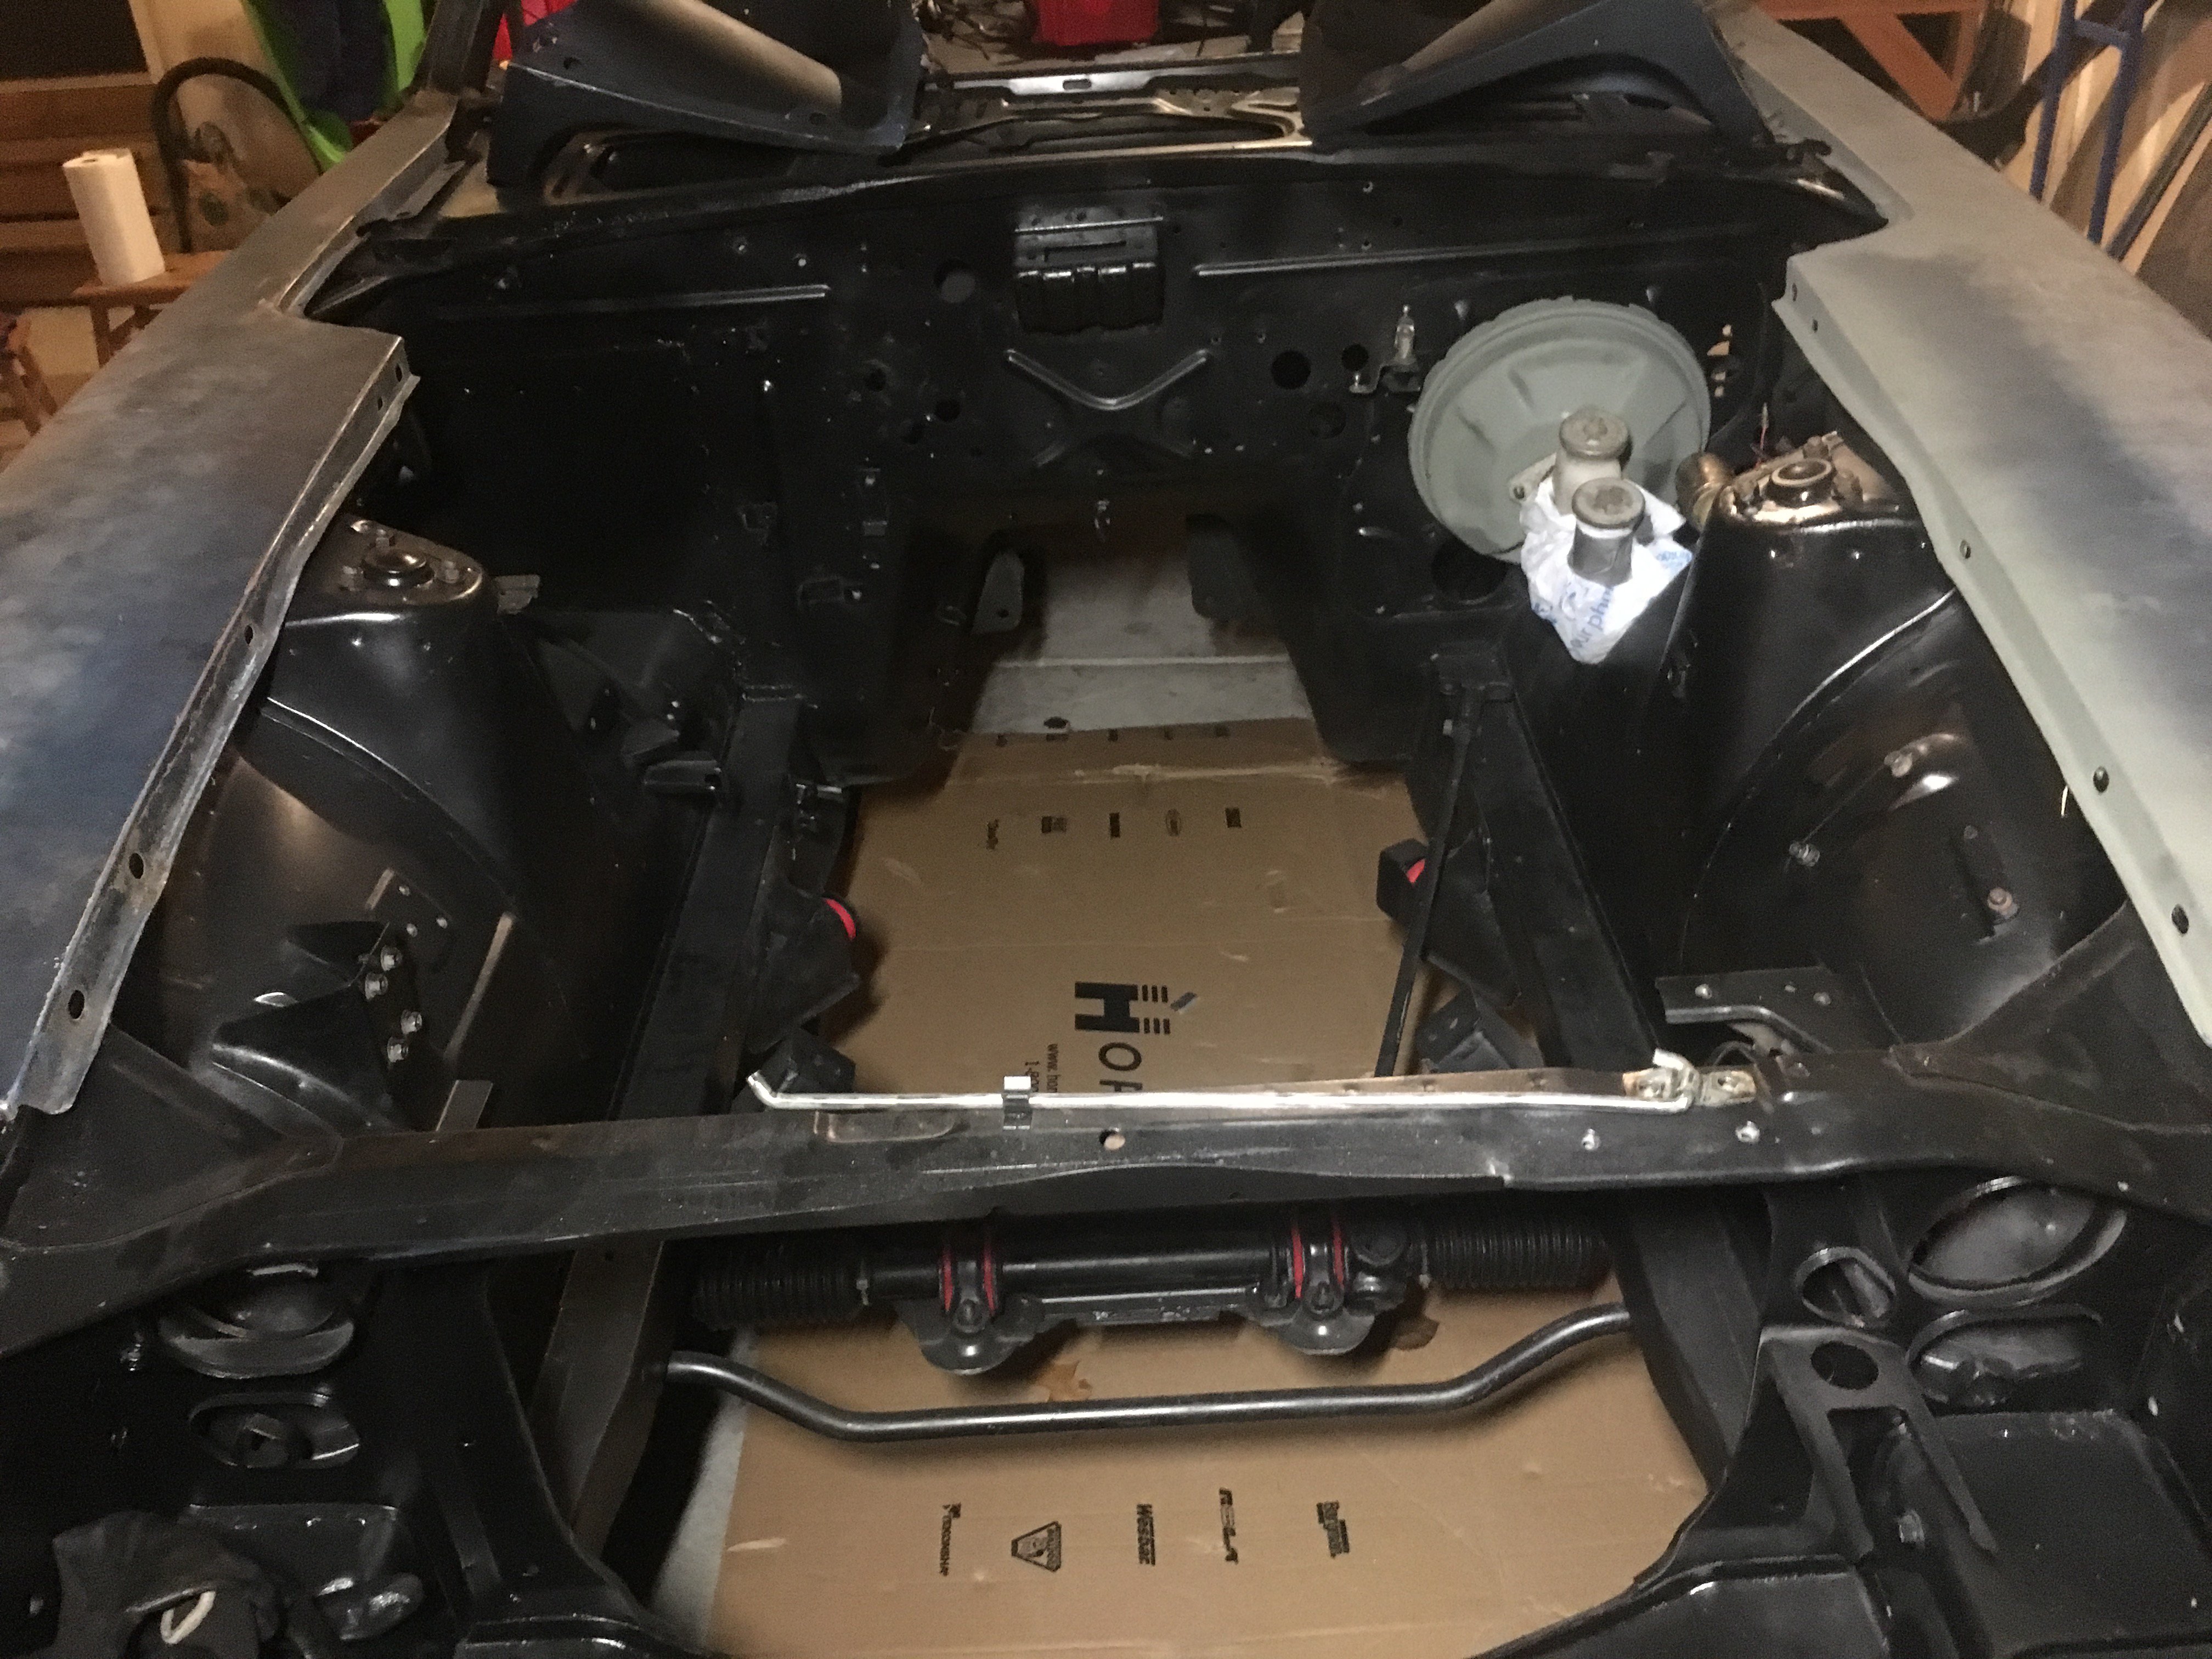
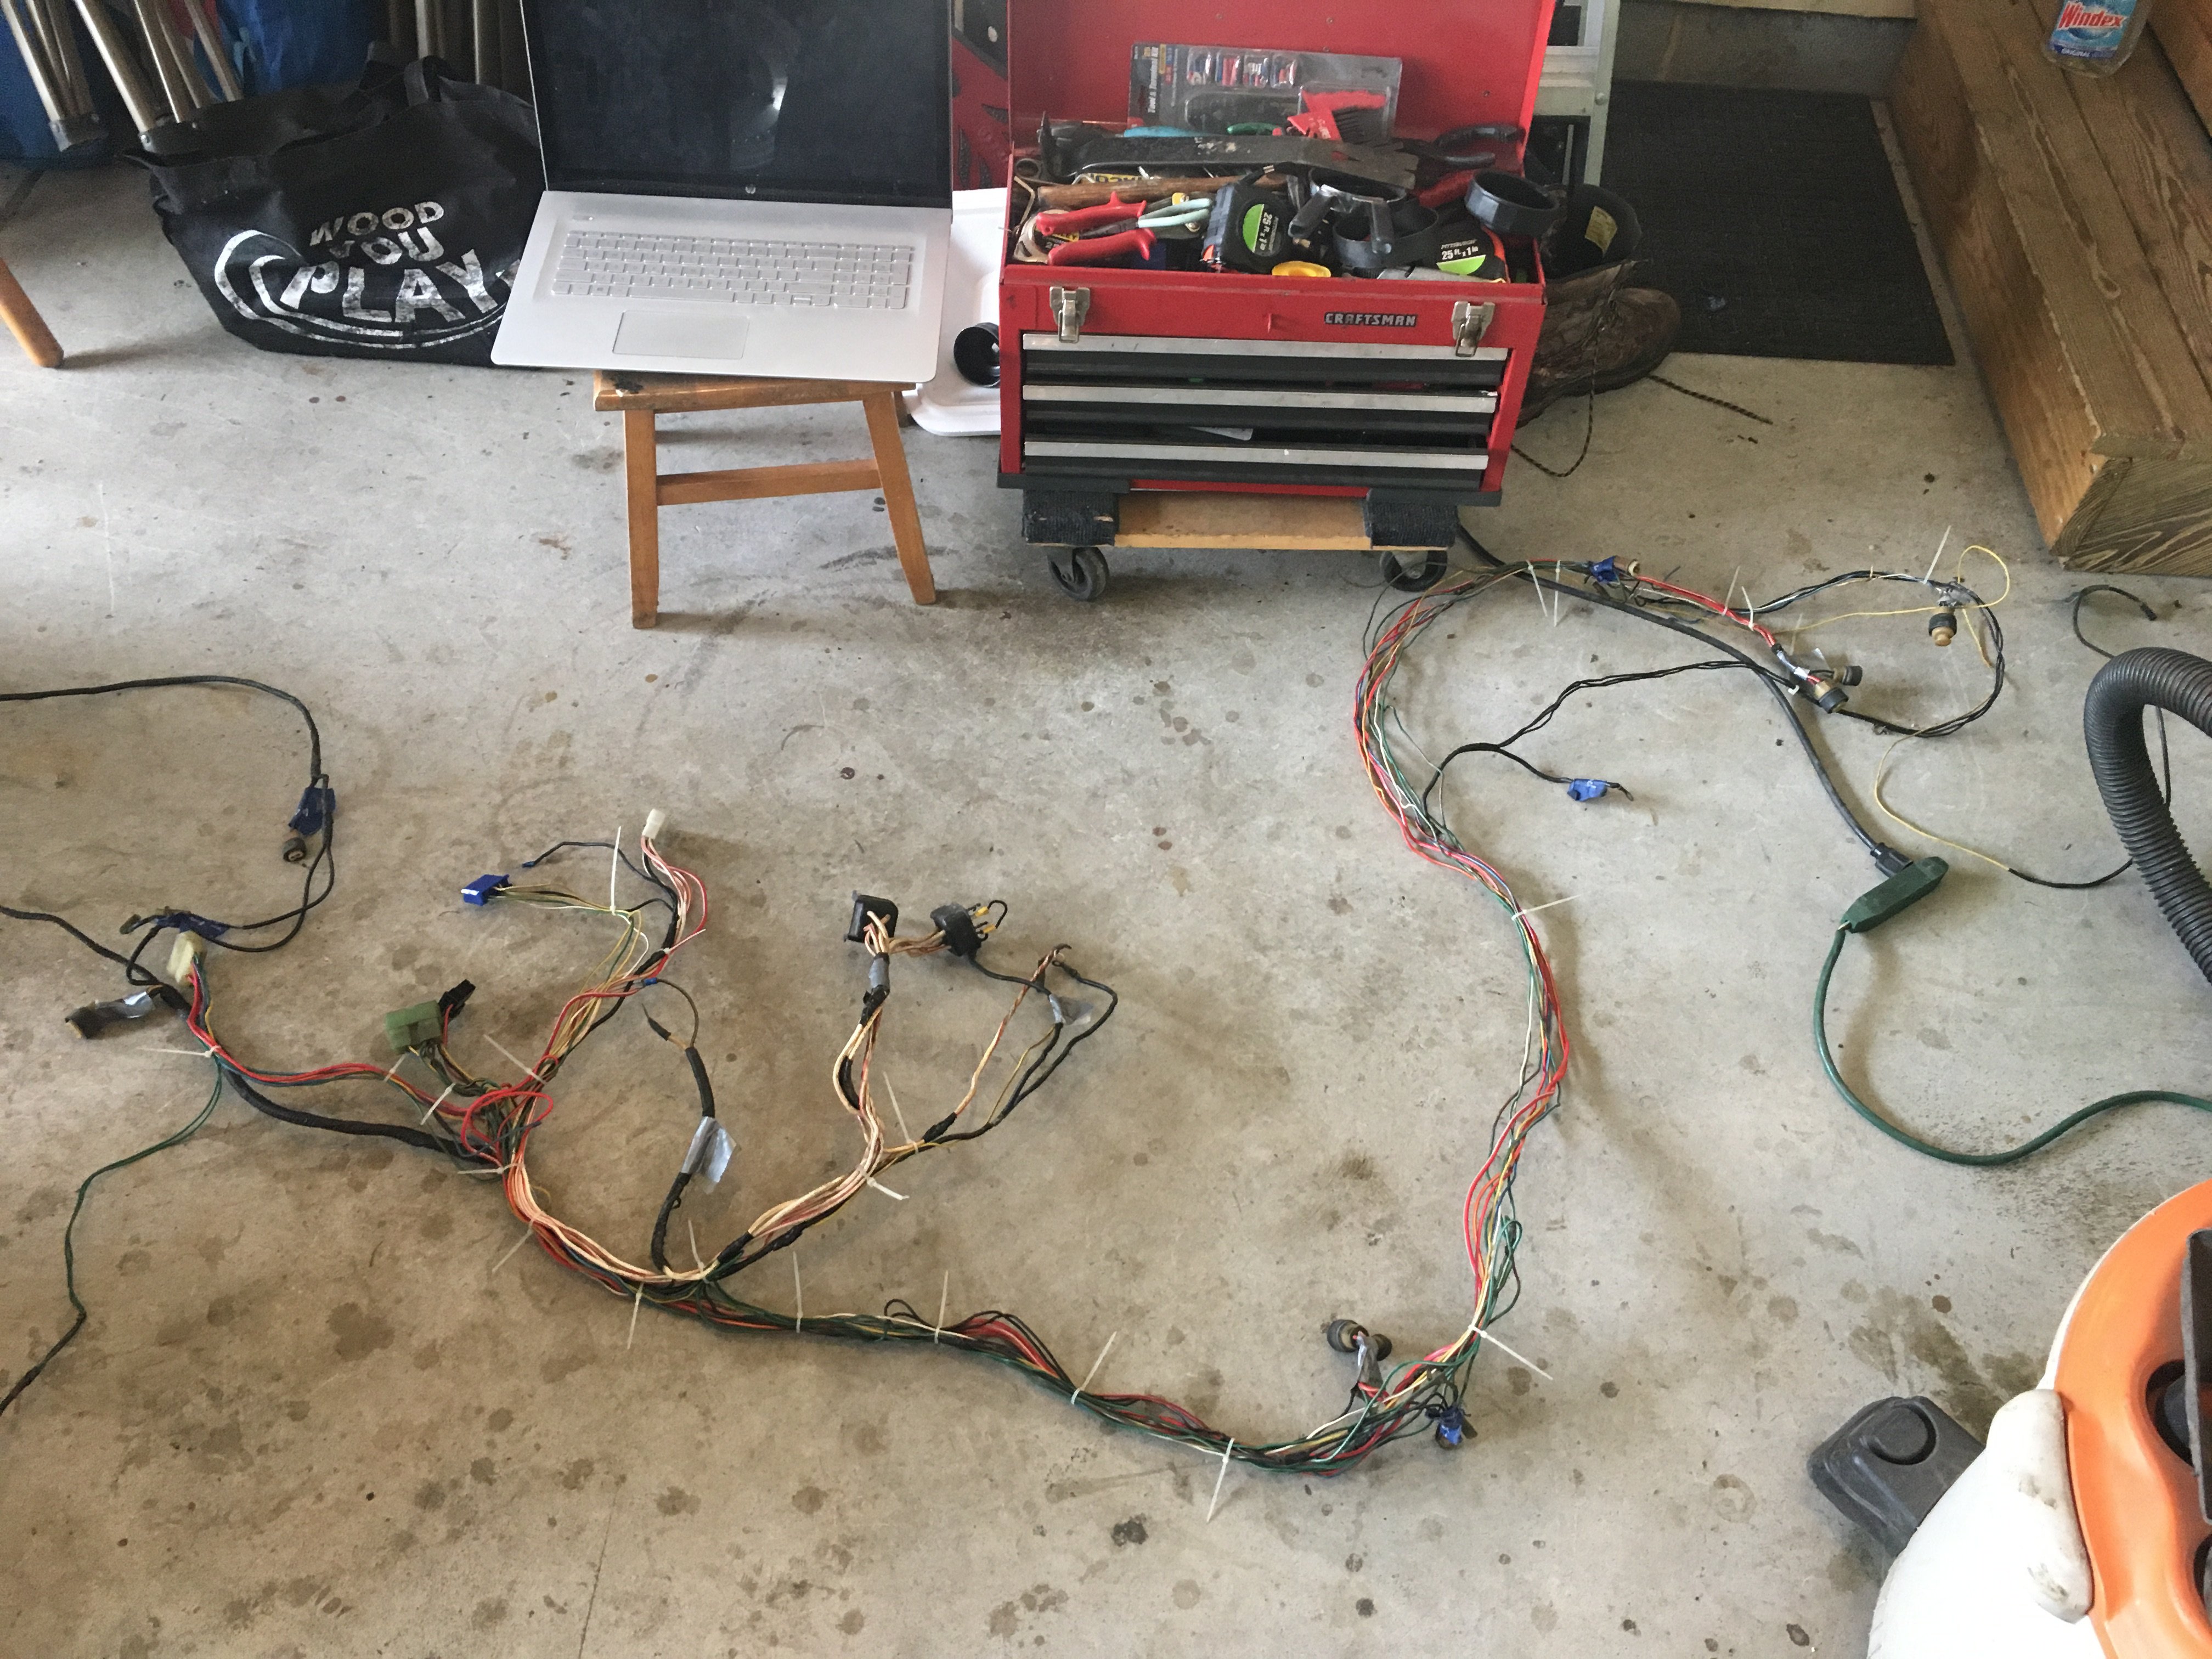
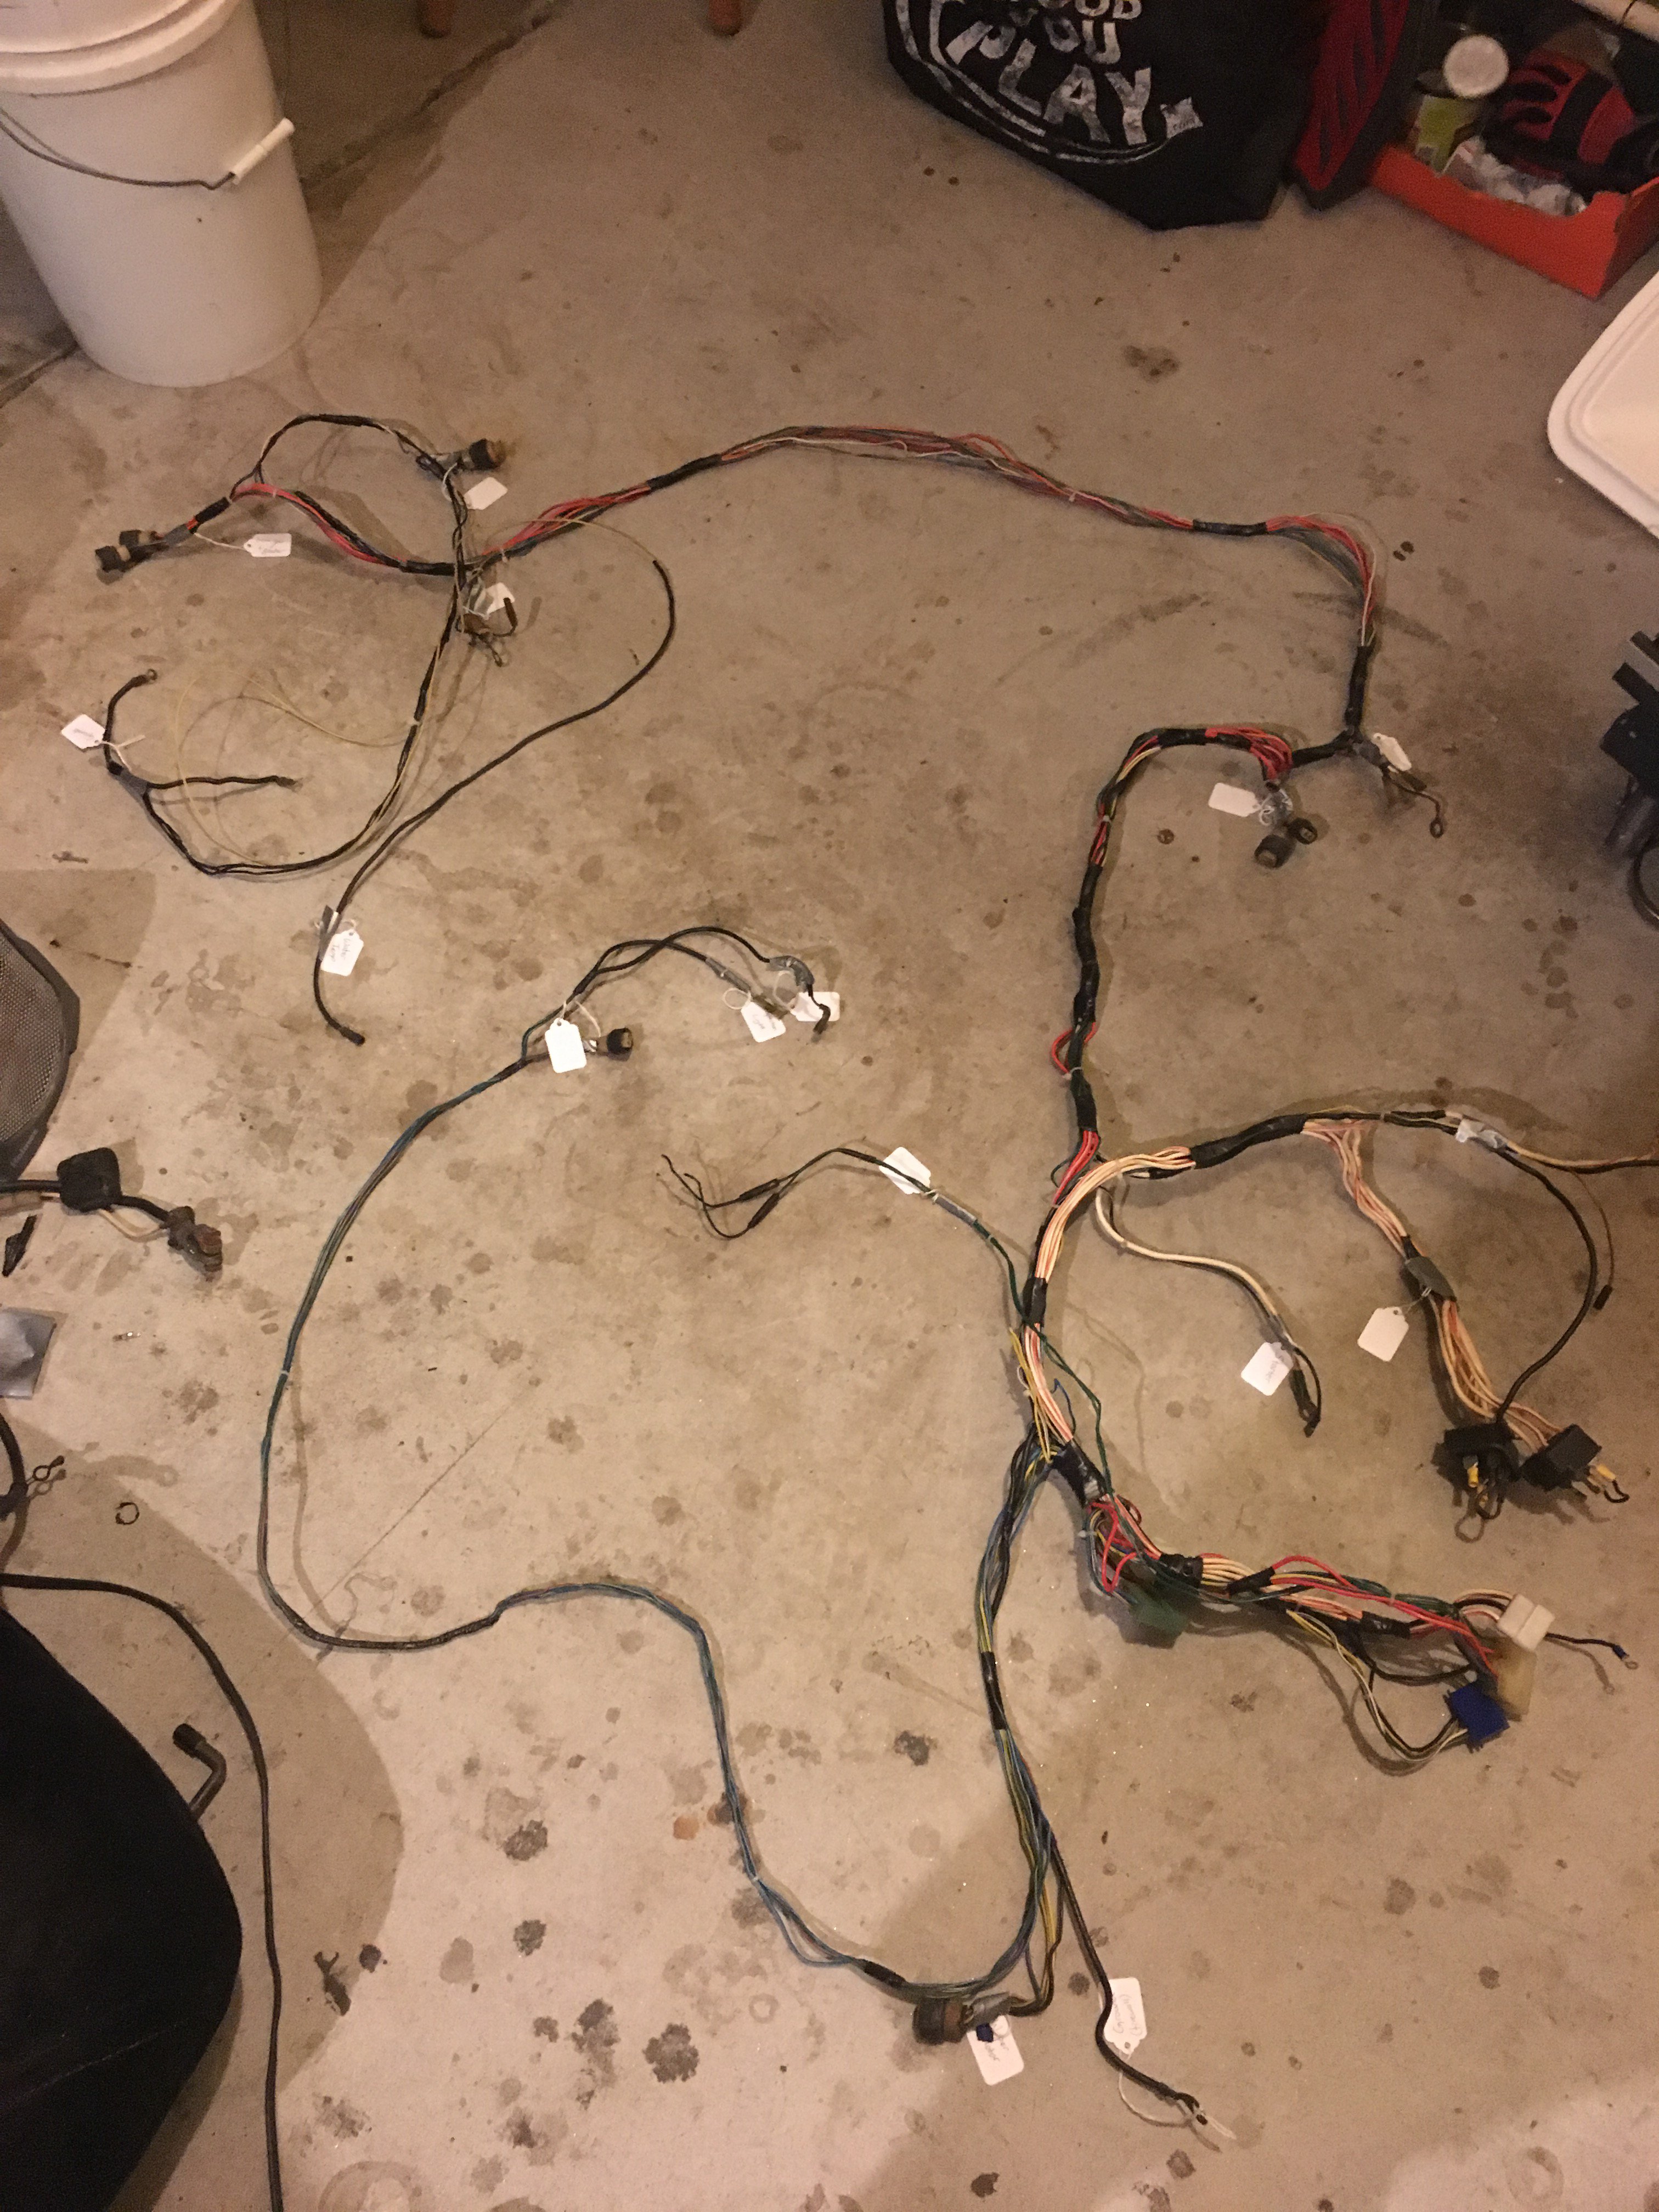
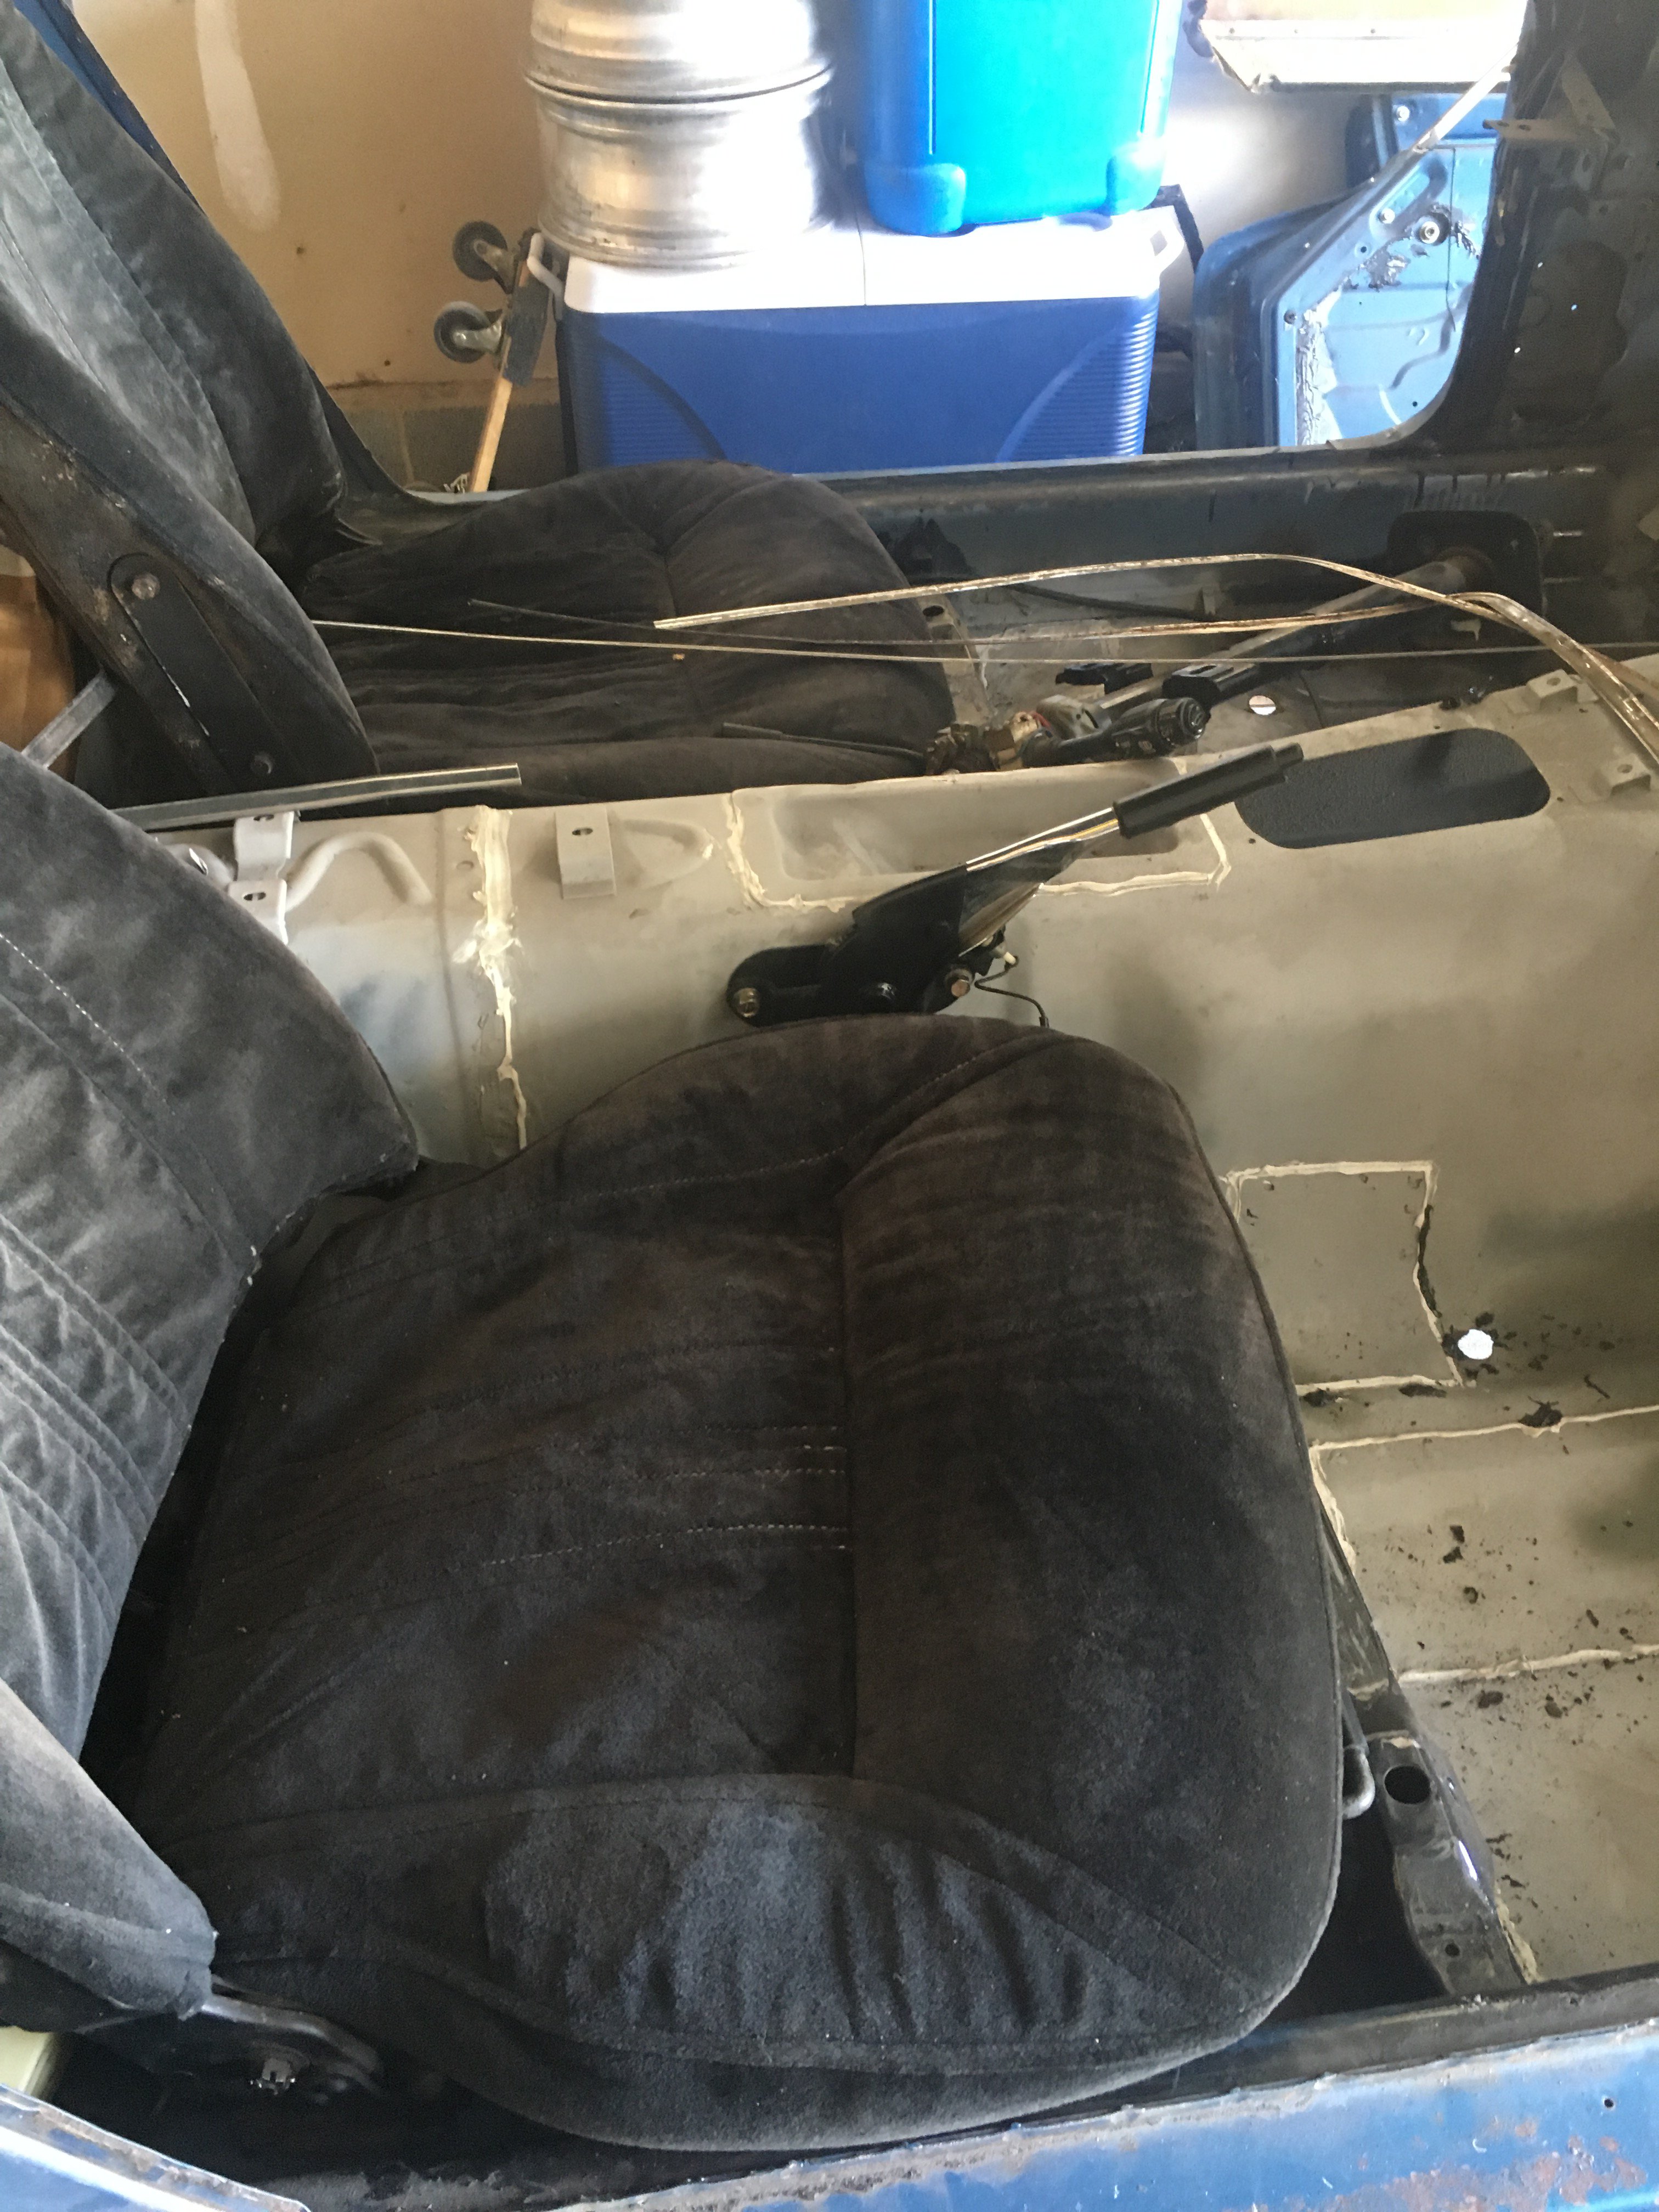
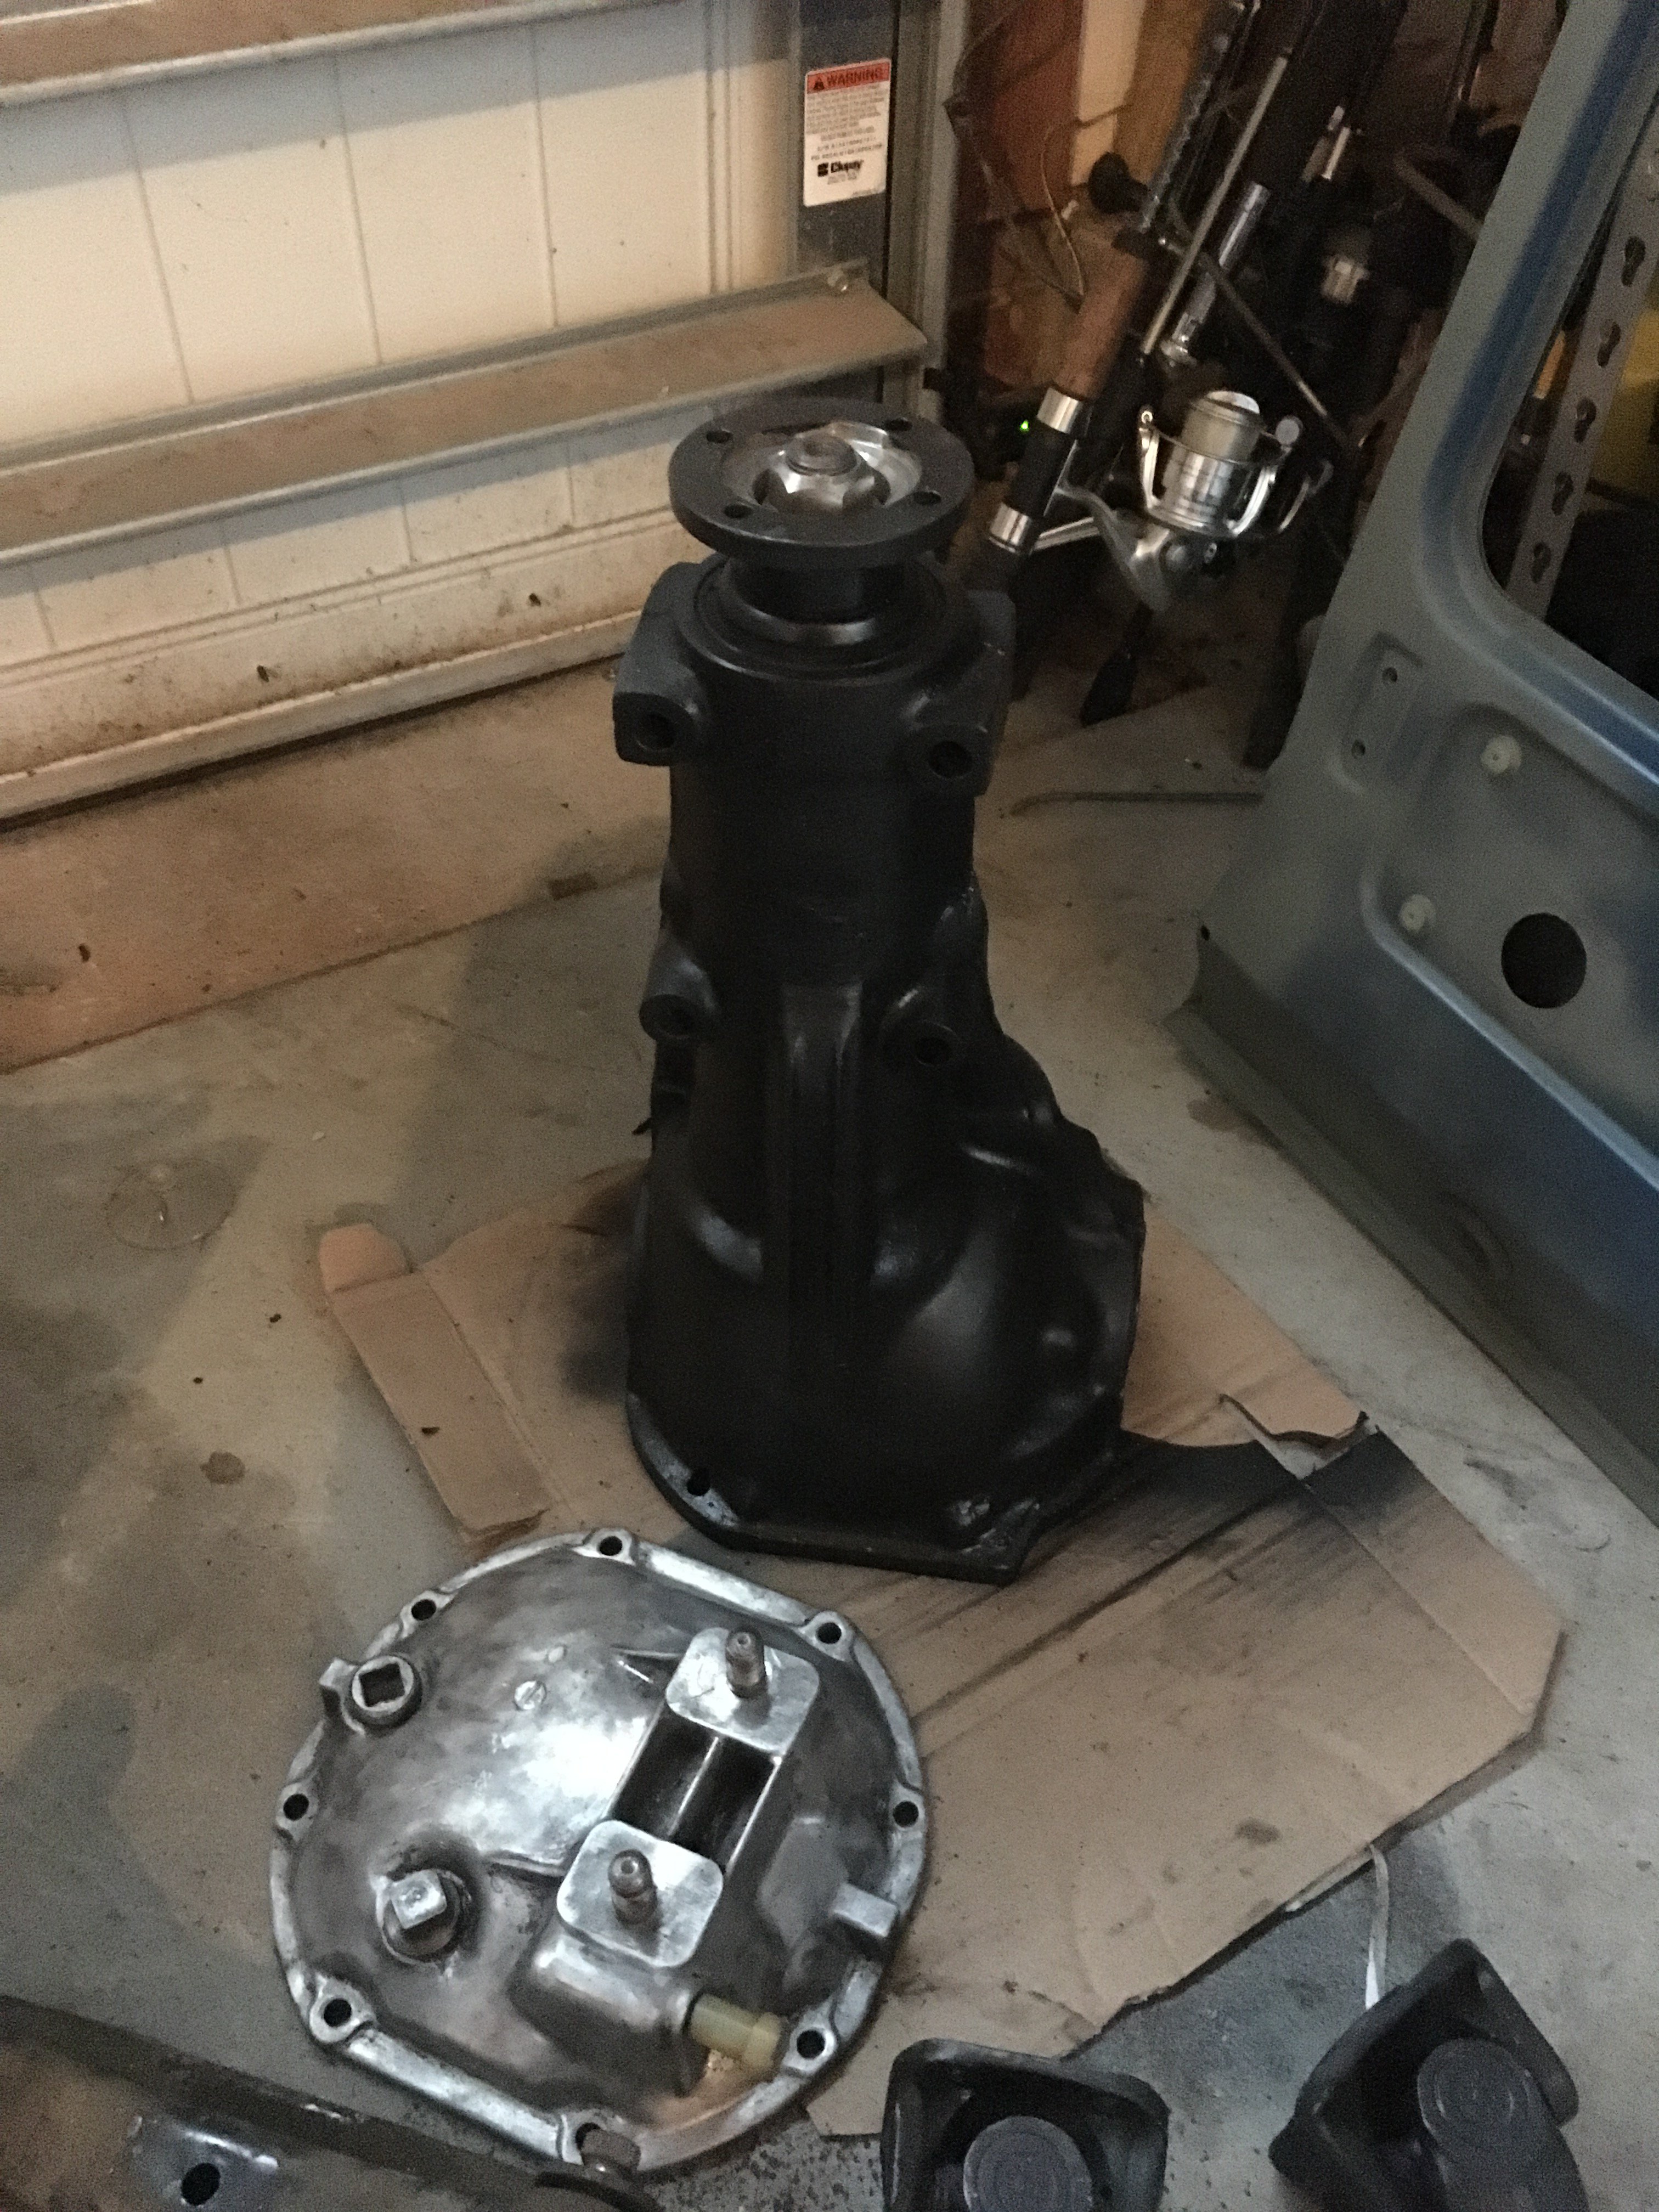
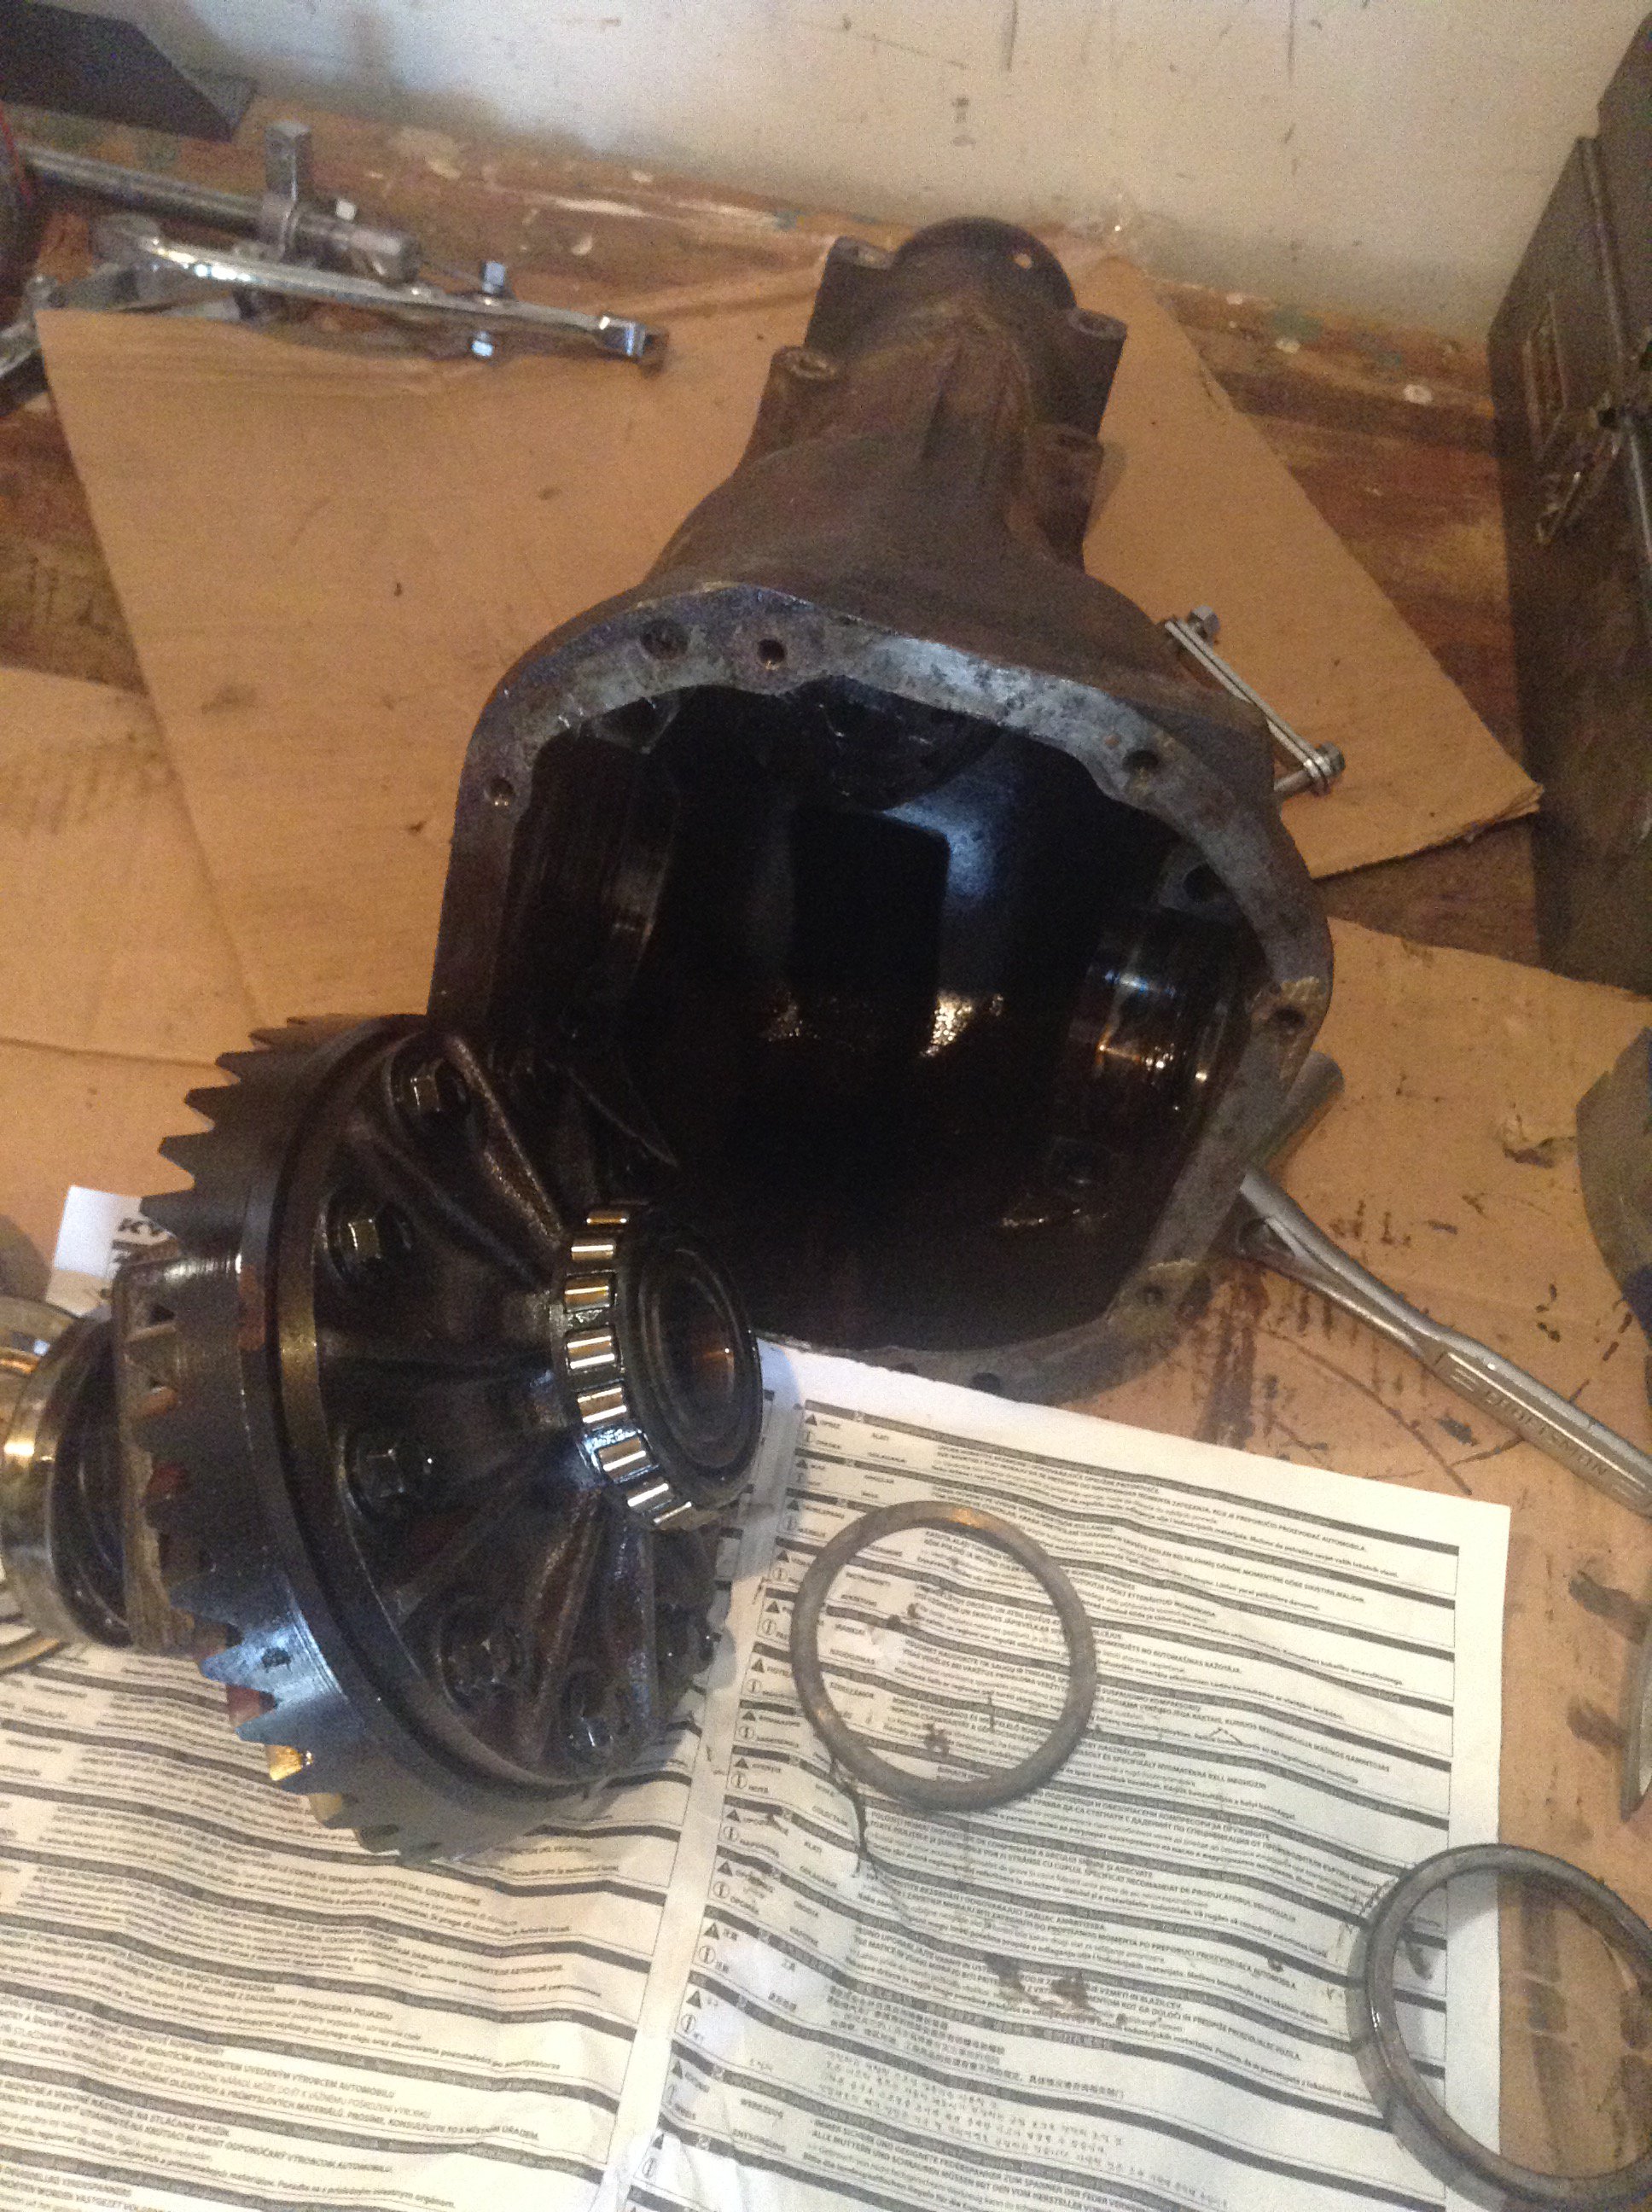
It has been a while since I updated this thread. I have been busy with school and life but haven't given up on the build. So, here's a progress update on what has been done since the last post. First, I rebuilt the differential. I originally planned on installing a limited slip carrier such as the OBX unit but I decided to stick with the stock R200 until it breaks for a couple of reasons. >> I've read many builds that say the R200 holds up to the power of an LS1 >> The stock diff is still in great shape >> OBX units are not easily available currently and the other options are more expensive ( but also better quality . . .) >> I want to get this thing on the road and it was faster to just keep the open diff I hope to switch to maybe an Mfactory differential with Z31 CV's in the future or go with the Z32 complete setup from TTT but that will be after the car is running and driving. Next, I rebuilt the pedal box. This was just a fun, simple restoration project. I'm not sure if the clutch pedal will stay, but more on that later. I also started researching fuel options that would be compatible with an LS engine. I would like to keep the spare tire well and go with the stock tank and a sump or surge tank. However, the tank that came with the car is full of rust and holes and I think it is beyond reparable. To avoid cutting out the spare tire well, I would need to source a stock tank in decent condition and then add a sump or other modifications. So, I have not ruled out the common chevy fuel tank swap but I would love to know if anyone had other cost effective options that fit in place of the stock tank (keeping the tire well). We painted the interior and engine bay of the car in flat black. We planned to paint the engine bay body color but decided to go ahead and spray black so we could be closer to an engine install. Next, I started working on little things to pass the time until we buy an engine + trans. You can see the horns and brake booster in the pictures above. I welded up the trim holes in the fenders and doors (sprayed some cheap primer so it wouldn't rust). I polished up the hood prop and inspection light for fun Cleaned up the hood hinges . . . I need to paint them black I put the old master cylinder on to measure for new brake lines. The plan is to use the Wilwood 1 in master and all new custom SS hard and soft lines. Based on my research it will be best to not run a proportioning valve with our caliper setup (toyota fronts and maxima rears). I just used a piece of rope and tape to create these measurements as a guide: Now about engines. Ideally, we will use an LS1/T56 setup from a camaro or GTO. I think this would be the cheapest route as we would avoid swapping the intake, accessories, oil pan, throttle body, computer, etc if we used a 5.3L. We have also thought about using a 4L60 auto trans and paddle shifters with a LS1 due to limited availability of low mileage LS1/T56 combos. Hopefully, we will find a decent setup soon and start on the engine side of the build. I started on the engine bay wiring by stripping out the old fuel injection from the factory harness. The goal is to use the factory wiring to control lights, horns, turn signals, etc and then create a stand alone engine wire harness from the LS. I found a wiring diagram with original wire colors which was extremely helpful in during the process. First, I stripped all the old electrical tape stuff from the harness I removed everything that comes out of the driver side firewall as it is all old FI stuff. Then, I stripped out the outdated components (voltage regulator, capacitors, AC, etc) and degreased what was left (lights, power to the fuse block, starter, wipers, etc). I kept everything zip-tied together as I went so it would retain the correct layout. I left the harness partially wrapped so I can integrate any new wiring and resolder the old factory splices. This is the final product: Thanks!
-
280z 2+2 resto mod
Whitley_280z_2+2 replied to Whitley_280z_2+2's topic in S30 Series - 240z, 260z, 280z
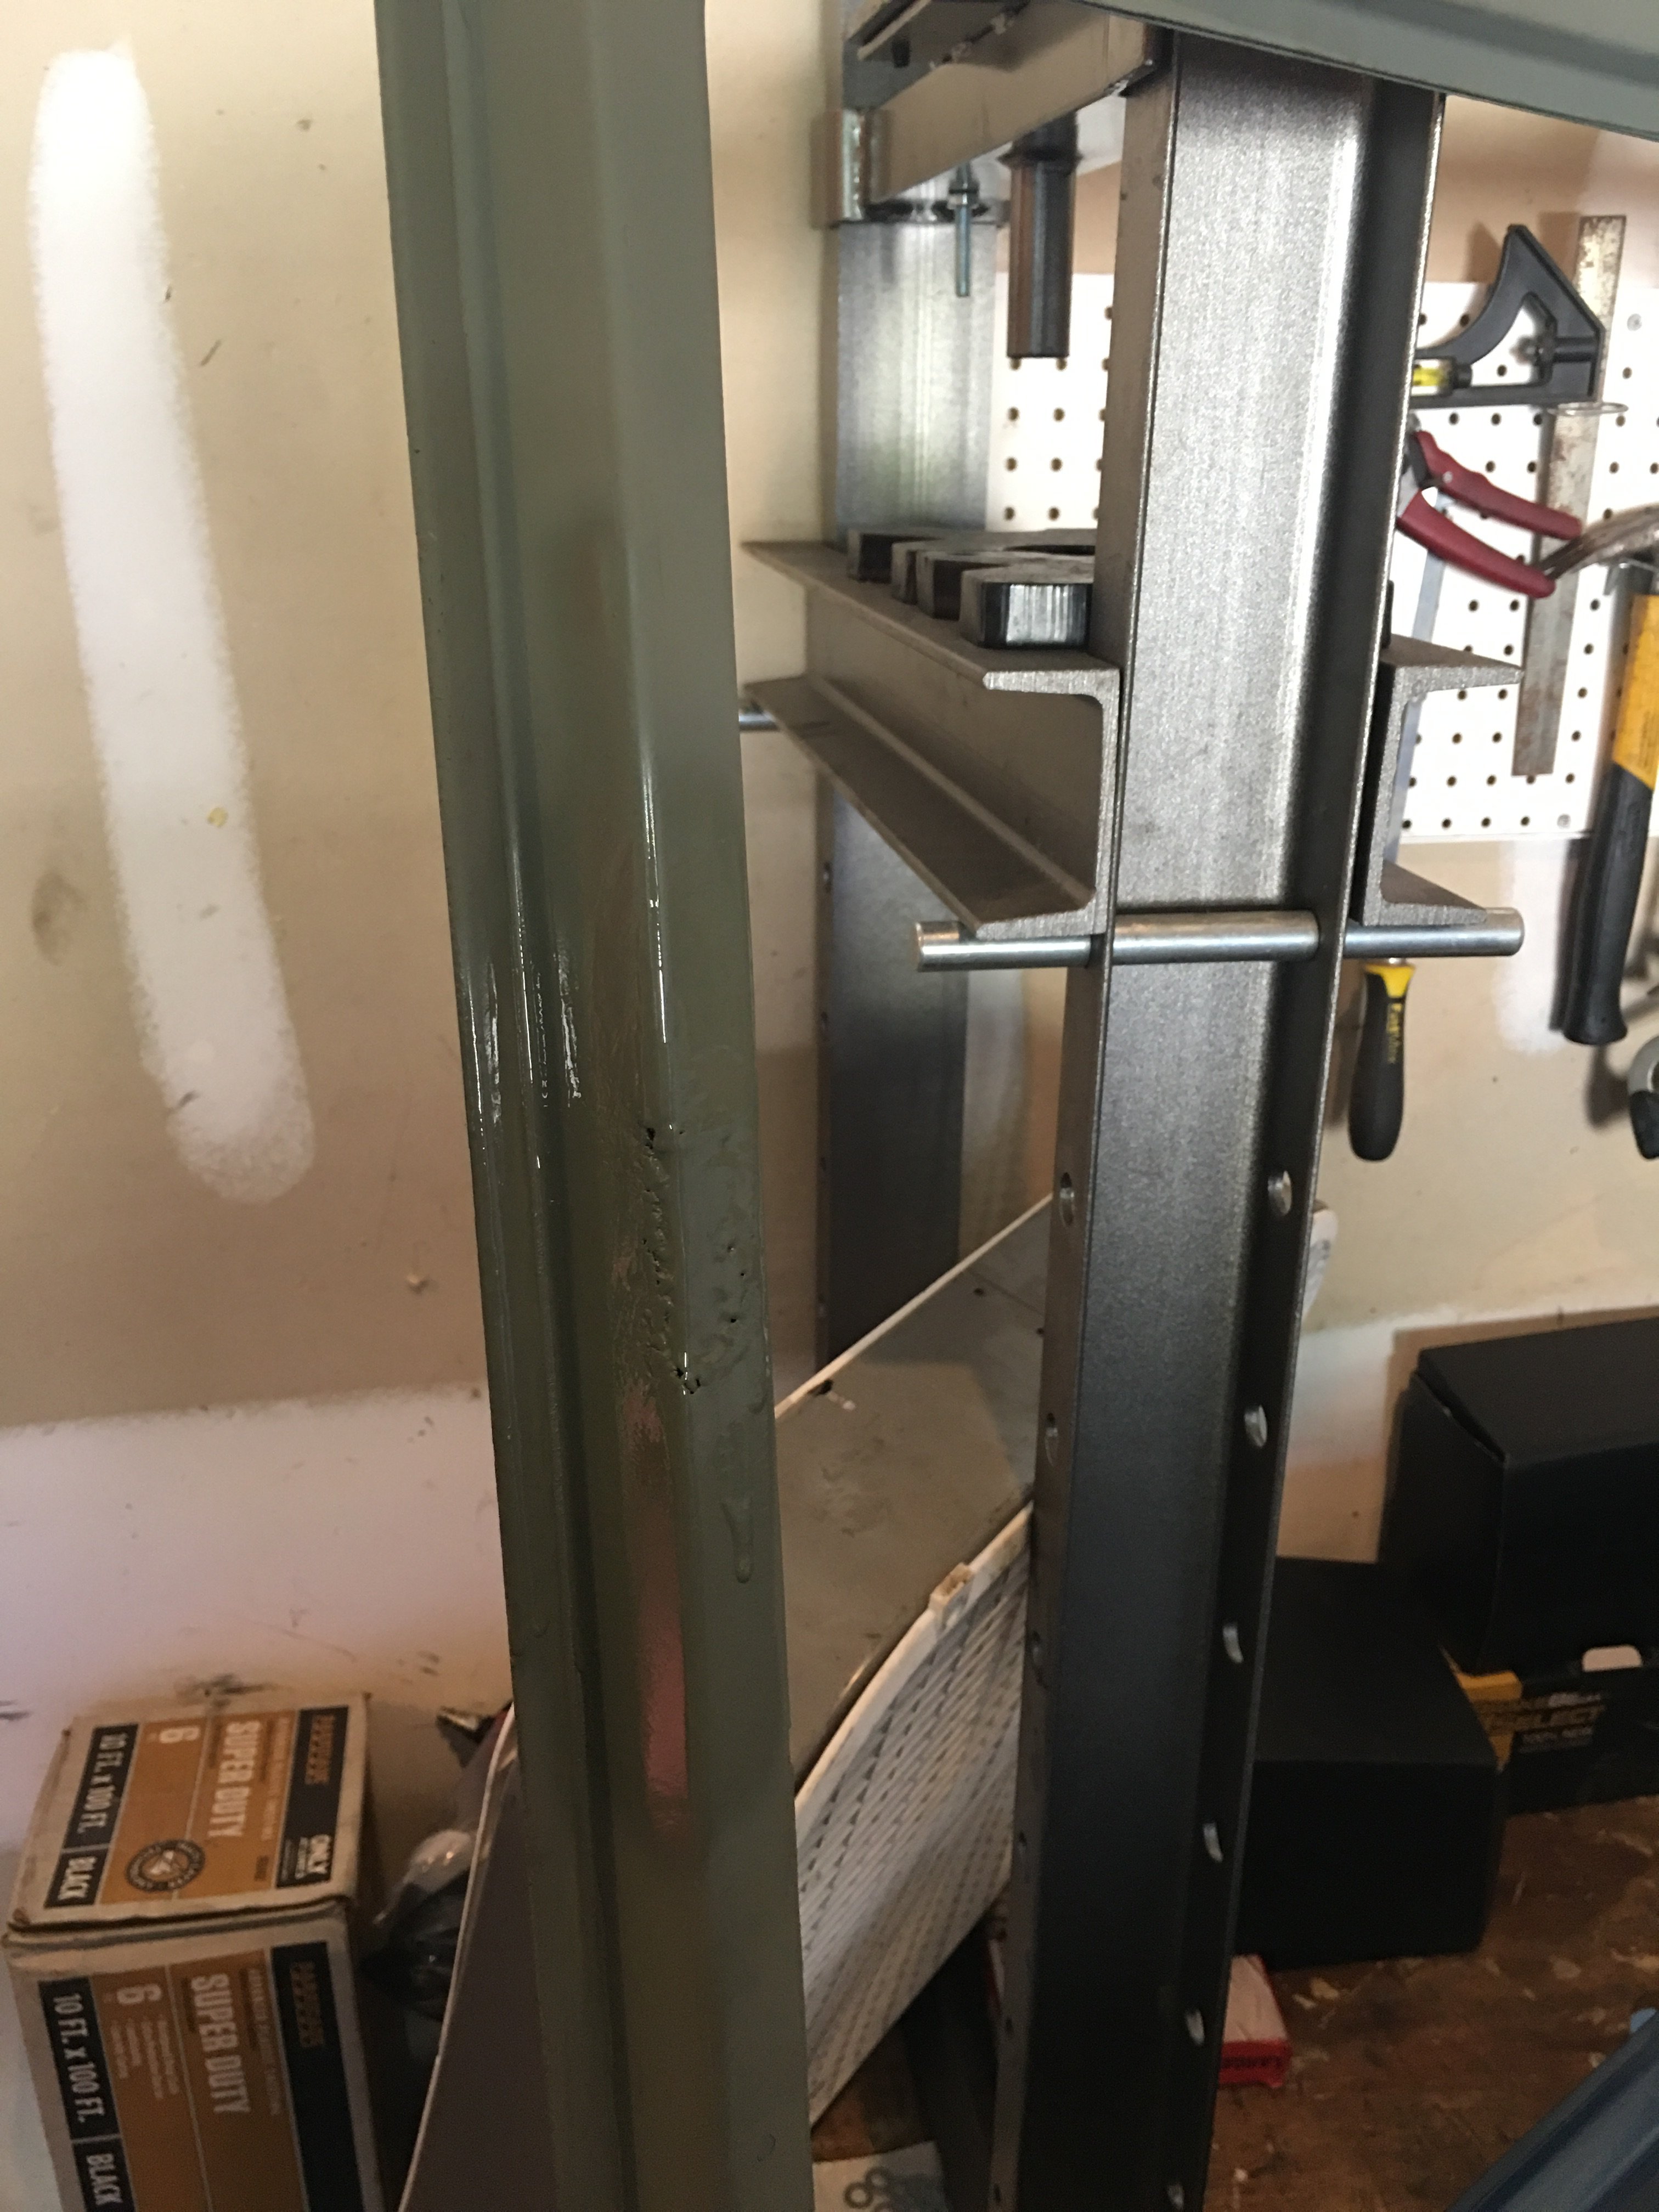
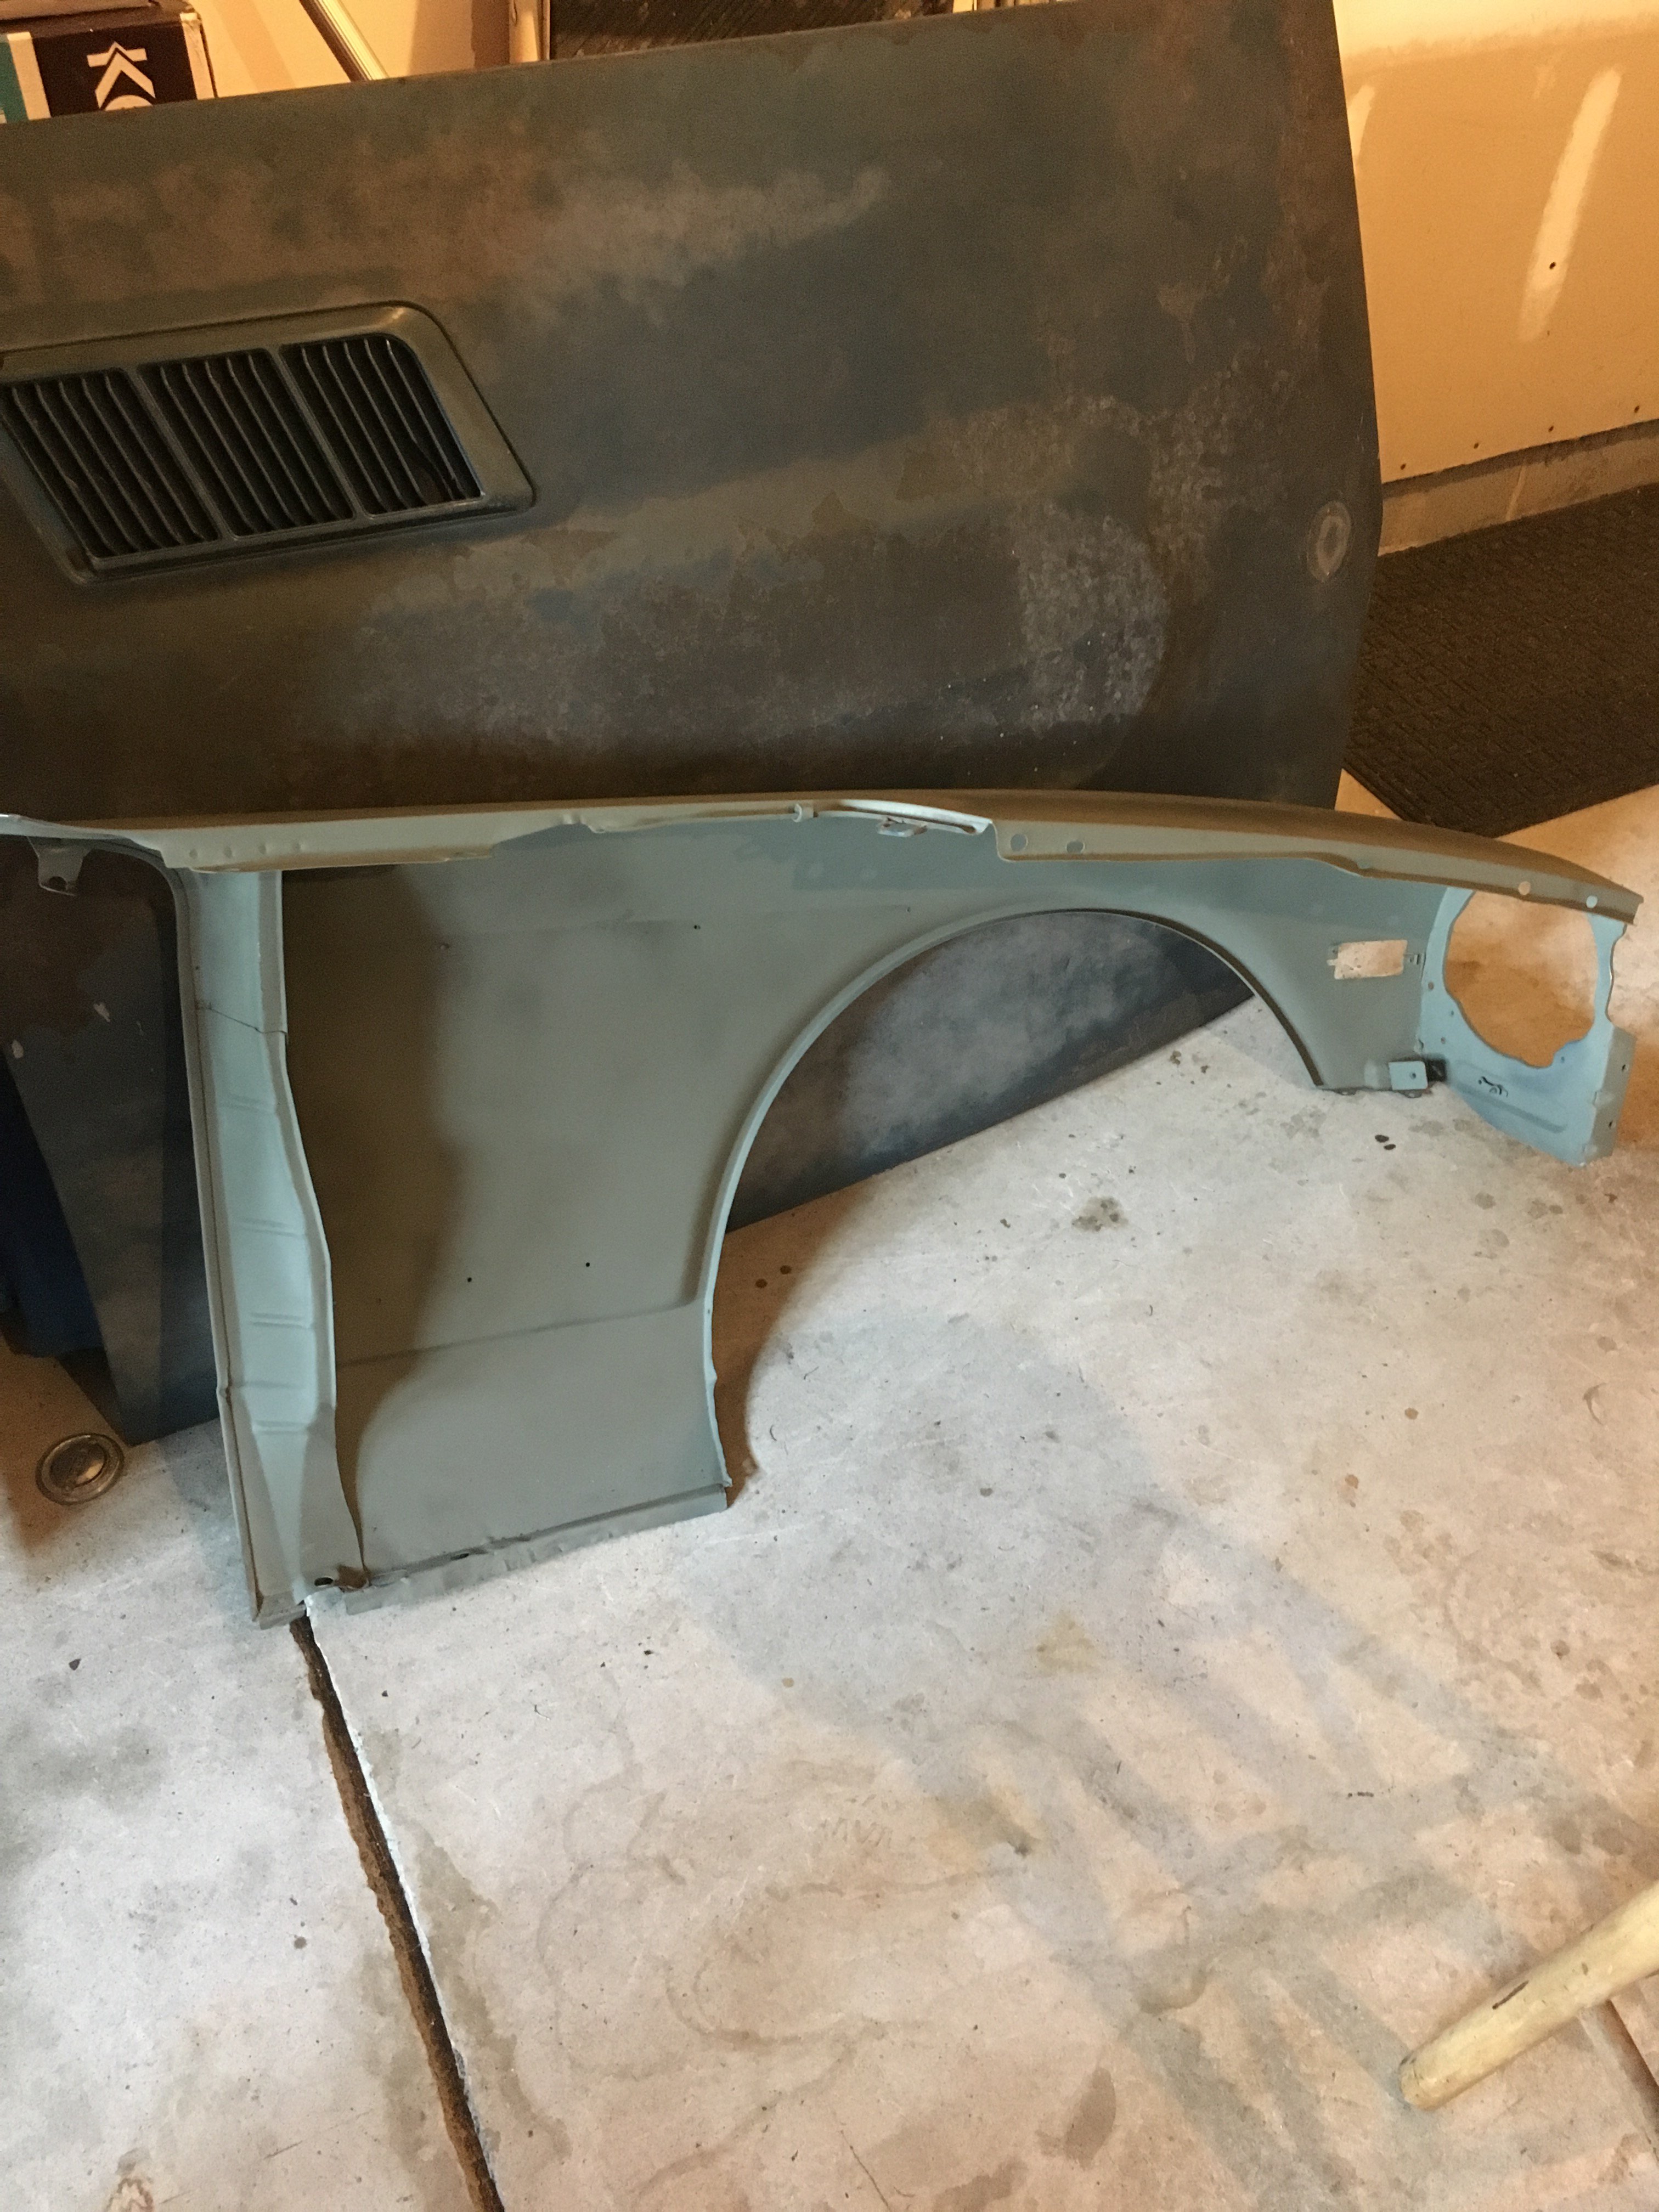
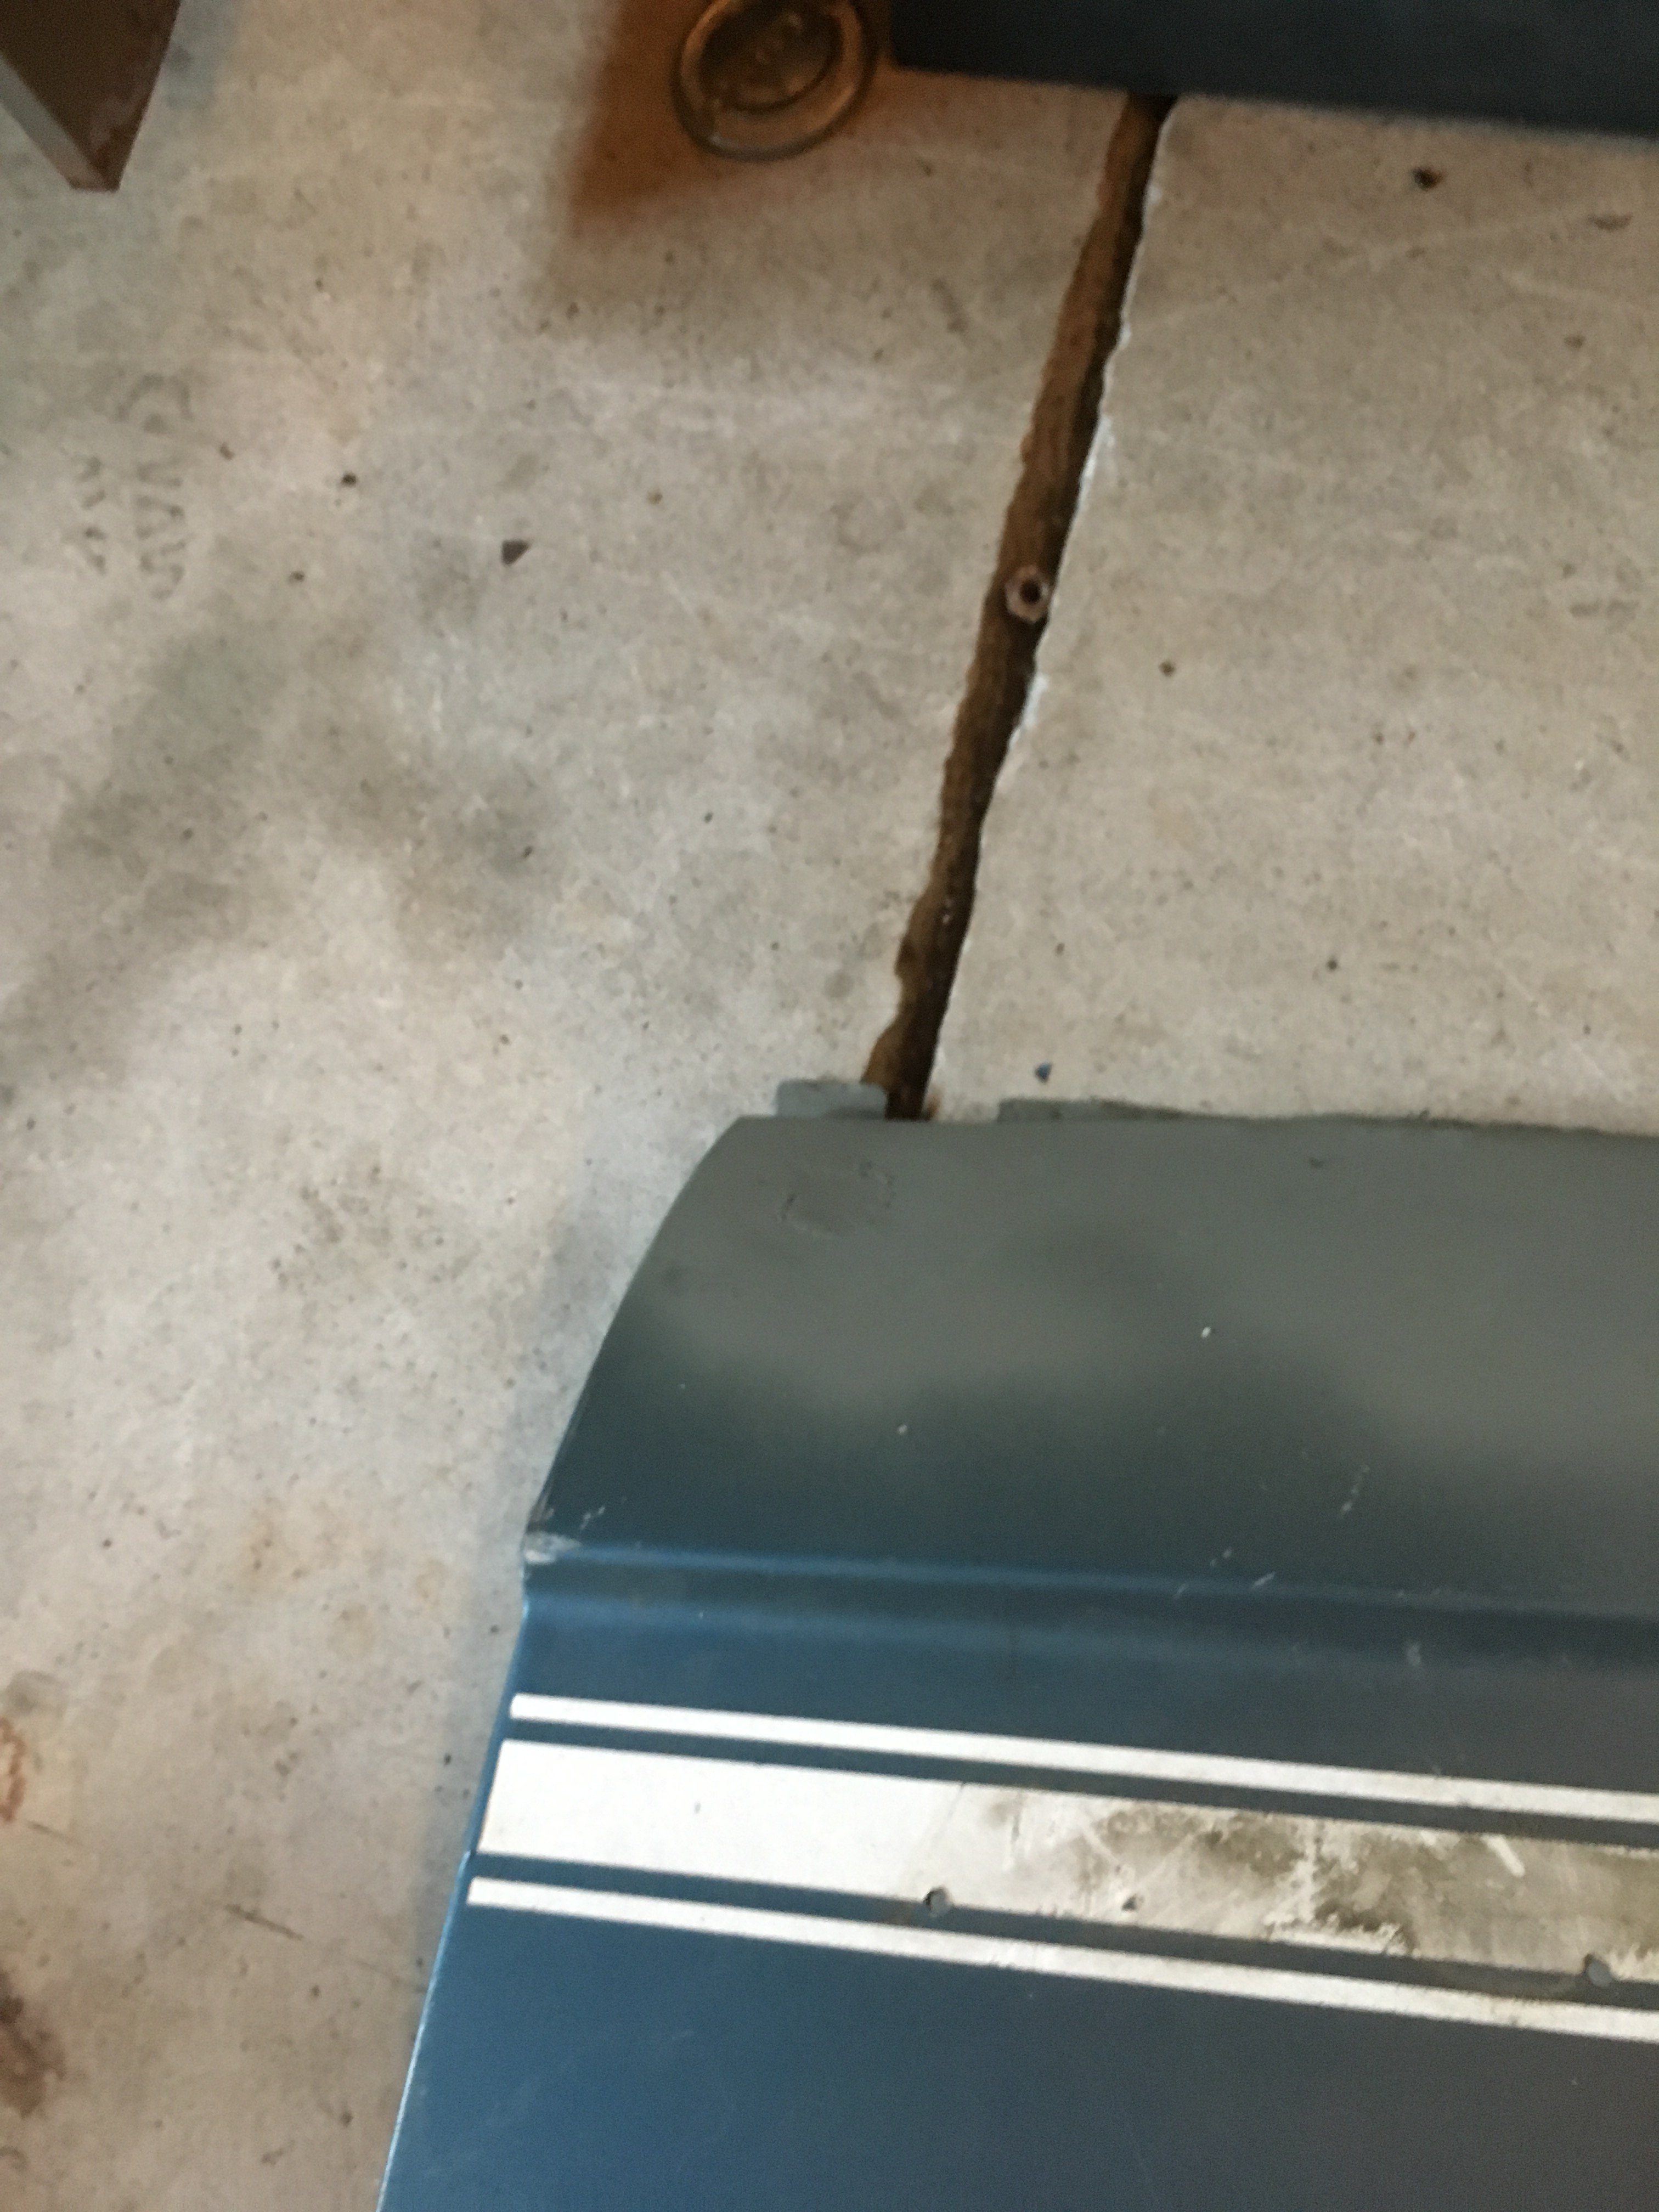
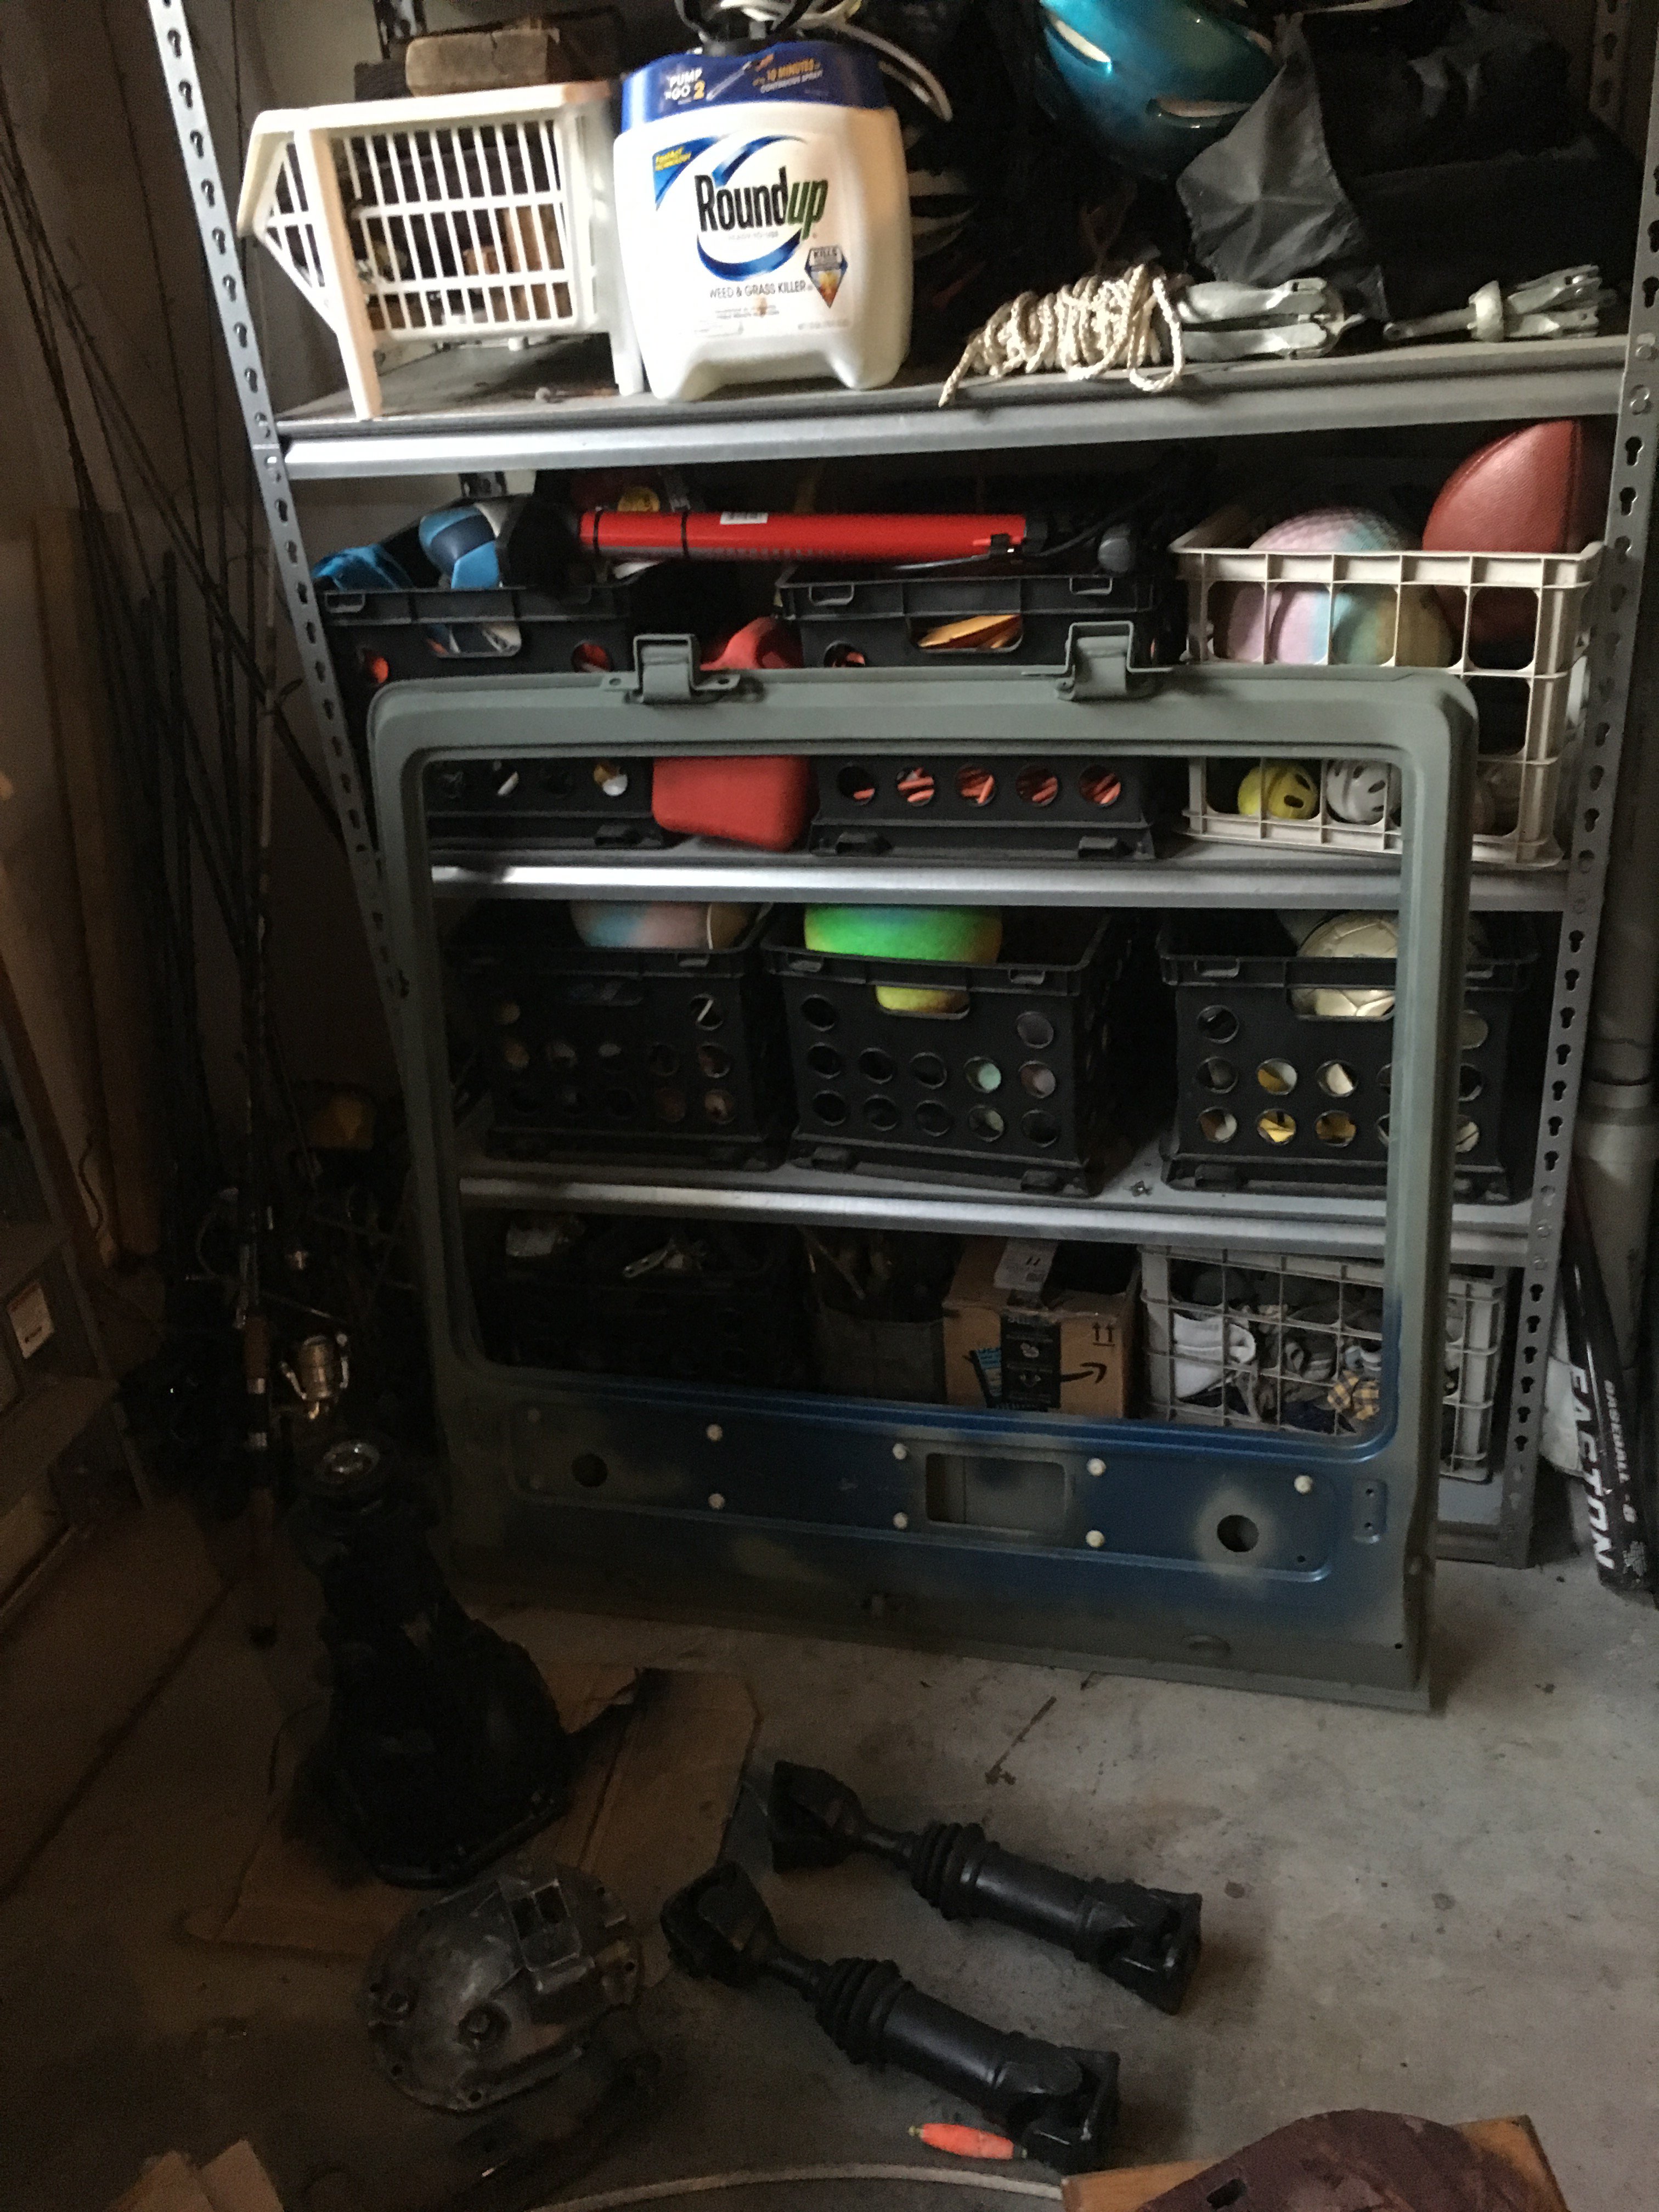
Update: I got the rear hatch patched up: I also finished the other fender: I Mocked up the E-brake cable. I still need to drill out the brackets so the ends of the cable fits but everything was roughly the correct length.
-
280z 2+2 resto mod
Whitley_280z_2+2 replied to Whitley_280z_2+2's topic in S30 Series - 240z, 260z, 280z
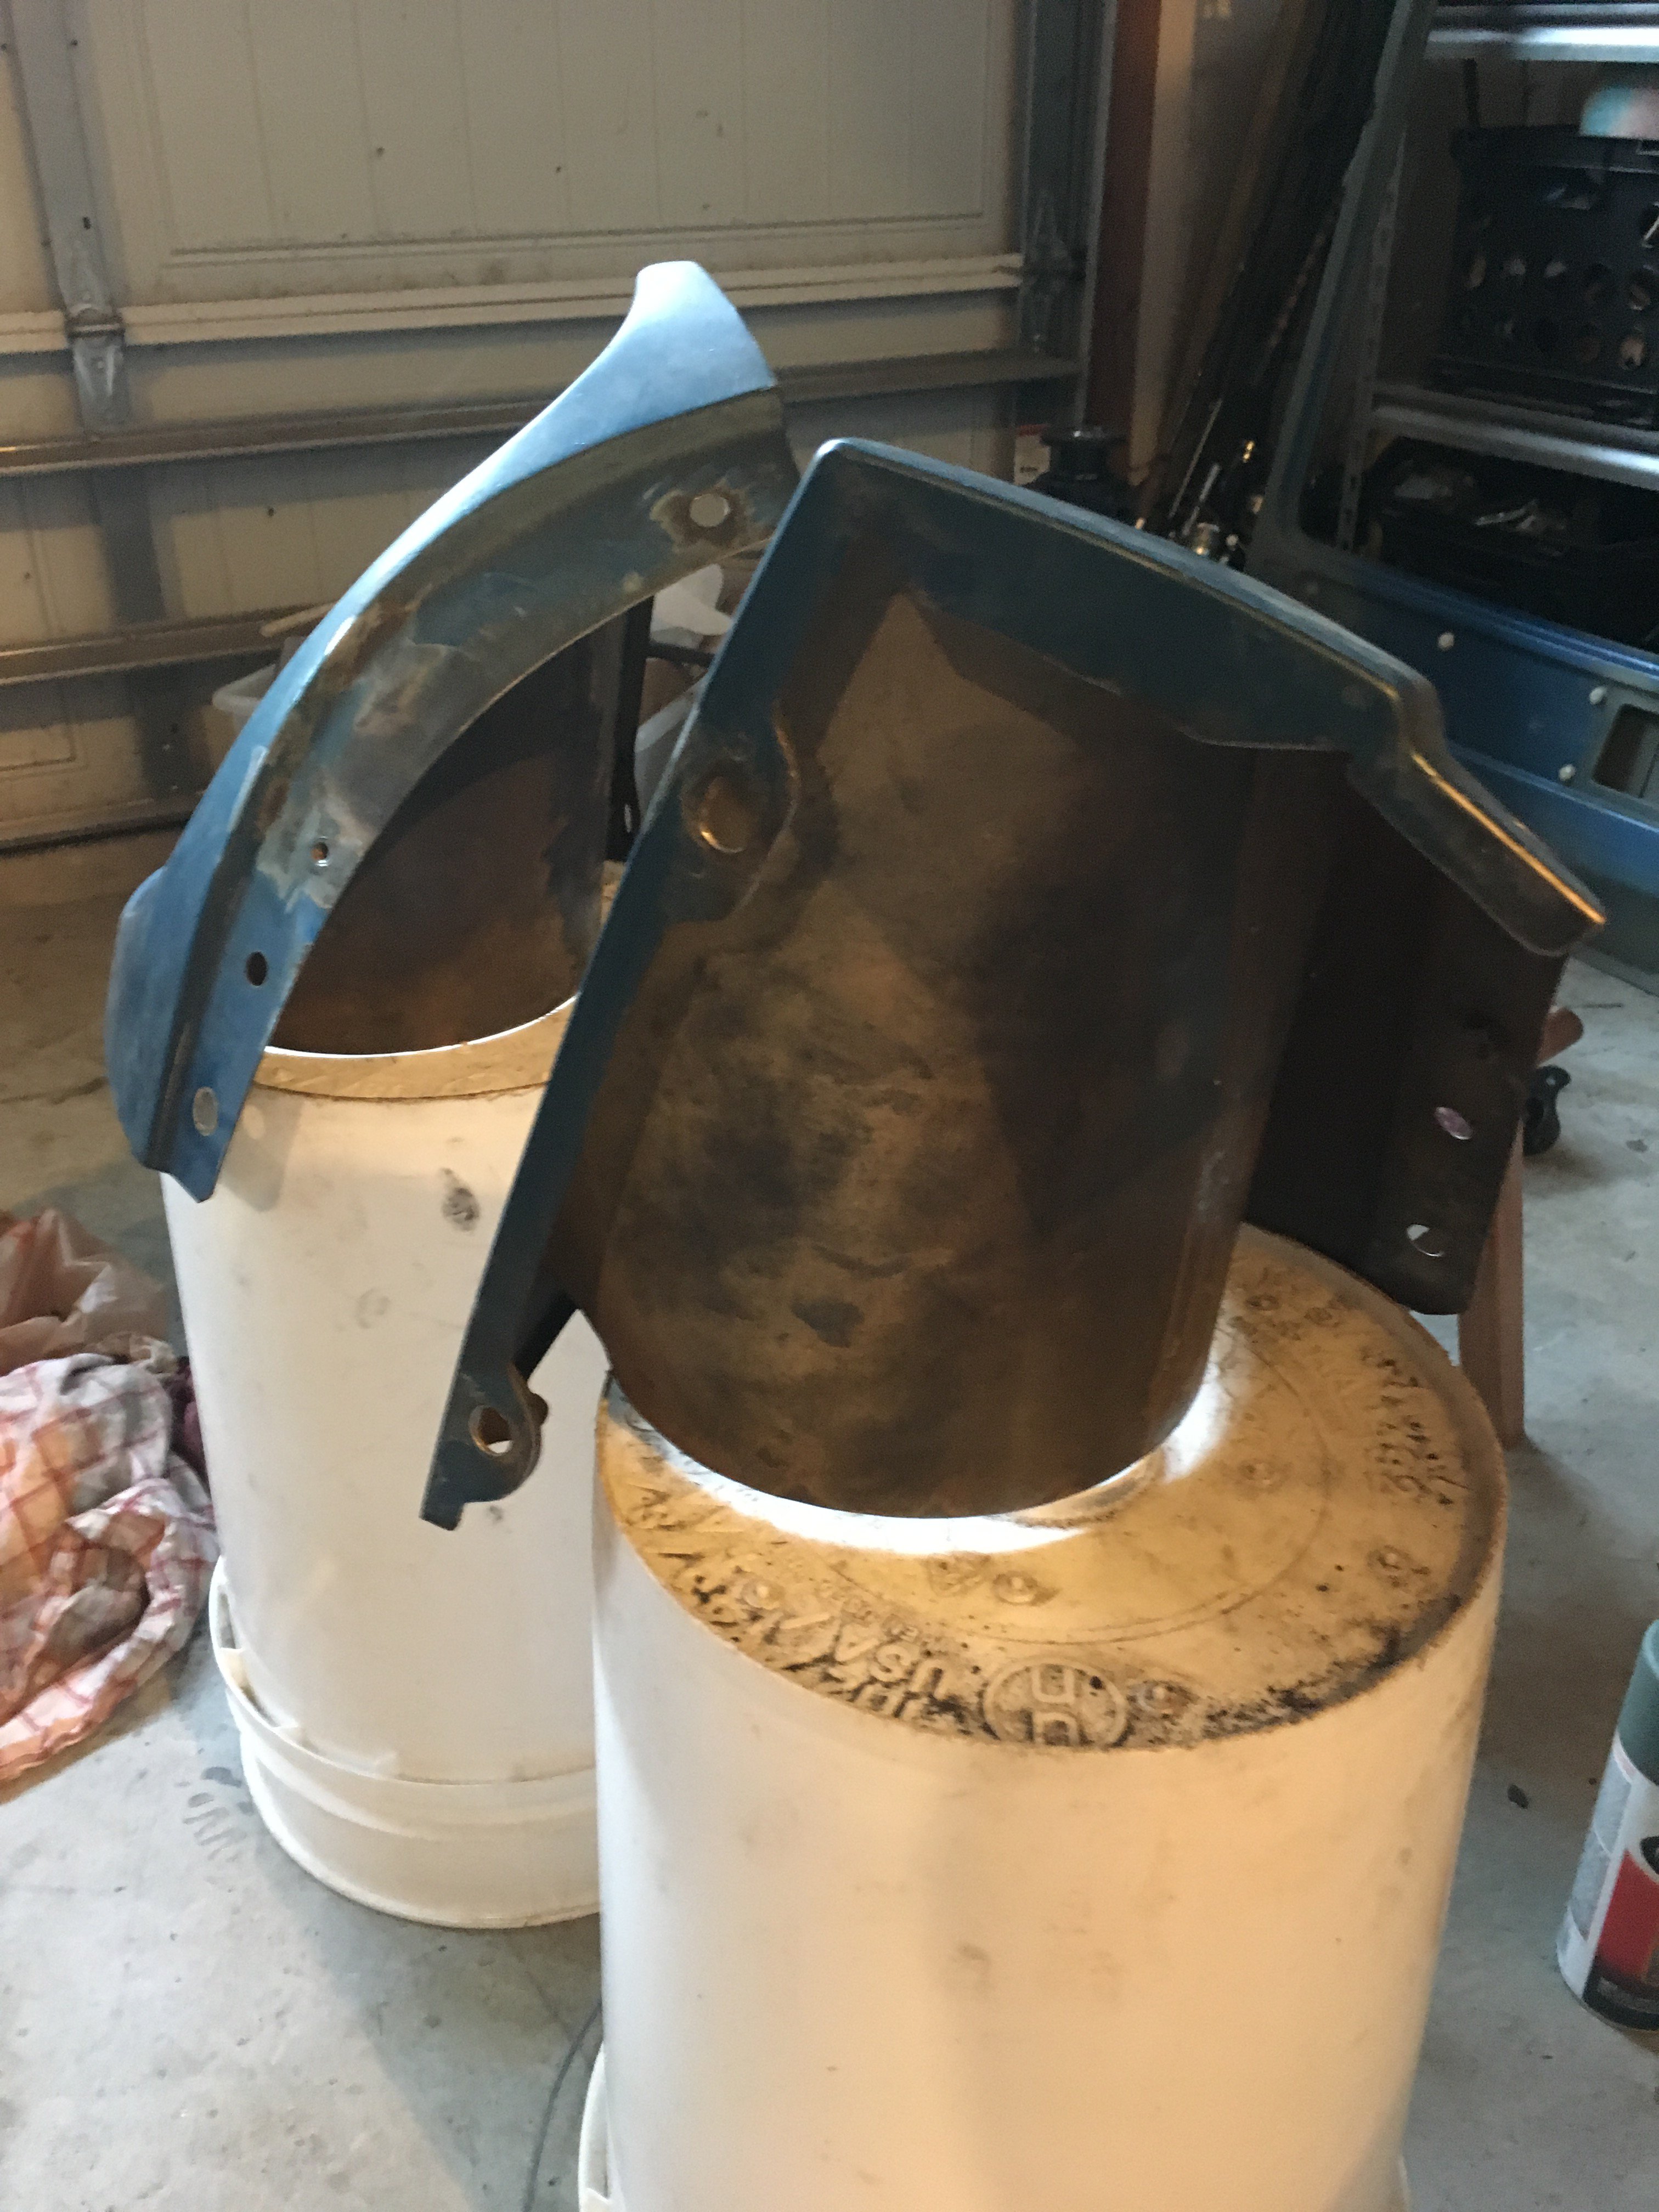
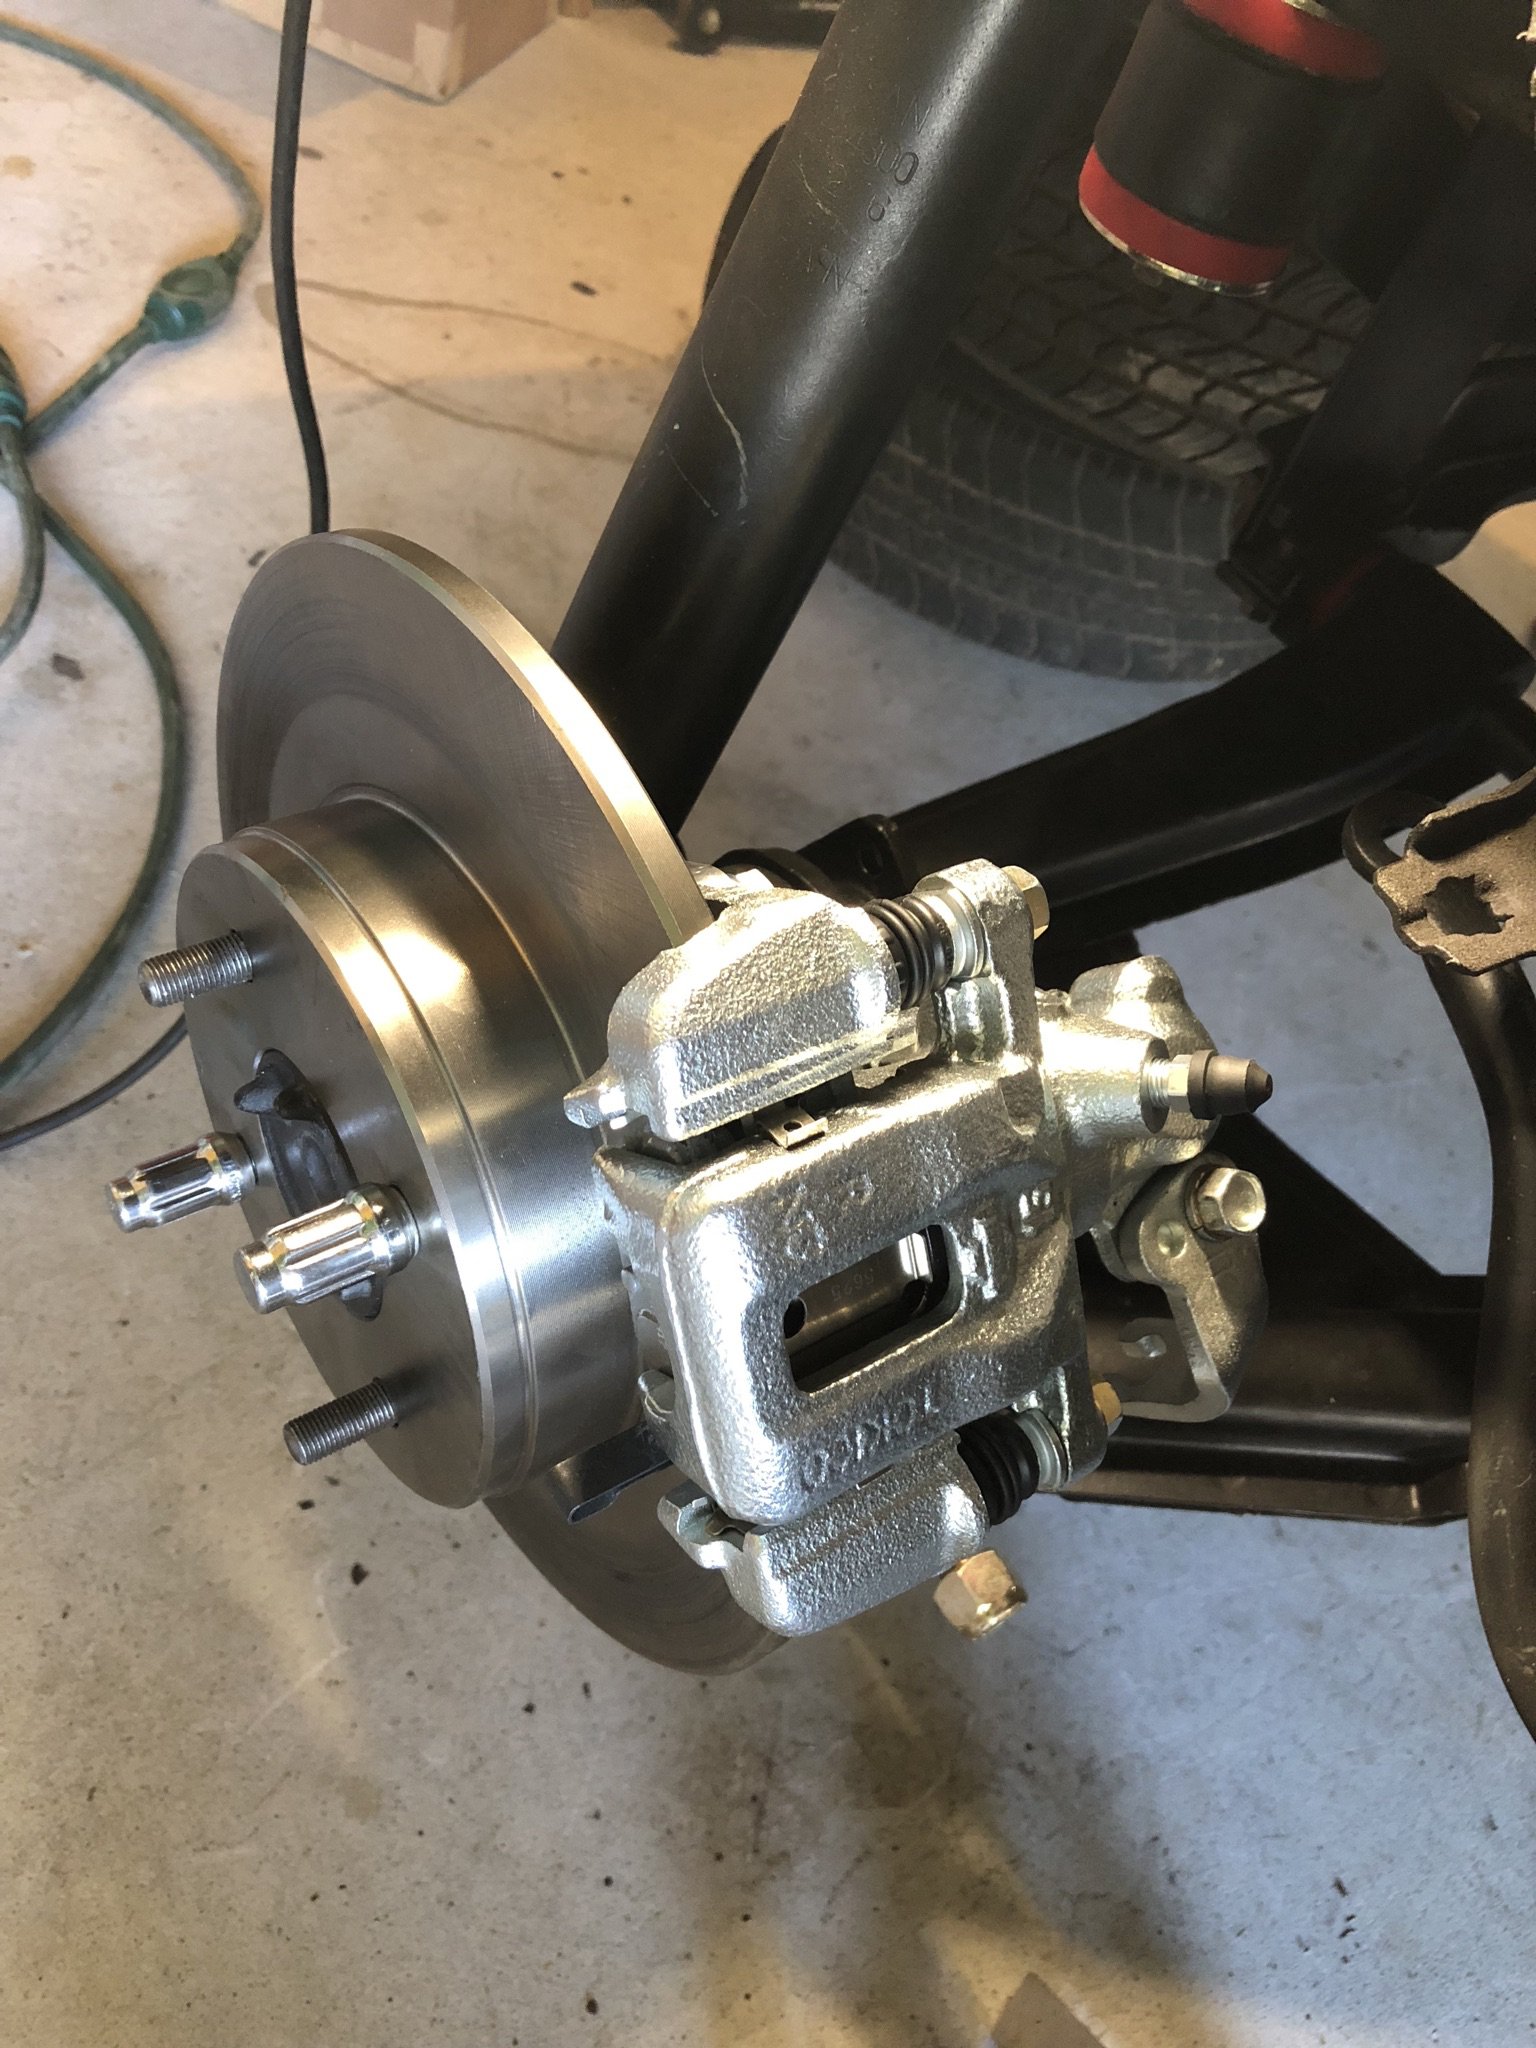
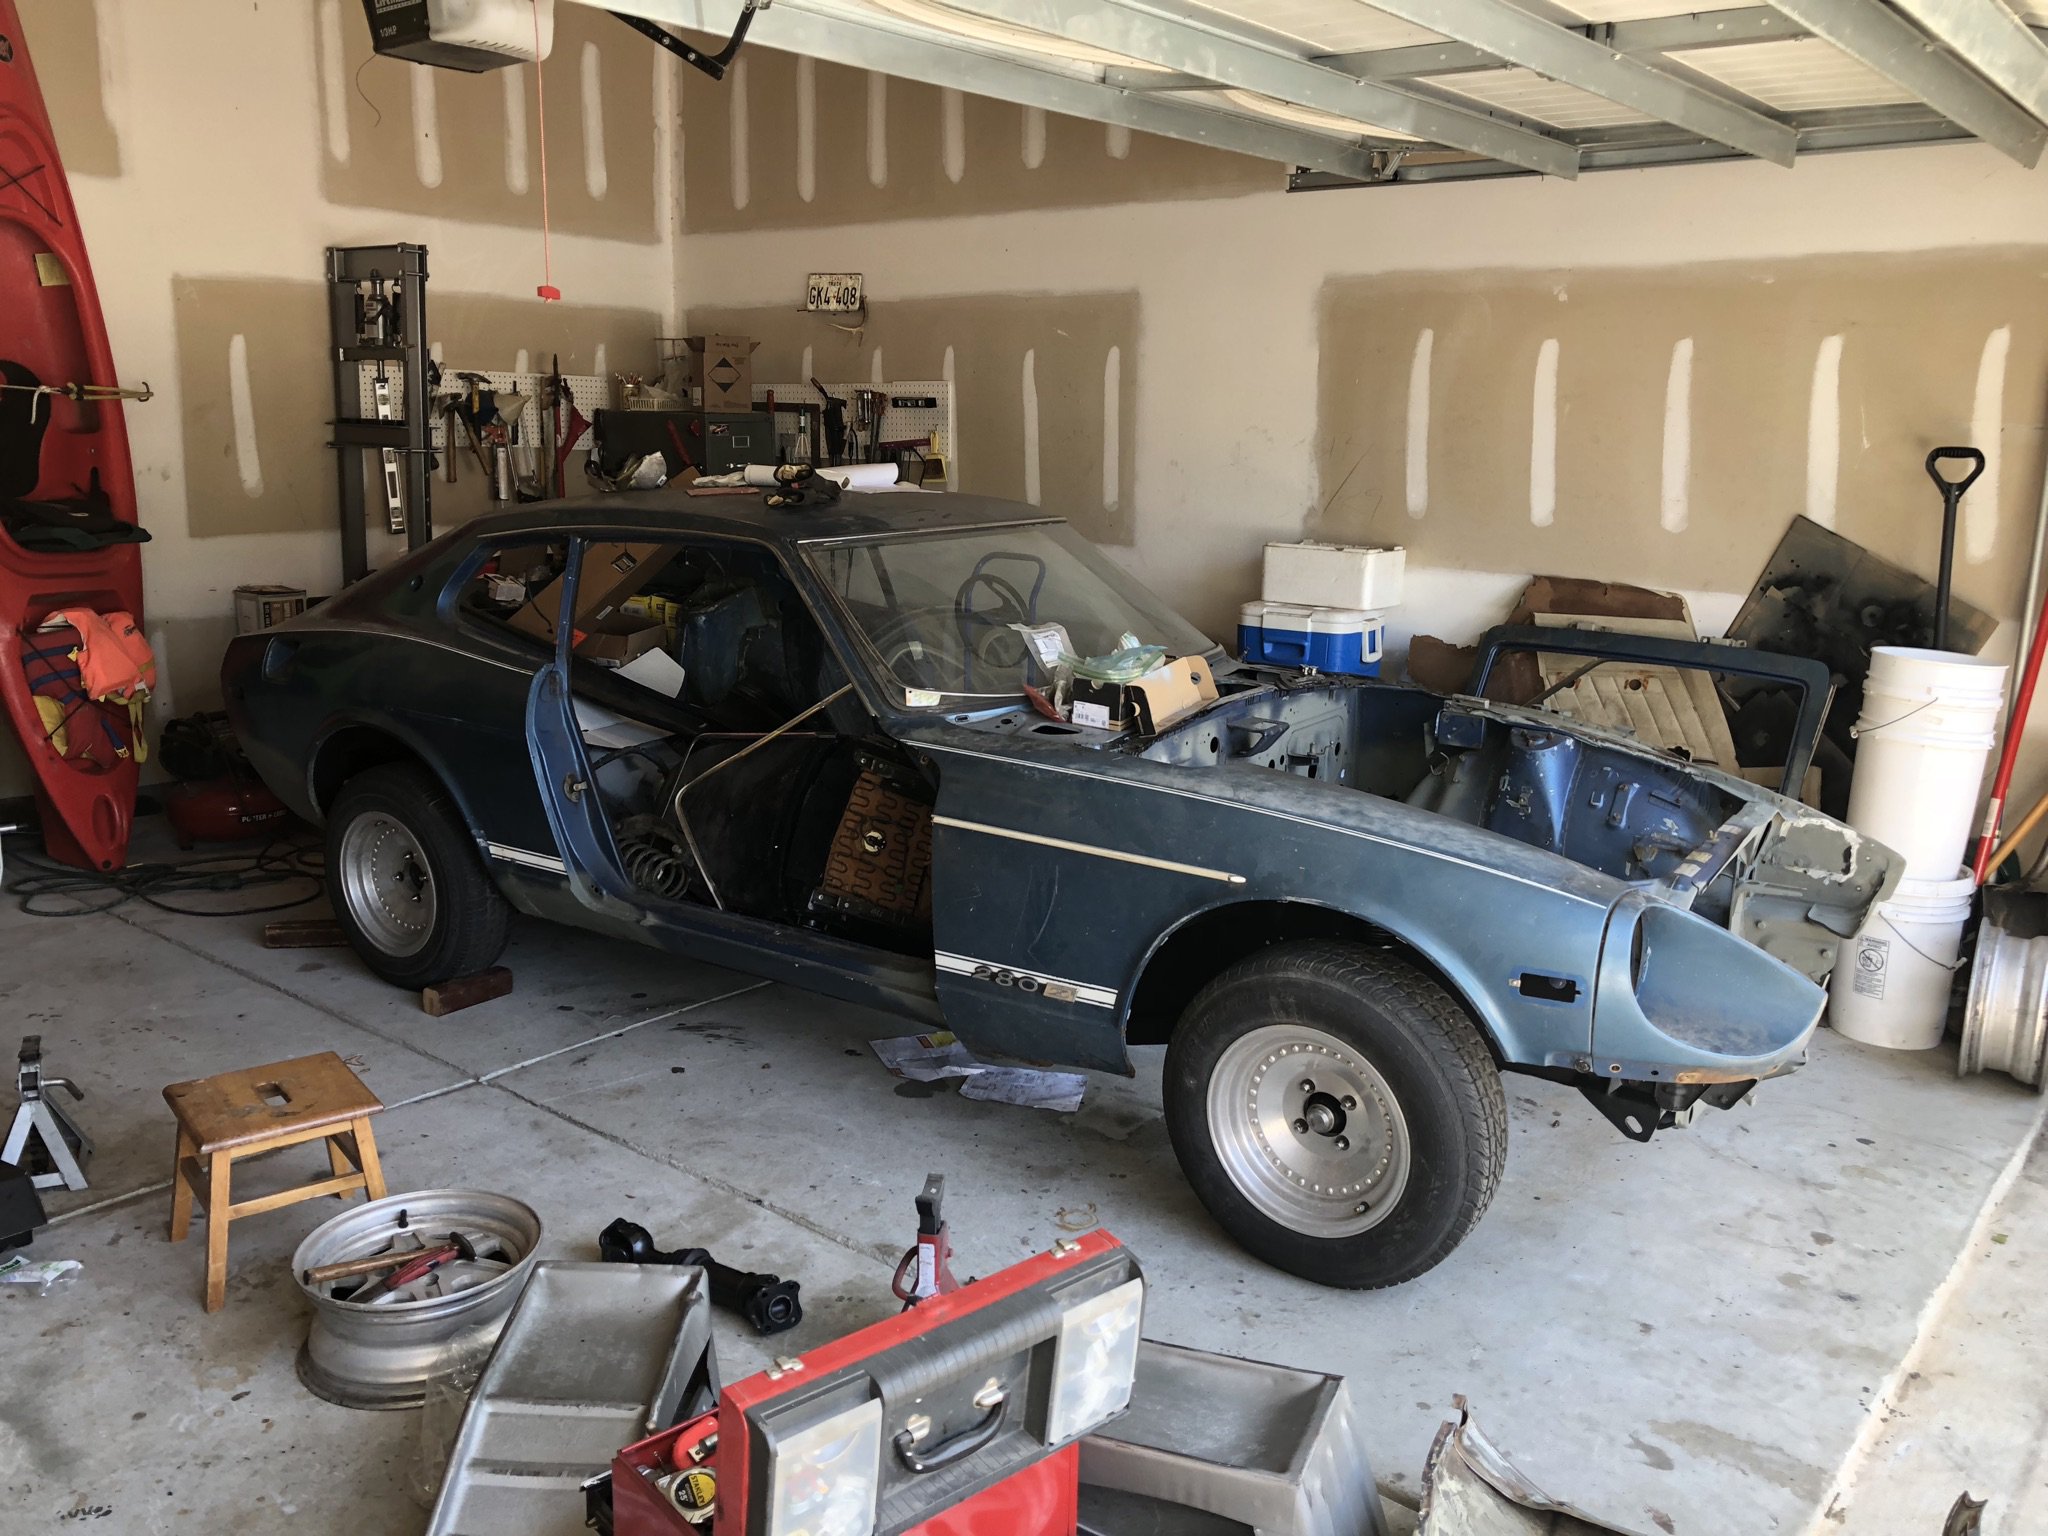
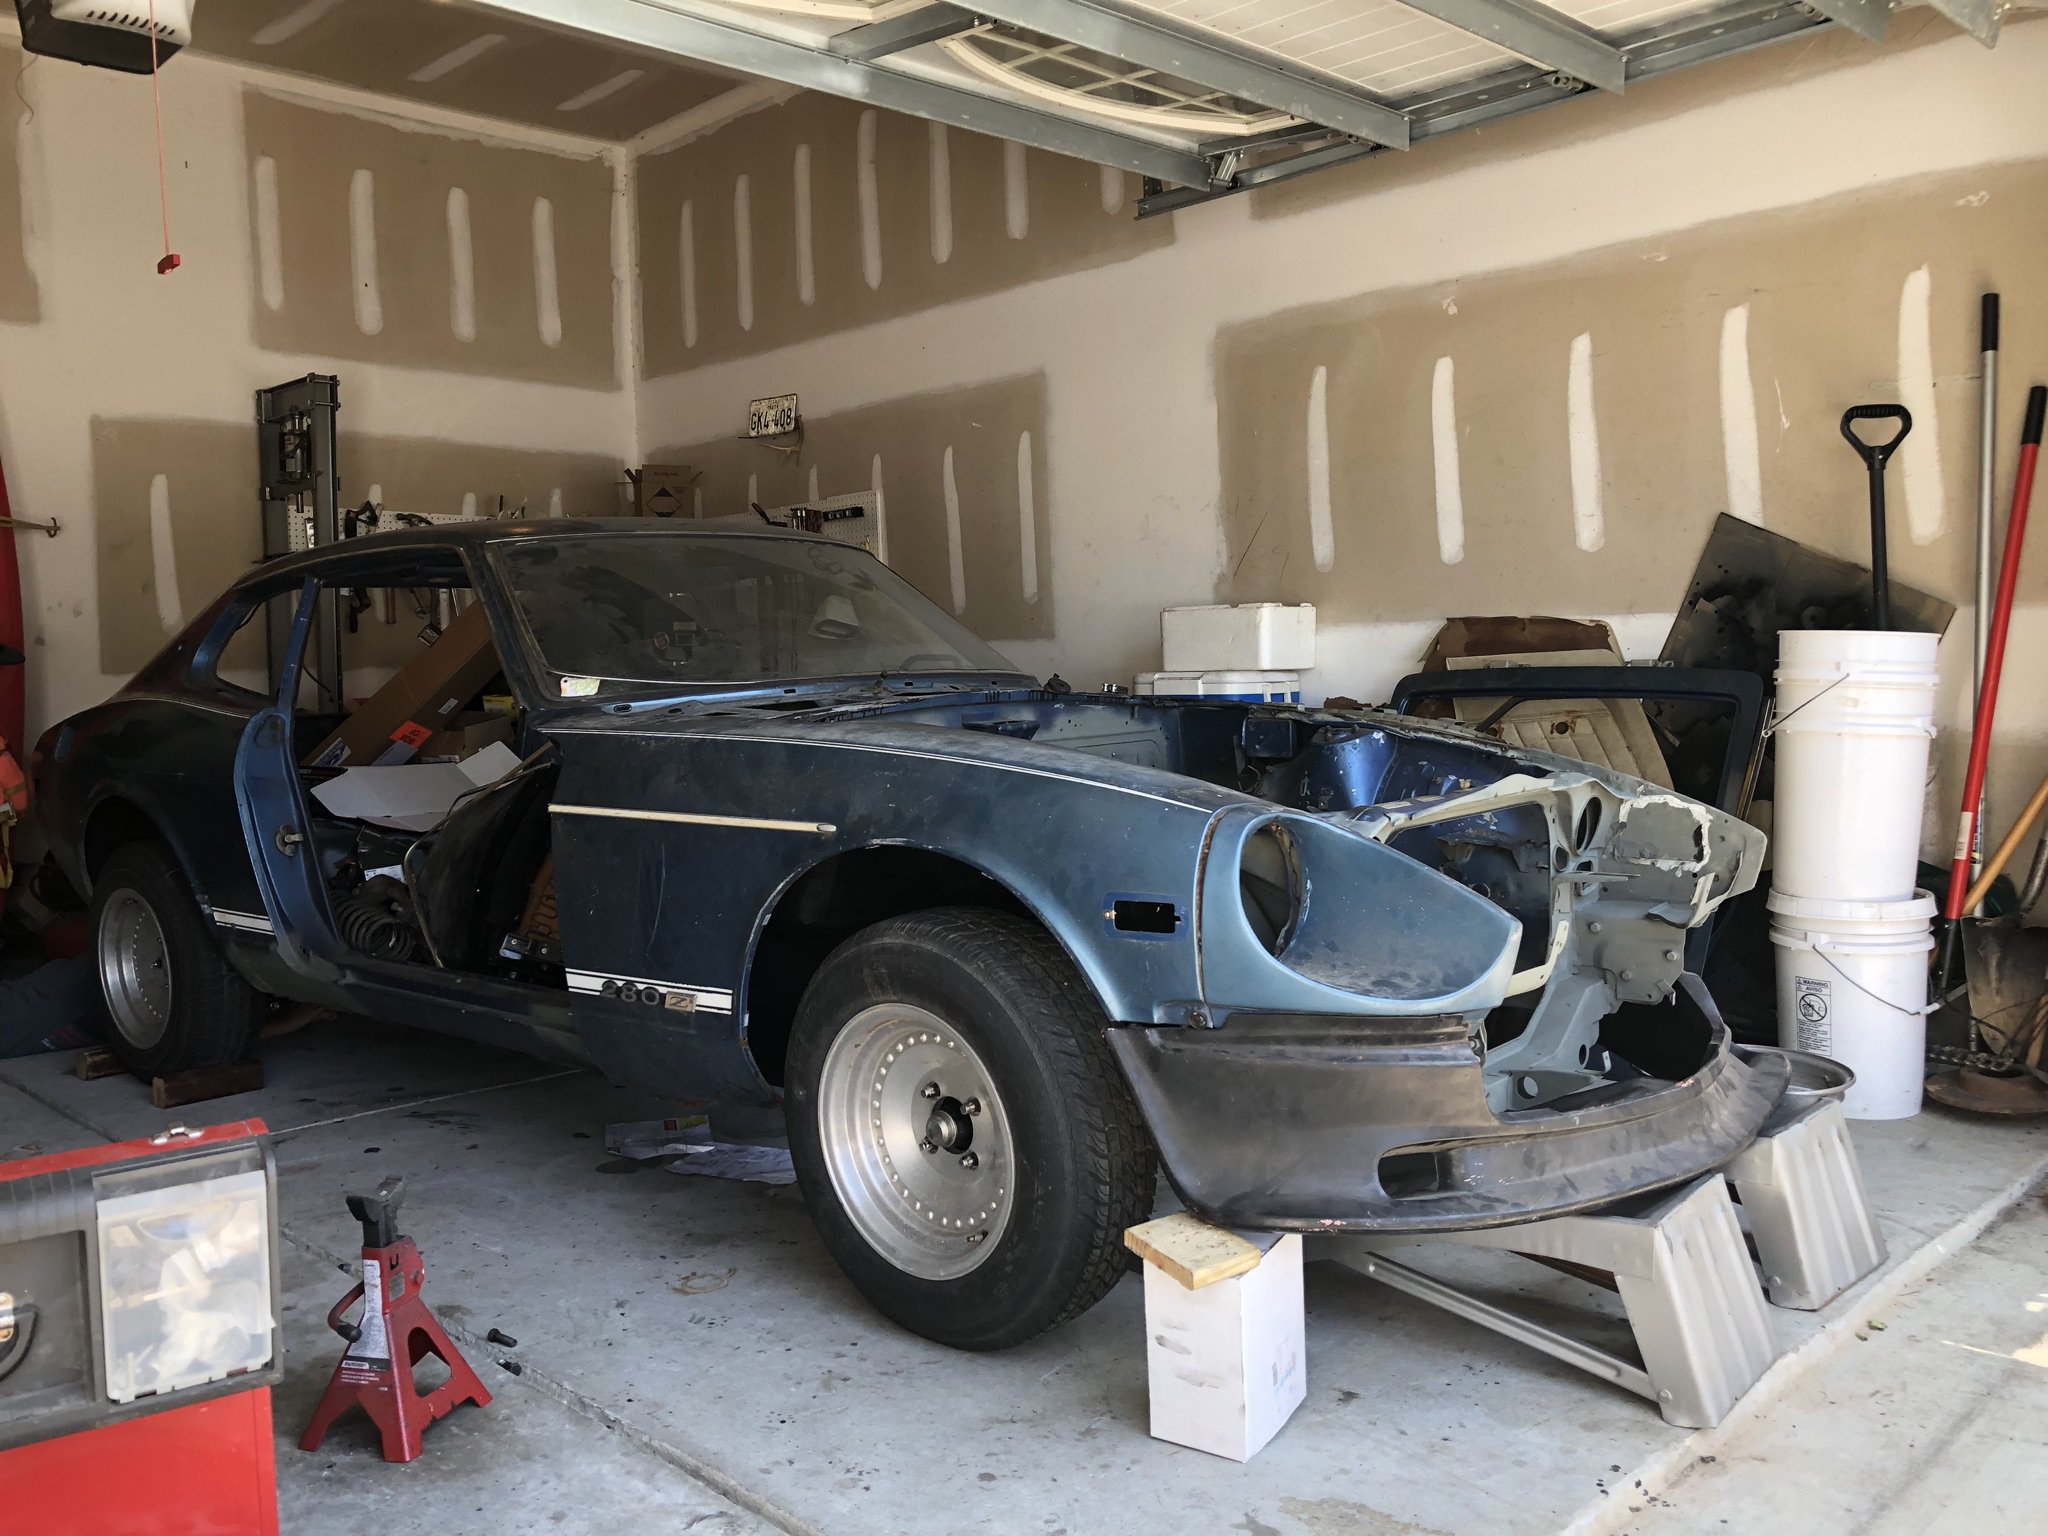
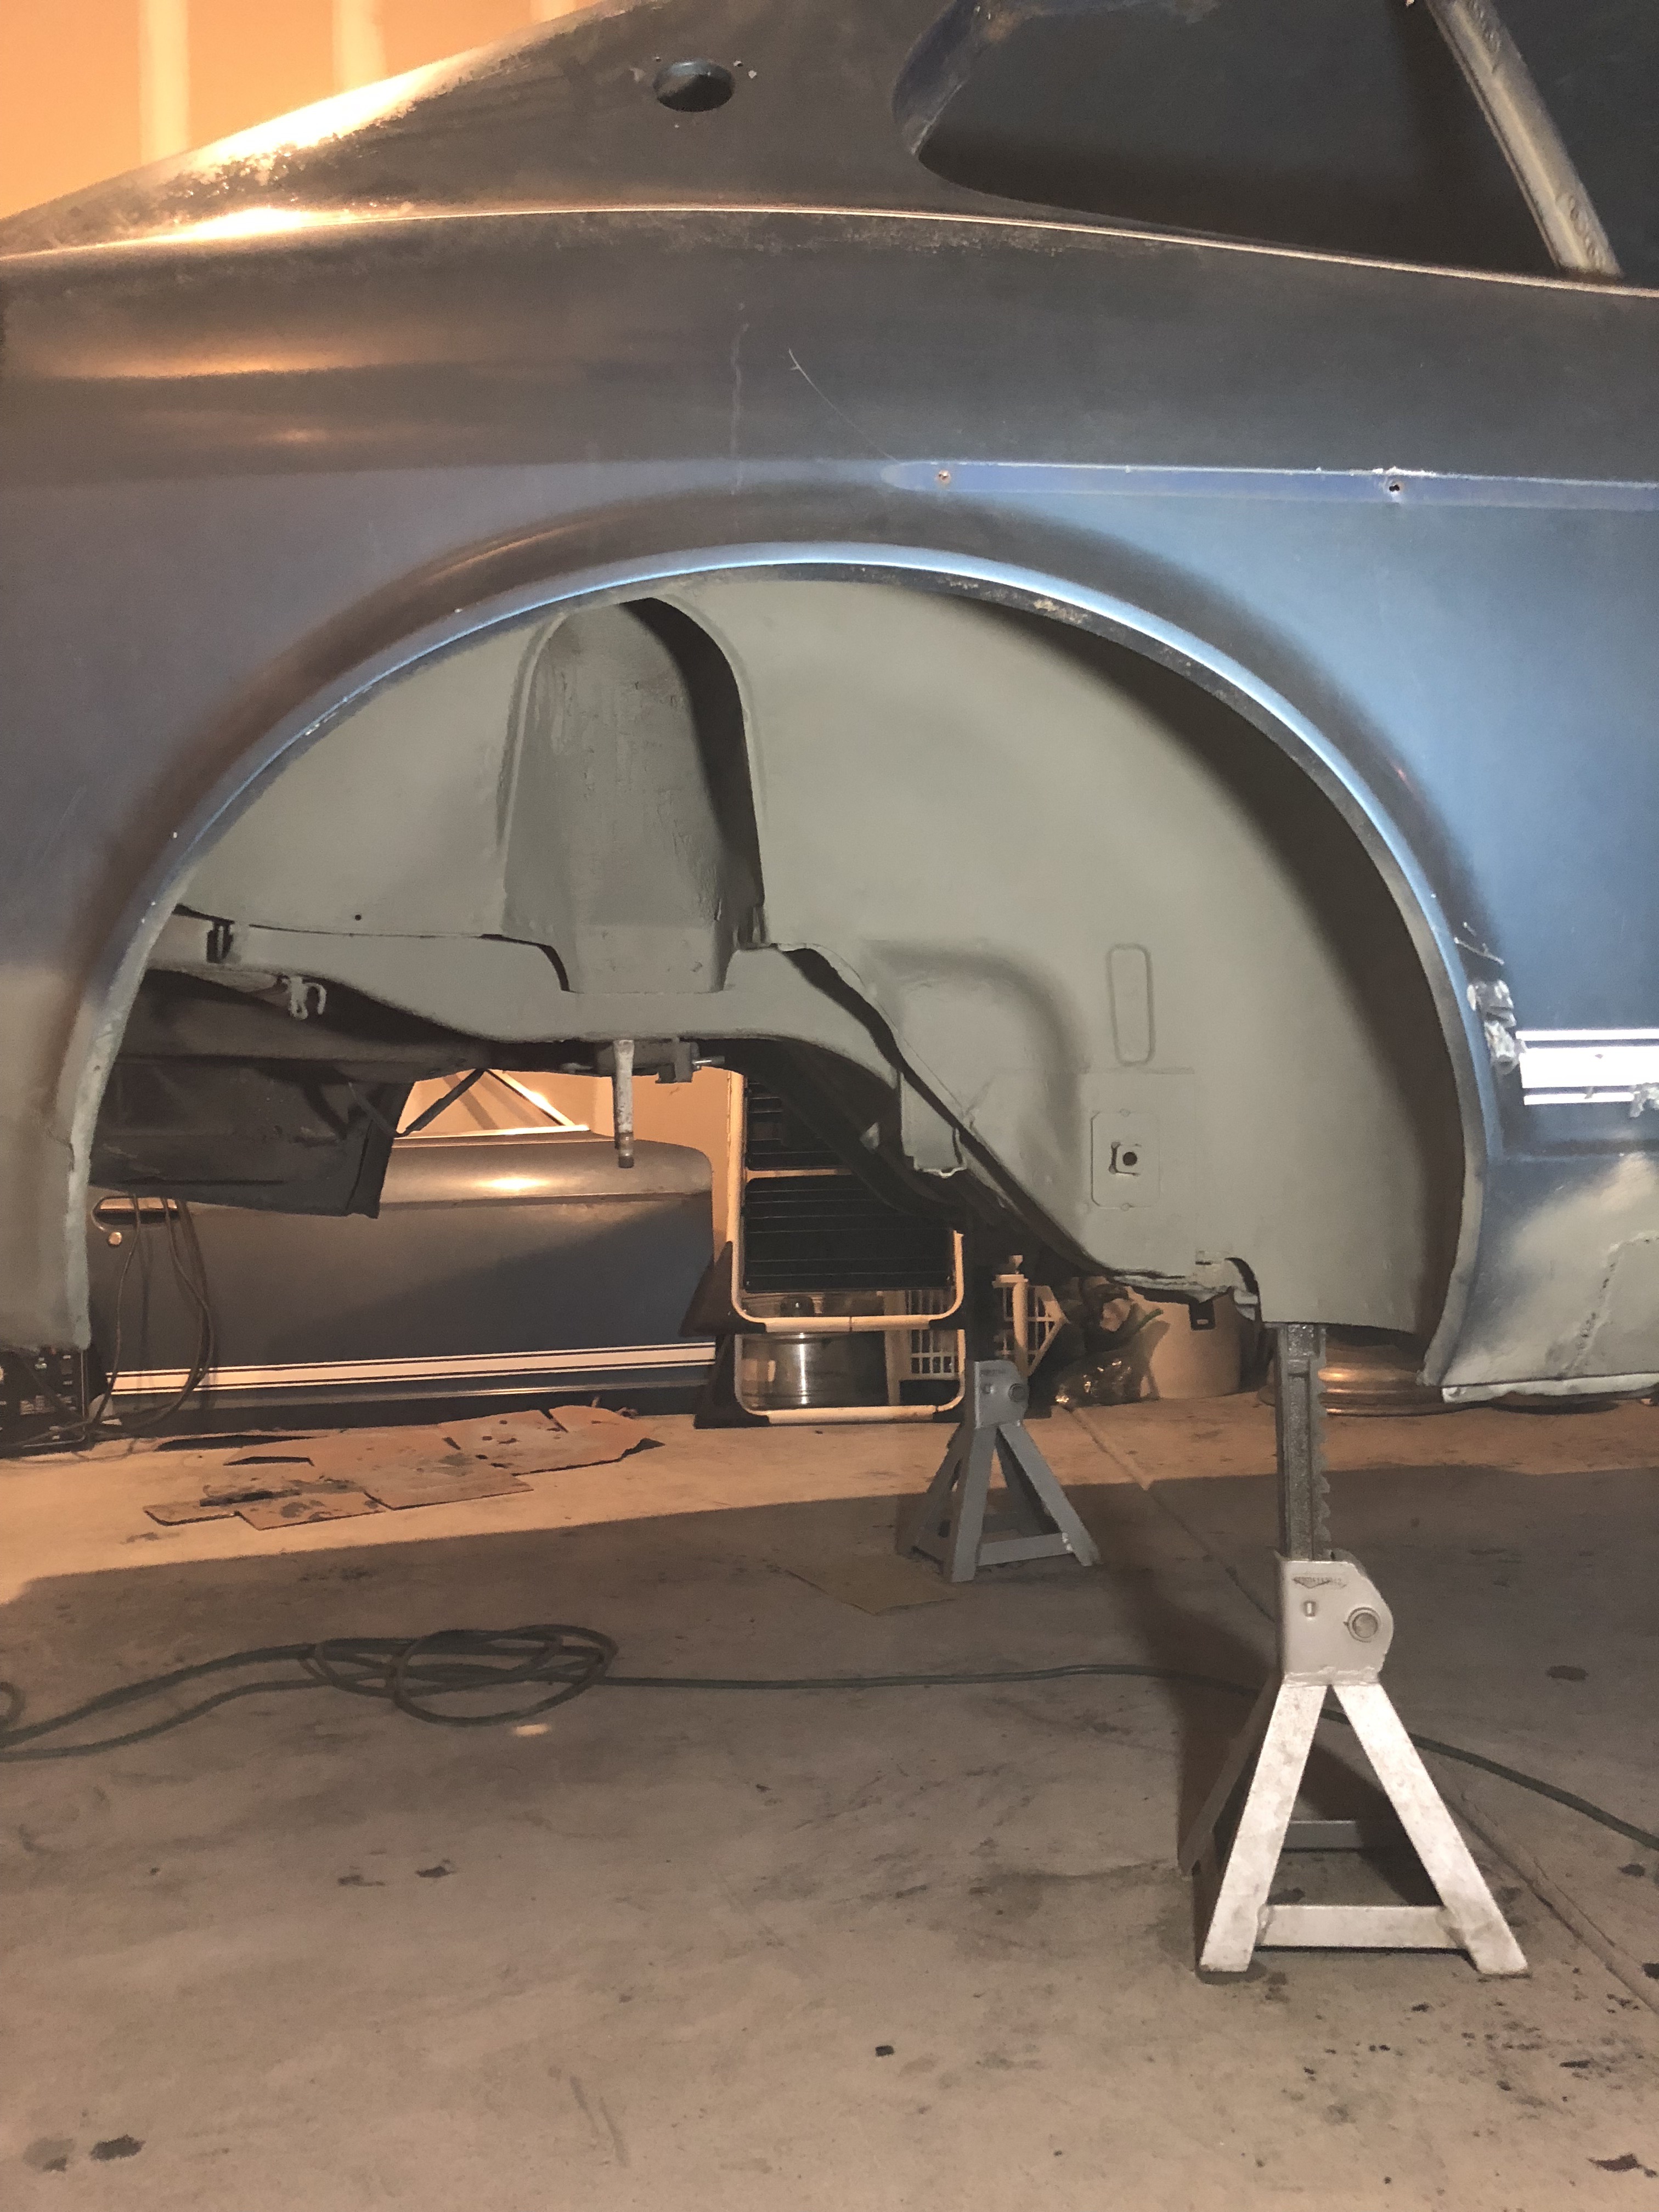
@cros13 I checked out your build...really neat! A lot of things have been going on with the car. First, we got it on the ground! These are just temporary wheels / tires, I think they are stock but I'm not sure. It looks like it is sitting at the original height (before lowering springs) but it should drop when we add an engine and other parts. Before: After: We made sure to torque all bolts that compress bushings after the car was sitting on its own weight. We also started working on the fenders... they had some pretty bad rust spots on the bottom. One of them just required a single patch panel: And primer: The other side was a lot worse: There is also a tiny spot on the rear hatch I will have to fix: Headlight buckets are also being cleaned up: We also removed / broke the windshield Now, onto brakes and the differential: We went with 84' Toyota truck calipers in the front: 87' Maxima calipers (from R1 concepts), ZCardepot bracket, and 84" 300zx na rear rotors in the back instead of the drums: We are going to swap in a 1' master cylinder and all new ss brake lines. I can't decide if we should use soft lines from calipers to the body hard lines - or hard line from caliper to strut, and then soft line from strut to the body. I took most of the differential apart. I think we are going to swap in the OBX LSD with ring gear shims and new internal washers as others have done. It looks like it is in great shape: I think we will stick with the same ring gear and hopefully the same shims will work. I think we will probably replace the bearings / races even though they seem fine. I cleaned up the housing for now: That brings the build up to date, Thanks!
-
280z 2+2 resto mod
Whitley_280z_2+2 replied to Whitley_280z_2+2's topic in S30 Series - 240z, 260z, 280z
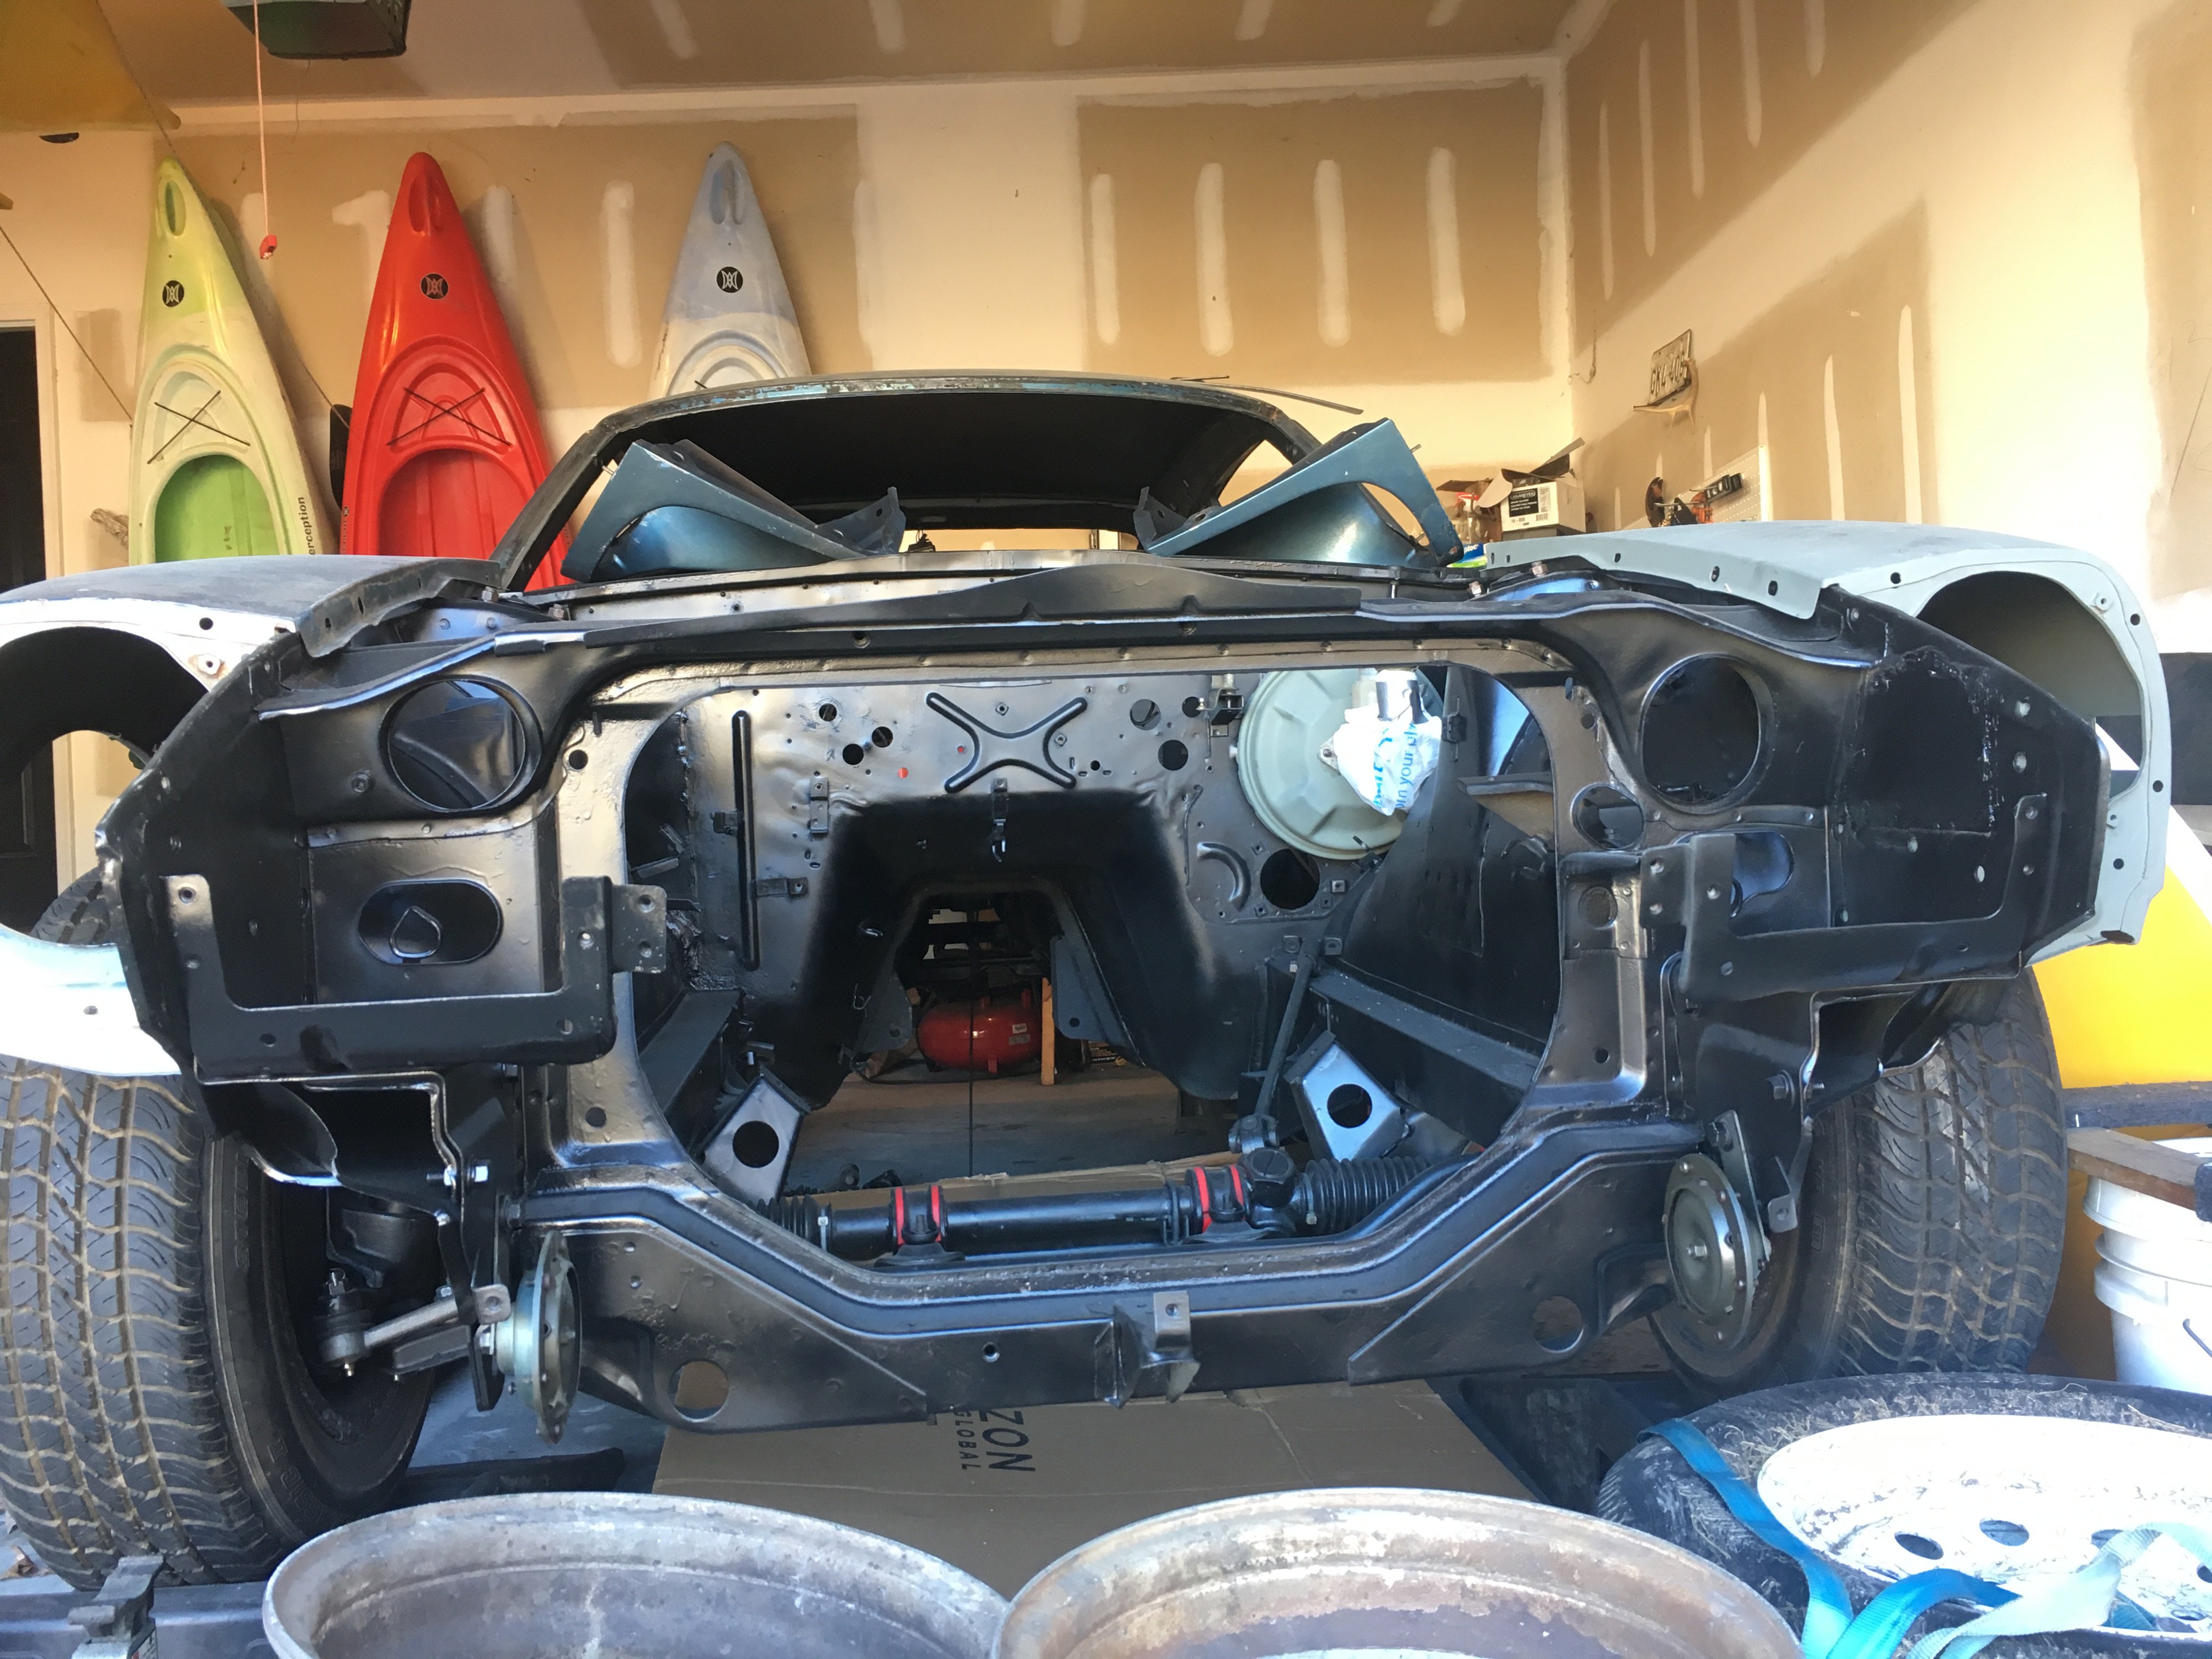
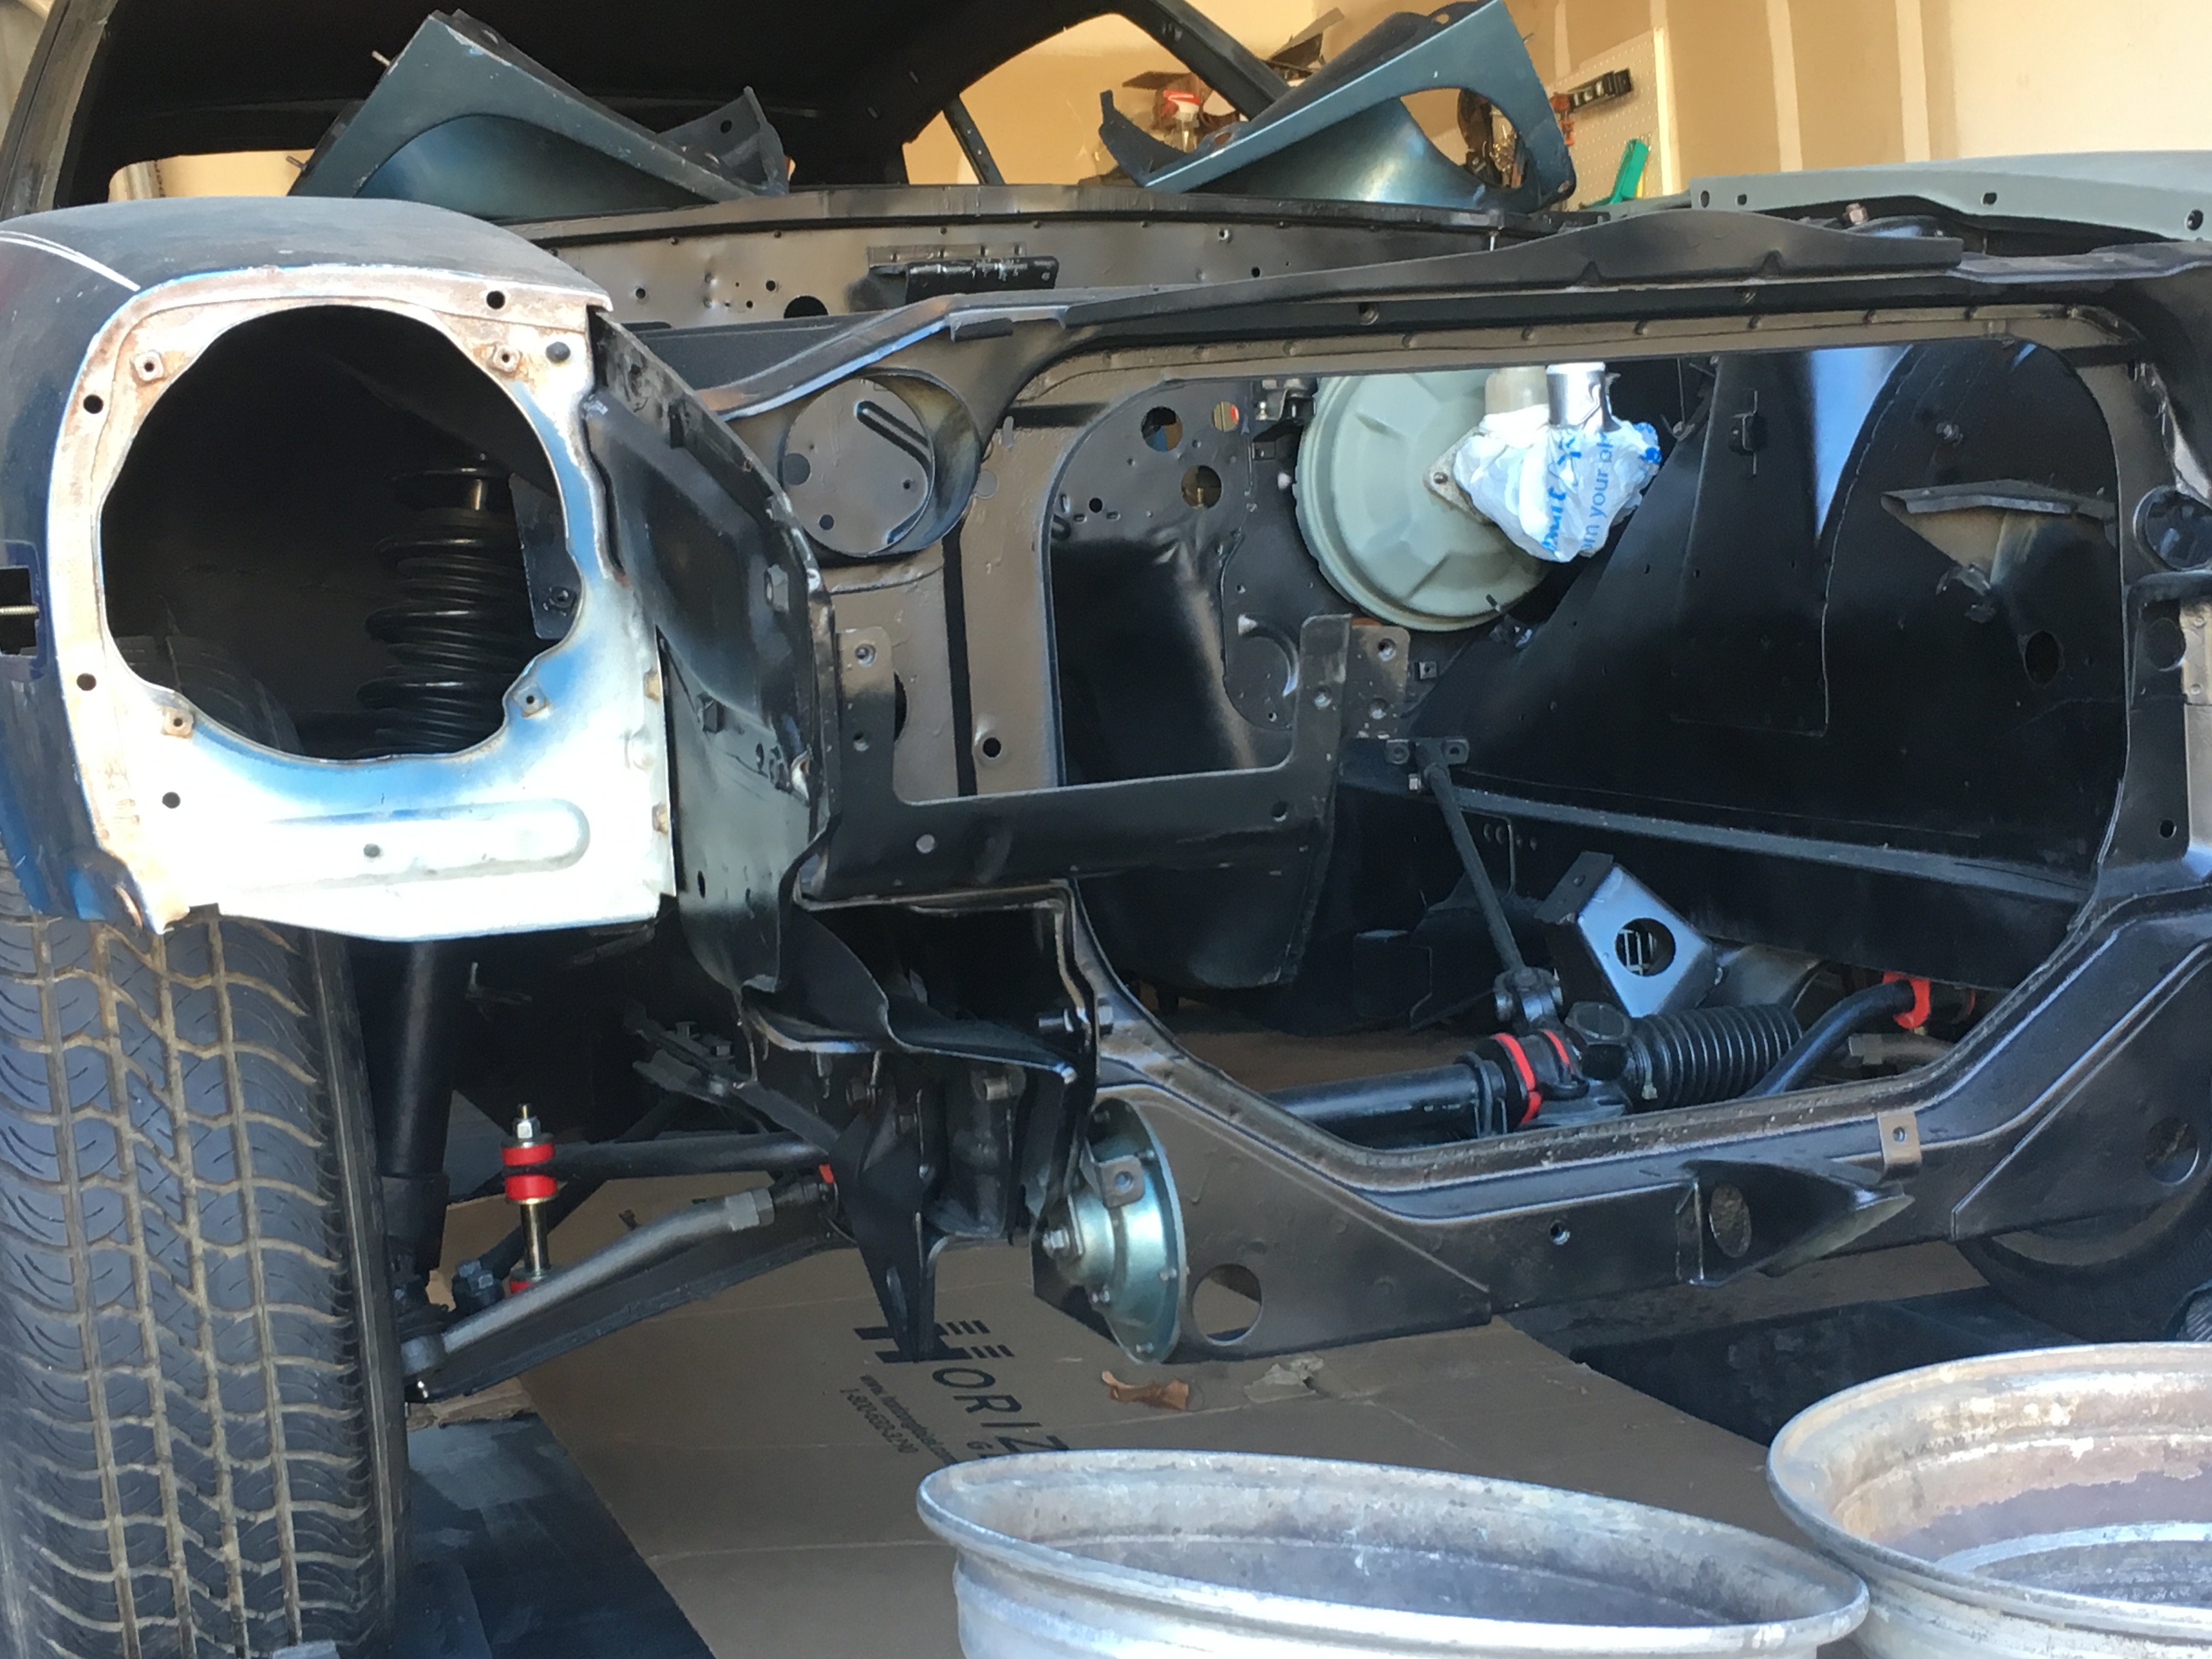
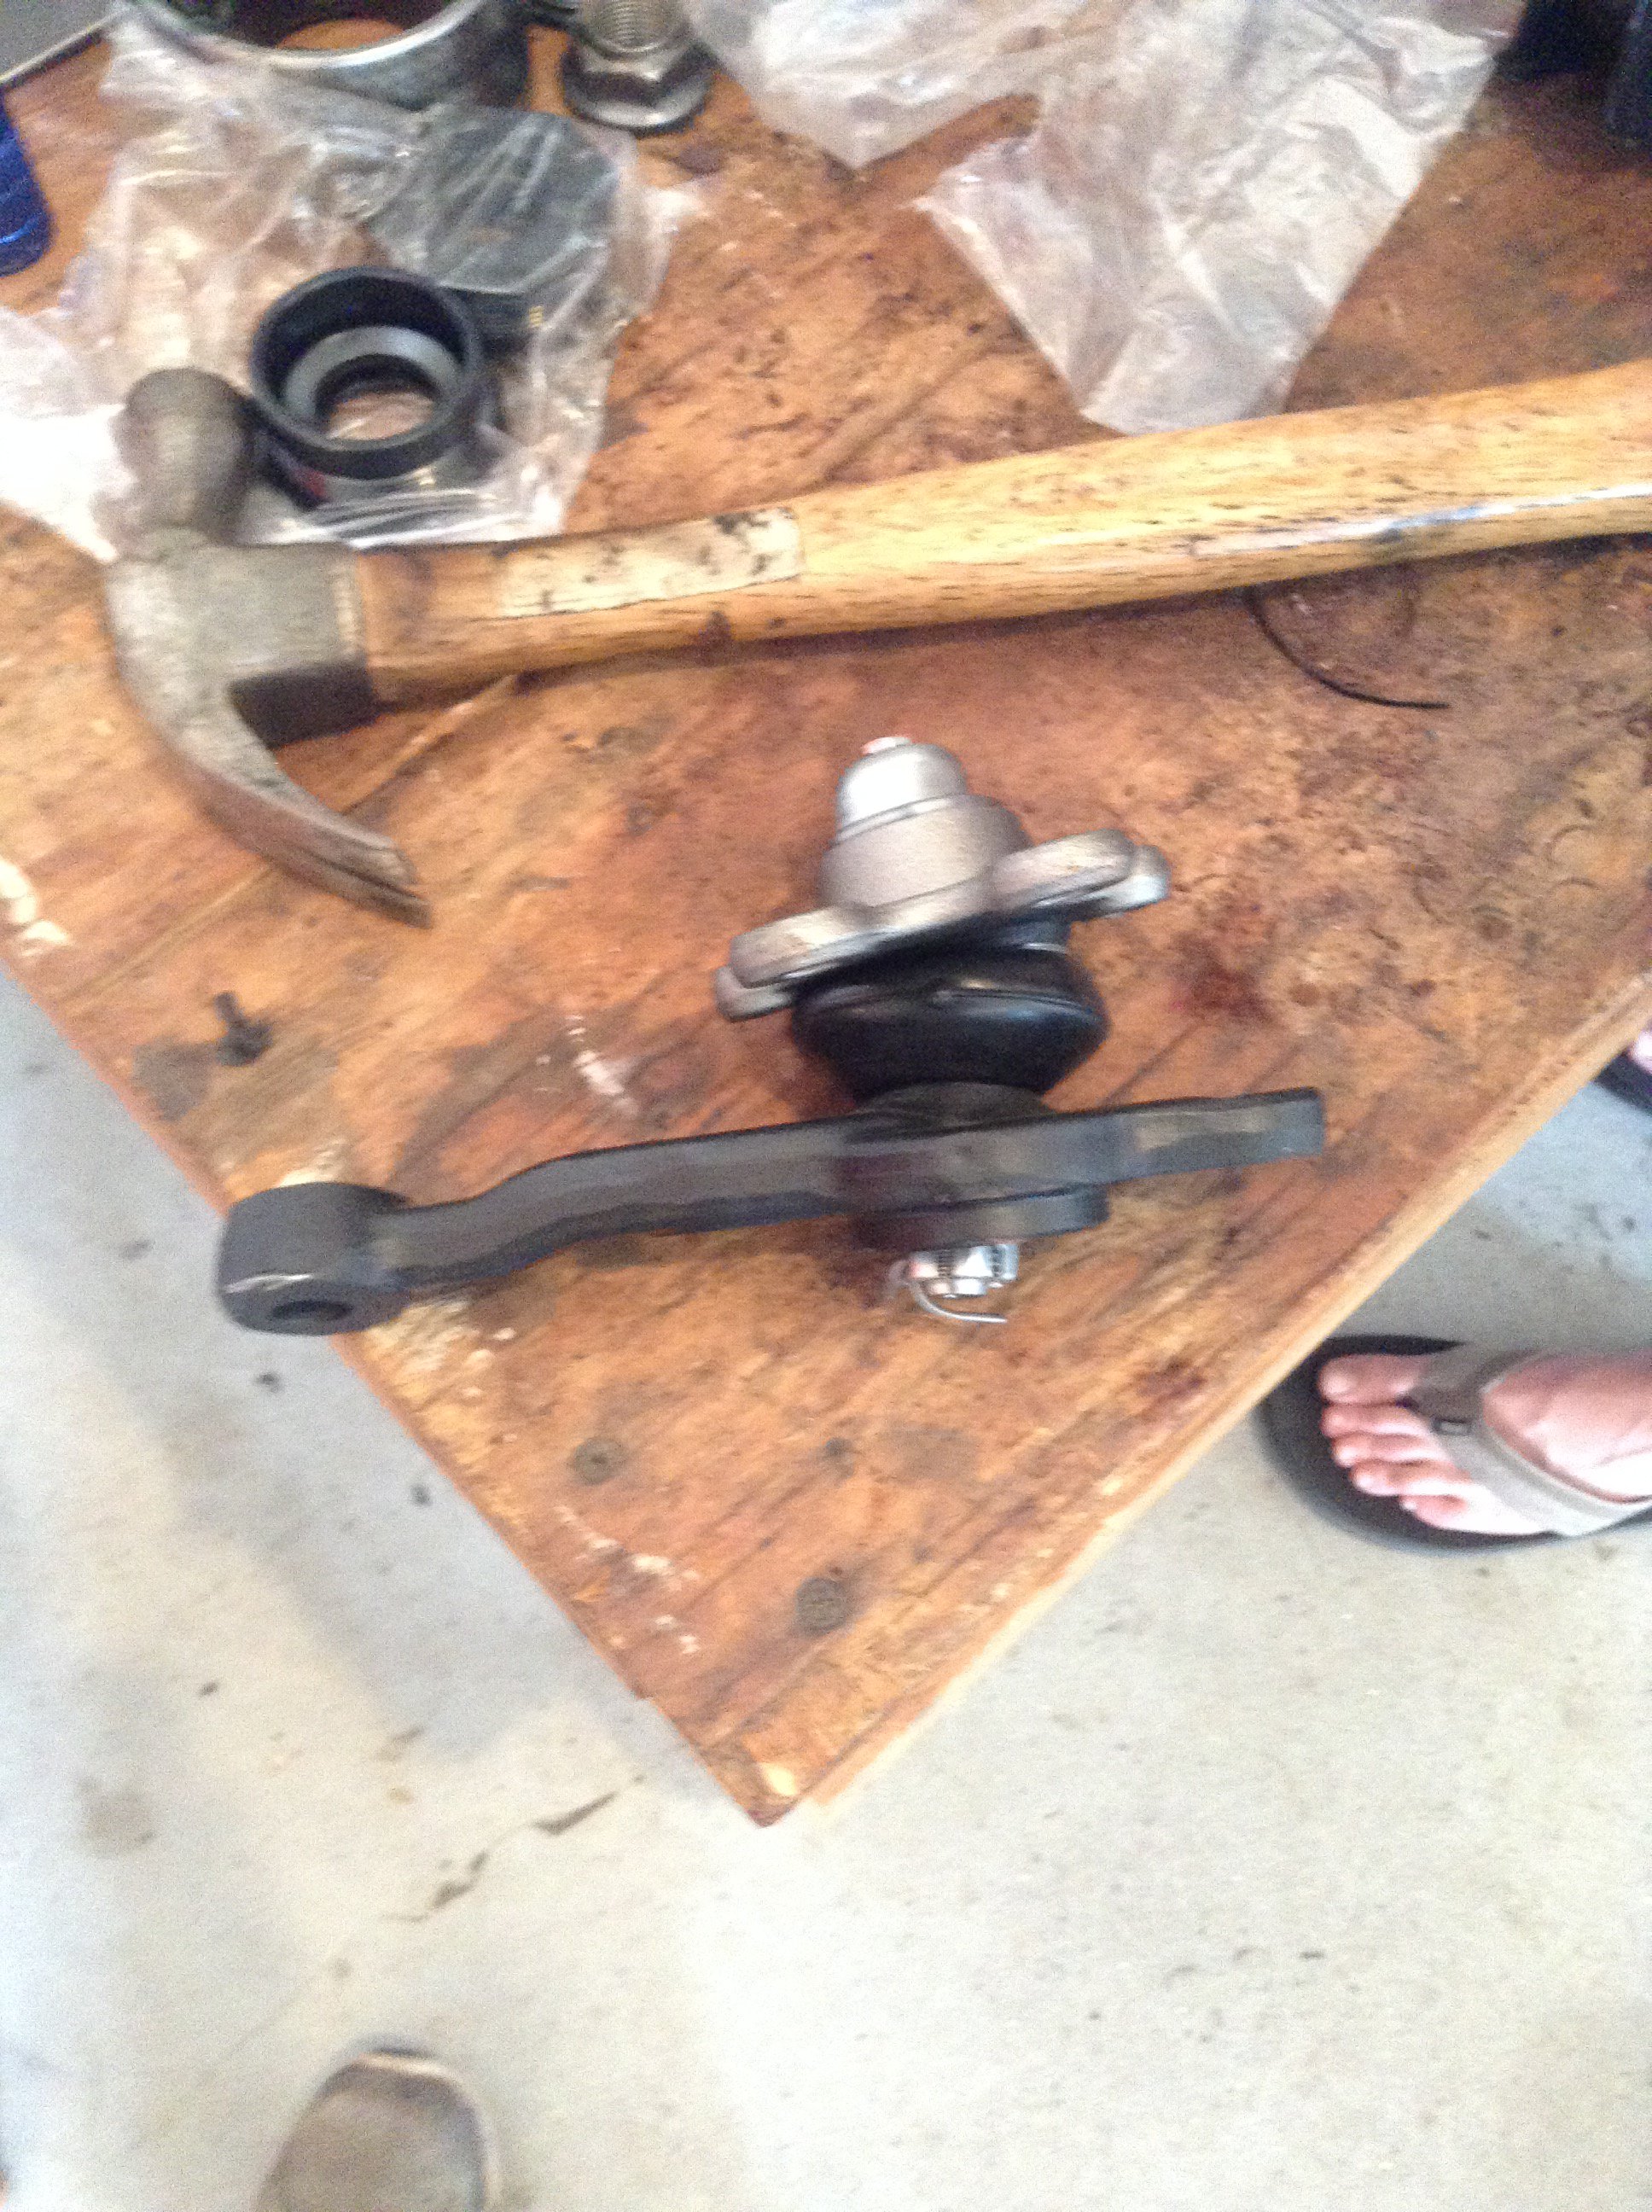
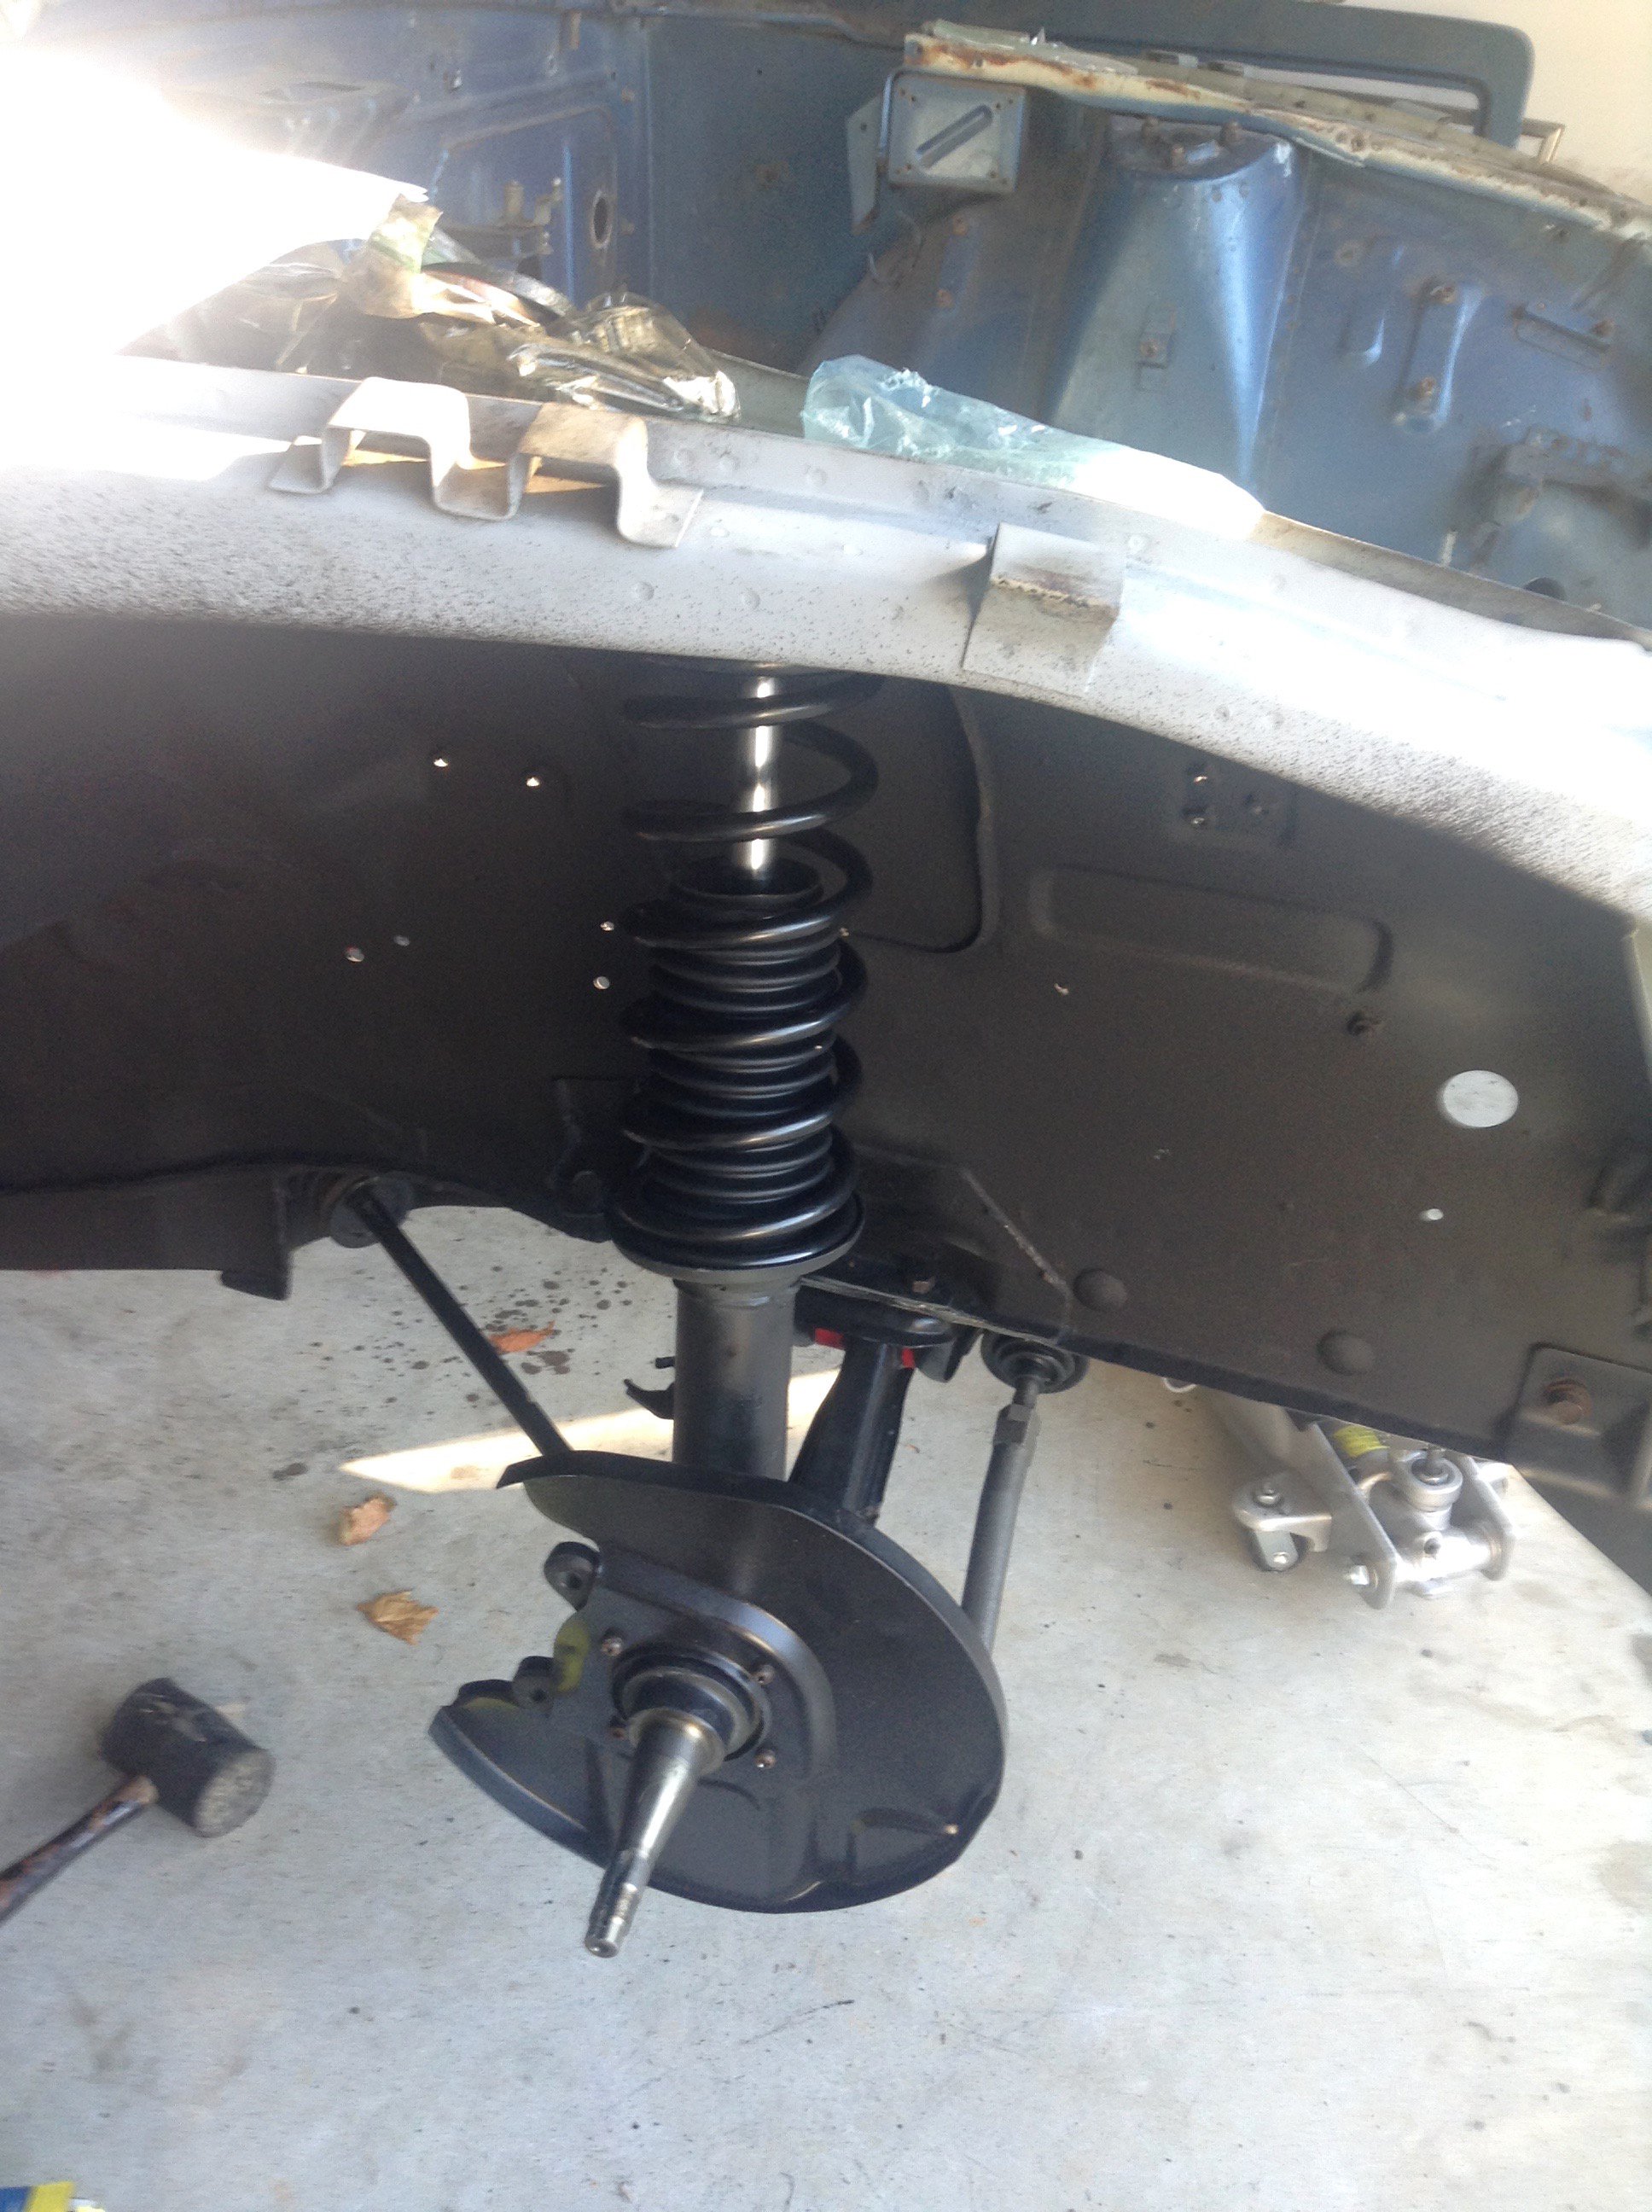
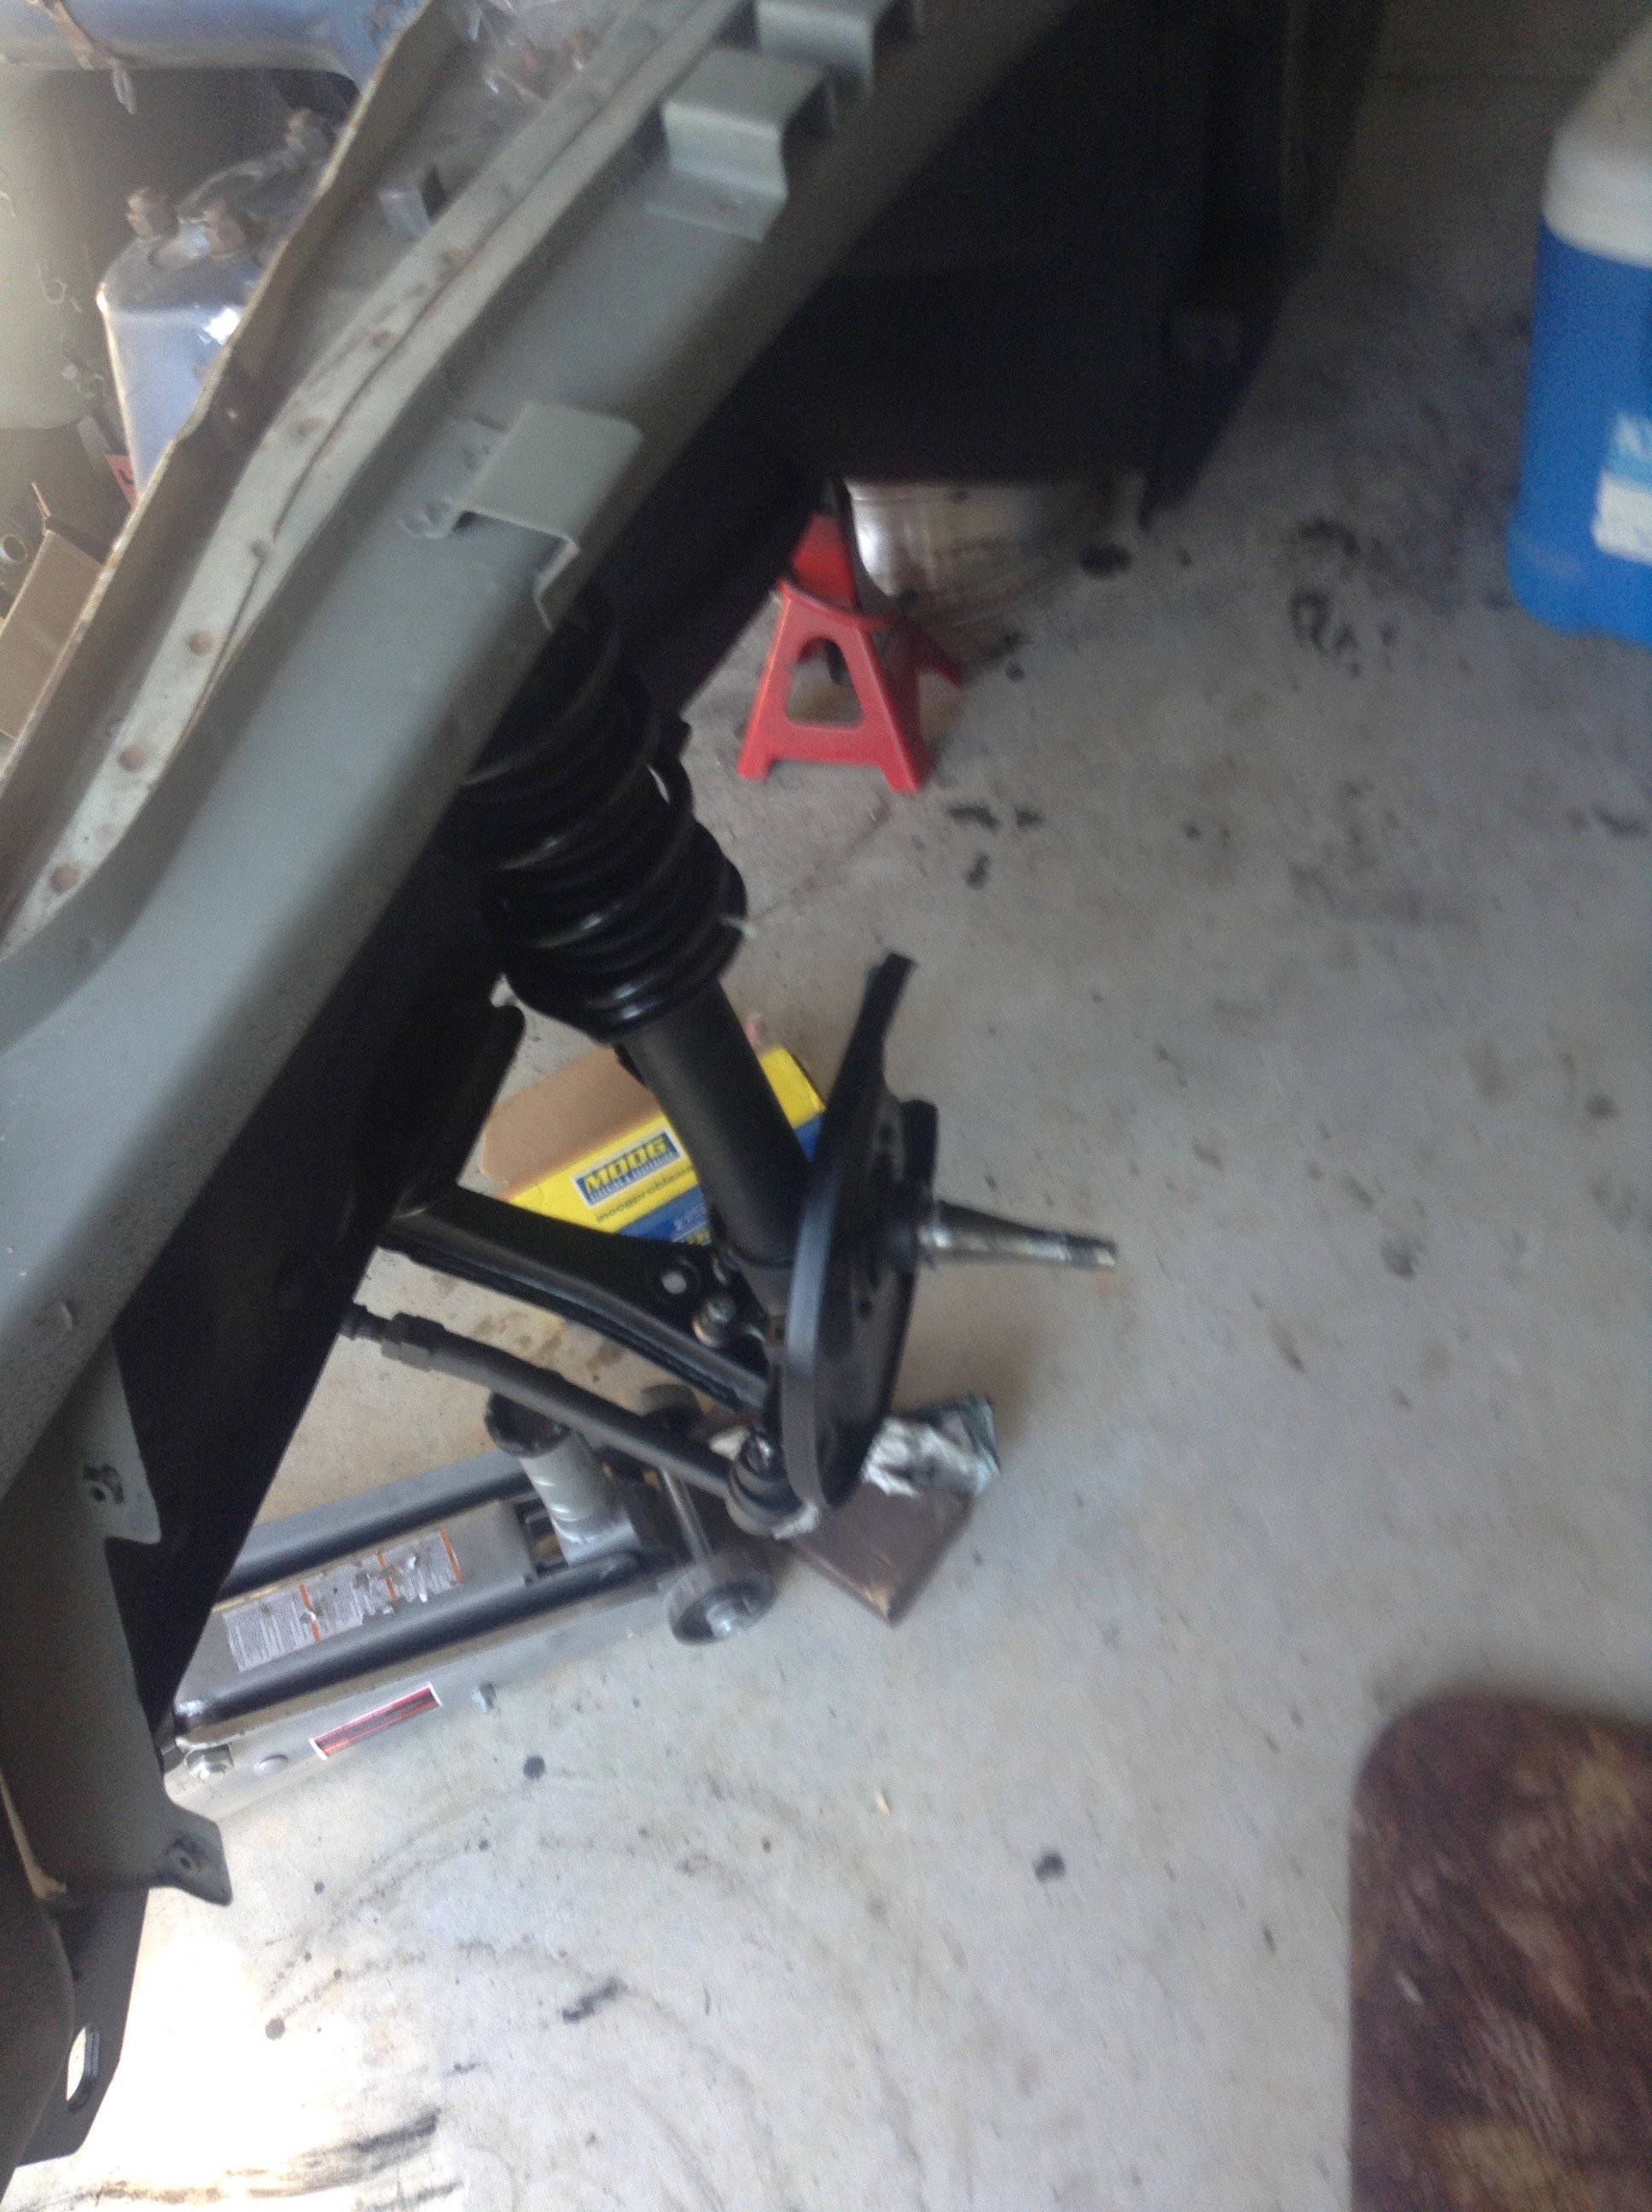
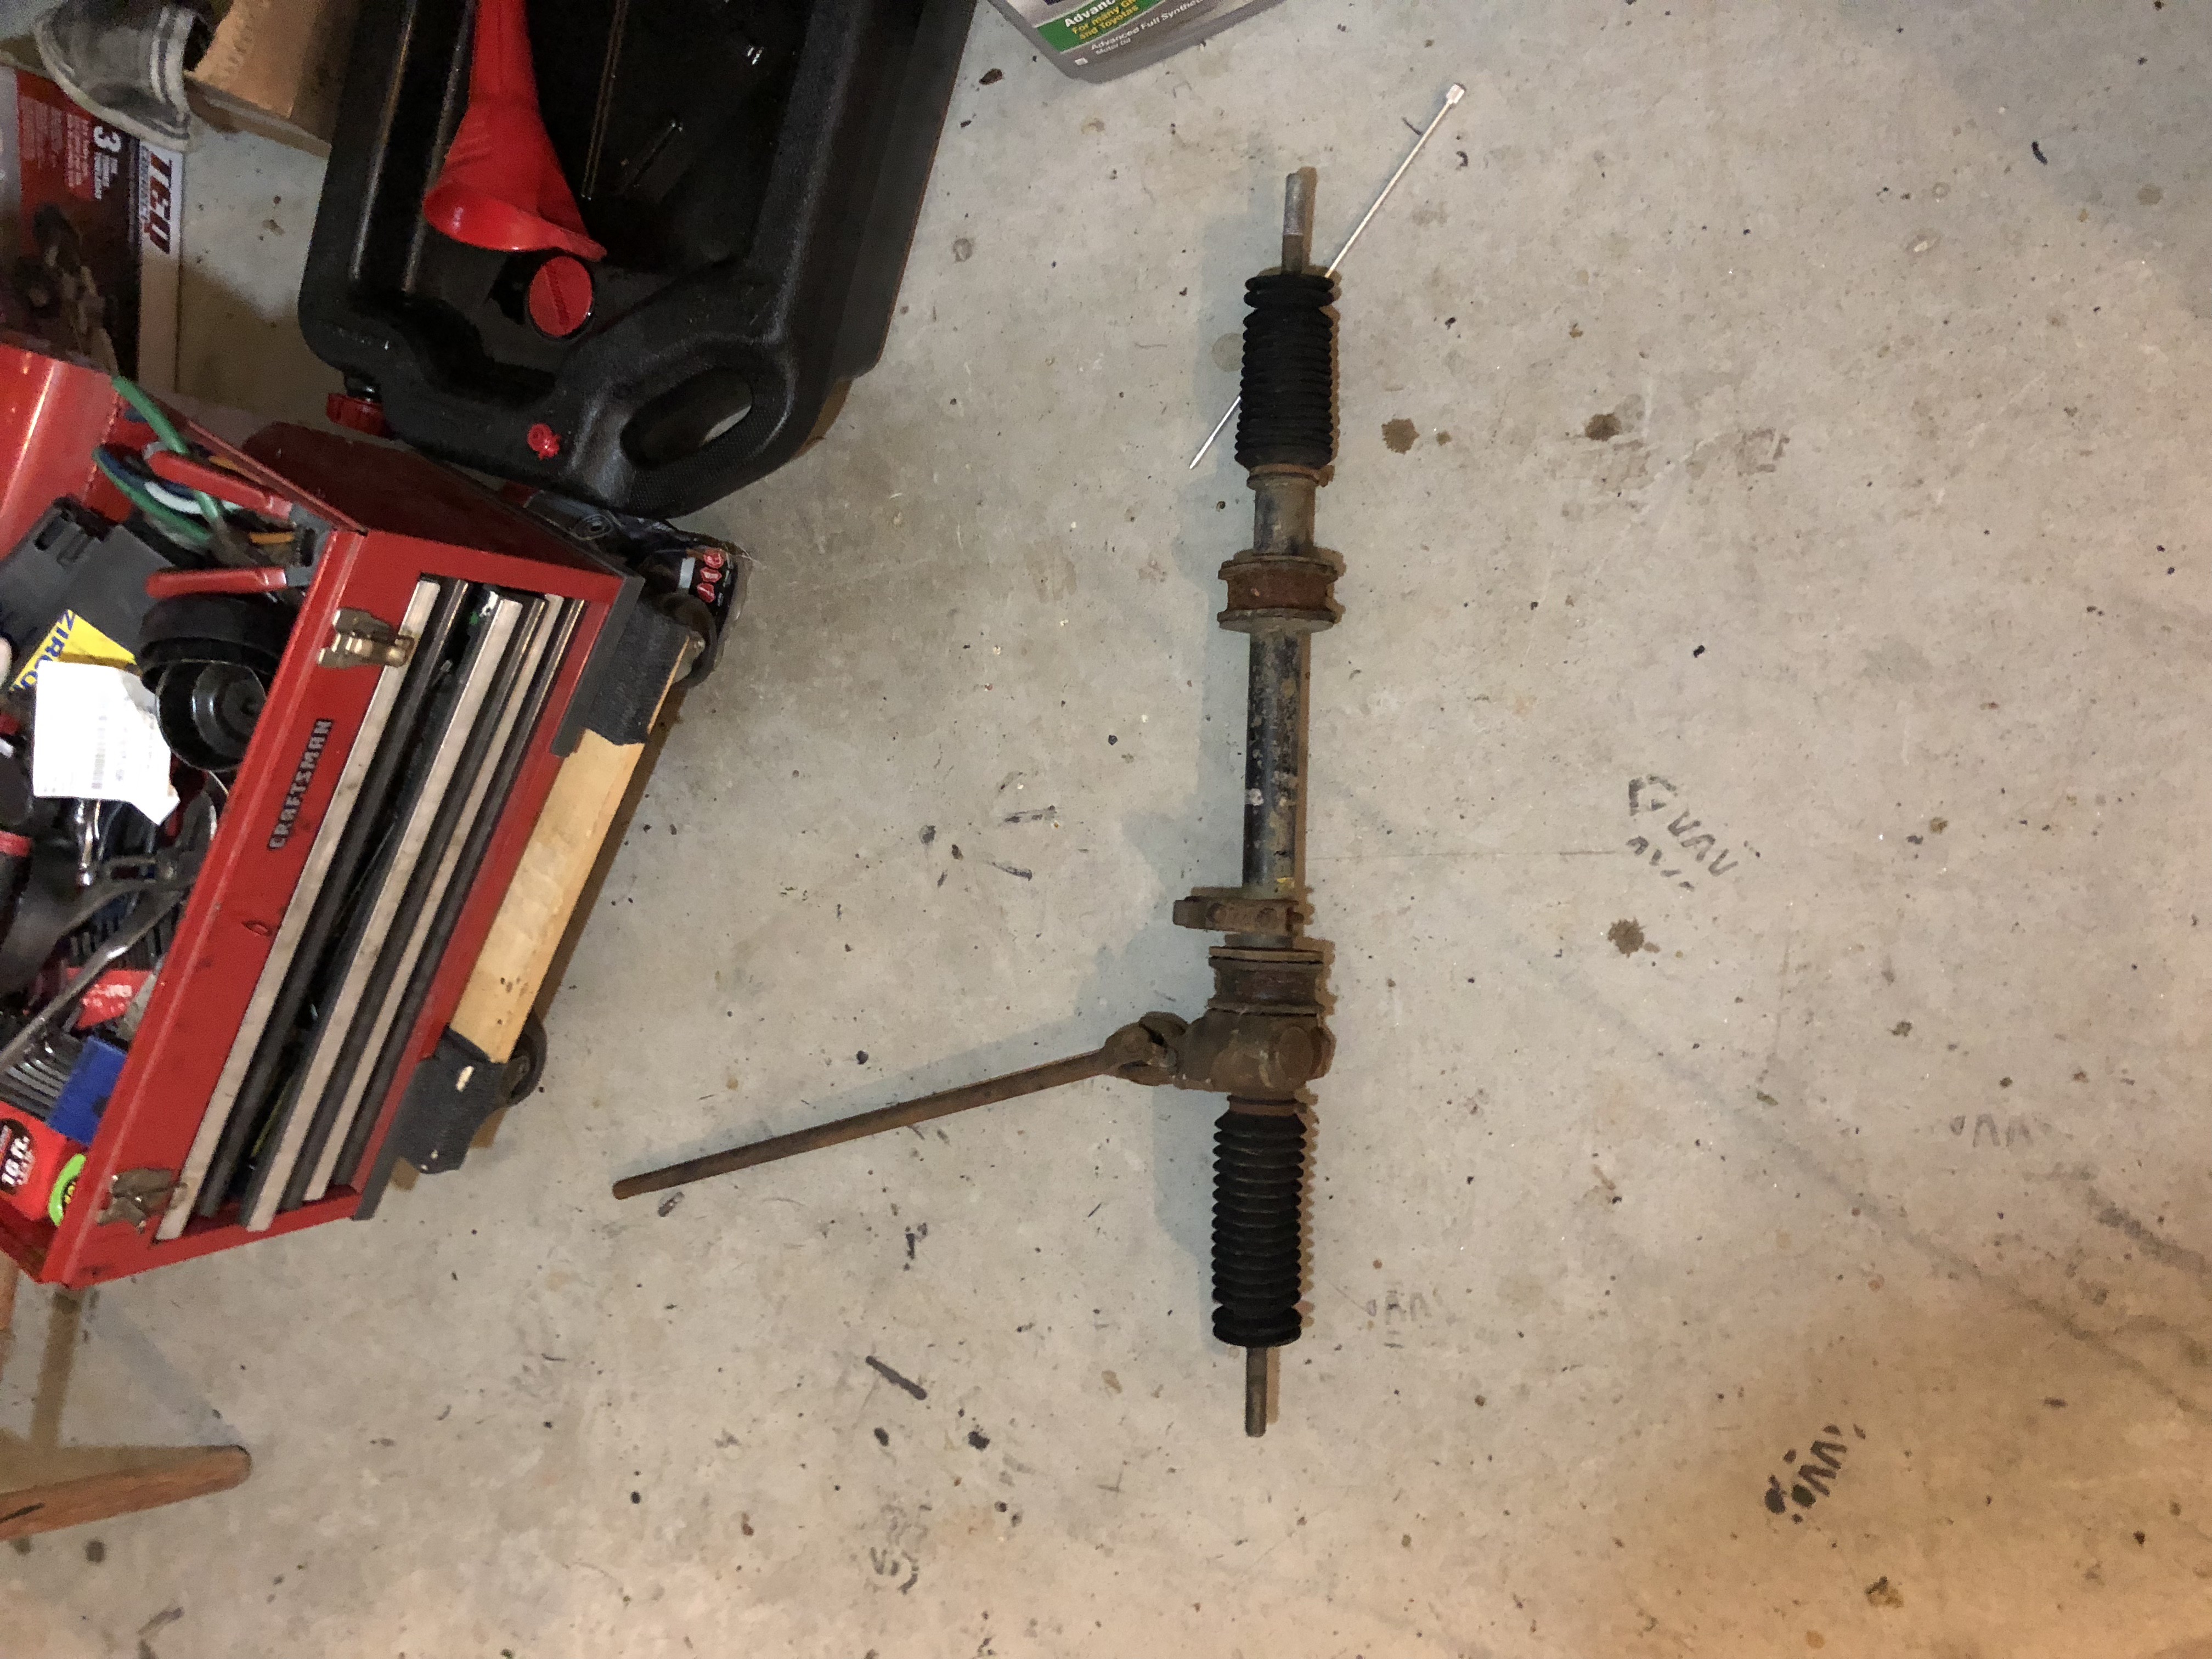
The front and rear suspension is almost completely finished. We started by attaching the knuckles to the ball joints: Next, we attached the new Eibach springs attached the knuckle/ ball joint assembly to the strut housing: We also assembled the steering rack with as close to factory alignment settings as I could. Then, put it all together: The rear suspension went in pretty easily as well: I also started working on the engine bay to get rid of the rust and make it clean looking:
-
280z 2+2 resto mod
Whitley_280z_2+2 replied to Whitley_280z_2+2's topic in S30 Series - 240z, 260z, 280z
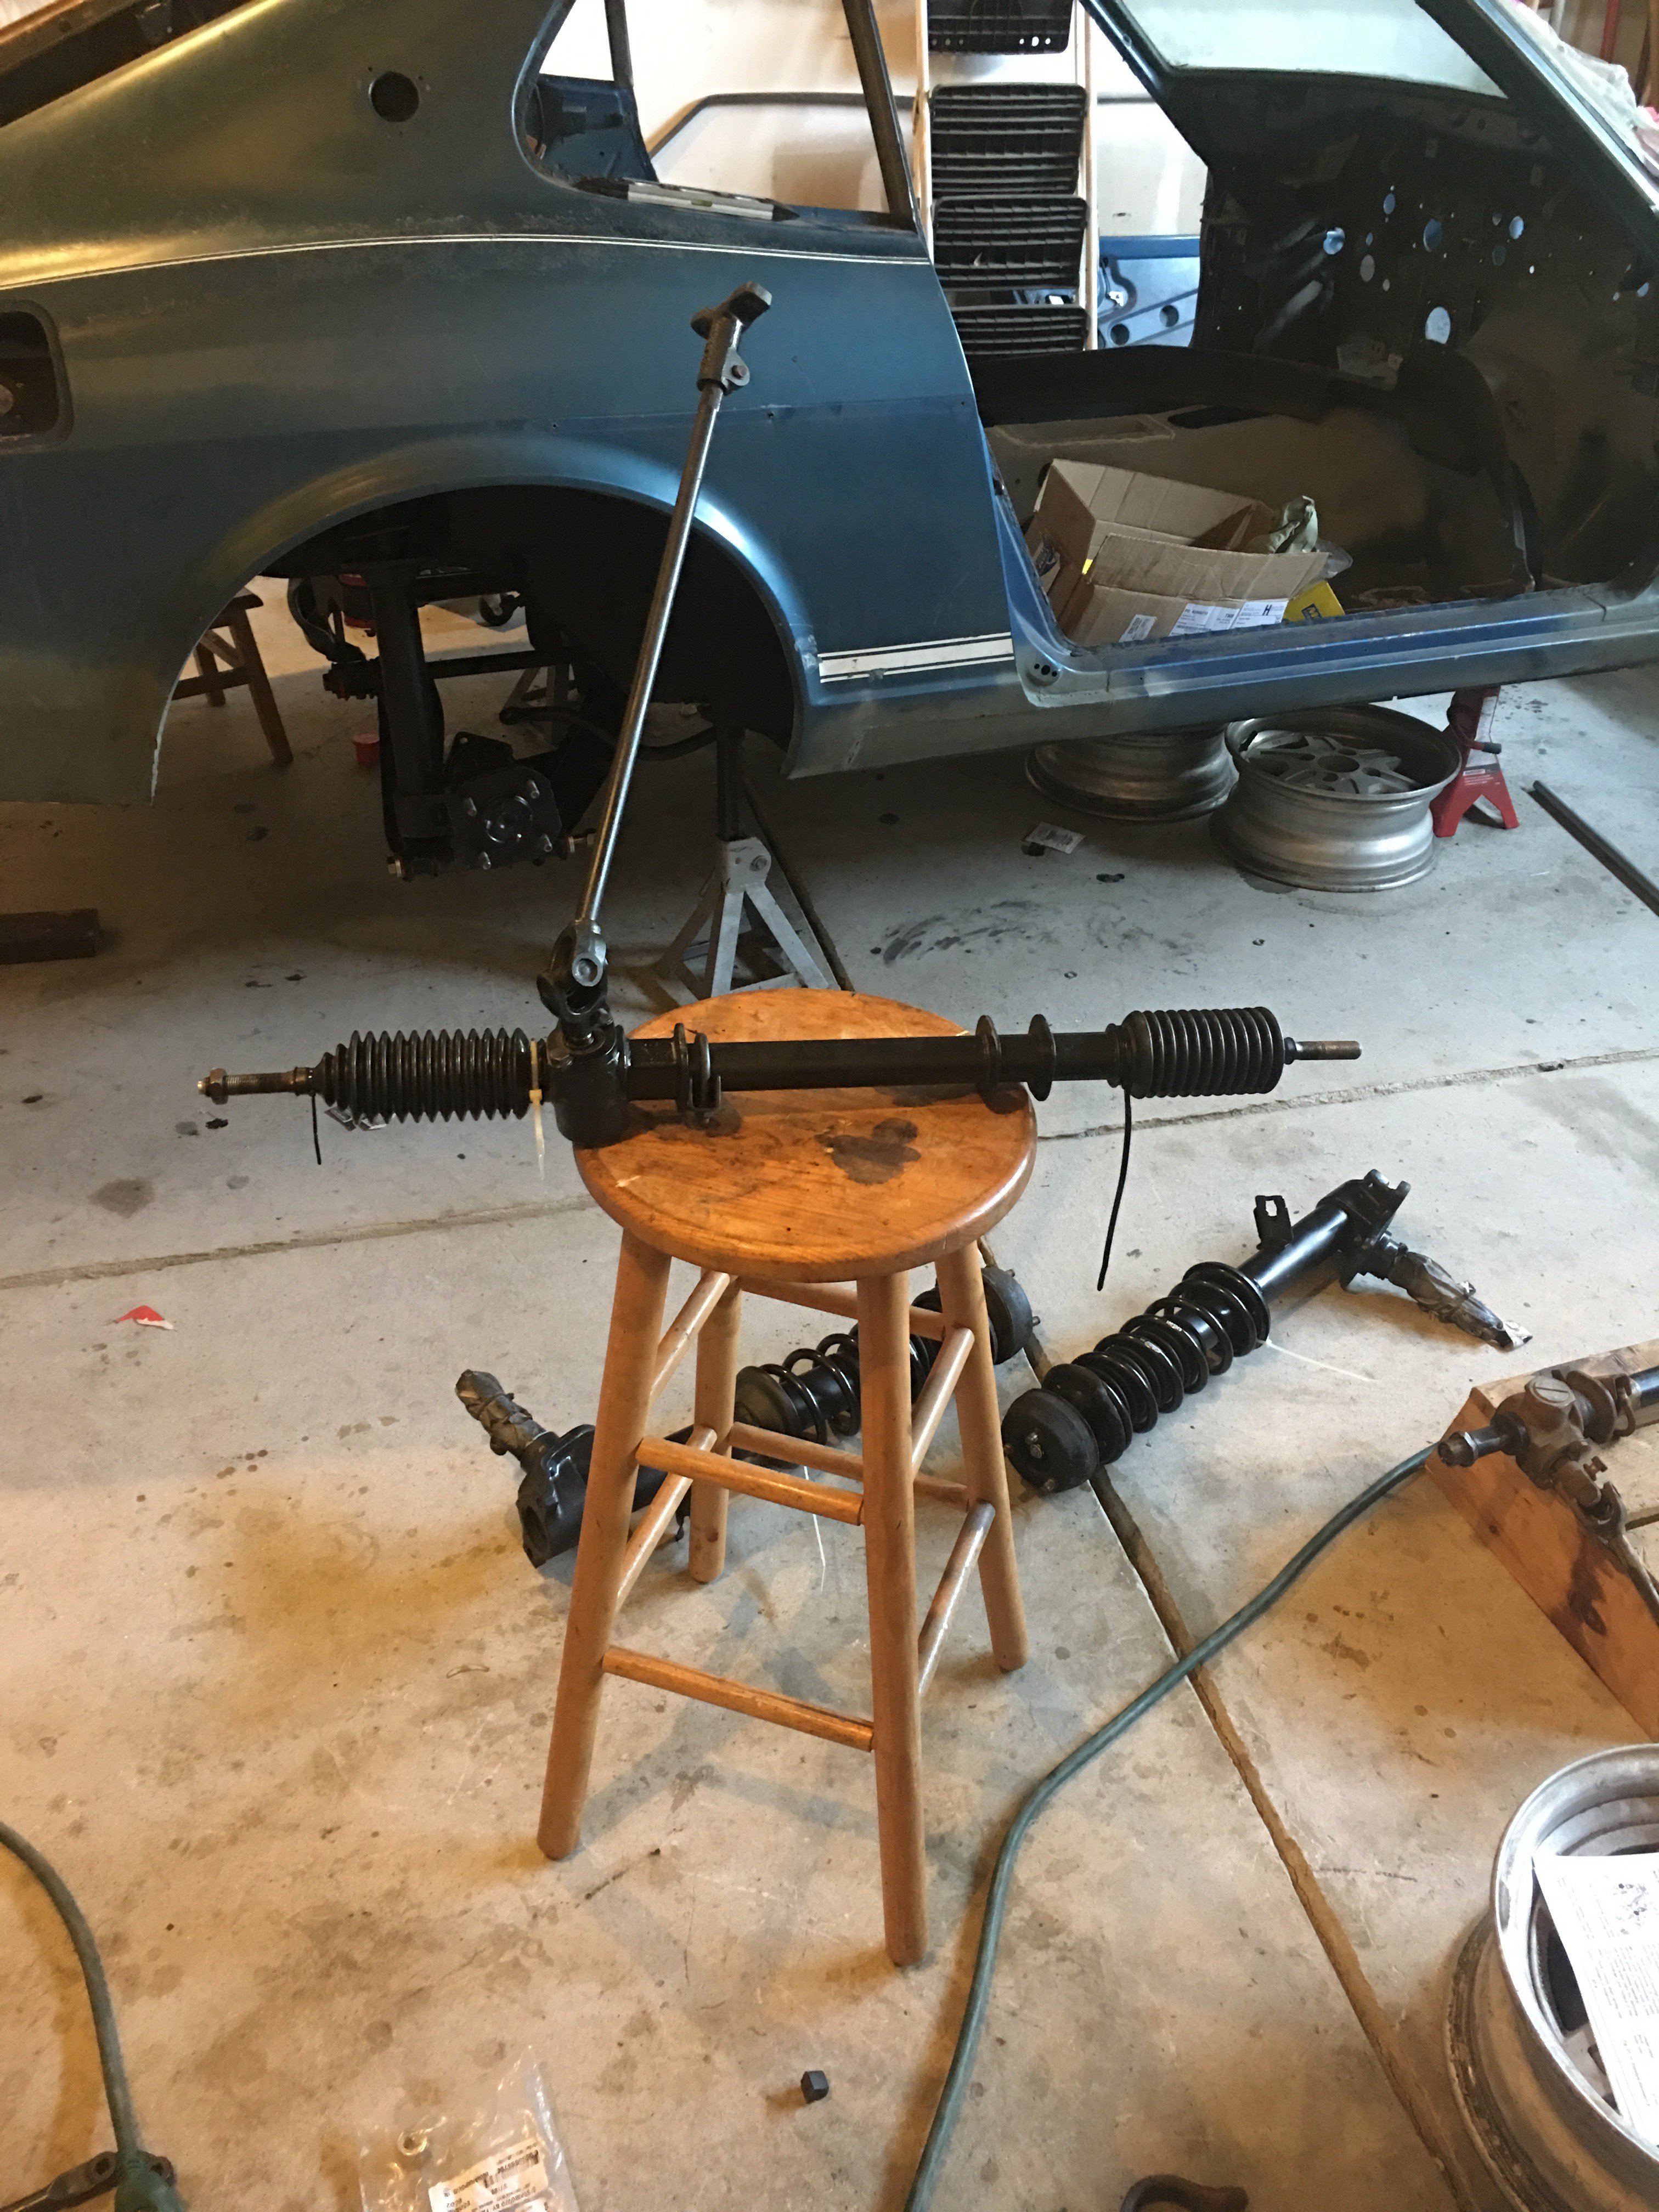
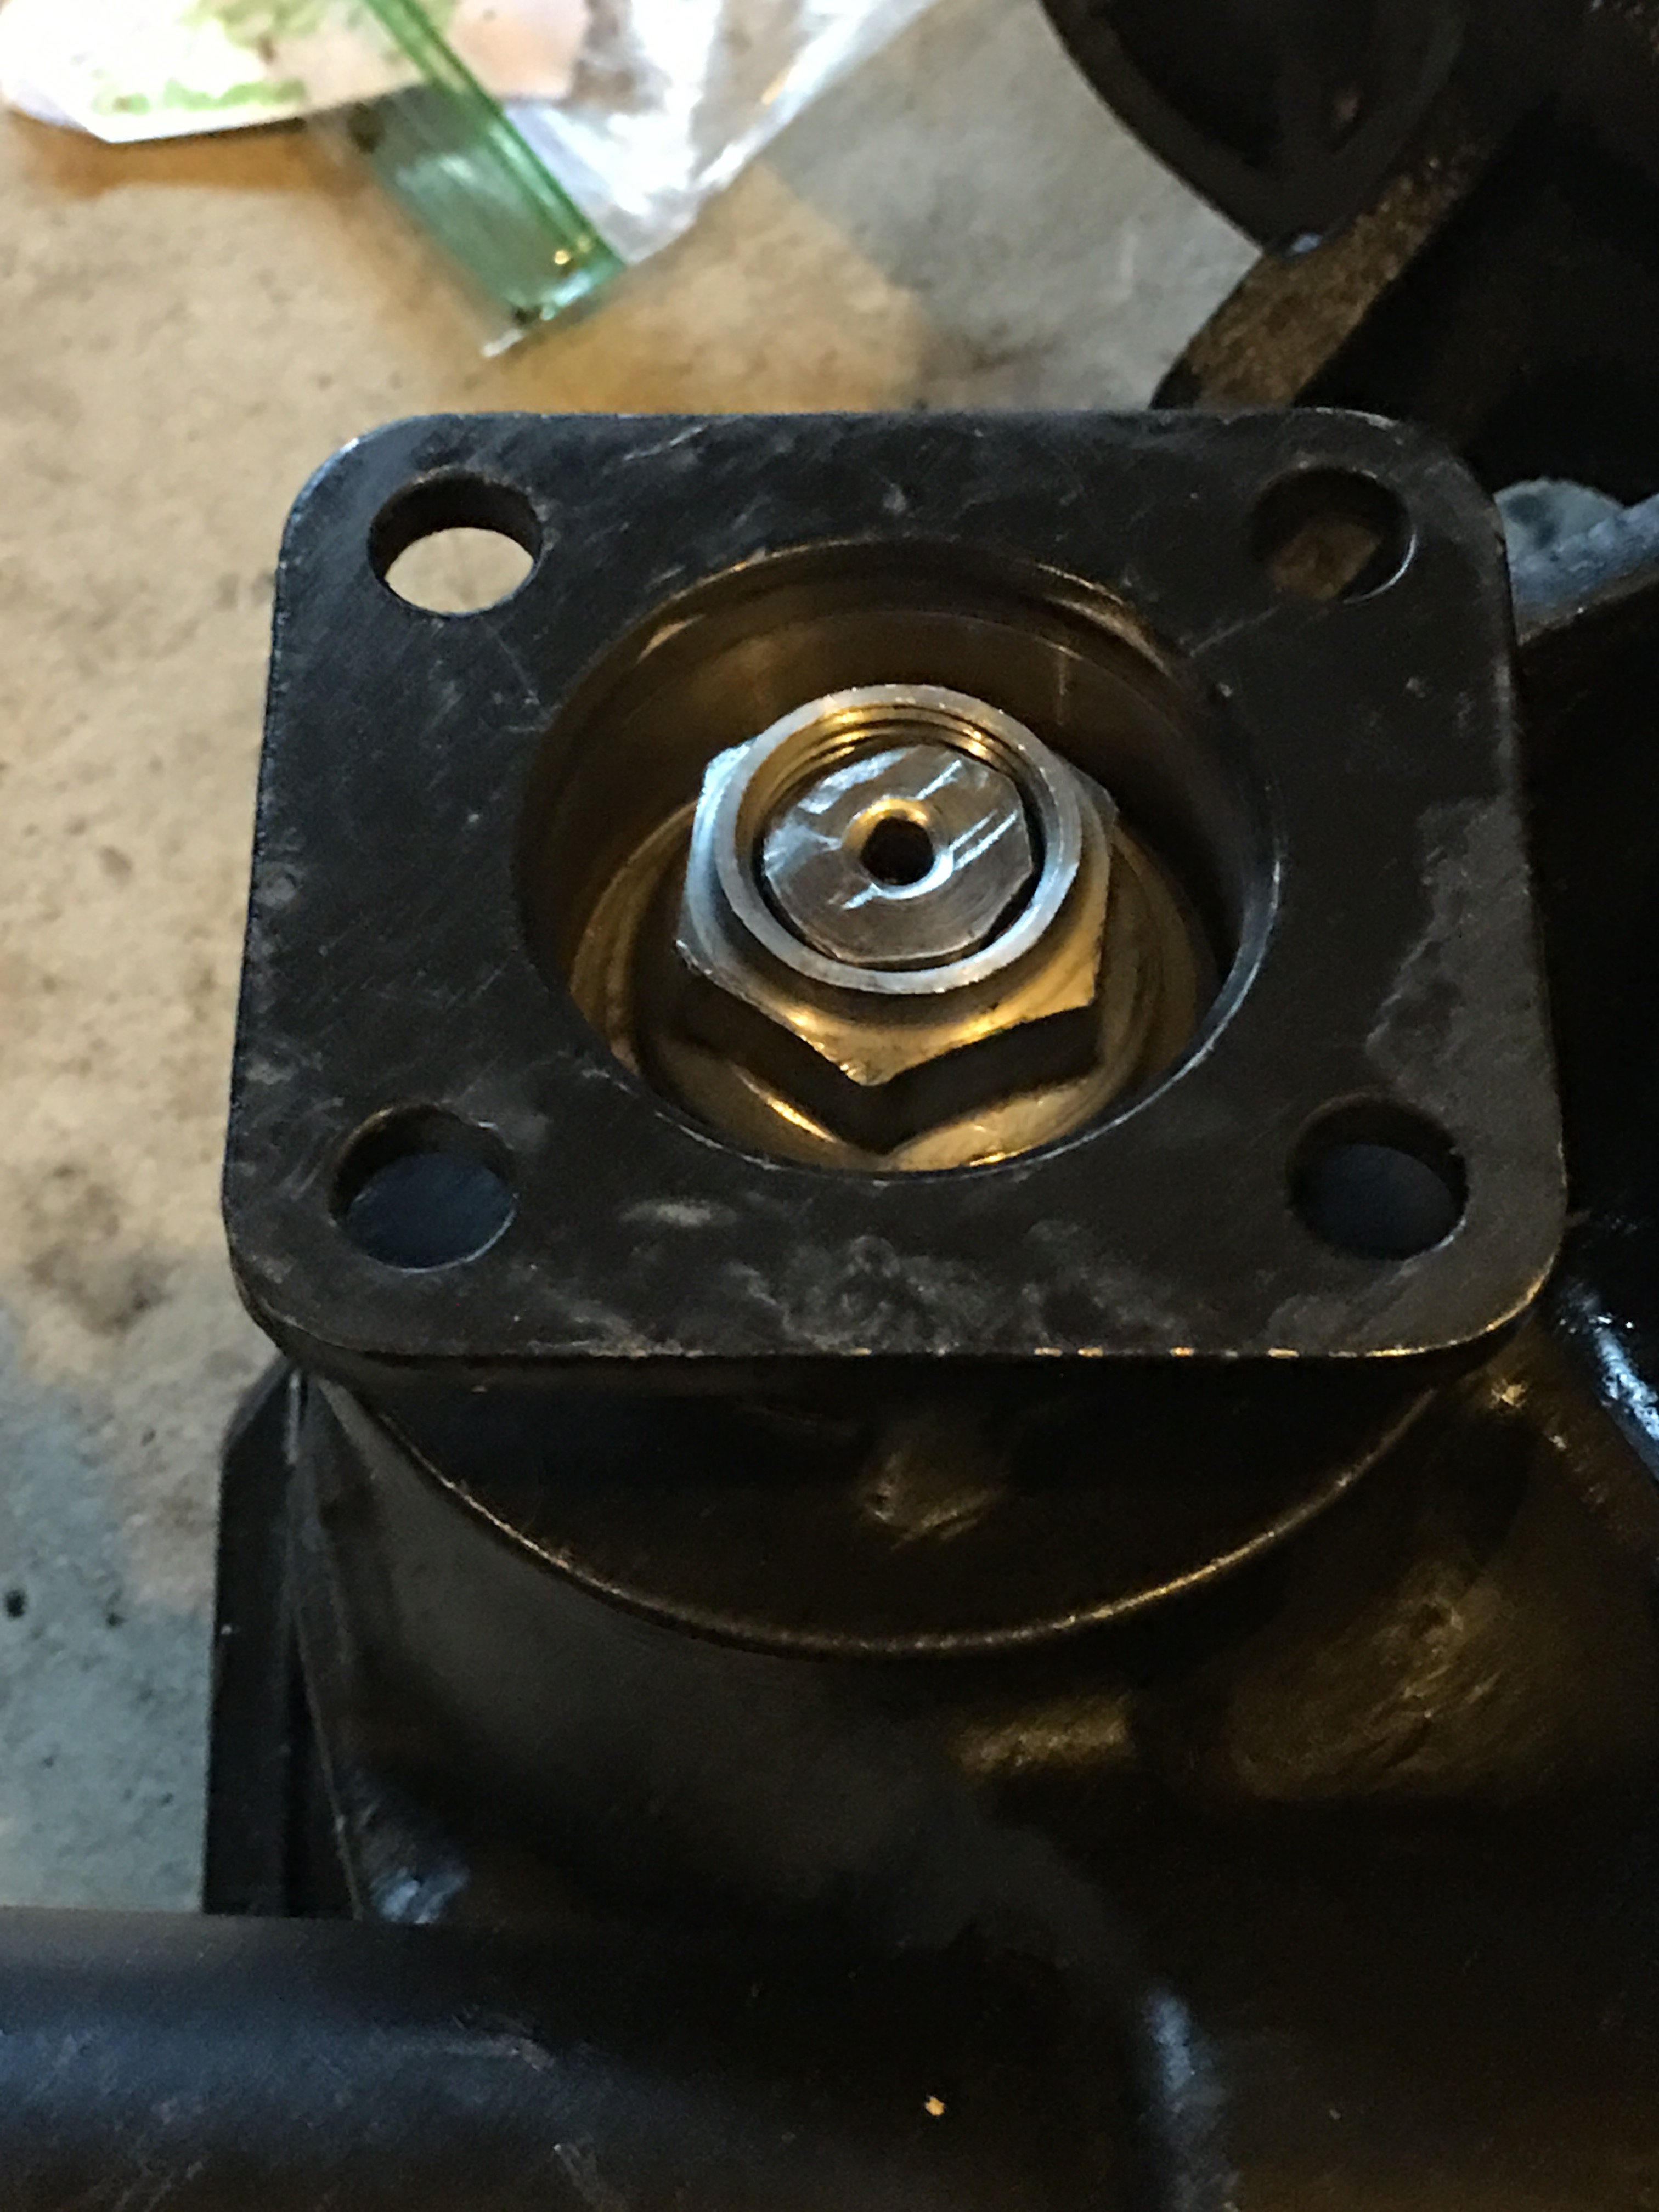
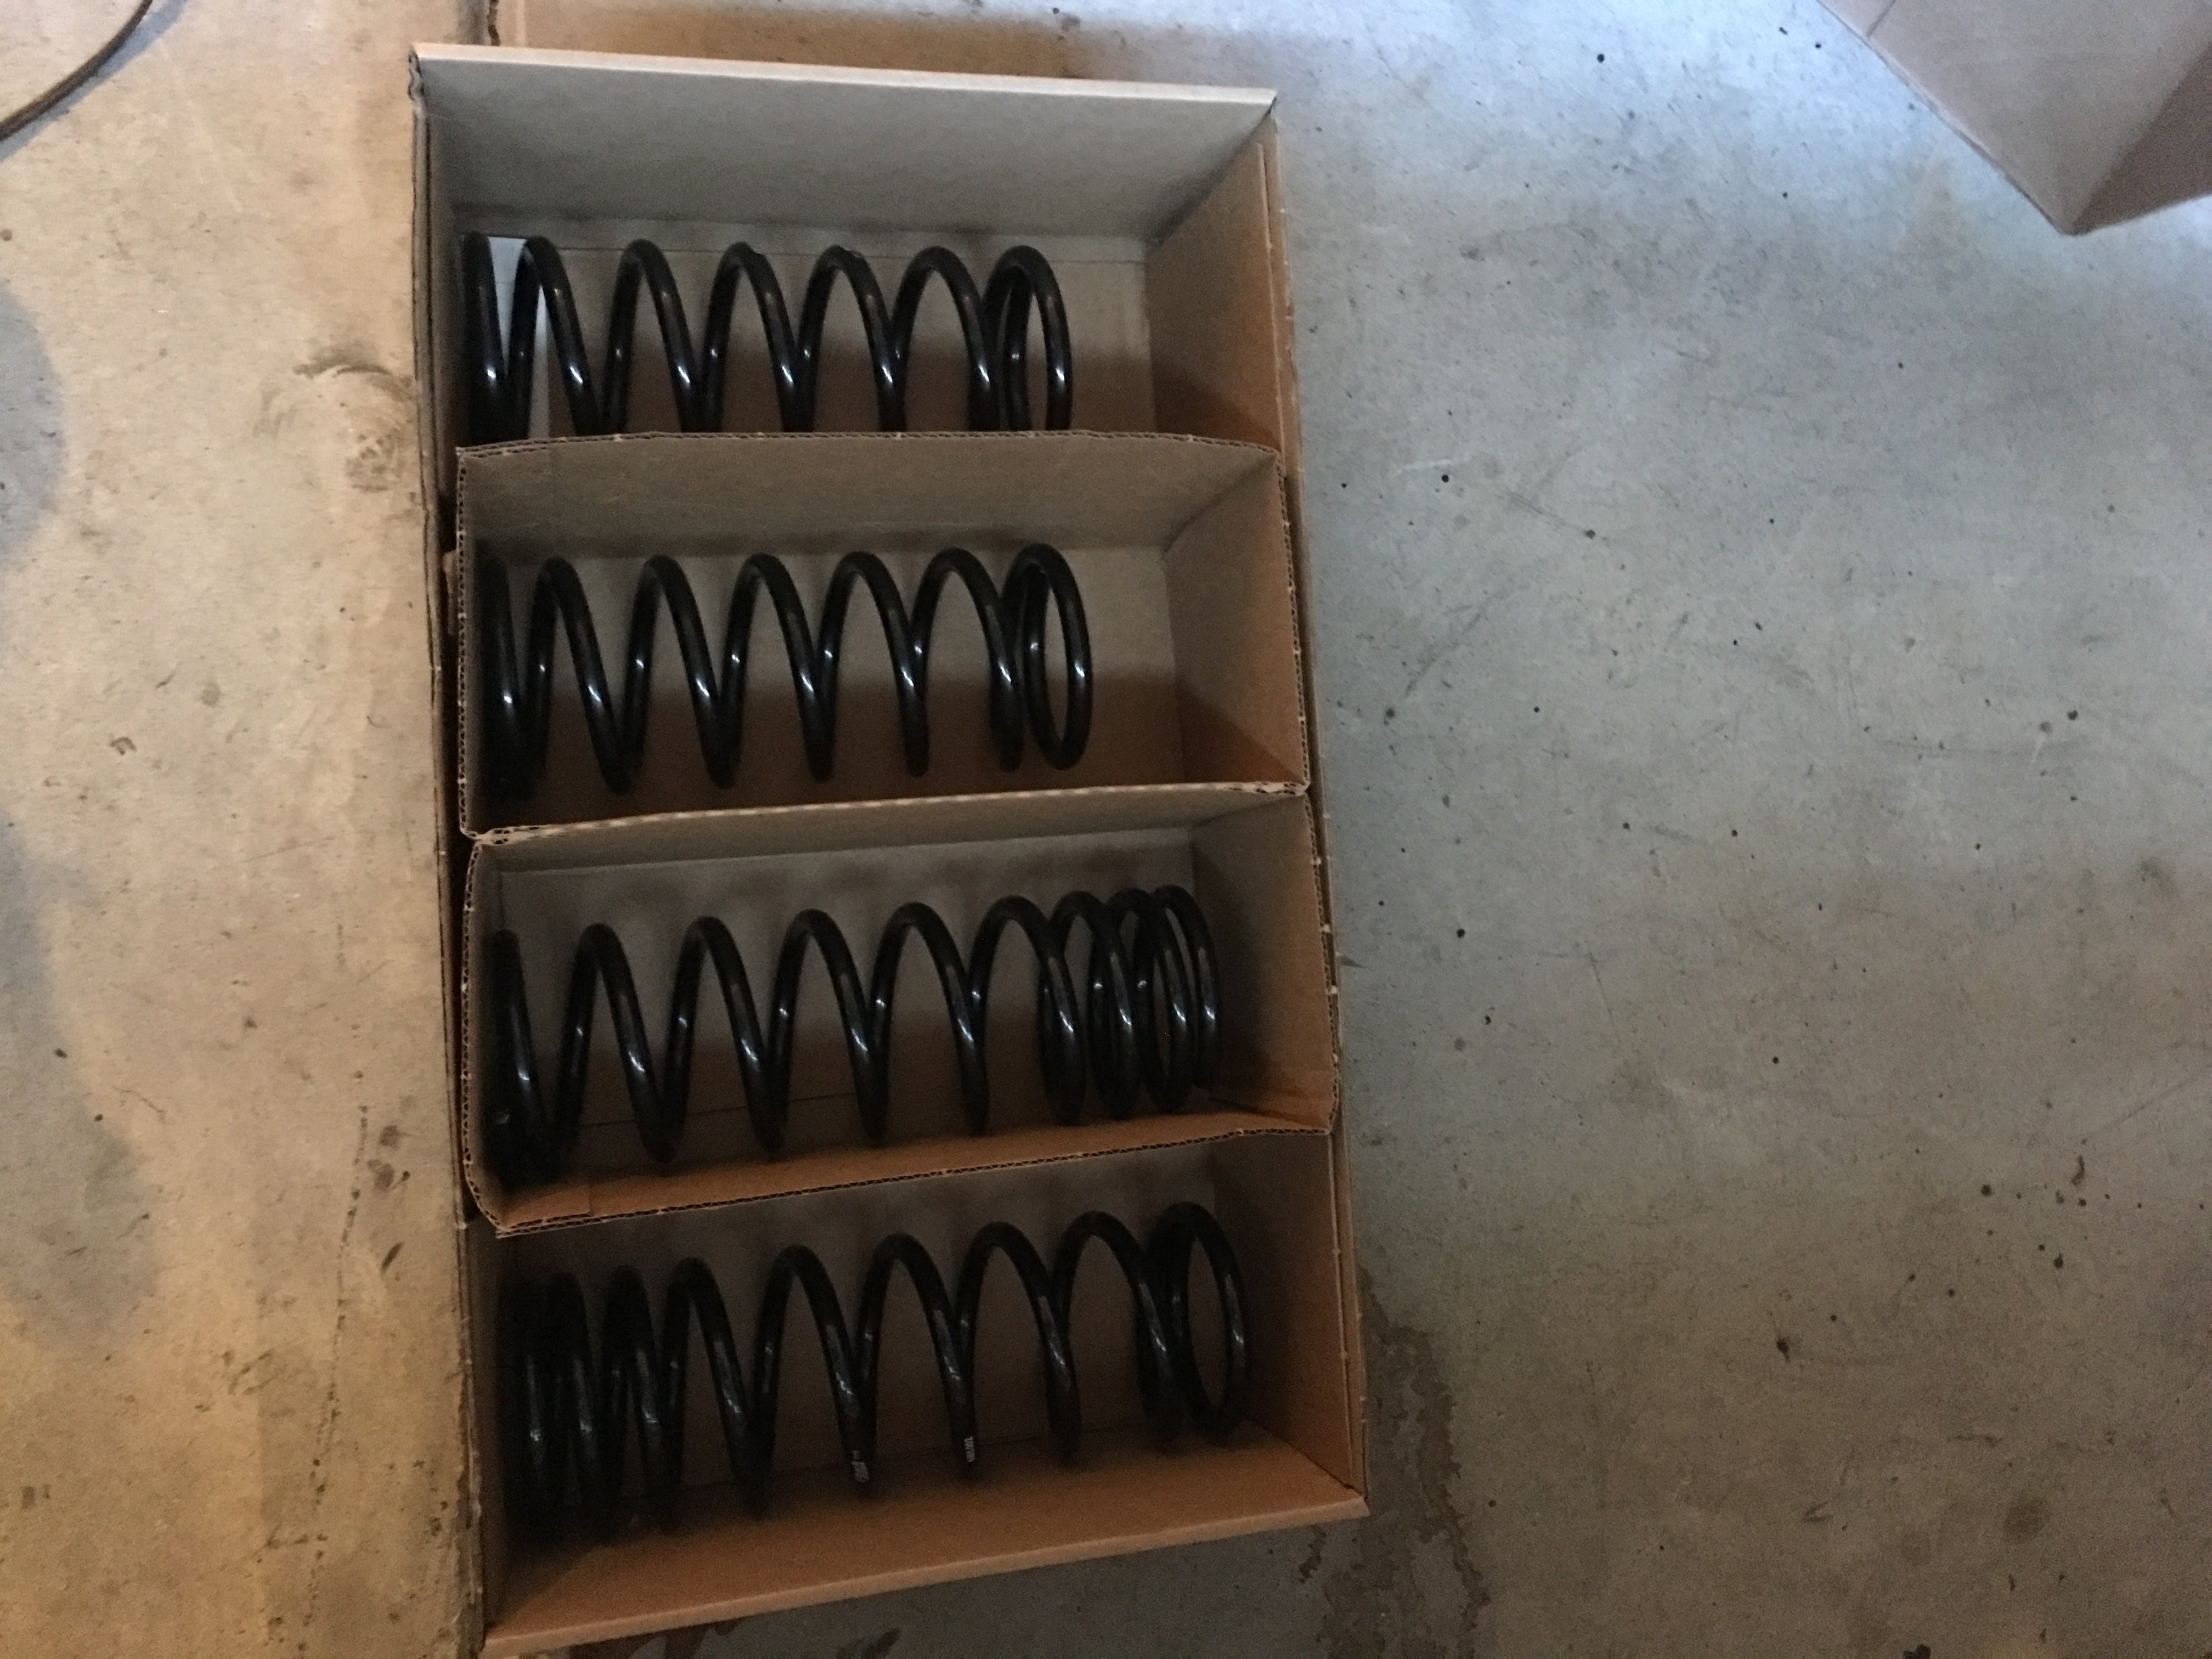
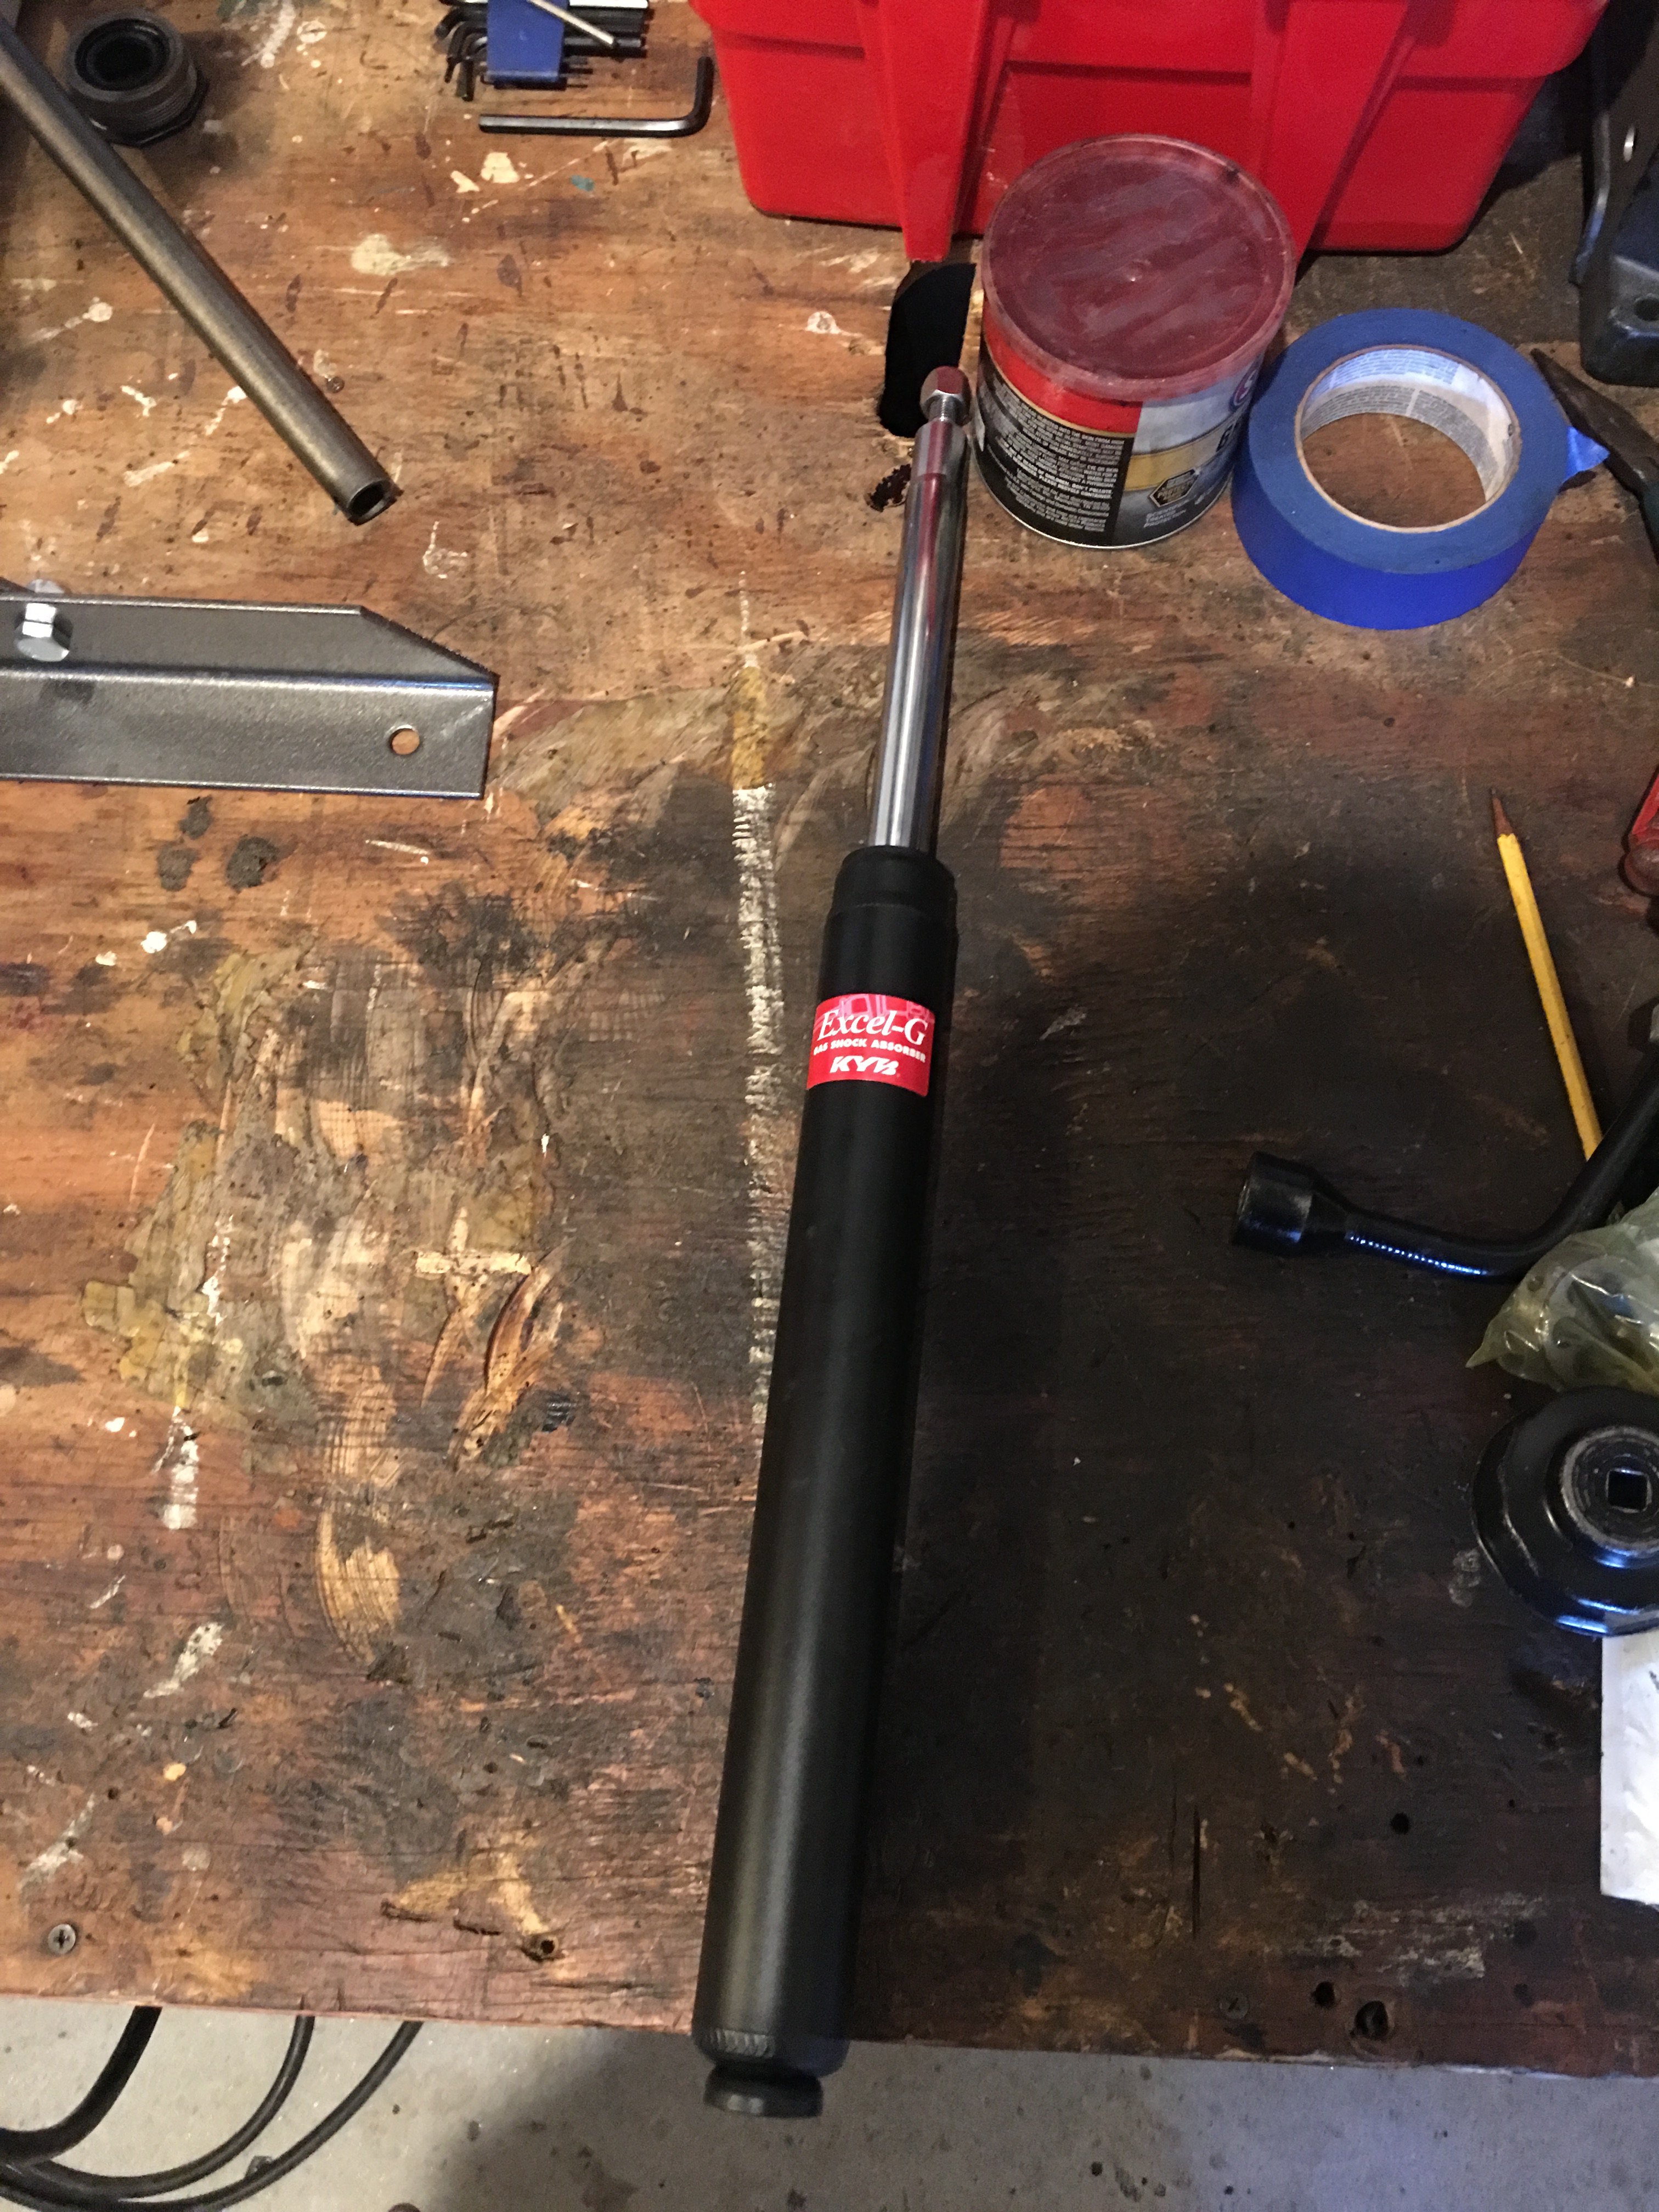
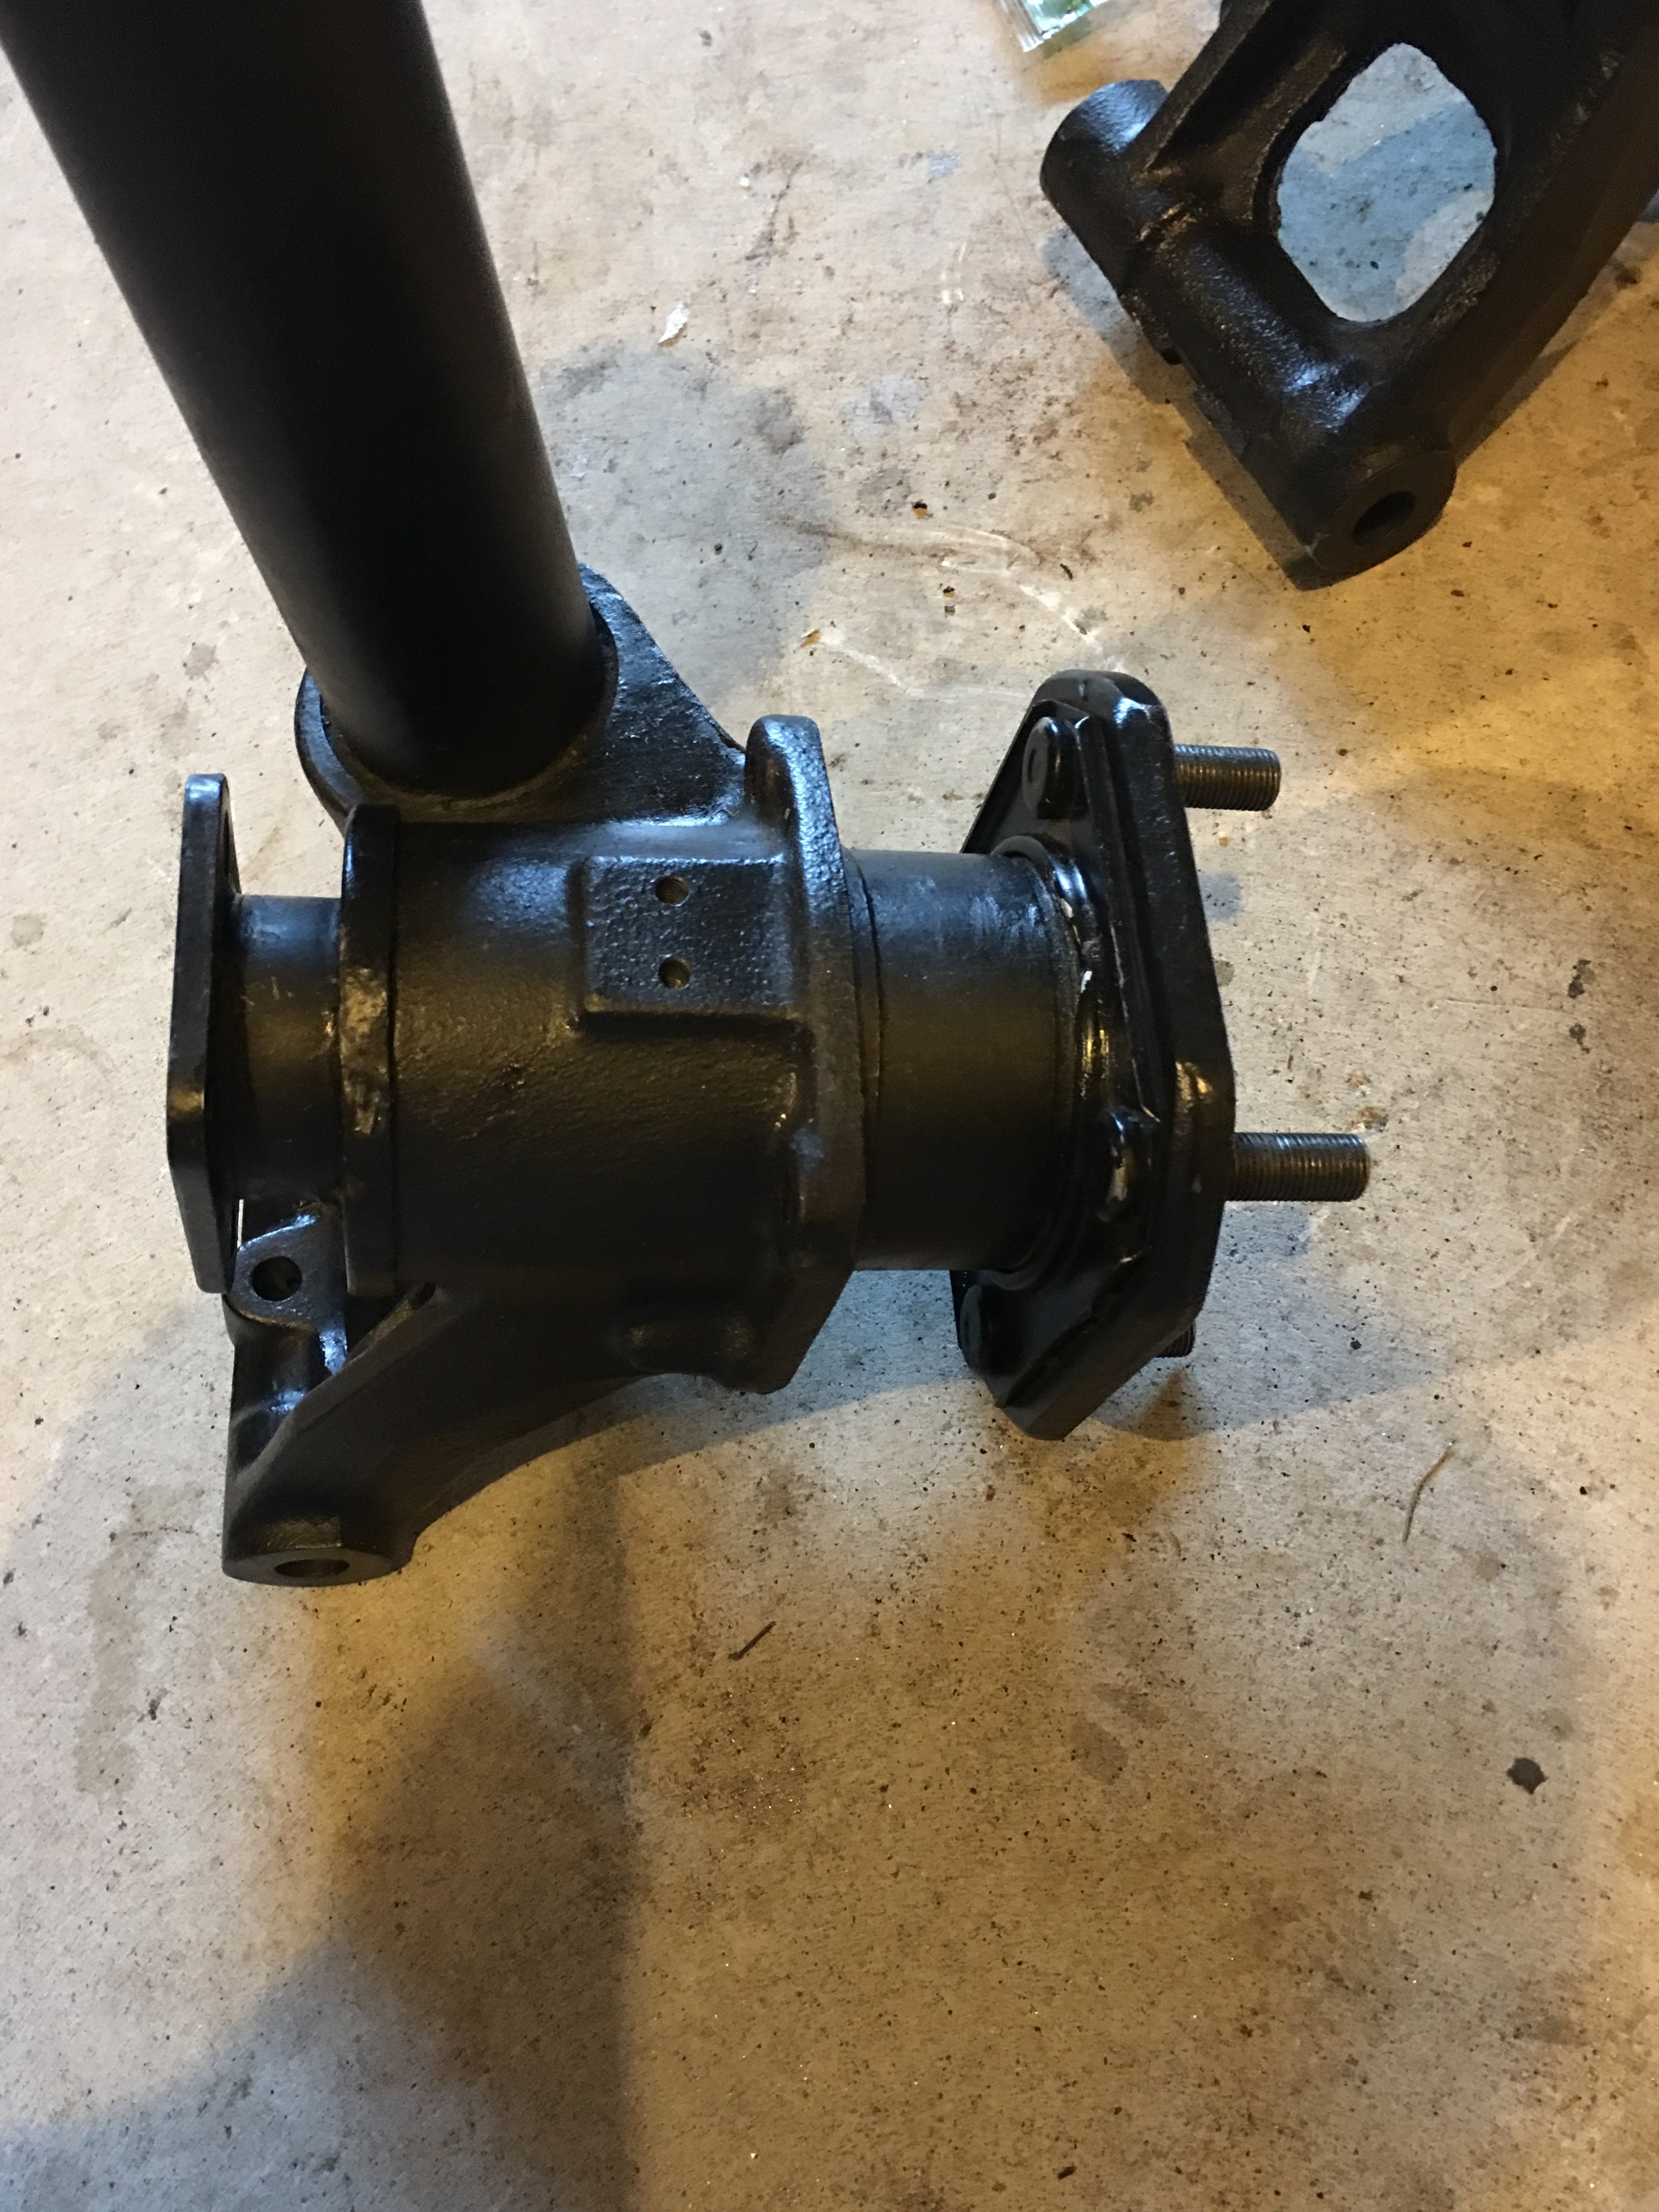
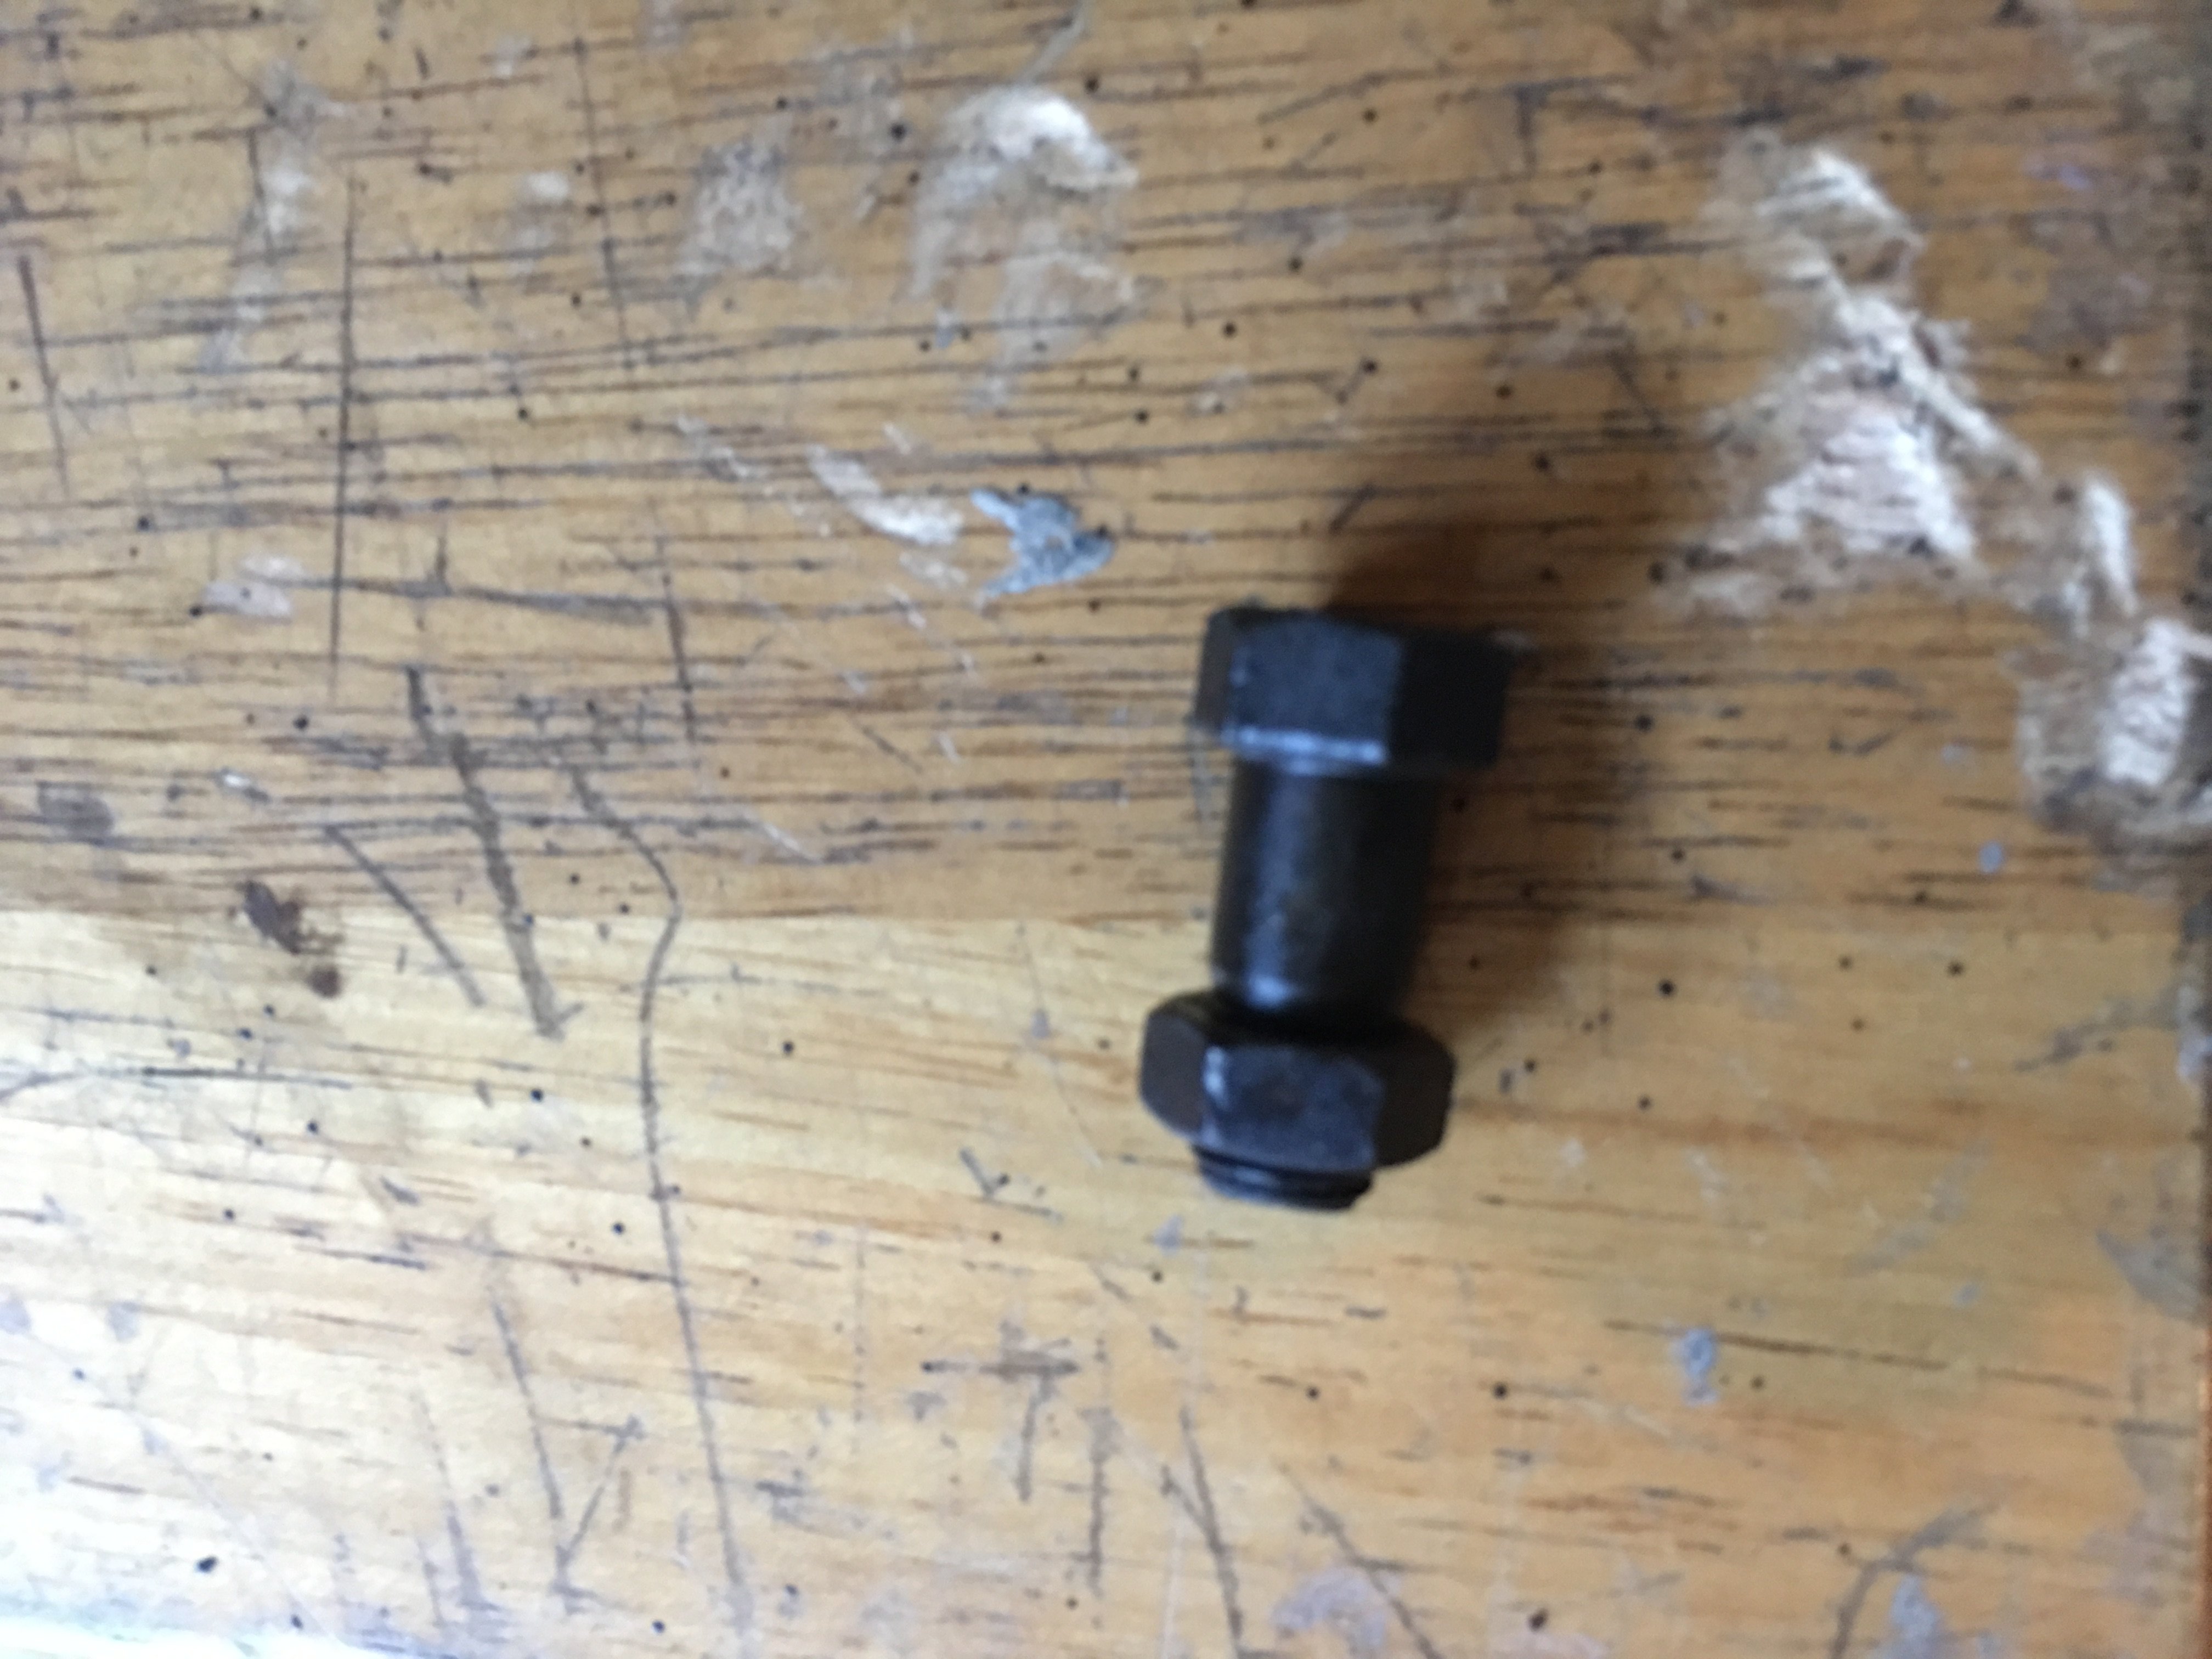
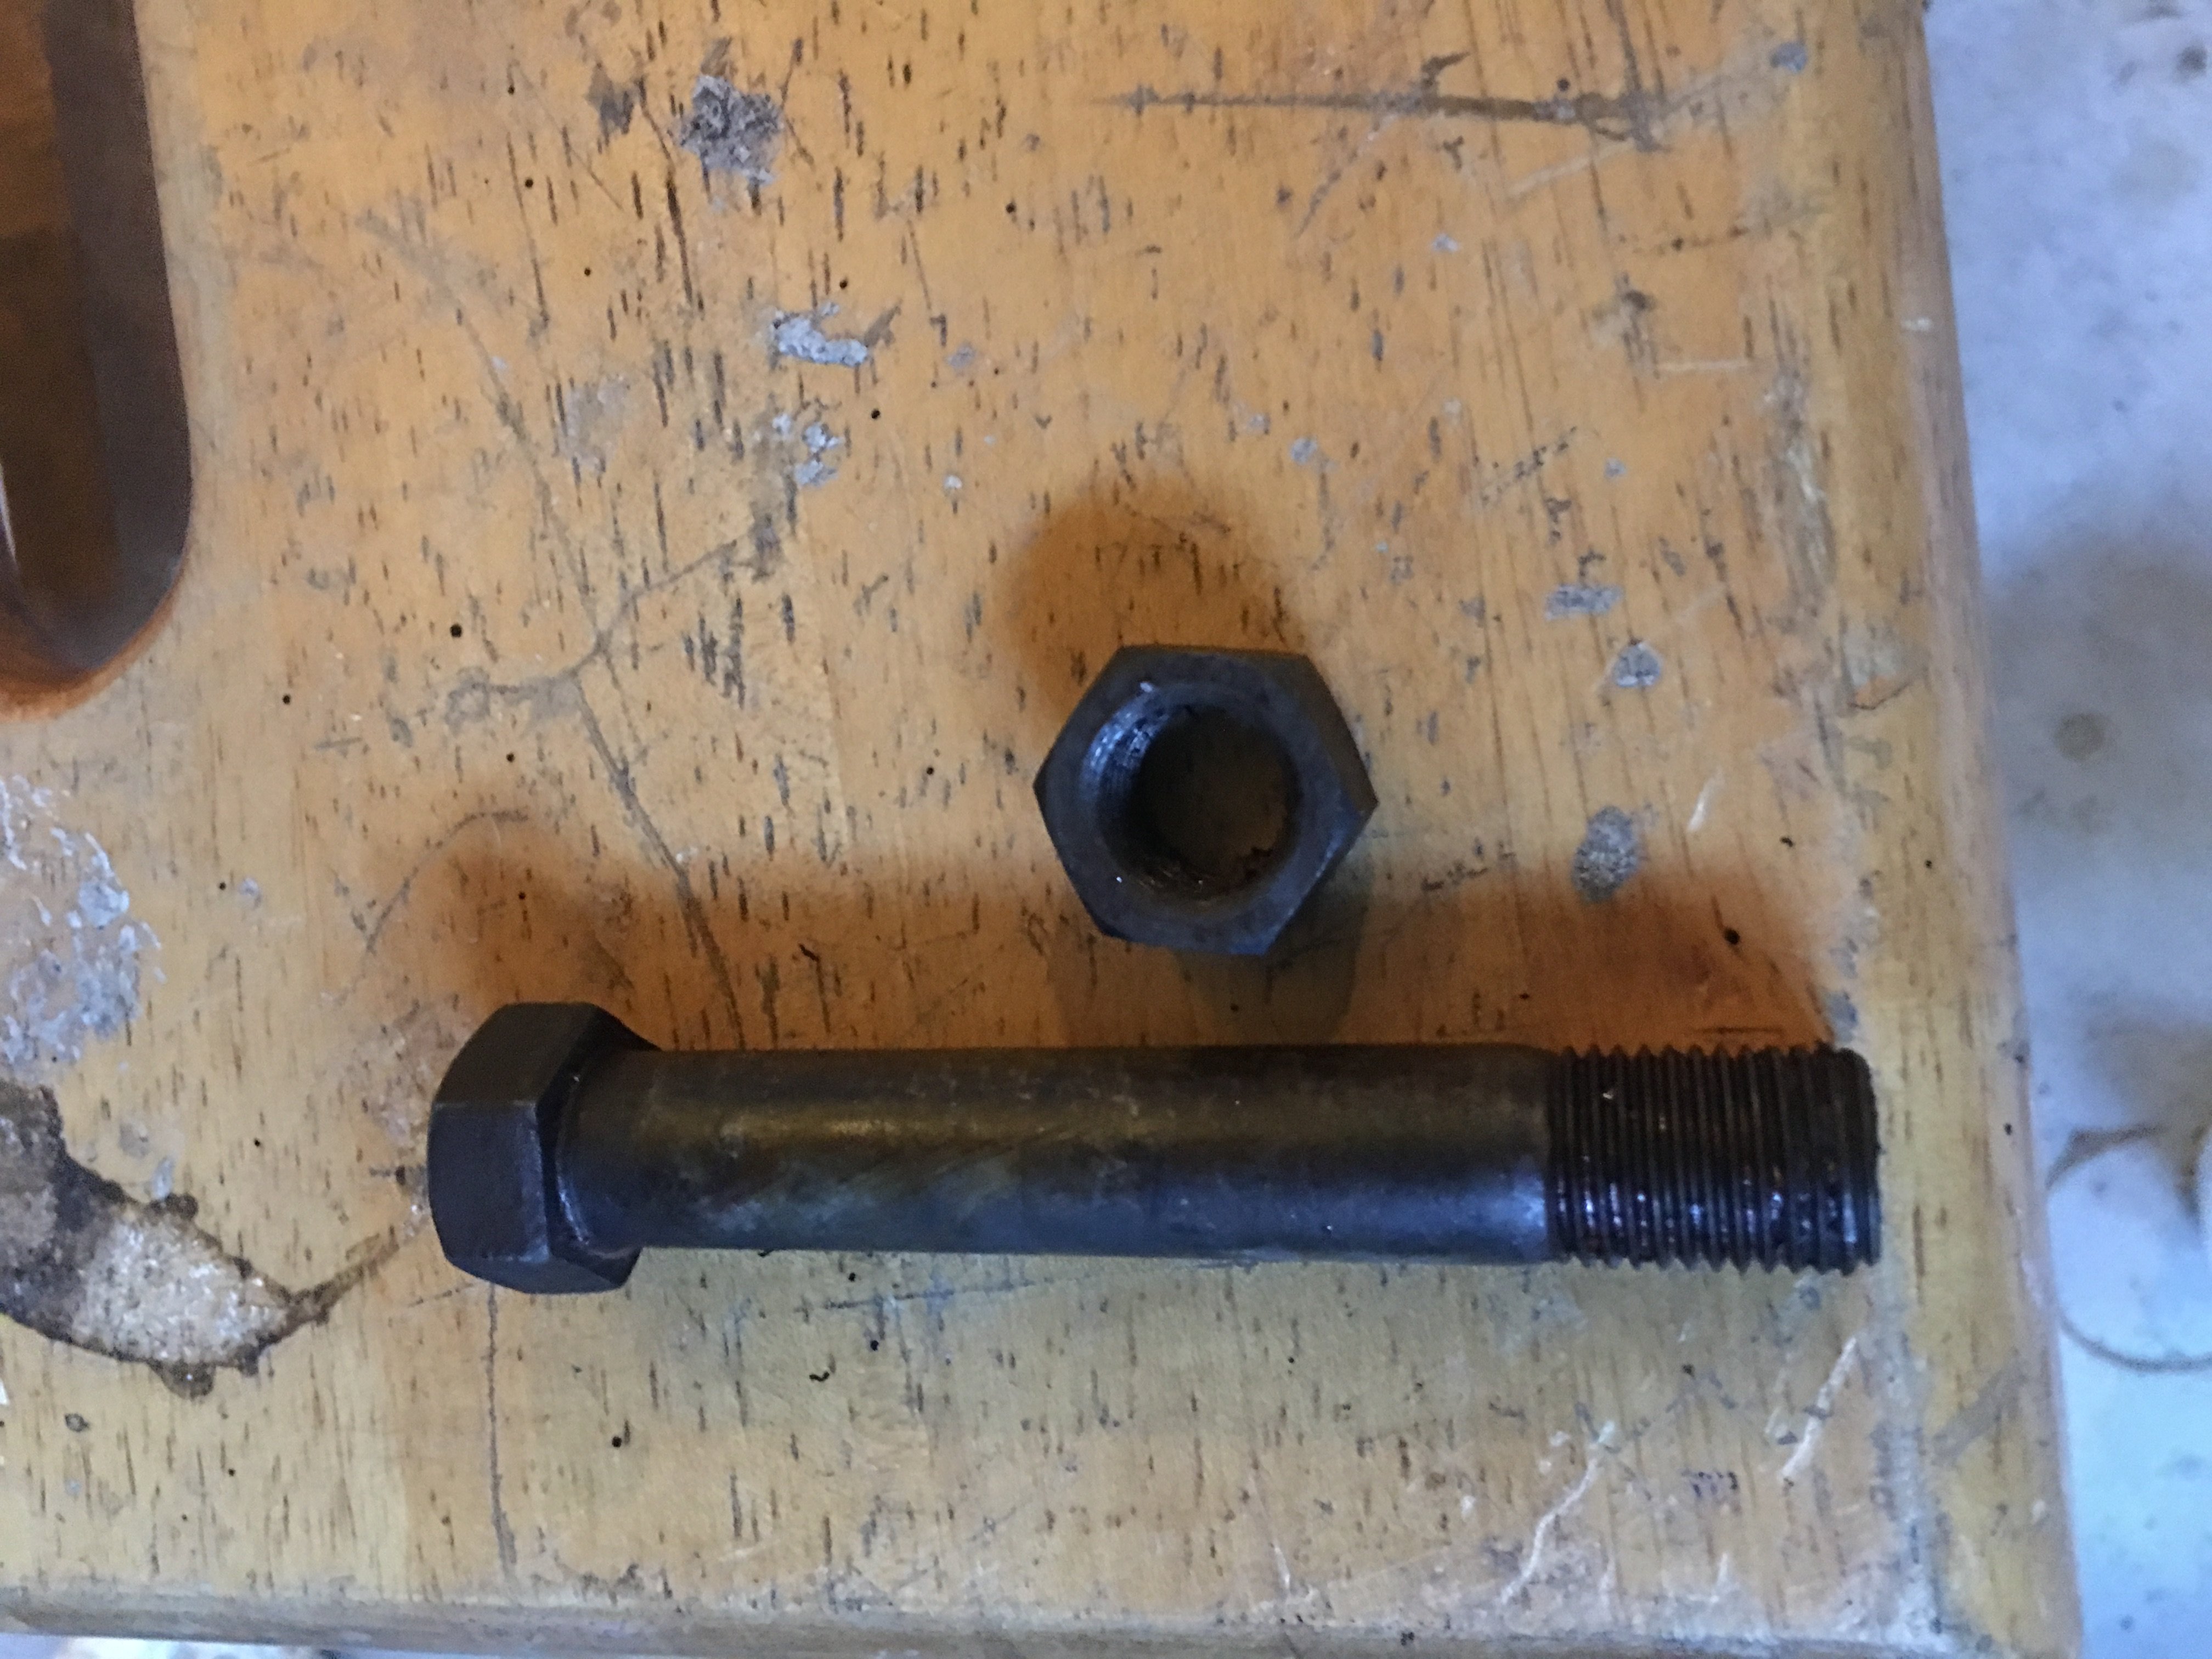
I haven't updated this thread in a while but here is some of the progress: All the suspension parts have been painted black and most bushings have been installed: The bushings went in easily with a 12 ton press. I also cleaned up and painted some other parts like the steering rack housing: We then spent a large amount of time installing the rear wheel bearings. We used a 12 ton press to fit the inner and outer bearings to the stub axel and housing respectively. At that point, I realized the stub axel threads were messed up from the previous splined nut. We got a M20 1.5 die to straighten that out. Next, we pressed on the companion flanges and replaced the stub axel nut with the non-splined version from a 280zx, which still needs to be torqued down. Rear wheel bearings are done! This took a lot of time because we have never replaced wheel bearings before. Also, these rear axels seem way too tight now but I think this is only the companion flange washer rubbing on the inner grease seal. Before we put the companion flange on they would spin like a top but now it takes a significant amount of force to spin. Up next will be to assemble the suspension with new Eibach lowering springs: and KYB gas shocks: I've also spent a lot of time restoring the nuts, bolts, washers, etc. Some important hardware such as the spindle pins and stub axel nuts will be replaced with all new parts but the other hardware was in pretty good condition so I will be reusing most of it. We went with the popular 5/8th bolt for the spindle pins: To restore the hardware I initially tried to use a Black Oxide kit from Caswell Plating. First, I soaked the bolts in white vinegar overnight to remove any rust. Then the bolts went into the black oxide and then got coated with the sealer provided with the kit. Unfortunately, after I let the bolts sit overnight the majority of the hardware developed some pretty serious surface rust. This was probably my fault as I may have done something wrong in the process or used to much hardware for the kit. I ended up soaking all the hardware in vinegar again, rinsing them in mineral spirits to remove any residue. and using some Boesheild T-9 to seal the parts. This process worked great and it even left the black look from the previous oxide: With the hardware and parts all restored we can start bolting everything back onto the car!
-
280z 2+2 resto mod
Whitley_280z_2+2 replied to Whitley_280z_2+2's topic in S30 Series - 240z, 260z, 280z
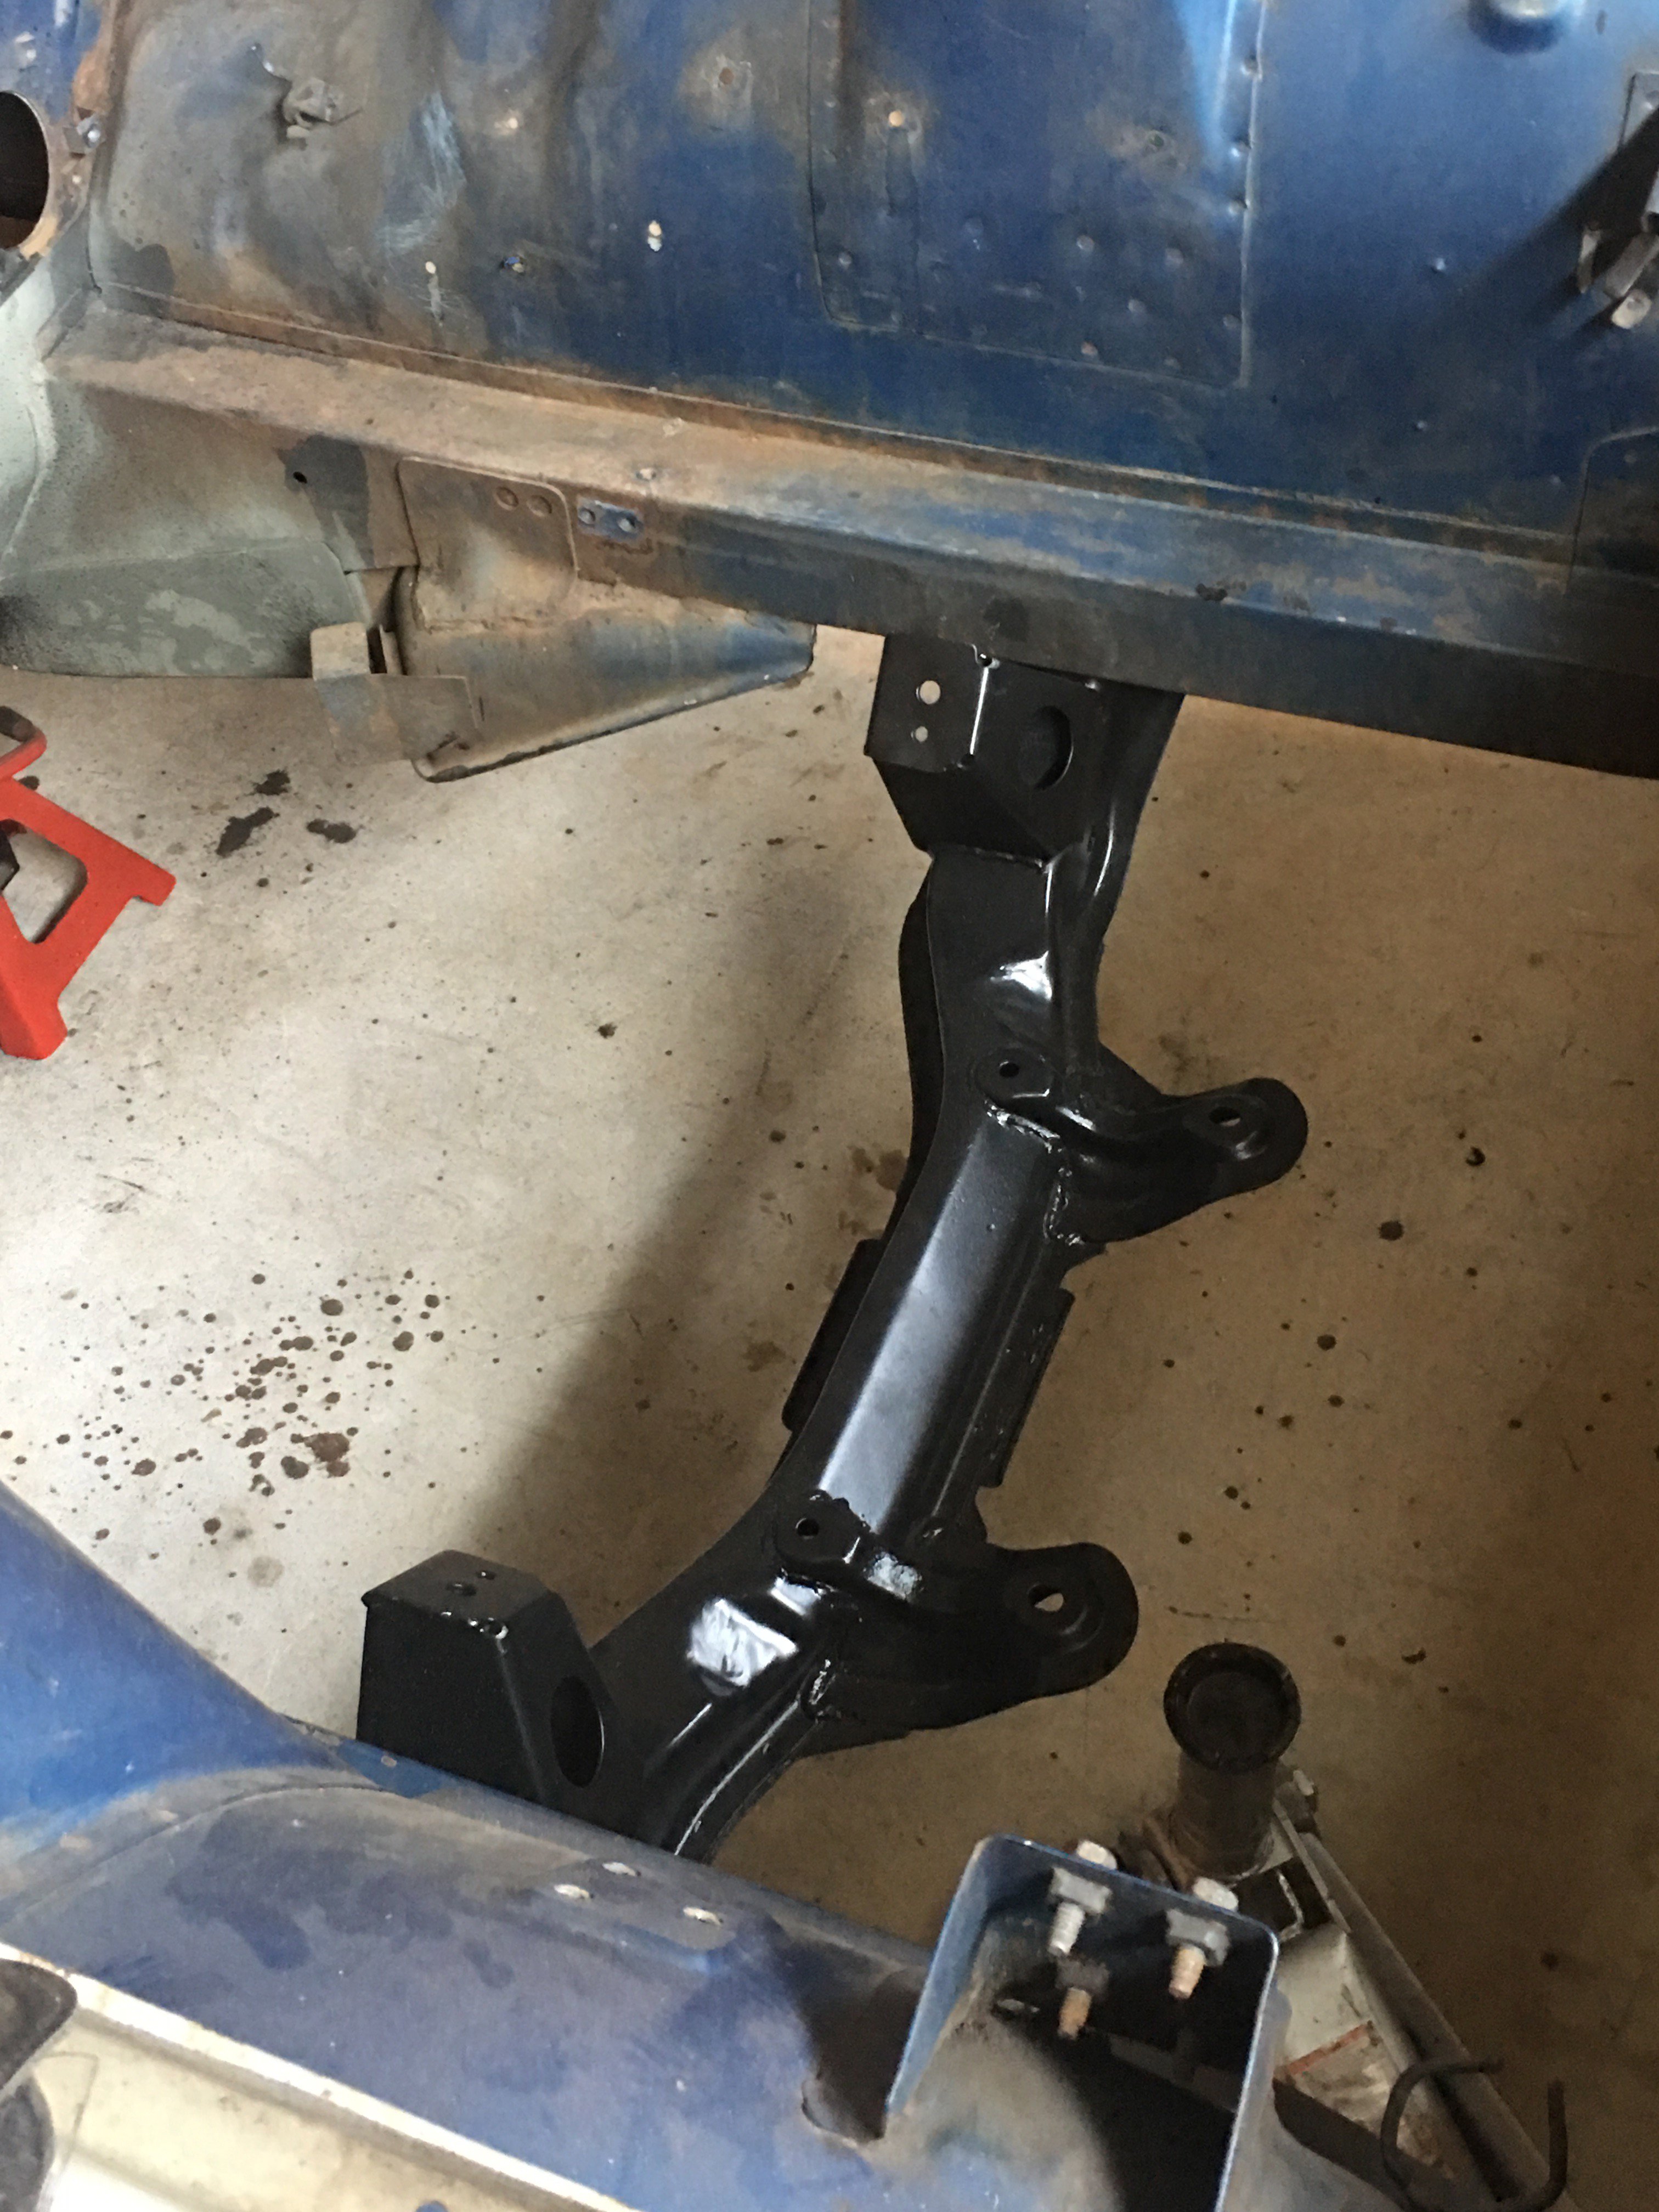
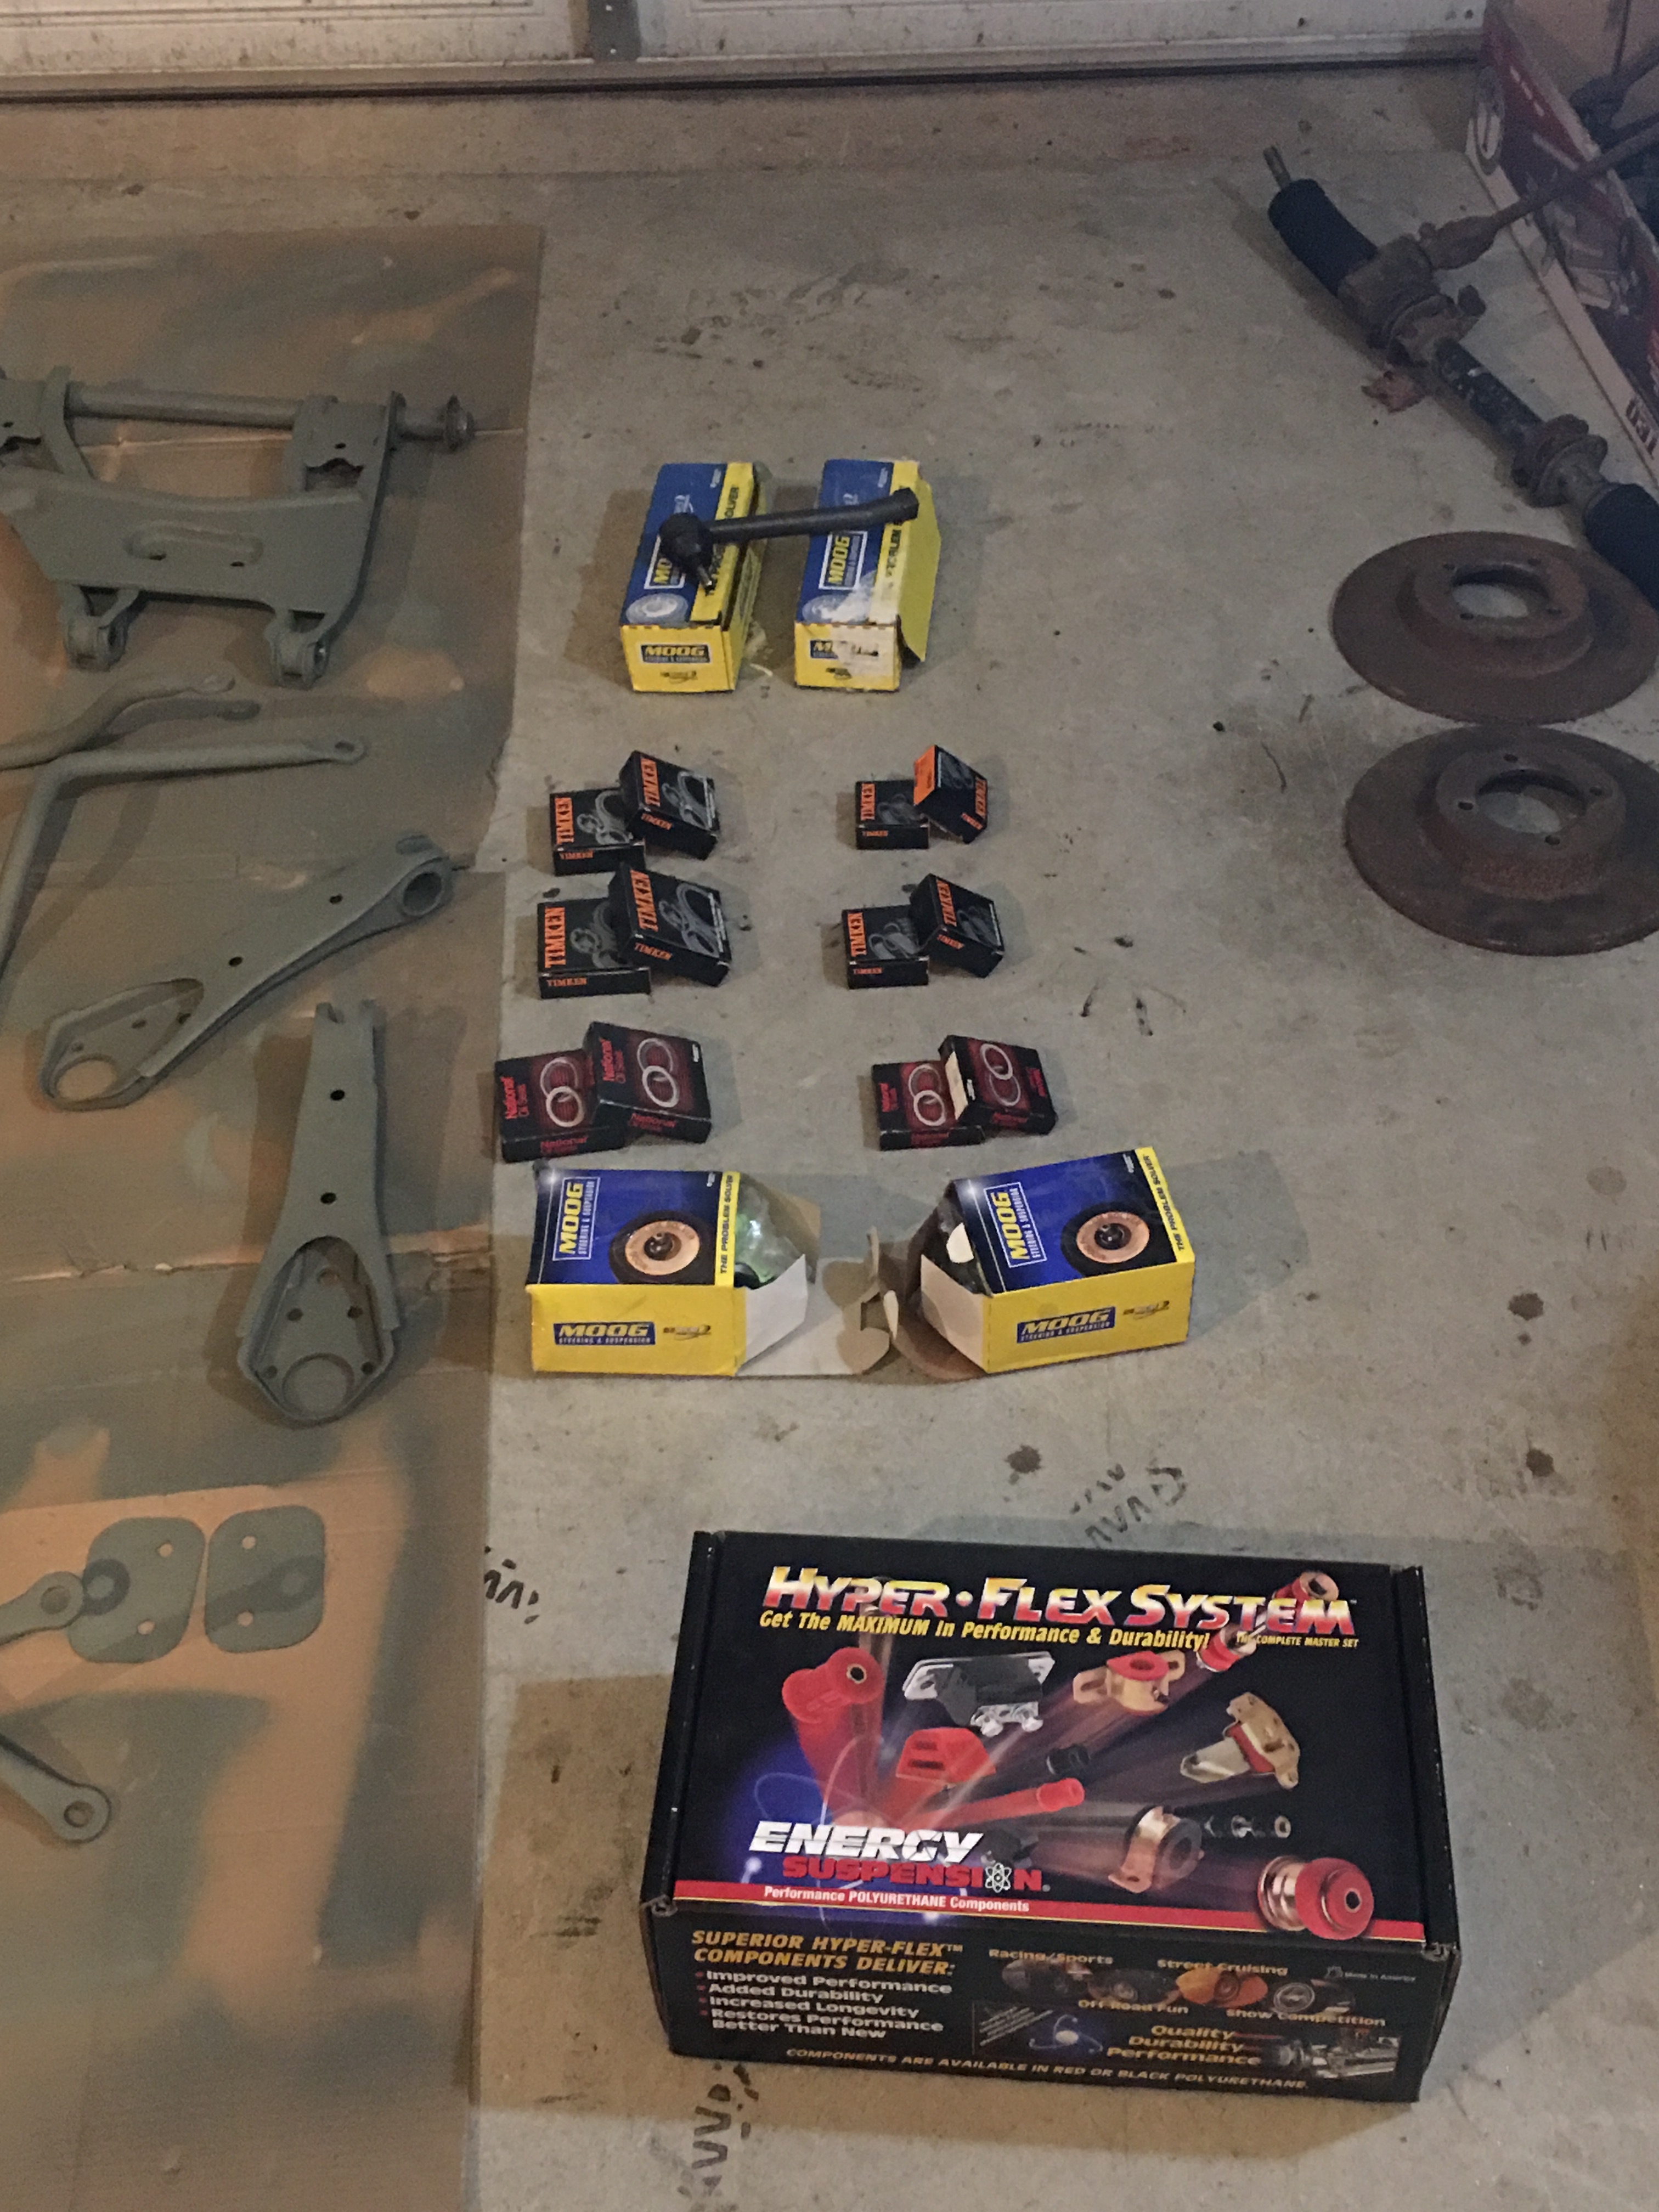
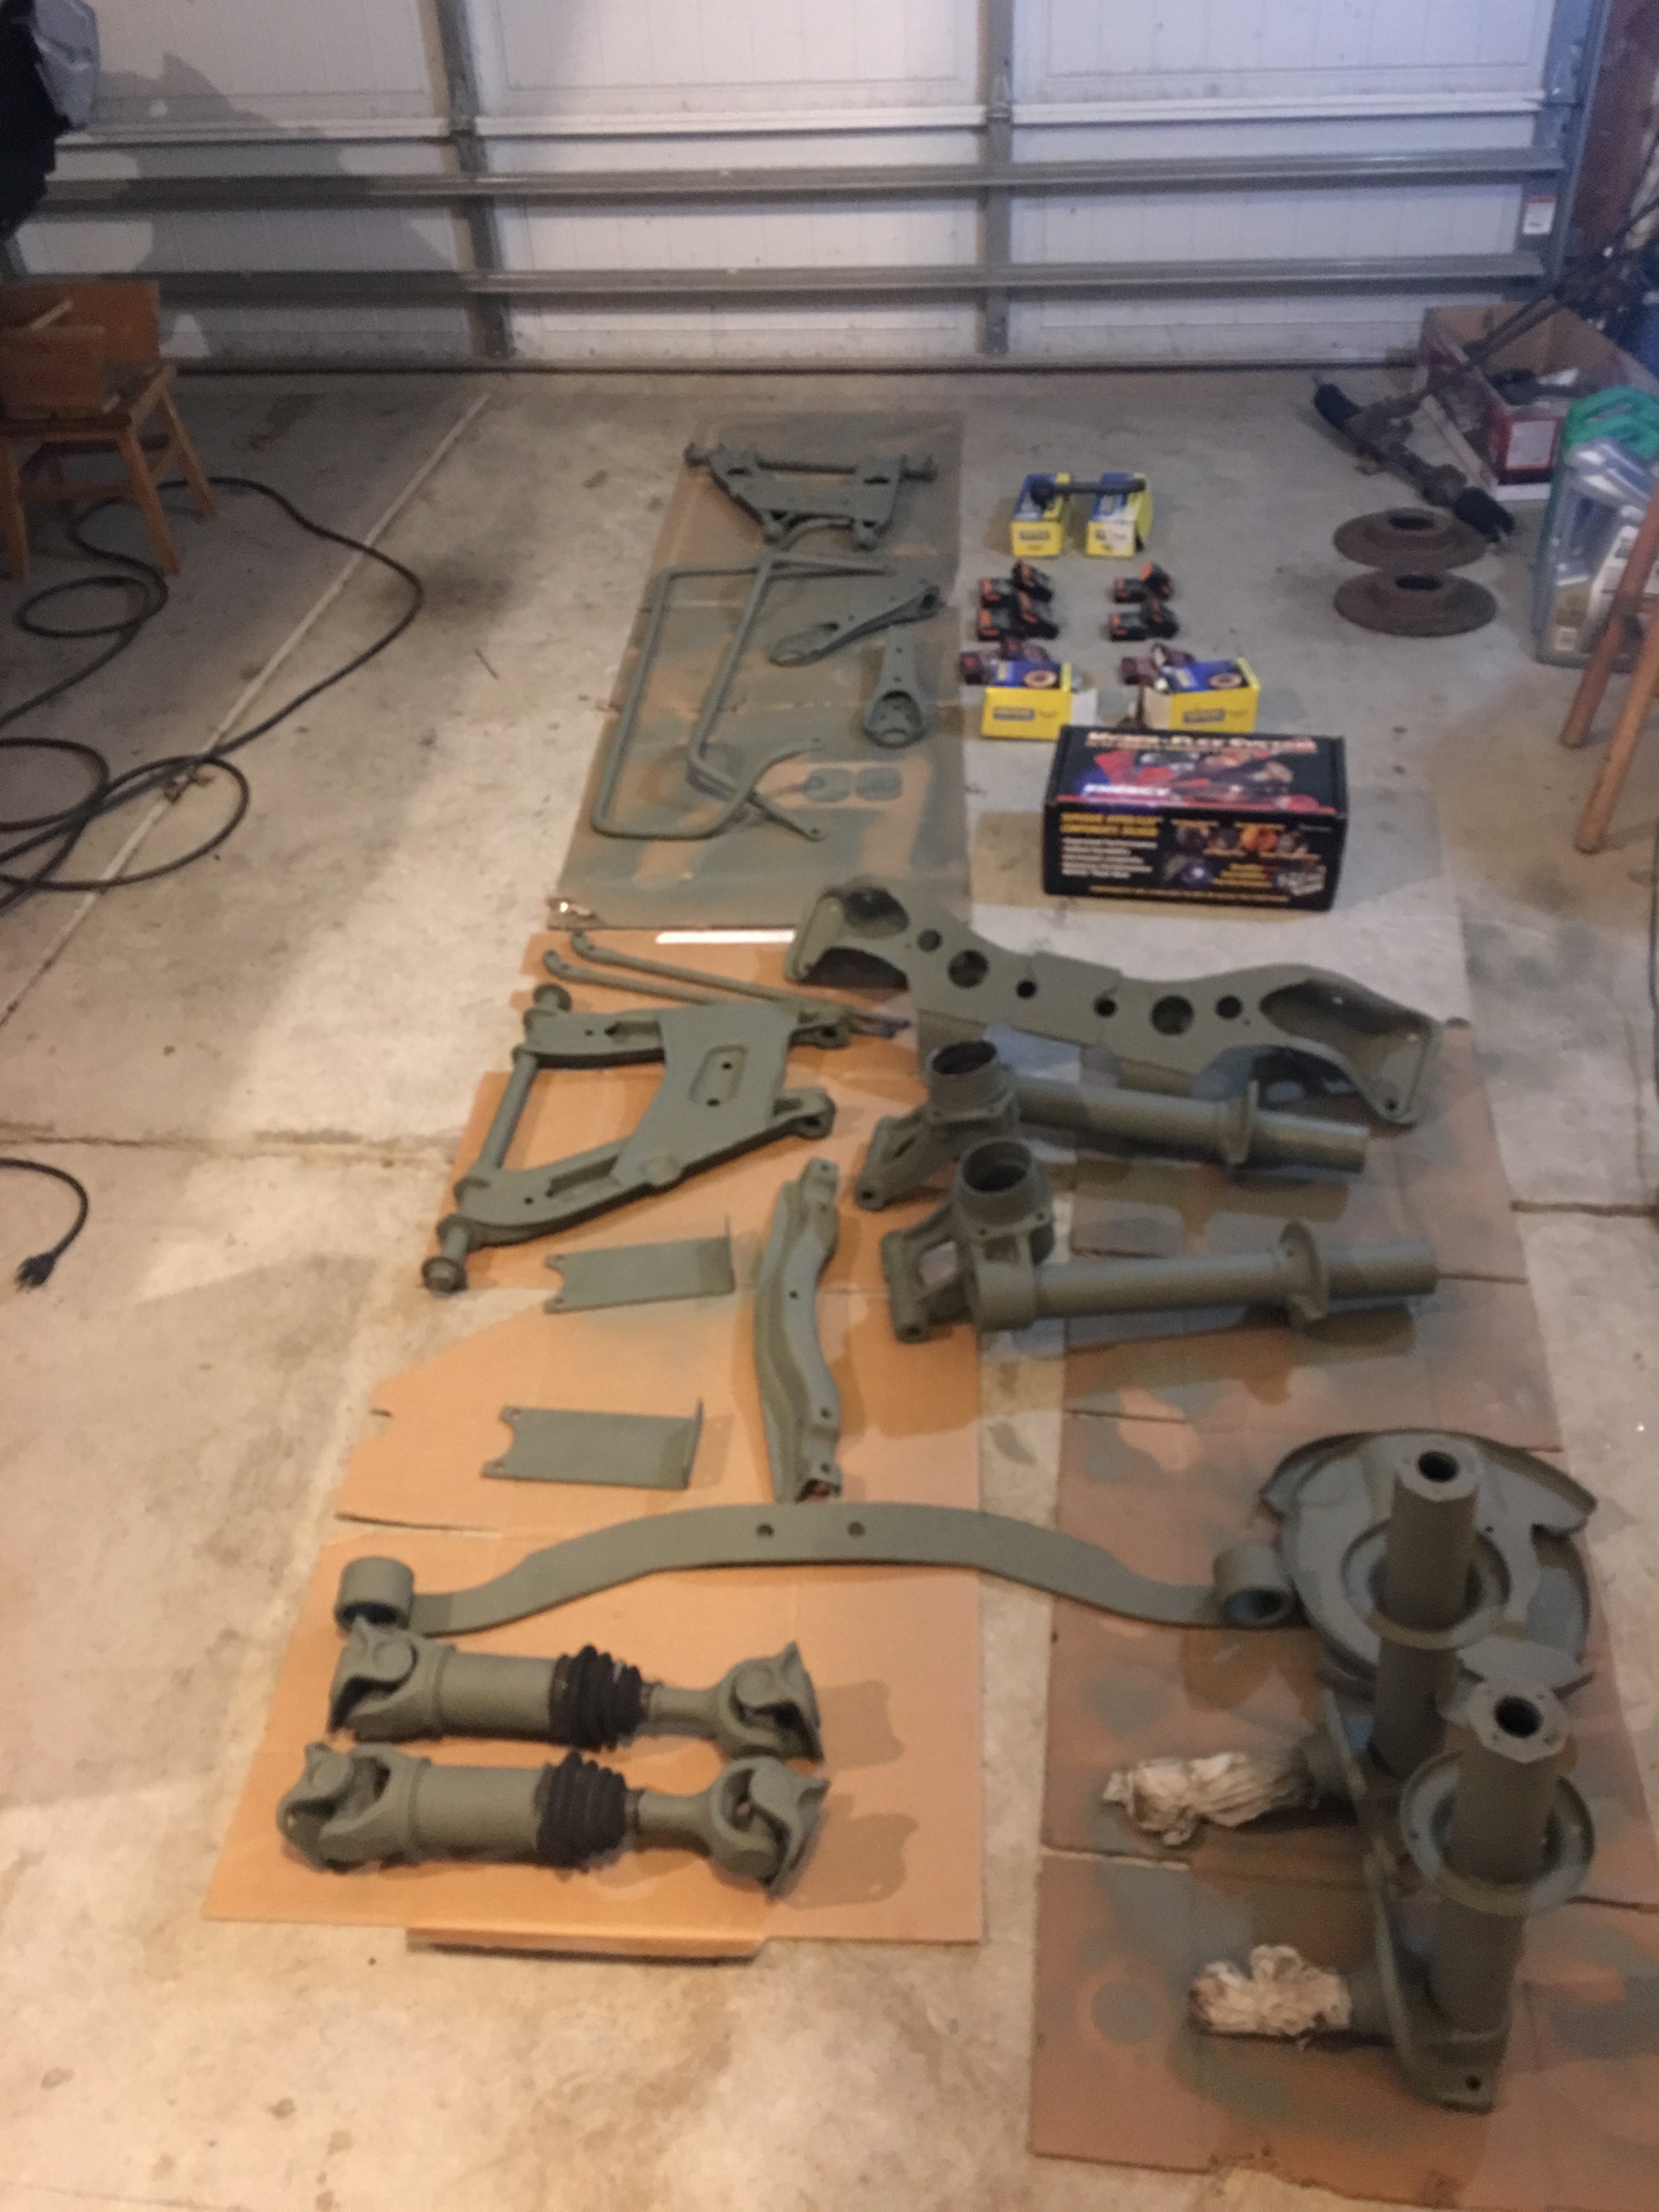
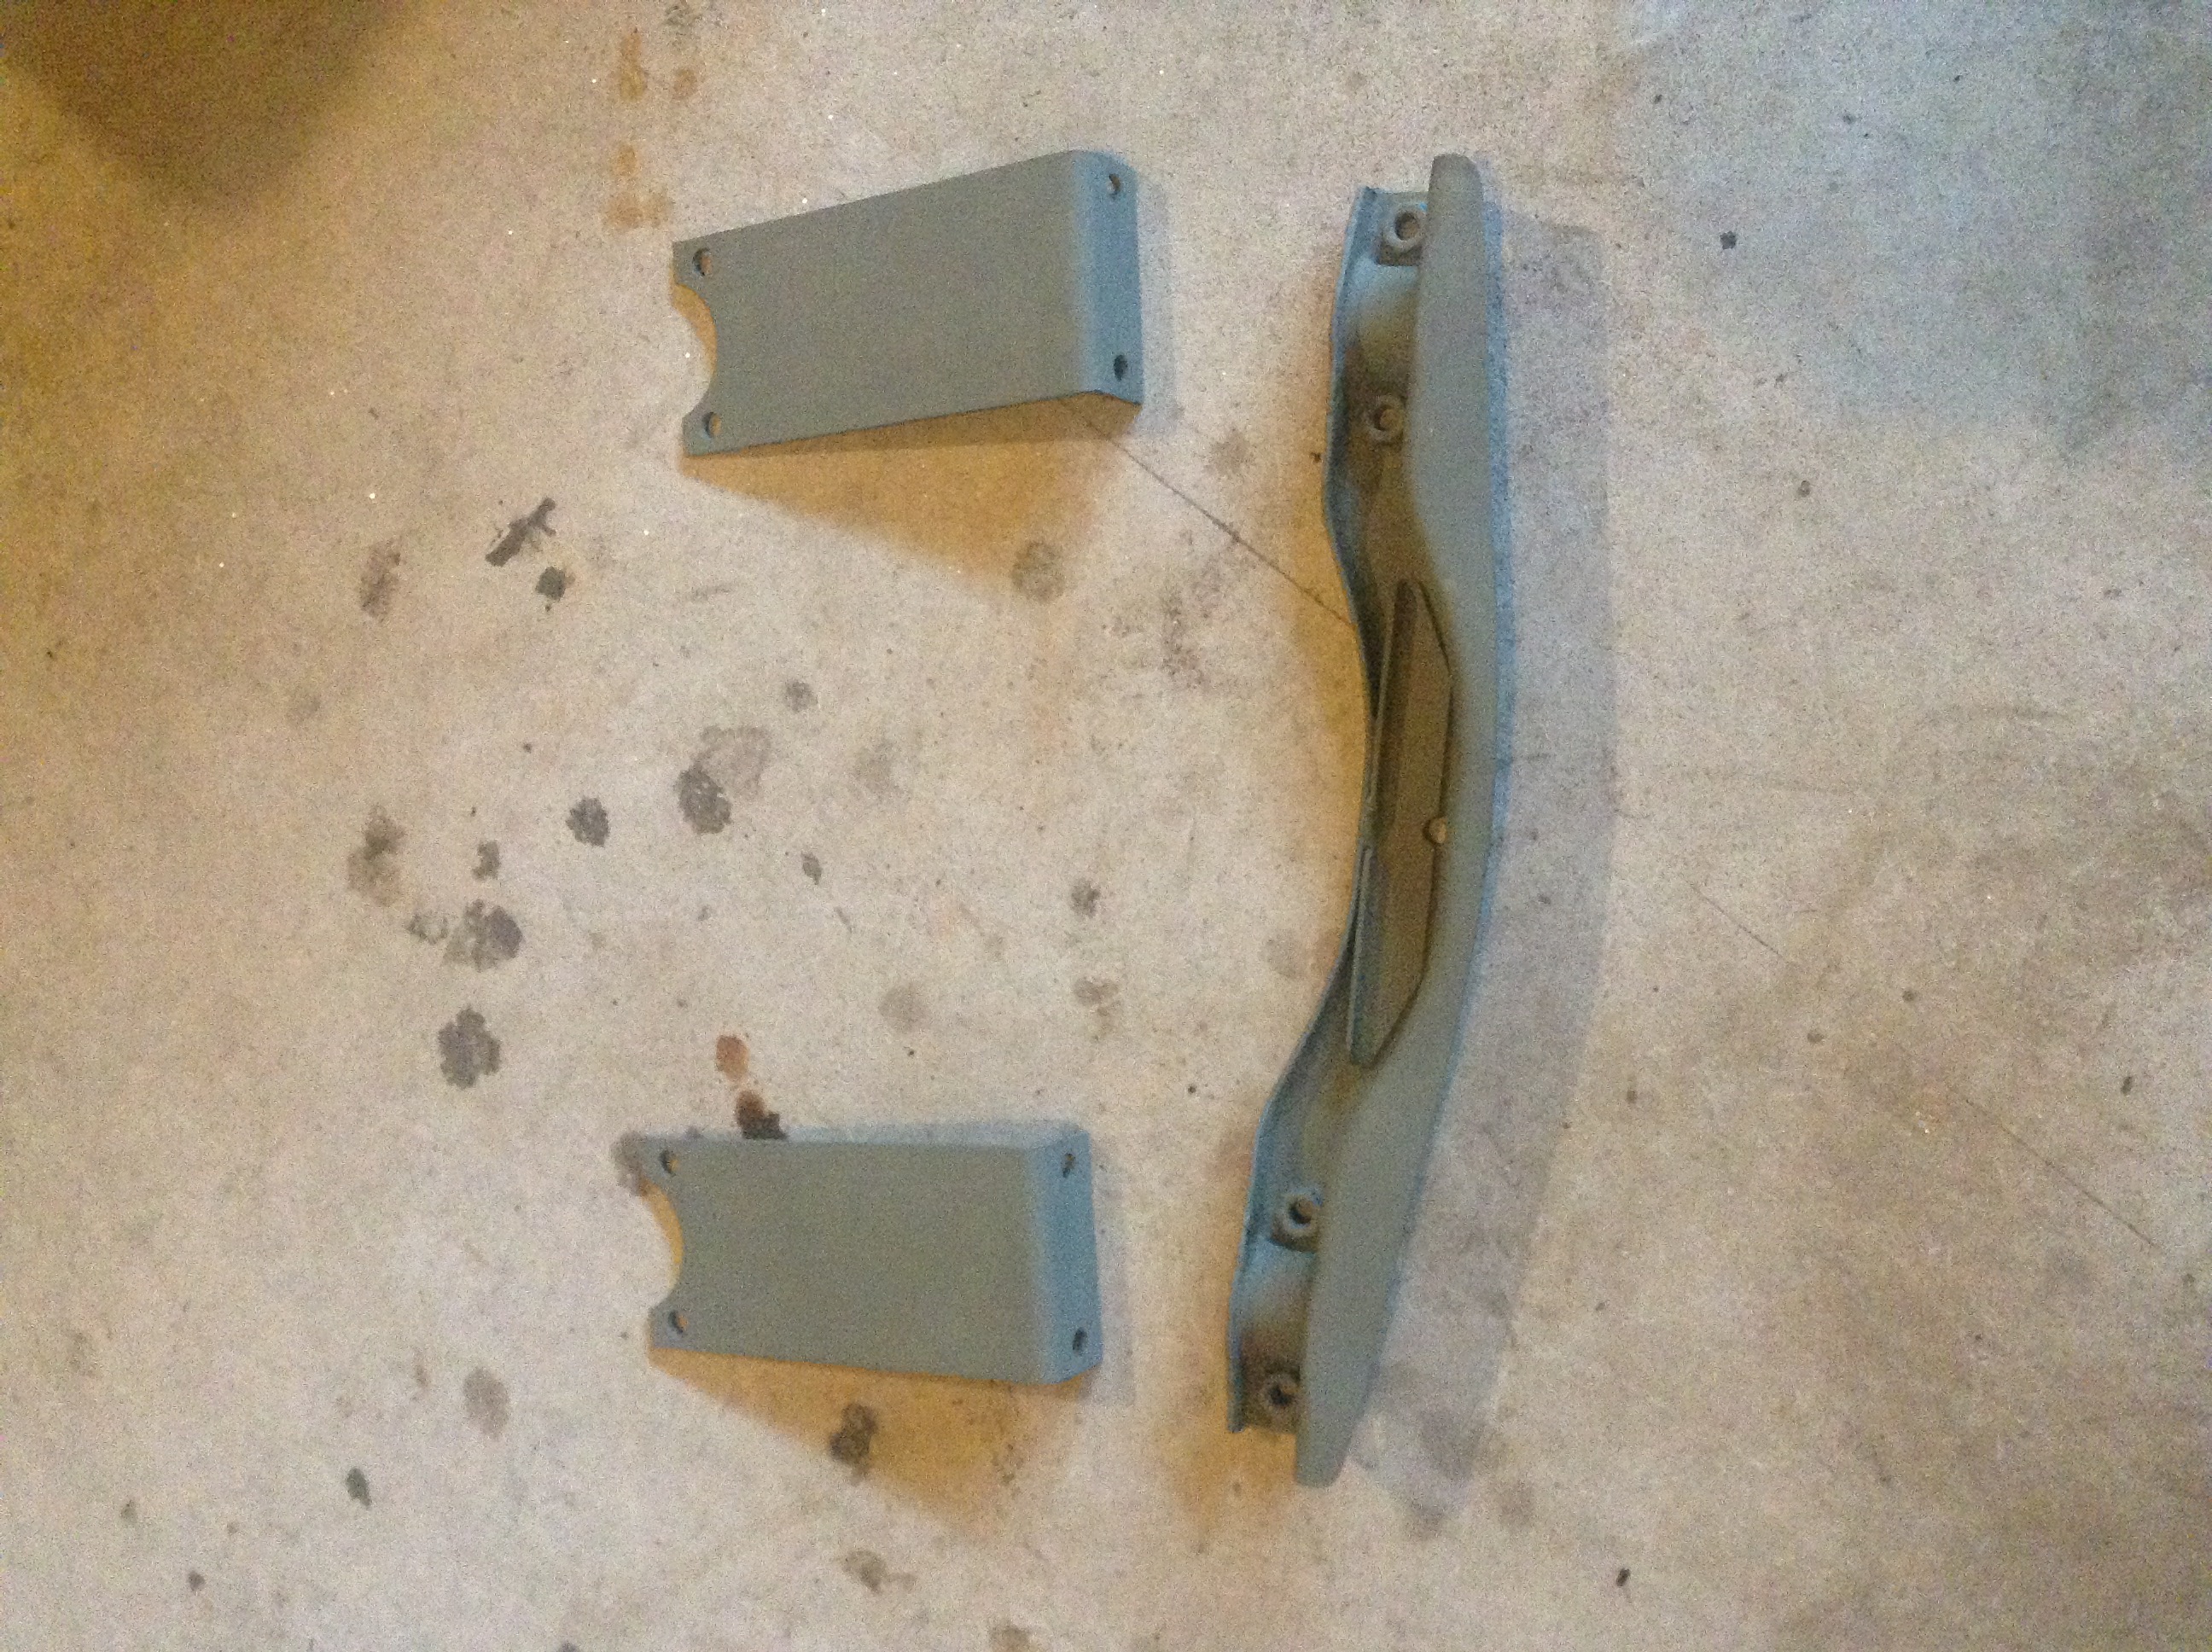
Update: I welded the control arm: Then, after many hours with a wire wheel, Dremel tool, and paint stripper we got all the suspension components down to bare metal. Here's everything with two coats of primer: We also ordered all new bushings, bearings, seals, outer tie rod ends, and ball joints: All that is left for the suspension parts-wise is springs, spindle pins (we are going to just use bolts), and some rubber boots.
-
280z 2+2 resto mod
Whitley_280z_2+2 replied to Whitley_280z_2+2's topic in S30 Series - 240z, 260z, 280z
Northwoodz: It does kinda look like a 2+2 since the rear windows are hinged outward but there was no place for a rear seat as well. Thanks! I found the cheapest way to buy the 3M stuff is on amazon. You can buy a pack of 6 for much cheaper than individual cans. -
280z 2+2 resto mod
Whitley_280z_2+2 replied to Whitley_280z_2+2's topic in S30 Series - 240z, 260z, 280z
Sorry, the one in the junk yard is not a 2+2. I didn't know that the tail lights were 2+2 specific. -
280z 2+2 resto mod
Whitley_280z_2+2 replied to Whitley_280z_2+2's topic in S30 Series - 240z, 260z, 280z
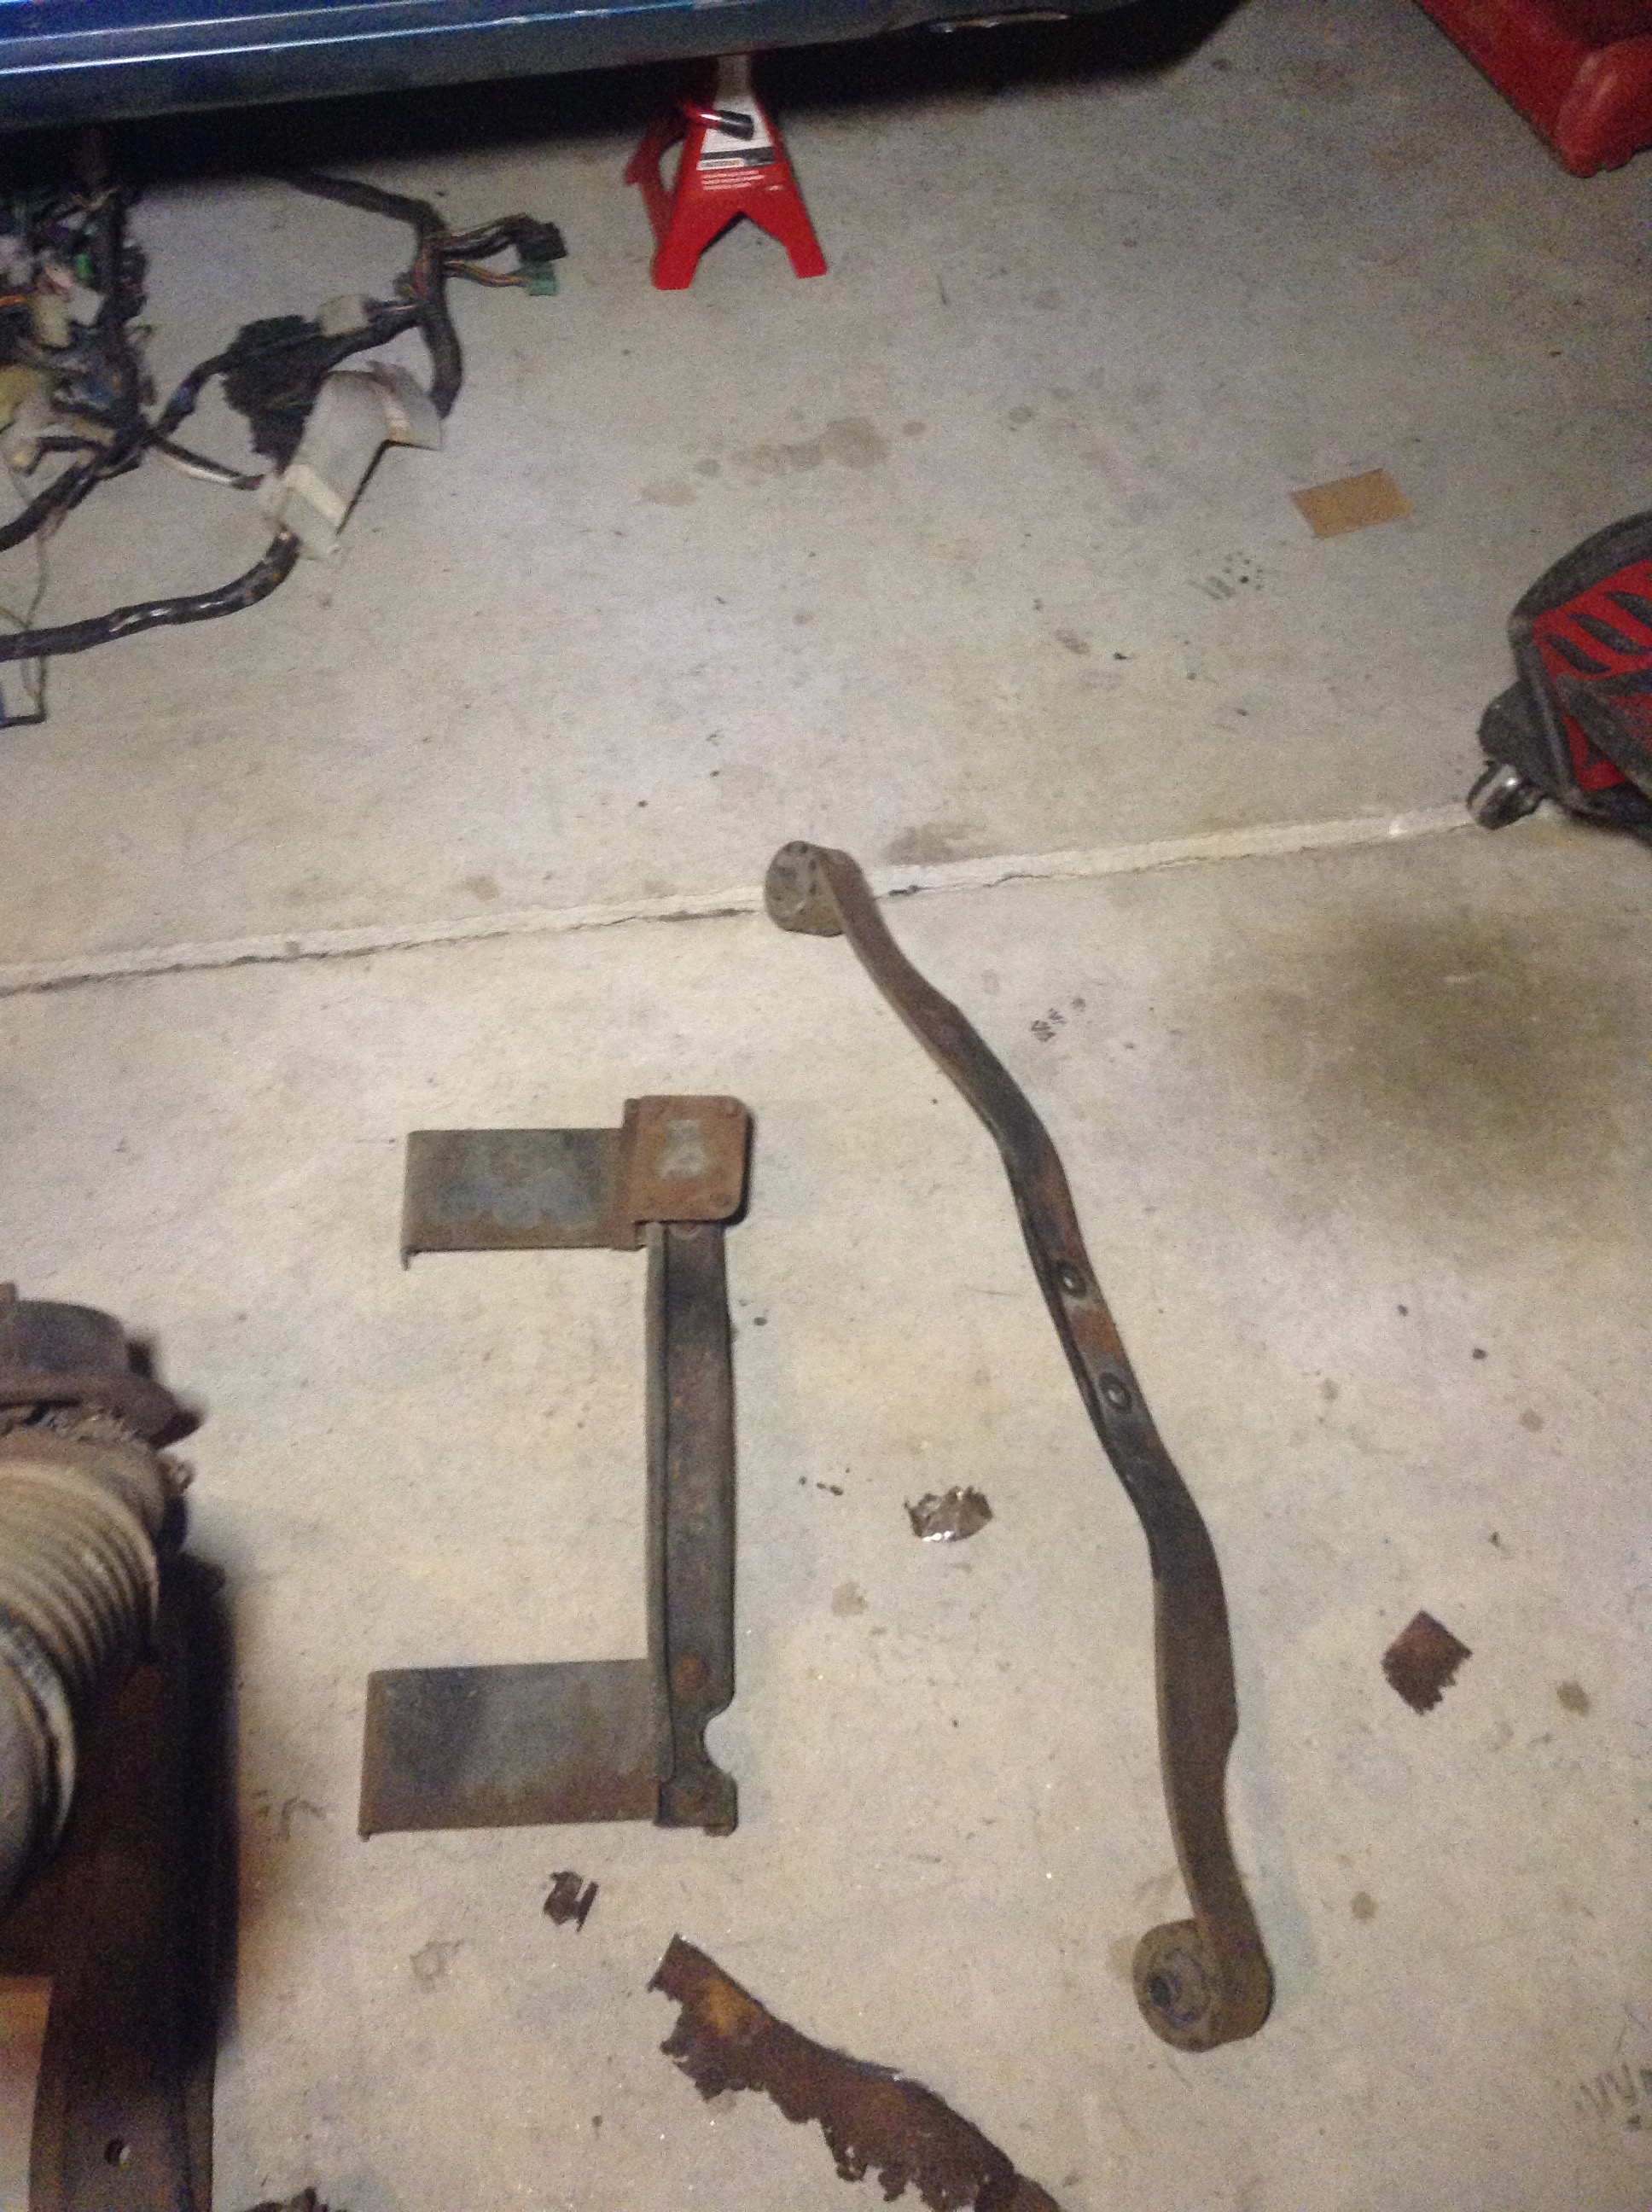
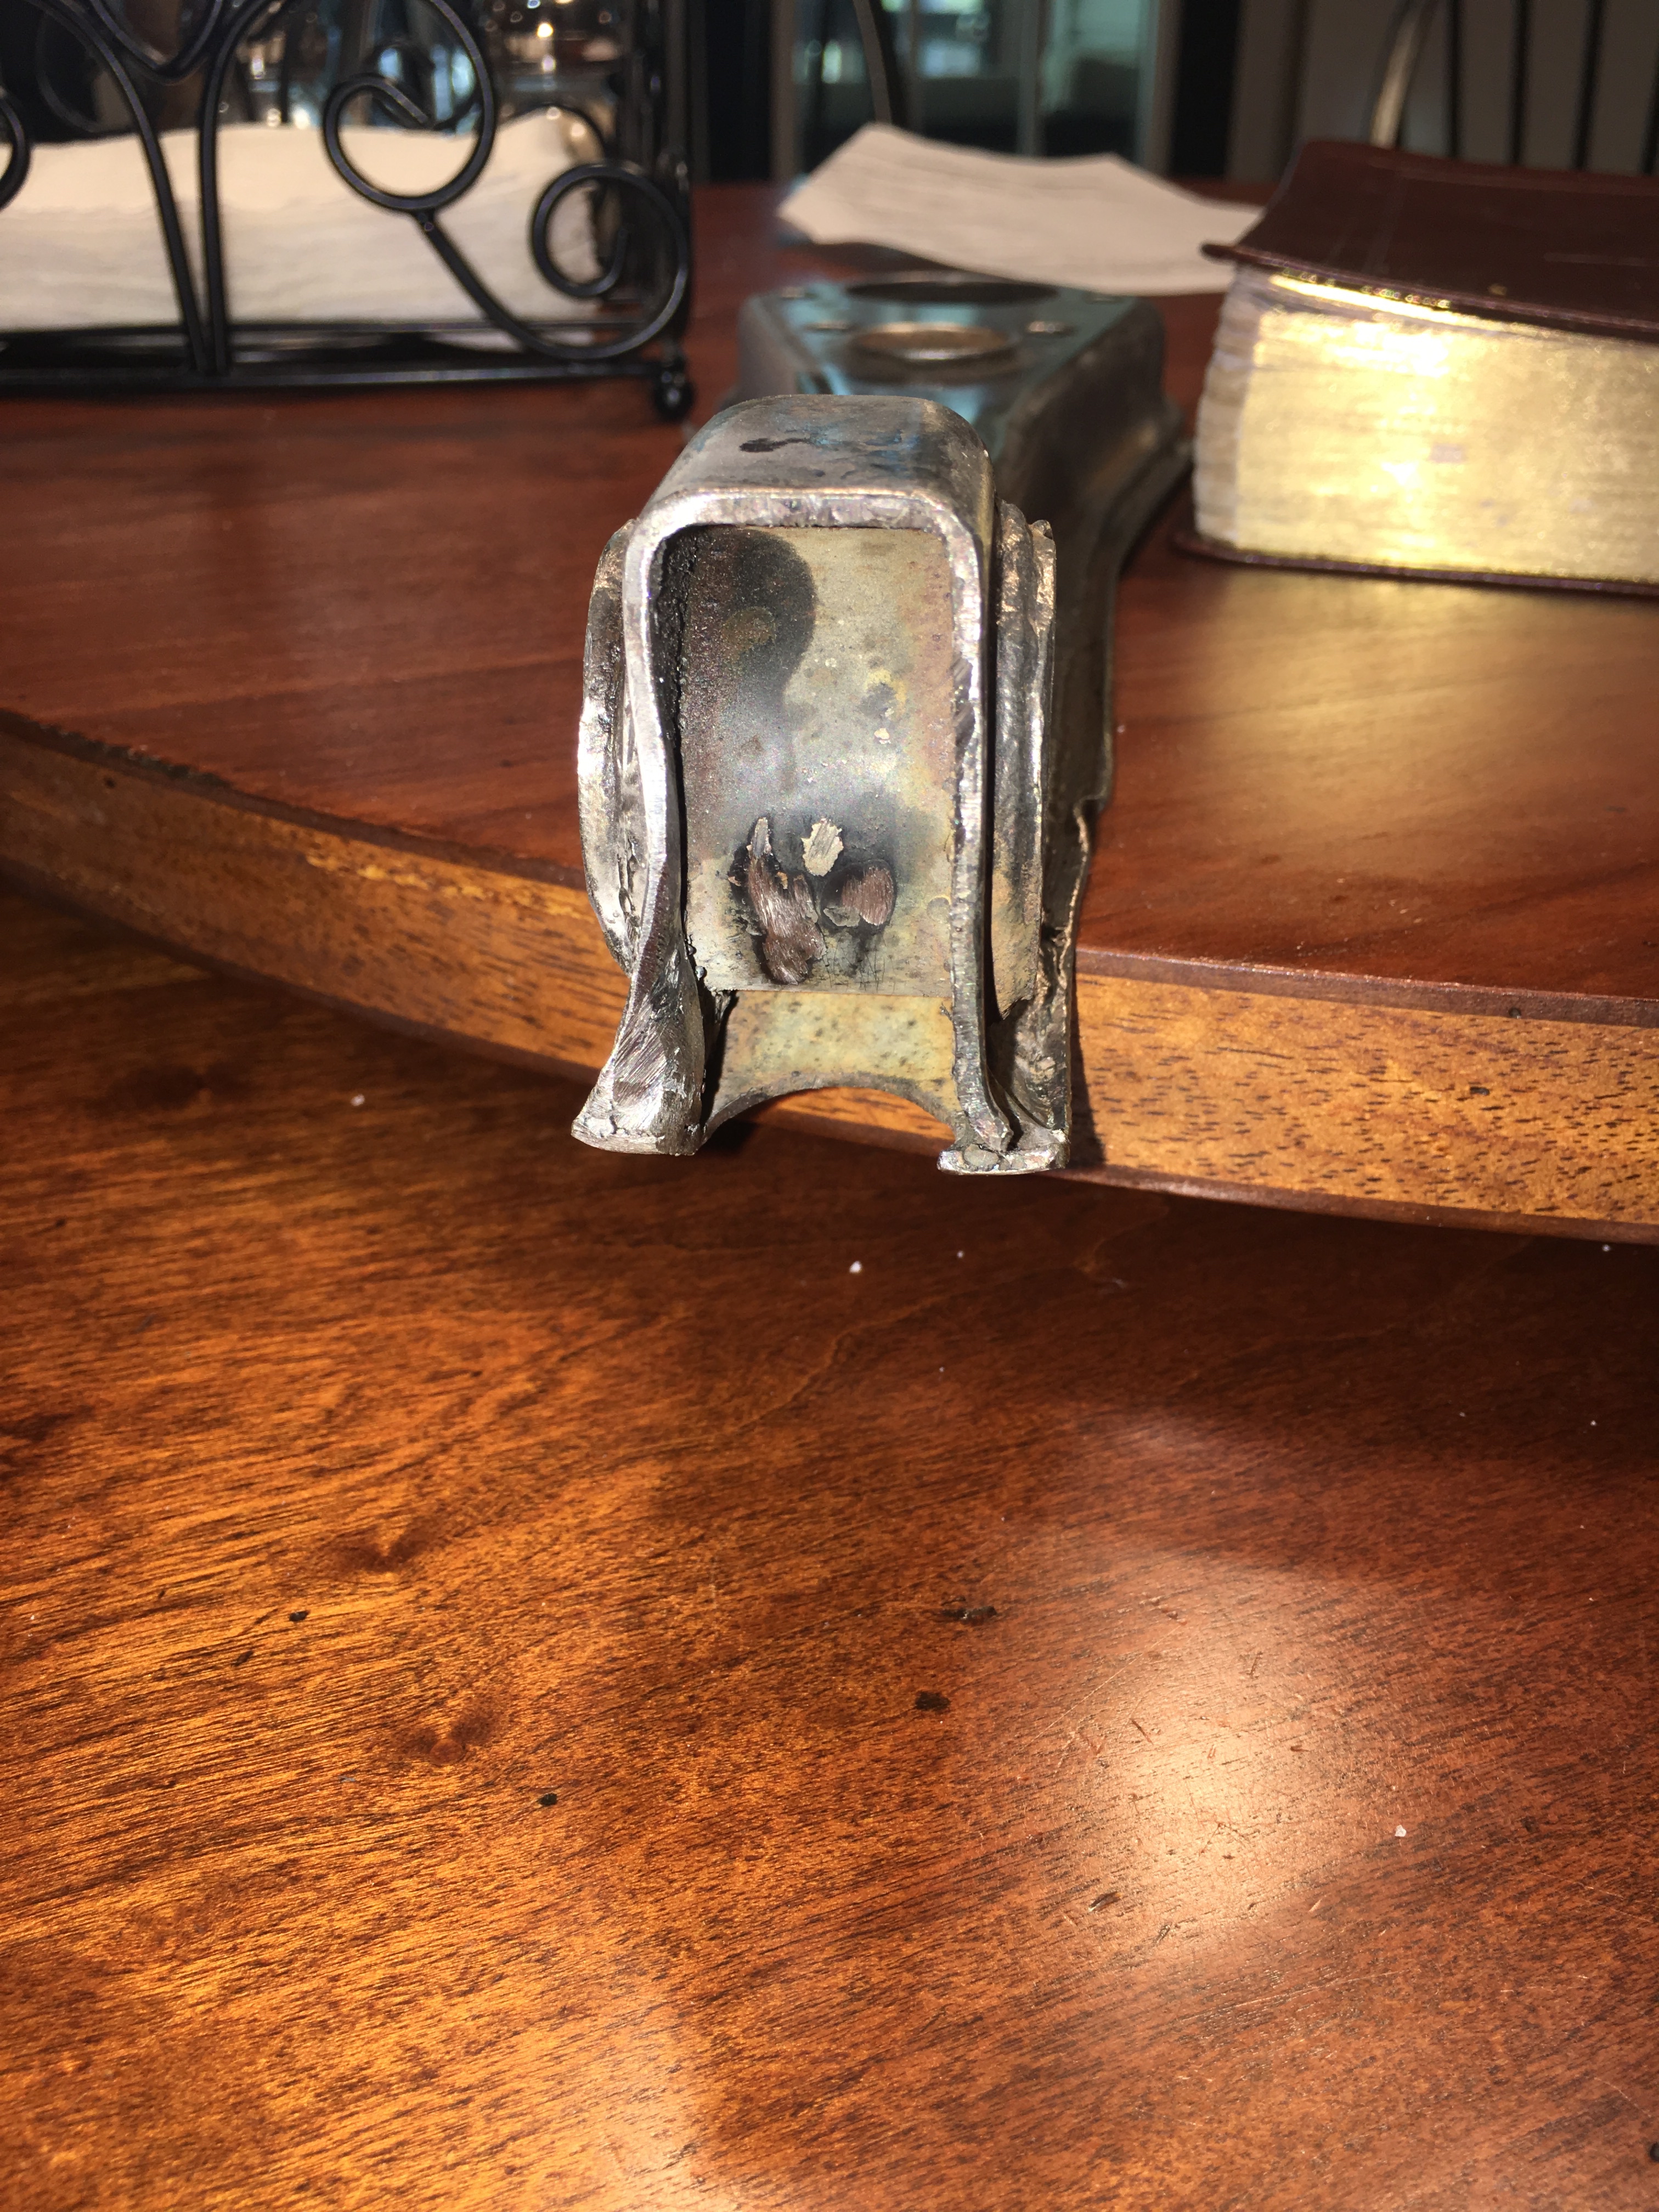
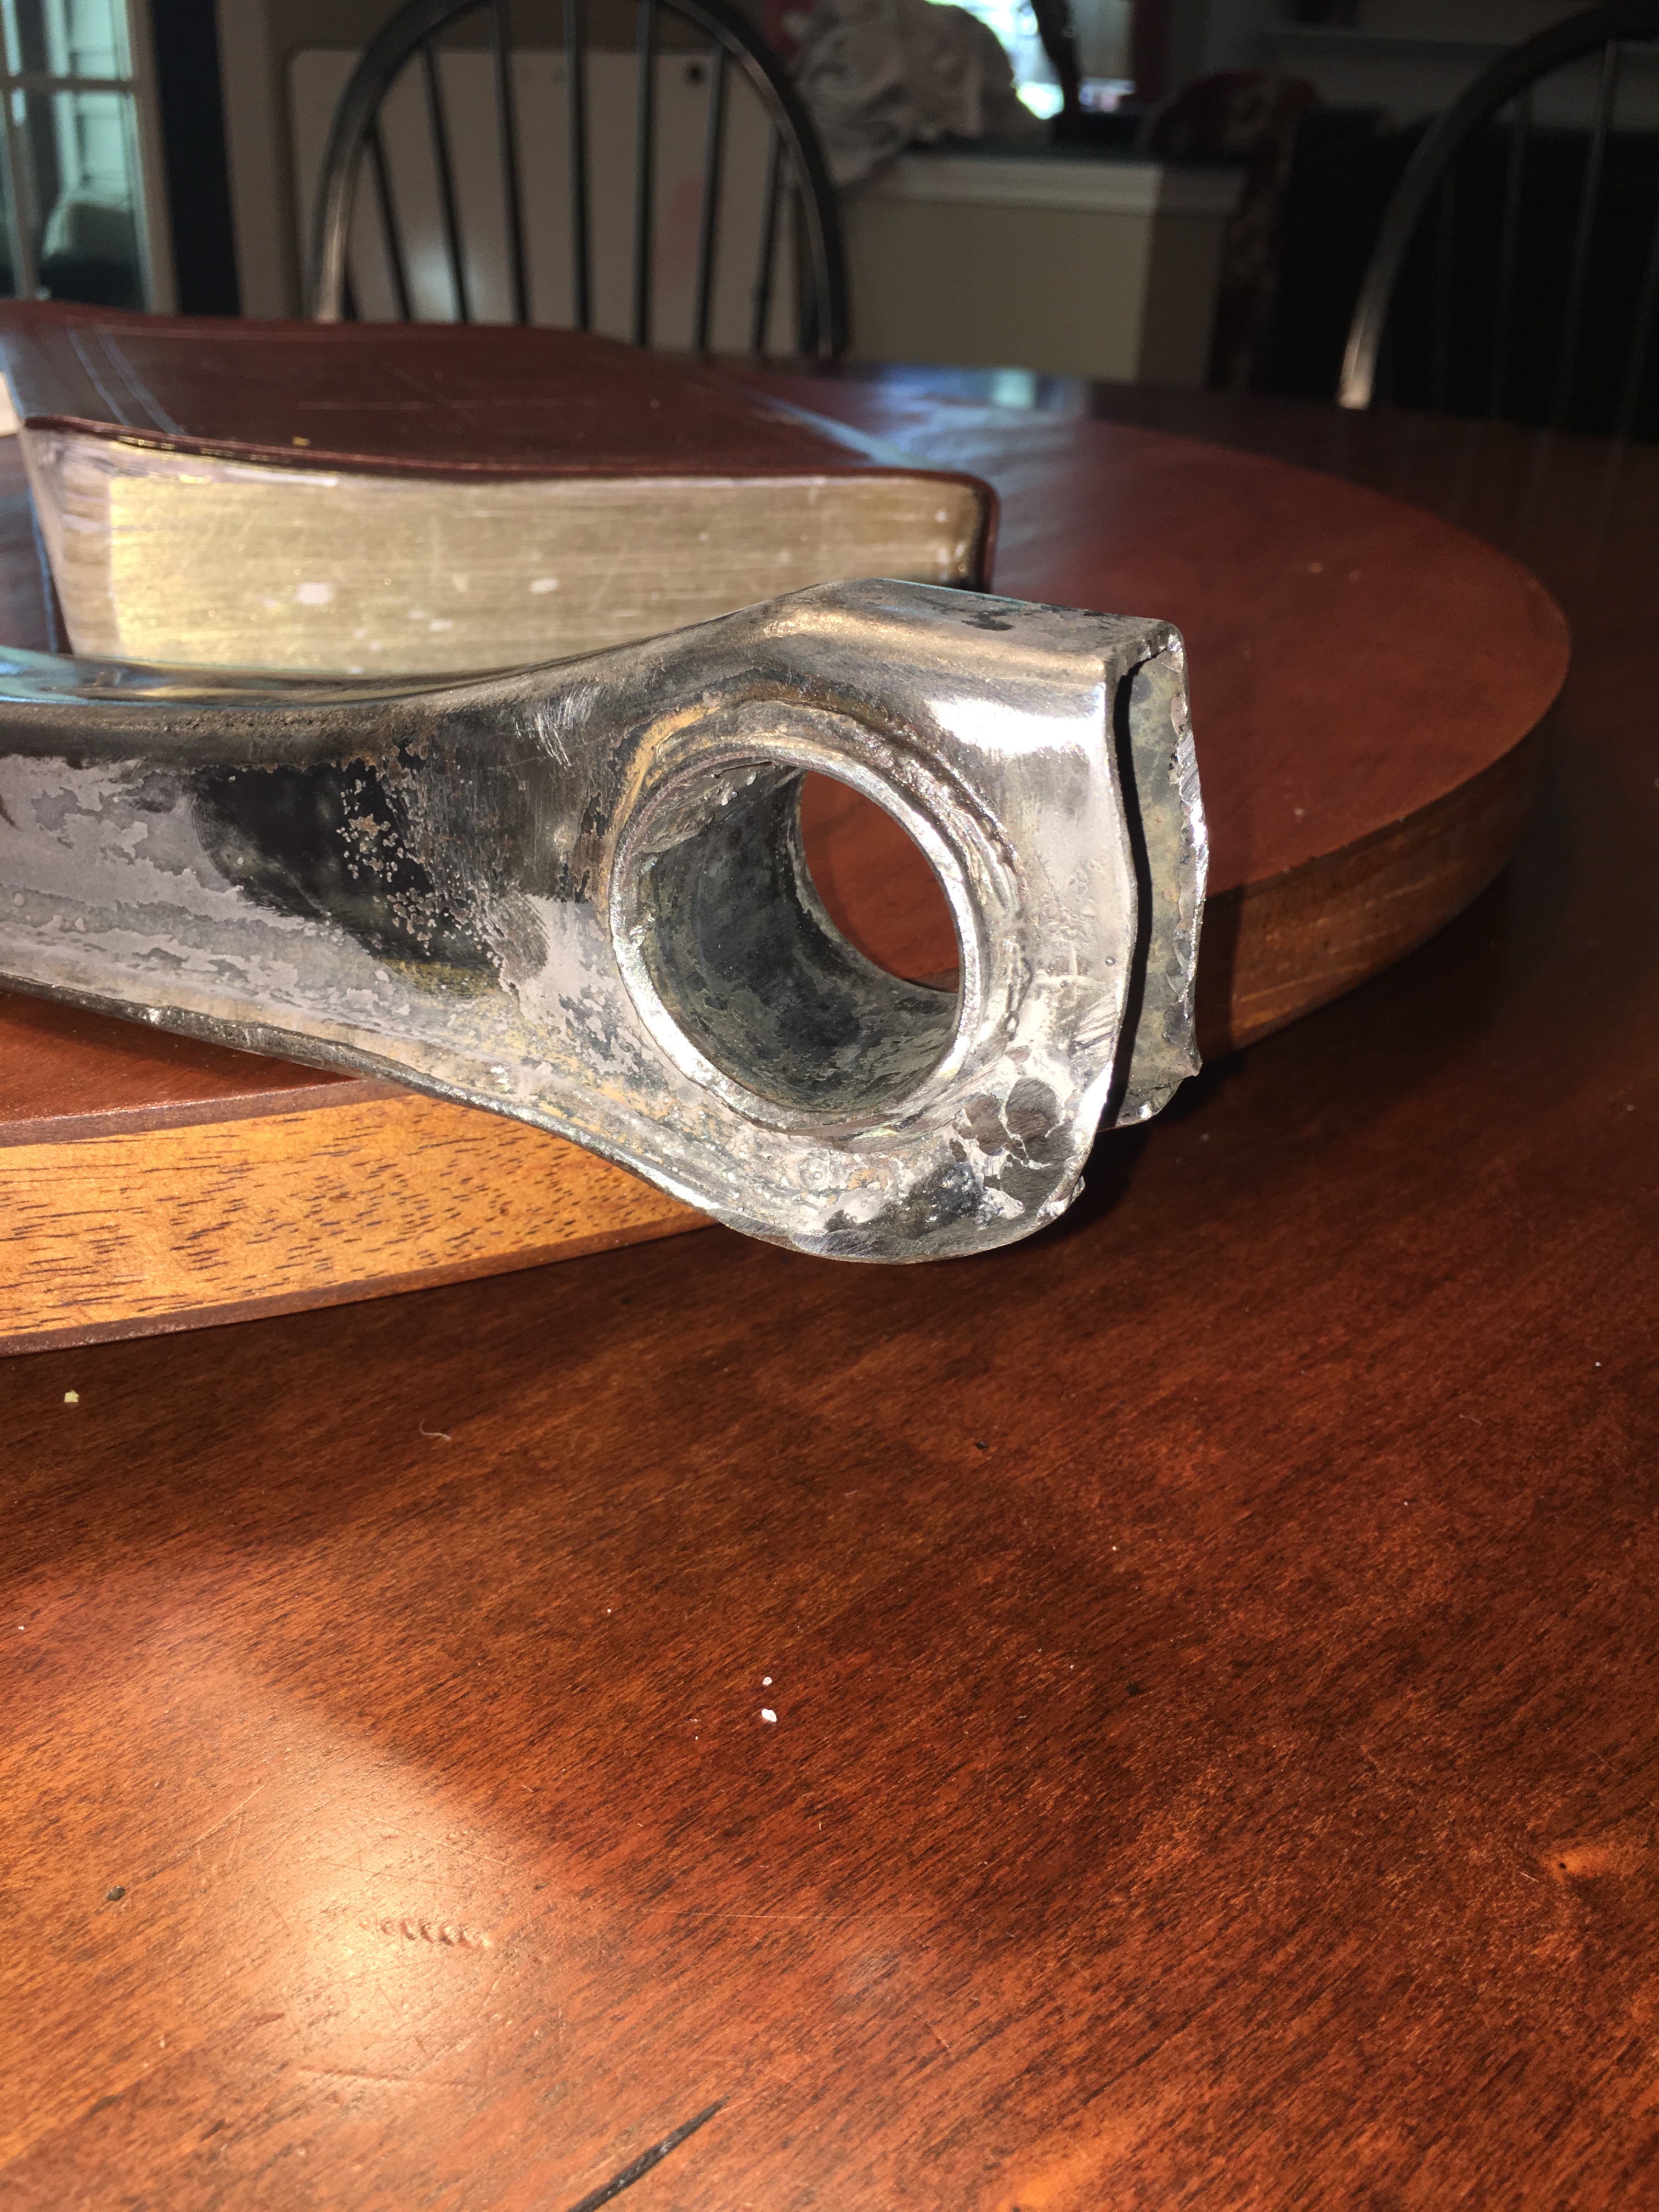
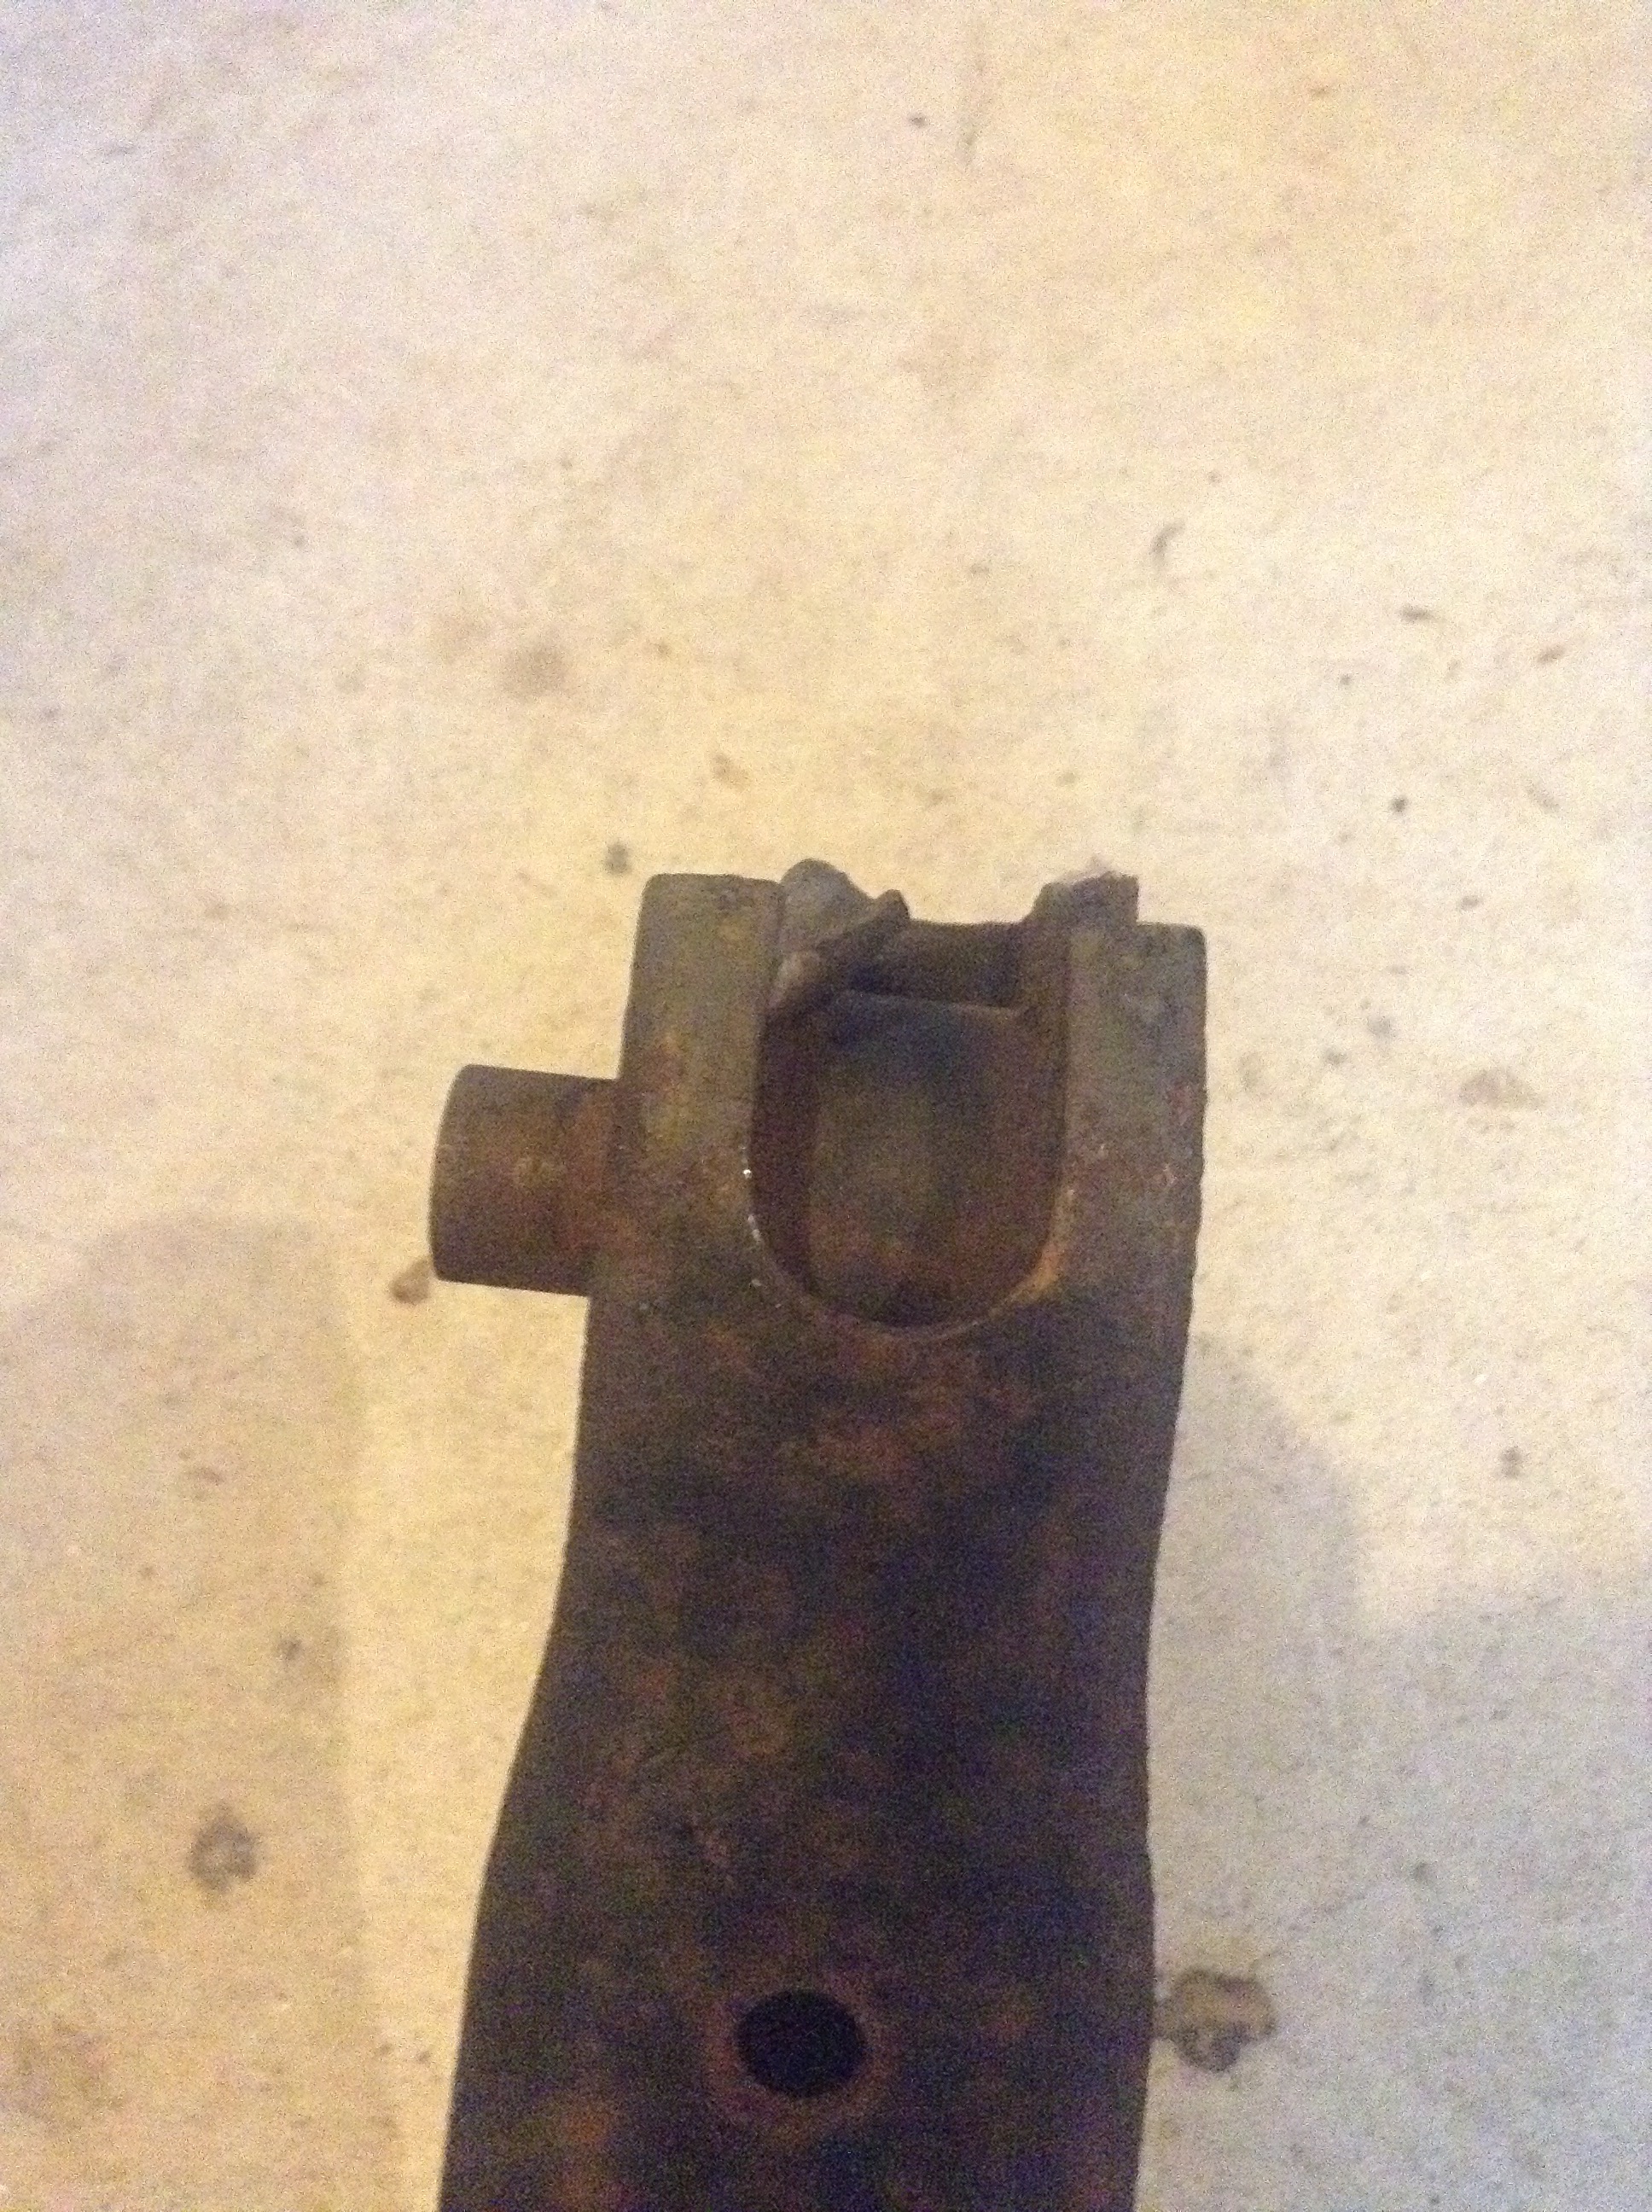
Quick update: We removed the stub axels and rear wheel bearings with a slide hammer and 8' , 3 jaw puller. We also rented a bushing tool to remove all the old suspension bushings. Those old bushings are so rusted in that the tool actually bent and broke the control arm instead of pushing out the bushing. So, now I have another welding project. Now I am just going to burn out the rubber and cut the inner ring like others have done. Since we are done with the rust repair and disassembly (except for bushings), we now get to do the fun part: putting it back together! For the bolts and small hardware, I am just soaking them in vinegar to remove rust and I will then use an oxide to coat them and seal with WD-40. I am reusing most of the main suspension components such as the control arms, drop mounts, and mustache bar. I am just wire-wheeling these and then coating them in self-etching primer for now.
-
I'm not sure about the boots breaking open. For the length, modern motorsport sells shorter half shafts that give the correct length for Z31 axels but they are pretty expensive. It is possible that fixing the length would prevent damage to the boots because the suspension can bottom out, which stresses all the parts and might be tearing the boots, if the axels are too long. Alternatively, you can try flipping the bearing cages on the axels to make them shorter (just youtube for how to do it). Apparently this works for some people but not for others. Also, as a disclaimer, I have not done this swap yet but I have done a lot of research on this topic because I plan on switching to CV axels soon. Hopefully this is helpful.
-
Lowering with Strut Insulators
Whitley_280z_2+2 replied to Whitley_280z_2+2's topic in S30 Series - 240z, 260z, 280z
Thanks! Yes I am just trying to lower the rear so it looks better. I checked all the dimensions and everything lines up fine, I just wanted to make sure the rear insulators weren't designed differently. -
I am starting to reassemble the suspension on my 77 280z 2+2. I am going to use Eibach springs to lower it 1' all the way around but I would like to lower the back more because it sits even higher than the front from the factory. I read that this is a common problem and one solution is to use 240z rear strut insulators instead of the stock 280z insulators. First, does this still preserve the handling? Also, Can you also use front strut insulators from a 280z? Both the front and rear suspension looks identical expect for the 280z has extra large insulators in the back so I wanted to see if anyone had experience with this. The 280z front insulators are way cheaper and easier to find so it would be an better alternative.
-
Possible 5.3L engine swaps question
Whitley_280z_2+2 replied to Whitley_280z_2+2's topic in Gen III & IV Chevy V8Z Tech Board
That makes sense about swapping to an LS1 intake. Thanks for all the help, I think I understand the basic modifications to make the LS style engine work. I've seen your build thread, seems like a great swap! I would go 4.8 but they are harder to find where I live. I wouldn't trust myself to make engine mounts and I think that may be why your stock intake fits. Thanks for the info and great build! -
280z 2+2 resto mod
Whitley_280z_2+2 replied to Whitley_280z_2+2's topic in S30 Series - 240z, 260z, 280z
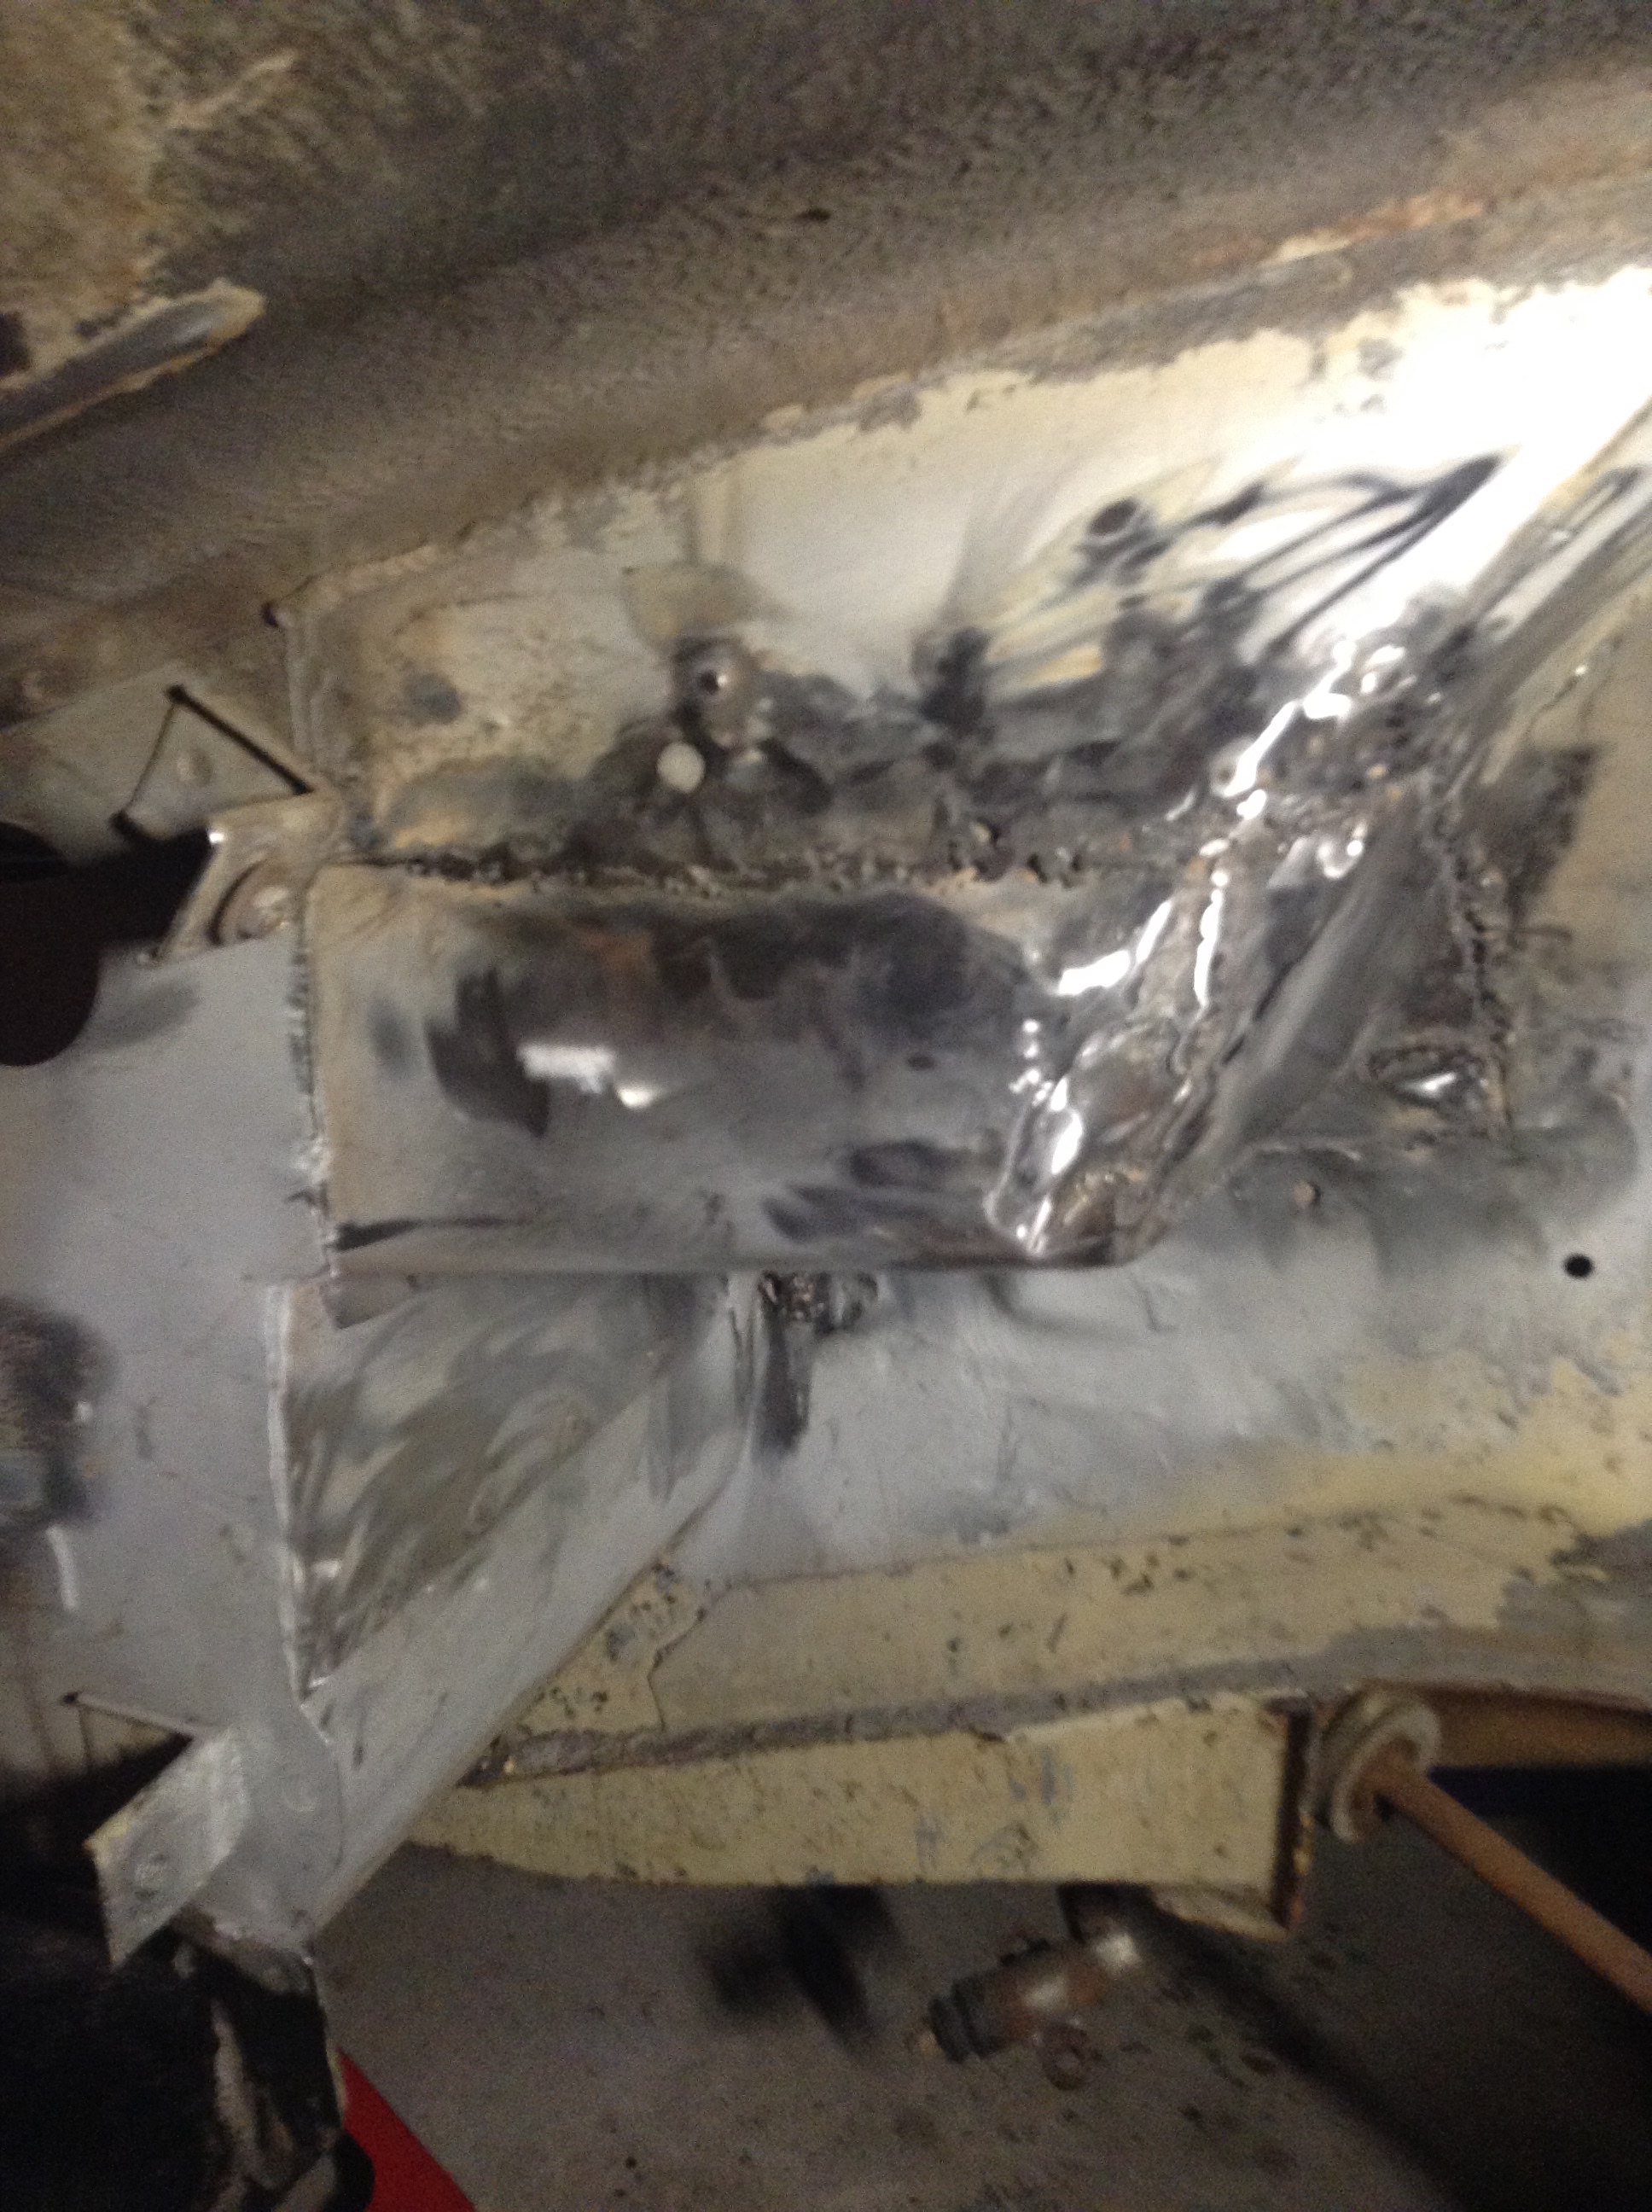
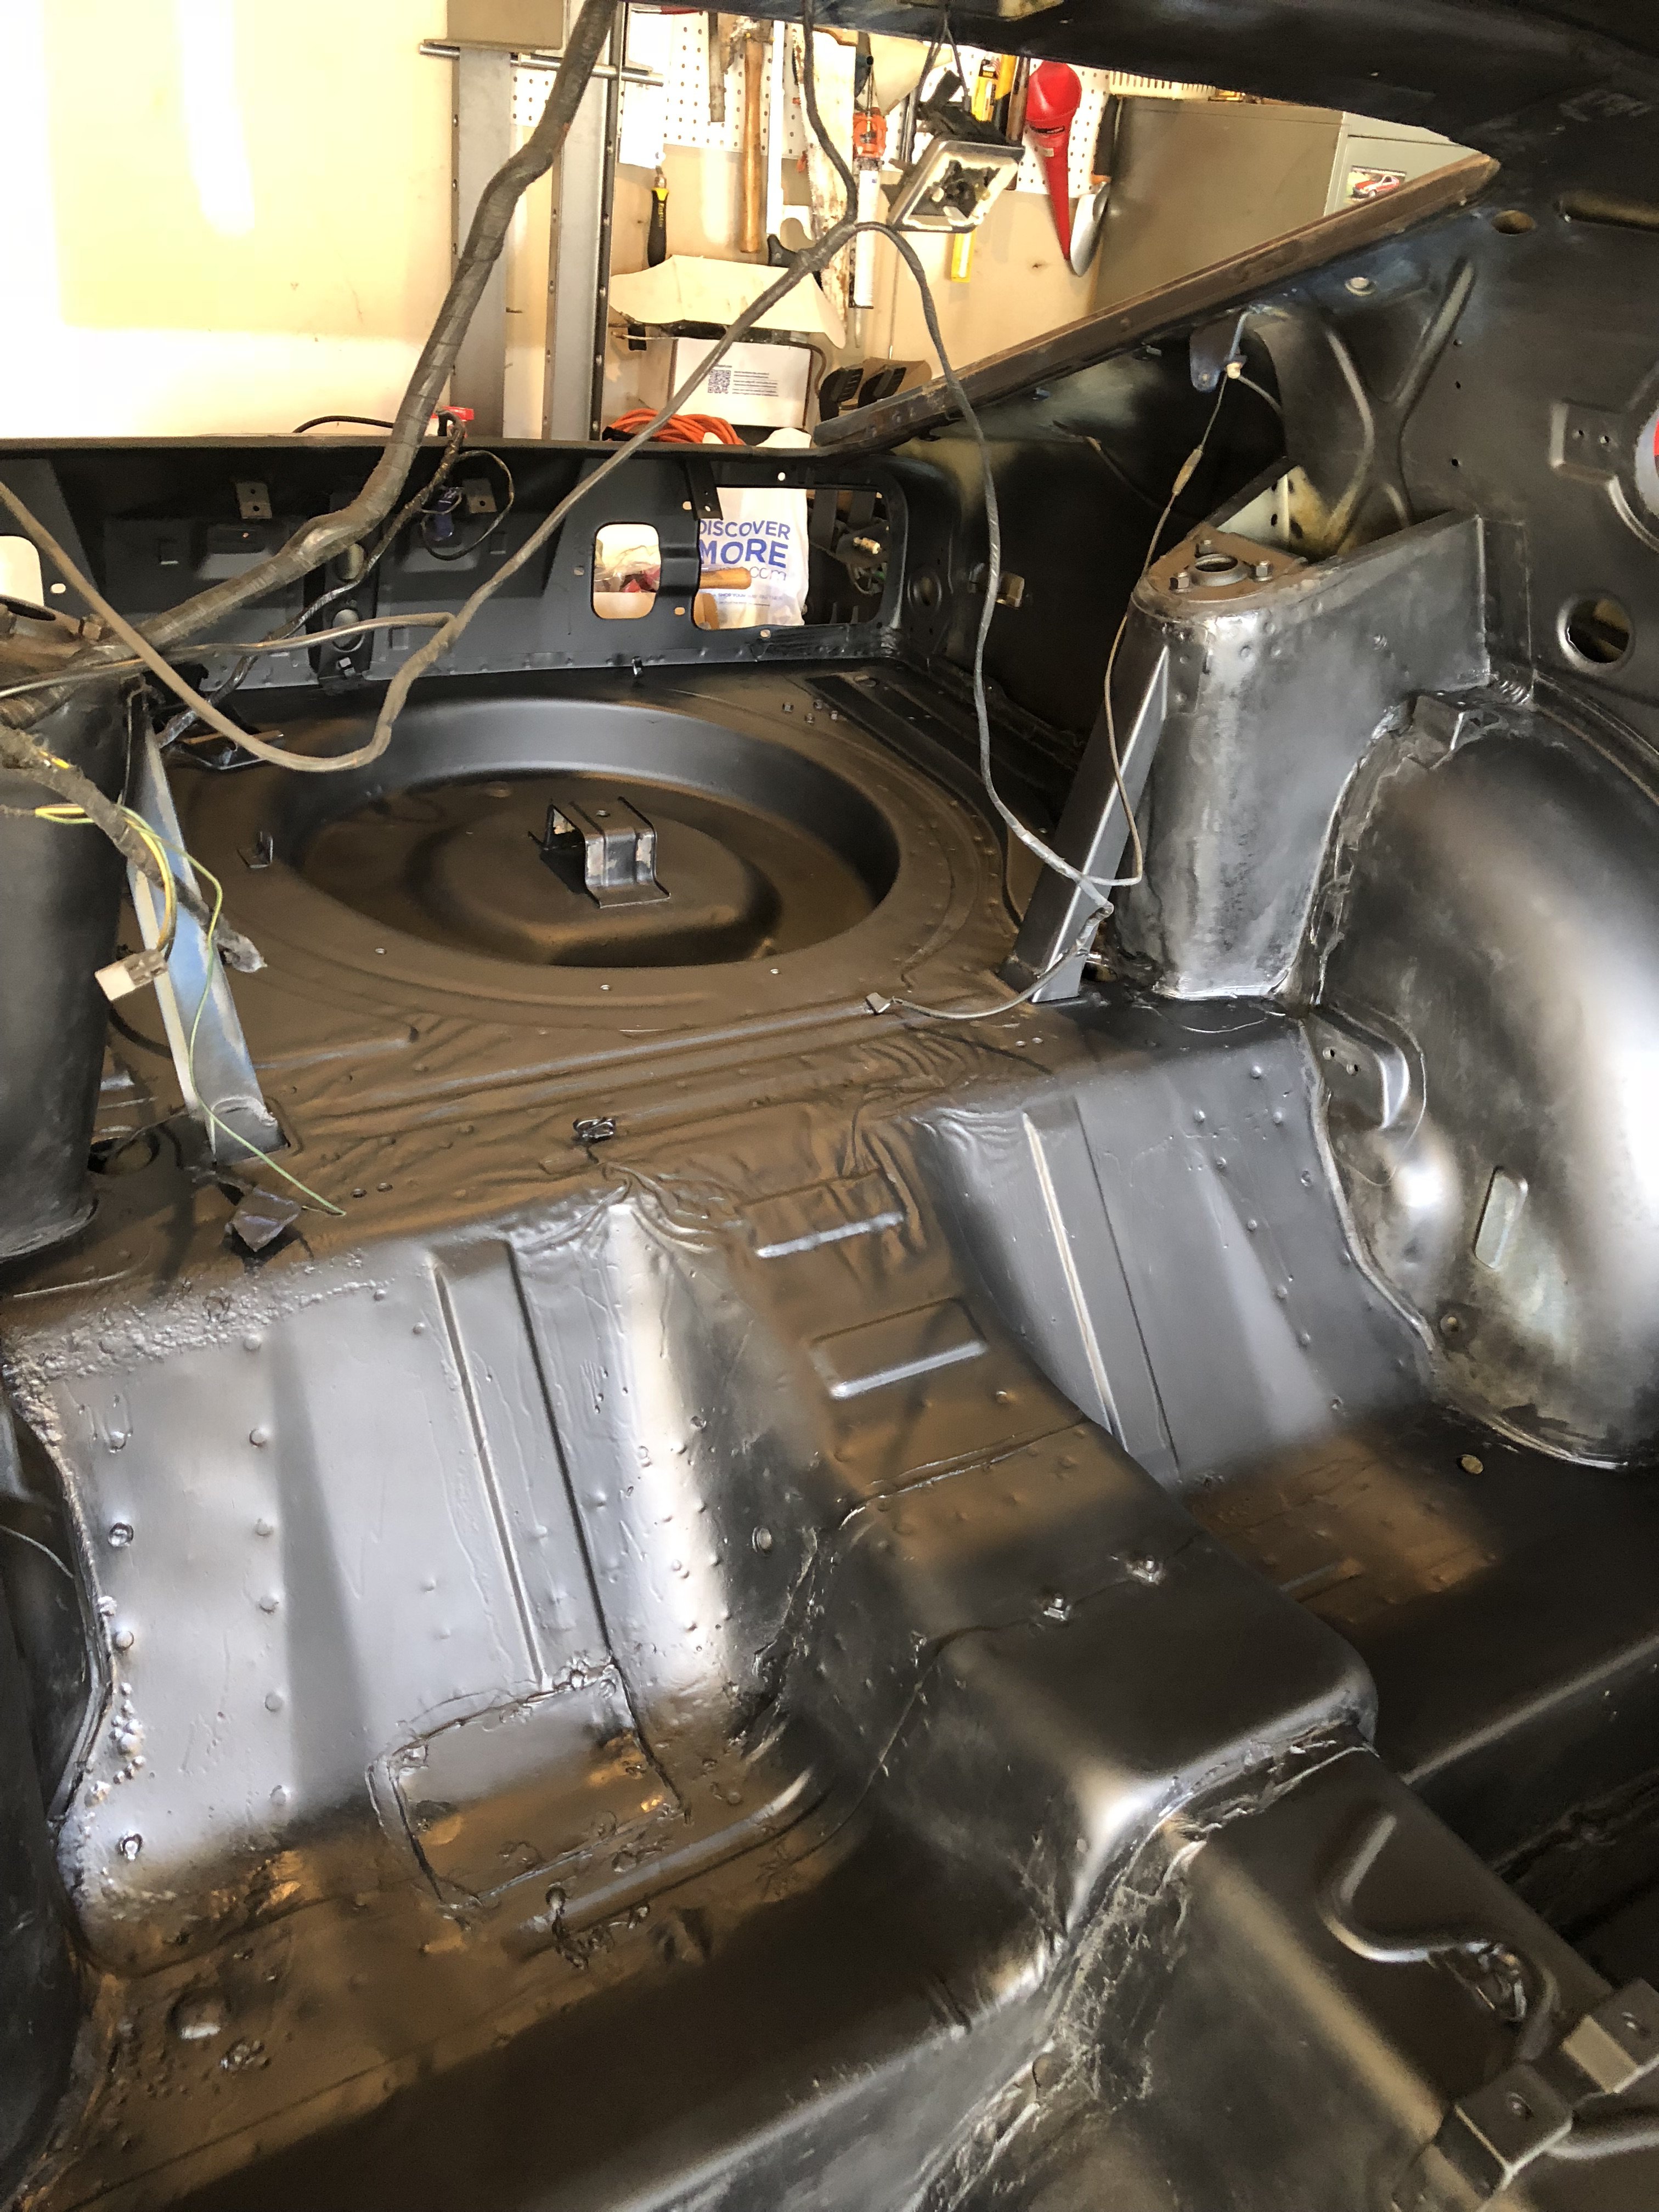
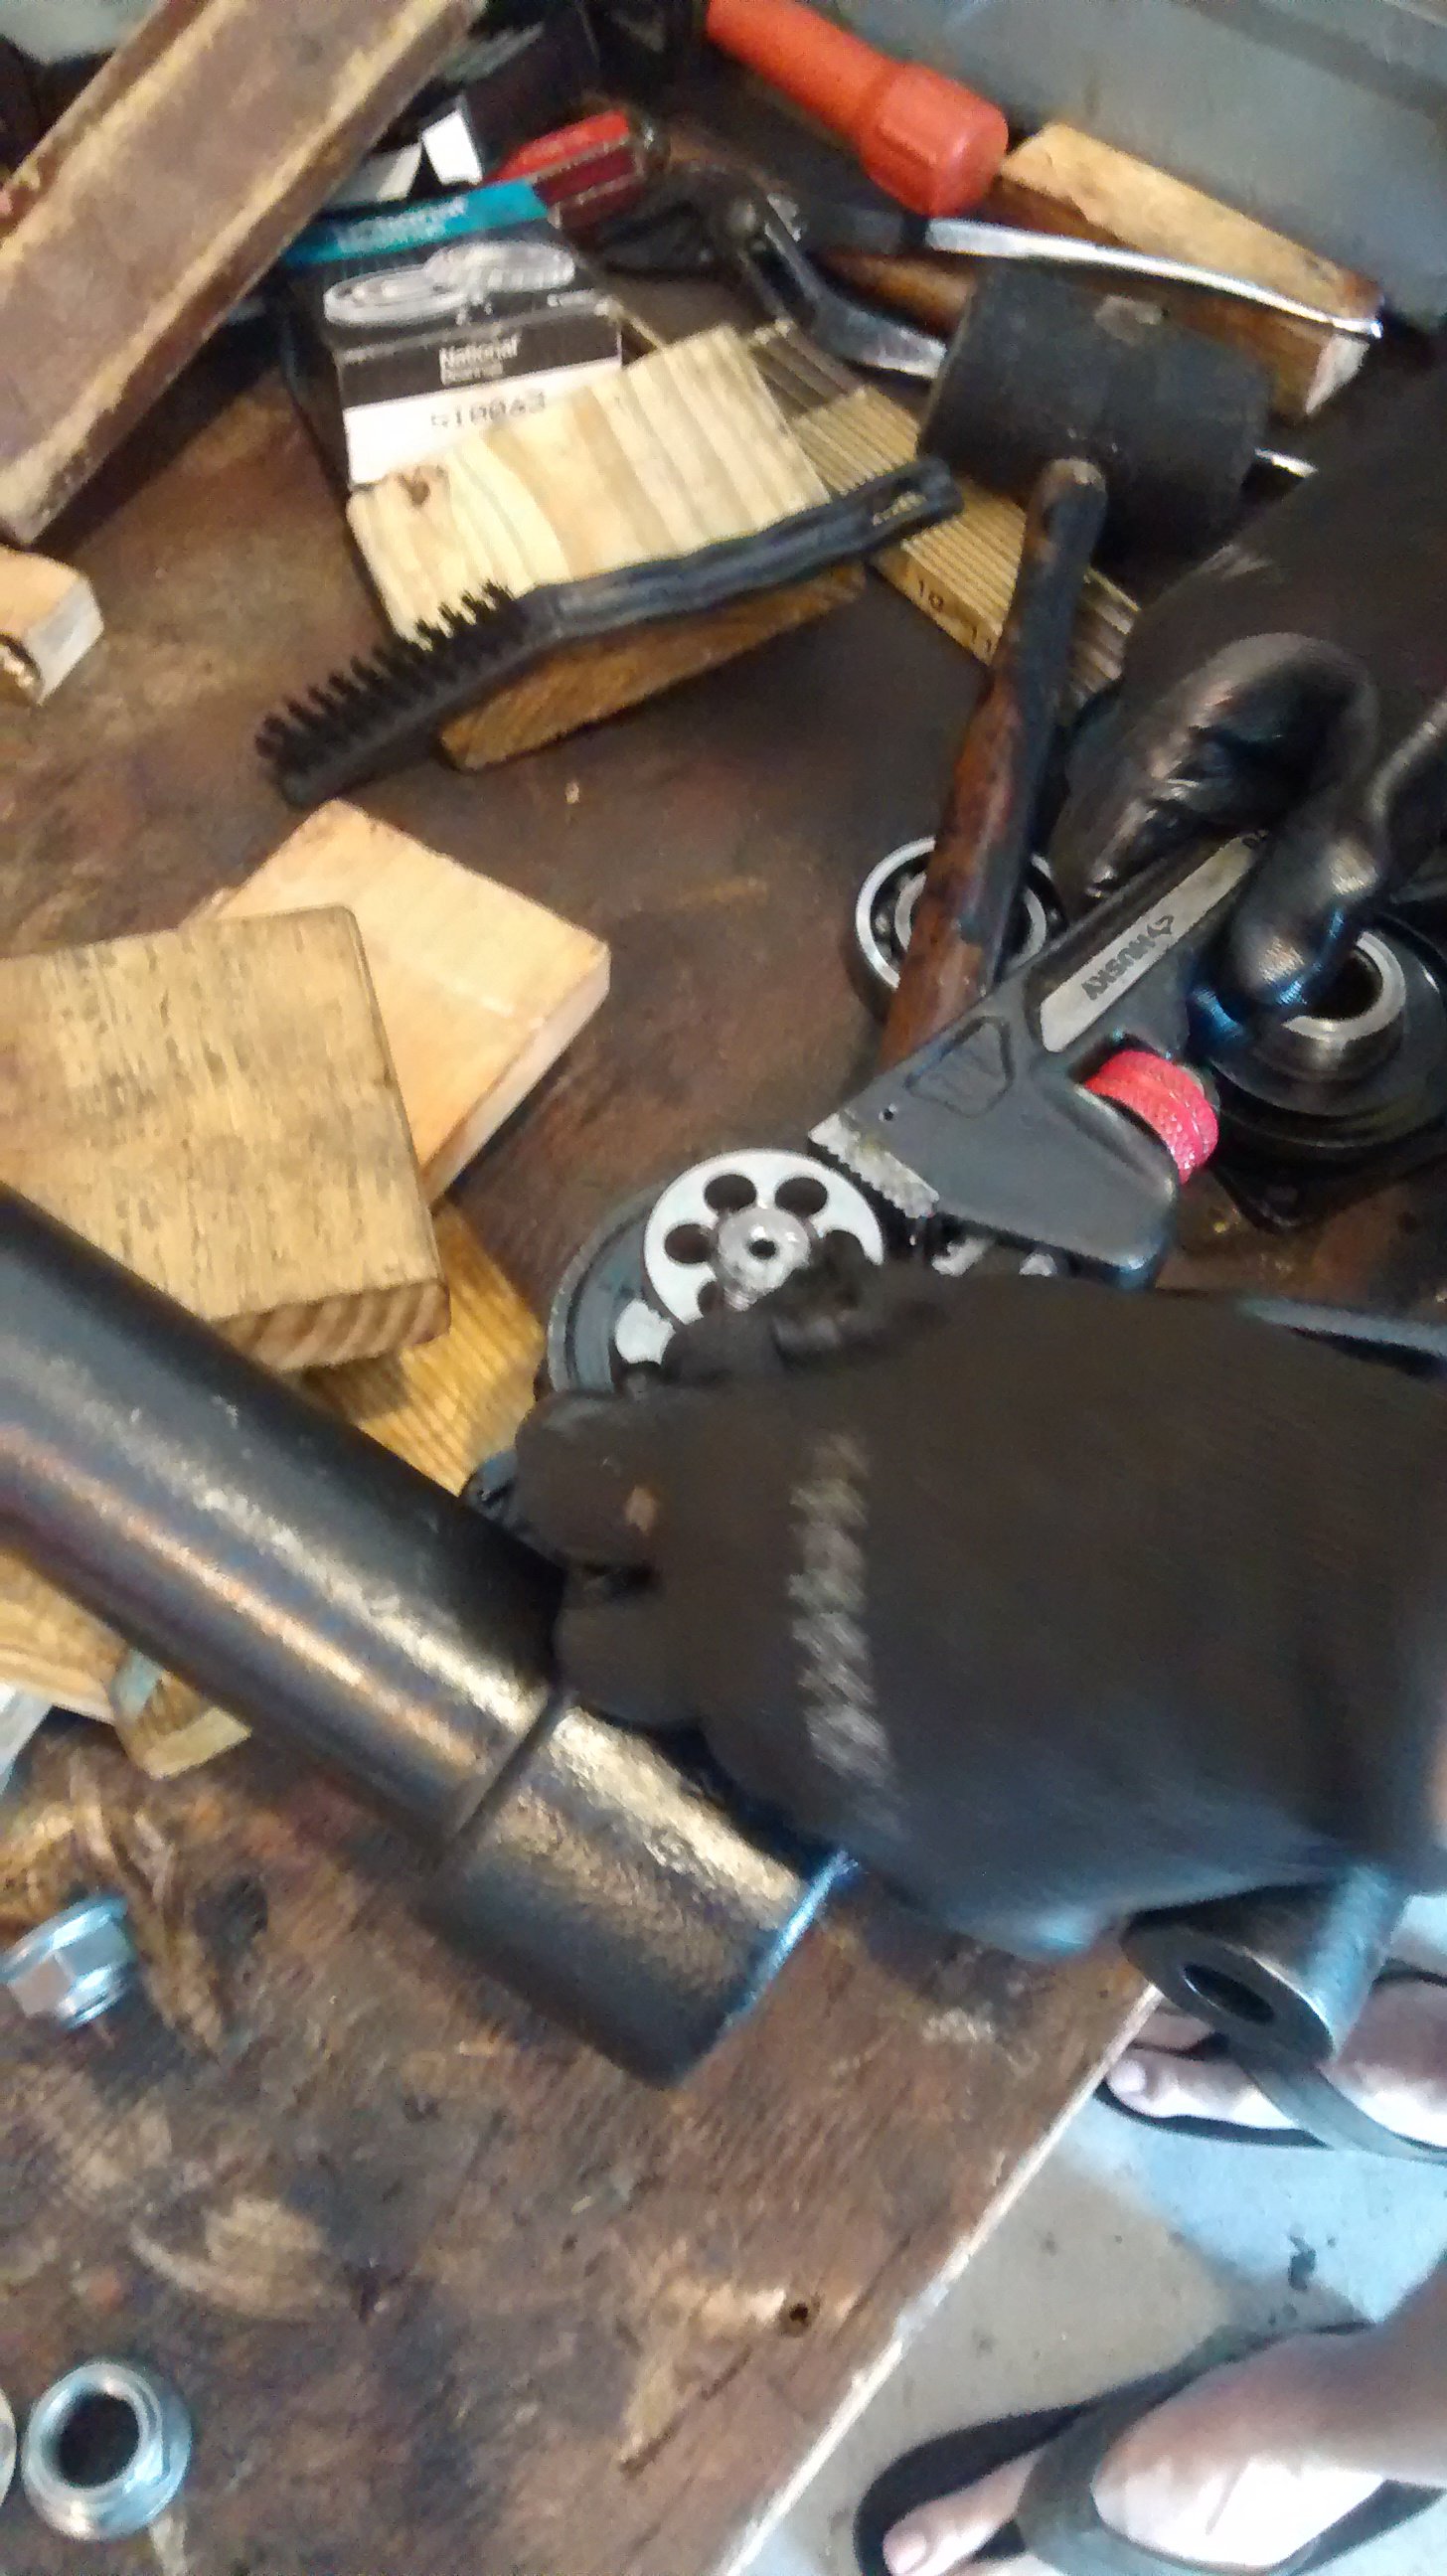
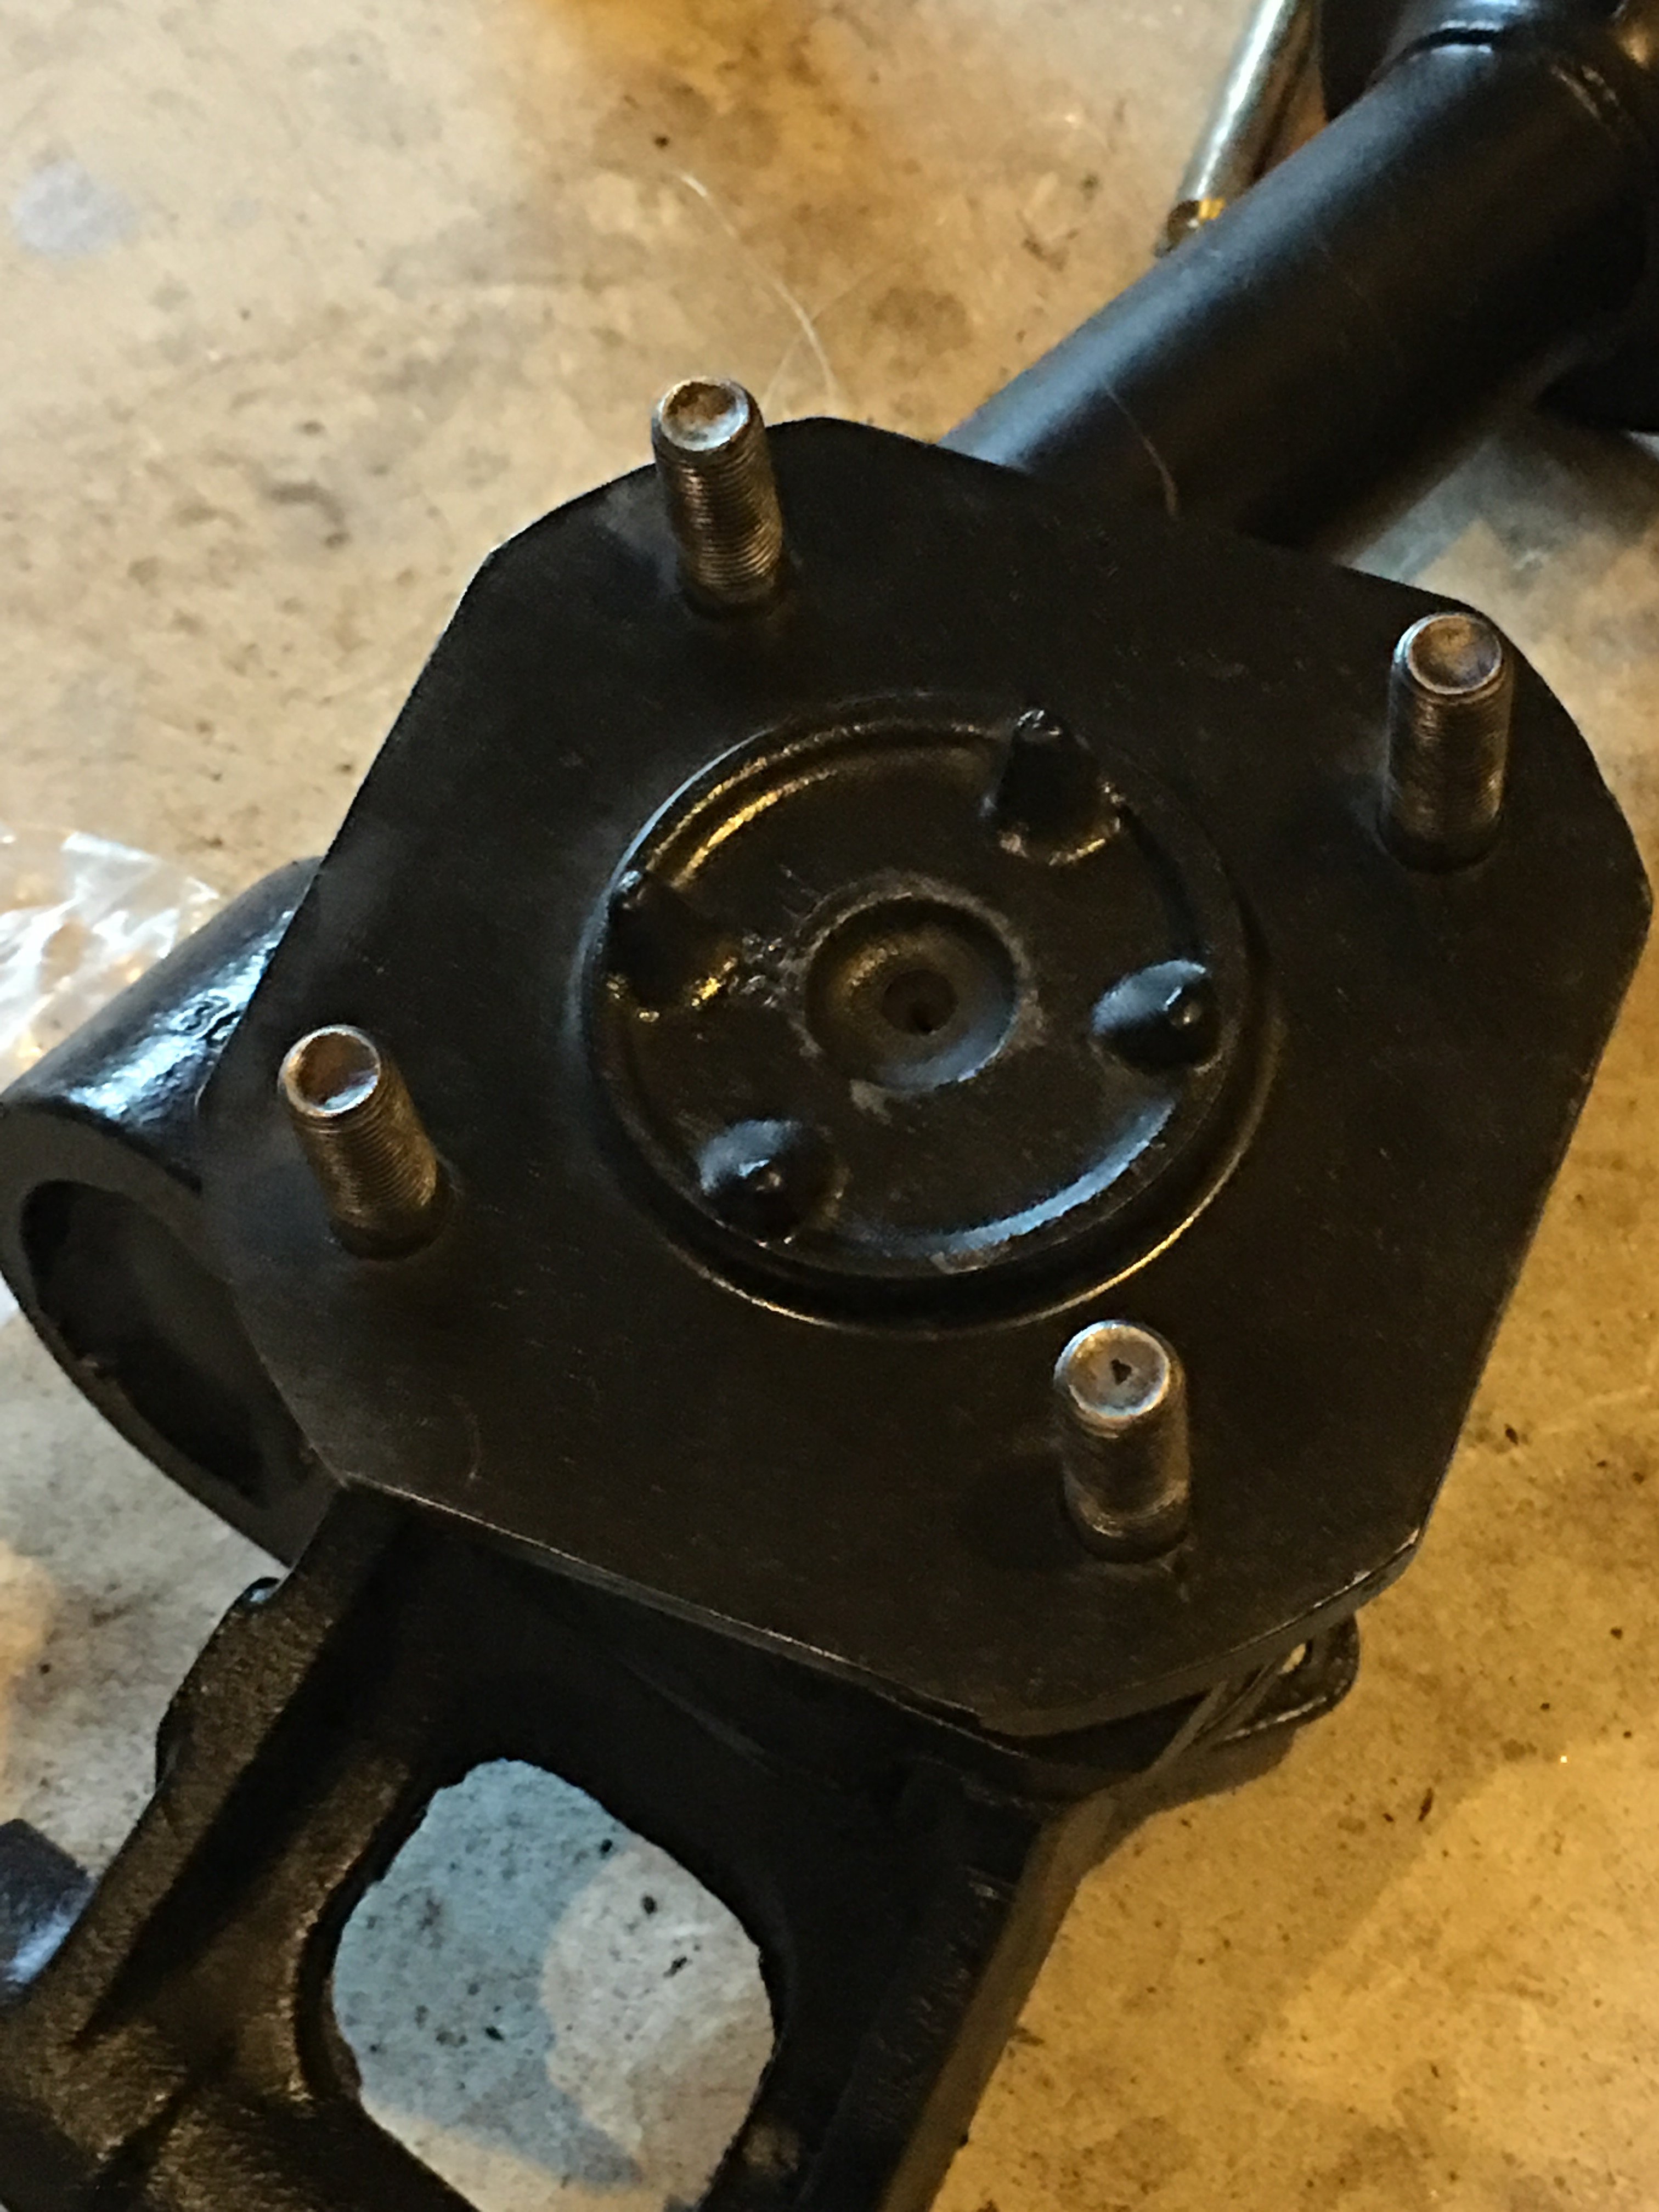
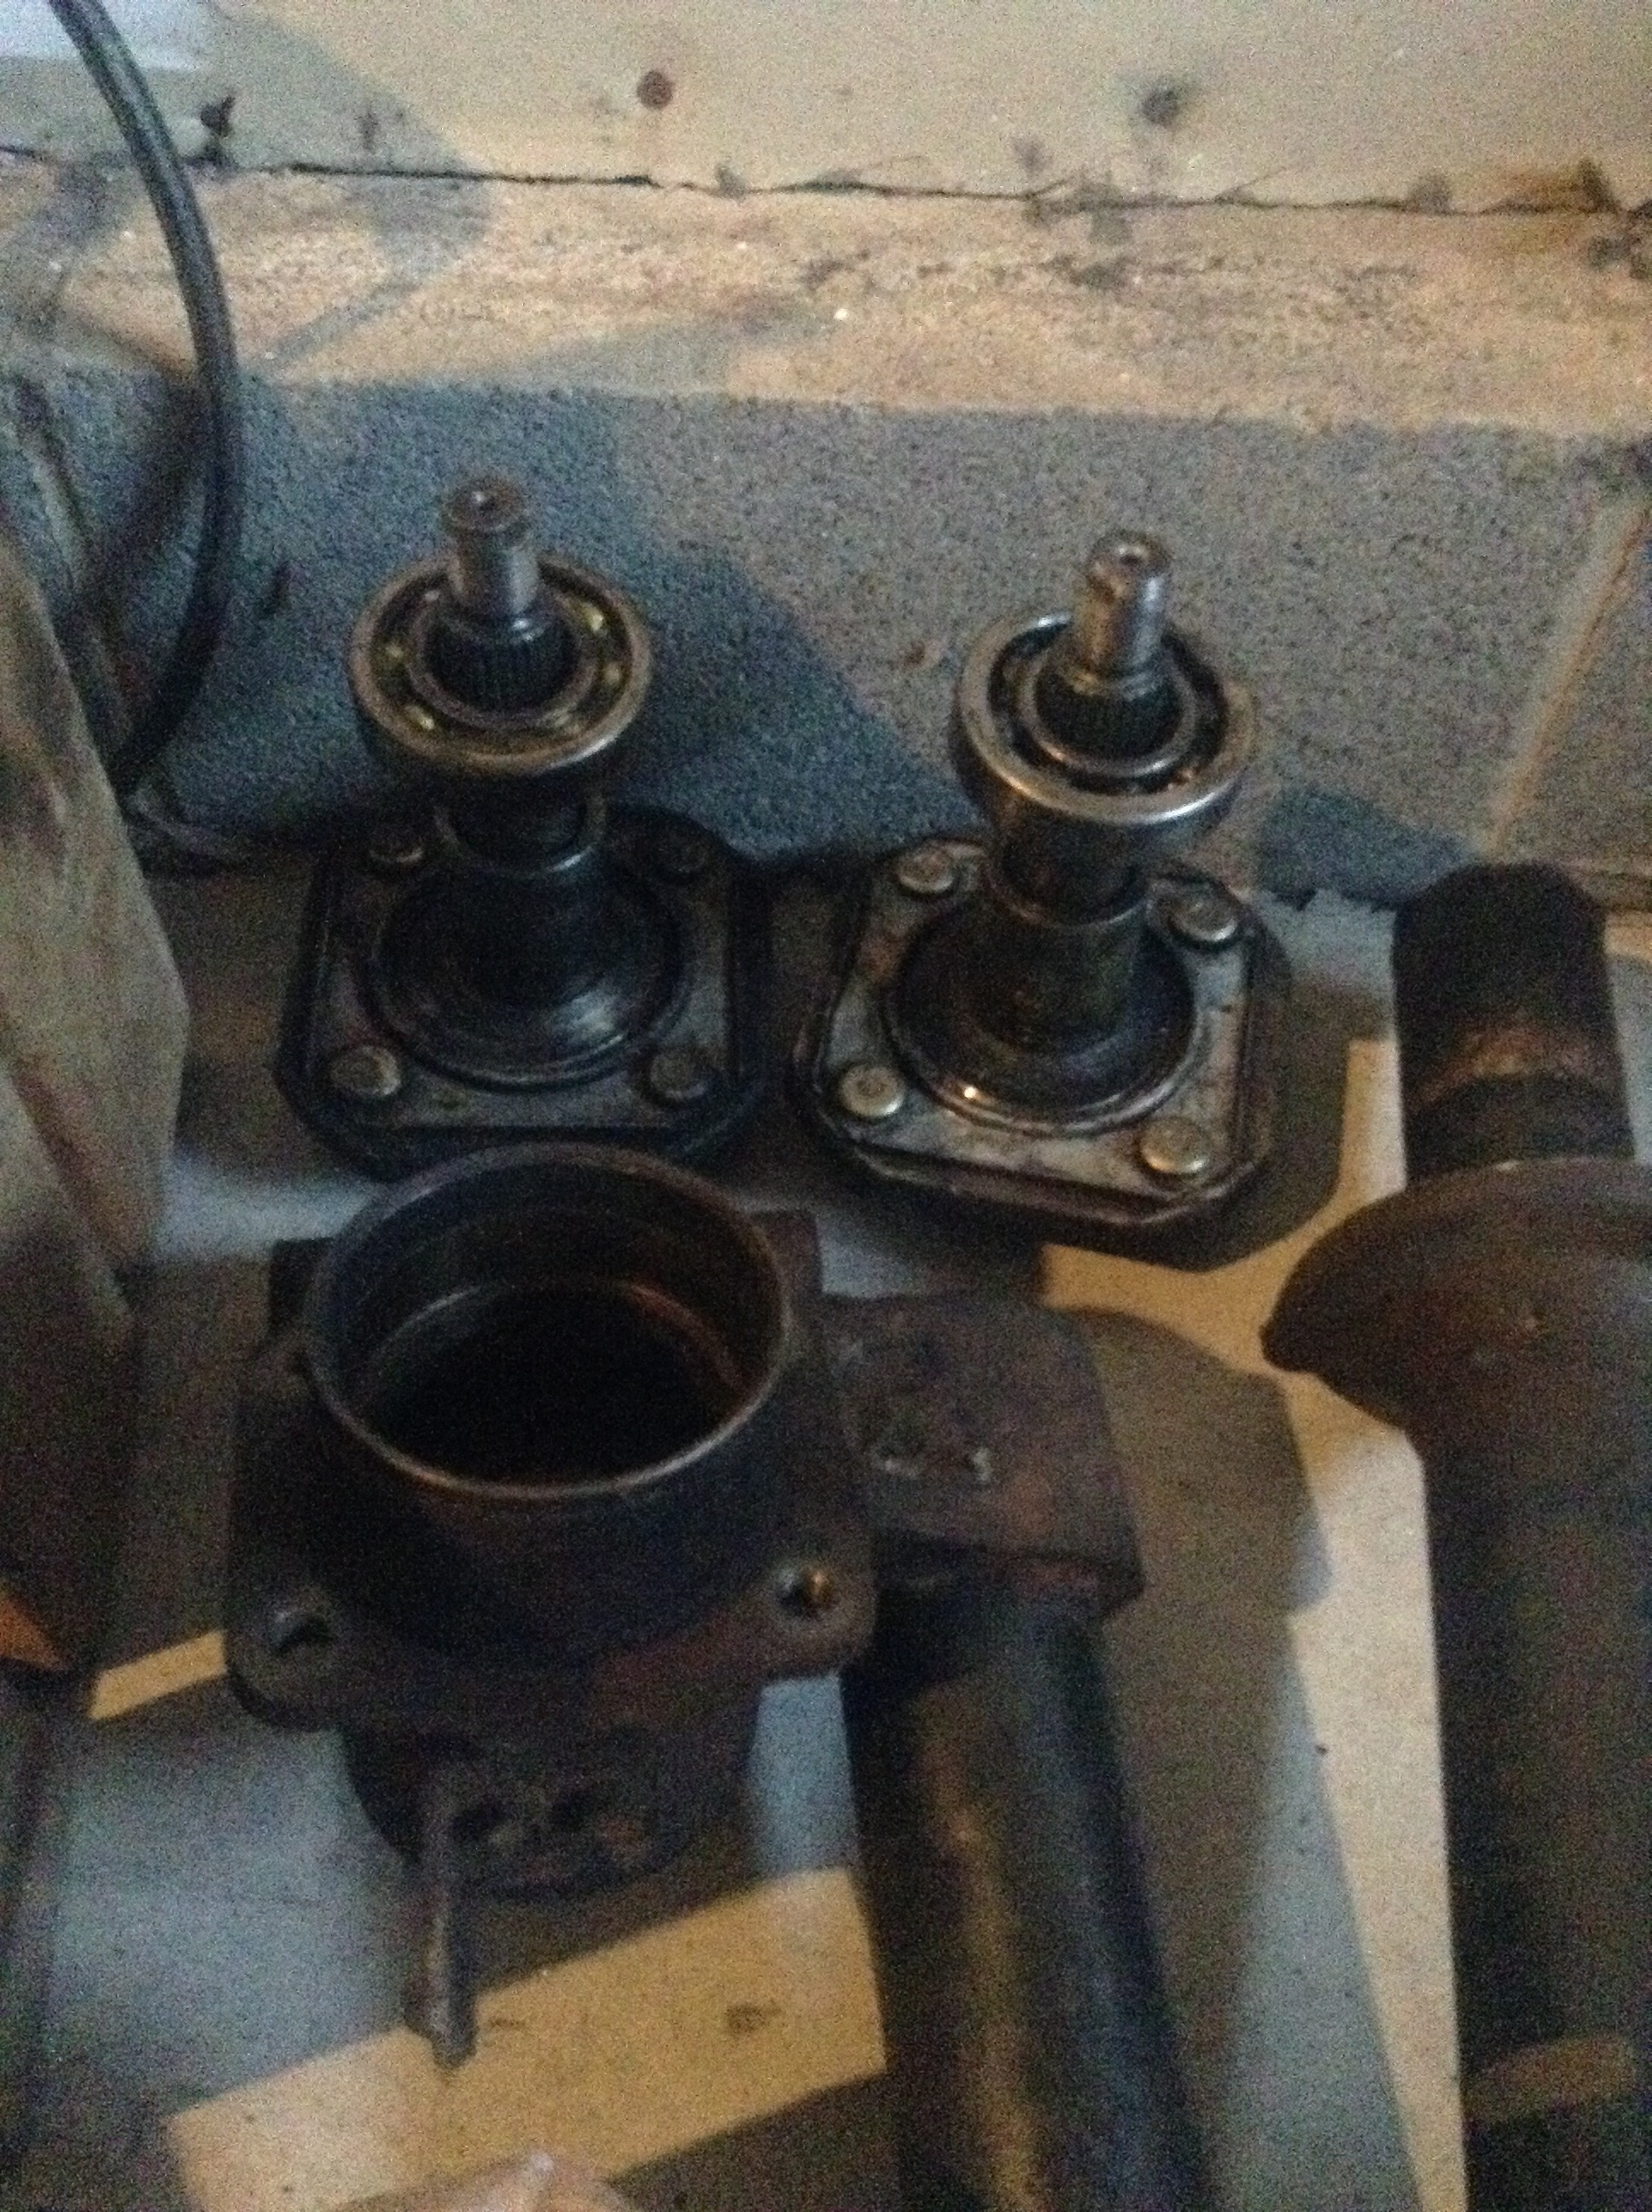
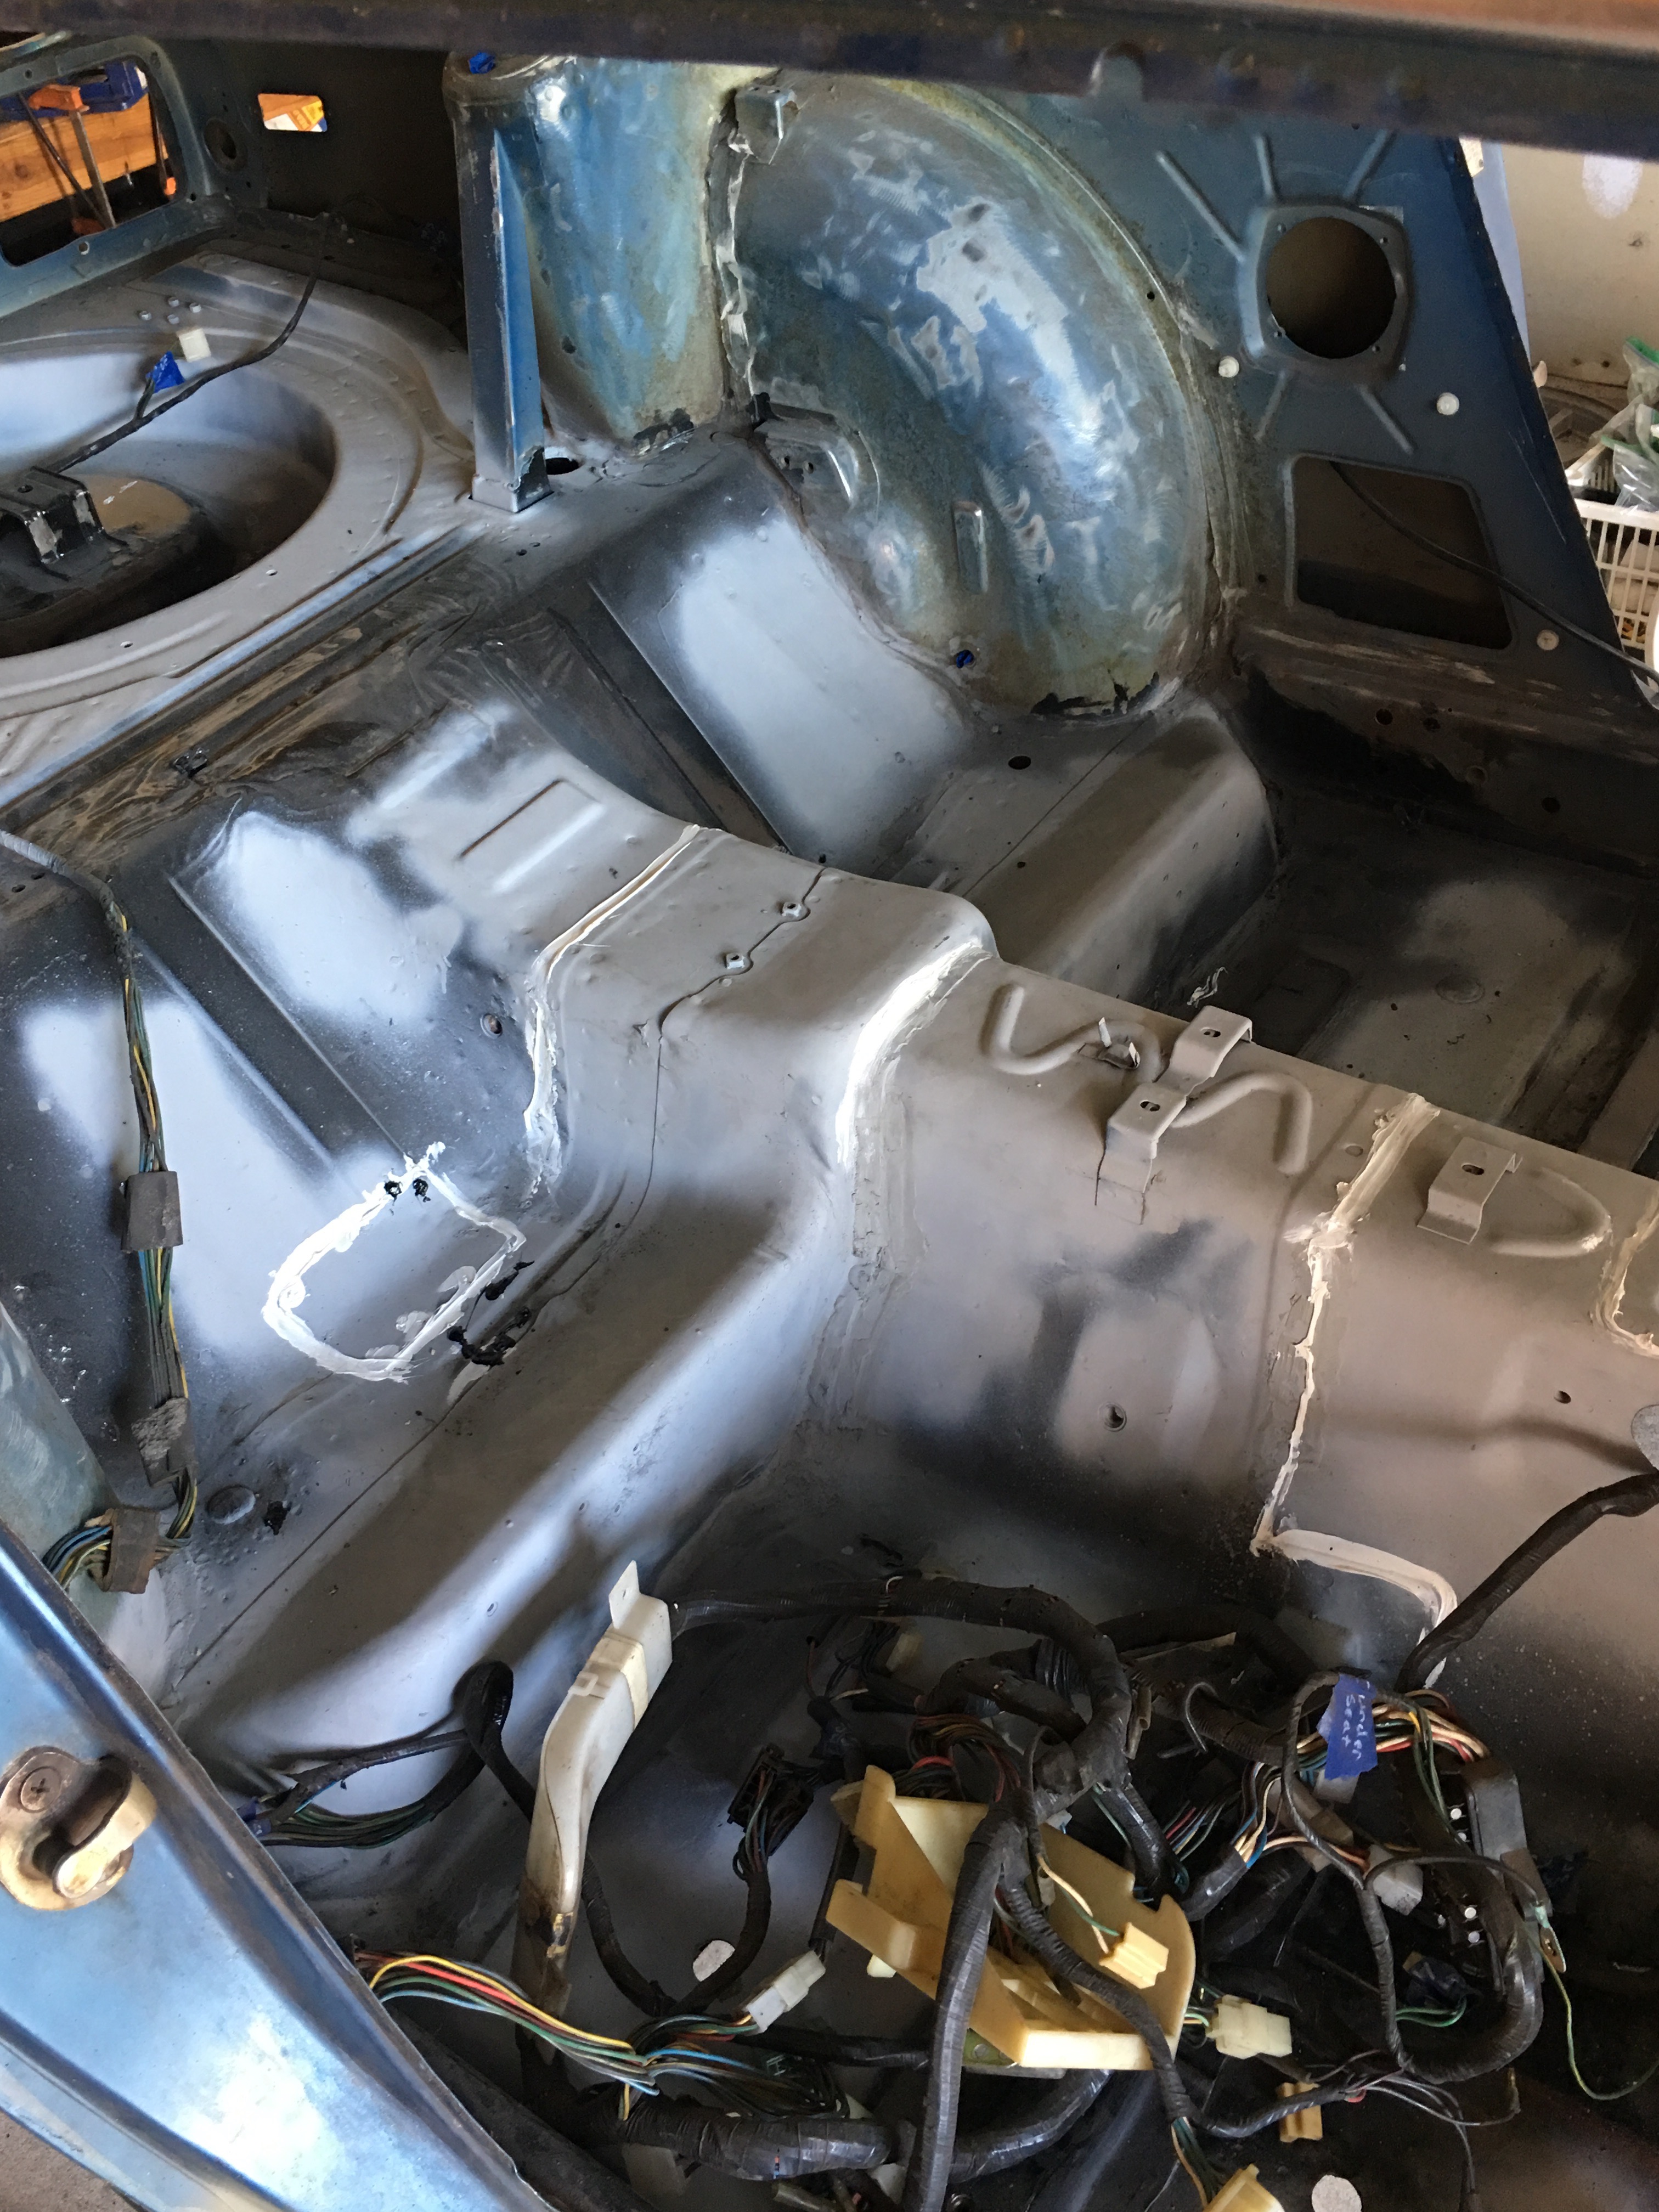
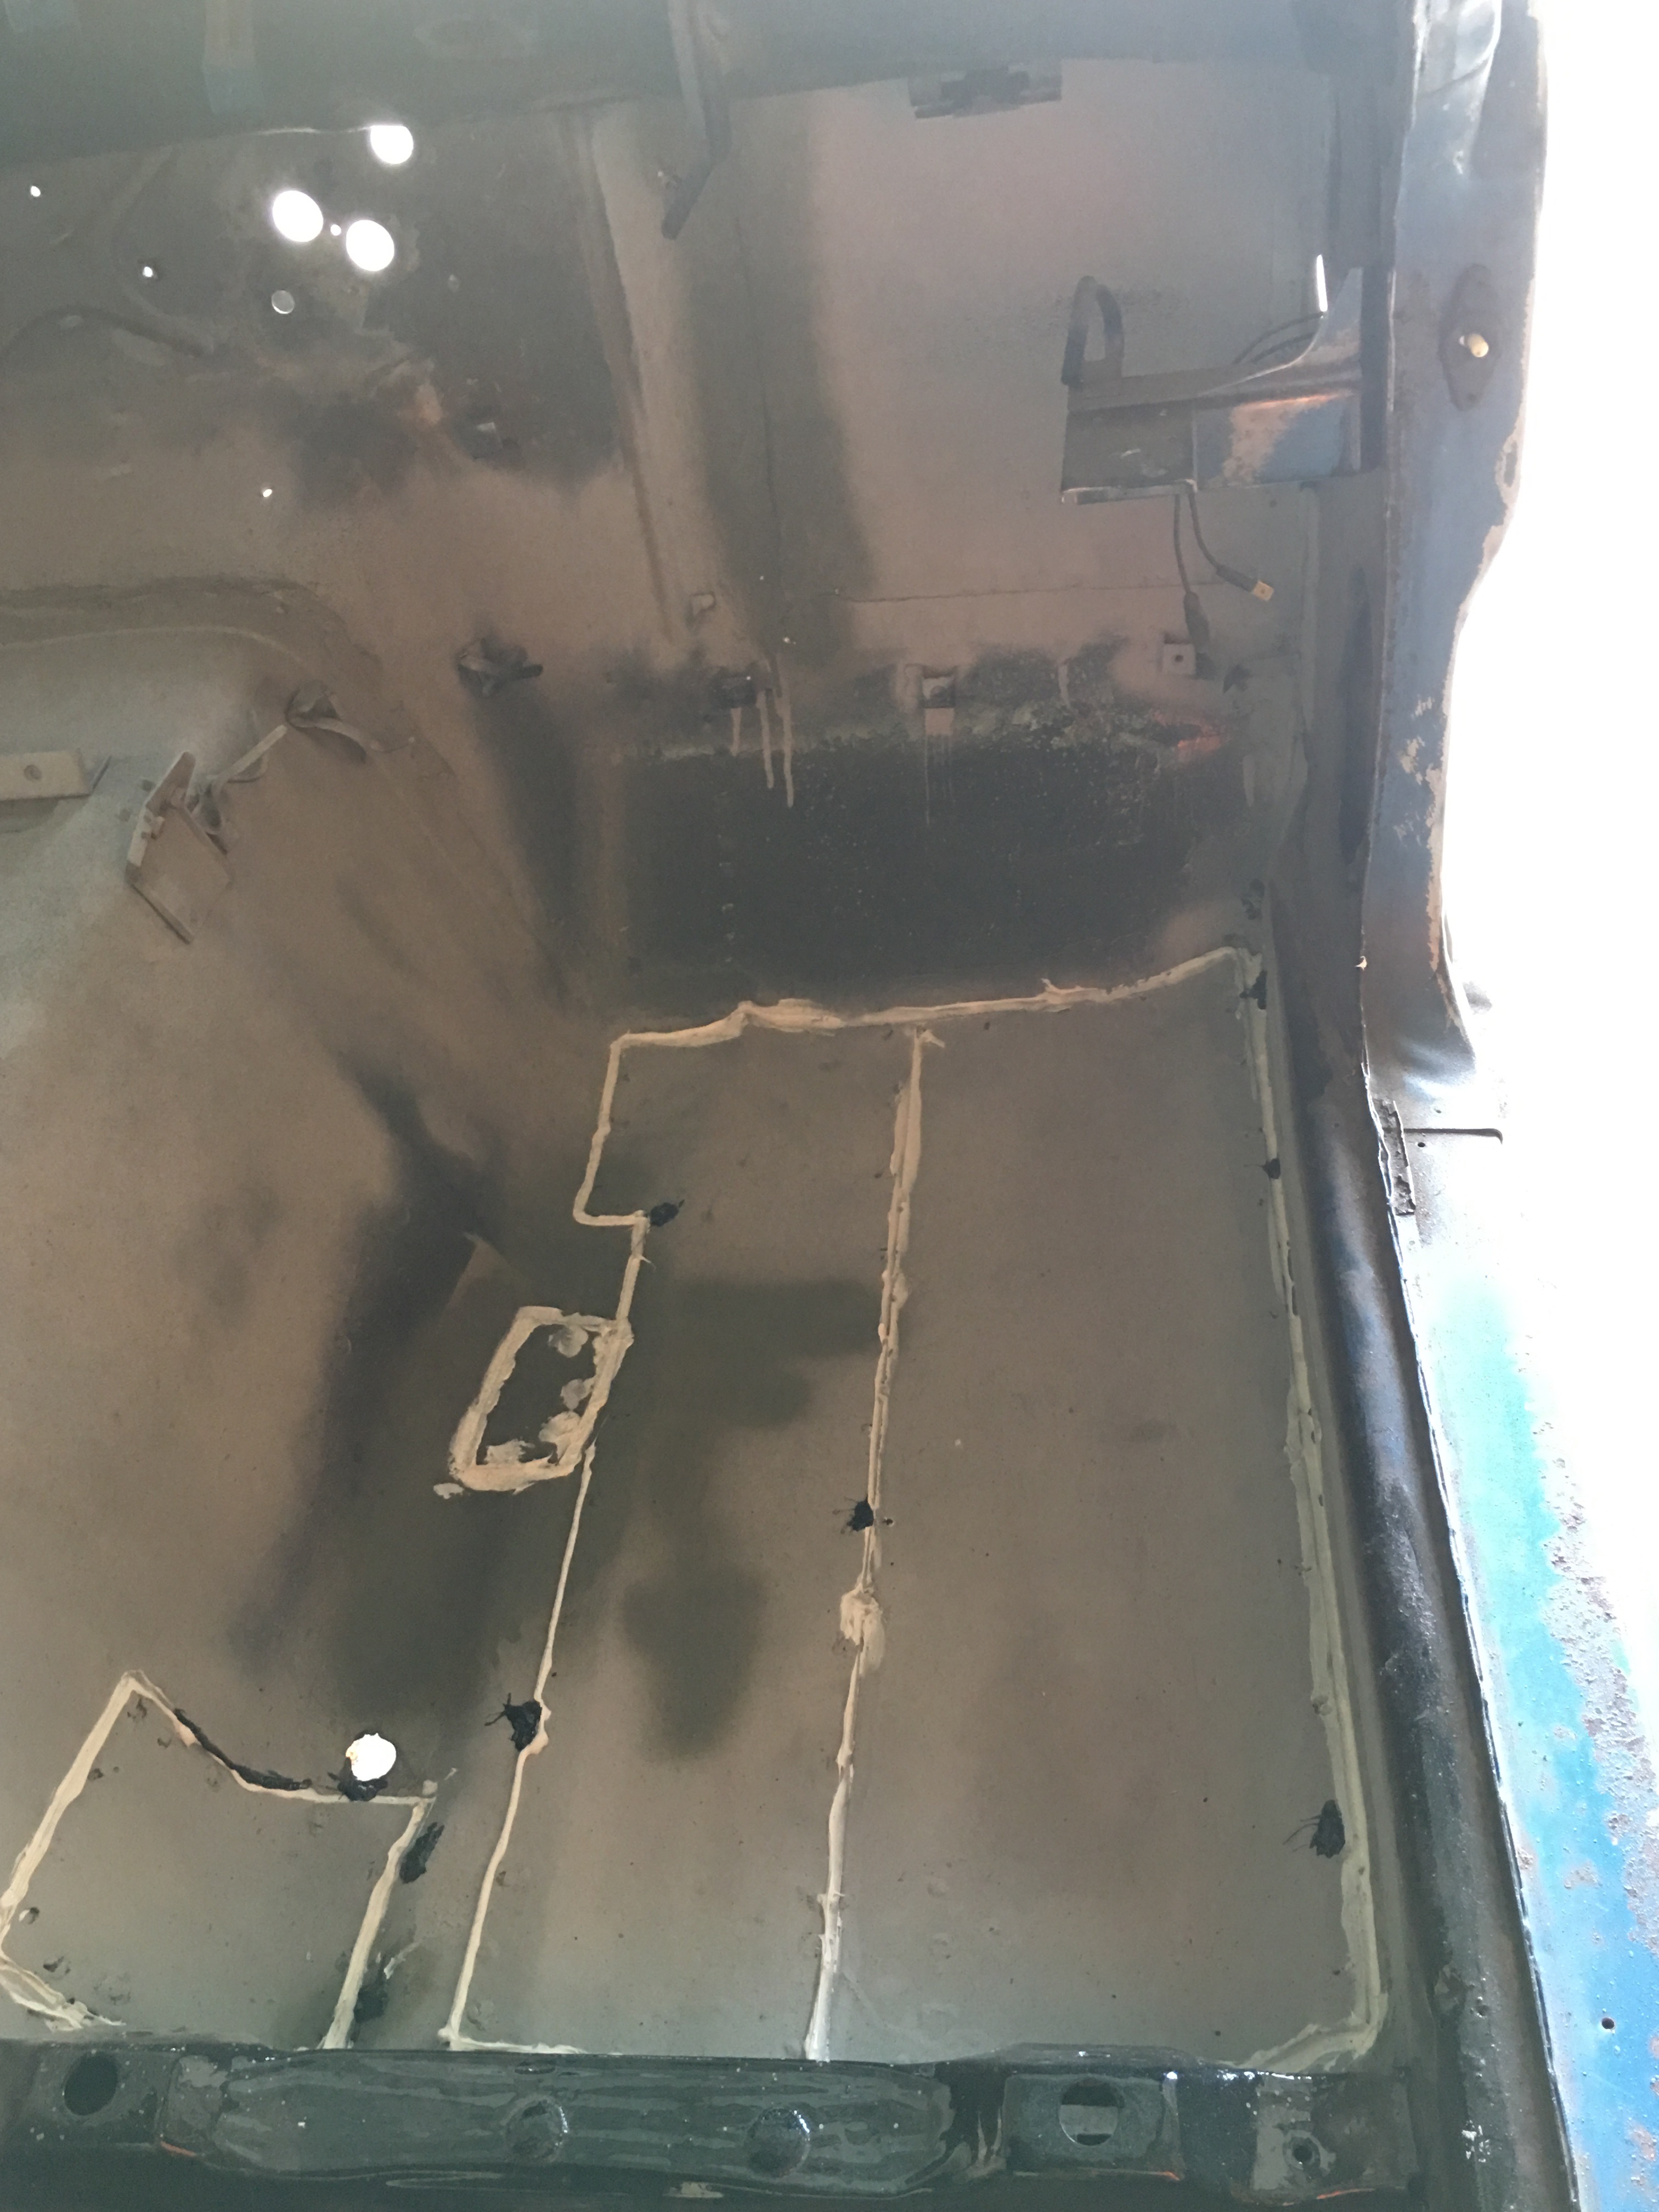
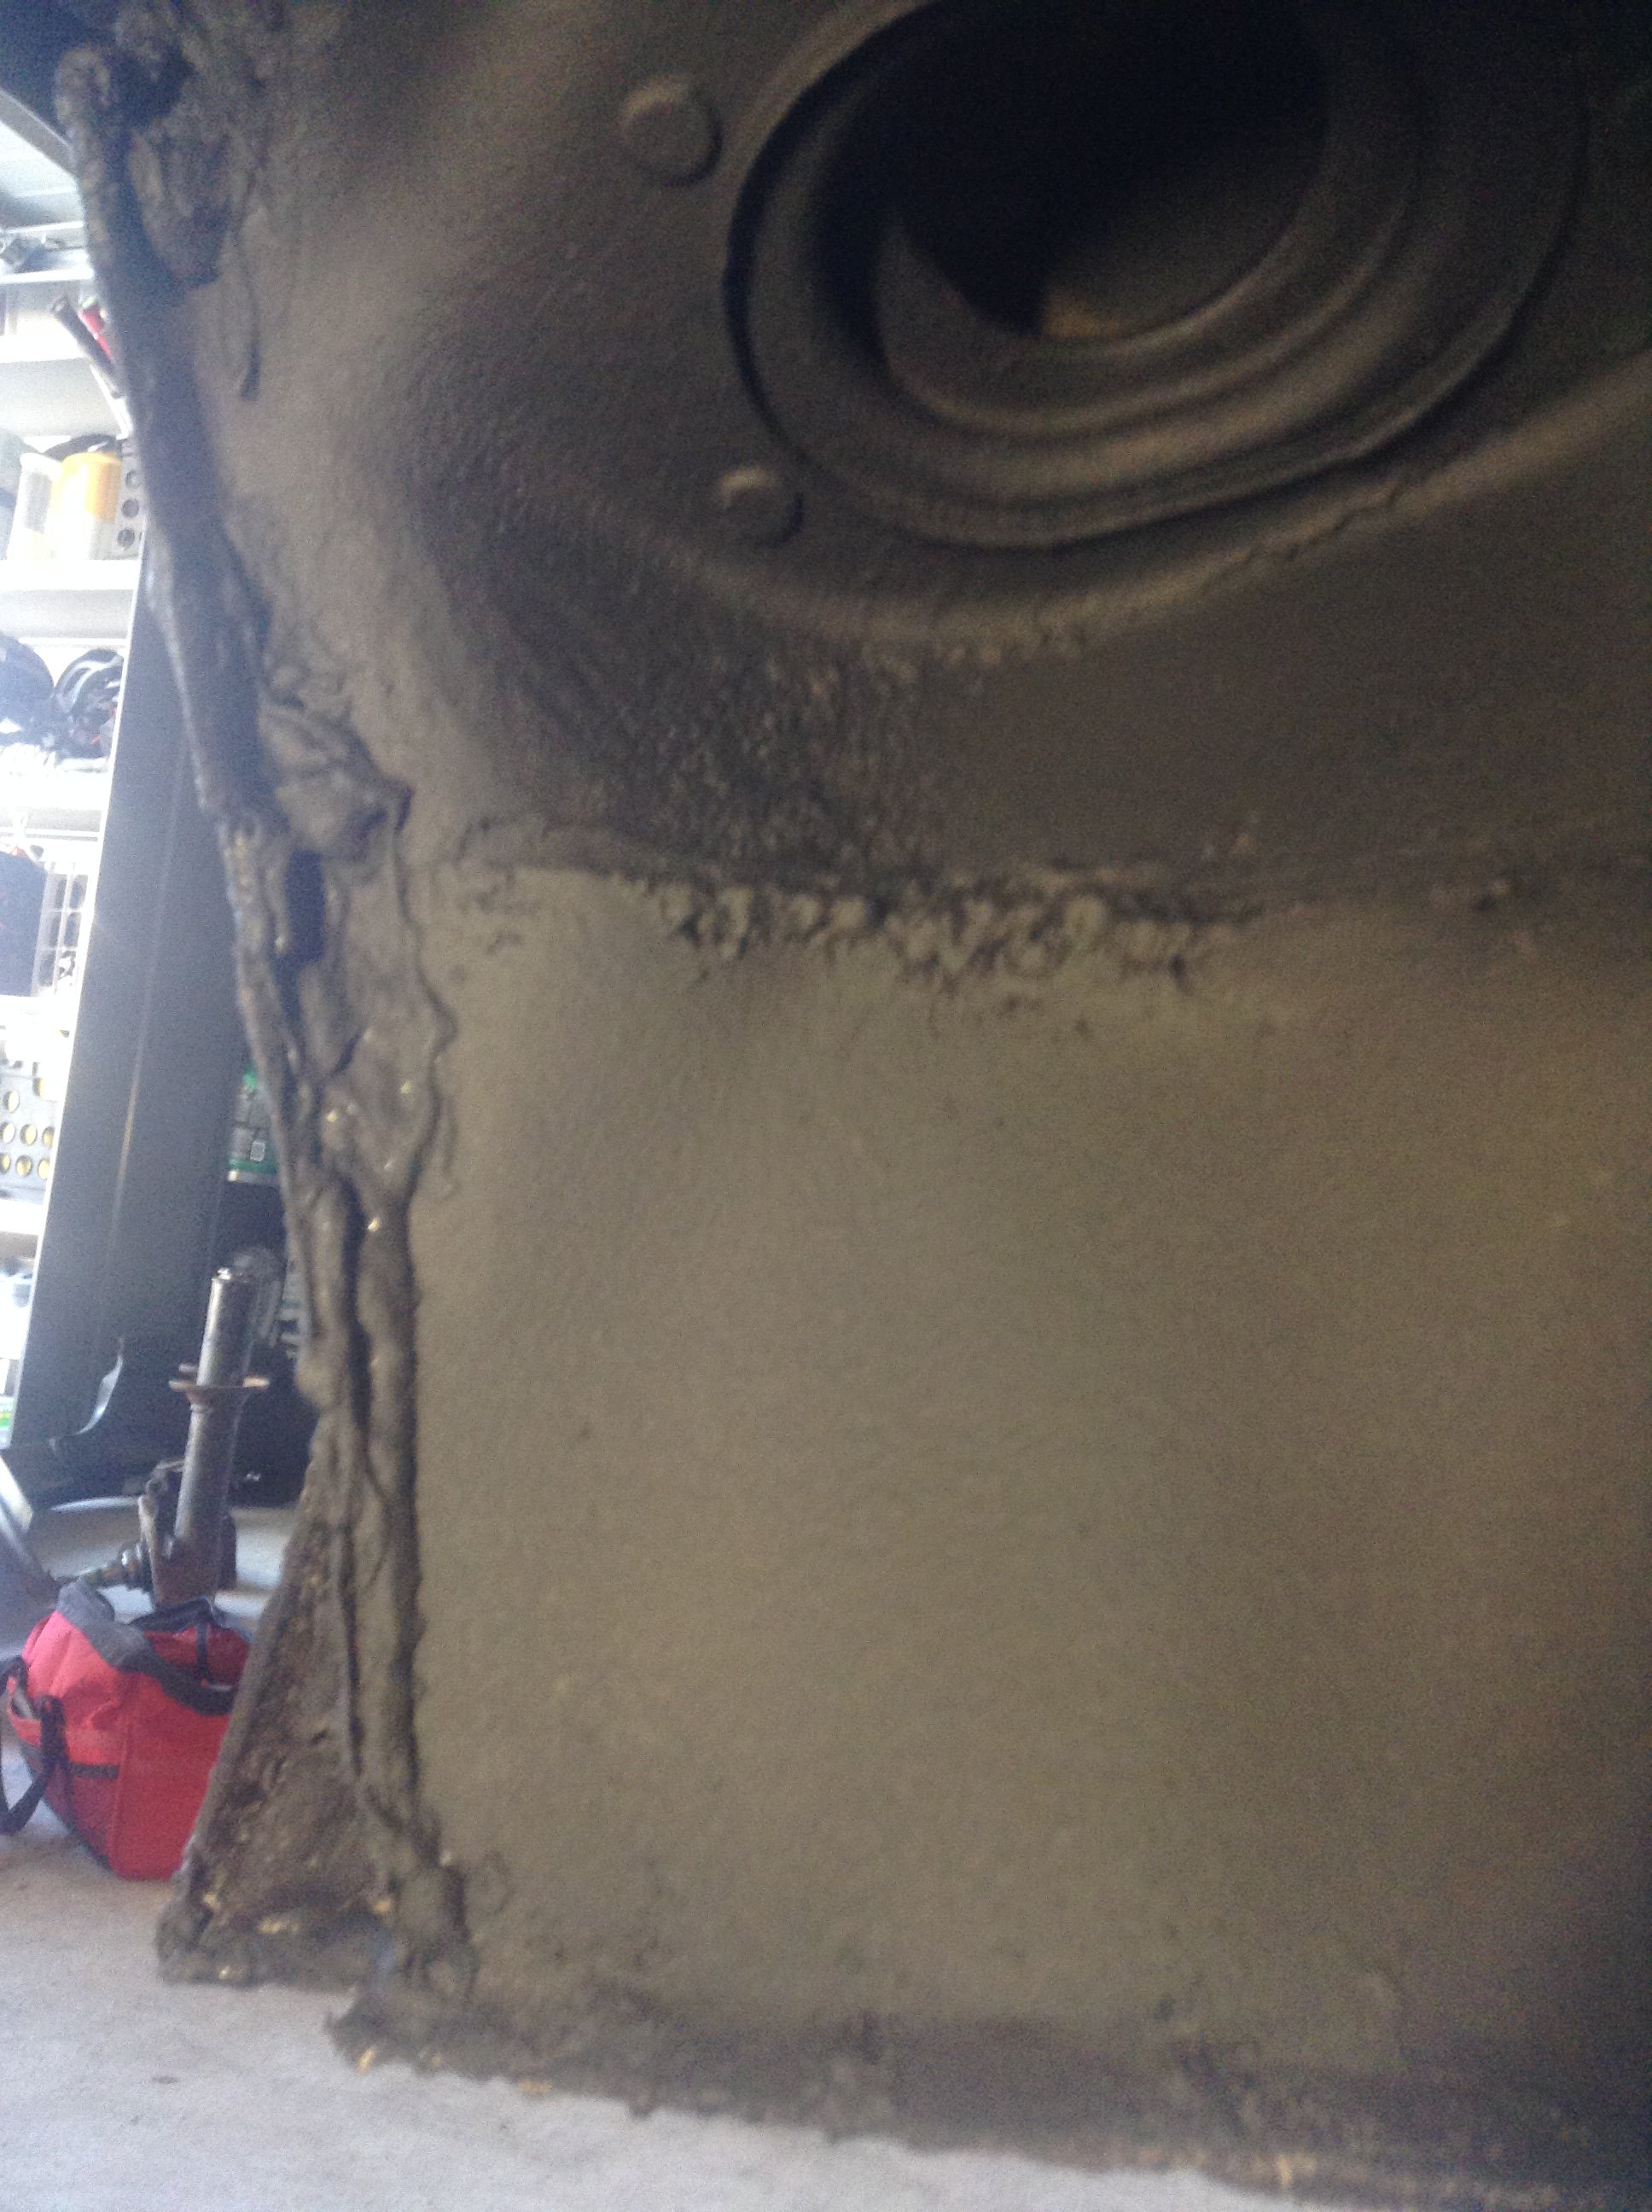
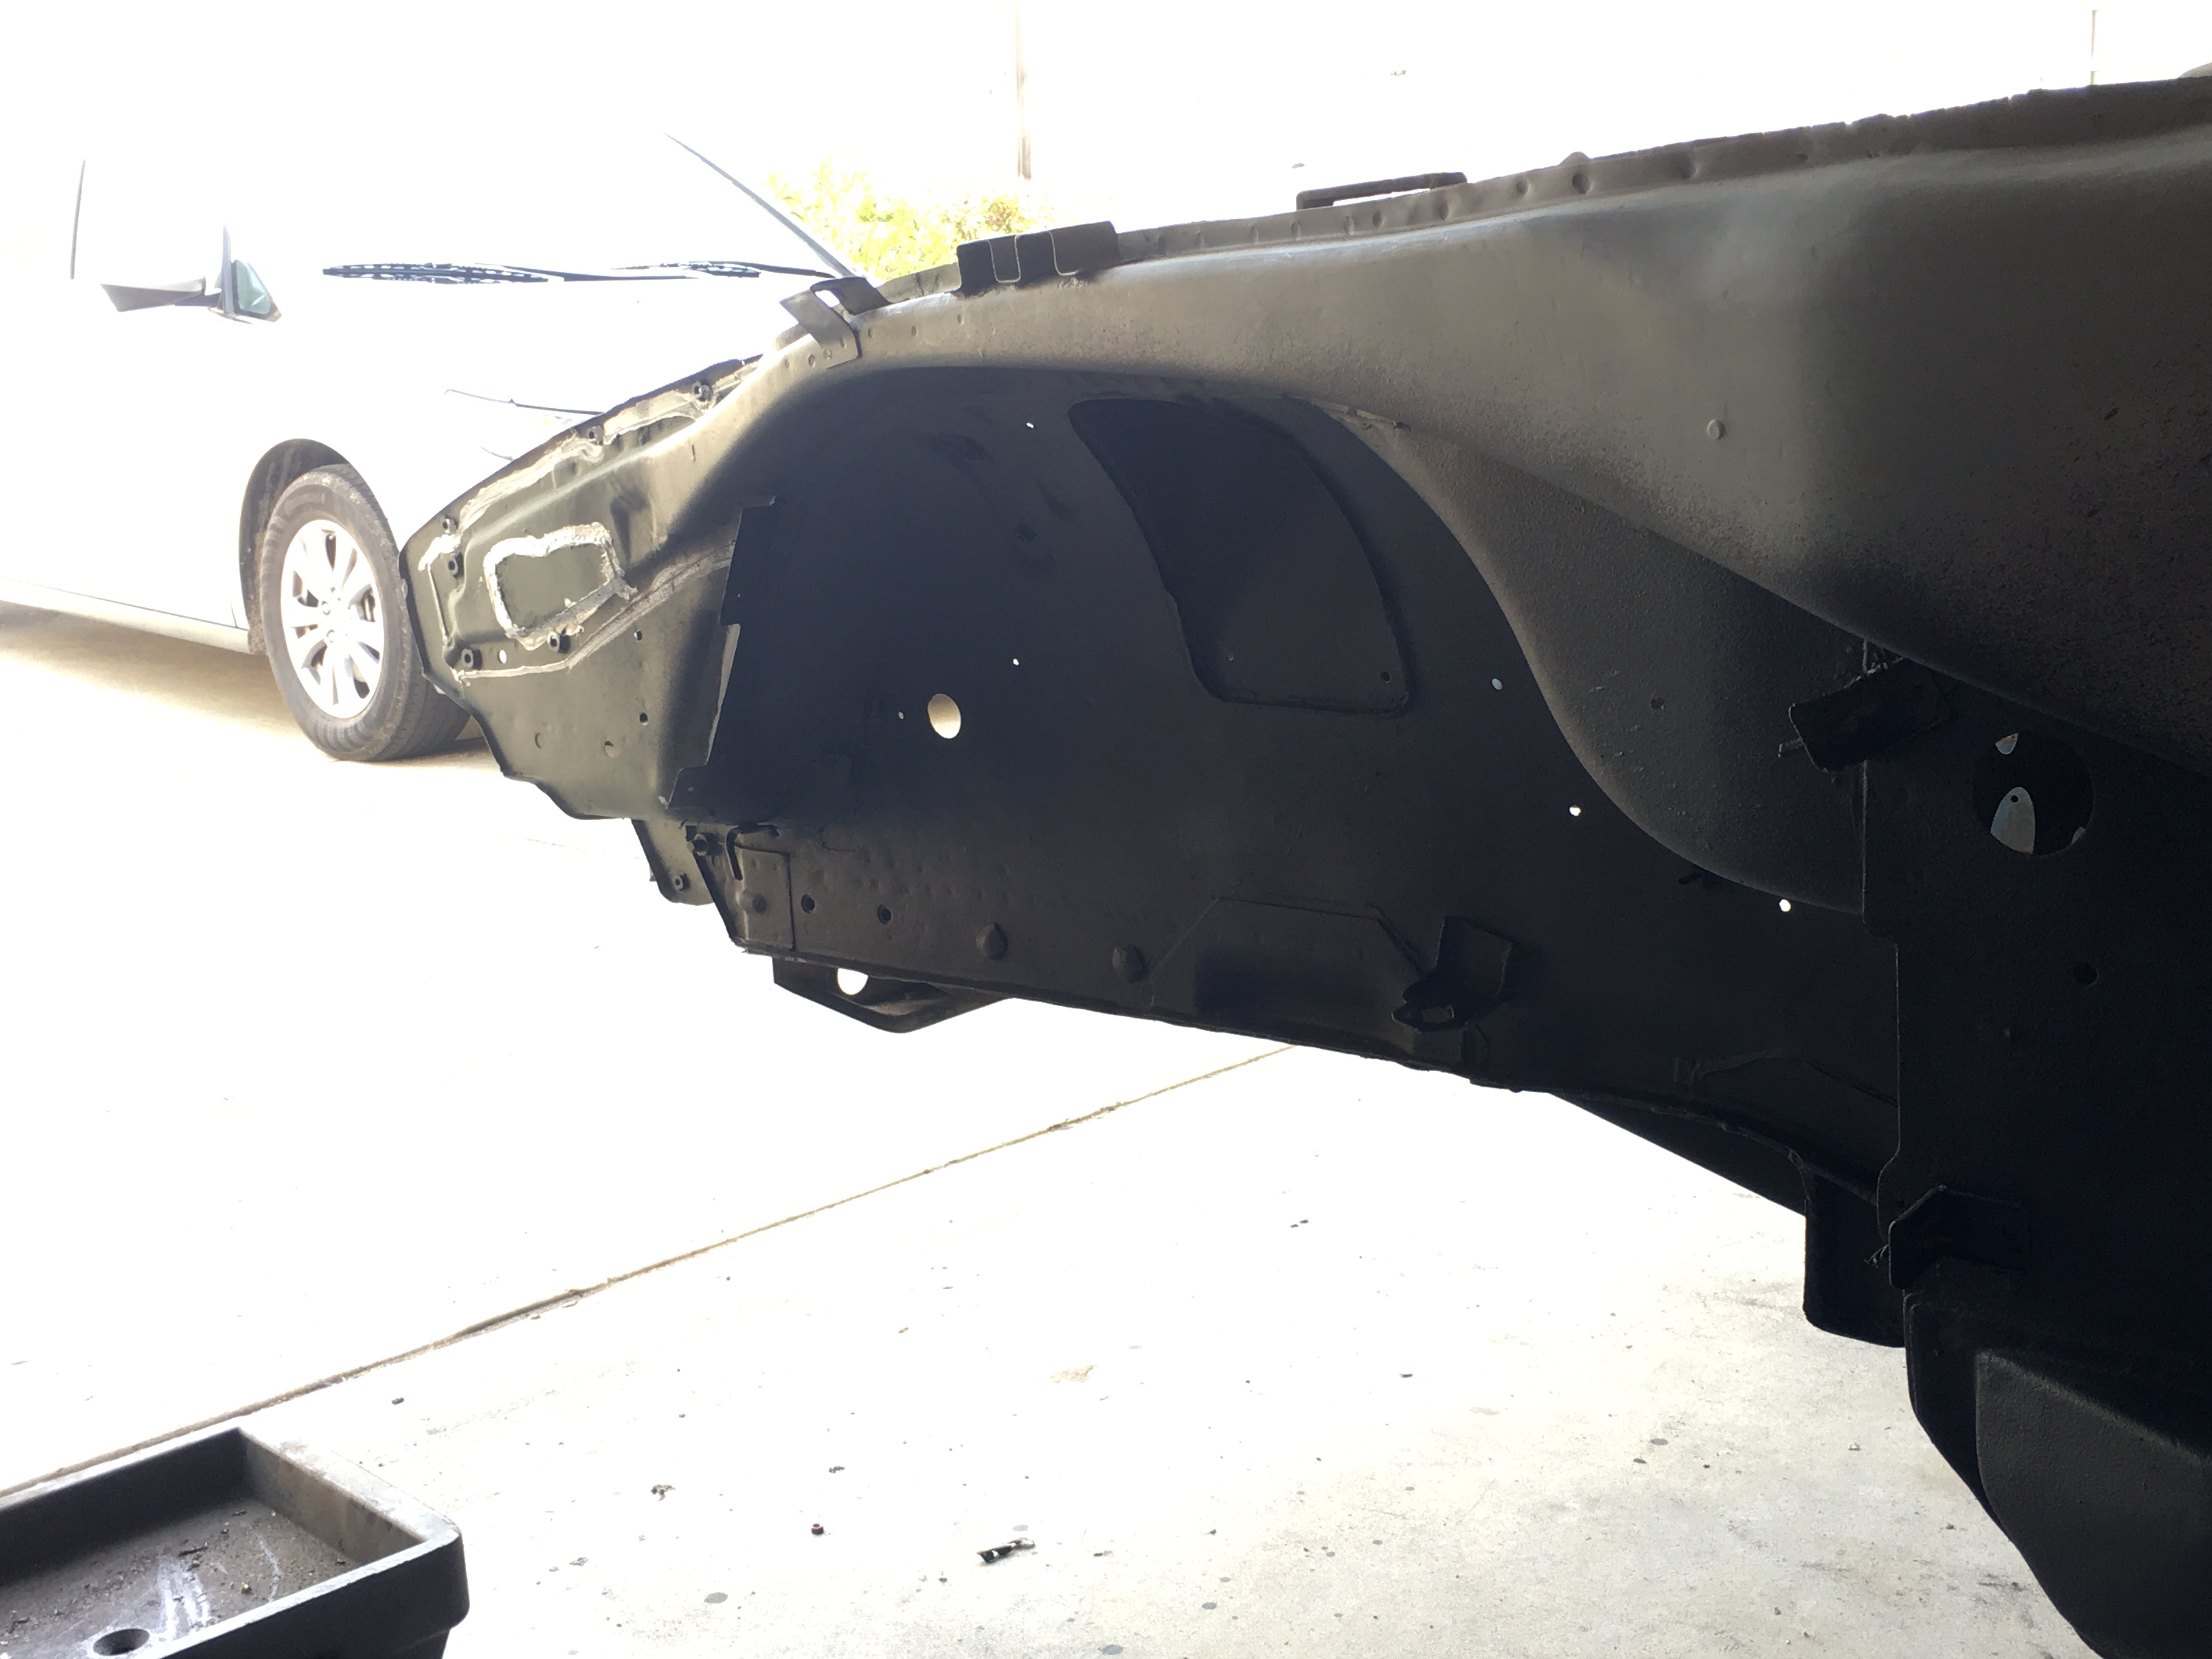
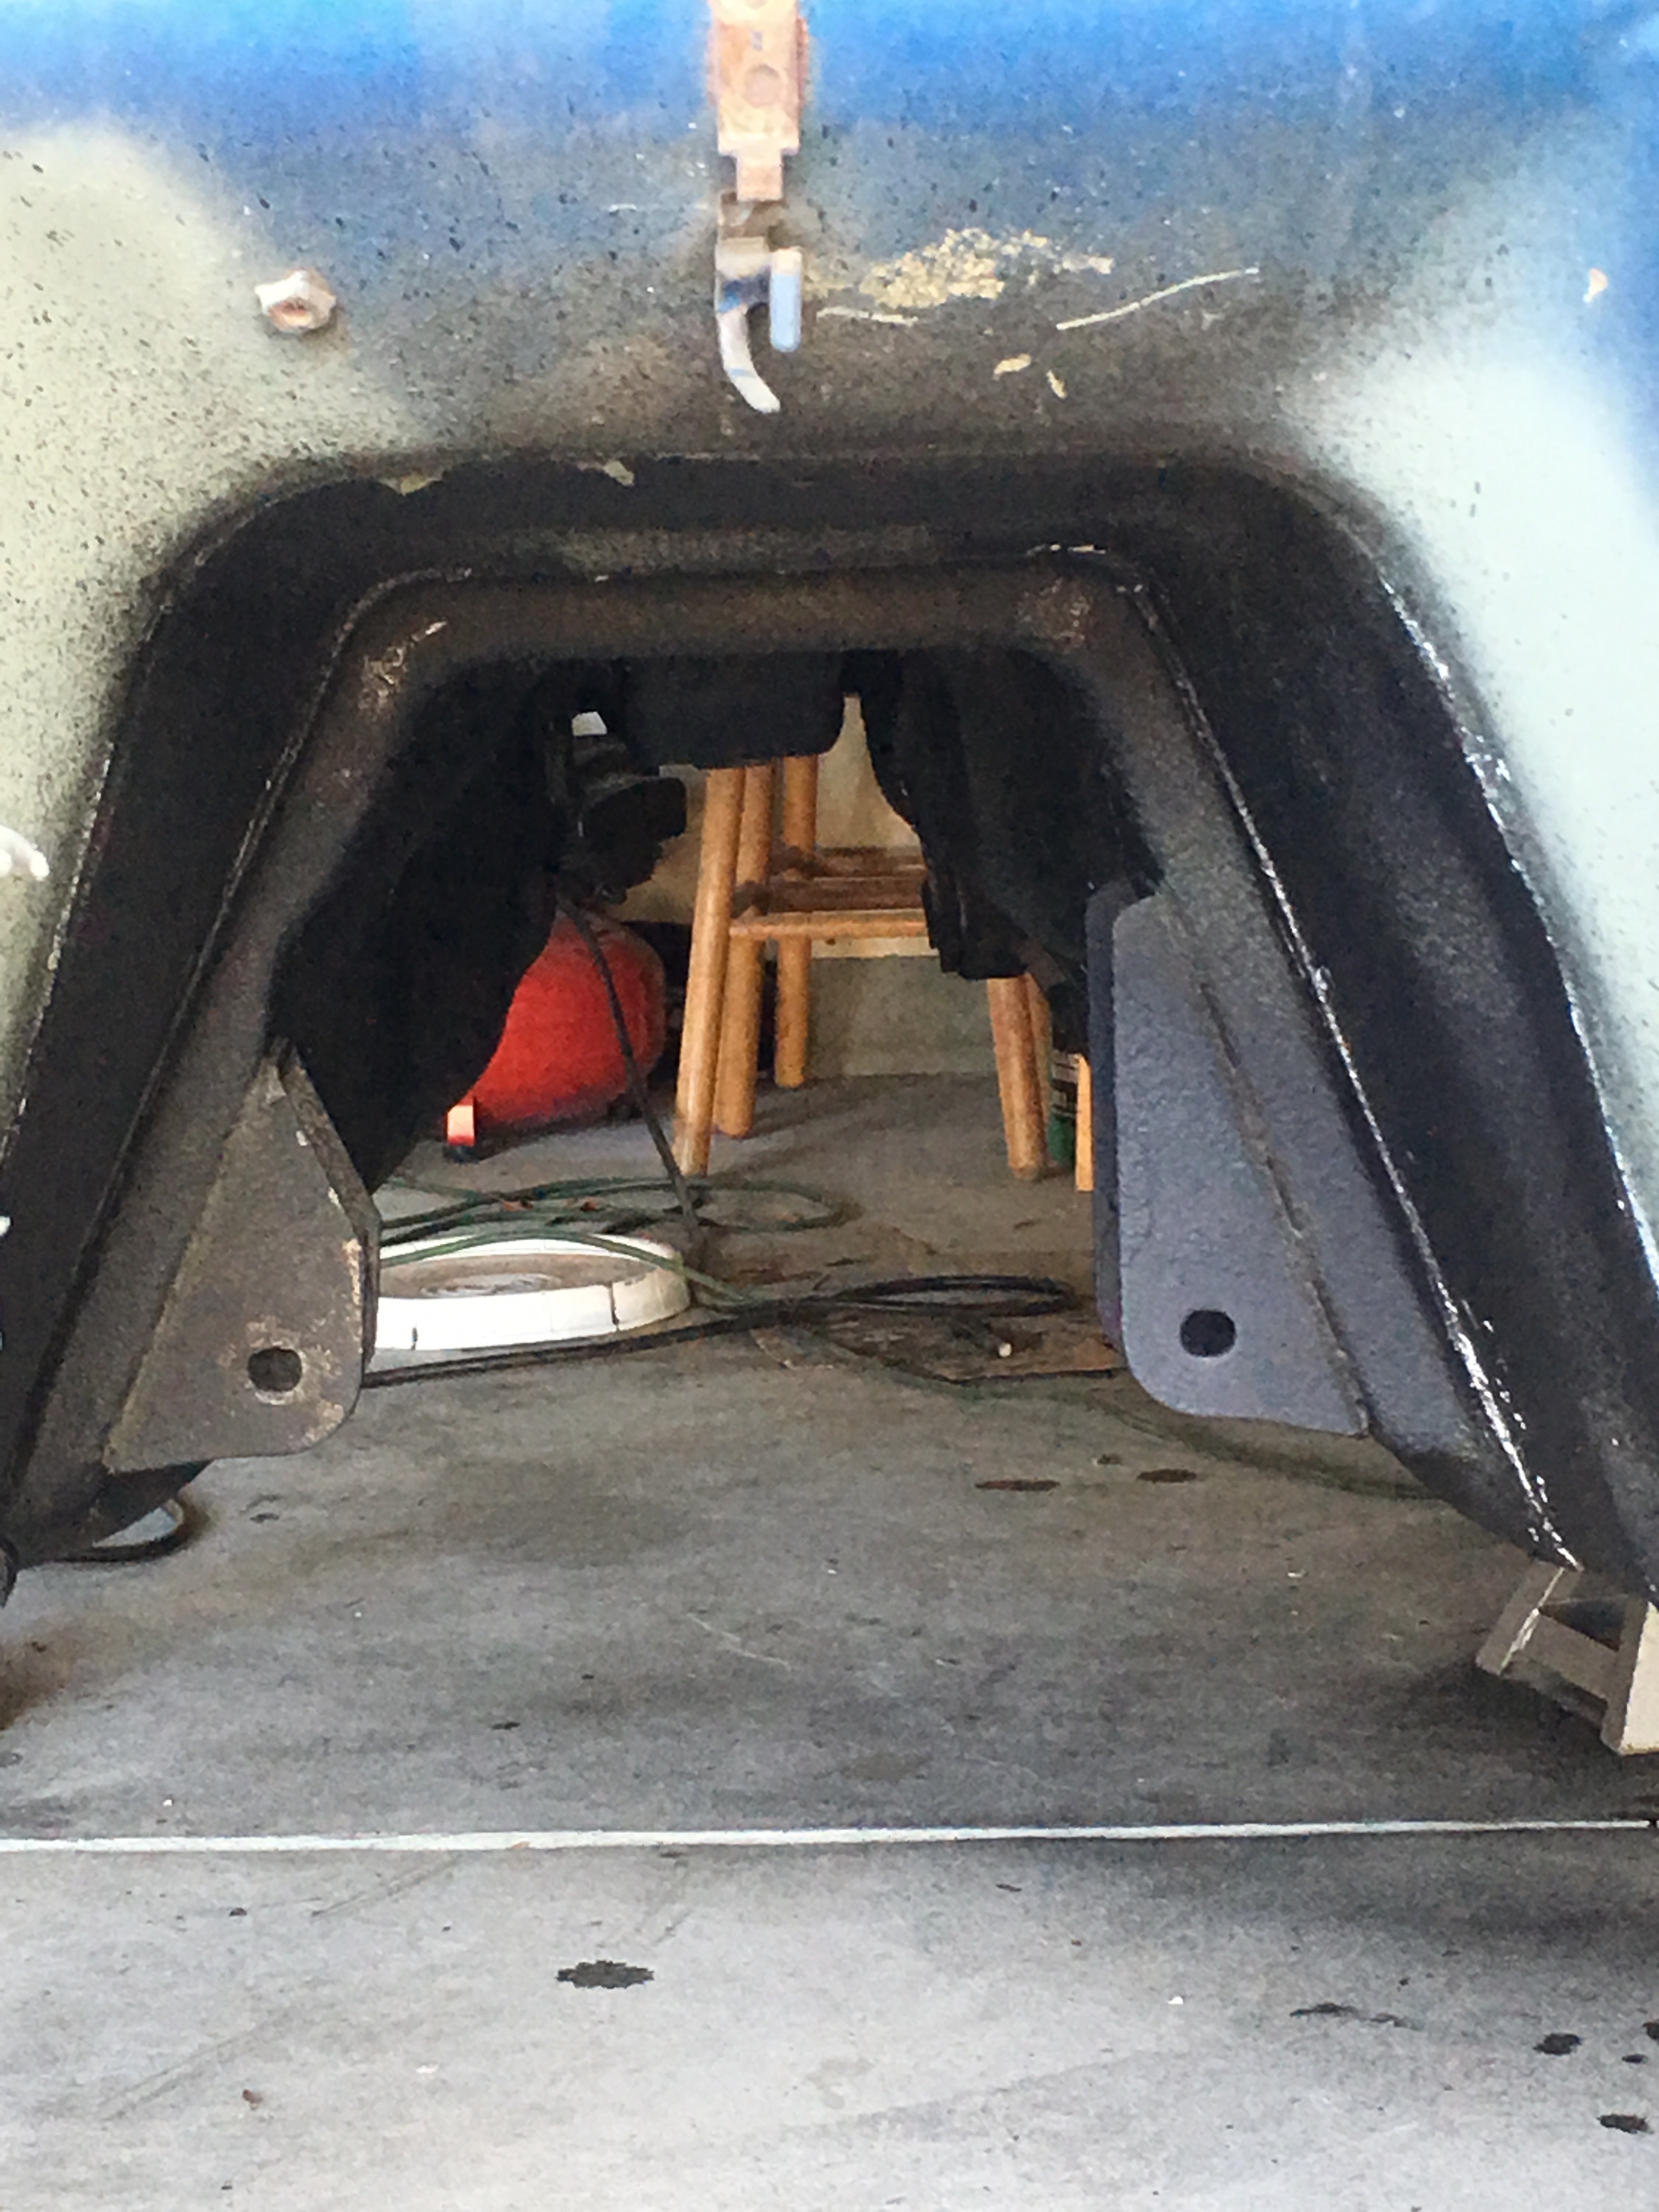
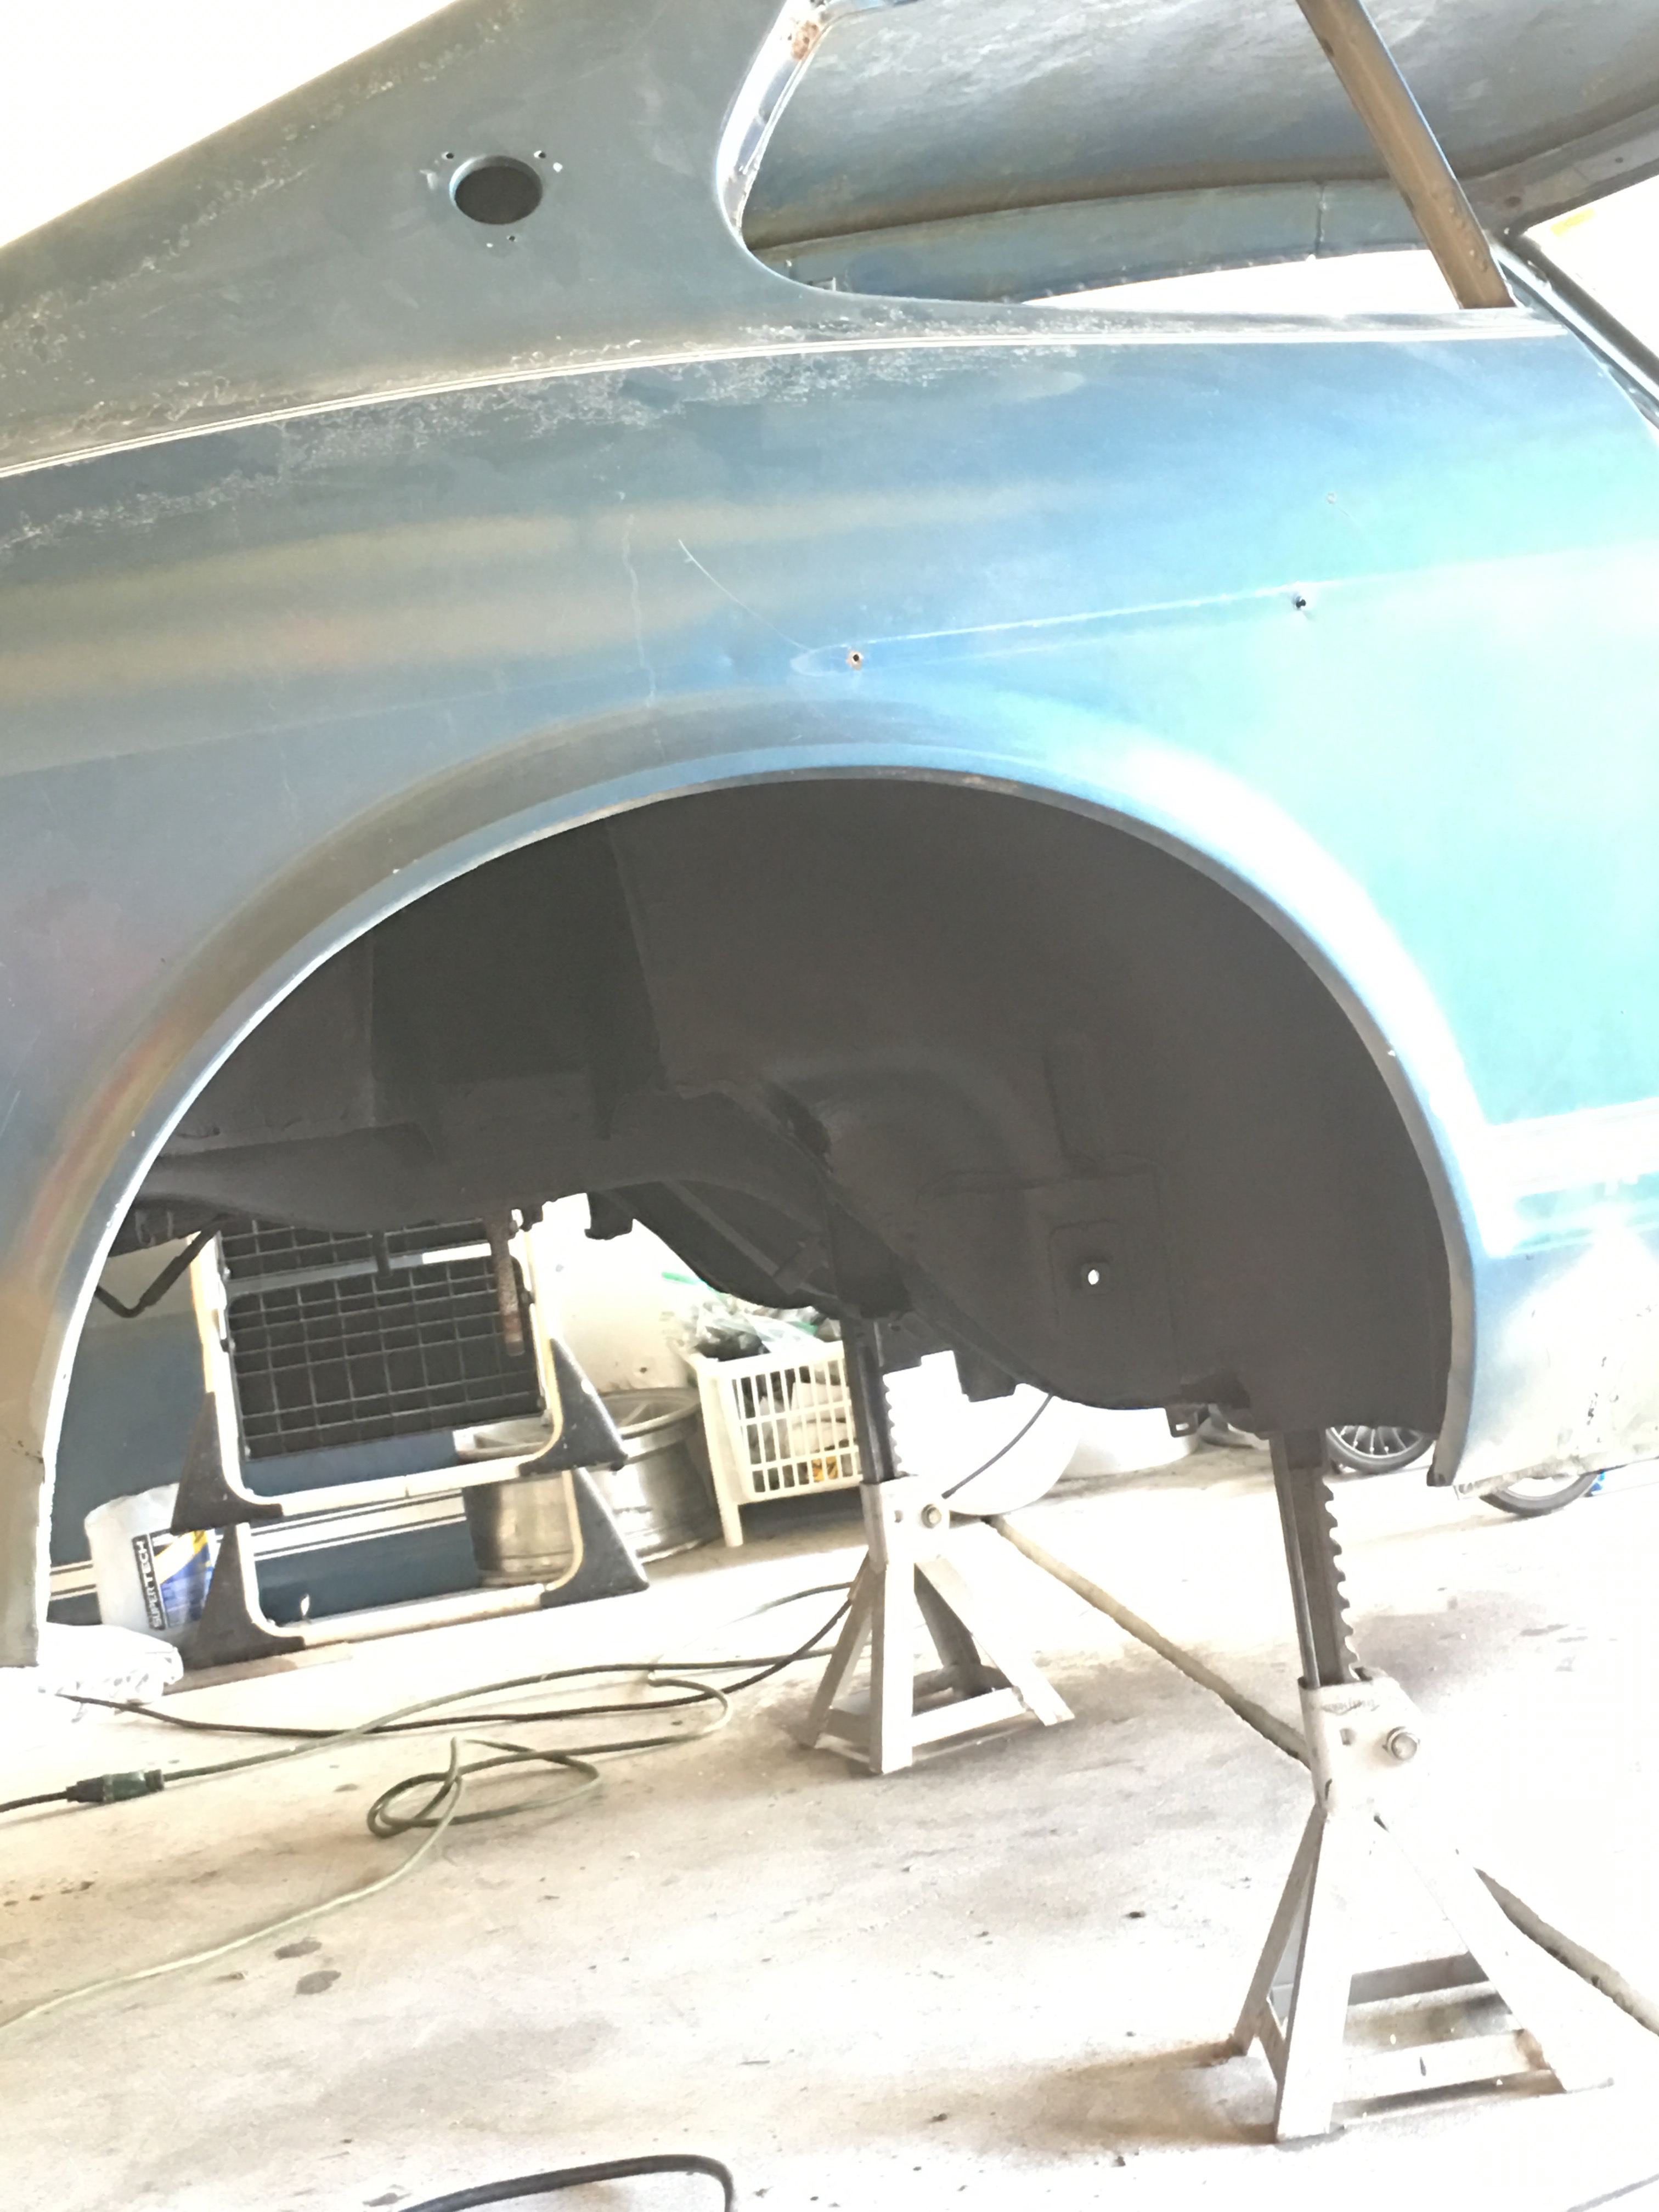
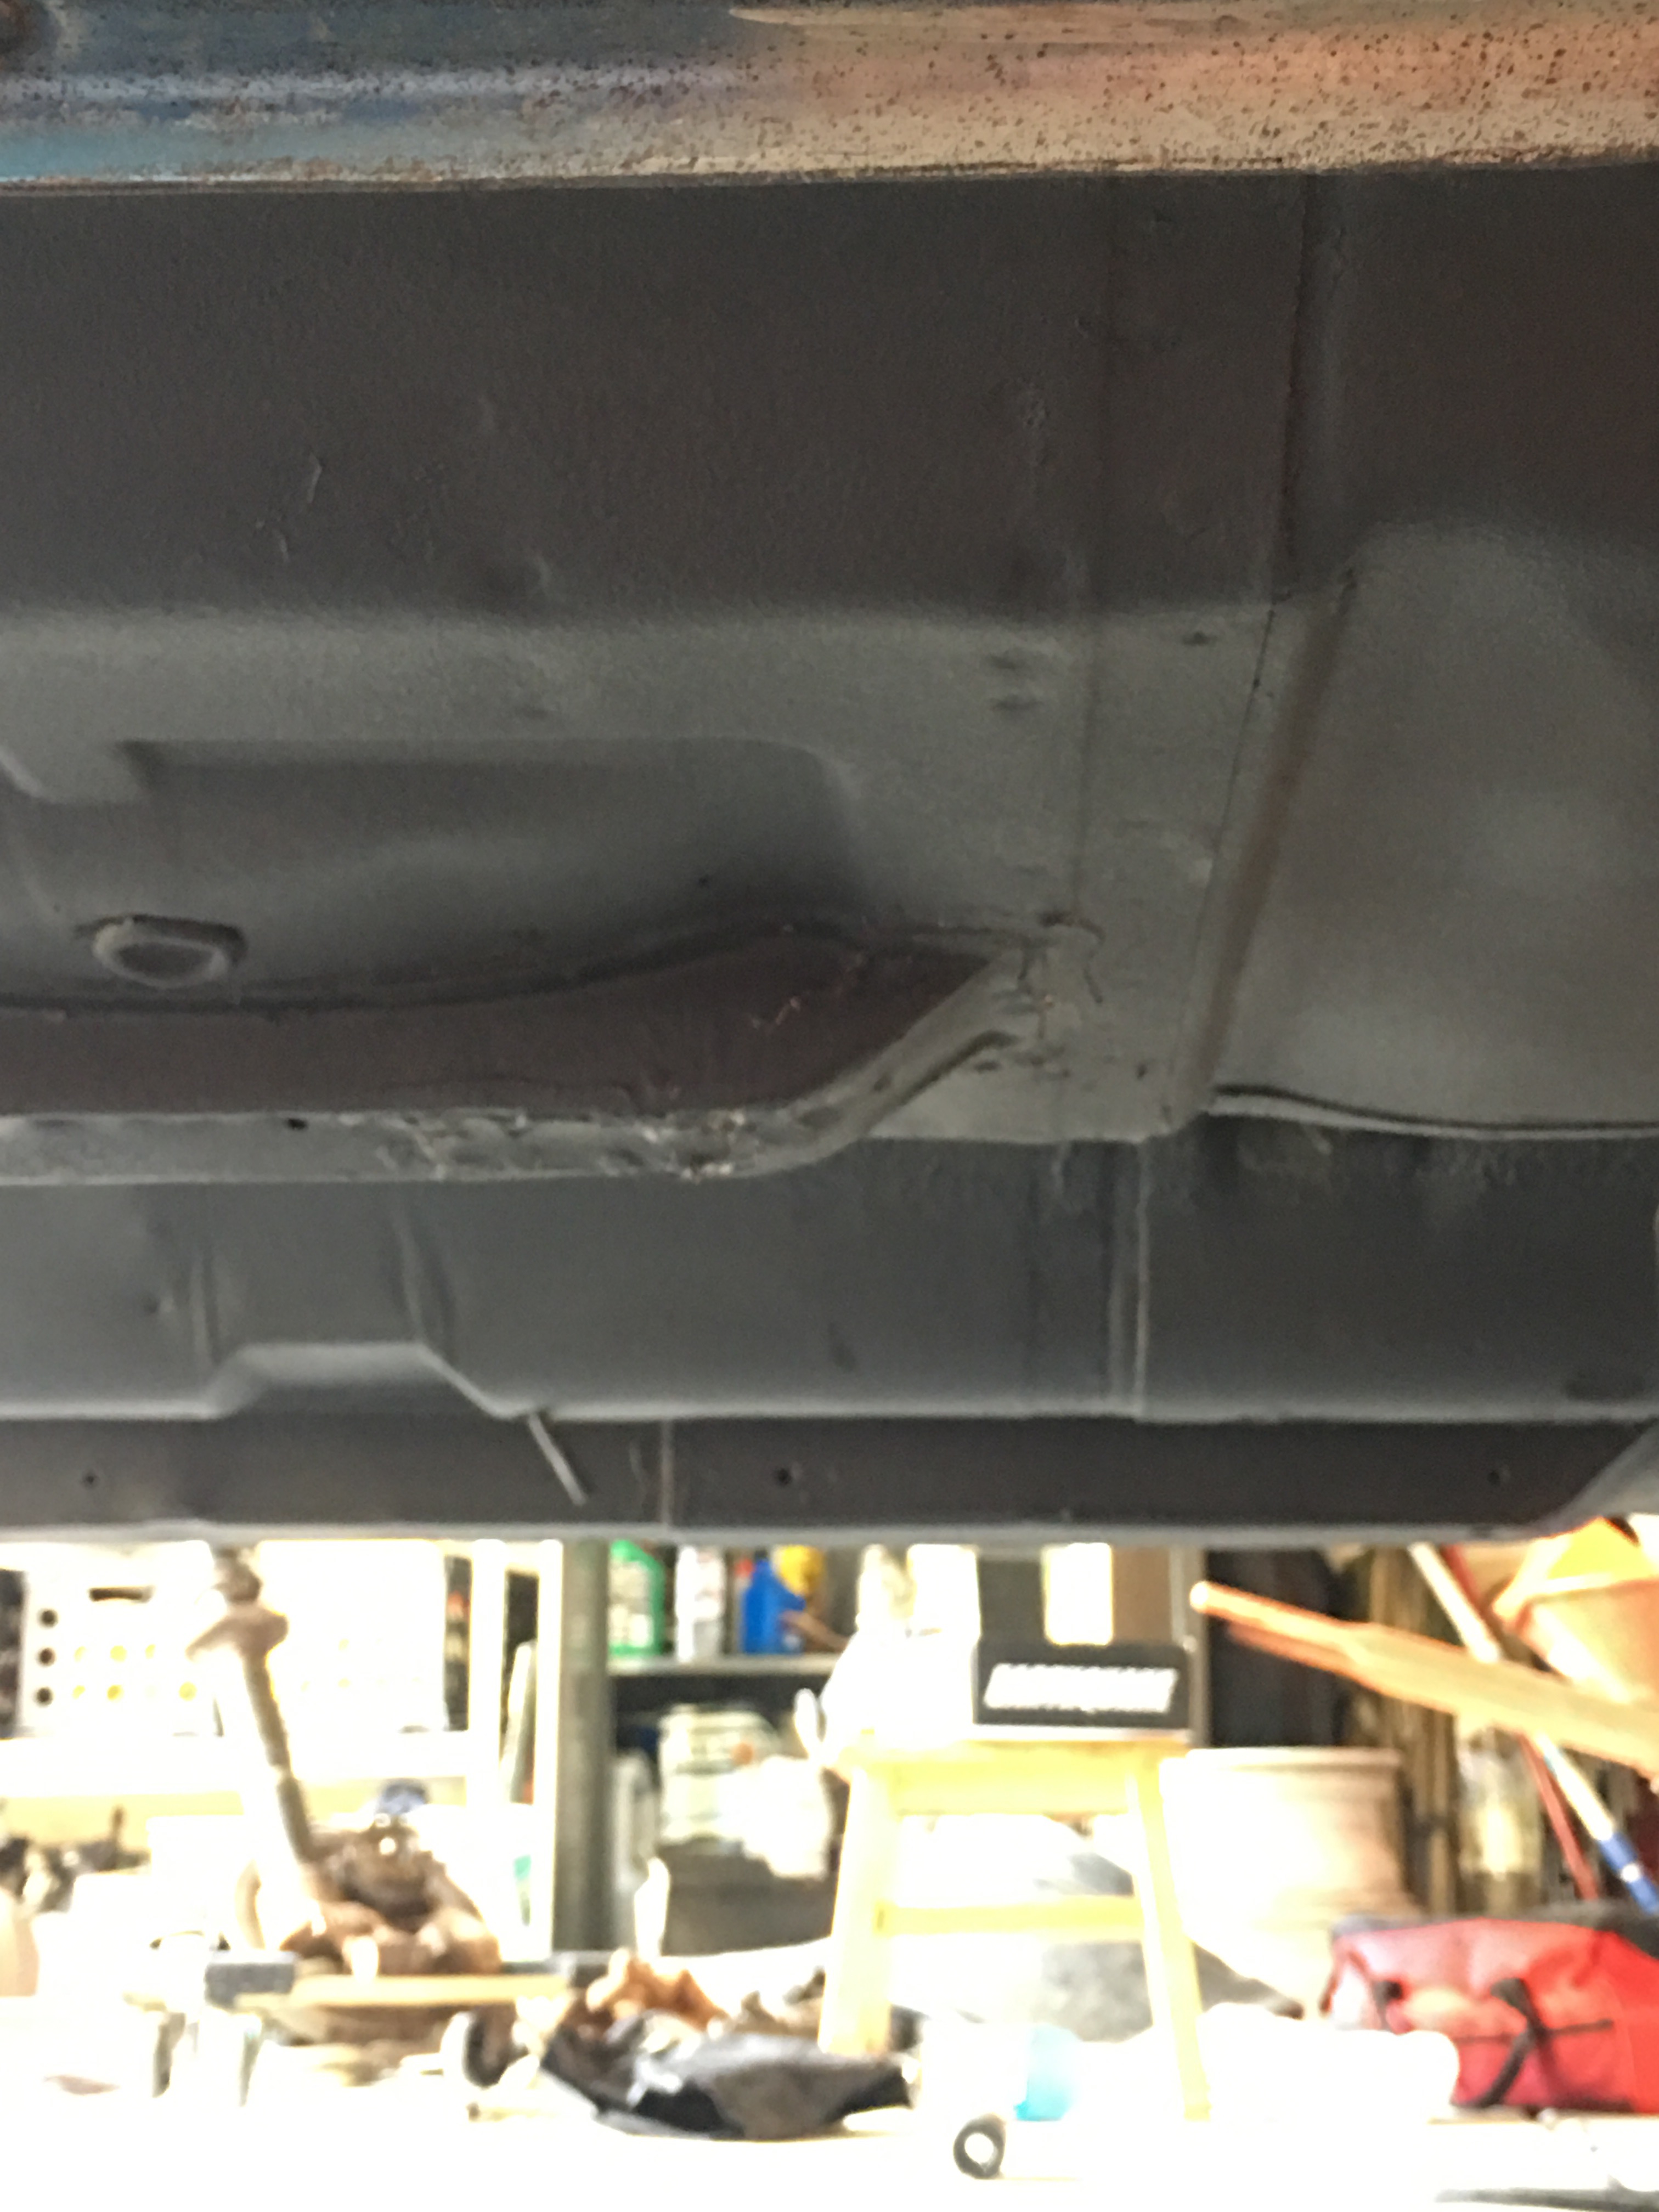
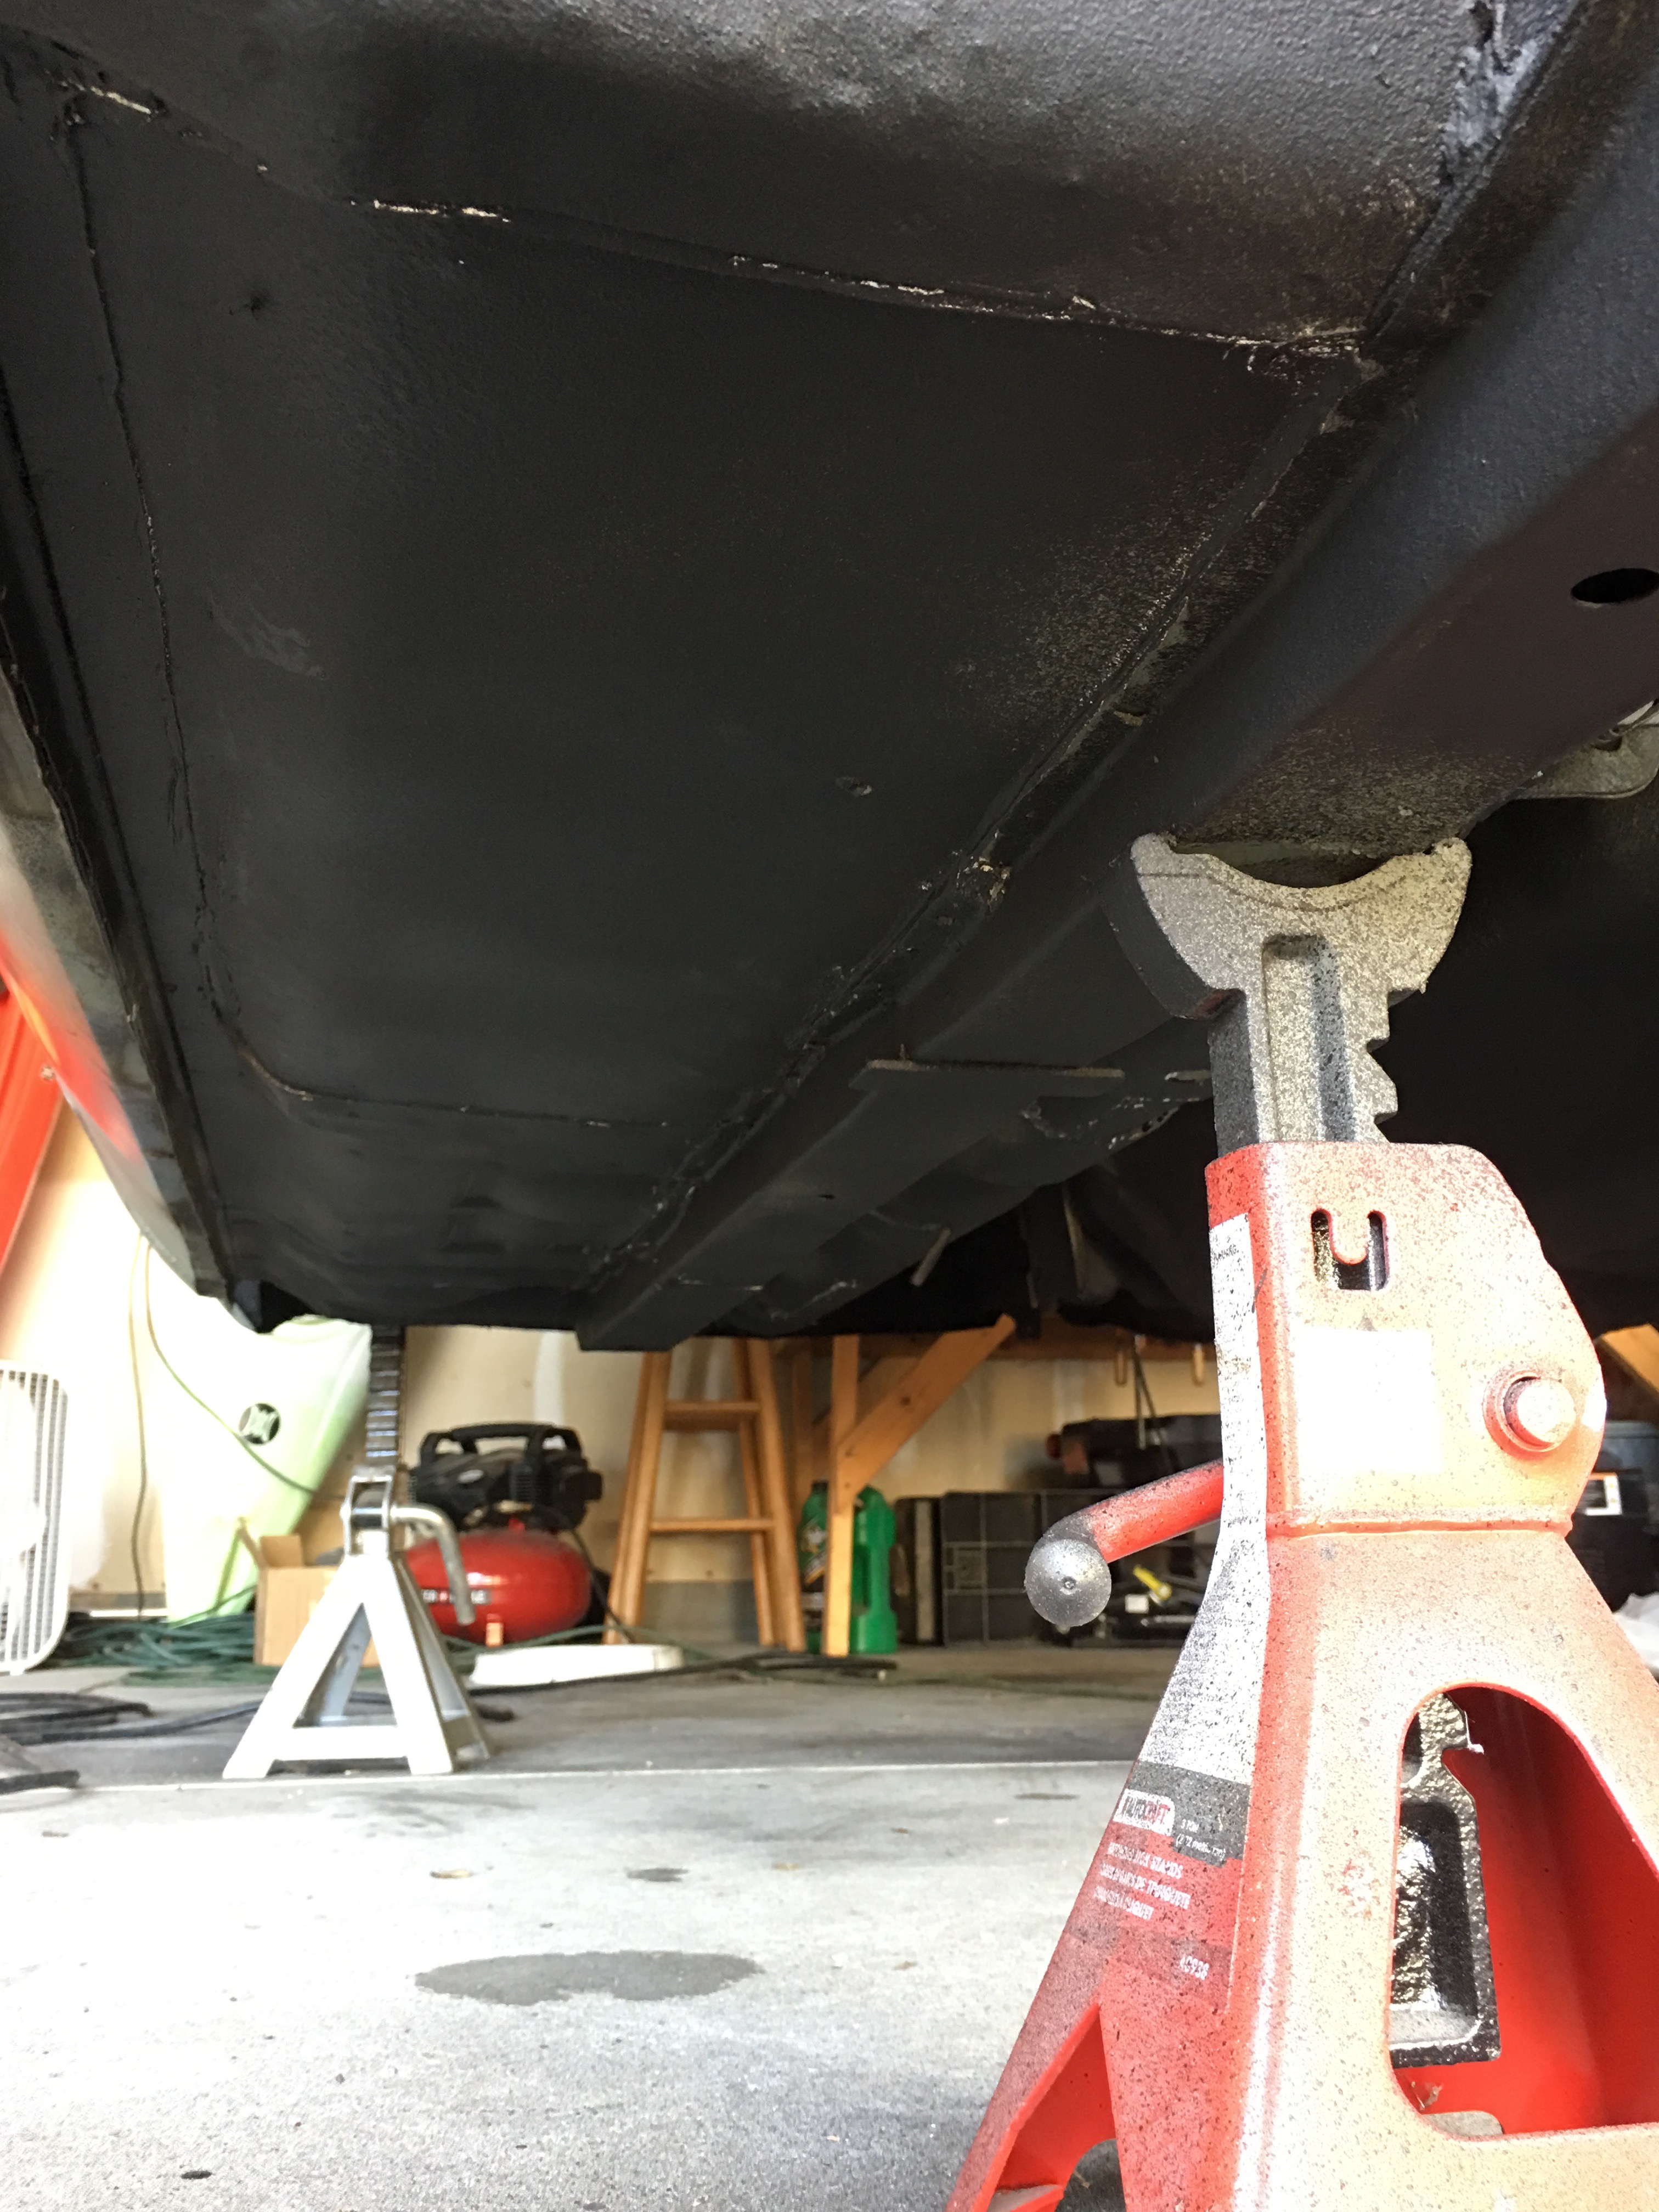
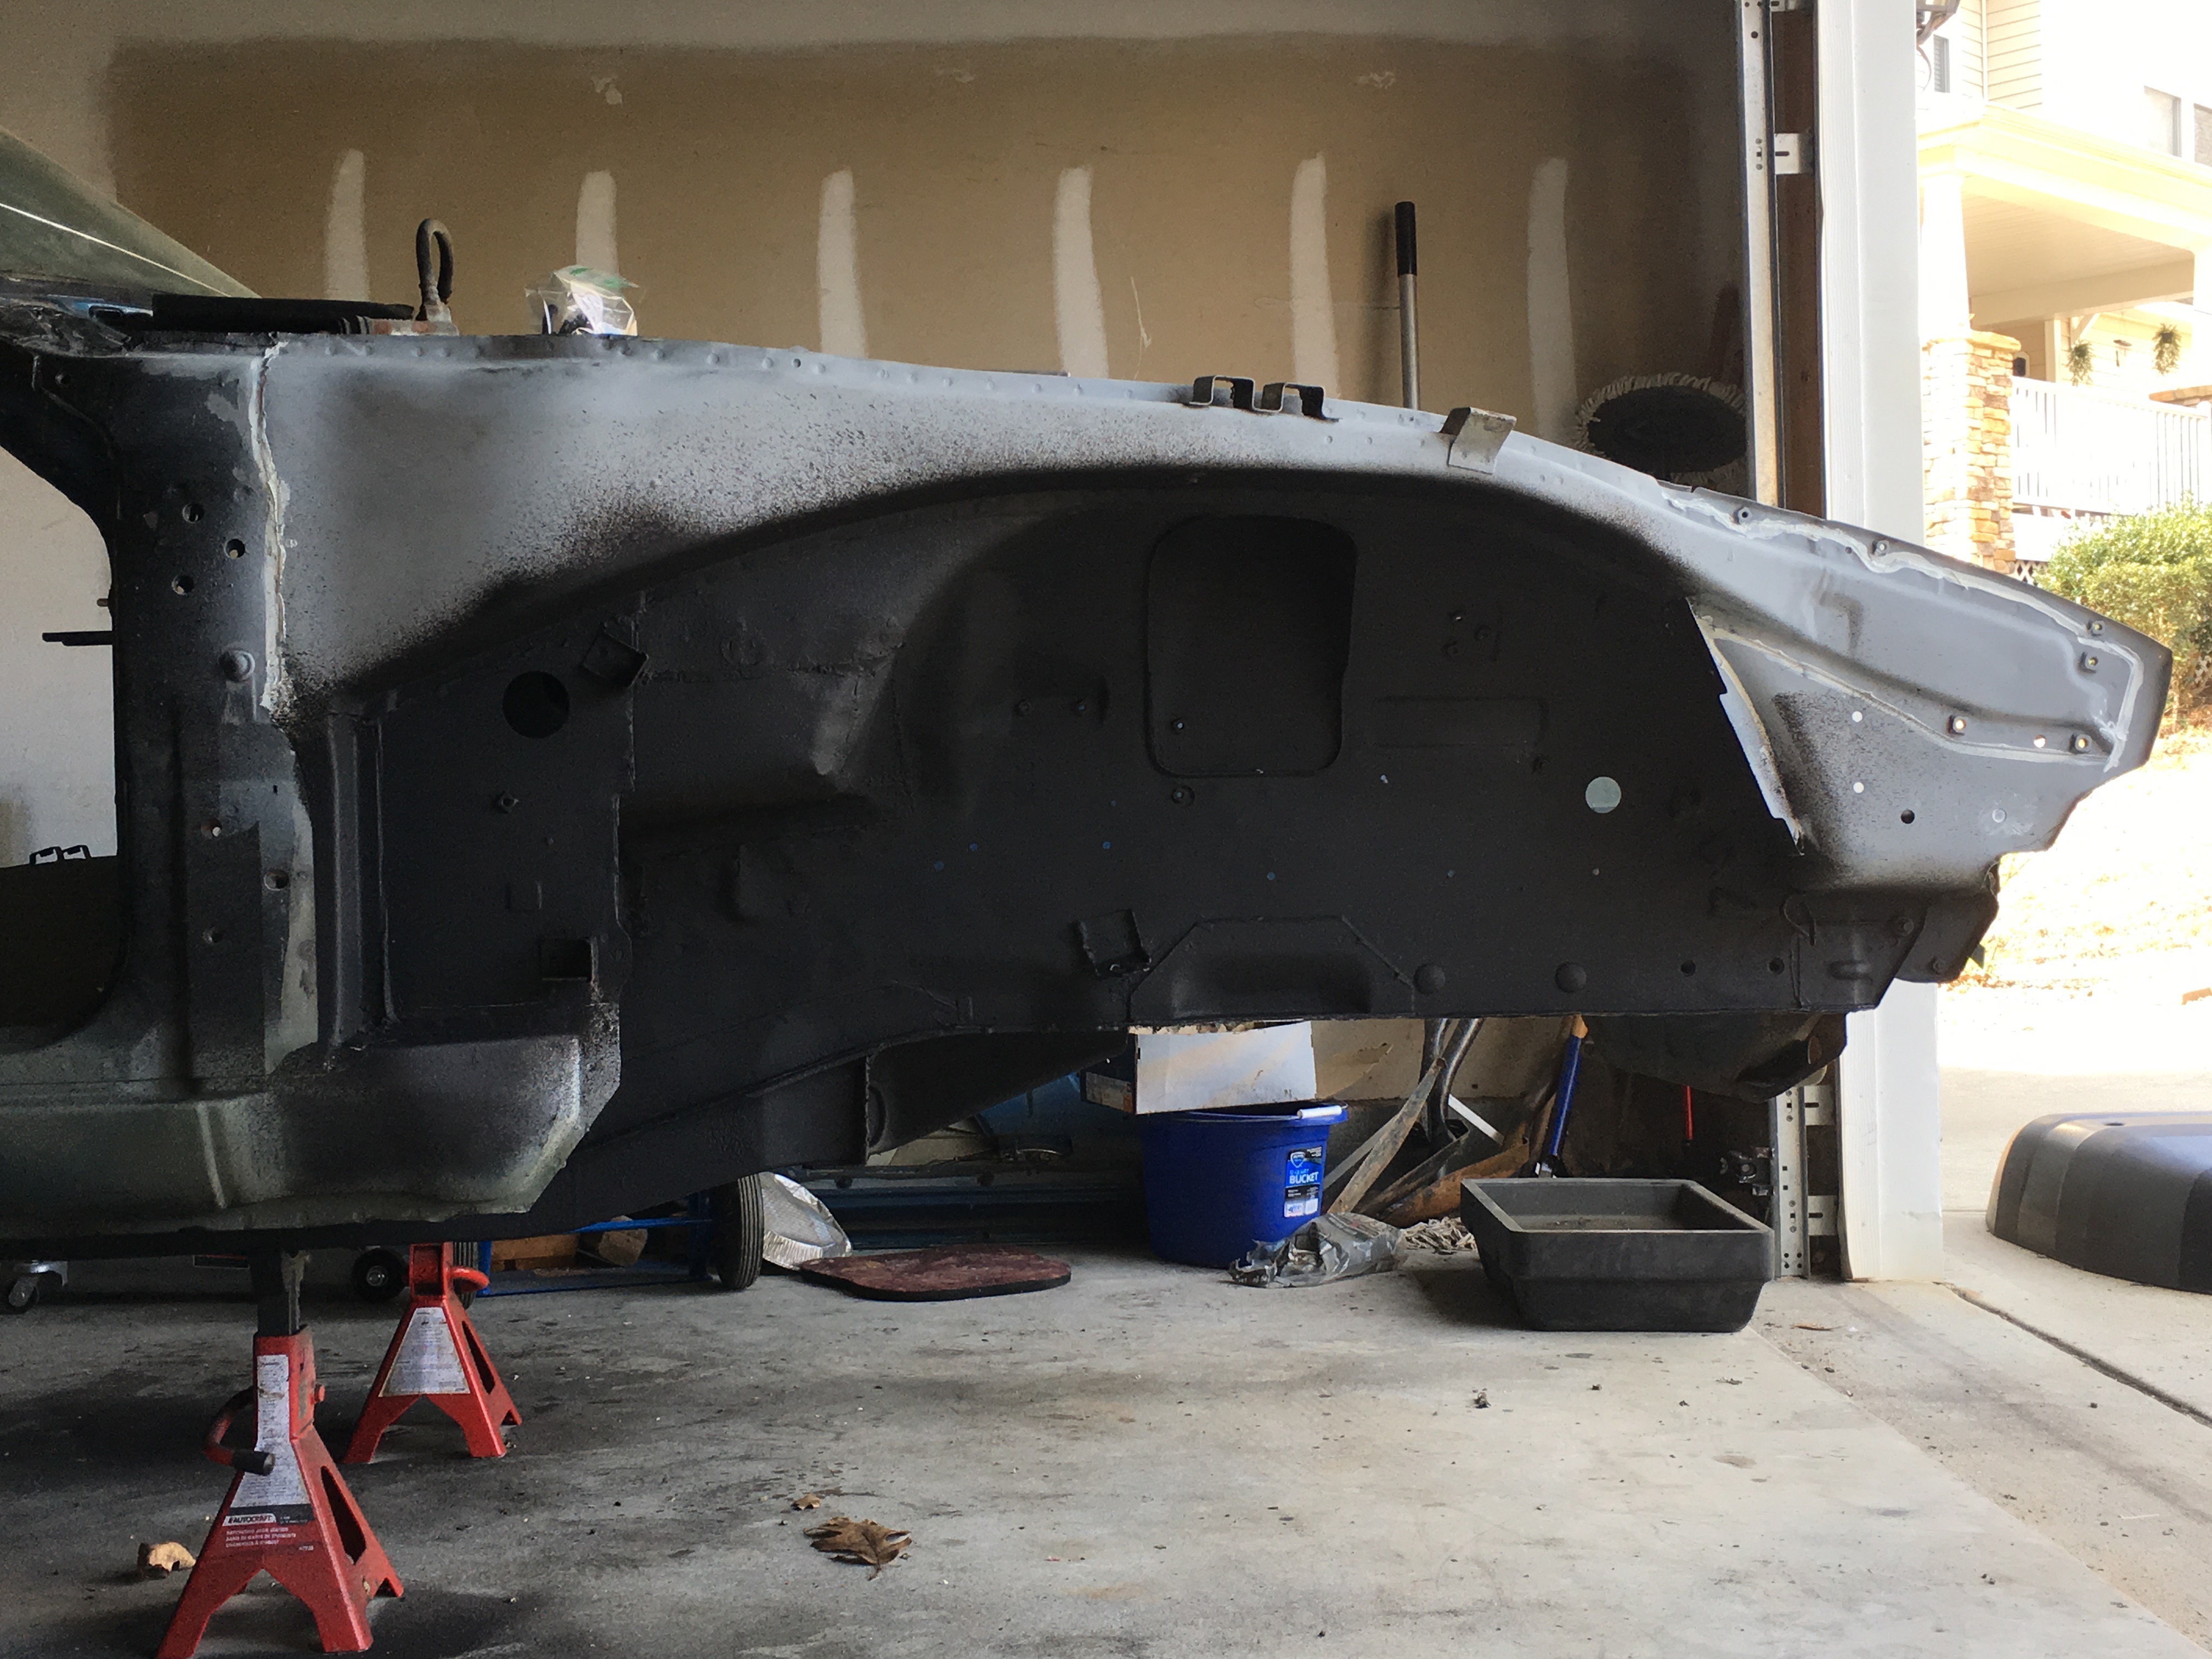
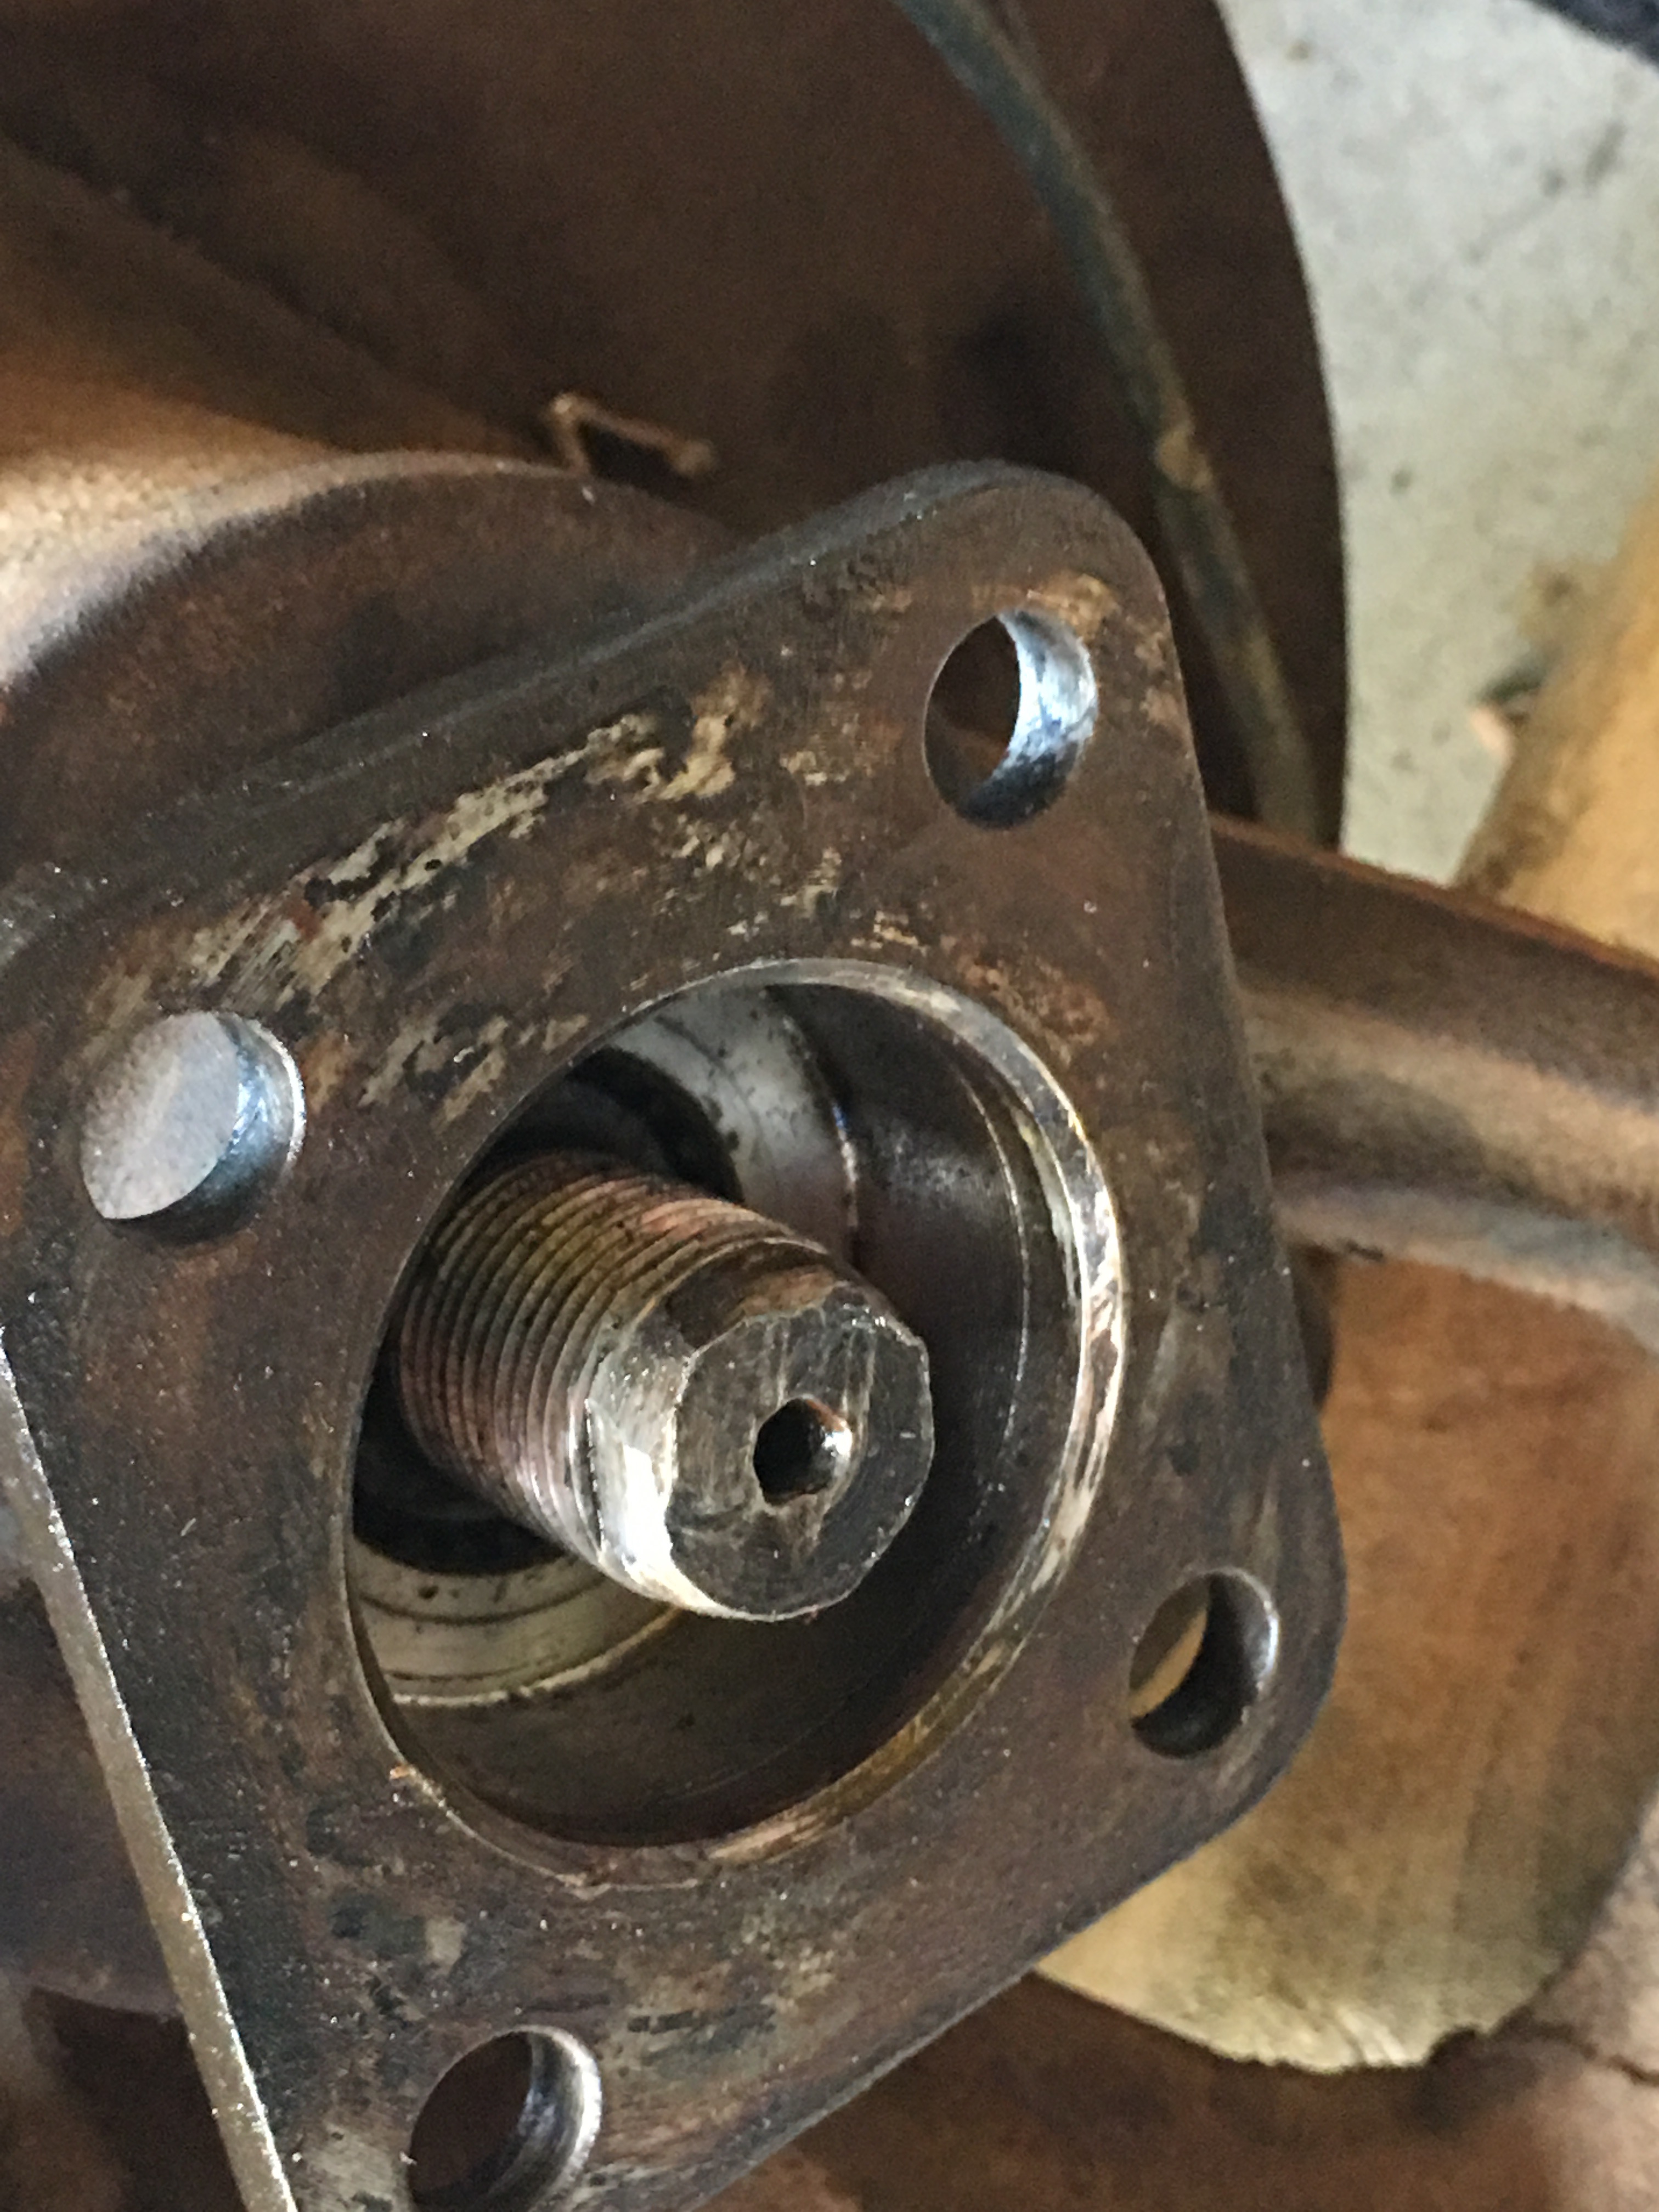
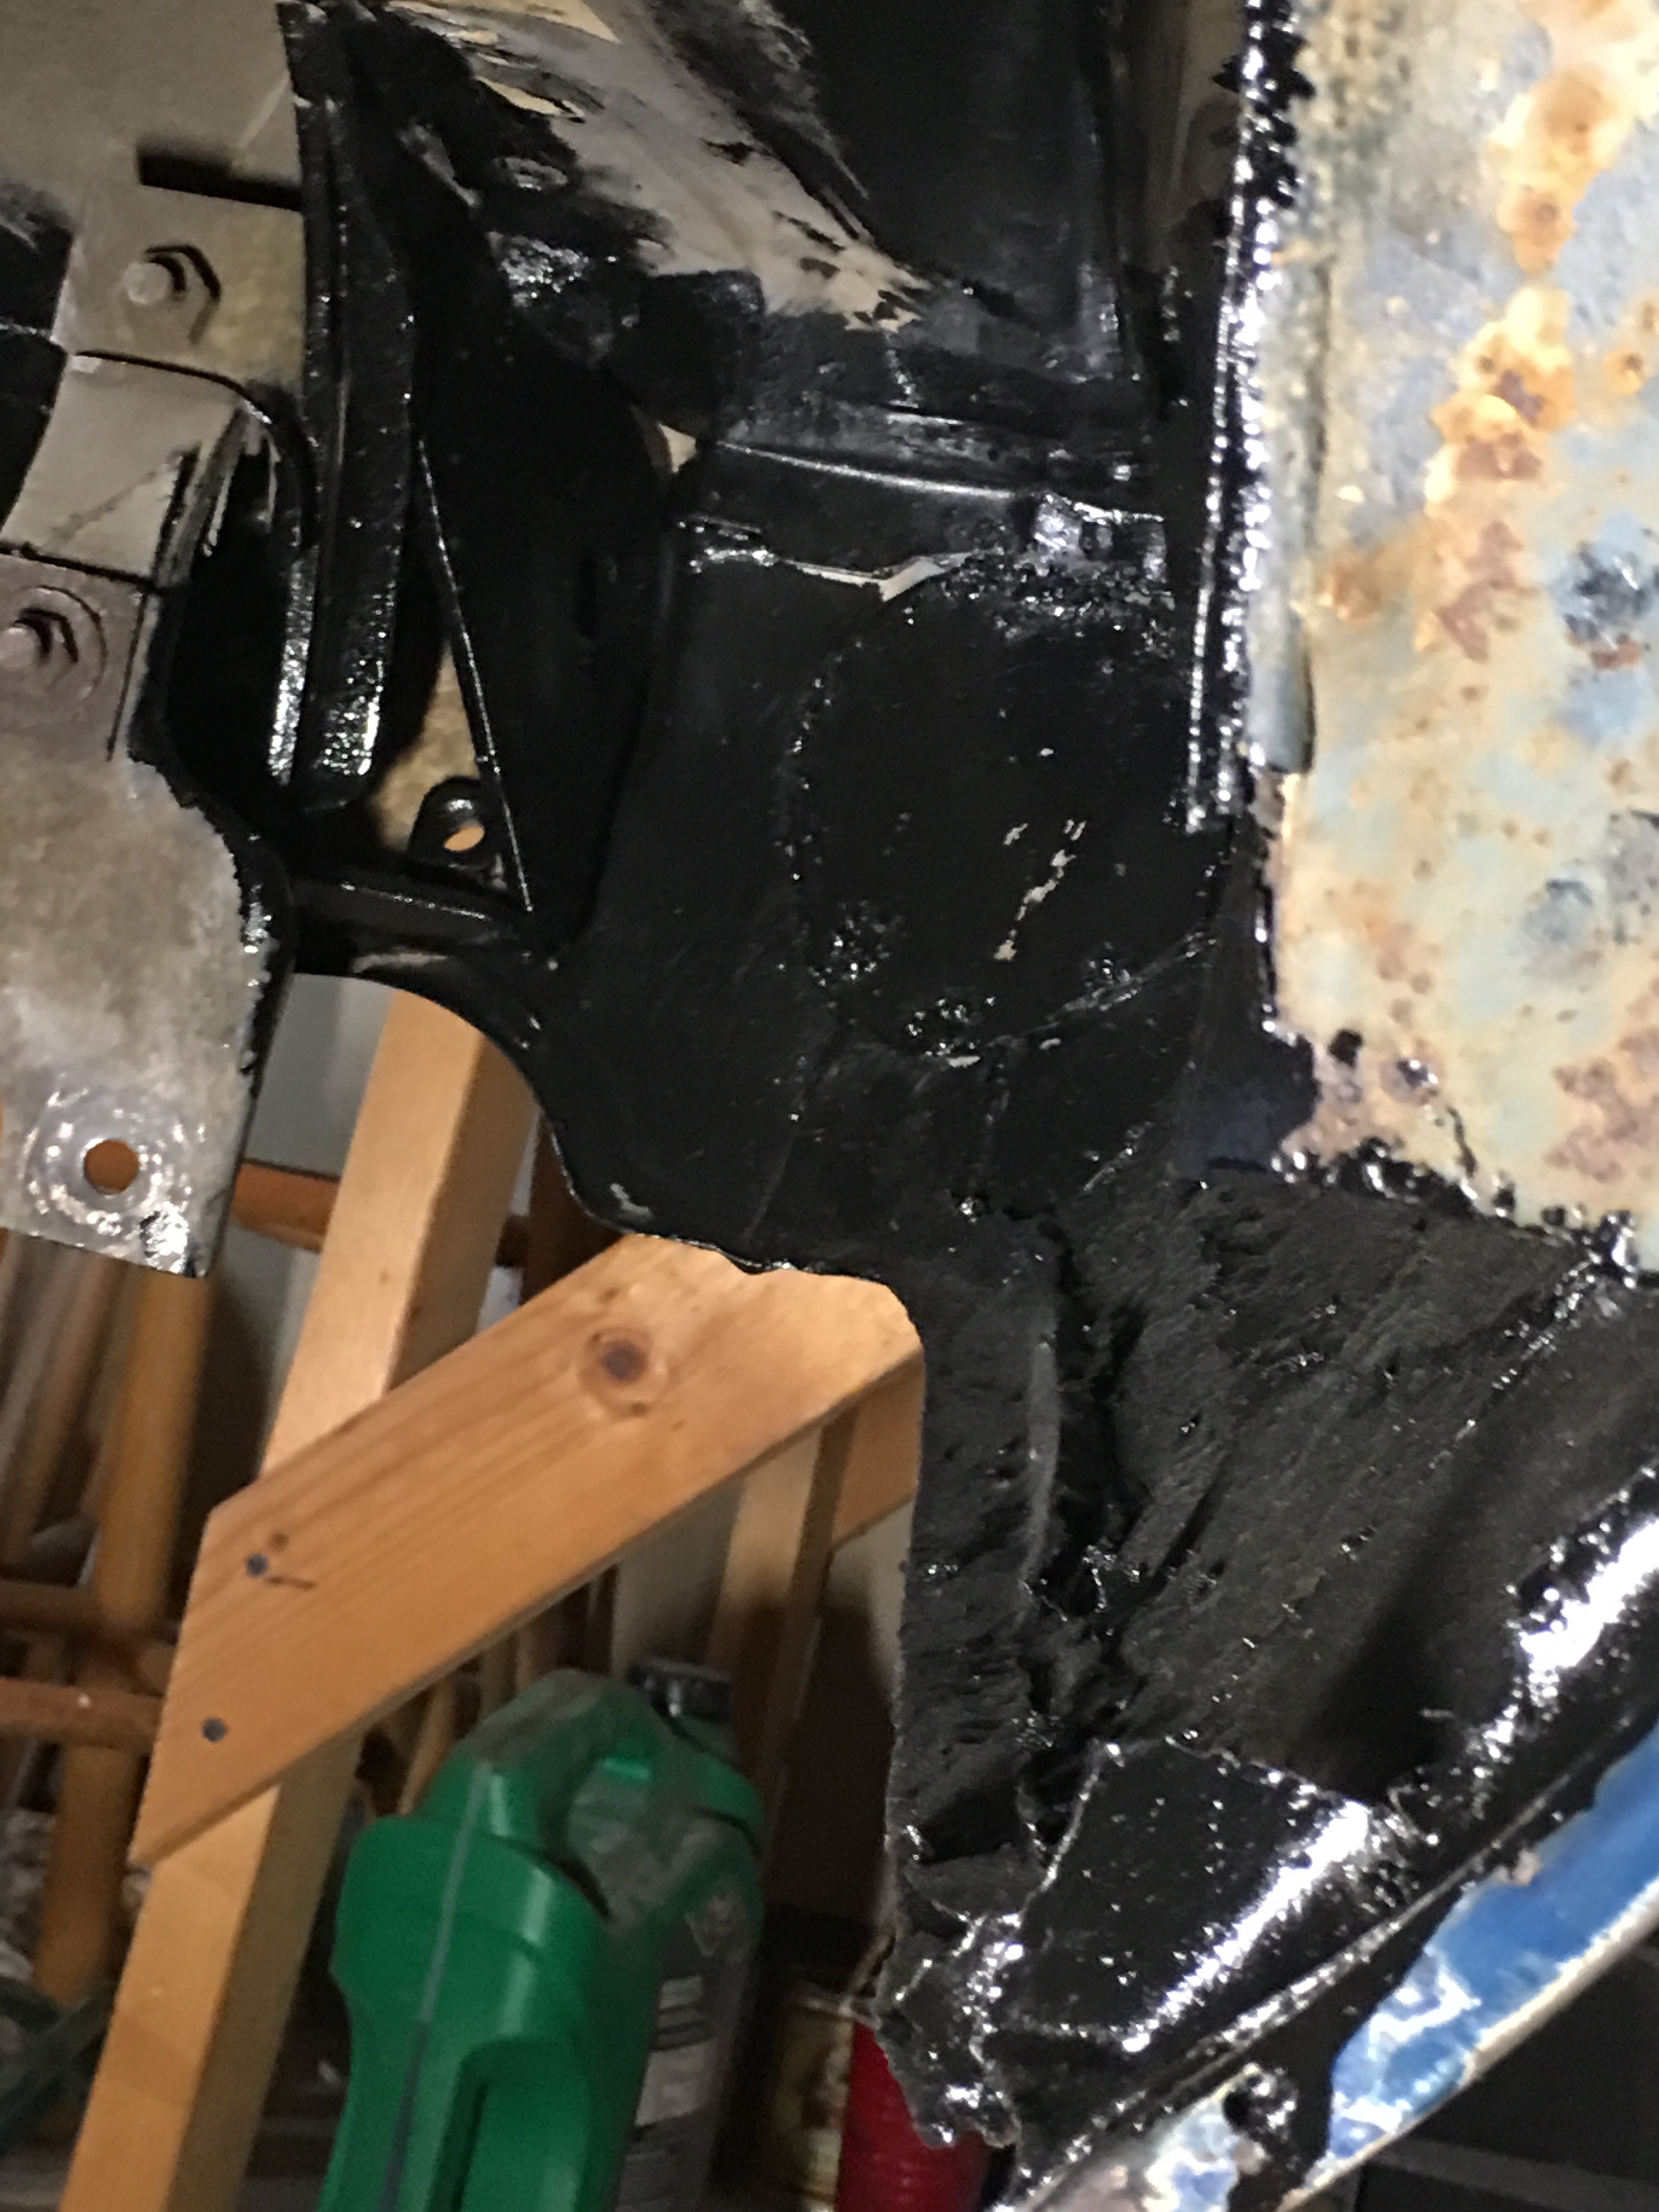
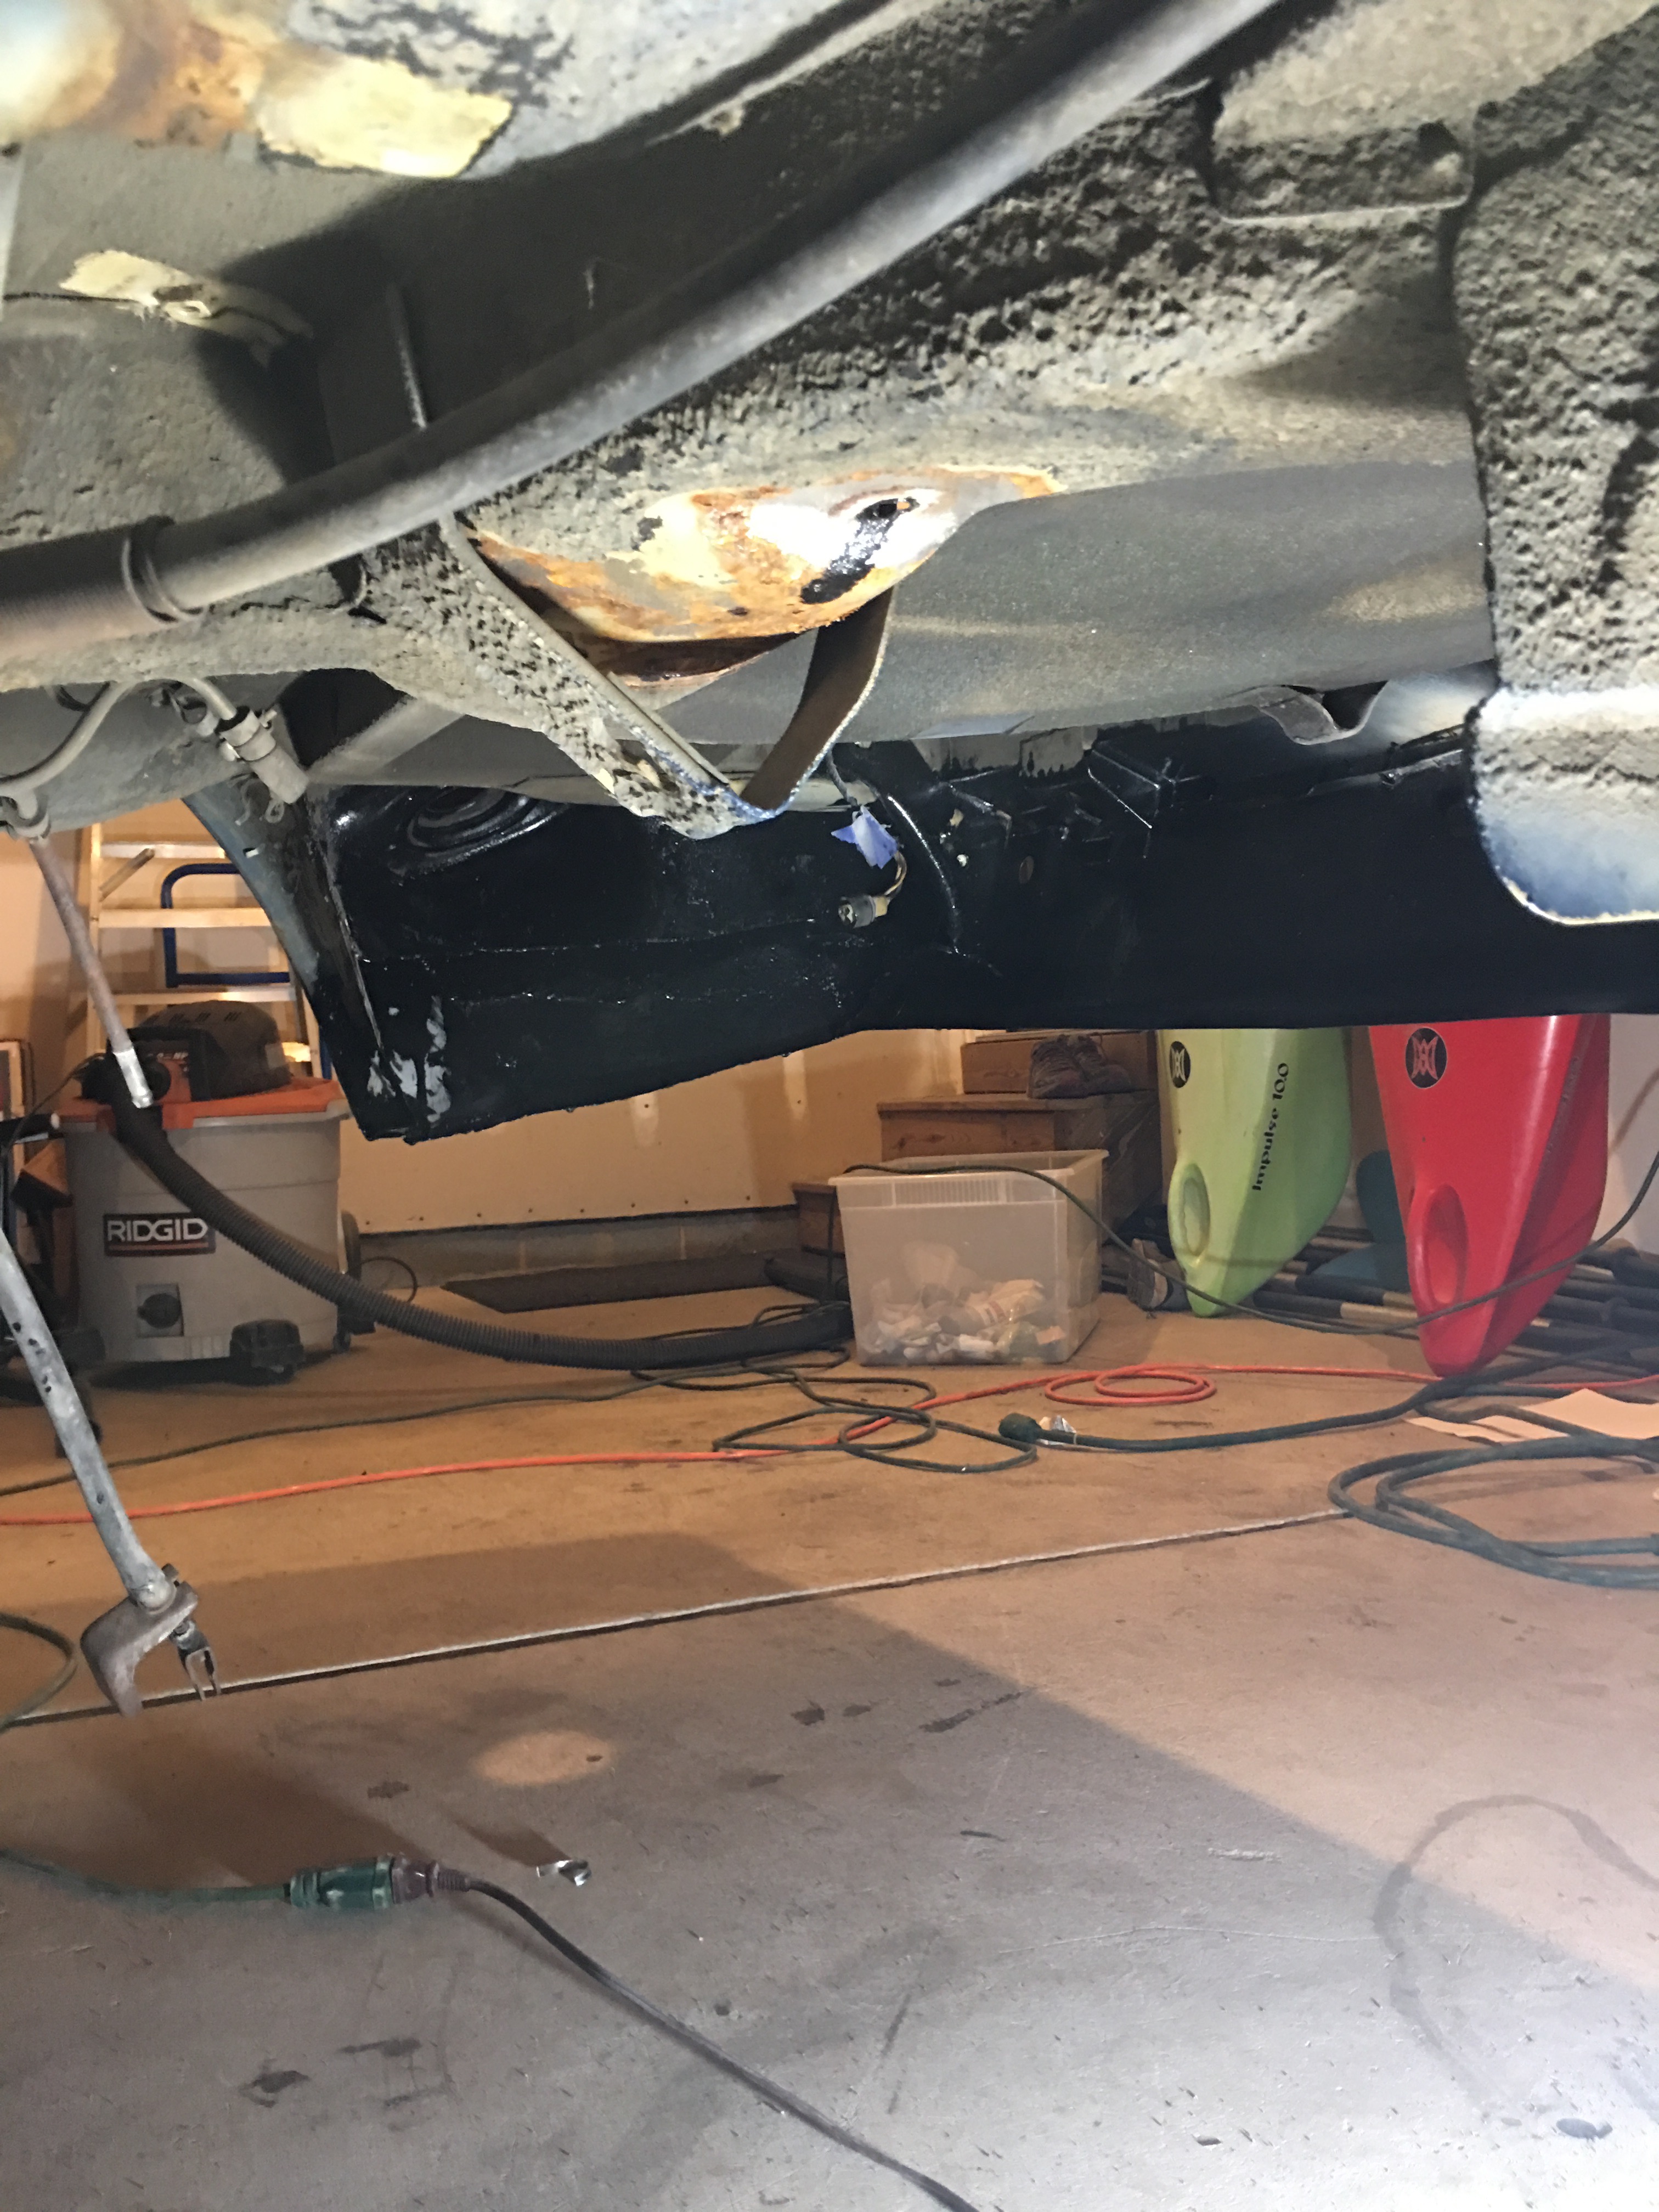
The car finally has a solid chassis. I finished welding all the patch panels and we seam sealed everything. Passenger floor pan: Battery area / firewall: We also used some POR-15 patch filler on questionable gaps. We got the underside coated in 3M underbody coating. The 3M stuff has a nice finish and I think it should hold up well. Front passenger wheel well: floor pan: frame rail: Rear wheel well: Trans tunnel: We also got the strut assemblies mostly disassembled. All we need to do is rent a slide hammer to remove the rear stub axels. The rear of the stub axel: We are removing the axels to get rid of the drum brakes and convert to the maxima calipers and 280zx rotors. We found that the best way to remove the gland nut is by clamping it in a vice and then turning the entire strut assembly. Also, the fronts will be converted to 79-84 Toyota 4x4 truck calipers and 280z rotors. We will be using the stock shocks for now with Eibach 1 inch lowering springs and 240z strut insulators in the rear, which lower it an additional inch.
-
Possible 5.3L engine swaps question
Whitley_280z_2+2 replied to Whitley_280z_2+2's topic in Gen III & IV Chevy V8Z Tech Board
Thanks for the help! I read through the link and that information will definitely help. It sounds like it will be best to stick with a pre 2007 engine otherwise you have to do a lot of conversions. I wanted to go with the 5.3 because of the better gas milage they offer. That probably sounds pretty weird for an engine swap I am not super concerned about weight reduction so I do not think the extra 100 pounds will be a big deal. It does sound like an LS1/T56 would be an easier swap. Thanks for the information. I will definitely look at using a 6.0 truck engine or 5.7 LS1. I thought it was necessary to switch to a LS1 intake for the hood to close. However, if you can keep the stock intake / throttle body I will probably just do that. It would be nice to keep cruise control. Also, thank you for the warning about the CX racing headers. I don't think Johns cars sells Z parts any more. I did find the short headers at Jags that run (or is that the same thing?). -
280z 2+2 resto mod
Whitley_280z_2+2 replied to Whitley_280z_2+2's topic in S30 Series - 240z, 260z, 280z
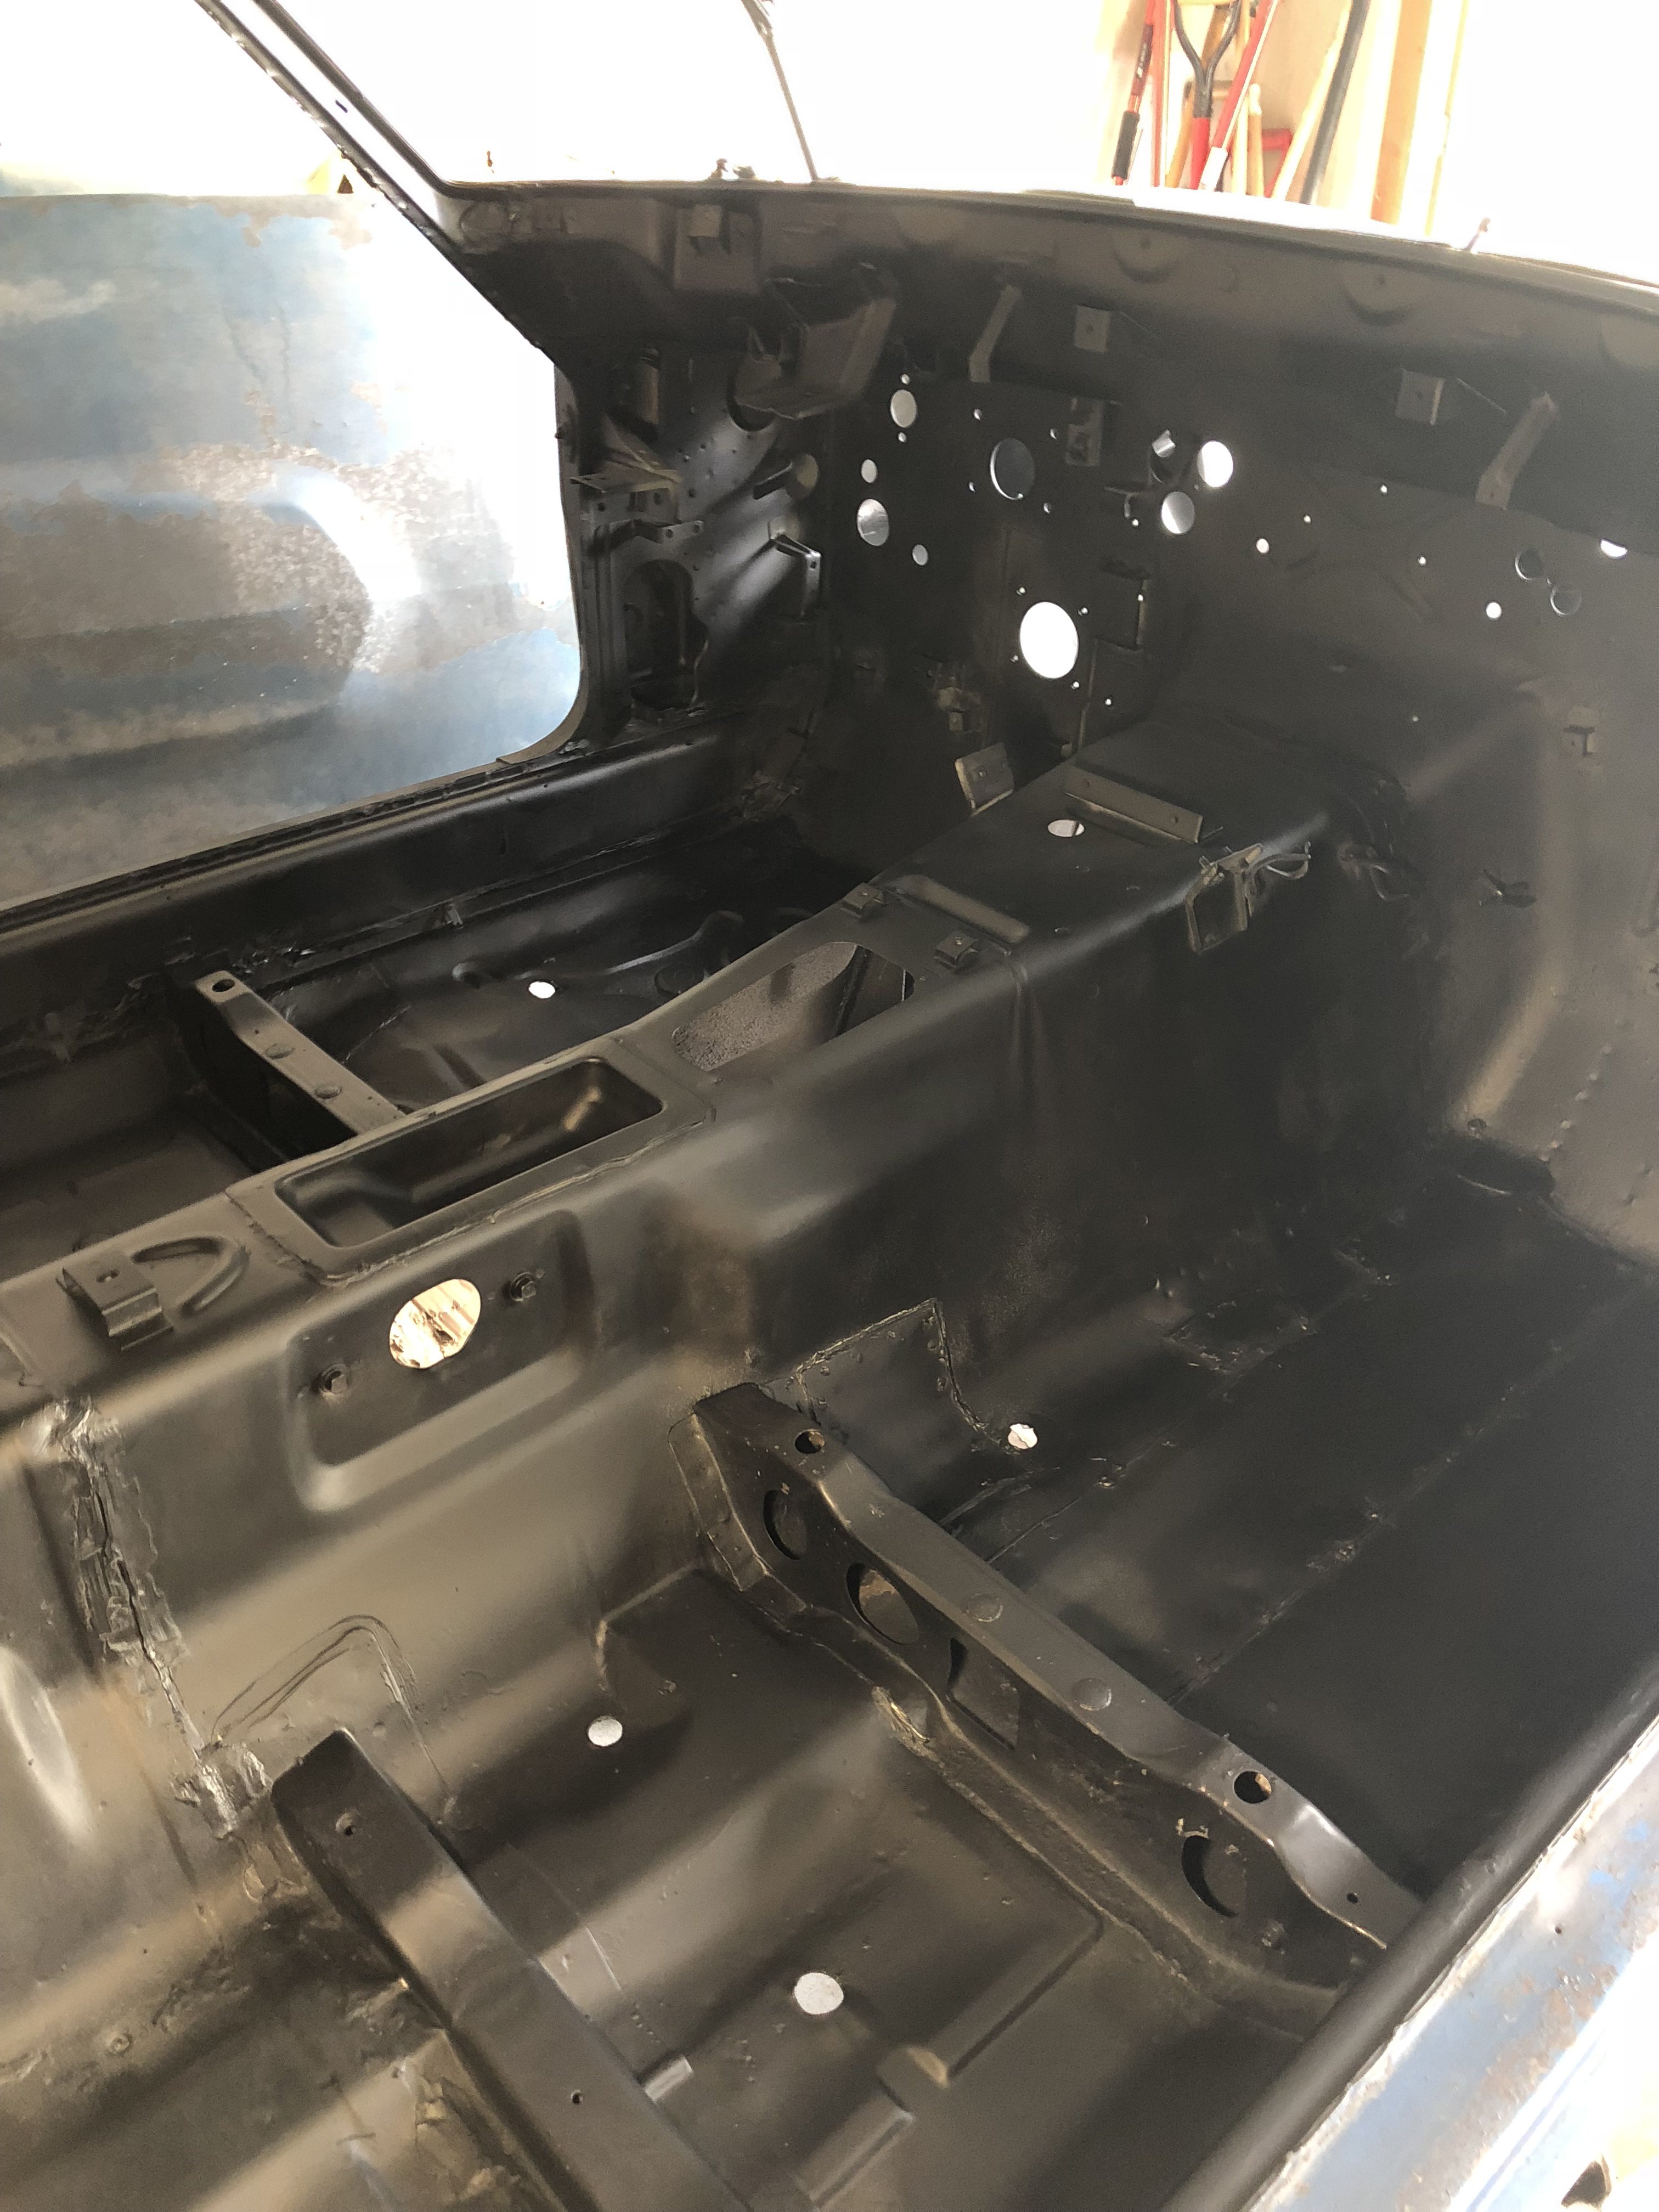
Update: Over the past week or so, We have spent a lot of time working on the underbody. We stripped off all of the undercoating and paint and then used self etching primer to coat the entire underbody and wheel wells. Floor pans: Trans tunnel: I also welded in some patch panels behind the rear wheel wells. Passenger side: Driver side: Rear Wheel well: We bought a steering rack from a junkyard 280z. One of the tie rod ends on ours was messed up.
-
I have a question regarding 5.3L chevy truck engines for a 280z 2+2 swap. The plan is to use a v8 swap kit like the Hoke performance or Johns cars, headers (CX racing has some good ones), fuel injection, LS1 intake manifold, and a manual throttle body. My question is does anyone know which chevy 5.3L truck engines will work? I know the early Vortech engines are popular, like the LM7 and L33, but will the more modern engines 2007-present work as well? For example, will the Gen IV LY5 and LMG and Gen V L83 engines still work? Has anyone gone this route, or are these engines too difficult to wire and work with? Also, will these engines mount up to a T56 or TKO600 manual transmission? Thanks very much for the help! The only info I found by searching the forums is that these engines have DOD which I would need to deal with.
-
280z 2+2 resto mod
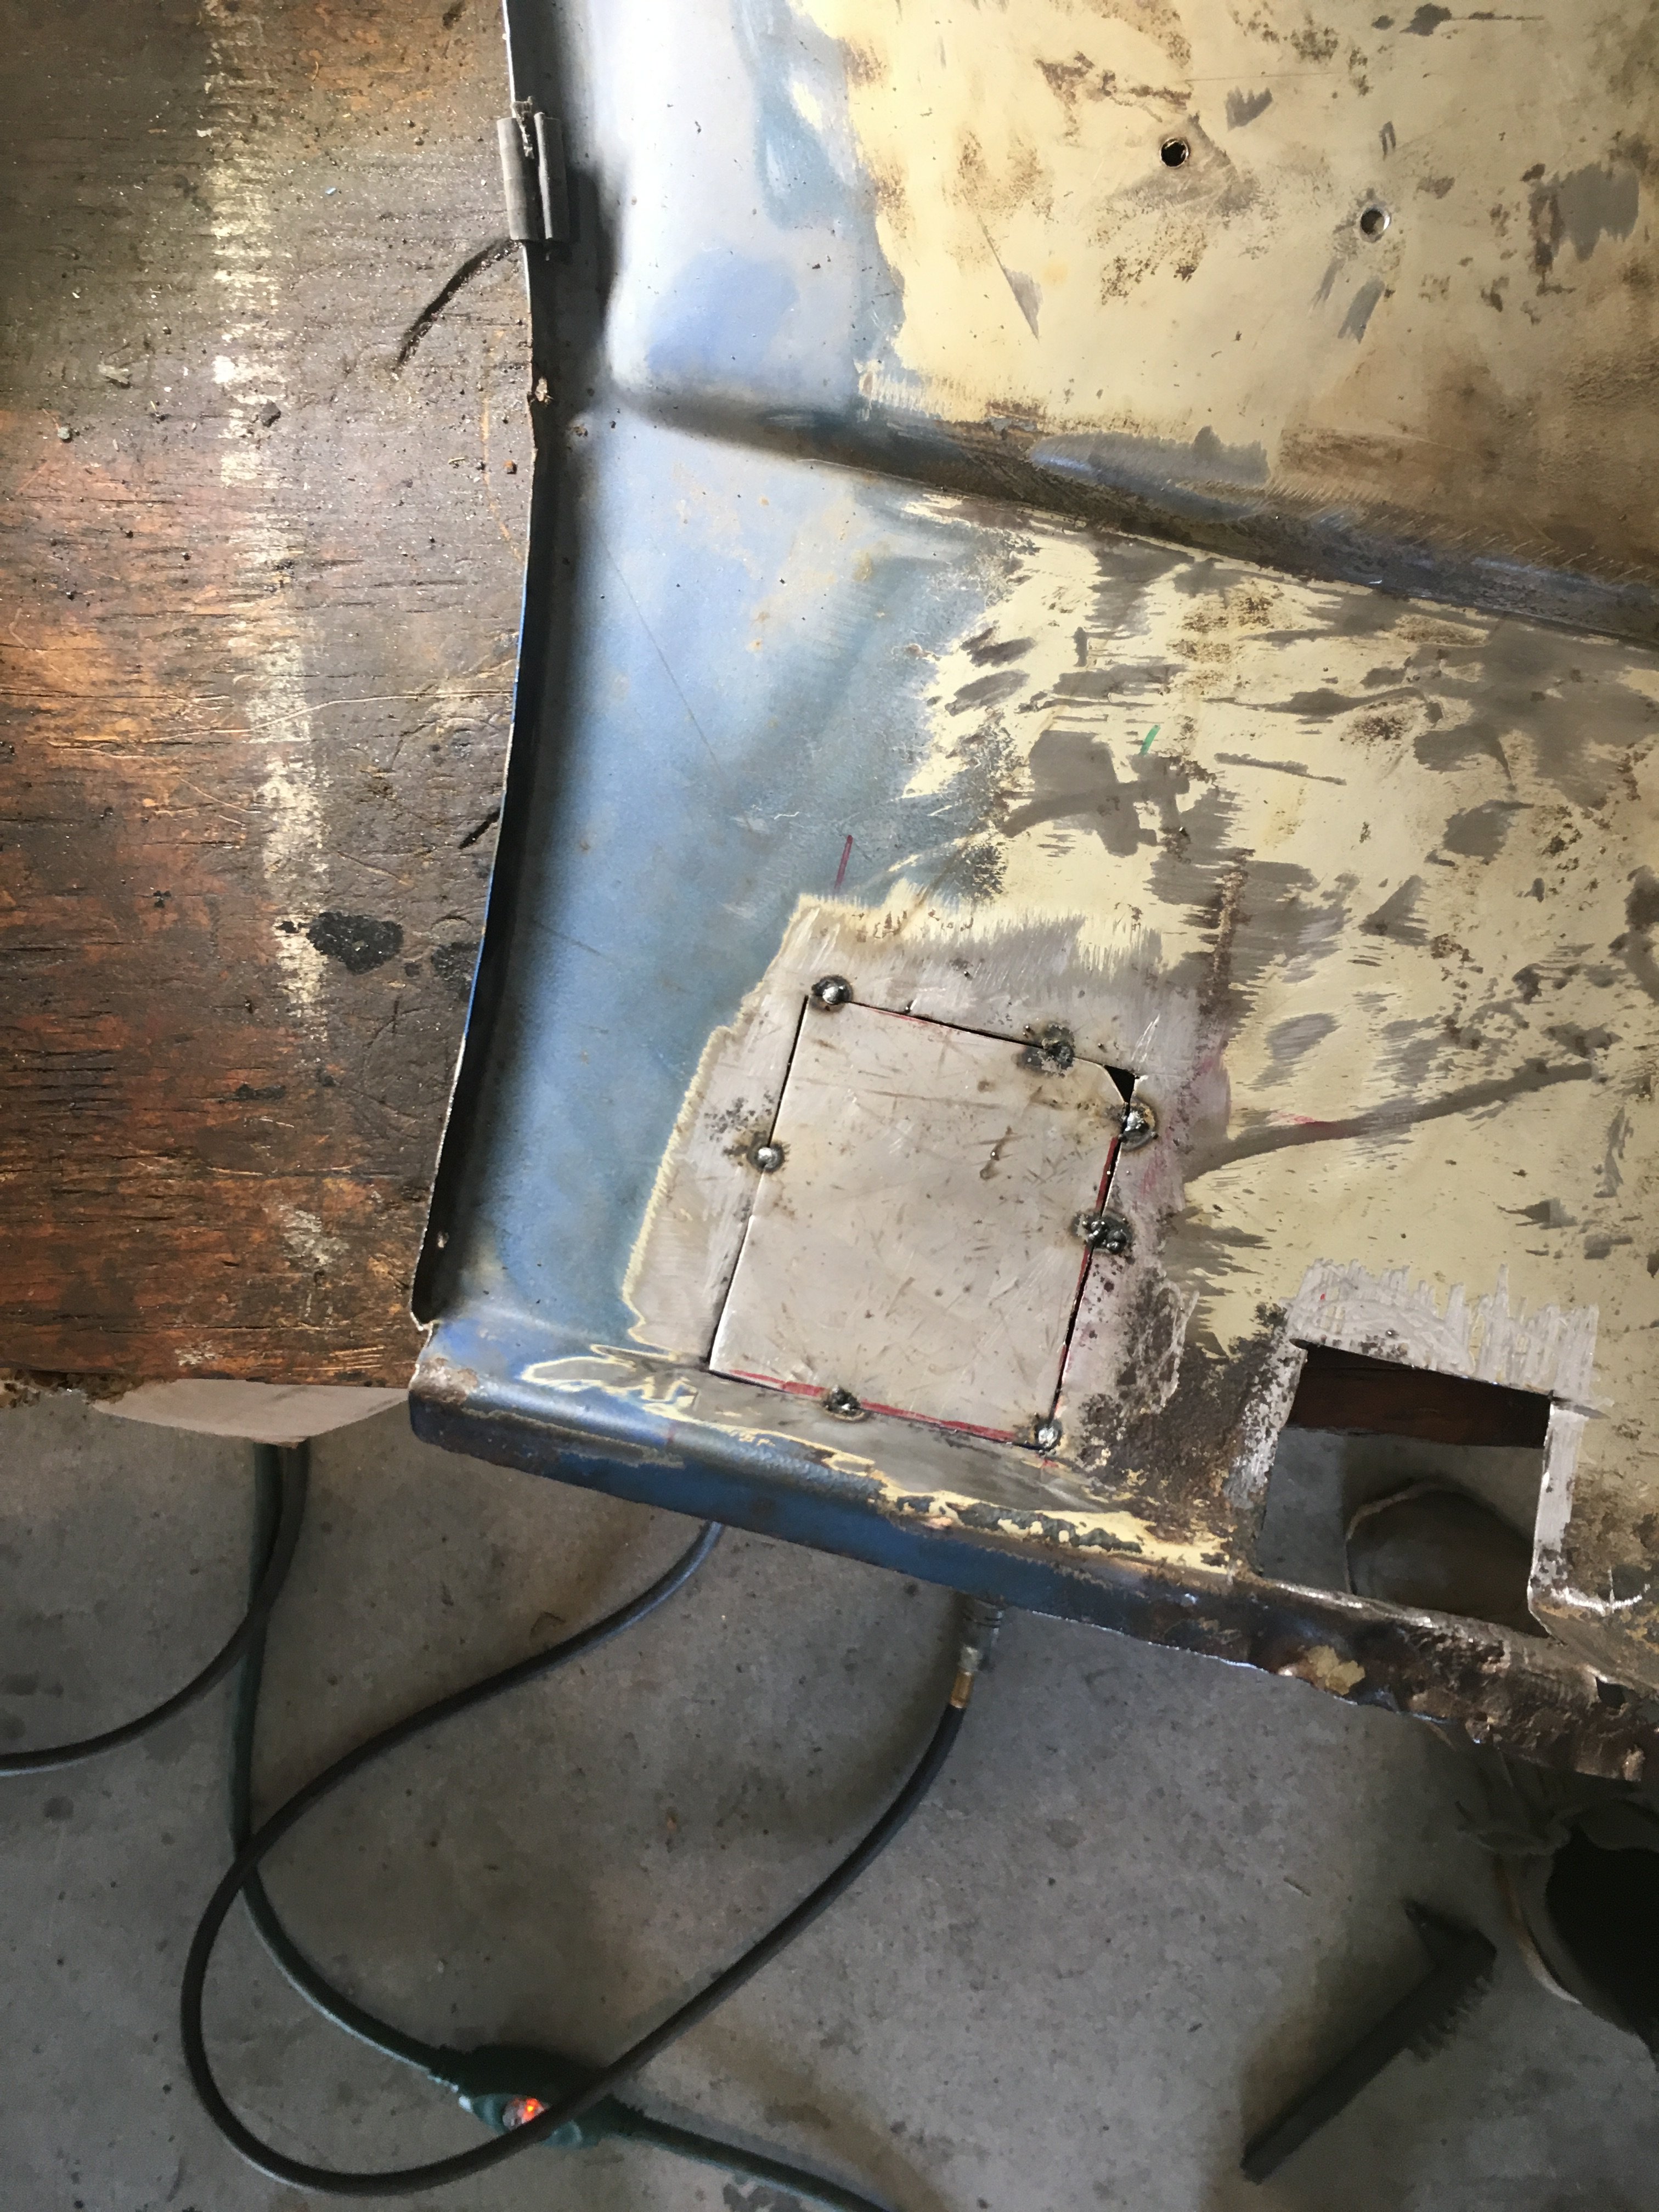
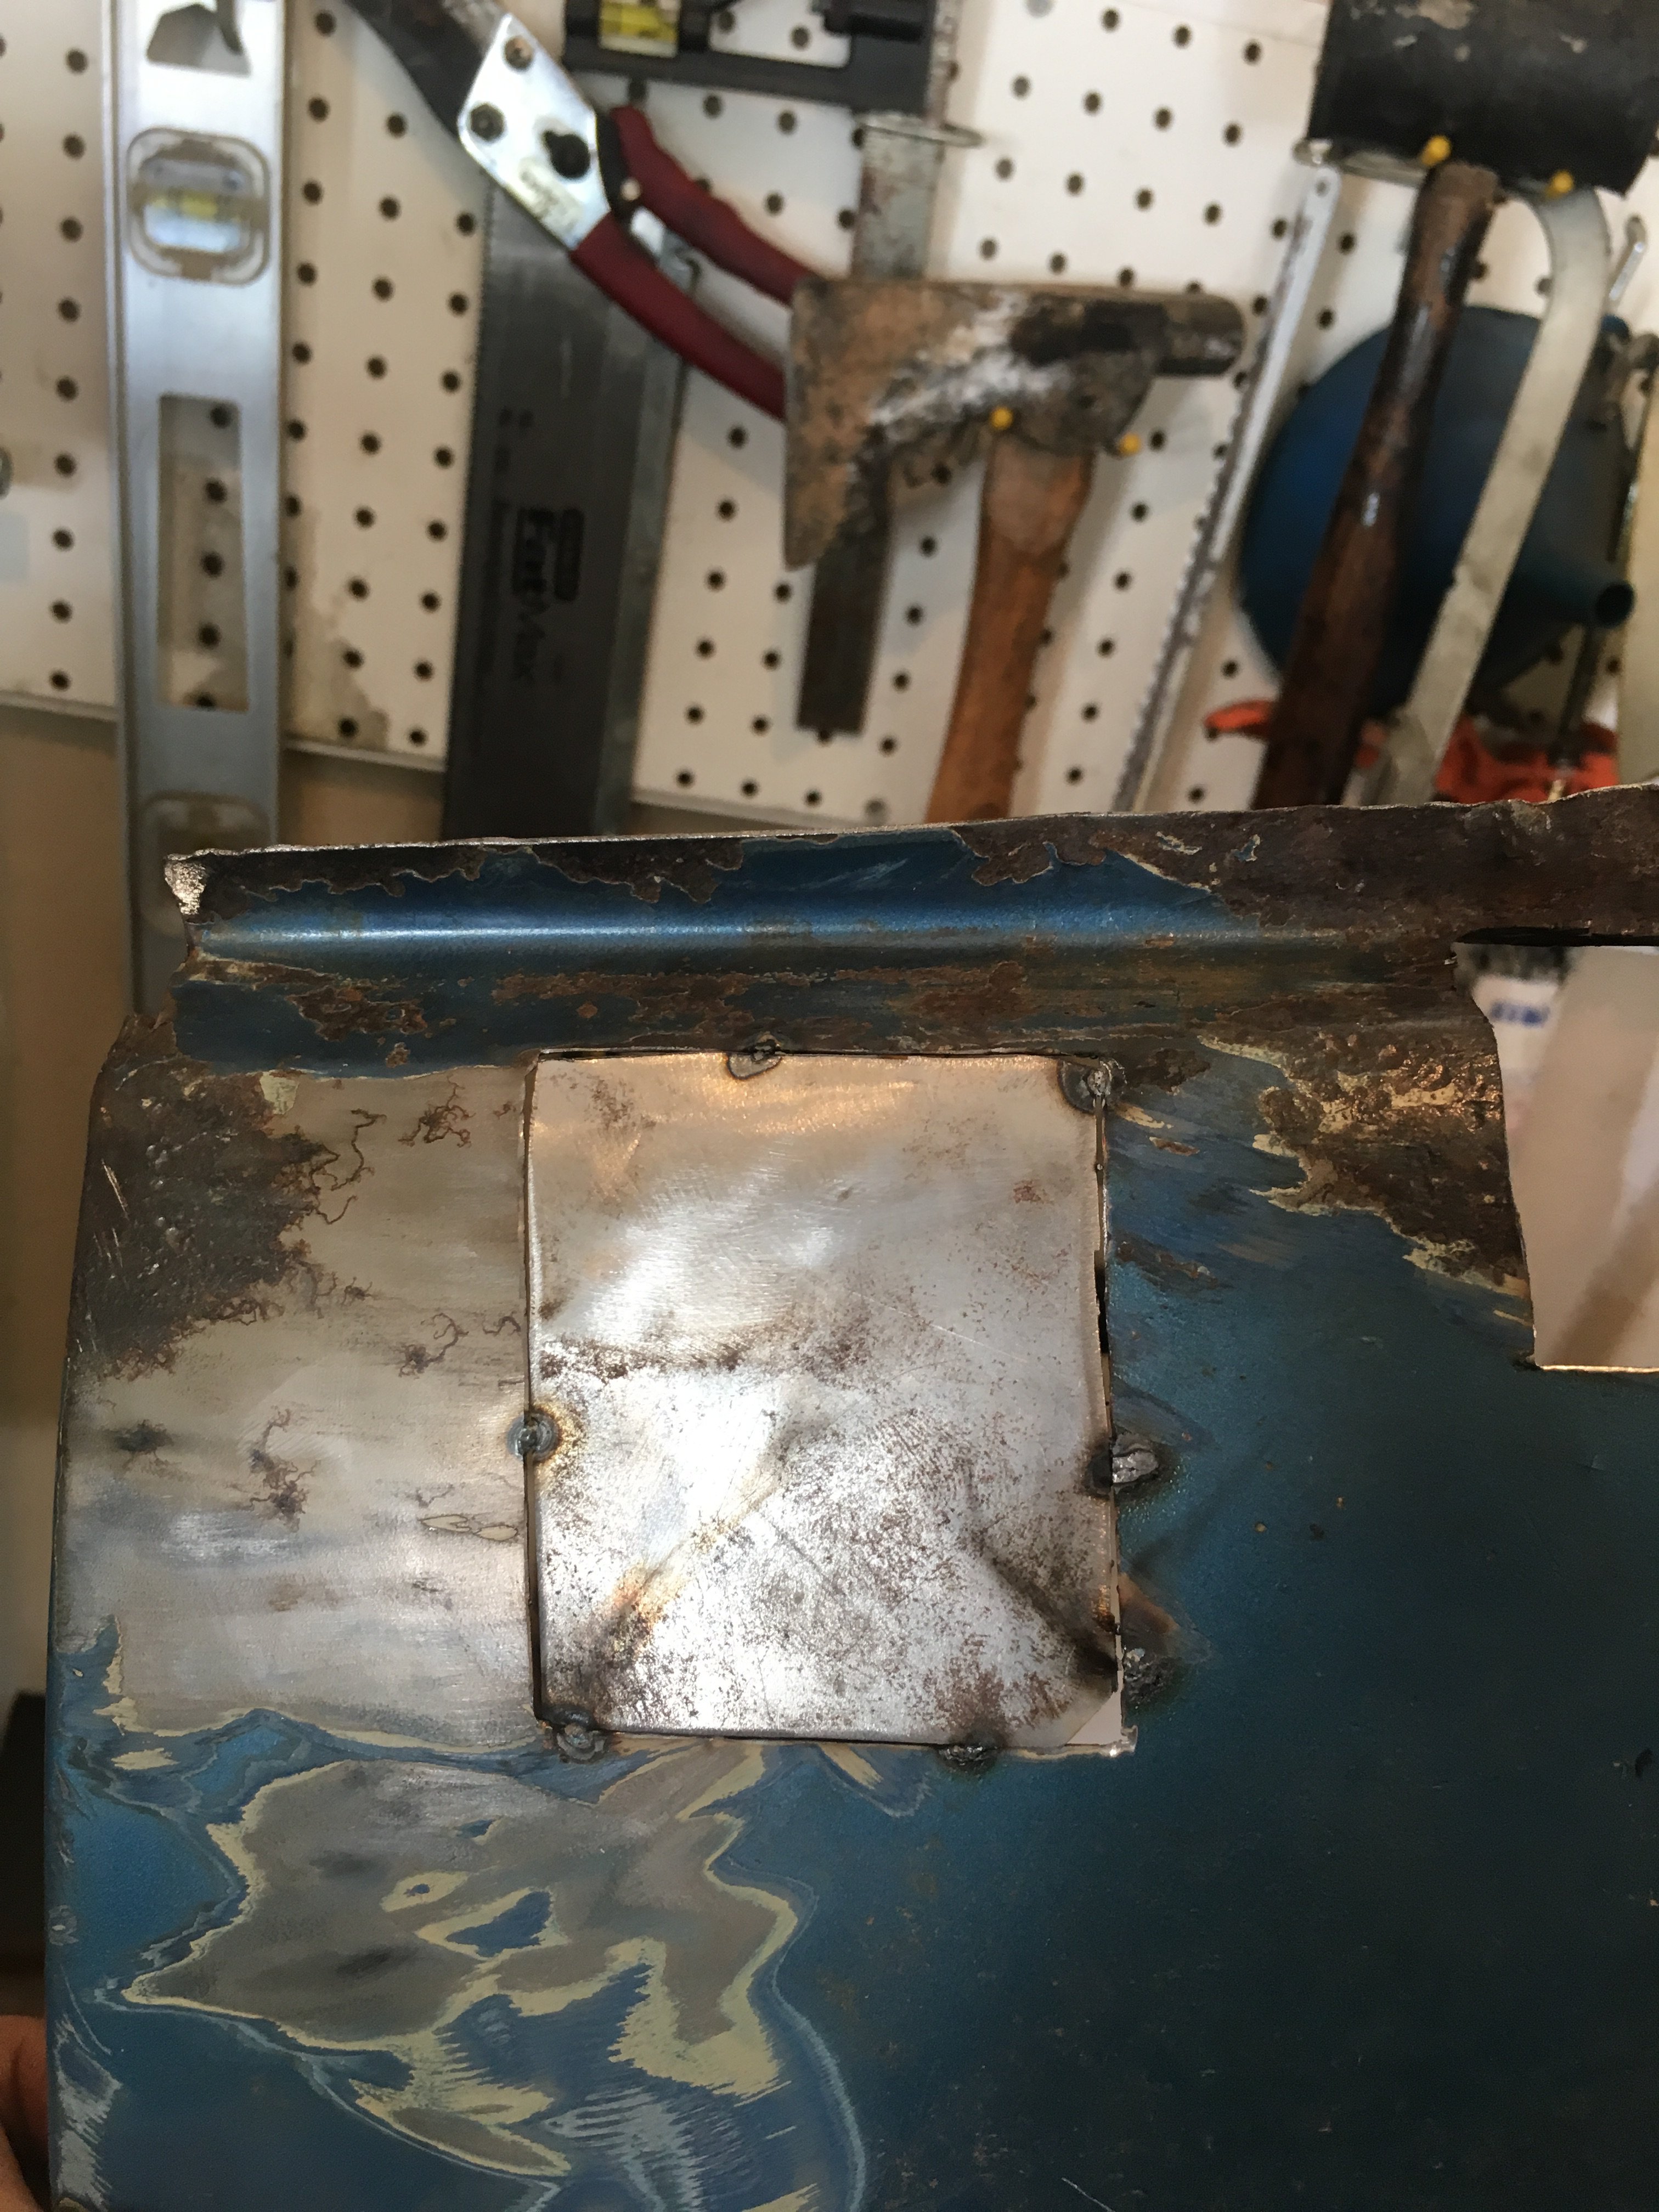
Whitley_280z_2+2 replied to Whitley_280z_2+2's topic in S30 Series - 240z, 260z, 280z
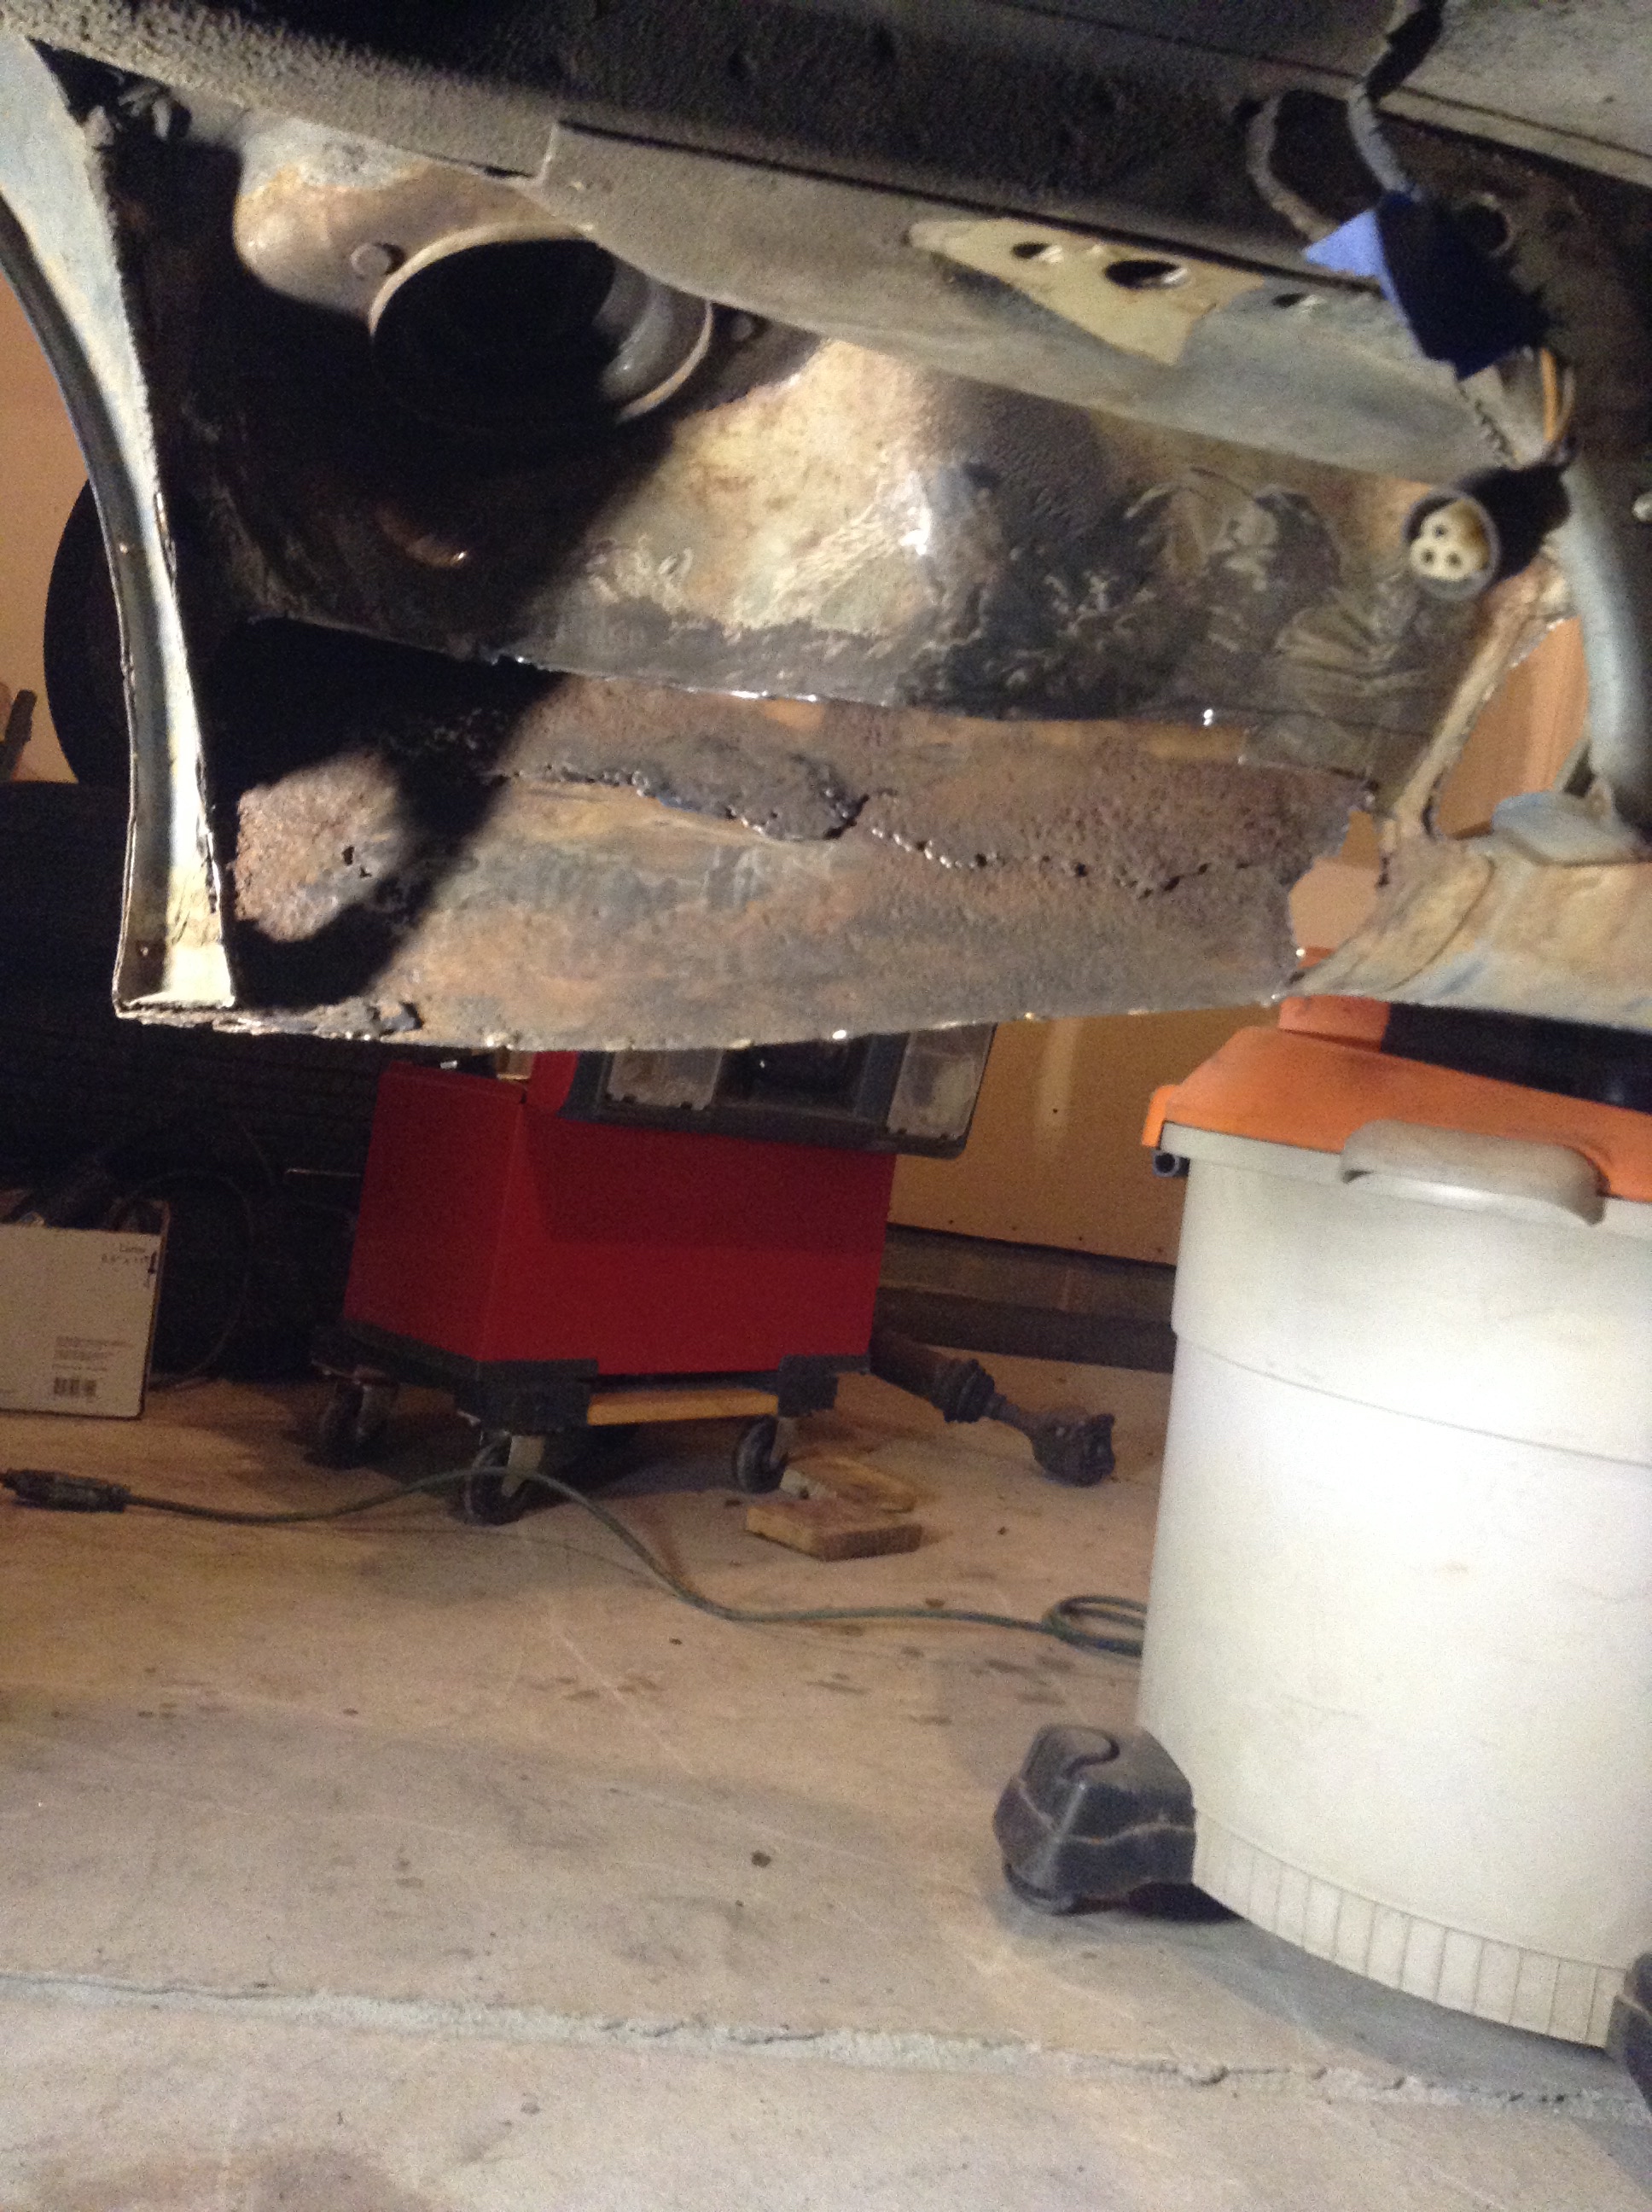
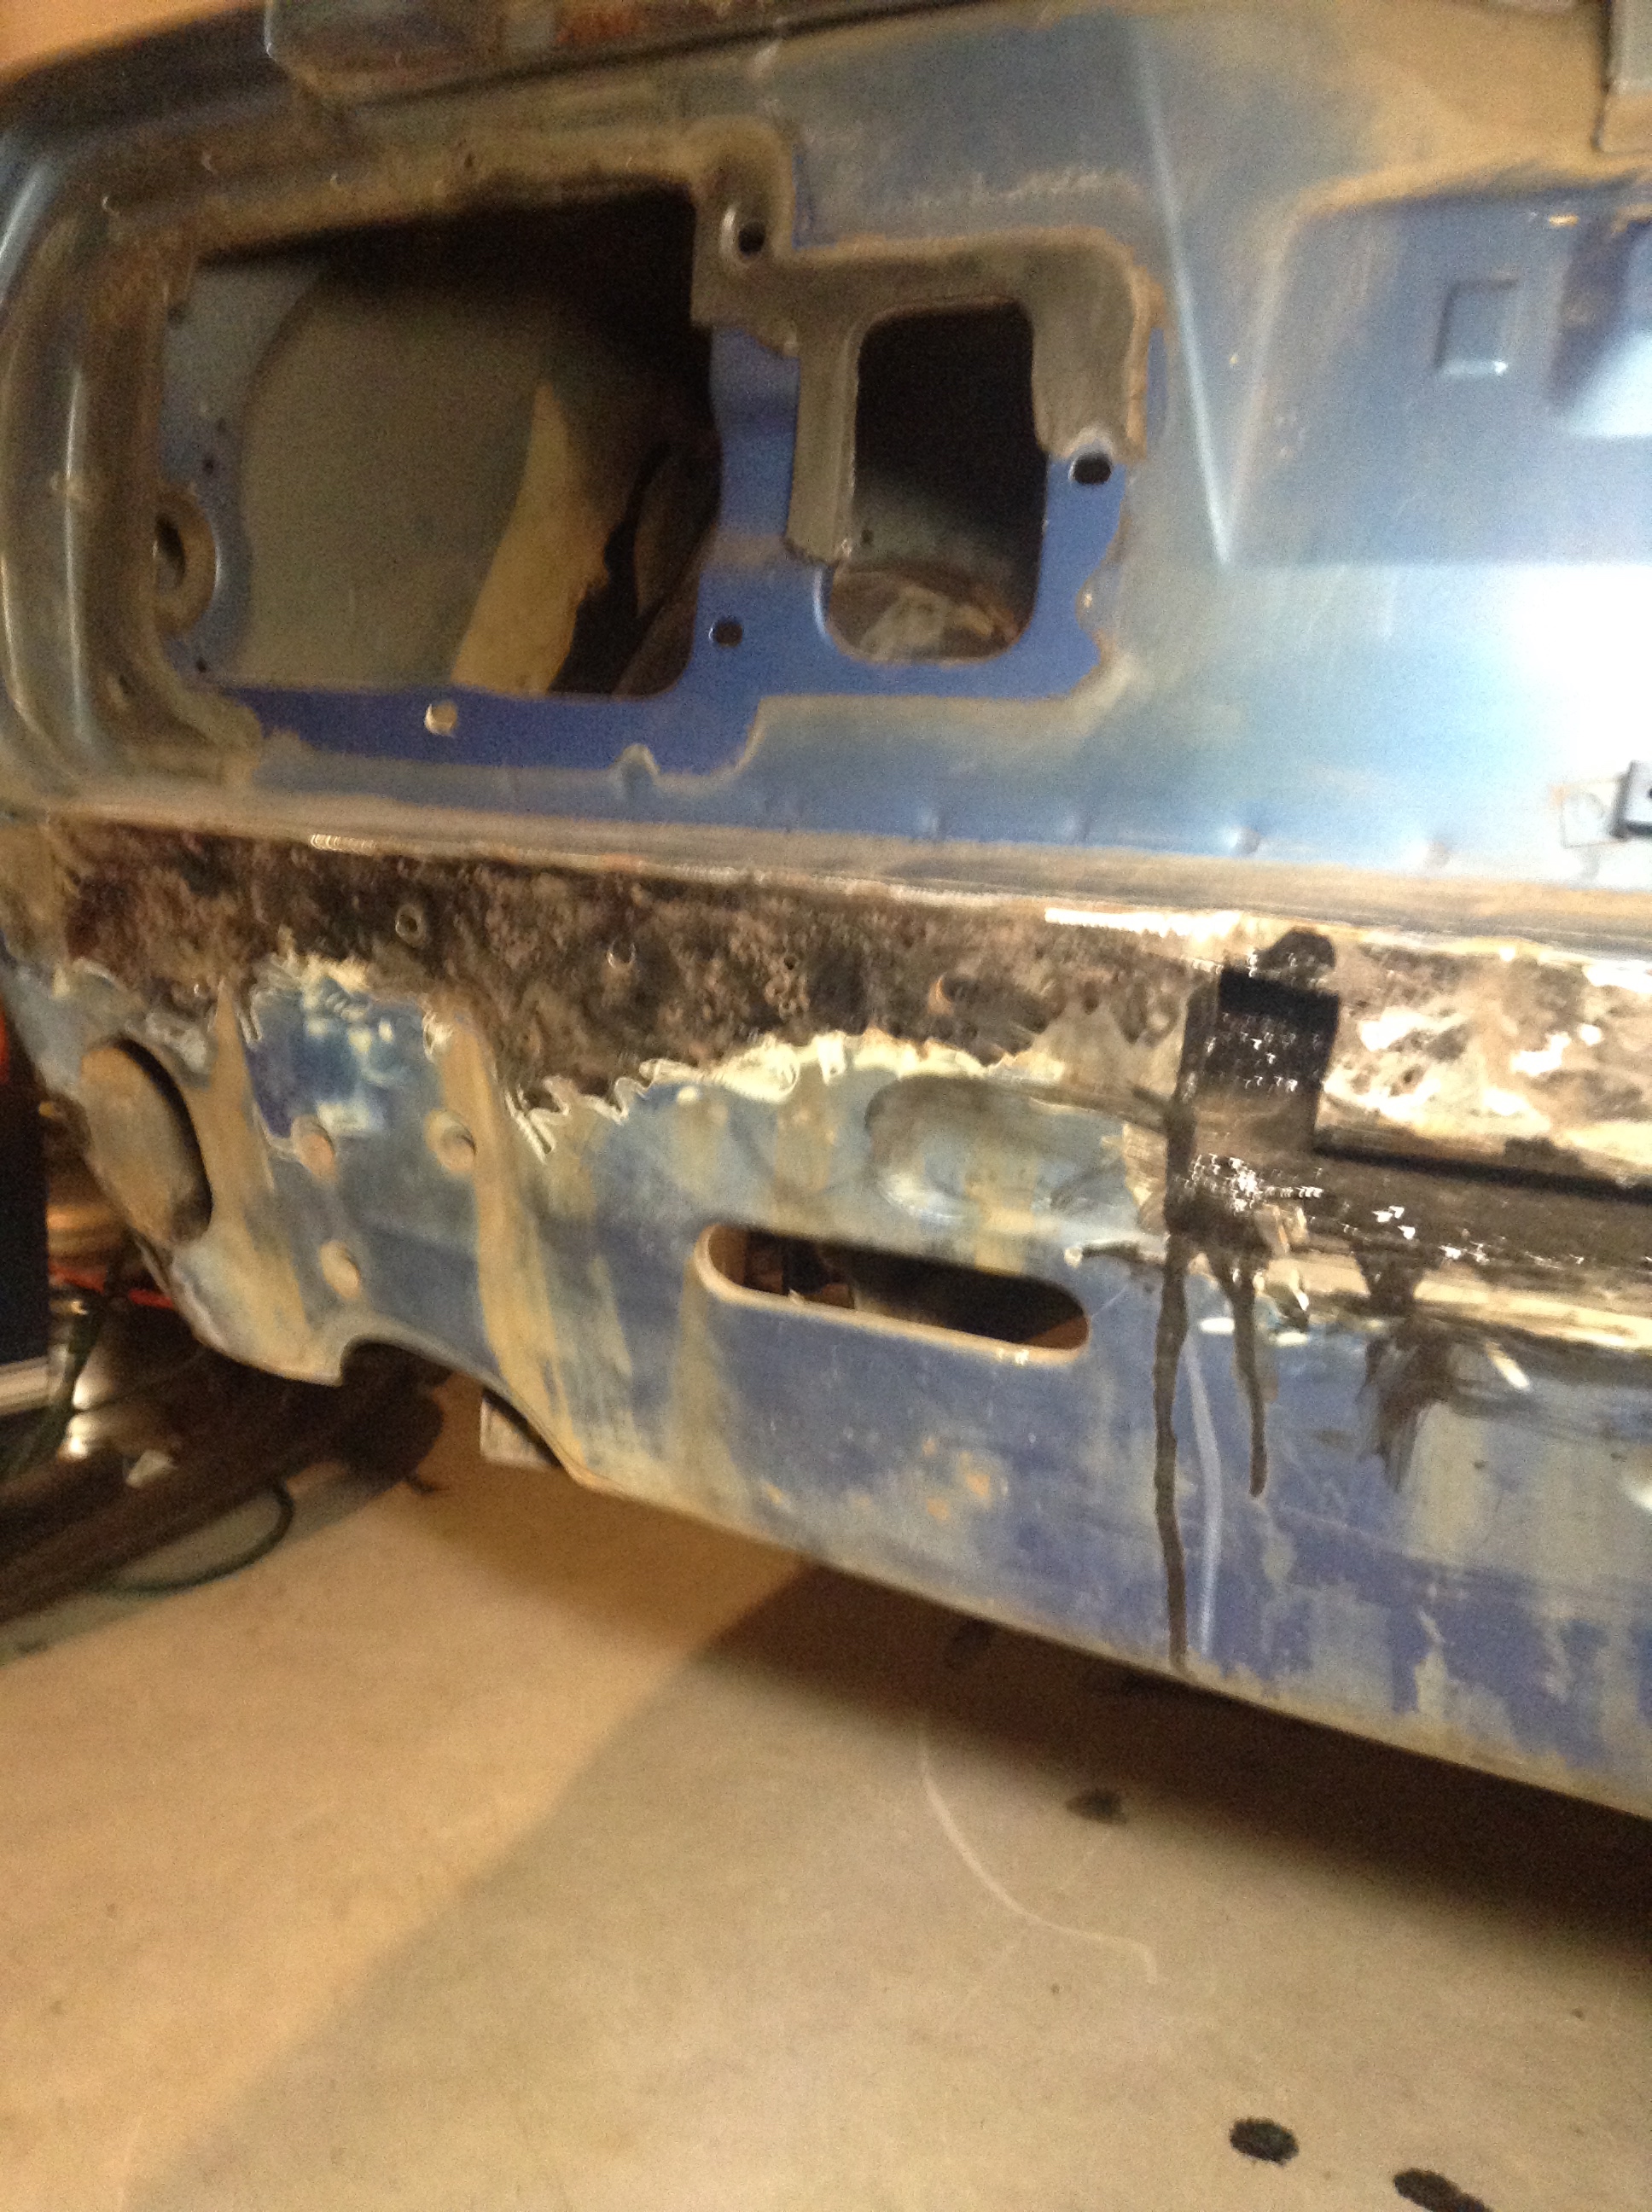
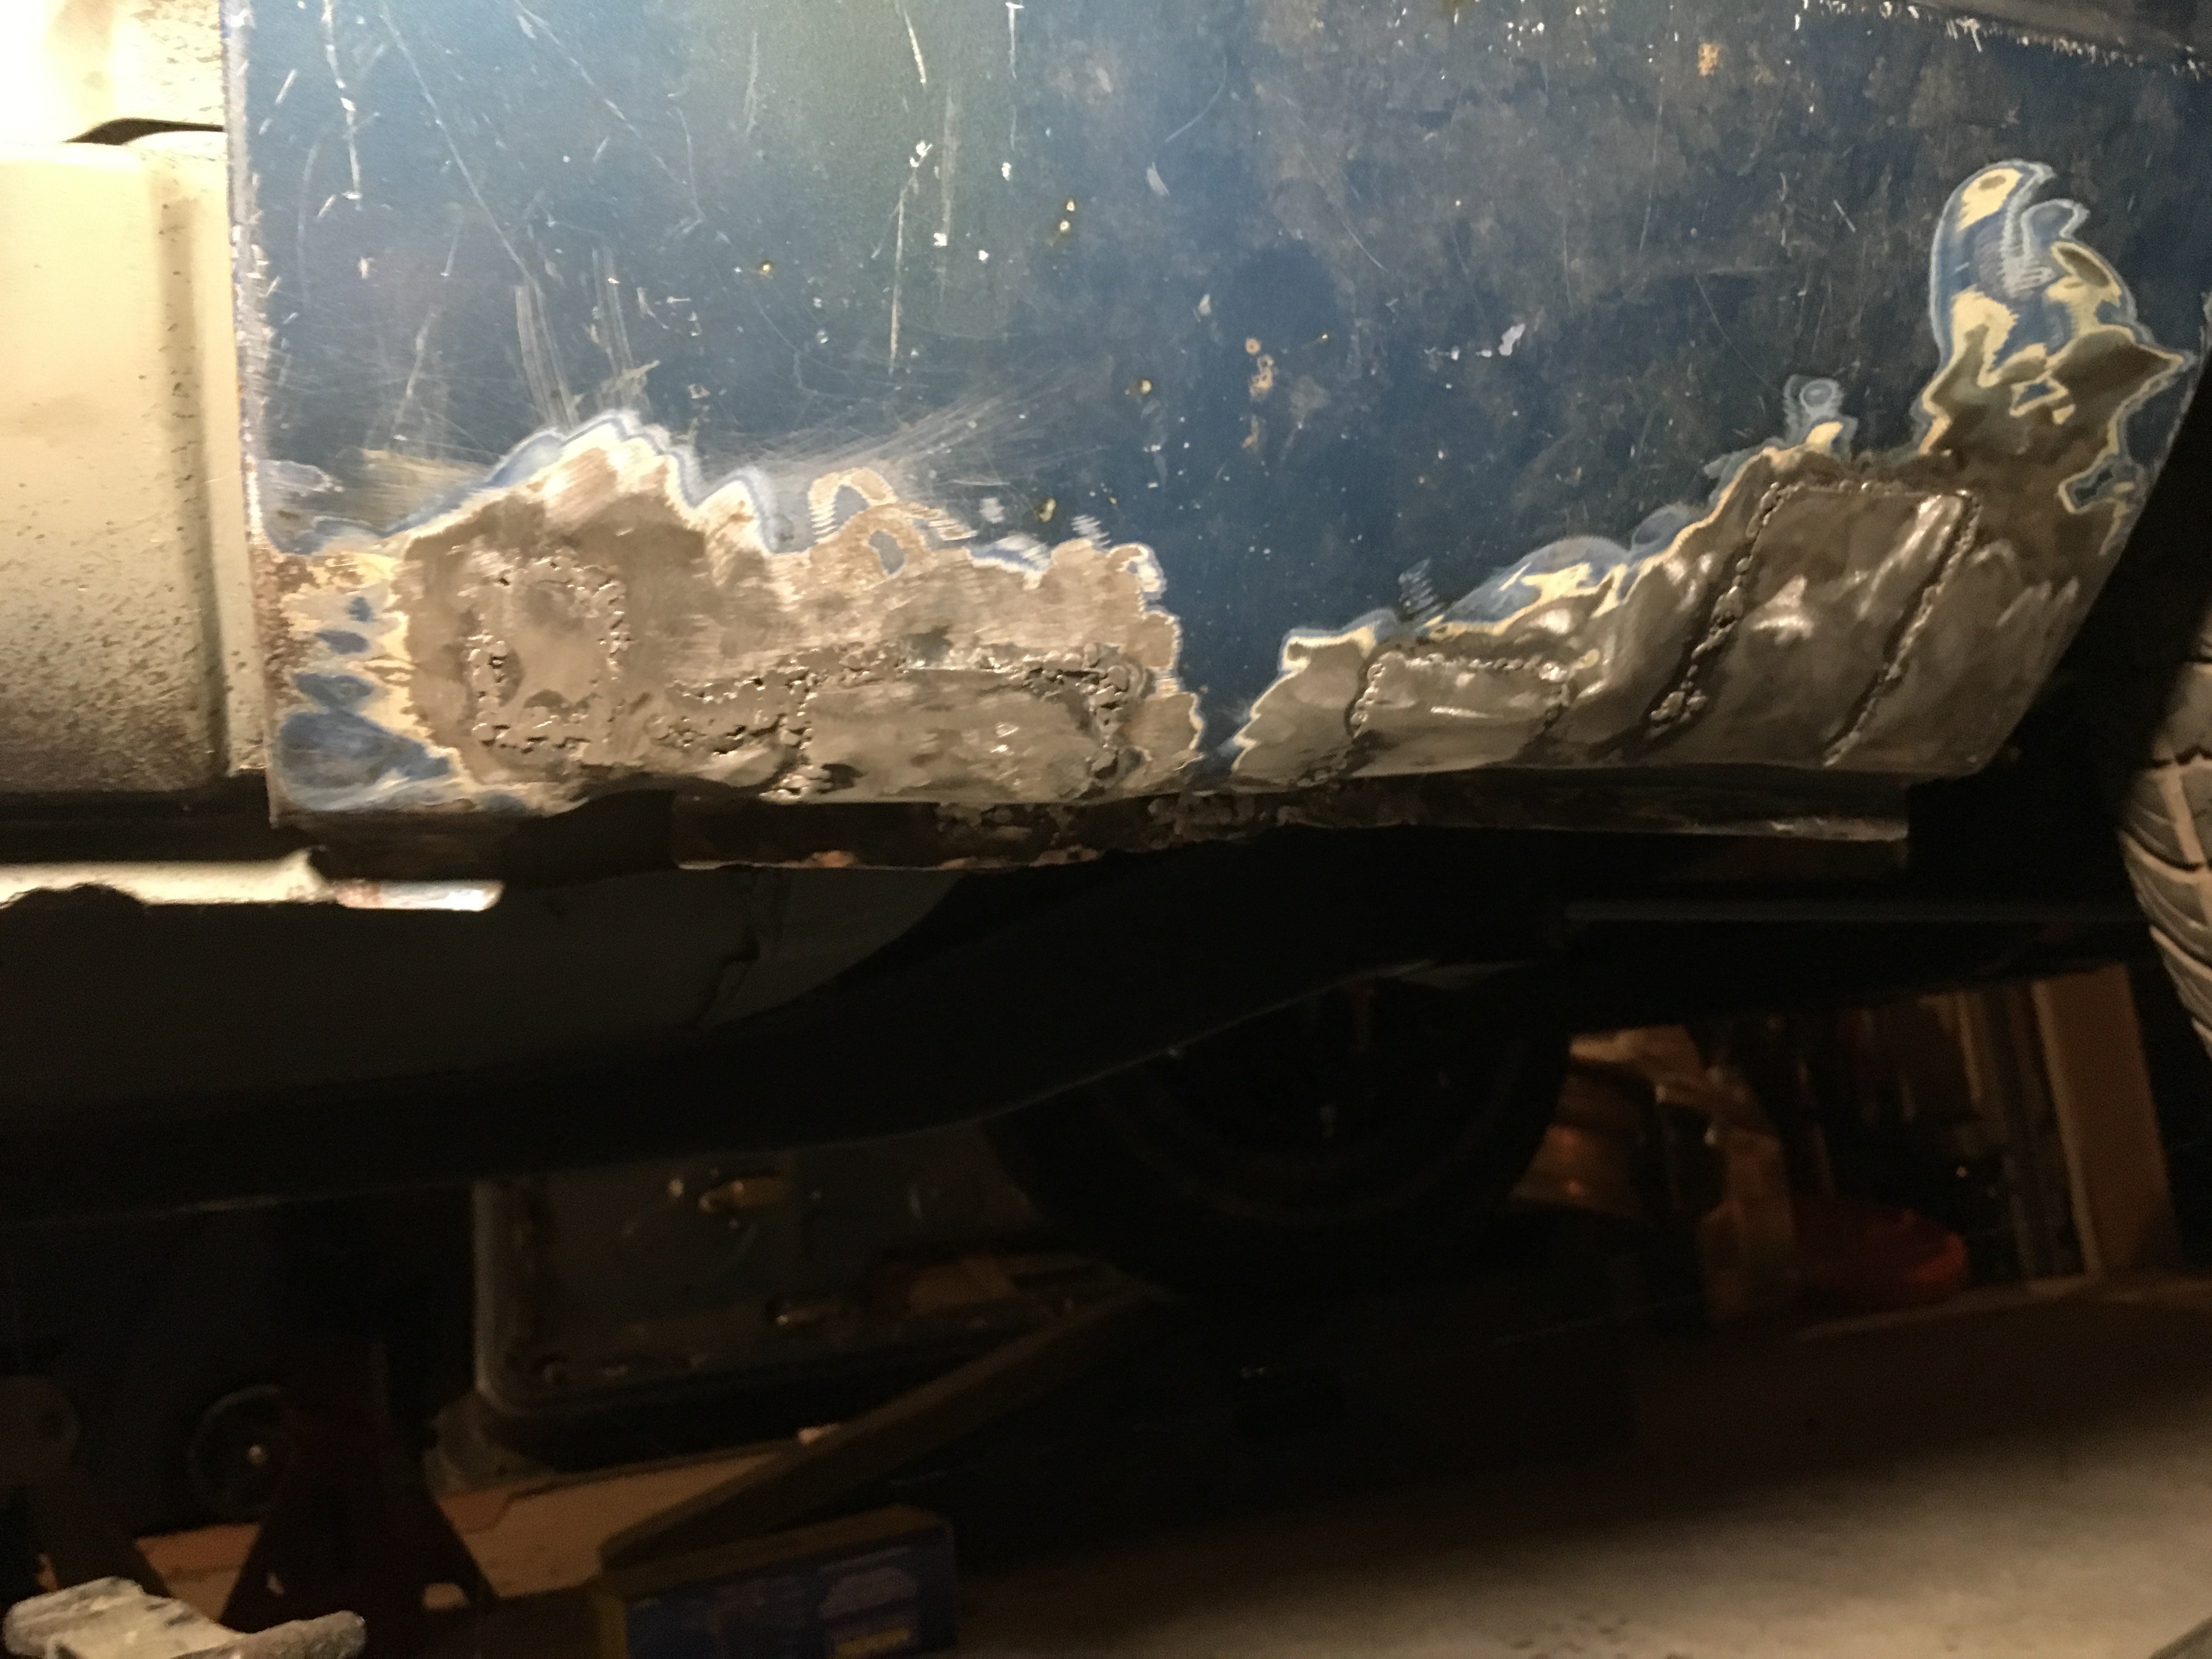
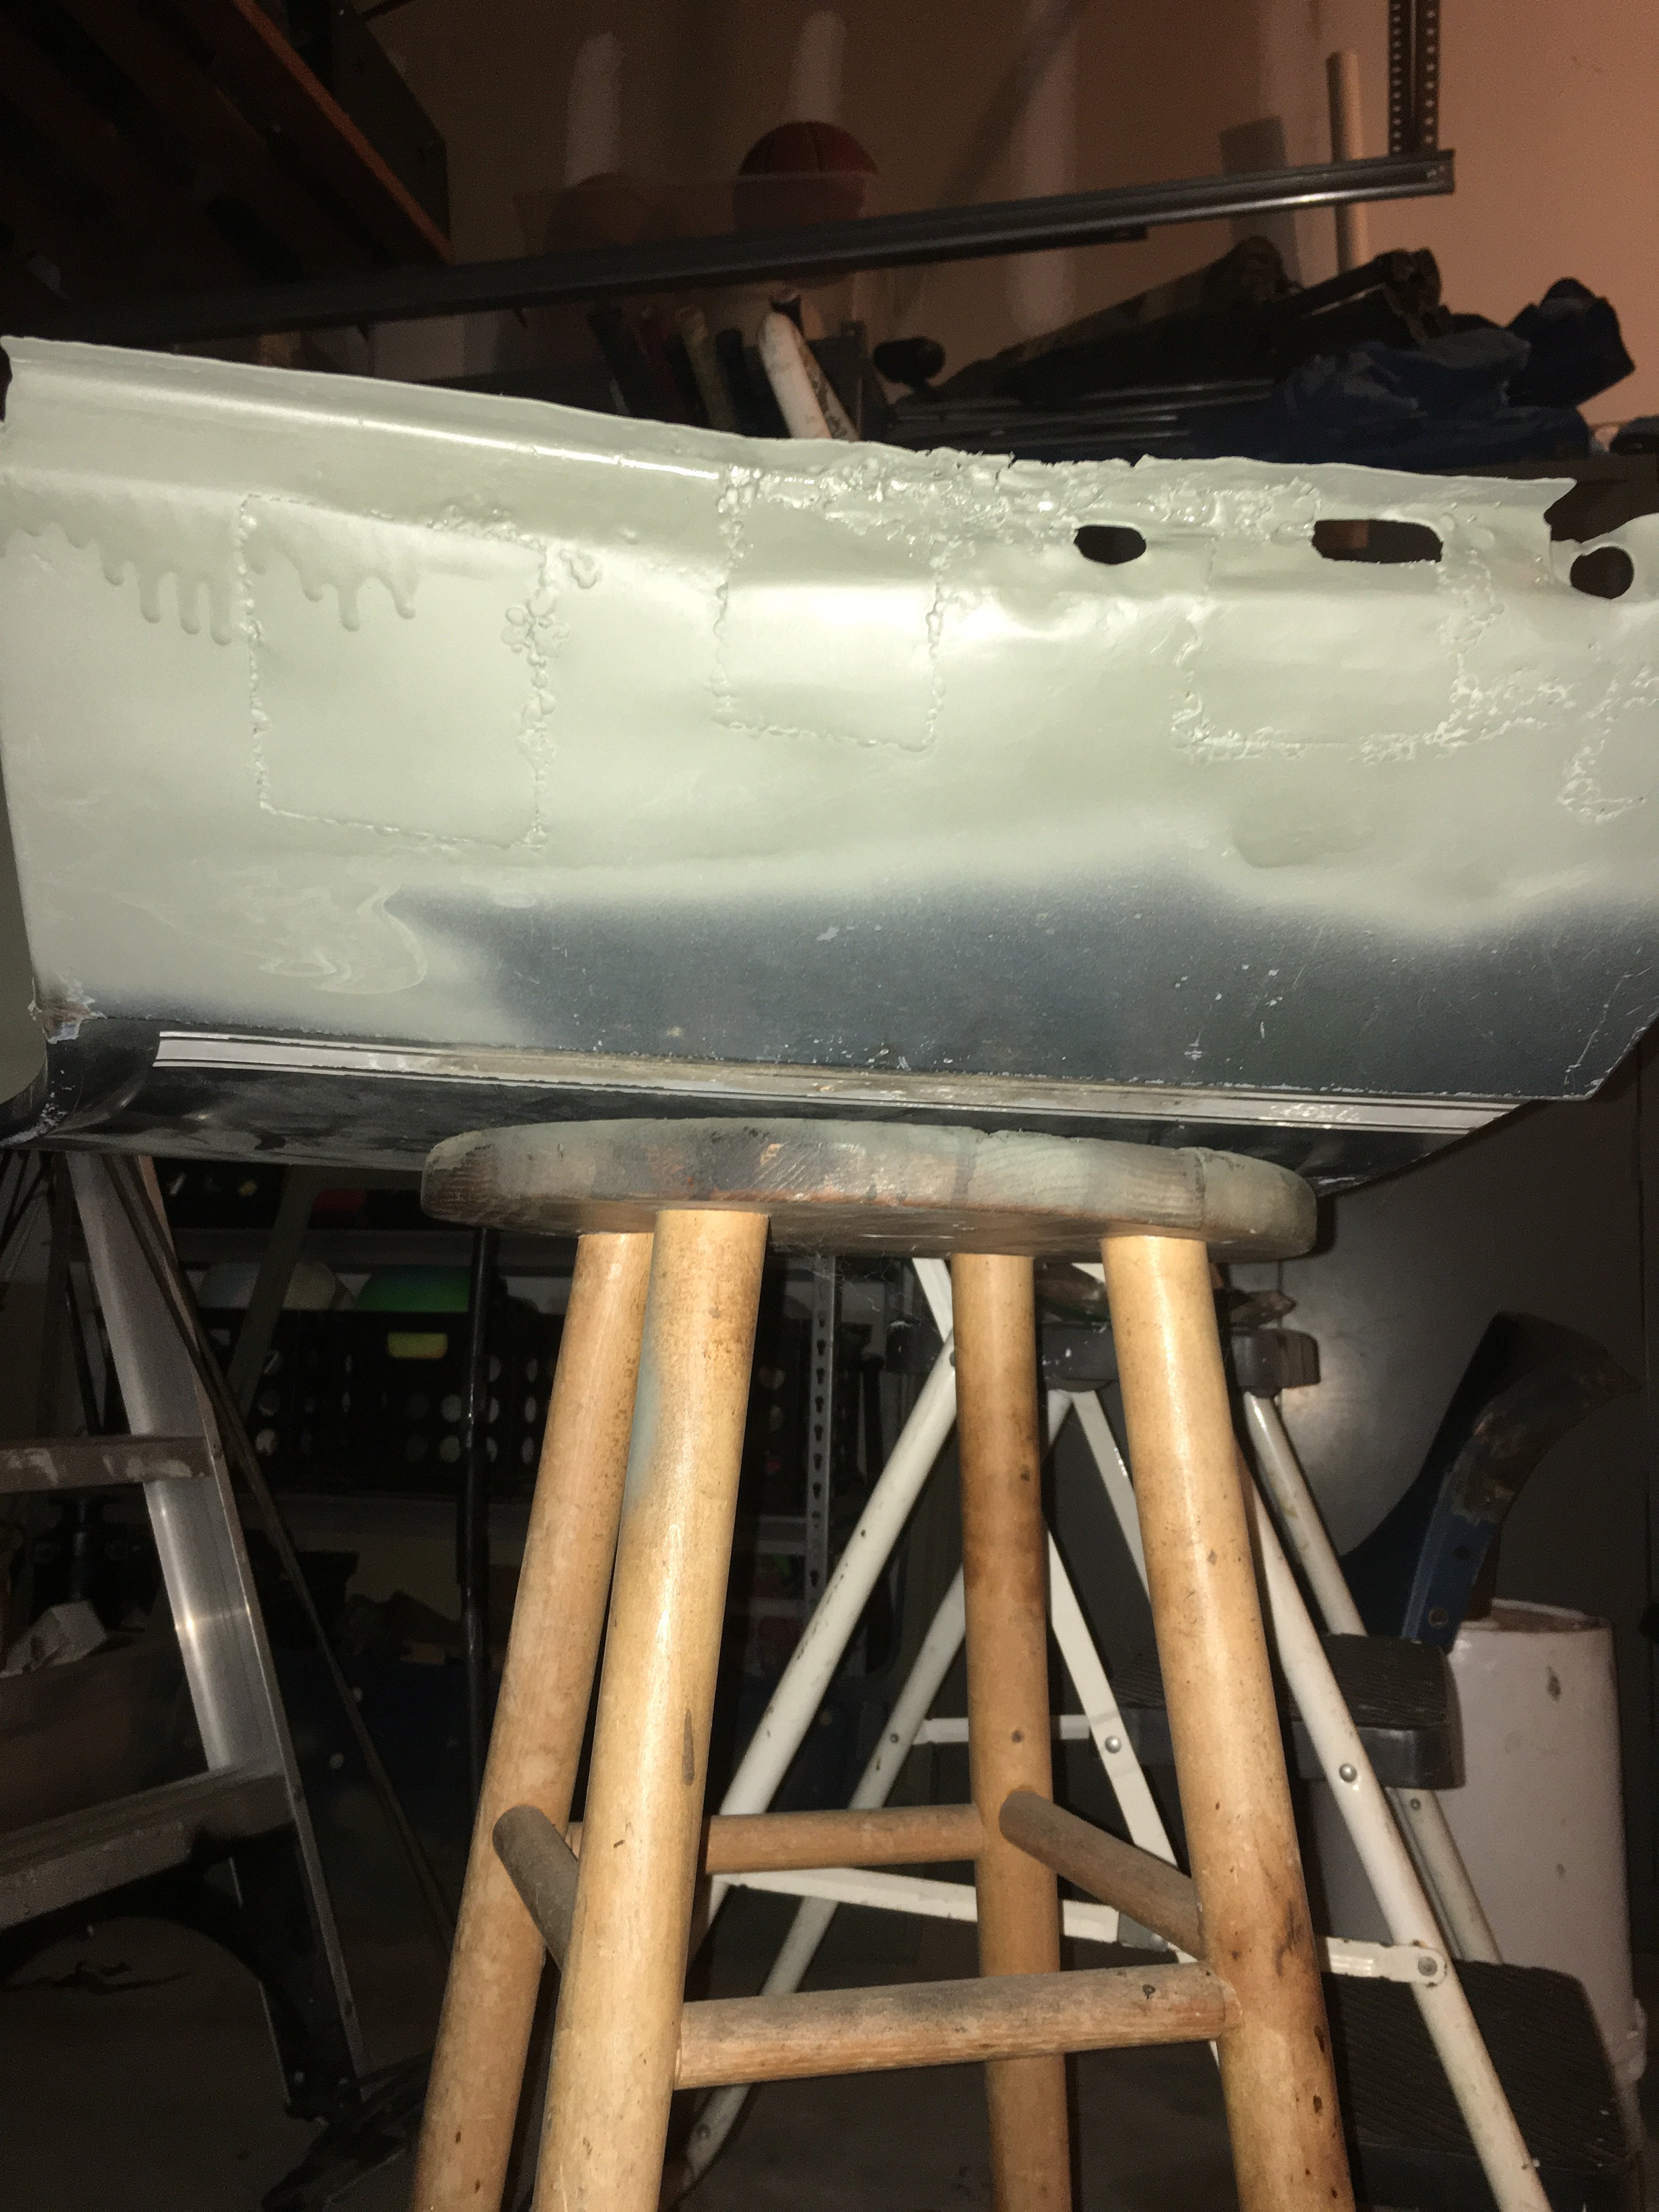
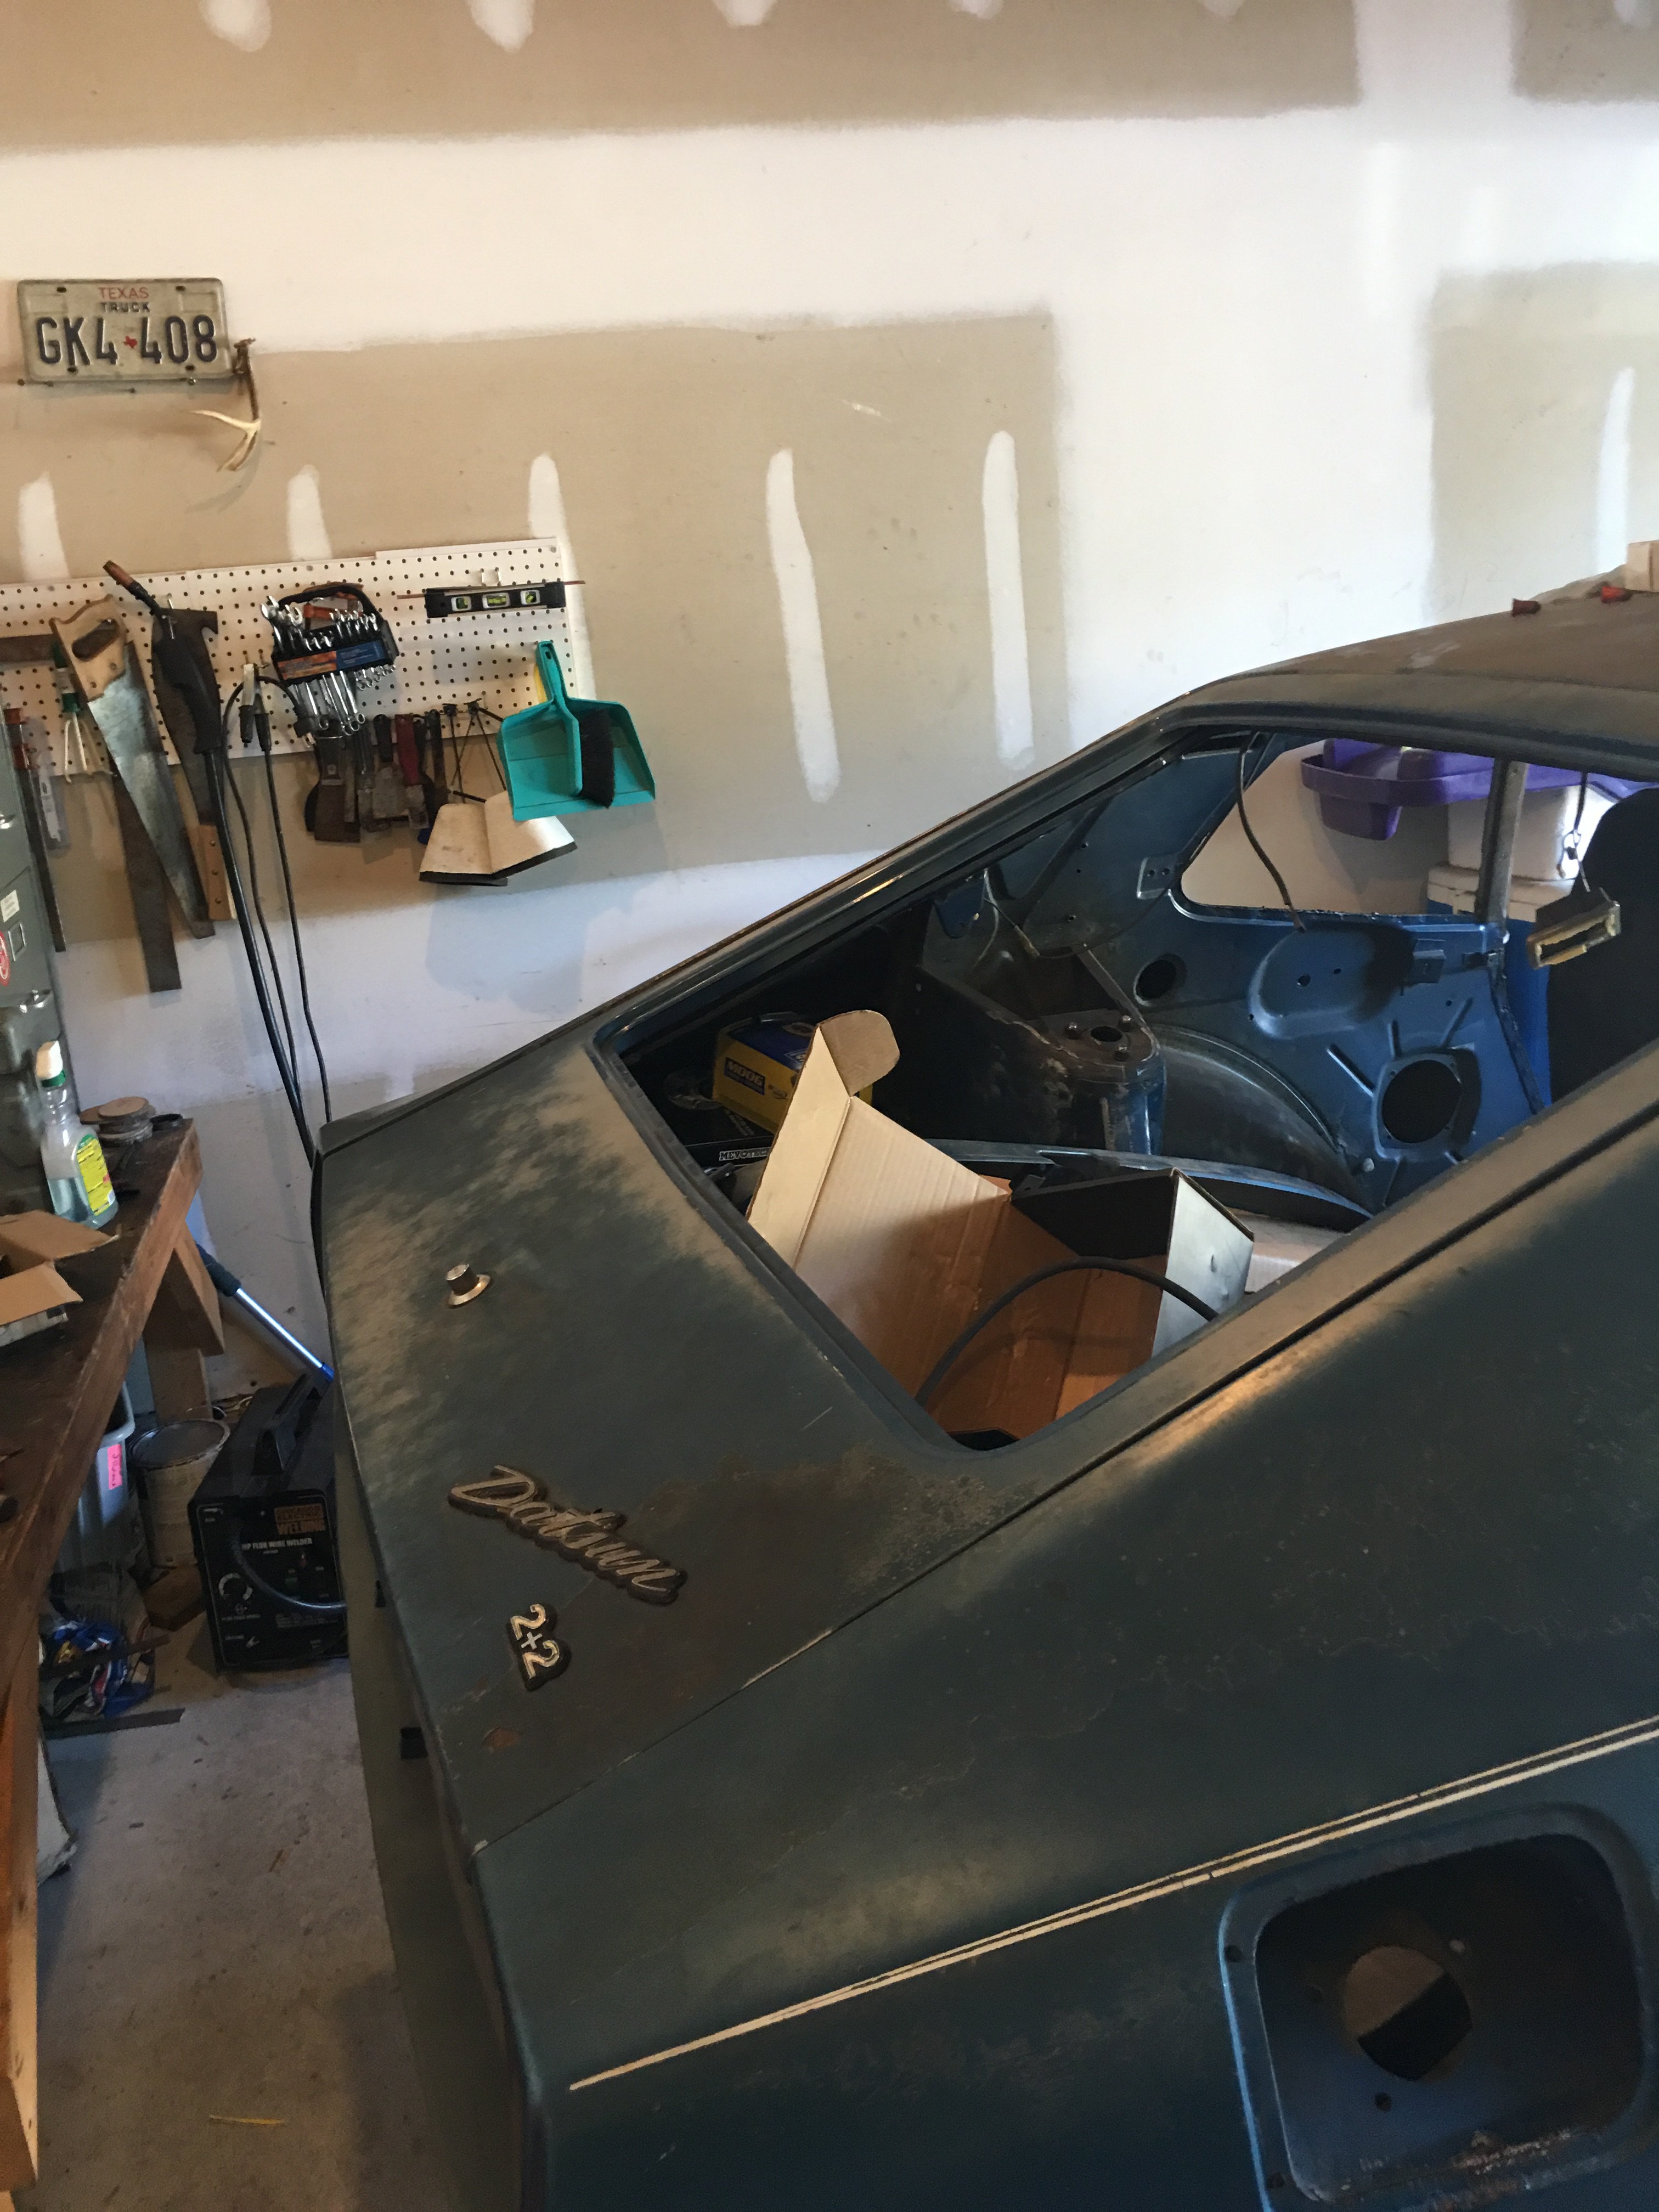
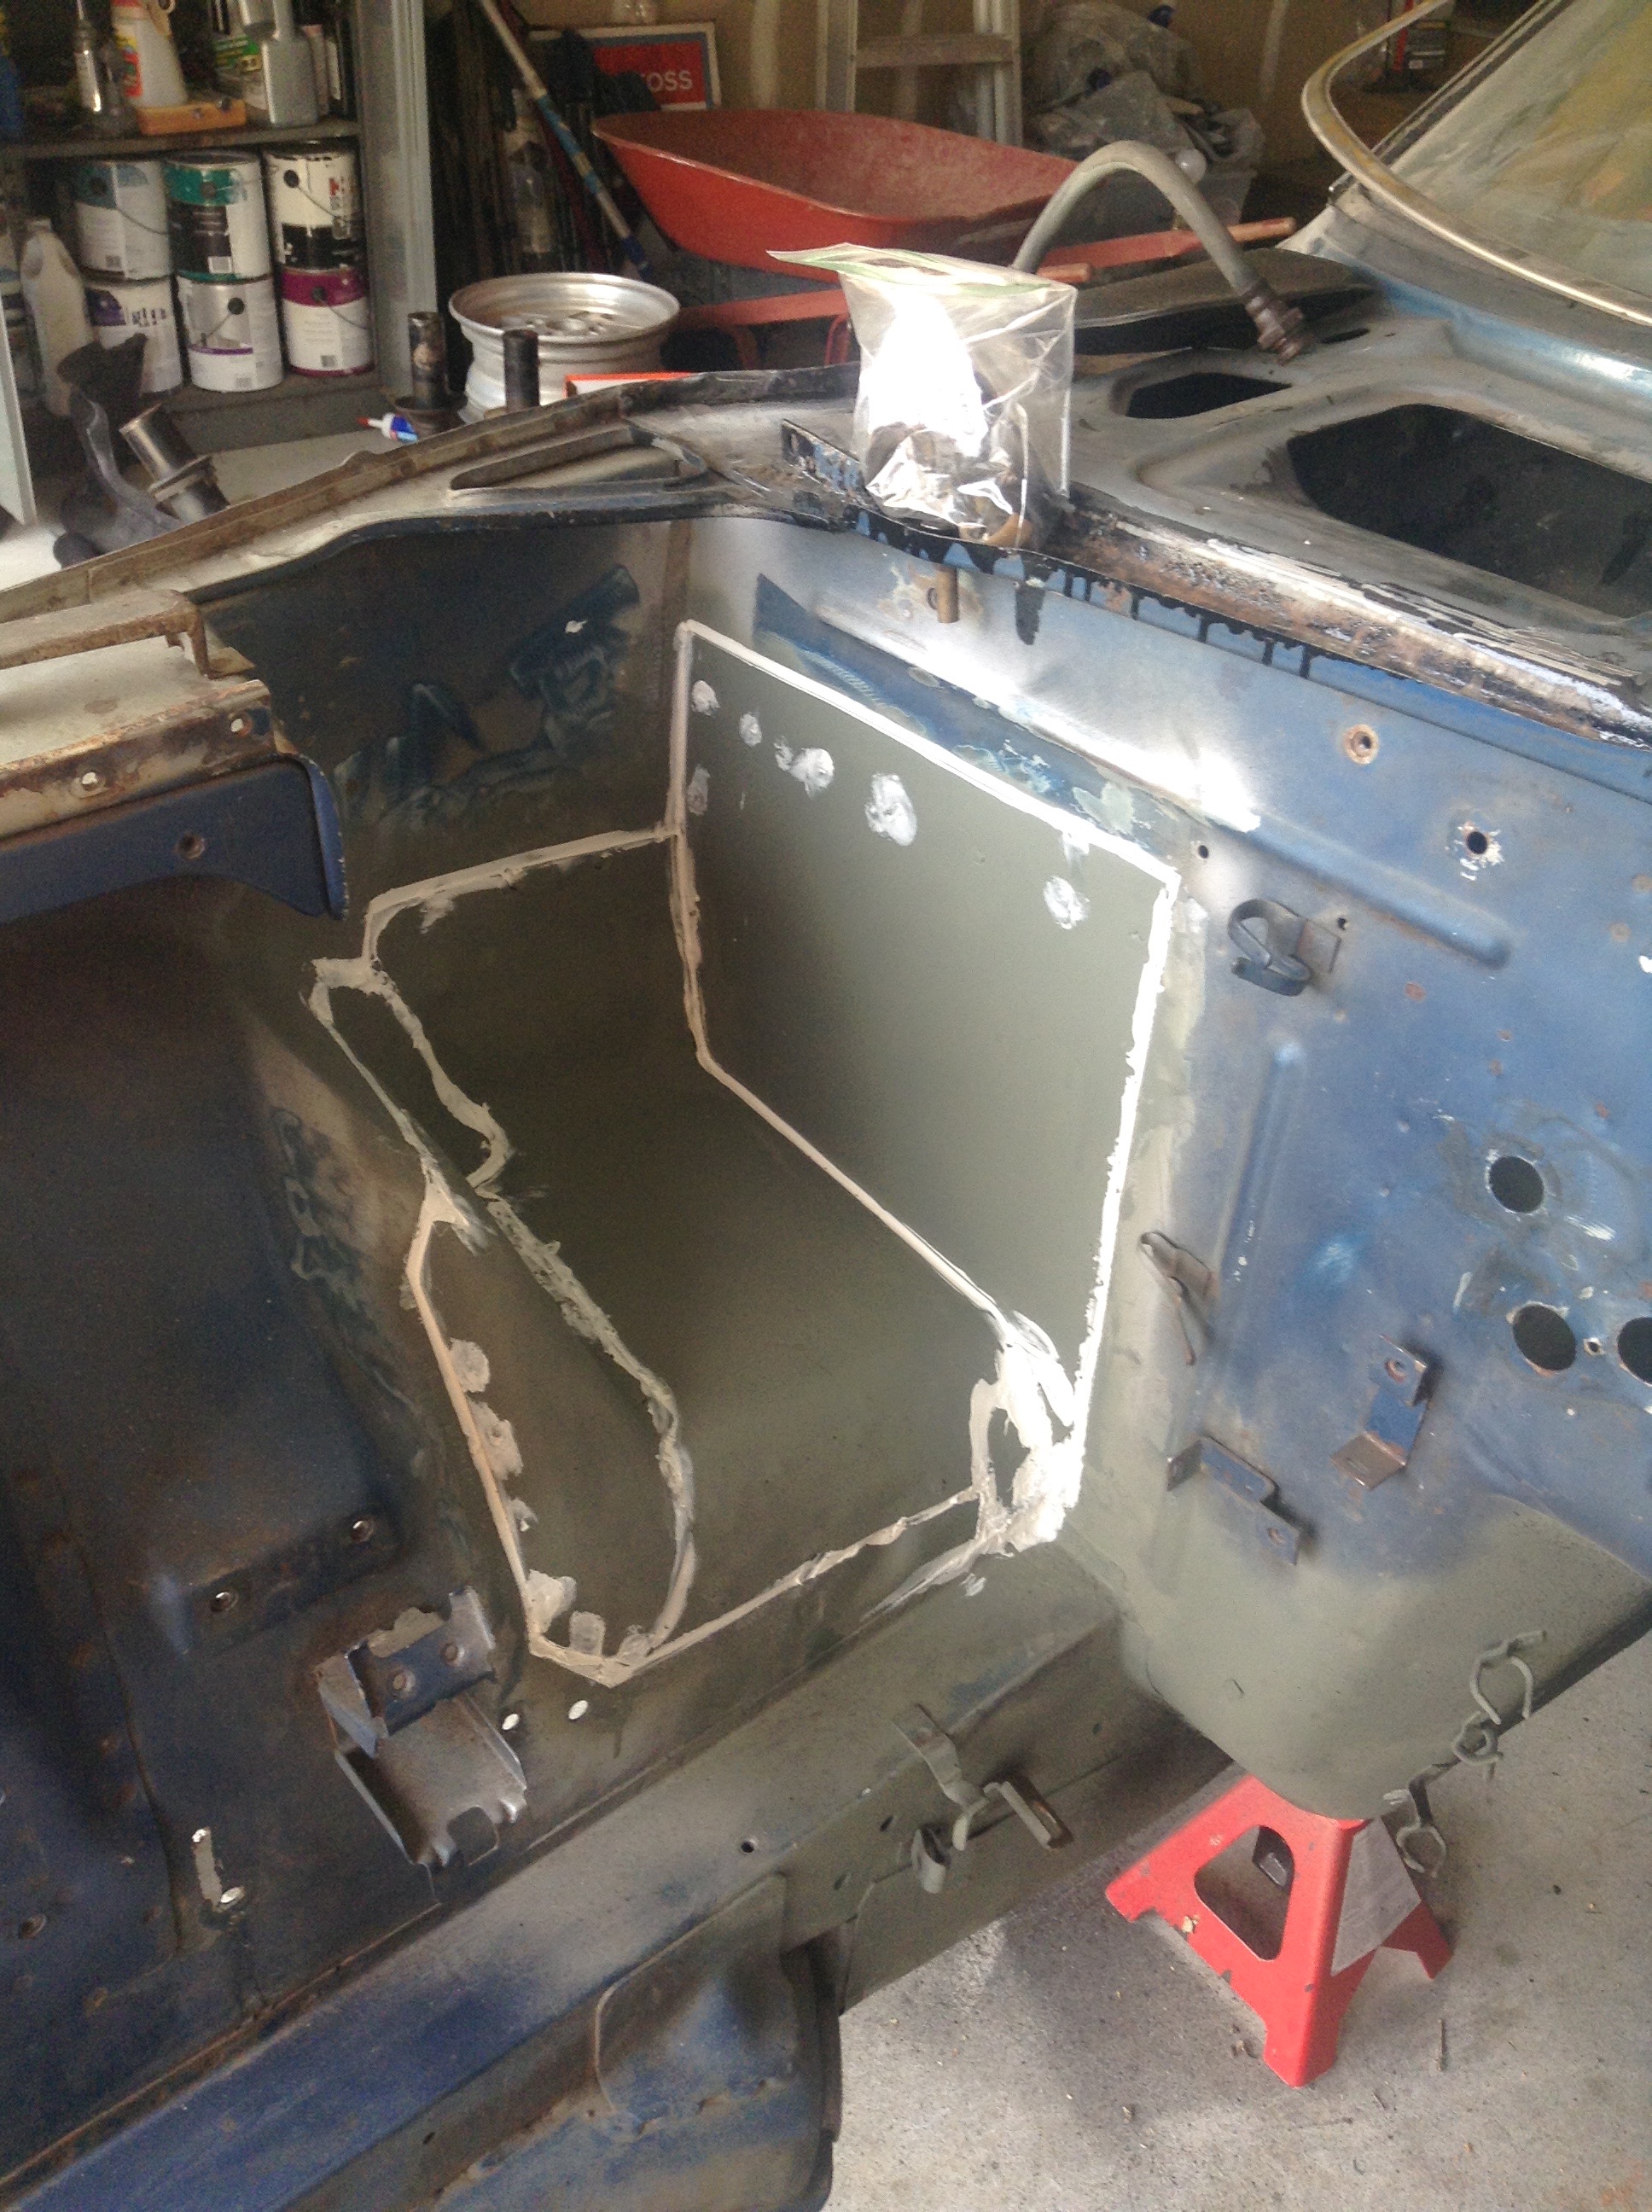
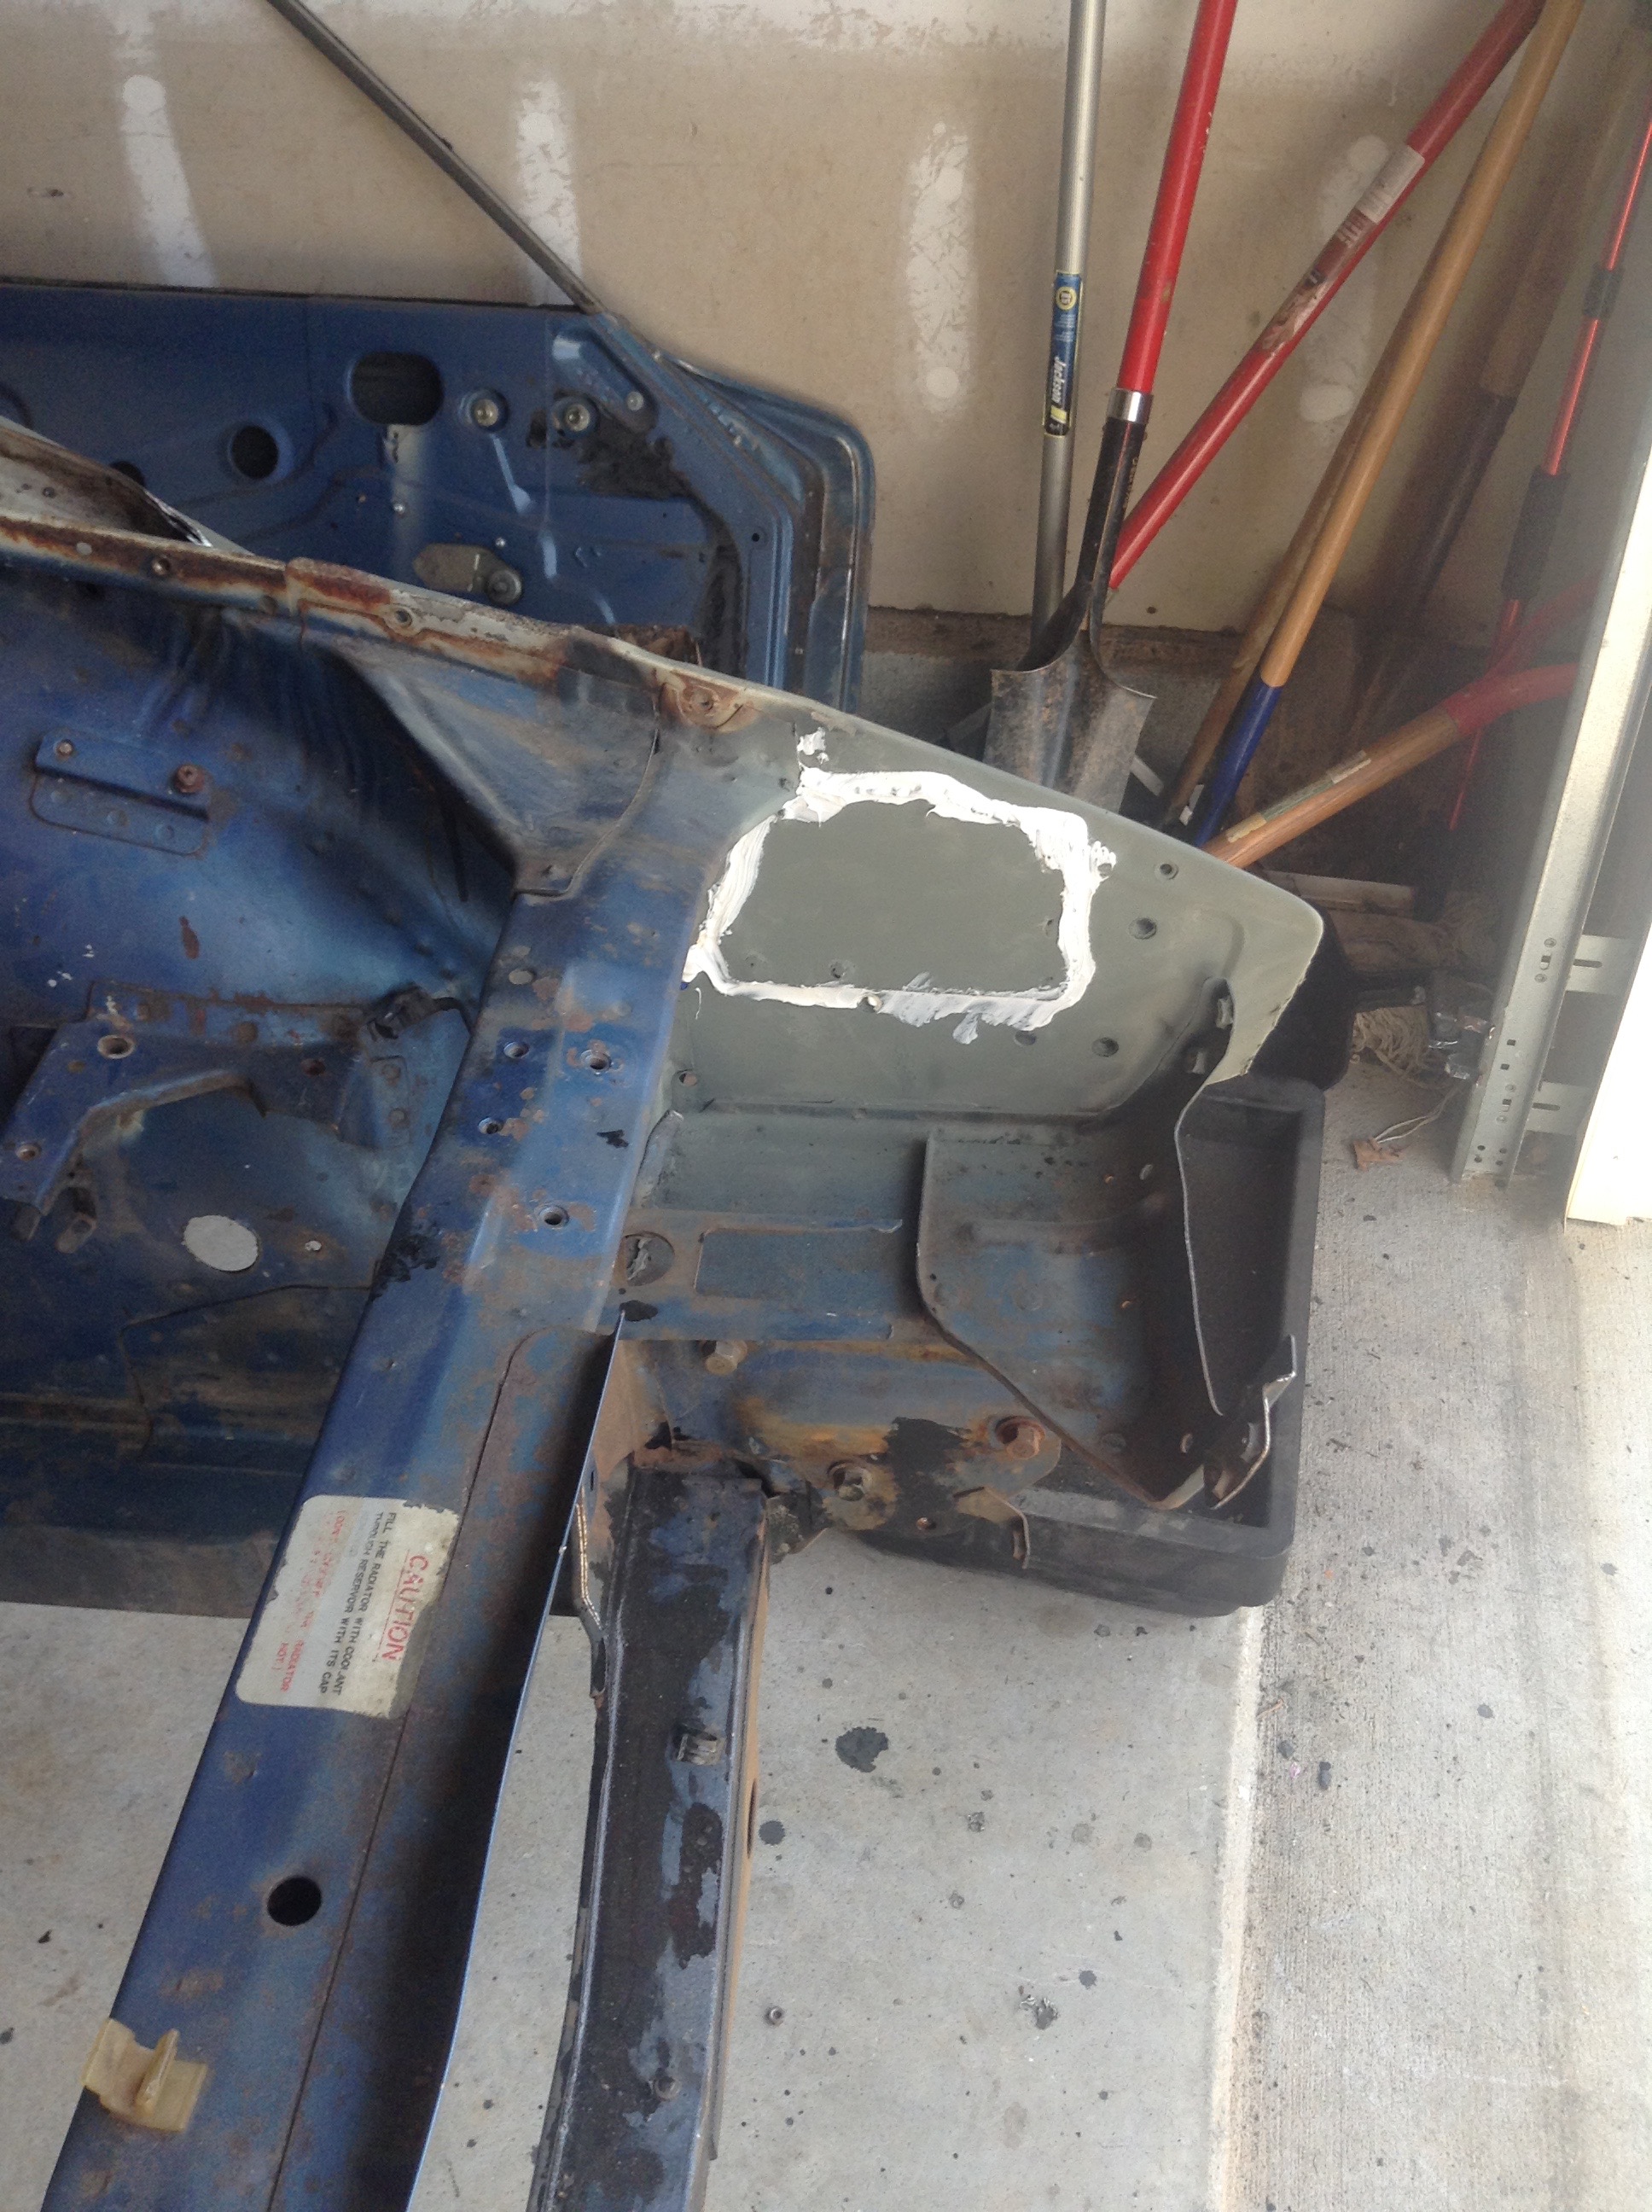
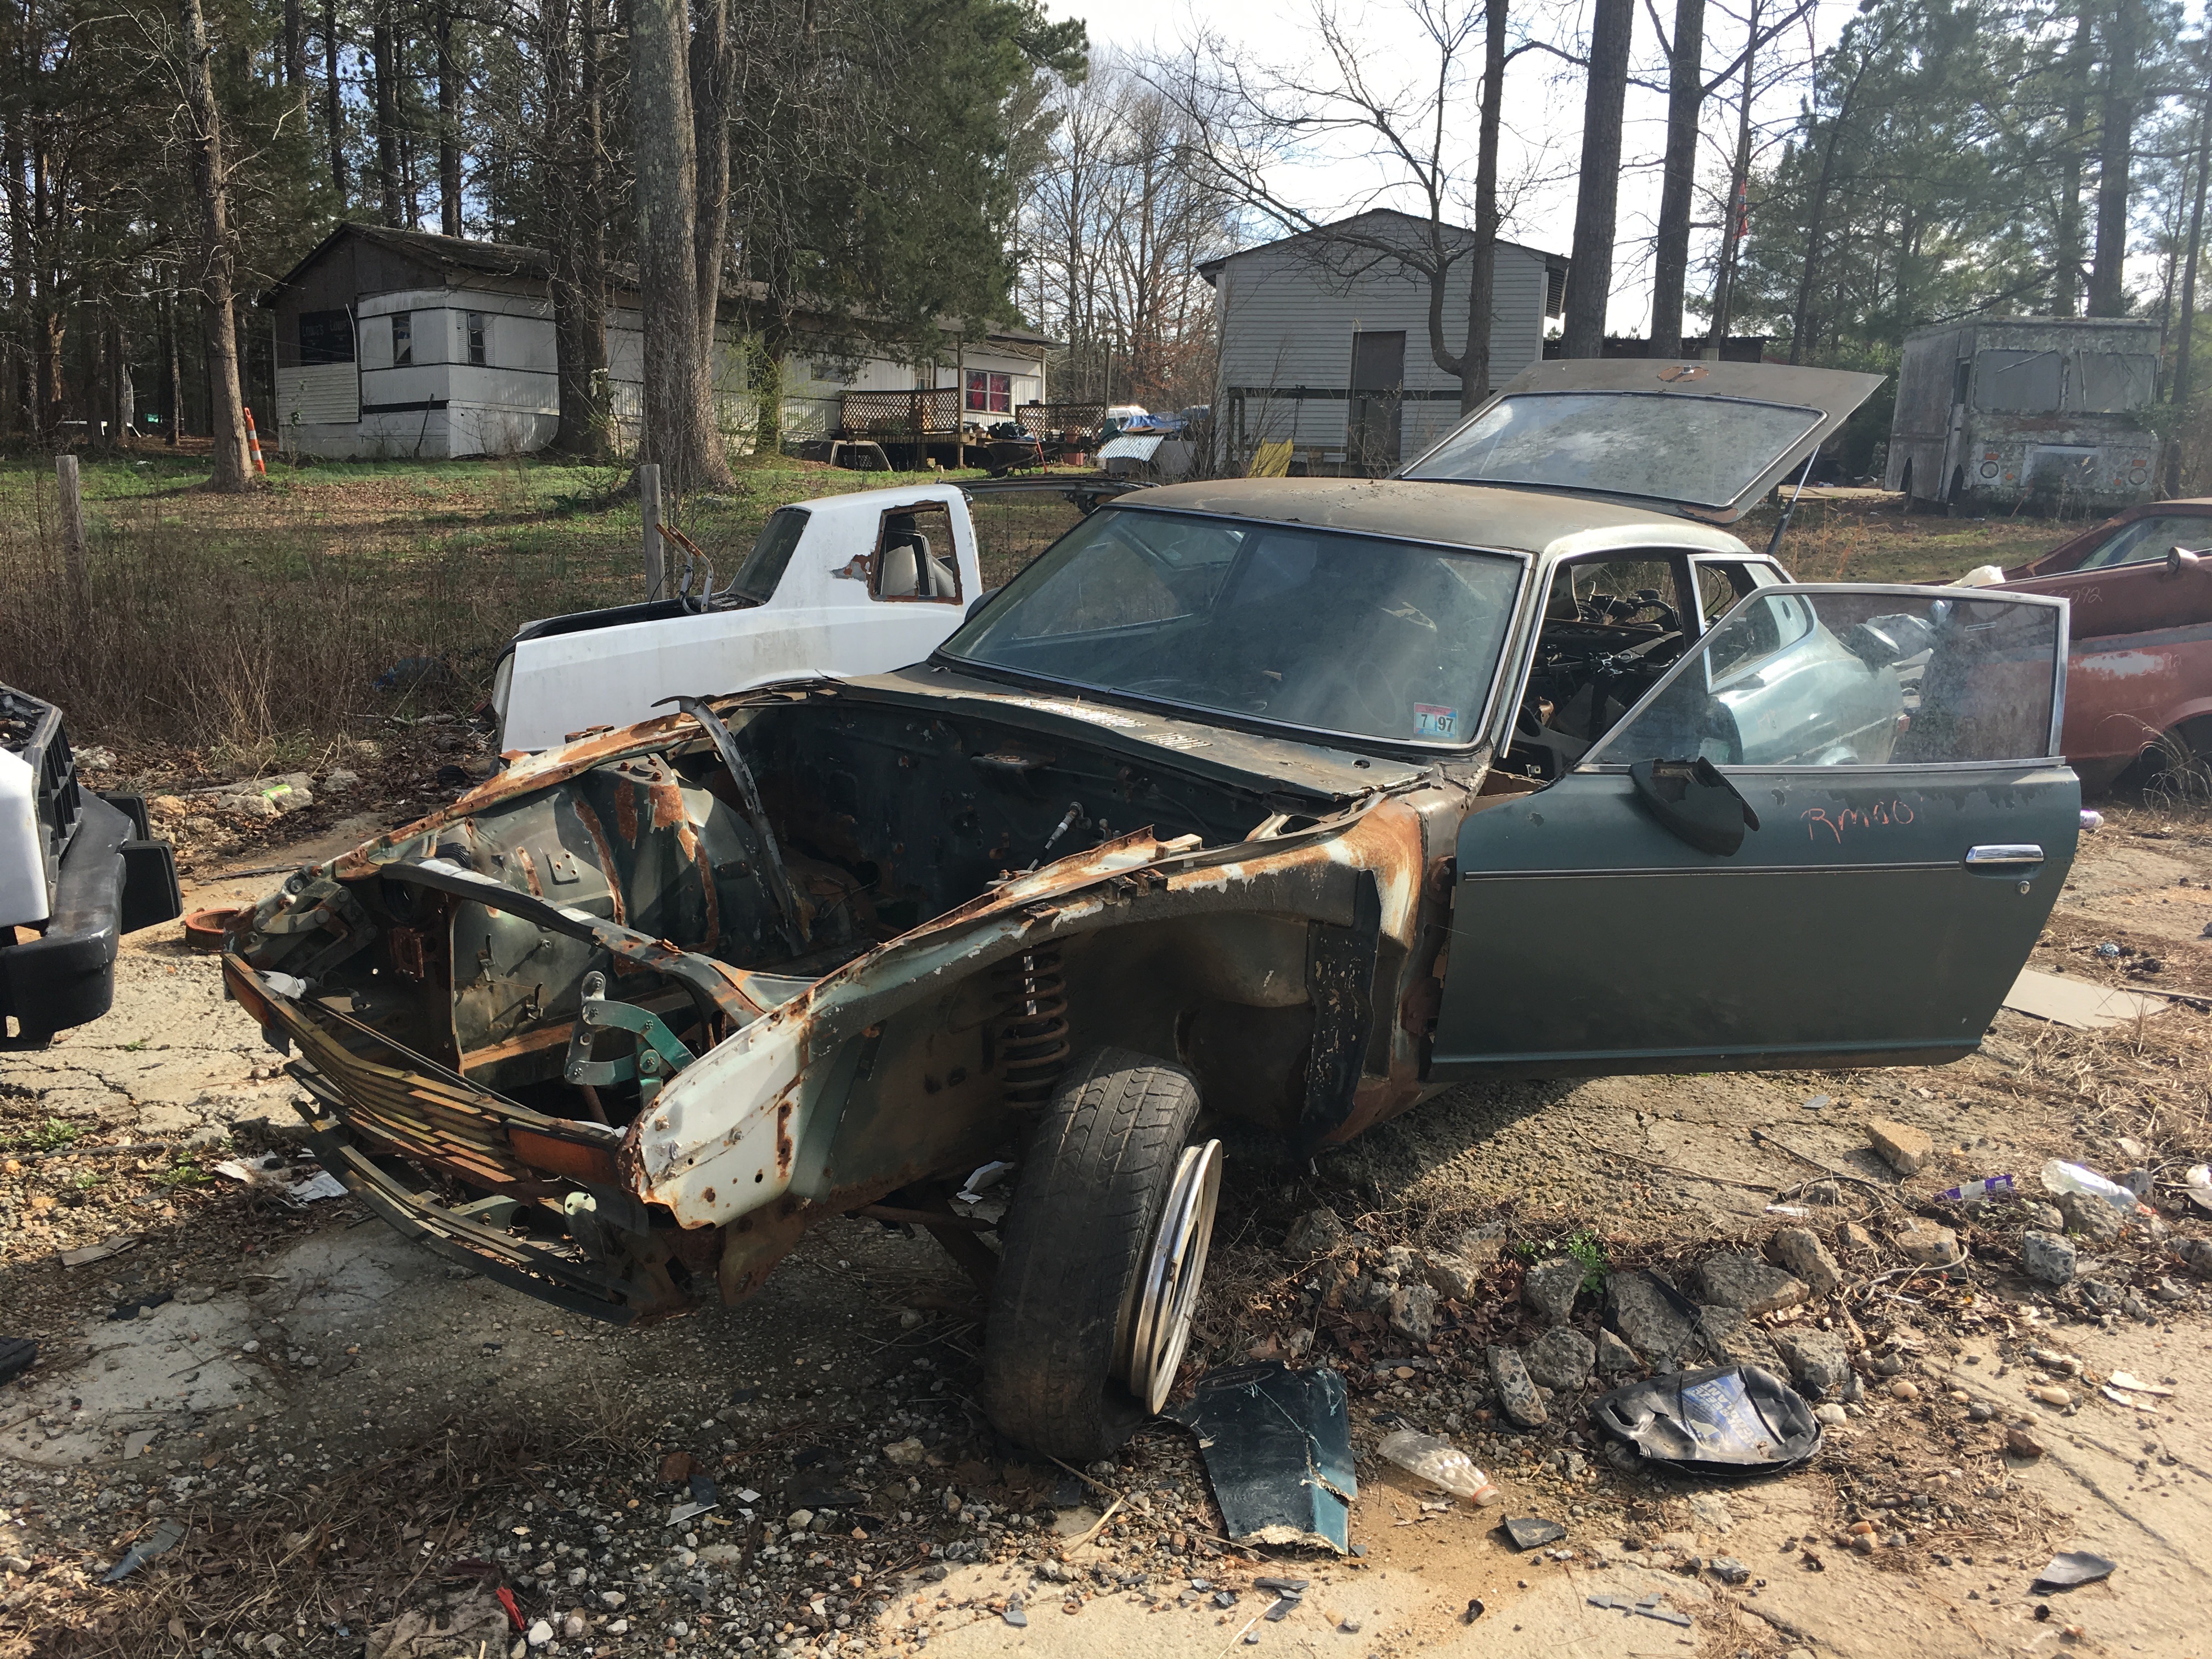
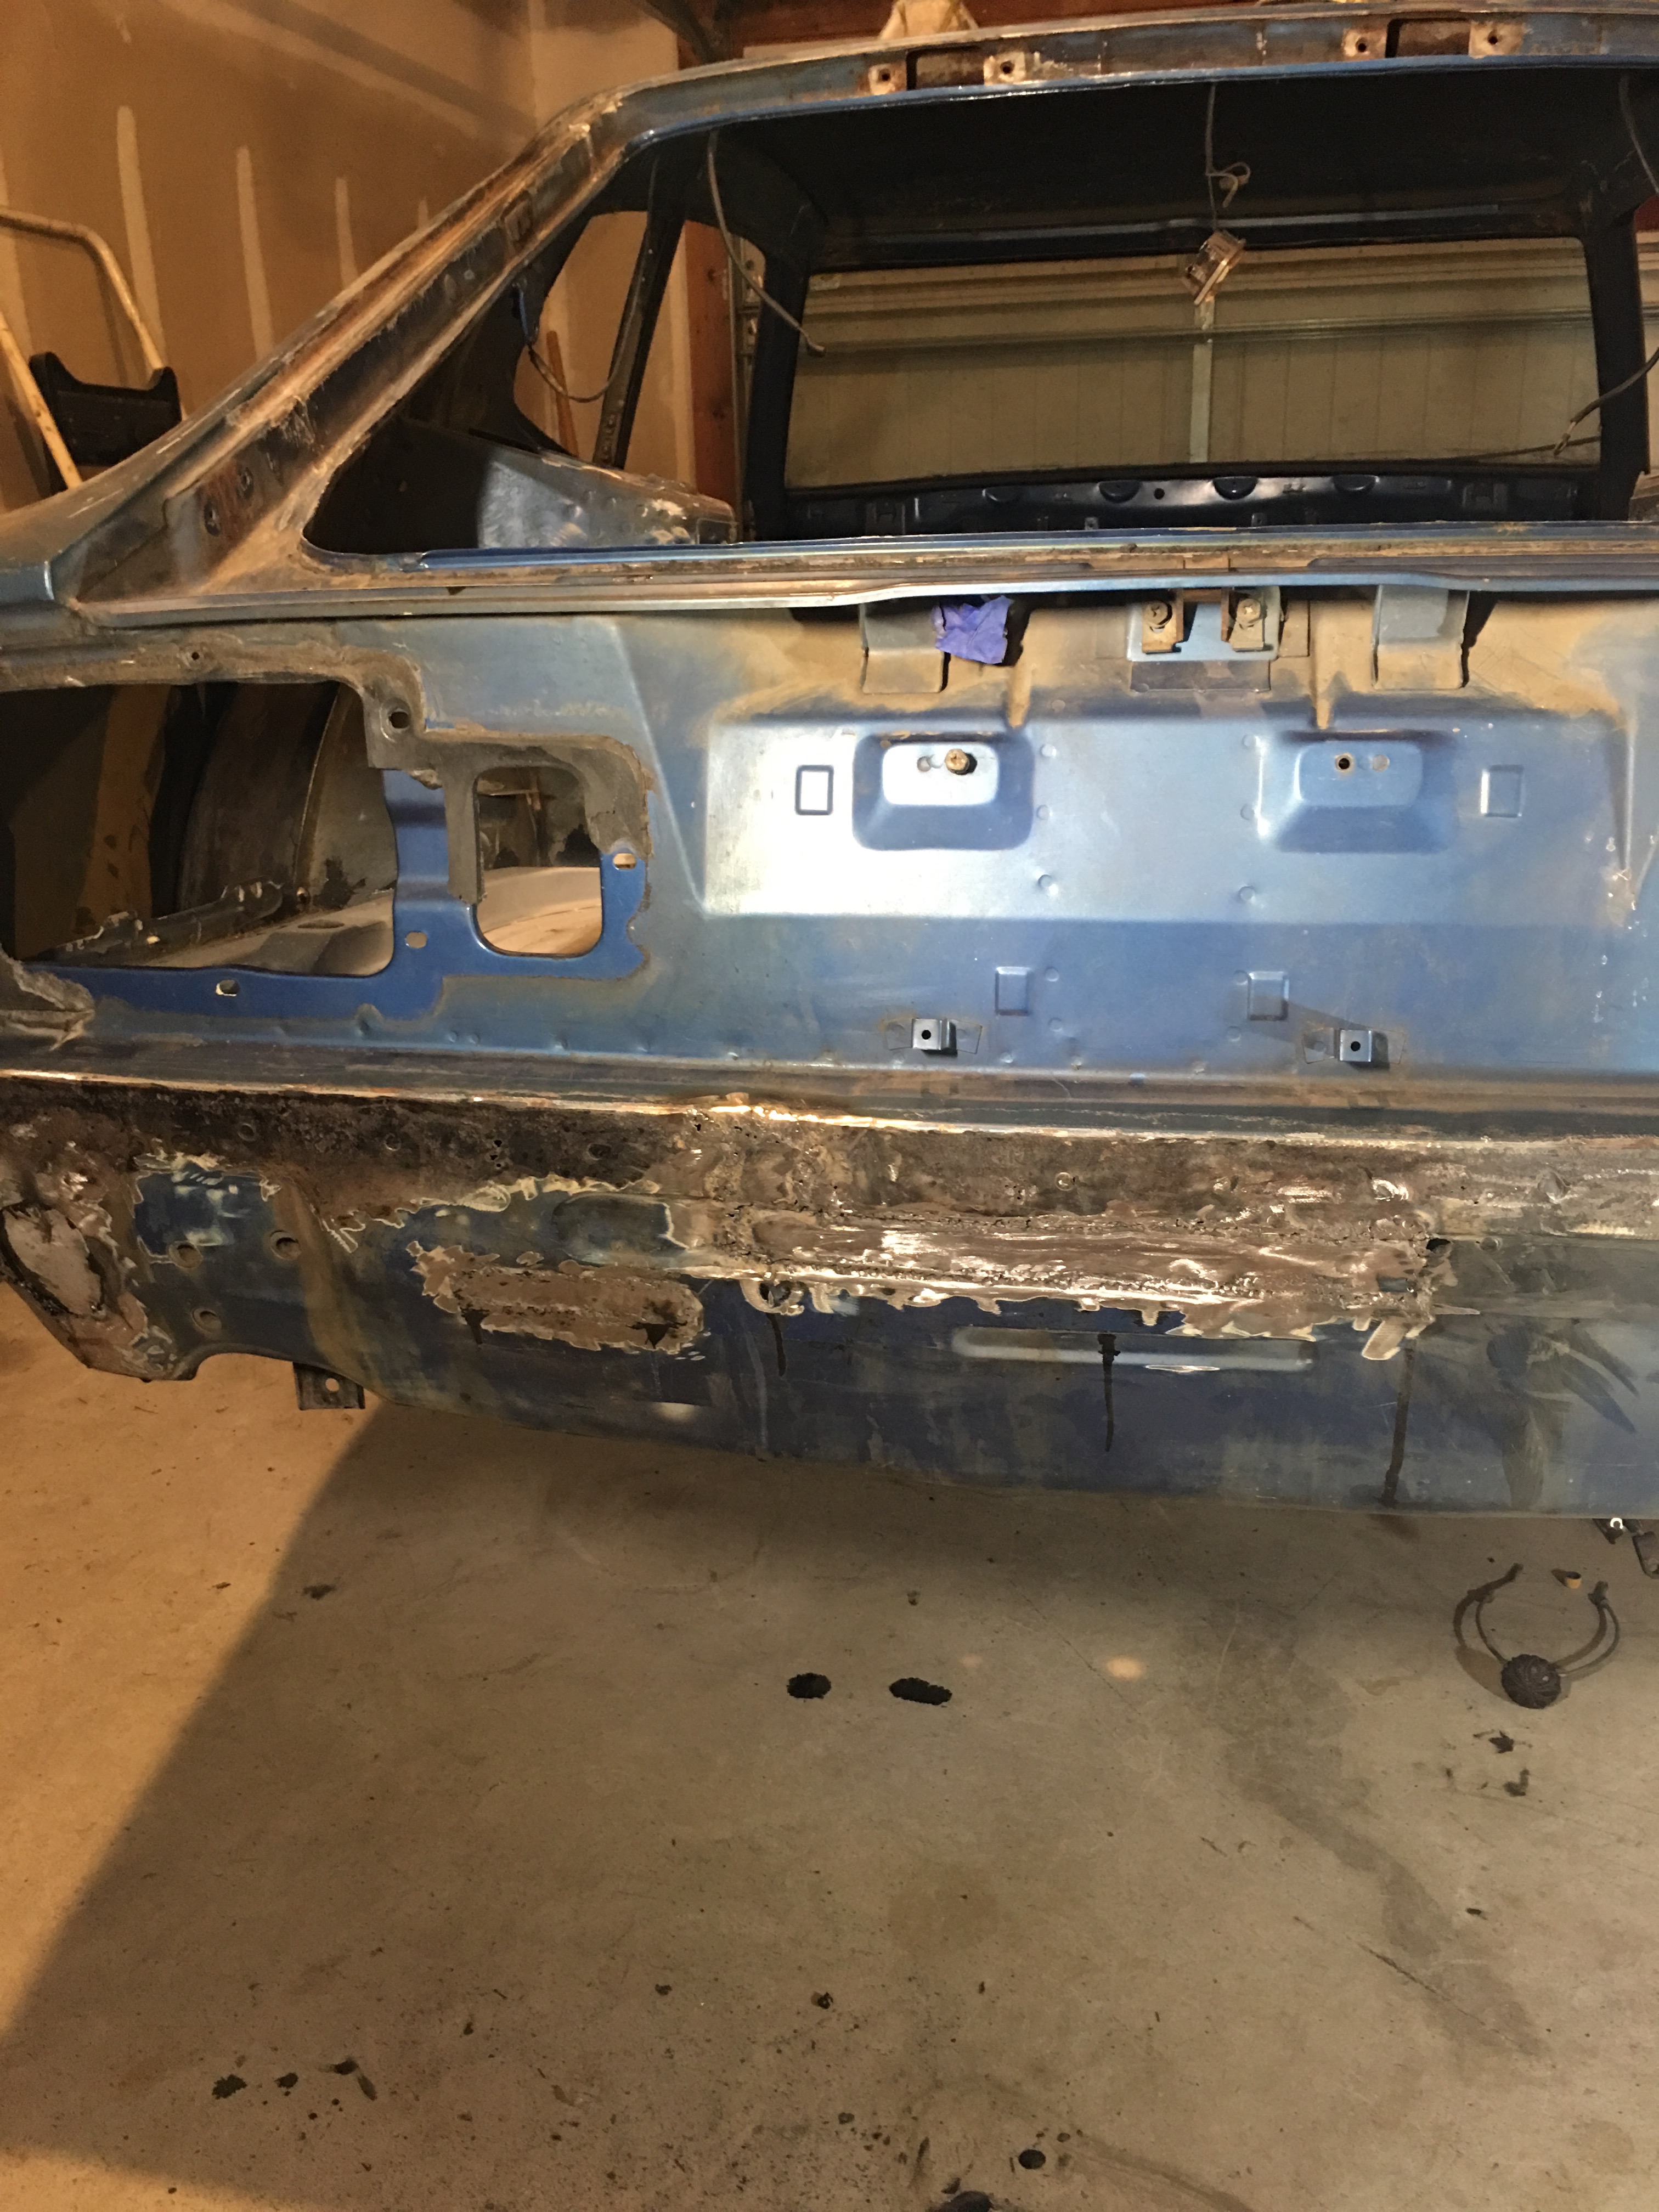
Update: After finding the bondo behind the wheel well, we ground all the bondo away and patched the rust holes. Apparently the previous owner had repaired this area by welding in a big sheet of metal and then using a bunch of bondo. This area will still need some body filler to make it look smooth again. I also welded up all the holes in the rear of the car (Some were from 280z bumper mounts etc and some were from rust). Here's what is looks like now. We then coated the inside of this bumper area with POR-15 to prevent future rust. (That is why there is some black paint in the pictures above) Next, we started working on the underbody. I just used a heat gun and a scraper to remove the undercoating and then striped the primer with aircraft remover and a wire wheel. After primer: Battery are came out pretty good! The next steps will be to apply seam sealer and underbody coating. We looked at a local junkyard for LS engines and did find a 5.3L LS out of a 2002 Tahoe in pretty good condition. This is exactly the type of engine we are looking for so we might go back and get it. While we were there, we came across this 280z and a 300zx. Will definitely be grabbing some parts off the 280 and I need to figure out if the 300zx is a turbo or not. Also, I was thinking about stitch welding the engine bay of our car but decided not to after seeing this 280 and doing a little research. If you look closely at the seams of the 280 in the junkyard (like the shock towers) you can see that the previous owner had stitch welded and all these areas. Now, these spots have some major rust, granted this car has probably been sitting out there since 97 judging by the inspection sticker. Apparently, stitch welding makes these areas susceptible to rust because all the paint and primer is burnt off inside the seams.
-
280z 2+2 resto mod
Whitley_280z_2+2 replied to Whitley_280z_2+2's topic in S30 Series - 240z, 260z, 280z
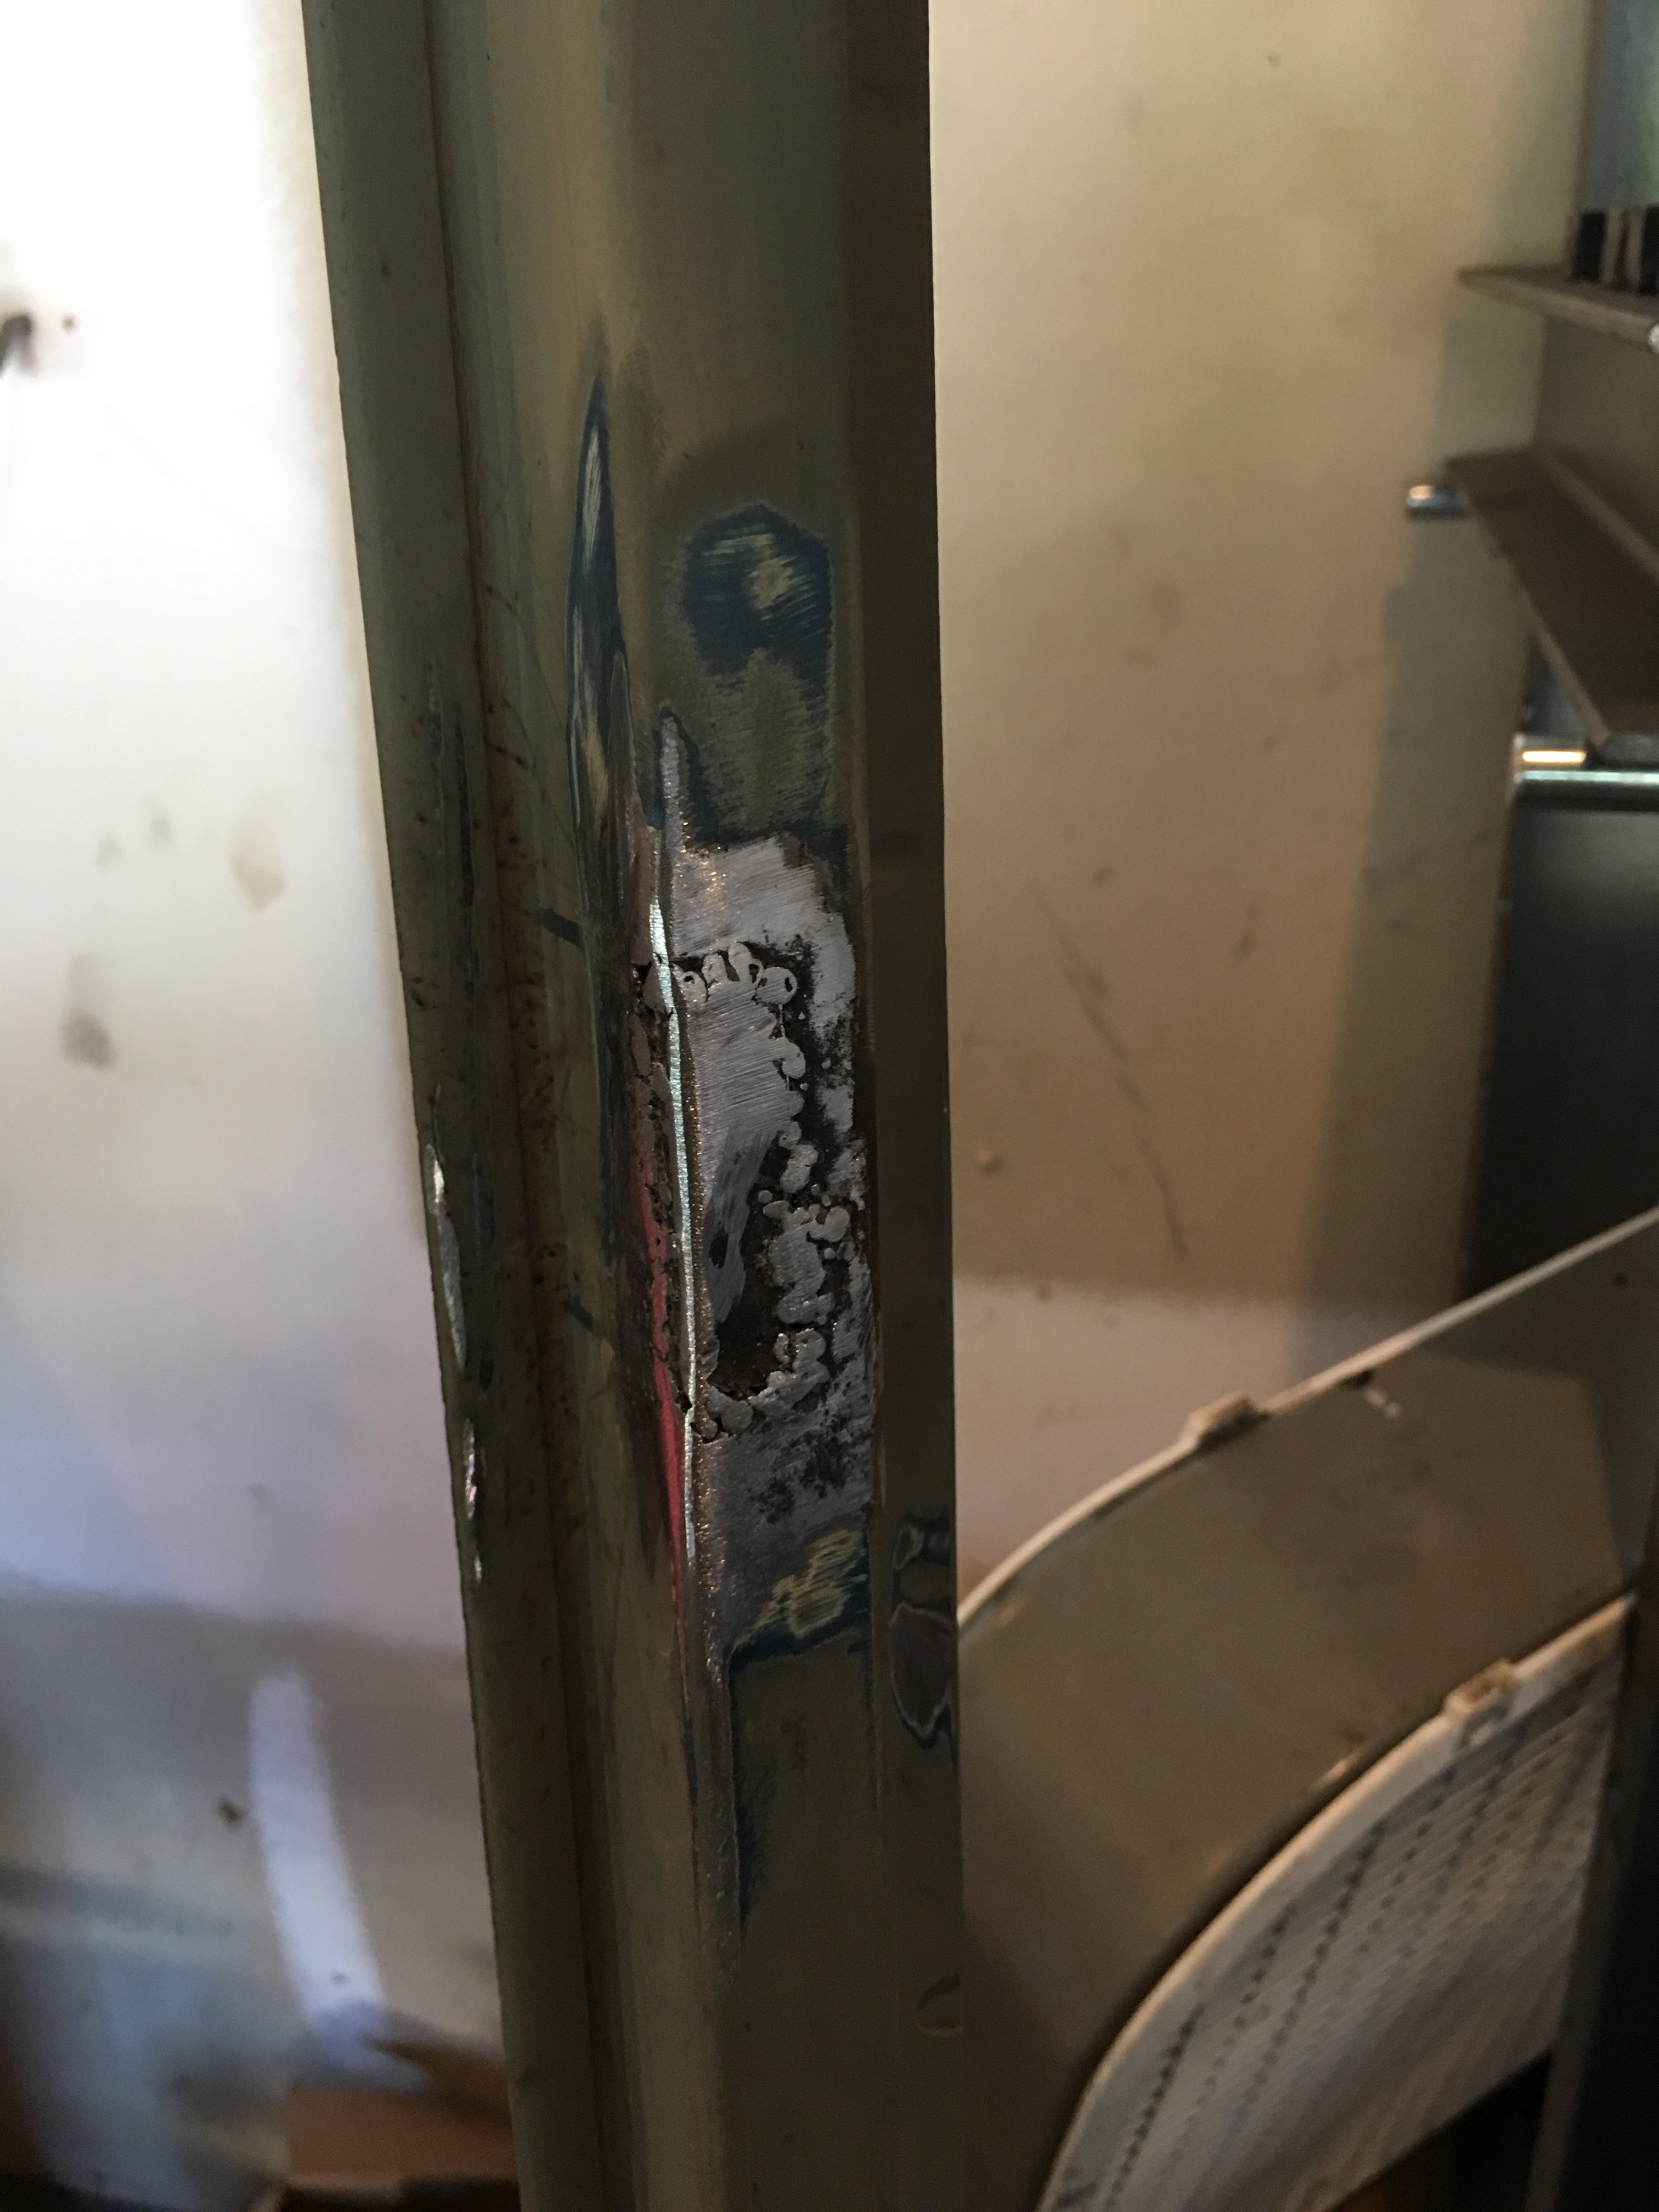
I haven't made a whole lot of progress on the car. Here is what I have done. Removed front suspension I also removed the spindle pins...took a lot of hammering and of course I ruined them. I also welded up the passenger rocker panel. And a section on top I also found that the area behind the rear wheel wells on both sides of the car has been repaired in the past. There was a lot of bondo in both spots. I need to decide if I should try to weld in new metal or just patch up the bondo. I didn't think that this was a common rust area for these cars so I wonder why it was bondoed in the past on both sides.
-
280z 2+2 resto mod
Whitley_280z_2+2 replied to Whitley_280z_2+2's topic in S30 Series - 240z, 260z, 280z
Based on my research, it looks like the best option for the rear differential would be the LSD from a 1987-1989 300zx turbo (especially the Shiro special). If I can't find one of these off of Craigslist or from a junkyard the OBX LSD differential for a R200 from Ebay might be the next best bet, although it sounds a little risky and would require a rebuild. I also looked at the Subaru R180 diff but I can't find any of these that are below $600 and they would also require the R180 mustache bar and new splines. Other than that, I don't think it would be a great idea to daily drive a welded diff -
280z 2+2 resto mod
Whitley_280z_2+2 replied to Whitley_280z_2+2's topic in S30 Series - 240z, 260z, 280z
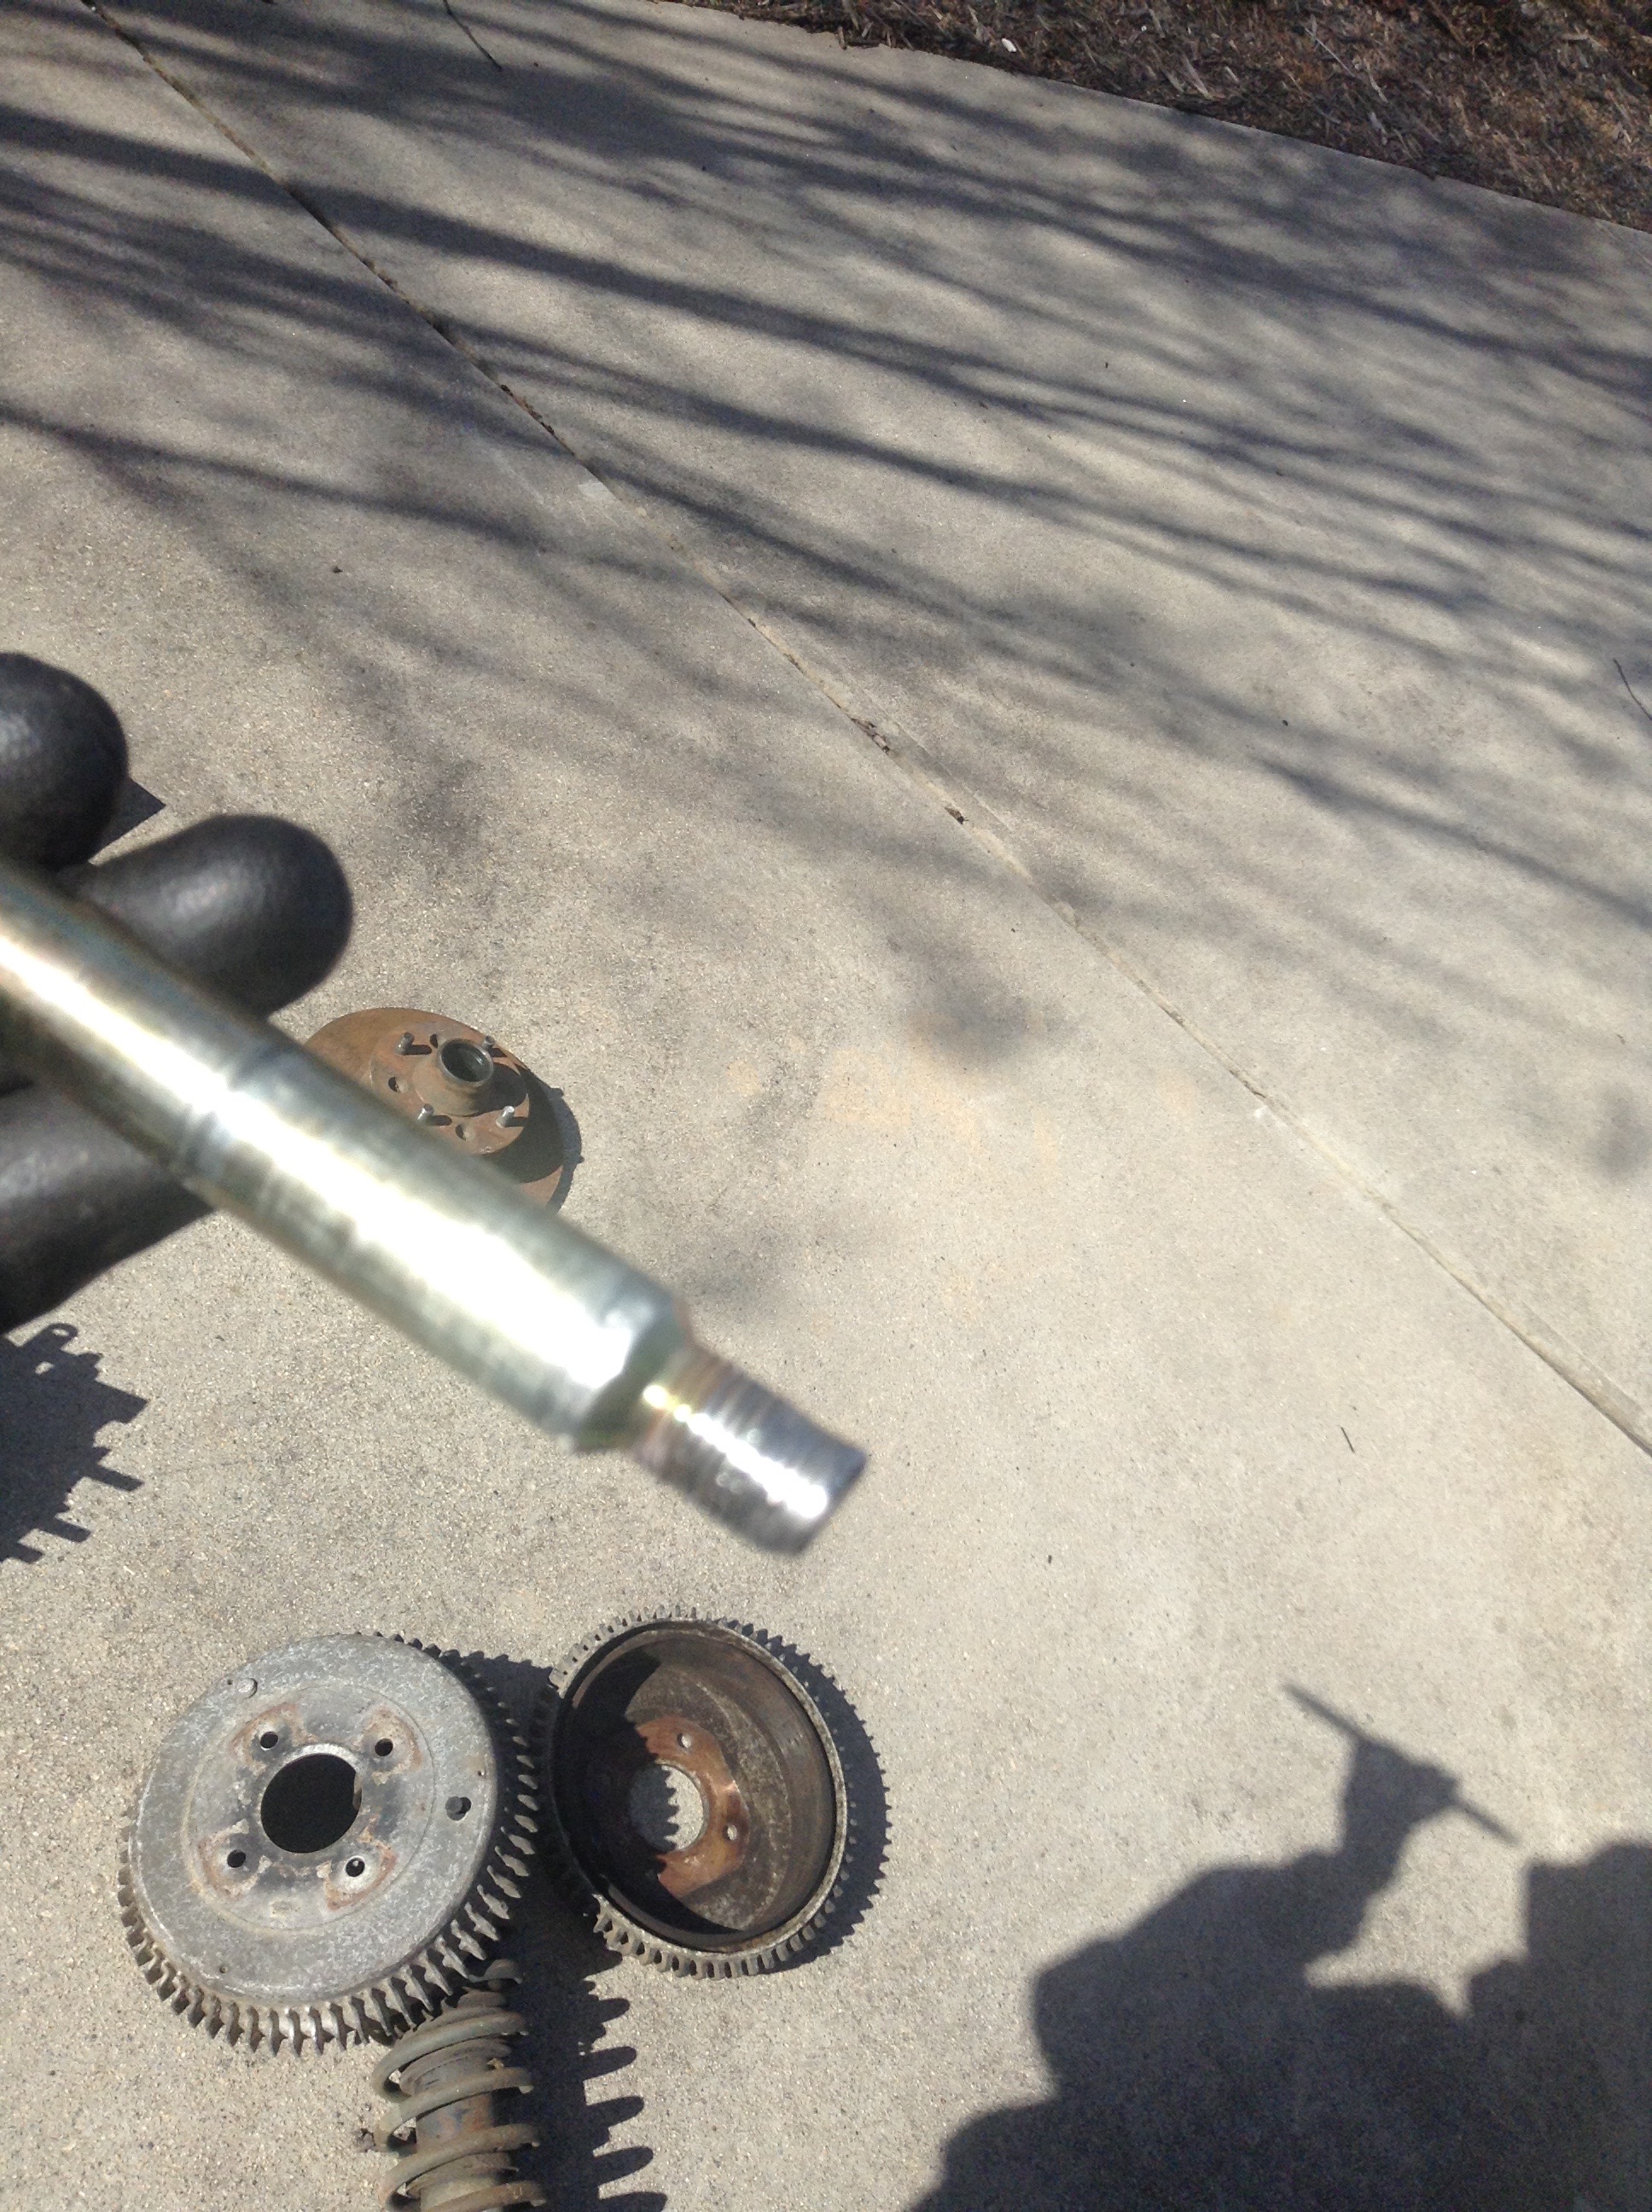
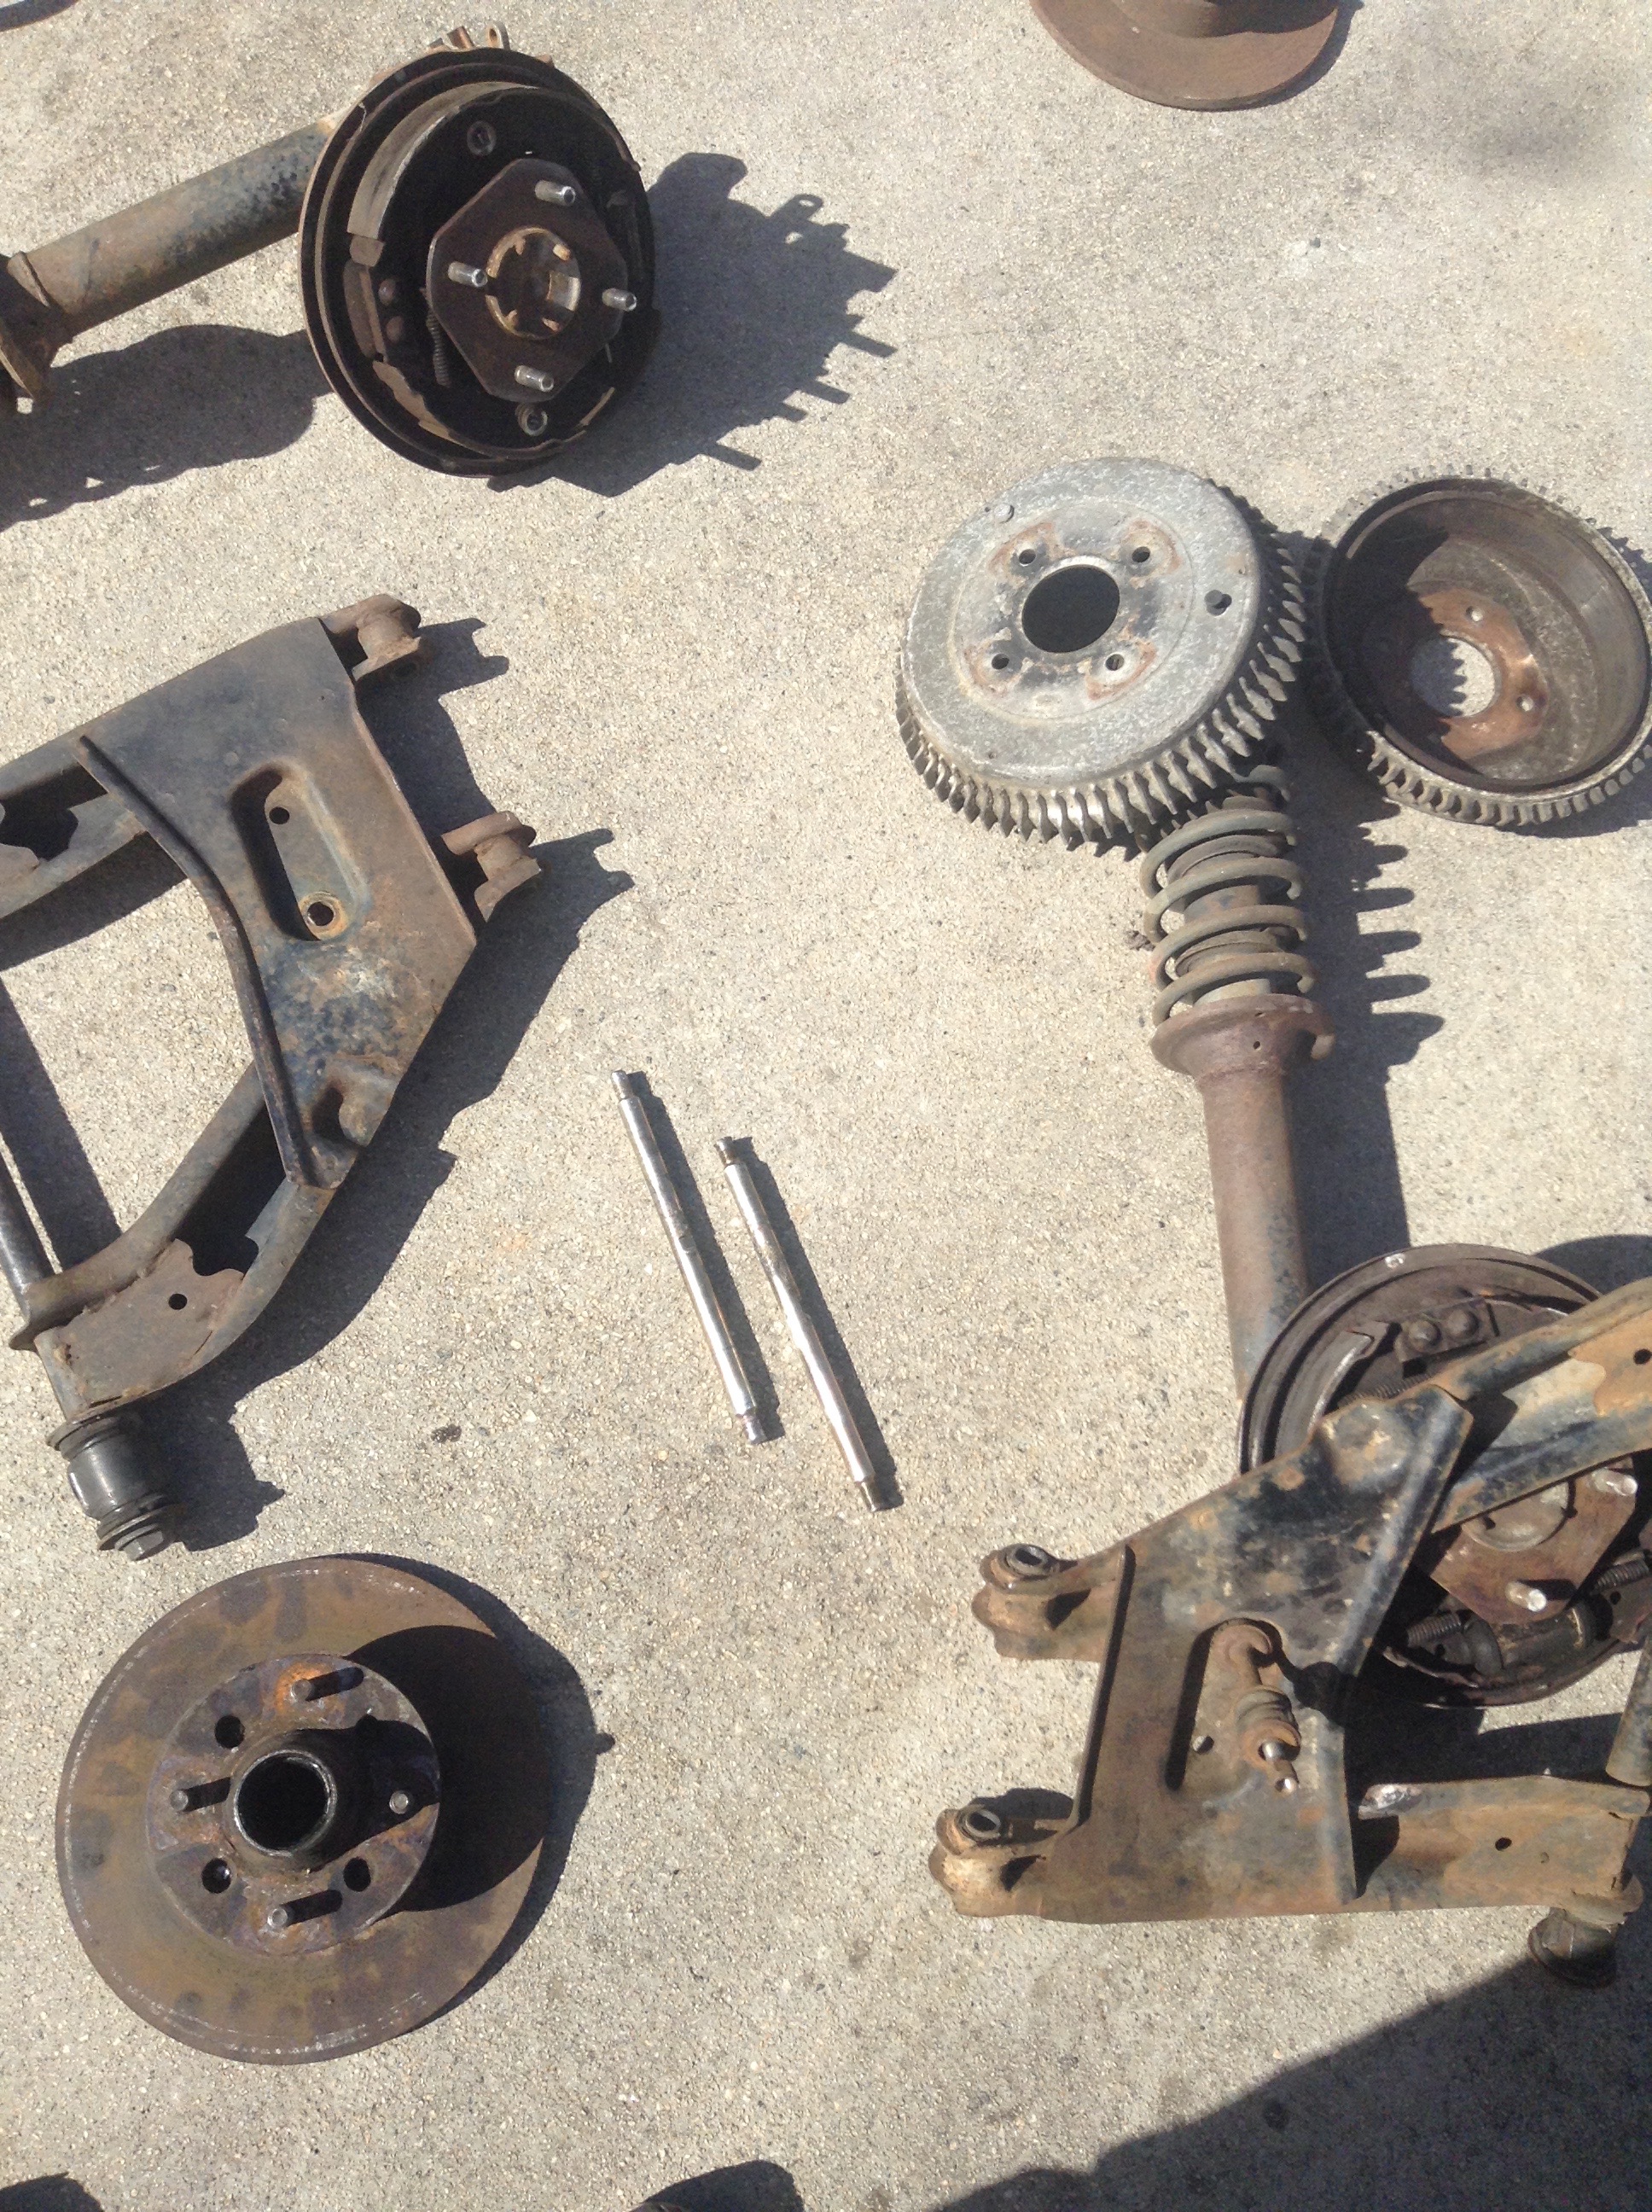
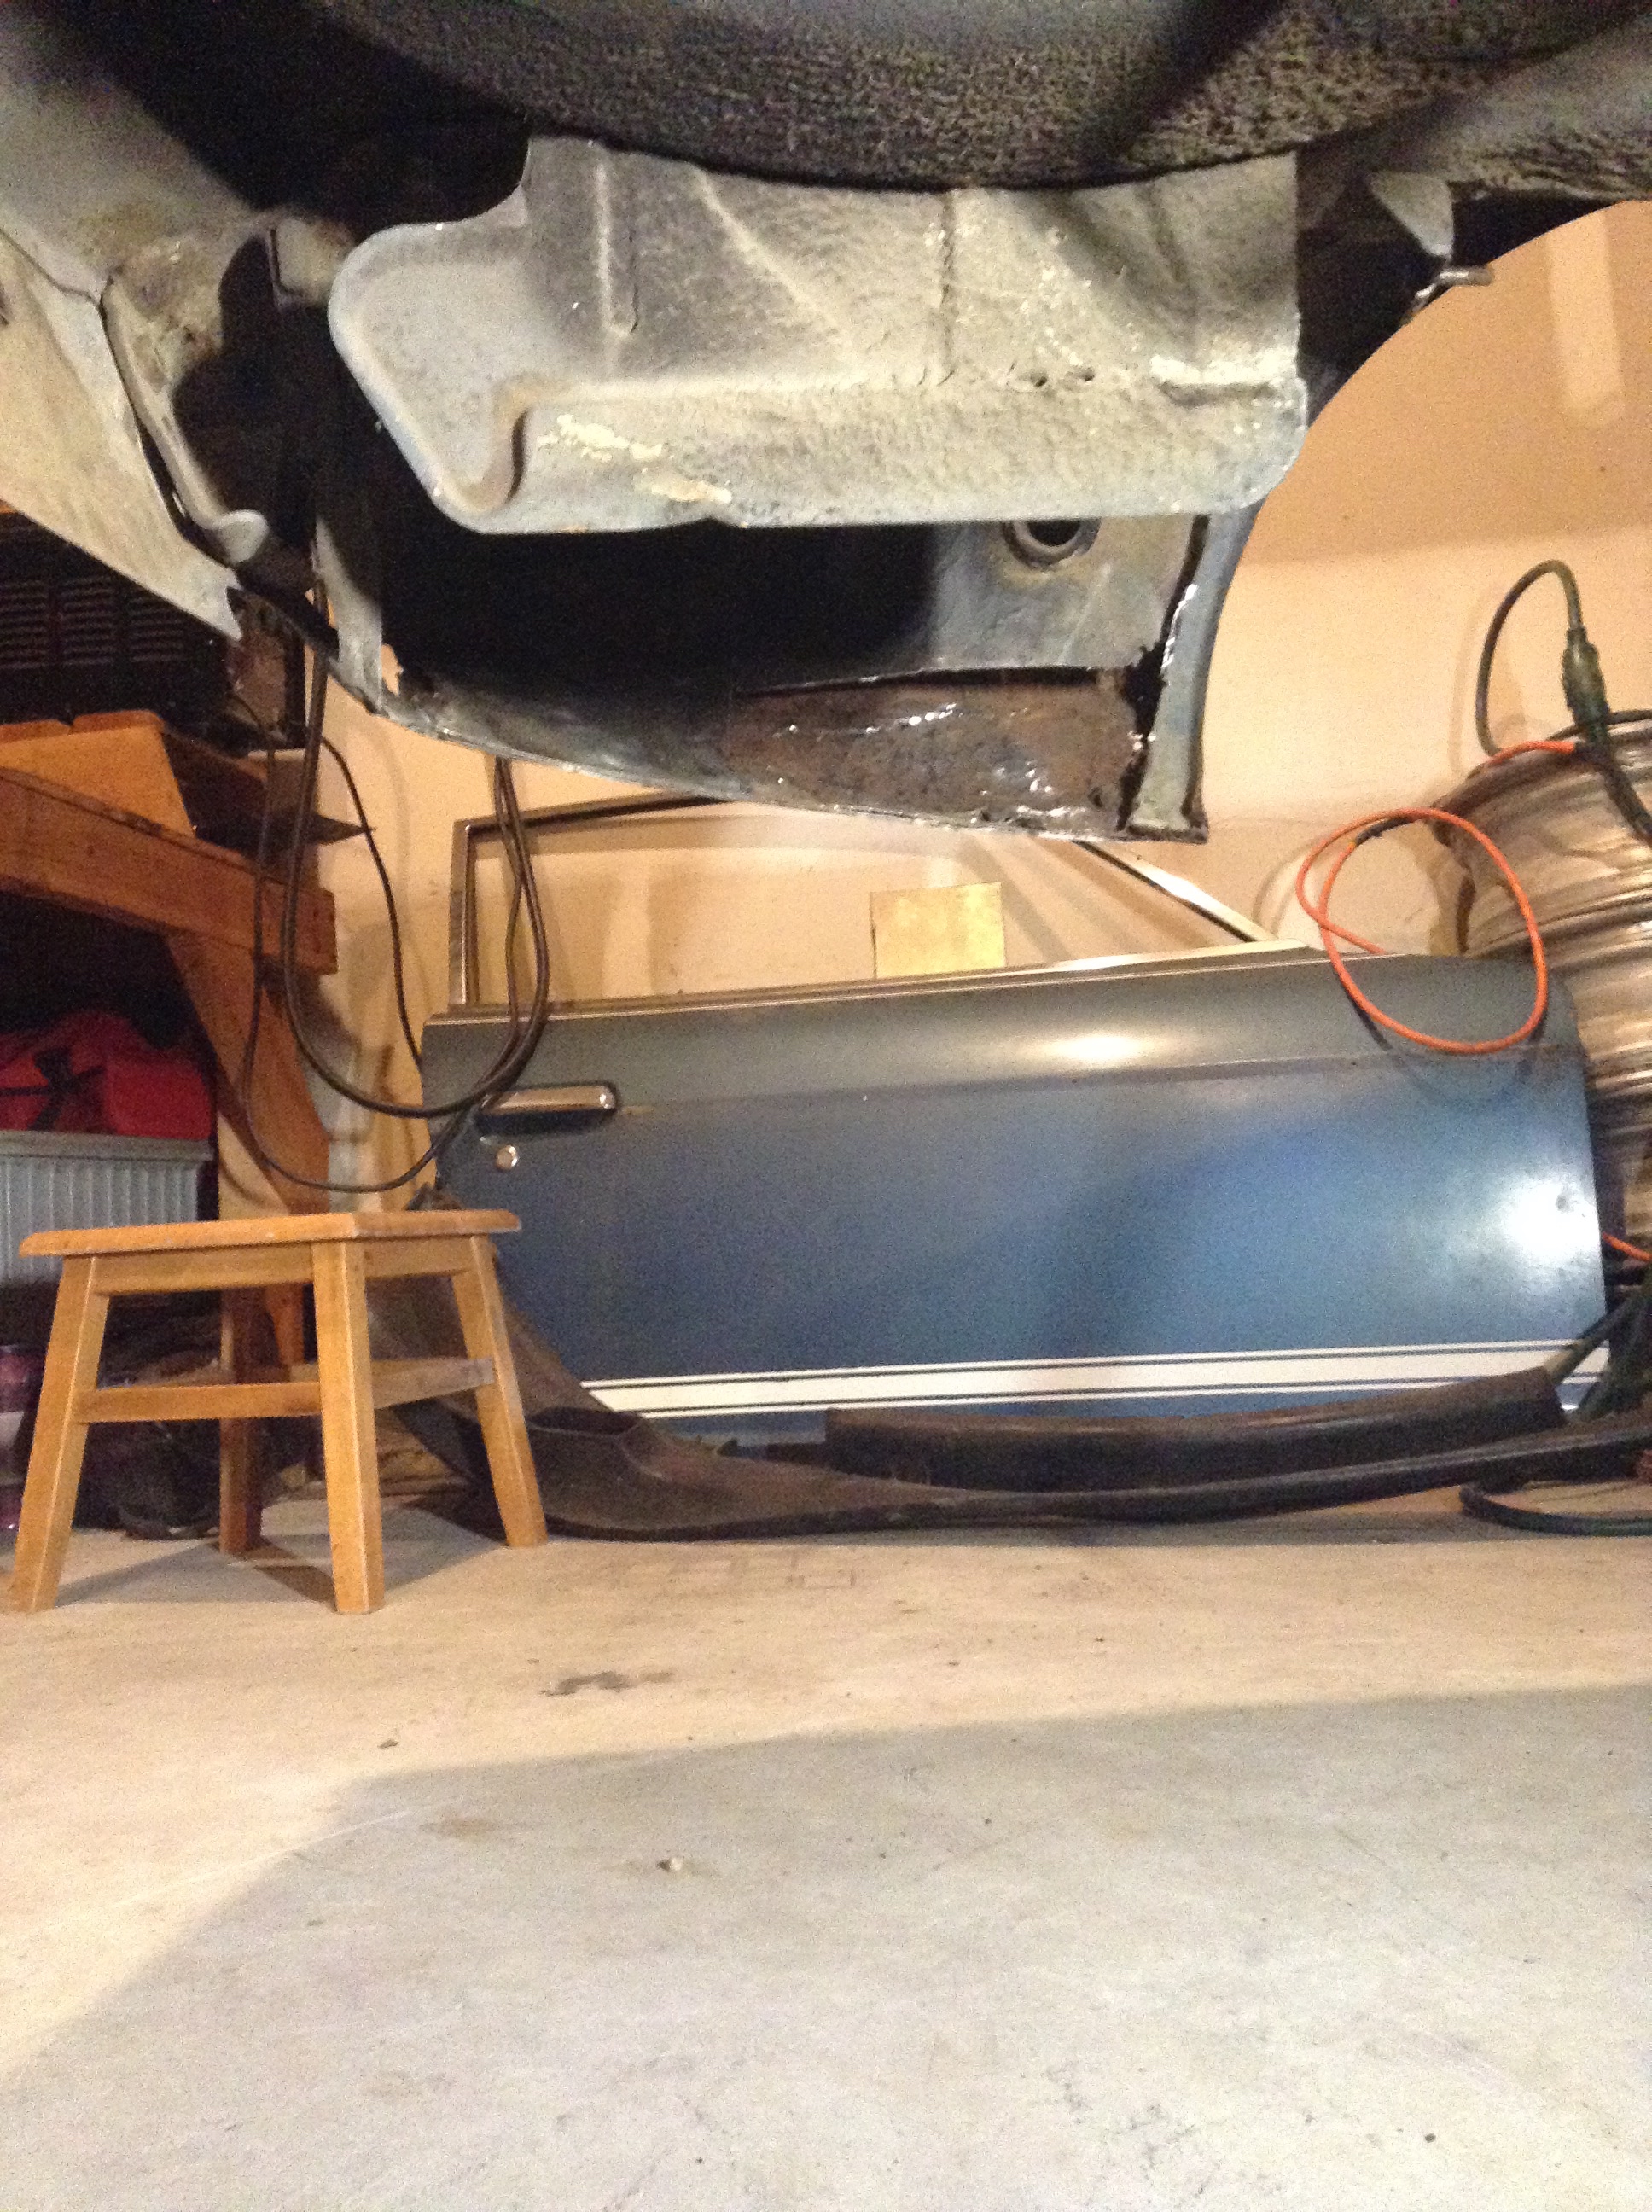
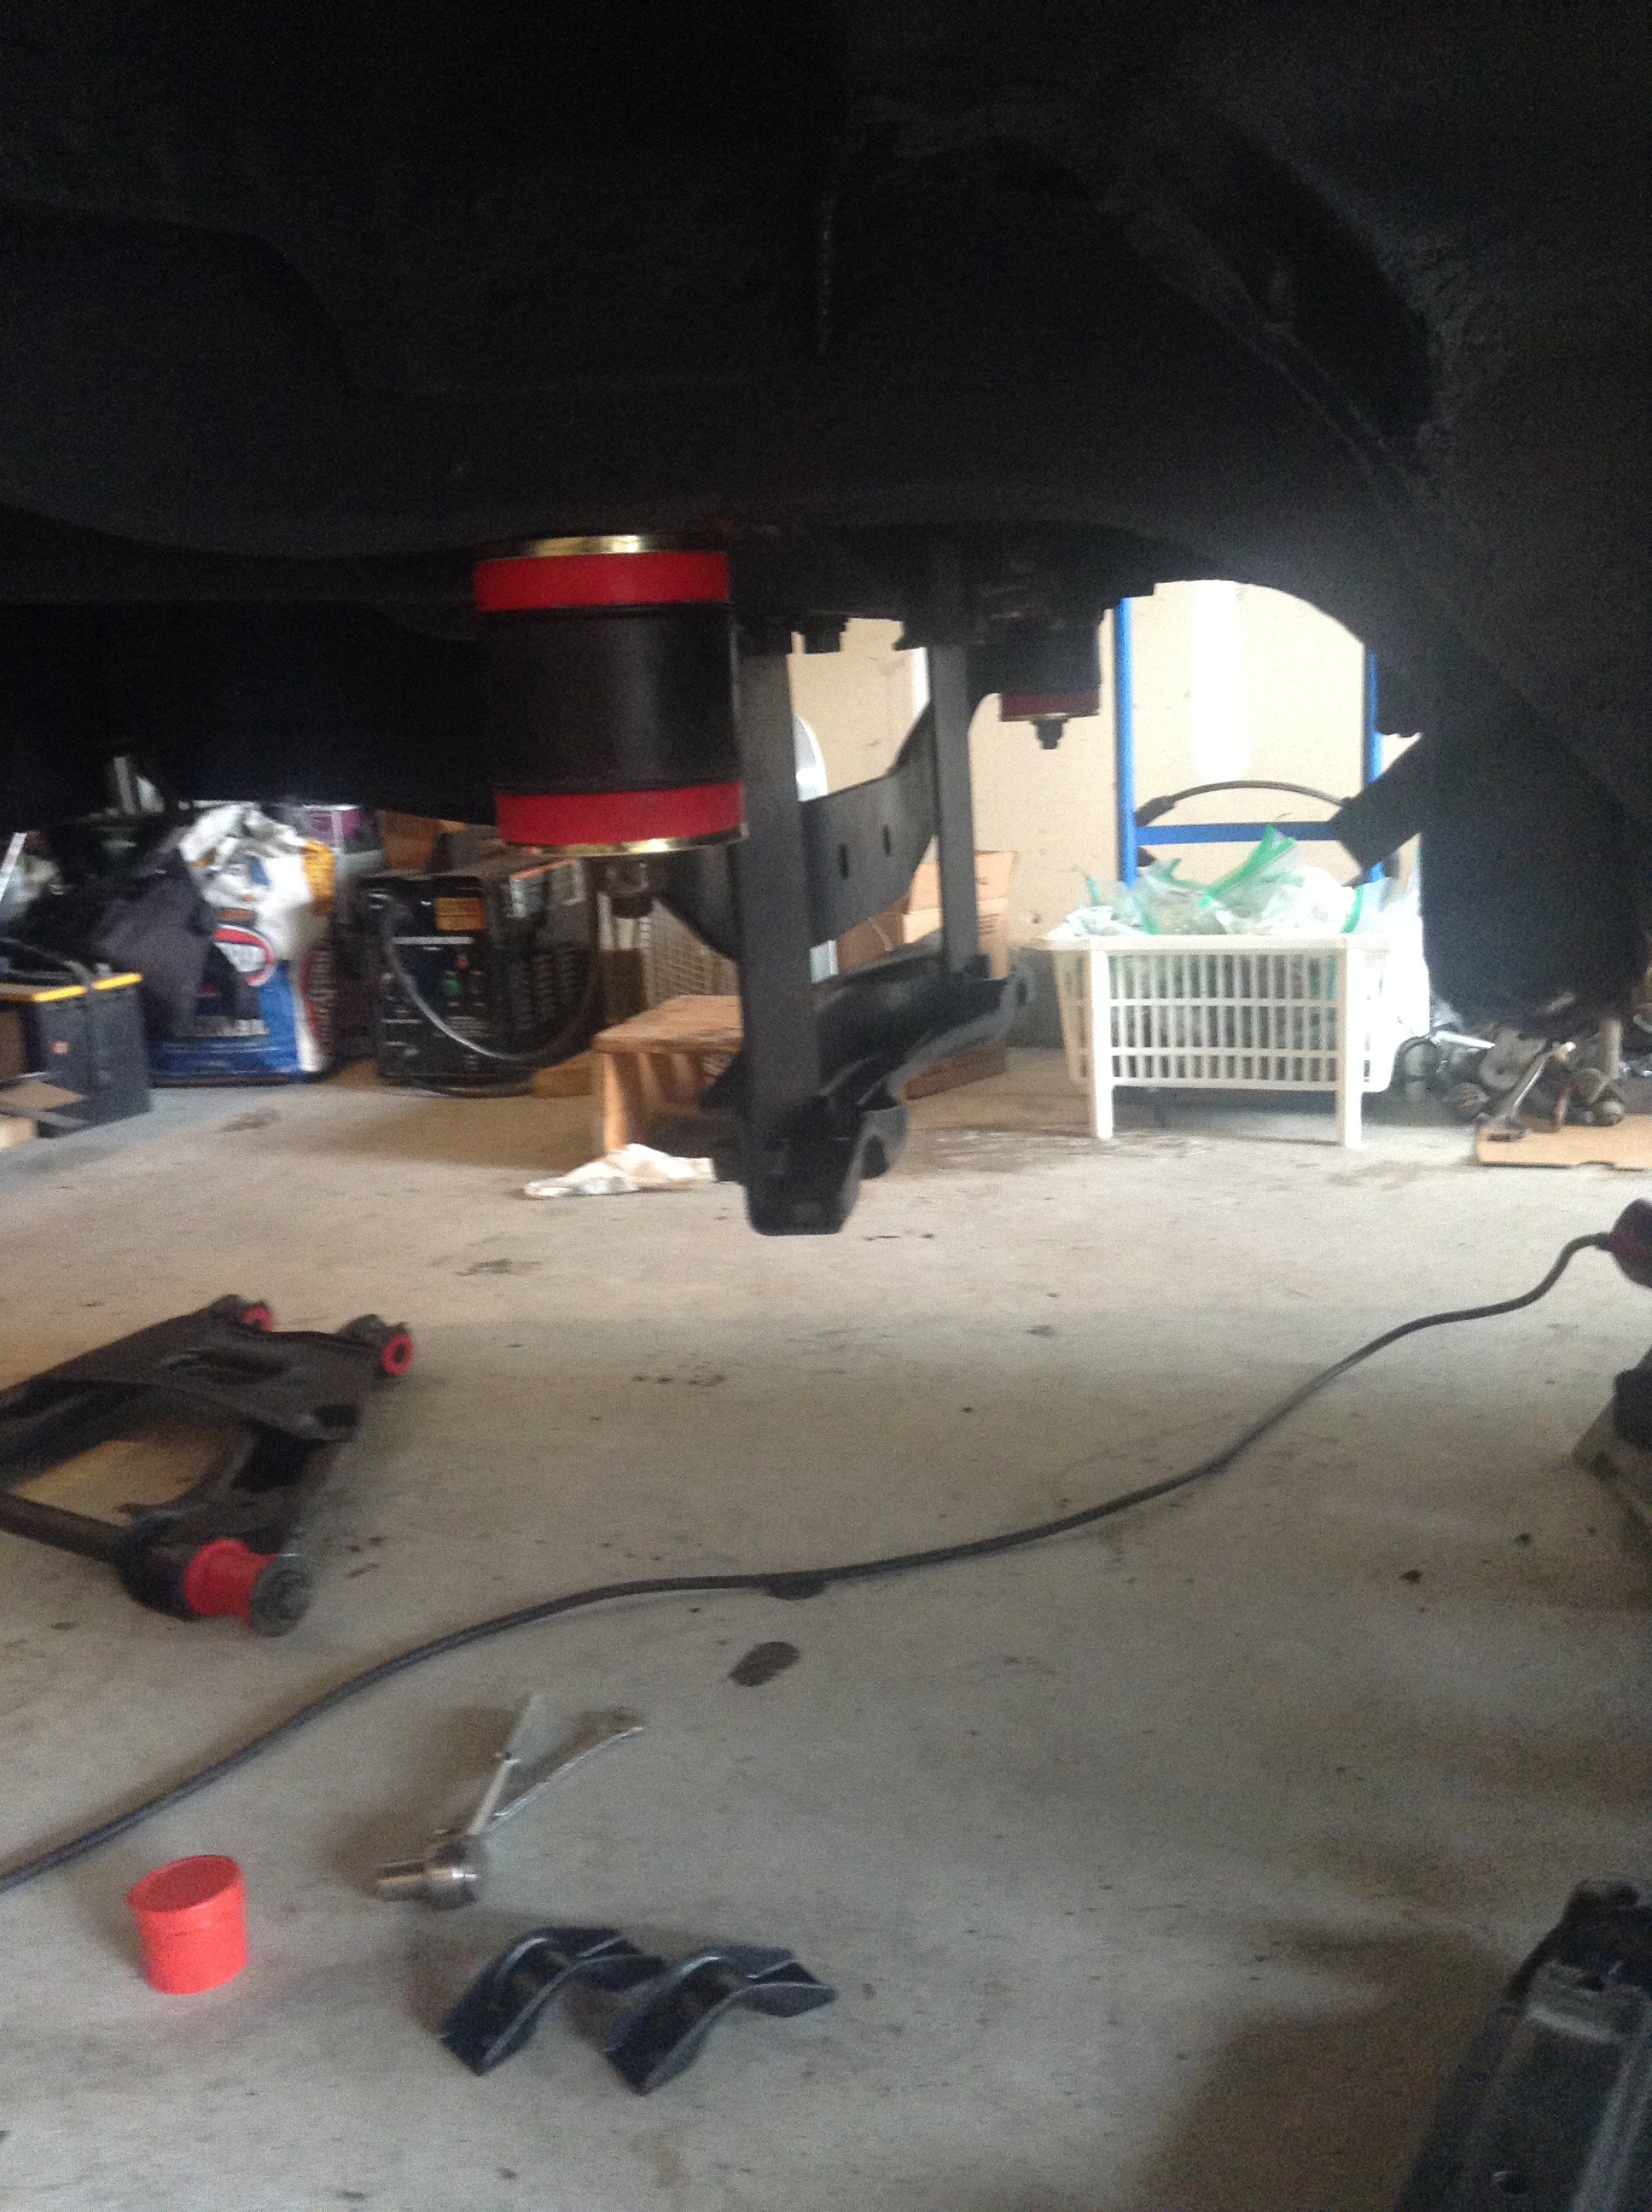
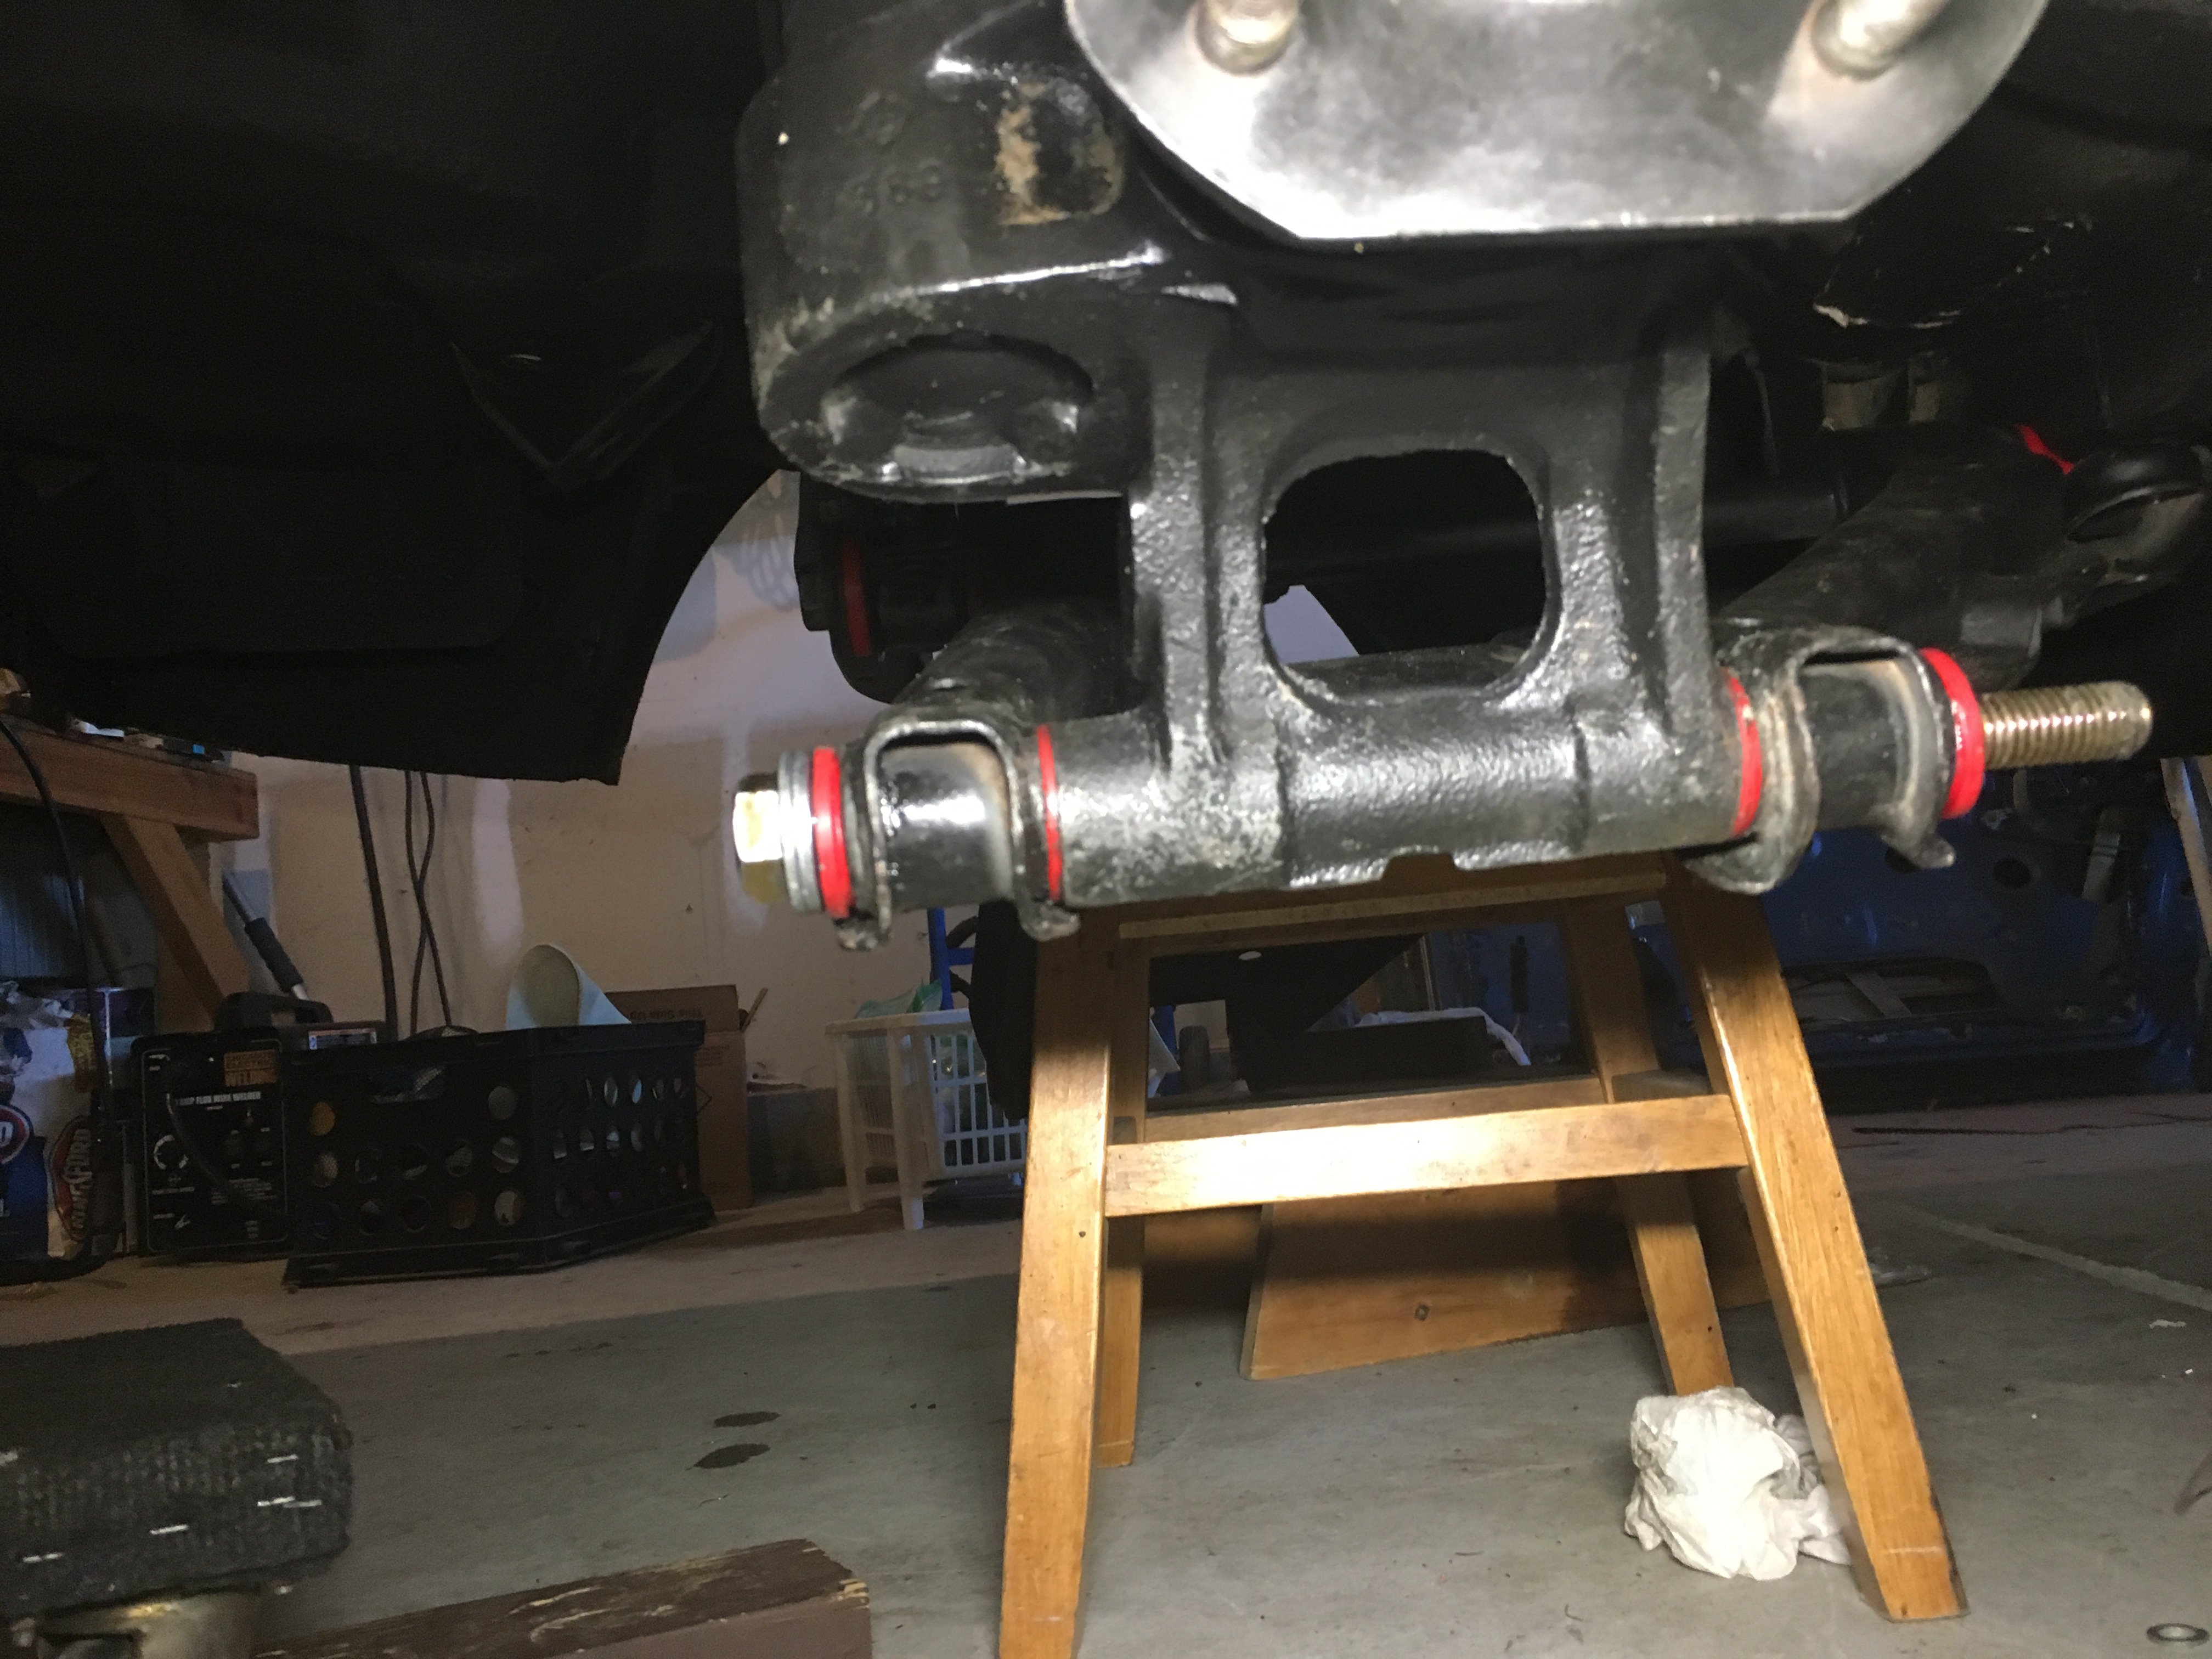
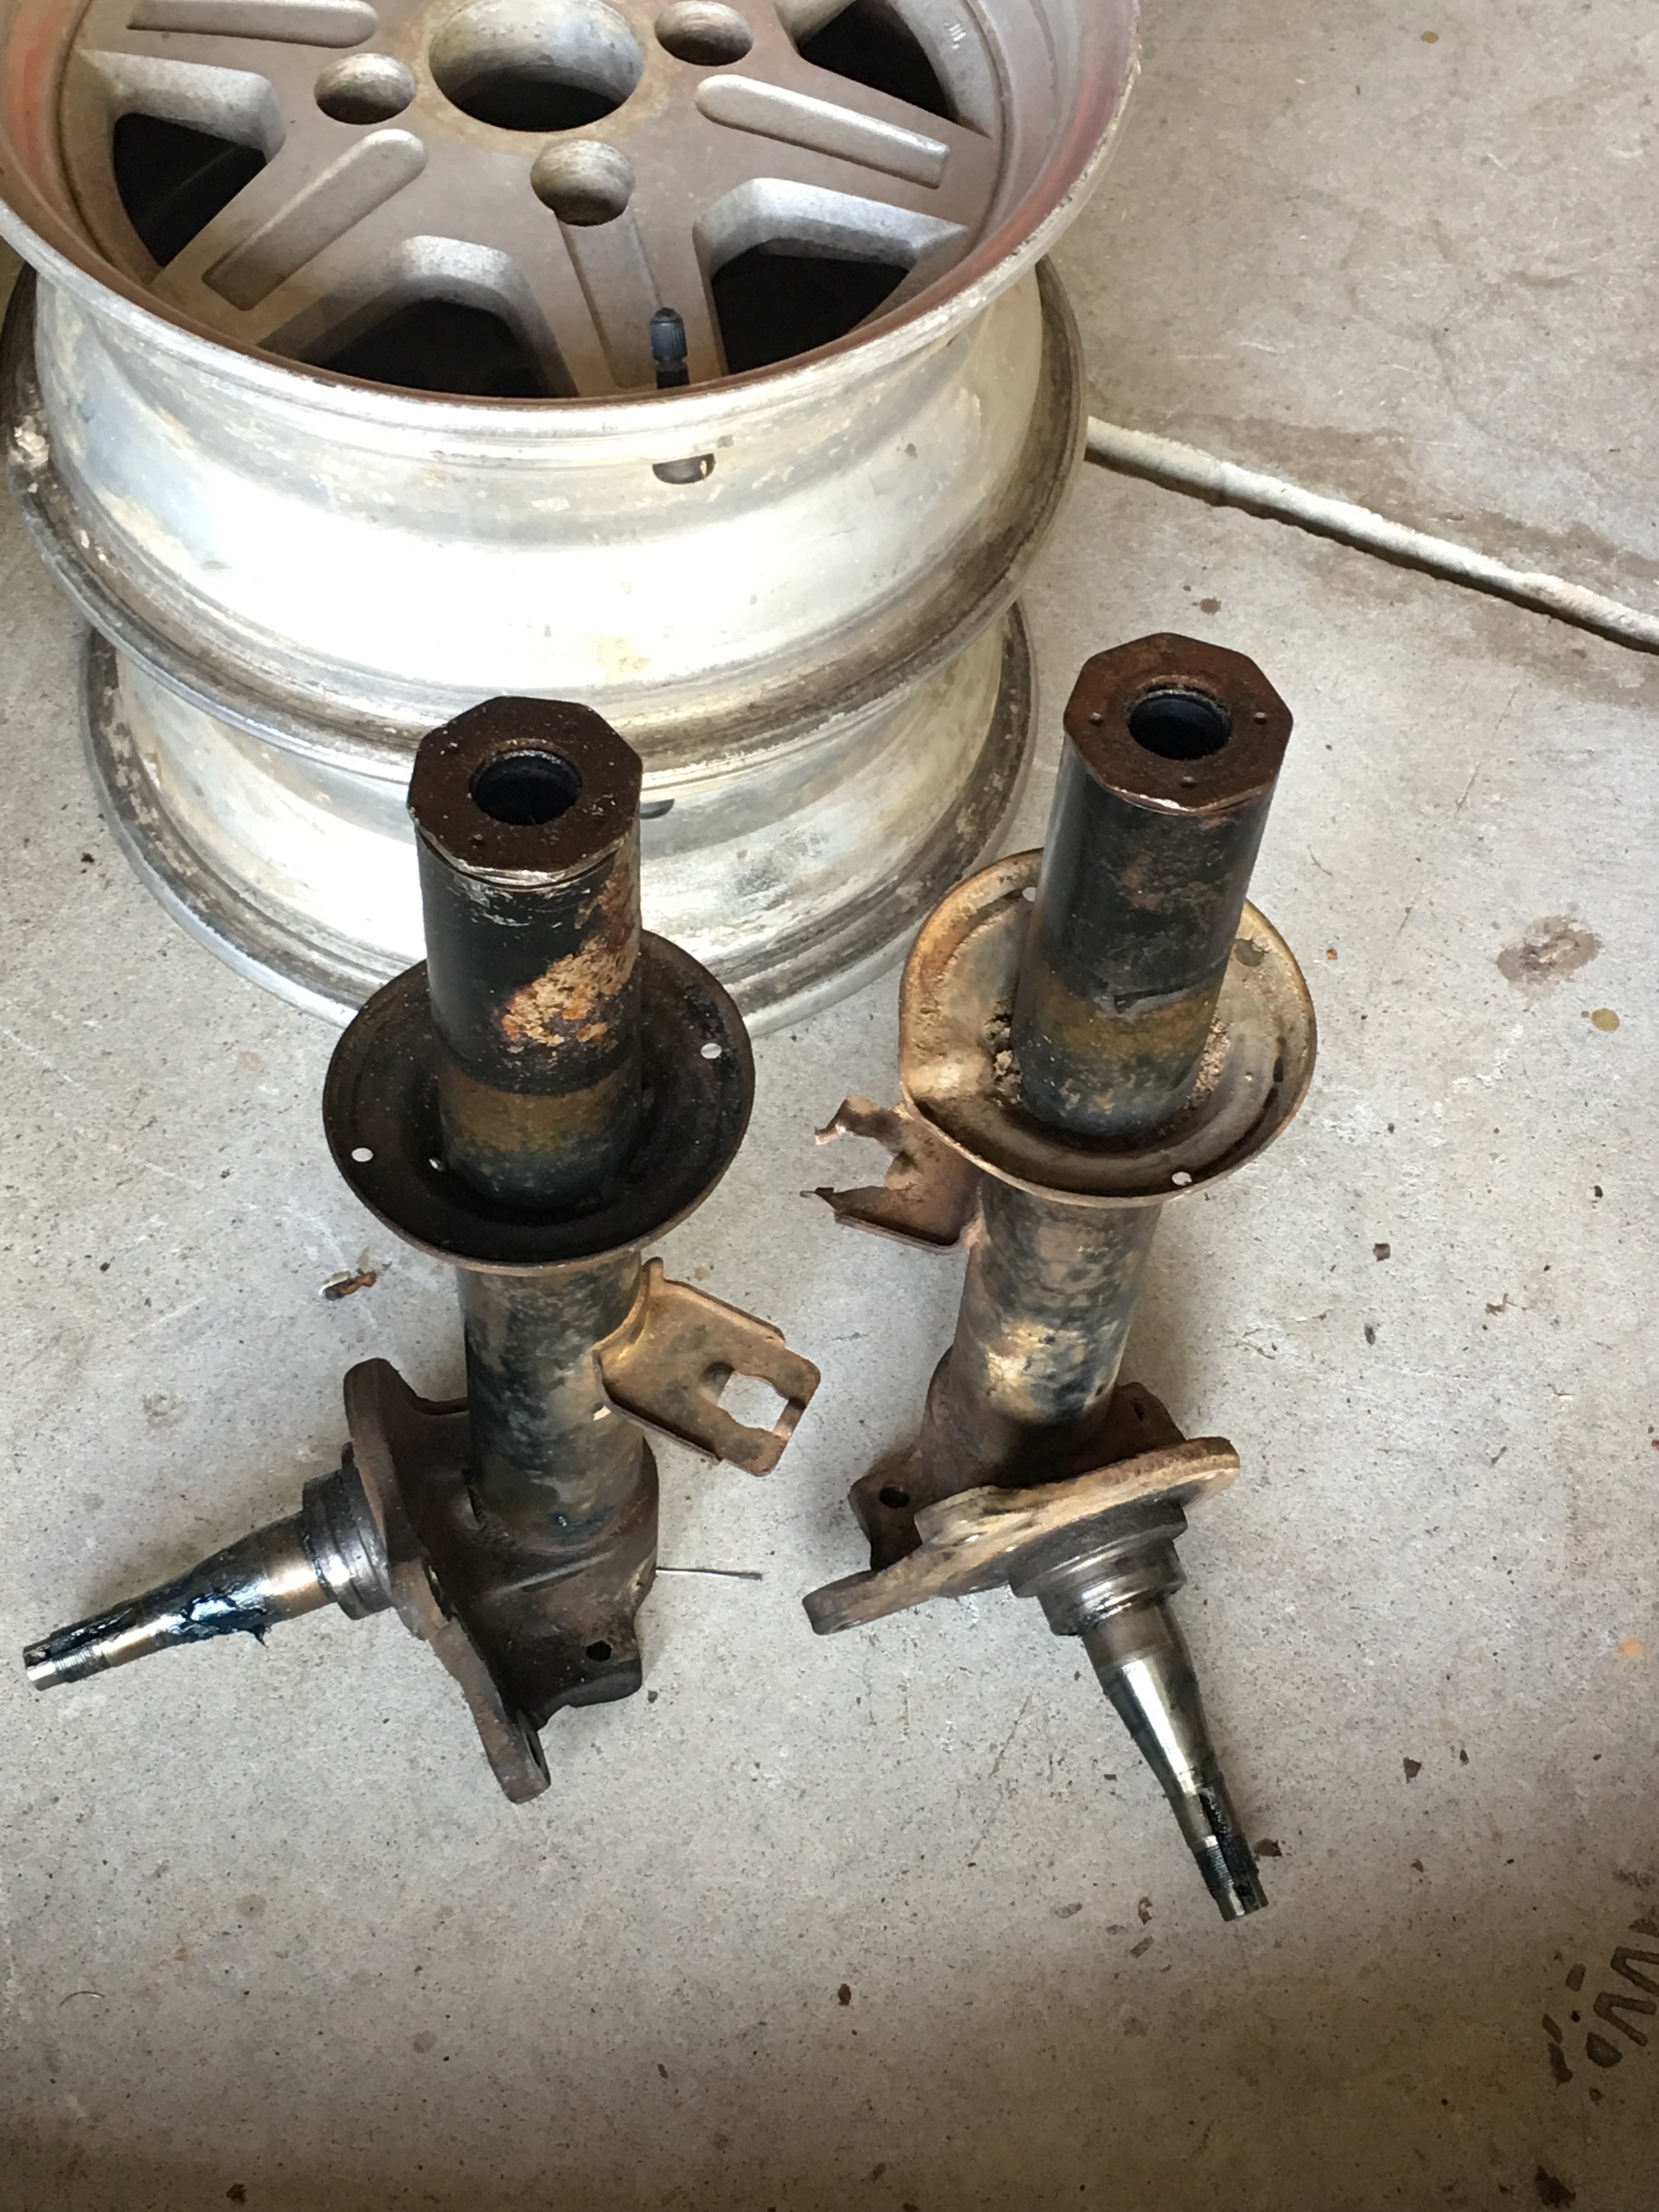
Update: finished welding the battery area - final result after folding up the edges and welding: (sorry for the bad phone pics) I also removed the rear suspension: Hopefully they will clean up nicely. The overall plan for the suspension and brakes: +new coil overs all around (possibly the ground control brand because they are affordable, but haven't decided yet) +new front disk brakes - the Silvermine Motors kits seem to be the most affordable +convert rear to disk brakes +new polyurethane bushings +install a limited slip differential into the current diff housing or replace with an entirely new LSD. Not exactly sure what to do about the differential because it needs to handle about 300 HP for a 5.3L LS swap but the cheaper the better. +keep the current A-frames, mustache bar, etc Any recommendations about the suspension/diff/brakes would be appreciated! Also here is the rust damage on the rear of the car: driver side (you can also see the doors and front air dam in this pic) We also worked on cleaning up the doors and removing the side trim. passenger side rear (going to fill all the holes and install a 240z rear bumper)


.jpg.ad8db73a29e37987fb8b34abee76ef9c.jpg)
.jpg.6580712201c7c69c195232512d5a43fe.jpg)