artishard116
-
Posts
68 -
Joined
-
Last visited
-
Days Won
3
artishard116's Achievements
")


-
1976 280Z RB30/25 (R.I.P.S.)
artishard116 replied to artishard116's topic in S30 Series - 240z, 260z, 280z
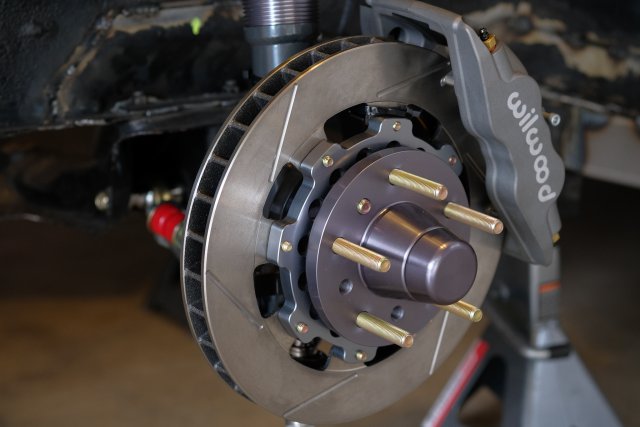
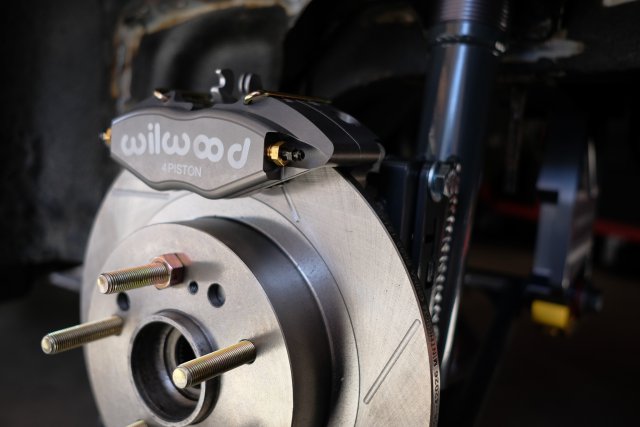
Agreed! Have a lot to figure out still including fuel, wiring, cooling... may be a while until first start. I did hear about a 2nd caliper option for the AZC stuff, I think they were even selling one at some point. -
1976 280Z RB30/25 (R.I.P.S.)
artishard116 replied to artishard116's topic in S30 Series - 240z, 260z, 280z
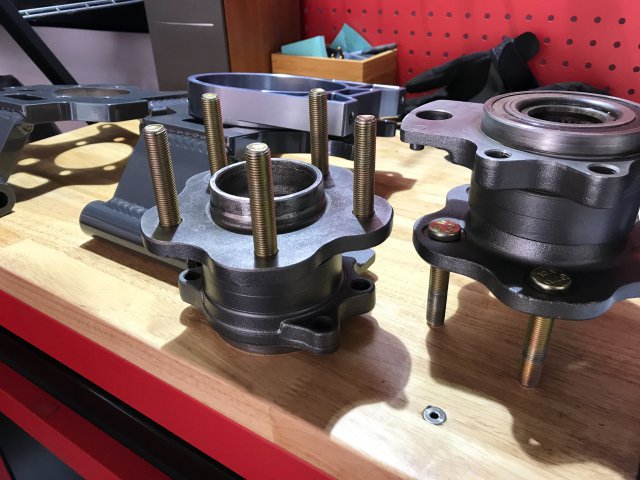
Thanks for the kind words! Whole motor build is right above your post... do you mean running? It's all sitting in a garage right now until I can get back to work on it. Regarding the AZC stuff, the main things were that I wanted an integrated e-brake in the rear calipers, and I also wanted to do away with the stub-axles completely so the rear end kit from T3 made sense. -
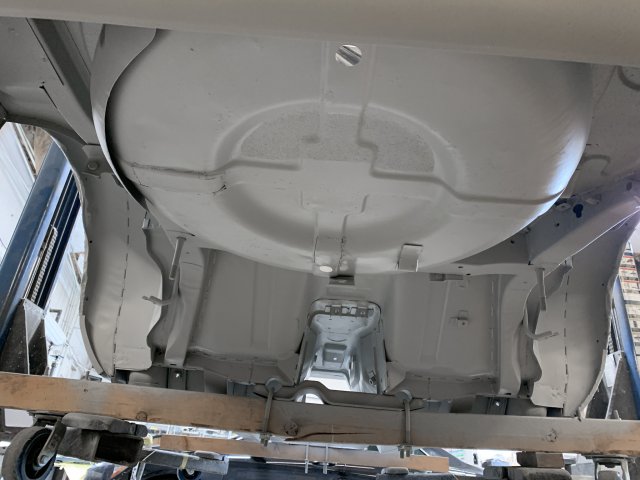
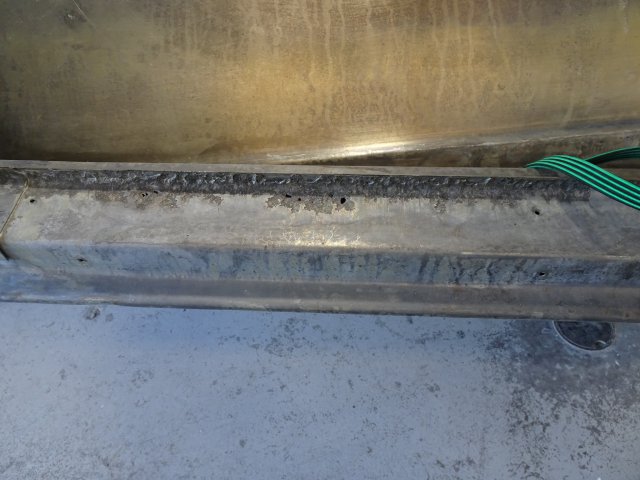
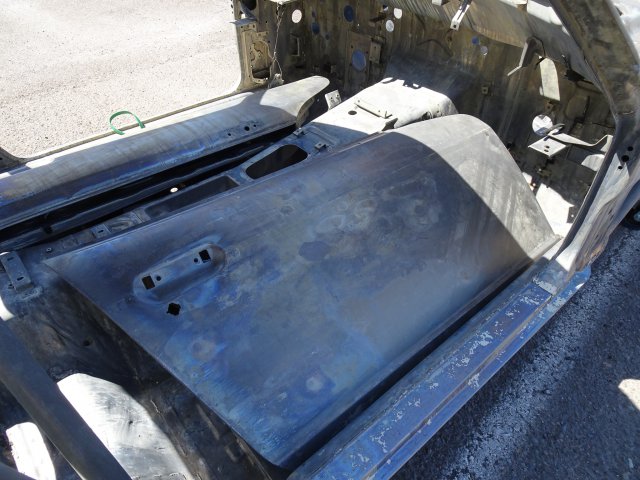
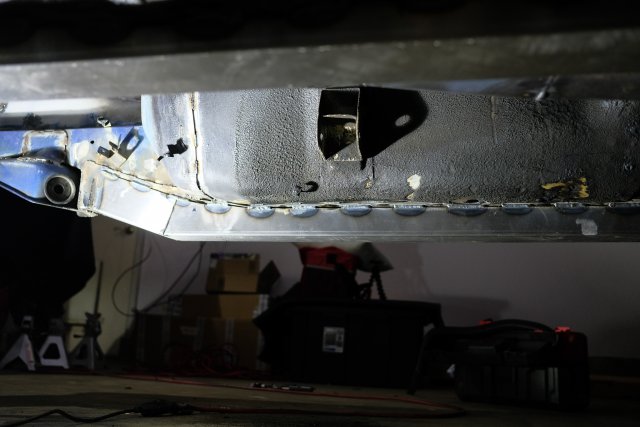
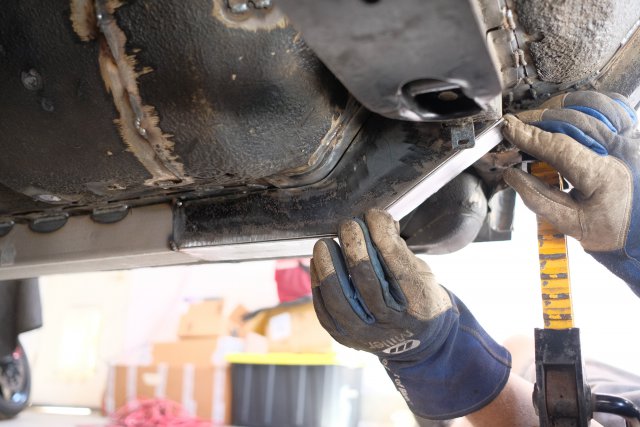
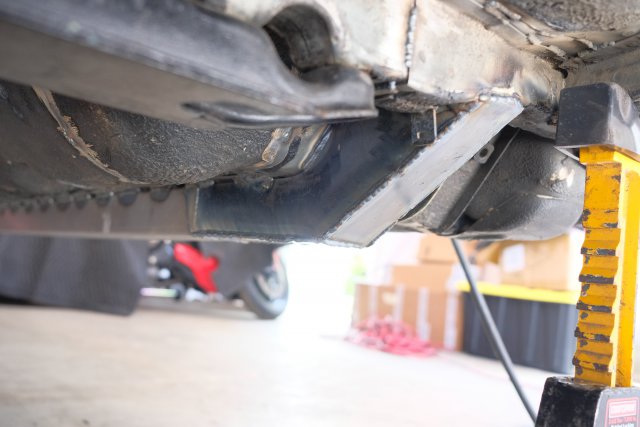
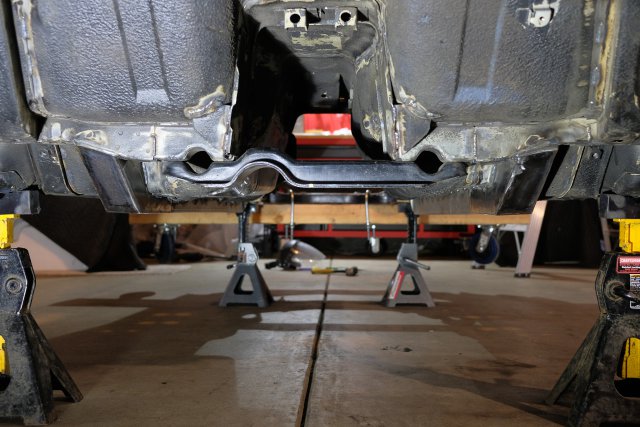
Protecting inside of frame rails
artishard116 replied to artishard116's topic in Fabrication / Welding
Would be cool to get a reference list going of which areas to address so nothing gets missed. I'll be tackling this in the next few months and can report back. -
1976 280Z RB30/25 (R.I.P.S.)
artishard116 replied to artishard116's topic in S30 Series - 240z, 260z, 280z
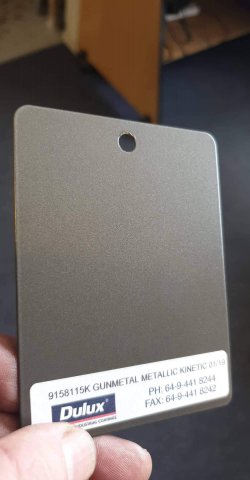
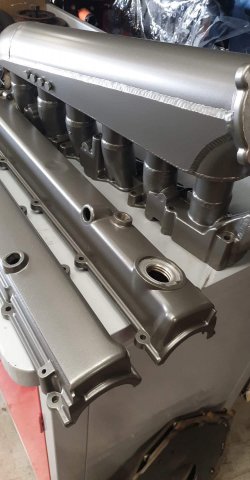
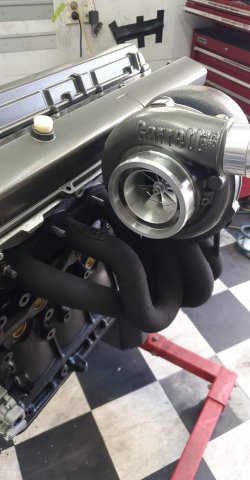
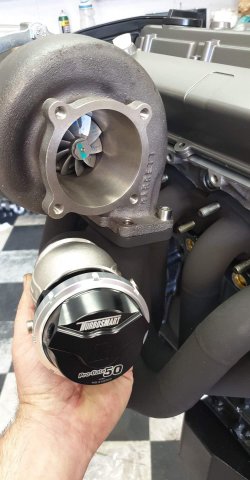
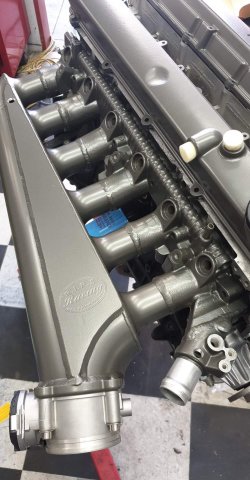
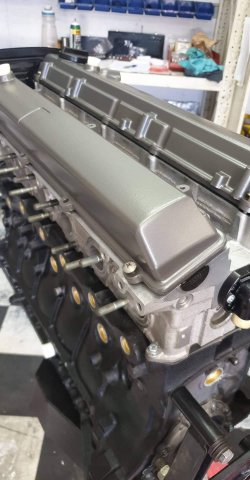
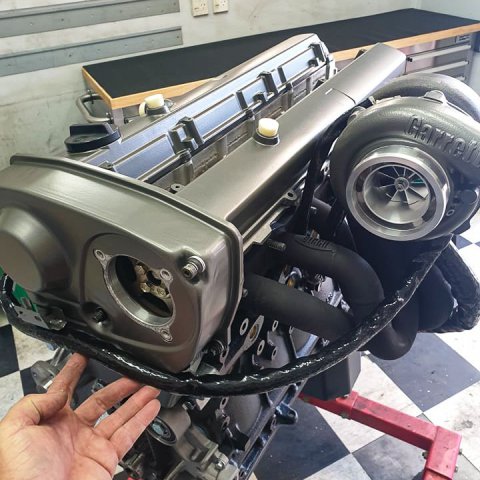
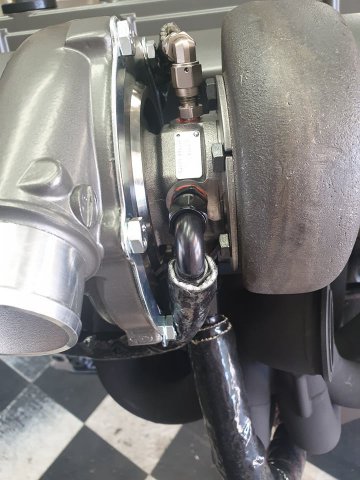
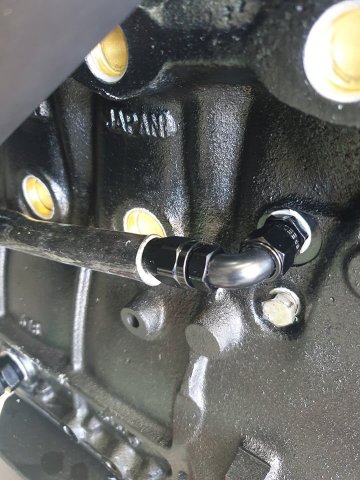
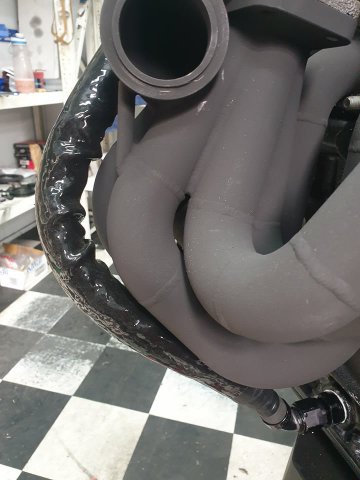
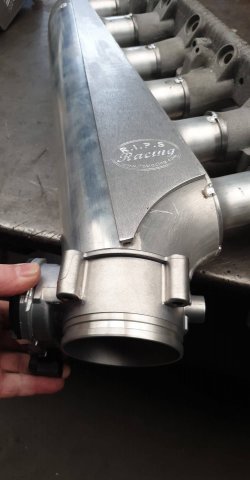
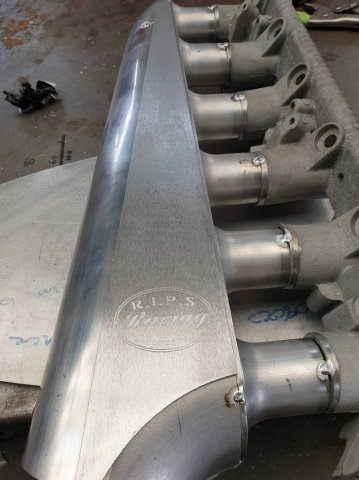
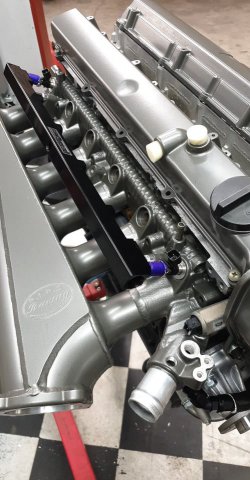
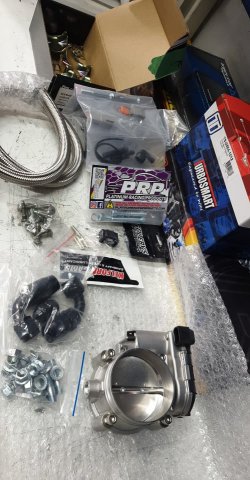
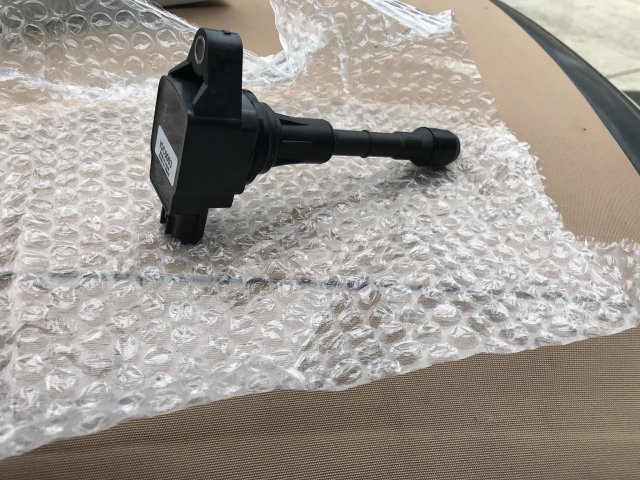
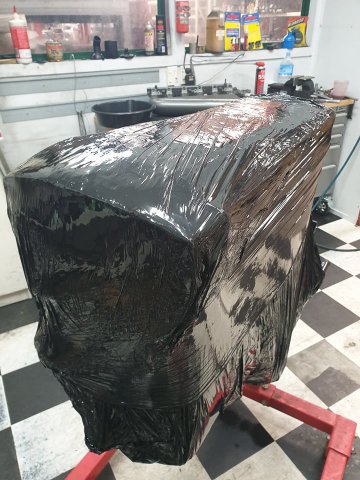
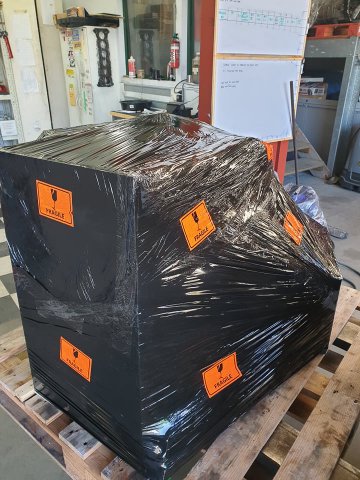
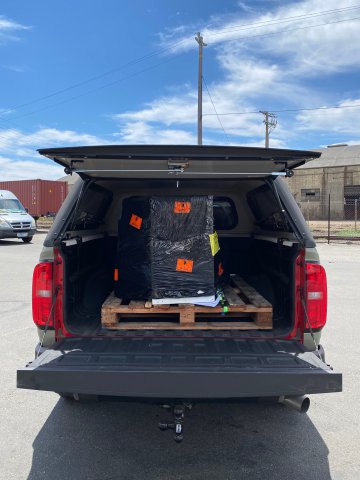
Intake manifold coming together. Fitting the dbw throttle required making a weld-on flange. After some deliberation I decided on this gunmetal metallic powder coat. Exhaust manifold and turbo/wastegate mocked up. Plumbing the lines to the turbo. Test fitting fuel rail and Injector Dynamics injectors. Some PRP goodies including R35 coil pack conversion, and a Ross (?) head oil drain kit. All of this will be going in the car with the Apex crossmember and RB mounts. Hoping the hood will close. At this point all that was left was wrapping it up and putting it on a boat headed to California. Corona is in full effect now but surprisingly there were no delays. About 4 weeks later, through customs and safe and sound in CA. And that's about where I left off. Haven't been able to get back to the states in good conscience since Corona, but can't wait to get back to work. Might be a while until the next update, but I'm hoping it will be a big one. Everything as it stands now:
-
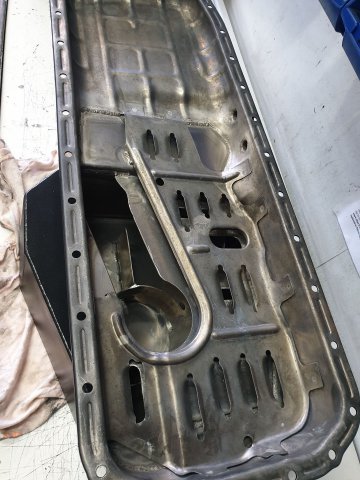
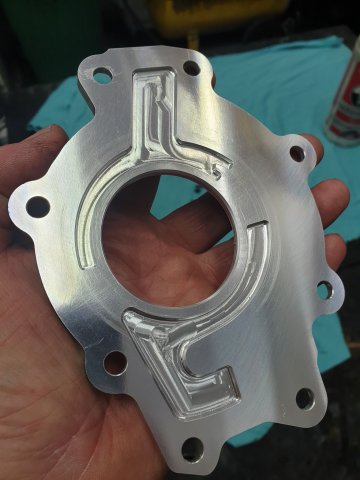
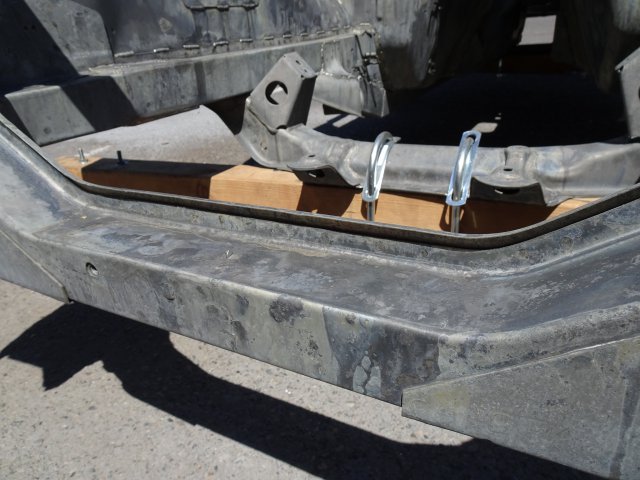
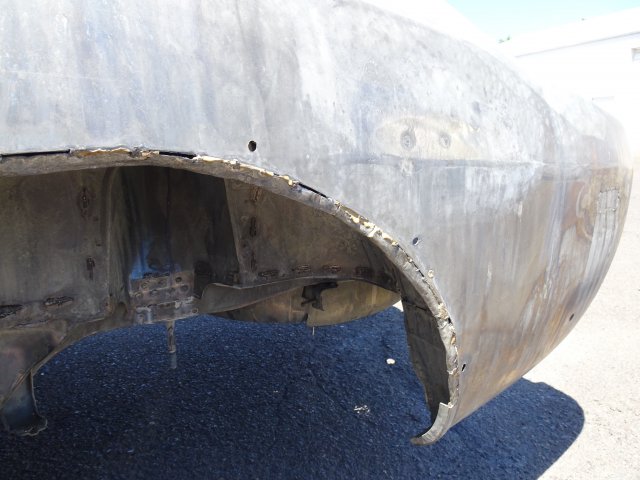
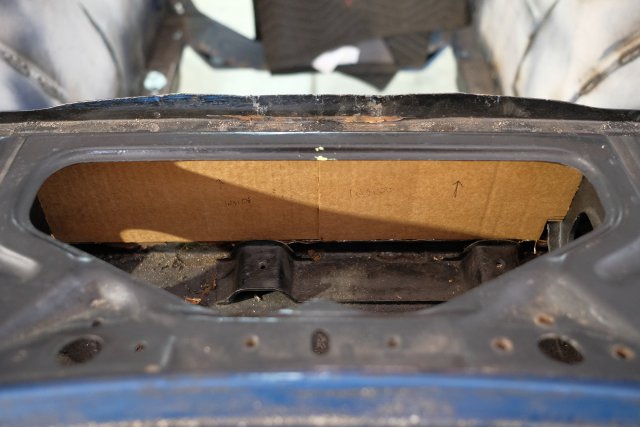
There's a curved piece of metal going in there, if I'm understanding correctly.
-
All of it!
-
1976 280Z RB30/25 (R.I.P.S.)
artishard116 replied to artishard116's topic in S30 Series - 240z, 260z, 280z
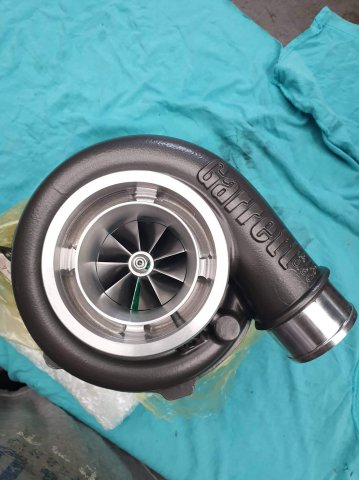
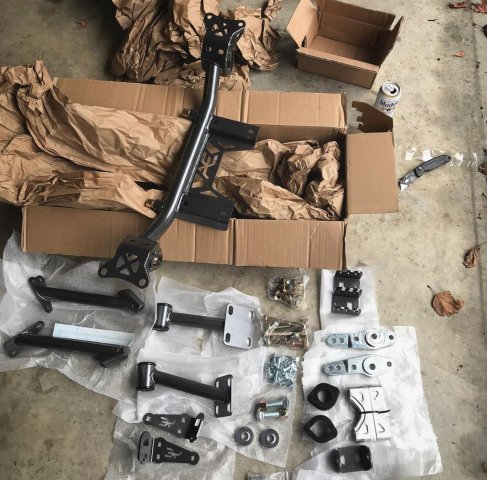
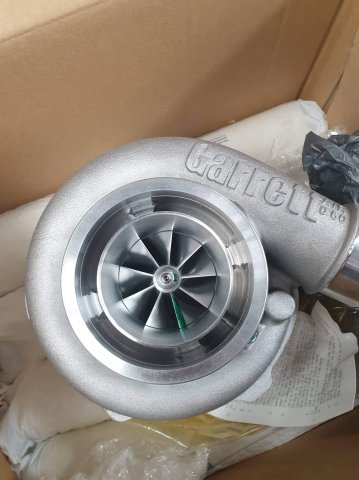
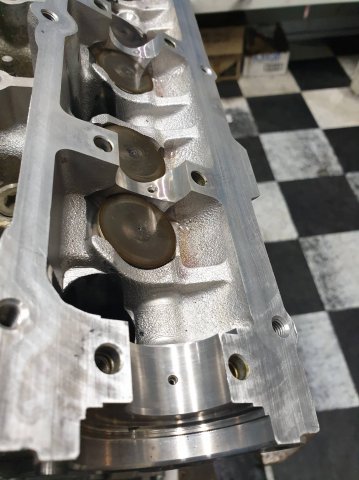
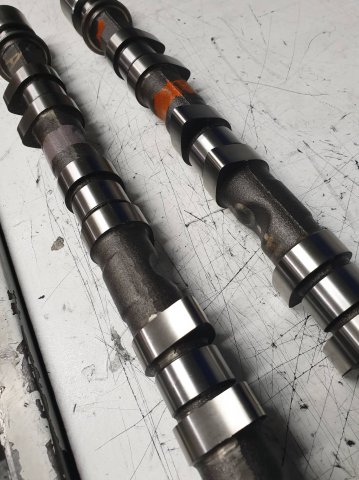
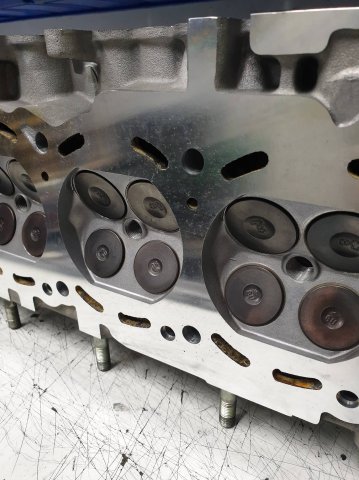
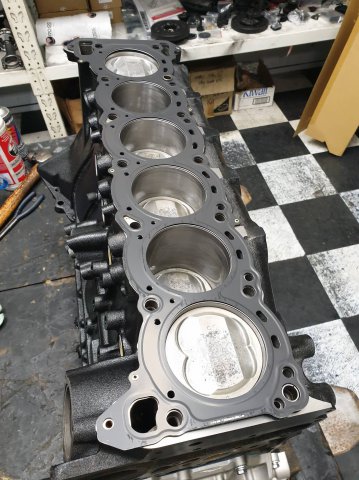
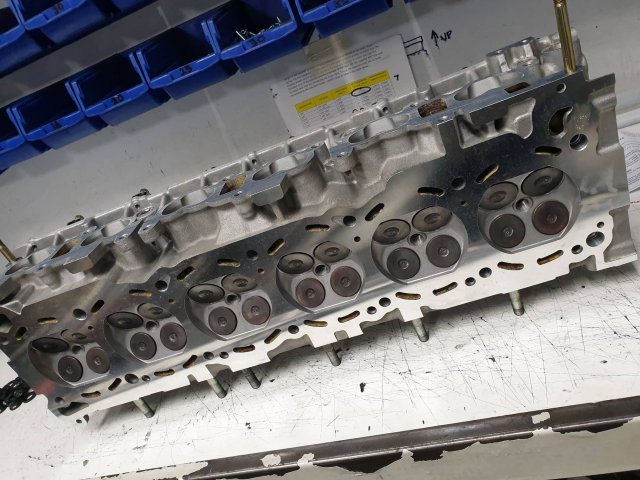
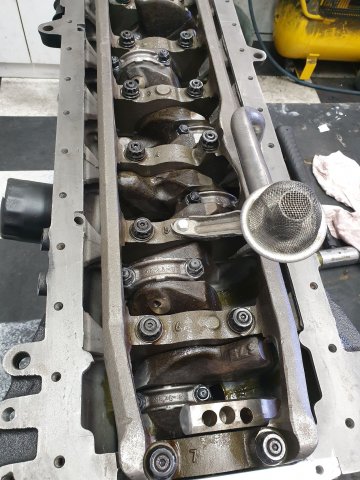
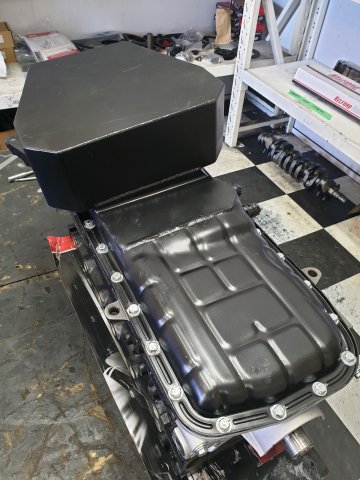
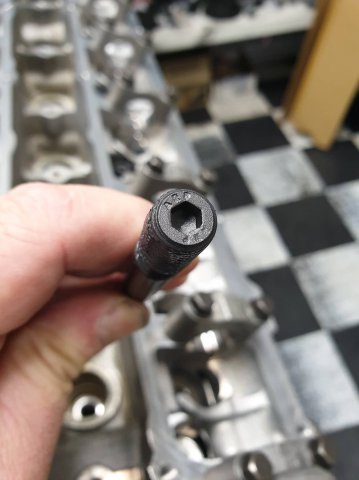
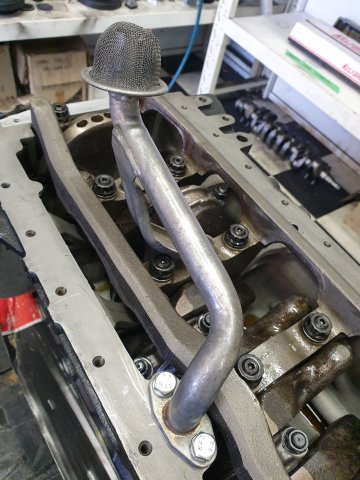
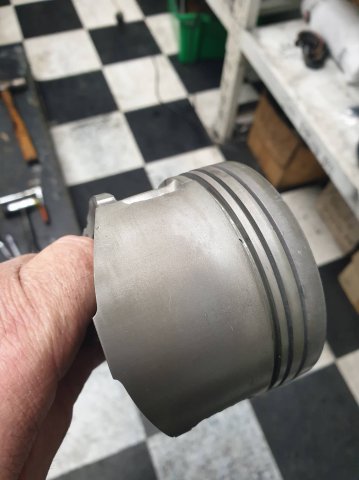
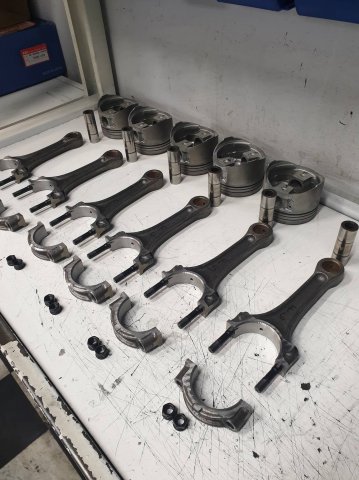
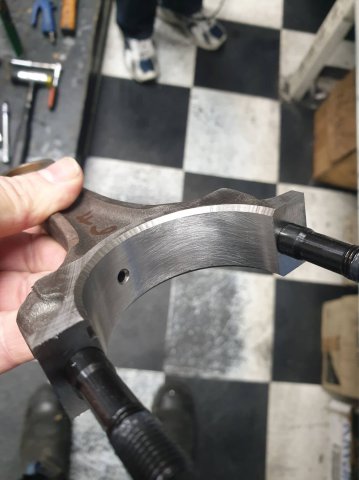
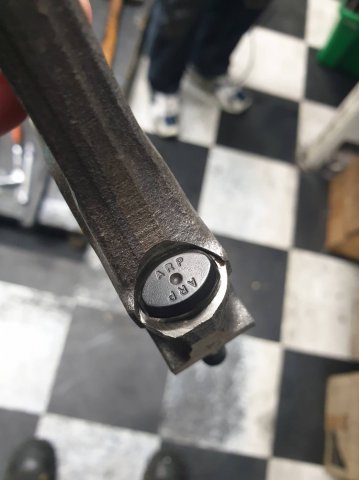
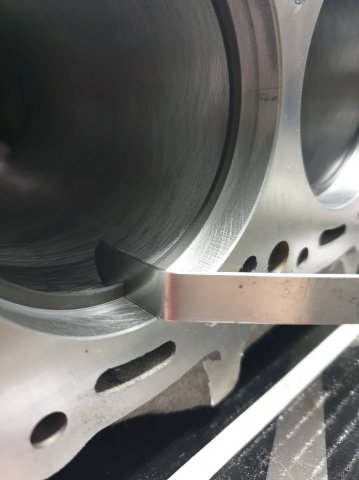
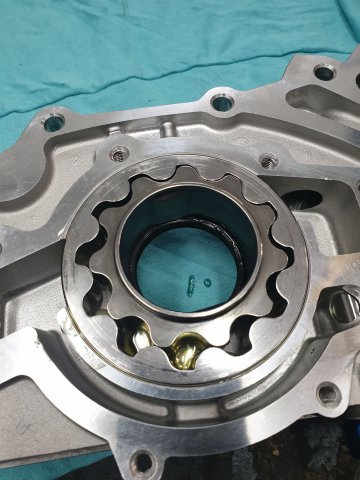
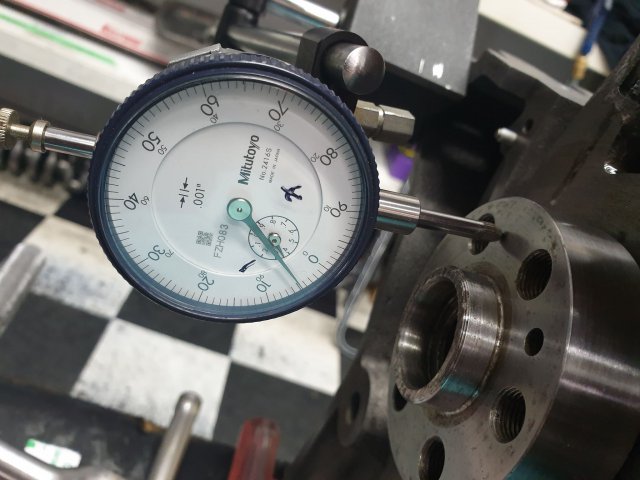
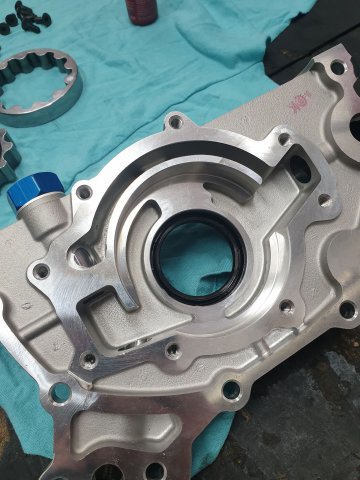
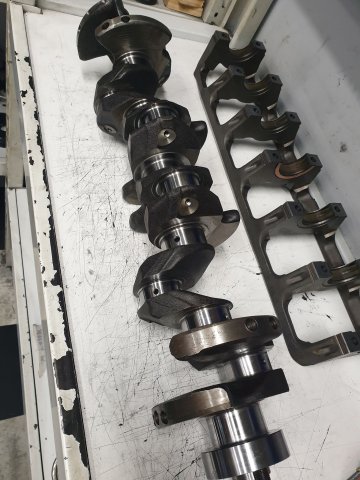
I always knew I wanted a Z with an RB heart and when researching engine builders, R.I.P.S. Racing in New Zealand kept coming up. I got in touch with Rob there and was quickly sold due to his knowledgeability, track record, and willingness to walk me through things (answer one million questions). He assured me that they ship motors all over the world, and that it wouldn't be a problem getting it to California. He was also kind enough to document basically the whole process for me. The brief was to be in the 500hp ballpark with an emphasis on response and reliability. Based on those factors I ended up with an RB30 bottom end, RB25 head, and a Garrett GTX3076 Gen II. The engine was cleaned up and rebuilt using mostly stock components but with upgrades to the oiling system, custom rear sump, custom exhaust and intake manifolds with Bosch DBW throttle, arp hardware, Tomei head gasket, and upgraded timing components, and some extras from Platinum Racing Products. Nitto oil pump. Also fitted restrictors to the head and a head drain. May add an accusump later on for a little more insurance. PRP crank trigger/gear. Also using their cam trigger kit. Will add an ATI damper. Shiny.
-
That's a great idea, you could probably sell a fair number of those. Maybe with some tubes to sink through the rails to prevent crushing them.
-
1976 280Z RB30/25 (R.I.P.S.)
artishard116 replied to artishard116's topic in S30 Series - 240z, 260z, 280z
Thank you, me too. Next up, engine build. -
Count me in
-
1976 280Z RB30/25 (R.I.P.S.)
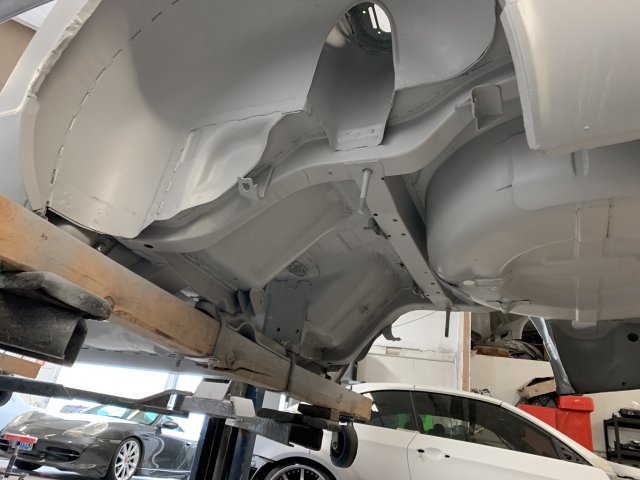
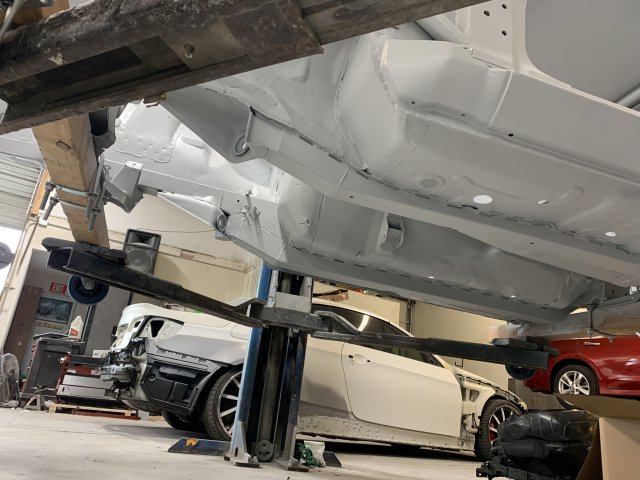
artishard116 replied to artishard116's topic in S30 Series - 240z, 260z, 280z
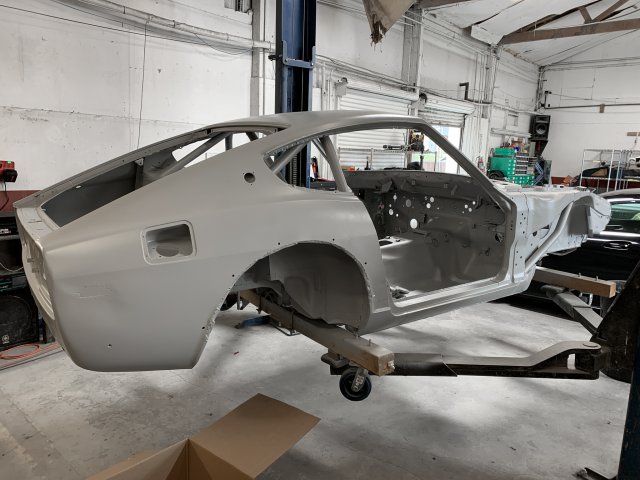
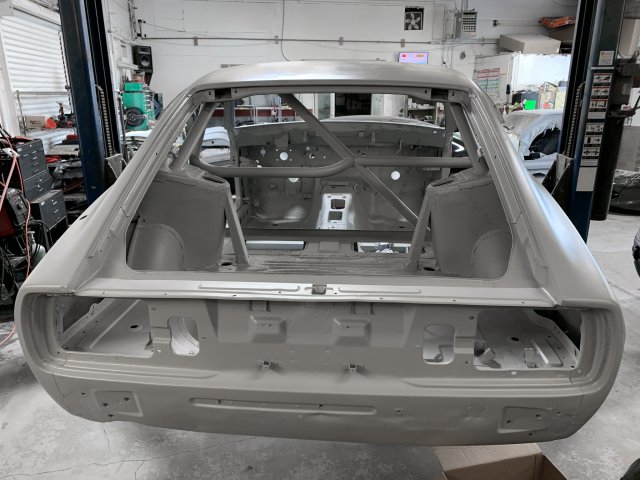
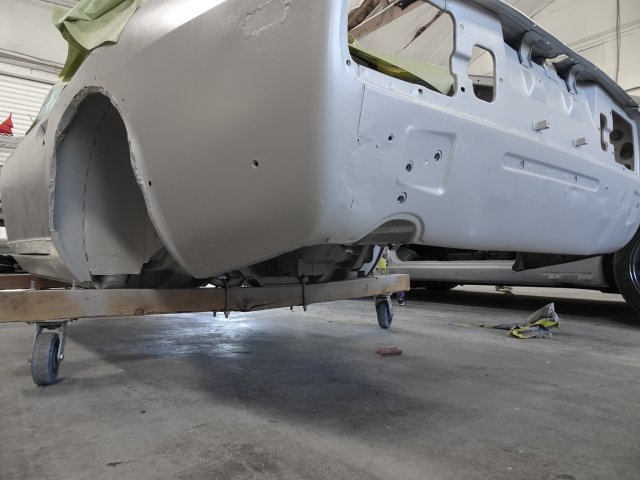
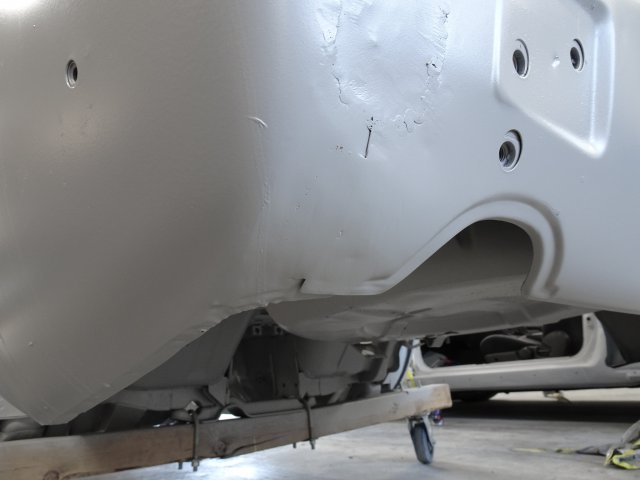
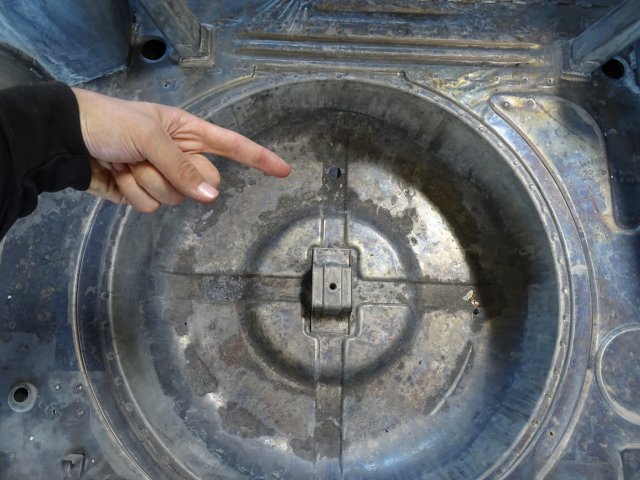
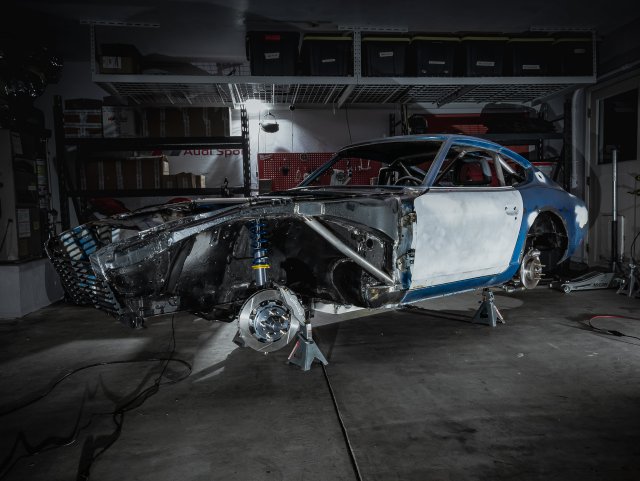
Even though there's a ton of bodywork left and probably a decent amount of metal work, it's hard to overstate how exciting it is to see this thing in primer. Yes, my rear 'axle' cracked.
-
1976 280Z RB30/25 (R.I.P.S.)
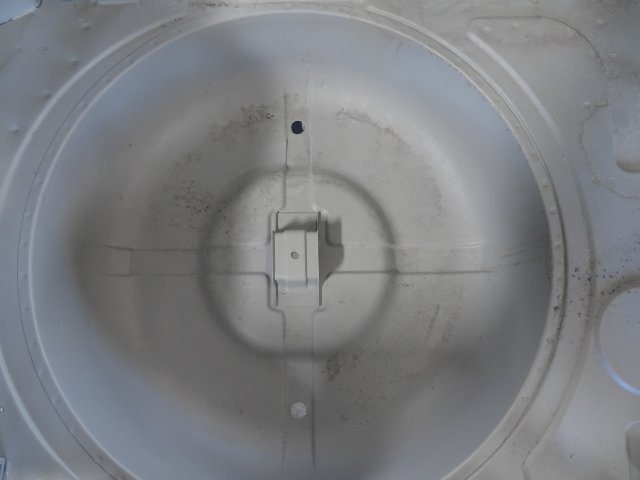
artishard116 replied to artishard116's topic in S30 Series - 240z, 260z, 280z
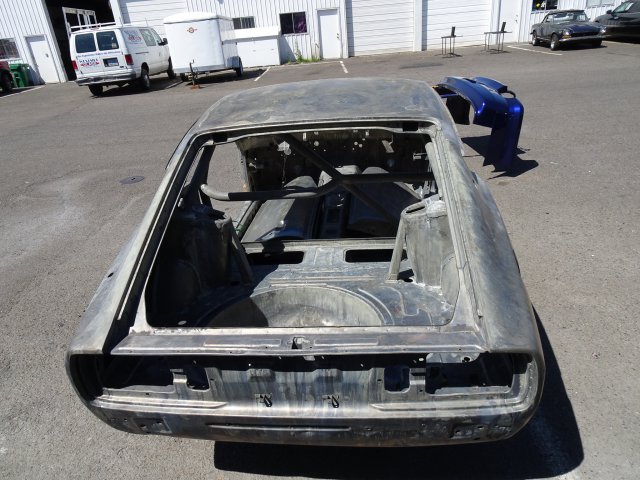
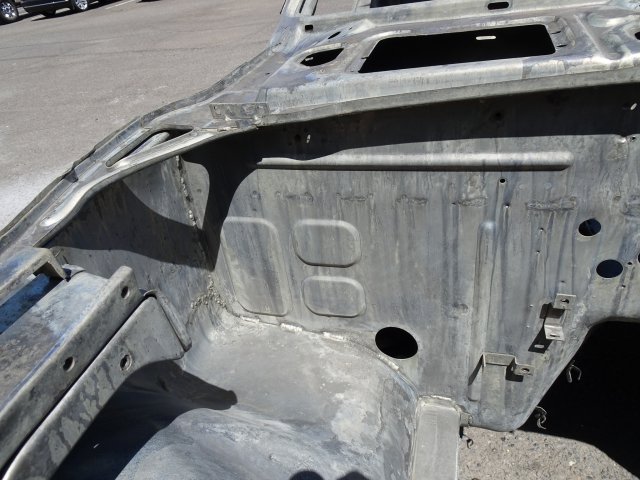
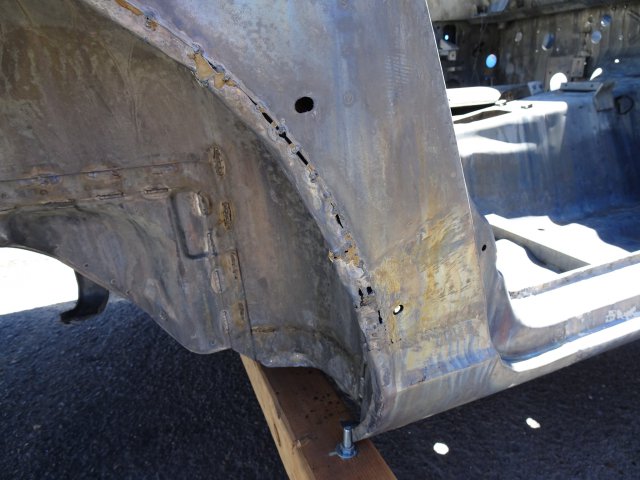
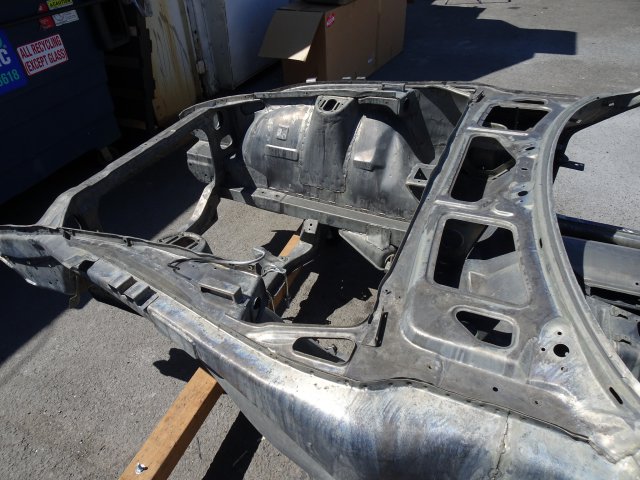
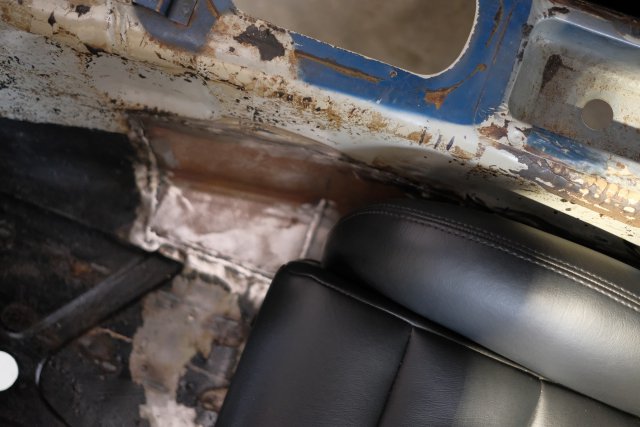
The dipping stage. Not too many surprises but for reference, this what a 'rust free' California car looks like. All in all I think I made out pretty well compared to others I've seen. After dipping, the car went down the road to VersionEx Auto (also in Eugene). They assessed the damage for me and patched some of the roughest areas. Previous owner did a pretty messy job of cutting the rear fenders and replacing a rocker panel. Will likely cut a lot of this out and redo it. Ditto with this sidemarker job.
-
1976 280Z RB30/25 (R.I.P.S.)
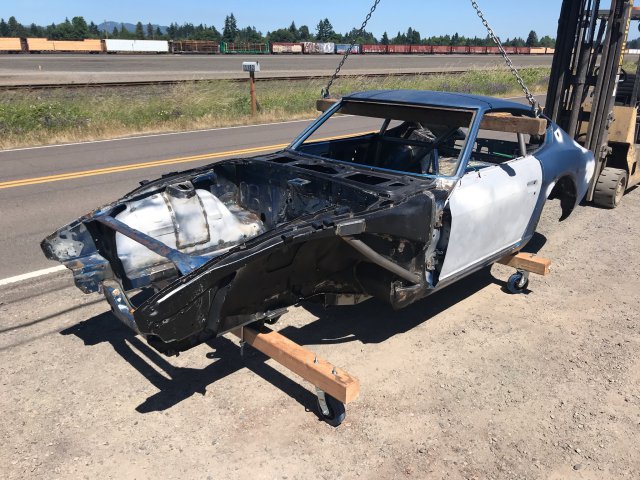
artishard116 replied to artishard116's topic in S30 Series - 240z, 260z, 280z
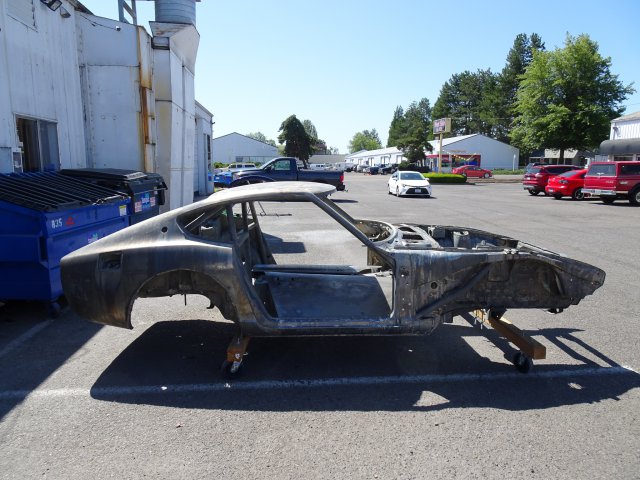
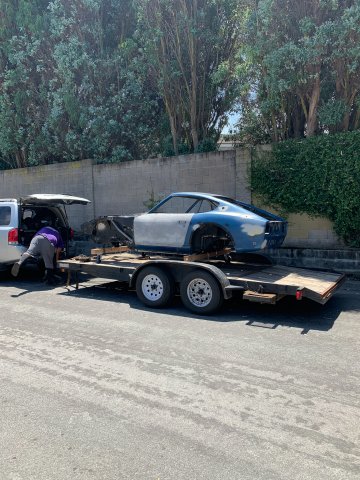
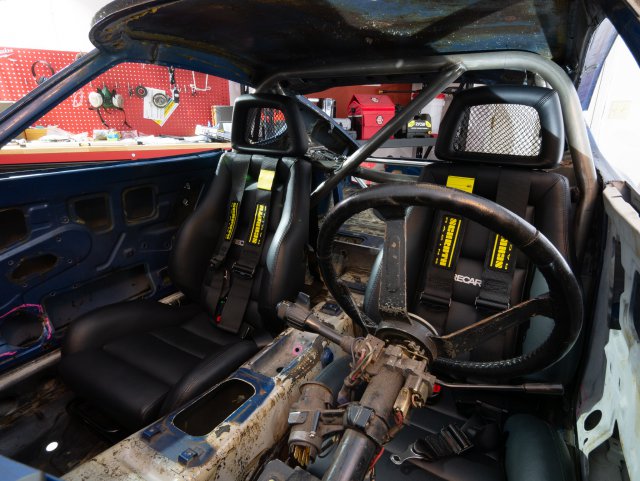
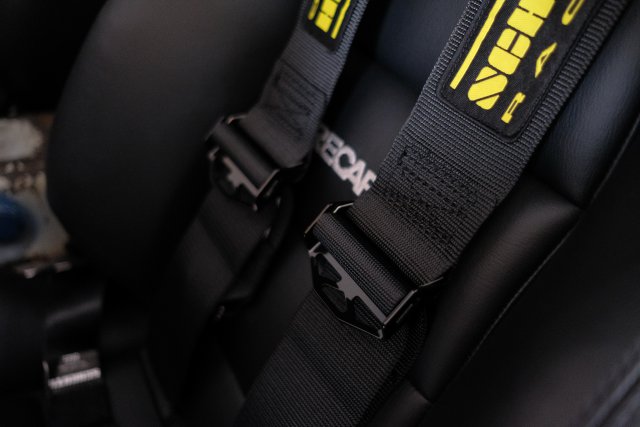
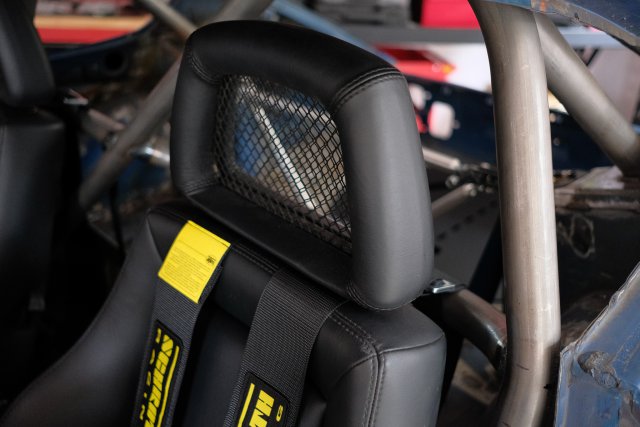
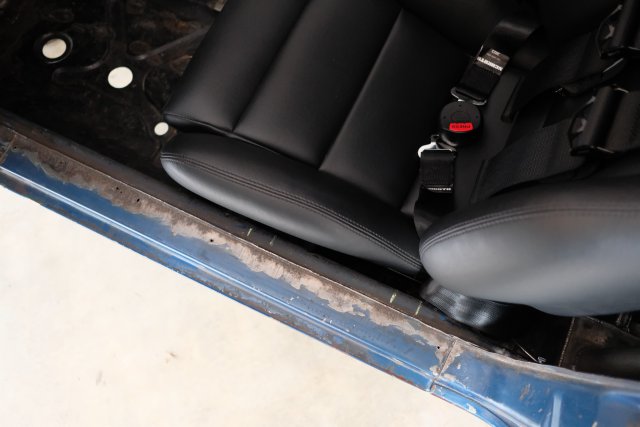
Next step for the car was a trip up to Eugene, OR to Metalworks for an acid bath. At this point I'd be heading back to Europe and saying goodbye to the car for a while, so before that I threw on some shiny parts for a test fit and some glamour shots. Seat clearance. These seats are pretty tight even with all the work I did but I think everything will fit. The driver's seat is almost dead center with the wheel. Plenty of headroom though. Had some fun editing these ones. Here's a link to higher res versions if anyone is interested. https://imgur.com/a/ygCkQHb Saying goodbye.
-
1976 280Z RB30/25 (R.I.P.S.)
artishard116 replied to artishard116's topic in S30 Series - 240z, 260z, 280z
Ha! That was the first thing to go. Thanks a lot for all the advice/inspiration. It's coming together. I have a bunch more to share to bring this thread up to date. -
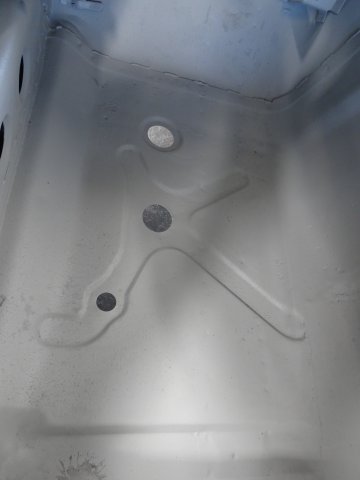
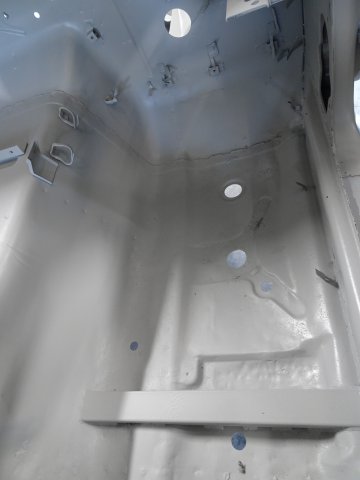
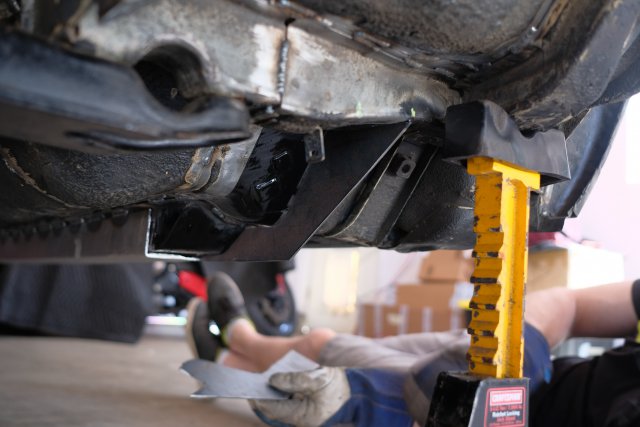
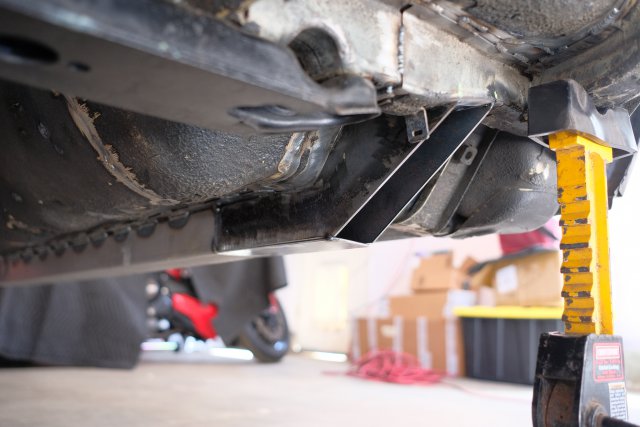
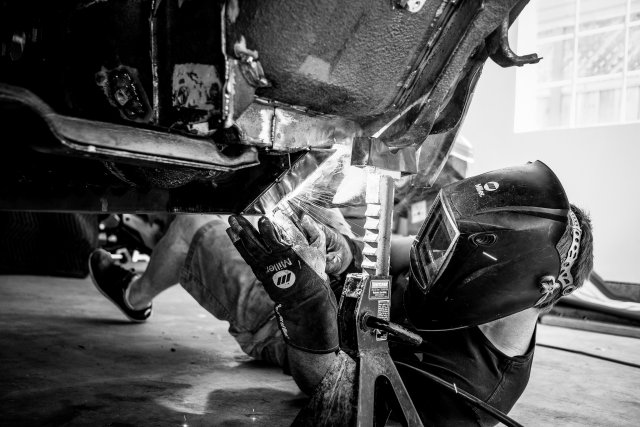
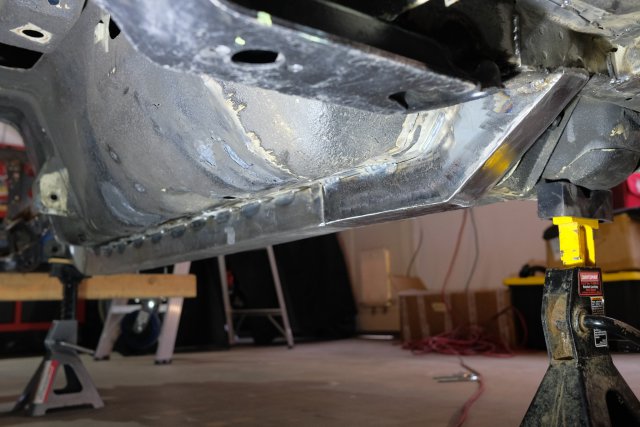
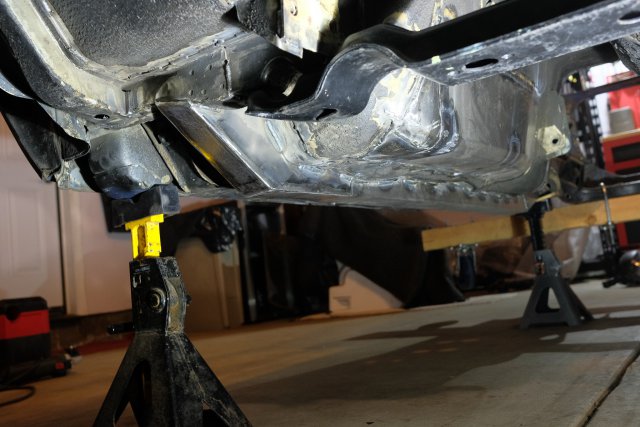
1976 280Z RB30/25 (R.I.P.S.)
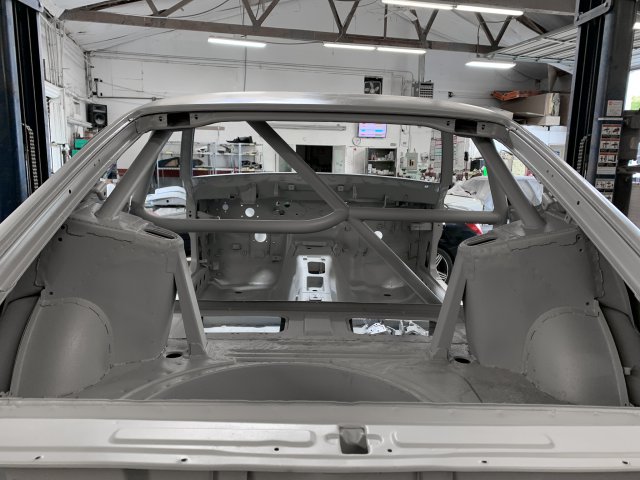
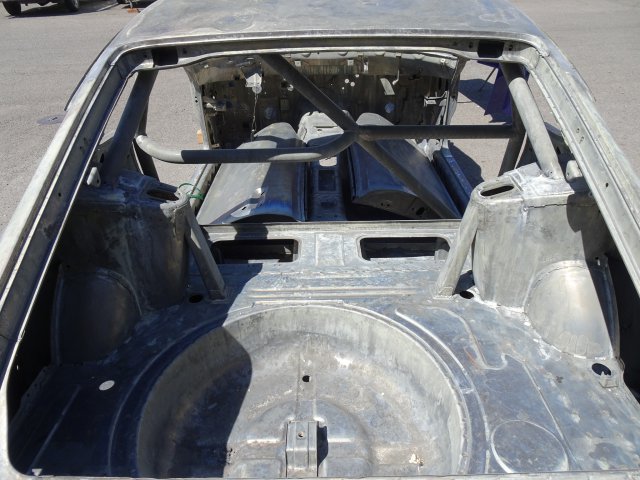
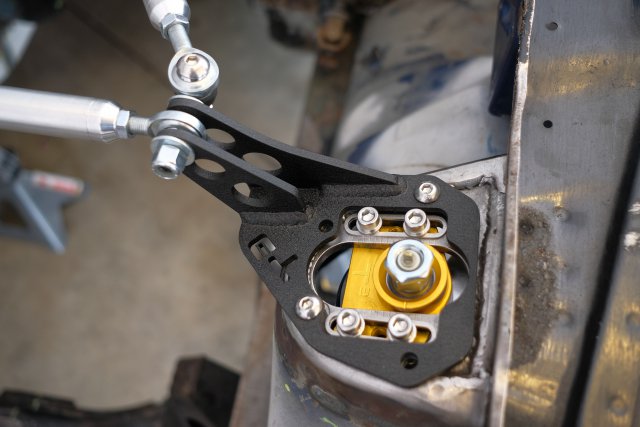
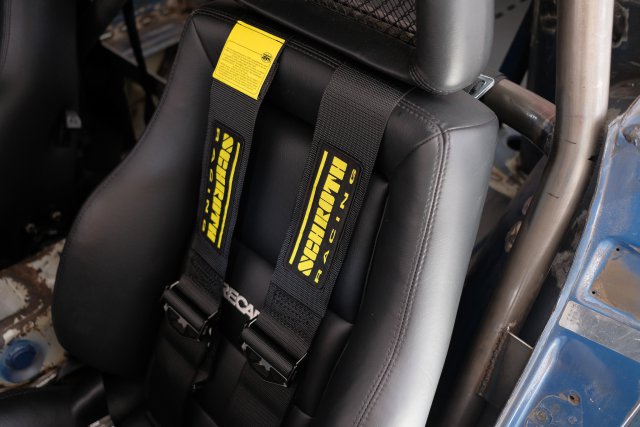
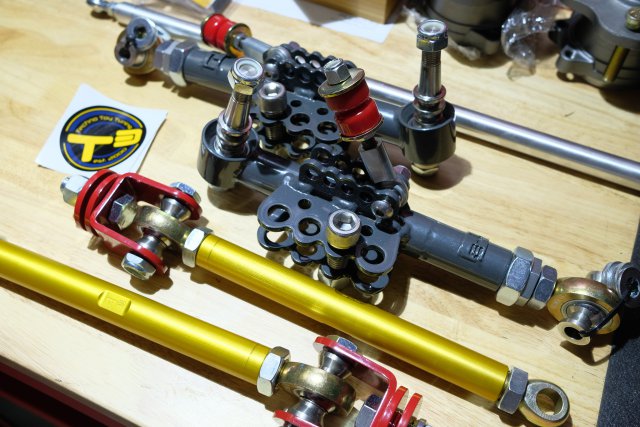
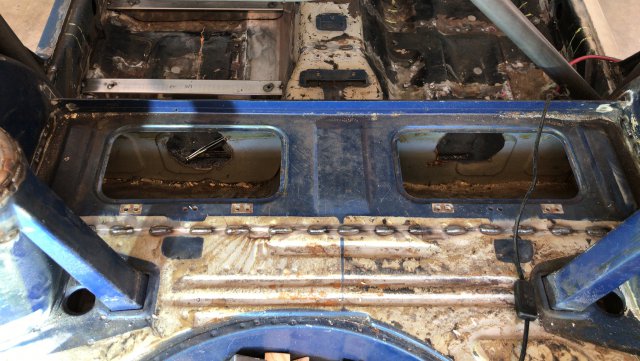
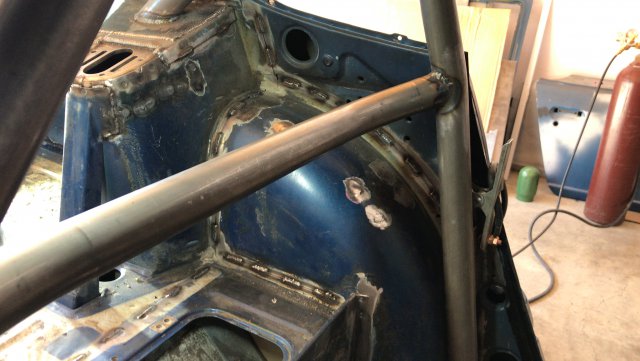
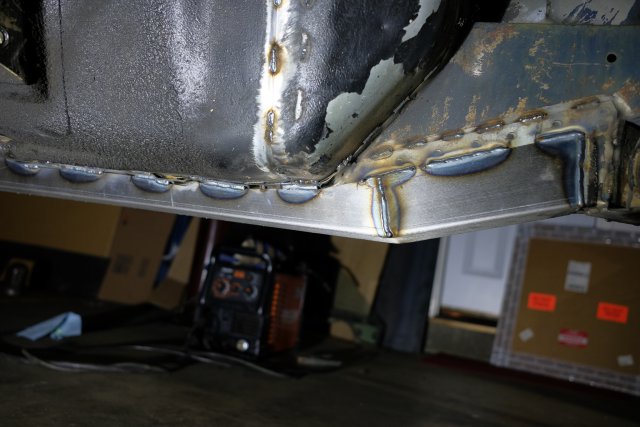
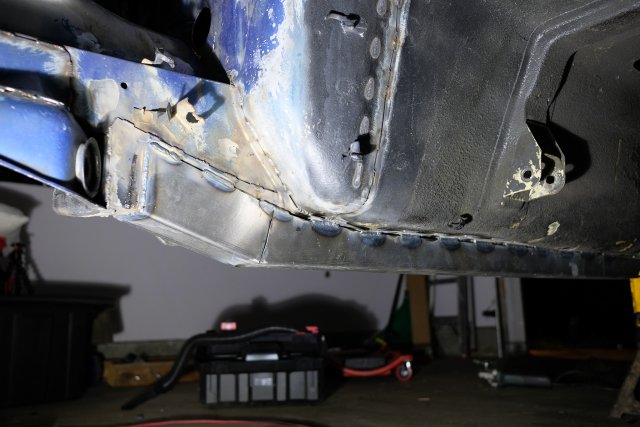
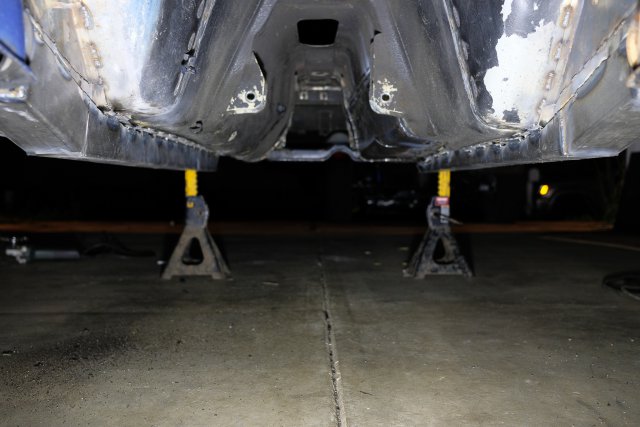
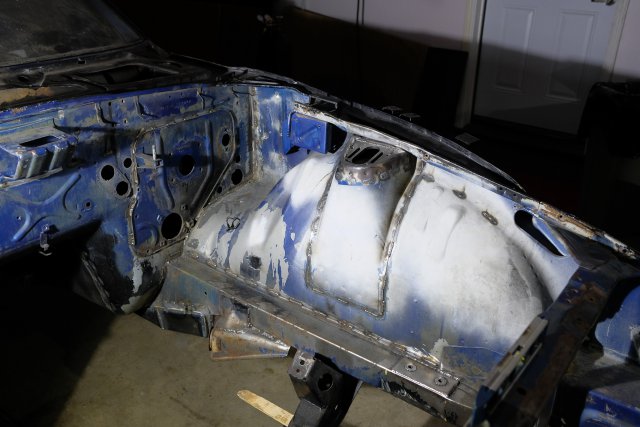
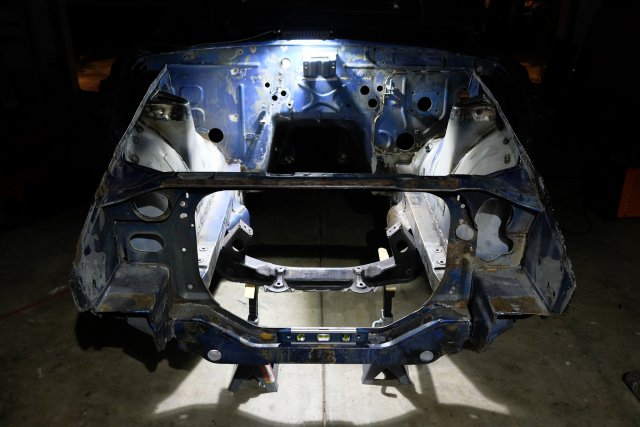
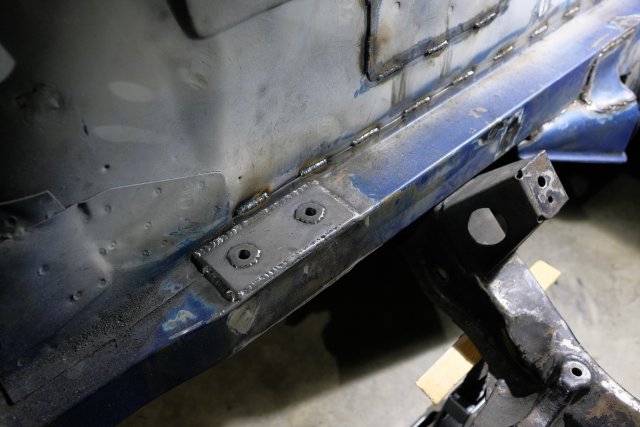
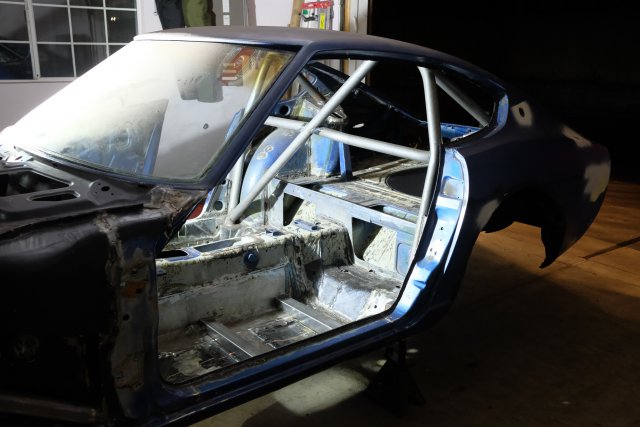
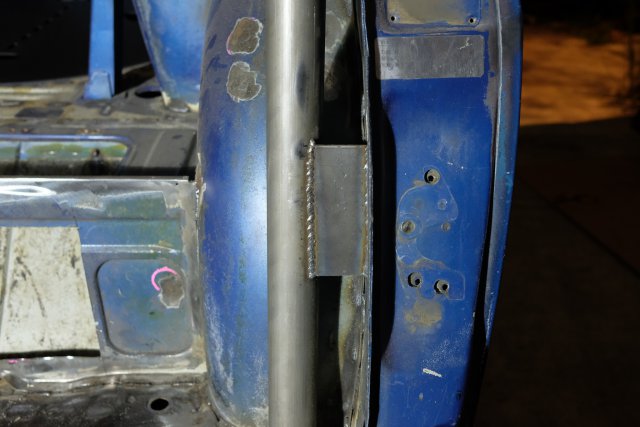
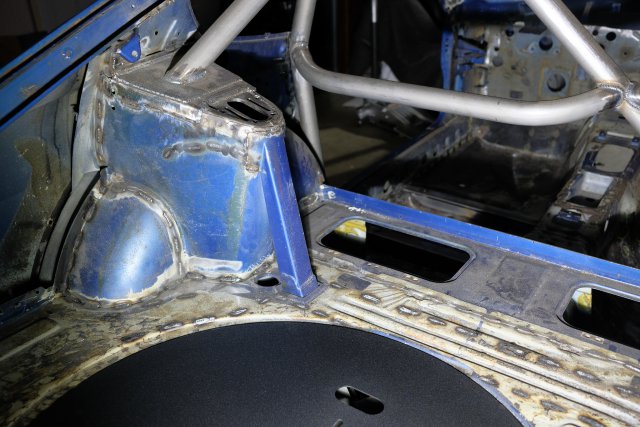
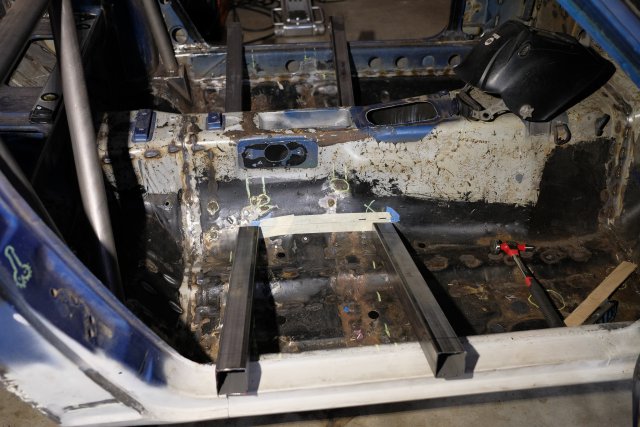
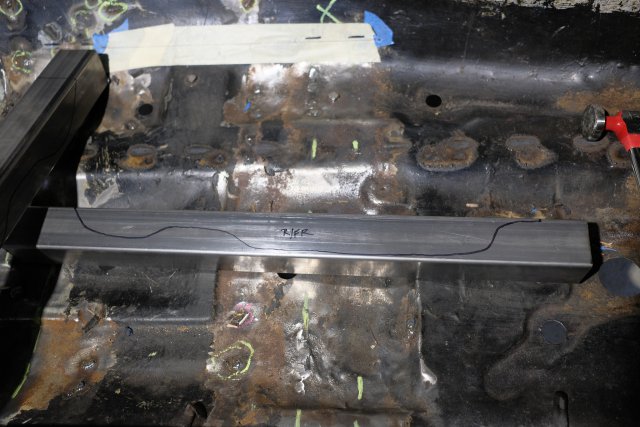
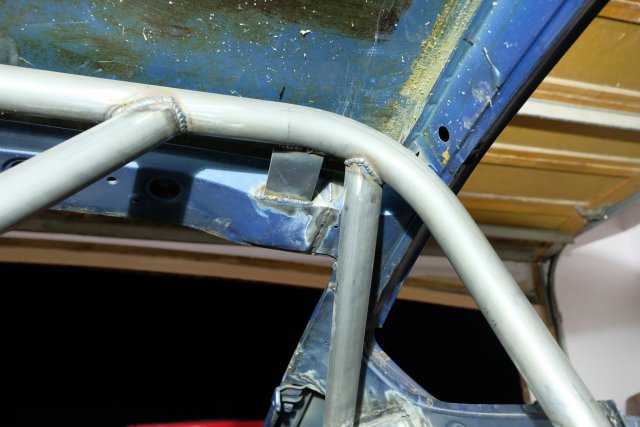
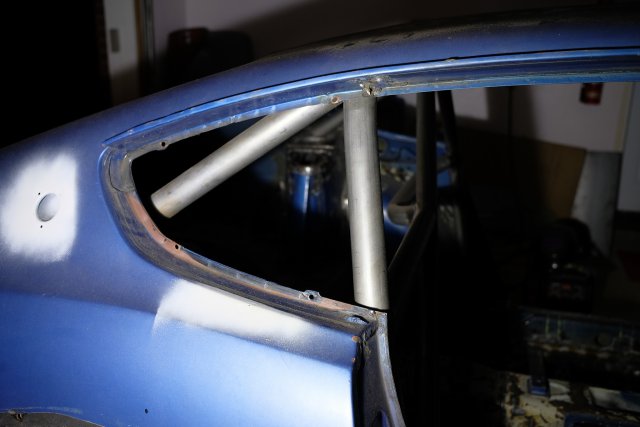
artishard116 replied to artishard116's topic in S30 Series - 240z, 260z, 280z
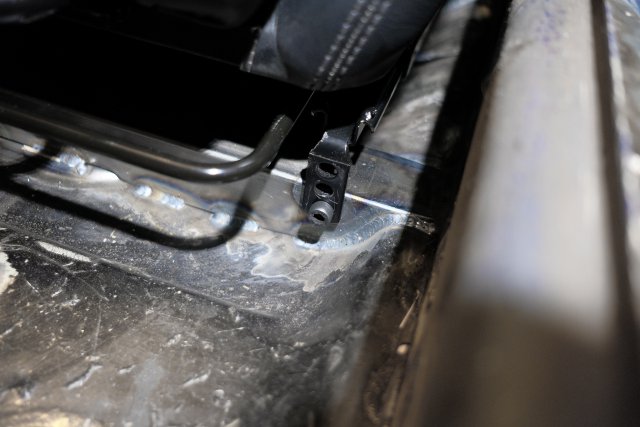
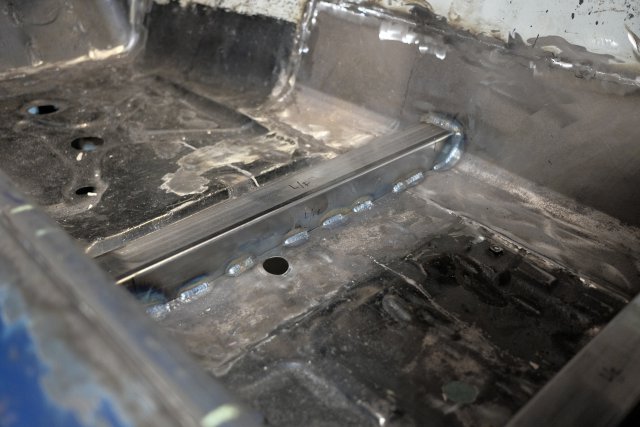
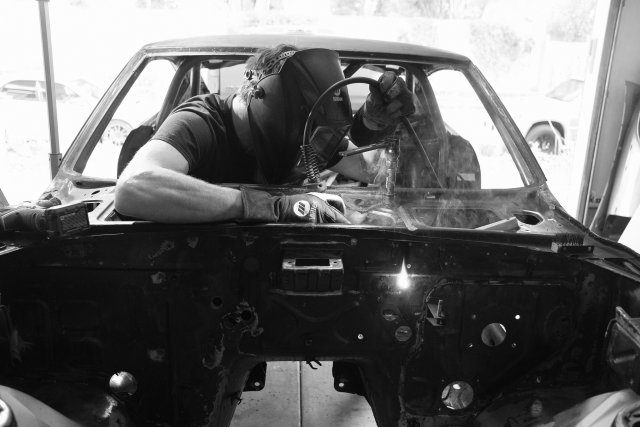
A pair of 300ZX TT rear hubs I cleaned up, painted, and added long ARP studs to. Might be letting these go as my rear end plans have changed. Some more T3 stuff shows up. Not happy about the McDonald's colors, but will fix it later. I hadn't welded since college but my friend left his gear at my place so I thought I'd get some practice and do some stitch welding here and there. Ended up doing nearly every seam in and out with the exception of the areas front and rear of the strut towers. Custom rails from Bad Dog arrived and fit well. I por15'd the old rails and pushed the new ones over them as close to the body as they would go, then my friend welded them up. My old man lending a hand. He's gotten pretty excited about the whole thing. Made my own rear subframe connectors to attach to the frame rails. I can tell just by pushing the car around the garage how much stiffer it's getting. Finished product after I cleaned up the welds a bit. Seat rails made out of some square tube that I contoured to the floor pans. Recaro rails attached. I may rethink how they attach, but this is version 1. Added an 1'8" plate behind the firewall that connects to the supports on either side of the wiper motor area. I wanted to strengthen this part before attaching the tri-strut bar, but couldn't think of anything better that left room for the wiper motor. Borrowed from @JMortensen and tied the cage into the chassis in a few places. Previous owner had hacked some speaker holes in the deck area so I cut out all the ragged metal. Haven't quite decided how to cover this up yet. Some more metalwork details. This pretty much wraps it up which means I can finally move on to the next stage. I've had the car about 8 months at this point.