
fusion
-
Posts
274 -
Joined
-
Last visited
-
Days Won
7
Content Type
Profiles
Forums
Blogs
Events
Gallery
Downloads
Store
Posts posted by fusion
-
-
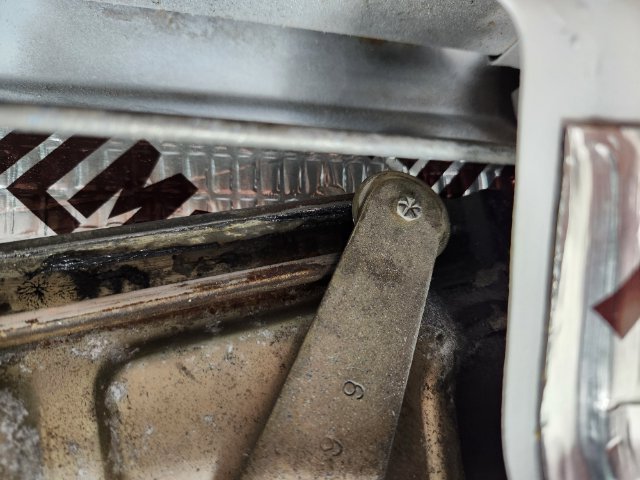
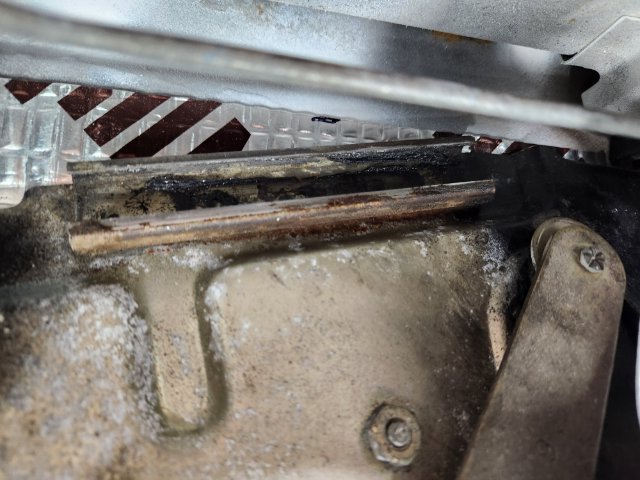
I have a 280z that I recently finished building. On the tension rods I installed brand new bushings. Rubber on the front side and poly on the back, as I believe was recommended by several people here. Torqued the nut to 40ftlbs. I was just under the car for something else and noticed that the rear bushings on both sides are split very badly. This is after only about 10 miles of driving. Wondering how this could be. I will switch the rear bushings to rubber but still want to know how this could have happened.
Comments welcome


-
Looking for any 240/260/280 fuel gauge in almost any condition. Just need it to light up. The cheaper the better
-
The door fits perfectly in the opening, it's just the overlap of the two weatherstrips that is causing the issue
-
Car is a 1976 280z.
I just installed my quarter windows and I'm having a bit of interference with the weatherstrip on the top of the door and the vertical weatherstrip on the front of the quarter window. All the weatherstripping is brand new from Precision. How did this work from the factory? Was there interference? Looks like I should probably trim the quarter window weatherstrip back to provide clearance for the door weatherstrip. Any other thoughts?


-
On 9/10/2020 at 1:08 AM, Invincibleextremes said:
How to disassemble the cv axles to replace the shaft. As you can see it only takes a couple minutes.
Here's another thing I've come across... I buy the donor cv axles in bulk from Shelby America. Half of them are unusable pairs because they're gt350 axles that have the left shaft with a different cv and shaft... meaning the custom shafts won't work in that axle.
Some guys have stumbled across this and now have a gt350 left shaft just hanging out after purchasing another left shaft off the 2015-2017 v8 cars or 2018 and newer v8 automatic transmission cars.
I'm going to to contact some companies and see if they can continue the splines and hack the extra length off of half of my growing pile of gt350 axles. Thereby converting left inner stub shafts into right ones, making a complete donor pair that would utilize the stronger larger cv joints from the gt350 left axle.
This will accomplish two things.
1. Gt350 left shafts can be shortened unlike the right side, or the hollow standard v8 shafts. For guys not pushing the hp limits this opens up a very economical option for guys doing the swap who can then enjoy silky smooth 8 ball cv axles. No idea what the theoretical limit of cut down gt350 shafts will be, but they are substantially stronger than the solid shaft found in explorers, and that's not even comparing the cv itself.
2. The gt350 cv joints themselves are substantially stronger than the regular v8 cv joints currently used for the swap... which themselves are no slouch. I can have batches made of the larger diameter custom shafts to fit those larger joints... and at a price point for a usable pair of axles that still don't come up to the price of custom length DSS race axles.
This layered approach drives the cost of the swap even lower while substantially increasing the hp potential for pennies on the dollar for guys who want the peace of mind of the bigger diameter hardened shafts and bigger cv joints.
Another option would be to get a pair of gt350 left axles cut and splined to the smaller v8 inner cv specs and run gt350 cv joints on the outboard side and regular v8 differential stub shafts. This again would be very economical since i buy the axles in bulk.
@Invincibleextremes Vlad, your video showing how to swap the axles into the Mustang GT cv is down. Could you please put it back up? I ran into an issue and need to reassemble one of my axles. Or if it's deleted would you be willing to make another step by step video of the process?
Also, just to clarify, the CVs need to be from 2015-2017 GT v8 cars or 2018 and newer GT v8 automatic transmission cars and can be either side?
Thank you
-
Thanks Miles. I do have that book, I will check it out and I'll install the window frame before adjusting the glass again
-
I am putting the glass back in my 1976 280z after a restoration. I have the front and rear windshields installed and now I am starting with the driver's glass.
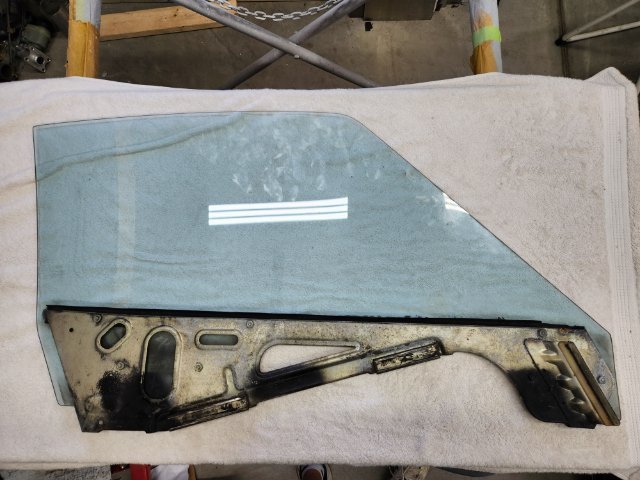
I am able to get the glass inside the door and all the guides installed with the wheels in the channels. The 2 glass door bumpers are also installed. The glass seems to roll up and down reasonably. I do not have the window frame installed yet.
Where I am getting hung up is that when I roll the window all the way down so the bottom of the door glass frame touches the rubber bumper at the bottom of the door and then start to roll back up, the rearward roller jumps out of the back of the track that is on the door glass frame.
Edit: I cannot prevent the pictures from being upside down. Weird.
Window rolled all the way down

Starting to roll back up

Roller jumped out of track

Door glass

I have tried adjusting the front glass guide and the rear regulator guide bolts that are on the inner door frame but other than trying to adjust the entire glass rearwards I'm not sure what to do.
I was thinking that perhaps I need to install the window frame but didn't think that would help with the issue at the bottom of travel.
Please let me know your comments.
-
Thanks jhm, I appreciate it
-
 1
1
-
-
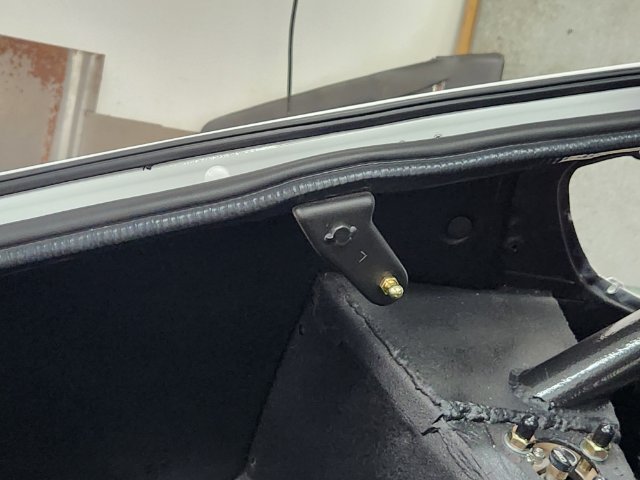
I am running into a slight problem with my Kia weatherstripping in the hatch. The spot where the weatherstripping runs over the hatch lift mounts is too tight and forces the weatherstrip to sit higher in that area. This is making my hatch not close correctly.
I could either:
1) grind down the removable part of the mount. This might not even totally fix the problem as the non removable part may also be interfering
2) cut away the lower portion of the weatherstrip. This should alleviate the fitment issue but that small (~2") length would not be attached to the body.
Has anyone else had this issue?

-
@Sam Henao, what's the status with Android phones? Will this be fully supported on any Android phones in the future?
-
On 9/7/2024 at 10:49 AM, 74_5.0L_Z said:
Do you still have all the stock rear suspension attach points in reasonable condition?
If so, I would install the rear control arms so that they are symmetric. If you are using aftermarket eccentric bushings, then make sure the left side and right side are mirror image of each other. When I first set up my suspension after chassis mods this is what I did (using the eccentric bushing).
1. I installed the front and rear bushings on the rear control arm such the the holes were outboard and up and one of the flats on the eccentric bushings was level to the floor. I took a straight edge and laid it across the bottom flat of the bushing on either side of the car. If the straight edge sat flush on the flat of both bushings, then I knew they were square to each other. I did this for the bushings at the front and rear of the control arms. This gave me a good starting point that was symmetric and square to the car. This step above doesn't guarantee 0 toe, it just established symmetry and squareness to the rear attach points. The next step is to set the toe (at least roughly until you can get to an alignment shop)
2. Scribe a line near the centerline of both rear tires. I do this by jacking the tire so that it is a few inches off the ground. I then support a scribe or small flat head screw driver near the middle of the tire and rotate the tire by hand to scribe a line around the circumference of the tire.
3. Set the tires back on the ground and settle the rear suspension.
4. Measure the distance between the scribe lines at the front of the tire and at the back of the tire. Try to measure as high up on the tire as possible and measure at the same height front and back.
5. Subtract the front measurement from the back measurement. If the front side is longer you'll get a negative sum and you have toe out. If the rear side is longer, you'll have a positive sum and you have toe in.
You want to start with zero toe (front and rear measurement equal or slightly toe in (<1/8" total)
If you do need to adjust, do it equally on both sides by turn the eccentric bushing on opposing sides an equal amount but in opposite directions. You want to try and maintain symmetry in your rear suspension set-up.
Great info, thank you
-
13 hours ago, clarkspeed said:
This very topic kept me up at night. Most set it to front spindles after removing dust cap. Probably fine for street use, even setting to front brake rotor is not bad.
If you want better you have to find a true Centerline for the car. A true thrust alignment. I set mine to a spot between the 2 inner front control arm pivots. Seemed to be the only spot I trusted to be true on a unibody that has seen many repairs.
Thanks Clark. Not sure how the rear toe can be set from the front spindles or rotors since my front toe is not set either. Usually the front is set off the rear. A real catch-22 if you need to set both the front and rear. I think the only way is from the centerline of the car.
-
@jhm, the key was doing it on the car. With the hatch off the car, I don't think it would have been possible. I did use the Cal style gaskets and I am happy with how they worked
-
 1
1
-
-
Thanks for your comments, I did end up getting it to seat after a long battle.
-
Is the hatch glass much harder to install than the windshield? I am finishing up a 1976 280z build and am installing the glass. I have brand new gaskets from vintage rubber. The front windshield was a bit off a pain but got it on the first try.
The hatch glass is seeming much more difficult. The hatch is off the car and I thought it would be easier to install off the car rather than on the car. I am using the same rope method. With the front windshield, I was able to slide the glass/gasket into the lower pinch weld and then use the rope to pull the gasket around the pinch weld and use hand pressure to walk it around the sides.
With the hatch glass, I can't get it started on any sides of the pinch weld. The top and bottom are especially not very close. I really don't have a good game plan. I did have someone helping me. We gave up after about an hour and no real progress. When we got one side sort of close, the other side would be going the wrong direction. I am using 3/16" (4.8mm) rope.
I have seen a couple videos online and they basically just set the glass/gasket into the opening, flip the hatch over and start pulling the rope. Looks super easy. Not sure why it's so hard for me. The glass did come out of this hatch, so I know it was in there before.
The new gasket is very robust and I'm sure making it more difficult, but I believe vintage rubber is generally regarded as a quality manufacturer. The hatch is awkward to handle and manipulate which isn't helping either.
Any advice is welcome.
Thanks
-
Thanks for your comments, very insightful.
-
Thanks for your comments Cal. I am planning on doing it myself so sticking to simpler areas really increase the likelihood of it turning out well. The cost of the film isn't crazy high so if it does look bad after a while I could always remove it. But your comments are definitely valid
-
I recently painted my 280z and want to add paint protection film in key areas. The car is lowered and has wider tires with flares. What would be the key areas to cover? I'm assuming behind the rear tires from the bottom of the quarter to about 8" up, the rocker panels, the area behind the front tires on the fender from the bottom up to the body line, and the front valance/air dam. Does that sound right? Any other areas?
Thanks
-
I have a 1976 280z that I am in the finishing stages of totally rebuilding from scratch. I have stock rear control but custom hub mounts and needed a way to set the toe and camber so I am using adjustable rear control arm bushings that allow for toe and camber adjustment. I understand how to adjust the bushings, but where I am struggling is a reference point to set the toe. It's my understanding that usually the front toe is set with reference to the rear. However, neither my front nor rear toe is set.
Not sure the best way forward. I guess I could find the centerline of the car? The frame rails could be an option, however those have been replaced and might not be perfectly square.
Any advice welcome.
Thanks
-
Hello,
I am in the process of putting my 280z back together after a ground up build. I want to tint the windows. Right now all the glass is out of the car. My thought was that I should get the quarter windows and hatch glass tinted before install since they sit in a rubber gasket and it would look better if the tint went all the way to the edge, under the gasket. I do worry, however, that putting the gaskets on and installing the glass after tinting may risk damaging the tint.
Similar concern with the door glass, I would worry that if I had it tinted beforehand it would get scratched during install. Much more worry than the quarter or hatch glass.
Wondering if anyone has input.
Thanks
-
On 7/10/2013 at 9:59 PM, socorob said:
I have 3 mirrors for the Z and they all have bad silvering around the edges of the glass and the plastic housings are near the end of their life's. So I followed the resilvering article on classic z car to remove the glass from my worst one. So I took it apart, and it came apart very easy. I thought why not get a mirror with a similar style mount and swap the mechanisms over? Off to the pull a part I went, and 1 hour and $7.09 later I had a 2004 Hyundai accent mirror. It was just slightly larger than the Z and had the pivot ball about in the same place. 2 cars down was a 2004 Kia something or other that had the exact same mirror so I took a rock and busted the glass out of it to see if the mechanisms were similar. Close enough! Now when I got home the glass didn't come out of the housing of the Hyundai mirror in 5 minutes like the Z's did. I fought with it for over 1.5 hours with a few of each style of plastic silverware we had in the house and a few plastic scrapers from the garage. No luck and I finally chipped the glass. At that point I just wanted to see if my proof of concept would work. I got out the hammer and broke the glass so i could get it out. I put the Z pivot ball into the Hyundai housing and it works fine. All you have to do is get a little longer mounting screw for the plate that holds the pivot ball in since the Z has a slightly larger pivot ball. Next time I get a chance I will go back to the upullit yard and get 2. Take the one with the best housing and break the mirror out of it and take a dremel, hacksaw, or other instrument of destruction you may have around and cut the 2nd housing apart to get the glass out in 1 piece. Snap good glass into good housing and you have a mirror from this century with the little flip up switch on the bottom.
I am looking to replace my mirror. So, am I correct to assume that the reason the Hyundai mirror must be disassembled is because the ball cannot be removed and replaced with the Datsun ball from the backside? So basically you hack up one Hyundai mirror to harvest the glass intact, and then you smash out the glass in the other Hyundai housing, put the Z ball inside and replace with the good Hyundai glass?
Is this still the best option? I saw that someone mentioned the early Sentra mirrors worked as-is but I can't find those either.
-
Has anyone replaced their original window cranks with more modern billet versions? What is the spline size for 280z? Was hoping to not have to spend a fortune.
-
Aydin, thanks for the comment. Yes I am aware of this and have made these adjustments before. I did end up determining that I didn't have the rack perfectly centered. Once I made the adjustment, I think I am OK now.
-
 1
1
-
-
I put a new steering rack in my car that has right hand inner tie rods on both sides. I bought 2 MOOG ES2109R right side tie rods and they do fit but on the driver's side it's a bit too long and I don't have much adjustment ability. Also its pointed slightly forward as opposed to the passenger side where it points sightly rearward.
What is everyone using for drivers side outer tie rod with right hand thread?
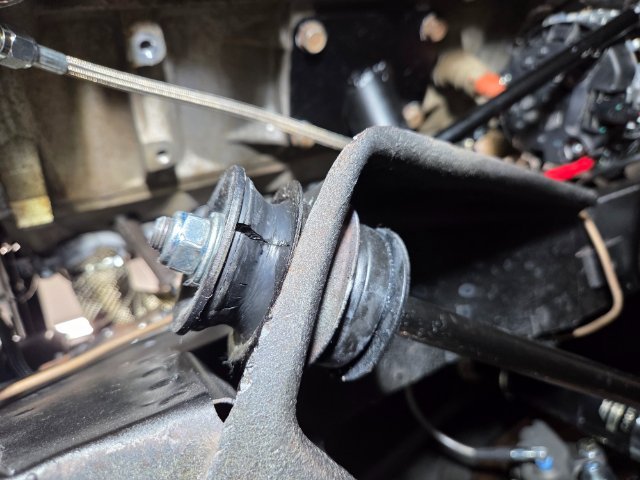
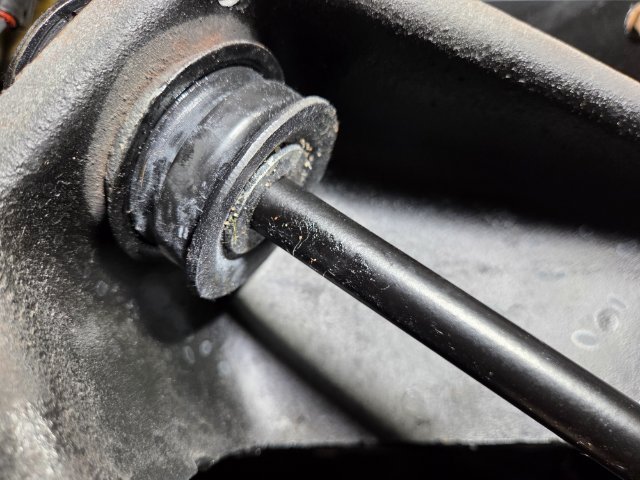
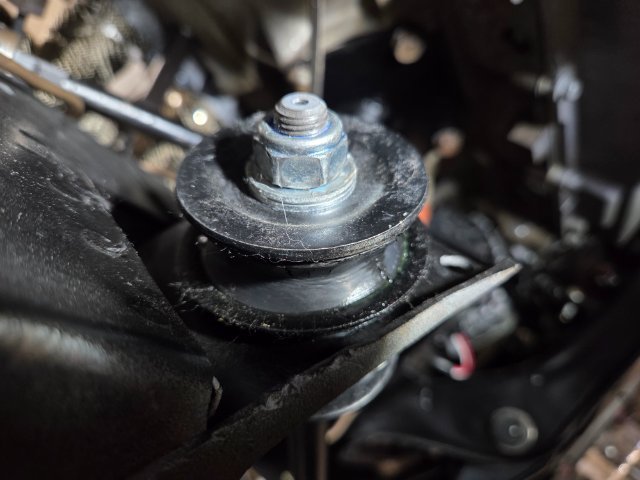


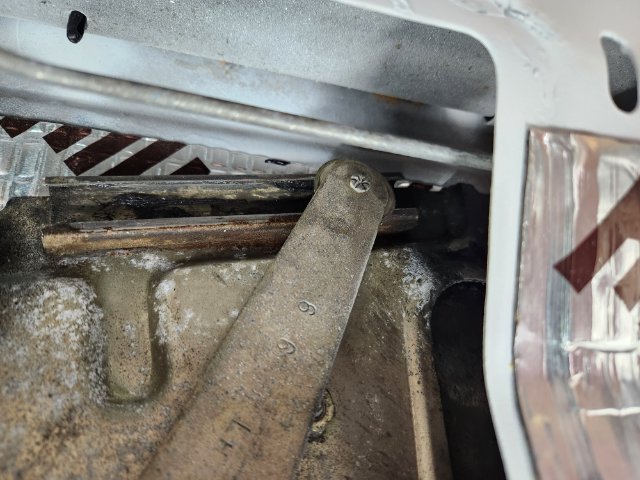


Brand new tension rod bushings split after 10 miles
in Brakes, Wheels, Suspension and Chassis
Posted
Hmm, well having the rubber and poly switched was pretty dumb of me. How much worse is it to have all rubber vs poly up front/ rubber on the back? This is a street only car