

A to Z
-
Posts
874 -
Joined
-
Last visited
-
Days Won
14
Content Type
Profiles
Forums
Blogs
Events
Gallery
Downloads
Store
Posts posted by A to Z
-
-
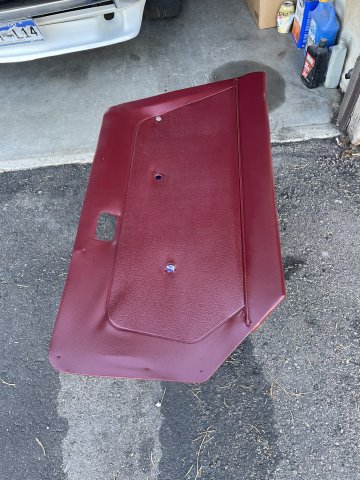
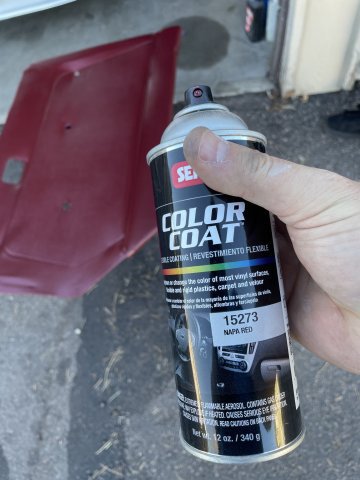
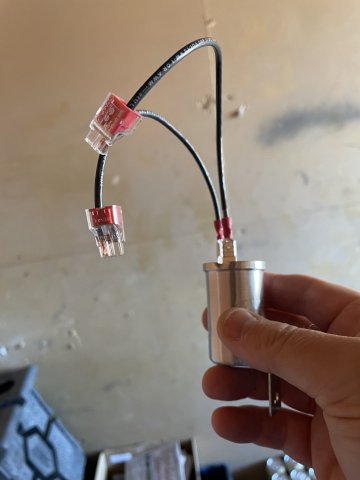
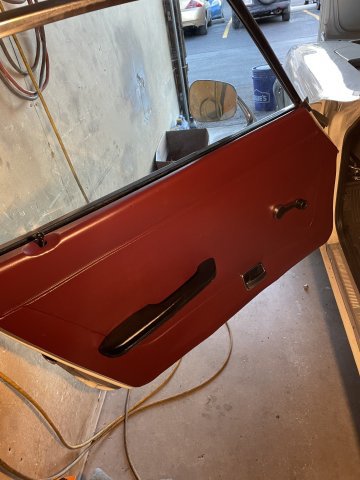
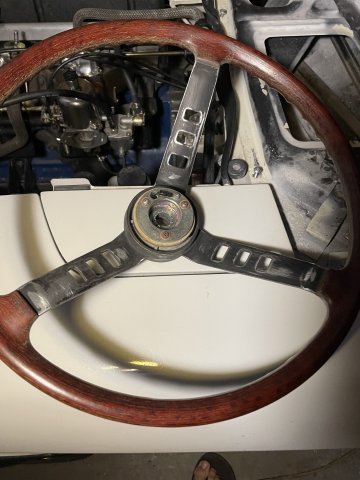
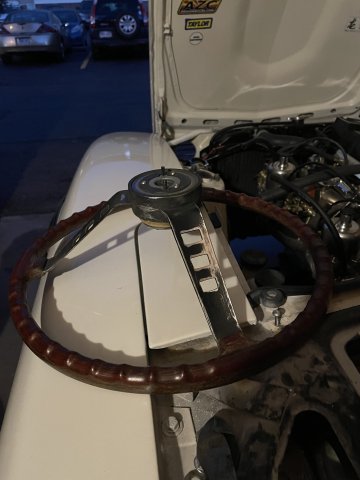
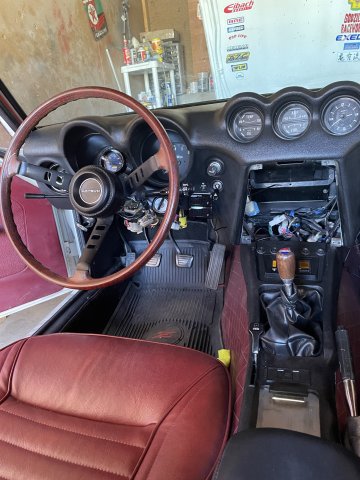
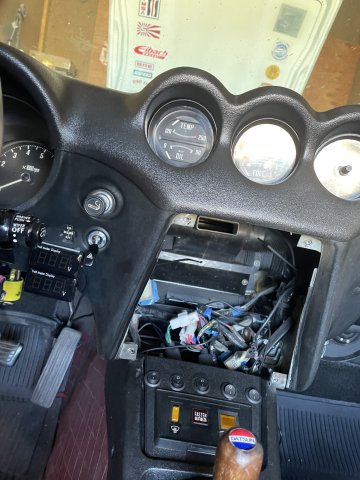
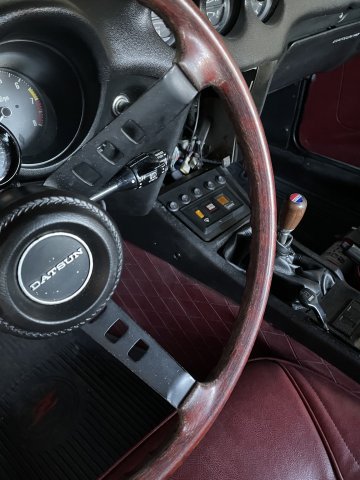
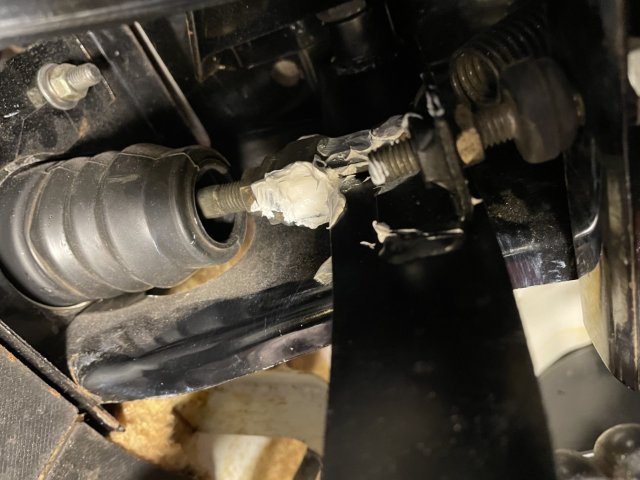
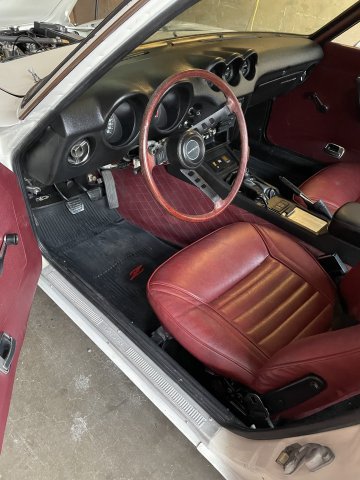
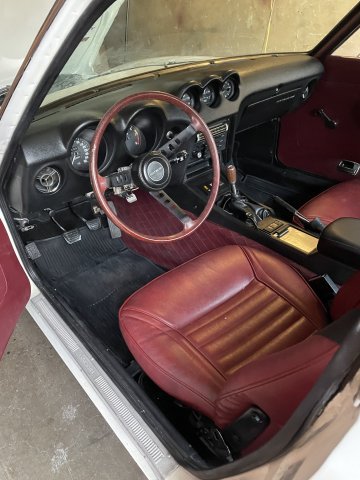
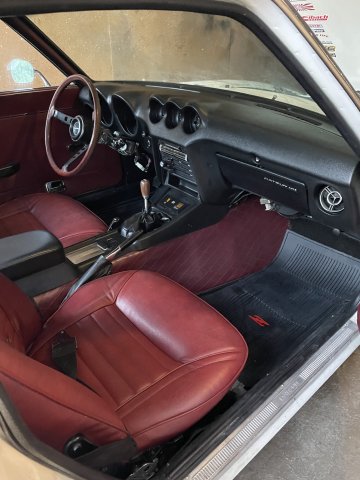
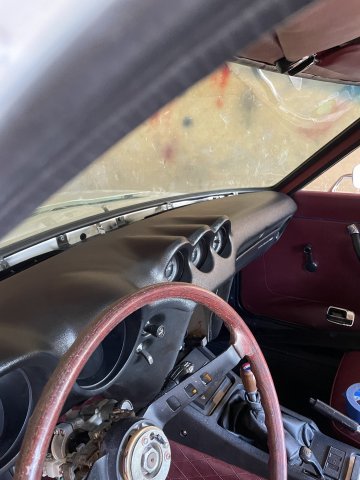
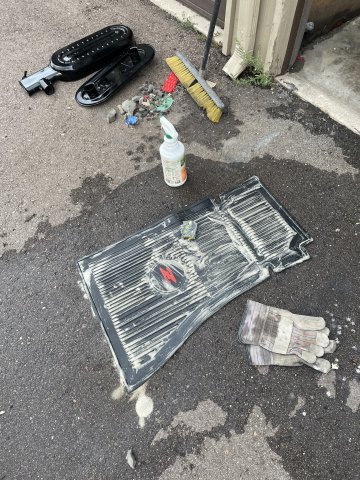
10-07-2023 UPDATE. I started with getting the hazard relay/clicker wired back in....works wonderful....and then wired the volts gauge to a toggle switch....removed the second volts gauge and cleaned up the gauge bracket and re-installed. I then installed new motor mount bolts....Grade 8 bolts. I am working on the wiper motor, and having a hard time getting it to work, so I got to a certain point, and then left that for another day and went to pulling the driver's door panel, repainting it and the arm rest with SEM interior paint, Napa red and Landau black. While apart, I lubricated the door handle and opening mechanism with white grease, works much better now! I got the driver's door put back together, and then pulled the steering wheel to clean it up. I went over the whole thing with 0000 steel wool, and I was able to get the look I wanted on the simulated wood doing just that (matches the shift knob).....for the spokes, I then sanded them down and hopefully will get them painted tomorrow, God willing. I finally get to do "fun work".
 PICS:
PICS:
-
10-01-2023 UPDATE: Tuning. So many issues, I started over on tuning.....timing was way too low. I set it at 20 degrees at idle no vacuum, all plugged off, I reset the mixture screws on the carbs, went down 2.5 turns, resynchronized the carbs. DARN SHE RUNS! feels like 200 horse and loads of torque. little denotation under load, turned the mix down just a hair.....pinging all gone. The 280z never ran THIS HARD. some of it must be the gears.....no bog, squat and roar! After this, I cleaned up the garage and got rid of a lot of clutter. I also managed to locate the Hazard clicker. When I went to take it off, the leads were already broken off! So, I will fix the wiring and re-install. I am now at the point, where the majority of work left is beautification. Cheers.
") Pics below:
Pics below:
-
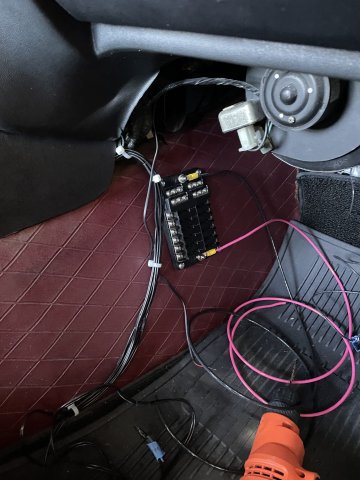
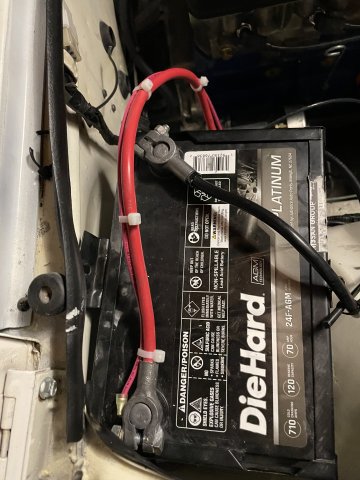
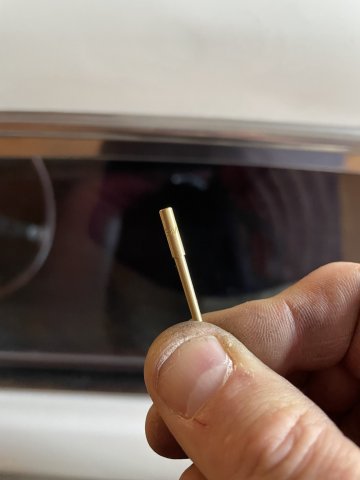
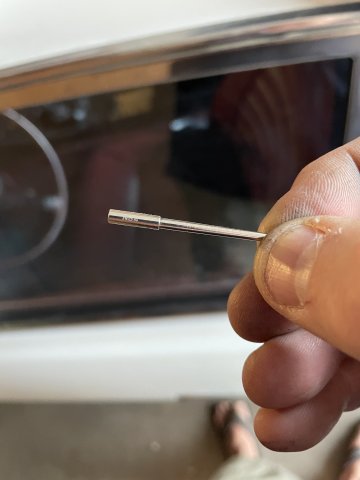
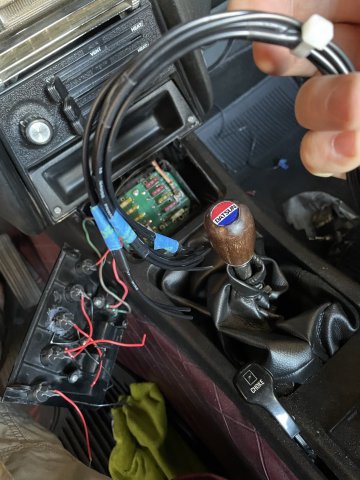
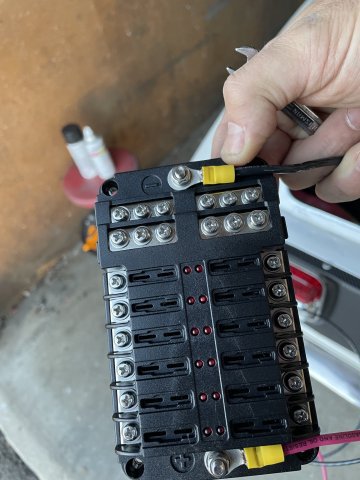
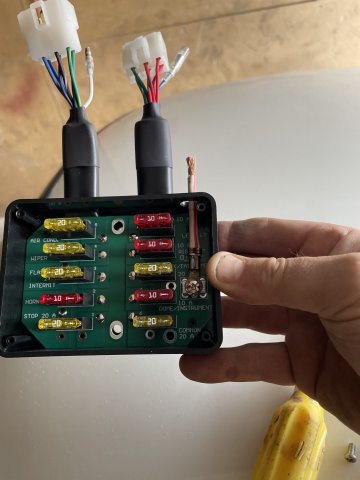
09-30-2023 UPDATE. Wiring again! I went ahead and installed a secondary fused box, so instead of having a bunch of wires hooked to the battery, I have one big wire from the battery to the box, and all the accessories are now fused and it is a much cleaner installation! I also went ahead and installed my SM needles, but it still isn't enough. I have had to keepo turning the mixture screws down until it stops popping, and my A/F guage keeps showing "---" which apparently means too lean to read. I need to re-establish my timing and figure out what to do....when driving I can smell the raw fuel, but no black smoke, and it now rev's to 5000 instead of just 4000. I can feel it being held back, like a governor....but even with the hold back, I can feel the torque. She is a strong one! I just have to get the carb situation figured out. Do I really need to sand and polish SM's for more fuel? I need to study this some more. Here are a few pics.

-
SU question.I was running N54 needles. WAY too lean, I got them to 4.5 turns down (at 6000+ elevation) and they finally stopped popping and ran until I hit 4000 RPM then that was it. When I went to change the needles, the needles were allt eh way in. So, I ordered some SM needles and went at it again. I set them with a straight edge level with piston bottom. I had to keep turning down I'm at around 5.5 or so turns down and the popping stopped, but driving I can smell the gas, and it is still acting like a governor ont he engine. The engine is definitely being held back. The engine is a 2859CC with 11.5 to 1 compression, ported head E31, with larger exhaust vavles, again ported out, nissan A cam exhaust manifold with free flow exhaust.......the engine isn't that hot, why are my SU's having such a devil of a time with it? Do I really need to sand/polish the needles at WOT? instead of 4000 RPM, its now 5000 RPM. I will reset the timing, but at this altitude we don't have air, so why would it need SO MUCH FUEL? thanks.
-
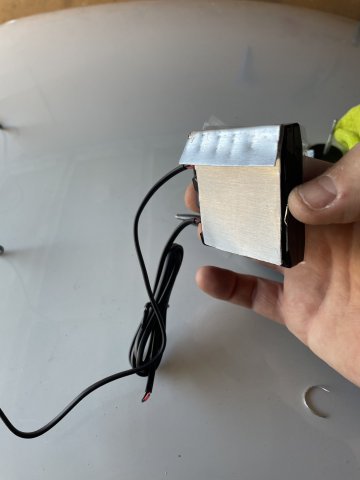
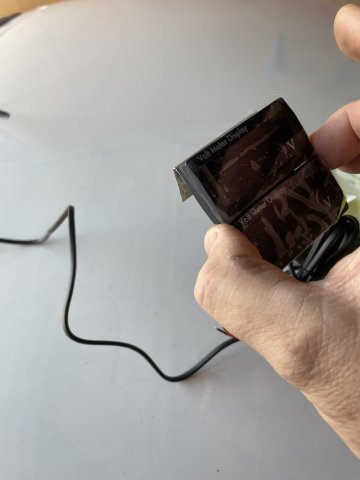
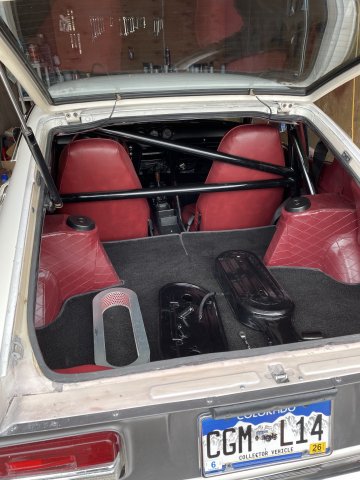
09-24-2023 UPDATE. I found myself doing a lot of little projects....I bought 2 volts gauges I wanted one gauge but they offered 2 for a low price, so why not? I made a bracket out of sheet aluminum, and mounted them just below the hazard switch on the dash. I figured I would wire the bottom gauge to read the volts on the ballast, but it didn't work, so more fiddling on that. I also went ahead and made a wiring harness for the remaining 4 toggle switches I have installed. I am in the process of putting in a fused secondary box for additional needs, and they will be trimmed out on that box. In so doing, I was also able to close up the dash and steering column for good. I painted my 2 rubber plugs for inside the rear hatch, and installed them. (see pic) Afterwards, I decided it was time to get her out and adjust the fuel mixture. I had to keep adding more and more.....I am currently 4.5 turns down on the fuel mixture screws, and she is still running out of fuel at 4K RPM and more. So, it looks like some "SM" needles are needed. I also hooked the vacuum advance back up and no issues.....so going down 2 steps on the NGK plugs fixed the issue (BP8ES). A lot of pics, to see below, Cheers!
-
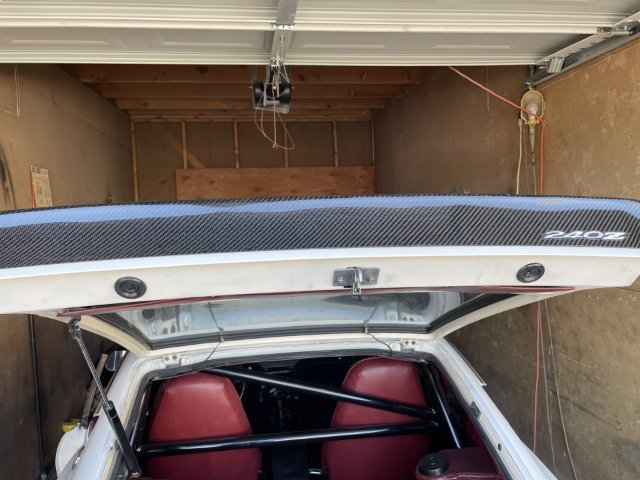
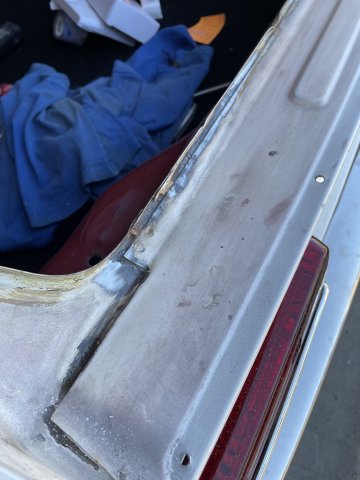
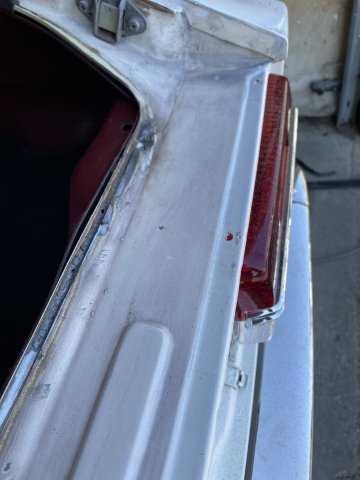
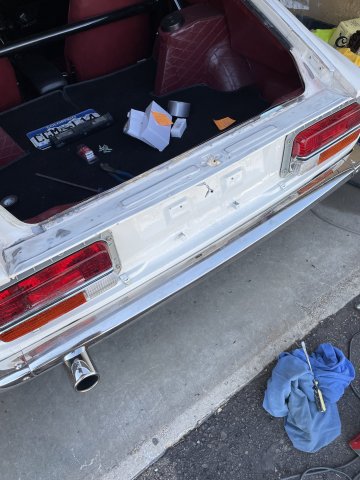
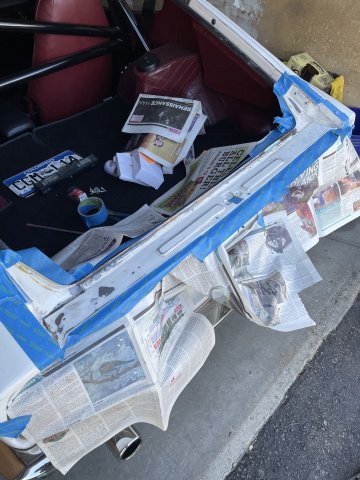
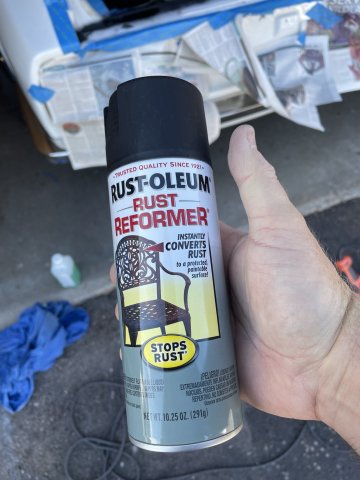
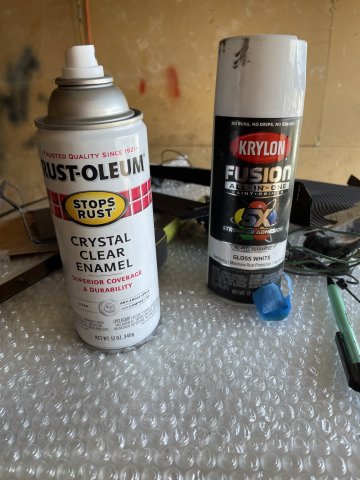
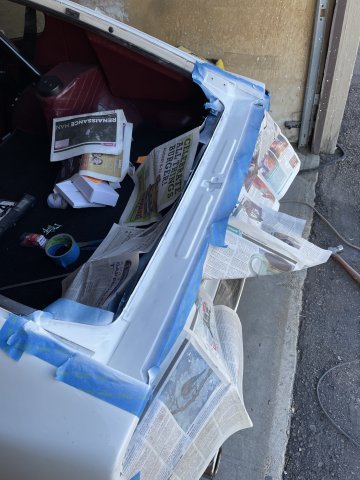
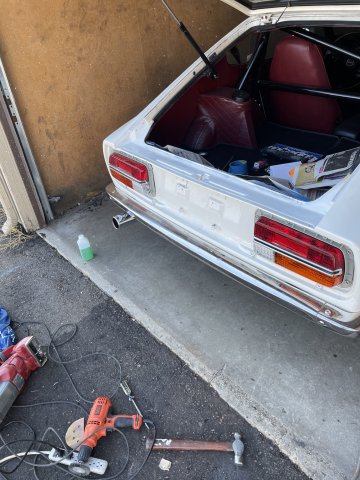
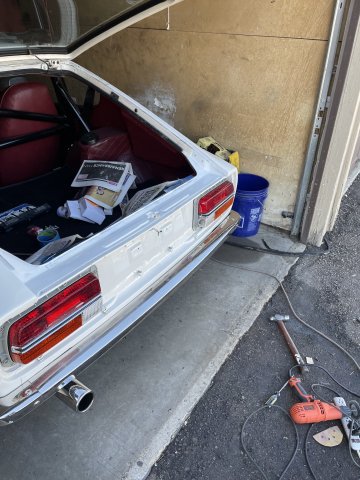
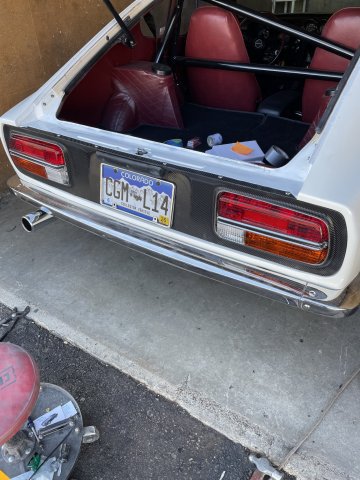
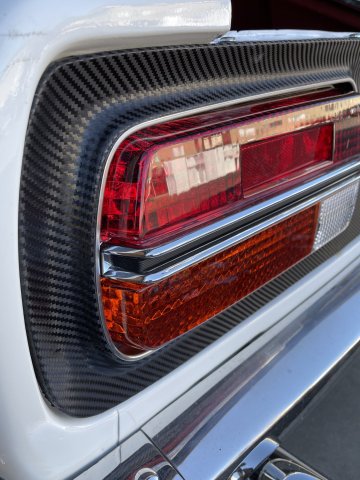
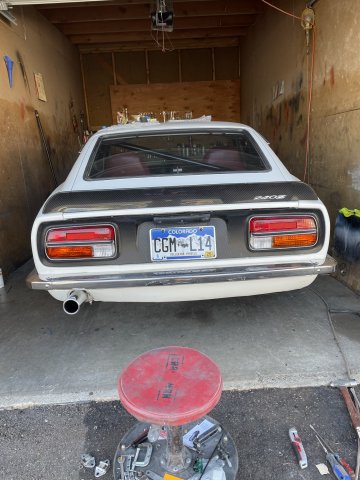
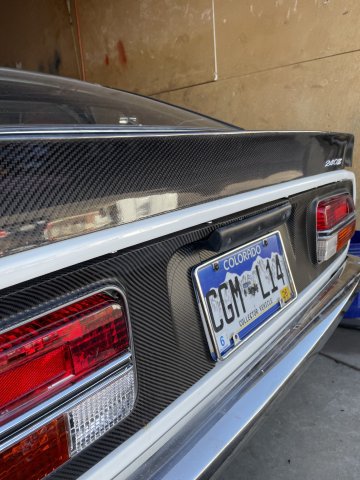
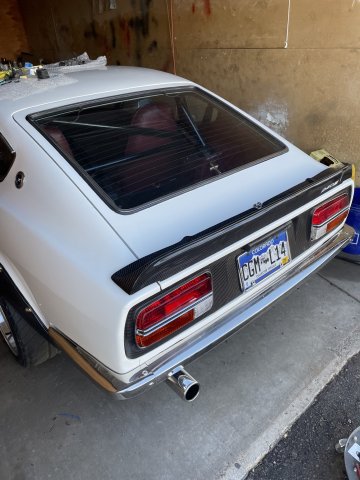
09-23-2023 UPDATE: Ok, so I went ahead and cleaned up the tail, sanded, dealt with a tad of rust, and got a fresh coat of paint on there. Then I installed the Tailight surround pieces that I had vinyl wrapped to look like carbon fiber. Then I spent time trying to get my wipers to work. I have the new Honda Wiper conversion, but the wiring isn't working. I may decide to just re-run the wiring for that. Small steps!
-
-
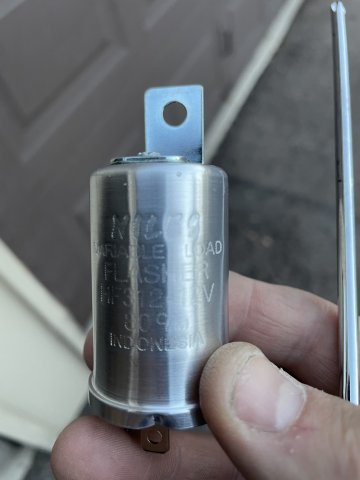
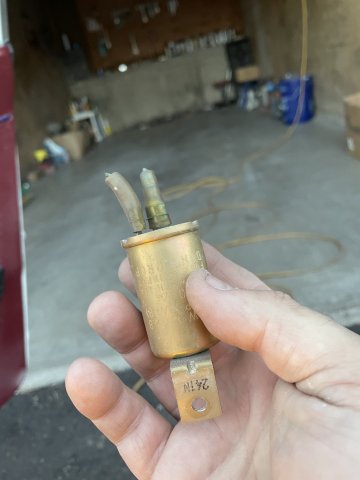
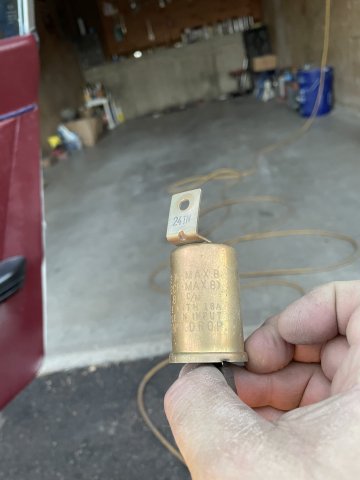
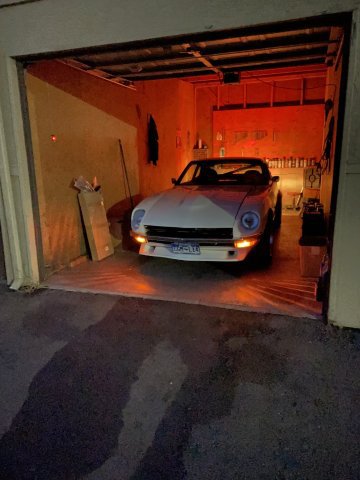
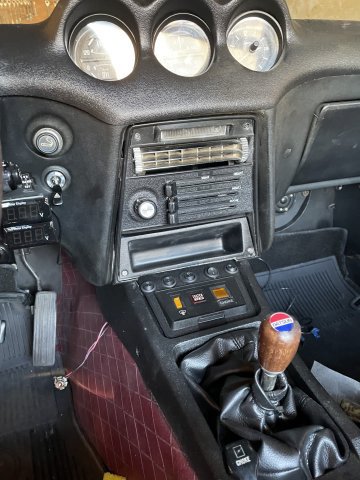
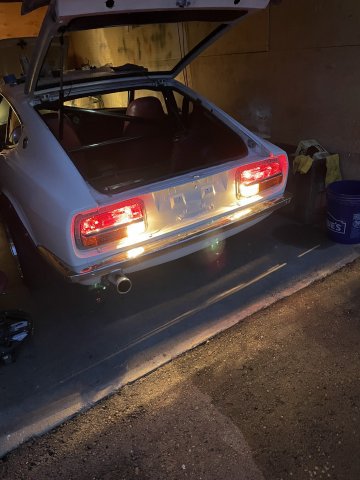
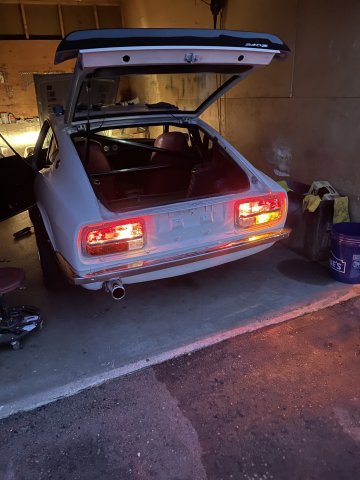
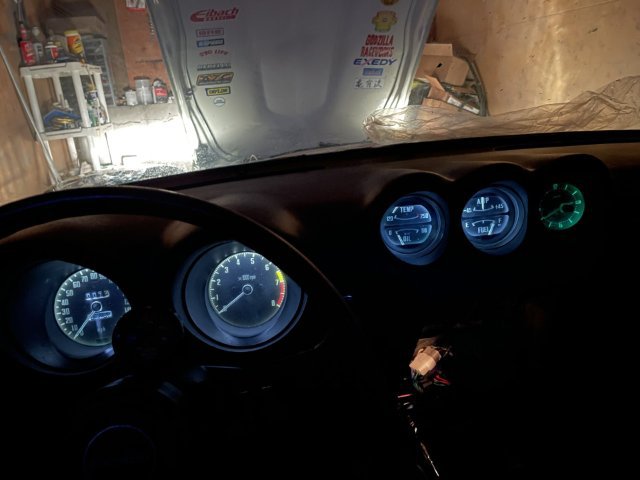
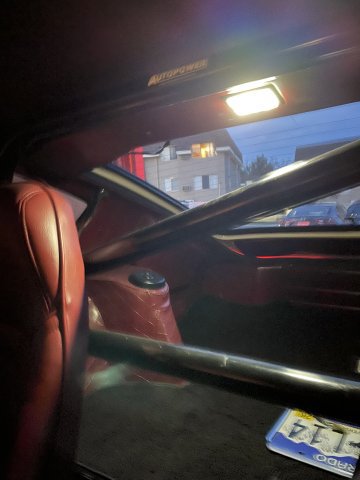
09-17-2023 UPDATE. All about LIGHTING. Today was about getting everything working. I only have the horn and wipers left....everything else is working now! I wired up the tailights, and found that even with a new reverse switch, the backup lights weren't happenin'......so I pulled a wire and put the backup lights on one of my toggle switches! I was finally able to close up the interior in the back and call that completed. Having installed my new hazard switch, I now have almost everything done. Hazards will not flash.....I realized the emergency flasher module must be bad.....so now I know what I need! My gauges are all bright from the LED bulbs I put in when the dash was out forever ago.....that darn clock still looks green....I need to go through the glove box and with a small screwdriver push the green filter out of the way....I mentioned about fixing the switch spot on my console with a swipe of caulk and some dirt.....then brush it away....below is a pic of it. I then took a small paintbrush and sprayed some of my SEM Landau Black into the cap and the carefully painted over the repair.
I then took some time to have a few beers and just look it all over and take some pics......for 2 + years it has been go,go,go....and it was good to relax, look it over and get a new perspective. The darn thing is really almost done. It has almost killed me. I have put so much of "me" into it, I can't imagine ever selling it. Cheers! Pics below:
-
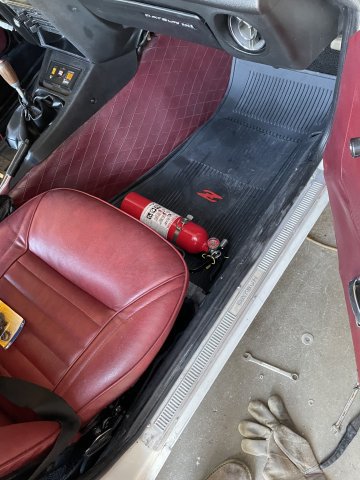
Better safe than sorry.
-
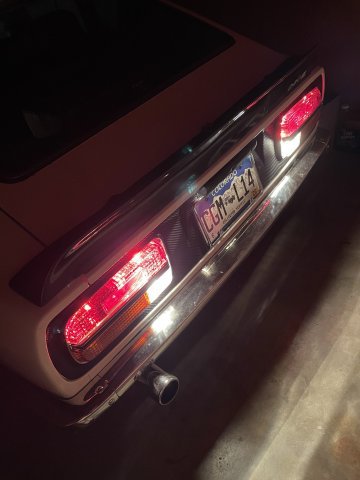
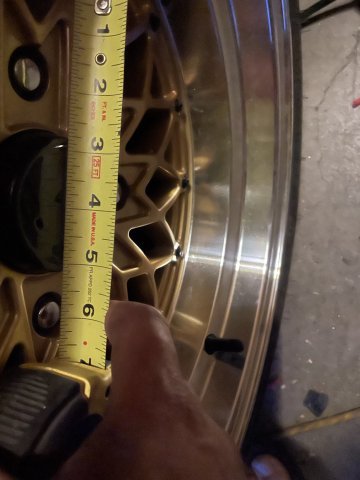
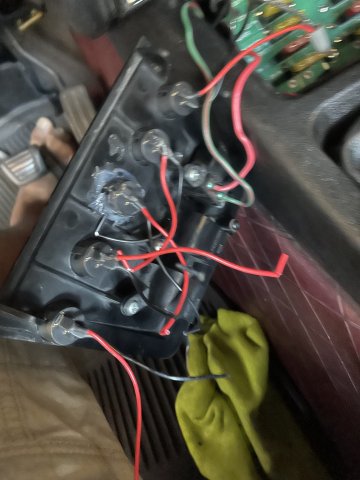
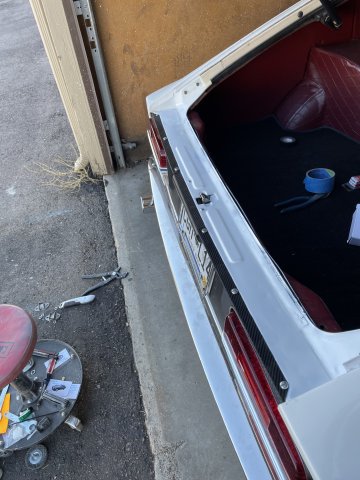
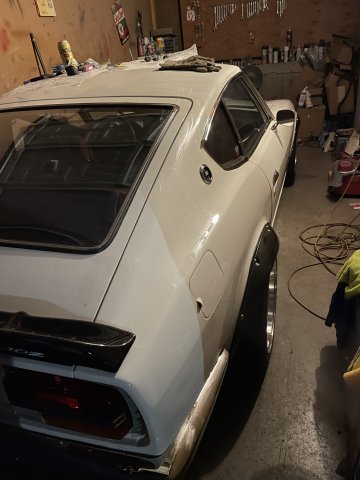
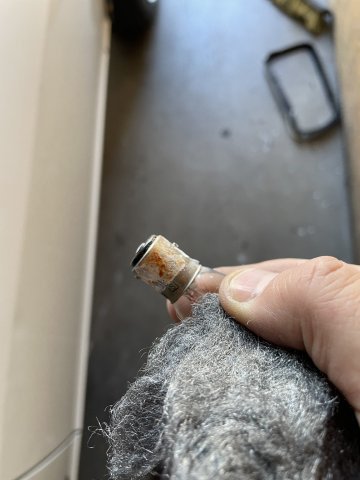
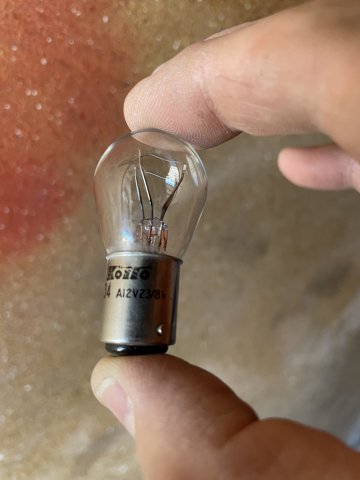
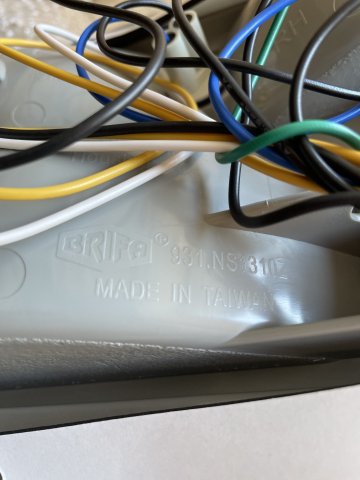
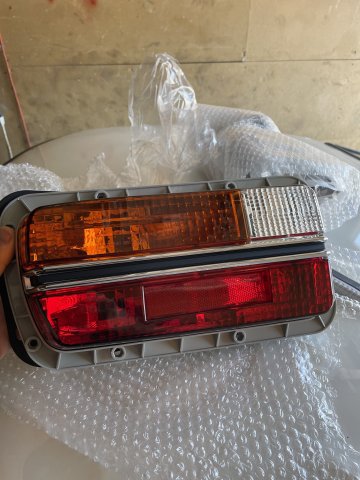
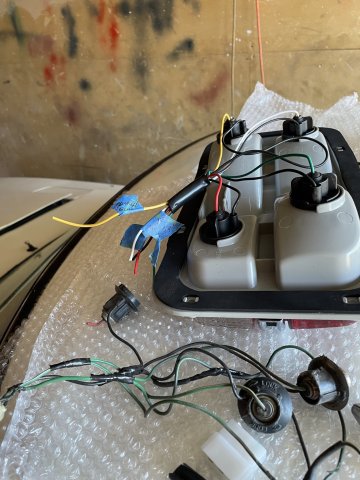
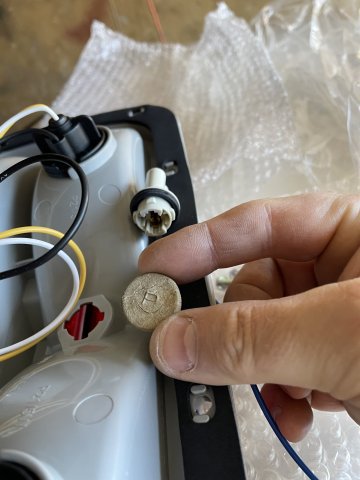
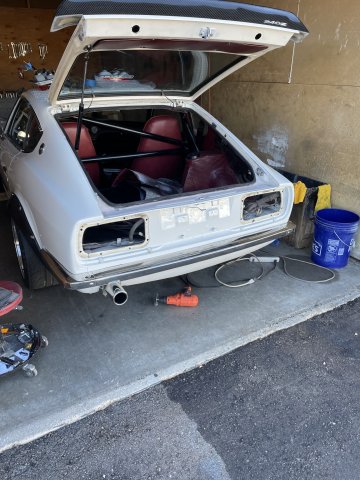
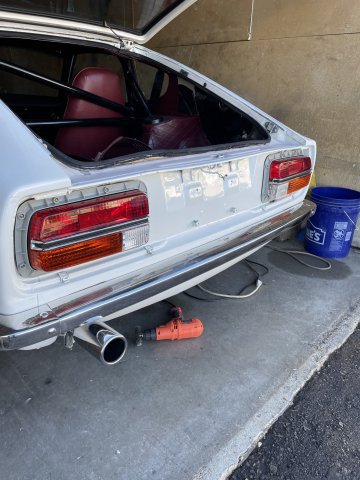
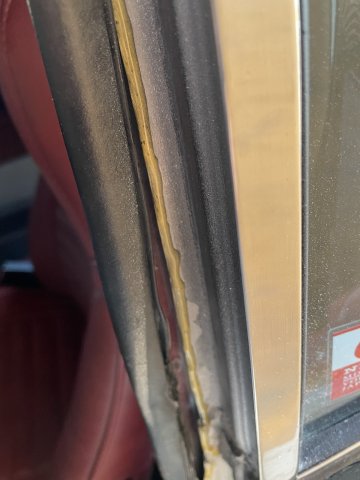
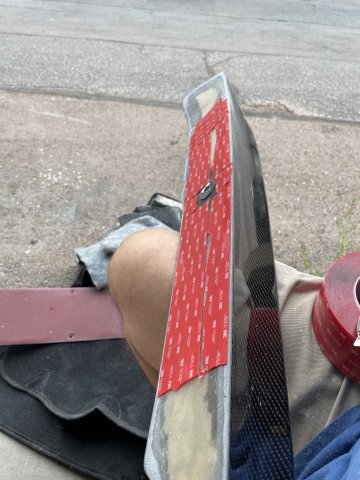
09-16-2023 UPDATE: Lighting work. I went ahead and removed the original tailights, looked them over and set them aside and unpacked the new Euro style tailights I bought. They are made in Taiwan, not China, thankfully. The tailights didn't come with bulbs, so I took the old ones out, and boy were they corroded (see pic). This corrosion causes increased resistance in a circuit, pushing voltage down and amps up, which is what burns stuff up on these old Z's....so if you haven't done so, get some fine steel wool and spend an afternoon cleaning up your bulbs and sockets (disconnect battery first)
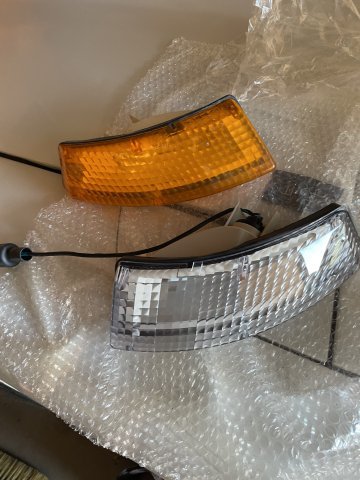
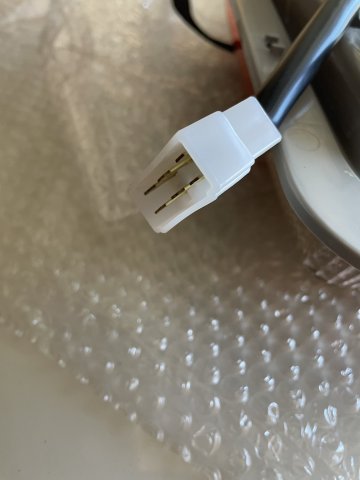
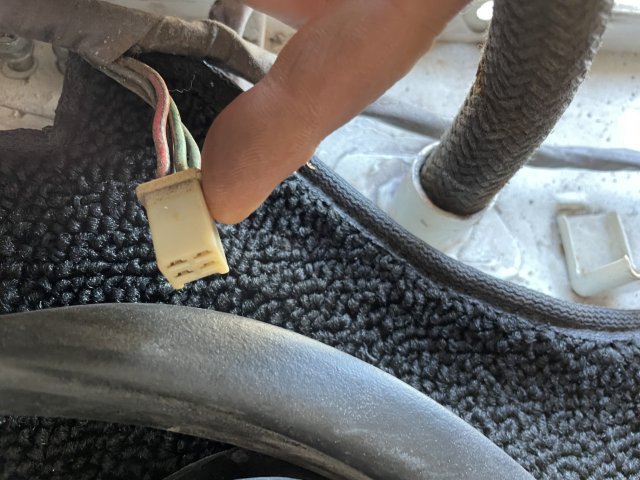
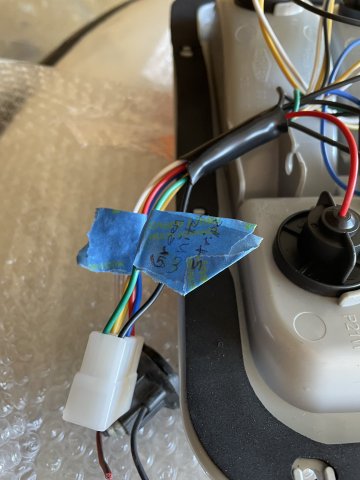
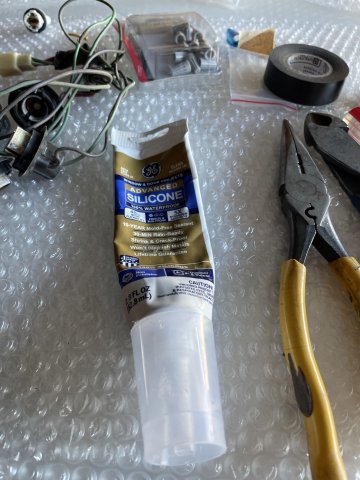
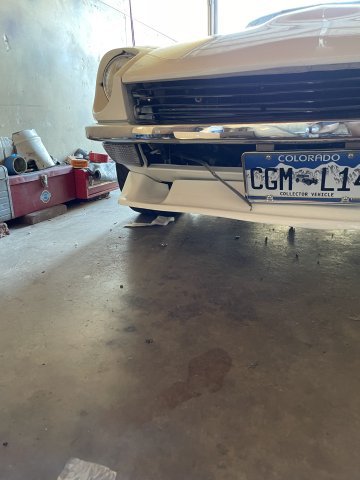
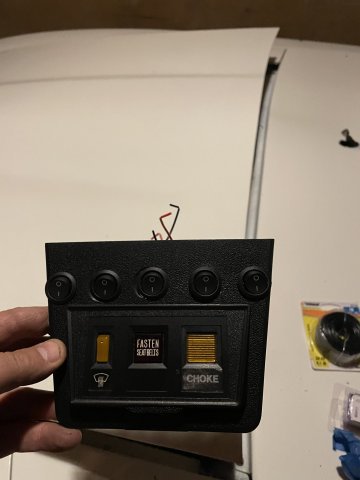
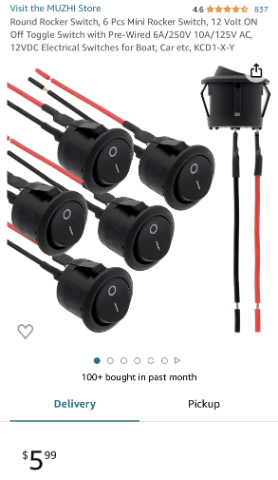
. Also of note is that the bulbs are the original Toico branded bulbs. I noticed that although they state these tailights are plug and play, for my car, they are not. I went ahead and marked each wire as it was colored on the original tailights, then cut off the ends. I will wire them in myself. This will be okay as I have to change the wiring a bit anyway, as I don't want the amber to come on with the brakes. I also went ahead and unpacked my clear front turn signals, which DID come with amber bulbs. I had to take a rat tail file and slot the rear holes a tad to get them on, otherwise easy work. Before I installed the tailights, I went ahead and put a bead of pure silicone caulk on the mating surface, and a couple of daylight holes I saw after tightening them down got a bit of caulk as well to keep exhaust fumes out. I ended up the day installing my 5 remaining round toggle switches into the console cover that fits over the fuse box. The center one's hole is a tad bit big, I put caulk behind it tonight to dry and tomorrow I am going to put a thin line of super glue, sprinkle some sand on it, brush it off, and mask and paint the cover with SEM Landau Black paint....once done the little bit that you see in the pic will be gone. Last pic is closing it all up for the night. God willing more work on the wiring tomorrow. PICS:
-
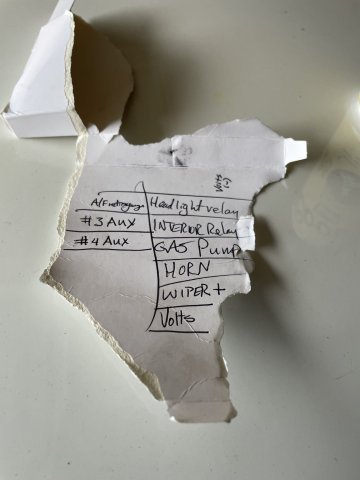
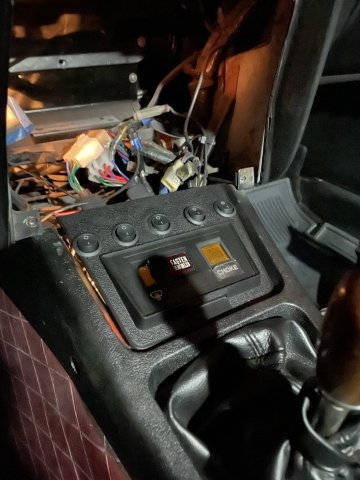
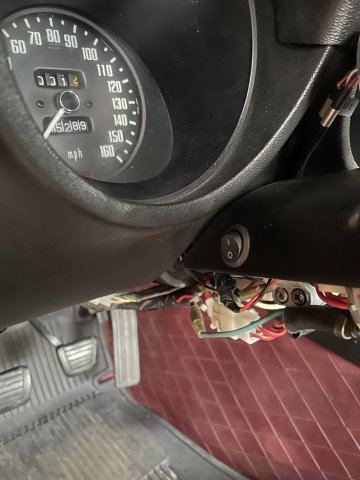
09-10-2023 UPDATE. Well, it looks like all the mechanical stuff is under control (finally).....other that beautifucation, electrical is what is left. The new Fuse box I ordered from MSA "The Z Store" arrived, and I took the time to get out my multimeter and record they way it is wired...what goes where, and ensured it is ready to go....no shorts. I then got it all installed, and began a check of what works and what doesn't. Most is working, but Some isn't.... so...more reading and figuring it out. Seems like my rebuilt hazard switch I bought a year or so ago is no good (no hazard lights flashing), and other things that aren't working may be a result of it being bad since apparently a lot of things are wired through it. I also installed the round switch I got for turning the AEM A/F Ratio gauge on and off. Works good. PICS:
-
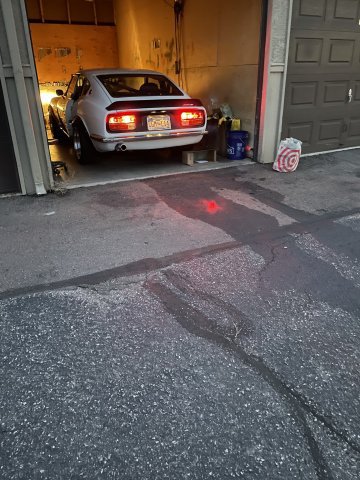
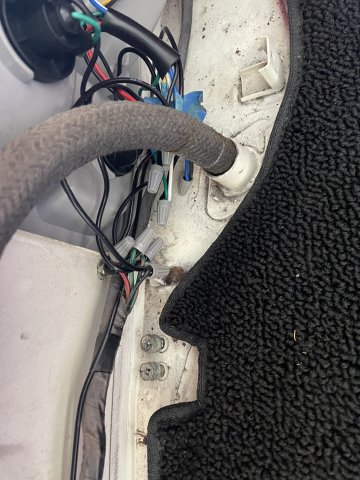
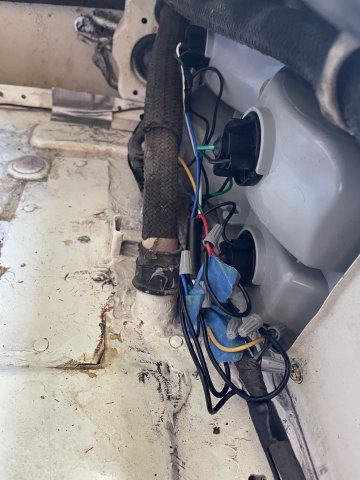
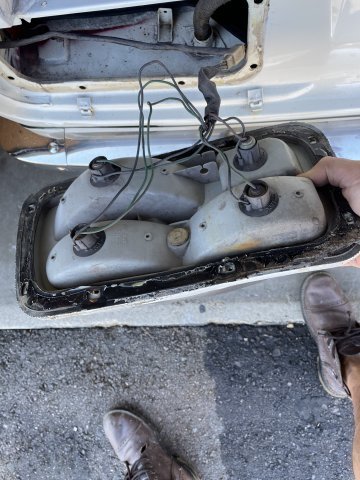
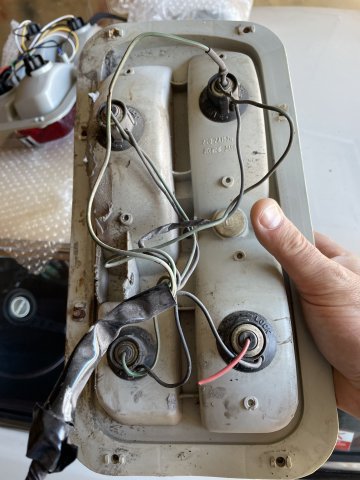
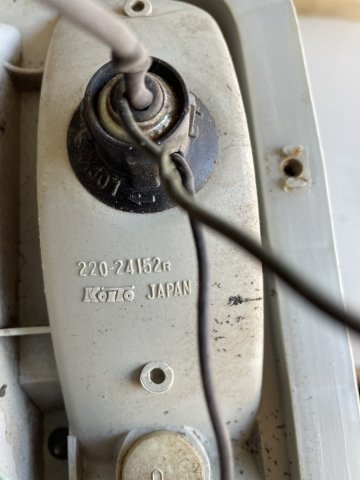
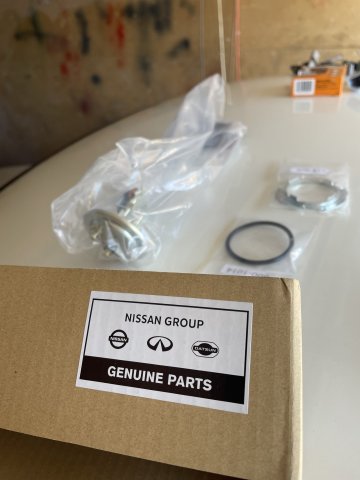
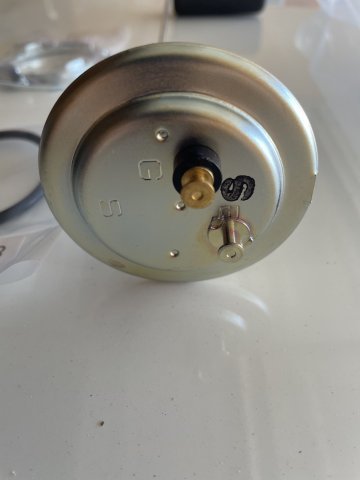
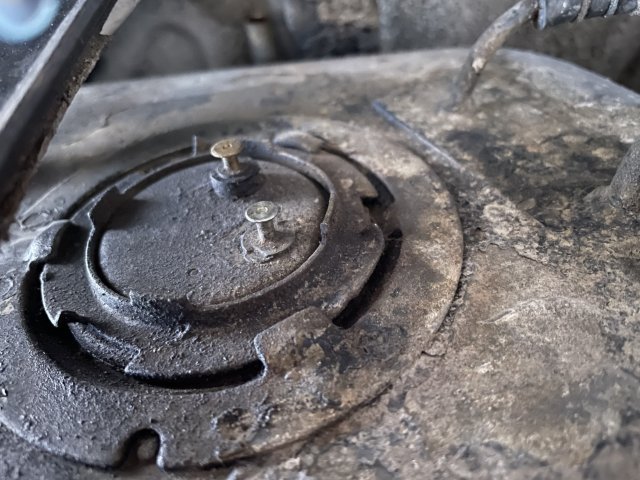
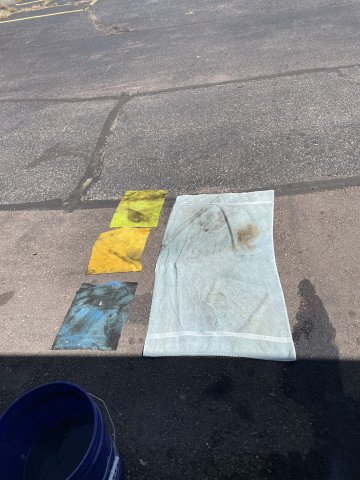
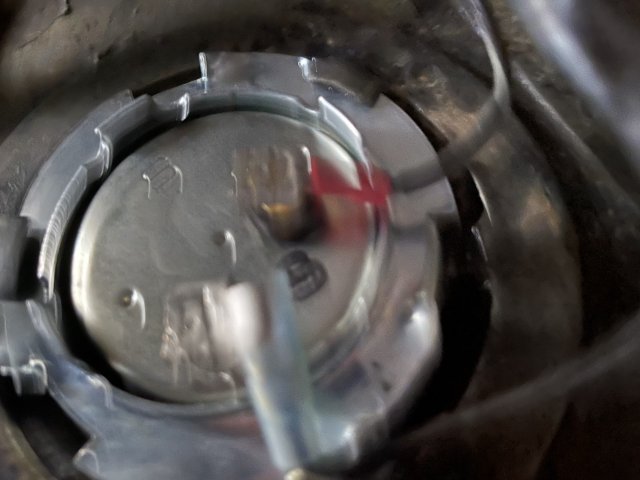
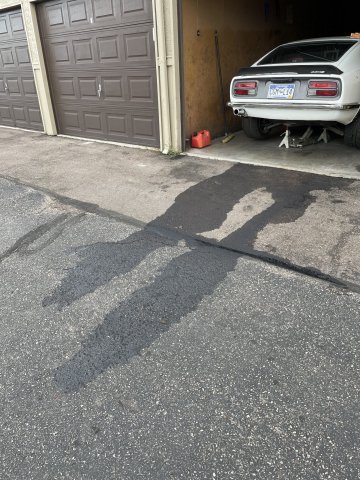
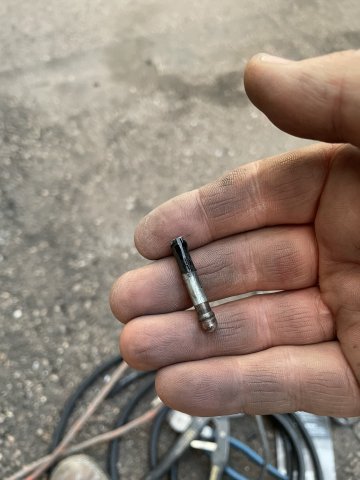
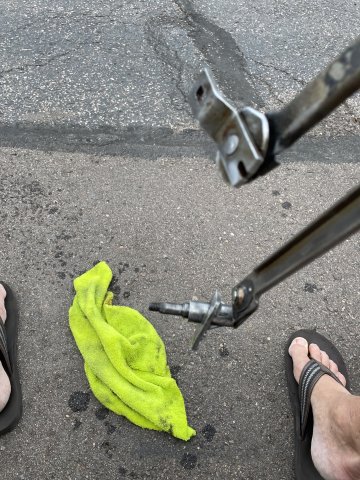
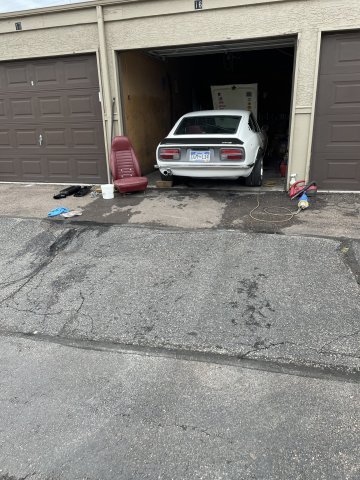
09-09-2023 UPDATE. Replaced my fuel tank sending unit with an NOS one, as well as a new O ring and lock washer I got from the Z car depot. No way to do this without getting gas everywhere. I had to mop up and put the towels in the sun to dry out, get the gas on the floor evaporated, and go in and wash up and change my T shirt. The gas even left a nice mark on the blacktop outside my garage bay!
 Anyway, I also went ahead and finished the fuel hose routing for the new fuel rail. Started it up, and went and fill it up to check the gause......Fuel gague works correctly!
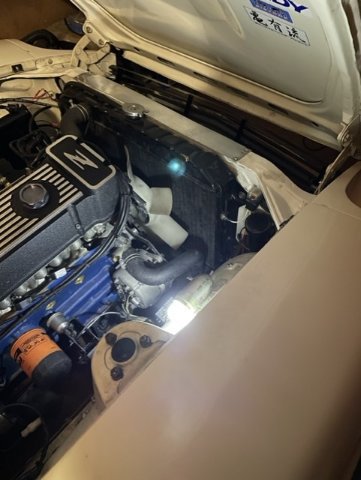
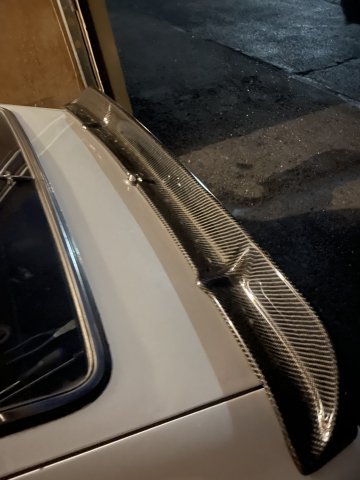
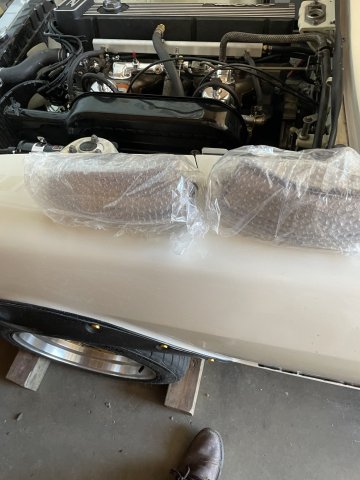
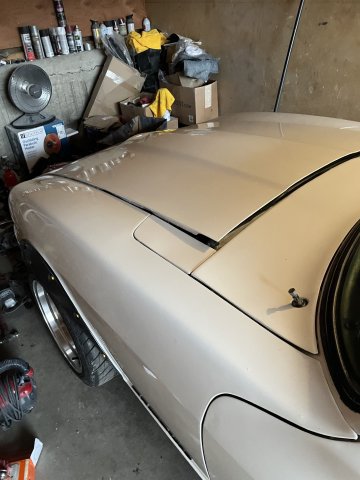
  So that's good. I got some hose and ran the carburetor breather hoses to the air cleaner, and then I also went ahead and finished polishing the hood. It glistens now like the rest. I opened up and inspected my new fuse box from MSA "The Z Store". Looks like a nice piece. Soon, I will install and then see what wires I need to re-run and eliminate the problematic ones. I went ahead and bought some new tailughts, the Euro model ones with the orange lense in the bottom, and new front ones in clear with amber bulbs. I think I will have my tailight surround wrapped in carbon fiber. PICS:
-
thanks. Its been a long journey. Tired.
-
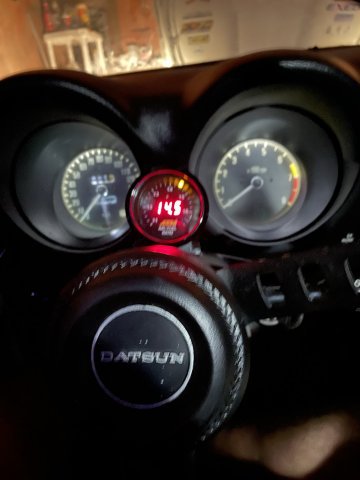
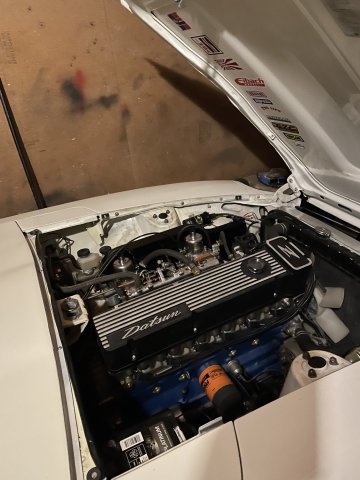
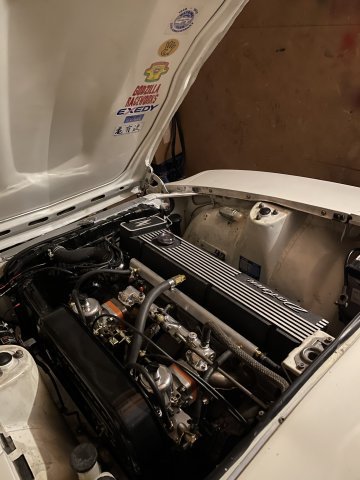
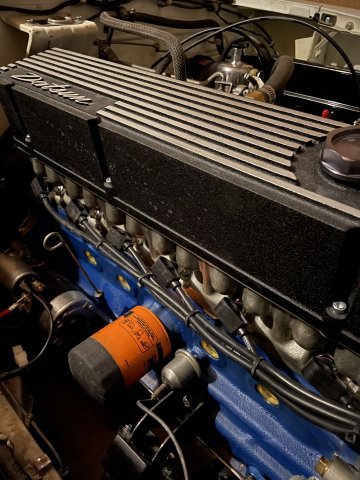
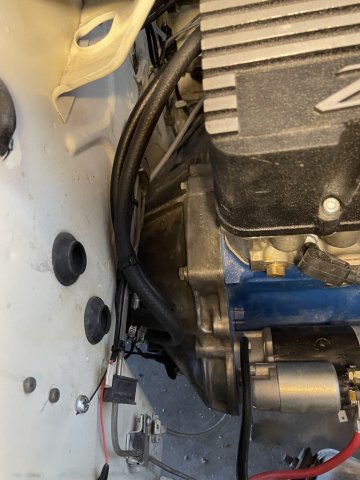
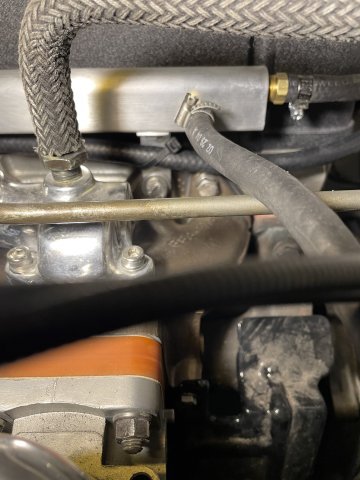
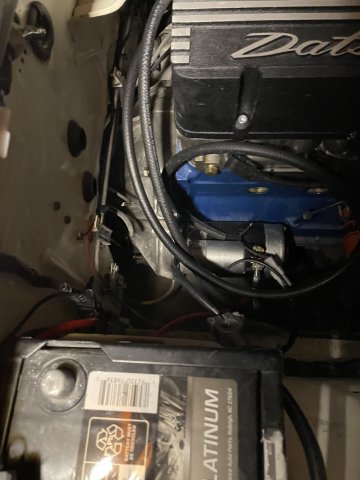
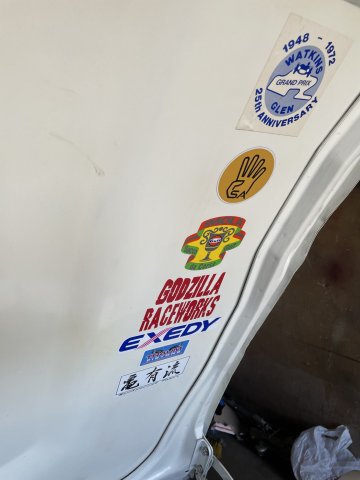
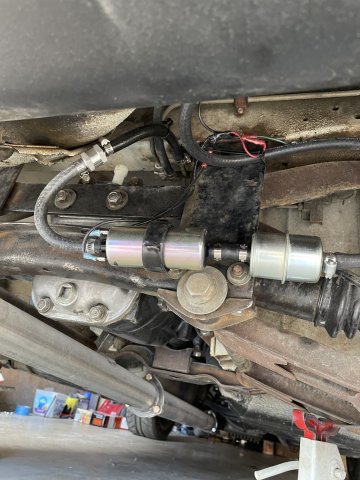
A few changes. I got rid of the mechanical fuel pump, and got a real nice black Z monogrammed cover plate, and went with a CARTER electric fuel pump mounted in the rear. The Mallory distributor was being very problematic
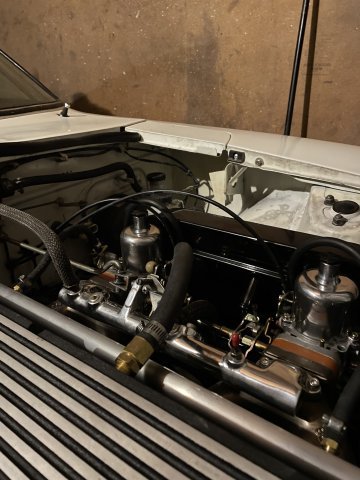
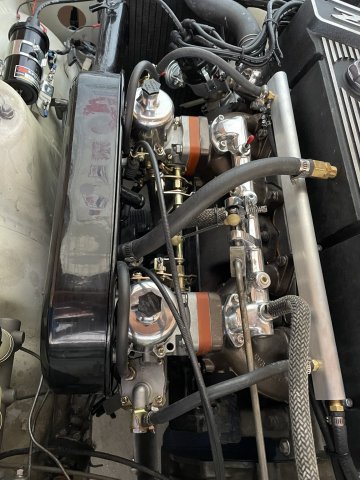
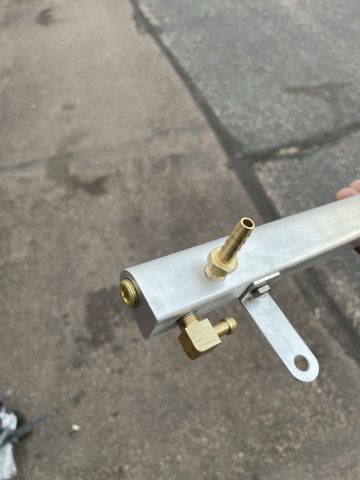
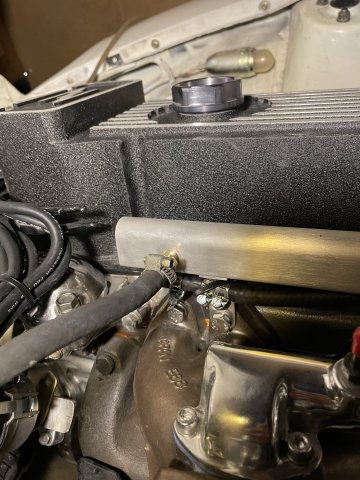
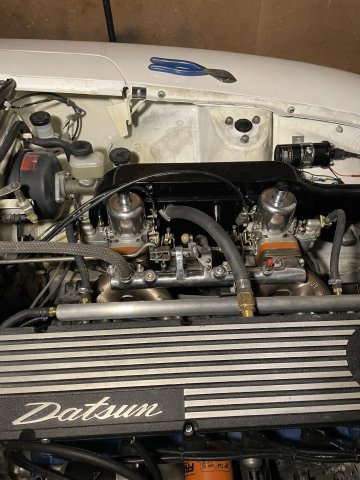
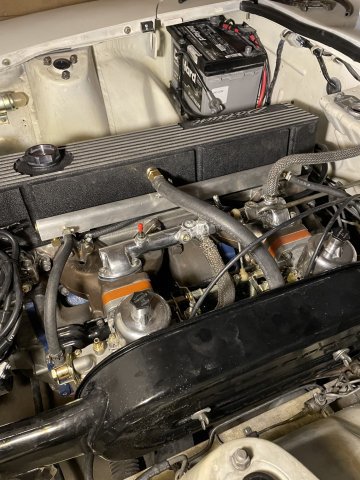
( 2 Mallory dizzys both blew the modules, so no more Mallory) so I switched to a eBay breakerless ignition, and I have gotten it running, and I installed an AEM UEGO A/F gauge to help with getting the tune better, but she definitely like fuel more than she did when she was stock! I then decided to go ahead and jump on the fuel rail project. I cut the hard lines next to the firewall and started putting the rail together. I put off the piece from the old rail, the return line, that is necked down to a very small orifice to keep the fuel pressure correct....well I cut that off, cleaned it up, and added it to the return line I have for the rail. Rail is made by Pallnet, available through Godzilla Raceworks, this one is made for SU's. My rail is set up so that the feed and return lines will be at the back of the engine to give everything a real clean look. A piece of the old rail on the front of the head is still in place holding the sprak plug wires until I figure out a good way to tackle that job. She runs great, but won't ahve any real powre figures for awhile, as I need to get the fuel spot on. Currently at 8 degrees advance with vacuum advance plugged off. Too much compression for it.
-
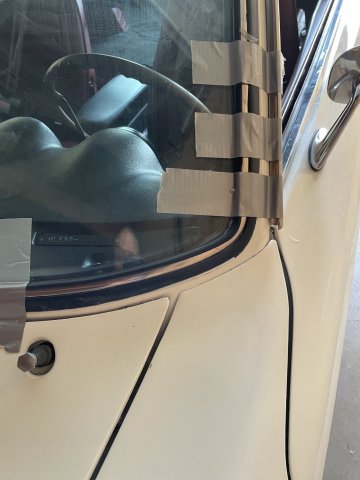
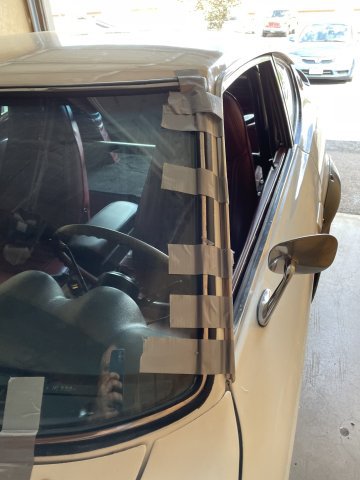
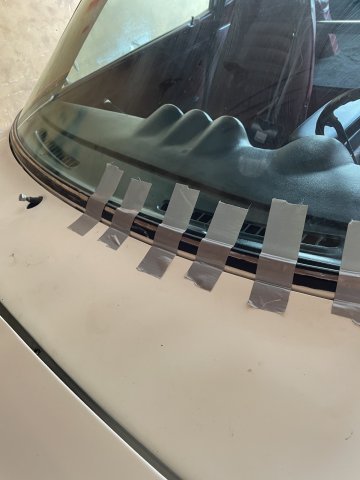
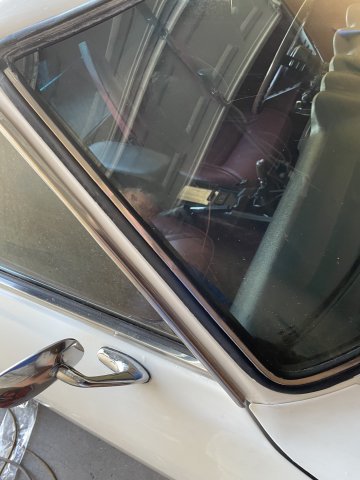
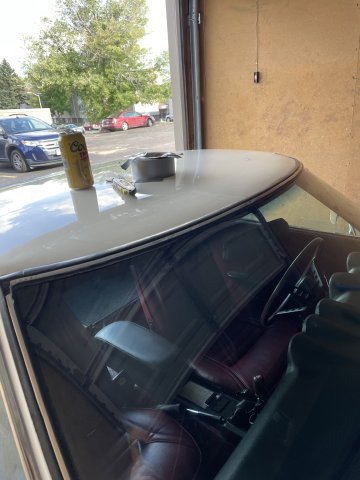
09-03-2023 UPDATE. I installed the remaining pieces of my windshield trim and have some duct tape holding them tight overnight while the pure silicone caulk dries up. Then I used gorilla glue, water and clamps to glue on the parts of both doors weatherstripping that has always ben a problem. Problem solved.
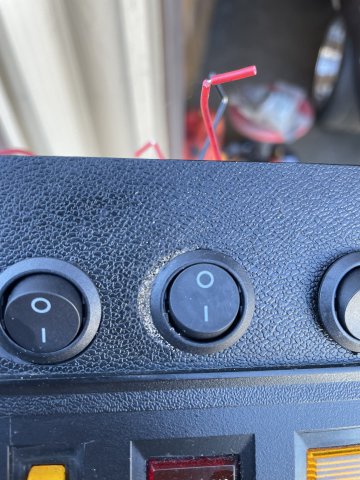
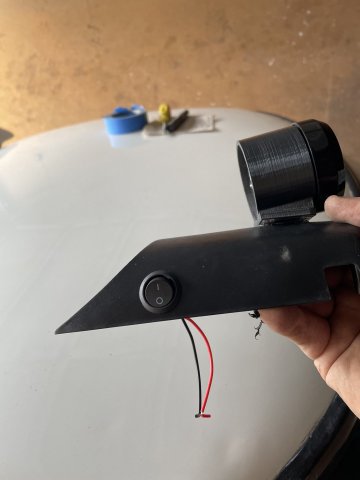
I then started on the building of a plate with 2 switches I have...one will be to turn the Wideband on and off...the other will be there if I need it down the road. I painted it, and everything was well, then the paint got screwed up, so I will have to unfortunately redo that small piece....then find a good place under the dash ( to the left of the steering column preferrably). I then decided to go ahead and jump on the fuel rail project. I cut the hard lines next to the firewall and started putting the rail together. I put off the piece from the old rail, the return line, that is necked down to a very small orifice to keep the fuel pressure correct....well I cut that off, cleaned it up, and added it to the return line I have for the rail. My rail is set up so that the feed and return lines will be at the back of the engine to give everything a real clean look. A piece of the old rail on the front of the head is still in place holding the sprak plug wires until I figure out a good way to tackle that job. I ordered an NOS fuel tank sensor and arm setup, along with a new spin on retaining ring and a new O ring. That should cure the leak AND give me a fuel gauge that reads correctly. The setup I have is way off. Progress continues. Pics below. Cheers!
-
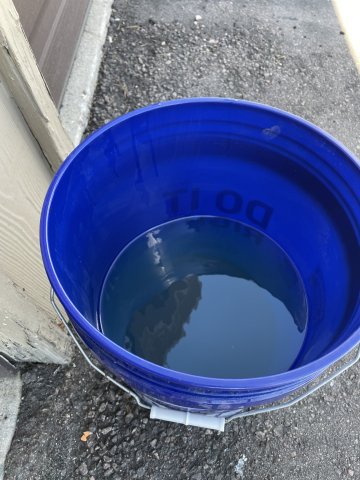
09-02-2023 UPDATE: I installed the AEM "UEGO" wideband air to fuel ratio (A/F) gauge to start off. I had to do some light sanding to get it into the pod I bought on eBay.......works good. I then got the car started and drove it to the gas station.....carbs were out of sync, but otherwise great! I topped it off with 91 and it started leaking out of the fuel sensor hole. So I drove it home, jacked it up and got a bucket under the leak. It's always something huh? :) I went ahead and synched the carbs again and used the UEGO to get the mixture ok at idle.....10-11.0 to 1 at 800-900 rpm, good enough for now. I then put the air clener and everything back on, and started on the remaining windshield trim. Got dark and called it a day. PICS and a link to video's below.
Videos: Click "Facebook" link below
-
UPDATE: All video. this site doesn't like to load them....below is a link:
-
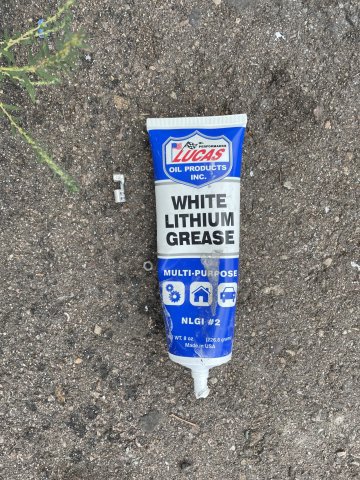
08-26-2023 UPDATE. Carbs and stuff. I started with taking the carb tops off and the float tops off and the banjo fuel pipe and cleaning out all the filters and blew the jet out, and then reassembled. Still, no start. Checked my fuel gauge, still beween 1/4 and 1/2 tank....hmmm.... Went back and started palying with the fuel pump and filter.....is the filter clogged? I went ahead and took it apart, then ran to the parts store and got a new fuel filter, this time a clear one from WIX, and a couple hose clamps. I must have assembled it every way possible, to include crossing the wires to get the pump to run backwards, nothing. Then I thought.....MAYBE my fuel gauge is lying to me?......I went down and got a gallon of 91 octane and poured it in....turned on the pump it started filling up, and the car started! It sure didn't want to...... must have been clearing out excess fuel in the cylinders or smoething, got a pop and a bang and flames out the throat of one SU ....then started idling! Running REALLY well on one SU, the front one and the back appeared to not be doing anything....yet it was firing on all cylinders....weird. At any rate, it runs AND my fuel gauge is not to be trusted. So after that, I took a break from that, and jumped on the windshield wiper project. The spare set of linkage I bought came in, and I took the cordless drill with wire wheel attachment and got the rust off. Then I sprayed it down with engine degreaser, and wiped it down with a rag. Grabbed my Lucas White Lithium grease and greased the joints up and re-insinstalled. So, now it is all hooked up, and now have to get power back to it. Hoping it is just a blown fuse, we shall see! Becasue I have a cowl panel with no vents, the areas will receive no water, the wipers are there for emergencies sake and possible future issues with the car being deemed "legal"...not sure, but the thought came to mind, so I decided to be prudent. My back carb has a bad leak at the bango fitting, the old crush washers don't want to do their part anymore.....I wonder if that could be the cause for a weak performacne from that rear carb? Time for some new crush washers and then hopefully synch the carbs, set the timing and voila! I DID notice that my colder plugs eliminated the pinging! 2 steps colder on the plugs with the gap closed to .031 seems to have done the trick! The puzzle continues! Pics:
-
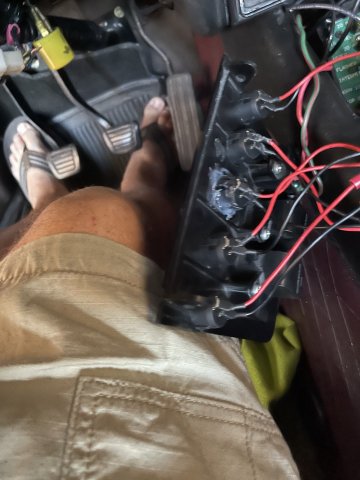
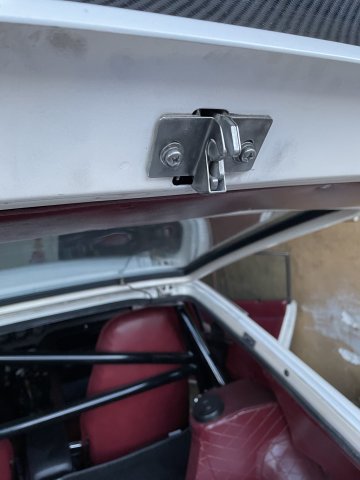
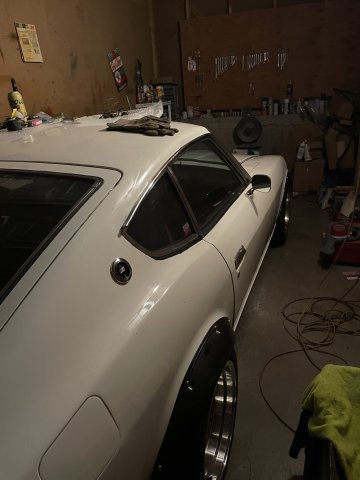
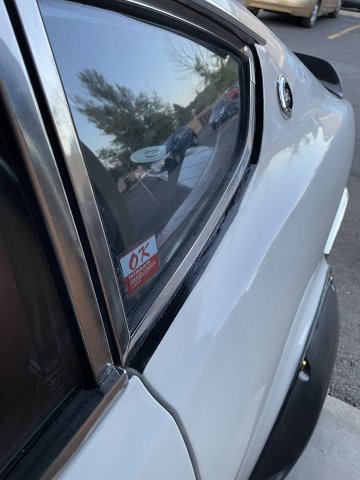
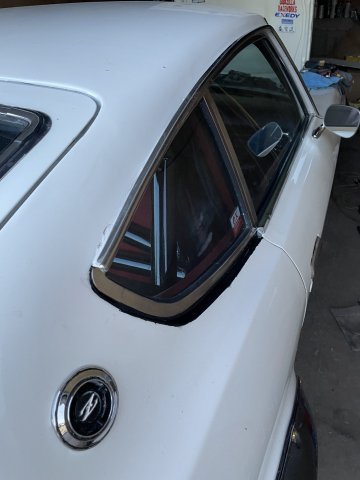
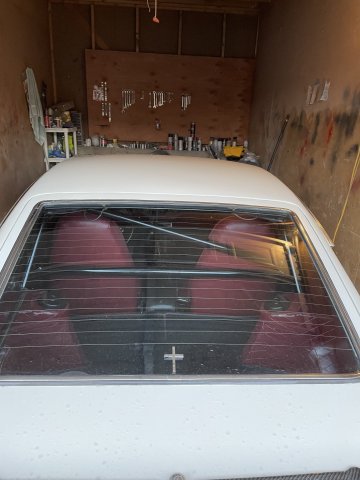
08-20-2023 UPDATE. Busy day! I went ahead and started on the engine for a bit....verified I have spark to the dizzy....no spark to the plug....So I swapped out the dizzy and tried again....NOW I have spark to the dizzy. I went ahead and pulled the plugs again to verify gap at .031 got it all together....still wouldn't start. I sprayed some starting fluid in the carbs and it started on it !!......so even though I have fuel flow to the carbs, the carbs are plugged somehow so I will have to figure that out. So anyway, I went ahead and got my fire extinguisher remounted, and cleaned the windows inside and out. I sanded down the inner lip on the quarter windows, then I taped it off and sprayed it gloss black. The paint in that area was NOT good, so this is a "fix". Once hardened, I will use some 2000 grit to smooth up the line. I also went ahead and lubed up my brake and clutch pins on the pedals, and got the pedal stopper in so I can fine tune pedal height. Small steps forward today.
-
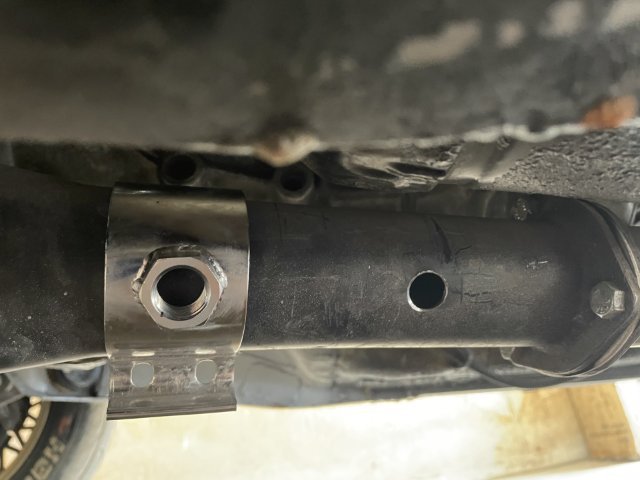
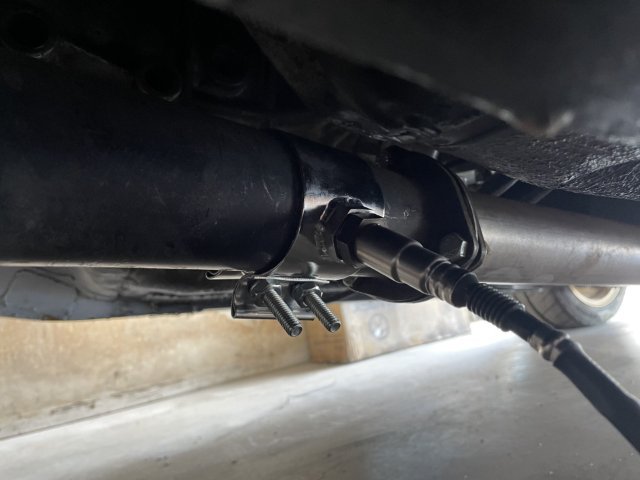
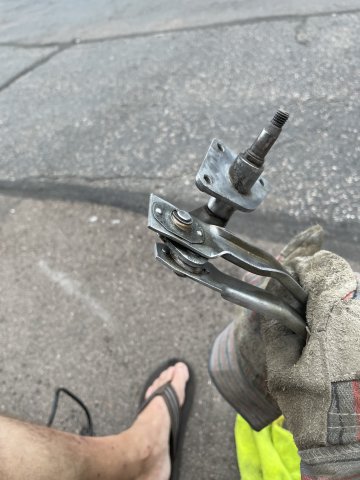
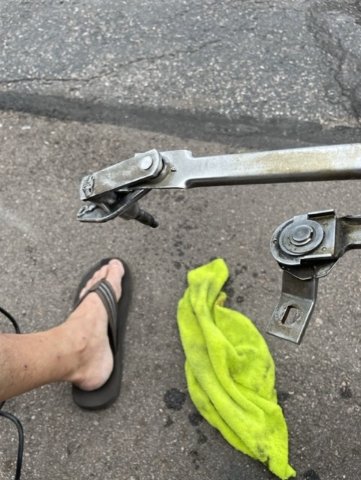
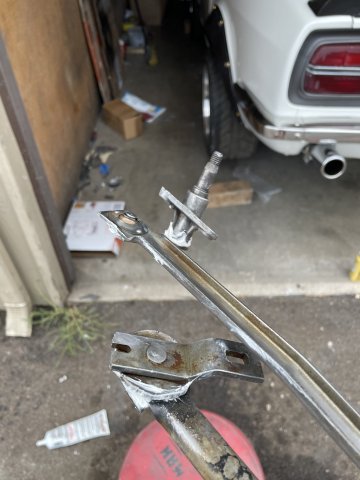
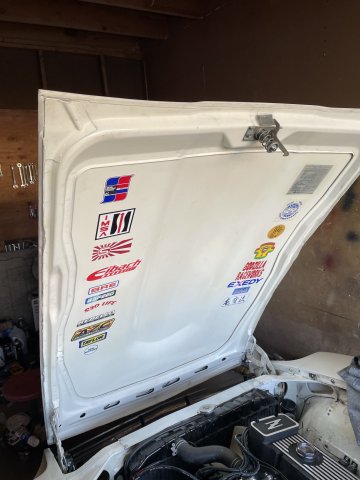
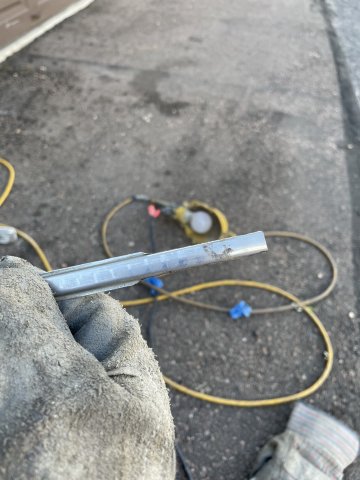
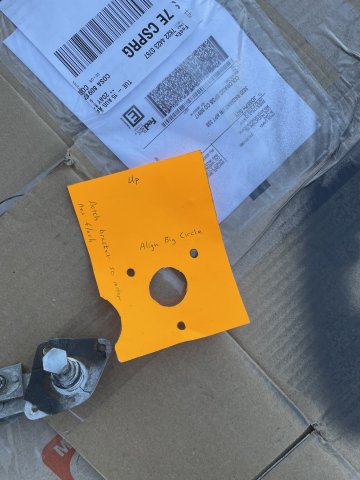
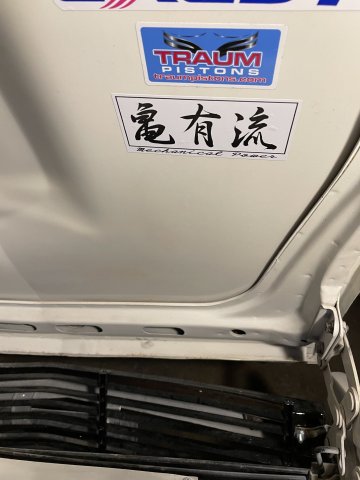
08-19-2023 UPDATE. I installed a new coil and a new ballast. Tried to start, no start. Disconnected the coil wire and held it to head and cranked....nice big spark....check fuel flow, good fuel flow, so I am wondering if a bad ballast can make a coil go bad, can it make an electric distributor go bad? I have a spare distributor, I will try that next. After that I began the process of getting the stainless trim into my windshield weatherstripping. To get it to fit I had to trim off the wings on both sides, which actually still leaves a bit for the rubber to hold on to on both sides, PLUS I ran a bead of pure silicone clear caulk in their as well. I ran out of trim, so I had to stop on that for now, and then jumped on the Windshield Wiper motor. It is a conversion to a modern Honda Wiper Motor. I bought it on eBay as a kit as it is already converted, and came with a rubber cover over the motor as well as a schematic on how to modify the bracket to work. So after I took everything out of the cowl and vacuumed it out, I went ahead and modified the bracket and painted it black, then mounted the new wiper motor to it and installed it.. The Arms that connect to it are rusted firm against the ends, so I will have to try PB blaster, heat, or replace them. I deleted the windshield wiper fluid tank and motor, so this will be set up so if I needed the wiper in an emergency to get home, I could use them....or just leave the wiper blades off until I am forced legally to put them on. Not sure which way I want to go on that. My Kameari sticker arrived and it is under the hood as well. PICS:
-
08-13-2023 UPDATE. Fuel pump in, odds and ends. I finished the carter fuel pump install, and she really pushes the fuel! A lot quiter than the K&N pump i had was. Then I went ahead and repainted the fuel tank where some white overspray had gotten on there....now it looks so much better from the rear! After the install, I tried to get her to start...plenty of fuel but no spark....so I will have to look into that I suppose. I then spent some time ust putting all the little things back together, and tightening things down, etc. I took a few pics.
-
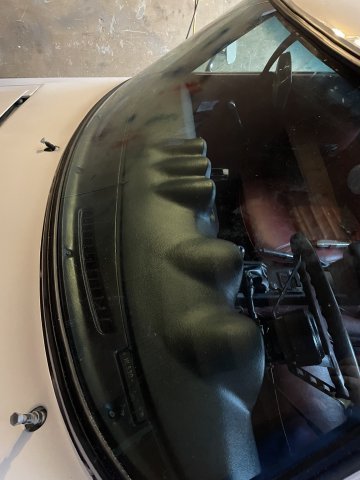
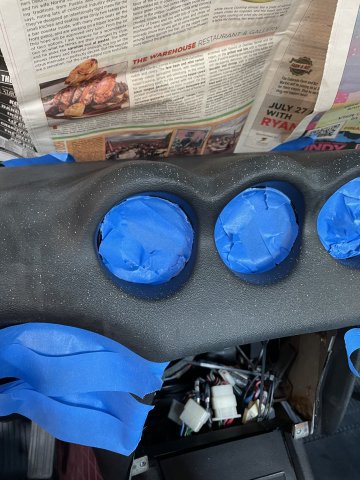
08-12-2023 UPDATE: Finishing things up, little by little. My dash cap had a lot of overspray, and wiping with alcohol wasn't doing a thing, so I masked it off, and wiped it a couple times with a clean rag and alcohol, and sprayed it with SEM Landau Back interior paint. Then I masked and sprayed the console and shift boot as well, as the little white dots were everywhere, including my rear strut covers, so I painted and reinstalled them. After that I went ahead and drilled out the holes for the 1/4" thick steel plates that go under where my rollbar holes are to help support the rollbar and cinched them down. I then went ahead and poured some octane boost into the fuel to deal with the 88 octane issue and my high compression engine, and then also went ahead and isntalled a new set of NGK BPR8ES plugs, which are 2 heat ranges colder to help with detonation. I went ahead and gapped them at .031 which should give me reliable spark. I capped off the vacuum advance for the engine, as the engine just has too much compression to deal with ANY added timing. Lastly, I started the install of my Carter fuel pump and filter. I removed the old pump, and got the new pump about 90% done. Tomorrow God willing, I will install a one way check valve right after the pump going to the engine. This will make it so that there is less waiting for the pump to deliver fuel to the carburetors. Progress is being made, and completion is very near. Pics
-
-
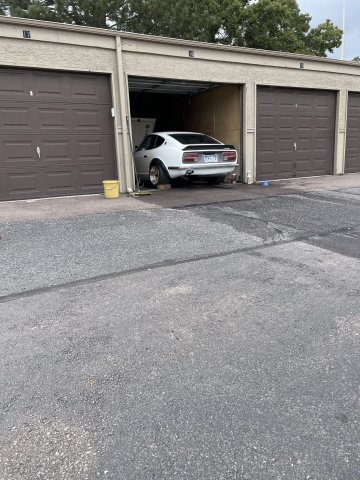
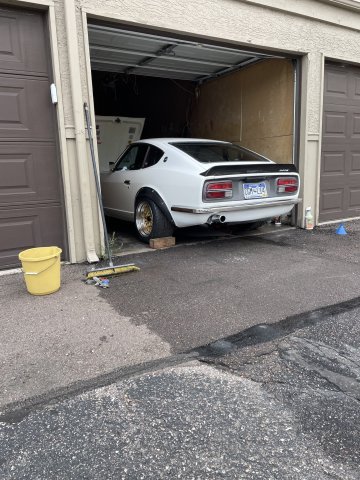
08-06-2023 UPDATE. CLEANING! Before cleaning, I re-attached my rear spoiler, and used 3M double sided tape to help the 2 bolts that hold it on. Then it began.....I washed the car, then washed the engine, then cleaned up and put the interior back in. Tiring work....PICS


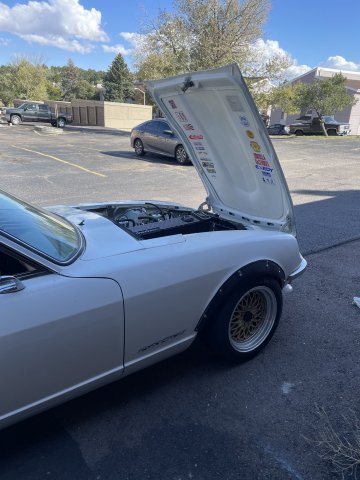
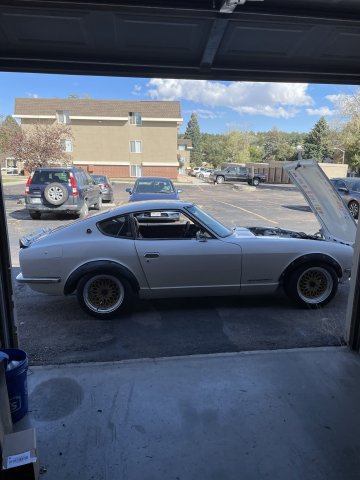


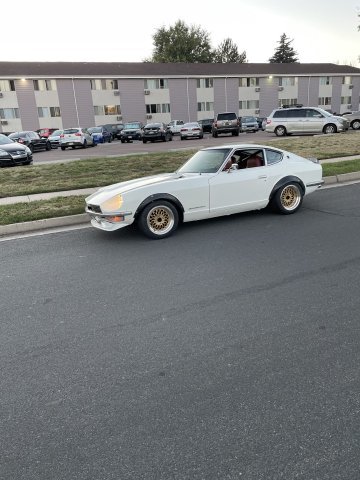
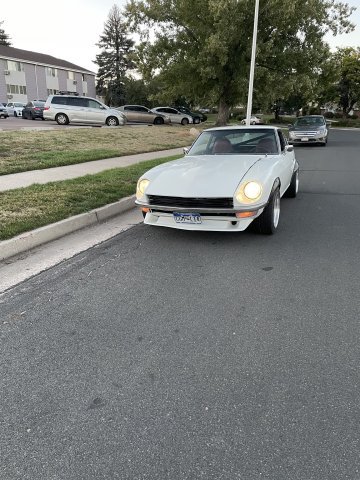
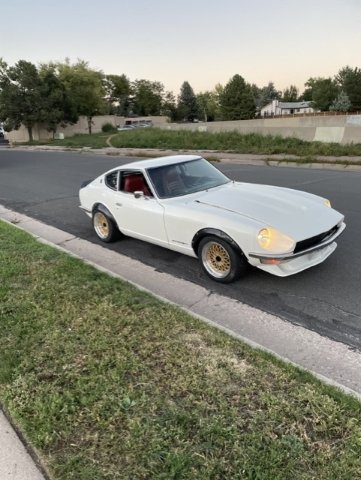

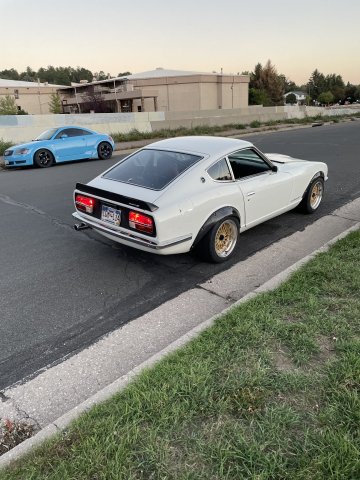
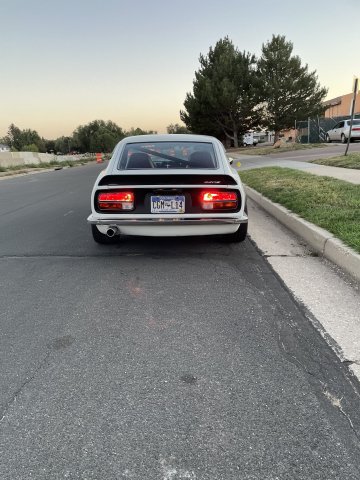

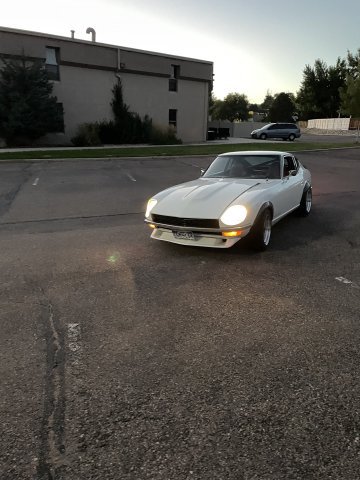
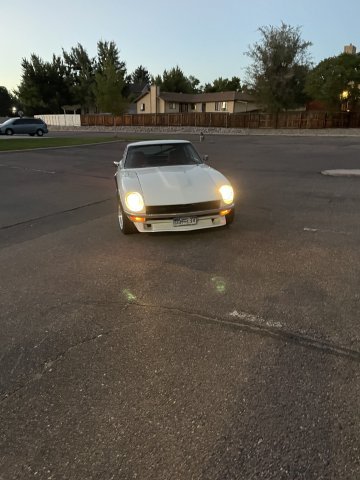
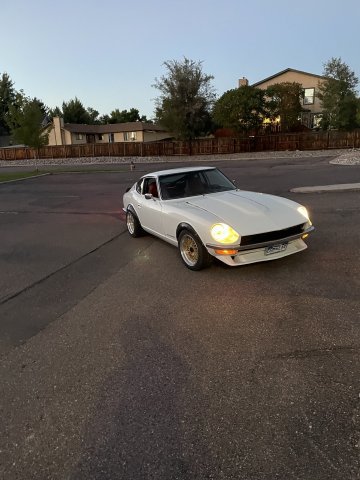


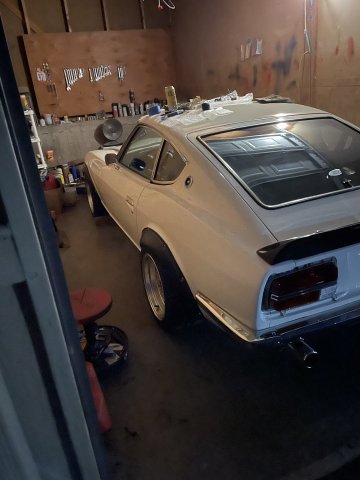


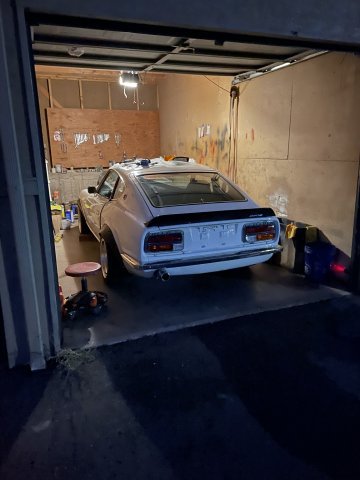


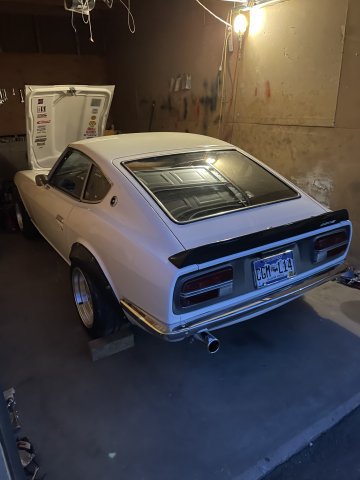


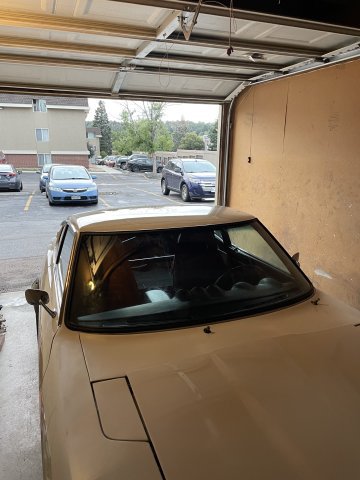


Joe's 1972 240Z adventure. // 16 JUN 21 - 13 Jul 24 // 3 years 27 days build
in S30 Series - 240z, 260z, 280z
Posted
10-08-2023 UPDATE: I painted the steering wheel and it went horribly! I had to set it to the side and let it dry while I worked on other things.....later I coated it in filler primer and let it dry, and then sanded it smooth, and then painted again, came out GREAT! I took the center horn button, and removed the center piece, and wire wheeled all the paint off. it is a solid chrome piece. I mounted it as is to see if I liked it this way, or should I paint and then carefully scratch the paint off the letters and ring.....anyway, I also repainted the passenger door panel and arm rest and while apart I white greased the door latching mechanism like I did with the other side and then put it all together. I also managed to do a lot of odds and ends, little clean up here, clean up there. I am just closing up loose ends, as the finish line is withing rock throwing distance now. PICS: