

A to Z
-
Posts
683 -
Joined
-
Last visited
-
Days Won
6
Content Type
Profiles
Forums
Blogs
Events
Gallery
Downloads
Store
Posts posted by A to Z
-
-
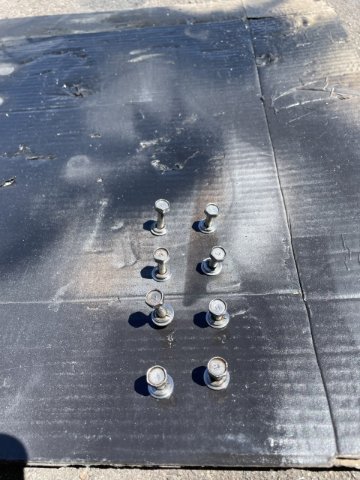
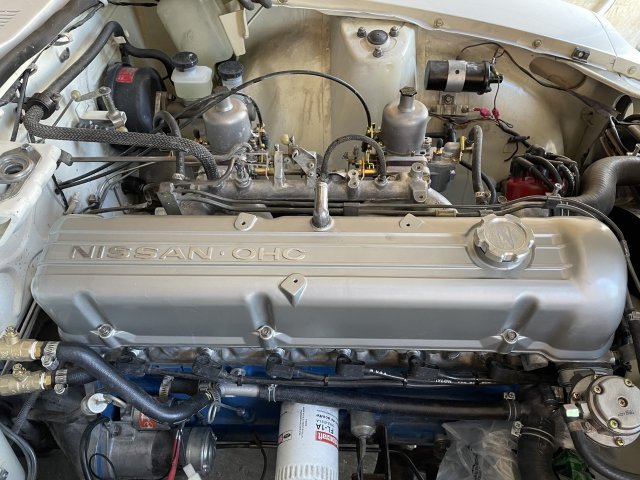
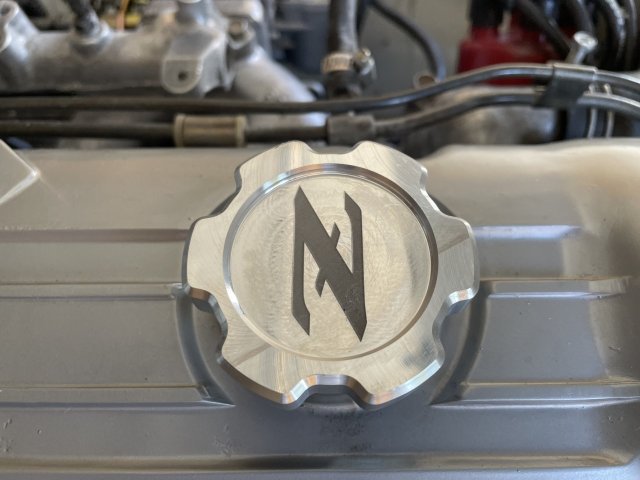
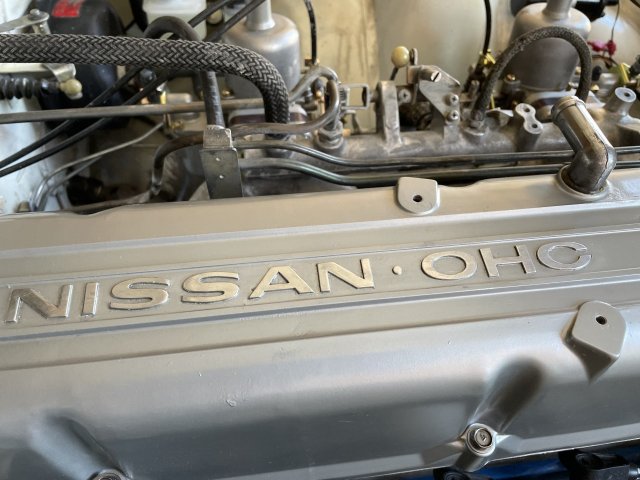
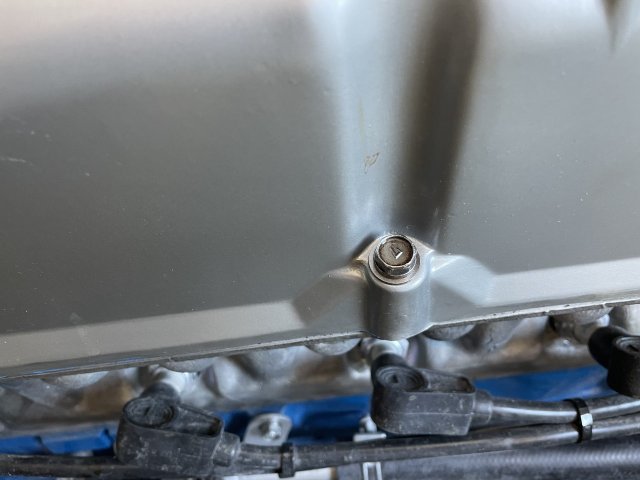
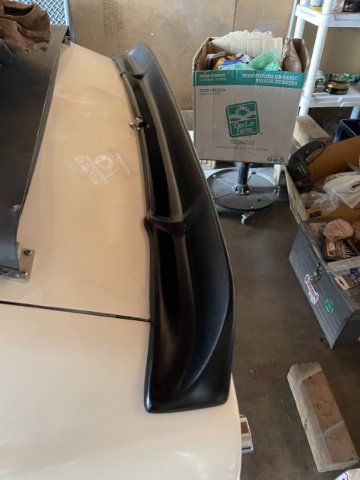
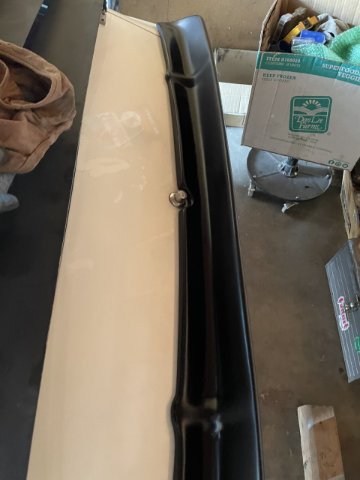
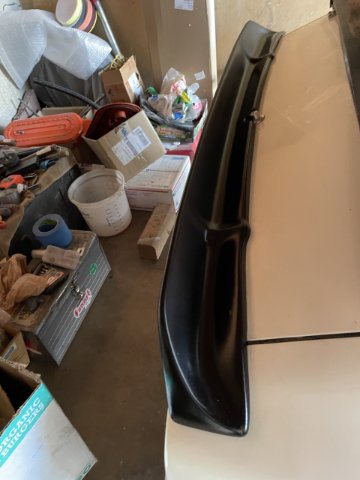
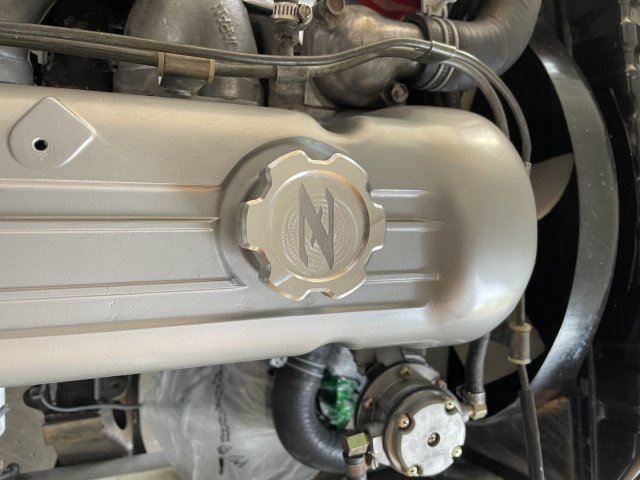
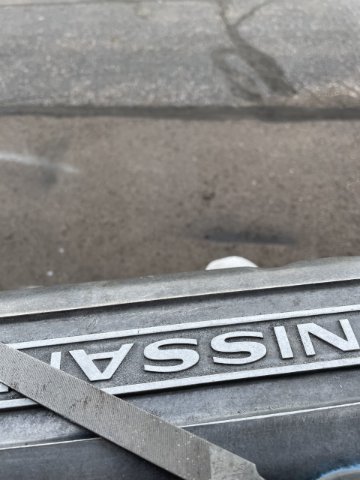
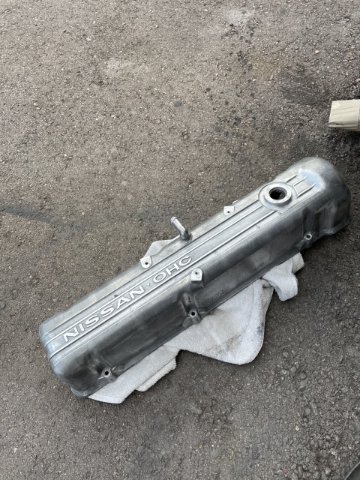
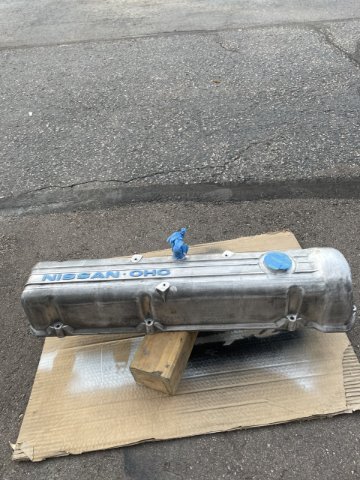
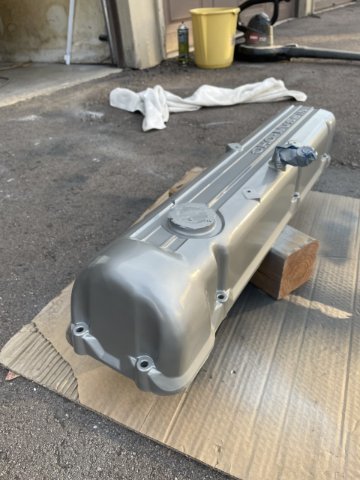
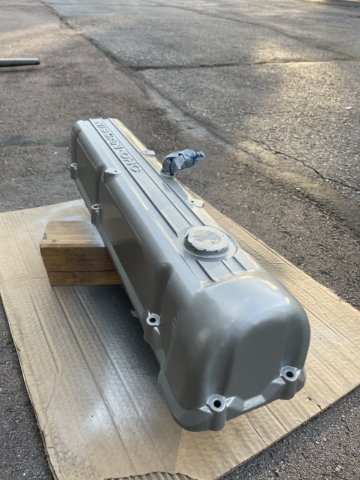
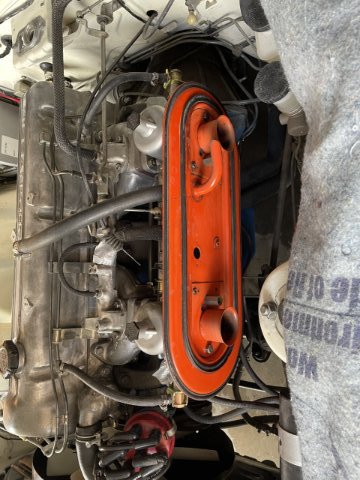
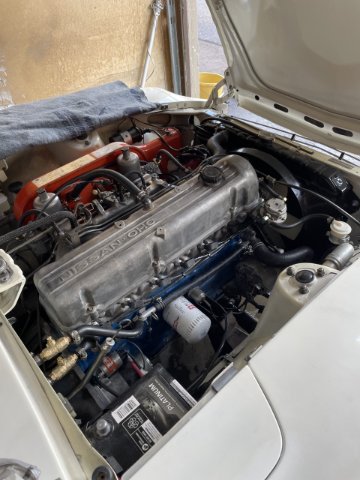
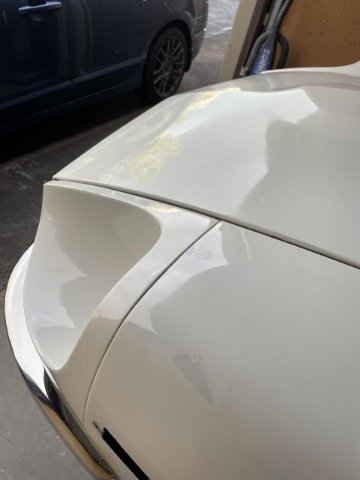
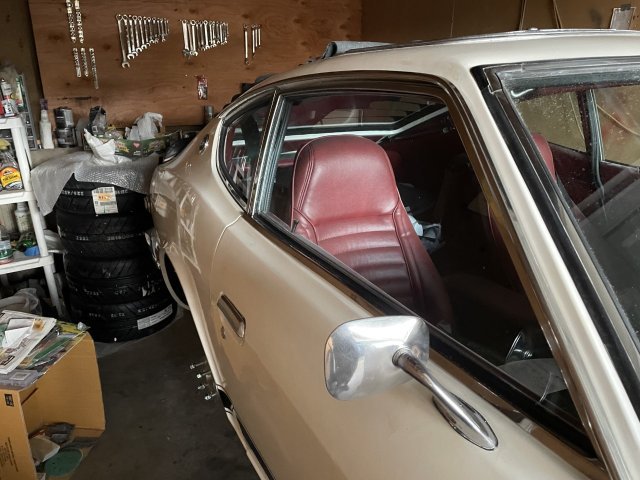
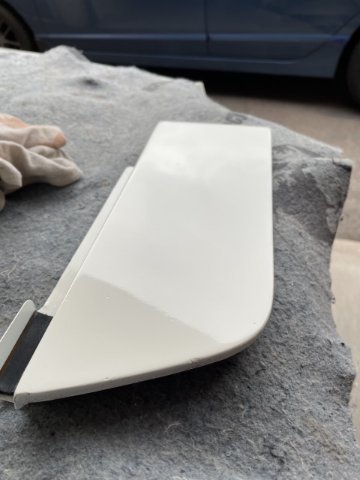
8-14-22. I went out and worked on a few things today. I finished the valve cover and wire wheeled the bolts, then clear coated them. I then installed the valve cover and put on one of my billet oil fill caps I bought from a guy online. I still have one. Anyone interested? Then I took some 2000 grit wet sandpaper and blended out the paint over the wheel wheels and buffed it out. The rear spoiler I masked off and gave it a final coat. A little more paint correction, and then made a store run for supplies. Time to now clean out and vac the interior and continue to finish up the engine compartment, and that's about it. Once my fuel pump arrives, it will be time to go for a ride and then get a front end alignment. Oh, I also ordered a billet oil bar from Yost for the engine, as the early original I have is prone to cracking and resulting engine damage. Pics
")

-
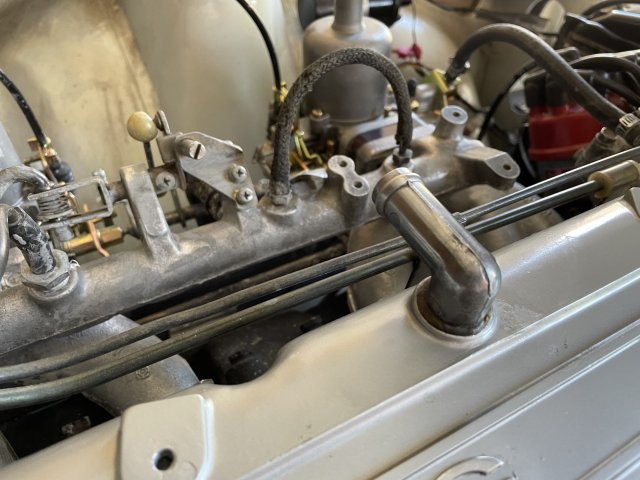
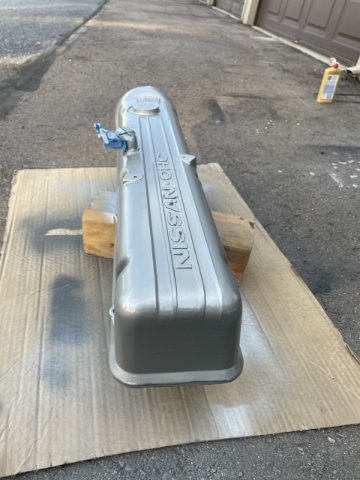
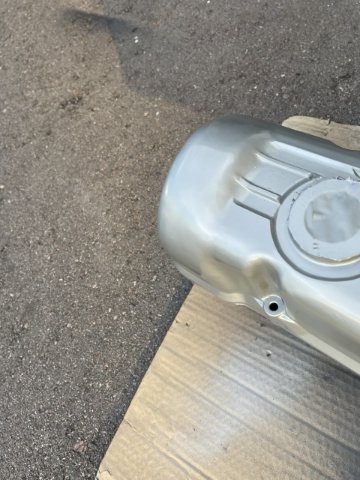
breather port polished, letters polished
-
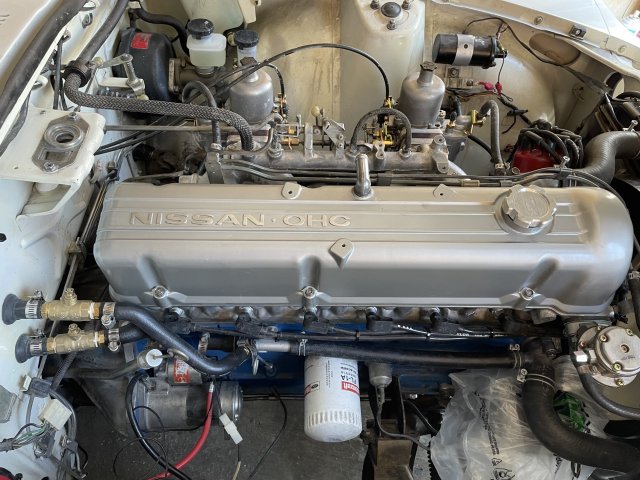
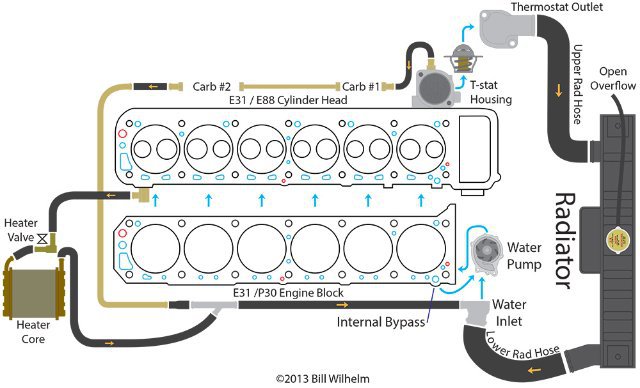
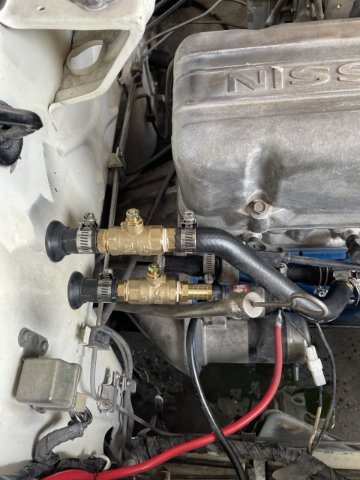
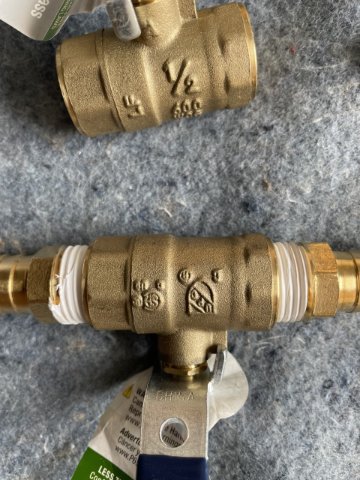
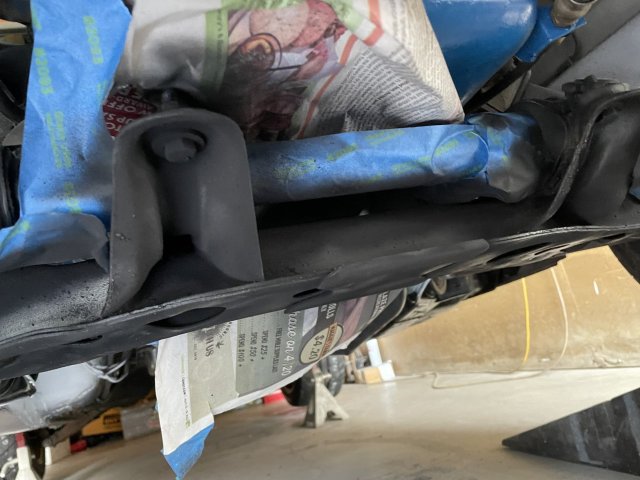
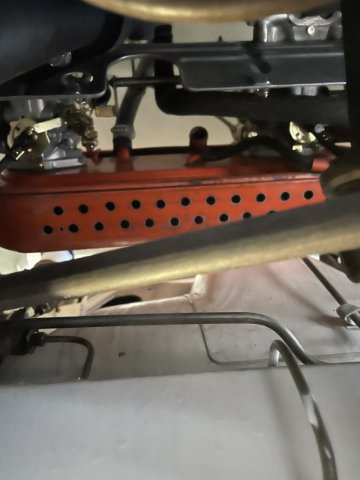
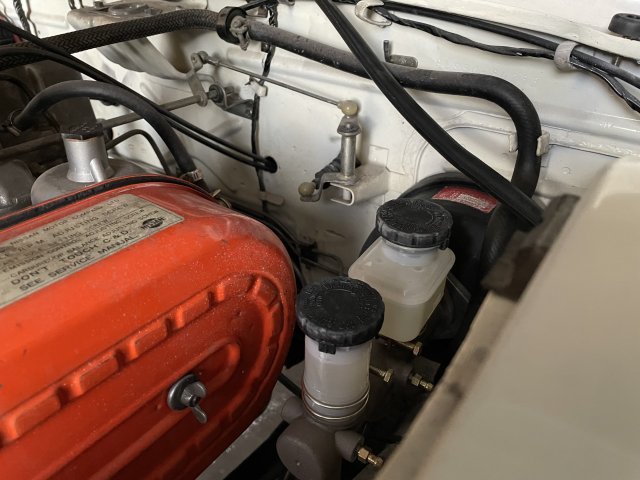
Thanks! As for the flow issue, look at the pic below. Where the line goes to the water heater, there is a factory valve that stops the flow. My valves are right before and right after that valve, so it shouldn't be an issue, as the flow was designed to be stopped.

-
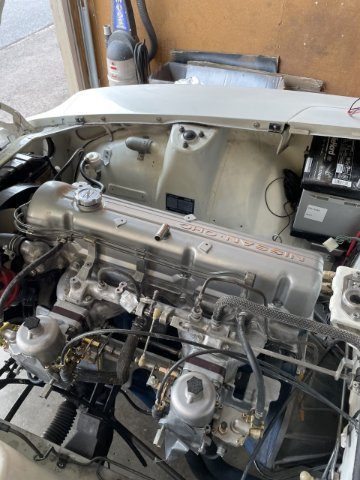
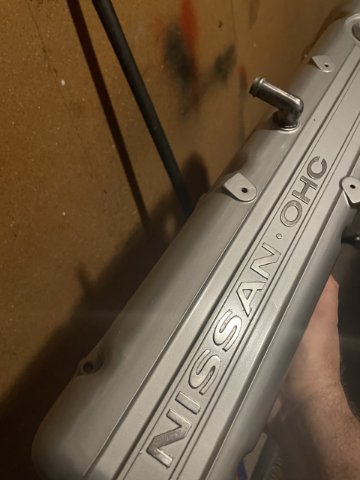
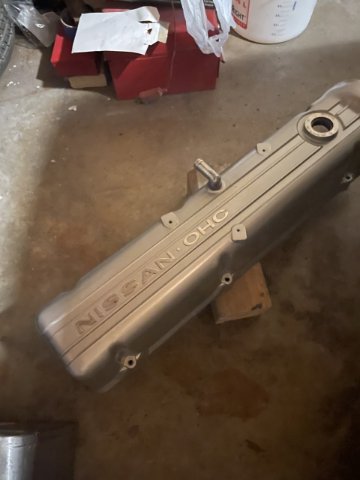
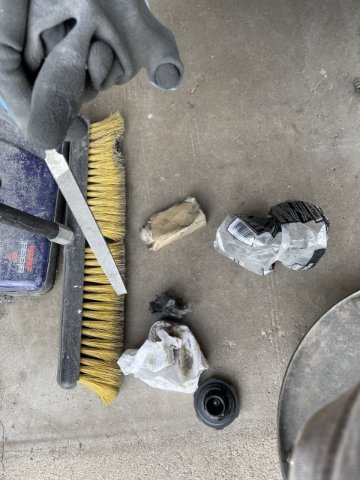
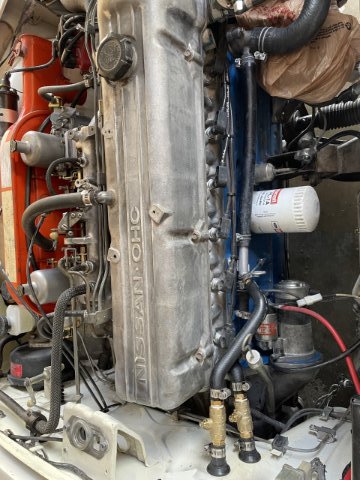
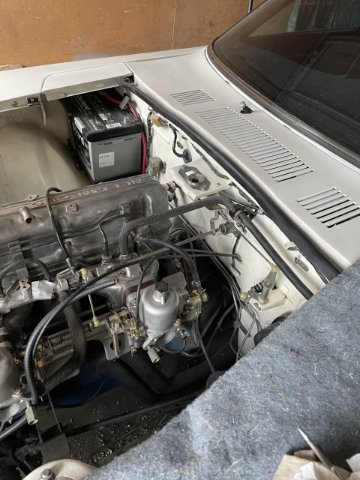
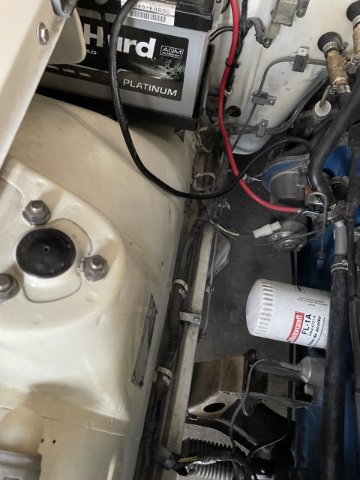
I spent the day in the garage on the Z car. I started with trying to get her started.....I went thrugh and repaired some connections that didn't hold, and then tried something I read online. I bypassed the power wire to the solenoid, by taking a wire and tying it to the solenoid lead and then touching the other end to the postitive wire....engine started turning over......so it appears either the ignition relay in the passenger footwell is bad, hence I never heard it click, or the wire going to the ignition or the ignition switch itself is bad. So I will do some research, but as of now, worst casae, I can just wire in a hidden pushbutton momentary switch, and use it to start the car. Ok, so then the car tuend over but didn't want to start, so I looked the fuel filter, no fuel.....so I poured a gallon of fuel in and tried again.....no dice. So, the "new" mechanical fuel pump I put on there a year ago is already toast. I bought one of the NOS ones a guy is selling on here, and I will put that on here. The NOS stocker is perfect for my stock L24 setup, and being an NOS piece, it will last probably 40 years, or in other words until I am gone. So, I then took some time and used an old toothbrush and some brasso, and scrubbed on my intake manifold to try to get it to brighten up......it did a little, but it was a mistake, in that I will have to power wash the area to get the layer of dried brasso compeltely off. I got most off with a soapy busket of water and a soapy toothbrush. Lastly, I pulled the valvecover and got started on it's facelift. I found small nicks and scratches in the top where the stripes and leters are, and so with a bastard file, I flat filed them clean. Then I used a combination of steel wool, some 220 dry sandpaper and some wet 2000 on the letters to get it ready for paint. I then masked off the letters and the breather arm, wiped it down good with some denatured alcohol and painted it engine block silver. It's a Duplicolor paint. I had to do A LOT of very light coats to get it right. So, now it is in the garage curing before I remove the tape off the letters and then hand polish the letters with my can of Mothers mag wheel polish and a clean rag. Also of note, when the valvecover came off everything was so clean and nice, no wear at all.....another bit of evidence backing up the car's 50K original miles. Pics and a video to follow.
Ok, my videos don't like to load here, click on the link below to get to it. Flip through the pics and the video will be at the end.
-
I remember them well. they really worked well.
I will surely post up pics once she is out and about!
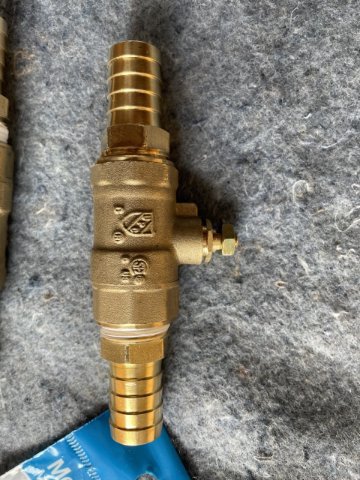
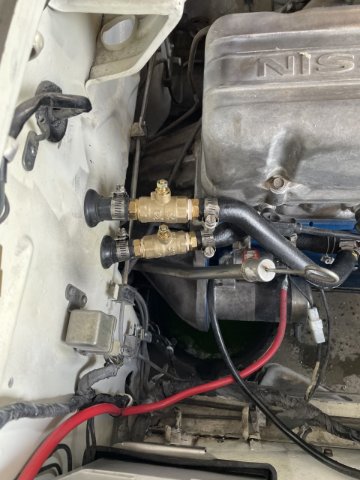
Yesterday I started the project of installing brass ball valves on each heater hose. Then I started on my electrical issue......turn key nothing....put screwdriver across battery, starter spins but doesn't engage....hmmm. I also had time to wash down the entire engine compartment, which was full of dust from doing bodywork and paint. I took some pics and there are some videos of all the fun I had today. I will post them below.
To see videos go to link below this, click through the pages, the last 4 are videos. This site doesn't like uploading my stuff.
-
Why the valves? Well, I don't want heat. I also don't want to reply on a 50 year old heater core to keep me from getting antifreeze inside the car if ot leaks. I didn't want to gut everything out, so I decided to hook it all up, but leave it "dry".
-
 1
1
-
-
Today I started the project of installing brass ball valves on each heater hose. Then I started on my electrical issue......turn key nothing....put screwdriver across battery, starter spins but doesn't engage....hmmm. I also had time to wash down the entire engine compartment, which was full of dust from doing bodywork and paint. I took some pics and there are some videos of all the fun I had today. I will post them below.
To see videos go to link below this, click through the pages, the last 4 are videos. This site doesn't like uploading my stuff.
-
Thanks. Well, the project phase is done. A driver/tikerer is what I set out to build, so I am happy.
-
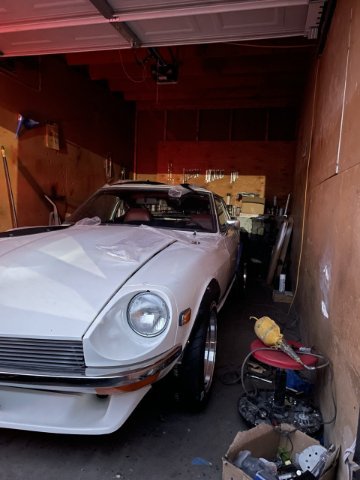
Yes, the modern ones didn't fit in the housings correctly, and rather than butchering them up to fit, I just got some new original style sealed beam headlights.
-
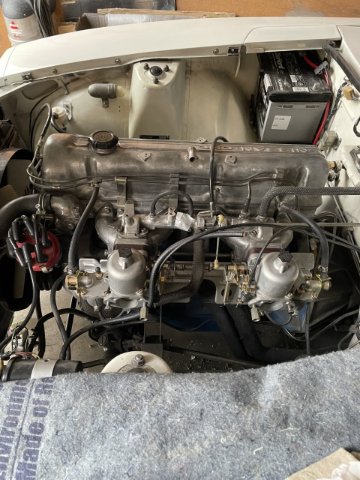
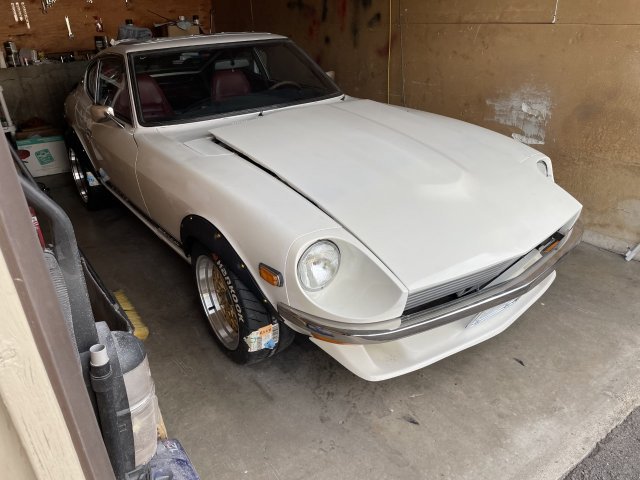
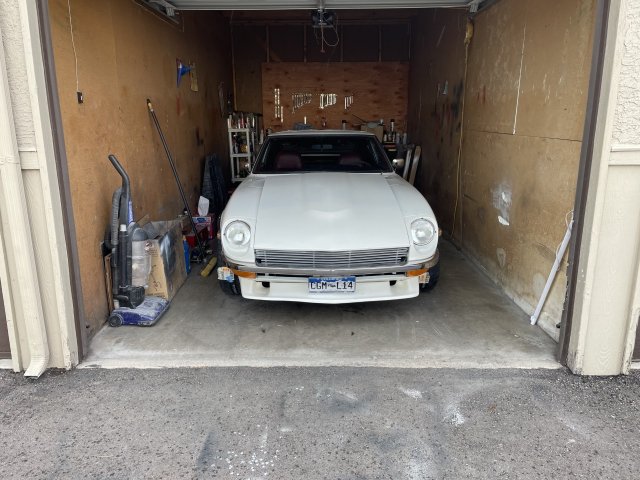
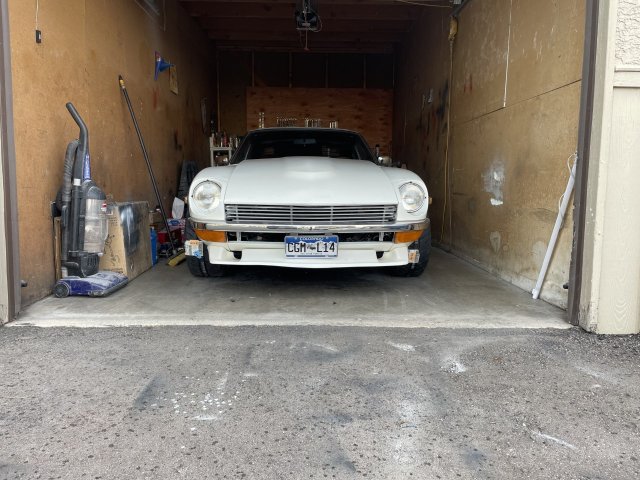
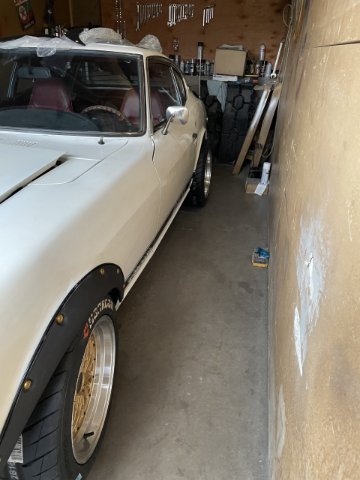
Nothing quite feels like saying "Project Complete". When the car goes from being a Project to a Driver/Tinkerer car. 13.5 months, 413 days to make her a clean driver again. From being a 50 year old, dog eared "potential", to back in the game.......LONG journey. Blessed beyond measure and to have a 240Z now....is incredible. Thank you Lord Jesus.
(build is chronicled under 240Z projects, "joe's 240Z adventure, if interested.)
-
1
-
-
PROJECT COMPLETE
413 DAYS / 13.5 MONTHS!
WHEW!
NOW: DRIVER CAR / TINKERER 2 AUGUST 2022 - ????????
-
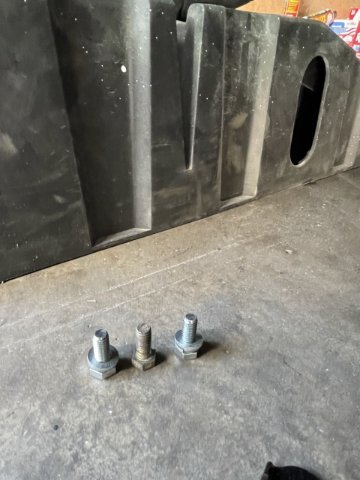
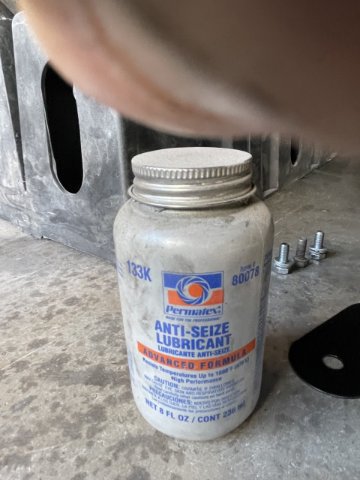
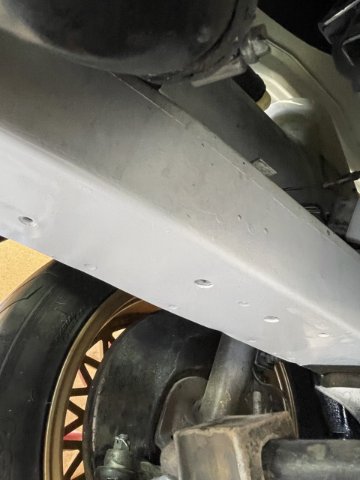
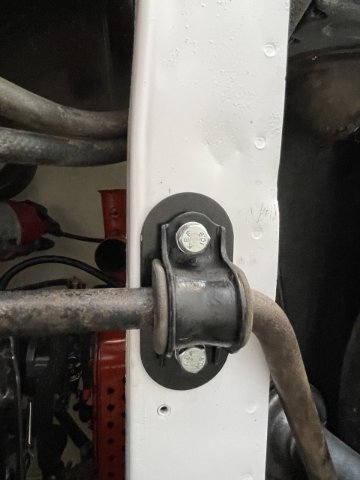
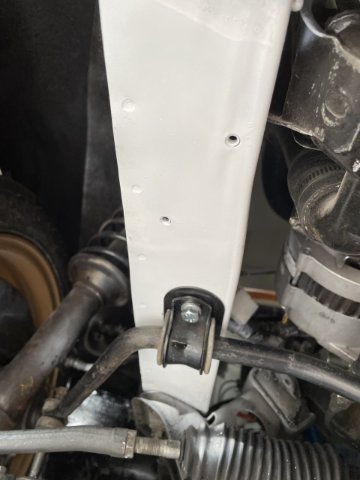
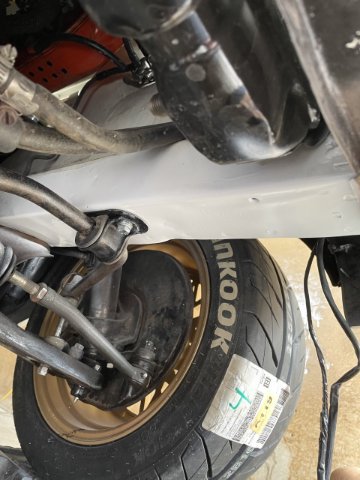
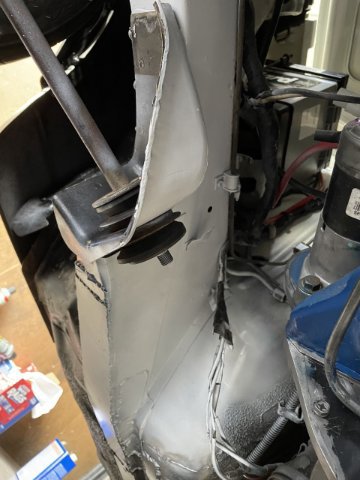
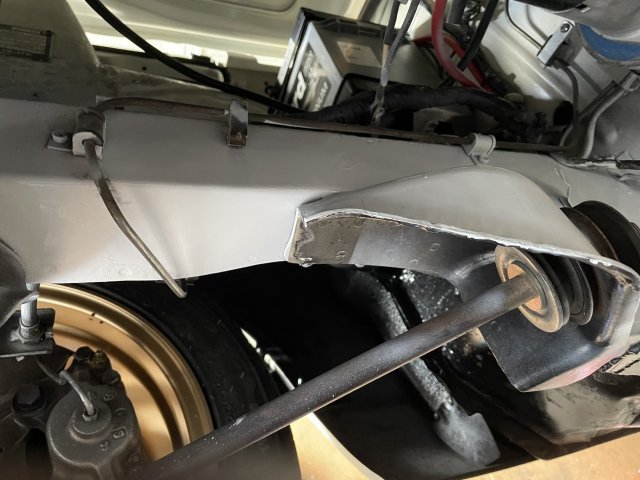
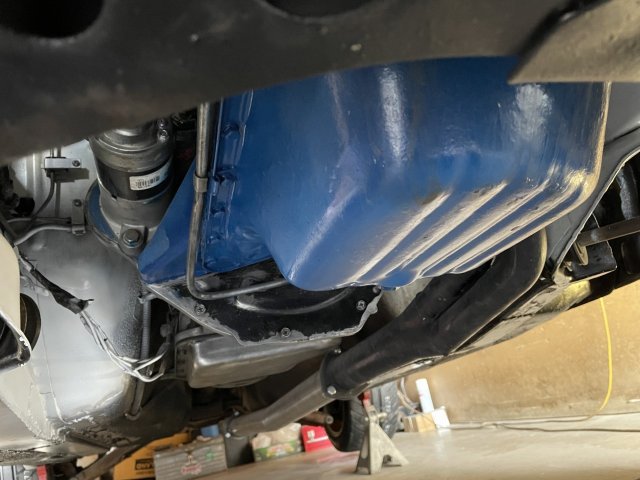
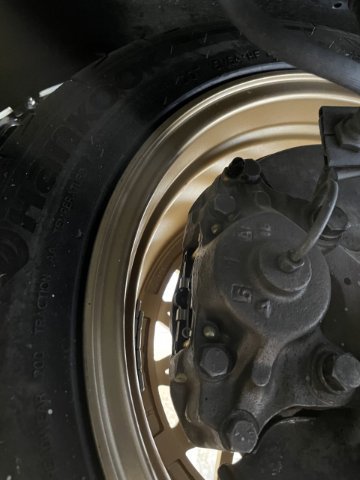
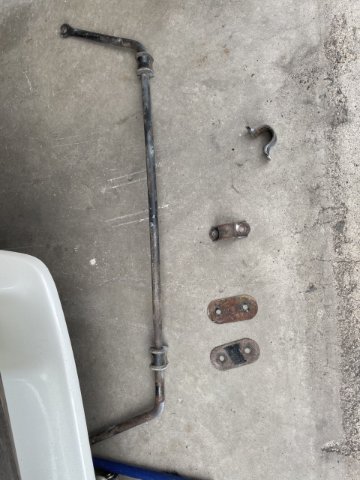
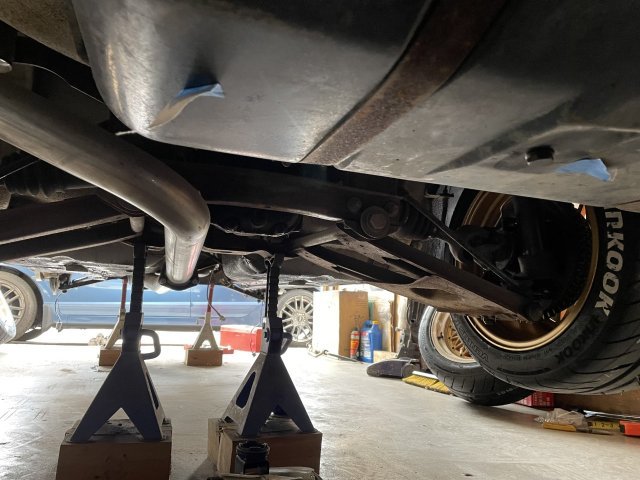
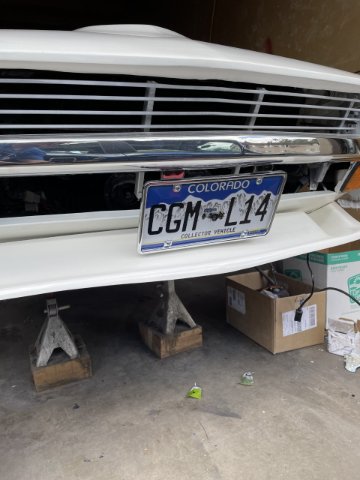
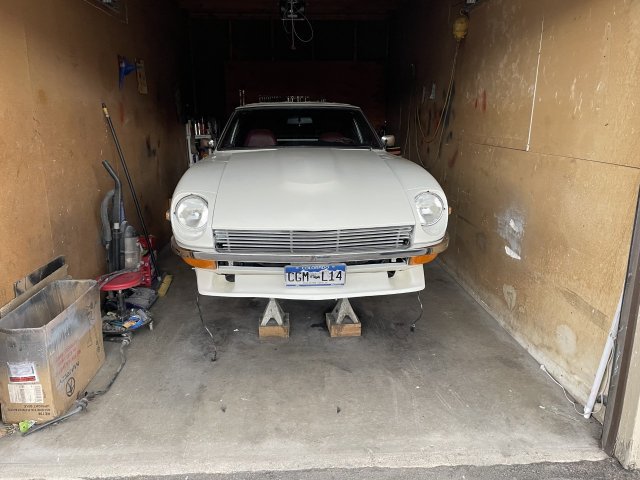
8-2-2022 UPDATE. Real Progress. It was time to get the brakes bled and make it work this time. I installed the new Russell Speed Bleeders and it worked great except for the fronts. What it is, is there was a little bit of loose-ness in the threads for the speed bleeders.....so I backed them out a bit, and gooped up those threads with pipe dope and ran them back in and cinched them down tight. THEN I took off the caps on both resivoirs and pumped the brakes and I got a couple burps, so I got the air out, and yeah, I get to fix the paint under the master cylinder again.....but the brakes are good! I then re-installed the sway bar. I used new hardware, and put a dab of anti-seize on the threads. The original bolts barely came out without snapping off from being rusted in.....this makes that issue a thing of the past. It took a bit of jacking one side up and tugging and using a hammer handle as a pry bar, etc. to get things to line up, but once they were aligned it actually "popped" into posi!ion. So I snugged the bolts all down, and then went ahead and started masking off a bit under there, and using a combination of Rustoluem Rust Converter (very flat black), satin black, and gloss white urethane spray paint, I started making it look a little better. In the pics if you see a tiny bit of overspray in places, it's really no issue, it come right off with steel wool. After getting this done, I dropped the car and torqued down the wheels. In celebration of it being done as a builder and becoming a driver/tinkerer car, I took a few pics. One little electrical issue I will fix and then it goes to get a front end alignment. Then clean up the interior again, and clean up the engine compartment....but no longer a project The car is has now transitioned to a driver that I can fiddle with and tinker to fix little things, while being taken for drives as the mood hits me. 14 months.....she wore me out! I am in my 50's now.....it's not the same as it used to be dong this stuff all those years ago. Pics attached
PROJECT CAR 16 JUNE 2021 - 2 AUGUST 2022 413 days, 13.5 months. Whew!
DRIVER / TINKER CAR 2 AUGUST - ?????
-
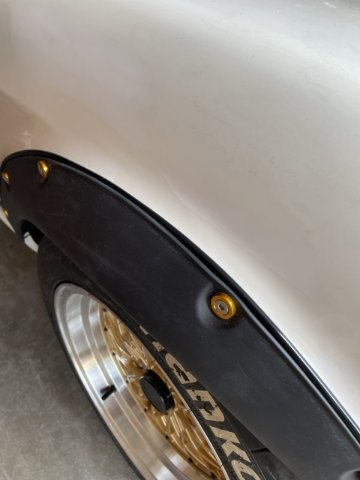
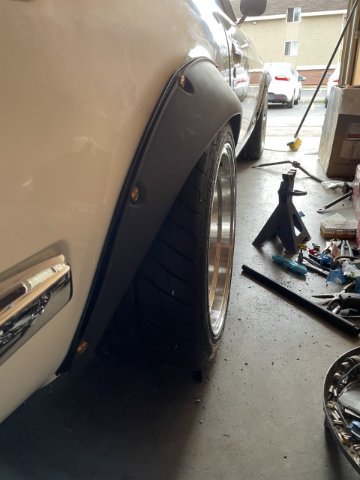
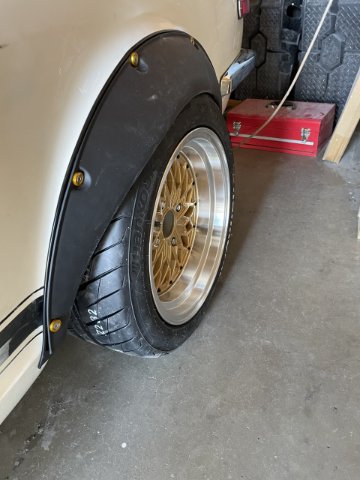
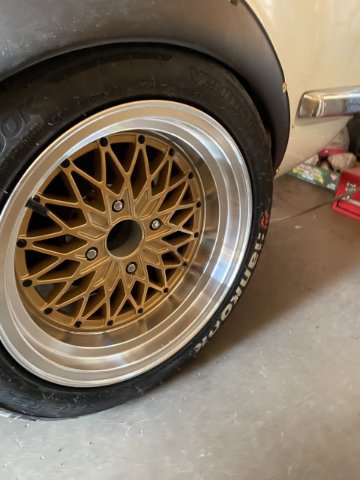
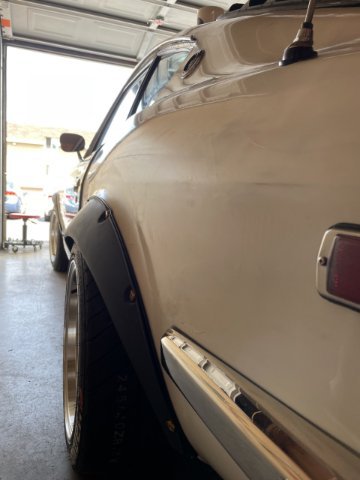
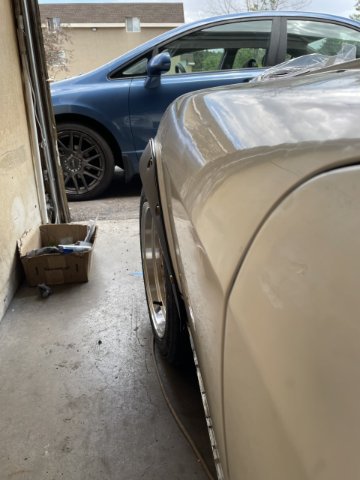
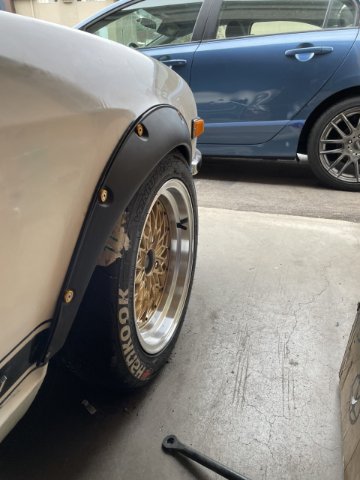
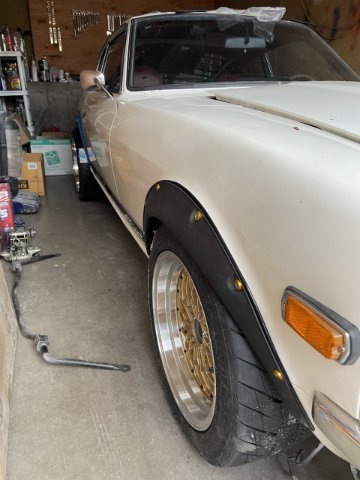
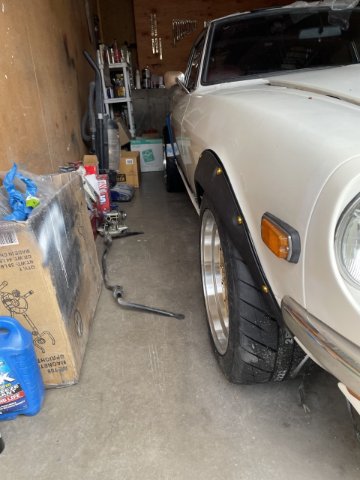
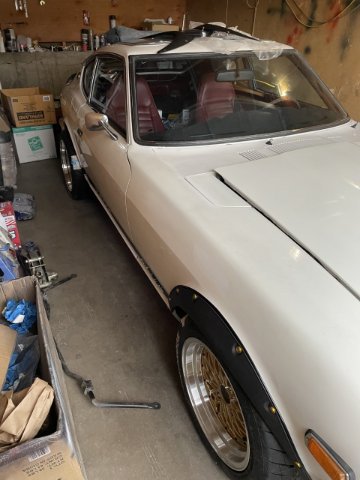
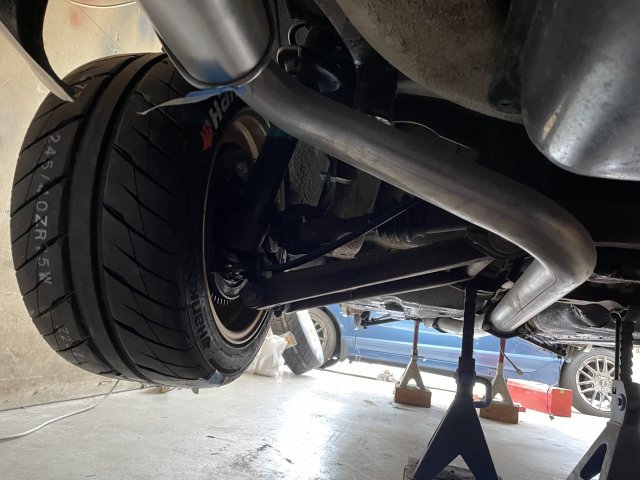
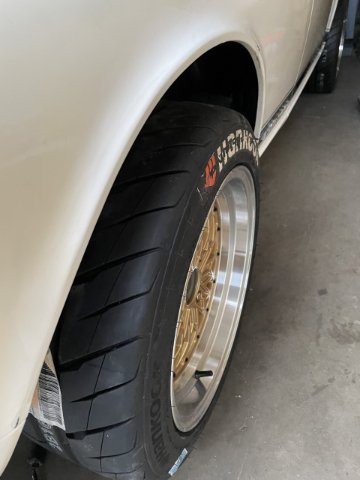
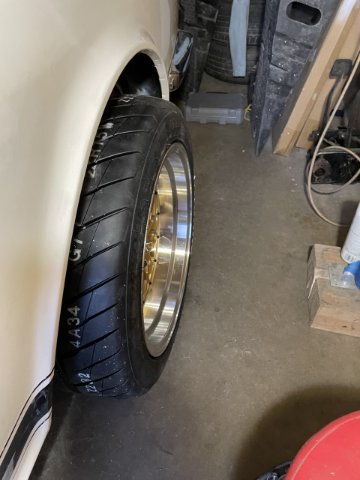
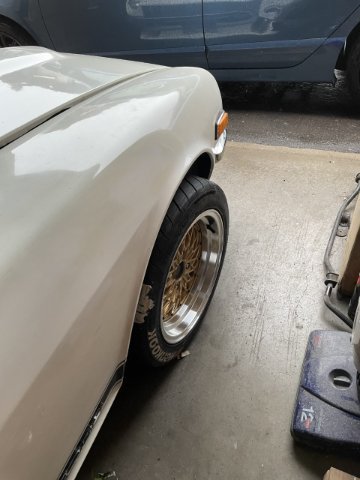
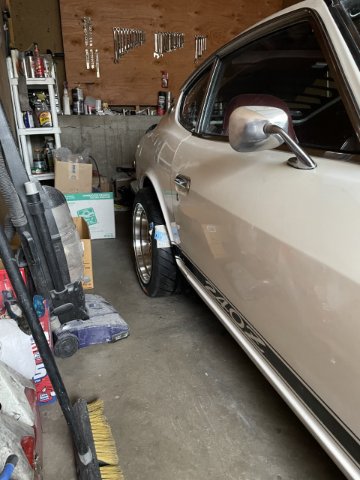
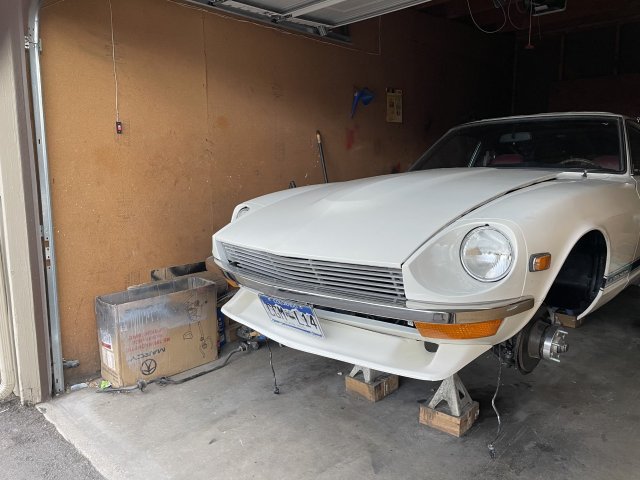
Oh I lowered it! The smaller diameter wheels and with Eibach Pro Kit springs, it is quite a bit lower than stock! My exhaust is about 1.5 to 2 inches above the ground, and the rear tires have a bit of negative camber! The wheels I used made the gap even larger, and I wanted poke out. So, It has been lowered, and then I cutomized some universal flares the way I wanted them to look to tie it all in. Thanks.
-
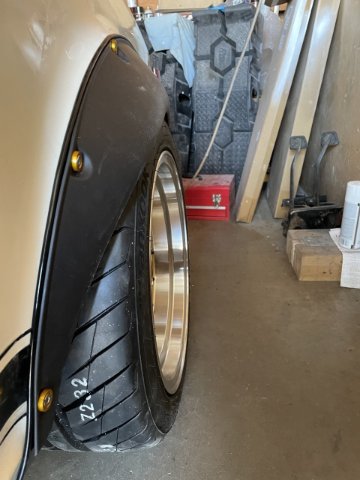
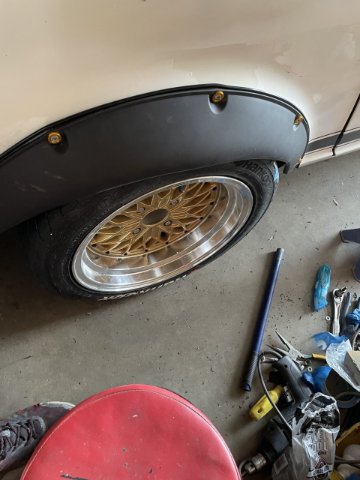
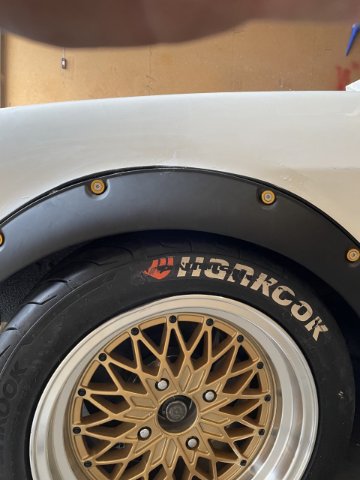
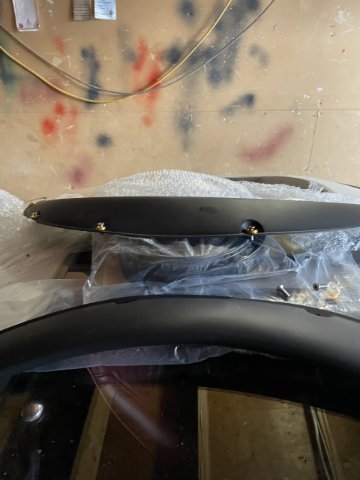
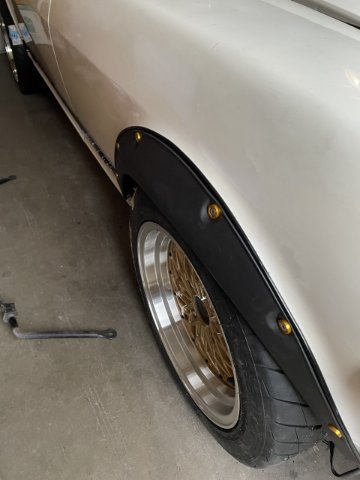
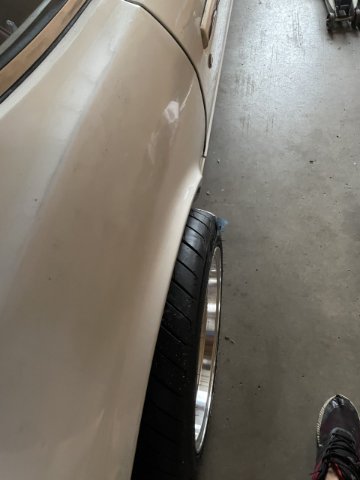
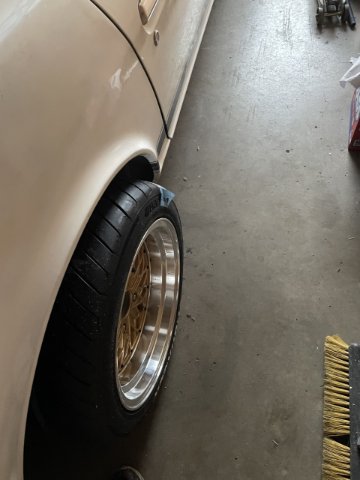
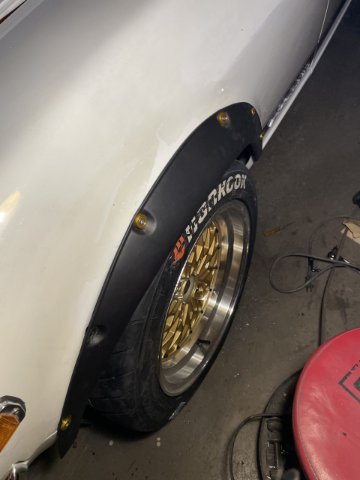
7-31-2022 UPDATE: Rear flares installed! As with the fronts, it took some massaging to get them on, and yes, they do look different than the fiberglass and carbon fiber ones specially made for the Z car......but when you look at pictures of flares, you will see many different styles of flares and many different ways they have been mounted over the years.....so that is what I have, a one off setup. I think they look pretty good! I had to trim the inside lip on the new rear flares a tad and sand it smooth to get just a little bit more sidewall clearance. After this, I did some garage clean up and began getting the front sway bar ready to go back on. The bottom of the rails up front was still in bare steel, so I masked off the area and gave it a coiuple shots of gloss white paint, then cleaned up the mounting plates and bushing caps with some satin black paint I have, a couple nice thick coats. When I removed the sway bar ages ago, the bolts were so tight I can't believe they didn't break off.....so I have new hardware as well for the re-installation. I took a few pics. Oh! Also got a new set of speed bleeders so I can try yet again, to get the brakes up to where I want them to be. They are made by Russell. Pics!
-
Thanks.
Yeah, I put some tape above the wheel wells, and it actually peeled some paint off! So, I will have to touch up a few spots.
-
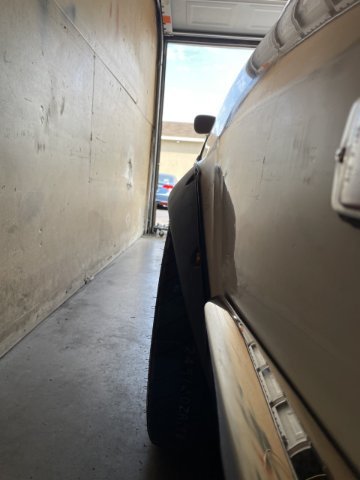
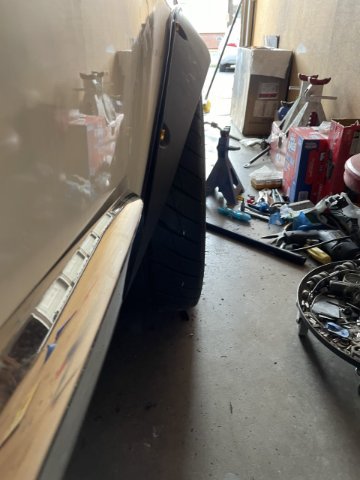
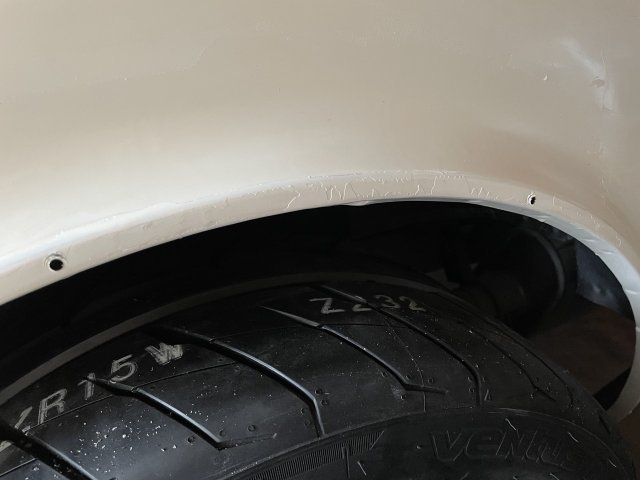
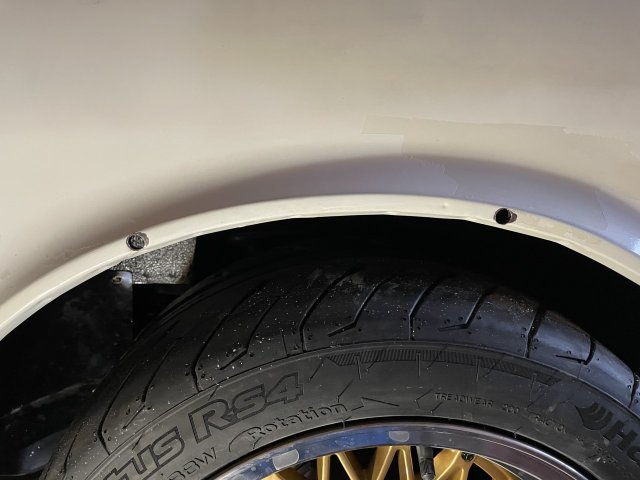
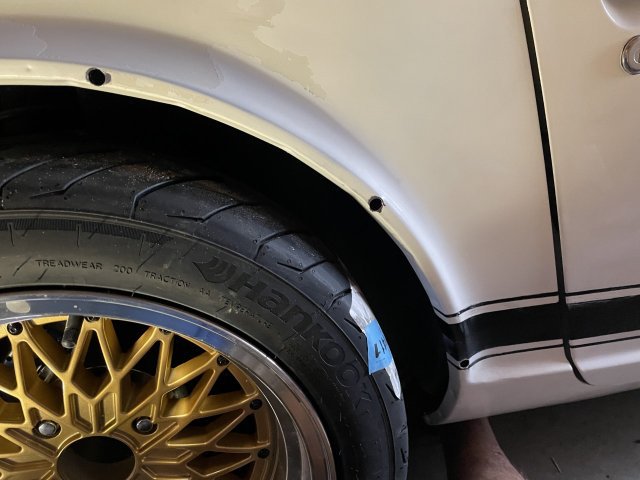
7-25-2022 UPDATE. Continuing saga of flare installation. Well, I do not like well nuts. I removed them and put a washer and wax coated nut on each M6 bolt holding the front flares on. I finished up the driver's (left) front flare and moved over to the right side front. As with the first one, I was able to make cuts to the lip and pull out tabs with which I could drill the moles to mount the flare, and use the dremel to make all edges "not sharp". Pulling the tab down worked well on the front, as I had that much wheel gap between the tire and wheel well opening! I also found that the VW fender welting was exactly what I needed to make these look that much better. The flares that are made for Z cars, are made out of fiberglass, carbon fiber, etc., and are rigid....Flexible flares are a completely different animal. AND because they are a universal fit, it opens alot of options on how to mount them....to get what look you desire. BUT, there are drawbacks as well.....they don't fit as tightly, but the welting makes them work good.
My goal has been to get rid of the tire gap, AND come out and cover the tire at the top. So, it is working. So, I then went to the rear, and started marking out where to drill and start the process back there. Because the wheel well gap was not as bad in the rear, I found that I was able to drill holes and mount the flare right to the 3/8" wide flat surface on the end of the factory flare, no "tab" to bend down. The wider rear flares that my kit came with are also a bit different, and so a lot of time was spent bending them and moving them around to get the best setup I could out of them. I even thought of putting "front" flares on the rear, but the tire coverage just isn't good enough. At any rate, I feel fortunate that I don't have to cur the quarter panels on the car, and the flares will work. Again, VW welting and my gold anodized washers with the M6 bolts will do the trick.....and M6 wax coated nuts and washers will help me get it done. These are 25 dollar flares I got off of eBay. I ordered 2 sets as I wasn't sure if I would use "frotns" all the way around, or "rears" all the way around. SO.....anyone needing a set of these, I have a spare set brand new, let me know. Lastly, pictures. Enjoy.
-
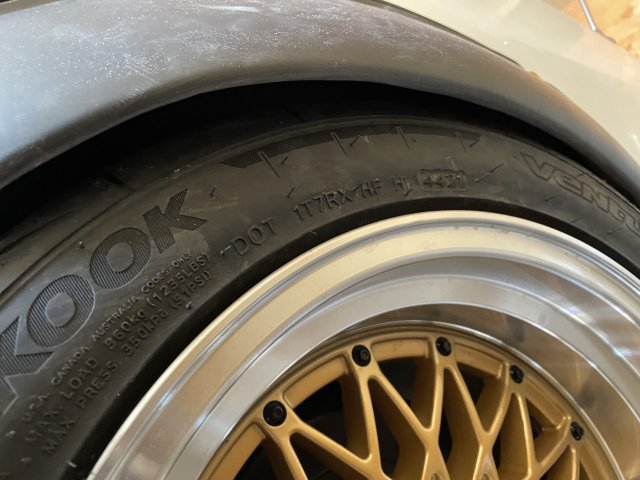
7-24-2022 UPDATE: I went ahead and tried bleeding the brakes again, making sure to loosen the speed bleeders only 1/4 of a turn, and then putting grease around the area, to try to ensure no air could get back in through the threads. Still not quite as strong pedal feel as I wanted. I may have to try another method. I then torqued on my spacers, and installed my wheels. First I mounted the rear wheel on, without the spacer to show that a 15X9 with a 245 will not clear if it is a 0 offset wheel. My spacer gives me -38 offset which is perfect for clearing the stock spring perches. Anyway....I then lowered the car back down to the ground, and she is LOW. You get used to her being a certain height from being jacked up in the air for months on end, now she is on the ground! I then started on my flares. I took one of my gold anodized washers and used it with a drill to get the holes in the flares right dead center. Then I mounted up the left front one, and started getting it on. By holding the narrow front flare up, I was able to see that to "eat up" all the wheel gap and cover out to the edge of the tire, that I needed to mount the front flares right on the outside edge of the existing factory flare!! By cutting relief cuts in the turned in part of the factory flare, I was able to bend them out and use them as tabs. Becasue these flares are flexible, they don't really like to sit flush when you start to tighten them down. So luckily I have the welting and I will put that in there to make it look better, For now, I think I will leave the flares matte black instead of painting them. I think it's looks great this way. So, anyway, here are a few pics of today's work.
-
-
thanks again!
-
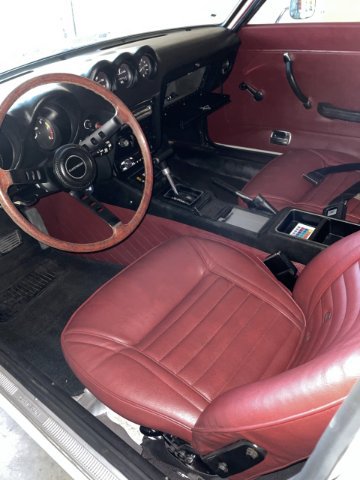
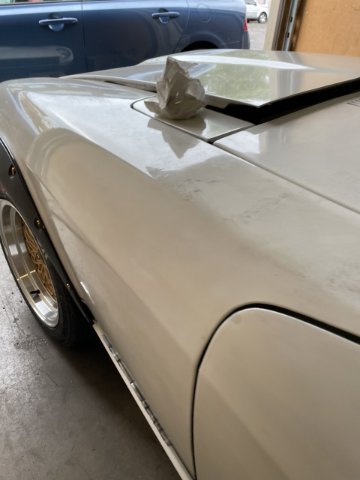
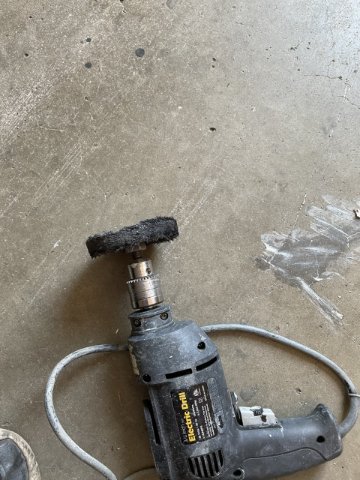
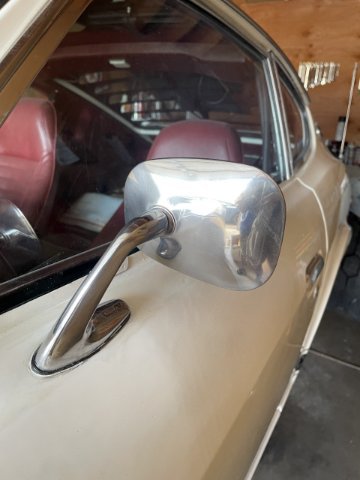
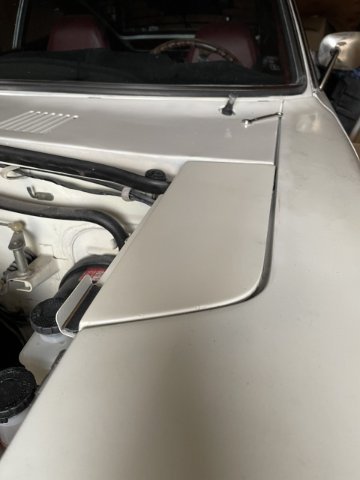
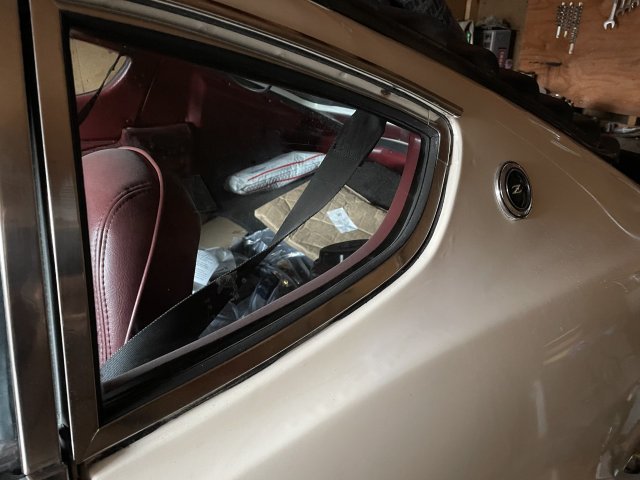
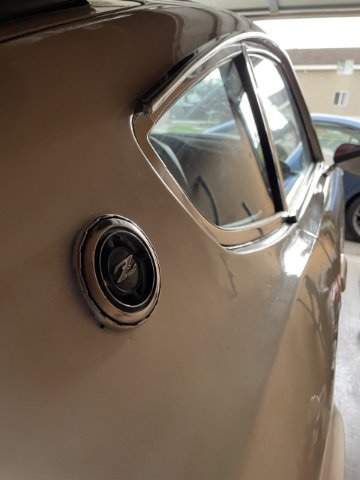
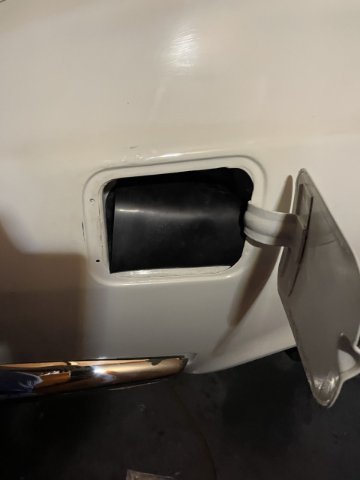
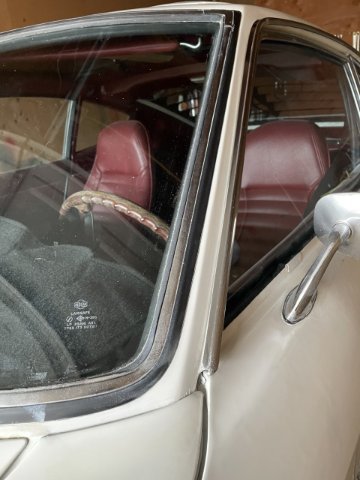
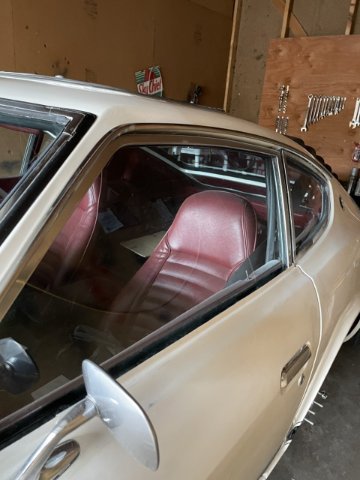
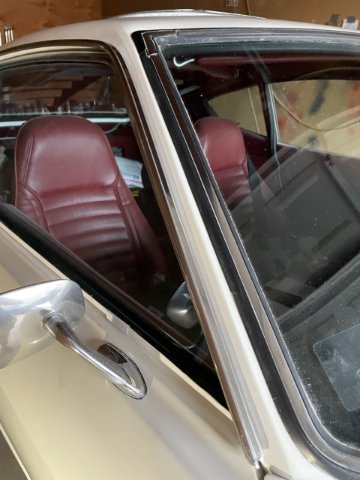
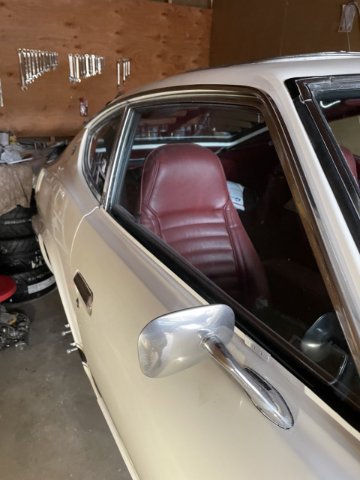
7-18-2022 UPDATE: Well, on to the "little stuff". I cleaned up and mounted all the parking lamps, mounted the front license plate, then pushed it back on the bottom so the plate is angled back.....I think it looks much better that way. Side sail emblems attached, I went ahead and used a small buffing wheel I have in my cordless drill and some Mother's mag wheel polish and polished up the mirrors (pics are a before and after), polished all the window stainless trim and the drip rail trim up to a nice shine, Re-bled the brakes, I think they are better know......we will see how it is under air pressure when running I suppose (snapped a pic of the master cylinder....sure like the look of clean "beer" topped off in them!).....2 spots in the inner fenders I had to patch, got that all done except for final painting and undercoating in those 2 spots. While polishing the window trim, I polished up the windshield trim and removed the overspray, and lastly I replaced my dented driver's side access panel next to the hood. It was tough to get the original off, bolts were rusted in there, so they ended up breaking on one and I had to cut the head off the other....but it is on (paint on the bracket in the pic will be touched up later on), the pic shows it a little crooked, I fixed it after that pic. Cleaned up the wiper posts, top nuts and rubber boots, got the overspray off. Closer and closer to finishing. Here are some pics of the day
-
7-17-2022 UPDATE: I went ahead and bled the brakes out, and then greased up the suspension and steering rack. I then started the process of putting everything back together. I used some steel wool on the gas cap, and installed it along with a reproduction rubber gas apron. Speed bleeders are GREAT! But, they can leak, so I had to use some pipe dope to tighten the system up, Pedal still feels a bit mushy, so I may have to do a tad more to get it where I want it.
-
Thanks Ken. 99% done on body and paint. It has been a killer. A LOT of work. Ready to move forward!
-
7-14-2022 UPDATE: I had a few hours to burn so...why not?
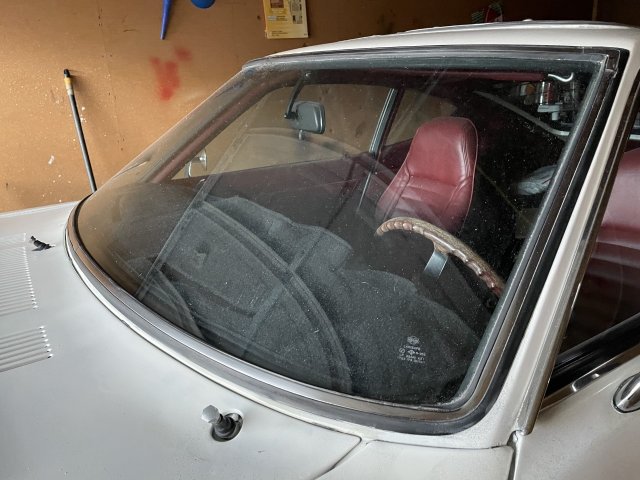
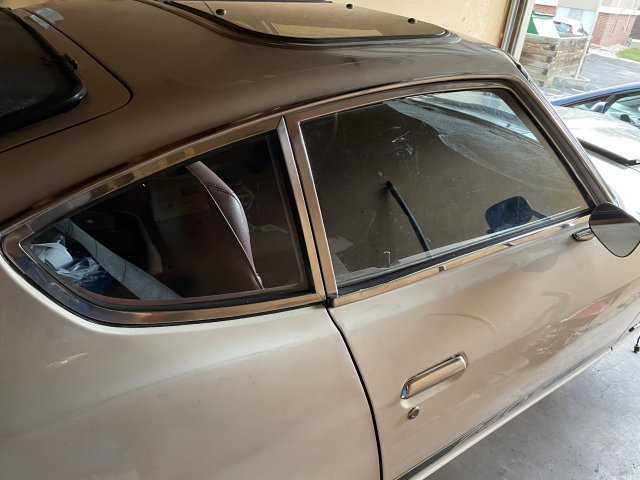
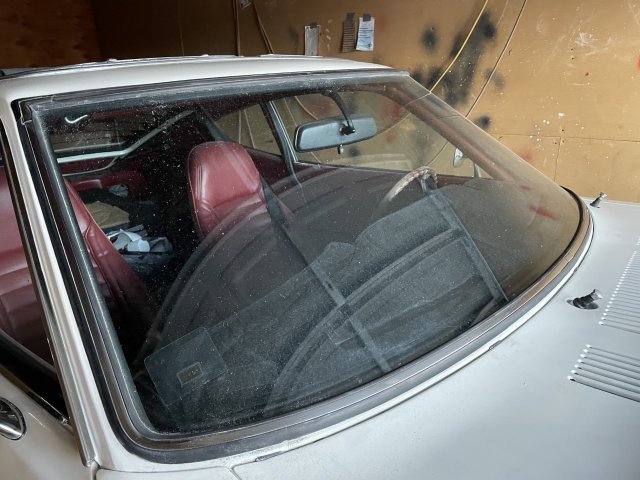
 I went out and wet sanded the remaining panels to buff out and wax with wet 1500 and 2000 grit wet/dry sand paper, and I managed to finish hand buffing and waxing them except the tail and lower tail panel. So, the windshield posts, the rest of the roof cowl panel are finished....oh! and the replacement access panel. I also took a razor blade and removed all the overspray from the glass. Here are some pictures.
-
Thanks Chuck!


Joe's 1972 240Z adventure
in S30 Series - 240z, 260z, 280z
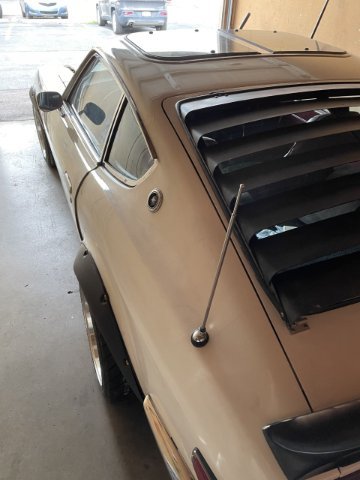
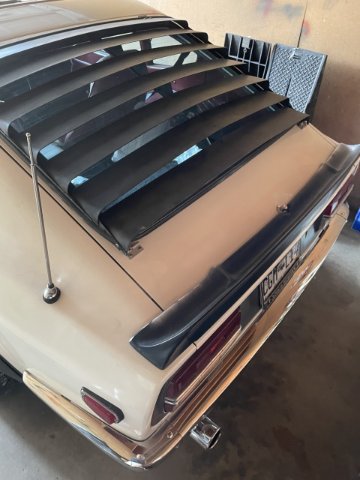
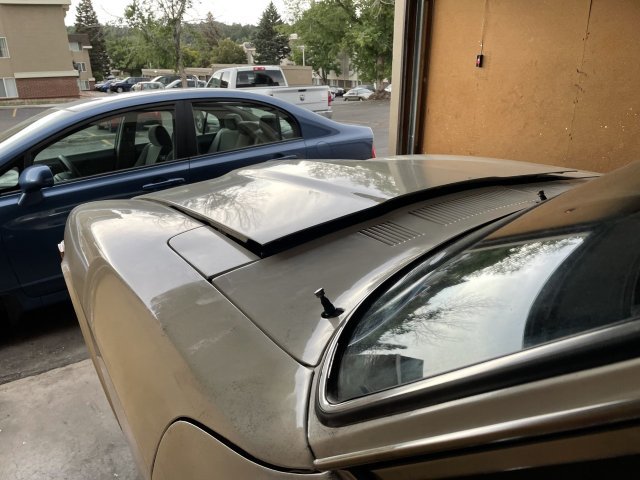
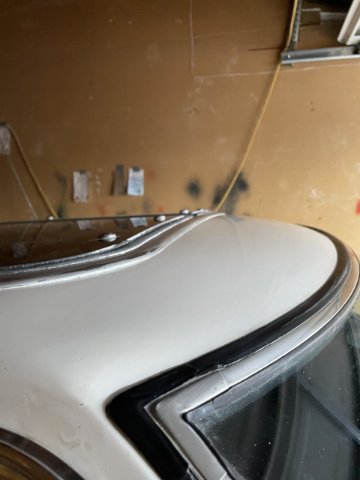
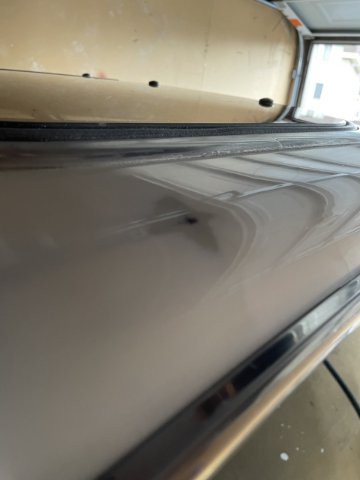
Posted
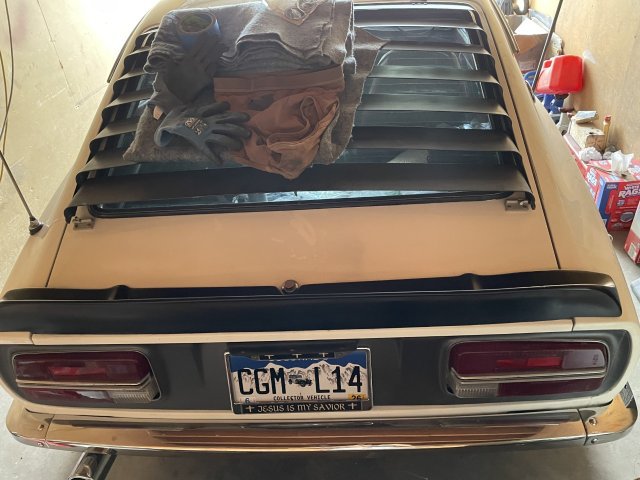
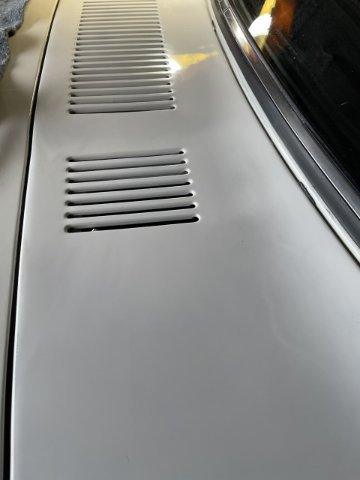
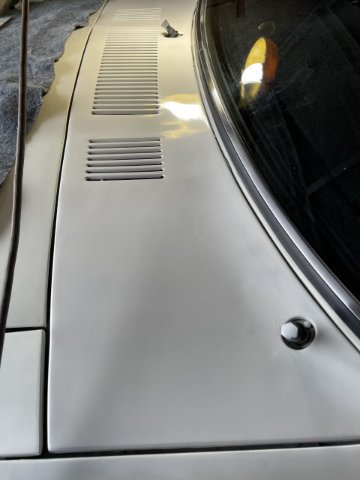
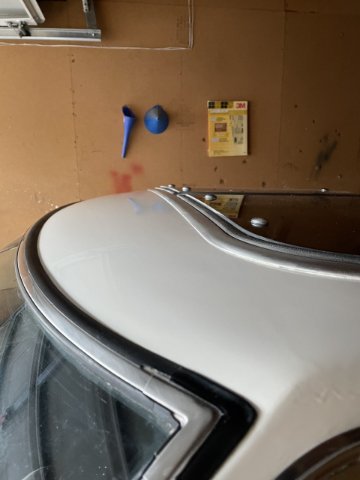
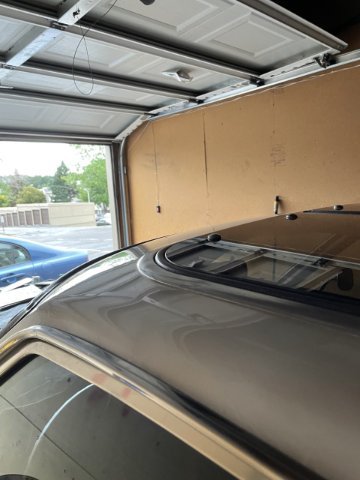
8-15-2022. Spent a few hours on the Z today. I color sanded , hand buffed and waxed under the hood, and added a few stickers. Then I color sanded out the portion behind the driver's door handle. This area has for some reason been problematic....getting the paint to look the way I wanted it to. Well, I sprayed it yesterday, and went ahead and color sanded it down today , hand buffed and waxed it. Feels good to get this area done. I removed some overspray off the louvers, but they still need a tad bit of TLC. Lastly, I pulled the access panel off the hatch, and was pleasantly surprised it was not as bad I was expecting. Rust in the corners and crimped together areas. I will at a later date clean it up and spray it with some rust converter before closing it back up. Took a few pics, here they are.")