

A to Z
-
Posts
885 -
Joined
-
Last visited
-
Days Won
14
Content Type
Profiles
Forums
Blogs
Events
Gallery
Downloads
Store
Posts posted by A to Z
-
-
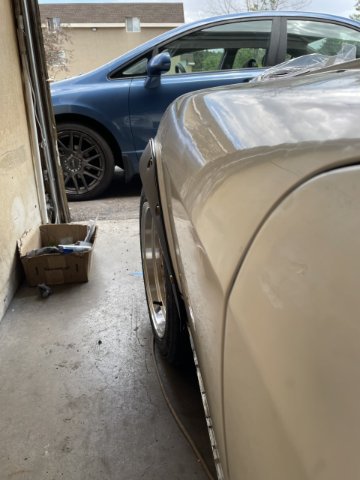
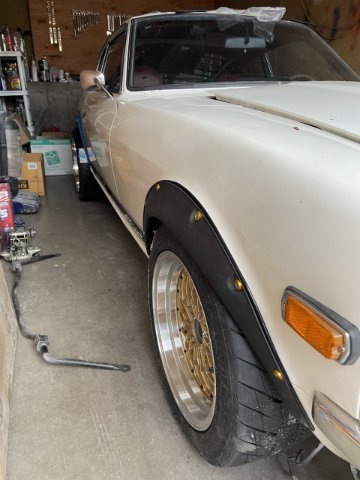
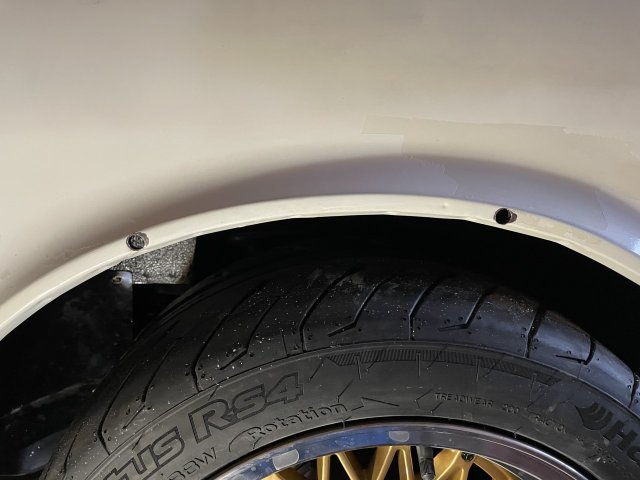
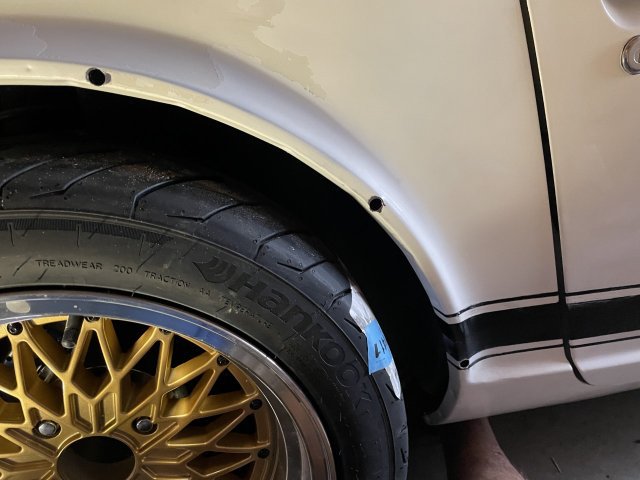
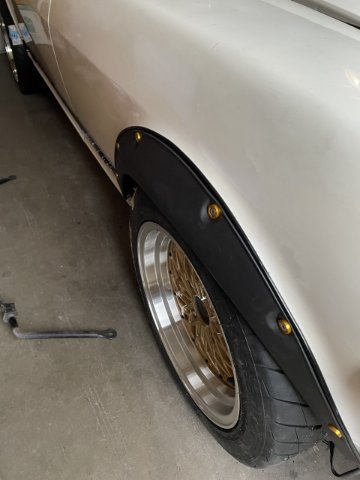
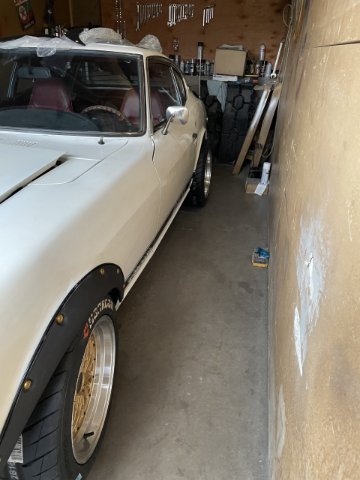
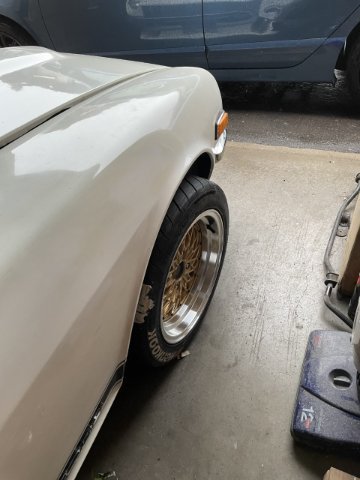
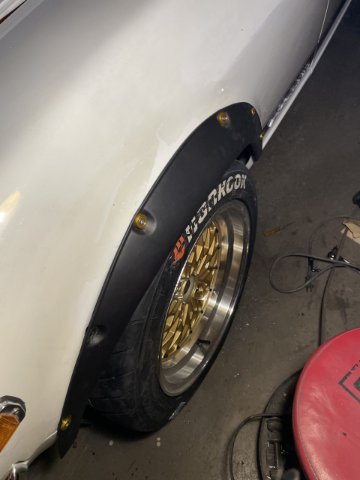
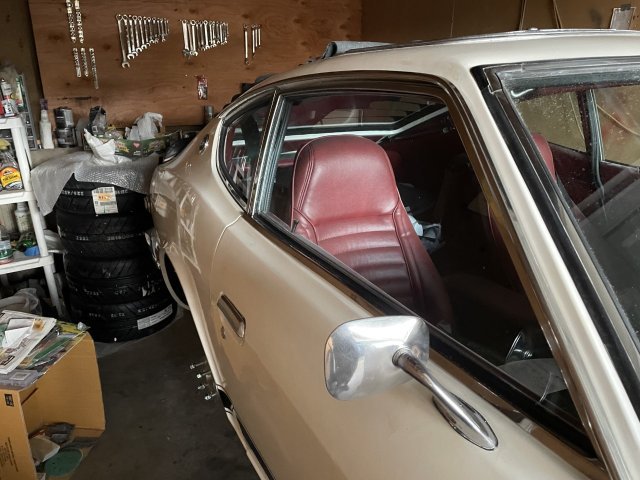
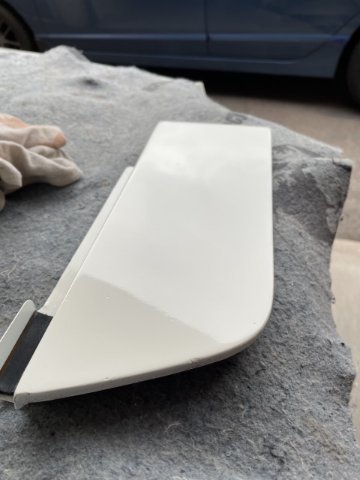
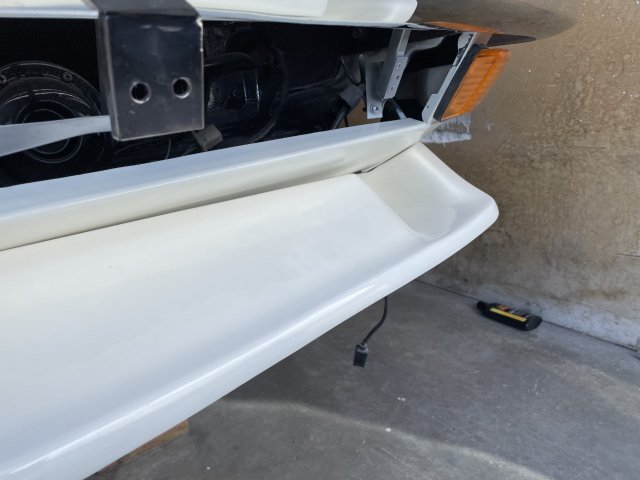
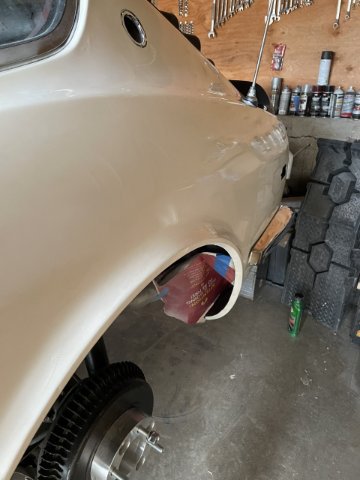
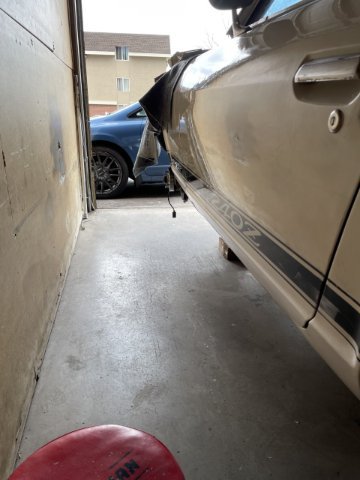
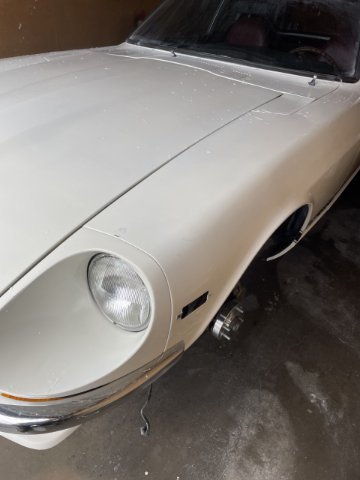
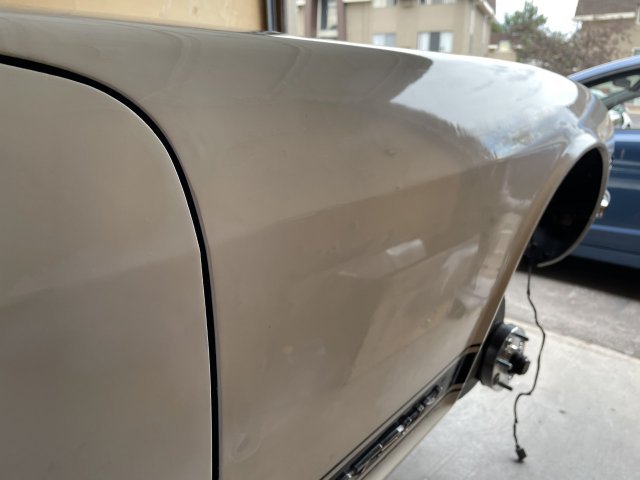
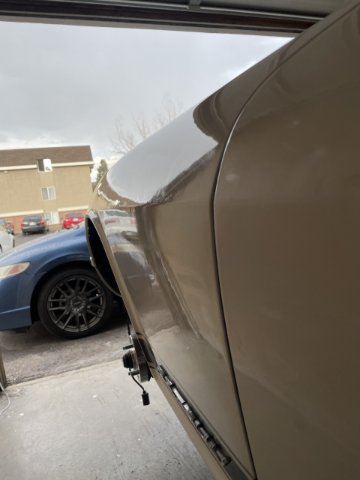
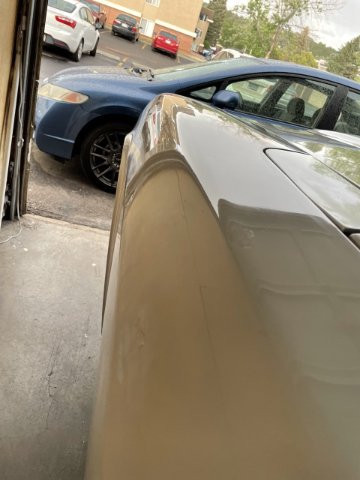
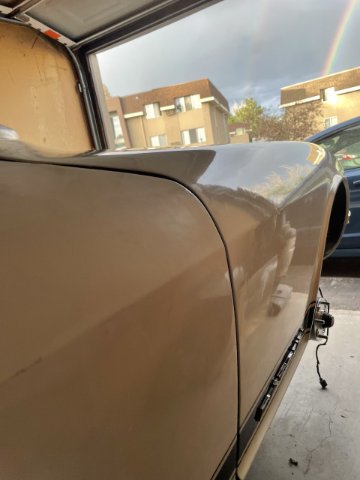
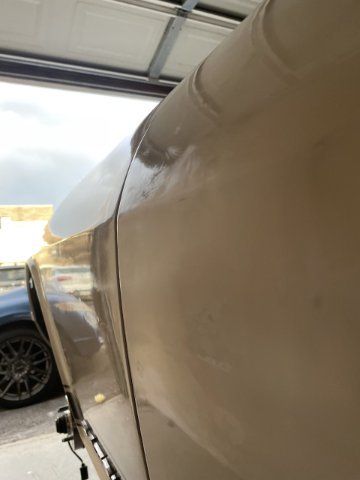
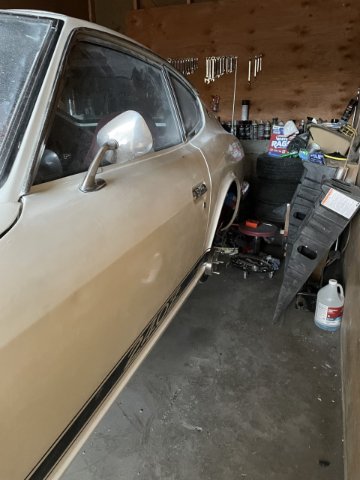
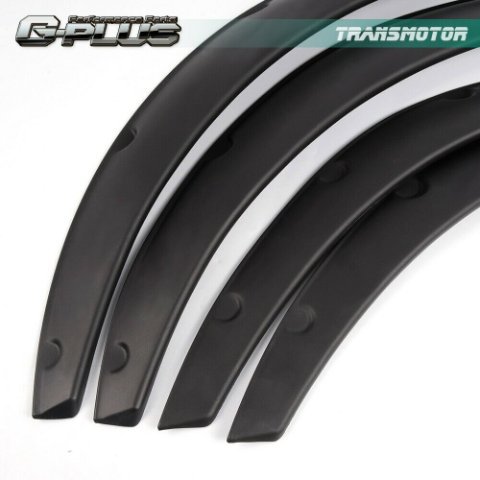
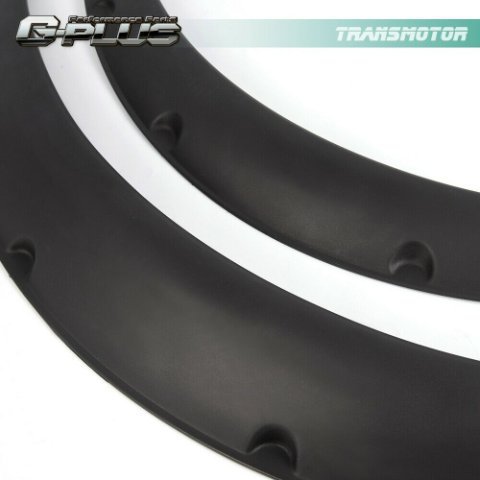
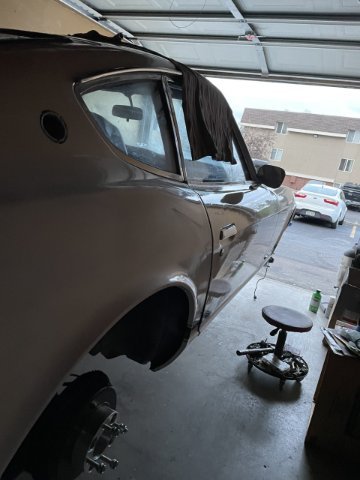
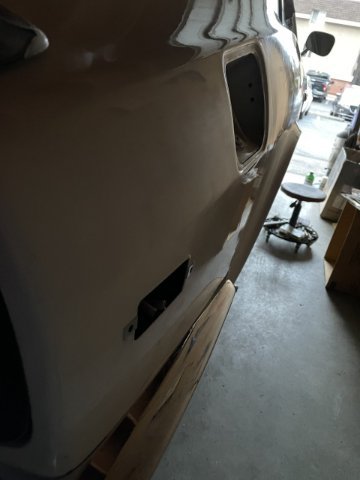
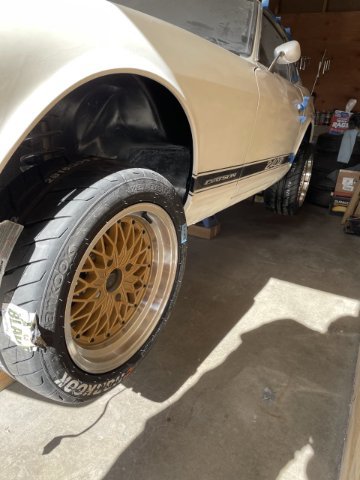
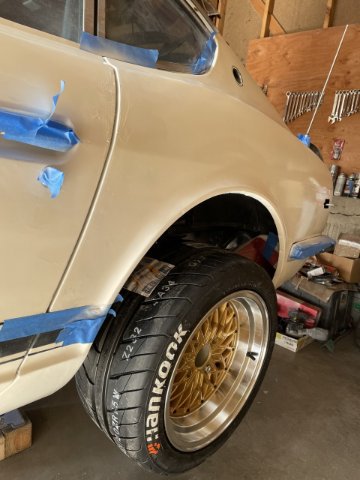
7-25-2022 UPDATE. Continuing saga of flare installation. Well, I do not like well nuts. I removed them and put a washer and wax coated nut on each M6 bolt holding the front flares on. I finished up the driver's (left) front flare and moved over to the right side front. As with the first one, I was able to make cuts to the lip and pull out tabs with which I could drill the moles to mount the flare, and use the dremel to make all edges "not sharp". Pulling the tab down worked well on the front, as I had that much wheel gap between the tire and wheel well opening! I also found that the VW fender welting was exactly what I needed to make these look that much better. The flares that are made for Z cars, are made out of fiberglass, carbon fiber, etc., and are rigid....Flexible flares are a completely different animal. AND because they are a universal fit, it opens alot of options on how to mount them....to get what look you desire. BUT, there are drawbacks as well.....they don't fit as tightly, but the welting makes them work good.
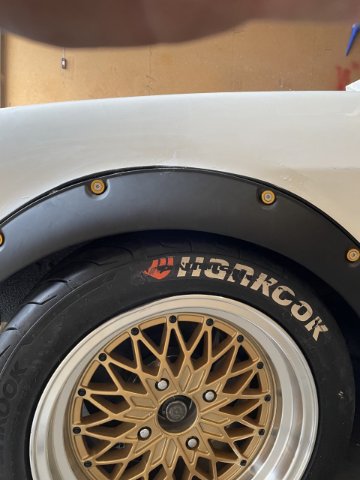
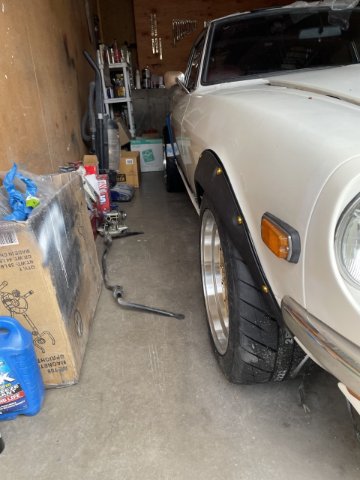
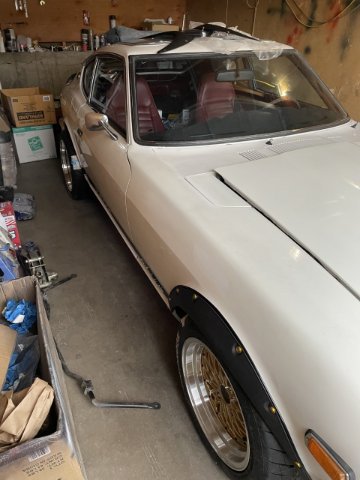
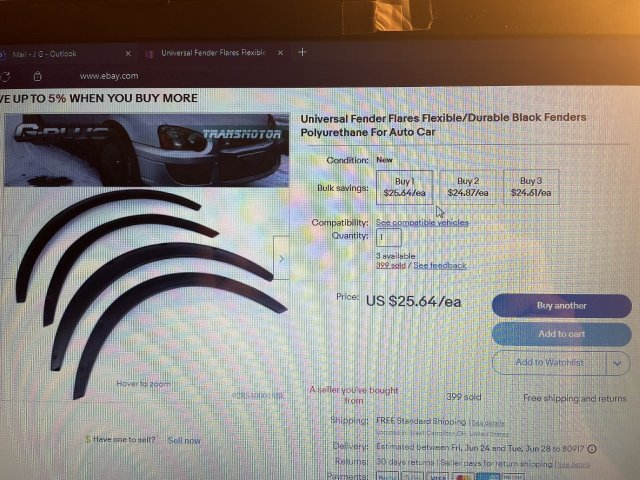
") My goal has been to get rid of the tire gap, AND come out and cover the tire at the top. So, it is working. So, I then went to the rear, and started marking out where to drill and start the process back there. Because the wheel well gap was not as bad in the rear, I found that I was able to drill holes and mount the flare right to the 3/8" wide flat surface on the end of the factory flare, no "tab" to bend down. The wider rear flares that my kit came with are also a bit different, and so a lot of time was spent bending them and moving them around to get the best setup I could out of them. I even thought of putting "front" flares on the rear, but the tire coverage just isn't good enough. At any rate, I feel fortunate that I don't have to cur the quarter panels on the car, and the flares will work. Again, VW welting and my gold anodized washers with the M6 bolts will do the trick.....and M6 wax coated nuts and washers will help me get it done. These are 25 dollar flares I got off of eBay. I ordered 2 sets as I wasn't sure if I would use "frotns" all the way around, or "rears" all the way around. SO.....anyone needing a set of these, I have a spare set brand new, let me know. Lastly, pictures. Enjoy.
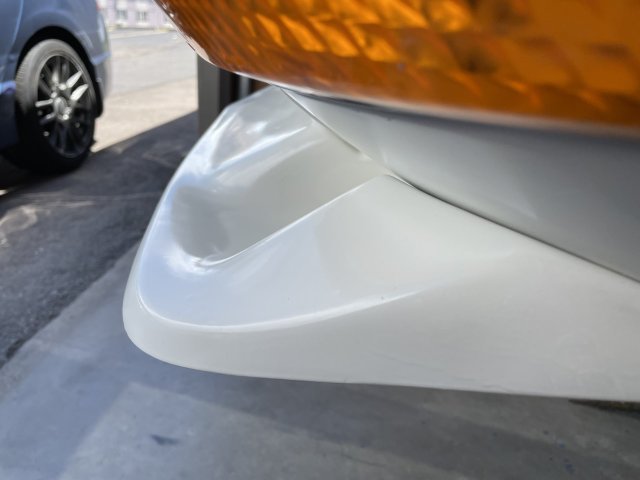
My goal has been to get rid of the tire gap, AND come out and cover the tire at the top. So, it is working. So, I then went to the rear, and started marking out where to drill and start the process back there. Because the wheel well gap was not as bad in the rear, I found that I was able to drill holes and mount the flare right to the 3/8" wide flat surface on the end of the factory flare, no "tab" to bend down. The wider rear flares that my kit came with are also a bit different, and so a lot of time was spent bending them and moving them around to get the best setup I could out of them. I even thought of putting "front" flares on the rear, but the tire coverage just isn't good enough. At any rate, I feel fortunate that I don't have to cur the quarter panels on the car, and the flares will work. Again, VW welting and my gold anodized washers with the M6 bolts will do the trick.....and M6 wax coated nuts and washers will help me get it done. These are 25 dollar flares I got off of eBay. I ordered 2 sets as I wasn't sure if I would use "frotns" all the way around, or "rears" all the way around. SO.....anyone needing a set of these, I have a spare set brand new, let me know. Lastly, pictures. Enjoy.

-
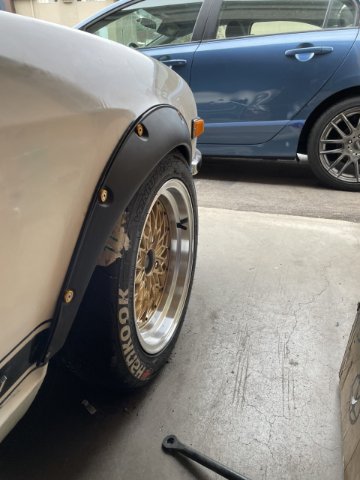
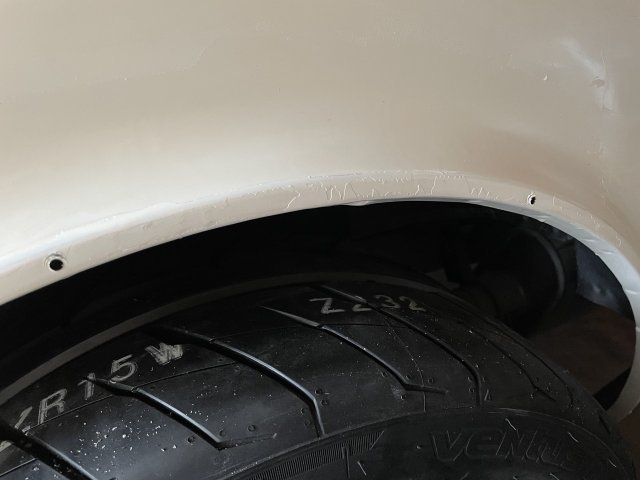
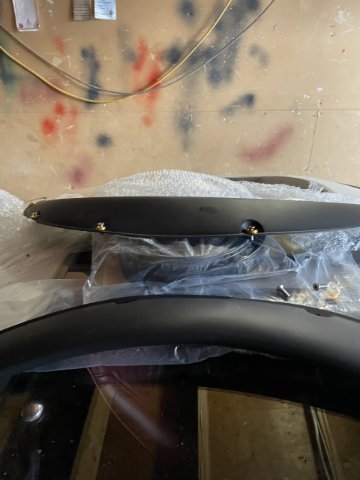
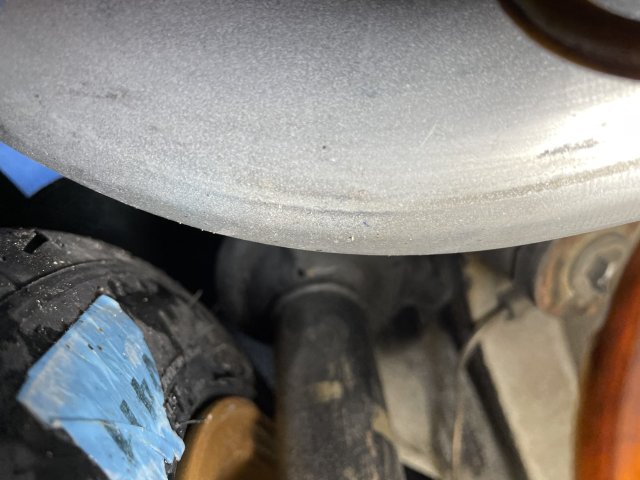
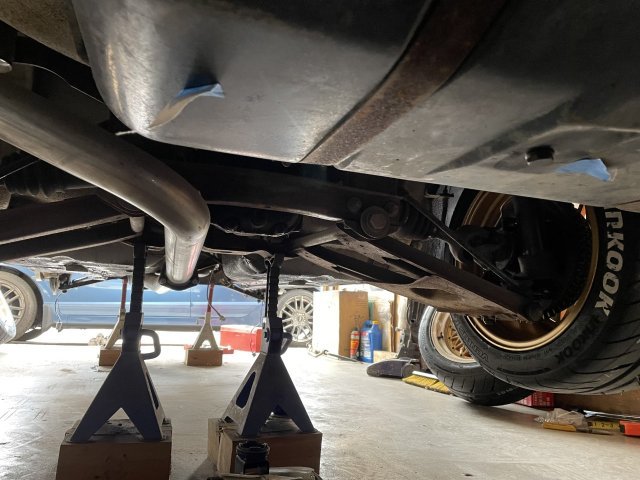
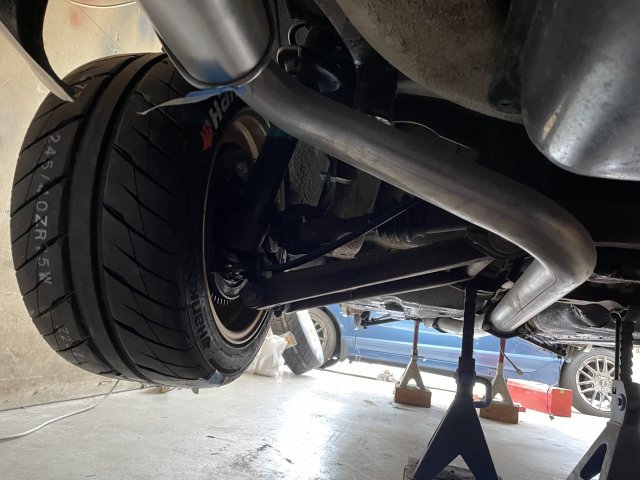
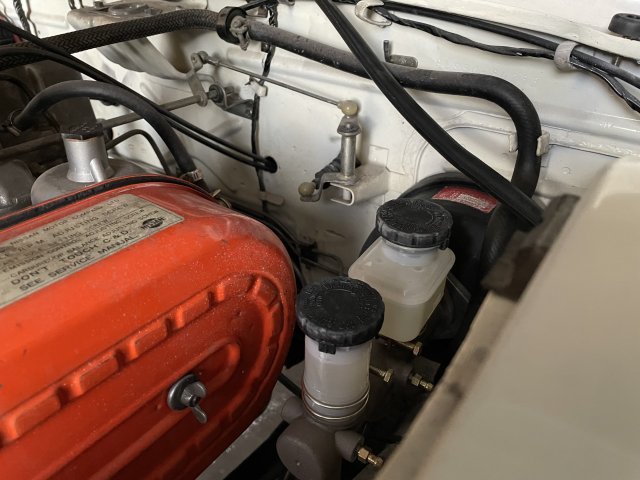
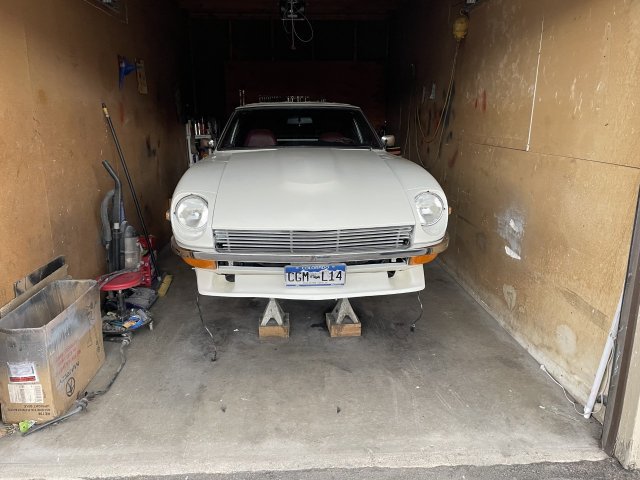
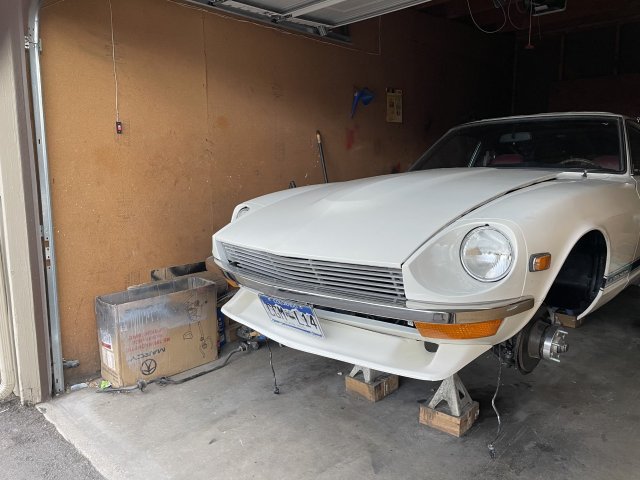
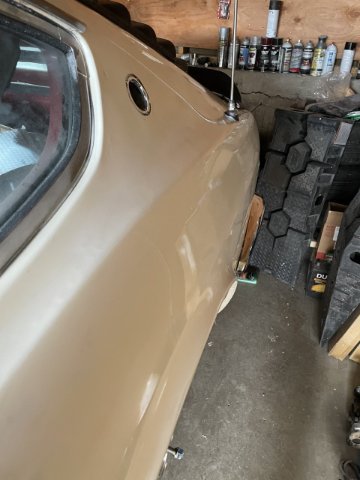
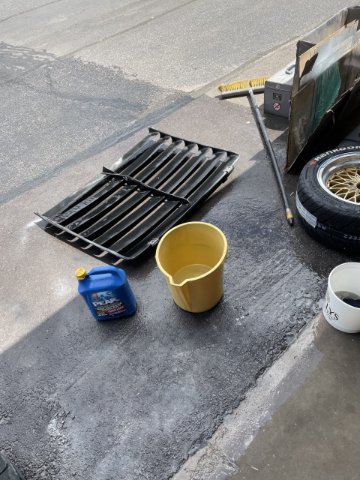
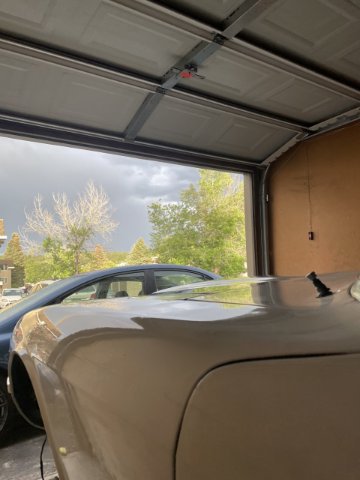
7-24-2022 UPDATE: I went ahead and tried bleeding the brakes again, making sure to loosen the speed bleeders only 1/4 of a turn, and then putting grease around the area, to try to ensure no air could get back in through the threads. Still not quite as strong pedal feel as I wanted. I may have to try another method. I then torqued on my spacers, and installed my wheels. First I mounted the rear wheel on, without the spacer to show that a 15X9 with a 245 will not clear if it is a 0 offset wheel. My spacer gives me -38 offset which is perfect for clearing the stock spring perches. Anyway....I then lowered the car back down to the ground, and she is LOW. You get used to her being a certain height from being jacked up in the air for months on end, now she is on the ground! I then started on my flares. I took one of my gold anodized washers and used it with a drill to get the holes in the flares right dead center. Then I mounted up the left front one, and started getting it on. By holding the narrow front flare up, I was able to see that to "eat up" all the wheel gap and cover out to the edge of the tire, that I needed to mount the front flares right on the outside edge of the existing factory flare!! By cutting relief cuts in the turned in part of the factory flare, I was able to bend them out and use them as tabs. Becasue these flares are flexible, they don't really like to sit flush when you start to tighten them down. So luckily I have the welting and I will put that in there to make it look better, For now, I think I will leave the flares matte black instead of painting them. I think it's looks great this way. So, anyway, here are a few pics of today's work.

-
-
-
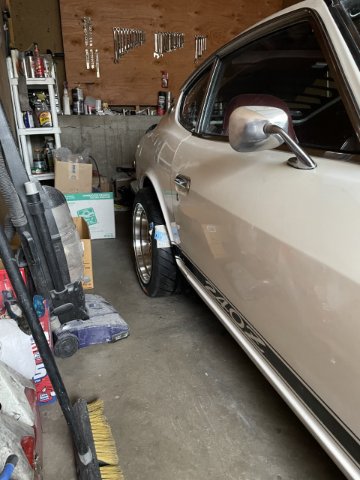
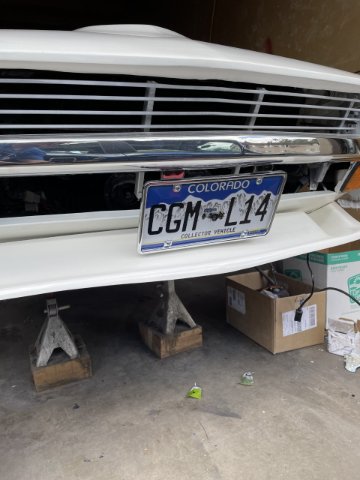
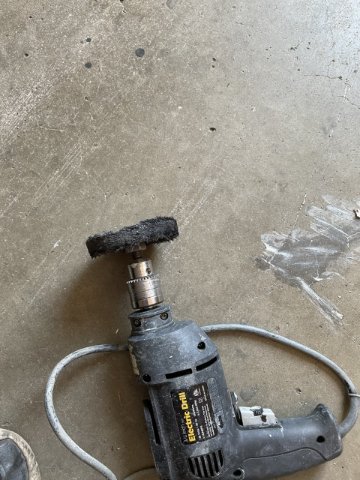
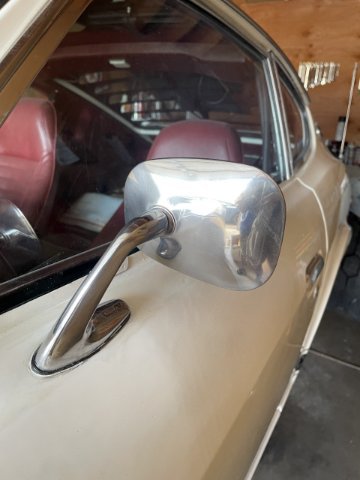
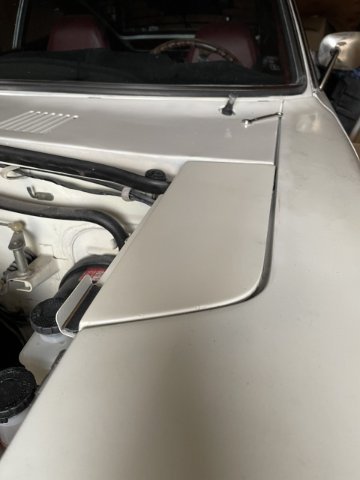
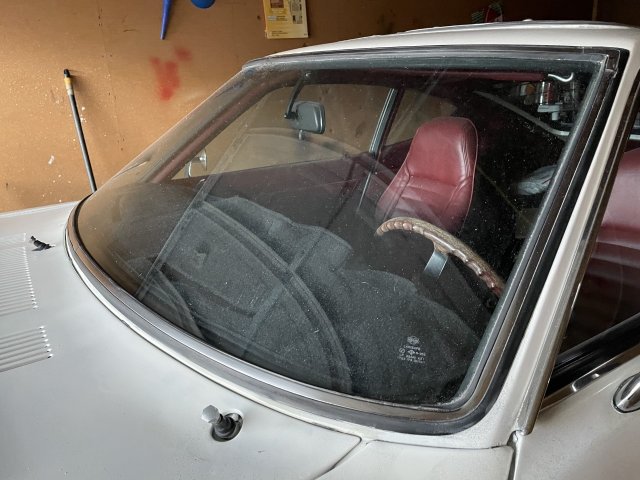
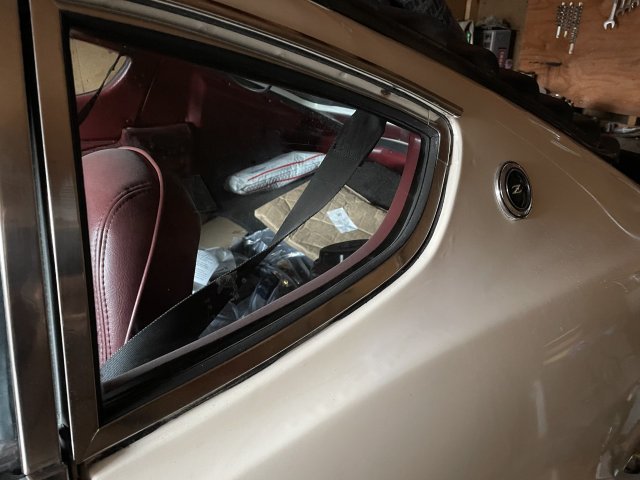
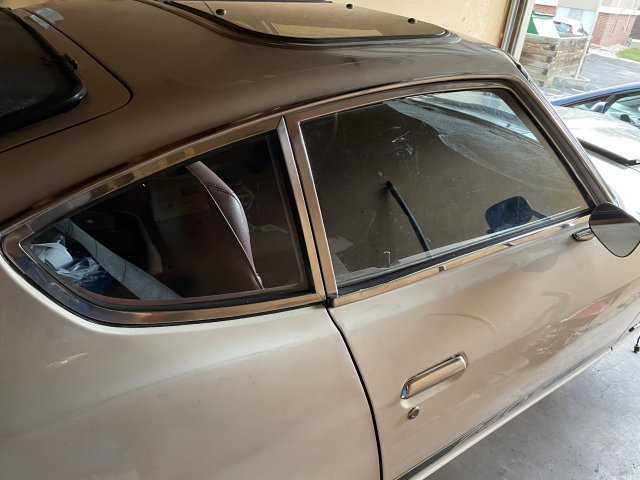
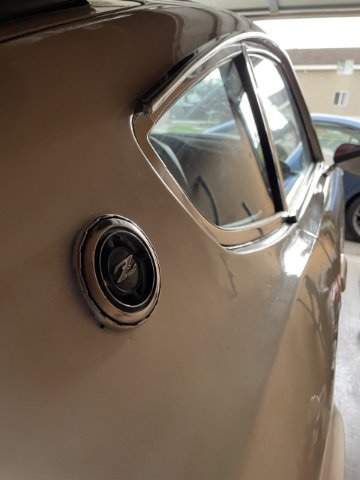
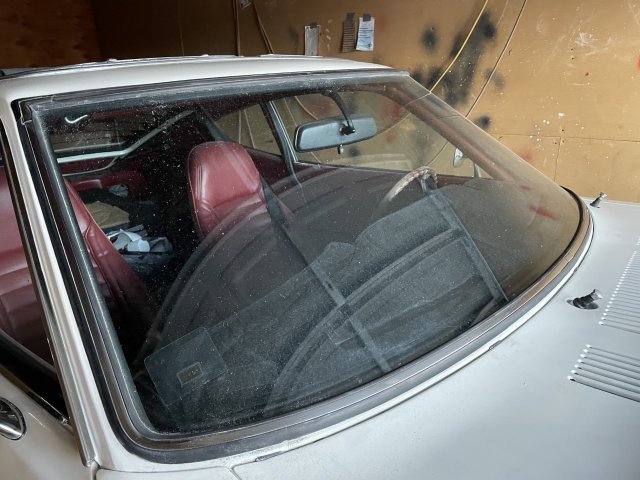
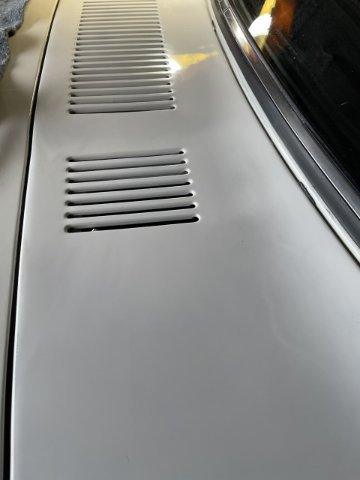
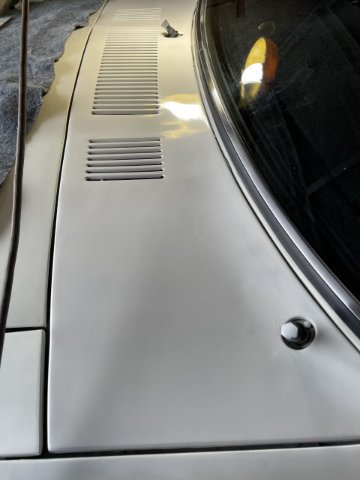
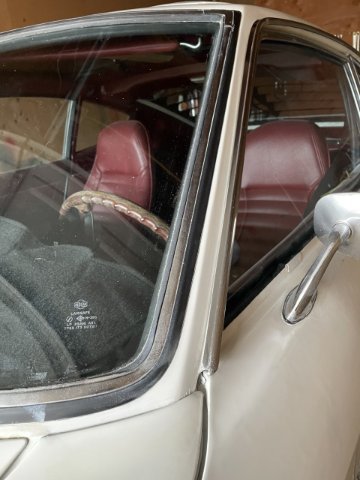
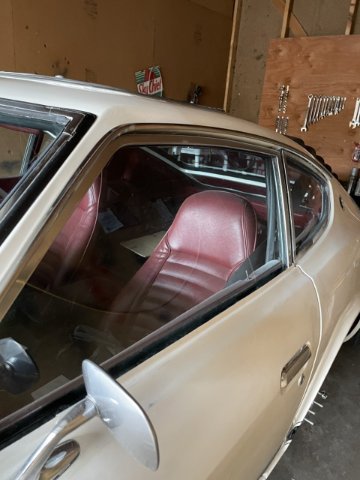
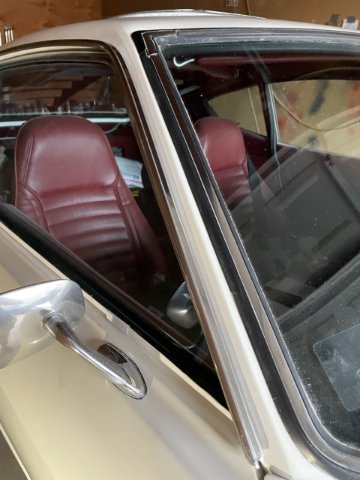
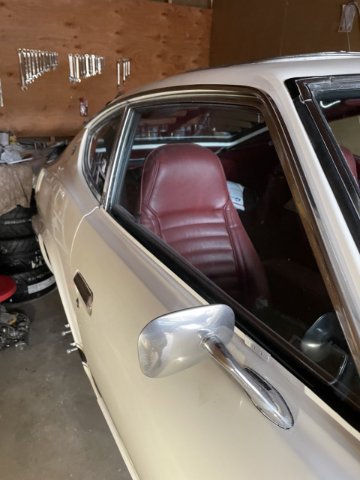
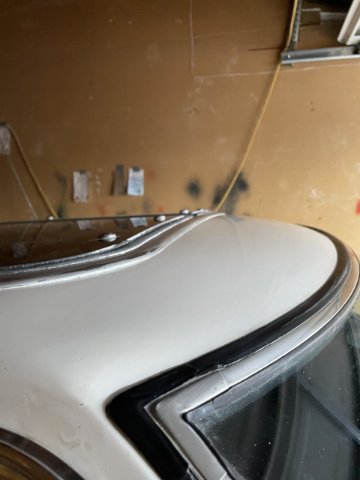
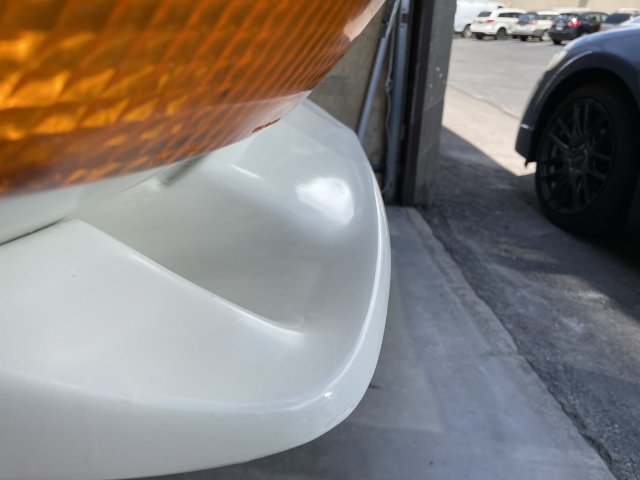
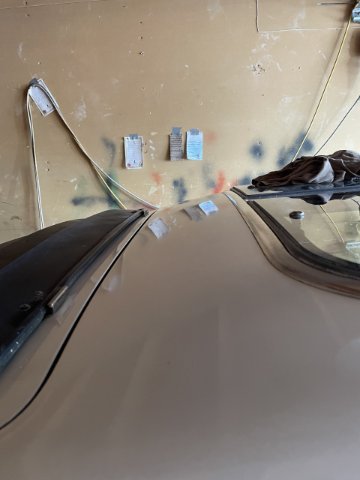
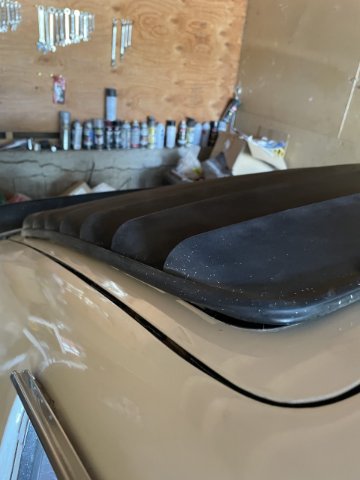
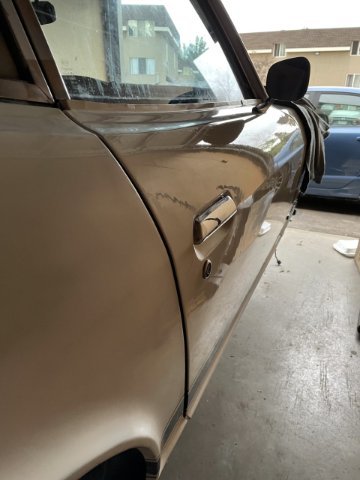
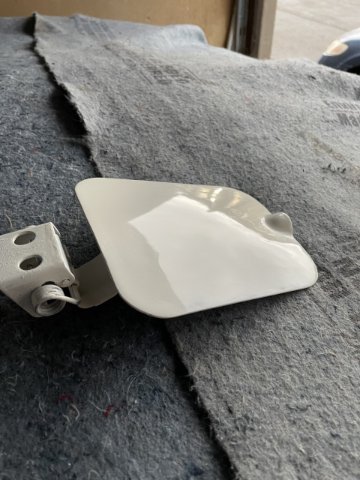
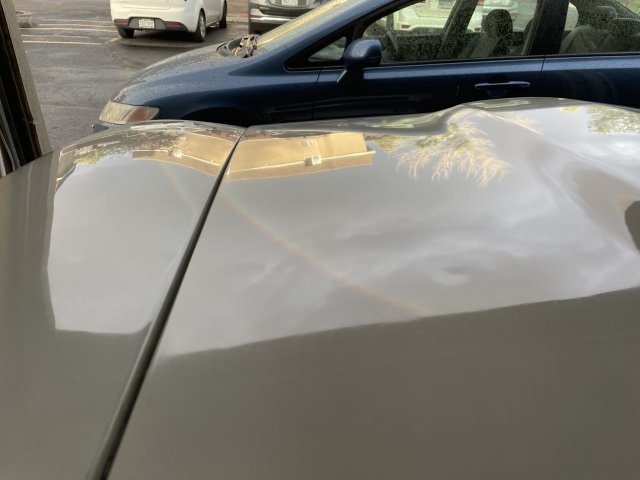
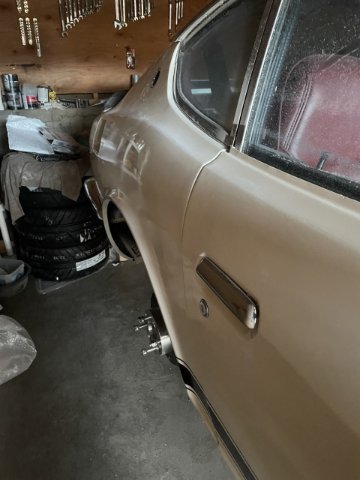
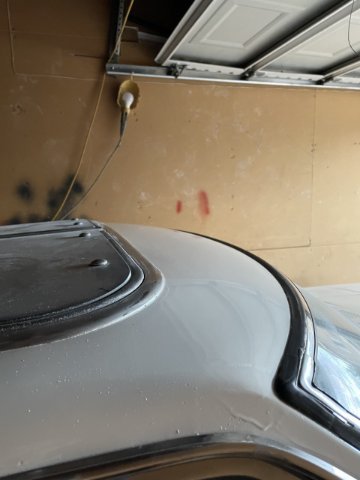
7-18-2022 UPDATE: Well, on to the "little stuff". I cleaned up and mounted all the parking lamps, mounted the front license plate, then pushed it back on the bottom so the plate is angled back.....I think it looks much better that way. Side sail emblems attached, I went ahead and used a small buffing wheel I have in my cordless drill and some Mother's mag wheel polish and polished up the mirrors (pics are a before and after), polished all the window stainless trim and the drip rail trim up to a nice shine, Re-bled the brakes, I think they are better know......we will see how it is under air pressure when running I suppose (snapped a pic of the master cylinder....sure like the look of clean "beer" topped off in them!).....2 spots in the inner fenders I had to patch, got that all done except for final painting and undercoating in those 2 spots. While polishing the window trim, I polished up the windshield trim and removed the overspray, and lastly I replaced my dented driver's side access panel next to the hood. It was tough to get the original off, bolts were rusted in there, so they ended up breaking on one and I had to cut the head off the other....but it is on (paint on the bracket in the pic will be touched up later on), the pic shows it a little crooked, I fixed it after that pic. Cleaned up the wiper posts, top nuts and rubber boots, got the overspray off. Closer and closer to finishing. Here are some pics of the day
-
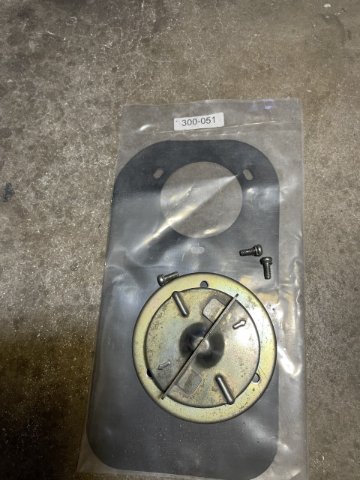
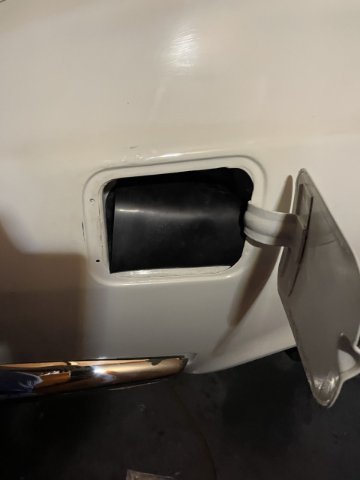
7-17-2022 UPDATE: I went ahead and bled the brakes out, and then greased up the suspension and steering rack. I then started the process of putting everything back together. I used some steel wool on the gas cap, and installed it along with a reproduction rubber gas apron. Speed bleeders are GREAT! But, they can leak, so I had to use some pipe dope to tighten the system up, Pedal still feels a bit mushy, so I may have to do a tad more to get it where I want it.
-
Thanks Ken. 99% done on body and paint. It has been a killer. A LOT of work. Ready to move forward!
-
7-14-2022 UPDATE: I had a few hours to burn so...why not?
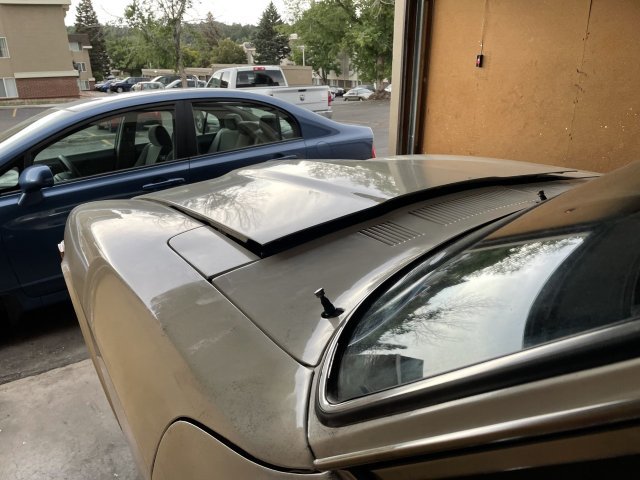
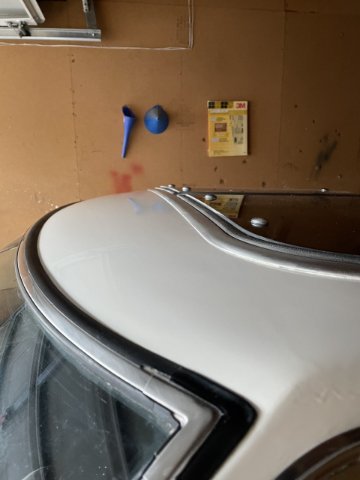
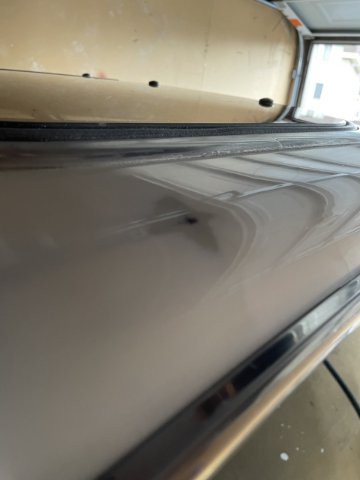
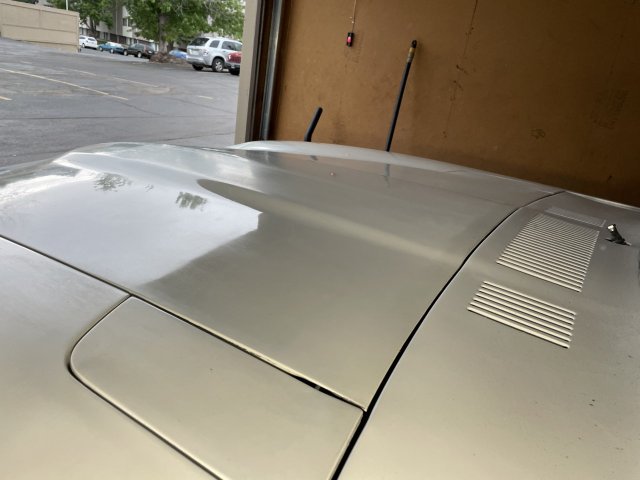
 I went out and wet sanded the remaining panels to buff out and wax with wet 1500 and 2000 grit wet/dry sand paper, and I managed to finish hand buffing and waxing them except the tail and lower tail panel. So, the windshield posts, the rest of the roof cowl panel are finished....oh! and the replacement access panel. I also took a razor blade and removed all the overspray from the glass. Here are some pictures.
-
-
If I install the 510 torque converter without modifying it, it would raise the stall speed about 400-500 RPM which SHOULD be ok.
-
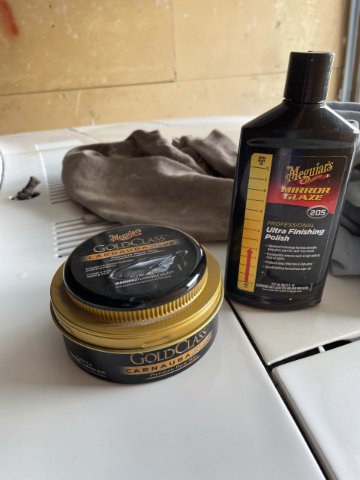
7-10-2022 UPDATE: A lot of pics of the final product. These pics are of more panels being final hand rubbed out and then waxed with the Pure Cranauba Wax (Mcguires Gold Paste Wax). Picture heavy, but kinda cool to look at. Almost done.
-
-
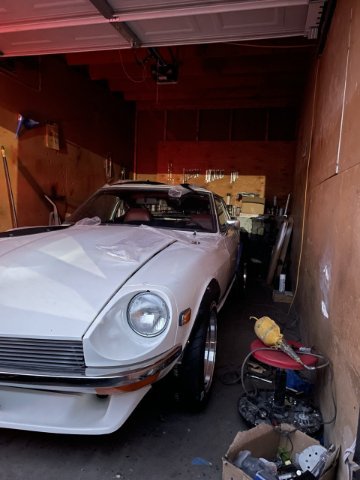
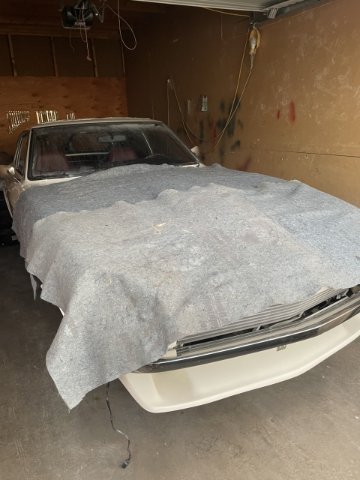
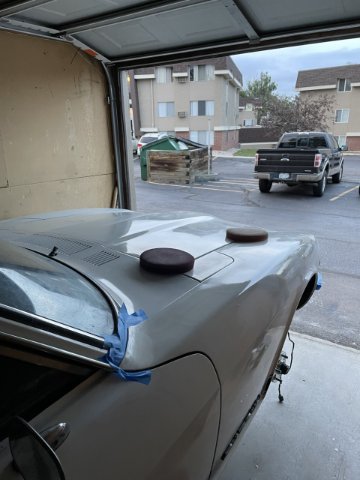
7-4-2022 UPDATE: I started the day by washing the Z and the floor, and then the garage door, as it gets dirt and dust etc. from sanding on it. I then Started the process of hand rubbing the paint, doing any minor paint corrections and then applying a coat of wax. McGuires compound works really well, and I was able to ensure the surface was clean and smooth before breaking out the McGuires gold paste wax. When you touch it now it is soft and smooth like butter. I was able to get both front fenders done, as well as both headlight buckets and the hood. The pics I am attaching are high in count, this is because I save all of this for future records. So, if it seems a tad redundant, sorry. Any imprefections you see can and will be addressed at a later date. I ended the day by shaking out some blankets to cover what has been done. My intention is to go to Walmart and get 2 king size sheets which I will use as a cover for it. I am not a fan of the elastic band in the bottom of car covers. The body and paint portion of this build has taken too long, and I am now pushing it forward. I am completely exhausted with body and paint work. After all the pics, there is a short video if you wish to watch as well. Take care and God bless. Jesus saves.
link to video:
-
7-3-2022 UPDATE. SO, I went out to the garage today with the intent to finish the buffing. I believe I have succeeded. Any parts left can be done by hand, and will be, as I go panel to panel, doing that and then waxing it. Again, using the Meguire's Gold Paste Wax, which is pure caranauba. When I did my Msutang with it, it is smooth as butter. I took some pics and 2 video's. I will try to get the videos to load, if they don't I will provide a link where the video's CAN be seen. Cheers!
P.S. I do NOT like doing body and paint! I think I have said that before already.
Video #1 (12) Facebook
Video #2 (13) Facebook
-
Today the 510 converter arrived, and by making some calls, I found a shop in Denver that rebuilds converters. A quick call told me for around 100 bucks they will cut the converter open, rebuild it....bearings and stuff I imagine and seal it back up all nice and clean. When I asked about adjustments for raising the stall, he told me "yes, we can tweak the plates a bit"....so I could also have them add a hair to the 510 converter as well! With any luck we're talking 2800 to 3000 RPM....which would put it right in the torque sweet spot. The main question is, what would a Z drive like around town, and cruising with a 2800-3000 stall? Would it create more friction and wear just cruising, would it be kinda like driving around slipping the clutch all the time? Comments welcome. The address to the converter shop is:
Branting Industries
5280 W. 56th Ave.
Arvada, Colorado
(303)425-9004
Seems to be a fairly quick turn around, although he did tell me he was swamped with business.
-
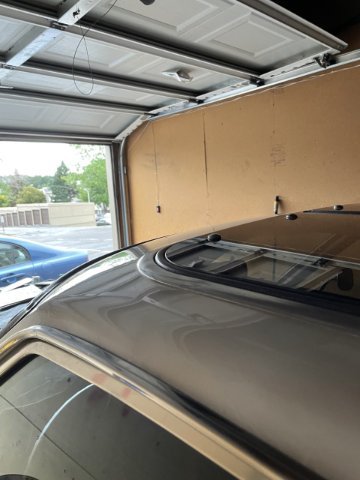
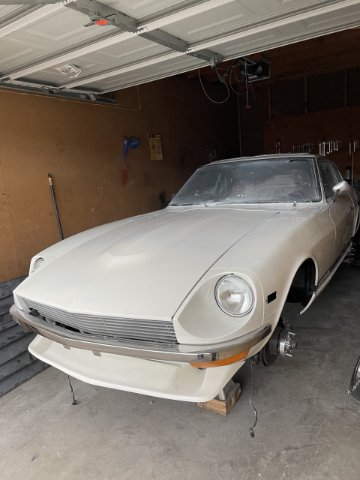
I am one of the lucky ones who ended up with a 1972 240Z that received a large sunroof early in it's life.
There are definitely positives to it....cross flow ventilation, but it does screw up the lines a tad.
Well the other day I was looking at carbon fiber roofs,and the thought came to me, what if the carbon fiber roof was neatly trimmed around the edges and bonded on, thereby hiding the hole, and then clear coating the cabon fiber? On the inside it would be just replace the headliner center portion.
Opinions/comments?
-
Wow, a lot of good comments and info....we obviously have well educated and experienced folks on here.
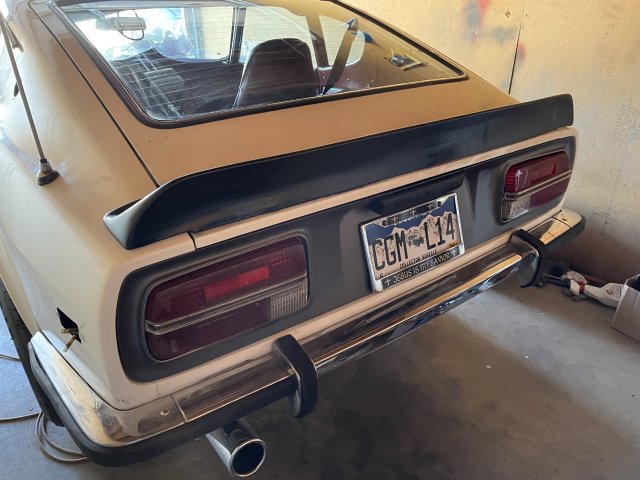
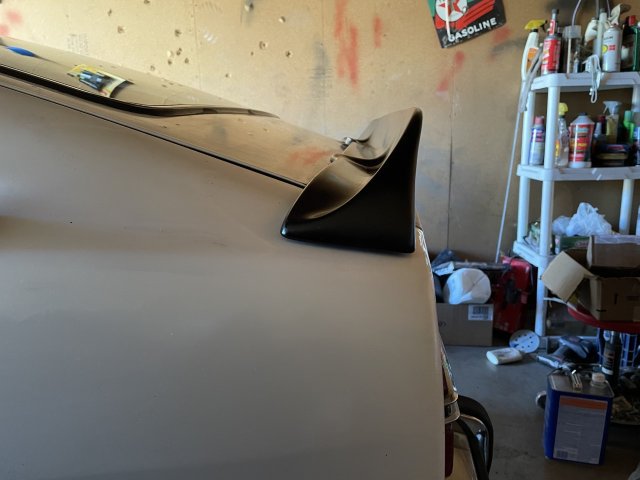
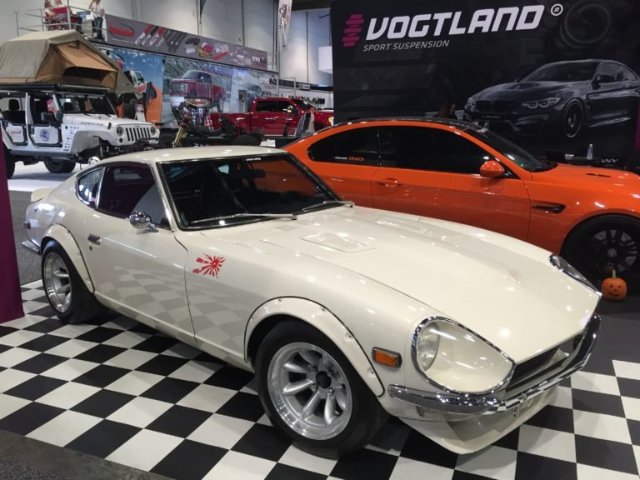
For me, I care about looks. For my 240Z I went with BRE front and rear. Since Pete Brock offers an new updated rear spoiler that is taller, maybe that is what you need. But for me, I like the front "spook" spoiler and the original BRE rear spoiler. Yes it has 6 contact points, which I think is a good thing......If you ever want to drive it at any kind of speed, you will need the extra bracing to keep it on!
I will be adding some flexible "ZG STYLE" bolt on flares I found on eBay that will give me some coverage on my wheels since I do have "poke out"...1 inch front 2 inch rear.
-
Thanks. I will, very happy so far, I am terrible at body and paint, but I am almost to a point that I can live with.
If I could do it over again, I would have disassembled the car to a point, and taken it to a shop for a paintjob, even MAACO, just someone to do it for me. I do not like doing it. A local paint supply store here in town has a list of names of guys they will refer people to, to get it done by someone who "does it on the side". Lesson learned. At any rate, I HAVE leanrned, which was one thing I knew I would gain.
Also, not sure if I will paint my flares. I may keep them black with black welting, at least mount them up and see before I paint the flares body color with the black welting to separate them and set it off.
-
On 6/27/2022 at 7:34 AM, Dat73z said:
Looks good keep it up 👍
Some tips on the buffing: the tools and compounds you use makes a huge difference. I think 10 or 15 yrs ago I tried wetsanding and buffing a car at home with turtle wax and a drill like you're using. It was extremely difficult and I got poor results, burnthrough in areas as well. At the shop we used a rotary, wool pad, and 3m compound for freshly painted cars.
Ended up buying a cheap porter cable DA and a bottles of meguiars m105/m205 for home use. I got pro level results and was able to do an entire car in a day. It was worth the cost and I still use the porter cable today. you probably know this since you're doing it but you don't want to go excessive on the compound as you want it to break down. You can spray the pad or panel with water if you need more cutting action or longer spot work times
Thanks for the tips.
No....I didn't know about not using excessive compound, nor about mater making it cut harder....I do now!
-
Thanks Ken and Chuck. It's been a busy year on her! This will be the last one. No more car or bike builds. She is the keeper. I will continue to work and fiddle with her forever, so it never ends I suppose.
-
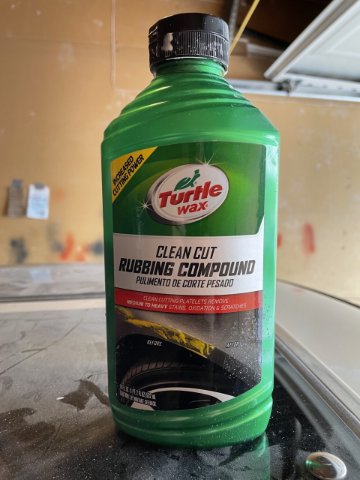
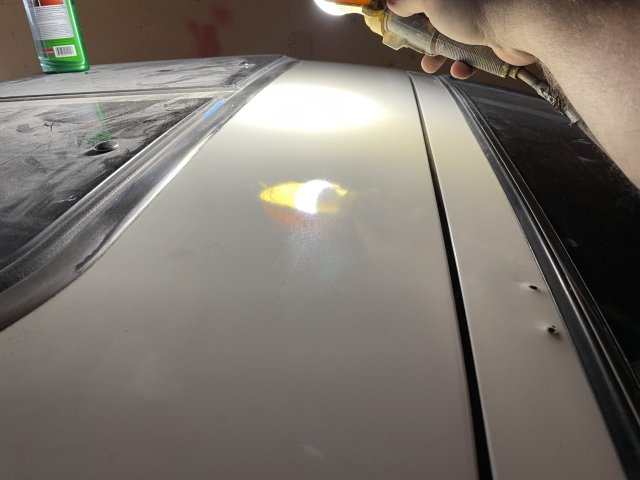
6-26-2022 UPDATE. Buff.....Buff....Buff! The right hand side or passenger side got the attention today, to include the upper sail panel behind the quarter window. Buffing, then stopping and wet sanding, and some dry sanding, then back to the buffer...back and forth, and using a lot of compound. Still using the Turtle Wax stuff...I took a pic so you can see what I'm using so far. As I mentioned earlier, I will use the McGuires after this on final buffing with the red foam pad, which is for final buffing. The purple is the stiffest foam pad, and it is for REALLY cutting, and it WILL....you have to be careful! The orange pad is a middle of the road one, for "mild cutting"....it does the job ok. All of these are on an attachment that is used in my electric drill, and it causes enough drag, that I have to stop from time to time to let the drill cool down. Teaching yourself to do this, means learning, and that means going back and fixing areas, where you learn how to not push TOO hard, how to hold it against the panel.....how much throttle to use, to control the RPM's. etc. That said, I AM making progress. Still 2 steps forward, 1 step back, and yes, body and paint work is getting old now.... ready to get this done and move on to other things. Takes a long time when you are teaching yourself. And that brings to mind my beef with these shows and videos that show how to do this stuff. They give you the false sense of believing it is all easy and straight forward. It is not. It takes a "feel"...and that can't be gained by watching a video, it takes experience. That goes from beginning bodywork, all the way to buffing. Off the soapbox. Whew! And yes, you are seeing the end results of doing a rattle can paint job with enamel paint. (Rustoleum Enamel~ if it doesn't say "ENAMEL" then it isn't. It's lacquer. Do NOT use that stuff! At any rate, here are some pics and a video at the end to go with coffee. Take care.
Click under here for video. It won't let me load it on here, so this link takes you to facebook. Click on the pictures in the writeup....the last one is the video. I think the video is too long for here, I tried 3-4 times and gave up.
-
6-25-2022 UPDATE. Well........OK. Started buffing. As I go, when I have a spot that isn't quite shiny, I grab a piece of 2000 grit wet it, and sand it, then polish, repeat until shiny, then keep on going. I got the rear hatch good, most of the roof, and most of the hood. Once I am done, I will go over the areas again with the fine foam pad and McQuire's. Right now I am using the middle pad with The Turtle Wax compound. I have tried the hardest pad on a couple of rough spots and now have a feel for when it can be used in tough spots as well. Couple spots I had to paint when the color sanding went through. Here are pics so far.
-
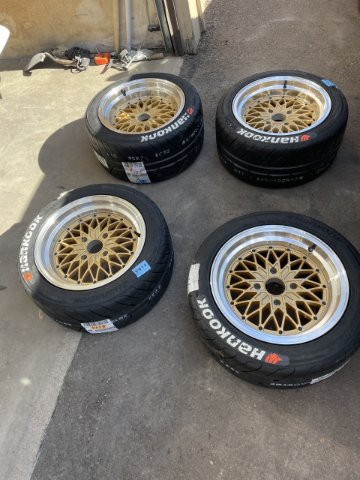
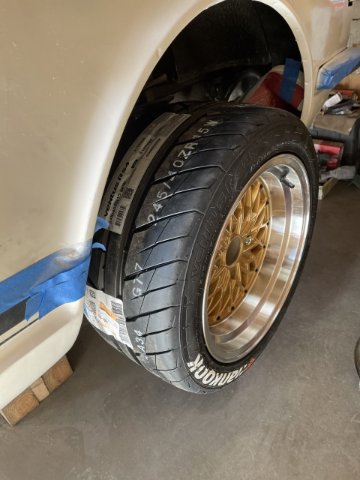
I put looks over functionality this time. 15X8 -25 front, 15X9 -38 rear, (wheels at are 0...final negative is with with spacers) to restore my backspacing for my stock spring perches AND get the "poke out" I wanted. I will be adding my flares later on....ZG type, but flexible, ao I can make them contour to the original wheel well edge. Then I can back off the screws enough to mask off around them, and mask the bolts, paint them, and put my fender welting in, then tighten screws down once dry. Welting is old VW bettle welting on a roll. Flares will be matching white. Tires, 225/45ZR15 front, rear 245/40ZR15 Hankook Ventus R-S4 dry weather tires. It's a weekend cruiser/toy. Once car is back up, it will go in for alignment. Ever since I was young, I always dreamed of having a Z that was flared with spoilers.....so I decided that life is short enough, I should do it the way I want, without later regret.
here is a pic to show my desired look:
-
6-24-2022 UPDATE: I got the tires mounted on the new Mesh wheels. put 2 wheels on to mock it up real quick......obviously need to take all the stickers and stuff off the sidewalls. These tires are directional....and becasue I am running a Staggered tire setup, there is no tire rotation! Here are a few pics.


Joe's 1972 240Z adventure. // 16 JUN 21 - 13 Jul 24 // 3 years 27 days build
in S30 Series - 240z, 260z, 280z
Posted
Thanks.
Yeah, I put some tape above the wheel wells, and it actually peeled some paint off! So, I will have to touch up a few spots.