

A to Z
-
Posts
891 -
Joined
-
Last visited
-
Days Won
14
Content Type
Profiles
Forums
Blogs
Events
Gallery
Downloads
Store
Posts posted by A to Z
-
-
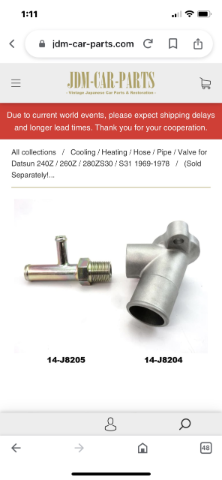
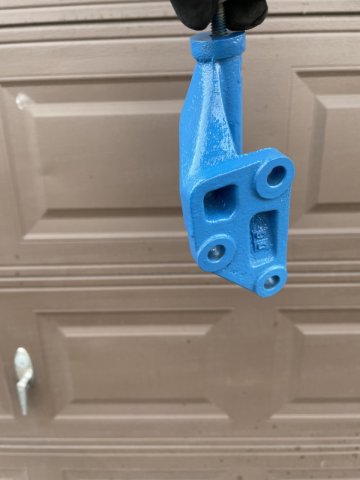
Thanks. I have received several responses that all, like yours, made too much sense to take the chance. So, I went ahead and got a lower coolant piece from an L28. Since I am going heater delete, this one allows me to put a flush threaded plug in the end, looks much better. No longer available through Nissan, so I found them at JDM-Parts.com. Not cheap, but.....

-
I went ahead and got a lower coolant piece from an L28. Since I am going heater delete, this one allows me to put a flush threaded plug in the end, looks much better. No longer available through Nissan, so I found them at JDM-Parts.com. Not cheap, but.....

-
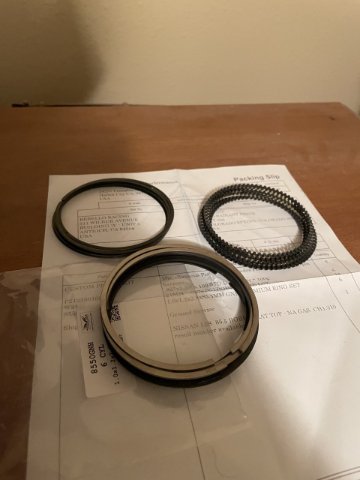
1-28-2023 UPDATE: Crank is done. cut .010 under on all journals and no has ZERO runout. Block was tanked and magnafluxed, came out great. Is awaiting boring now.
-
 1
1
-
-
Thanks to everyone who helped me.....I bought a K case R180 with a 4:11 gear set in it, all cleaned up and ready to go, including the bolt in sides. So good to go!
")
-
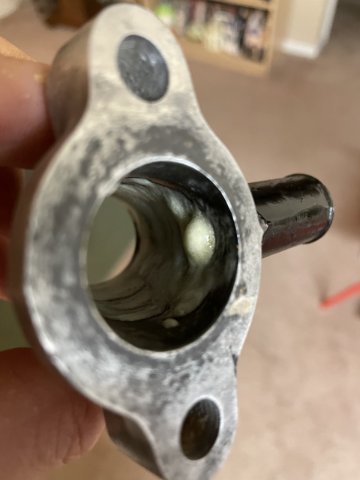
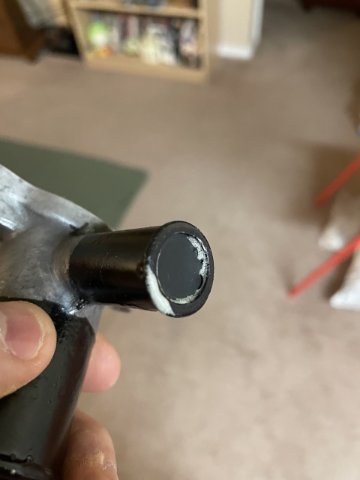
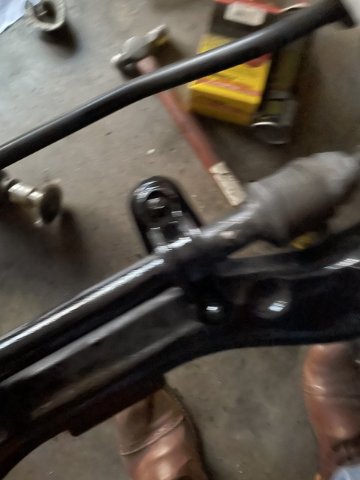
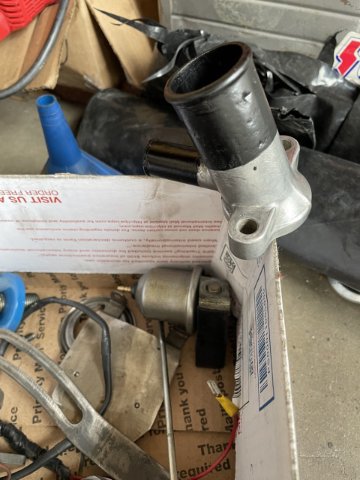
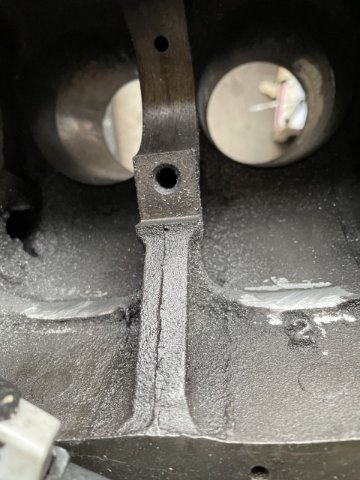
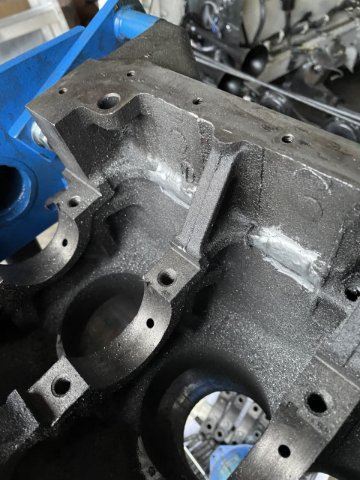
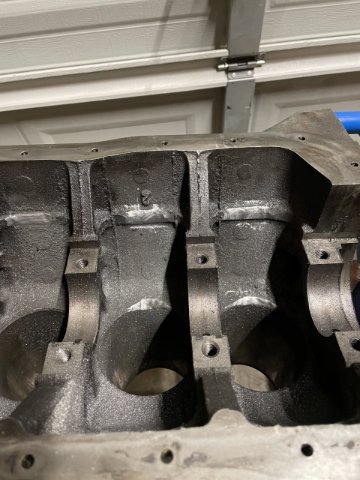
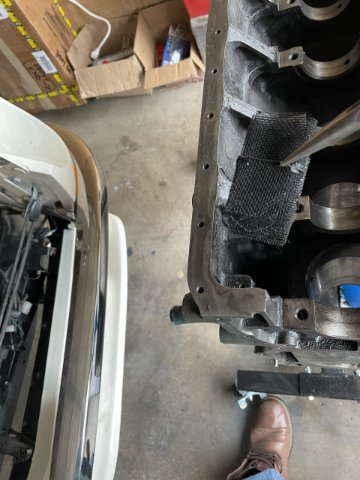
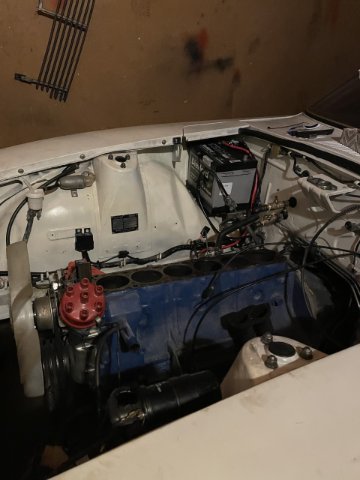
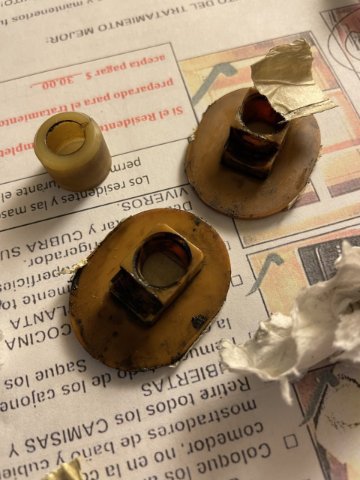
01-28-2023 UPDATE: I have been working on my water neck that splits off to the heater. Since I am heater deleting my 240Z I decided to look into blocking off the port in a nicer way. So, I went to Lowes and bought a rubber plug that was tapered, and got one that fit right in. Then I coated it with Gorilla glue and pushed it in. After a couple hours, I checked it and it was permanently in there. So I held it up and poured water from the inside which actives the gorilla glue and then filled it up with gorilla glue from the inside. Now, because this stuff expands, I had to keep wiping it smooth. This will all be sanded up inside and cleaned up, but once this is done, it will look much cheaner than a piece of tubing with a bolt in it to block it off. So, more to come on this. Also an update on the block, it is all cleaned up, was magnafluxed and all is well, and is going to be bored shortly. Its been so cold you have to enjoy ANY progress. Heres a couple of pics in mid finished state. Cheers.
-
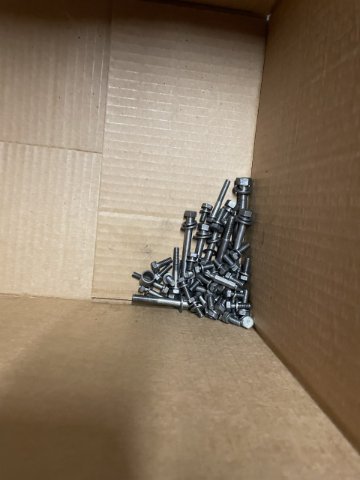
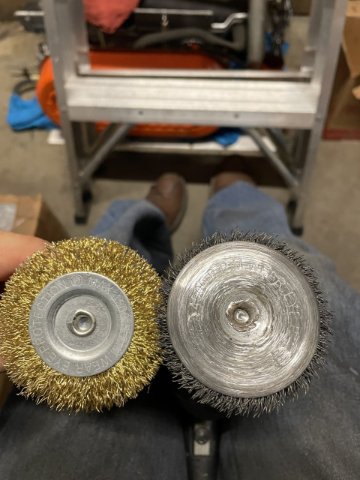
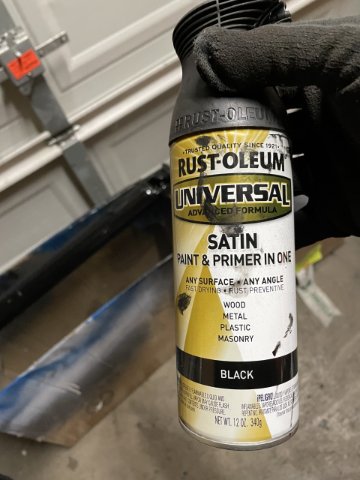
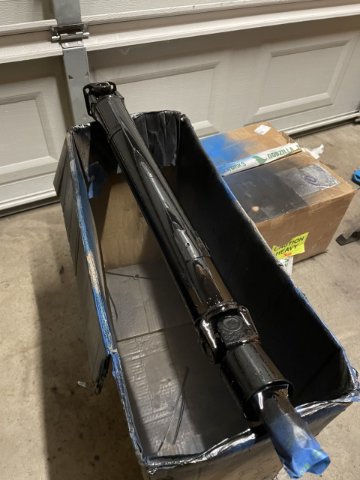
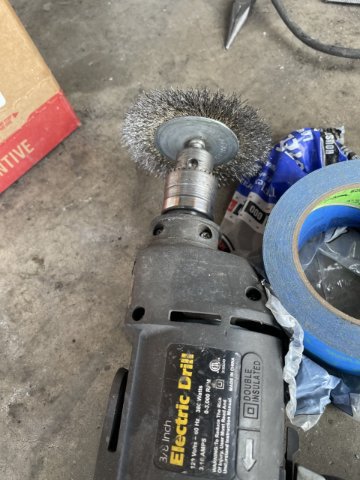
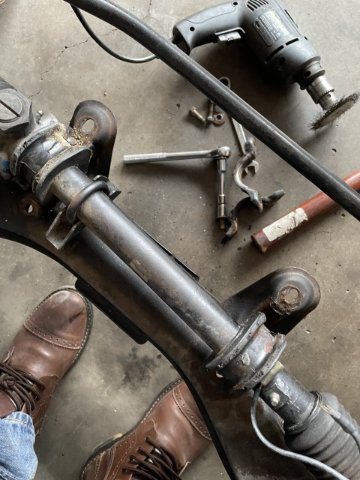
01-22-2023 UPDATE. I finally finished up the engine bolt cleaning!. All cleaned up and ready for the block when it gets back from the shop. Crank is done....010 under all the way across, ZERO run out, nice and straight. I also wire wheeled up the driveshaft then cleaned it up. Then before I went in for the day, I got one side painted. Once dry I will flip it over and paint the other side. Look at the pic, this is the 2nd wire wheel I have completely wore out on this car......but hey it's Progress. Hey it's cold! I have heater in the pics, and it's keeping it manageable. But a one car garage is rough.
-
Thanks for the kind words.
-
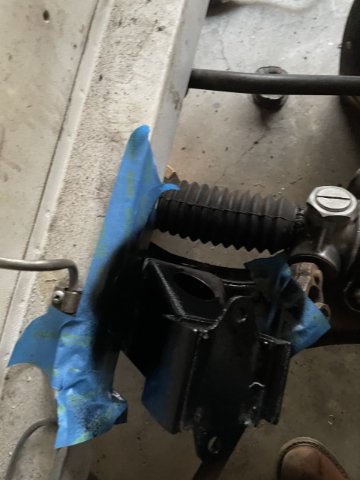
a pic of the rack painted. crummy pic, but.....
-
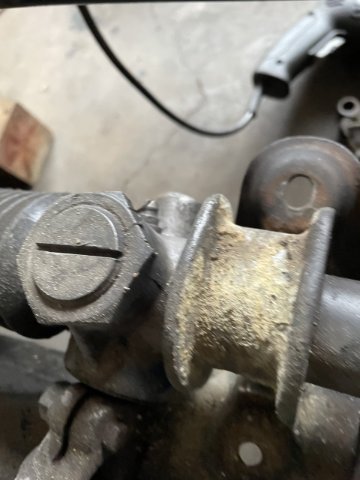
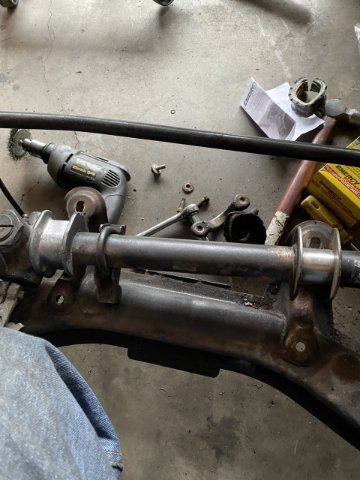
01-14-2021 UPDATE: More progress......cleaning bolts up with the wire wheel in the drill and a pair of pliers to hold them. Then painting of more parts, and replaced the steering rack mounting bushings......went with urethane this time, and painted the K memberr. Lastly I spent some time cleaning uo the compartment before calling it a day. Pics follow. :)
-
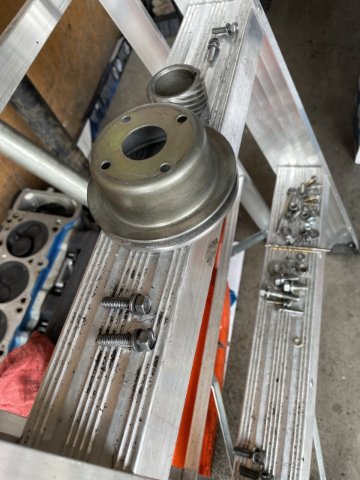
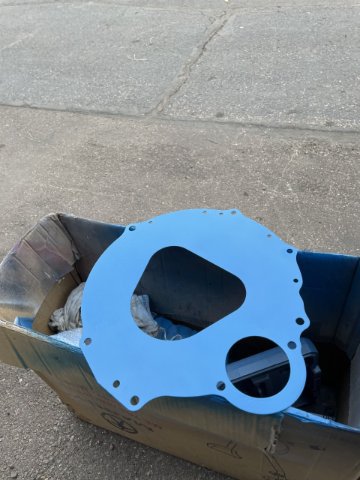
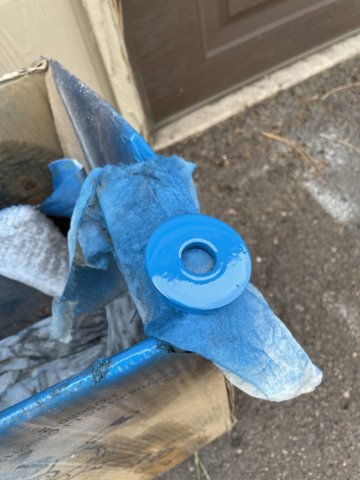
01-09-2023 UPDATE: Well I got the block, rods and pistons down to the machine shop, and the crank should be done tomorrow. They ended up going .010 under on all the journals and got the runout completely out of it. So after all of that, I went ahead and began the process of cleaning up and prepping all the stuff to be put back on when the block gets back. I painted the engine plate and washer for the harmonic balancer in the Same "Old Ford Blue" I will paint the block with. It's a Duplicolor engine paint. Distributor, misc bolts, etc all cleaned up and buffed out with steel wool, I just need to paint the motor mounts and transmission mount......I still have a few more engine bolts to clean, then it is on to getting the crossmember, etc. painted in the car, that I couldn't really get to before when the engine was in. Pics
-
Yeah, it definitely takes time.
-
01-01-2023 UPDATE. Happy New Year! I was able to use my new carbide burr bit, and get closer to having the block ready to go to the machine shop. Clearancing, clearancing, clearancing. Because I am boring so much, I can't fully clearance the bottoms of the bores until it is back, but I was able to finish the sides. Pics follow.
-
K1 Forged H beam Rods with ARP 2000 bolts I got from Steve Bonk.
-
01-01-2023 UPDATE. Happy New Year! I was able to finally get the engine and transmission out and into the bed of it's new home. I also was able to use my new carbide burr bit, and get closer to having the block ready to go to the machine shop. Clearancing, clearancing, clearancing. Because I am boring so much, I can't fully clearance the bottoms of the bores until it is back, but I was able to finish the sides. Pics follow.
-
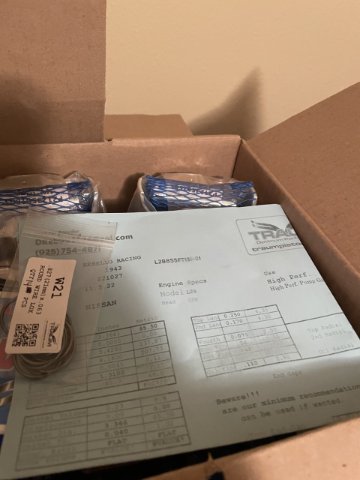
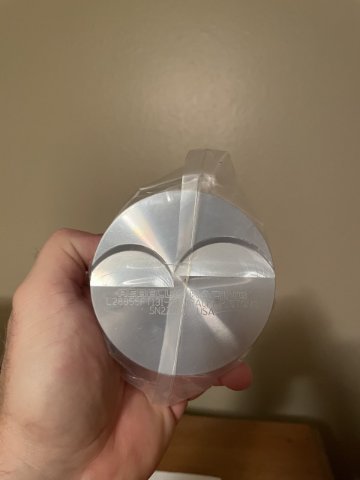
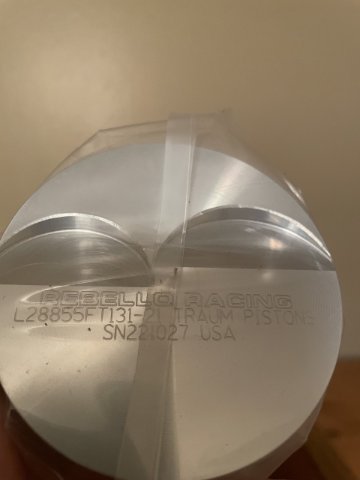
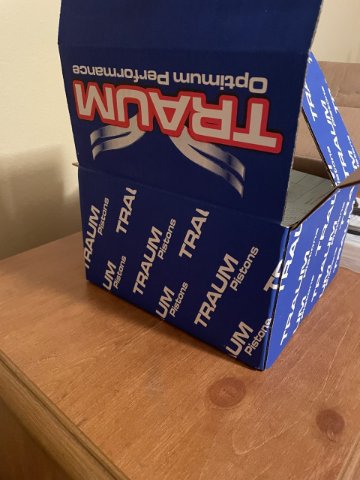
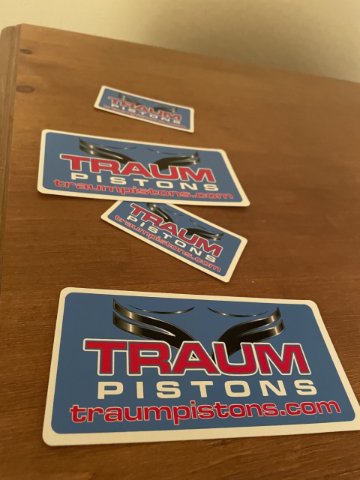
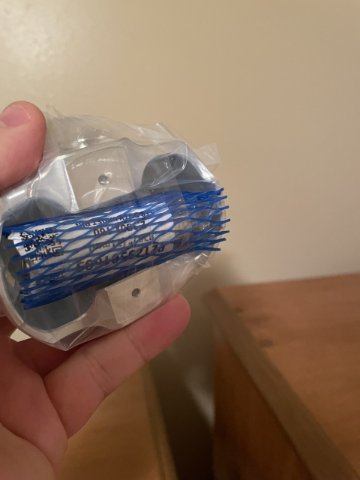
12-29-2022 UPDATE. Big day! My custom pistons from Traum arrived. Time to send the block and these in for boring, etc.
-
12-29-2022 UPDATE. Big day! My custom pistons from Traum arrived. Time to send the block and these in for boring, etc.
-
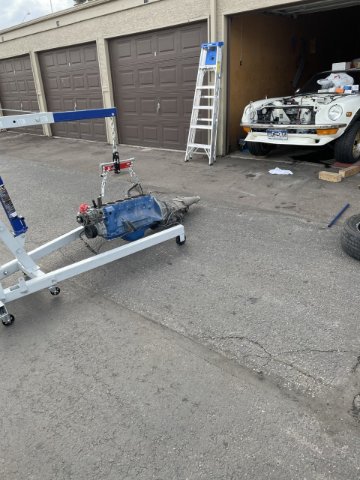
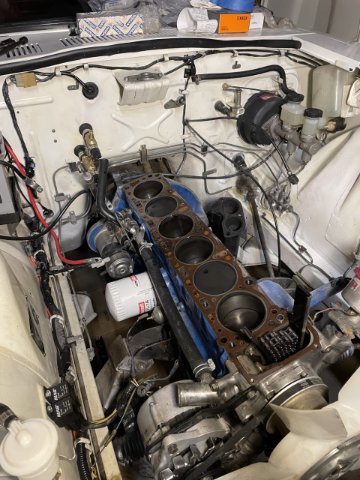
12-24-2022 UPDATE: Merry Christmas everyone! Today I began disassembling everything to remove the existing engine and transmission. After that, I removed the head and intake and exhasut manifolds all as one single piece. Hooked up the hoist and pulled it all off! Amazed at how the head already looks like the valves are been un-shrouded. It appears that the head still has it's brass valve seats. Oh well. Even after draining the fluids, it still ends up messy and the remnants find a way to leak all over. The top end is ready to go on the stroker short block, but I will do a bit of extra cleanup. Next I pull the block and finish prepping the block. The pistons will be here in a couple of days and it all goes to the machinist. The rear diff will wait until this is done.
-
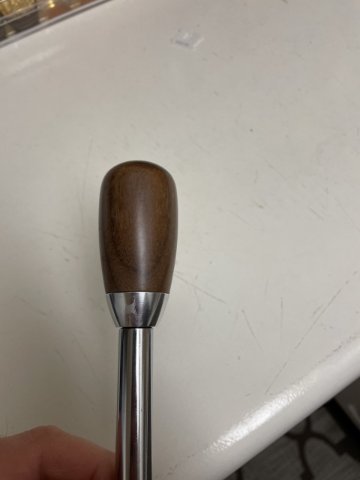
12-22-2022 UPDATE: Well good news today, my pistons are in the mail.....crank almost done. Block is going to the machine shop to get a lot of work done, as well as the rotating assembly. I may have him assemble the rotating assembly since he is a pro and I need it perfect.....I can do the rest....we shall see. He is very skilled, likes to stick the bearings in the con rods and measure to ensure tolerances are as good as possible, so that may be an option I would be crazy to skip at this point So, things are starting to come together. My shift knob and shift boot arrived.
-
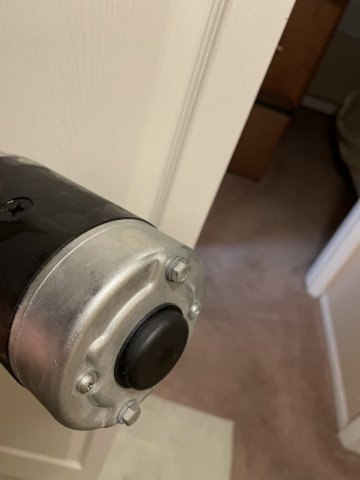
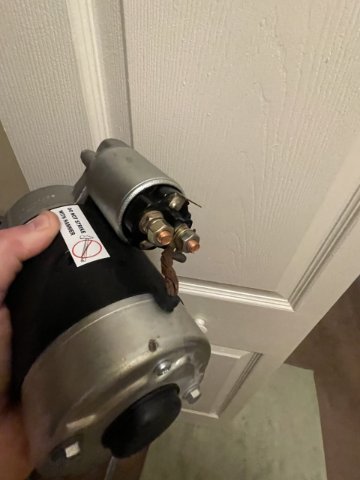
12-20-2022 UPDATE. Well the rear differential arrived, and my new Bosch starter as well. Also received the burr bit I need to finish clearancing the block for the rods and crank, and some new Nissan flywheel bolts. I got them from the Z Connection and were about 10 bucks cheaper than anywhere else....gotta love eBay. Transmission will be done most likely in 2-3 days, crank is in Denver getting the full treatment, probably be done in a week.....and no word on my pisotns yet. I should be getting my used cam in a couple days and then decide if I want to send it to Schnieder for a regrind. That is the best way to go, as the factory cams, are the real deal, strong, forged, versus the aftermarket which are not quite as well made. Schnieder is also able to measure the cam after the regrind such that I can get the exact right size of lash pads.....question is, do I want to get it? When my pistons ship, Rebello is sending me a set of springs to handle a cam.....decisions, decisions. Here are a couple pics.
-
Yeah, thing are going together really well. Thanks.
-
Hello all,
Curious.....I know it is important to find guys who know how to port the datsun heads so that they will make the max pwoer. That if it isn't done correctly, it really can screw things up. So, please give the name of guys you know who know how to do it.
Slover's Head Porting in California I have heard is good. HARD to get ahold of.
Rebello is not taking any more head work....he is really backed up on heads awaitng work.
Who else?
-
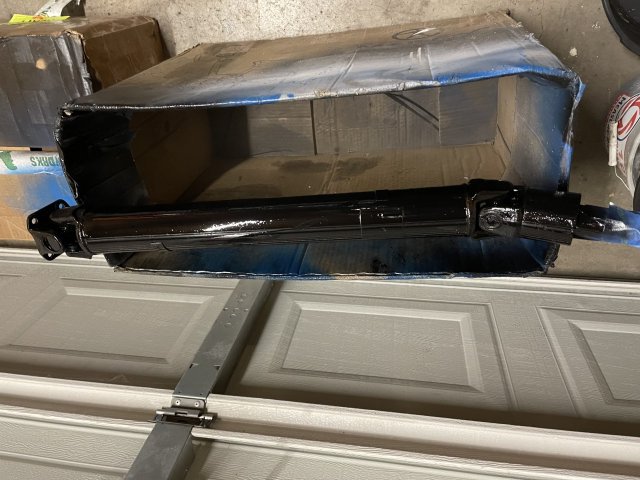
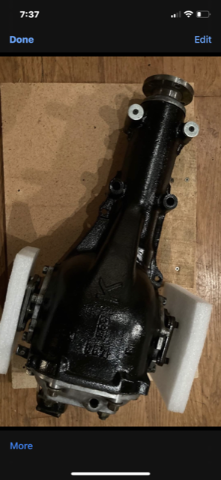
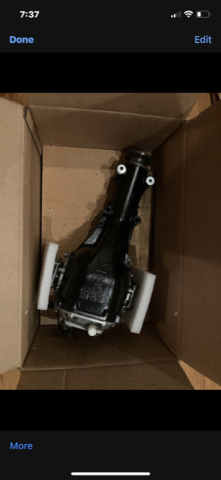
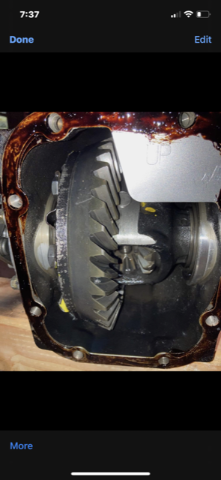
Dave finished my R180 4.11 rear end up, and snapped a few pics before closing the box up. On the way!
-
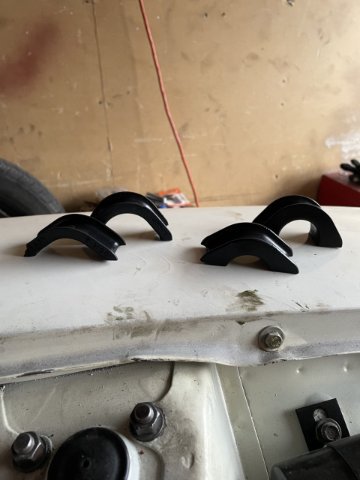
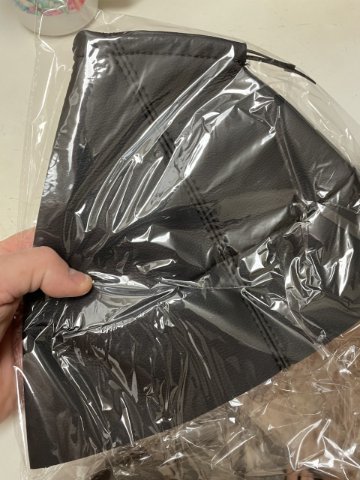
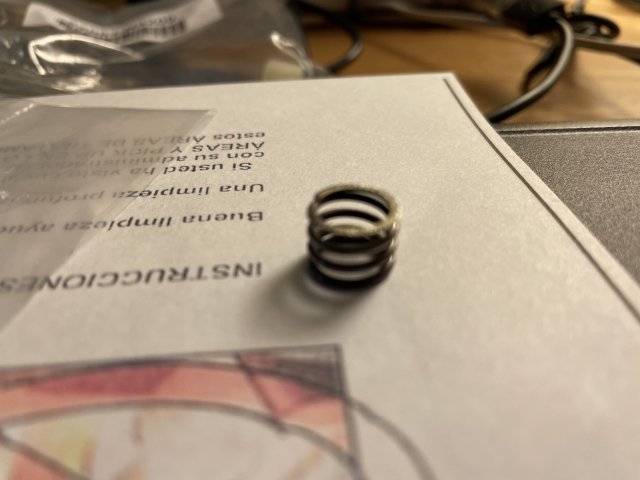
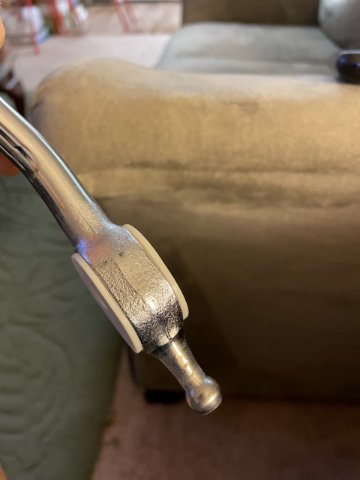
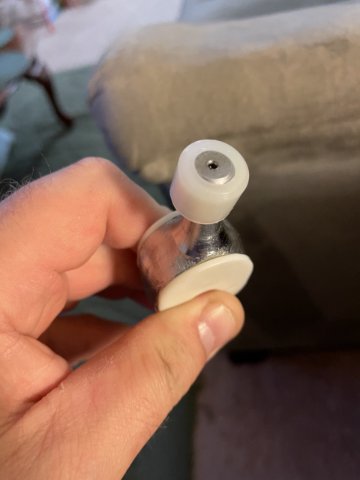
12-16-2022 UPDATE: Well 7 degrees outside and a couple hours to burn, so I decided to stay in, stay warm and clean, and prep my shifter. Here are some pics.
-
Just looks great!!


Joe's 1972 240Z adventure. // 16 JUN 21 - 13 Jul 24 // 3 years 27 days build
in S30 Series - 240z, 260z, 280z
Posted
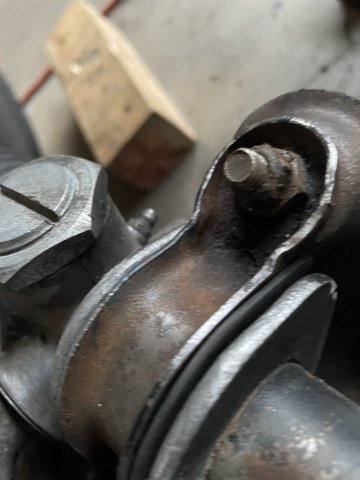
Anyone offhand know the size of the threads in there for a flush plug?