

A to Z
-
Posts
683 -
Joined
-
Last visited
-
Days Won
6
Content Type
Profiles
Forums
Blogs
Events
Gallery
Downloads
Store
Posts posted by A to Z
-
-
-
rear view mirror getting a clean up and paint, using the same paint:

-
saving this texture was all worth it, I think.
mounting bolts got a blast of paint too, why not?

-
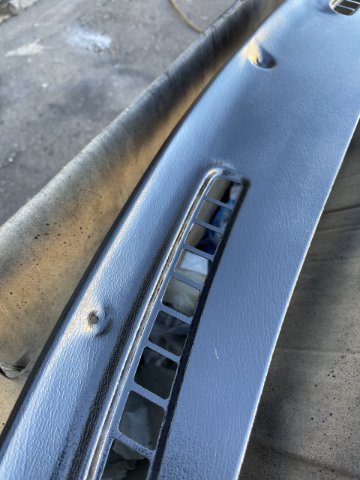
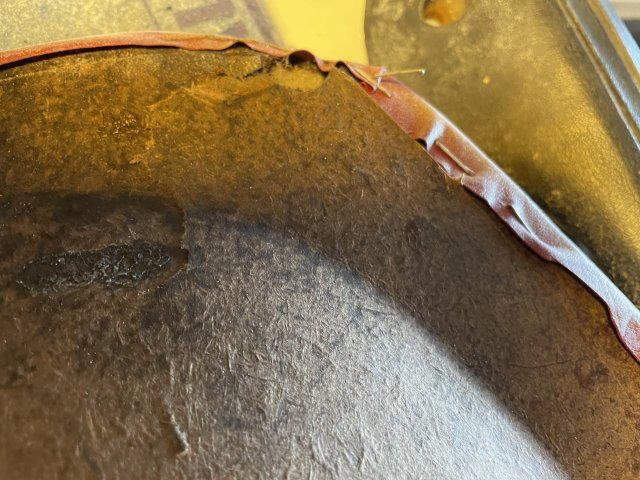
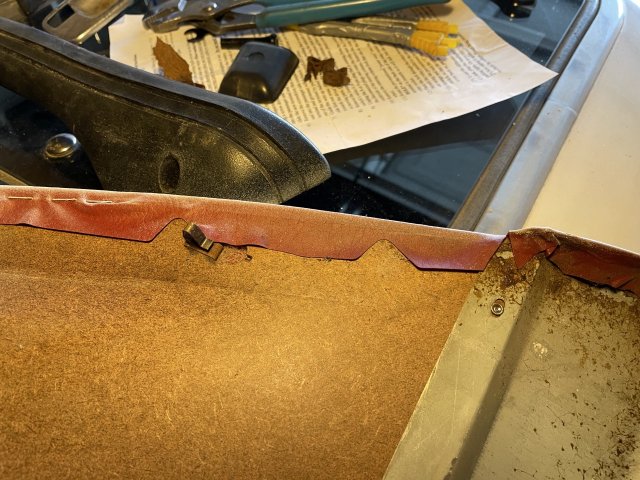
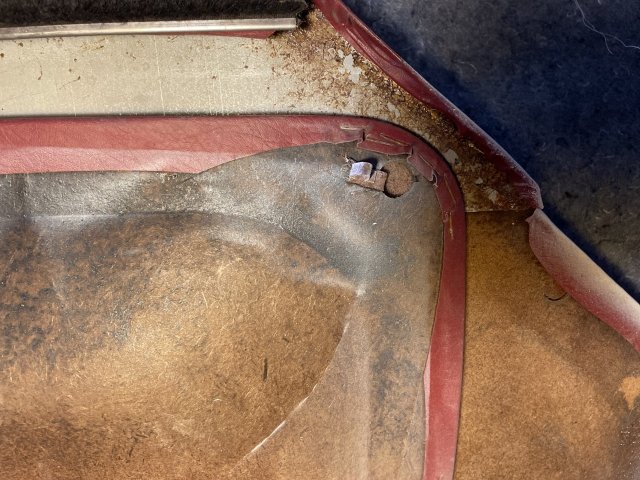
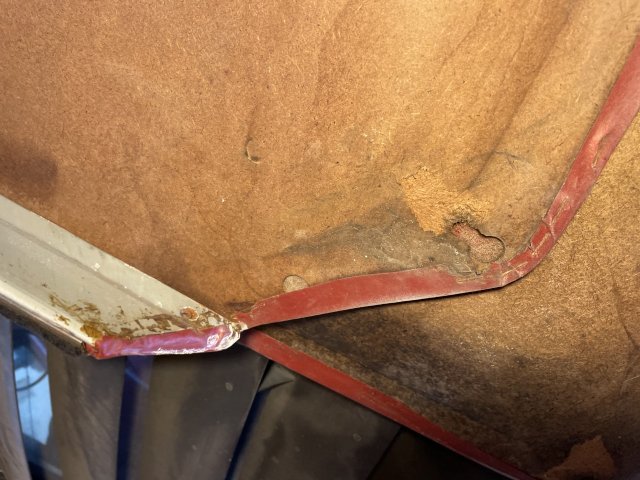
Well, here we are again, same stuff, but satin black. To use this, and not have any runs, you have to use it in quick short bursts from a distance. It looks great if done this way, Death by a thousand cuts (or quick bursts while swingin the can). I used it on my dash metal trim against the windshield. The trim has a woodrain texture to it. If you just sandblast this piece, you loose it and then just have smooth metal. I carefully cleaned it up with the brass wire wheel and steel wool, it worked! here are some pics:
-
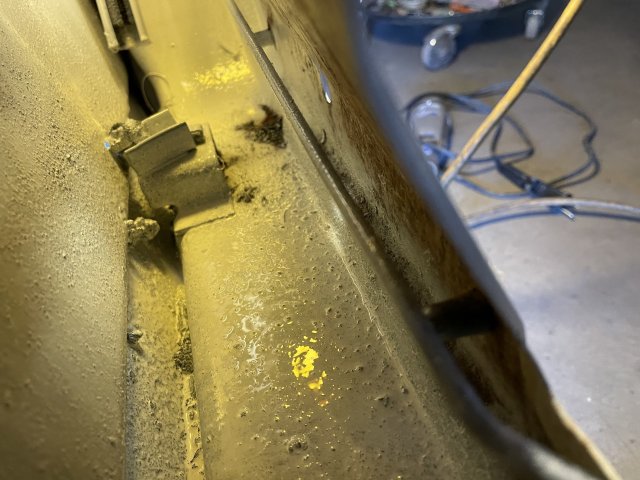
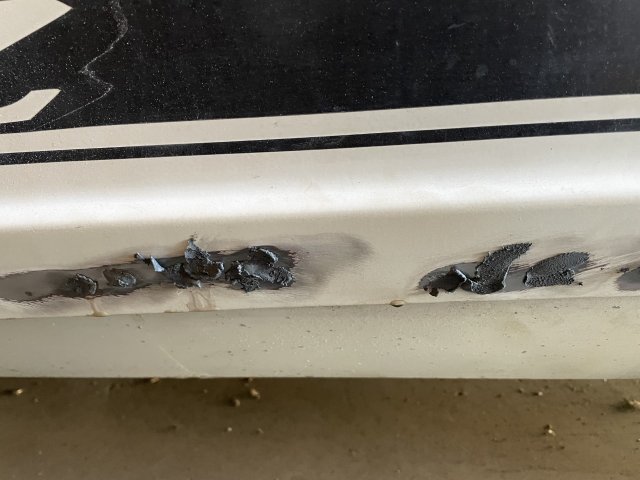
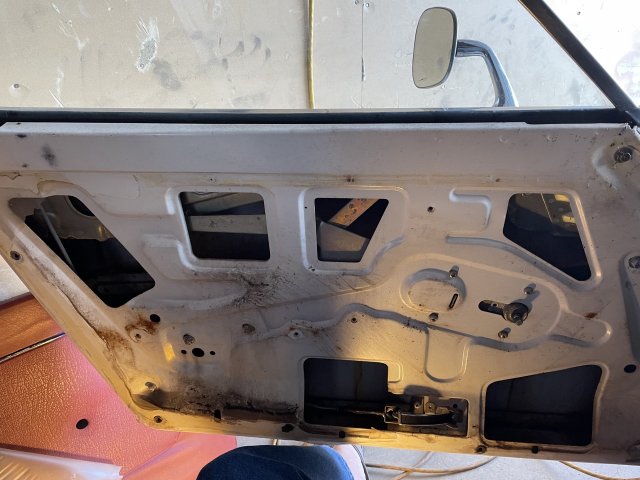
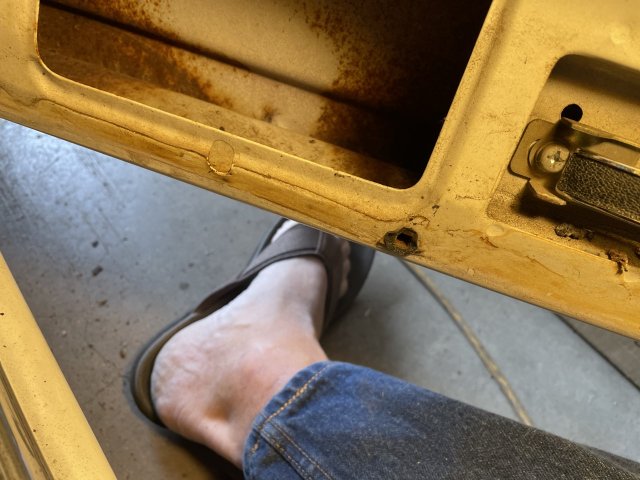
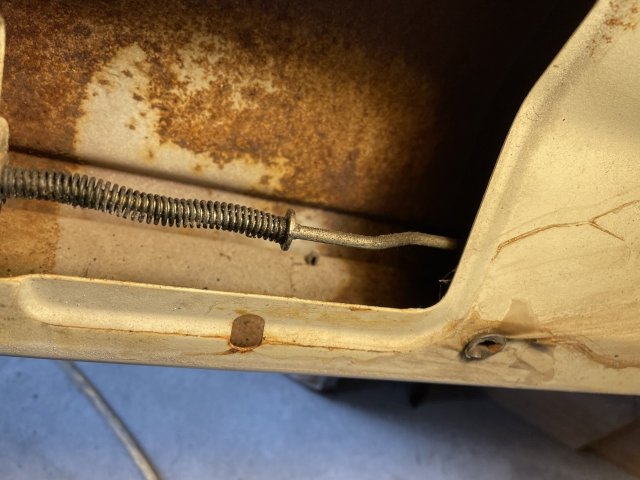
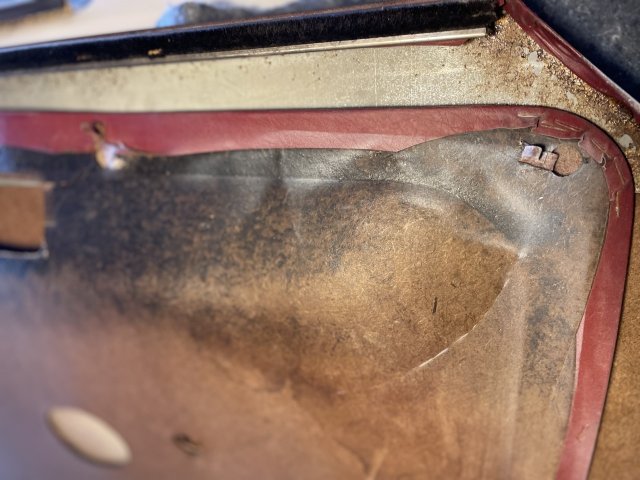
driver's door had a bit of rust on the inner face. I went ahead to took it off with the brass wire wheel attachemnt in my electric drill and painted it. It wasn't supposed to run.... darn it! Well, it's hidden, I guess.
-
-
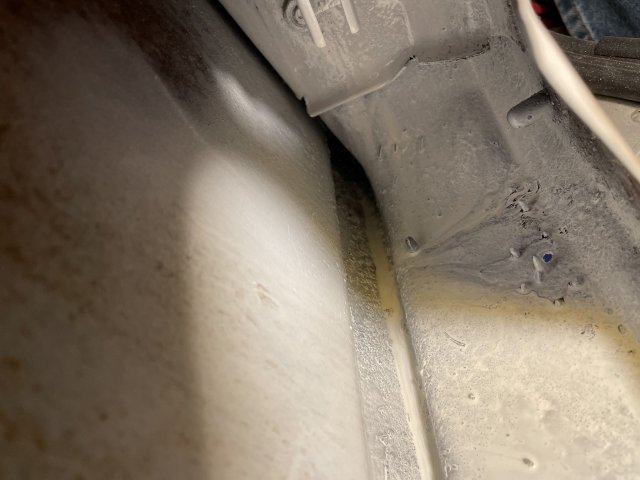
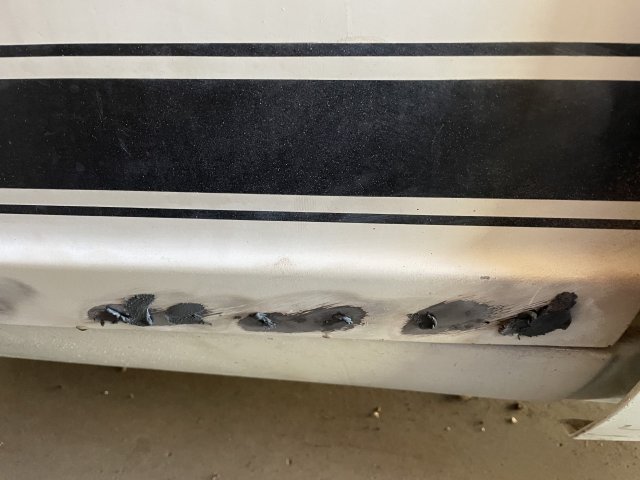
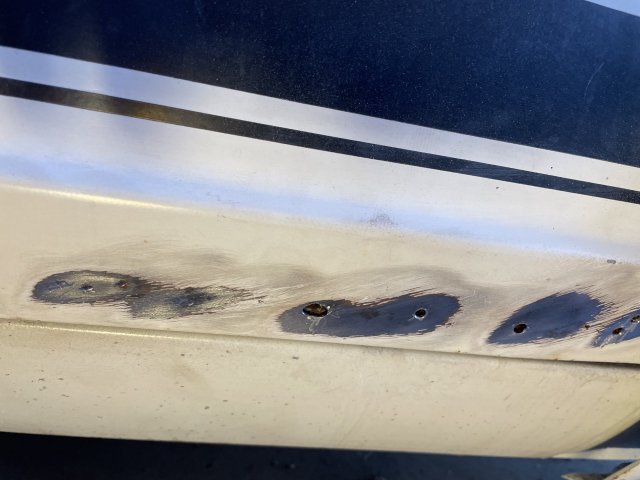
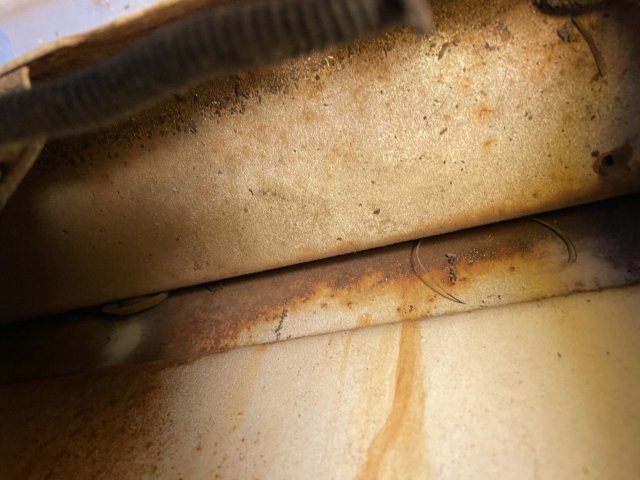
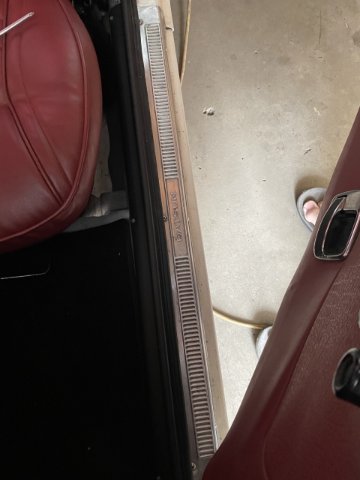
now the left (driver's) side: NO HOLES! Happy about that!
-
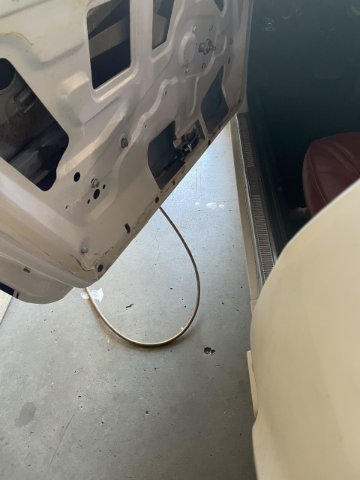
when paint runs out the bottom of the door drains, that is a good thing! It means everything is getting a good coat! I ran around and cleaned it up and left some paper to catch it!
-
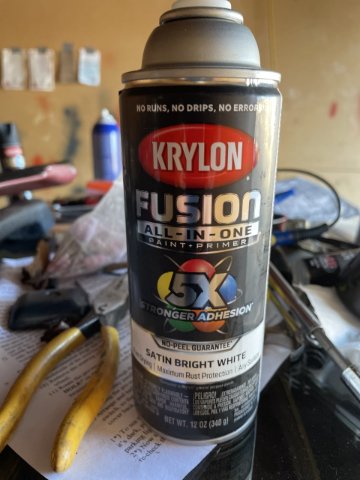
I used this for paint .... Krylon satin white, primer and paint in one. Does the job.
-
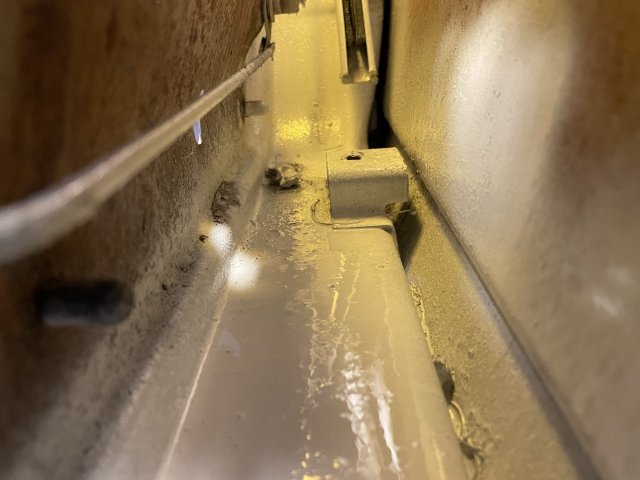
Okay, a coat of primer/paint inside of both doors. You can't see what you are painting, so you spray, let it clean out, and use the phone to check. It'll do.
-
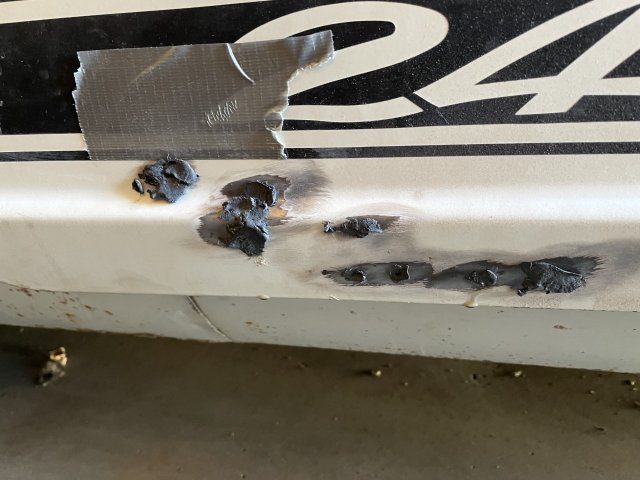
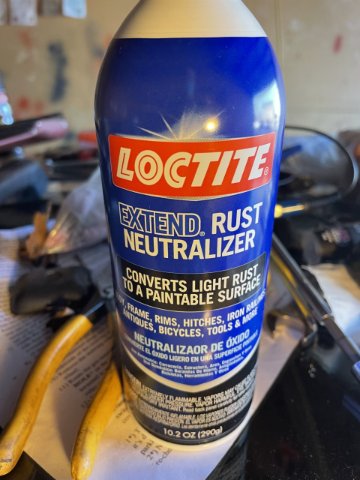
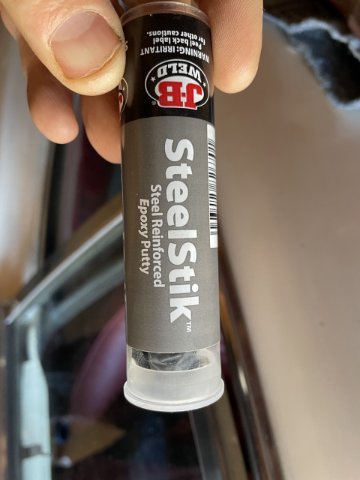
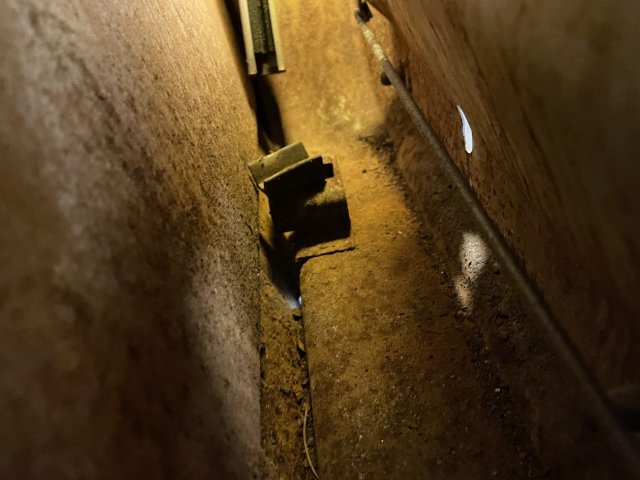
Jury's out. I will let it cure and sand down and grind on it and see if it will work. I KNOW all-metal does, but I will try the Steelstick.
-
-
Try the steel stick on the holes, and paint inside the doors with the rust preventer.
-
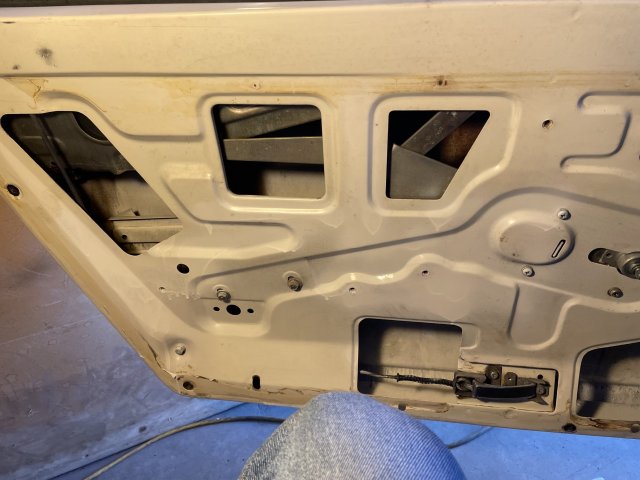
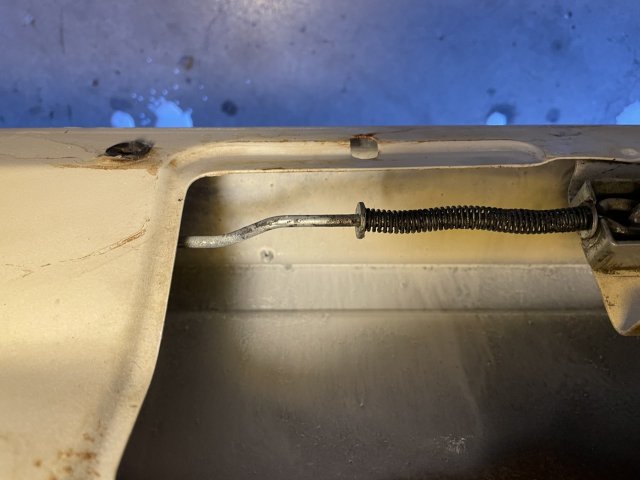
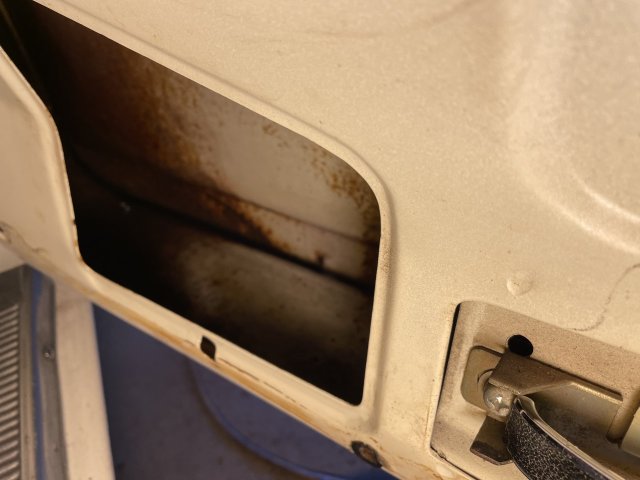
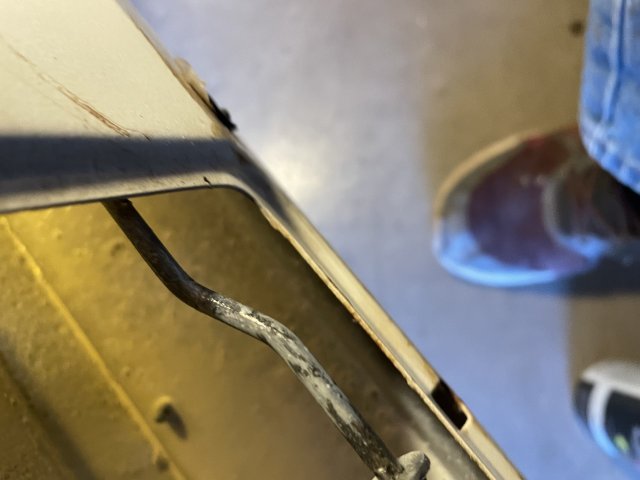
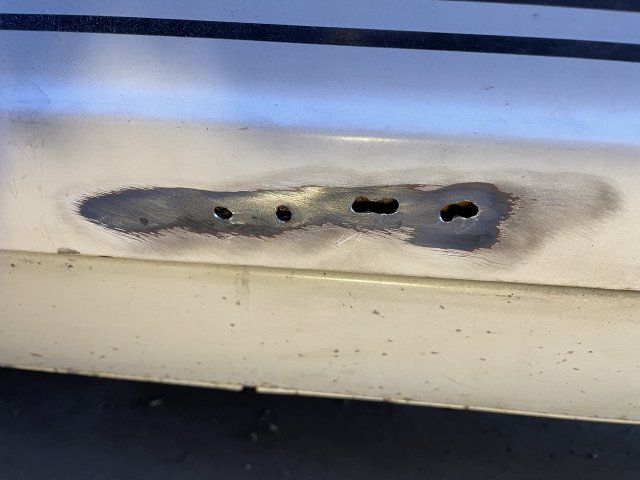
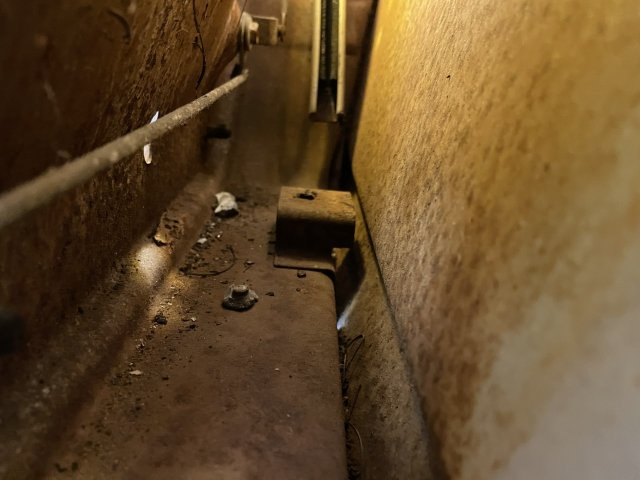
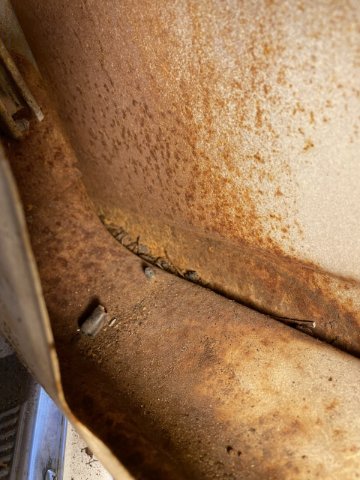
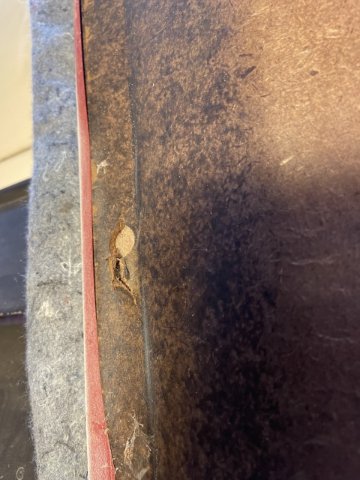
looking from inside the door out with a light outside. I see holes!
-
exposing the holes, then taking a Dremel to them to open them up a tad to get rid of the rusty metal
-
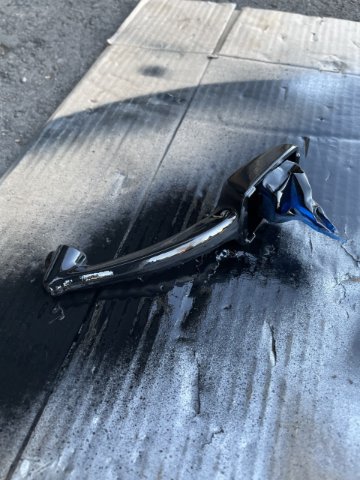
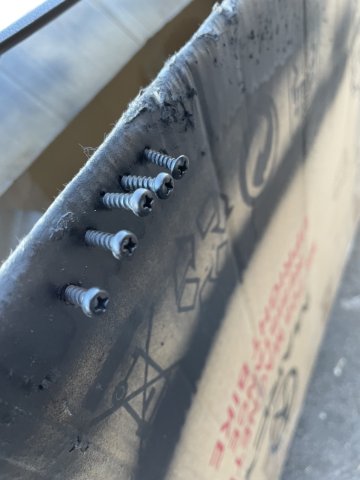
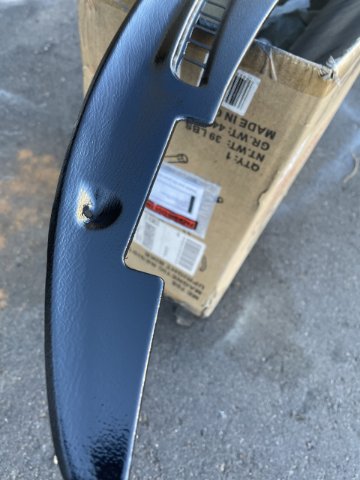
11-22-2021 UPDATE: Gosh.....today was a good day on the Z car. Even though I got a late start, I feel like I got a lot done. I went ahead and cleaned out my doors, via screwdriver in the seam and vacuum, then wiped it out with alcohol wipes, then painted them with rust preventer and then finally, a coat of white. The pics are cool, as I am able to stick it in there, where you can't see....so when the "dust" clears, you take a pic, and see if what you have done is "good enough" or not. The driver's (left) door is clean as far as any rust holes, but the Right door was not. As I am out of all-metal right now, I decided to try some JB Weld steel stick. After it is hard, I will take a sander and grinder to it. If it falls out? GOOD. Better now then later. I went ahead and cleaned up and painted my windshield dash metal trim piece with satin black as well as it's mounting bolts. Also went ahead and measured & drilled and got the holes needed to mount the passenger mirror on, oh, and finally mounted my passneger fresh air pull knob to the dash underneath. My interior rear view mirror looked hammered to death....so I went ahead, sanded it up, went over it with steel wool to get it smooth, and painted satin black. The plastic part I wiped down real good with a rag and denatured alcohol. The mirrored face has a bit of patina around the edges. Oh well. I took A TON of pic's, and I will post them, with some commentary. If it's a tad redundant, sorry....as I have said before, I am keeping a record of all of this work. I hope you like. Any questions, please ask! Cheers!
1143 CommentsLikeComment
-
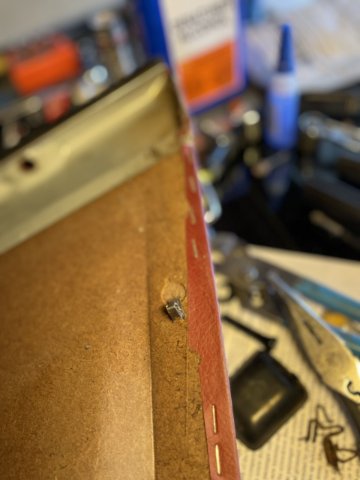
here are the clips and pins I bought:
1970 - 1973 Door Panel Clips 36 Piece Kit for Nissan 240Z 2 Door Coupes | eBay
-
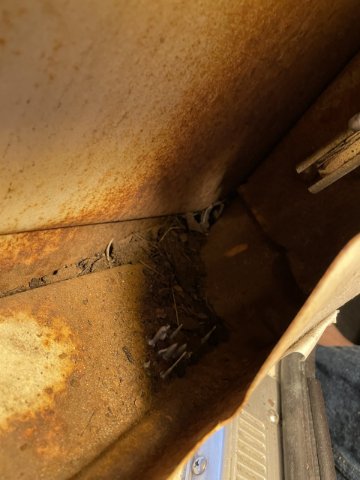
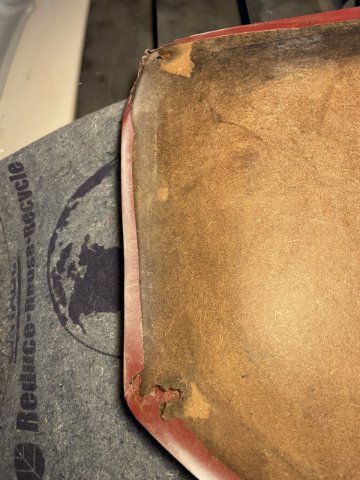
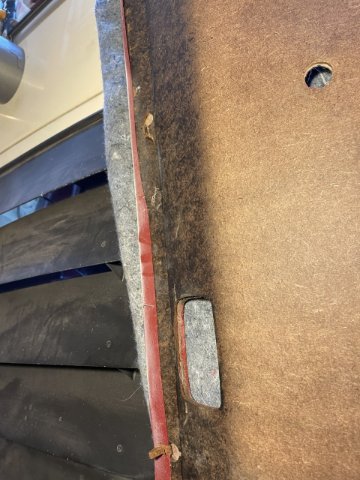
11-20-2021 UPDATE. Yesterday I pulled the door panels off, and got some pics of the insides. Pretty decent. I will need to repair the panels as some of the push pins have ripped out. I will use sheet metal bonded to the cardboard for reinforcement. Also painted and blacked out the center console......I can go over some of it later with a chrome paint pen. Sure shows how my dash is dry from the alcohol wipe down....time to armor all it.
")
-
I appreciate it. Thanks.
-
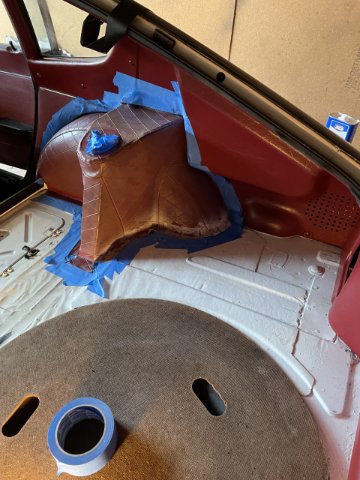
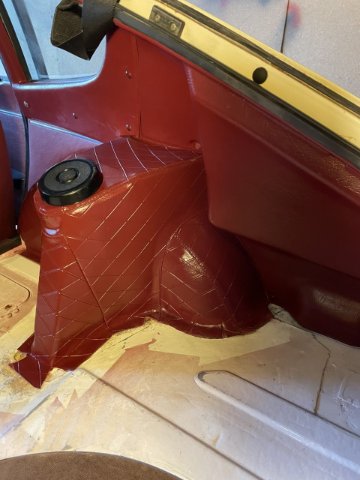
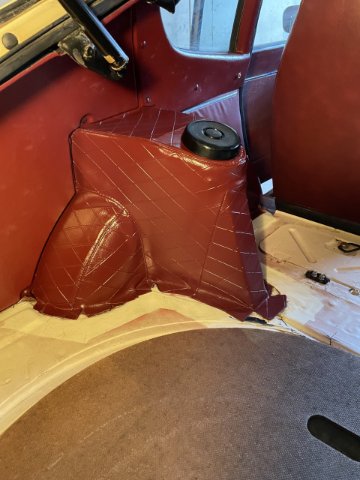
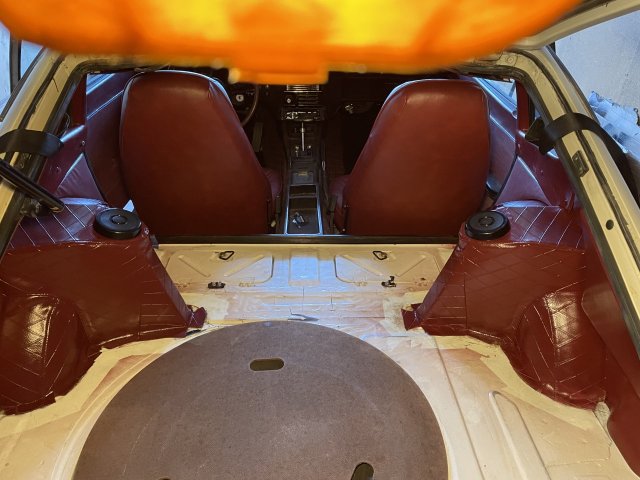
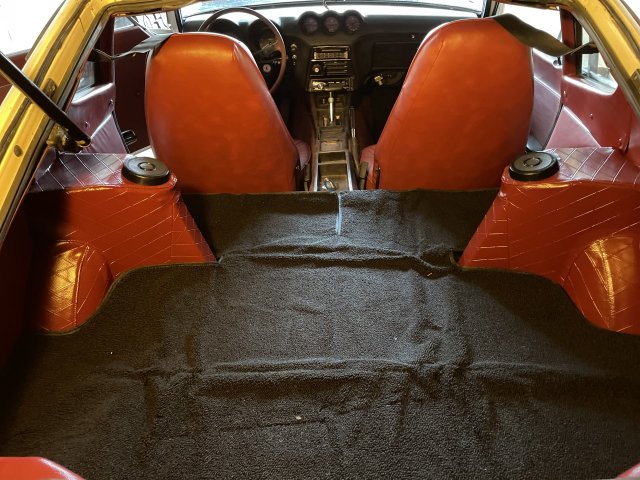
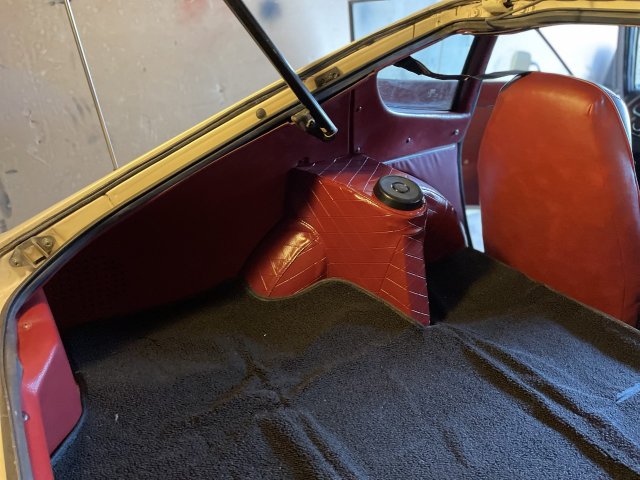
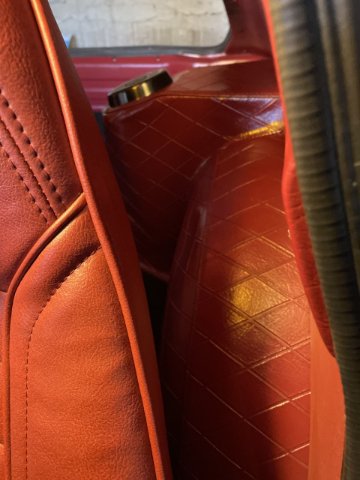
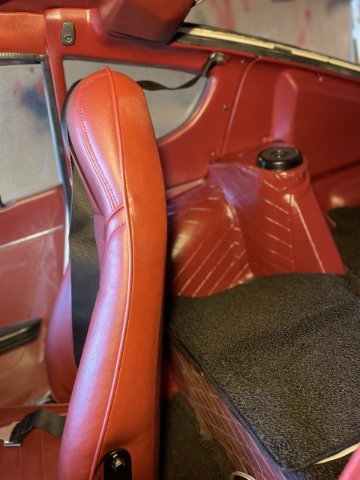
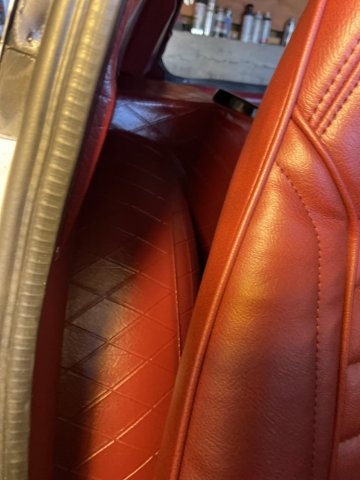
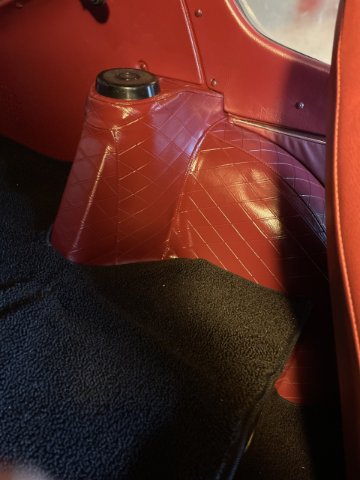
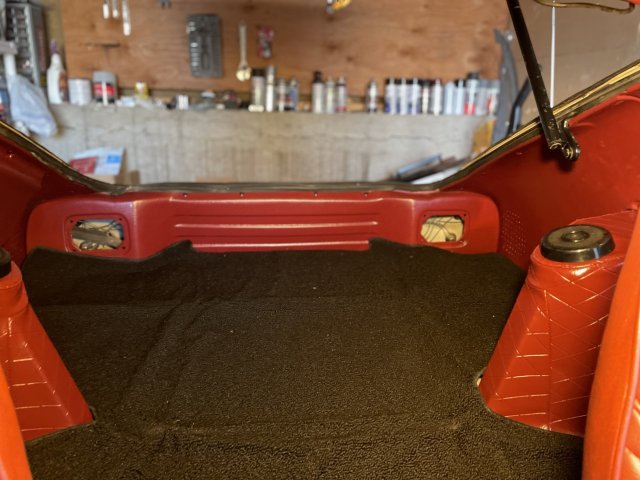
Well, to be fair, the interior panels are all new. The originals were so badly faded and crisp, that you couldn't remove them without them breaking apart and shattering. :( The door panels are original and the small side panels behind the seats are original. The vinyl over the struts was a faded pink before paint.
-
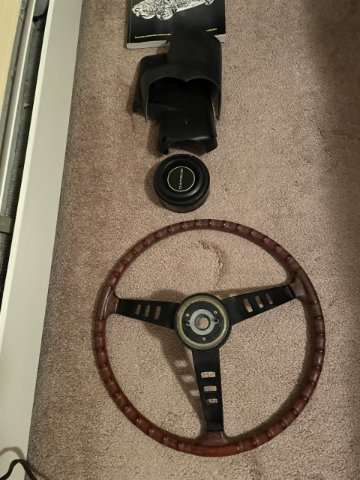
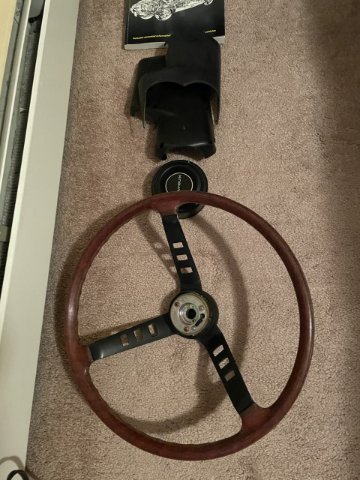
11-16-2021 UPDATE: Ok, well I managed to get some work done on my Z today. I went ahead and installed the door weather stripping and new kick panels. Installed the steering column trim after cleaning, and installed the cleaned up steering wheel and horn button. Next, I installed the seat belts, and I cannot figure out how the shoulder belts are supposed to hook on to the lap belts! After that, I went ahead and srubbed down some of the interior pieces real well with alcohol wipes, then I masked them off, and wiped them down real good with a rag and Denatured Alcohol. I went ahead and sprayed the faded areas with my SEM Color paint. Also began work on my center dash, vent face. Here are some pics:
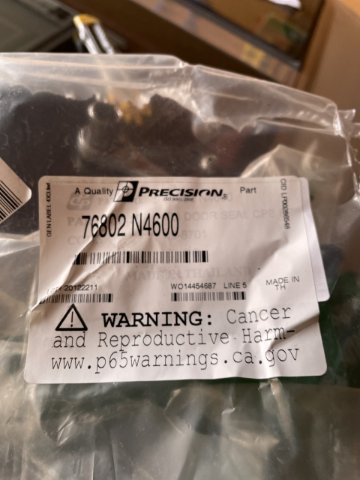
Precision door weatherstripping:
-
-
Here's a couple of the steering wheel and bits. That's it for today.
-
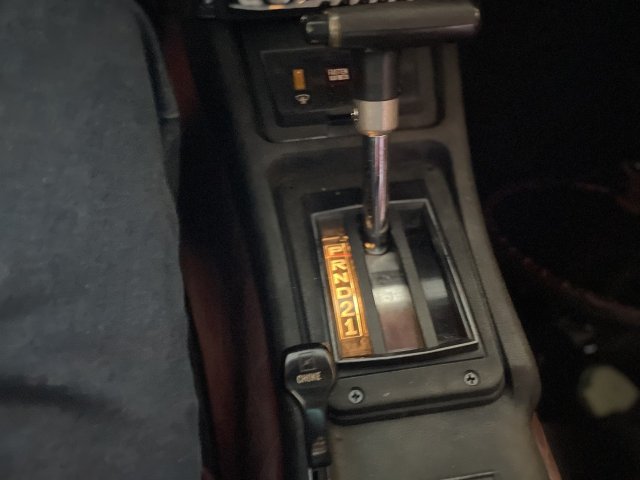
I forgot to order LED for shifting light, but the upgrade is really making the old incandescent bright!


Joe's 1972 240Z adventure
in S30 Series - 240z, 260z, 280z
Posted