

A to Z
-
Posts
680 -
Joined
-
Last visited
-
Days Won
6
Content Type
Profiles
Forums
Blogs
Events
Gallery
Downloads
Store
Posts posted by A to Z
-
-
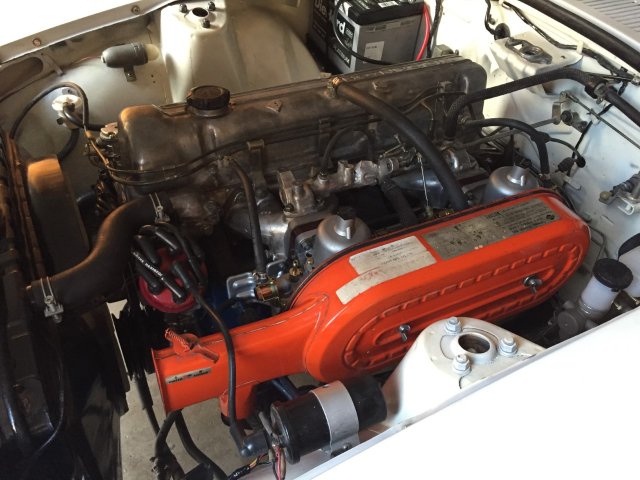
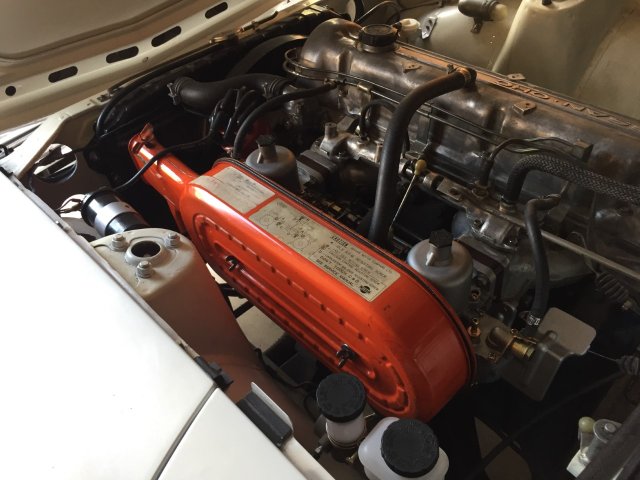
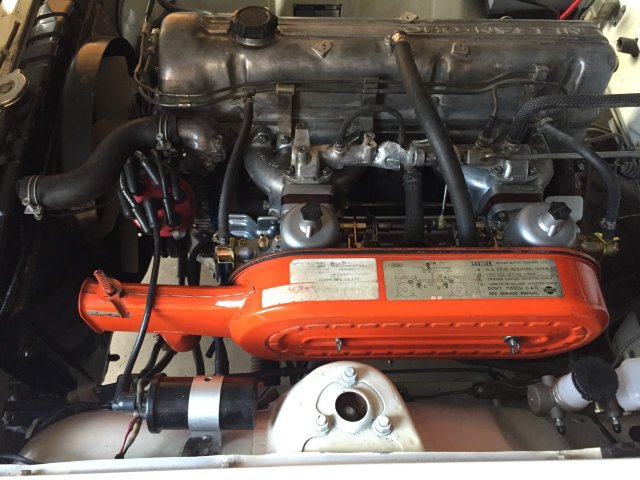
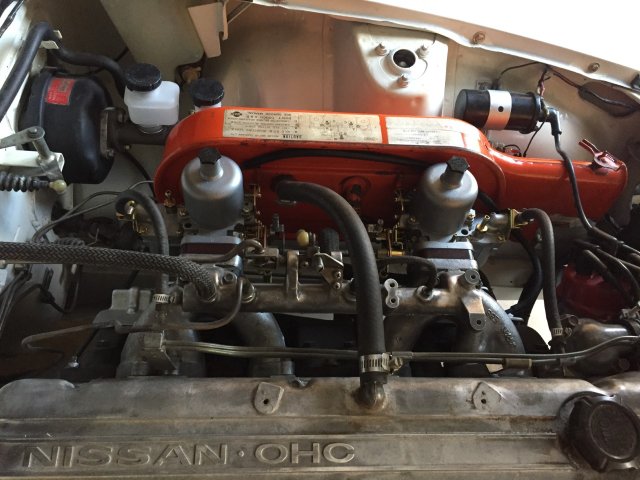
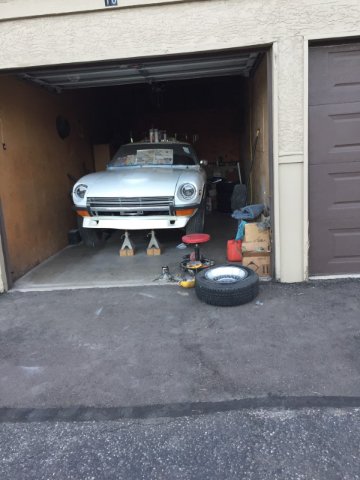
After work today I went out and tightened up a fuel leak, and went ahead and put the air cleaner on. Decided to take a few pics....might as well share. I hope everyone is a having a good weekend. Cheers.

-
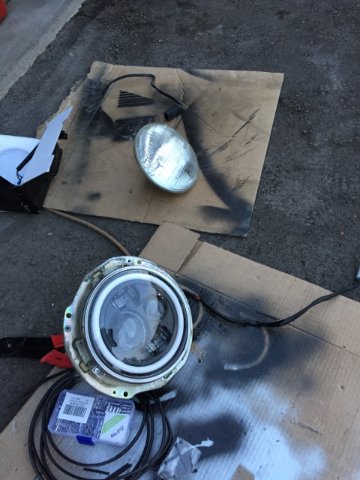
should I go back to original style headlights? Not sure if these are too modern. Thanks.
-
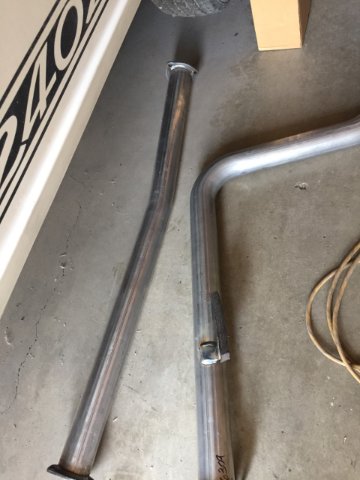
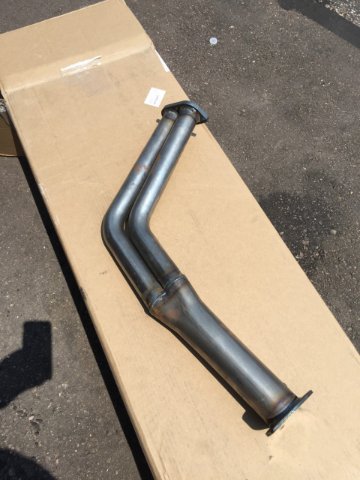
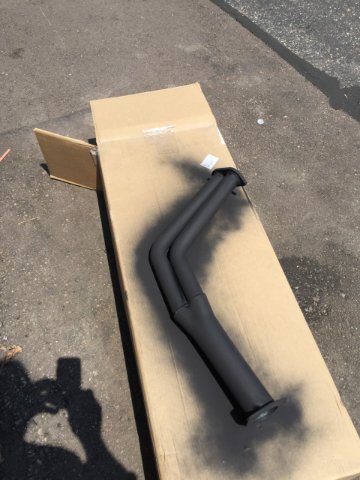
8-24-2021 progress. Got out to the garage and took the exhaust system about 1/2 way apart and readjusted things, fine tuned it and got it exactly where it is supposed to be now. The mufflers oval is hidden up in the well, per the MSA instructions. VERY clean way to do it. The MSA exhaust kits are pretty nice. The bends are mandrel bent, meaning no crimp in the corners. 2.5 inch. Mine was misaligned a tad when they made it which made it harder to install, but I finally got it right.
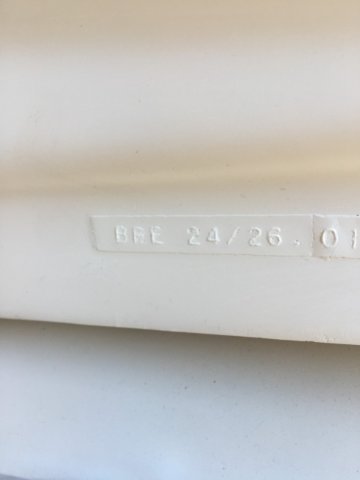
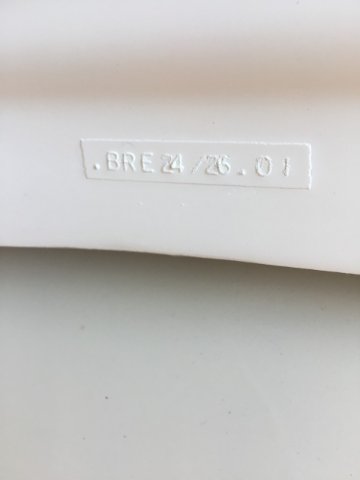
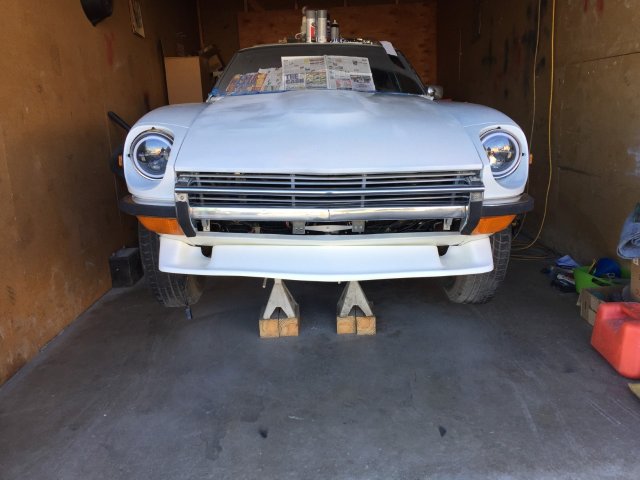
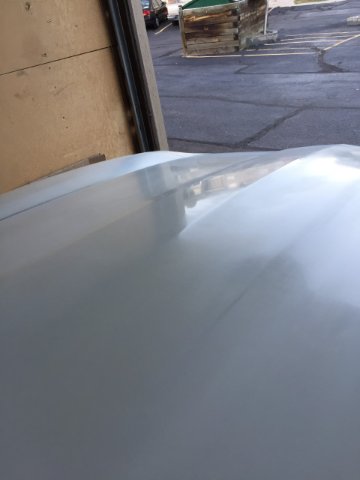
 Then I went ahead and got ready to mount my BRE Spook front spoiler. I noticed it actually has markings to prove it's from BRE. Also surprised it came in white gel coat....I was expecting black. After that I spent some time starting on the hood with the 2000 grit color sanding and buffing....it's about half way there. Before calling it a day I took my wheels and sanded out the center holes so my center caps would fit. That took about 2-3 minutes per wheel. Anyway, here are some pics.
-
Here are a couple of quick videos I made tonight. My clear coat....I have been kind of bummed, as it came out looking like primer....dull and very rough. Well, I took the advice of the paint store online and gave it over a week to harden....then color sanded a couple spots with 2000 grit and some water, then put some Turtle Wax medium polishing compound on it, and then took a soft towel and put it down and ran my orbital sander on top of the towel. It jumped to life!!!

-
23 hours ago, ETI2K said:
Joe,
I see you have the same fender covers I don't have either. 🤣
When I bought my wheels, they came wrapped in them. When the car is done, I will probably go Over to uhaul and give them back. 🙂
-
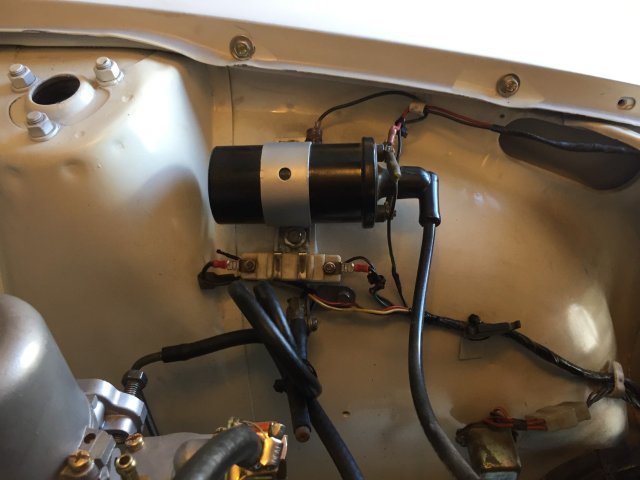
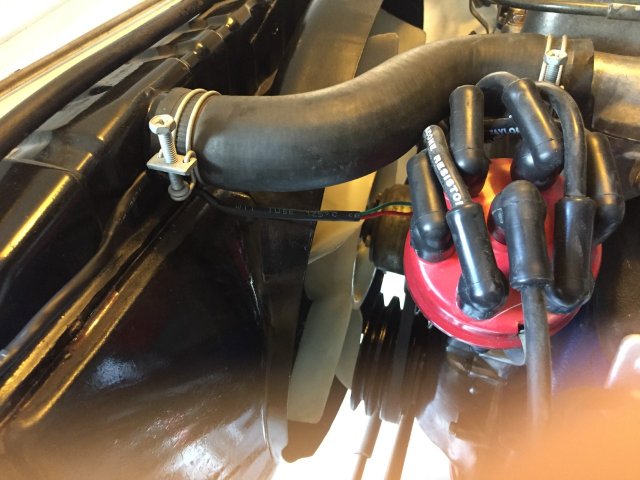
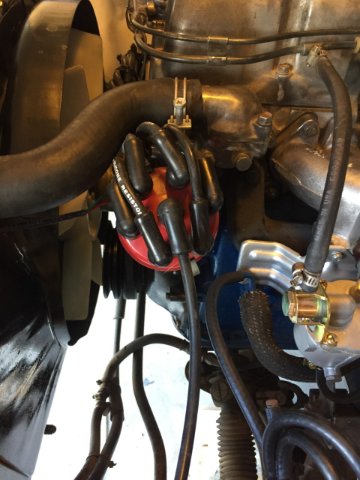
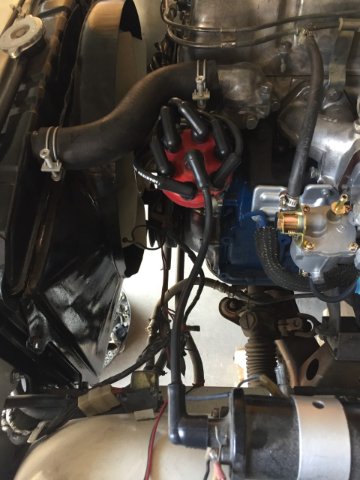
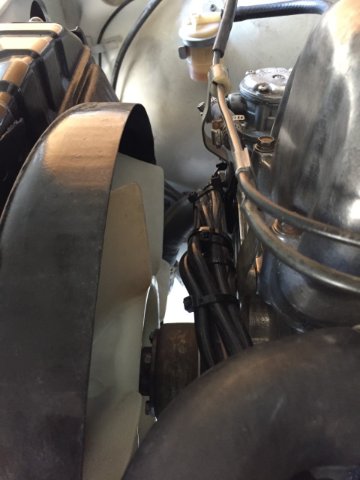
finished pic of coil area. I wired it such that you can see the color of each wire and where it terminates. After this the phone died. I will get some more pics tomorrow, God willing.
-
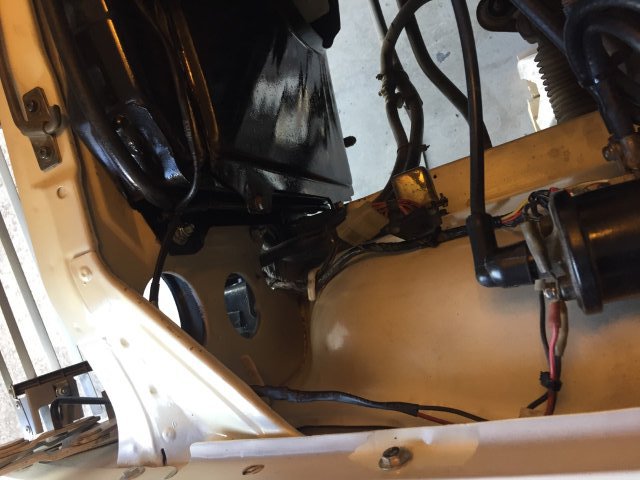
more wire routing from distributor.
-
The Mallory Distributor has 2 wires coming out of it to go to the coil. I went ahead and ran them over to the radiator and down to try and give a little better appearance:
-
I saw some pics where the spark plug wires coming out the distributor were even cleaner than I had done, so I addressed that:
-
-
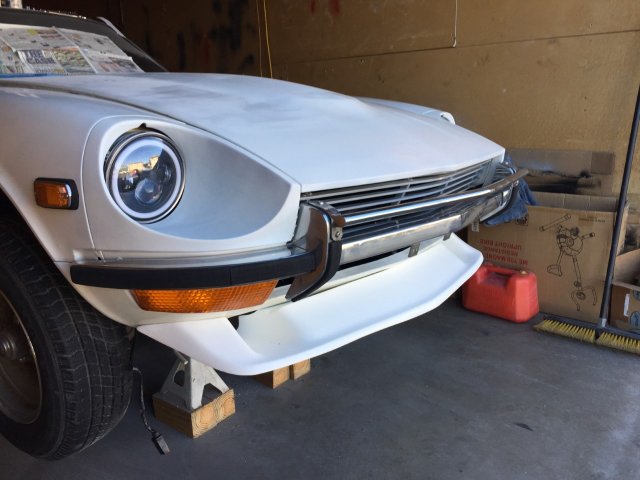
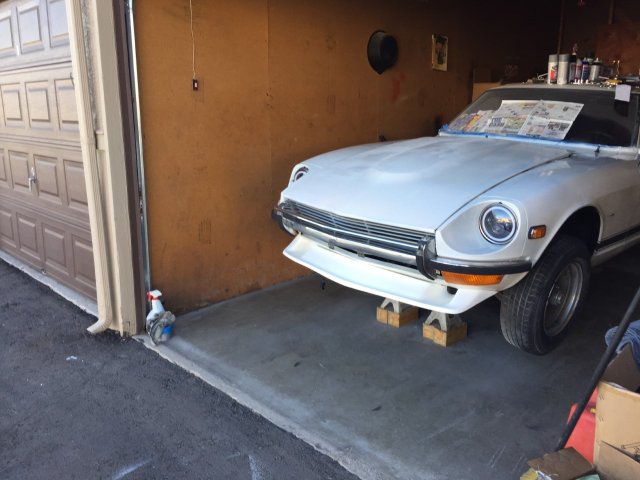
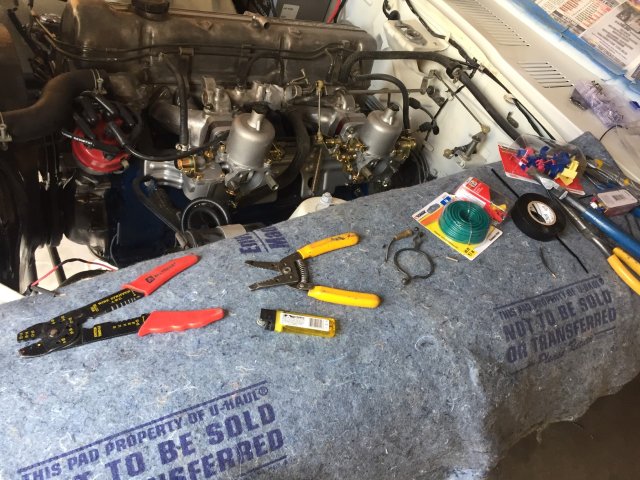
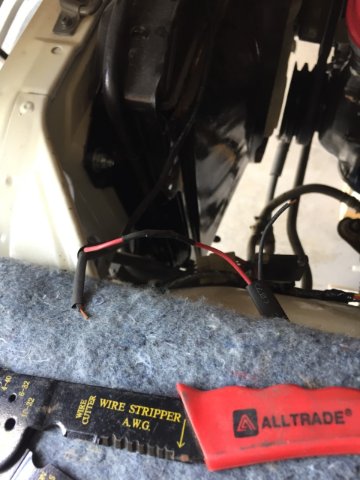
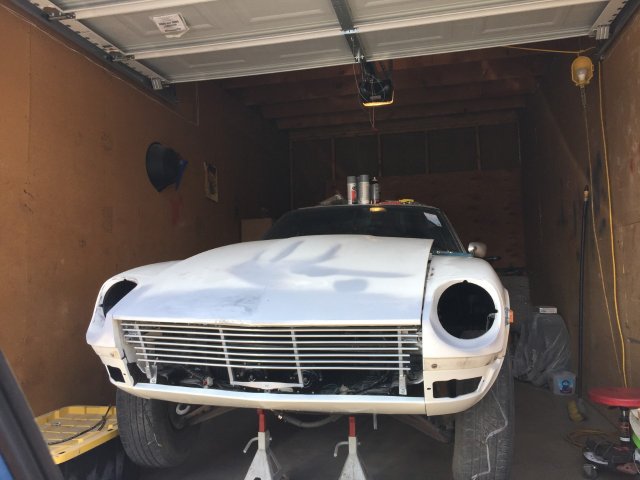
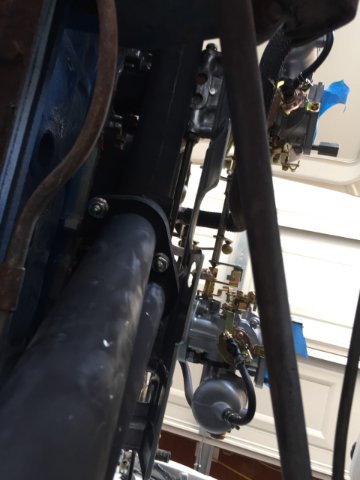
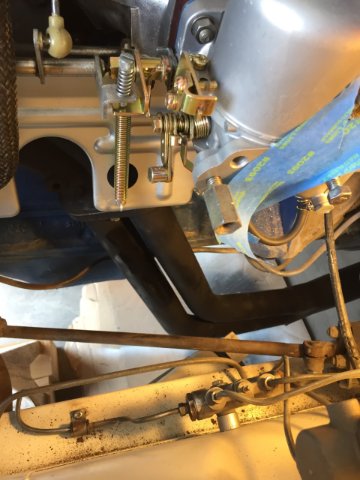
8-19-2021 update. I went ahead, and after studying some last night and more advice from others in here, I went ahead and cleaned up and rewired the coil and ballast area. I also replaced the mechanical fuel pump with a unit from O'Reilley's. Looks just like my factory Kyosaki (sp?) pump. The car fired right up! Also went ahead and got the front turn signals cleaned up and installed and the front bumper cleaned up and installed. I managed to take a few pics before the phone died, I will try to get some of the nose of the car tomorrow. Are are some pics:Cutting and splicing:
-
Thanks. I am trying. She is in good shape.....for her age.
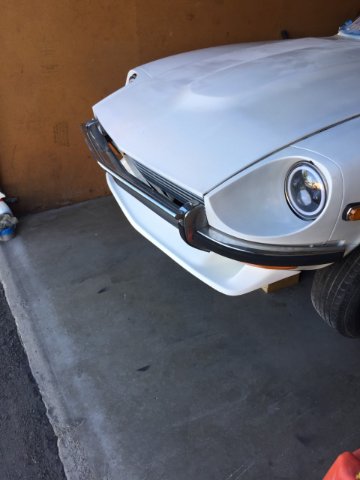
Headlights in
-
headlights coming around, need a little bit more work.
-
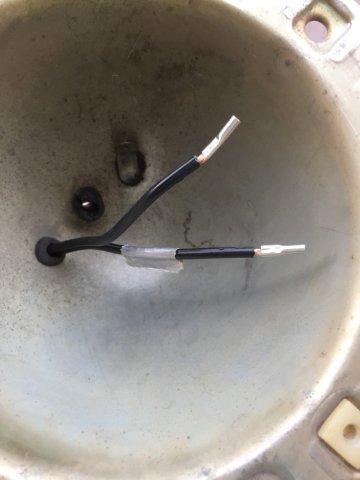
Halo bright and Halo Amber are going to be on toggle switches under dash.
-
previous owner unplugged the wires looking for the issue....never plugged them back in...took me all of 1 minute.
-
Somedays, you just can't seem to make any headway on the Z car. Today was one of those days. I managed to get most of the MSA exhaust on.....the center pipe has to be turned 90 degrees. I located the source of my starting woes, the Neutral Safety Switch and fixed it.....I got my headlights in, but they need some more work.....I'm, telling ya, today it really fought me on everything.
-
I snapped a quick pic today of the grille in the light. Everybody is blackening theirs out, I wanted a bright grille!
-
oh....thanks!
-
the grille is in!
-
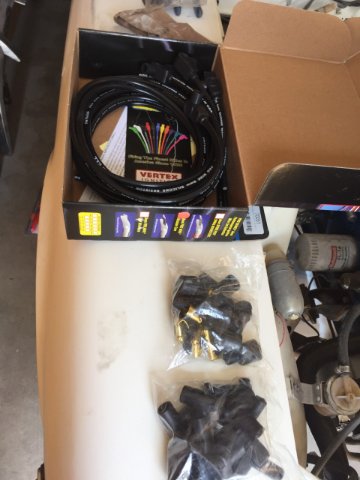
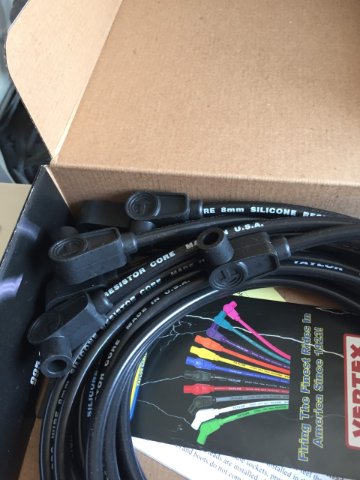
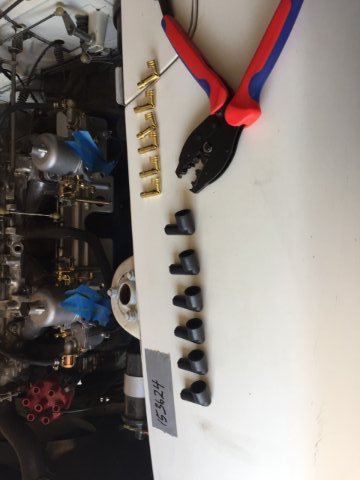
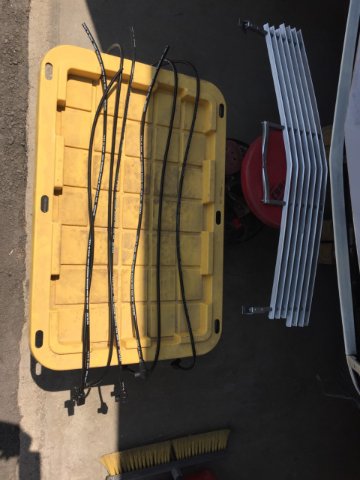
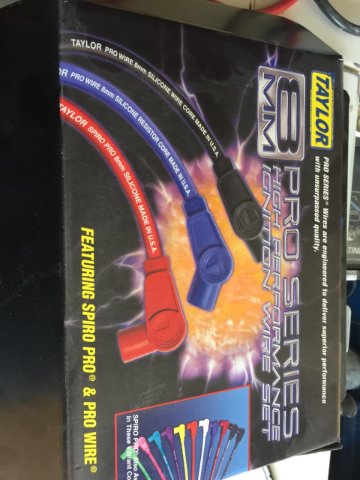
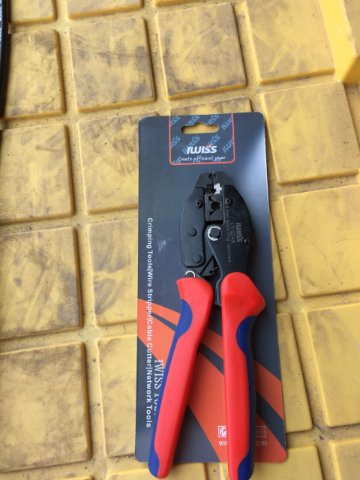
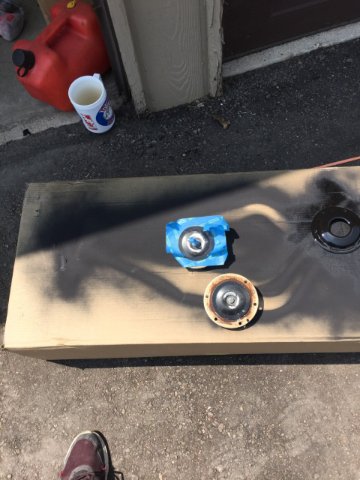
8-12-2021. Knick knacks day. All the little things you ignore to get the big stuff done.....well, I decided it was time to get them done. In doing so, I went ahead and dropped in some new NGK plugs, and a set of Taylor spark plug wires that are meant to be custom cut to length. There is a video on YouTube of a guy doing it to his Z car, and after watching it, I went to Amazon and bought the plugs and the tool for 30 bucks or so to do the job. After more Knick knacks I put the grill in and it was dark.
Here are a few pics:
-
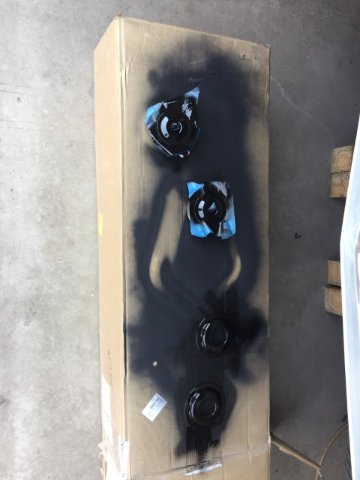
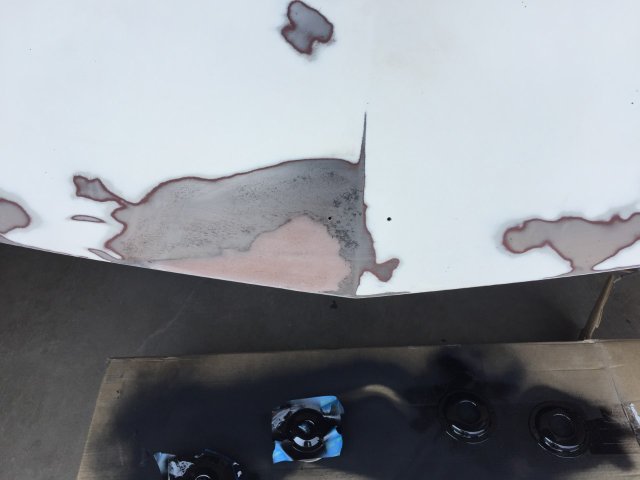
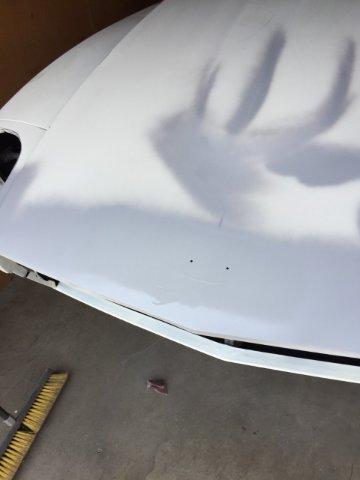
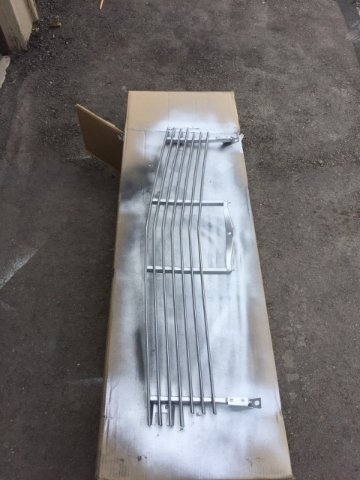
August 9, 2021, I got a few more things done today. Opened up the box for my MSA exhaust system. All of the bends are mandrel bends instead of muffler shop crimped bends', and it comes with a Walker performance muffler and a chrome tip. The 2 into 1 manifold extension is really nice I think. I painted it with 1200 degree temp flat black and install it. Then I adjusted my hood to close correctly and used a variety of sandpaper gits to sand the top if it down along with the top of the cowl and the top of the fenders and headlight buckets. the front of the hood gave me another unknown spot of bondo, but it is a thin coat. As you can see I gave it a coat of filler primer, and I will need to block the area a bit before color coat and clear. After wiping that down with a wet rag, I went ahead and pulled the horns apart and painted them, and sanded down the grille and painted it as well. before stopping for the day, I sanded out the edge of my wheels, which all 4 had minor road rash, as well as sanded down the backs of them, so they are ready for new tires. Afterward, I will polish them back out. I found that using my orbital sander with 60 grit paper, I was able to lay the rim on my lap and just run the sander around in a circle until the edge was clean and back to new looking. Then I went over the area again with 1000 grit to smooth out all the scratches and make it smooth. Here are some pics of the day.
-
maybe later. There are a couple of bushings that are shot and I got rubber to replace them. I want it cruise nice on the street.......do you think the Poly's might make ride it too rough?
-
12 hours ago, 57GMC said:
As a rolling driver you will keep fixing and repairing and before you know it you will have it like new.. Good job..
thanks. one step at a time
-
On 8/6/2021 at 2:40 PM, YoBrother said:
Very nice. I think its smart to do a little at a time. Take some fix it, put it back. I see to many projects where people just disassemble everything. It becomes too much for some people and they never get it back together. I mean, if you have the skill, time, organization, and tenacity, full disassembly\reassembly is fine. But life gets in the way for most people.
What I am doing right now is what I call my "firewall forward" project. Literally concentrating on the firewall forward, and luckily I have a good grip on it. Big job left is both front struts, they are coming out, and getting new inserts and sprigns, painted all up and then the lower arms and everything sanded up and painted....already have new ball joints and new end links for the rack and pinion steering....everything there all cleaned up and re-assembled. That is the big job left on "firewall forward".
")


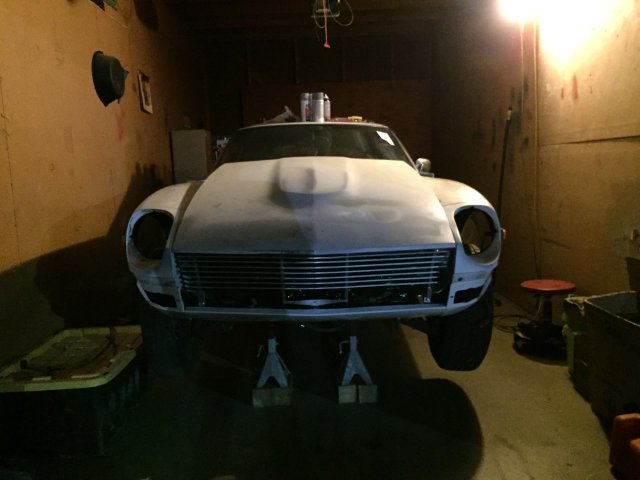


Joe's 1972 240Z adventure
in S30 Series - 240z, 260z, 280z
Posted · Edited by A to Z
Today I went ahead and tackled my rear suspension. In doing so I learned some things that are important to pass along. MSA/The Z Store is able to get Eibach Pro-Kit springs for S30 Z cars. Eibach makes them exclusively for MSA. BUT, they come without instructions, so I had to search and read, etc. to learn what I want to tell you now. Eibach springs are meant to be installed so that you can read the name. The springs come with 2 that have their item number that ends in "002" and 2 that end in "001". The "001" are longer than the "002". So which goes where? "002" go in the REAR. "001" go in the FRONT. Many have put them in the wrong side, and end up with almost no drop in the rear and high in the front. I think many of those who complain about these springs put the rear in the front, and vice versa!! When you install them such that you can read the name, in the rear the tight coils are on TOP, the wide spaced ones are on the bottom! They are progressive rate springs, and operate correctly when installed correctly. Now, this is important! Pass along as needed to let everyone know please!