
A to Z
-
Posts
1192 -
Joined
-
Last visited
-
Days Won
59
Content Type
Profiles
Forums
Blogs
Events
Gallery
Downloads
Store
Everything posted by A to Z
-
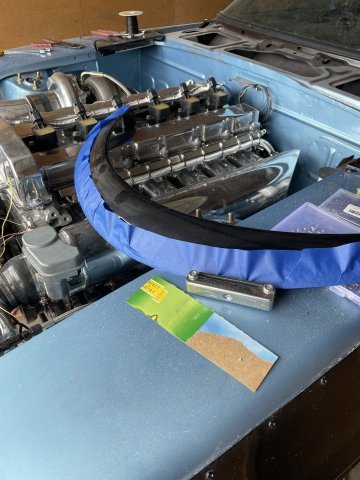
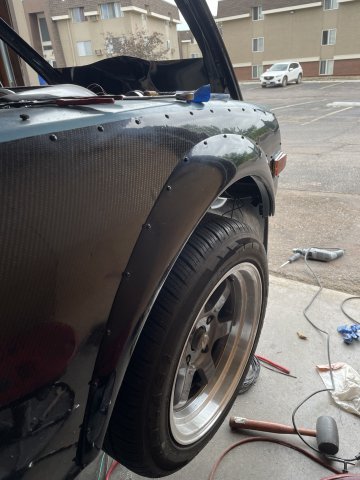
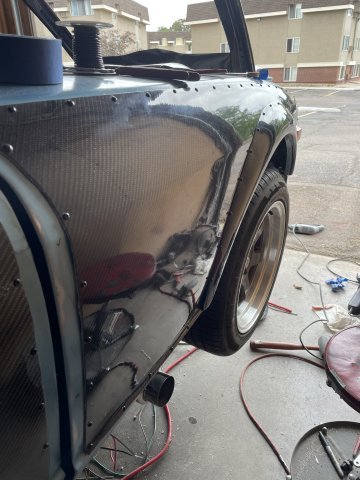
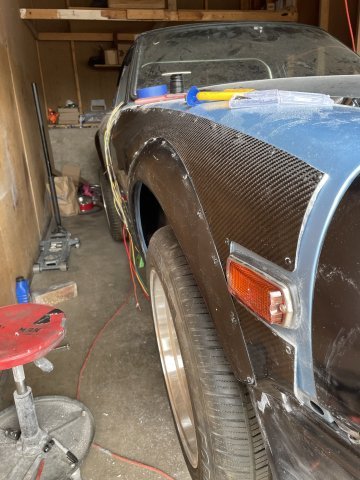
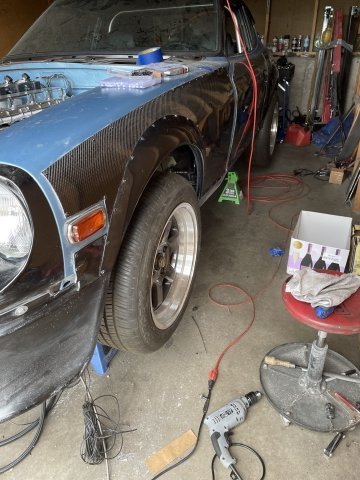
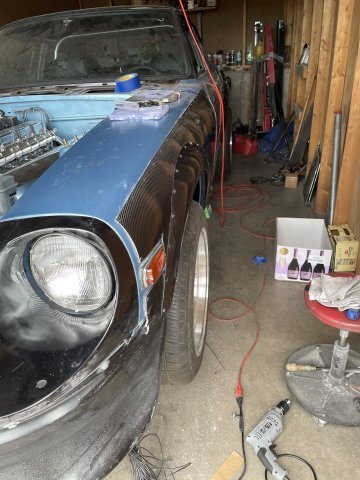
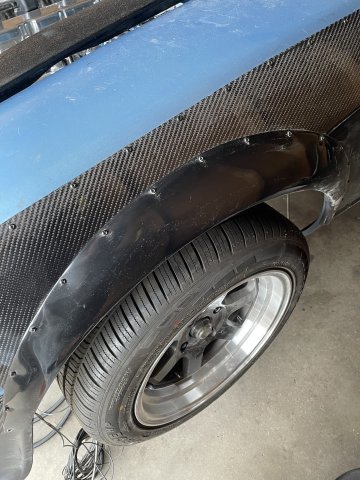
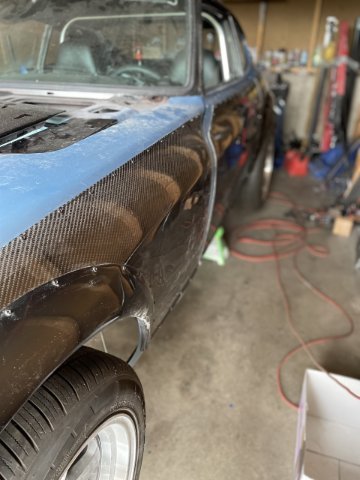
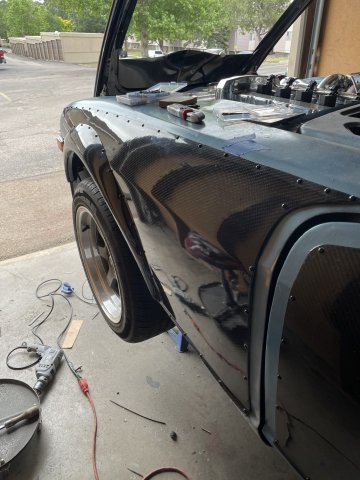
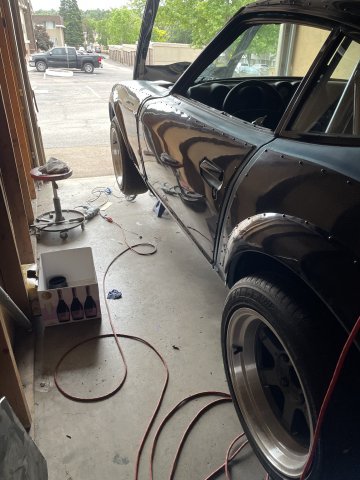
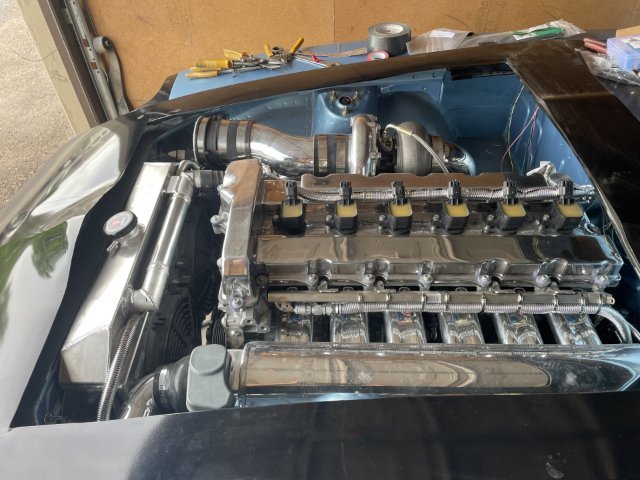
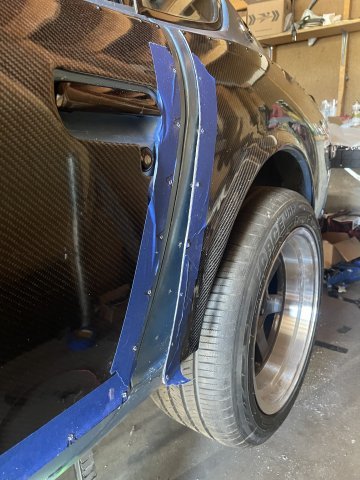
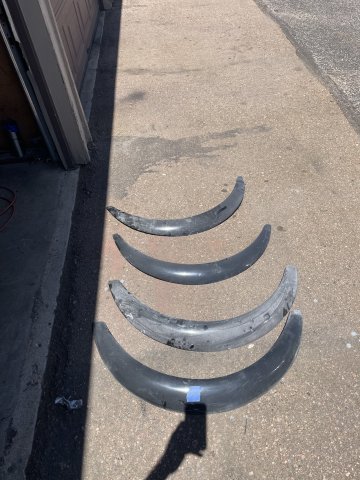
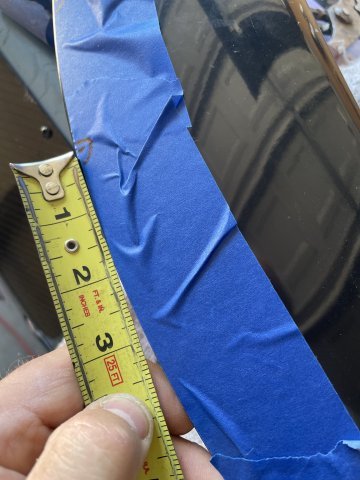
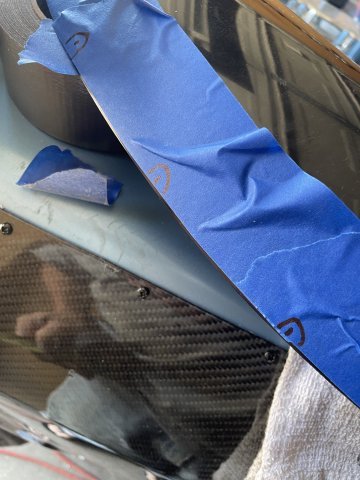
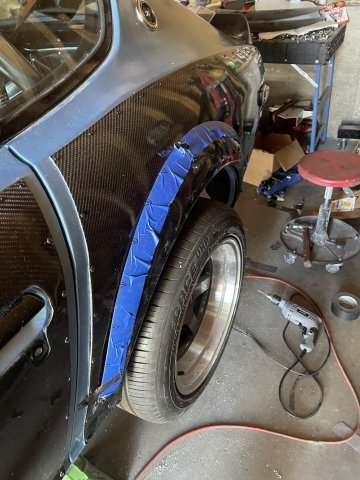
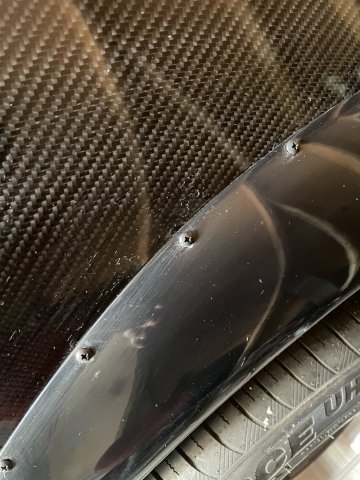
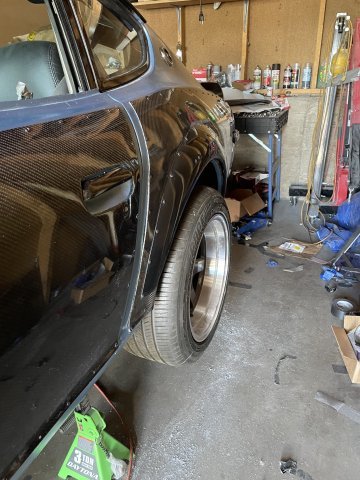
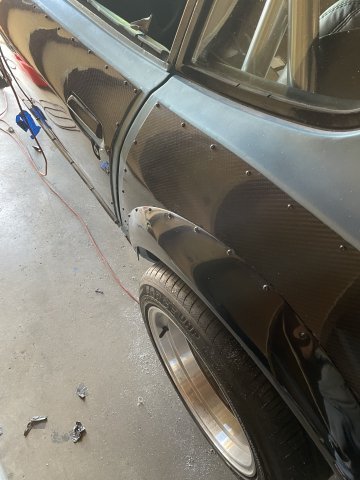
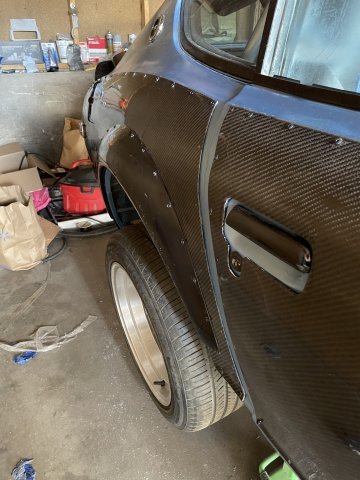
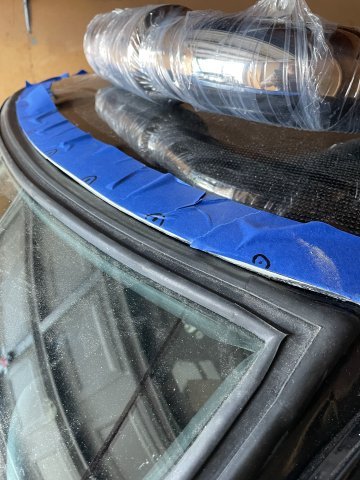
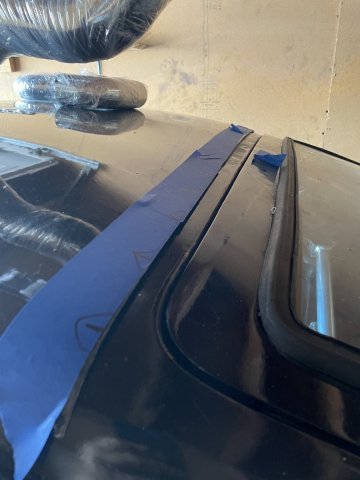
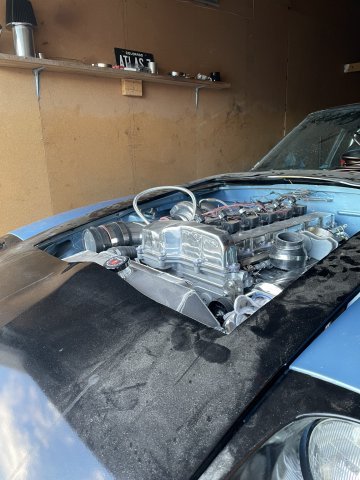
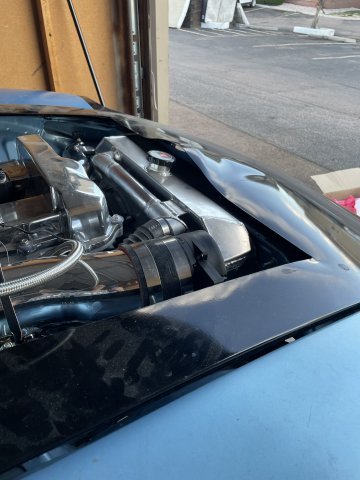
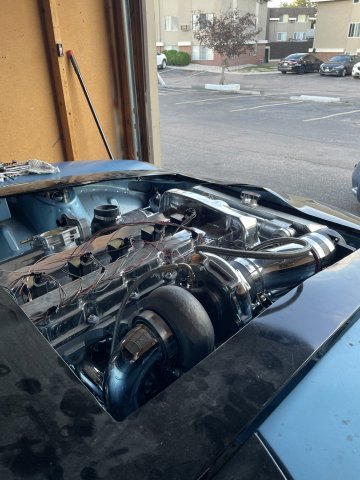
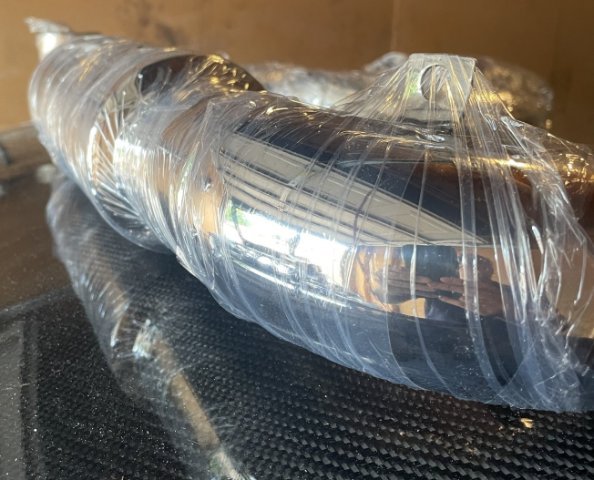
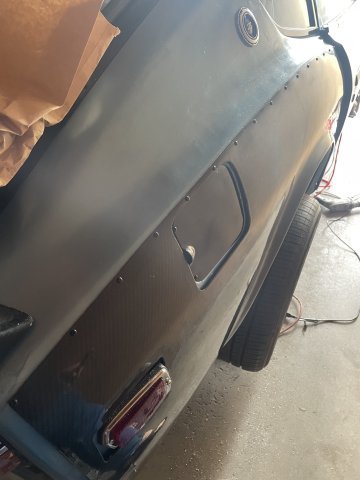
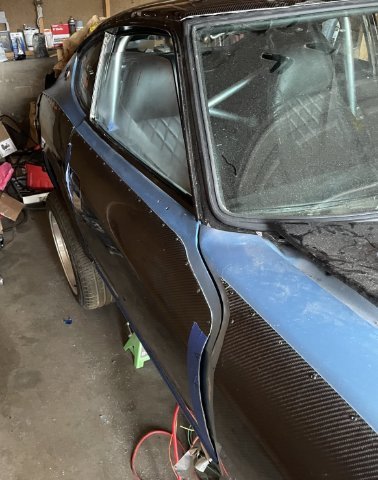
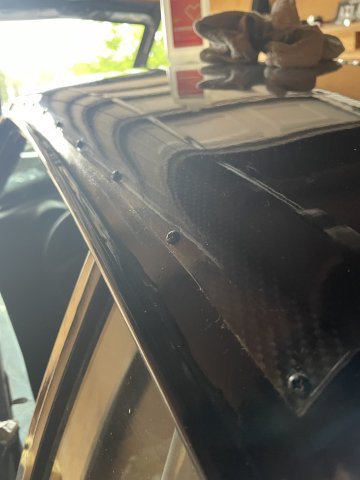
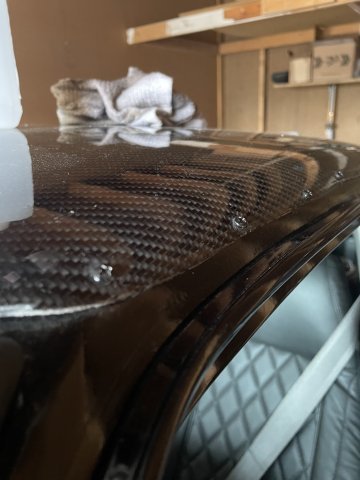
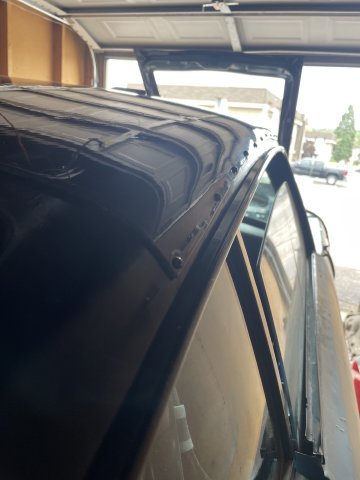
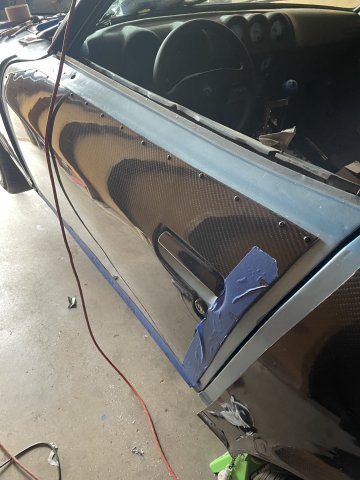
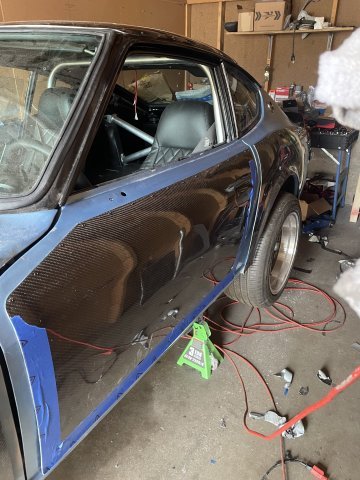
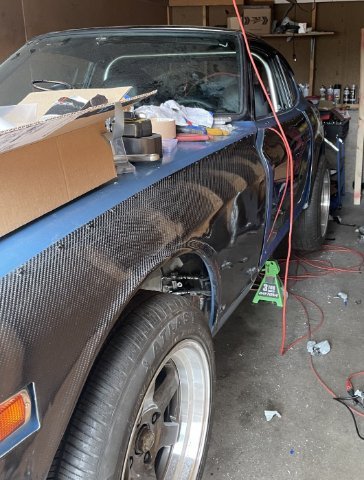
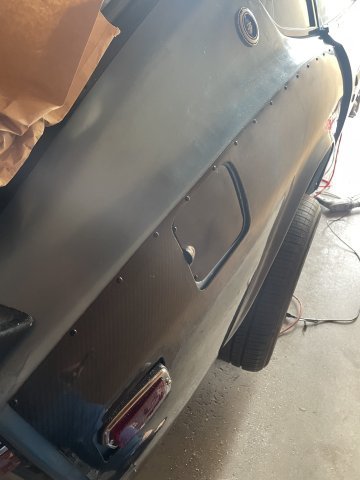
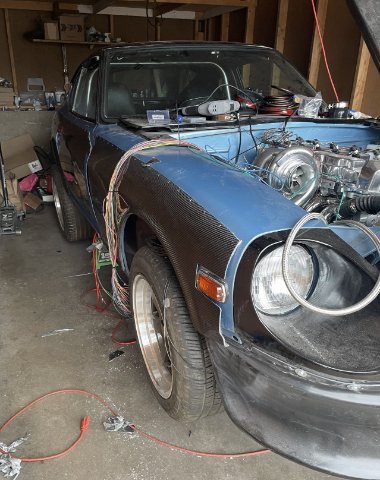
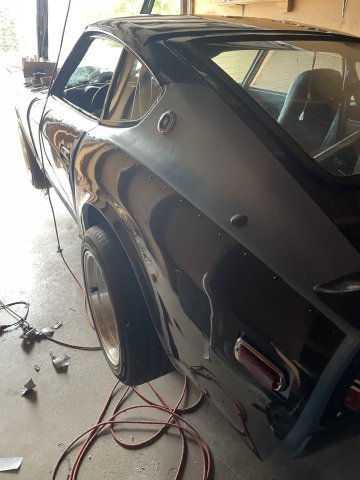
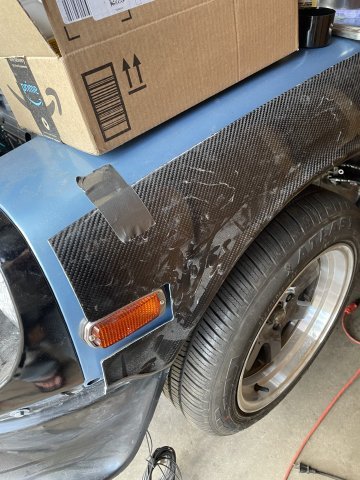
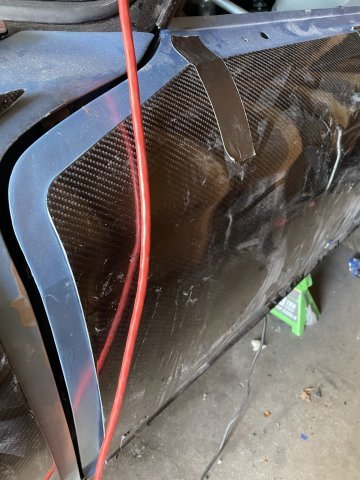
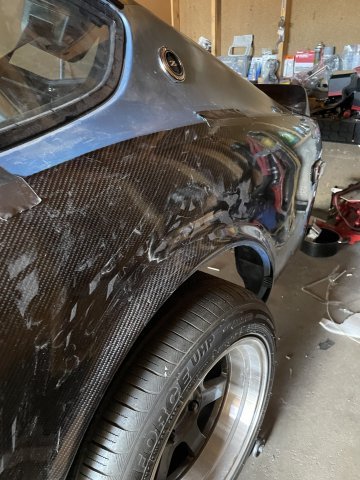
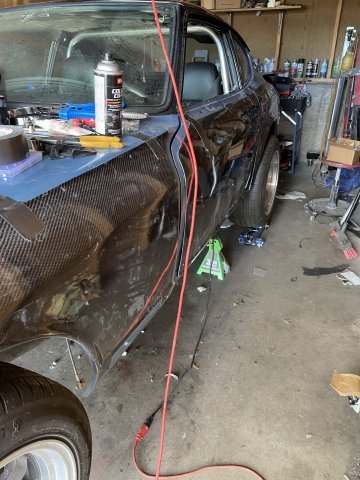
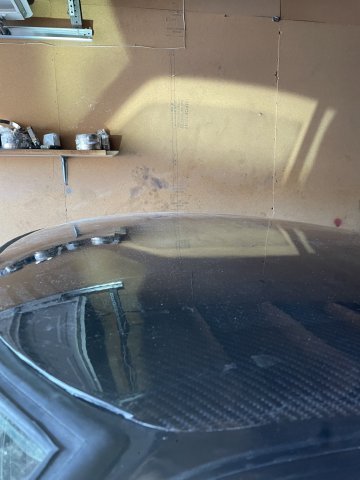
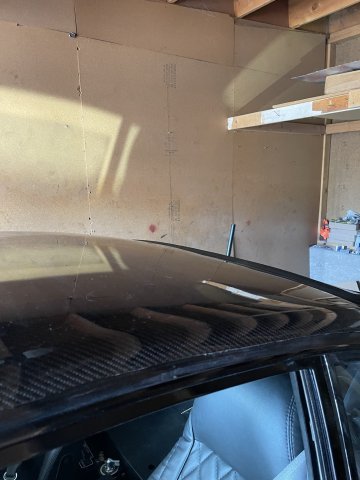
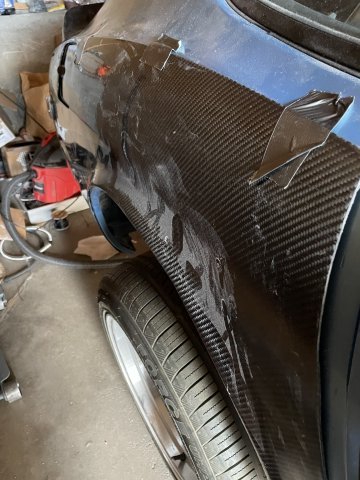
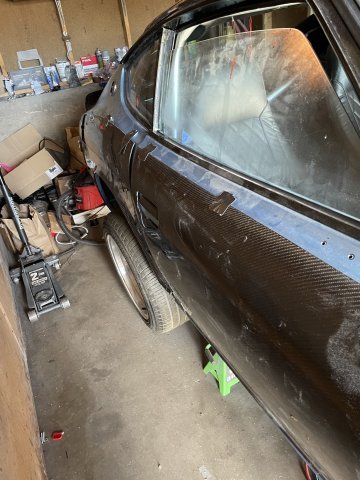
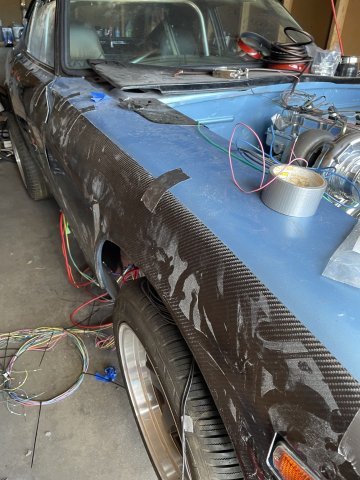
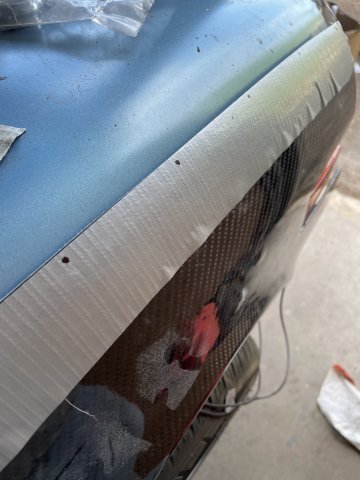
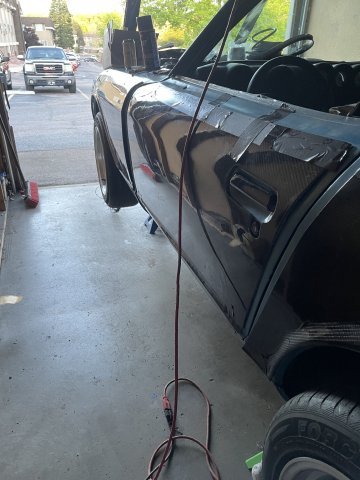
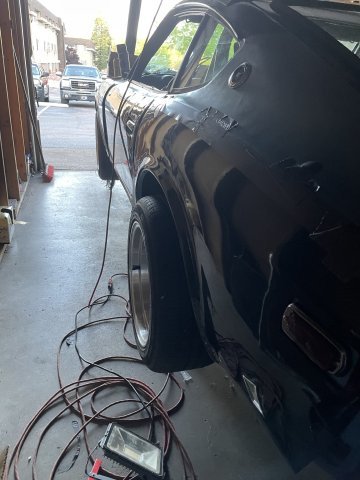
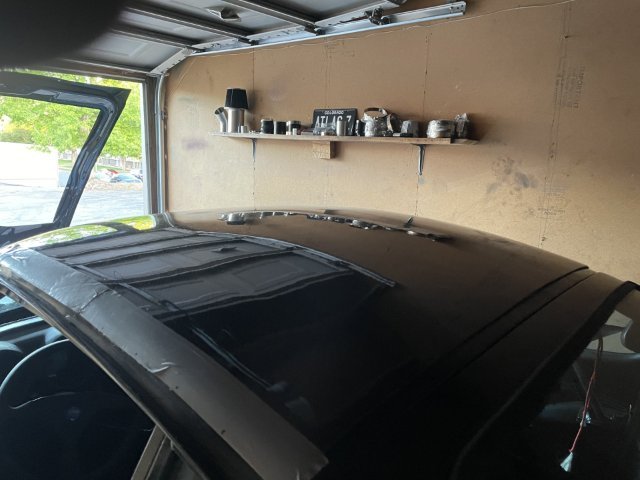
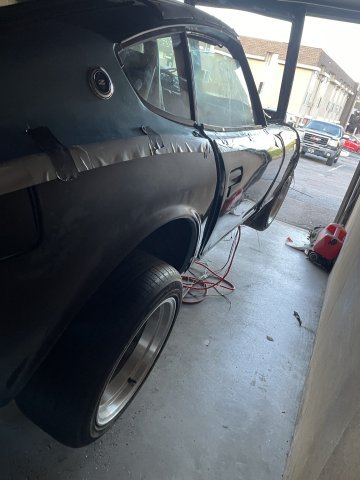
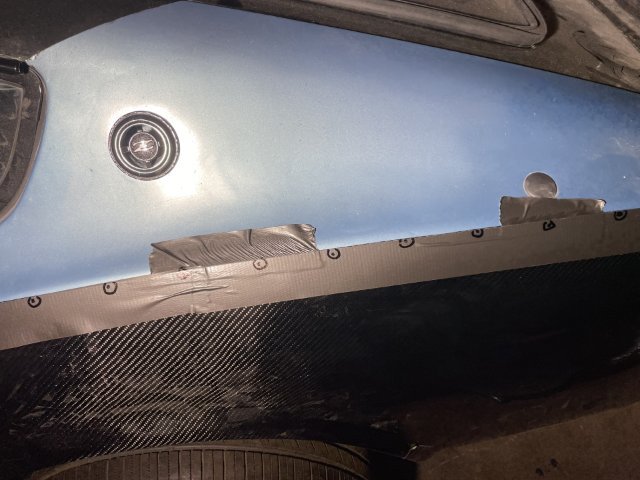
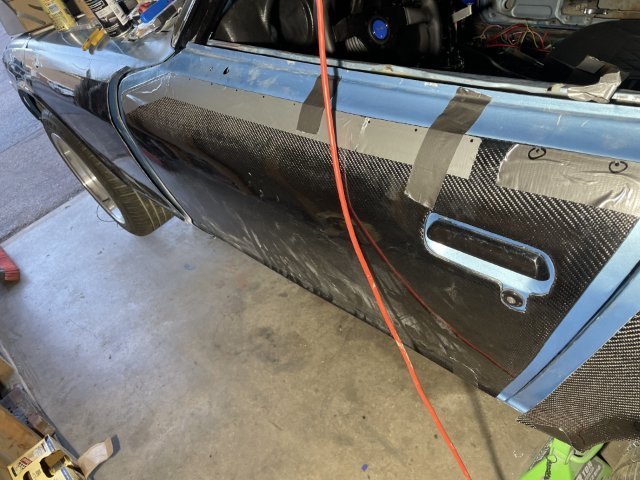
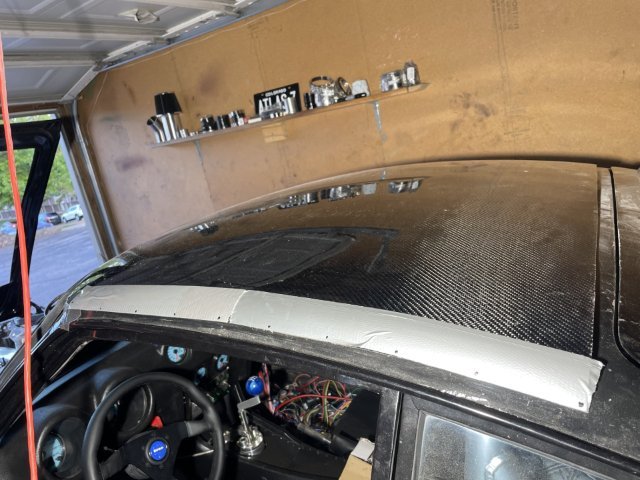
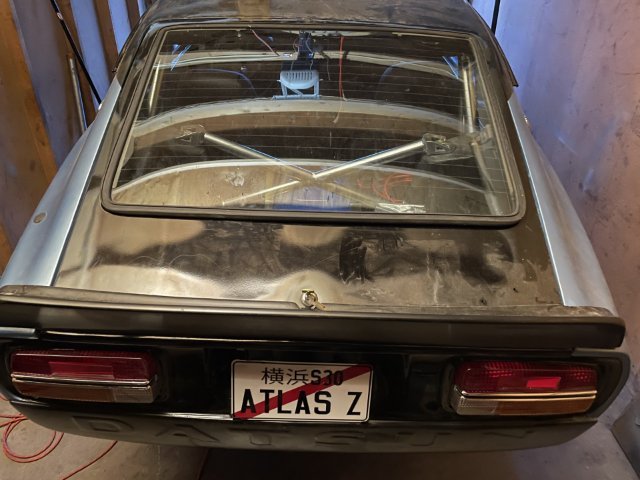
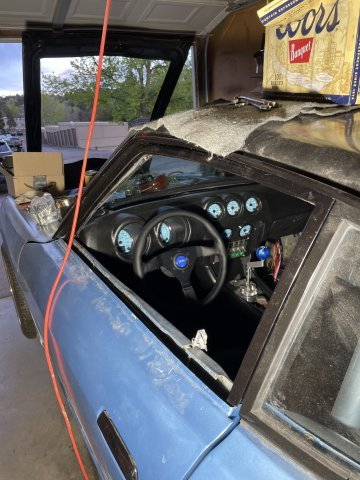
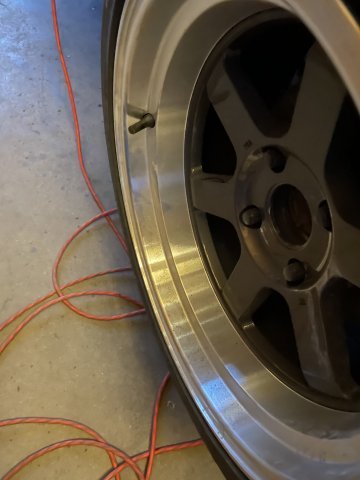
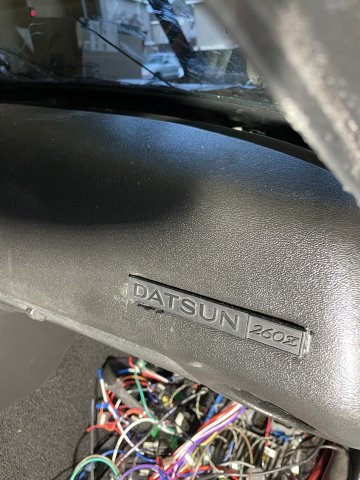
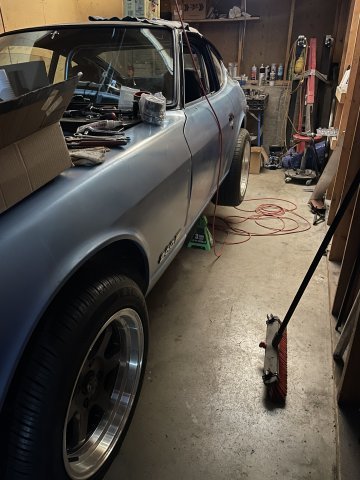
06-13-2026 ATLAS Z UPDATE. Today I finished screwing down the carbon fiber and installed the front flares. Pretty much all done. Later I will tape off both sides of each edge and lay in a coat of black pure silicone....then pull the tape off leaving straight lines and let it harden up. Then some paint correction and some clear and the body will be done! I gathered up some parts I am taking to get wrapped in dry carbon fiber (front bumper, cowl, and rear spoiler). PICS:

-
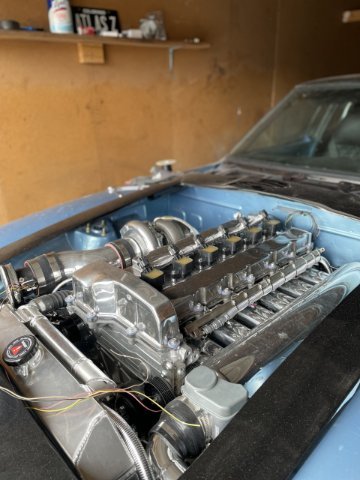
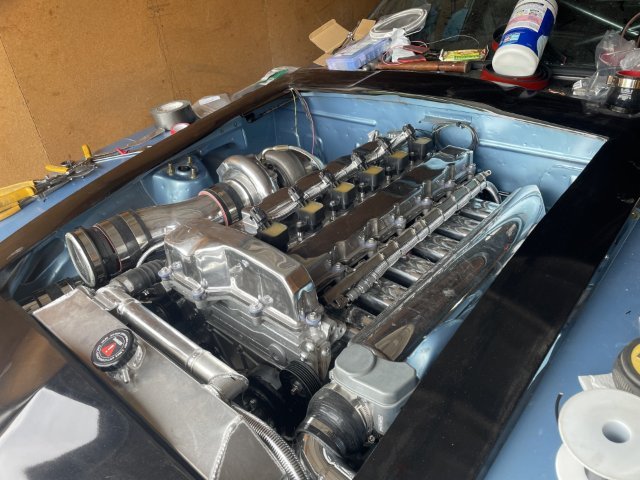
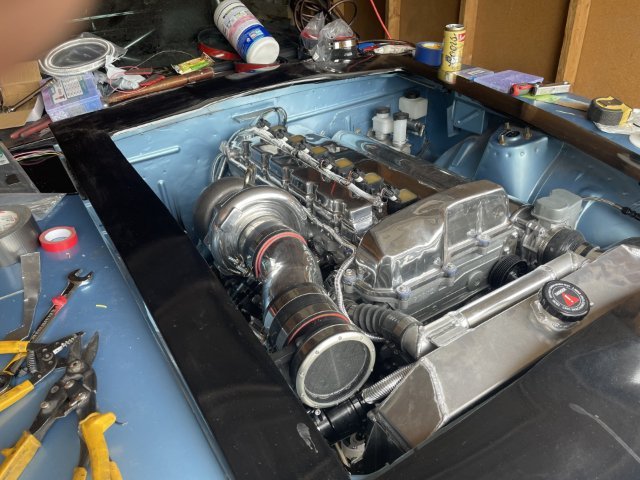
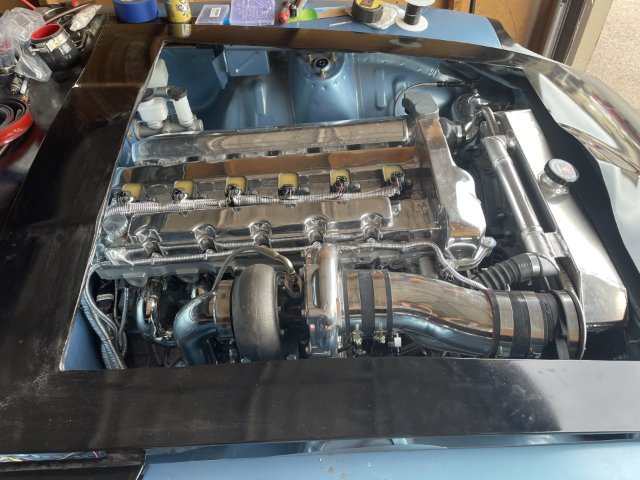
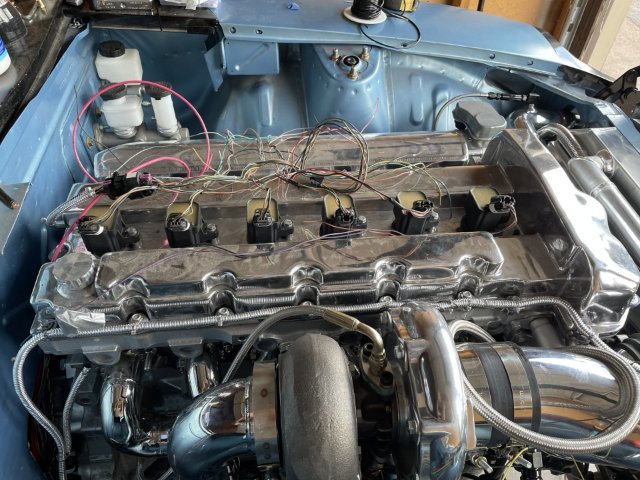
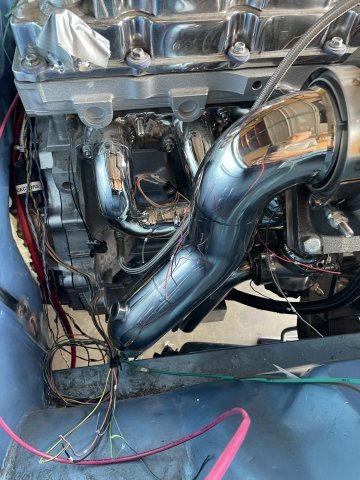
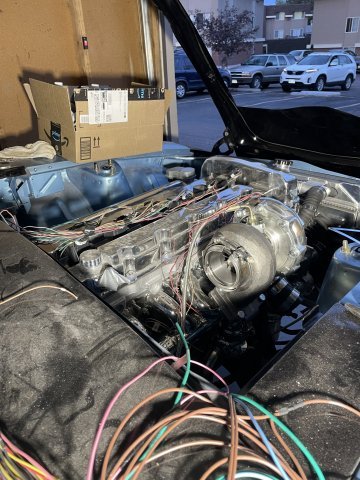
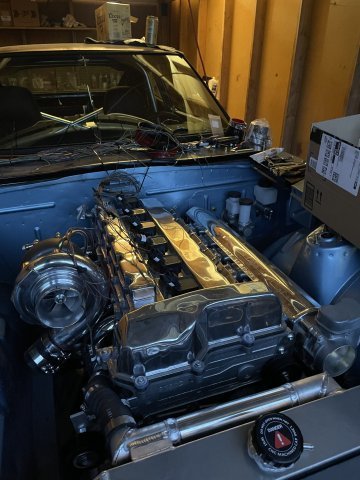
The factory 2006 GM ECU, called a "P12". Jeremy Gonyou at Lime-Swap converted my engine harness into a stand alone setup and cracked my ECU and programmed it for the turbo. By using a factory setup I retain the variable valve timing and the wireless throttle. 60lb/hr Deka fuel injectors and with an 8 psi spring in my external wastegate.....around 350-400 hp at the crank. Very mild setup.........well over 300 at the wheel, which in these cars is sufficient.
-
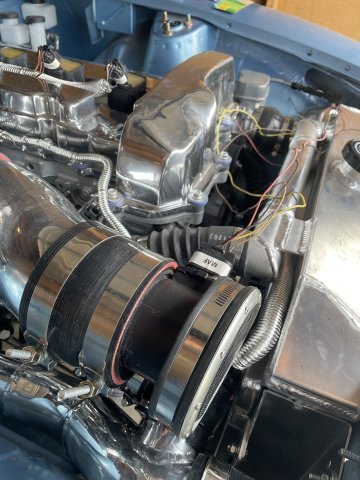
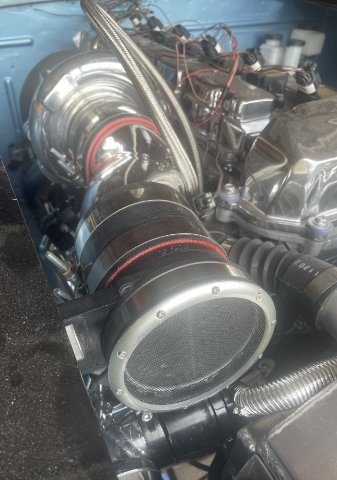
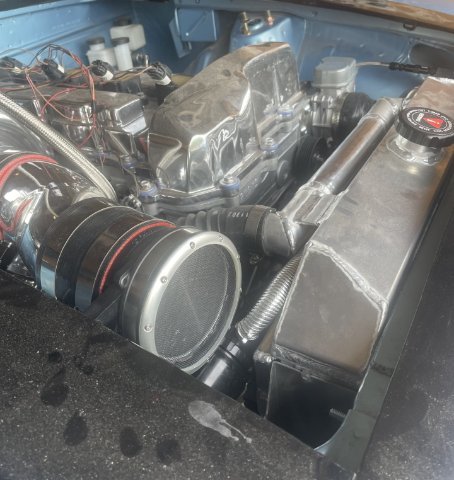
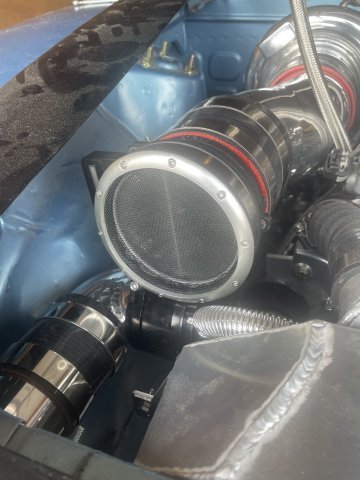
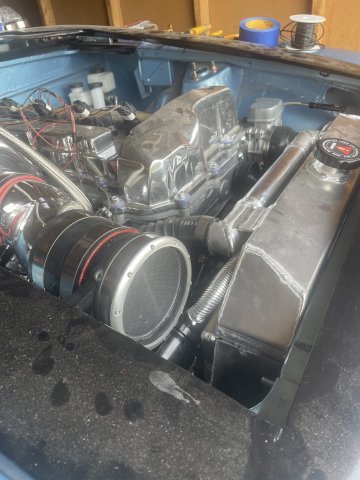
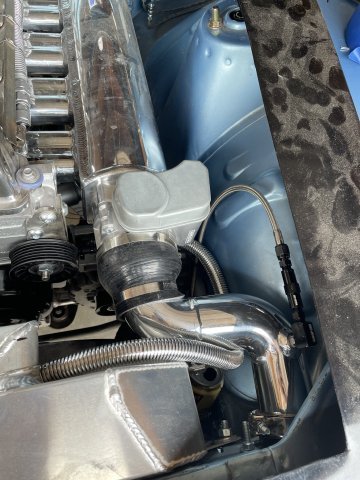
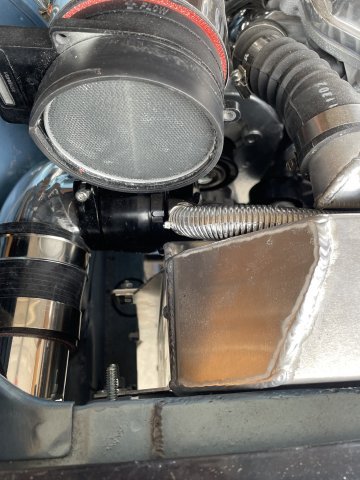
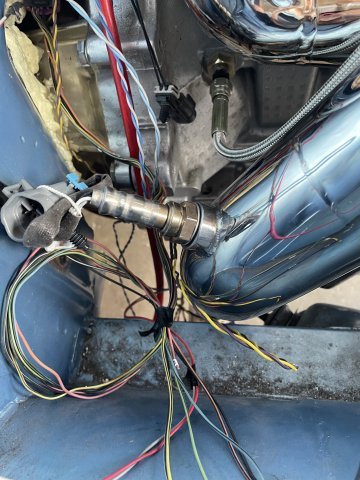
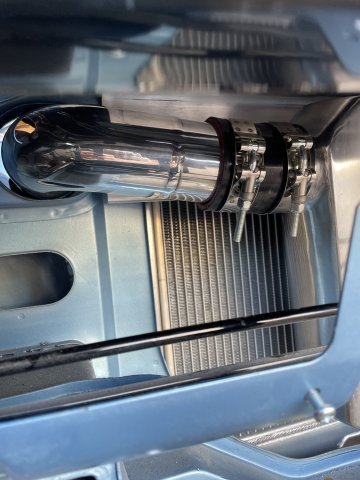
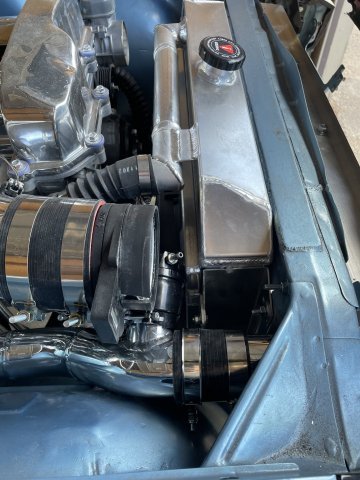
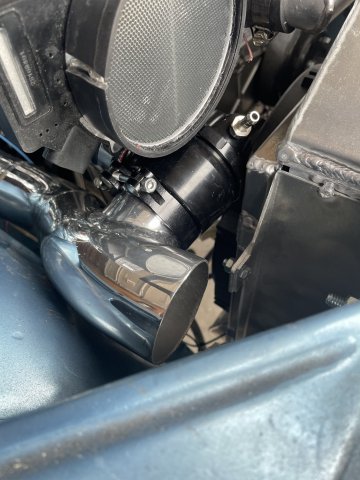
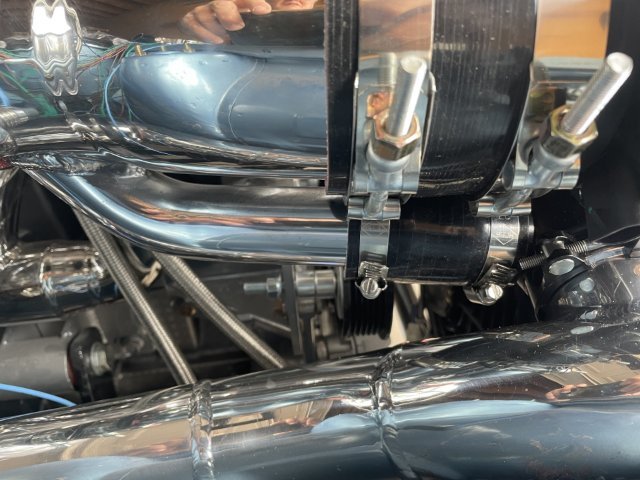
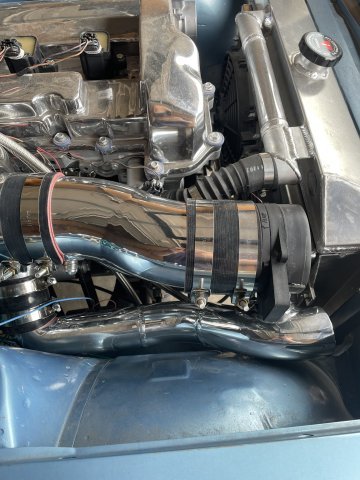
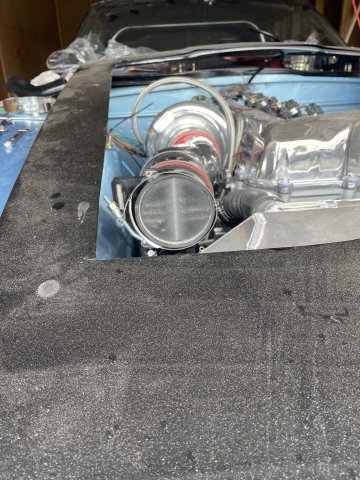
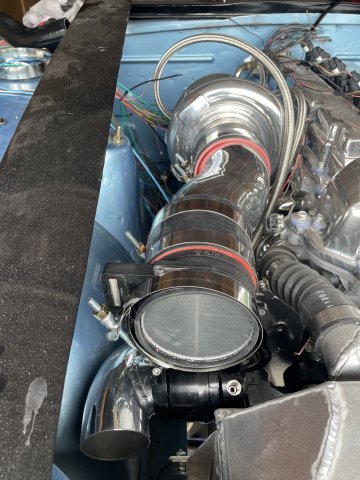
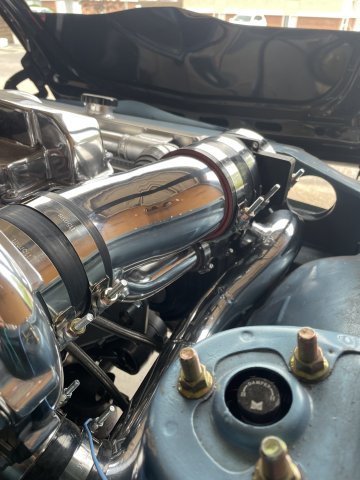
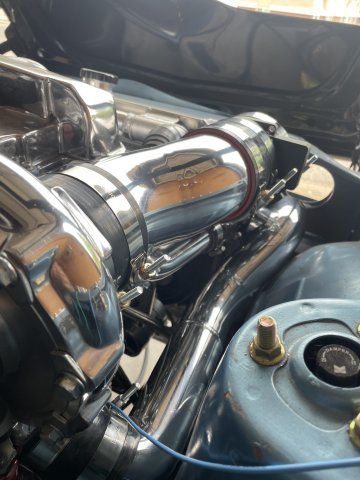
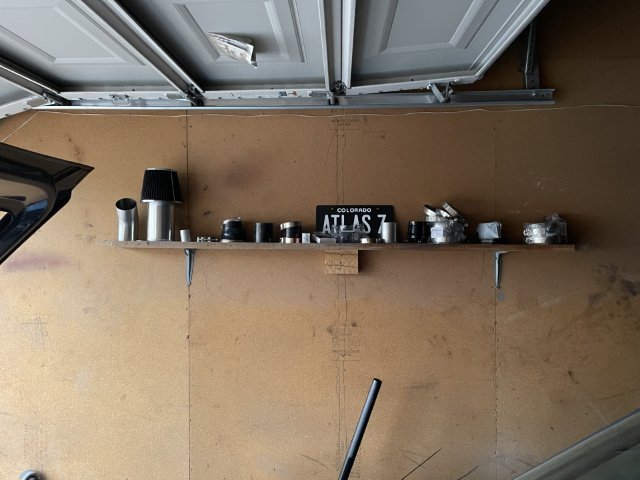
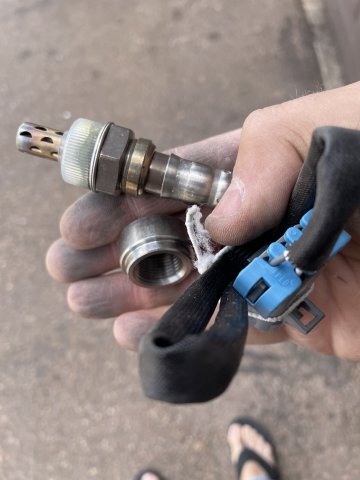
06-12-2026 ATLAS Z UPDATE: the MAF meter I had bought was supposed to work on my 2006 model year wiring harness.....but it didn't. So I searched and searched before figuring out that the MAF was molded in to the intake pipe. So, I found one on eBay and it arrived today. I held the other meter up and took measurements and then cut it to length, cleaned it up and then wrapped both sides with self adhesive rubber strips to fit the 4" couplings. Doesn't look near as good as the other MAF.....but I didn't have a choice. By the way, 2006 was first year for MAF meter on 4200......it changed in 2008 to a different style, so if you have an '06, dont forget to get this piece. PICS:
-
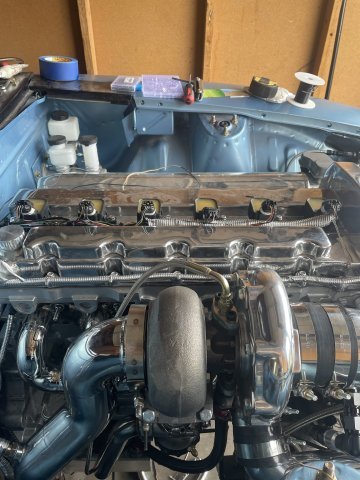
06-07-2026 ATLAS Z UPDATE: Continued progress on the engine harness wiring and installation. Starting to take shape....about 95% done. PICS:
-
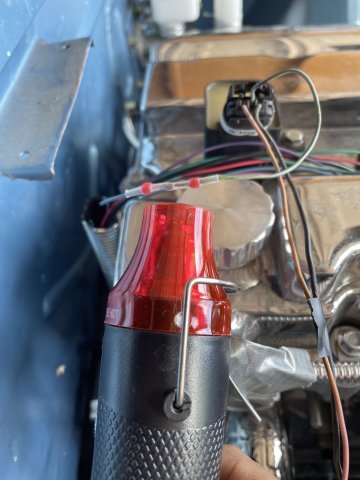
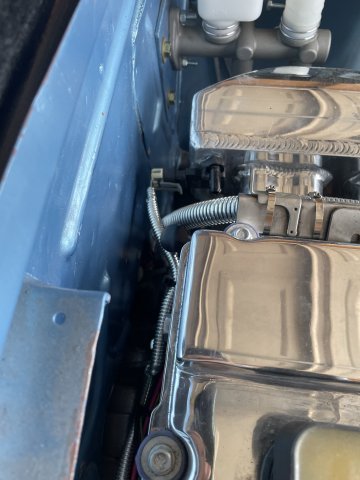
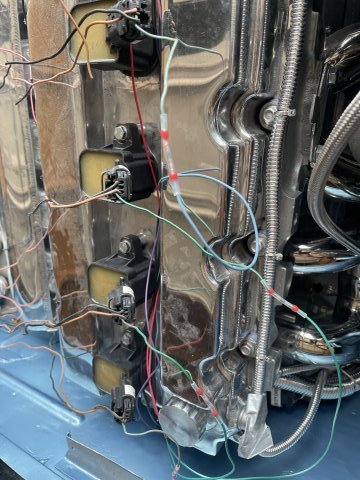
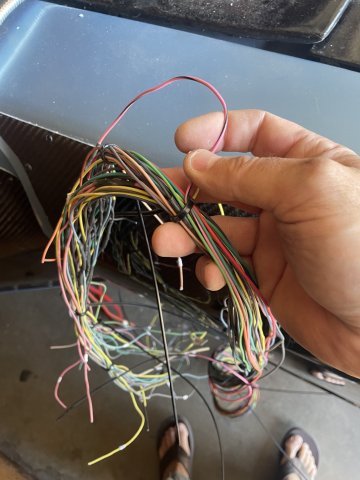
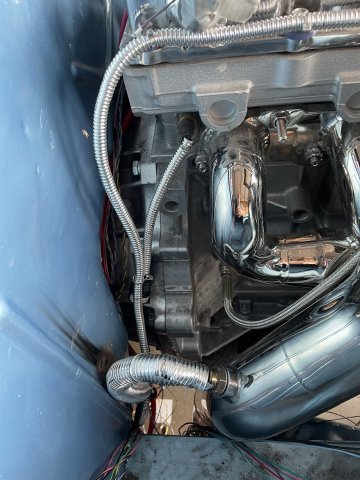
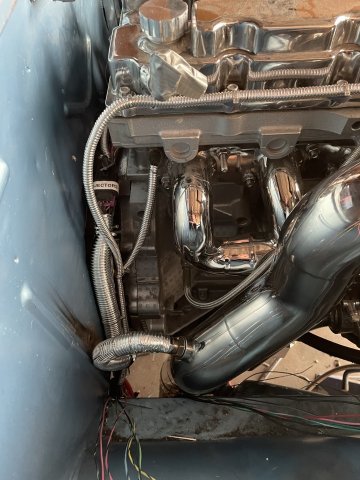
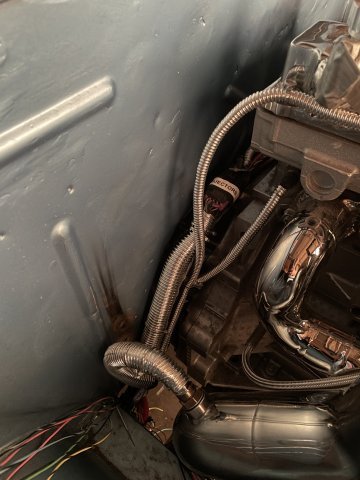
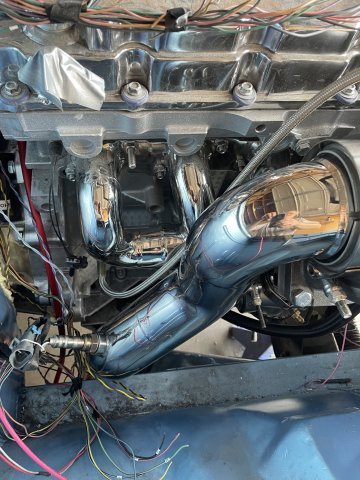
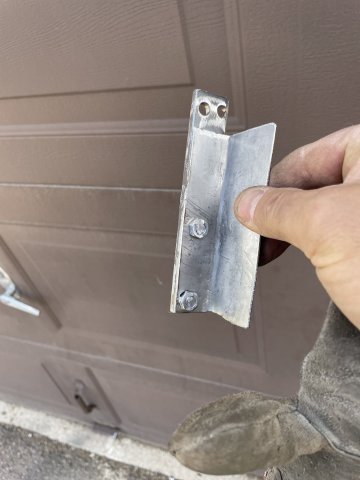
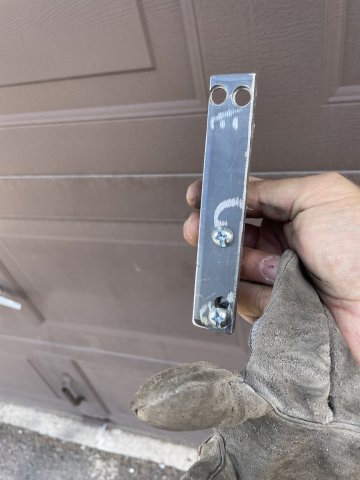
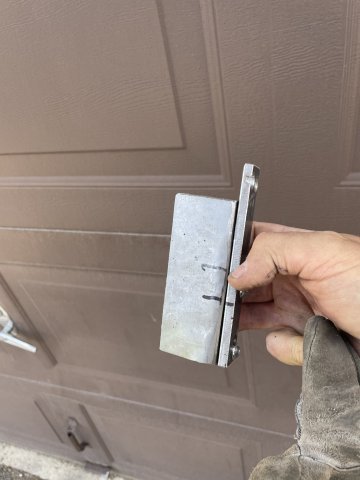
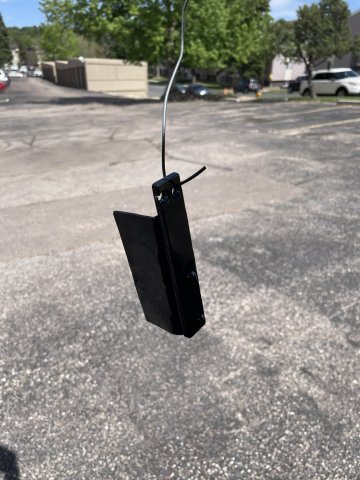
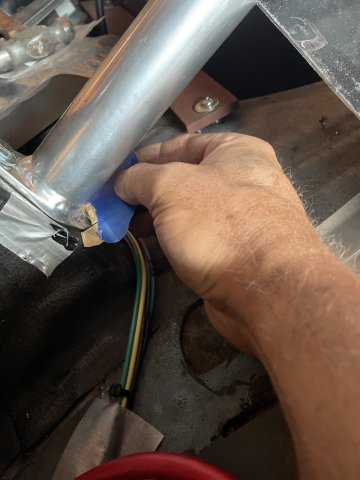
06-06-2026 ATLAS Z UPDATE: I put everything to the side and worked on engine harness wiring. Not hard, just VERY time consuming. I had opened up all the wiring, and now I am custom tailor-ing it to the setup here. Making good progress. Cutting the tie wraps connectors as needed to slide under bolt heads and tighten back down and had to make 2 large ones out of aluminum to put under a couple bellhousing bolts. The idea being keeping everything off the firewall and sides. they are shaved, and everything needs to look separate and tidy. I am putting the chrome wire looms over it and making steady progress. PICS:
-
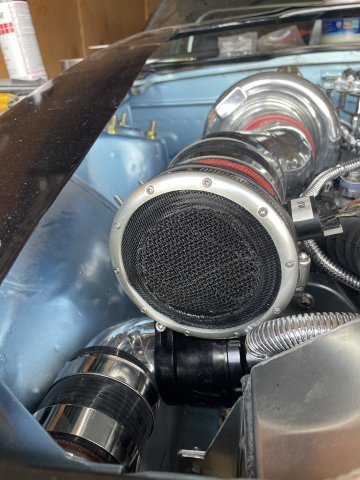
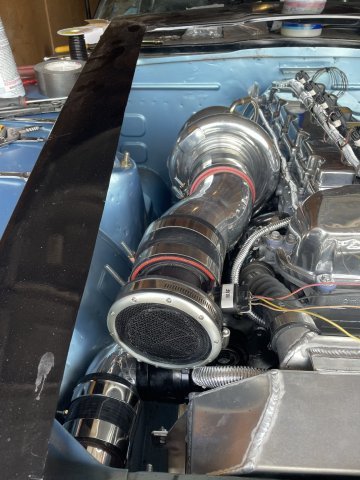
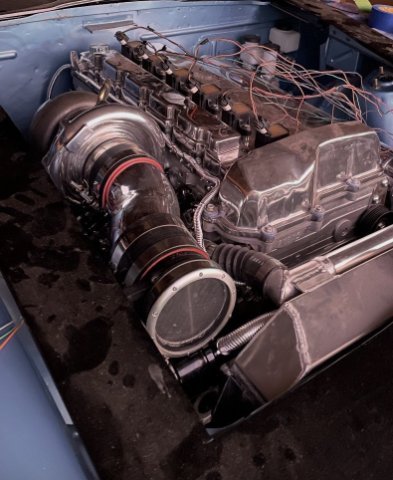
06-03-2026 ATLAS Z UPDATE: I had a few moments and decided to fit my intake screen. Another step forward
-
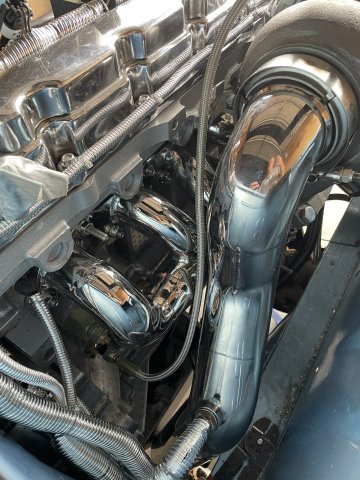
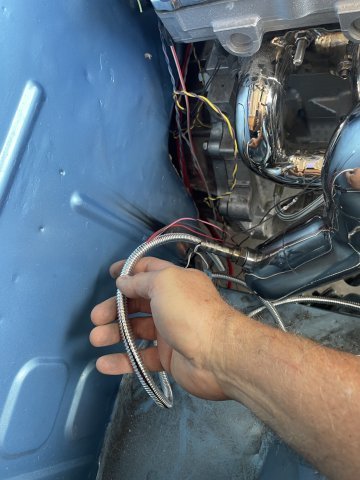
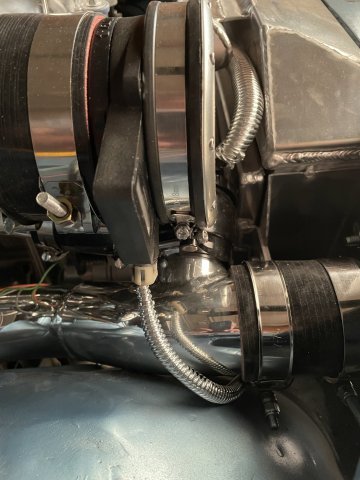
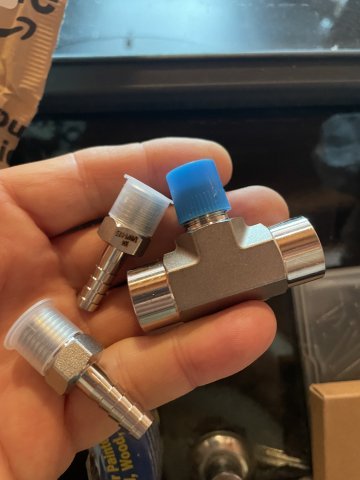
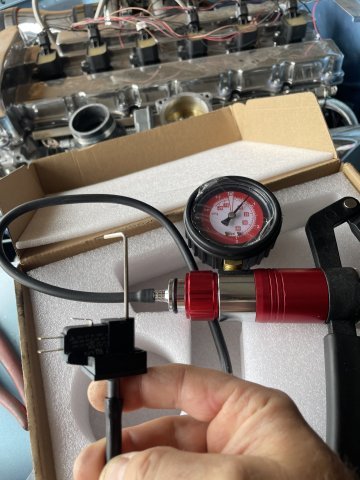
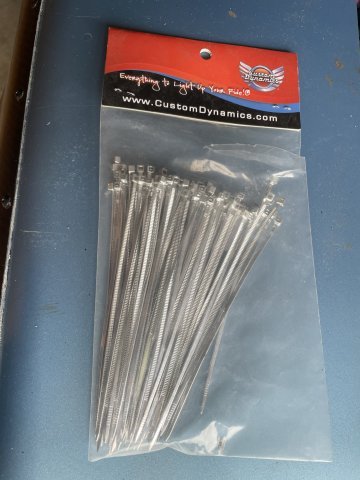
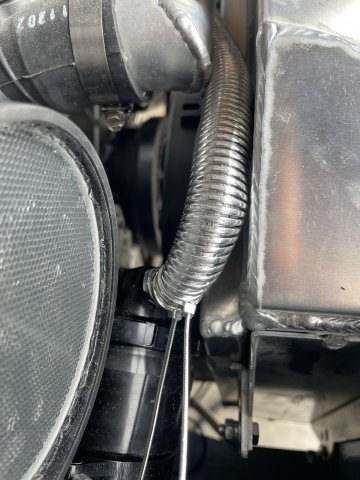
06-02-2026 ATLAS Z UPDATE: Well parts came in, so I was able to put together my T fitting for by boost switch and vacuum source for my Blow Off Valve (BOV). I used the tried and true 567 sealant on the threads, and then I covered the lines with some of my plasti chrome wire loom and plasti-chrome tie wraps. Not too bad, huh?
-
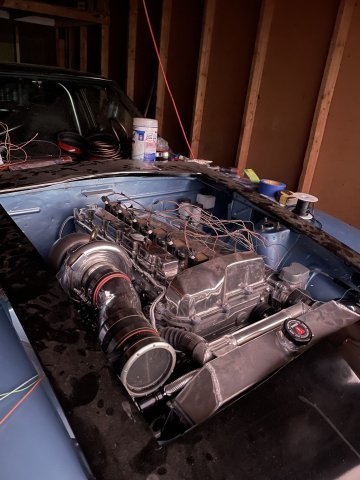
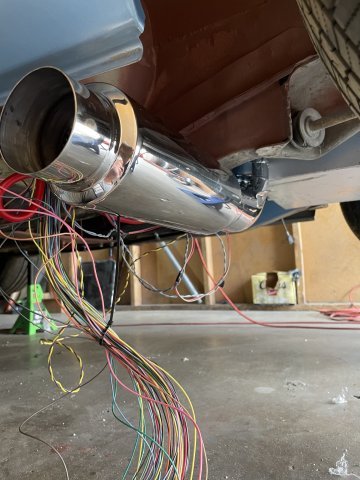
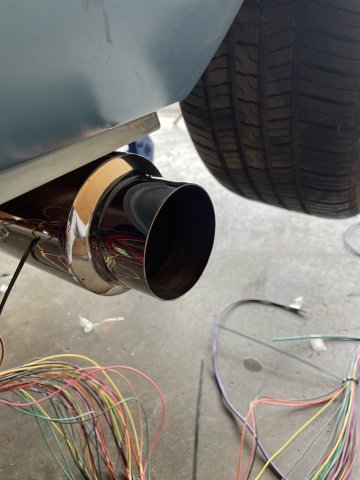
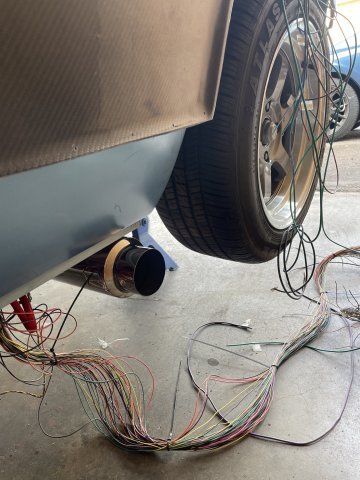
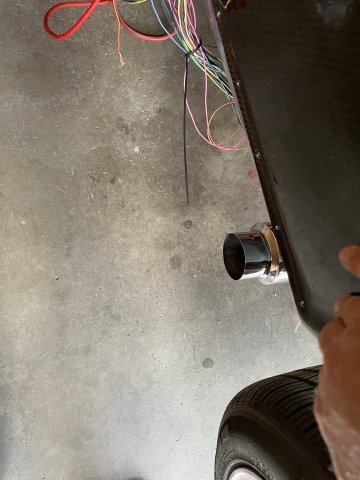
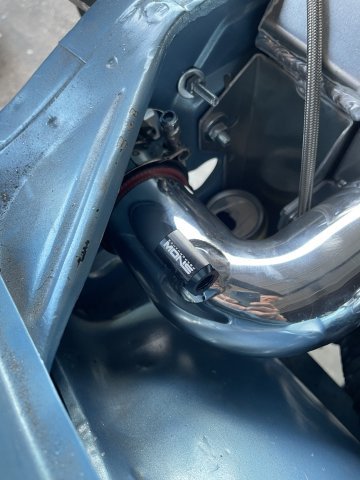
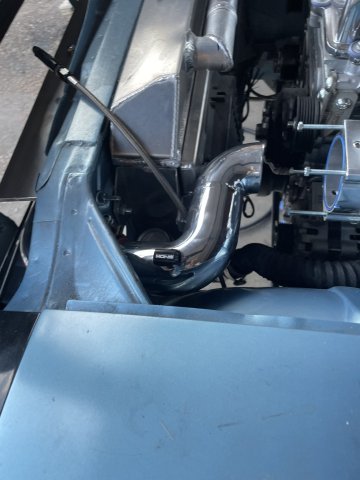
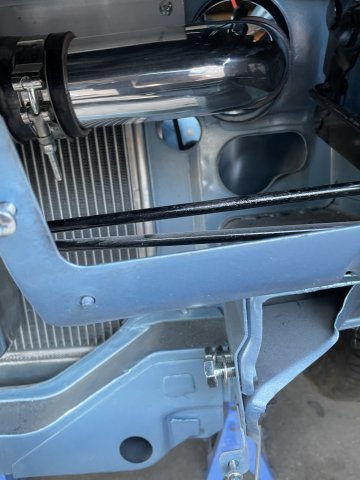
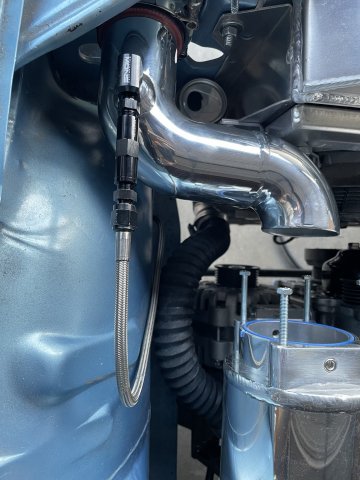
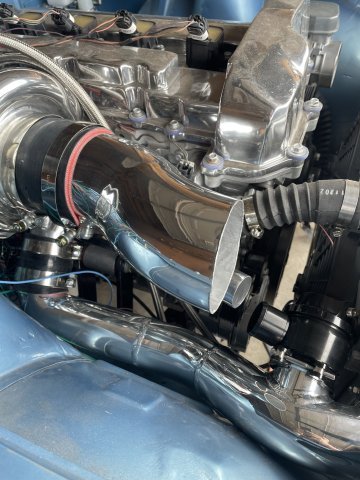
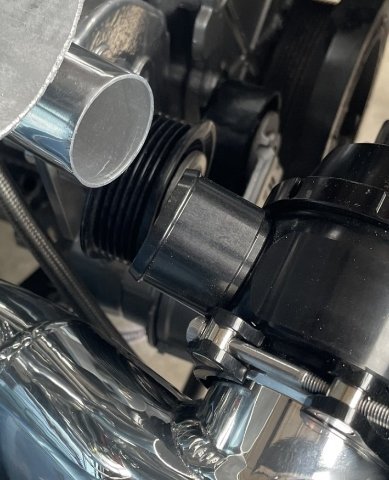
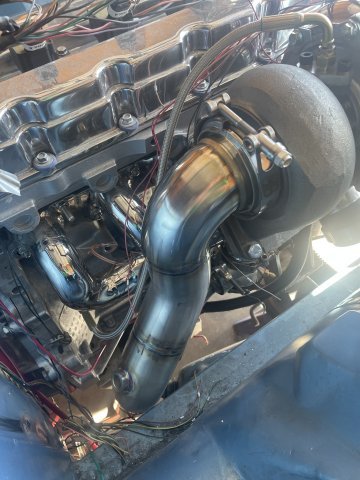
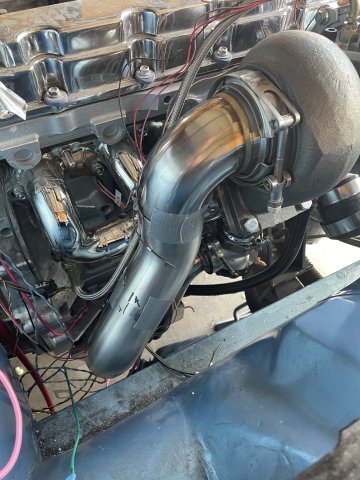
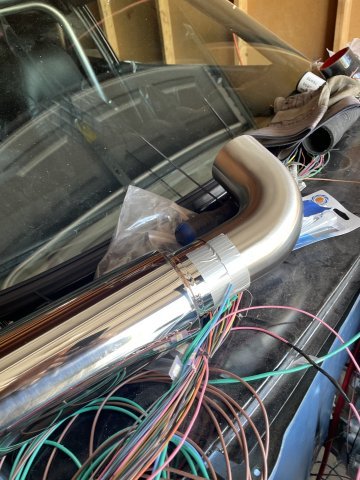
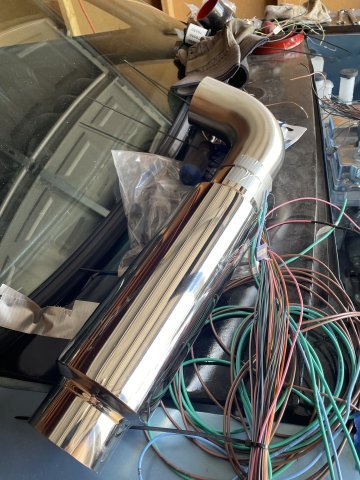
05-30-2026 ATLAS Z UPDATE: Continued work on the carbon skin install and got the rear flares on.....Installed the exhaust system, and then started on the intercooler pipes. PICS:
-
yeah......well all of it is an interference fit.........all the pieces are pushing against each other etc. none of it slips on. its a PITA to install, but if it doesn't come apart easy, then the pipes can't move to let the air out. I went to great pains to have no rubber elbows, just short sections of silicone. We'll see.
-
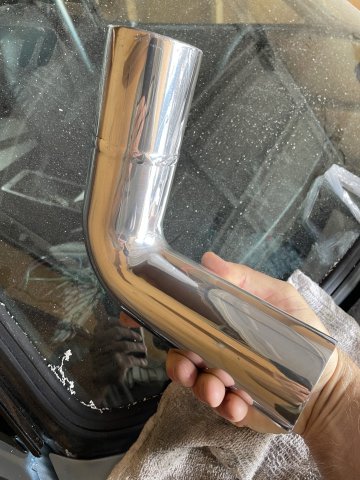
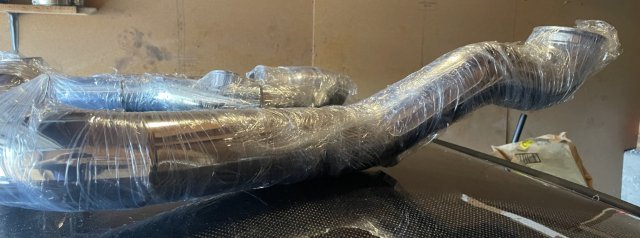
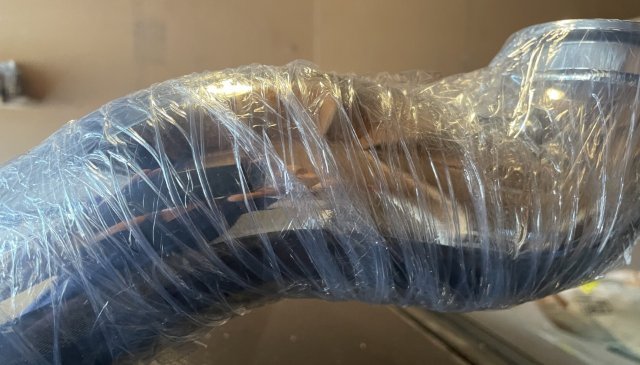
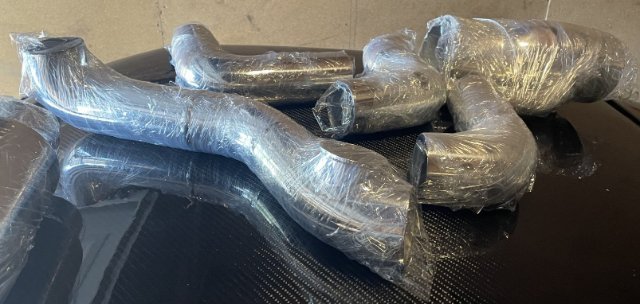
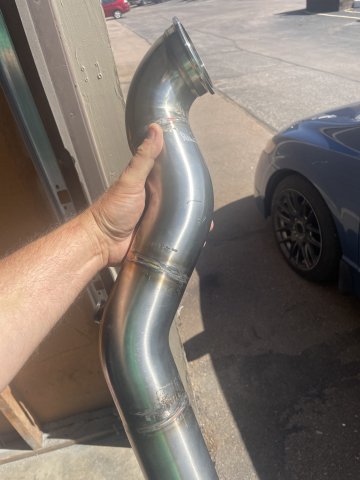
05-29-2026 ATLAS Z UPDATE: This morning, I picked up my intercooler pipes and exhaust from the polisher. I got a couple intake pieces on. PICS:
-
No Sir.
-
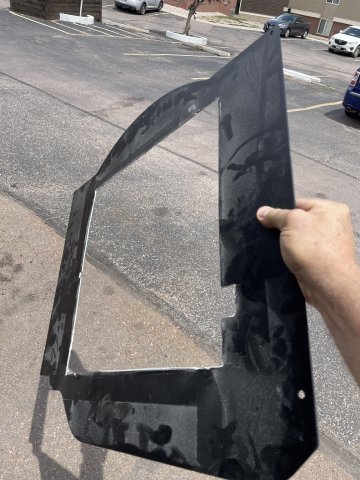
05-27-2026 ATLAS Z UPDATE: Today I began the process of attaching the carbon fiber skins. Long way to go. the edges will be taped off and sealed in with a layer of black caulk, then peel the tape off so it will be a thin very smooth line. PICS:
-
Forwarded it to admin page for further help.
-
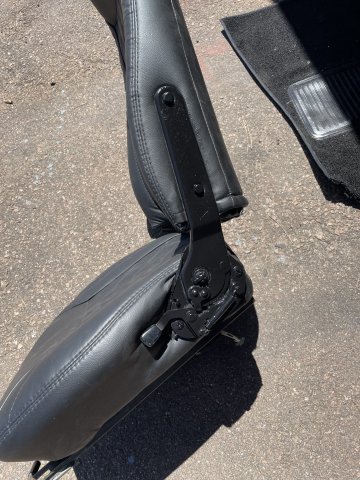
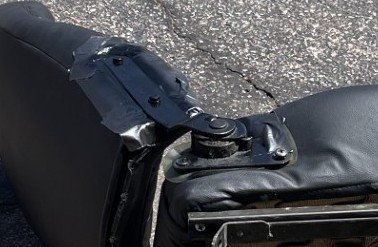
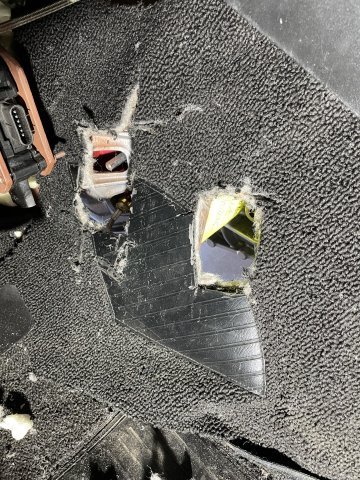
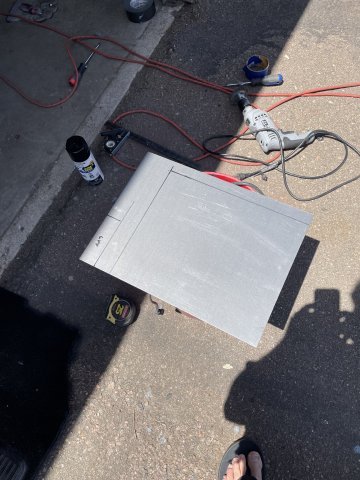
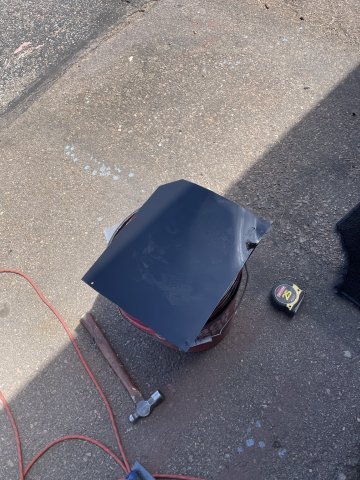
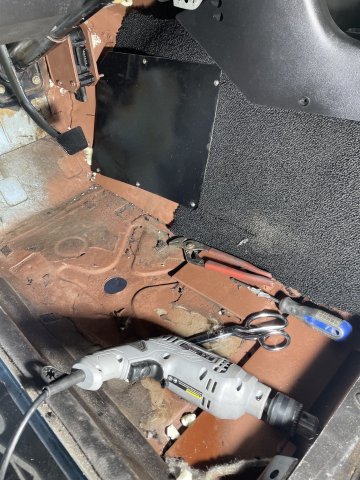
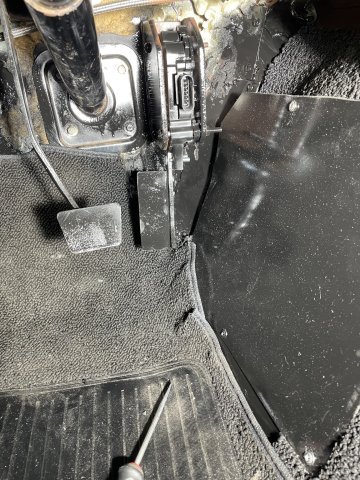
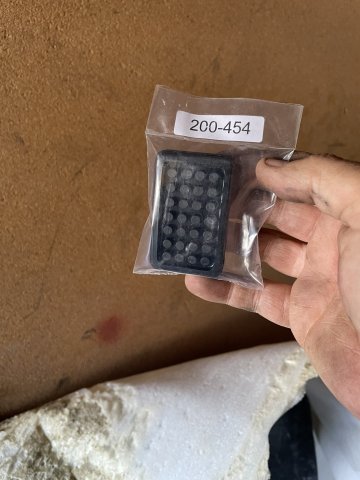
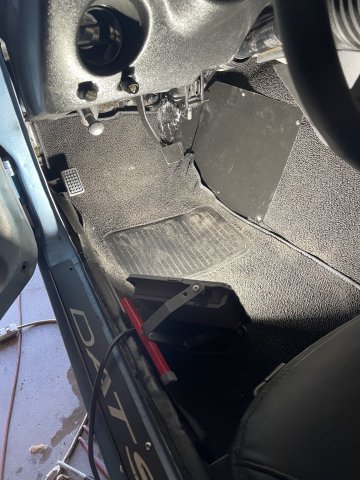
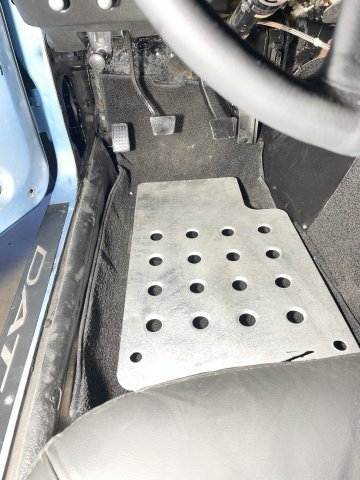
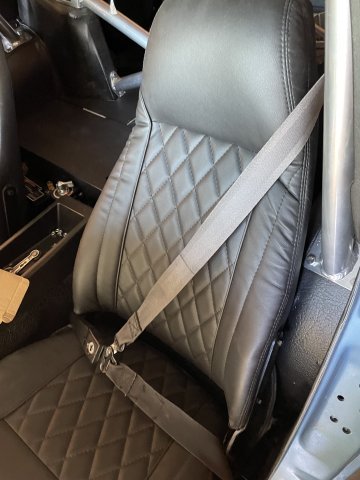
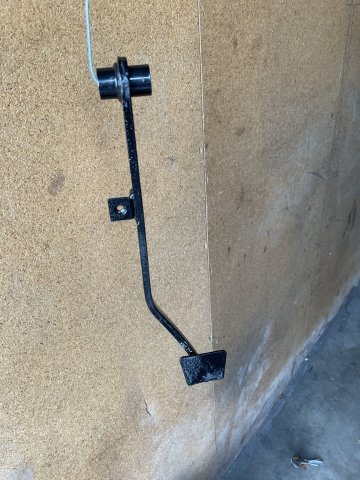
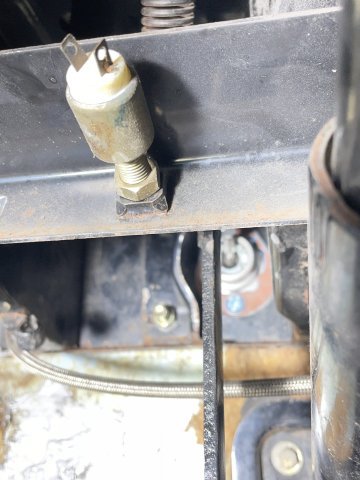
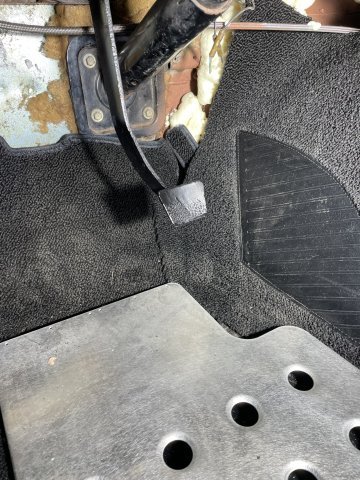
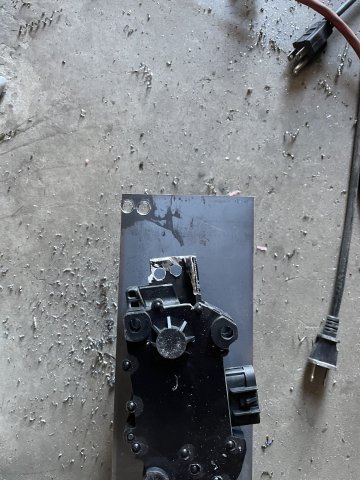
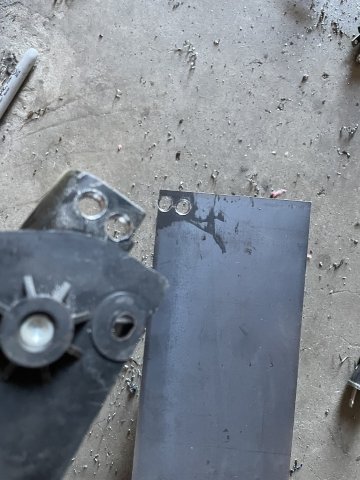
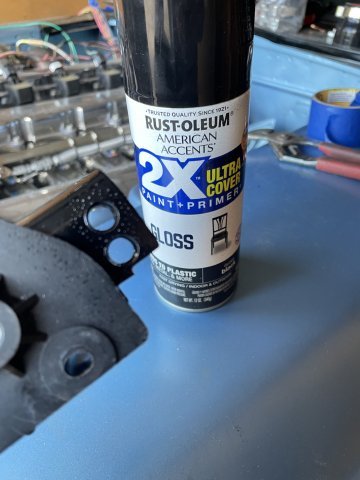
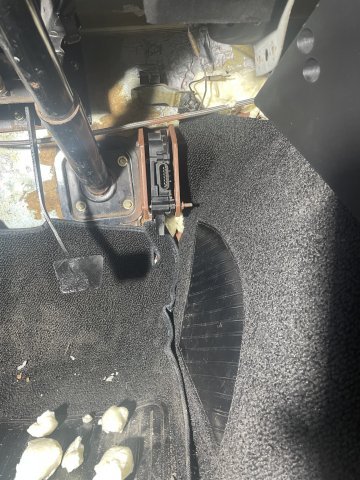
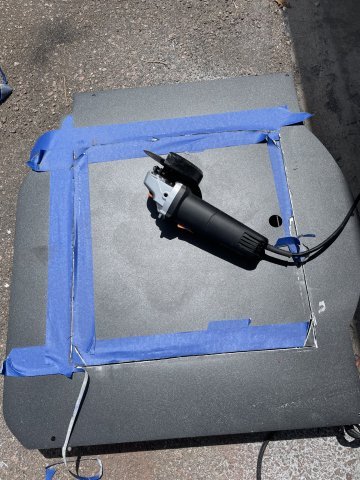
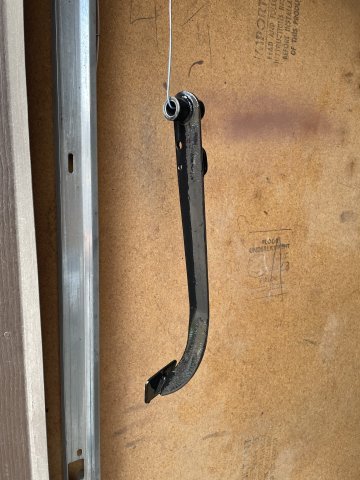
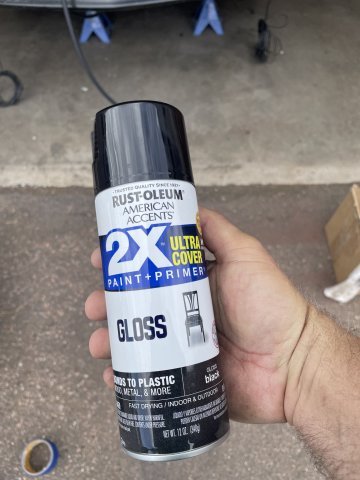
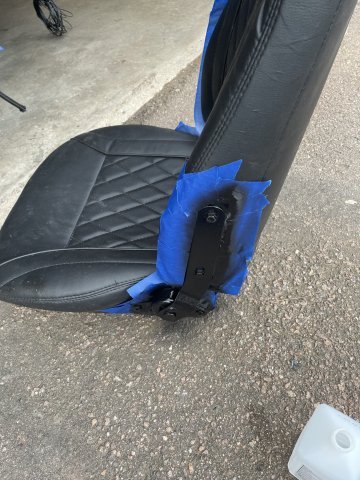
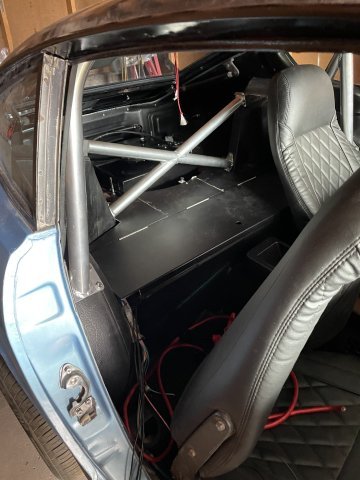
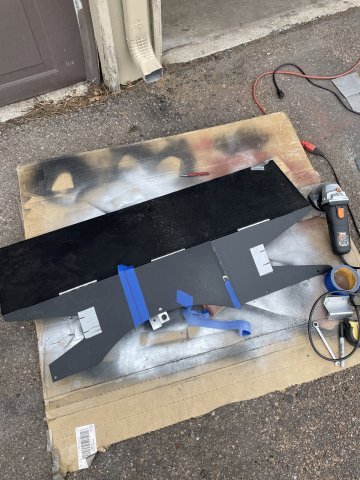
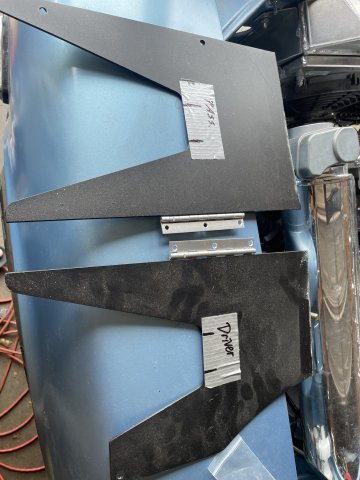
05-23-2026 ATLAS Z UPDATE: I painted the sides of the drivers seat, and then cut out the access holes for the transmission....then took some 16 ga sheet metal and cut and formed a plate to cover them. I painted it with rustoleum gloss black and screwed it down. After that I started working on a gas pedal setup. I fabbed it together and painted and installed it. I continued the work in the drivers foot well, etc. with painting, installing a new NOS dead pedal rubber cover I got from Z car Depot, and then installed the seat belt, and did some interior painting on the vinyl that goes down the side below the drivers door. I need more parts to finish what is left there, so I then went ahead and unwrapped my carbon fiber body covers I got from JP fiberglass. I used duct tape to hold them on, and then marked the top edge of them for installation later. I will use small #6 black headed screws. Busy day! PICS:
-
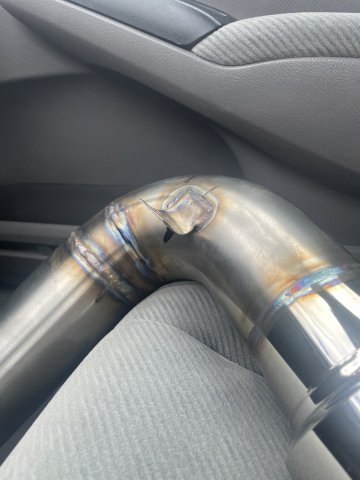
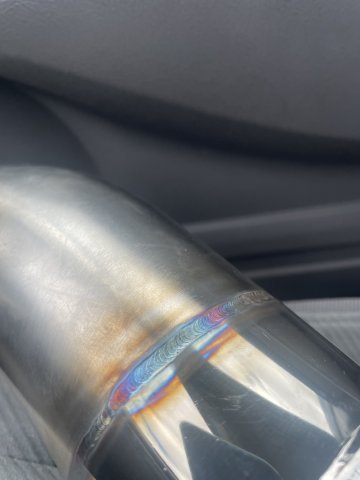
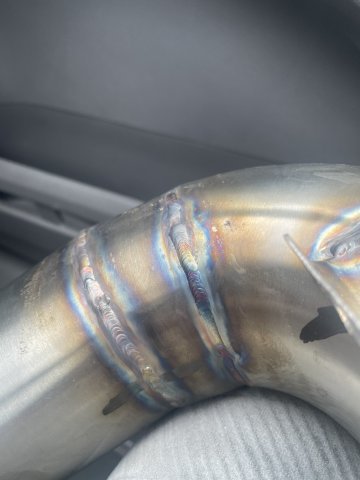
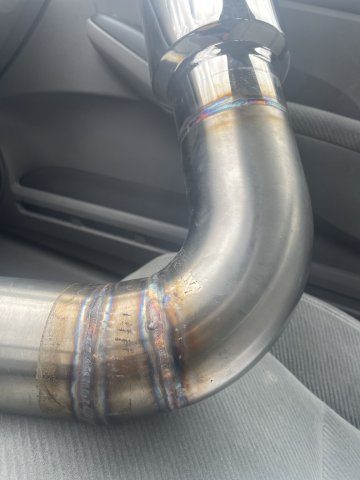
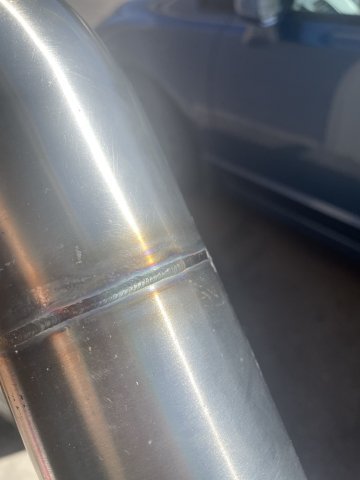
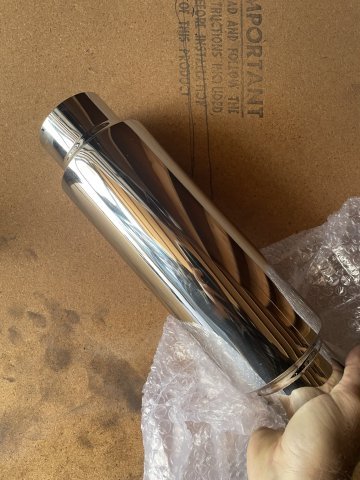
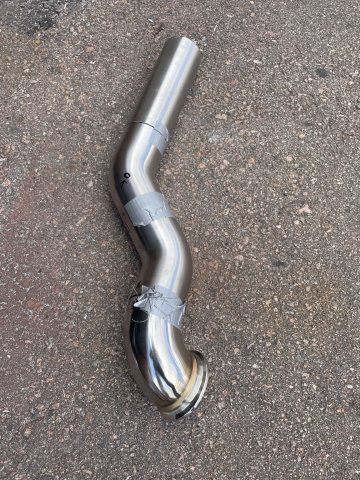
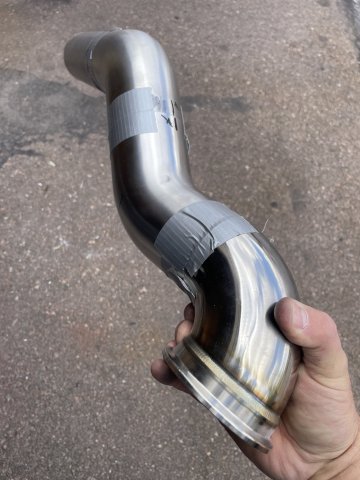
05-22-2026 ATLAS Z UPDATE. Today I picked up my exhasut I took in to get the last of the welds done. All nicely TIG welded. I dropped it off at J&S polishing to make it shine like chrome. PICS:
-

280z 1jz track build from a pile of parts
A to Z replied to flatout's topic in S30 Series - 240z, 260z, 280z
I am dismayed that you are having such issues with Apex. I was lead to believe they were a true top tier company. Ohm Pandya, the owner is an engineer.....really shocked to hear you are having these issues. I personally don't have any issue with the stock arms.......but I don't race. -
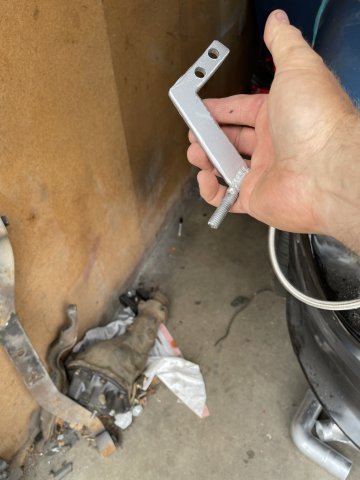
05-17-2026 ATLAS Z UPDATE: Short day in the garage, I went ahead and pulled the pedal and swapped in the correct one that had dried overnight from painting. I made sure to lube the bushing end with white grease and installed. it took a few tries, but I was able to make the push rod just the right length. Then I went ahead and wire wheeled up the clutch pedal, got it all cleaned up and painted it. I then took some time and got the bracket I made for the throttle by wire gas pedal for my engine/ECU setup from GM installed. I found that I had to cut the pedal shaft and drill it so that I can custom fab up a pedal rod that will clear everything and work right. After I made the mods to the pedal assy, I painted it and then isntalled it. A bit of work left to do in this area now, but got to a real good stopping point. PICS.
-
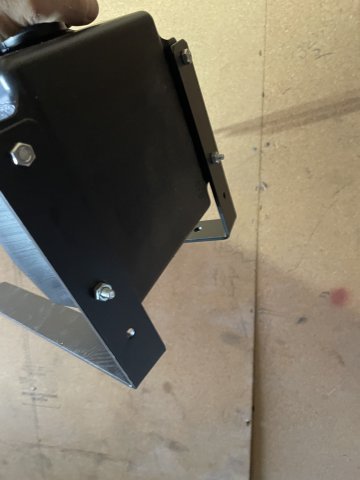
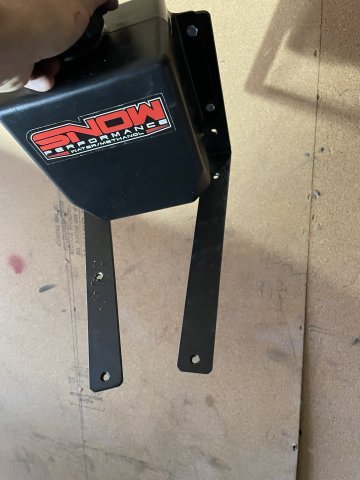
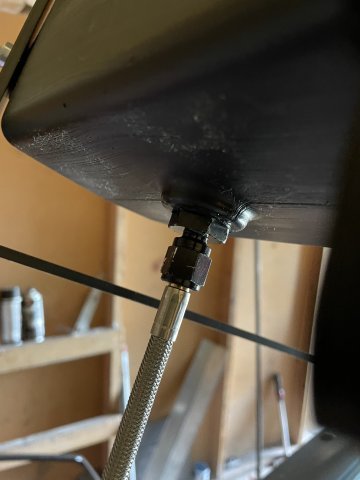
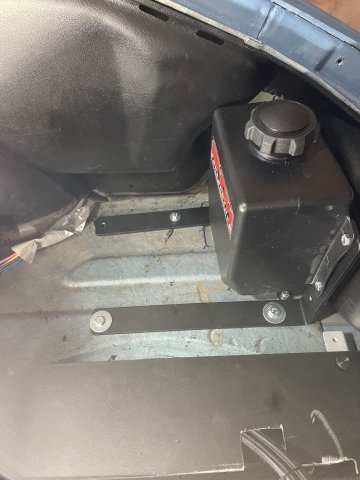
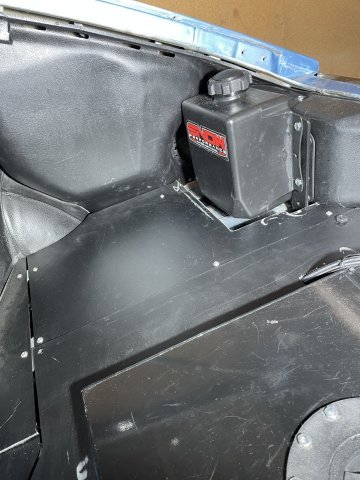
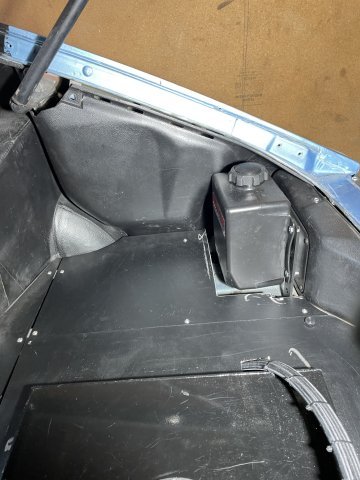
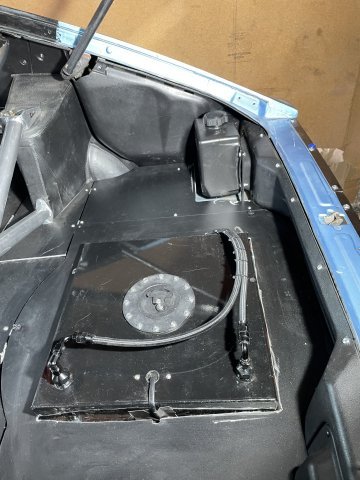
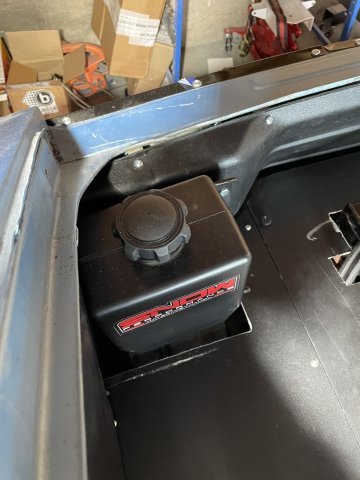
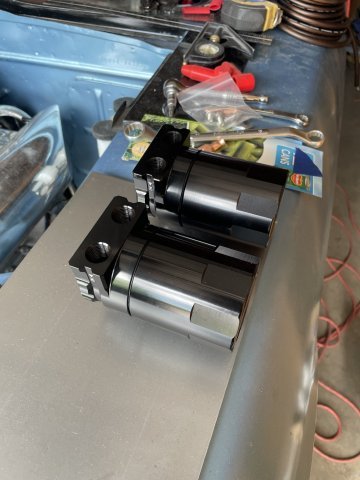
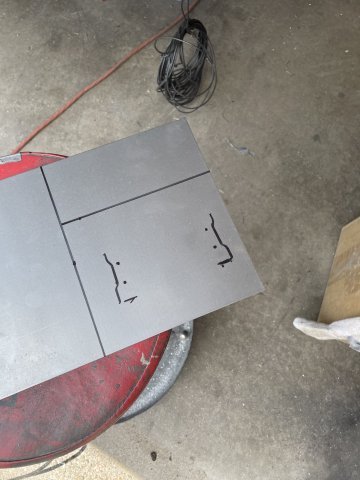
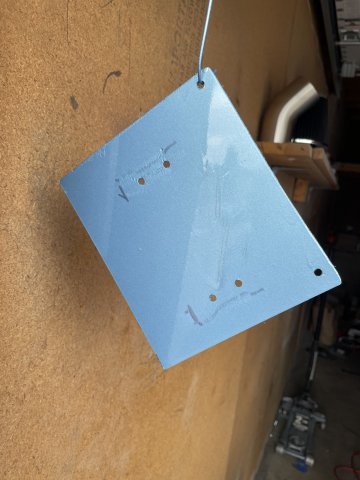
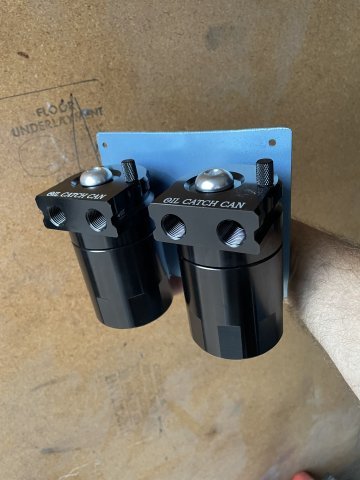
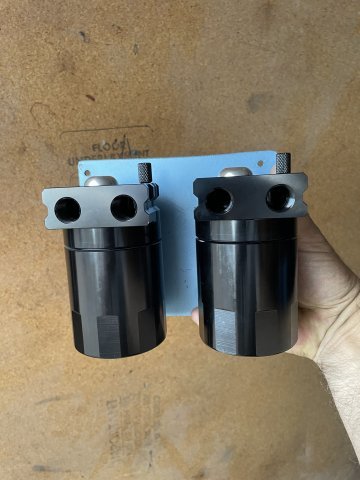
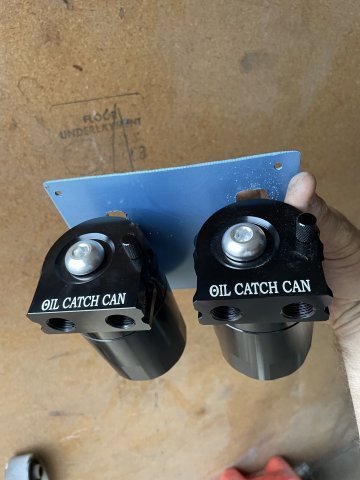
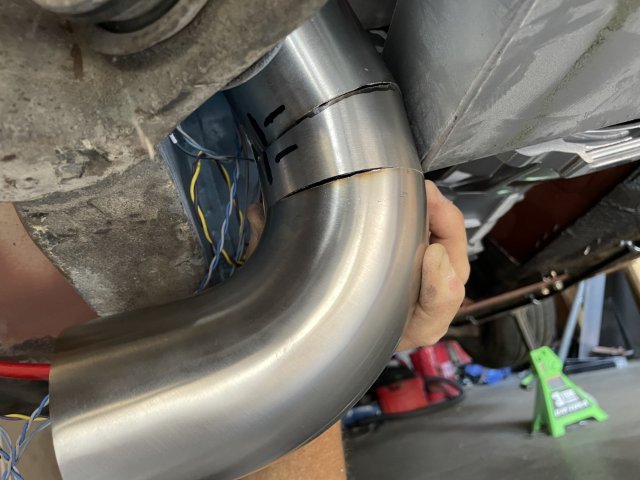
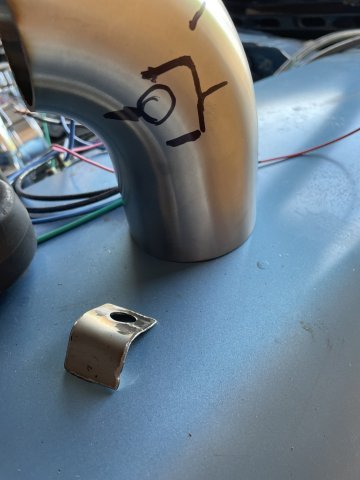
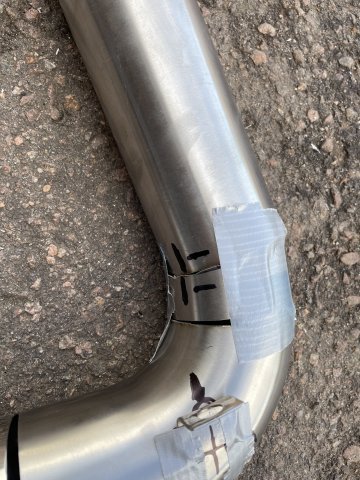
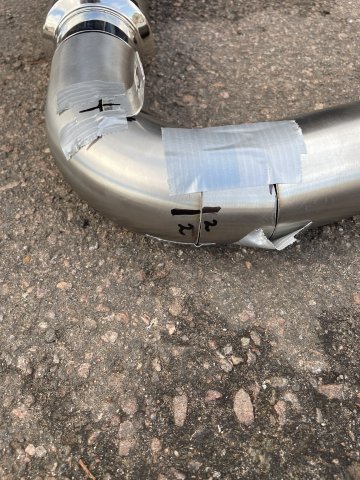
05-16-2026 ATLAS Z UPDATE: good work day got quite a bit done. I started with cutting out the center of the tire cover panel portion of my Skillard rear floor, and then did the same with the area for my Snow Performance Water Methanol Stage 1 Braided kit. I used some shelf brackets I got off of Amazon, and bolted the tank to them and then bolted the tank to the rear floor with the spigot and hose attached. Then I worked on my dual catch can setup. I used some 16 ga. steel and lined out a good size for both of them, and then drilled the holes for mounting them, and painted it in body color and mounted the catch cans up. I will mount it later inn the future, and moved on to pulling the brake pedal, which i mistakenly mounted as the clutch pedal....so while out I moved the hole for the brake cylinder rod up 1 inch for more leverage, since I eliminated the brake booster, and then wire wheeled it up and painted it. Last for the day was the exhaust. I was able to cut a piece that made the bottom pipe a straight and level cut to the floor, then cut the 90 down and did the measuring and cuts so now it can be welded and polished. Oh, I also cut a piece out of scrap pipe, drilled a hole in it and bent it wo where I wanted it and it will be welded on for a hanger to help support the pipe down low. PICS:
-
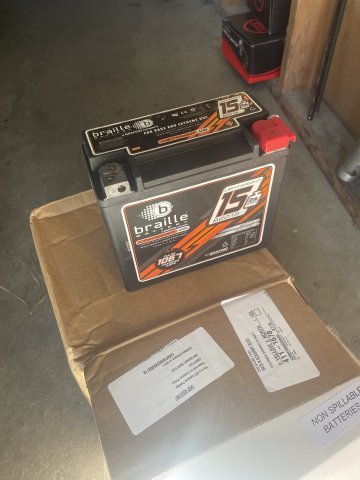
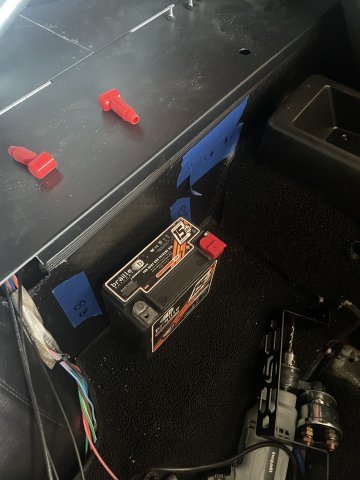
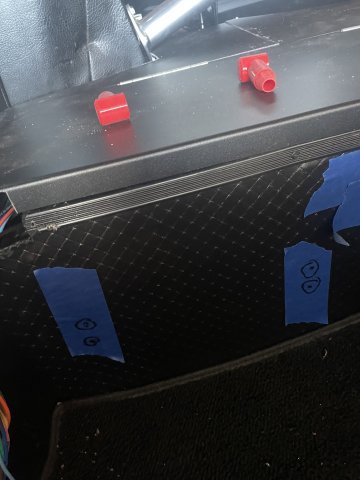
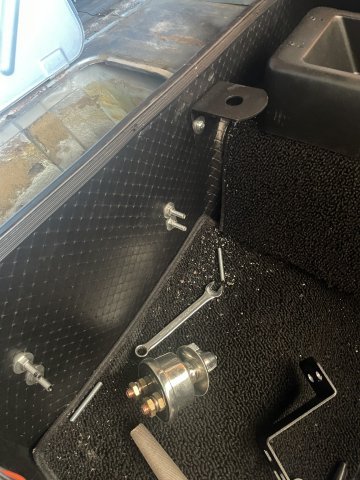
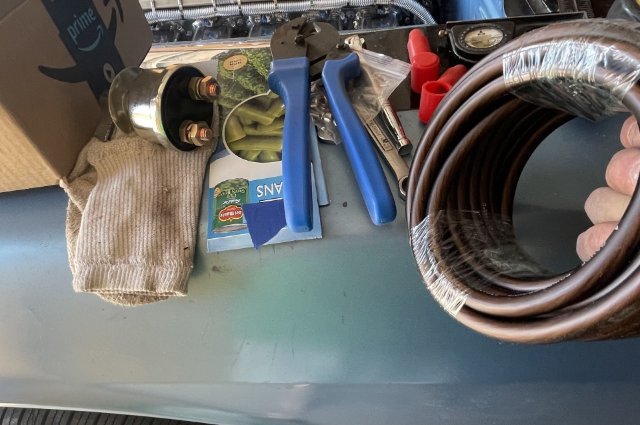
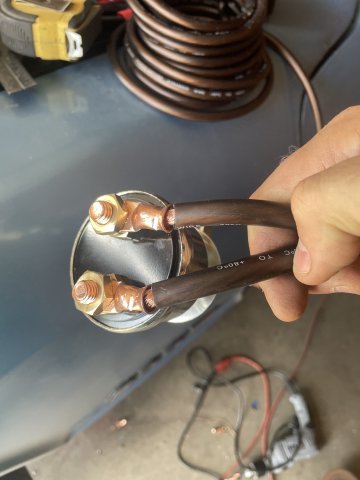
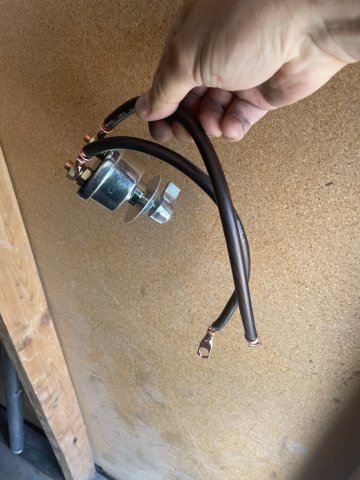
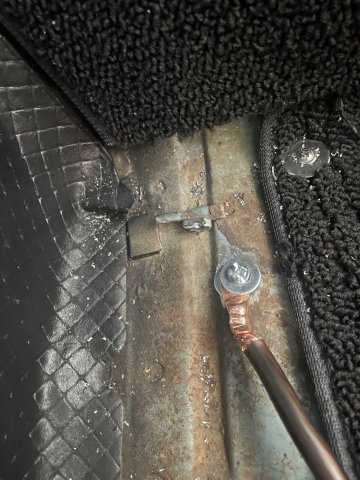
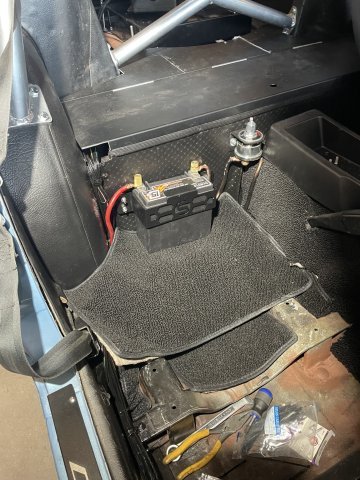
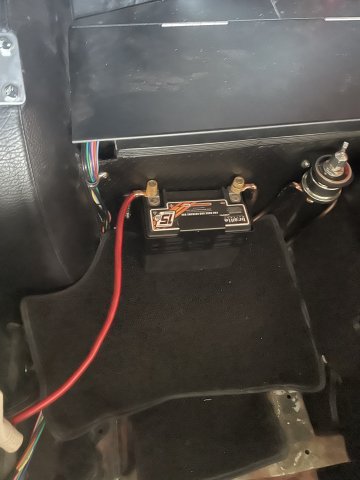
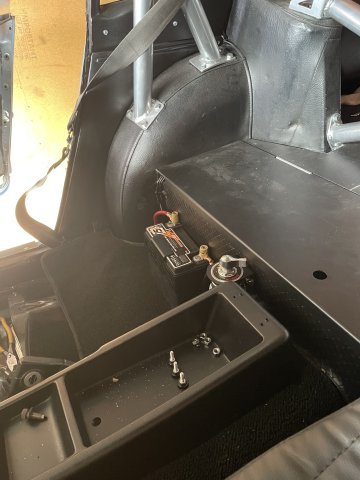
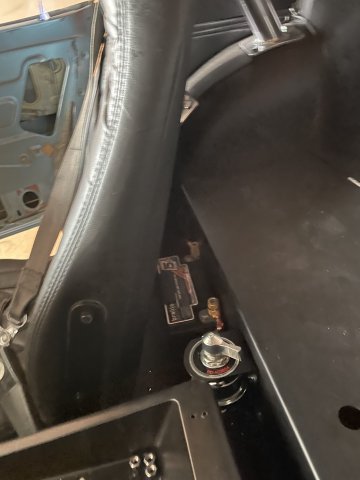
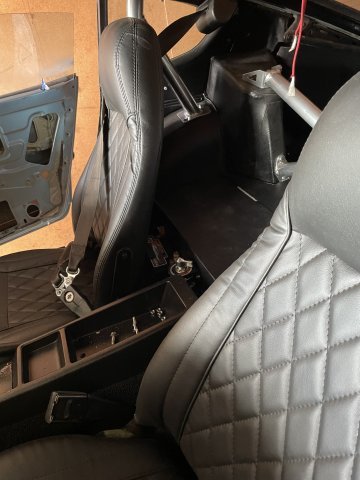
05-13-2026 ATLAS Z UPGRADE: I picked up my intercooler piping from the fab shop and dropped off at J&S Polishing to be all done up except the exhaust.....I have to finish the other half of it. The welds really look nice. My Braille Battery arrived to go with the Skillard battery hold down bracket. I went ahead and mounted the battery and the disconnect switch behind the passenger seat. I took the time to paint the areas in the foot well behind the seat, and painted the sides of the passenger seat and began putting things together for good. Pretty good for just a 3-4 hour break in the garage. PICS:
-
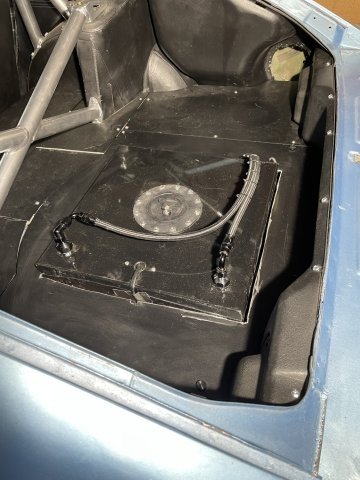
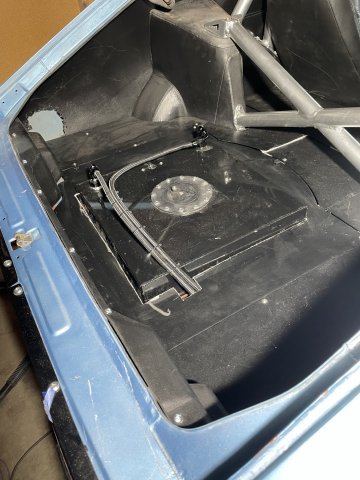
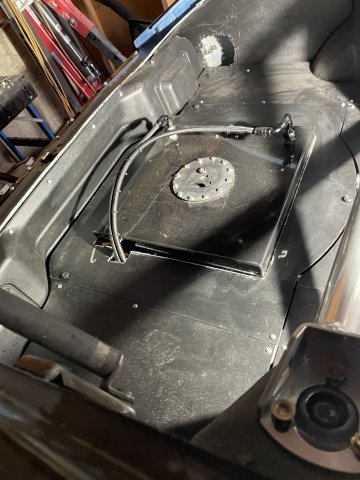
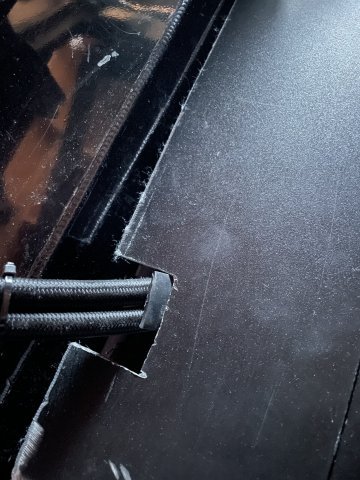
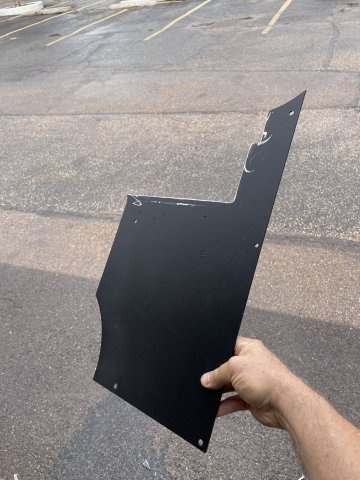
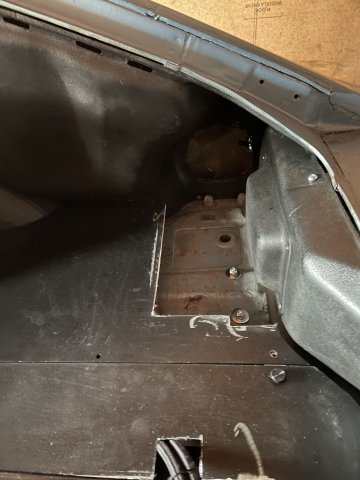
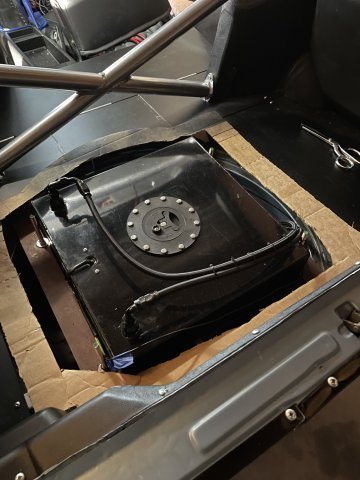
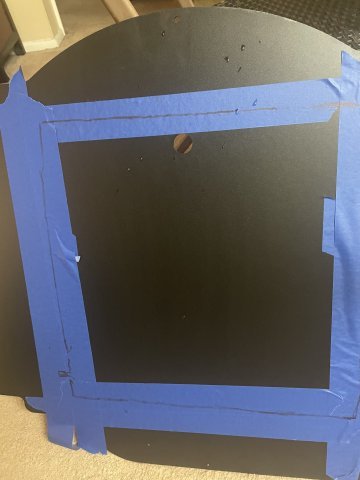
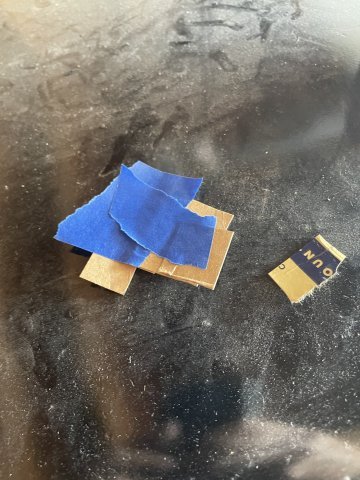
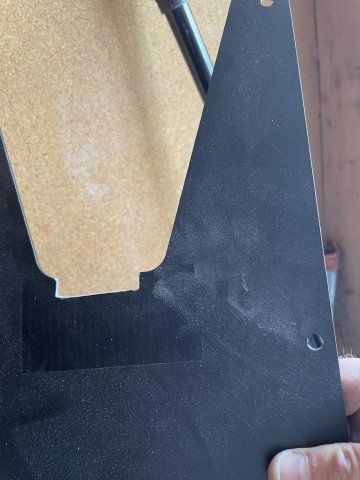
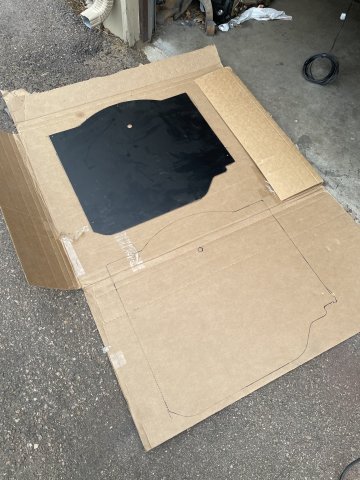
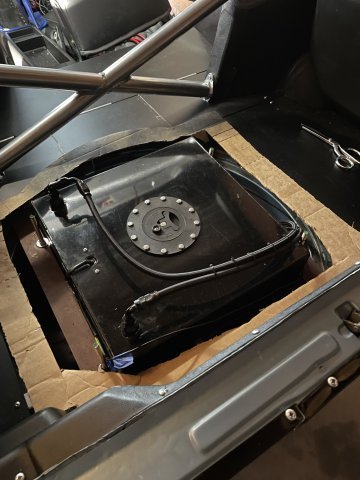
05-11-2026 ATLAS Z UPDATE. So I had a little time tonight before the sun set so I went out and taped the edges of the carboard I cut out in the pattern of the real cover (with the center cut out larger than the hole needed) and then cut cardboard into pieces and pushed it up to the fuel cell and taped them down all the way around. Then, by lifting carefully I was able to remove the whole thing, and....after putting blue tape on the aluminum cover, I used a Sharpie and drew the outline. Now I just have to cut it out and clean file/touch up here and there and it should drop right on!
-
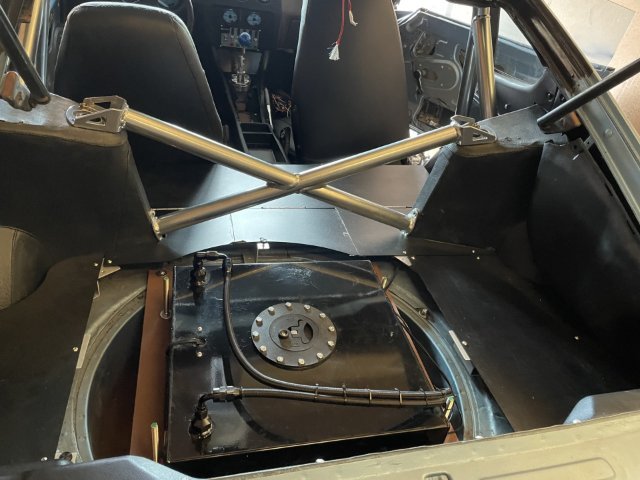
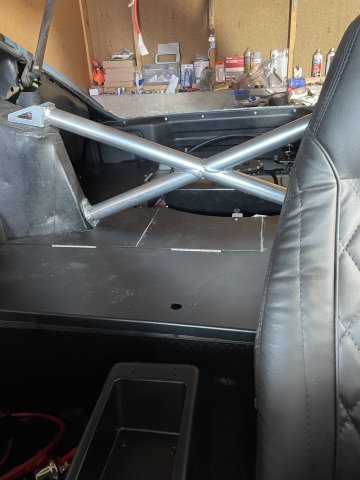
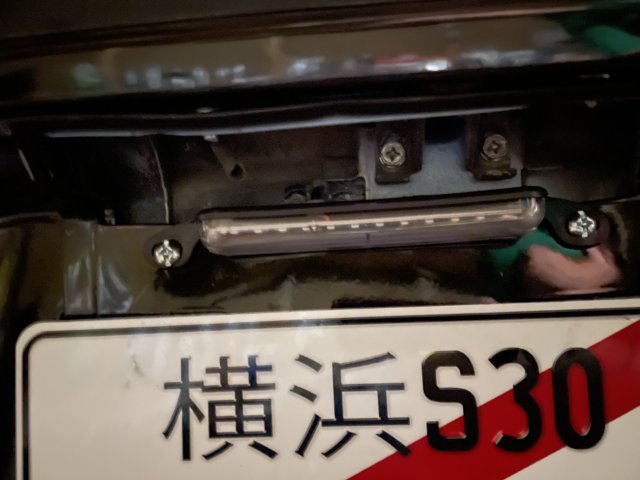
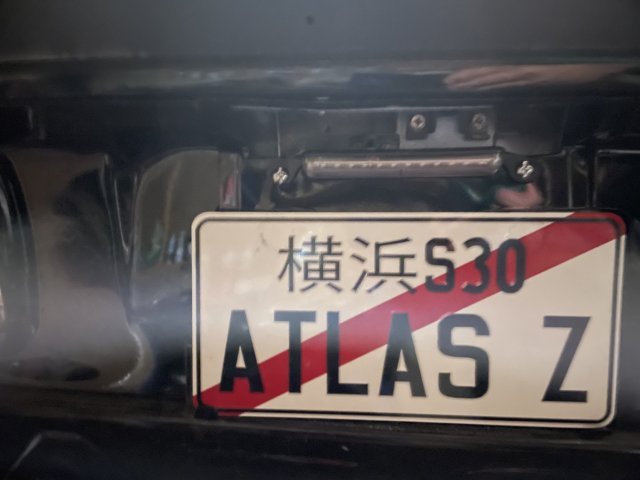
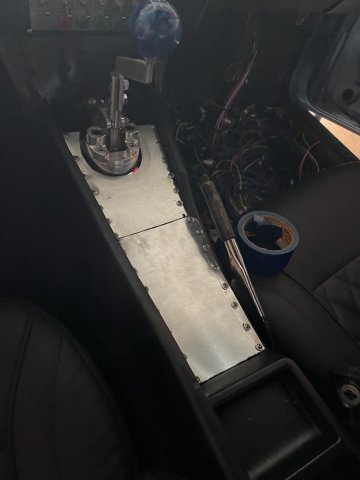
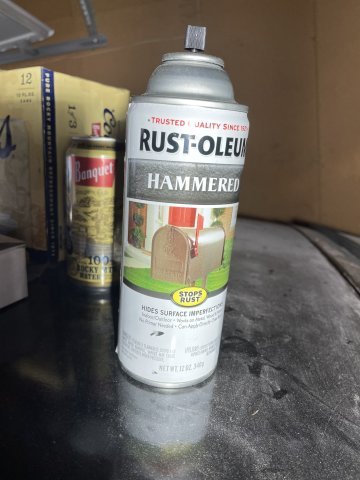
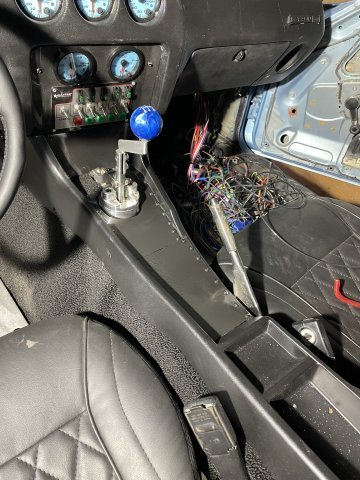
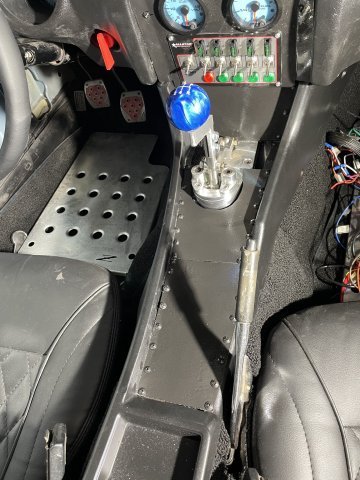
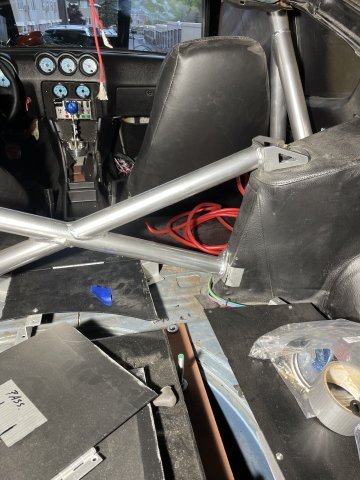
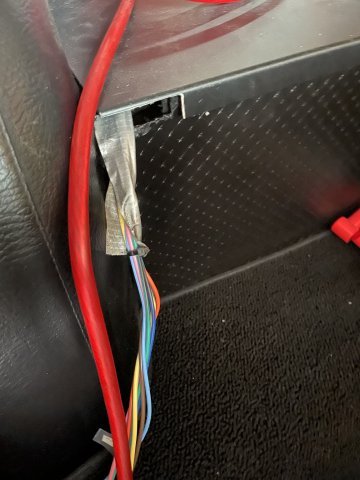
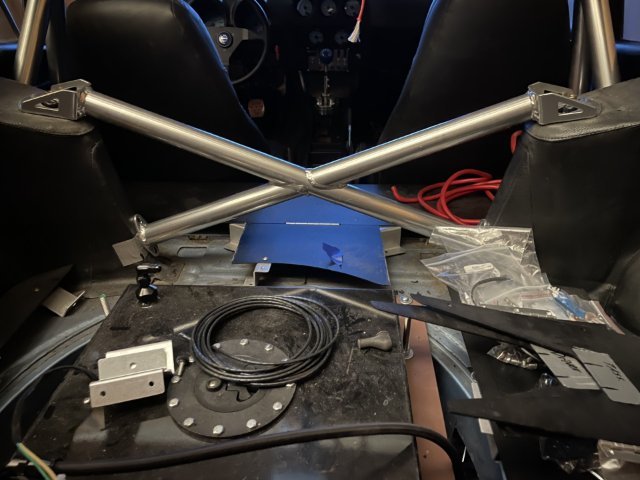
05-09-2026 ATLAS Z UPDATE: I finished installing the Apex Engineered rear strut bar and then went about cutting the floor pieces from my skilard floor and got it to fit all back together. Then I installed my rear license plate light and got everything all wired in at the rear of the car, and finished running the fuel cell breather hose down and cleaned the whole area up. Then I started on the venter of the console. I used some thin gauge aluminum plate....making templates out of cereal box cardboard and then cutting the aluminum to fit. Then I drilled holes and mounted the 2 pieces for today, masked it off and painted it in matching Rustoleum glossy black hammertone....matching the dashboard. I took some cardboard I had left over and made 2 templates of the rear cover plate, and then cut the center out of the first one, so I can begin the process of taping in pieces to get the hole cut out just right, then I can cover the aluminum skillard cover with blue tape and draw out the pattern and cut it out. I am also going to be installing the Snow Performance Stage 1 braided water ethanol 3 quart tank back there, but I haven't decided on the spot I want yet. All teh wiring is now ran up and down to the floor behind the passenger seat. PICS:
-
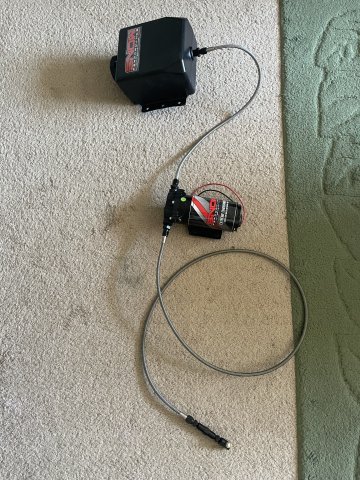
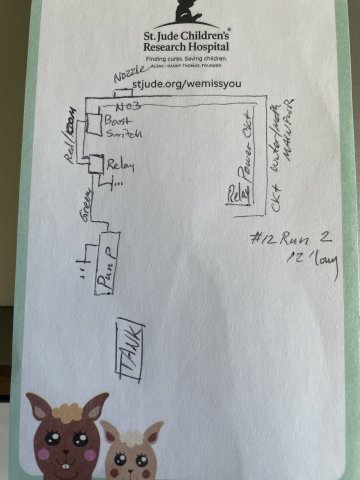
05-08-2026 ATLAS Z UPDATE. My Snow Performance Stage 1 Water-Methanol kit with braided lines arrived and I have started the layout of it.
-
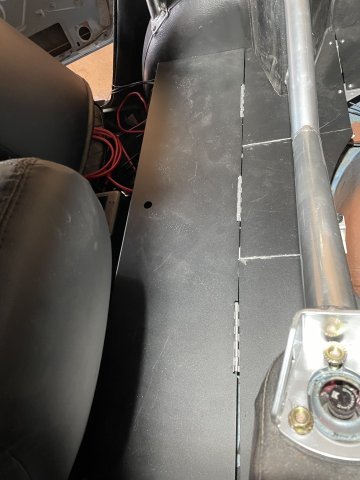
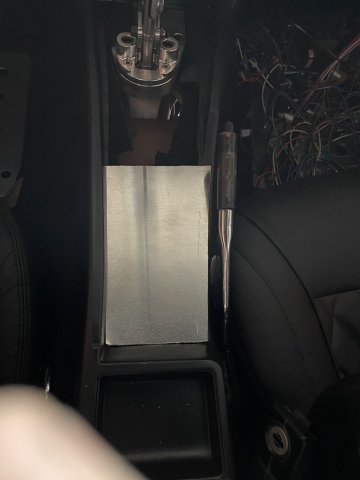
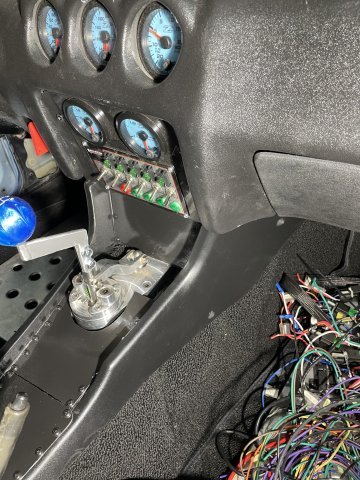
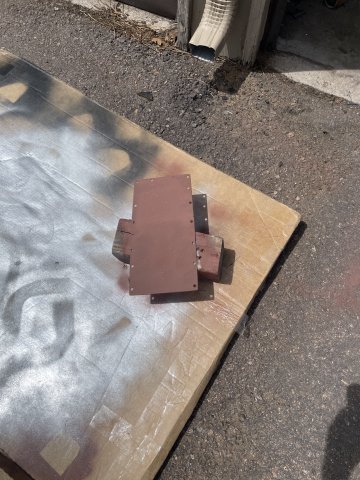
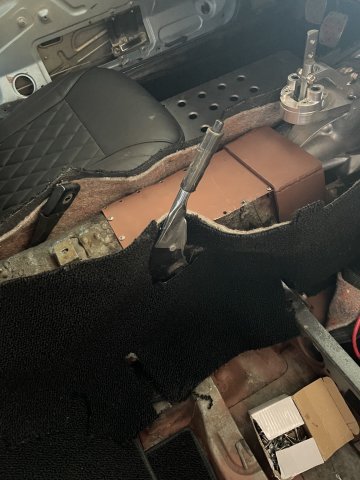
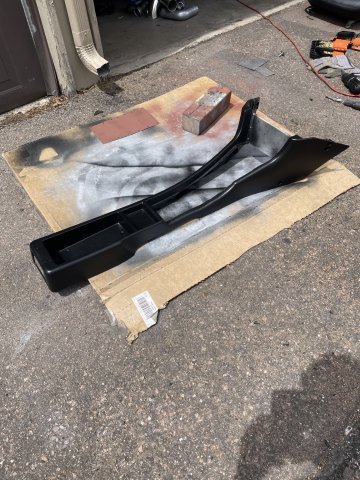
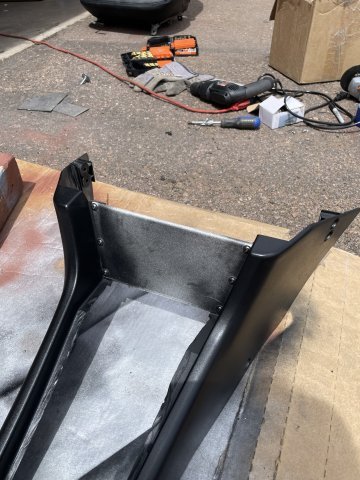
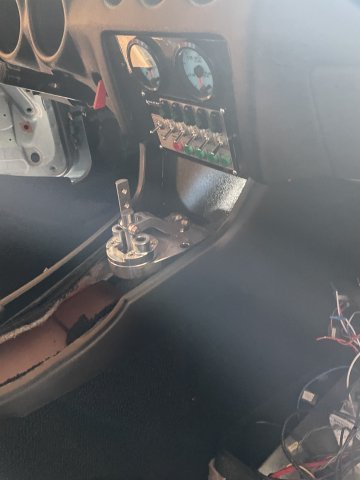
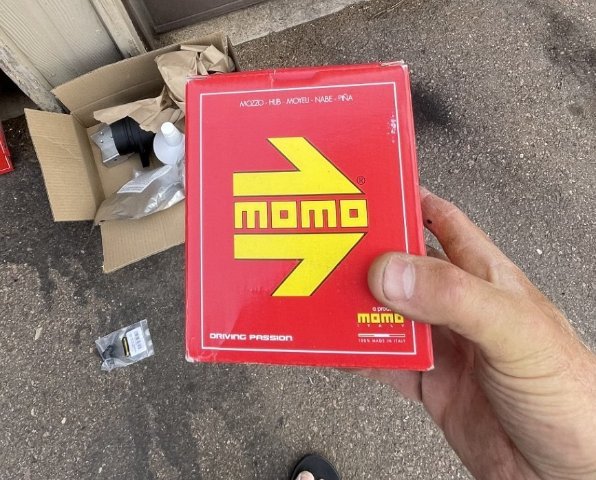
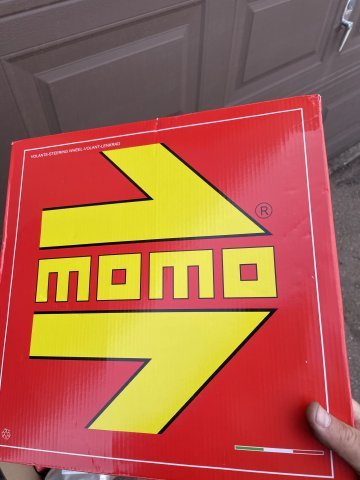
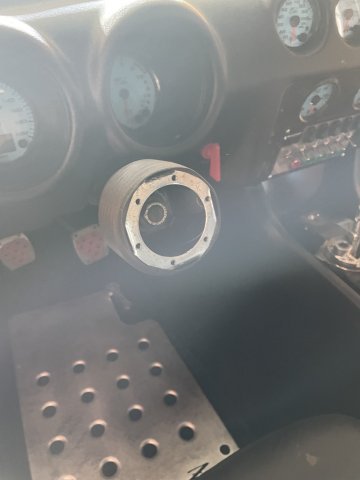
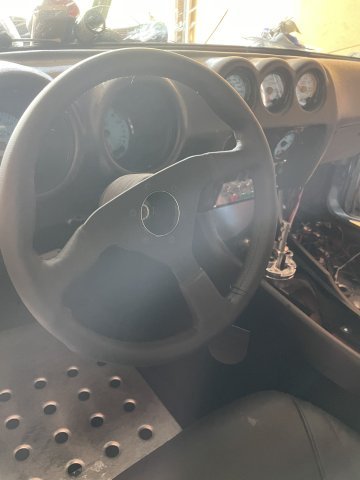
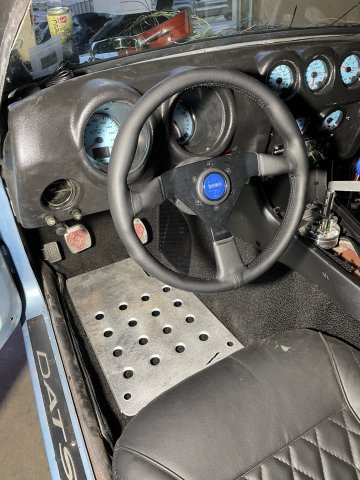
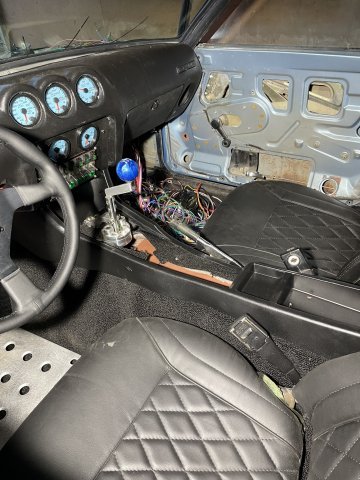
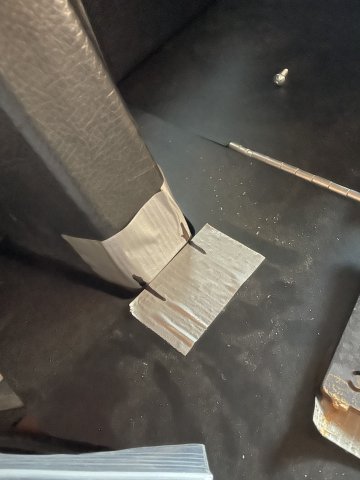
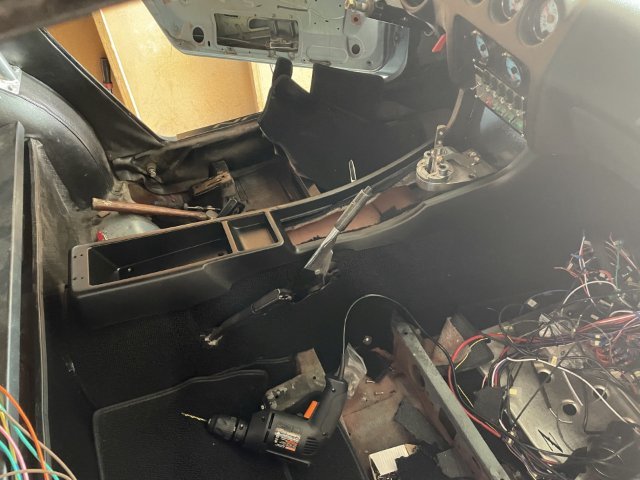
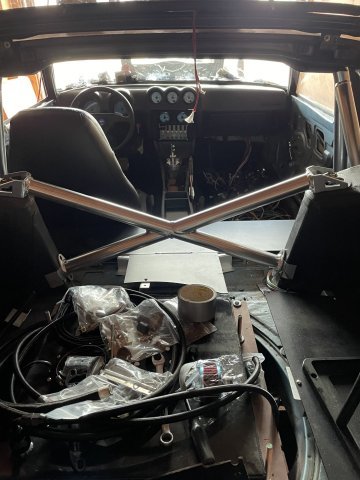
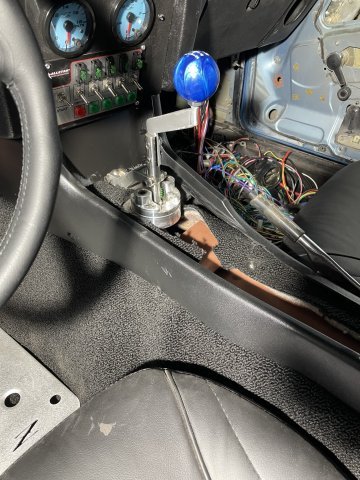
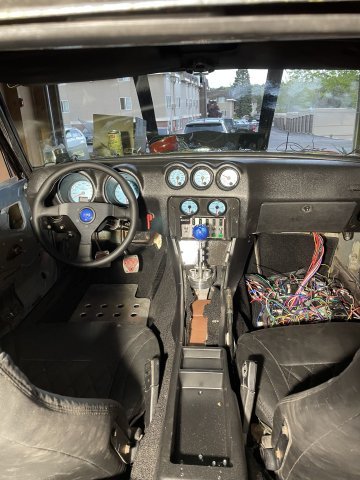
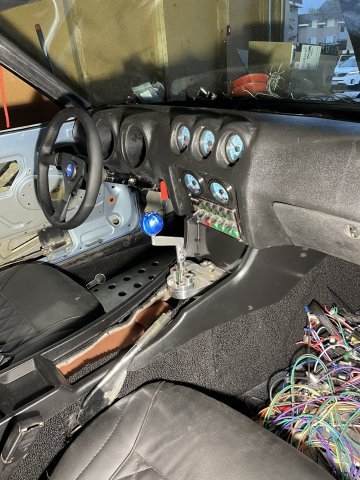
05-03-2026 ATLAS Z UPDATE: I started the day with cutting out of sheet metal a cover to close up the trans tunnel behind the shifter, painting it with rustoleum and installing it with TEK screws. After that I jumped on the center console. I cleaned it up and painted it with SEM Landau Black interior paint and then cut and modified a Skilalrd radio delete plate and drilled holes and mounted it to the console. I painted it in matching glossy black hammertone to match the rest of the dash work in the past and got it on. I then went about screwing with TEK screws and washers some of the carpet down and then screwing the conodal down in the back. I then worked on trimming the carpet kit I got from the company in New Jersey (the name escapes me) . I drilled out and cut the plate for my shifter lever and painted it silver and installed it. It was cool the way I did it, as I was able to hold it where I wanted it to be, mark it then go to work. I then pulled the rear deck panel and marked and cut it for the strut tower brace from Apex International, and also cut the relief section for the wiring to get through. I then cut the section out of the car, and painted it up. I also painted the upholstered areas with the SEM Landau paint, and it came out looking brand new! I ordered the Braille Battery 2105 and battery box kit powder coated black from Skillard and I am awaiting arrival. I will be mounting in behind the passenger seat along with the battery switch later on. I mounted my Momo Steering wheel and that went very easy, I like it. I have a blue horn button and a black one. I decided to try the blue first. I like it as it ties in the blue paint outside and the gauges and the shift knob I got from Speed Dawg Shift Knobs.. I went with the Blue Swirl. I like it. What do you think? Should I use the black horn button? Then I removed the Skillard rear floor, and mounted up the Apex Strut tower bar, and cut the sides of the Skillard floor so that I can cut them to form fit and re-install. I got with Skillard and ordered the extra brackets, and they have always been awesome to deal with. Then the most important part....standing back with a few Coors Banquet beers and taking it all in, and letting my brain brainstorm. Coors Banquet are the very best beers a guy can drink. Things are going pretty well, I think. Cheers!~PICS.
-
the way the bottom pipe comes down it is on a bit of a cant. I will install once welded and then slide a slightly larger pipe over it and hold it level and then mark the inner pipe with a sharpie. then when I cut it, it will be a level cut to continue on with the exhaust!
-
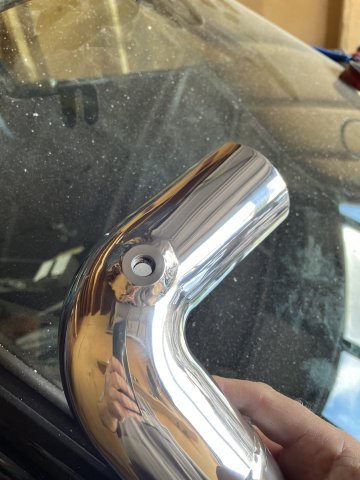
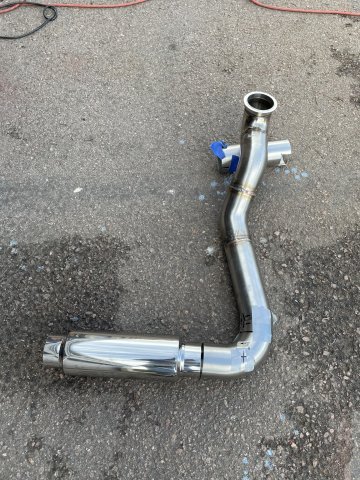
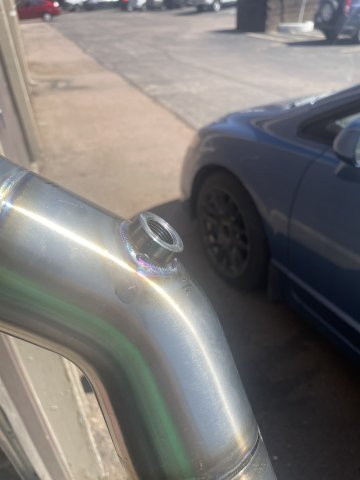
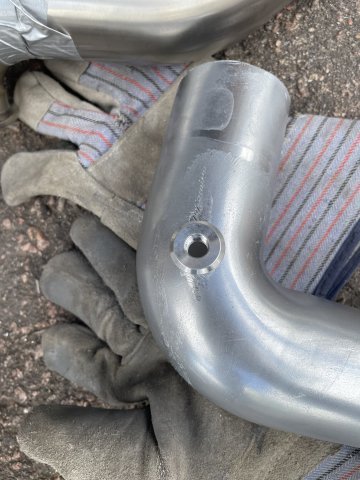
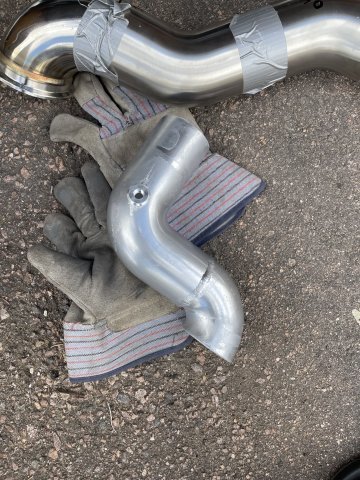
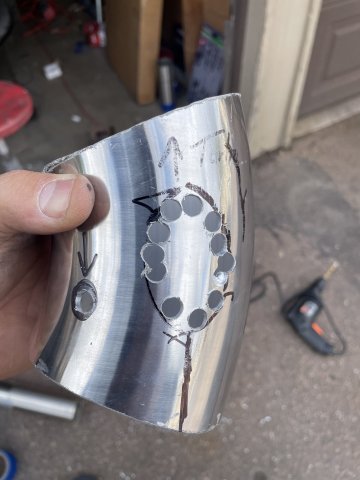
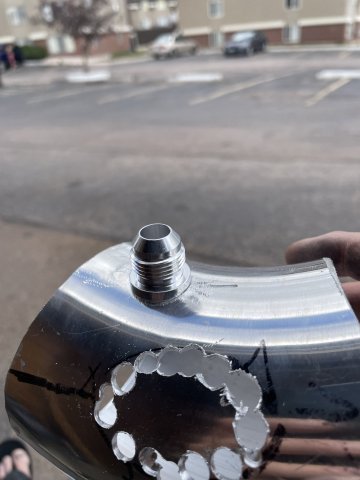
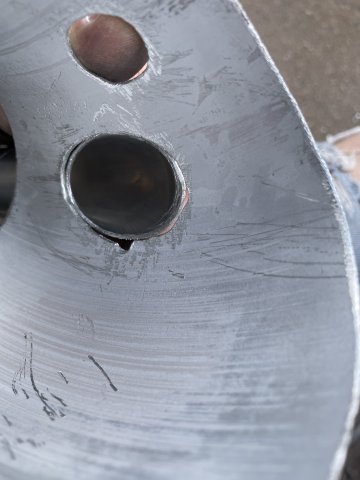
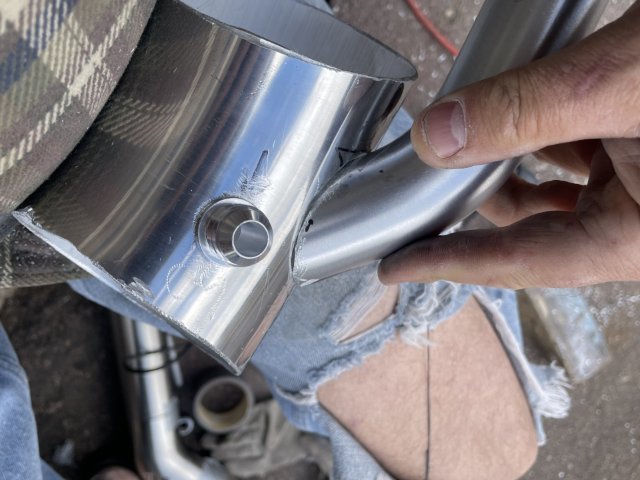
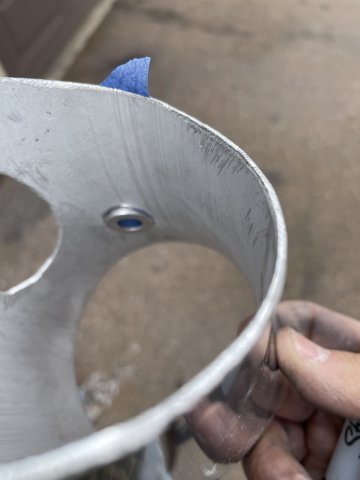
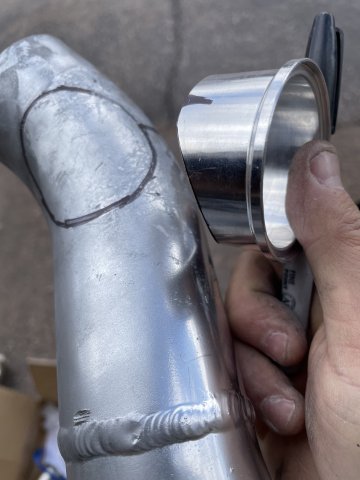
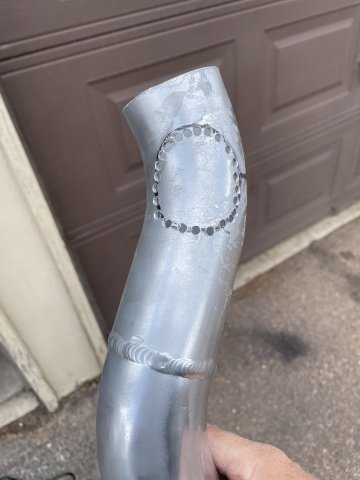
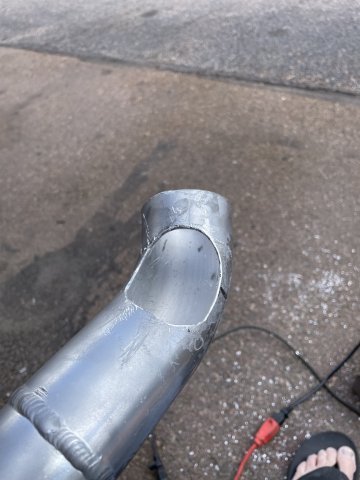
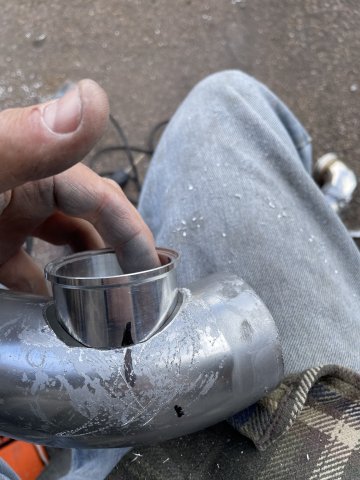
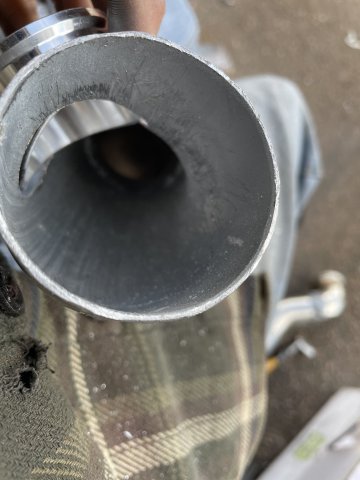
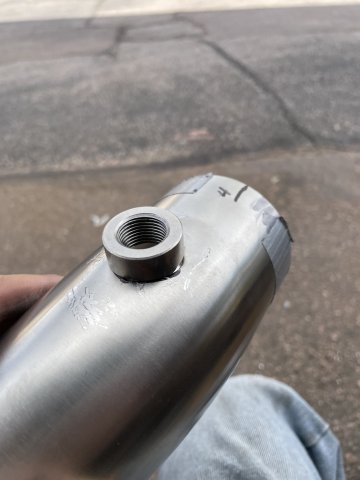
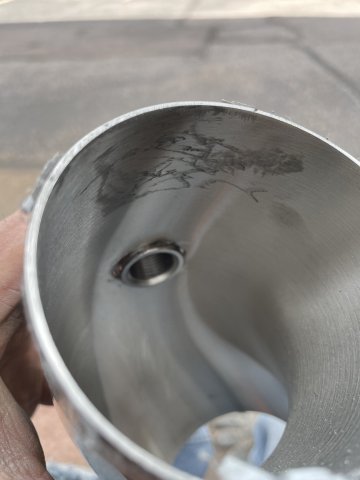
05-01-2026 ATLAS Z UPDATE. Happy May Day! Today I spent some time modifying the intercooler piping to add my new TurboSmart Blow off Valve (BOV). In doing that, I also removed all the piping and added a port on the intake side for a water/methanol jet, and got the intake pipe set up with a 8AN port on the bottom for the PCV setup I am making with twin catch cans, and the 1.5" angled return recirc pipe from the blow off valve I mentioned before. I used a 45 bend and then cut it on an angle and kept adjusting the angle until it was just what I needed. I also got most of my exhaust ready for welding, the bottom portion I am going to do after the top is done.....I need to be able to make the bottom fit just the way I want. All of the intercooler piping will be polished and the entire exhaust will also be polished. 3 inch, mandrel bent stainless with the Evil Energy polished muffler. PICS: