A to Z
-
Posts
1077 -
Joined
-
Last visited
-
Days Won
34
Content Type
Profiles
Forums
Blogs
Events
Gallery
Downloads
Store
Everything posted by A to Z
-

Help me evaluate this car for sale
A to Z replied to z_noob's topic in S30 Series - 240z, 260z, 280z
Buy the nicest one you can afford. Trust me. -
My Z car log....small jobs done and fun things
A to Z replied to A to Z's topic in S30 Series - 240z, 260z, 280z
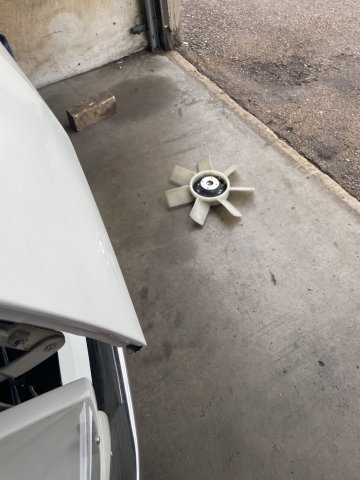
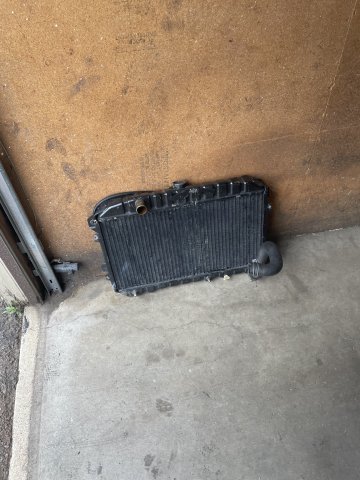
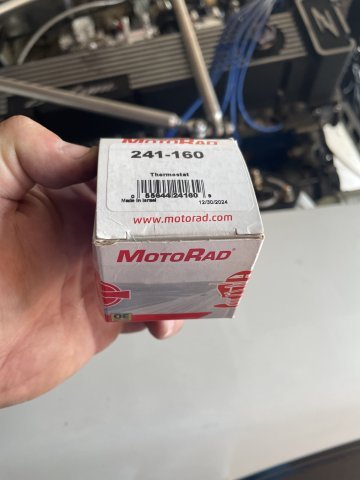
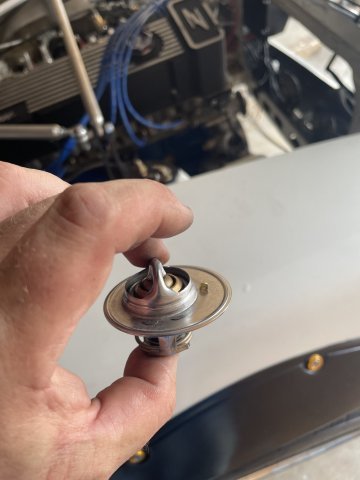
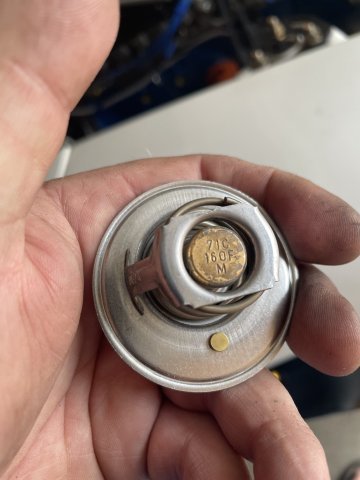
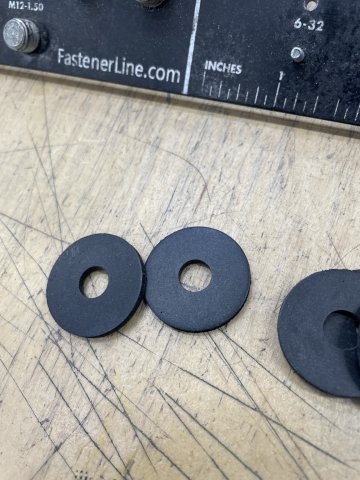
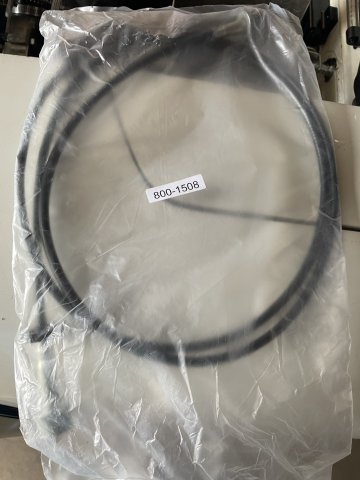
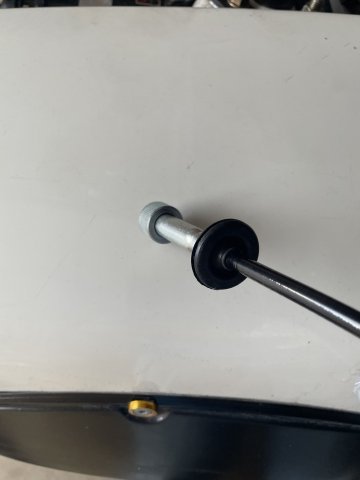
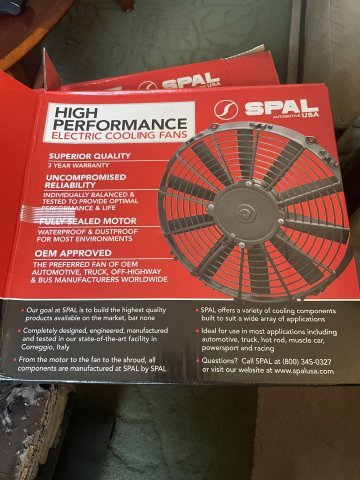
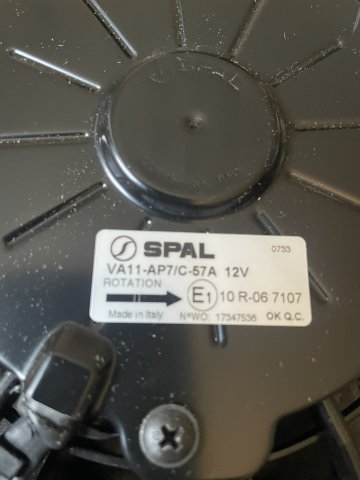
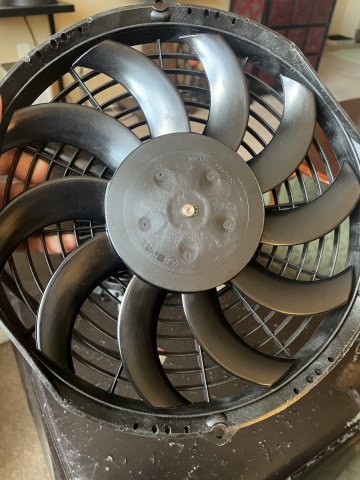
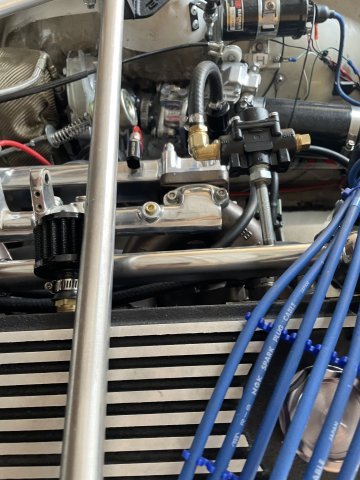
07-19-2025. Well today was a day to get the car ready for it's updated radiator and fans, and do some other small work. I took both SPAL fans and tested them to ensure they work and that they spun in the right direction. Then I began the process of pulling the radiator out. I found that I needed some different bolts for the water pump pulley, and so while there I went ahead and got all new hardware for the radiator when it gets here. I bought some thick rubber washers to isolate the aluminum radiator fromt he car, to keep corrosion of the radiator at bay. After that I swapped out my radiator thermostat from the factory 180 temp to a 160 temp and then installed a new Speedo cable. I spent a little more and got one from the Z car Depot, partly because it comes with a new firewall grommet. Ready for more new parts to arrive! PICS:
-
My Z car log....small jobs done and fun things
A to Z replied to A to Z's topic in S30 Series - 240z, 260z, 280z
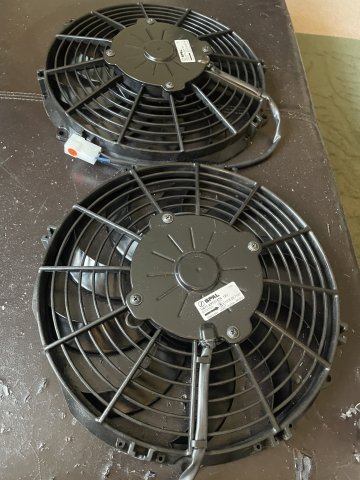
My SPAL fans arrived today:
-
My Z car log....small jobs done and fun things
A to Z replied to A to Z's topic in S30 Series - 240z, 260z, 280z
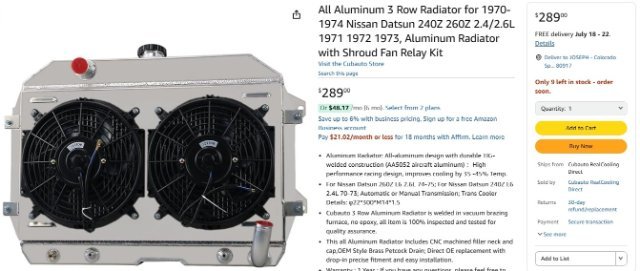
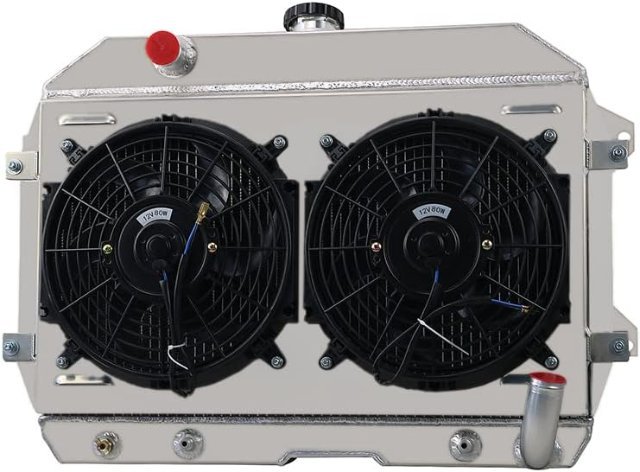
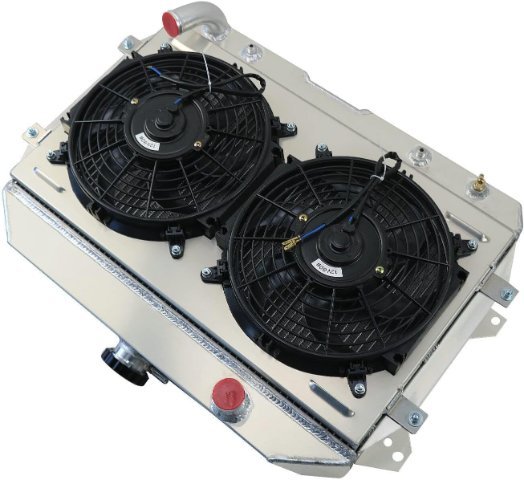
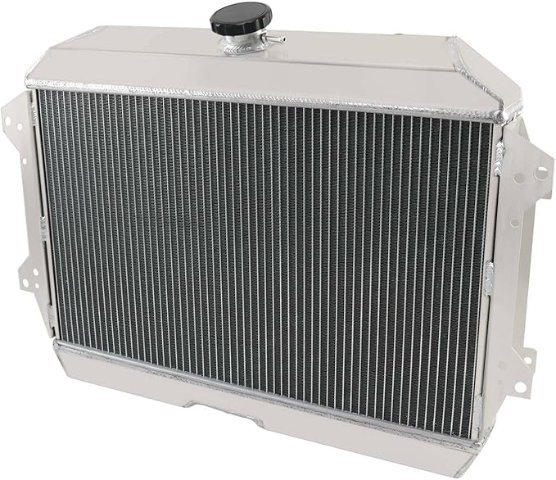
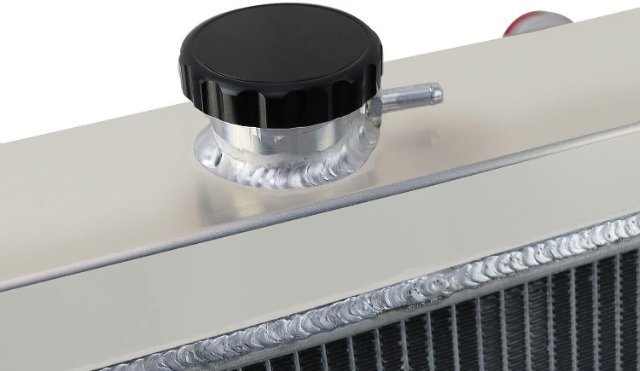
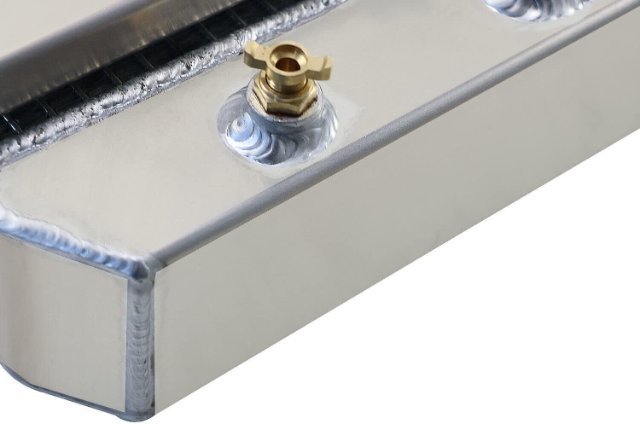
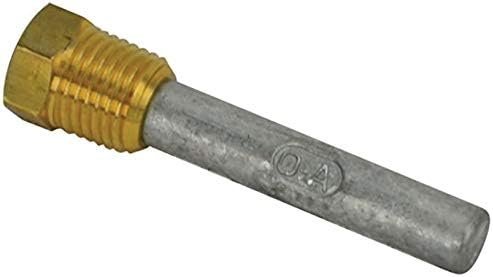
So, the heat issue has caused me to go ahead and order a 3 row aluminum radiator with dual electric fans. I decided to get one I found on Amazon, made by CB Auto - which is in CHINA. So, half price of others and looks to be okay. I also went ahead and got an anode made of zinc that screws into the drain petcock. This is what allows the minerals to attack it instead of the aluminum in the radiator. I also will be switching my thermostat to a 160 degree one I ordered. Since I have had good luck with the chinese parts I have used, we will do this. factory video, click here: https://www.amazon.com/vdp/048db201f503475ea5ee22731531c6e1?product=B0BQGTGGL4&ref=cm_sw_em_r_ib_dt_8D3hq5NBWLJy6
-
Reach out to Eichi at Datsun Spirit. He is on your side of the country. click: Home | Datsun Spirit, Inc. - Datsun Parts, Engines, Restorations.
-
My Z car log....small jobs done and fun things
A to Z replied to A to Z's topic in S30 Series - 240z, 260z, 280z
another video just listening to it. click below: V2.MOV -
My Z car log....small jobs done and fun things
A to Z replied to A to Z's topic in S30 Series - 240z, 260z, 280z
click below for quick video: V1.MOV -
My Z car log....small jobs done and fun things
A to Z replied to A to Z's topic in S30 Series - 240z, 260z, 280z
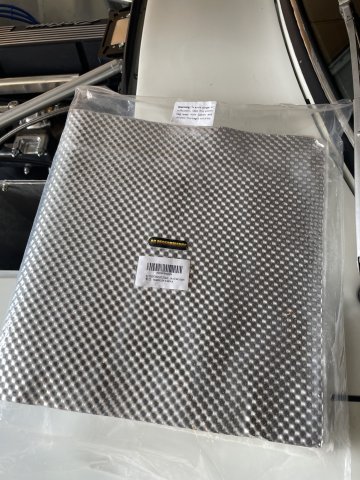
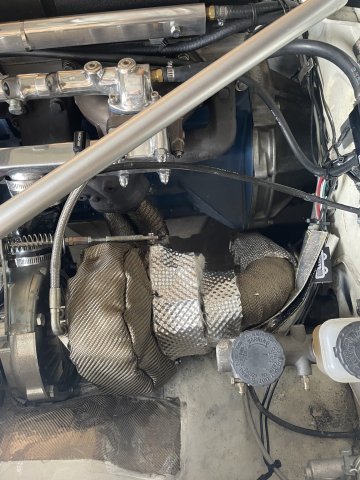
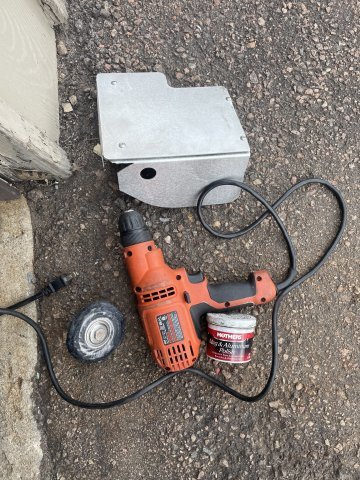
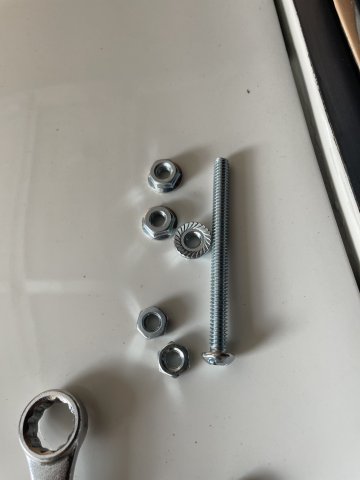
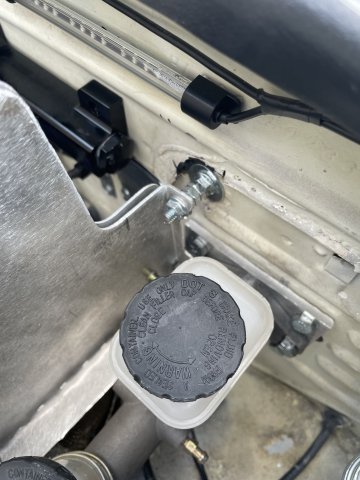
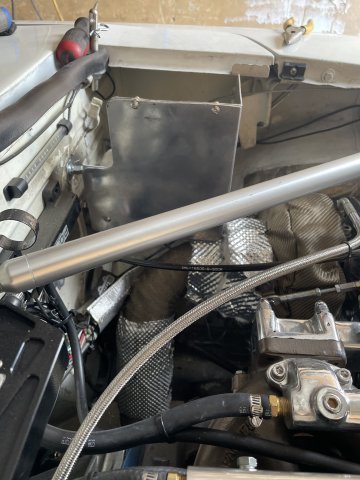
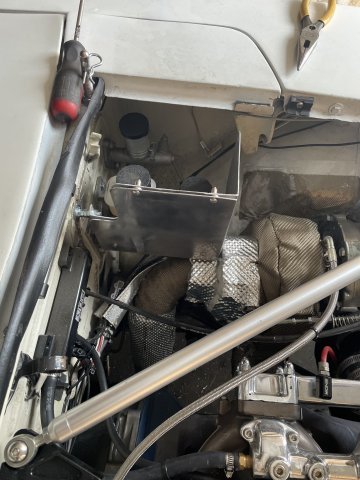
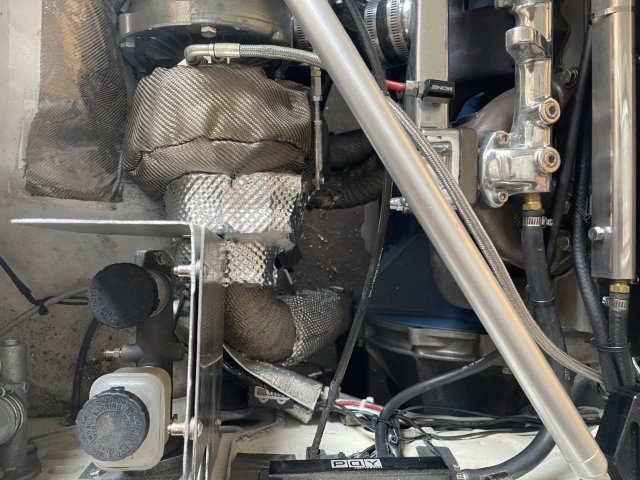
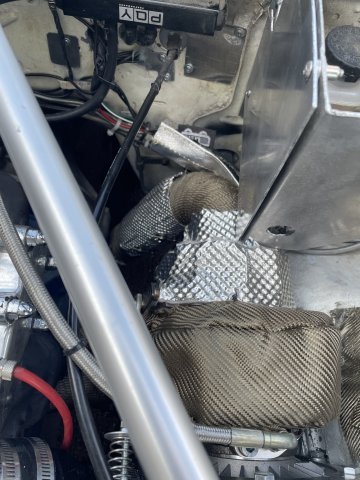
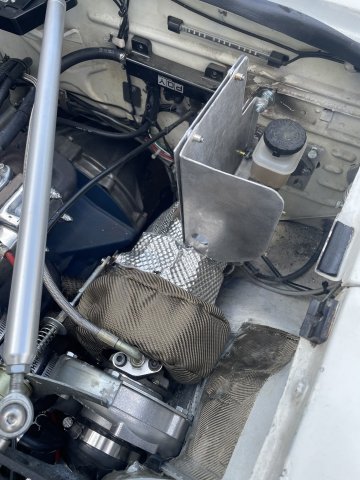
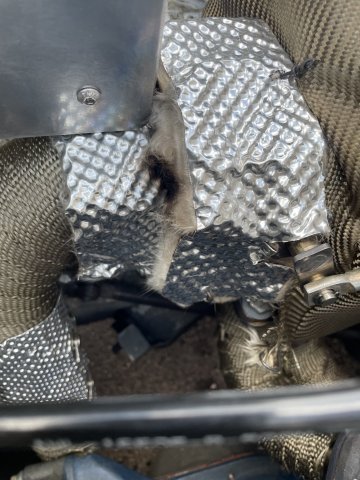
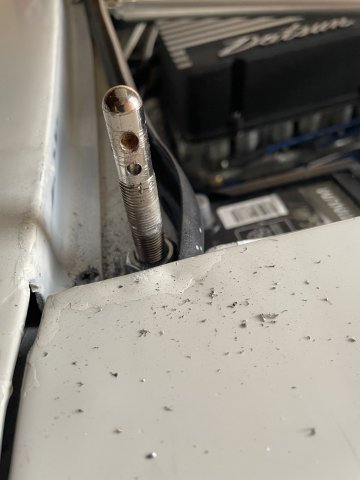
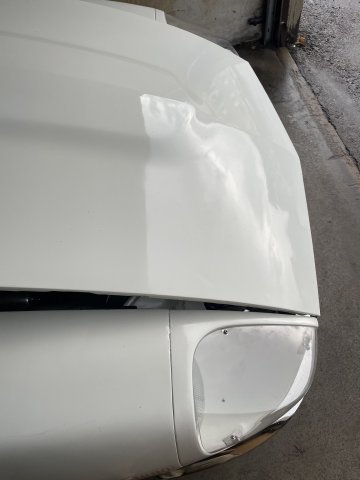
07-13-2025. HEAT. That was the issue I ended with the other day, so some insulation for the turbo I ordered on Amazon came in and I went ahead and installed some over the hot side (turbine) and end piece where the wastegate is. In doing that I removed the brake master cylinder heat shield and hit it with my buffing attachment in my electric drill with some Mothers mag wheel polish......not very good end product, but better than nothing. I also got rid of the screw holding it in place on the top bracket by drilling a hole and using a bolt with nuts and a washer to get it right. I took a bunch of pics, then took it for a ride. My work didn't solve the heat! Someone mentioned going from my stock 180 degree thermostat to a 160 degree one, so I found one on amazon for under 10 bucks and ordered it, and I am waiting for a new speedo cable as well, as my 53 year old original broke. When I got back from a drive I checked the temps of things under the hood, and the area I insulated was half as hot as the other day, but the engine still is running so hot. The tune is rich which makes engines run cooler and the hood is always open a hair now to cool it as well. the last pic is a spot where the insulation actually burned a dark spot! How would that happen? It's rated for 1100 degree continuous heat. Did they lie?? I just don't know what to think. Any ideas?
-
My Z car log....small jobs done and fun things
A to Z replied to A to Z's topic in S30 Series - 240z, 260z, 280z
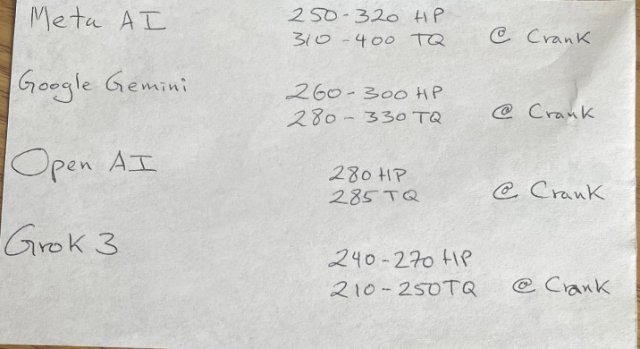
Comprative estimates from other AI platforms
-
My Z car log....small jobs done and fun things
A to Z replied to A to Z's topic in S30 Series - 240z, 260z, 280z
3000 RPM is when I can give it the gas. Prior to that have to slowly ease into the power, so the carb can keep up. add gas easy and steady, let off easy and steady. Motorcycle carb with about a 1.5" gas pedal range. It definitely feels like a 2 stroke power band! engine has a longer stroke, so the mid range is very strong, and at 3000 even half throttle you are REALLY moving....and it REALLY snarls if you floor it. -
My Z car log....small jobs done and fun things
A to Z replied to A to Z's topic in S30 Series - 240z, 260z, 280z
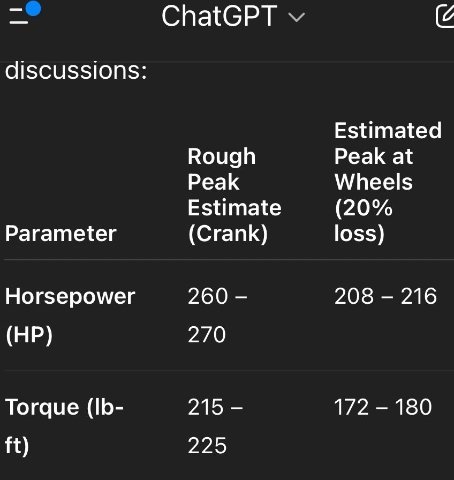
ChatGPT. For those of you who haven't used it, it is Artificial Intelligence.."A.I.". I entered all the information on my engine everything. It has given me an estimate of the power my Z car engine should make at 6 psi.....which is what I saw yesterday on the gauge when I let off. I really don't want to add more boost , as I already have 11.54 to 1 compression, 20 degrees timing at idle with vac disconnected and plugged....and run her on 91 octane pump gas. I got it running well on this setup, and YES my knock sensor...I have seen it "intervene" twice. (pulls timing up to 10 degrees based on the severity of the knock it picks up) also keep in mind, that even though I have large diameter wheels which throws the rear gears off, I have 4:11 gears before them so it puts the power that IS there down nicely. Power wise, It could be less, but kind of a fun thing to see what the computers "educated guess" is: numbers seem low, but it's a light car and geared down, so "seat of the pants" says it runs pretty hard!
-
what a beautiful little puppy!
-
Leo, what are you doing?
-
My Z car log....small jobs done and fun things
A to Z replied to A to Z's topic in S30 Series - 240z, 260z, 280z
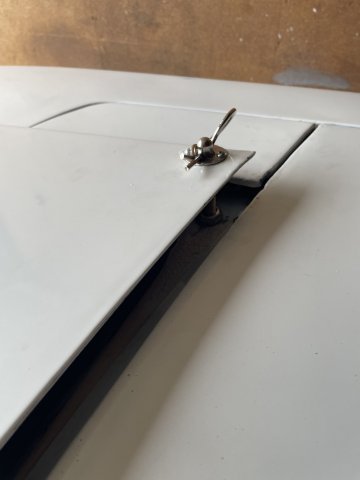
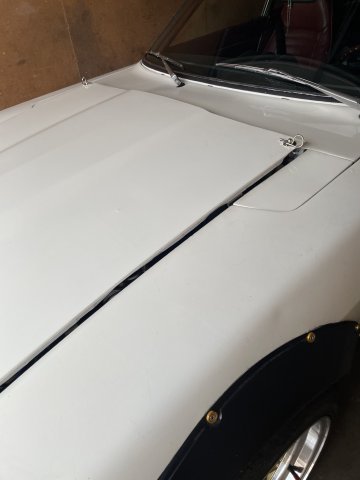
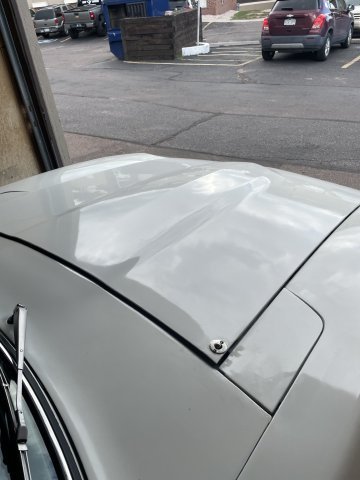
7-10-2025. Well, Summer is in full swing, and that has helped cause a heat issue for my Z car. I had to solve a few issues that showed up yesterday......when under those high temps, my main jet, which comes into play at 3/4 throttle to floored wasn't pushing enough fuel. So I took another jet I had and drilled it out, and it came out a bit larger than my largest jet ,a 240 Main Jet. It also just so happens no one makes a jet larger than a 240, so I drilled it out, similar what I earlier had to do in modding my needle for that mid range throttle use. In the pics below, the one on the right is my new main jet, larger than the largest one made. I also raised my hood pins about an inch, and drilled a second hole where I have clips that the hood rests on, and the normal hood pin clips on top, now I have an inch of venting for the engine. Below are several pics to show how it looks. Lastly my temp gauge. This is driving around with the hood up today. When I got home I ordered some more insulation to put around the internal wastegate area on the hot side of my turbo.....last night she registered a temp of 700 degrees +, so that is what I think caused all the issues. in a couple of days, it will arrive and God willing I can get this wrapped back up and get the car to acting right again. When it gets that hot, the mixture for the carb is all out of wack.
-
My Z car log....small jobs done and fun things
A to Z replied to A to Z's topic in S30 Series - 240z, 260z, 280z
quick vid of my Z on the street. not a very good video, but the best I can do Video below. Click to watch: a.MOV -
Twin cam head for the L6 from Derek at Datsunworks
A to Z replied to Derek's topic in Nissan L6 Forum
OK, just wondered if anyone had done it. -
Twin cam head for the L6 from Derek at Datsunworks
A to Z replied to Derek's topic in Nissan L6 Forum
has anyone played with turbocharging this head setup? -
My Z car log....small jobs done and fun things
A to Z replied to A to Z's topic in S30 Series - 240z, 260z, 280z
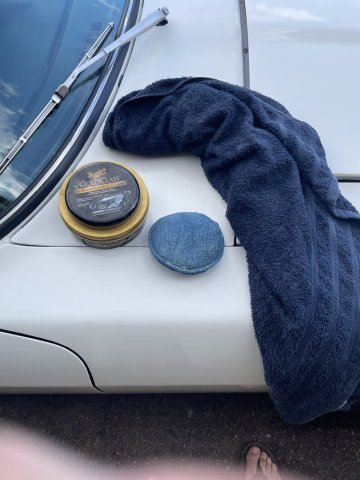
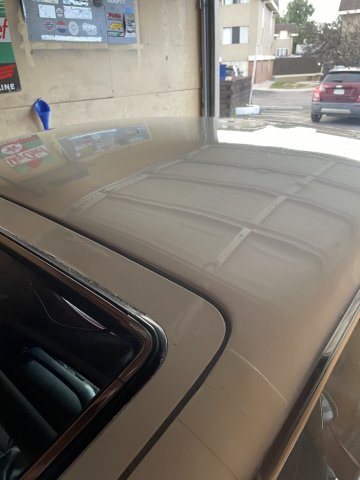
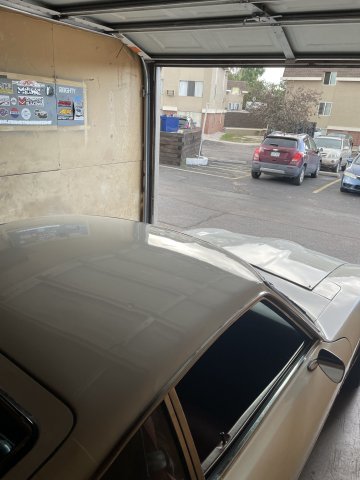
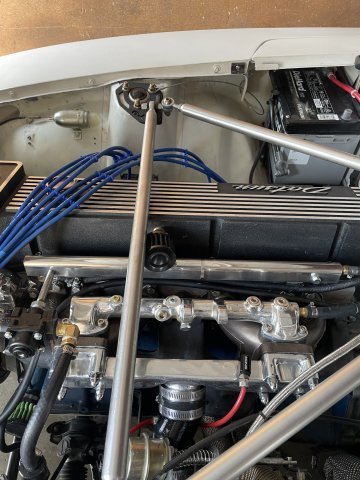
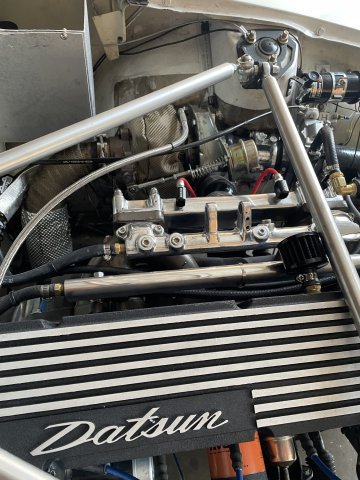
07-06-2025 polish day. Did some waxing. wipe down with a wet towel to get the dust off, and then a coat of pure caranauba wax from Mcquires (the Gold Class Caranauba Plus paste wax). My pallnet fuel rail has always been raw aluminum, but with some mothers mag wheel polish, a rag and elbow grease it turned out pretty good! I took a couple pics where you can see without and with polishing
-
My Z car log....small jobs done and fun things
A to Z replied to A to Z's topic in S30 Series - 240z, 260z, 280z
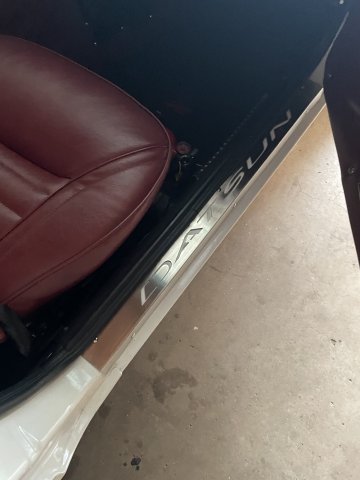
odds and ends pics from today:
-
My Z car log....small jobs done and fun things
A to Z replied to A to Z's topic in S30 Series - 240z, 260z, 280z
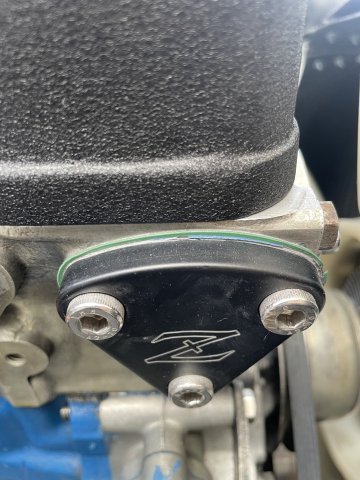
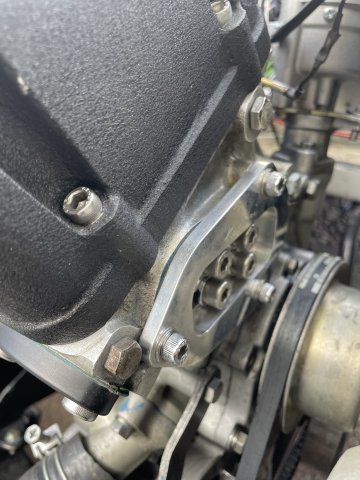
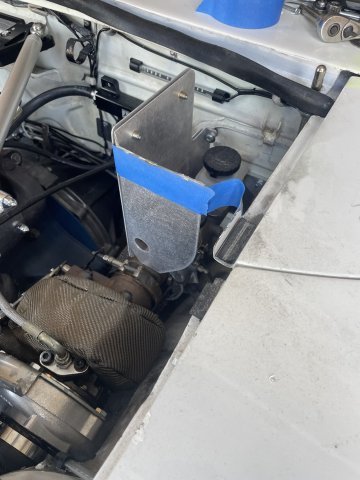
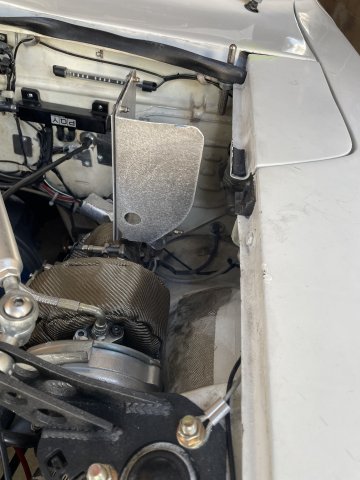
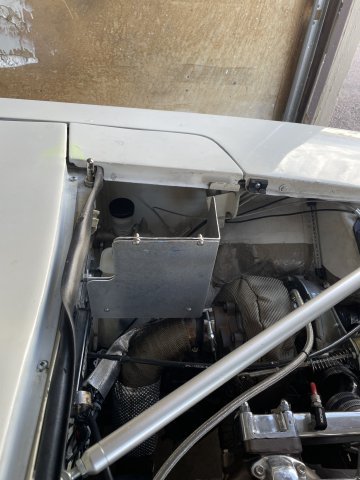
07-05-2025. Installed my Skillard brake master cylinder heat shield. I had to modify it quite extensively for my use.
-
Cool Z car. And you have had it for so long....a lot of memories. I hope you are able to eventually get her back on the road.
-
agreed, touching the header is a bad deal. If the header were at least wrapped and you put a loose fitting aluminum sheath over the hose that might save the hose. That drain hose in the pic looks VERY small. What happens if oil backs up is it will force oil into the turbo and you will get smoke as the pressurized oil is pushed past the seals, and if you have a catalytic converter, it could plug the converter and start a fire. It can also damage the turbo, as it is trying to spin with the friction of the oil hampering it. You can do a google search on all of this, but it can't be stated how important that drain hose is. I am getting by with a 5/8 drain hose and fittings. like I mentioned 3/4 is better. Ideal is no restriction at all .......the oil hits the drain and is gone.
-
yes, IF.....IF the diameter of the hose is large. 5/8 is acceptable, 3/4 is even better. The idea is to ensure that the oil can drain fast enough to not "back up".
-
My Z car log....small jobs done and fun things
A to Z replied to A to Z's topic in S30 Series - 240z, 260z, 280z
no exhaust, straight off the down pipe, now back on full exhaust. crappy video, but you can hear a bit of it. click this below: V3.MOV -
My Z car log....small jobs done and fun things
A to Z replied to A to Z's topic in S30 Series - 240z, 260z, 280z
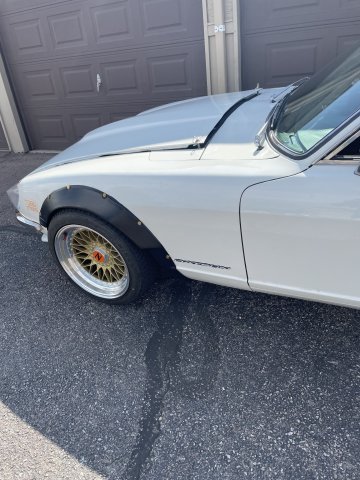
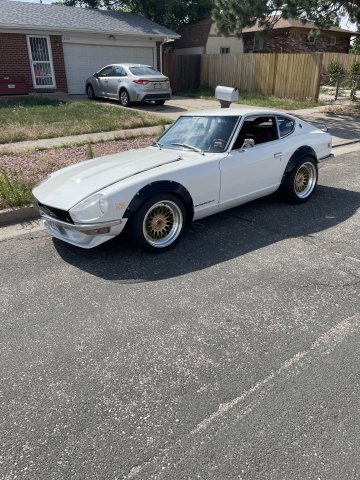
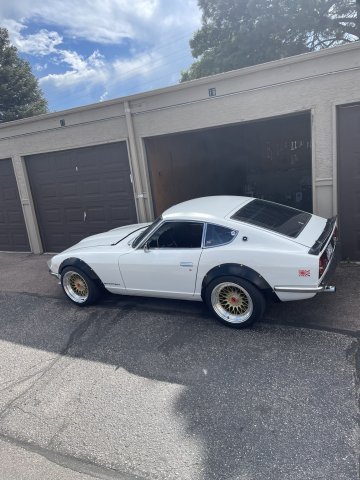
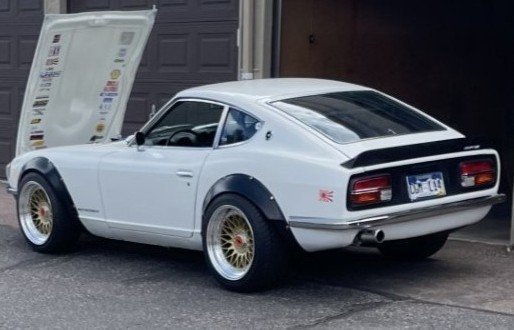
07-02-2025. Well my Z car is finally done......again. it was finished a year ago. But then I decided to turbocharge the engine and that involved redoing the braking. it's done. lightly turbocharged. It now has the one thing I felt it was missing. took 8 months and enormous amounts of patience and going back and forth jetting, etc. Powerwise? Who knows....at the rear wheel.....probably 200-210 max. that would be about 250 or so at the flywheel. it's just a cruiser and a real 10 footer. DONE. whew!