abes
-
Posts
134 -
Joined
-
Last visited
-
Days Won
1
Content Type
Profiles
Forums
Blogs
Events
Gallery
Downloads
Store
Everything posted by abes
-
Looking for a ring and Pinion gear set for an R200 3:70 in good shape. I chipped the tooth off mine and need one asap. Thanks..
-
Well I accidentally broke off a piece of the pinion gear wile on the press removing the bearing. Do guys think it'll be a problem? Balancing or vibration issues?? I don't think the part that broke off comes in contact with the main gear but I'm still a bit concerned..
-
Does anyone know if the side bearings (or any) inside the diff need to be packed with grease or are they simply lubricated by the diff oil?? Thanks...
-
Looks Great.. I did the same thing except I used the original digital dash housing instead. Always praising the excell of the zx'rs... Here's the link to my install.. http://forums.hybridz.org/index.php/topic/84946-finally-installed-the-new-gauges/page__p__805316__fromsearch__1#entry805316

-
Pics and mounting info would be great, specifically the tranny mount. Engine mount and placement dimensions would be great also (how far from the firewall the engine is currently sitting). Thanks...
-
Does anyone know where I can find a pair of rb20 motor mounts from an R31? I've been searching around town but know one has around here. Thanks..
-
Alright, i guess the weather is and a good car wash started me up again. question for al of you. I have an '83 280zx that is asking for some new shoes. Do guys think i should stick with my original plan?? Work 16x8, 16x7 2-piece (old school) ewing II possibly all satin charcoal or charcoal center with polished lip? Please disregard the color and the car as that was the doner. or go with the 17x9 Rotas all around? Here's a pic of the car.
-
83 280zx turbo 798hp for sale on eBay!!!
abes replied to ArchetypeDatsun's topic in S130 Series - 280ZX
I can't say for sure that the car makes 798 but I can say that WWR has the fastest Z's in Miami. I've seen Franks 300zx at the track and in person and it make some serious power. Very simple looking car that makes ALOT power running 9's all day long. I wouldn't doubt the 798. -
The pads are porterfield "street" pads which a lot of people on the forum use and have been very pleased with. As far as the sliders, my stock pads wore evenly and when i checked they seemed to be perpendicular to the rotor.
-
I checked and the tabs are in the slots. I wish it was that easy..
-
The pads are new and I did contact poterfield re. the break-in. I guess the next step would be to bleed the m/c cylinder and see if that helps. I just don't think it would do nything becuase it never went empty or even close to it. Any other suggestions? Thanks guys....
-
I have an '83 280zx that I started having braking problems with recently. The brakes worked perfect before i made some changes. I replaced my stock brake pads with porterfield Rs4, Replaced my brake fluid with ATE Super Blue (dot4), resurfaced my disks, put new slotted front rotors and swapped out the stock rubber lines with stainless lines on all four corners. I bled the brakes and watched that the m/c never went empty. Drove it round for a while and noticed that It took alot more effort to stop the car than before. I put about 60 miles on it thinking that the pads needed to be broken in but nothing... I called porterfield ask their opinion and they recommended I drive it some more to put some additional break in miles.. 200 miles later nothing... I then re inspected, re-bled the system and noticed my rear pads aren't wearing through out the entire surface on the inside. The brakes need to pressed pretty hard to make a decent, sudden stop. It's also very difficult to lock them up, kind of fades to a stop. Here are some pics: REAR DISKS INSIDE (L) ® OUTSIDE FRONTS Maybe the calipers don't have the free play to slide back and forth under load?? I decided to take all of the calipers off the brackets and clean/ grease the slide pins which the calipers bolt on to hoping this would solve it.. 60 miles later..NOTHING. Here are some pics of my Booster and M/C for Sh & Giggles. Some residue underneath but it doesn't seem to be wet. I never had one problem with the brakes before. They stopped great. I thought this would be a simple first upgrade, no such luck.. PLEASE HELP.... I don't know what else to do. Thanks..
-
I had the same problem but I found a solution.. This was my m.o. towards the wife: I went into my shed and found all the stuff I had laying around that i wasn't going to use anymore (even those just in case items). I sold all of it and then vioala.... shed was cleaned out and made enough money to buy them. 2 birds-1 stone.. Good luck!
-
I too remember the day i picked up my RB.......... A year and a half later, still in the same spot. Time and funds.. They're their when your planning everything but somehow in reality they seem to disappear and you can't find them anywhere. Good Luck and enjoy it!!
-
I think you've made an excellent choice...... Post some pics as soon as you have them up. My set up. http://forums.hybridz.org/showthread.php?t=155894
-
Thanks for all the great feedback. I'm really happy wit the results. i just need to drop in the RB so i can hook up the rest of the gauges. Thanks..That's a bad ass dime you got there. I was actually reading up on it a few months back. I saw it on another web site while looking for some wheels. One of the baddest wagons i've seen and I'm sure is moves pretty nice.....
-
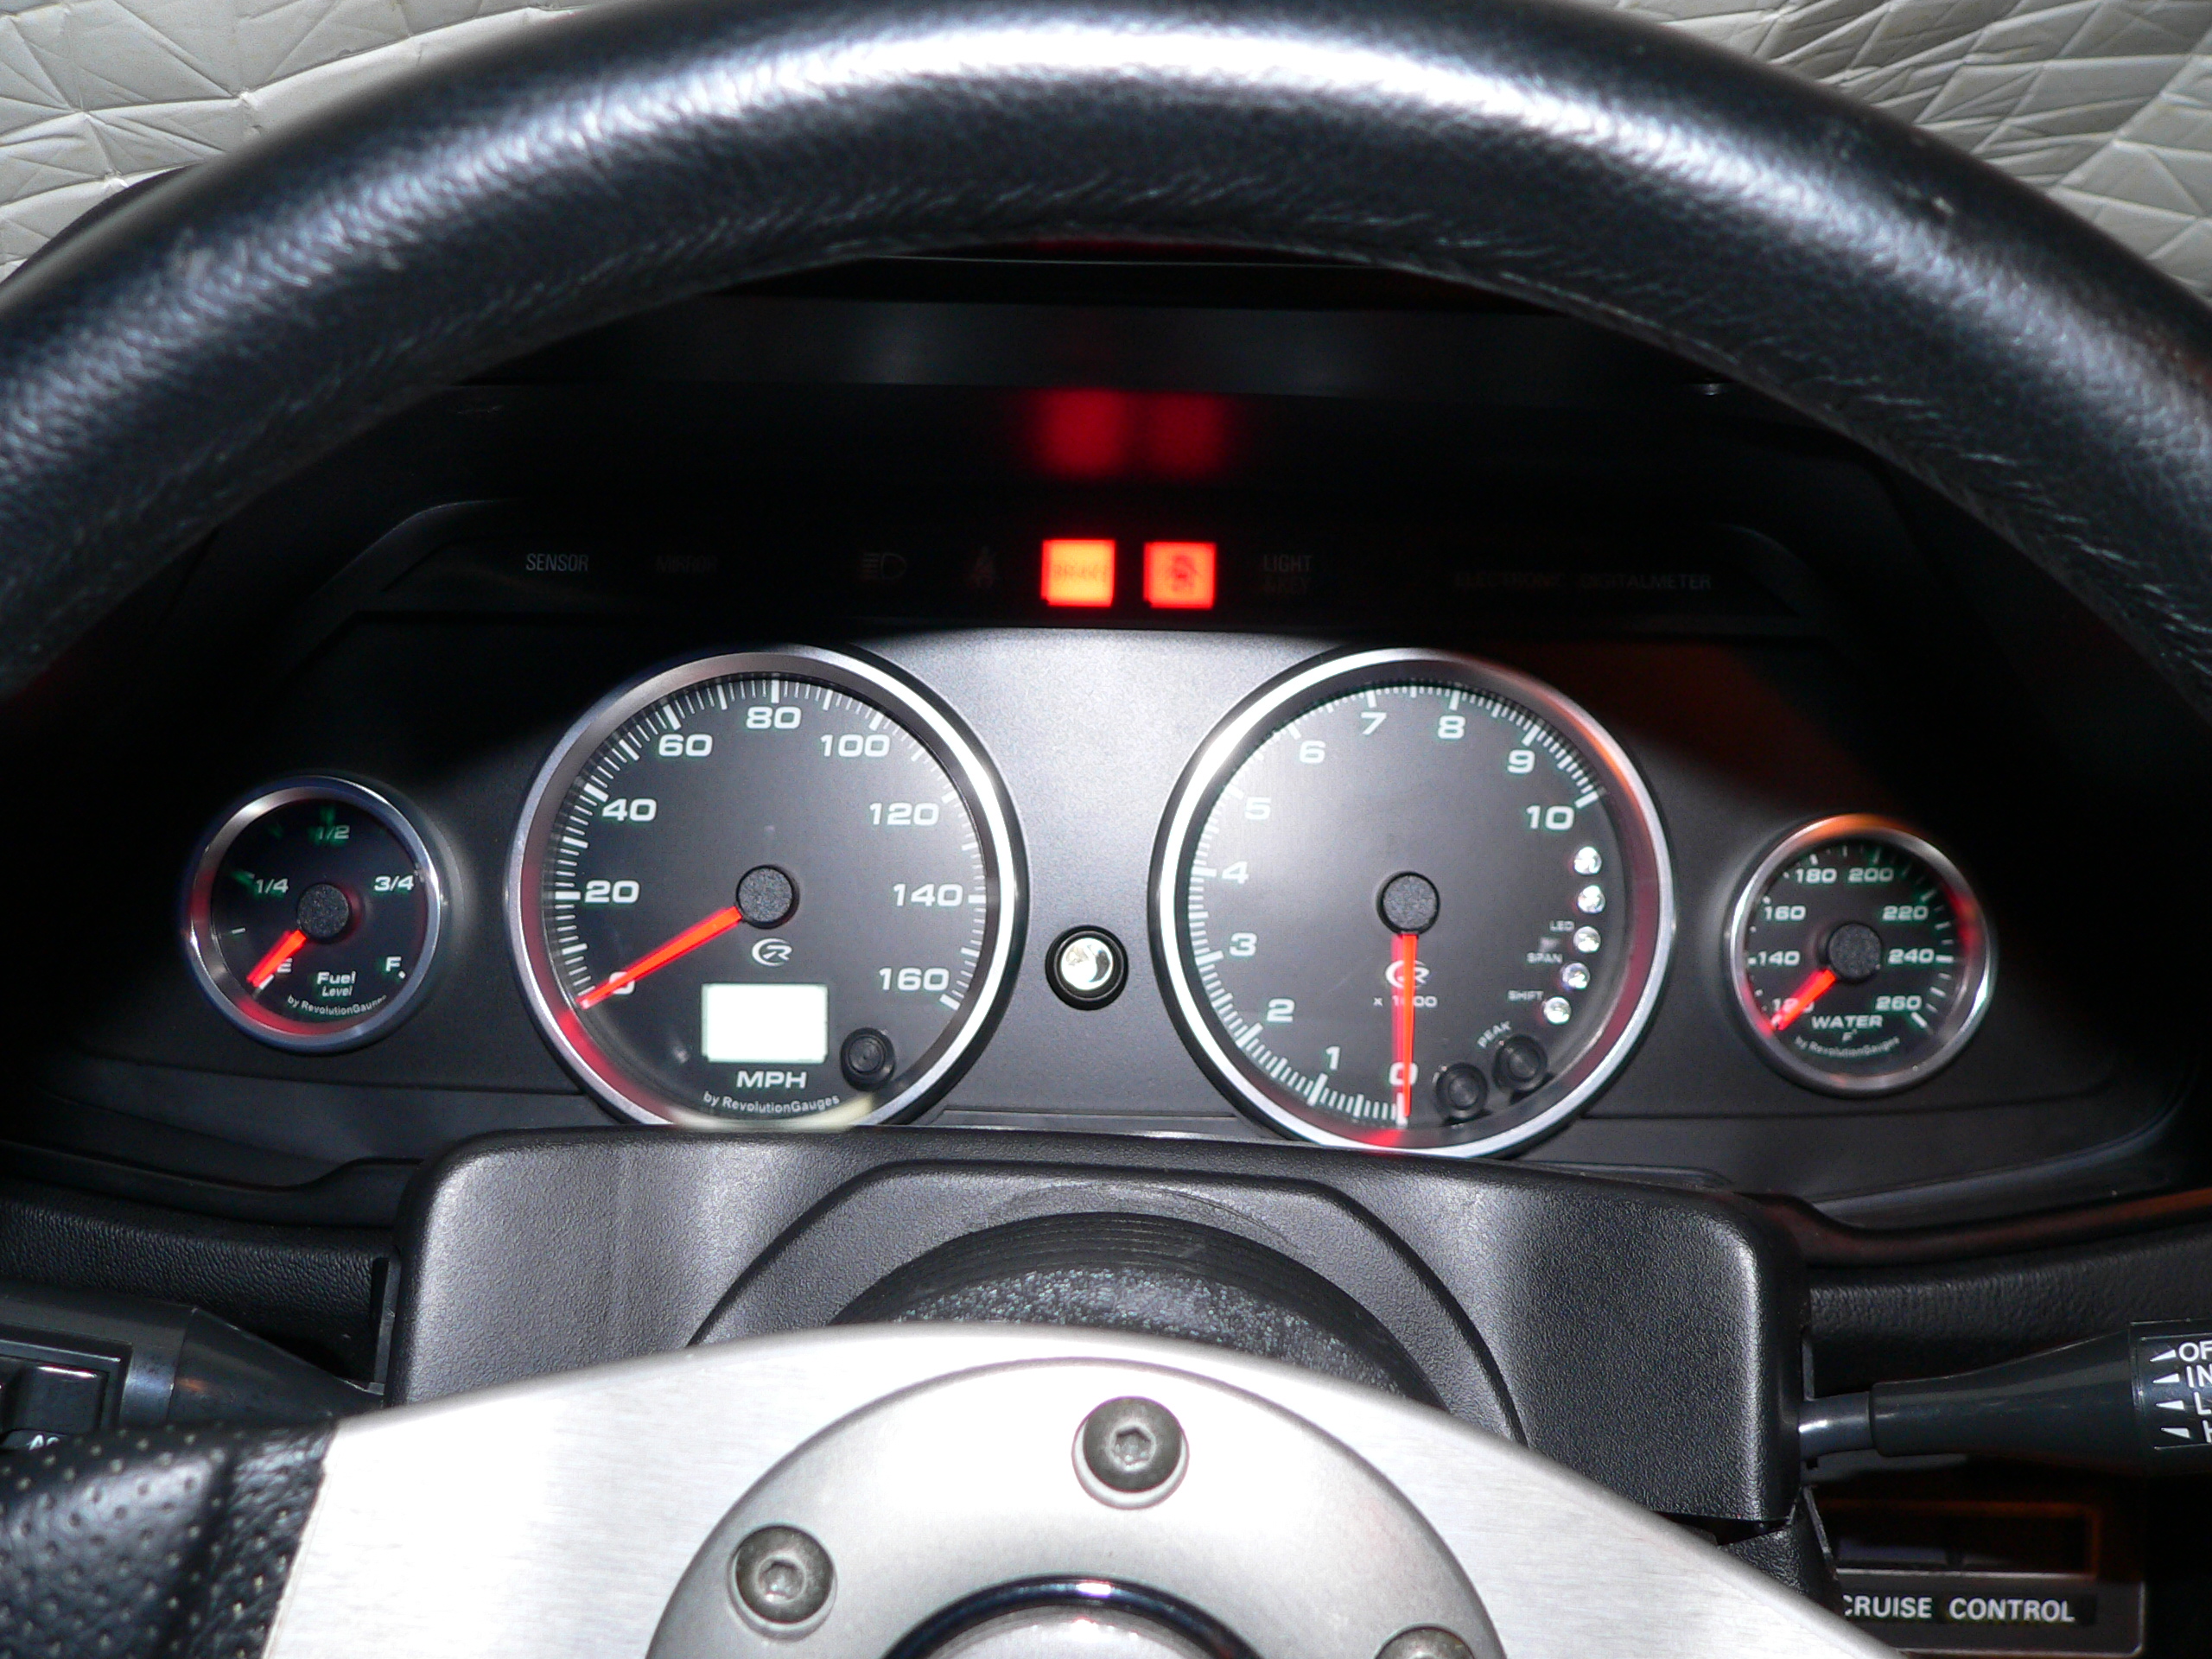
After 3 weeks of trial and error I finally finished installing speedhut revolution gauges in my zx. The look of digital dash goes great with the car but the speedometer only reads to 85 mph and the tach is a p.o.s. I originally wanted to go with aftermarket digital gauges but I was only able to find them in blue or red, no green. Here's what it looked like before I wanted to keep them as stock looking and clean as possible so it took me some time to figure out how to mount them in my factory dash. I know a few members have installed the autometer gauges in the the analog dash dash but since my car came with a digital dash the layout is different . I had saved an analog dash to save me some time but the original holes for the speedometer and tach were too big. I also really liked the layout of the sensor lights and turn signals on the digital dash vs. the analog one so I opted to go with it. I started by taking it apart so I can see how much room I had without disturbing the the lighting and power for the sensor lights. It was actually a lot easier than i thought I gutted it out and cut the partitions that were in the way of the new gauge location with a dremal. I then took apart my shift light and cut it down to size and mounted it on the center. Next, I took the outside frame and made a template for the plexiglass where the gauges were going to be mounted on. I started out with a piece of masonite I had laying around and drew out all the points and centerline on it. From there I drew the holes for the gauges and shift light and cut them out. I then mounted all the gauges on it to make sure everything fit properly and looked even. Everything looked good (so I thought) so i took it apart and transferred the cut outs to a piece of plexiglass. Four complete plexiglass cutouts later (learned the hard way) and a few sips of my favorite sponser... It was painted, sanded, and re-painted and ready for install. I used SEM satin black and by the time I was done, (5 coats later) it looked kick ass. I really wanted to have that satin black look so it can offset the shine from the glass on the gauges and and make the brushed aluminum stand out. This is one of the 4 that were trashed but you can see what the color looks like. If you look closely at the shift light hole, you can see that it wasn't centered. It would have driven me crazy.. This pic was after the sanding getting ready for final paint on the final product. It's a good thing I bought 3 cans of paint. I had originally intended to use one, go figure.. It was dry in about half hour but I waited about two days to make sure the paint cured properly. I installed the gauges and spent about 3 hrs. making minor adjustments and making sure that I can put all the pieces (3 of them sandwiched and screwed) of the cluster back together. Here is the final product before the install.. And one with the home made removable harness. It's very important to make sure you can disconnect the harness from the actual wiring so you can remove the cluster without having to cut any wires in the future. Speedhut sends all the wiring and sensors you should need in labled individual bags. They also include a wiring kit that lets you group all the gauge wiring (12v-sw,lighting, grnd) and connect it to one source. NICE.... Here's what it looked like.. AAAAnd, Here's what it looks like installed and ready to be connected to the sensors. Wiring to the car was straight forward and fairly easy. I also did the 3 gauge cluster but it only took me 1 day to complete. Harness.. Here it is in the car. They look off center in the picture but they fit and look perfect. This is what it looks like all together. It was night time by the time I finished so it's kind of crappy. I have to say, I was ecstatic when I turned the key and all the sensor lights, turn signals and even the gauges worked.. Here are some pics of them it up at night.. I'll let you guys know how they perform in a few days. I'm only going to have the fuel, tach and volt gauges up because I'm hoping to swap in the rb soon. I rather wait and install the new sensors on the new motor. Let me know what you think...
-
Thanks guys. I'll post some more pics when the install begins..
-
Try posting "JY09" in the promotional code bar on the speedhut website. It might still work..
-
If you look on the web, type up "coupon for speedhut gauges" or something similiar and you should be able to find something like a 10% discount on them. Also, on their website they offer certain discount % for every additional gauge you buy. They look kick ass and seem to be of good quality (compare to defi). Are you putting them in a z or zx?
-
They took a little bit over two weeks. Are you planning on getting a whole set or just a few?
-
I've seen it on about 3 different cars on the web. Here's one of them..
-
Brakes are not performing as they should?
abes replied to abes's topic in Brakes, Wheels, Suspension and Chassis
I called porterfield and the rep said to get about 100 miles on it and see how they feel afterwards. Has anyone ever heard of that? -
Thanks. I tried spraying it with carb cleaner and tapping for two days but no luck. I ended up replacing all the injectors..
-
Have you tried photobucket? It's free..