Leaderboard


Popular Content
Showing content with the highest reputation since 01/15/26 in all areas
-
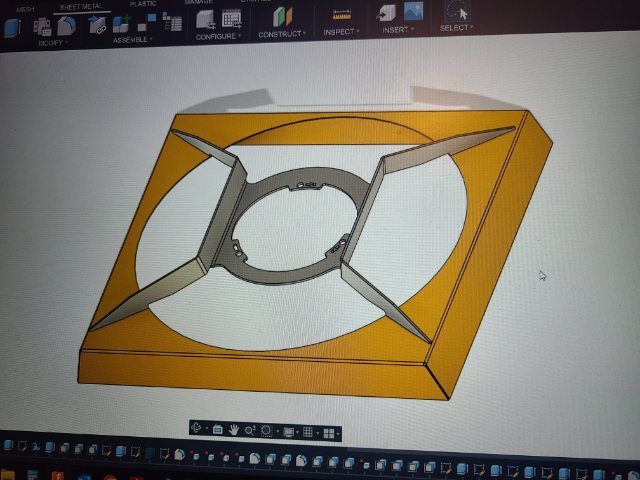
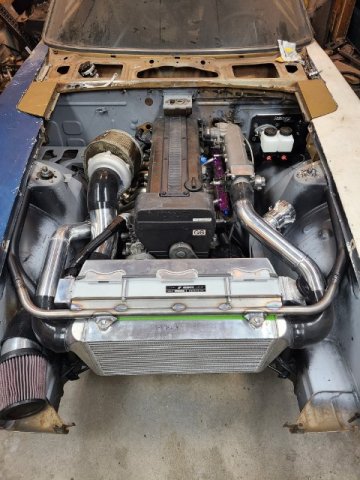
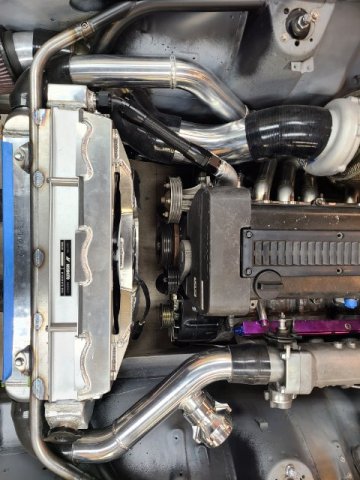
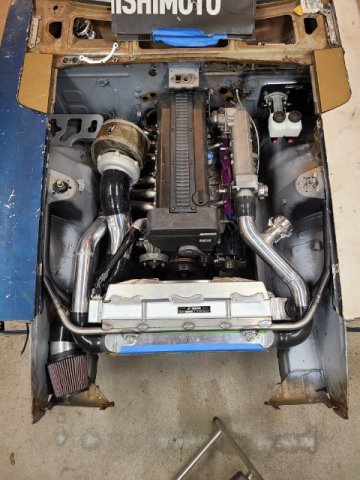
Next order of business was electric fan and shroud, and radiator hoses. I chose the 2016-2019 Camaro single SPAL 18" fan. it will be PWM controlled and is a very popular choice according to the internet as it can flow 5000CFM. Although I cut up the factory shroud to "work" I felt like I needed something fancier. modeled up a base to start working from and had my friends at laserbros in NC laser cut and bend it up. Should have gone one or two AWG thicker so added some bracing as well as some mounts and very happy with the final product. Cut down the radiator and inlets and outlets on the engine and welded on some -16an bungs, made up a couple hoses. in the last photo of the "hose installed" you can see the end of the pipe for the intake I welded into the chassis I mentioned in the previous post. Also decided to move the alternator to the other side of the engine to get it away from the heat. When i pull the engine to paint the bay i'll design and make a bracket to permanently mount it over there.
 3 points
 -
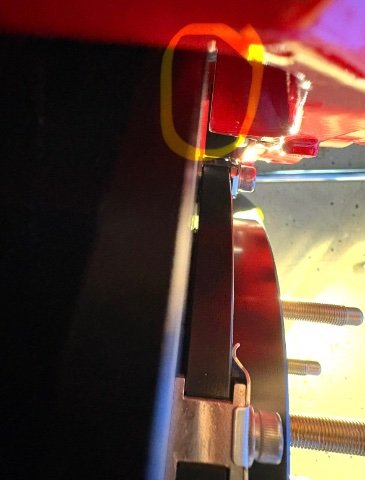
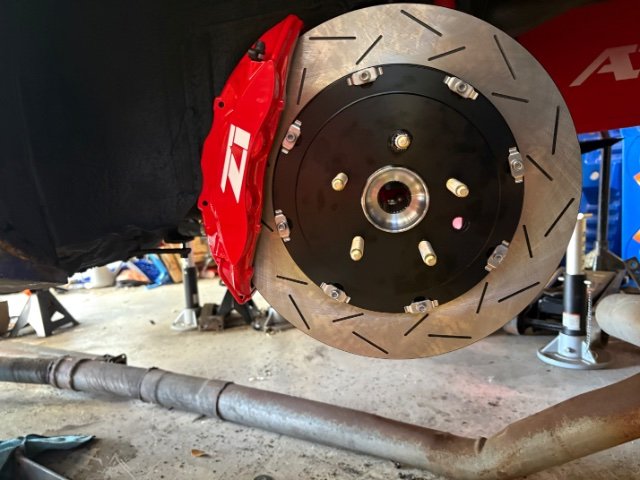
Got the rear calipers on today. A few challenges getting this to fit for the 240Z. Tight tolerances between rotor and caliper, needed some washers to align it right. Also getting the pad clips on were tough, some clearance issues with the wheel well as the pins go in from the back, but got it eventually. I love big brakes 😍.
2 points
-
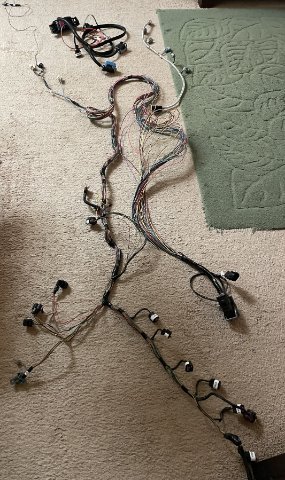
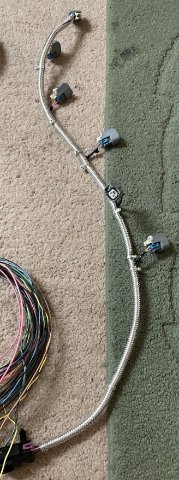
01-20-2026. Engine wiring harness. So, today I took my custom Lime-swap wiring harness for the ATLAS, and stripped off the looms and tape, so I tailor can fit everything and cut the wires down for a good, hidden fit. it's quite a bit of work removing the plastic bracket that originally held it on to the valve cover, straightening it all out, getting it all ready to be installed and then separated and cut and spliced back together correctly. I have these special splices they advertise that melt with a heat gun and solder the center.....I thought I'd try them. Some exposed wiring parts will have the chrome looms I bought over the wires, as you can see in the Injector wiring in the separate pic.
1 point
-
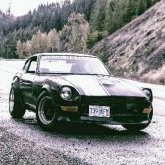
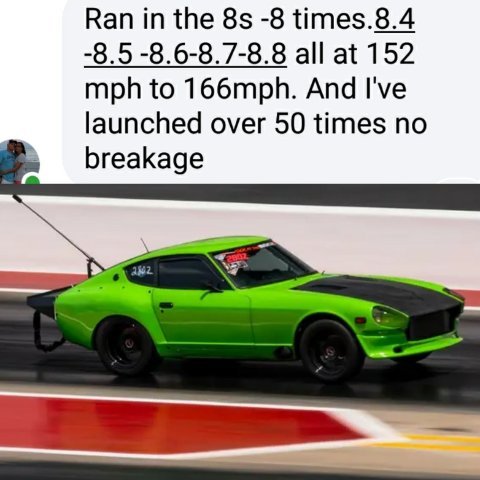
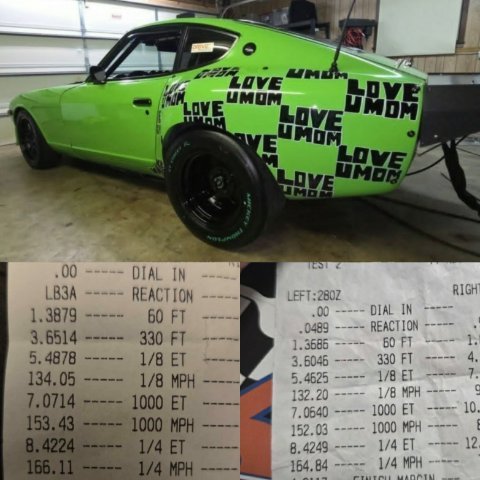
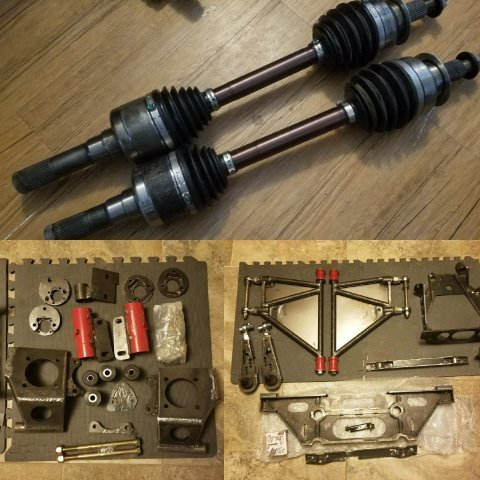
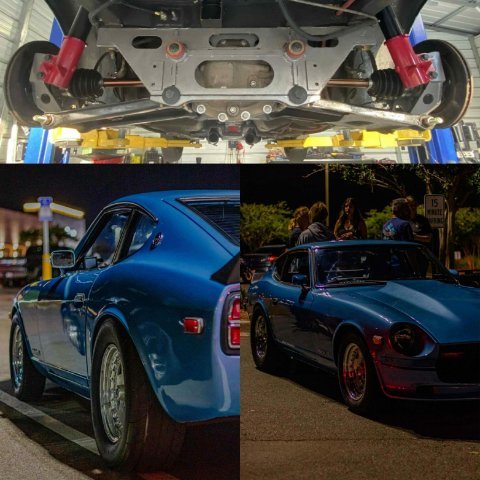
Unless somebody has a faster timeslip, fastest IRS s30 (barely) so far is Terry Garmon with 8.42 @ 166 mph in the 1/4 mile. Also included is a picture of Rick dunns 700hp car with the newest version of the rear swap, and a picture of all the components laid out, including the axles. The setup has evolved over the years, but even the earliest versions are out there putting down thousands of miles with all kinds of high and medium hp levels.
1 point
-
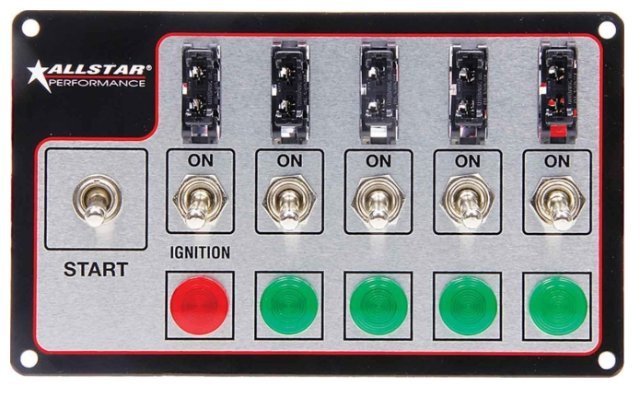
Another pic of the toggle cluster I am putting in my Atlas Z. fused and the start toggle is a momentary switch. when you flip the ignition toggle it will kill all power to the stand alone engine harness that the fuel pump runs through. I love the old school look. The quality of these toggles when you operate them you don't see often these days anymore....I got it at Summit and yep, the price is high, but the quality is A+.
1 point
-
01-19-2026 First survey of my customized stand along wiring harness for the GM Vortec 4200 / ATLAS 4.2 engine swap. Keep in mind If I had kept the auto trans there would be more....I also deleted 90% of engine functions as well....only kept the cool stuff like gauge feeds, etc. At least I have a wireless throttle! enjoy the video. 01-19-2026 harness video.MOV1 point
-
The Actual Chinese Reproduction of Toyota A86 Body was purchased and examined by several individuals who expressed their opinions about the body. The owner will attempt to assemble the vehicle with available Aftermarket Parts( tail lights, interior parts,etc. This body was the same one at the SEMA Show so time will tell its quality and parts fitment is up to the OEM Standards. This body came from the same factory as the 240Z body at the Sema Show. I checked this at the Sema Show and after watching this video, my opinion on this car is there is a definite lack of quality control in the welding of this car. There seems to be a lack of spot welds on some of the panels. On Utilized Body Cars, spot welds determines the strength of structure. Normally, the original manufacturer would use Robot Spot Welders on the Assembly Line. On this car, the welds are not close together thus not providing a strong panel. Another major flaw are the Front Strut Mounting Holes are oval not round as they should be. This shows a definite quality Control Issue. It seems that assembly of this car was rushed and put together just for the show. The Collision Industry has a established Standard -ICAR which provides proper methods of assembly of Body Parts. A ICAR Body Specialist should inspect this car before it is put on the road or used as a race car.1 point
-
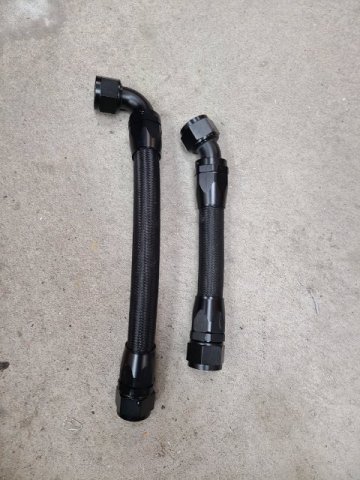
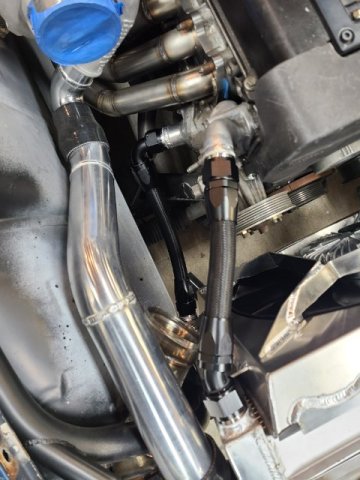
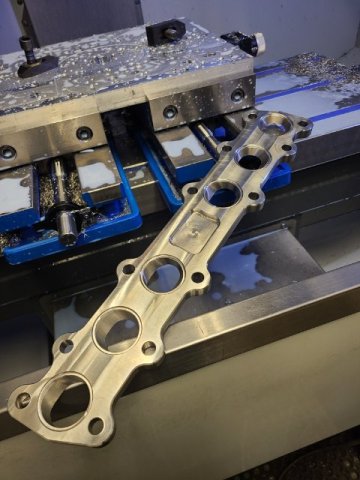
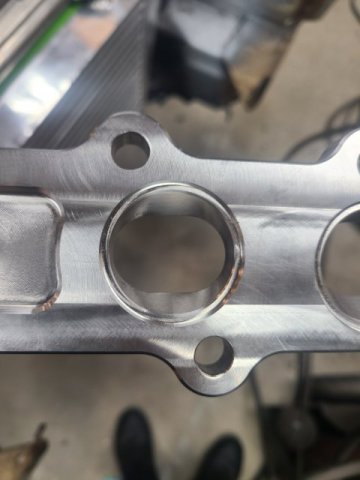
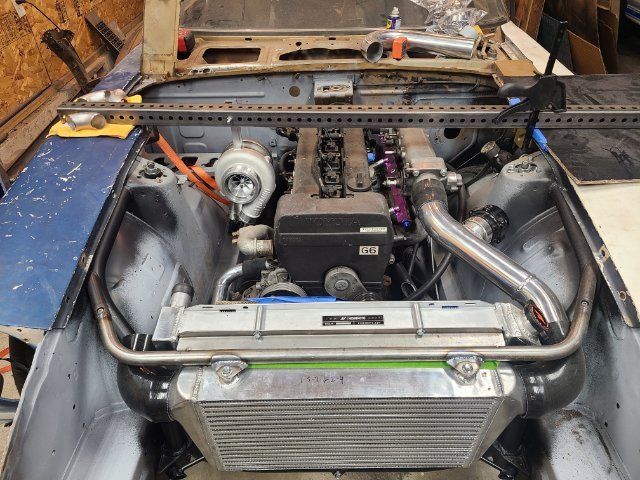
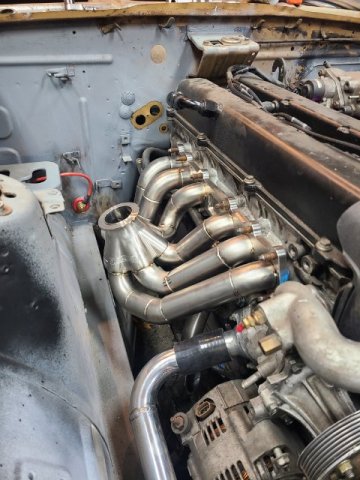
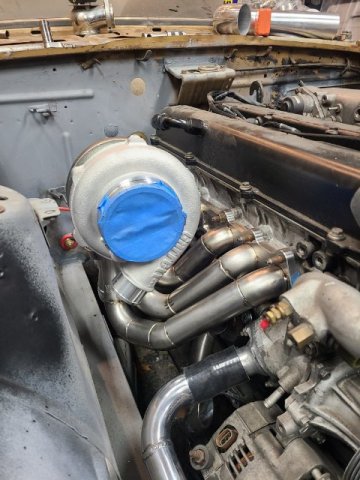
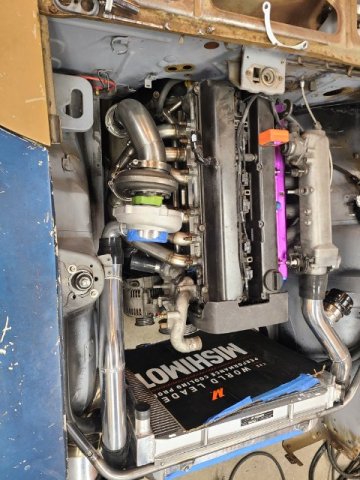
started tackling the turbo system. designed and machined a stainless exhaust flange because I couldn't find one I liked. 304ss that seamlessly transitions the oval port to round so i can use sch 10 stainless. Went with a billet turbo flange from elmer racing. I make these kind of things but no way I could have made one for what they charge. beautiful piece. I ordered 321 sch10 stainless weld els to make the rest. after a little "writers block" i finally got a decent layout for a turbo manifold. The car came with a precision turbo but unknowing the condition and the size wasn't ideal i ended up going with a garrett gtx3076r with a v band inlet.
1 point