inline6
-
Posts
456 -
Joined
-
Last visited
-
Days Won
3
Recent Profile Visitors
11353 profile views


inline6's Achievements
")


-
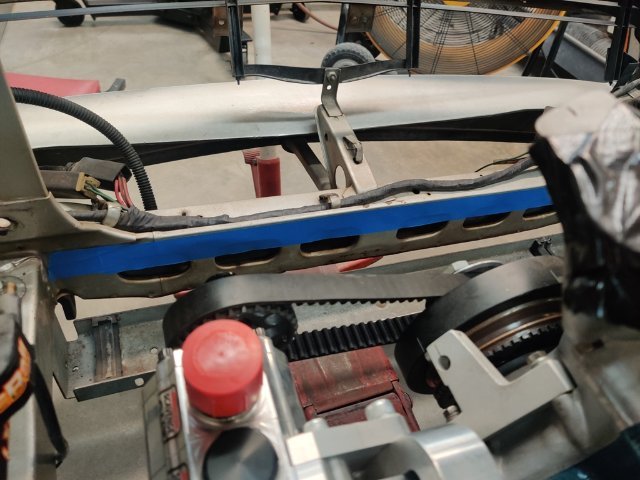
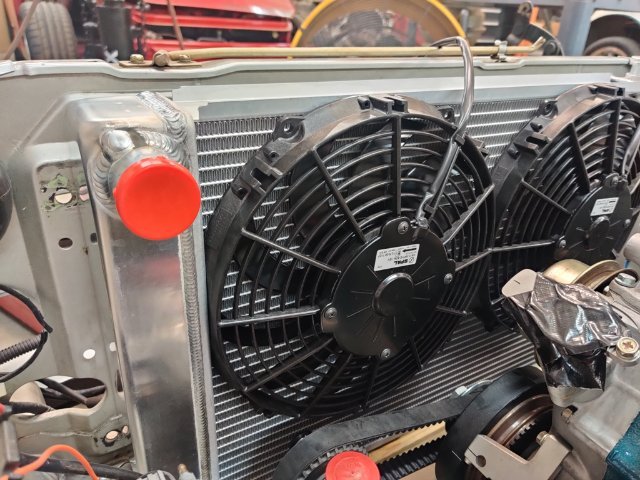
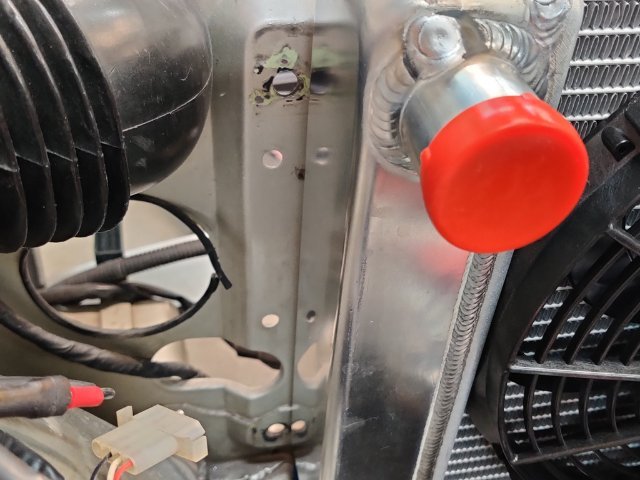
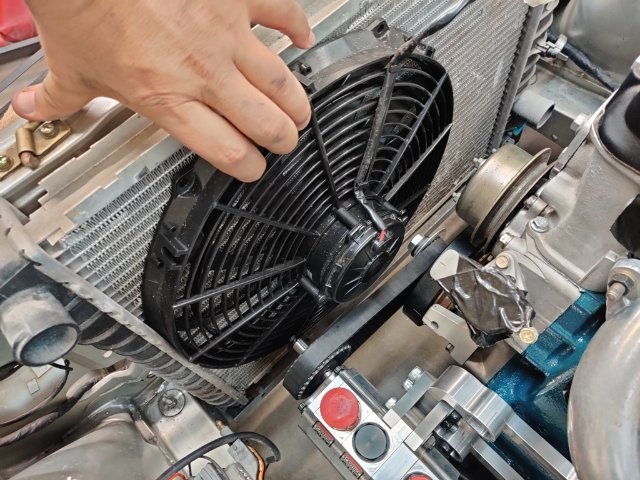
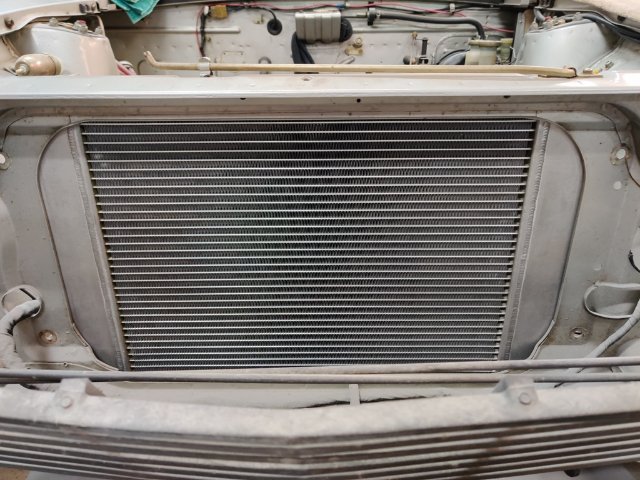
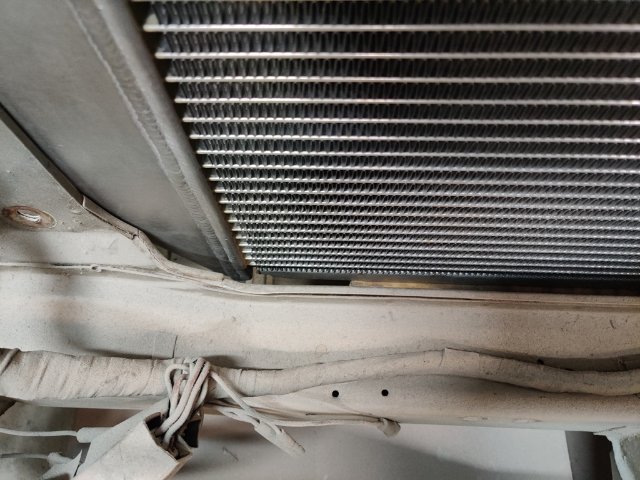
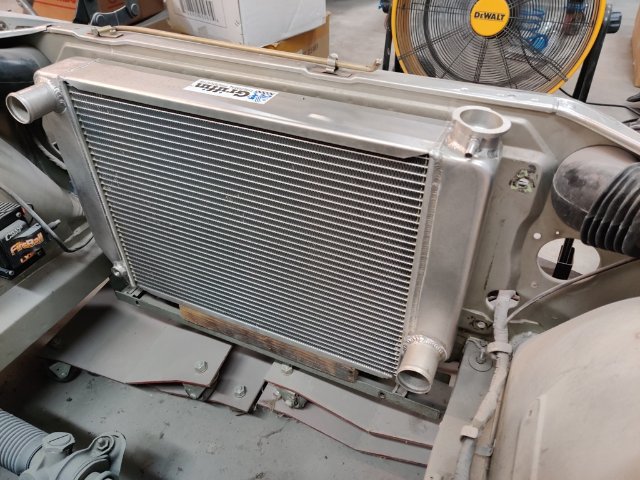
After lots of measuring and thinking, I ordered another Griffin radiator and two 10" Spal fans. This radiator is a bit wider and the same height as the other Griffin I bought years ago. However, the core has two 1" wide tubes instead of the two 1.25" wide tubes. Thus, the core is a bit thinner and that helps provide a bit more room for the fans. Being a bit wider, the two 10" fans fit better as well. Here are some pics: I will mount the fans at the top as shown. This will put the fans above the oil pump shaft and crankshaft dampener bolt. I will probably shorten the oil pump shaft, as the extra length is not needed for this application. The bottom edge of the radiator aligns with the bottom edge of this blue painter's tape. The side tanks fit just inside the stock radiator mount bolt locations: I am very pleased with this combination from a fit standpoint. Each fan is rated at 802 CFM. I repeatedly came across information where the CFM was higher when they were used in pairs in combination with shrouding. So, I plan to add some shrouding as well as some directing panels on the front to improve total CFM. I won't be able to measure it, but I think bumping the total up to 2000, an amount that should be good for a 6 cylinder engine, should be possible. Next, I will figure out how to mount the radiator, and wire up the fans.

-
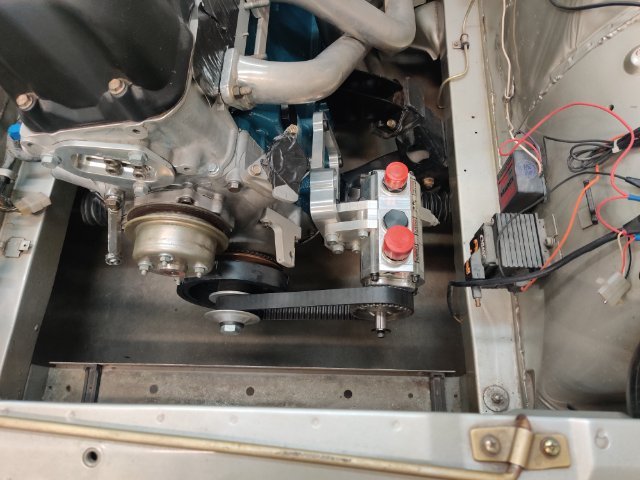
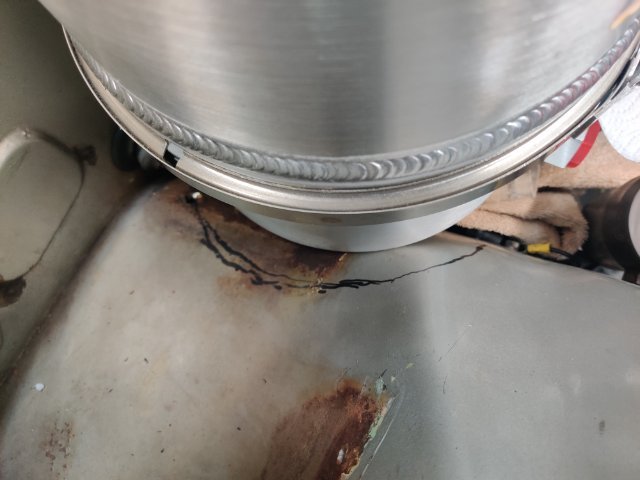
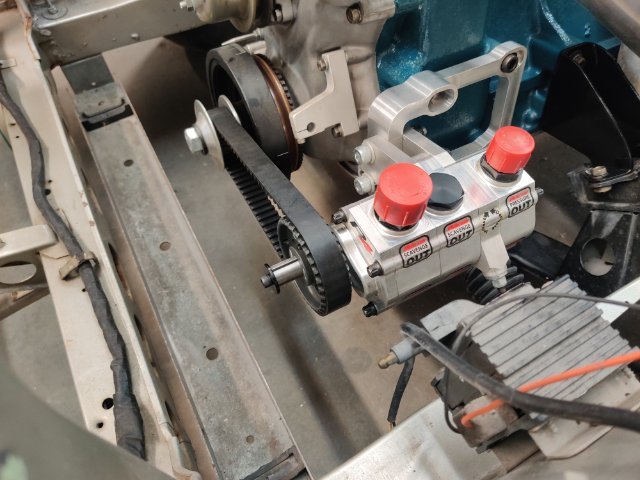
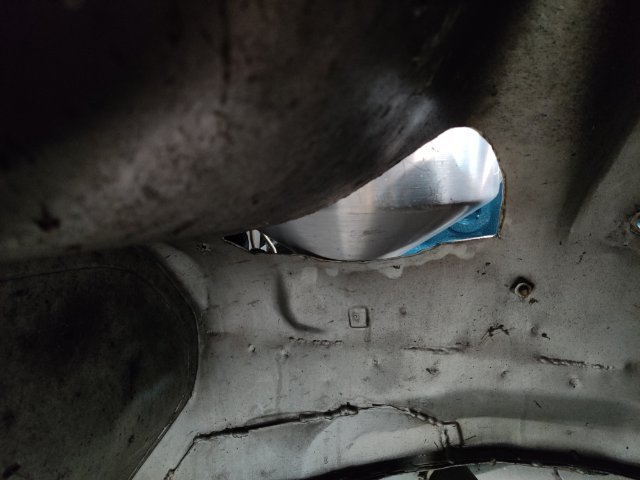
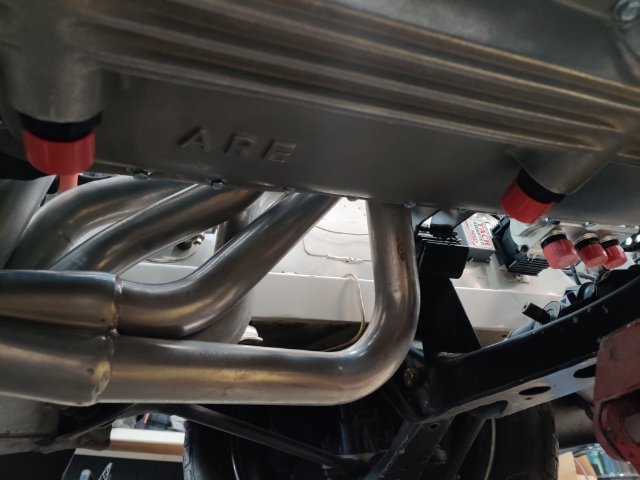
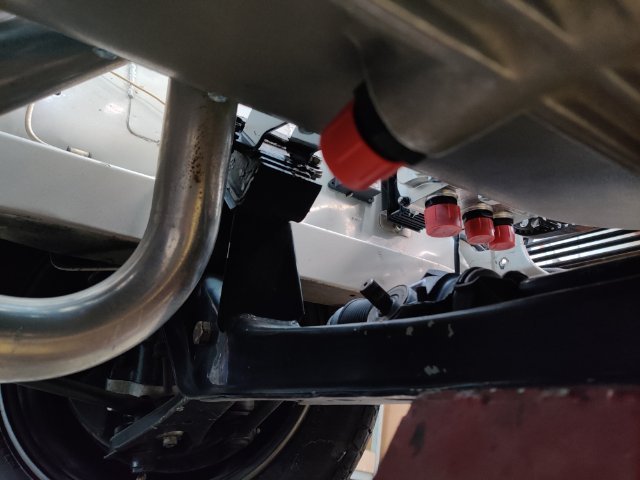
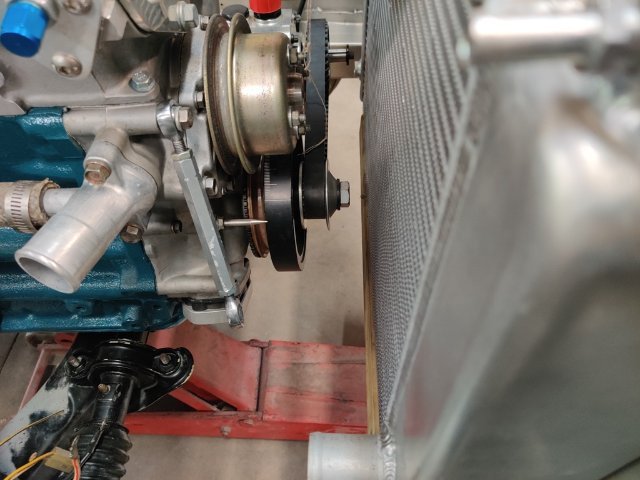
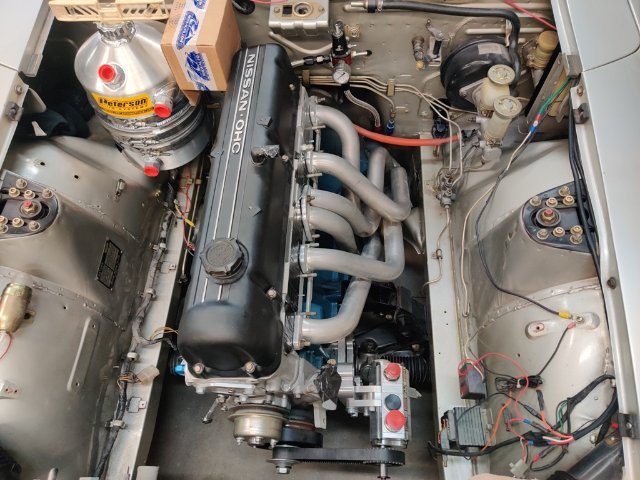
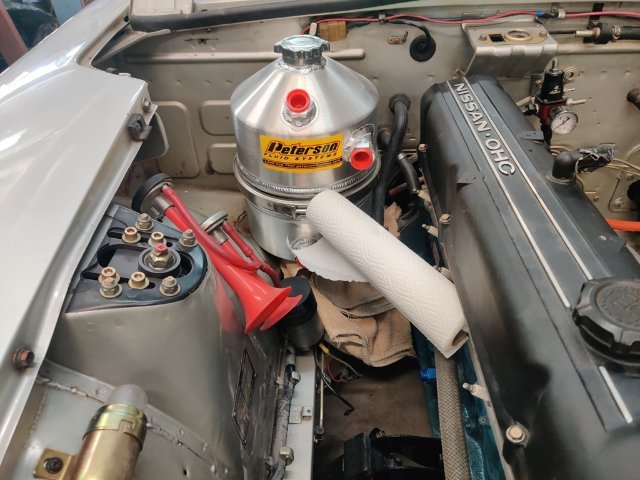
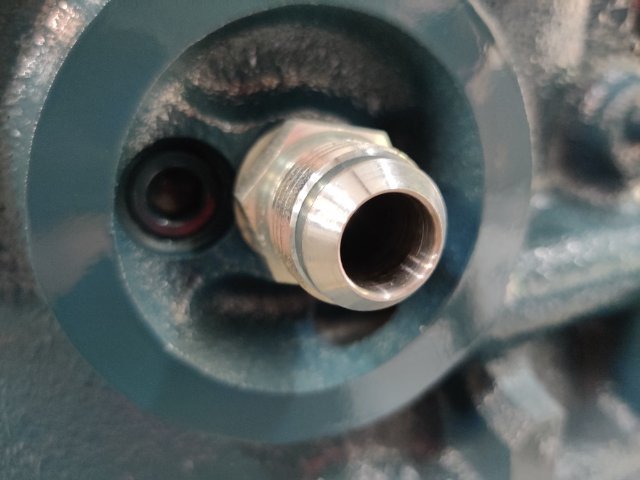
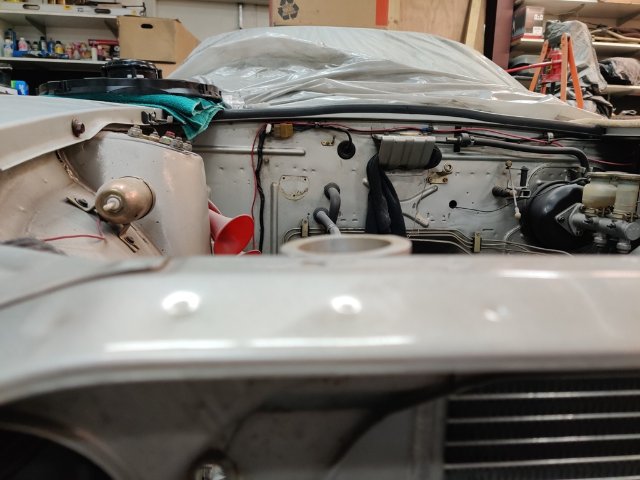
I put the engine in the car last weekend. This weekend I am doing a lot of staring at it and thinking. I need to figure out how and where to route all of the oiling lines. And I need to figure out what to do for a radiator and cooling fan as the Griffin I bought is 3" thick and is awfully close to the crank dampener bolt. Those are the immediate concerns. I still have to wire up and install a set of Speedhut gauges, drain and flush the gas tank and lines, and a bunch of other stuff before I can attempt to start the new engine. Going to put the tank about here: Have to cut sheet metal here to get the tank low enough to fit under the hood: Pump and custom mount: There is a good amount of space under the pan. I will route the two pan scavenge lines under here to the bottom two fitting on the pump. I can clock the bottom of the tank about 90 degrees to get the bottom fitting pointed towards the left side, and then I might be able to run a line from there, across the top of the transmission bell housing to the left side of the engine compartment, and run it along the frame rail to the front of the pump. Radiator situation - Griffin set in place in first pic is very close to the crank and oil pump shaft. The Stealth Conversions radiator is much thinner, but even some the 14" Spal would be a tight fit. And when I was last at the track with this radiator, the temp gauge indicated slightly elevated temperatures from normal. So, I'd prefer not to put that radiator back in this car for that reason. It was fine though for all use except track sessions in the August heat in Atlanta. I had no shrouding and a stock clutch fan (plastic) when it was last installed.
-
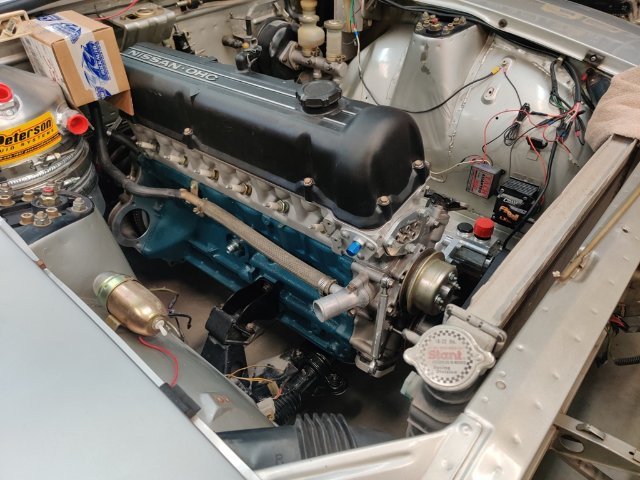
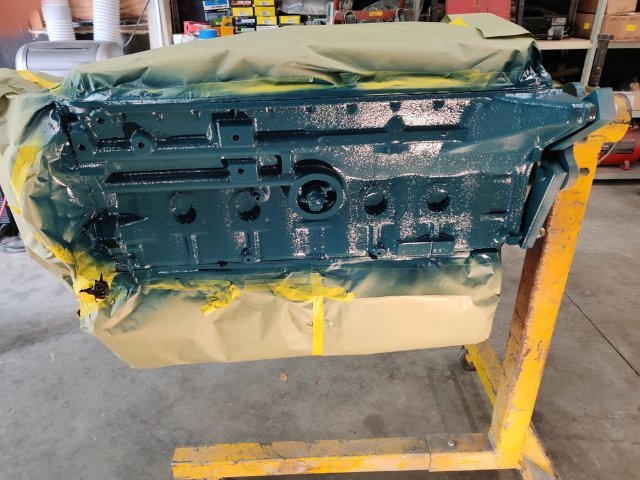
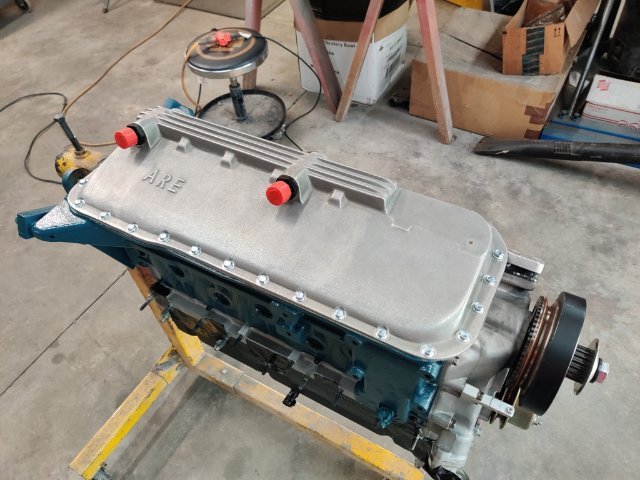
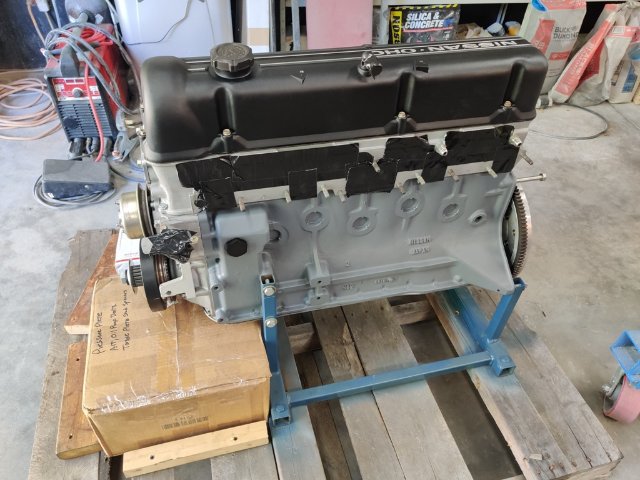
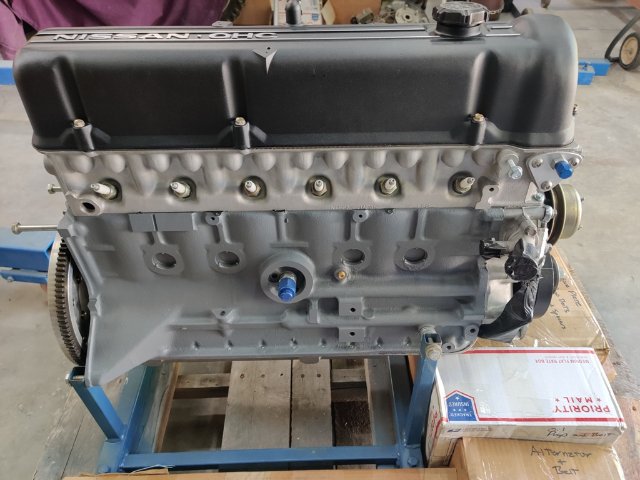
I have finally switched my focus to getting this car running again. This weekend I painted the engine block of the new replacement engine. I was hoping to get it in the car, but various things slowed down my progress. I thought I had a pilot bushing on hand, but couldn't find it. So, a trip to the store for that... Couldn't find the torque spec for the ARP flywheel bolts and wasted time looking for that. Little things like that eat time. Anyway, a few pics: With the back plate, flywheel, disc, and pressure plate now on, I am about ready to put the engine in. I think I will strip and repaint the motor mounts first. Then, I'll put the engine in and start the work to mount the oil tank for the dry sump. I will likely need to cut some of the inner fender well on the right side. I don't like going that route on my "early" Z, but I dislike blown motors more.
-
I think I can get it finished by the end of March. We shall see. I pretty much underestimate the amount of time to do anything by a lot.
-
Well done! I like "After tireless and borderline obsessive searching..." That describes me more days of a week than not. I haven't been very active on Hybridz.org for several years, but have been restoring a 240z for 5 years now and that has required a lot of tireless and borderline obsessive searching.
-
Damn. That is not a happy diff at the moment. Perhaps the debris hasn't caused insurmountable damage. I am hoping for the best.
-
images seem to not be rendering.
-
Bizarre. So, assembly lube inside the bolt holes... (e.g. mains and rods), causing hydro-lock. Yeah, hadn't thought of that.
-
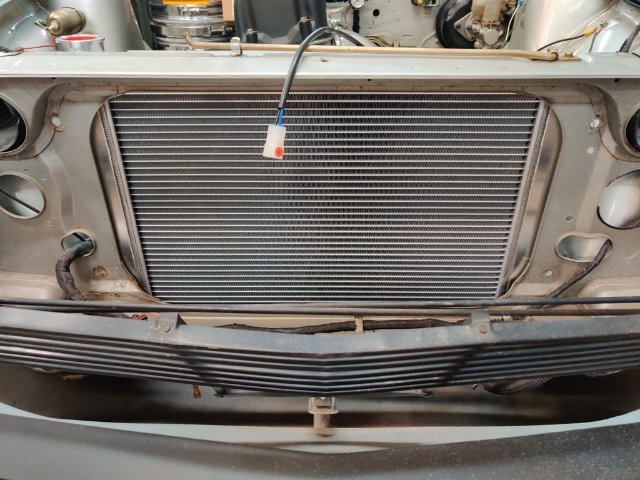
I found a few minutes to mock up fitment of the new radiator. This one is made by Griffin. It is three inches thick with 2 rows (1.25 wide each I think) in the core. Size-wise, it is a pretty good fit. This will be replacing the JTR setup I had in the car previously. Before the engine blew up in August of 2015, I recall seeing the temperature needle on the stock temp gauge going slightly above its normal position. This radiator should achieve an improvement with regard to that issue.
-
Thanks Rossman. Work I plan to do before I start this engine: Installation and hookup of a full set of Speed Hut gauges Installation of a larger capacity aluminum radiator Installation of an electric engine cooling fan to replace the clutch driven cooling fan Installation of a dry sump oil tank Making and installing all of the lines associated with the dry sump system Installation of a smaller battery (perhaps lithium) to facilitate the installation of the dry sump oil tank in the engine compartment I've kept busy for the last five years with a 240z restoration project which I have been posting about over at www.classiczcars.com. That one is currently awaiting paint - literally, as in nothing left to do but spray it. My Z project cup runneth over.
-
Nearly 8 years later, I have a replacement engine, which I received today. Not much to see, but here are some pics: I have a lot of work to do before it can be fired up in the car. So, it will be a while before that happens. This motor is very similar to the one I destroyed. Changes are 89 mm bore, (now a 3.0 liter vs. 2.9 before), Intake valves are titanium (vs. stainless before), crankshaft this time is not lightened and knife-edged, and this engine will utilize a dry sump oiling system. I have shelved plans for a 3.4 liter. May never get back to that. If I had it to do over again, I'd go with something much more "standard" and pay one of the L-series specialists to do it per their recommendation. If this engine blows up, I will pay one of the well known L-series specialists to build a reliable replacement engine. Here's hoping this one doesn't go boom.
-
240 drums, racing brake shoes, rear sway bar, mustache bar
inline6 replied to inline6's topic in Parts for Sale
Sorry for the delay. I will pm you and we'll figure out final price with shipping. -
240 drums, racing brake shoes, rear sway bar, mustache bar
inline6 replied to inline6's topic in Parts for Sale
I still have them. -
240z body parts for sale - Atlanta area - *** all sold
inline6 replied to inline6's topic in Parts for Sale
Sorry, the fender was sold.