Leaderboard




Popular Content
Showing content with the highest reputation on 06/16/26 in all areas
-
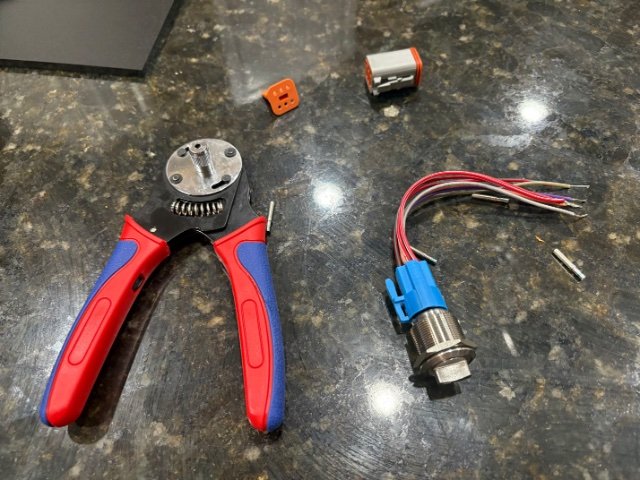
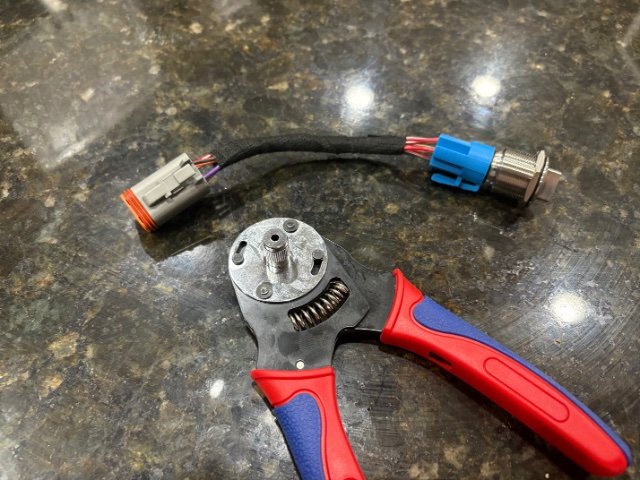
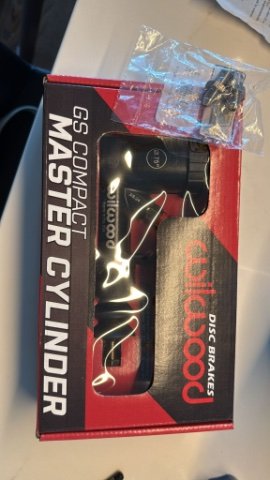
I got the correct rotation, just by luck. I bought the water pump last year, before I got the pulley kit, didn’t really understand the difference at the time. Got the belt/pulley kit and since no other accessories, standard rotation was what I needed 😅. 100% of old wiring is gone, using sniper for EFI, got a lights/blinker kit/harness and I’m making/piecing together everything else. I discovered deutsch connectors the other week and bought a kit. These are great for wiring switches and other small wiring. This is a switch for my Wilwood electronic parking brake. I’m not ready to full on wire the car yet, just evaluating what I have and making a big picture plan so when I’m ready it should be a lot easier.
 2 points
 -
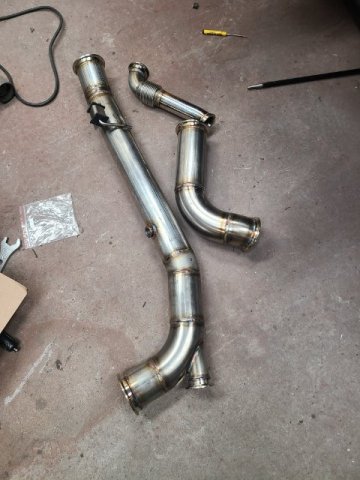
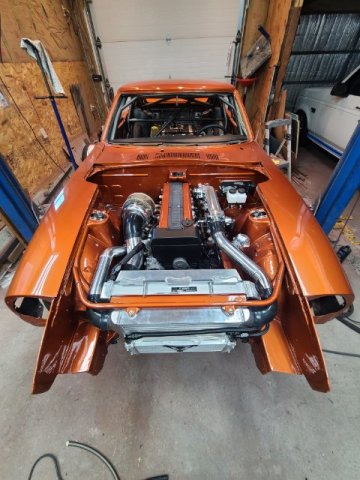
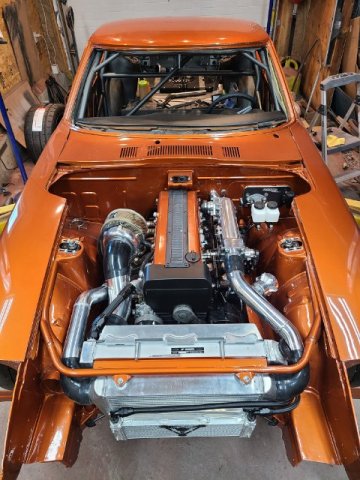
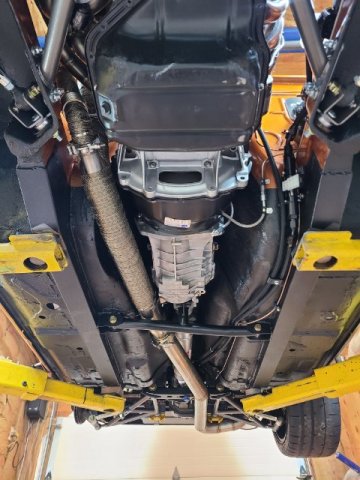
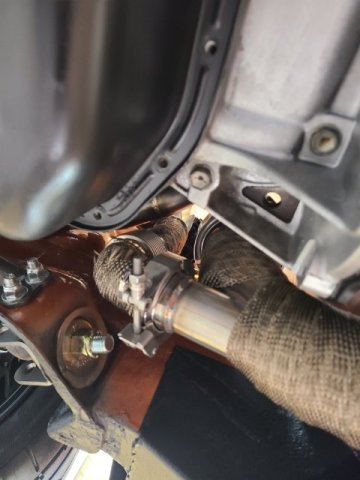
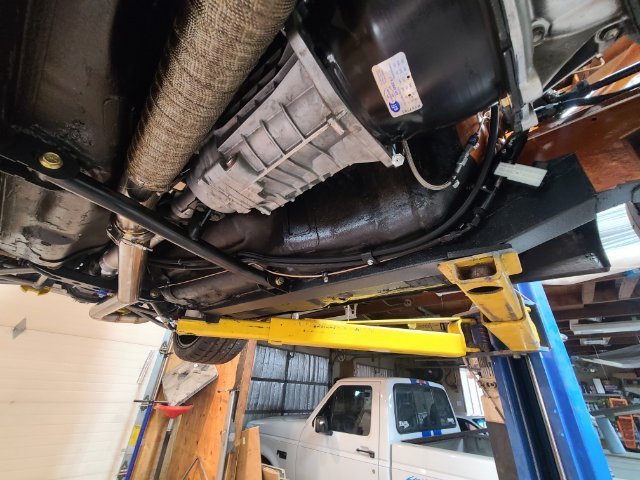
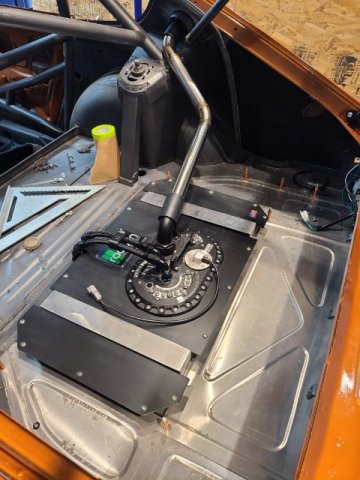
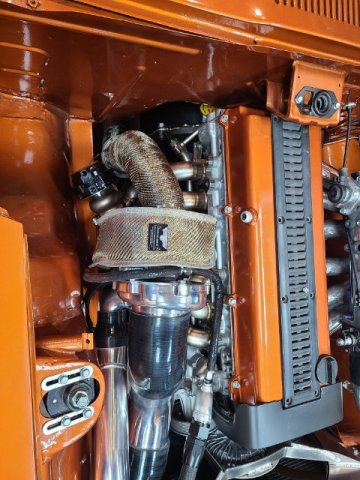
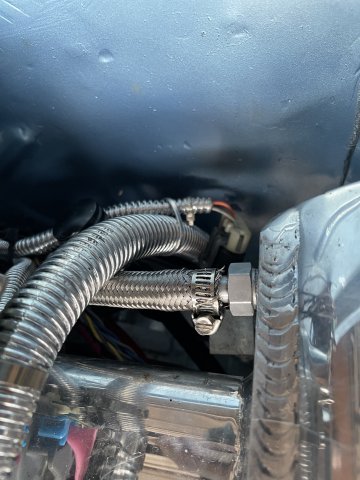
Love the way this is coming out. its been a challenging balance to thread between making everything neat and tidy and making sure I remember its a race car and needs to be functional. decided to polish the intake manifold and turbo, which looks great but upkeep is gonna be a challenge. exhaust is mostly done and welded. need to make a fancy tip for the back. wrapped the downpipe and mid pipe. need to pull the manifold and wrap that too. originally made a open dump wastegate but then changed it up to recirc it because we have a couple tracks with some noise restrictions. I'll order another v band and wastegate outlet so i can cap the exhaust and run it open if the track doesn't have a dB restriction. Fuel system is done. bulkheaded thru the floor. 3d printed some mounts and have it mounted along the floor. injectors are in. got most of the turbo lines made up. opted for the turbosmart oil pressure regulator for the turbo. i've never dealt with a turbo this small and man its a challenge to fit everything. drain is really tight. hits v band and clamp but think i may have the puzzle solved to make it work. fuel fill is welded up. went with stainless to mitigate the risk of corrosion with ethanol.
2 points
-
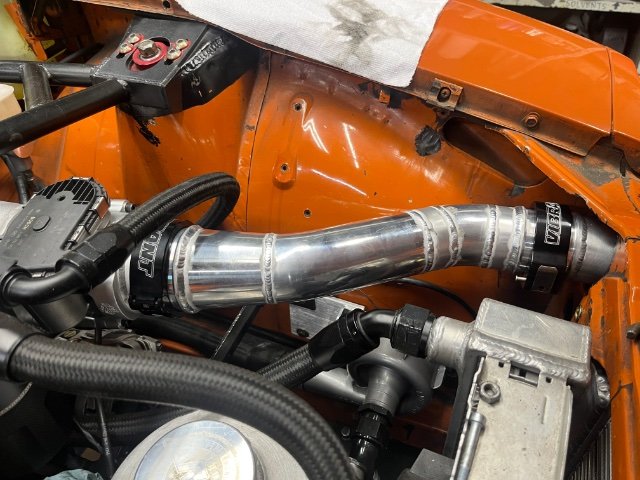
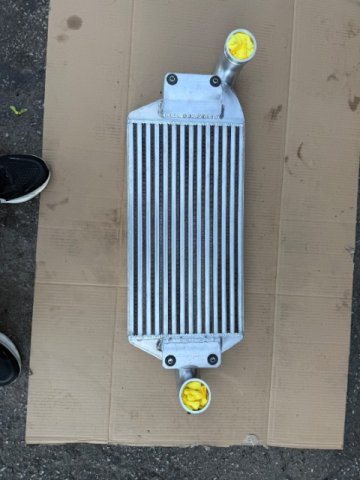
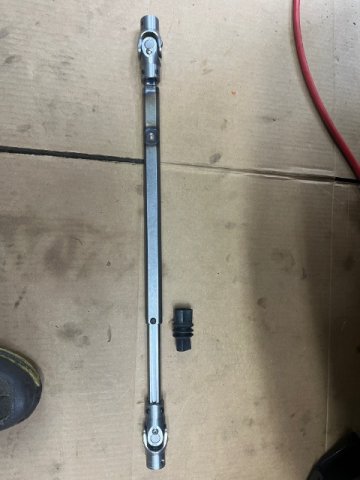
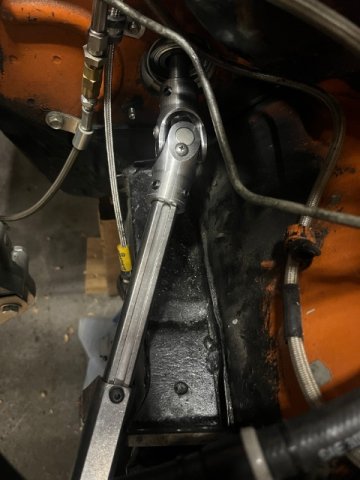
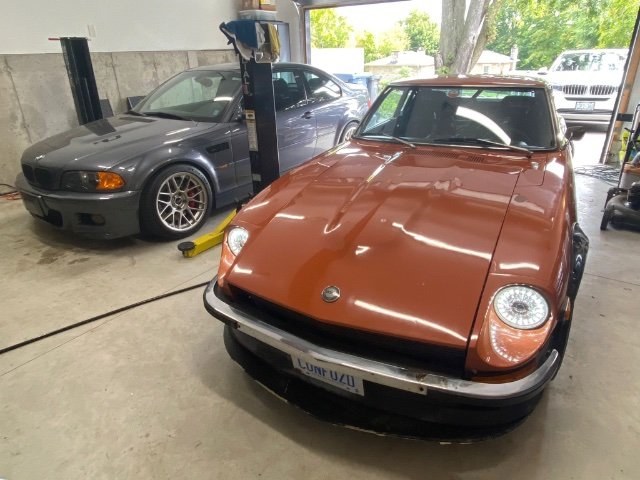
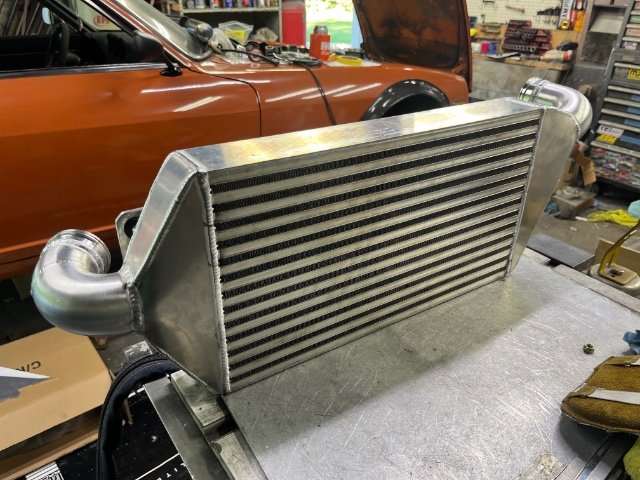
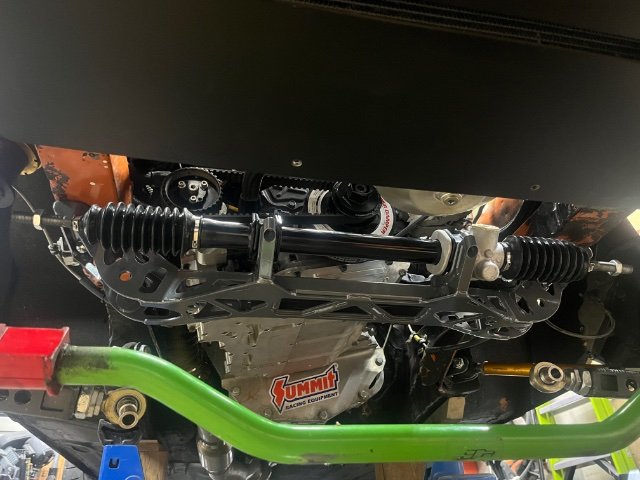
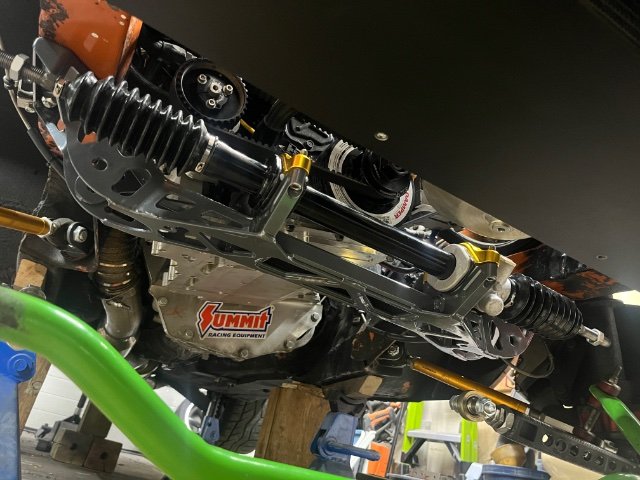
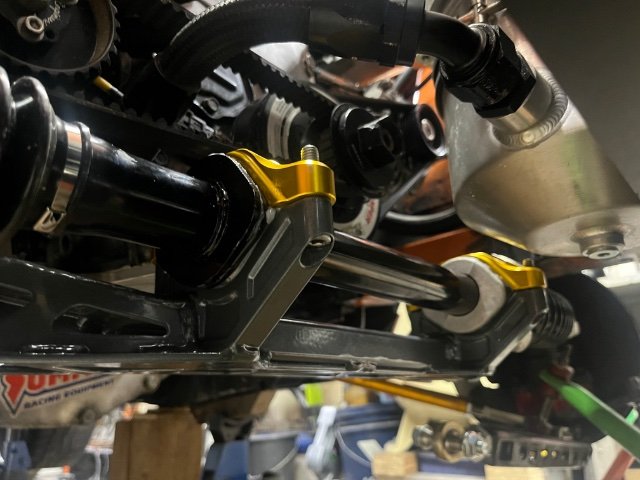
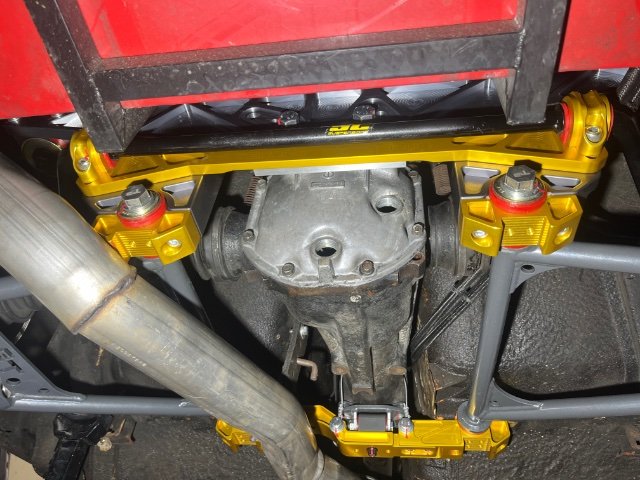
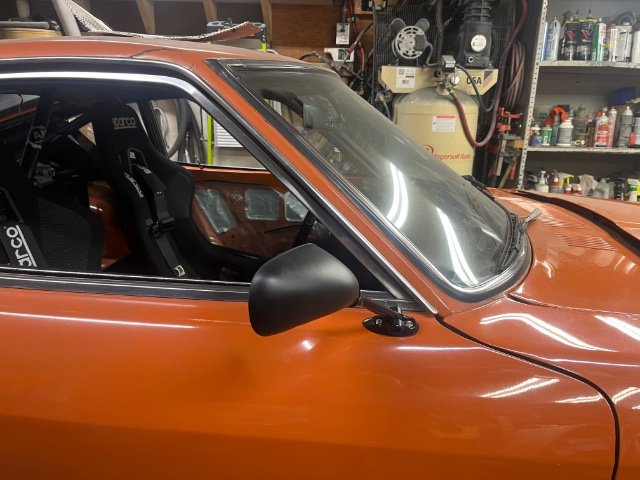
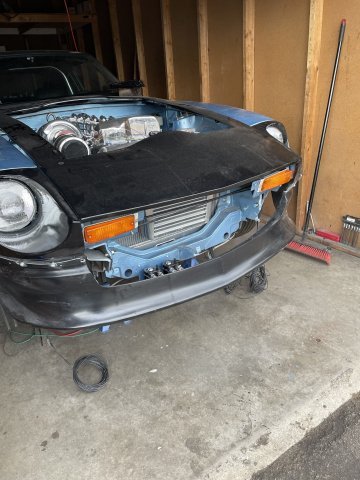
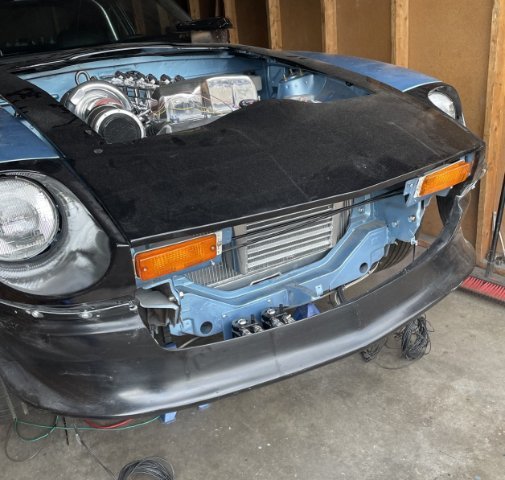
Some updates. We installed a larger clutch master that was very easy to install. It solved the gear release problem with the cd009. We redid the steering shaft and motor mounts. I didn’t like the way it was installed before. Will know if it’s better in about a week or two. Installed a new Garrett intercooler to replace the eBay special I had. We reduced the intercooler pipe size down to 2.5” to see if it will help with spool. Installing a 14psi spring in the wastegate actuator to help hold boost. Will dyno again soon. We also removed the spacer from the skunk2 intake and modified the entry angle. Replaced all the intercooler pipe couplers with the vibrant hd clamps. The old pipes kept blowing off. installed dapper led seven lights. So much brighter than the halogens I had. We installed the rest of the rear t3 suspension bits. we also installed a new t3 steering rack and crossmember, along with BRE mirrors.
1 point
-
Do you have a forward rotation water pump? Most are reverse rotation with serpentine belt. If you try to run a reverse rotation pump forward, you won't be circulating water through the engine. Also, I would start fresh with the wiring. Don't try to reuse the original fuse block or any of the under dash wiring.1 point
-
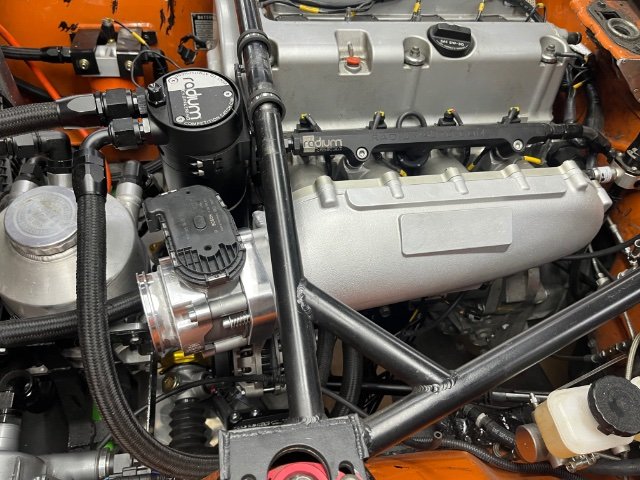
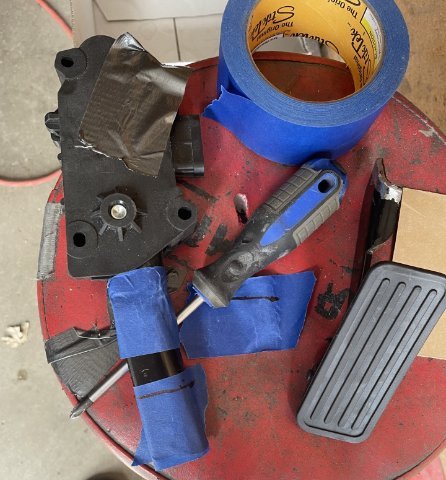
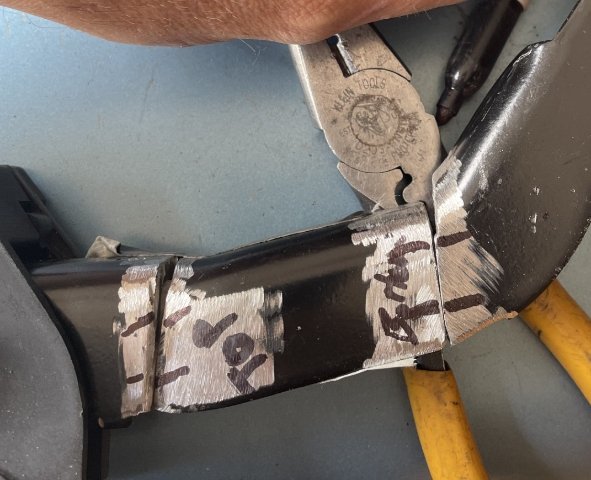
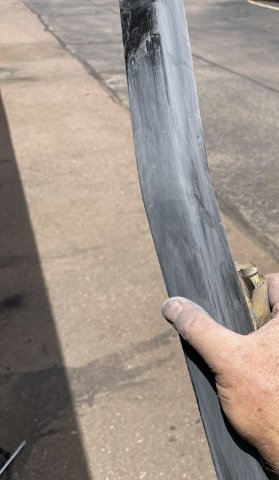
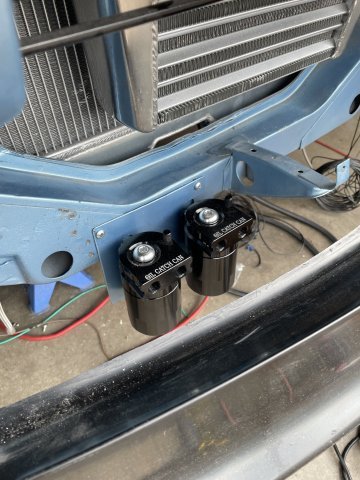
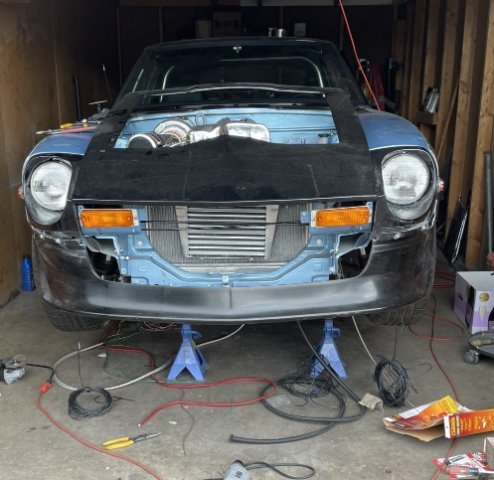
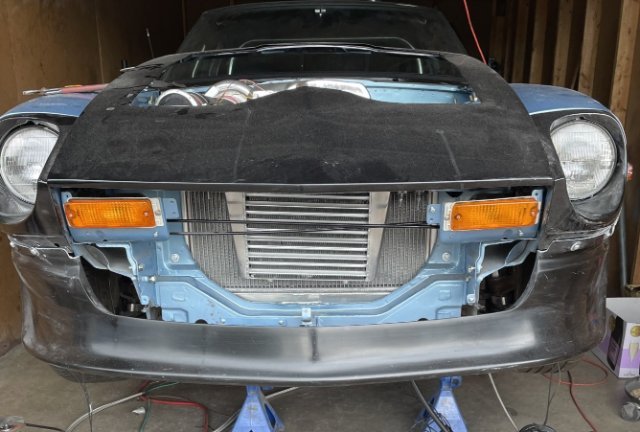
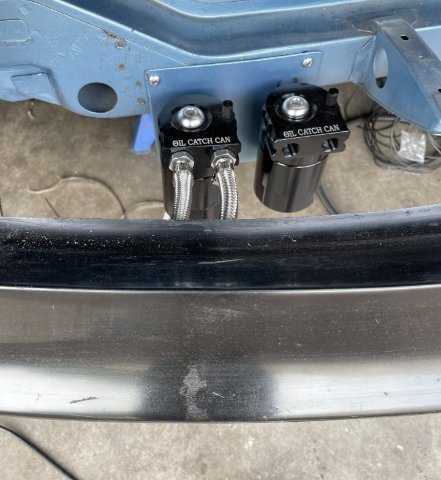
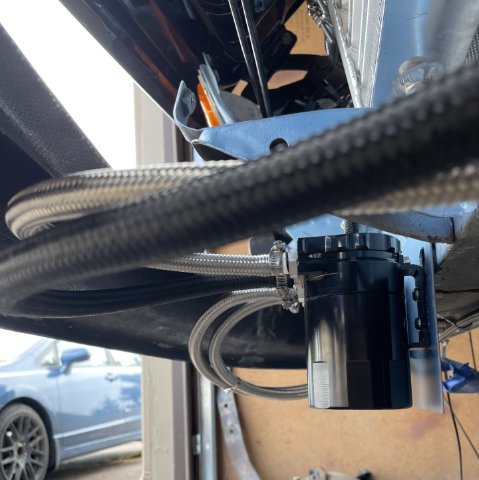
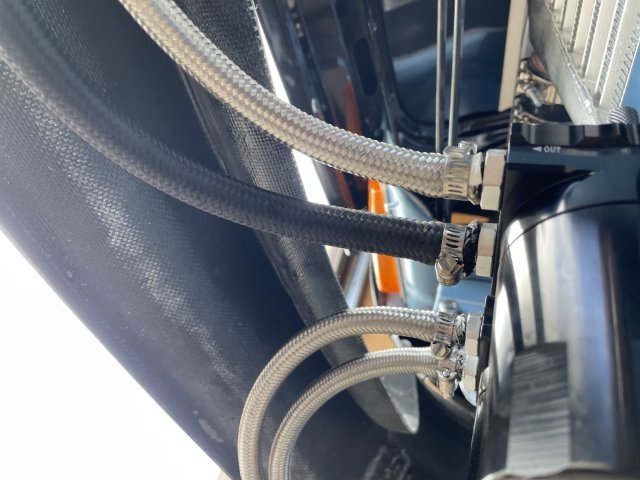
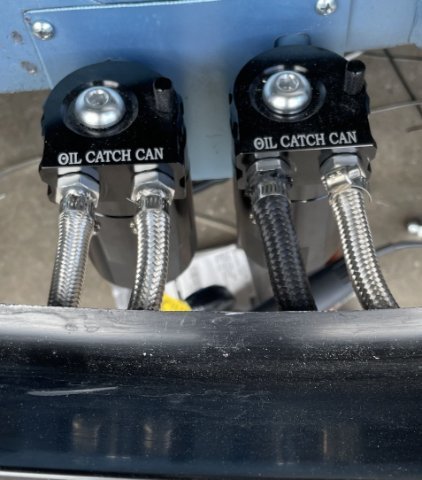
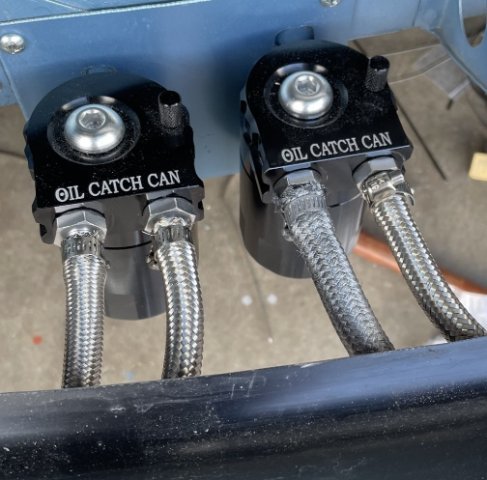
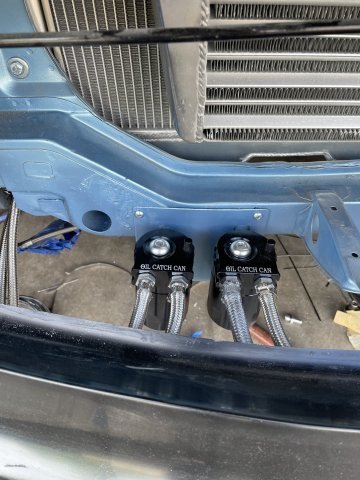
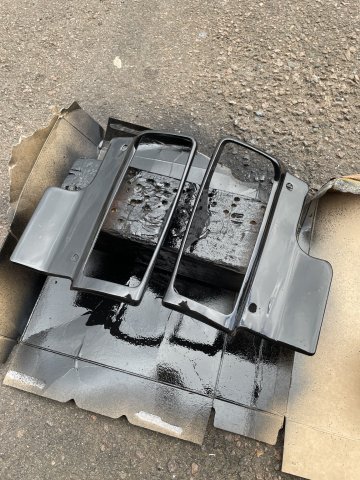
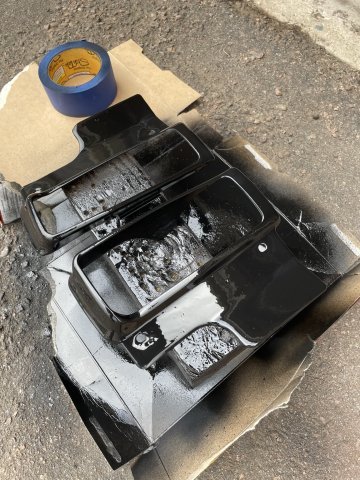
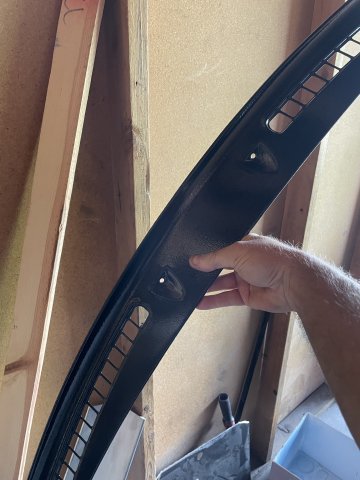
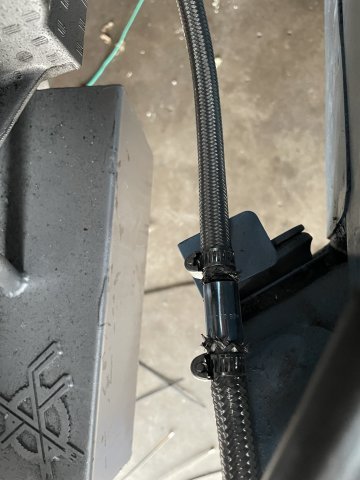
06-14-2026 ATLAS Z UPDATE: I started the day by cutting and prepping a new throttle to be welded up, keeping the angles for leverage, but removing and bends to make it straight. the one I did before did not work. It needs the bends to create leverage, and a spring mounted throttle foot pad to work correctly. the factory one is bent, so pie cuts were used to straighten it, then chopping and shortening it was required. It now heads to Wagner Fabrication to be welded up and then I will paint and install later. Then I Mounted my dual catch cans. I then mounted up my front blinkers and then went back to the catch cans....tying all the lines in, One line is black braided, and as you can see, I masked off a portion of it and painted it with silver engine block paint to help it match the others. Better than not at all! I also wiped down my forward metal dash piece and set it in then and then touched up some fittings in silver to get away from too much black. I then took my blinker surrounds that have been repaired and sitting in primer forever and sanded them up smooth with some 320 grit sandpaper, and painted them with gloss black rustoleum 2X, and then a few coats of Krylon clear. Also of note, I did cut and place a PCV valve in the breather line coming from the intake back to the catch can. So....a lot of little things today, to include tying it all up and cleand up under there. Definite steps forward today! PICS:
1 point
-
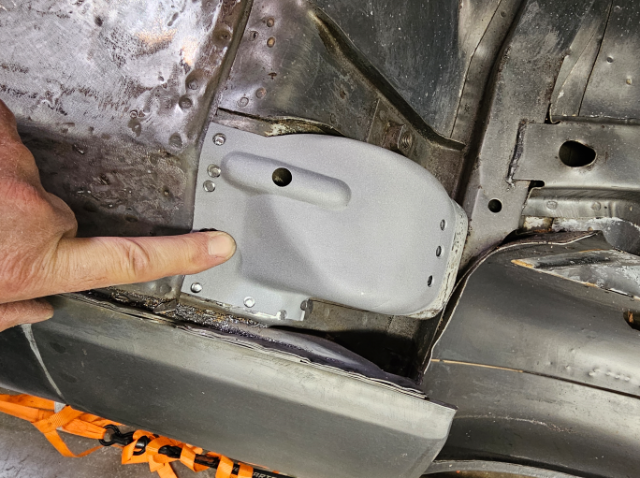
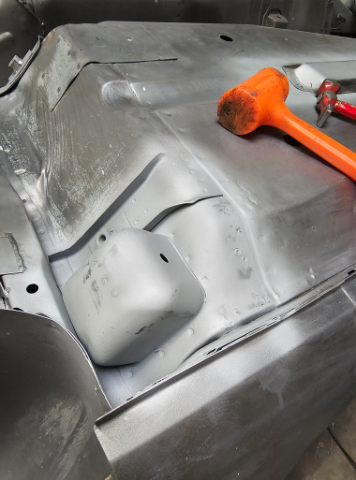
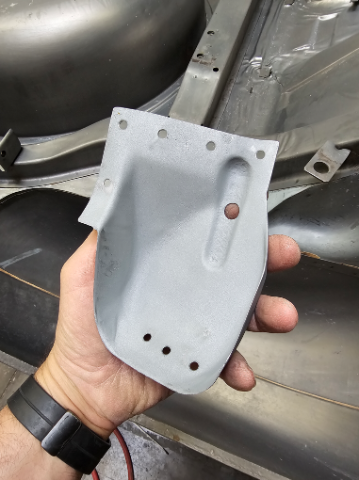
Another productive weekend. Unlike my Turbo chassis that has a late 71 build date, this car having a mid year build date has protection plates over the seat belt pockets. But of course they were used by the PO to jack the car and dented them up. I drilled out the spot welds and removed them, allowing me to straighten the dents and blast underneath them. Before: After: All sprayed with weld thru primer and ready for plug welding back on.
1 point
-
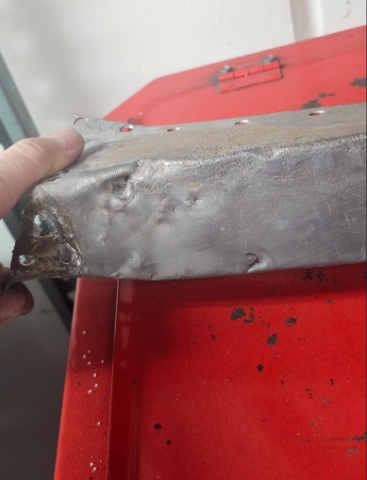
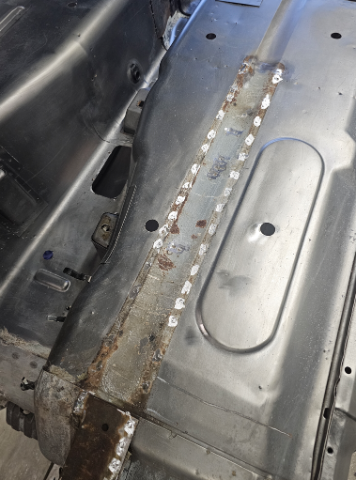
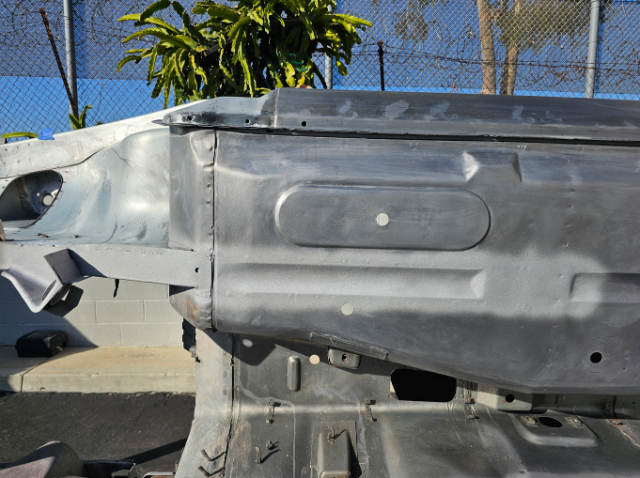
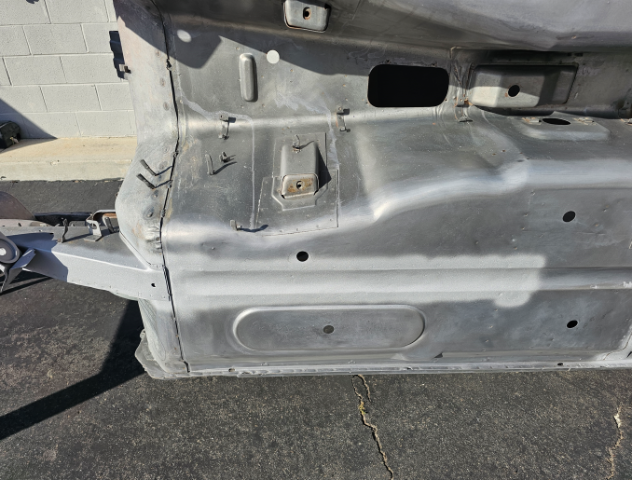
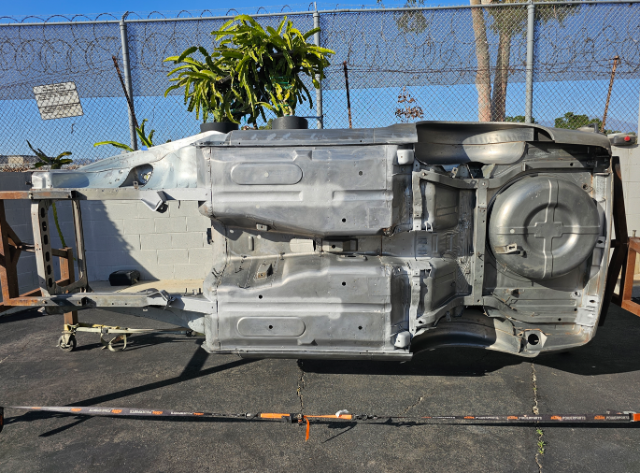
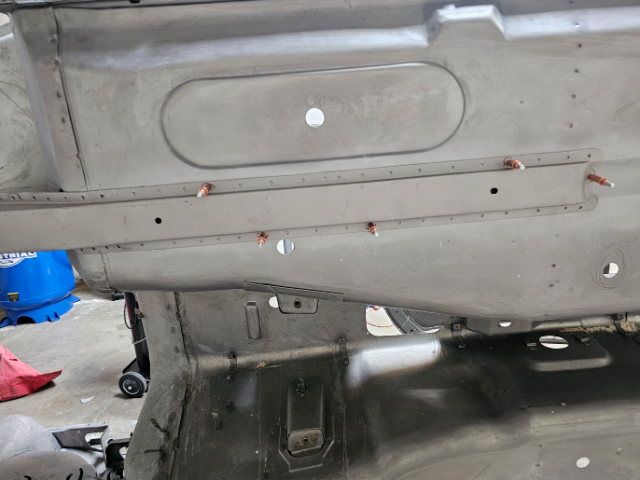
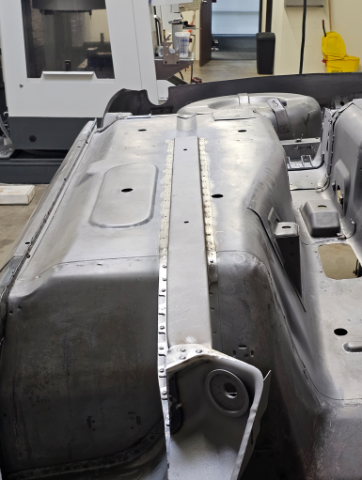
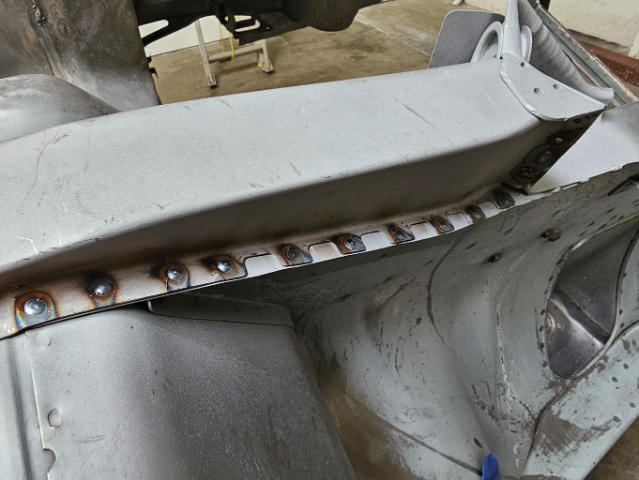
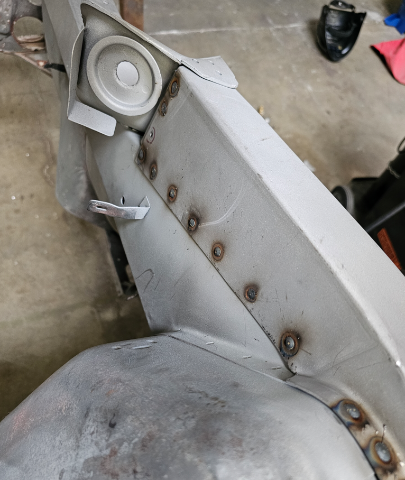
Since the frame rails were dented up pretty good from wrong floor jack positioning, I decided to replace them and this would also give me the opportunity to really get the original metal floors flat, and the metal shrunk and tight. They were surprisingly clean inside. This is the floor pan after removing the spot welds and frame rails. After some wire wheel work, and metal prep acid wash with Scotch-Brite, I worked and shrunk the metal with a shrinking rod and them smoothed it with a shrinking disk. Nice and flat getting it to what original would have looked like, leaving all spot welds and original deformations in place. I then lightly blasted the overlap areas and applied Weld-Thru paint. I then fitted the new frame rails, they took a bunch of work to get the correct shape and to match the original contour of the floor pans. I then copied all the original spot weld locations and drilled 3/16 hole to plug weld. I used several Cleco clamps to hold it in place and tight up against the floor pans. Next I used my MIG and plug welded them in place Finally I will grind smooth the plug welds More after the weekend
1 point