Leaderboard



Popular Content
Showing content with the highest reputation on 06/24/26 in all areas
-
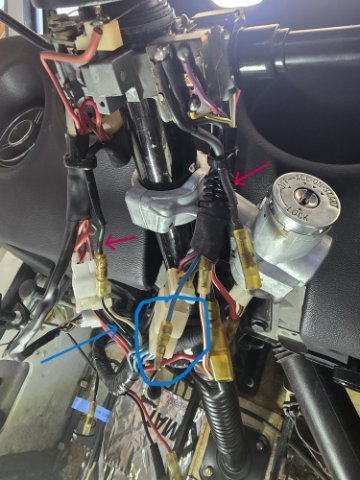
I found the wire. The black with yellow stripe comes in on the turn signal side of the switch (see picture, blue arrow pointing to the wire). I had the ground connected there. That ground, which is on the turn signal side, connects to the ground on the combination side of the switch (see picture, red arrow pointing to the wires). After that all was good. I wondered why the circuit seemed to work fine with my crossed wiring of the black to black/yellow. As it turns out the switch was finding ground through the wiper motor. As I was tracing the wires for the second time, I disconnected the wires at the wiper motor and found my headlight would go out... Eureka! Problem is now solved. Thanks again !
 2 points
 -
The settings recommended for my setup (front and rear control arms, front crossmember and quick steering knuckles) by Apex Engineered where: Front: Camber: -1.5° to -2.5° However if it's a street car, it can be reduced to negative one to even zero. Caster: +4° to +6° Toe: 1/16" to 1/8" total toe-in Rear: Camber: -1° to -2° Same as above in the front in terms of camber Toe: 1/16" to 1/8" total toe-in I agree for the most part with these specs but unfortunately this was as far as they could go at the moment. At least the car is way easier to steer now and she drives stable and straight as an arrow. The steering wheel does self-center but it could be a bit more. The rear needs a zero toe or a bit of toe in but for that I need to increase the track width of the control arm a bit and then come back for a new alignment. My shocks are a little done for (especially the right rear is nonexistent) but for just cruising around this is good enough for now. I do plan to install a set of coilovers from Intrax (local to me) or KW. I was considering BC Racing but they were discouraged by the shop if I wanted to have them last more than just 2-3 years especially since I can’t park the car in my garage. Don’t worry, she still has a roof over her head as she is parked under my carport with a cover over her. The more time goes on the more things I want to do, it truly is a never ending project. The next thing I would like to do is add a BRE style spoiler and an air dam as they are a bit cheaper then the rest of the suspension upgrades. After that I want to replace the stock shocks with coilovers and some stiffer sway bars. Way down the line I also want to replace the stock EFI system with a Halltech ECU but I will probably combine that with EFI Hardware ITB’s and a Zstory exhaust system. Separately from everything I would also like to upgrade the brakes for a full set of Willwood disk brakes at some point but that would also require increasing my wheel size to 16 inch. But my current brakes work more then good enough and I like my wheels so that isn’t really a priority. And when everything is set and done and I have some money to spare then I will send the body off for a full restoration and probably some carbon body panels. But those are really long term plans, you might have guessed but I am never ever selling my Z. This thing truly is my one and only dream car and I will pour my heart and soul into it.2 points
-
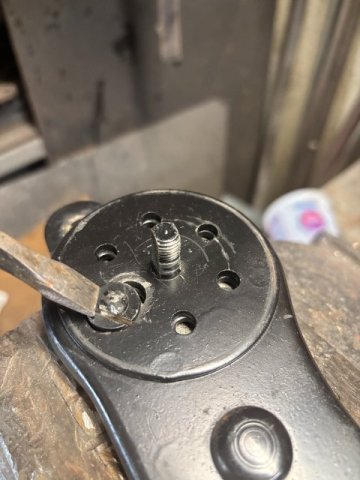
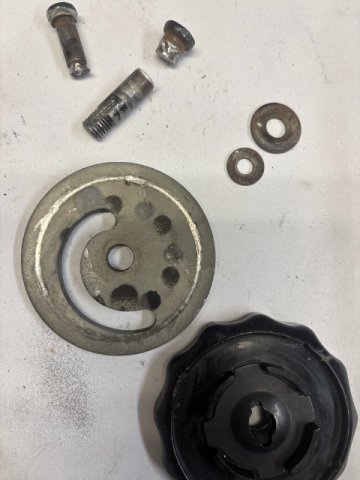
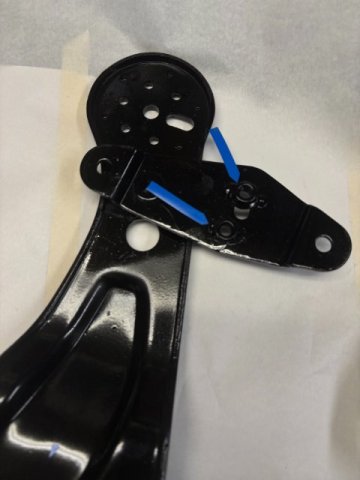
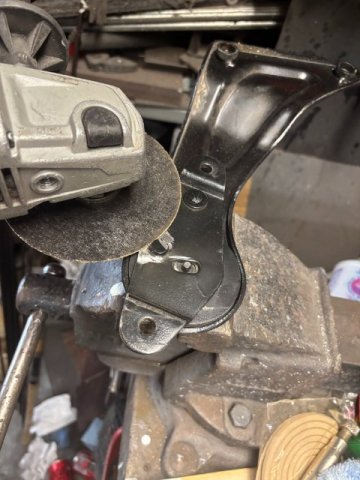
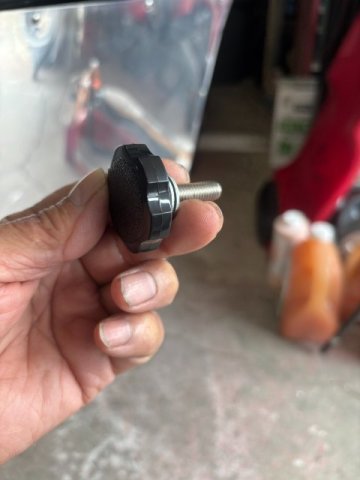
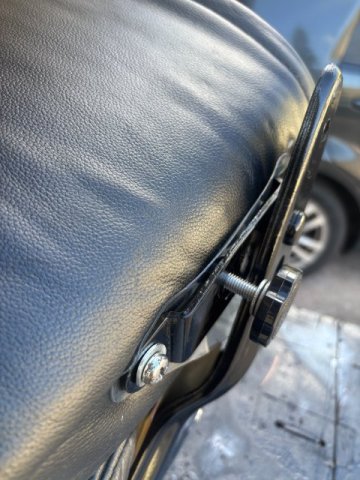
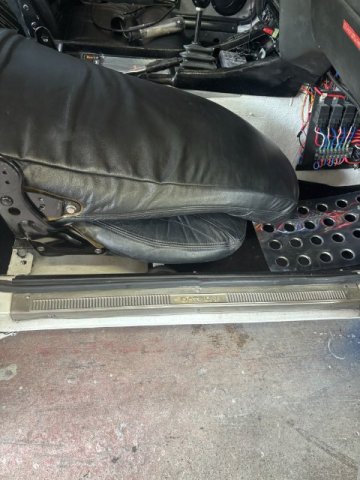
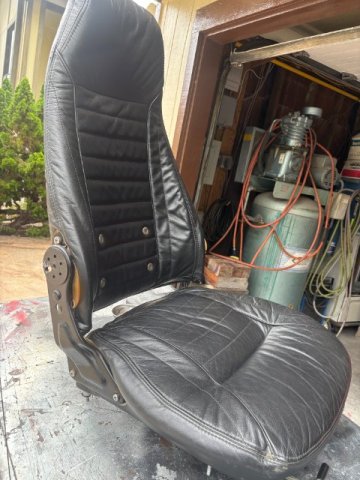
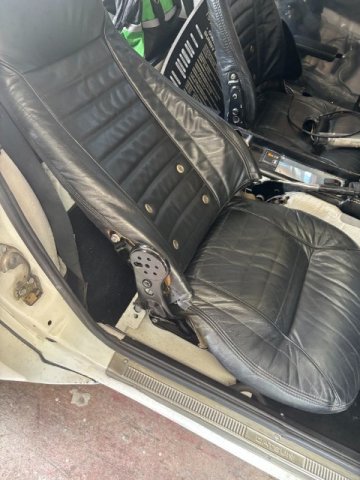
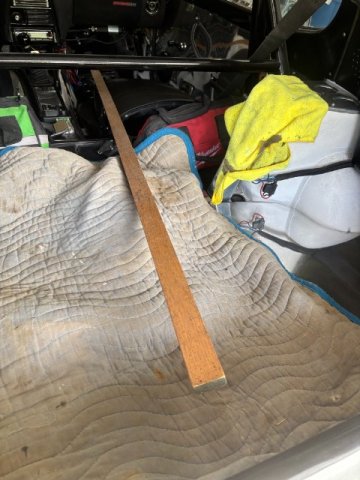
Converting the 240Z Passenger Seat in a Reclining Seat I found a need to convert my Passenger Seat into a Reclining Seat to gain additional Space. I know later models of Z cars 2 PLus 2 need to have Folding Seats to allow additional passengers into the Rear Passenger Compartment. So i removed the Factory Seat Tilting Mechanism and examined carefully. The mechanism consists of a Tilting Cam that limited the Seat Tilt to 15 degrees. A Steel Center Pin, in this case, operated as a Pivot Pin. So, removing the Cam and removing the Two Steel Pins should allow the Full Tilting of the Seat Back. First, Both Steel Rivit Pins had to be removed. A 4 1/2" Rear Angle Grinder with a Gringing Wheel was utilized to remove the pins from both brackets. Grinding the Rivet Heads off with Grinder Removing the Two Steel Pins-see Blue Arrows Internal Parts of the Seat Brackets Two Removed Rivets, Limiting Cam, and Outside Plastic Knob Weld two 12mmx 1.25 nuts to the Bracket Arms Amazon sells the new Plastic Knobs with 8mm x 1.25 x 30mm for $15. They come in a pack of Four Knobs but you only need Two per Side unless you convert the Drivers Seat too. Insert One Knob in the Center threaded hole to Lock the Seat in Upright Position. And Another Knob inserted in Center Hole for other side. Seat Folded Flat with both Knobs Removed-Maximum Space Available. With Both Knobs Inserted , Seat in Normal Position With Both Knobs Removed- Laying Back -Sleeping Position is possible. With Seat in Folded Position- There enough Space to Several 8 Foot Pieces of Lumber in your Z now. i hope this project will make your Z more useful and comfortable.
1 point
-
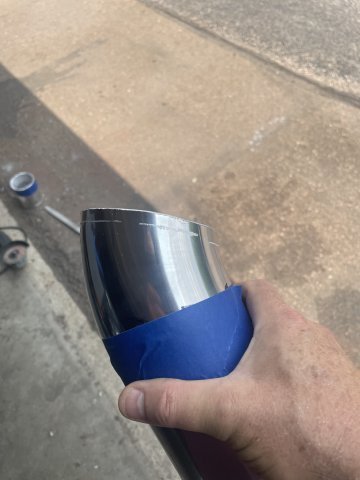
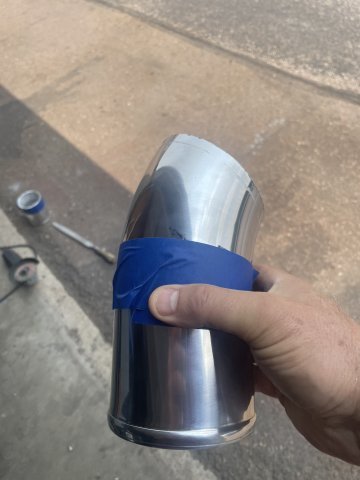
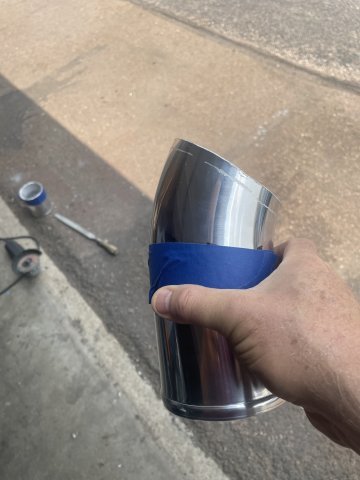
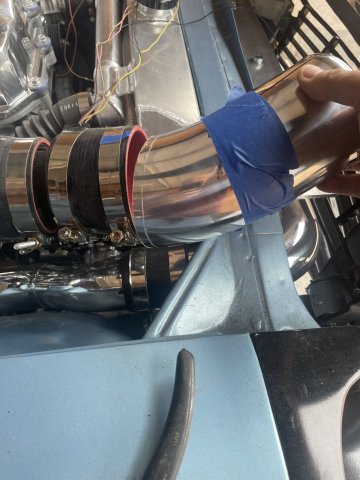
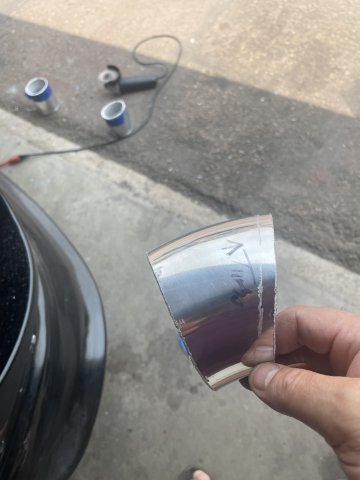
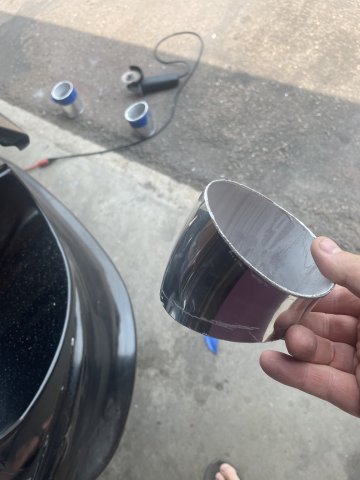
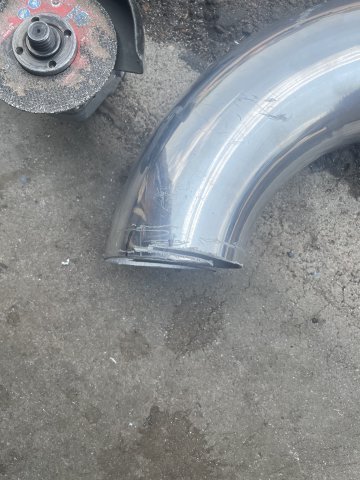
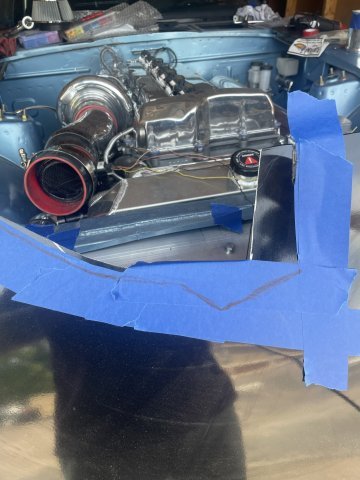
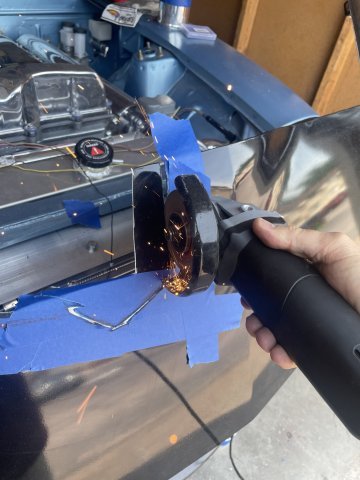
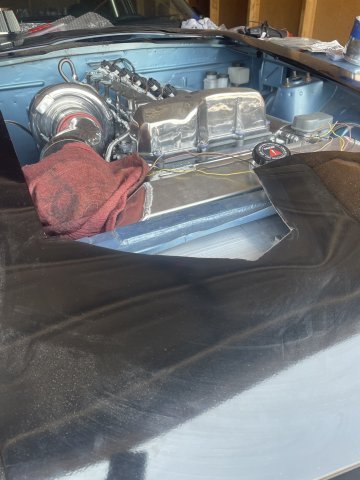
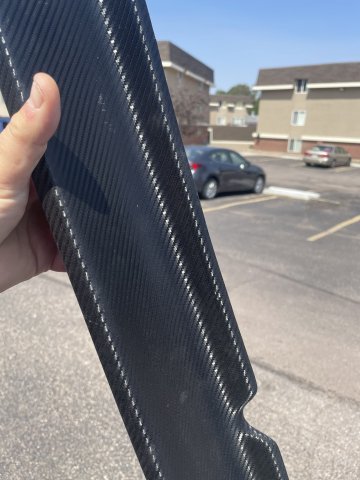
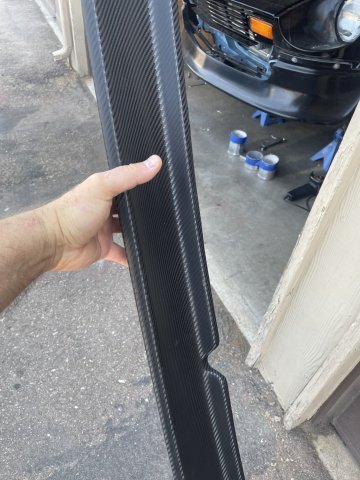
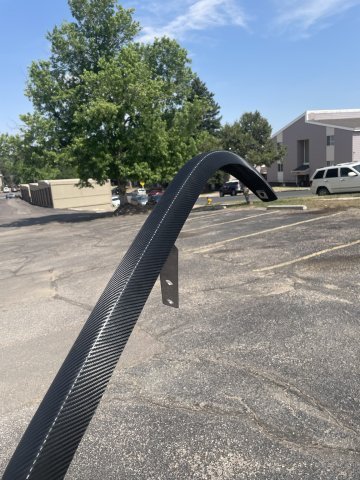
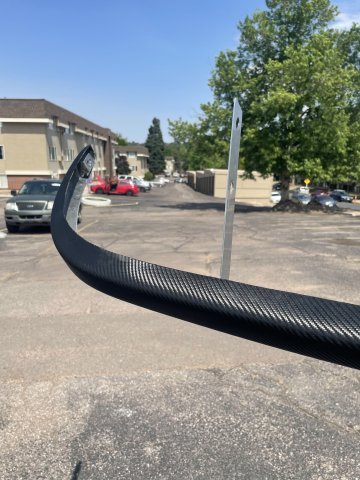
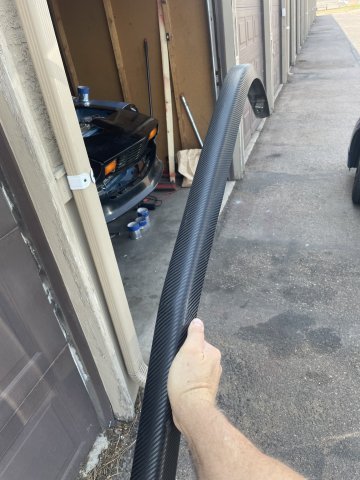
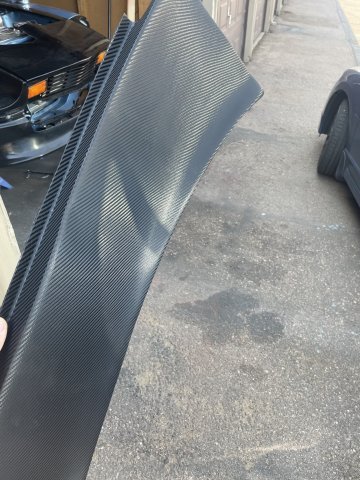
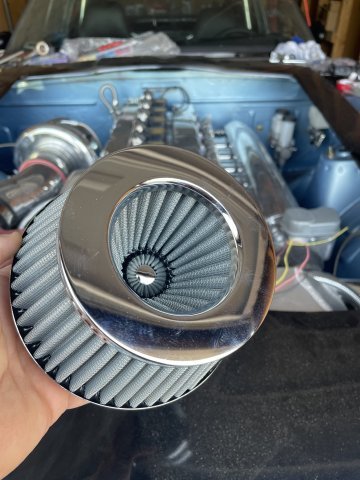
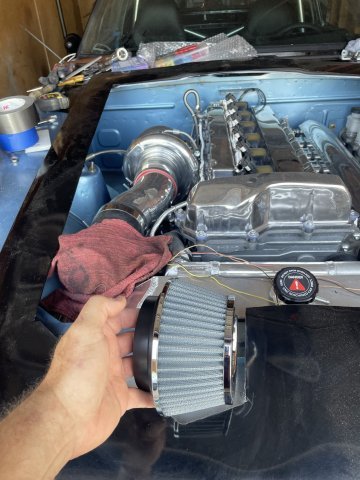
06-23-2026 ATLAS Z UPDATE. Cut and fit the 4" pipe for the intake. Using a 45 degree bend, and the 90, I cut turn/twist, cut on angles, and as you can see in the pics, trim off pie cuts to get the angles going where I want them to. This requires drawing a line where the pipes have to meet and welded in just that spot. It's exactly what I did with the other pipes. After welding, the welds are sanded down smooth and then my polisher does his part to make it look like a seamless one piece unit. I also used the new air cleaner and marked where further cutting on the hood was necessary and then cleaned up those edges. later, I will spray gloss black into the cap and use some q tips to paint the cut edge and it will blend right in. I also got the call to go pick up my 3 parts I had wrapped in black DRY carbon fiber....the cowl, rear spoiler and front bumper. PICS:
1 point