Leaderboard


Popular Content
Showing content with the highest reputation on 07/20/26 in all areas
-
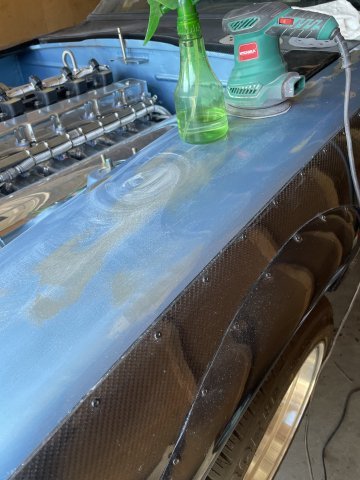
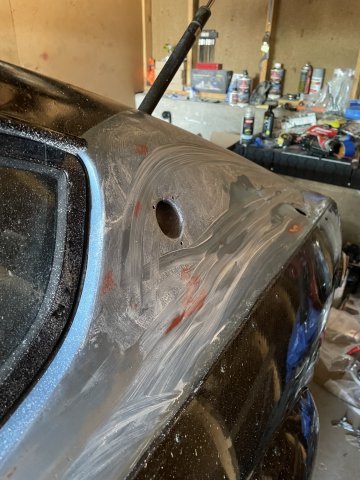
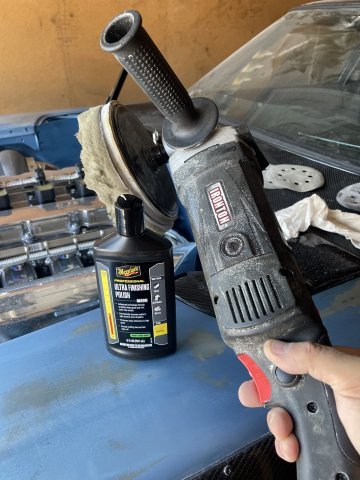
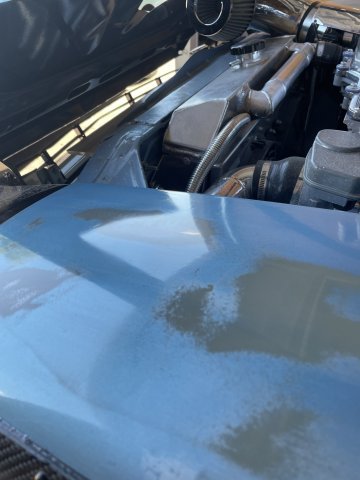
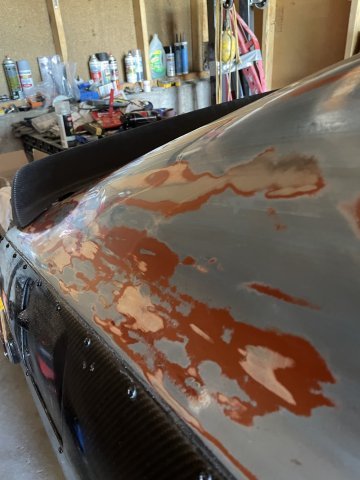
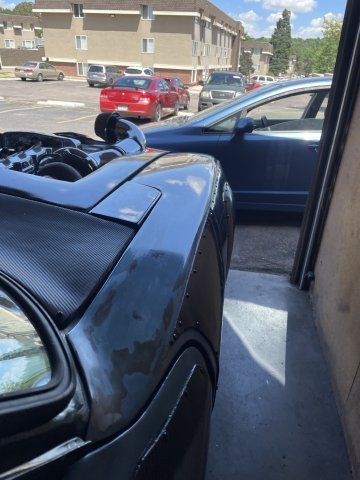
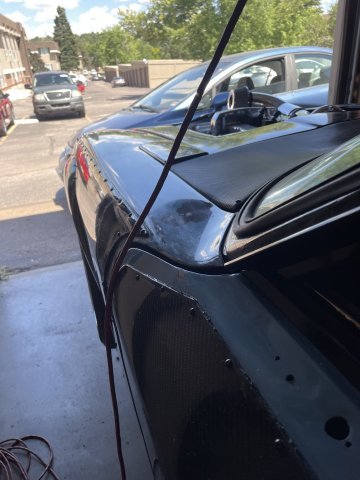
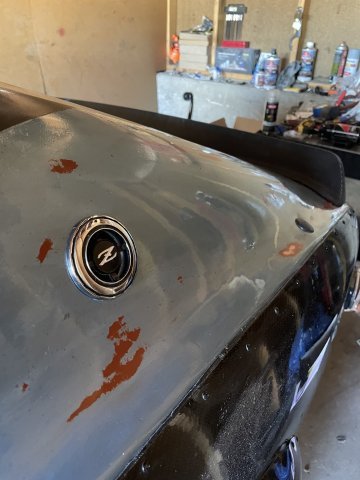
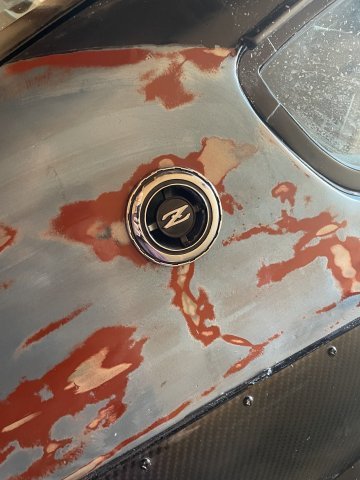
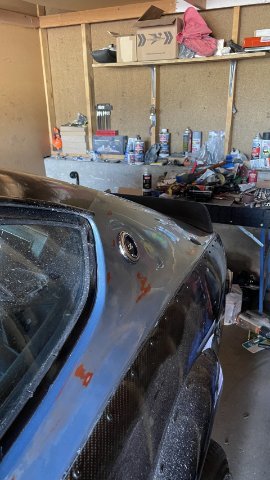
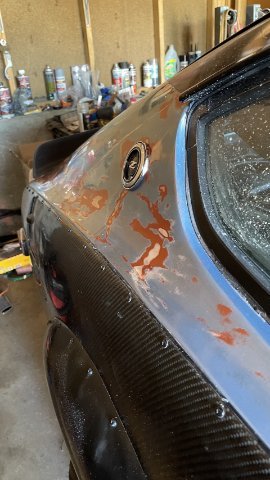
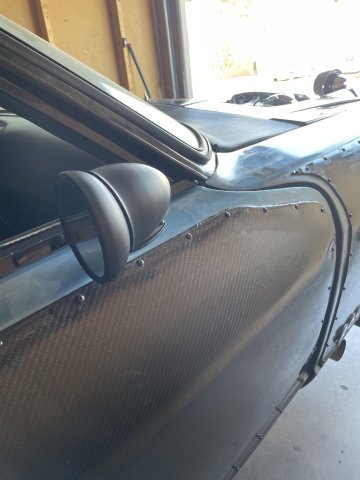
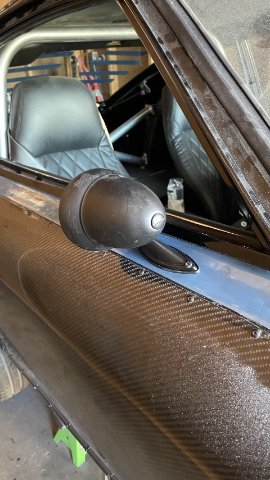
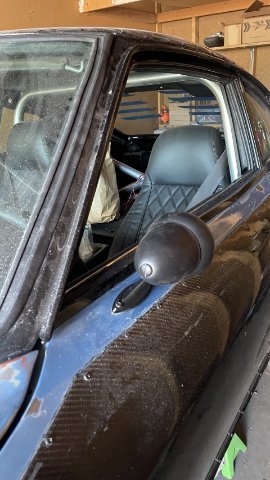
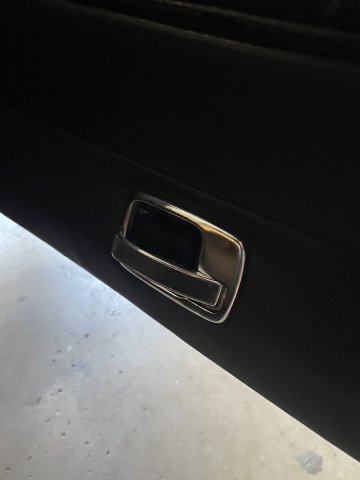
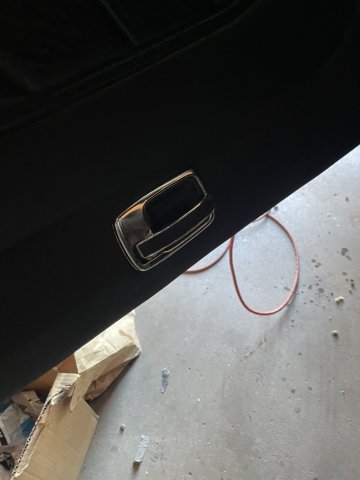
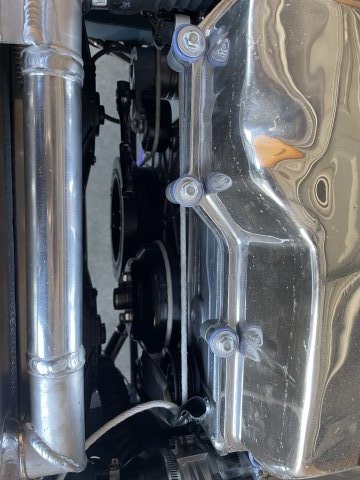
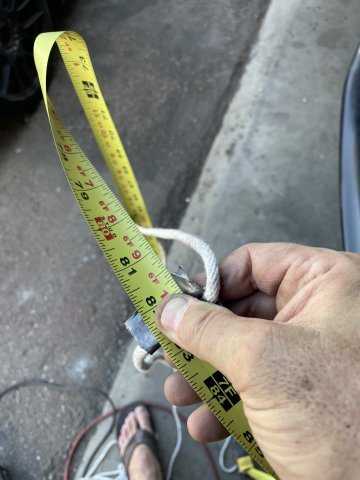
07-19-2026 ATLAS Z UPDATE: I started by color sanding and buffing the tops of the fenders and the sail panels with 2000 grit, 3000 grit and 5000 grit and then used Meguires Premium Polish with my foam pad on the buffer at medium speed. Then I re-installed the side view mirrors, and re-installed the emblems and plug for the antenna hole. Then I finished the door panels by putting the latch surround trim under the door release latches on both sides. Then I took some rope and measured out the length for the serpentine belt and the remaining brake lines, which will also be PTFE braided line form "Finishing Lines". All of this took longer than it sounds. PICS:
 1 point
 -
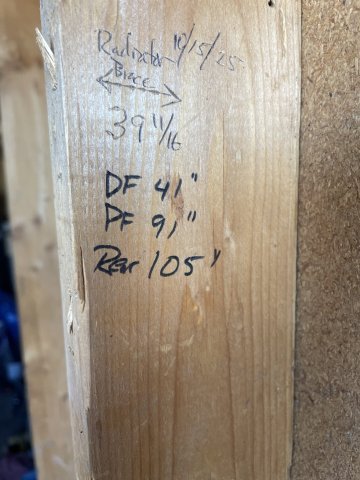
I'm not dead. 2025 was a pretty big bust though. Just way too much going on being a family man. But I've recently made some progress. Engine is back out for hopefully the final time. Finished welding up the chassis side of the engine mounts and engine bay is painted. Still need to do some finish welding in the transmission tunnel. Also fabricated a mounting bracket for the brake master (booster delete). Still to be done off the top of my head: Cut down and weld the brake master pushrod Fab new brake lines Mount clutch master Fab clutch line Install flywheel Install adapter plate for final time with loctite and such Install clutch Drain and replace fluid in transmission Clean up transmission shifter hole (rusty from standing water in it (before me)) Install transmission Install new thermostat housing Install rear coolant adapter (with gasket, was just set on for test fitting) Install intake coolant adapter Fab and install engine to engine coolant lines Finish last bits of engine harness wiring Weigh final engine/transmission combo Install engine/trans for (hopefully) last time Fabricate radiator mount and ducting Mount and plumb radiator Plumb fuel line That's starting to get down into the last bits before first fire up. I'll also need to fabricate exhaust at some point, but it'll survive running an open header for just getting it back on the ground. With any luck I hope to have it close to first start by end of August. Will depend on how many side quests I have to also complete.1 point
-
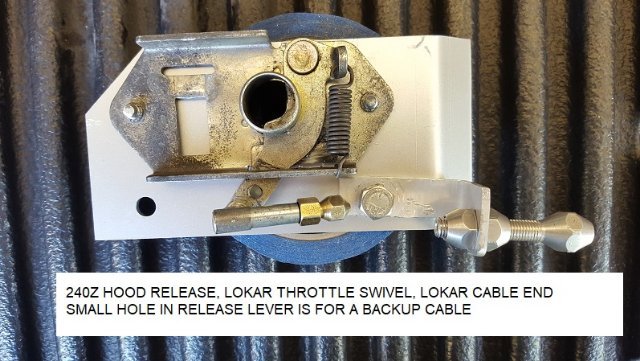
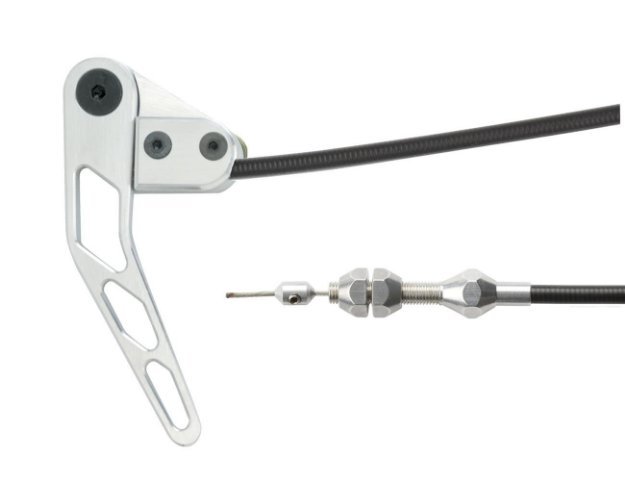
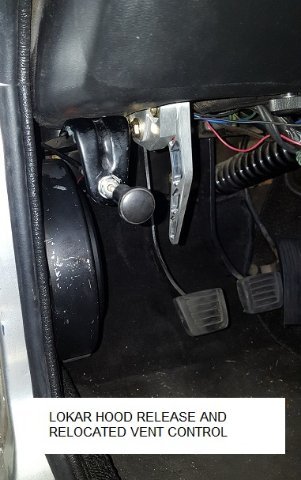
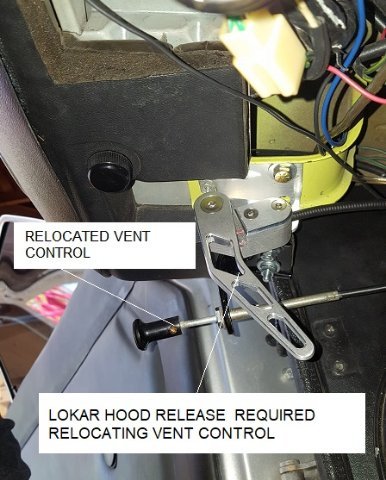
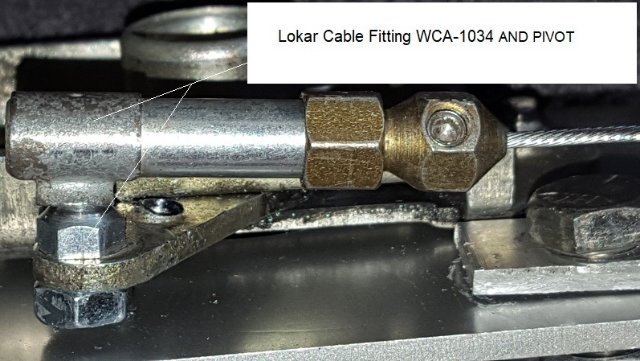
Note that this applies to my 1972 V8 240z which uses a Motor Sports Auto (MSA) / Jags That Run (JTR) style hood release bracket. The stock hood release cable tends to fail with age. If the cable breaks you will be very sad. So I decided to replace my failing hood release cable with a Lokar Hood Release Cable kit. I installed the hood release handle where the driver’s side vent control was mounted. The vent control mounting bracket is rigid and lines up the hood release cable with the stock hole in the firewall. The vent control was moved to the left of the Lokar hood release lever and bolted to the underside of the dash. Installation required making two brackets from 2” x 2” x 1/8” aluminum angle one for each end of the cable. The release arm on the stock hood latch release mechanism required modification because the Lokar cable stop would not fit into the stock cable connection. I removed the stock cable connector on the release arm and replaced it with a spare Lokar throttle cable end and ball pivot. This allows the attachment point on the lever arm to swivel as the release arm moves to release the hood latch. Summit p/n: Lokar Hood Release Cable Kits HR-1100U $129.95 https://www.summitracing.com/parts/lok-hr1100u Summit p/n: Lokar Cable Fittings WCA-1034 $33.95 https://www.summitracing.com/parts/lok-wca-1034
1 point