-
Posts
199 -
Joined
-
Last visited
-
Days Won
3
Sanchez last won the day on March 3 2025
Sanchez had the most liked content!
About Sanchez
- Birthday 08/05/1995
Profile Information
-
Gender
Male
-
Location
Saint Louis
Recent Profile Visitors
6849 profile views
Sanchez's Achievements
-
Haha yeah I wish I had Rocket Bunny kit money… even if I did have those funds I would probably just buy a bunch more metal fab tools and make my own metal body kit. I’m a fan of the sleeper look which is why I’m just going with some Marugen Shoukai ZG flares. I made sure to get the thick fiberglass version. Edit: I may even skip the fender flares if I can fit 245/40r17 wheels under the original fenders.
-
@hazesleepgod I’m in the midst of a VQ37VHR swapped 240Z at the moment, and while I’m still in the body and rust repair stage of mine I have gotten my VQ running on a palette with wiring and ECU done by Hexa Garage. Z1 sells what they call a 400hp package which is rated at the crank and most people I’ve talked to who dropped $5k on a tune, plenum, and exhaust combo (absurd price for stuff you can do if you are competent or go to an exhaust shop) said it woke the car up noticeably, but couldn’t help feel like they got robbed a bit. And some dyno charts show that the Z1 dyno results maybe on a dyno that reads high, as most purchasers dyno closer to 320 at the wheels after some dyno tune sessions. Ive put in tons of research to getting the most out of the VQ engine using NA power and ultimately one would spend thousands on the engine to reach over 400hp/tq to the wheels. The few I’ve seen doing this are dedicated race cars that need to meet class restrictions, and to get there they are going full race mode with crazy cams, oversized titanium valves, heavy valve springs with titanium retainers, heavy head porting, completely revised/custom intake plenum and lower manifold or ITB’s, and a number of other expensive modifications that require taking the engine apart like high comp pistons and even stroker kits. This equates to a car that that would be unbearable as anything other than a track car with $15-25k spent on an engine that loses a bunch of reliability because that peak power requires spinning it out to 9k RPM (lots of power up top, but not much under the curve). Ultimately you will have more reliability, more power, and better drive-ability with any forced induction at 1/3 the cost of making 400 to the wheels NA. I think Z1 sells a I decided that the VQ will be an absolute blast completely stock in any S30 chassis, at least that’s what I want. A few bolt-ons and a good tune can free up some power and get you over 300hp/tq to wheels especially with some lightened rotating mass via flywheel and rim/tire choice. Some intake plenum and lower manifold porting, headers (though the factory ones are already basically tubular stainless), less restrictive MAF tubes and air filters, and a free flowing exhaust can be done without opening up the engine and net you about 300-320 to the wheels. If you did want to go a bit further and open the engine you probably wouldn’t hurt drive-ability too much with a set of mild exhaust cams which might get you around 340-350 with the previous modifications to engine parts and drivetrain. If you wanted to go further and still have the car keep its manners some 12:1 pistons could get you right around 360 to the wheels though you would need access to high octane fuel or ethanol blends, upgrade the fuel system, and could never throw forced induction at it with out removing those pistons. The last 40hp to get you to 400 is where the prices and effort starting getting absurd and not worth it unless you race professionally or want to excuse to never have to go on a car cruise with your friends.
- 4 replies
-
- 1
-

-
- advice
- performance
-
(and 2 more)
Tagged with:
-
Ugh life has been a whirlwind. Some medical (both my dog and myself) reasons and necessary home renovation projects have really put the Z on the back burner for the past few months. Not to mention my daily which had been trouble free for 3yrs is now breaking down on me as I leave work for the weekend like clock work the since December. I think it’s time to retire the ‘06 Altima beater, but I nabbed a Mazdaspeed6 recently and I was hoping to have the Altima a little longer so I could rebuild the Mazda engine. Well either way it’s left the Z neglected a bit, but rest assured this isn’t an abandoned project. @67greengt there shouldn’t need to be any reason to cut the firewall for this engine to fit. Any premade mounting solution should have the engine centered for best location without any majoring cutting if your Z has a great body to start. It is shorter than any I6 or modern V8 swap so it makes the car almost a front mid-engine layout. The only interference is the stock trans mounting braces welded on the trans tunnel that have to trimmed or fully removed to fit a CD009 trans. @DHS There are a few companies that can help out. Zfever out of Tampa can do it all making you the mounting options or instructions for modifying the stock Z crossmember yourself, and can do the wiring and ECU modification necessary to run it. I went with Apex Engineered for a custom front crossmember and Hexa Garage for the ECU and wiring.
-
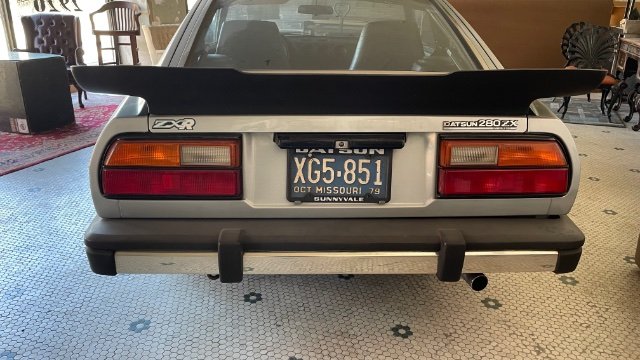
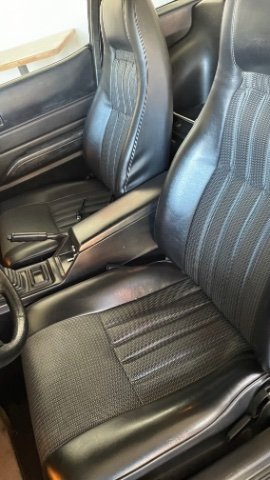
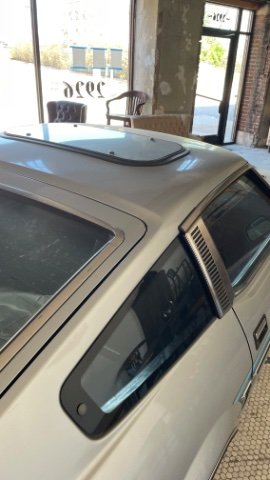
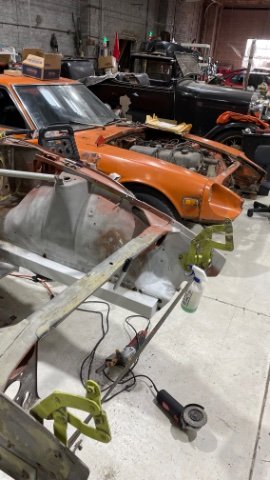
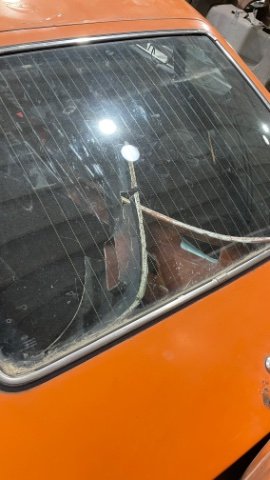
Progress has been slow as I’ve been working on a 76 Cutlass for a client to pick up some extra cash because buying a house with a 2 car garage ain’t cheap. Though at the moment we have a pretty cool piece of Z collector history come into the garage for some work before it goes to auction. A 280ZX-R. It’s got surprisingly good interior and mechanical wise, but the sunroof was unfortunate to see. Odometer says 930 miles but it has likely rolled over, been replaced, or is broken. We should have it up on BaT soon for those interested.
-
I made the same mistake setting my L28 rebuild I did in high school. I realized my mistake and Corrected it after having some noise on the drive home. It’s an easy mistake to make. Check the lash semi-regularly too. For a while after break-in I had one valve that would lose adjustment slowly until about 1,000 miles on the engine when it finally decided to stay where I set it.
-
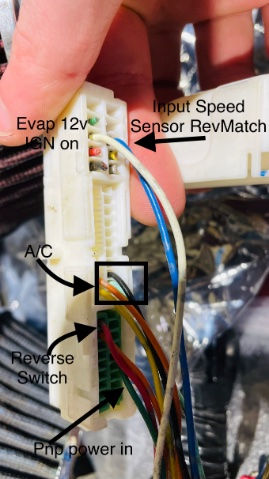
@Gumiho3 If you are referencing this picture then yes that is a green wire that supplies power for the PNP. In my case Hexa Garage never hooked up the wire running from my PNP to the ECU so I was powering that green wire at the plug but it never told to ECU to trigger a start signal and I had to borrow a snap-on diagnostic tool with Nissan protocols to see that, so you may want to bypass your PNP switch entirely and just run a signal directly to that pin on the ECU plug. I’ll check my FSM quickly and get that pinout for you. It is pin #109 (marked it on the image). Remember this pin out is from the harness side so it is as if you are looking through the connector when the wire side is facing you.
-
Sounds like it might be able to work both ways. I would assume with some additional chassis bracing it would be less likely to flex in that area, or the Z might be pretty rigid in that area already. It would be interesting to hear from a couple other people who have gone the sealant route and hear what kind of sealant they used (how hard/soft it is) and whether or not they had any sort of other chassis bracing done (stitch welds, cage, strut bars, etc). If I remember the Precision brand window gasket has an issue with gaps in the corner and I could see sealant being helpful in that case, but my 50yr old original gasket was still pliable with no leaks and held the chrome trim fine when I removed it (not a spot of rust in the windshield channel either). I think I remember a thread not too long ago about the possibility of “frenching” the windshield by having glass made a little larger in the dimensions and deleting the gasket entirely for sealant. It might have some more information about using sealant. If it turns out nobody is having an issue with using sealant than it’s probably just down to dealers choice.
-
I asked a buddy of mine (he’s an auto glass maker for customs and does a lot of windshield repairs for insurance) when he brought over some tools to help pull my glass from the Z. His response was to do it exactly the way it was done from factory. That would be dry install using a quality window seal. His reason was that some of these older unibody vehicles are designed that they tend to flex around the pillars, and the heavy duty sealant that is used for glass install can be hardened to the point that when the chassis flex’s a bit it can crack the glass. Now depending on where you live or the cars purposes you may have flat roads all the time, but in the Midwest I can definitely see how some of these potholes on the road could easily cause that to happen.
-
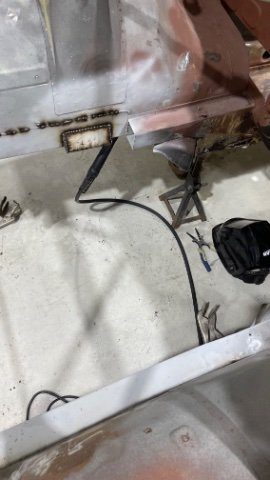
The build is going slowly, work has been hectic, I’m buying a house, and family member health has me slammed. I still get a few hours of work in on Sundays and when the weather is nicer I can squeeze some time in on Mondays hopefully. I have nearly finished up the body work on the front half of the car since my last update. Just working on getting some crush sleeve installed at the sway bar mounts, then I should be ready to mock up engine and trans placement. I haven’t fired up my engine in a while, but when I did it didn’t have surging issues. When I got my wiring and ECU modified by Hexa Garage they never connected the wire from my neutral safety switch to the ECU, so I had to go into the harness and make that connection. However; that caused “no start” logic so the engine wouldn’t even fire until it was fixed. But I maybe able to help you diagnose with some knowledge I have from my RX8. When it gets cold and I haven’t driven the car in a while my idle surges at idle until I press the clutch and put the car into a gear. Then after some driving the trans warms up and the neutral switch stops sticking. Modern car logic has different idle speeds for different situations on cold starts, so neutral with clutch off it will high idle until up to temp, but once in gear it lowers the idle so you aren’t trying to shift into first at 1500rpm from a stop. The sticky neutral switch keeps pulsing the on/off signal to the ECU causing it to go from out-of-gear-fast-idle to in-gear-fast-idle. Add that to the fact you need to do an idle relearn and It makes sense why you are getting such a huge surge from 3000-800rpm. If I remember correctly the neutral switch (and clutch switch which could also be at fault, so try the test on both) are just voltage on/off switches, so try feeding a 5-12v signal to those wires going to the ECU using a power supply or spare battery and report back if anything changes.
-
hazesleepgod started following Sanchez
-
Bushing for emergency brake control lever.
Sanchez replied to LooseRocks's topic in Brakes, Wheels, Suspension and Chassis
That Autozone grommet seems like a decent replacement. Though when mine came out it seemed like it was originally a hard plastic, and not rubber that turned hard over 50yrs. My plan was to turn one on a lathe out of a small puck of delrin. Now most of my linkage were so rusted and seized they had to be cut off, so if anybody has a line on reproductions or DIY solutions I’d appreciate a PM with the info. -
I don’t know exactly where you are located (I.e. sunny Florida or an overcast northwest state), but with polarized sunglasses being so cheap I never even use the visors in any of my cars. I just keep a pair of sun glasses in each one. That’s my money saving tip… on to an actual solution if you want them for the originality of the car. The Z sun visor I found basically ineffective in Florida. They are small and line up in way the sun would still peek through the top side. A modern retro fit could end up being harder to do than just finding them from part out and taking the visor off the swing-arm and making your own that fits better out of some aluminum, plexiglass, cardboard with a leather or vinyl cover. I plan on putting mine in because the lady likes to use it. I’ll add it to the list of things to make a how-to on when I get around to it.
-
They do need to be chopped right at the down pipe flange and rotated to clear the transmission tunnel for any stock or stock-like aftermarket header. I may chop it and extend it to use v-band clamps instead. I still haven’t decided on it. I just got back to working on it after a few months break to focus on opening a new laboratory facility at work… but in that time I came across a series 1.5 for a steal and picked it up. The unibody is pretty tweaked, but it has some solid parts, perfect glass, and I’ll probably end up parting most of it out and use some parts for myself.
-
So it’s been a while since an update. Progress stalled due a lengthy vacation followed by work being short staffed after I returned, followed by changing jobs which required opening and running a new facility, and finally an MG B that came to the garage for work that I ended taking on. A real whirlwind of stuff building up, but I’m ready to jump back on the Z now. Apex Engineered got me a new rear knuckle to fix the issue a bolt hole being unusable so I’m hoping we will get a video of the kit up on our YouTube soon.
-
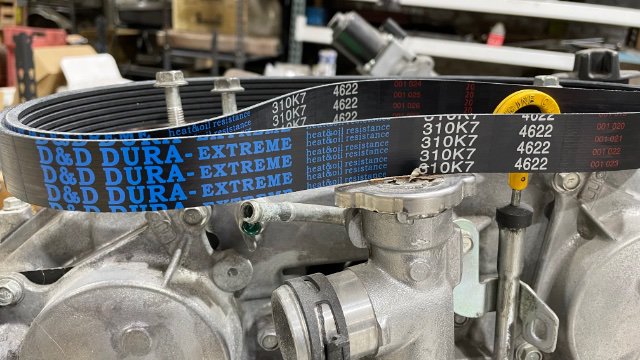
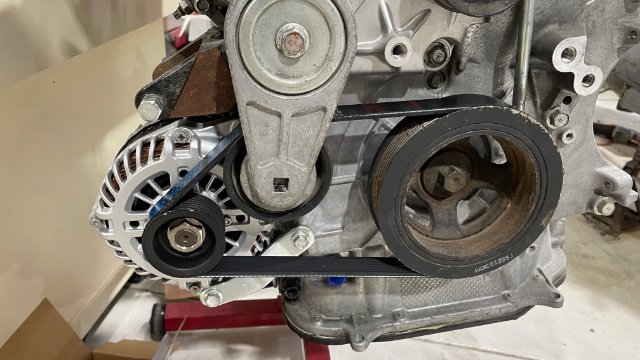
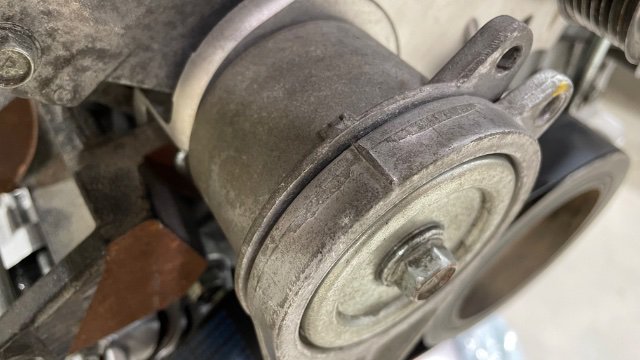
Quick update: Belt Finally found a place with the belt I suspected would fit perfectly. It’s a D&D Powerdrive 310K7. Perfect fit for no accessories. Haven’t run it yet but the tensioner marks line up perfectly and it goes in with no trouble or prying of stuff required.
-
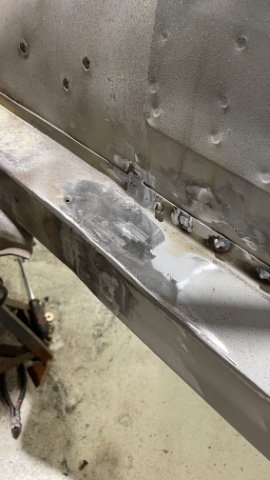
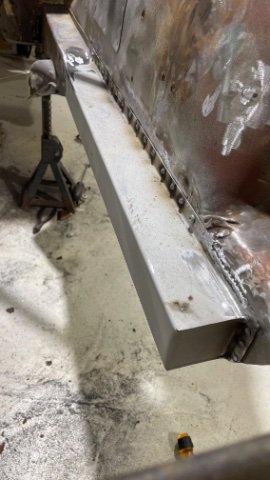
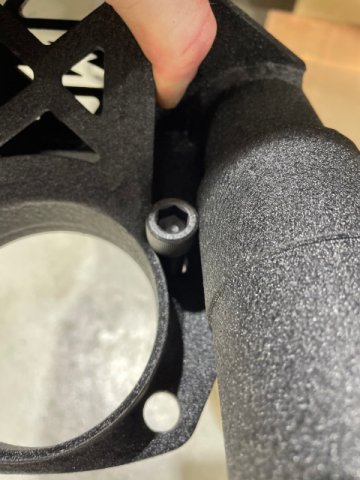
Realized it had been a minute since an update. Life and full time job getting in the way of doing serious work on the projects as you all are very familiar with. But I got some head way and updates. Engine: there is a company D&D Power Belts that makes a 31.75” outside circumference belt with 7 ribs that is a fit for the VQ37VHR with just an alternator and the stock tensioner. The part number is 310K7; however, they don’t have it in stock and it took 3 purchases from different suppliers who all sent me 315K7 instead before I finally got an answer that it would be a few months before they have it in stock. Would’ve been nice if they actually told me that before I had return multiple belts… Body: Driver front frame rail all welded in and started my cut for the patch on the passenger side. I’m going to do simple box tube to tie them together when done. Also started modifying the front front core supports to run the intakes for the engine up to the front out of the engine bay. Apex Parts: I’ve run into a few issues with the Apex Parts. They sent one of my rear knuckles which was welded to the coilover sleeve incorrectly causing the hub bolt to not clear. While they have been very responsive they still have not sent a working part out like they said they would. It’s been a bit frustrating, but I don’t exactly need the part at the moment and I understand they are busy fulfilling other orders… it just seems like this should’ve been sorted out a while ago and shouldn’t require me reaching out almost every week and still just hearing that they will get me a new one out.


