-
Posts
106 -
Joined
-
Last visited
-
Days Won
2
Content Type
Profiles
Forums
Blogs
Events
Gallery
Downloads
Store
Everything posted by Tank
-
Thanks! The gas tank is mounted just like stock, I have the rubber pads. 2 on the lower part and 2 on the upper if I remember correctly. No rattles, all good.
-
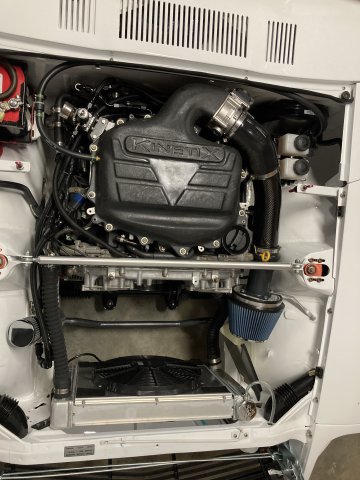
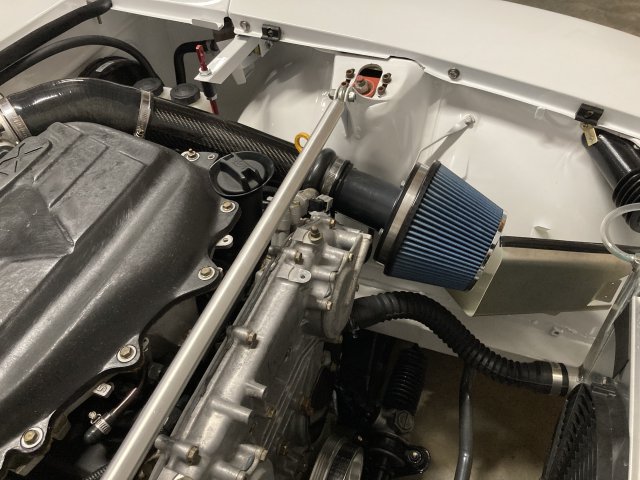
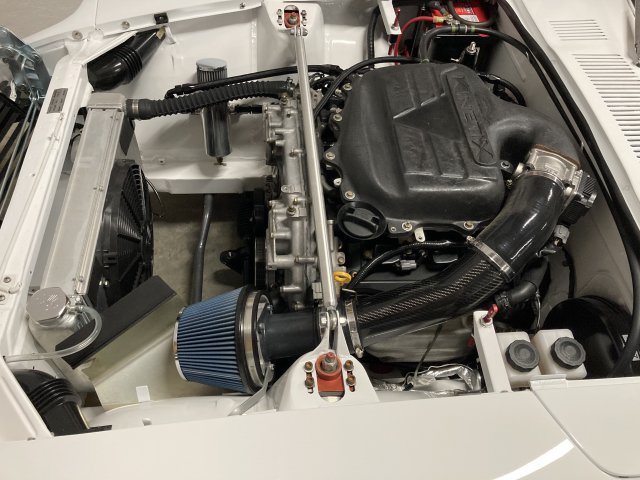
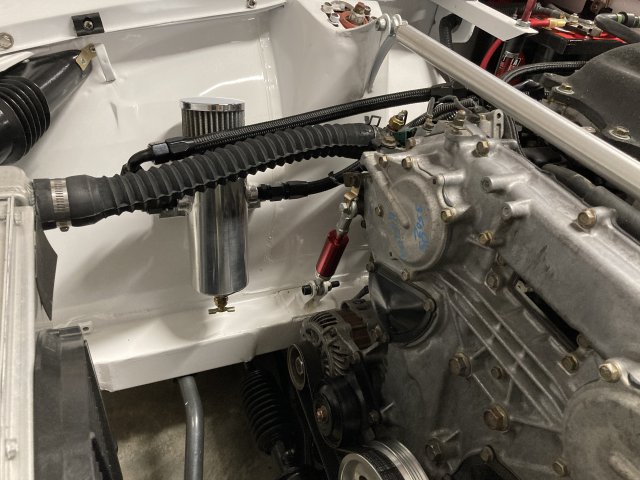
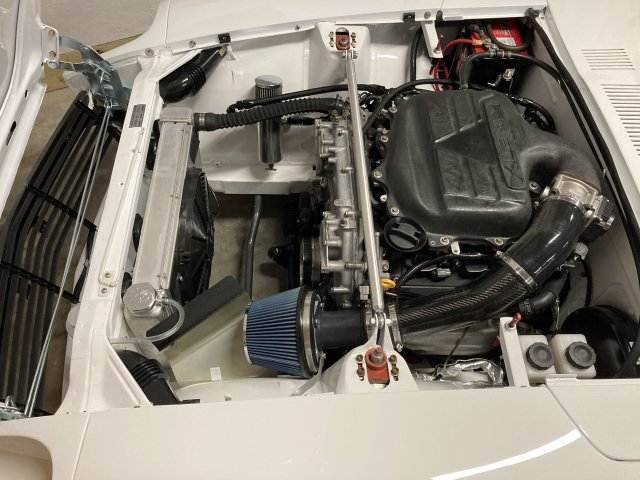
Absolutely, it's stored for the season but I've been enjoying it for sure. I think mine was particularly difficult to bleed the cooling because I deleted a lot of the piping around the motor which left me some nooks and crannies for air bubbles. Changing to the expansion tank helped it as well so it could push/pull coolant with heat cycles. An oil catch can is optional, not a must have. And the one I have vents to atmosphere rather than recirculating vapor. I don't mind smelling oil. As for the plenum, it's optional as well, the kinetix flows better than stock and is light being that it is plastic. I never drove it with the stock plenum so I can't speak to the differences. If I had an entire car, I would probably change the rear to the 350z parts. The one modification I'm still looking at is changing the entire rear setup. There's just too much drivetrain slop in my current setup.
-
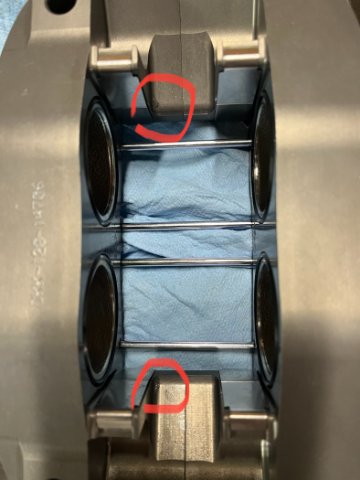
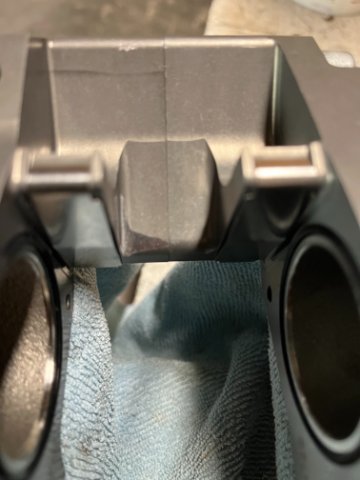
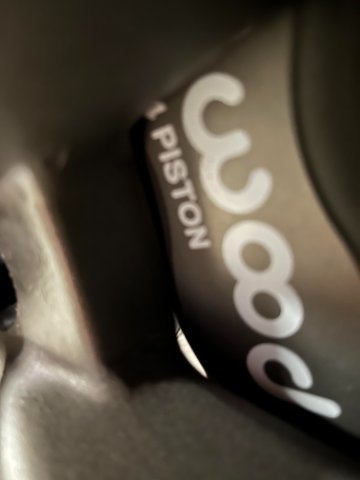
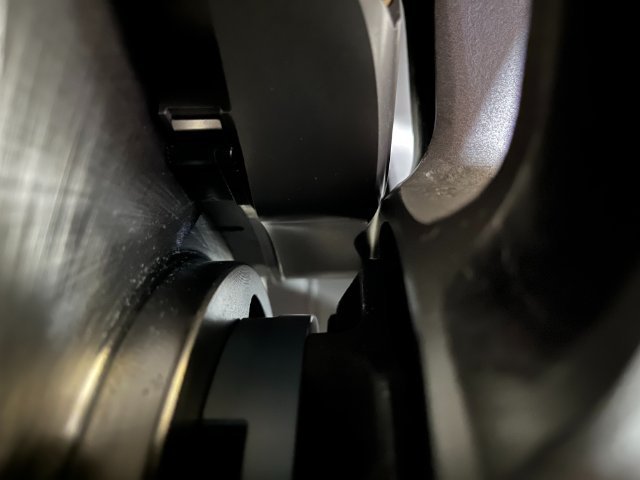
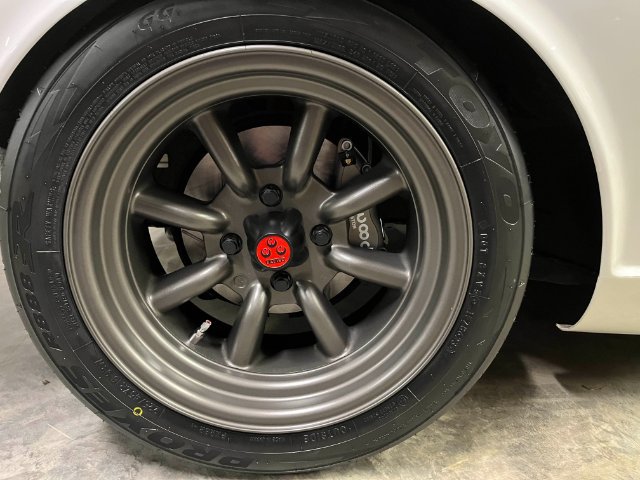
@Dat73z Sure did, the wheels fit with the T3 Micro BB Kit, no issues. Super tight right at the hub, but clears. Keep in mind these are 16x8. So barrel clearance was never in question for me. I too had rota rbr and those have great clearances. I suggest downloading the T3 template from their website. I did that, cut it out of cardboard, and test fit it to the wheel. The last picture looks a bit closer that it actually is due to the angle of the phone. The issue I had is with the kit itself. The brackets place the caliper out just a touch too far to account for rotor runout. Tolerances are that tight. I ended up filing the calipers for clearance of the rotor. If the caliper was exactly centered on the rotor, this probably wouldn't be an issue. Below you can see where the rotor contacted the caliper. I believe the rotors are for a 300zx, they seem to be the same as the rotors I had.
-
Nice option for sure, thanks for sharing. I'm going to try the T3 micro bb kit. They are supposed to work with as low 14" r type (I have 16") but it's the caliper clearance that's the issue at the hub, not diameter. Has a 274mm rotors, current rotors are 289mm. I'm not going to miss 6% less surface area. I drive it hard but for short durations and could probably make up any difference with better pads. https://technotoytuning.com/nissan/240z/240z-front-micro-big-brake-kit
-
Trying to get a sense of what everyone is running with their Watanabe type R wheels. My wheels just showed up, I wasn't expecting them until August so I'm not prepared to change my front brakes. I have the S12 setup currently and those don't work, and I'm not using spacers. With that, what front brakes are everyone using with their wats?
-
Right! I was talking to a guy about that recently as well. There is another show or two in October so this may be the last show quality show. It needs to be used as designed.
-
-
I have an MFactory helical unit in my R200 and am very happy with it on the street. I can’t speak to how it would react on racing slicks though, I haven’t heard of anyone using them racing. But it does have a lifetime warranty.
-
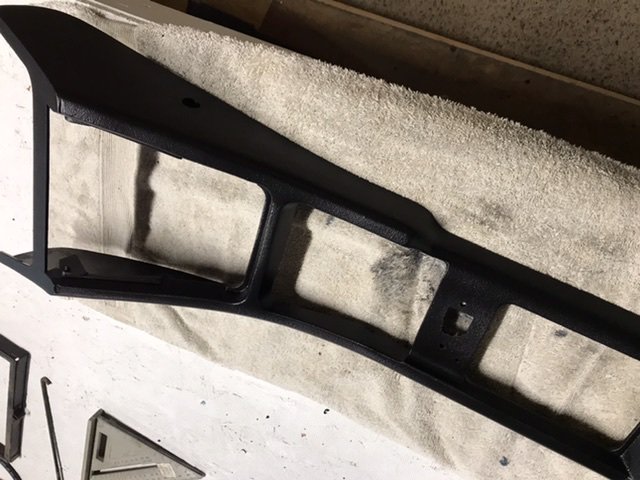
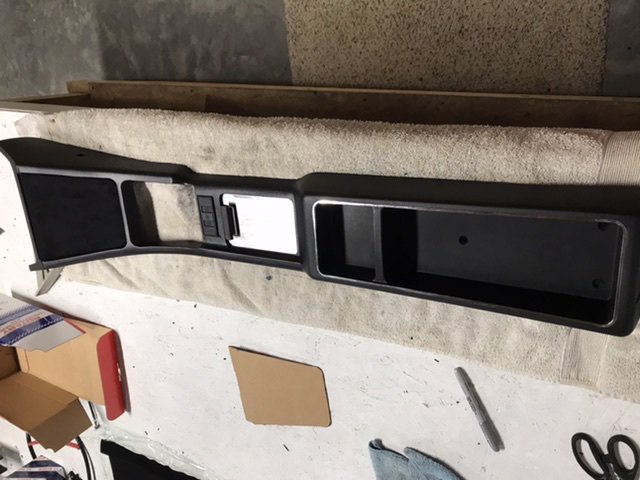
Thanks! Take it slow, consoles are kind of rare and expensive! And depending on the condition, you may want to coat the entire console with a fresh coat of the SEM trim black paint to get a uniform finish. I also polished the stainless steel trim and ash tray cover to look as new as I could get it.
-
This is what I am currently working on. https://ratsun.net/topic/78389-72-620-truck-ka-build-tank/ 72 620 with a ka24de out of a 2001 frontier.
-
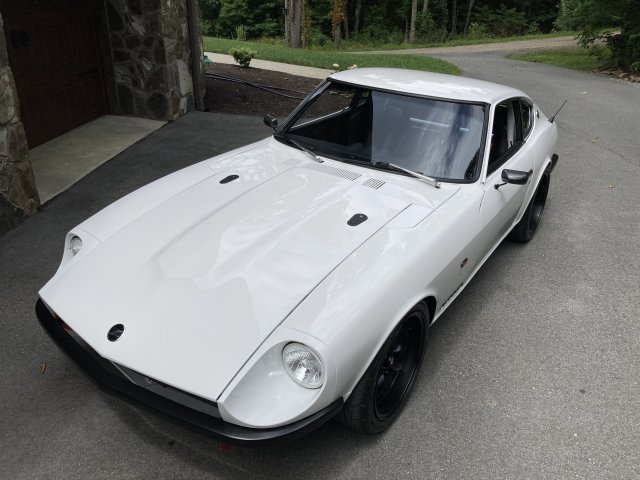
Thanks, It's amazing how fun it is to drive. I wish I could run the spoiler on the front all of the time but here in the mountains, it would get torn off pretty quick because of the angles of driveways and entrances.
-
Just want to say I have about 500 miles on my unit and I love it! Great product and great communication from these guys.
-
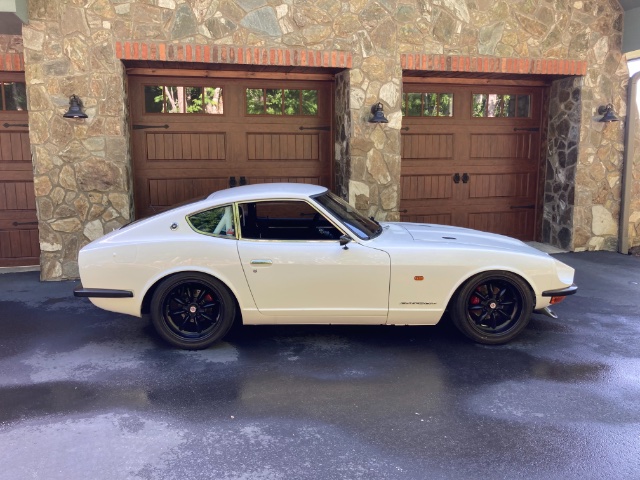
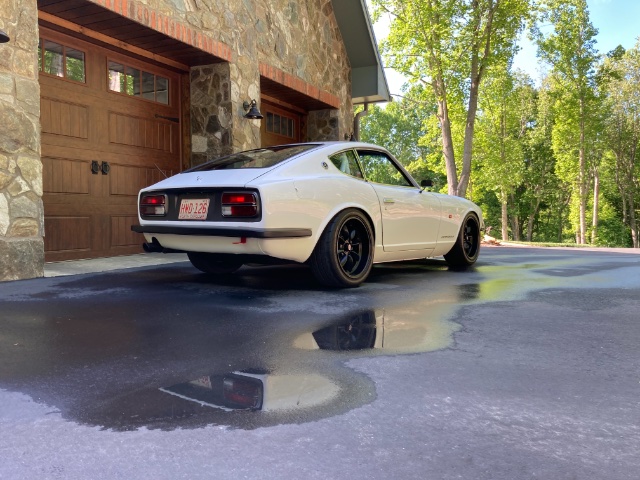
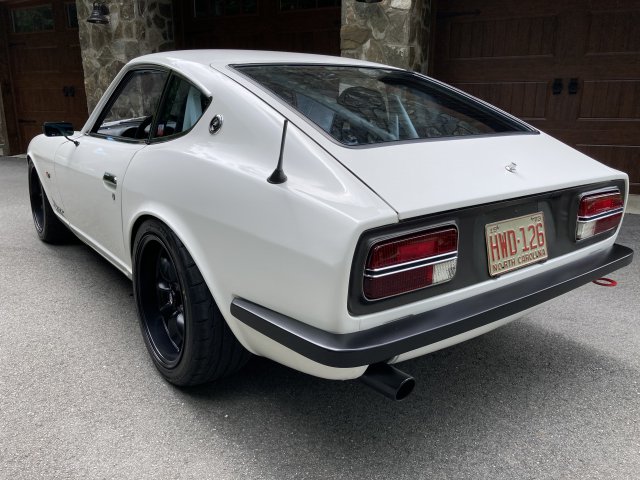
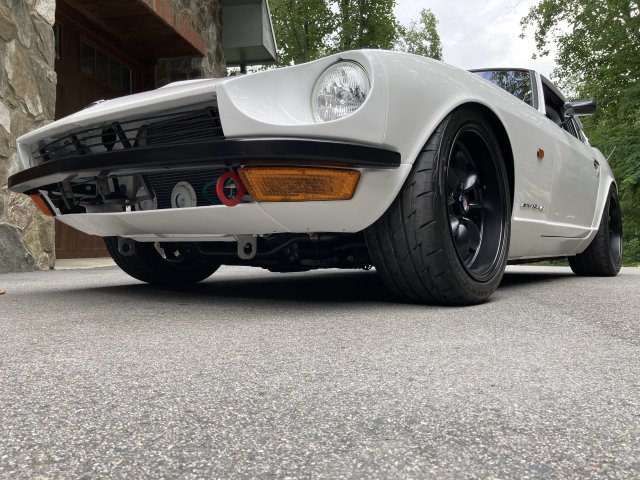
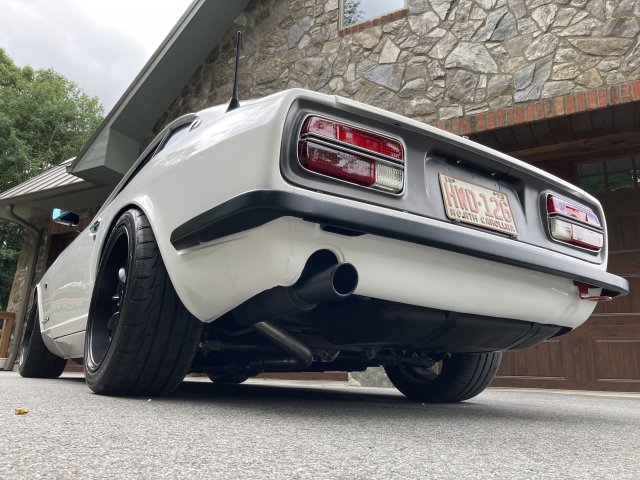
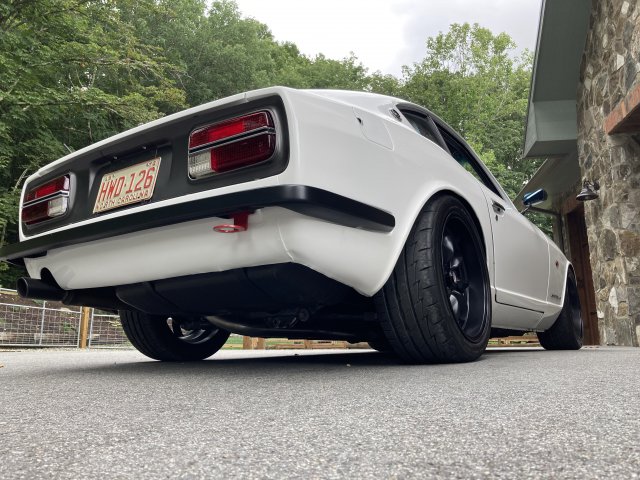
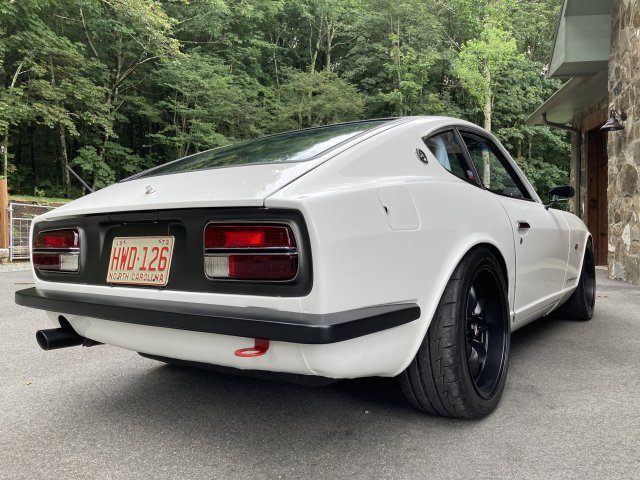
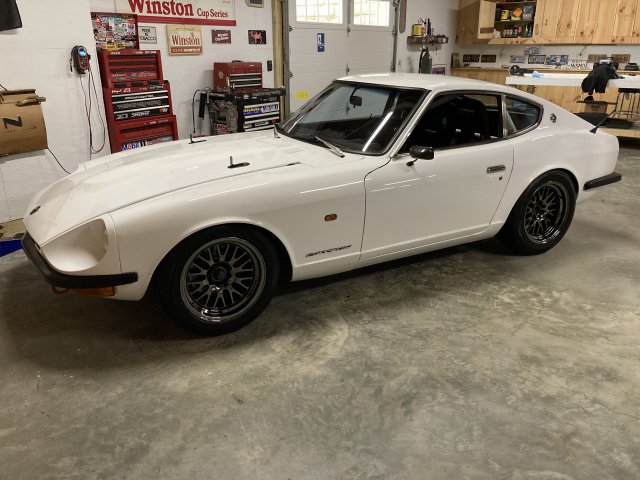
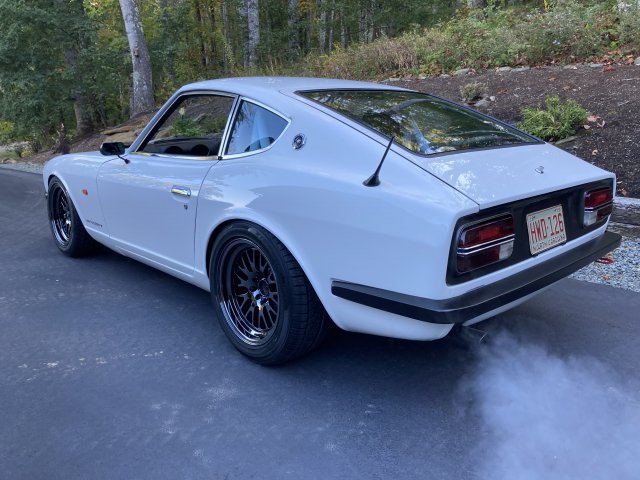
Before putting it up for the winter, I changed wheels that have tires that are cold weather friendly. Totally changed the look, I only have these 2 pictures but I'll run them in the spring until the weather warms up. Then I'll switch back to the black wheels/tires.
-
Nice build, I've been down this path, it took me 10 years. But man it's worth it!
-
Been a bit since I updated but I've put about 400 miles on it. Such a blast to drive, it's ridiculous how well it handles and goes. No drama, just does what you ask of it. For the cooling, I had to change to a recirculating overflow tank. So now it can push/pull fluid with heat cycles.
-
aeromotiveinc phantom fuel system install
Tank replied to theBrit's topic in Gen I & II Chevy V8 Tech Board
+1 on that, mine runs flawless as well. Only difference is I am not running the stock sending unit. I have the speedhut sending unit in the top beside the aeromotive unit. -
+1 on the retro sound. I just finished a complete restoration so I ran the mic up to the corner of the sun visor so the Bluetooth and hands free calling is a nice add. I also have tweeters in the dash vents (I wanted everything to look stock), 5-1/4 in the shallow kick panels, 6x9s behind the seats and a 12” sub with amp in the spare tire well. Best part is none of it noticeable. I can find some photos of the install if any one is interested.
-
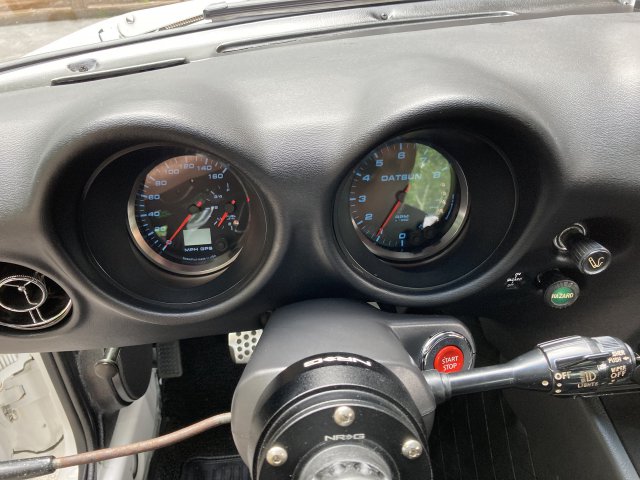
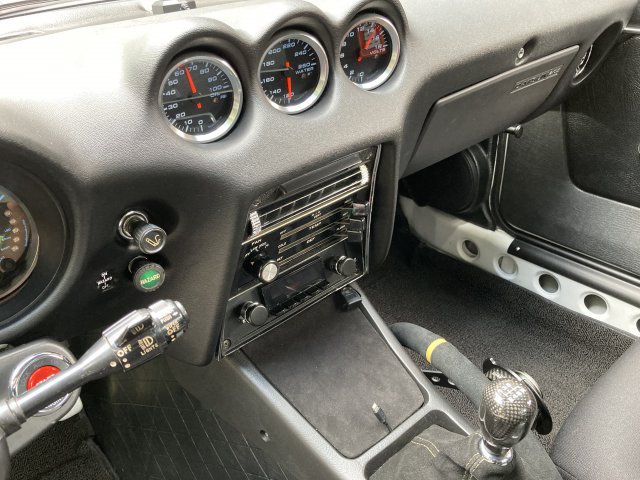
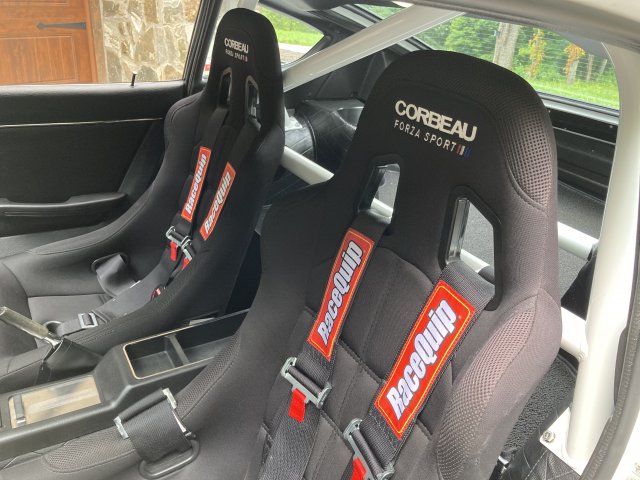
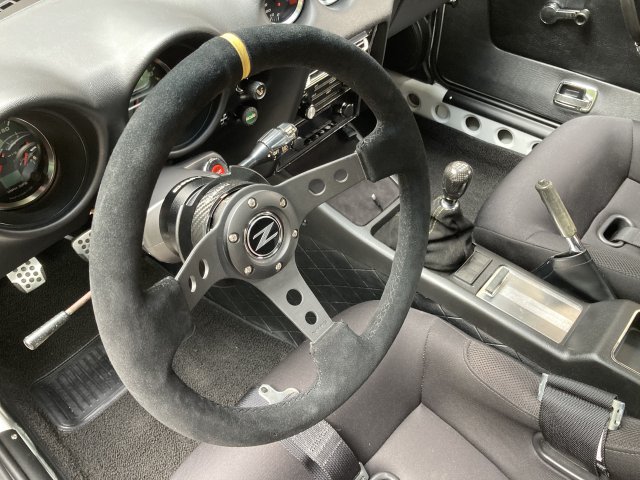
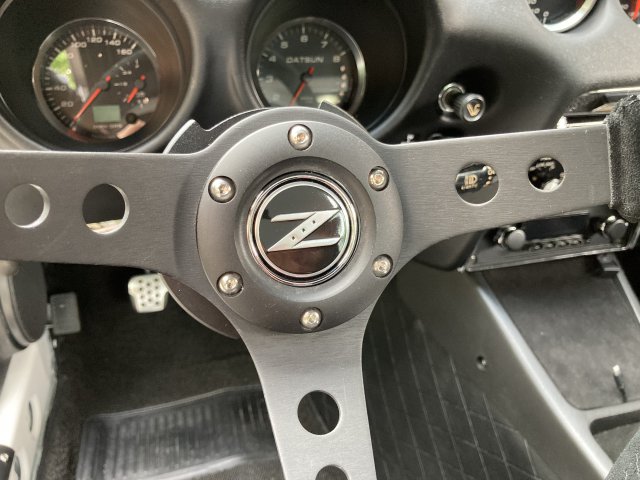
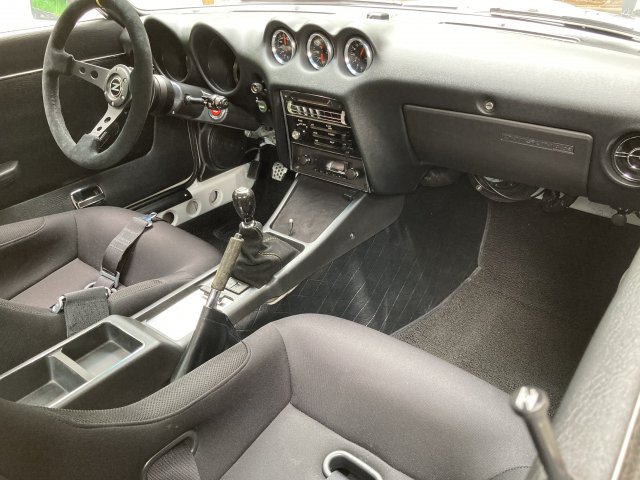
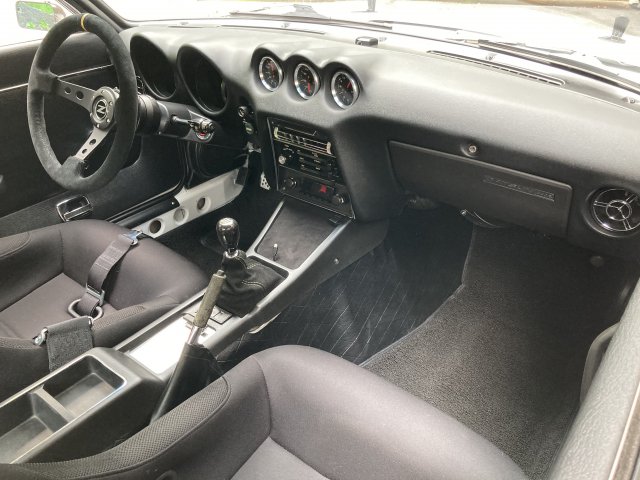
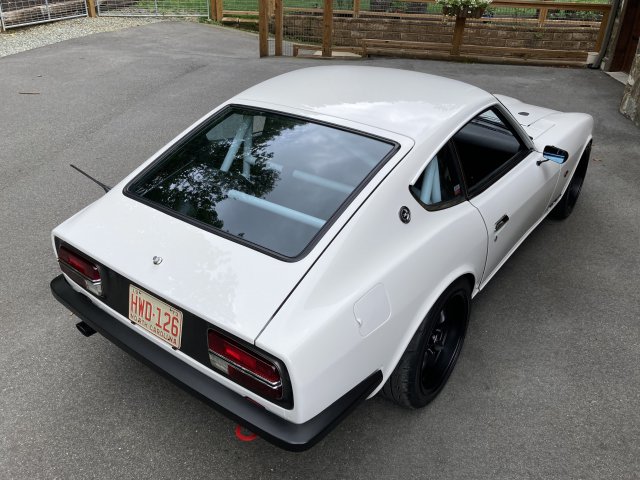
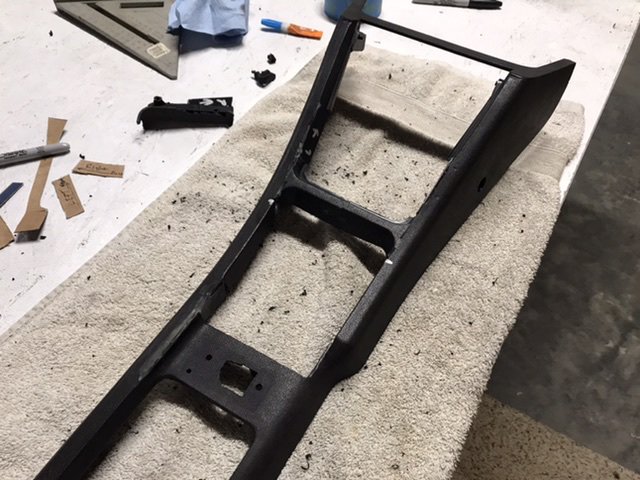
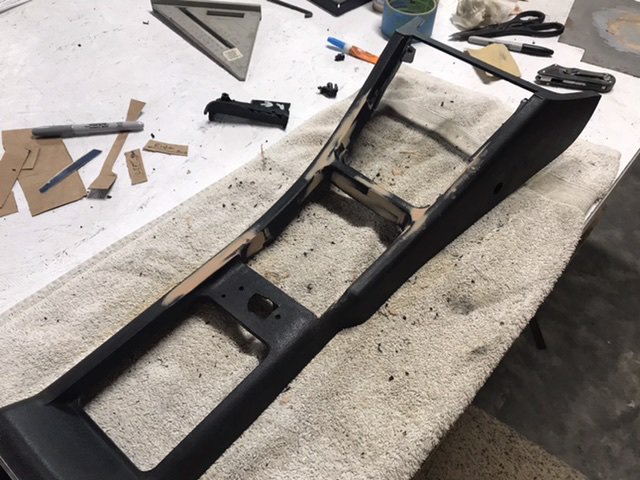
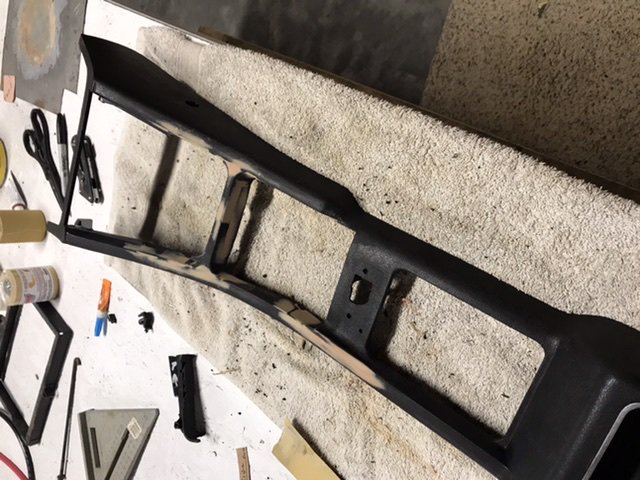
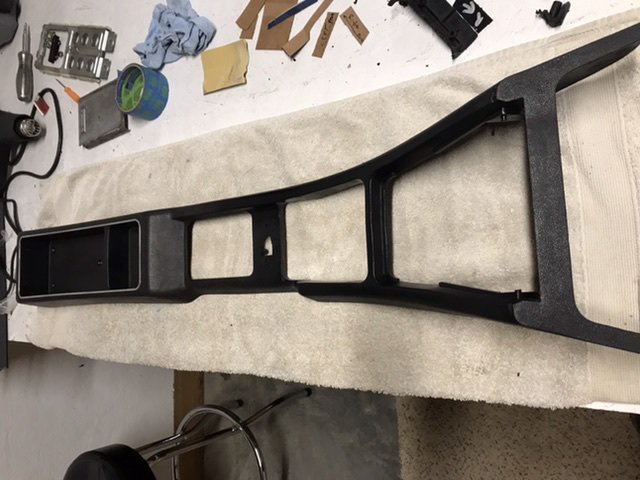
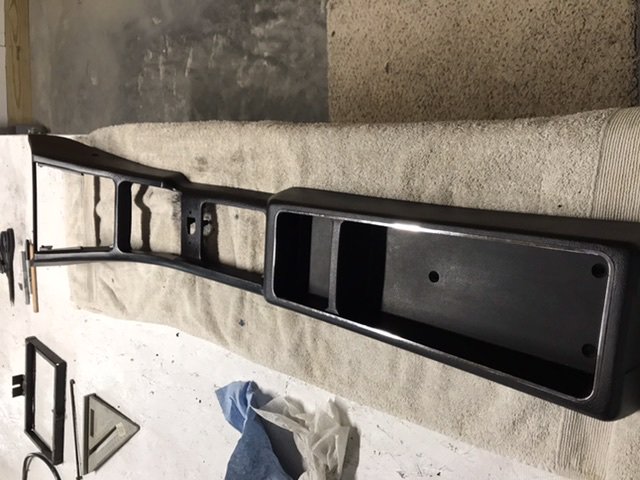
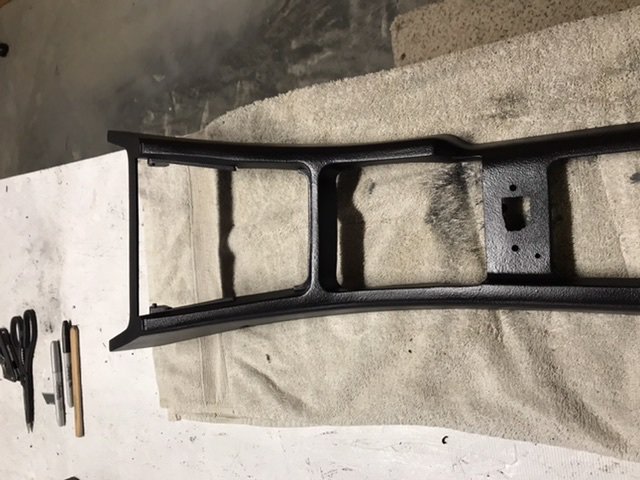
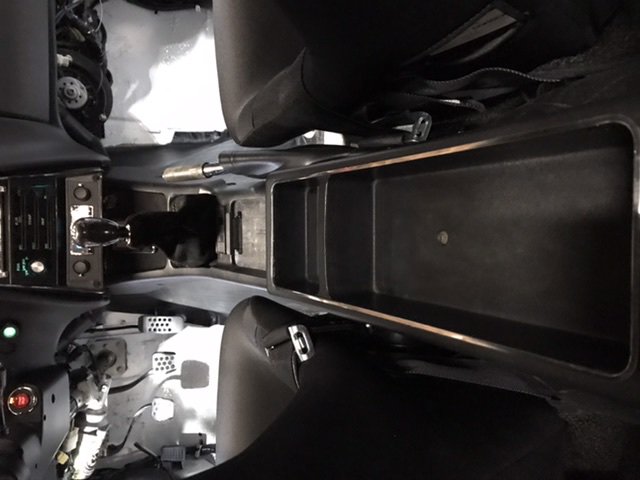
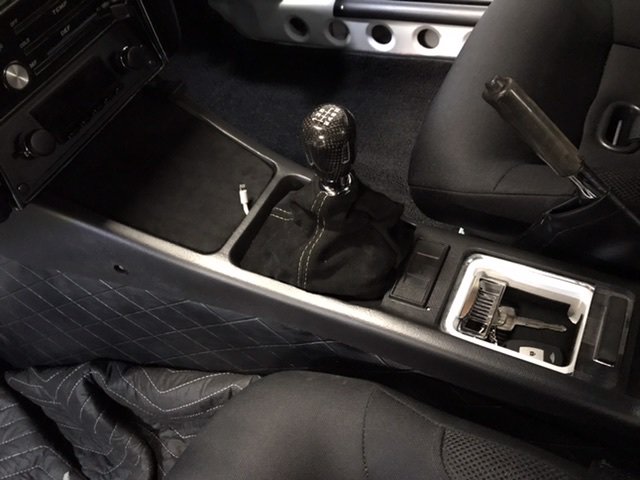
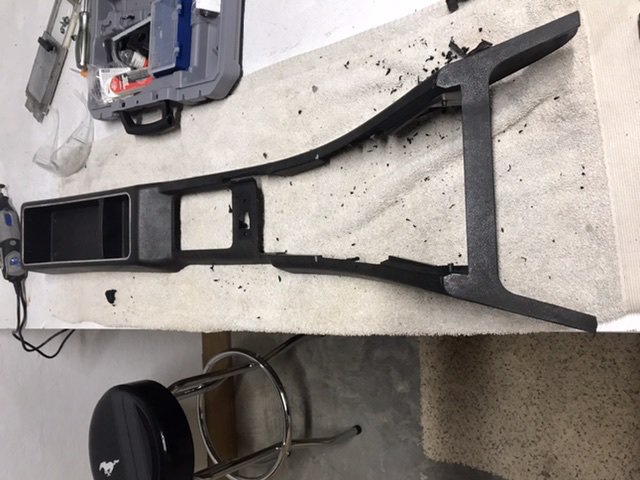
So I have a vq35de swap with cd009 6 spd in my 73. With that, the shifter has been moved about 2 inches to the rear from the stock location. I wanted to keep the stock console so this is what I ended up with. Very happy with the results, if you don’t know these cars very well, you would never know it was relocated. As for the original panel above the fuse panel, I made a new one with a sheet of abs plastic and a heat gun. Then I wrapped it in suede. It’s a perfect spot for the phone. I have since changed the cord to a black one so it blends in nicely. pic dump! The photo above shows the piece already cut and epoxied in the new spot. I filled in any other cut areas with some abs plastic pieces cut to fit. choke slot filled with epoxy and the body filler to smooth out. I used SEM texture and trim black paint to finish it. Other details include repairing/adding new shifter boot tabs to clip the boot to. And putting a little suede in the ash tray for the rfid key fob (push button start).
-
I also made a front strap out of some 1/8” cable with some tubing around it. I already have a rt mount so if it translates any noise I’ll take it out.
-
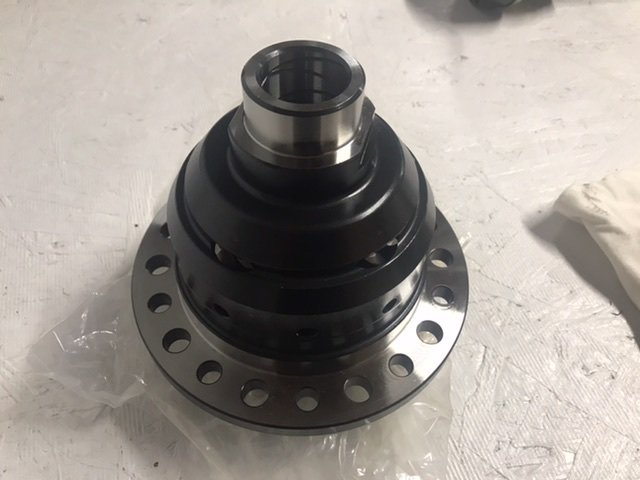
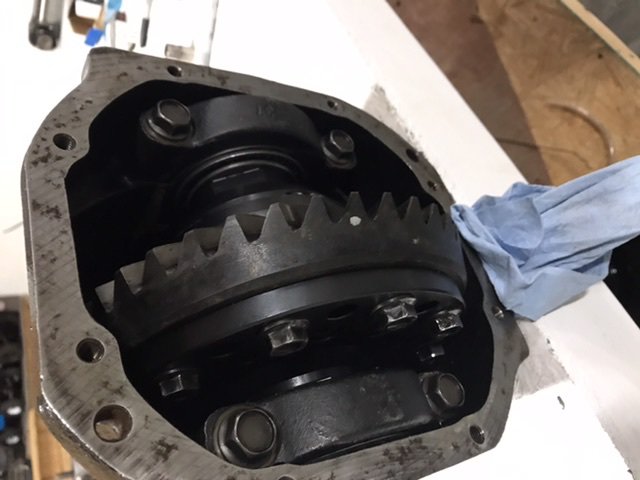
Ended up rebuilding the 3.5 rear I had which took 3 weeks and lots of headaches getting the right parts. All new bearings, Mfactory lsd, ended up at .006 backlash with no additional shims required. Should have it back in tomorrow and back on the road Saturday.
-
Thanks. Cross fingers, I think I have the coolant system bled now. That's what I thought previously as well until I really got on it (triple digit speed) and pushed an air pocket through. Now on to the rear.
-
Forgot about the bar, I have an autopower bar as well. It's a 73 with R200 and Troy Ermish axles. ....And a 12" sub in the spare tire well....That all adds up doesn't it. I was talking with one of the techs there at SOHO Motorsports and he is developing an adapter for the VQ to use a Z32 5spd. Simply for size and weight savings. The 6spd in it is very large and of coarse much heavier than a 4 or 5 speed. But it's a brut. However the Z32 5 spd would hold up just fine at my power levels.
-
I did not, not clue what it was prior to the swap. I would think someone with a full interior and L motor would be able to provide a weight.


