Dat73z
Members-
Posts
851 -
Joined
-
Last visited
-
Days Won
8
Content Type
Profiles
Forums
Blogs
Events
Gallery
Downloads
Store
Everything posted by Dat73z
-
Still trying to keep doing at least one thing per day. This AM I decided to mount in the rest of the hot side charge pipe since it can move a bit without bracing. I'm running out of things to do and it sounds like my buddy who's borrowing my clutch tool is starting his swap today. So later today I'll start dropping the driveline. I think the strategy here will be to get everything apart, cleaned and inspected. Get the flywheel retorqued in at 120 ftlbs per my engine builders recommendation. Then when I get my clutch tool back I can get the clutch pack and the rest of the car back together in a couple hrs if there are no issues.
-
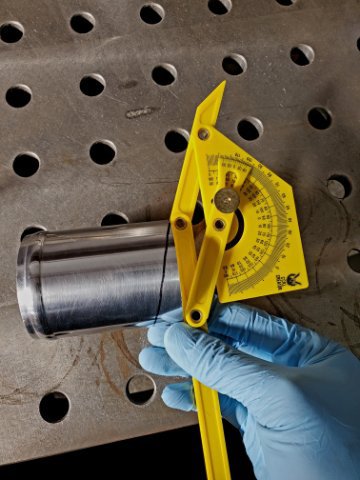
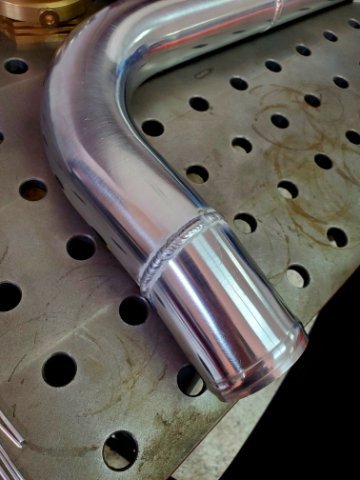
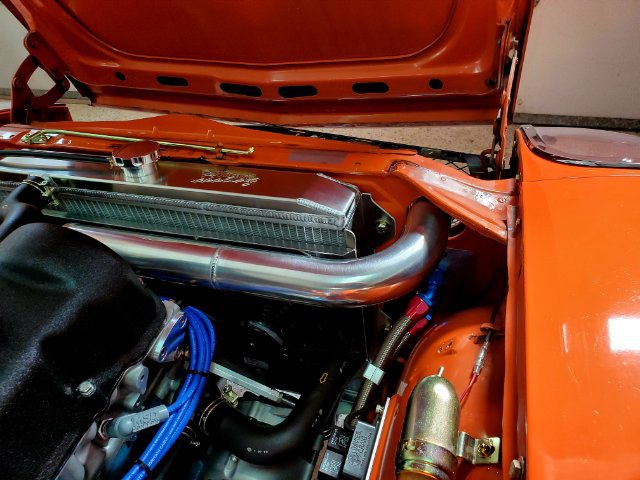
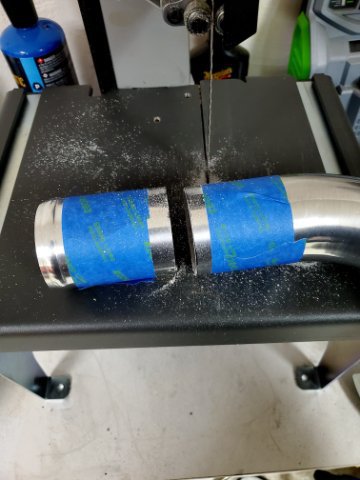
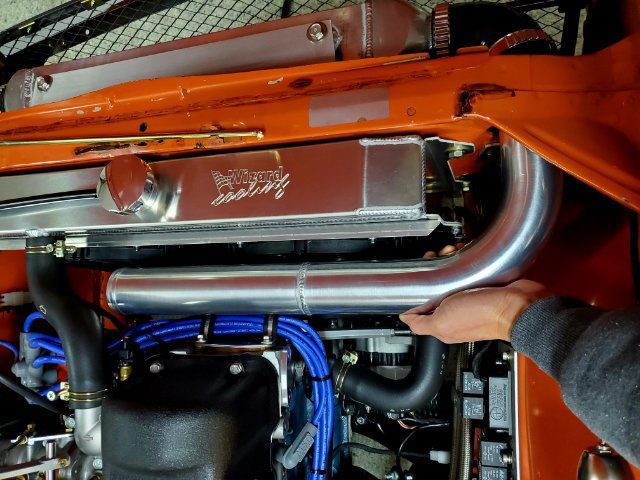
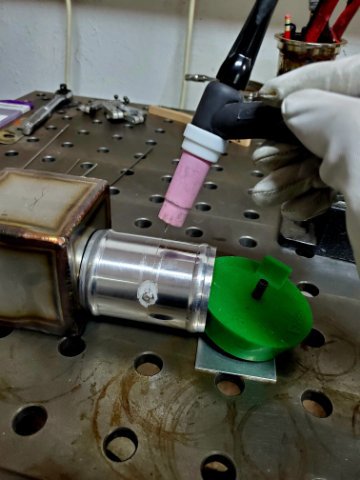
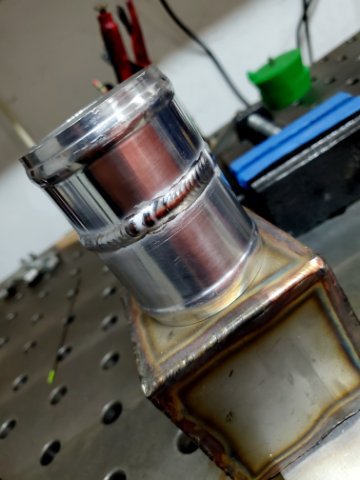
Had a few minutes over lunch so I profiled and welded out the hot side pipe. The welds aren't great but I'm sure they'll hold. I angled the entry maybe 20 degrees as I measured the intercooler entry to be around 25 degrees below horizontal. The extra 5 degrees is taken up by the weight of the piping. The primary purpose here was to gain clearance for the pipe through the rad support with a horizontal exit as the intercooler inlet is below the hole in the rad support.
-
Wanted: Mikuni L6 manifold for PHH carburetors
Dat73z replied to matthewabate's topic in Parts Wanted
Sent you a PM, I have a spare -
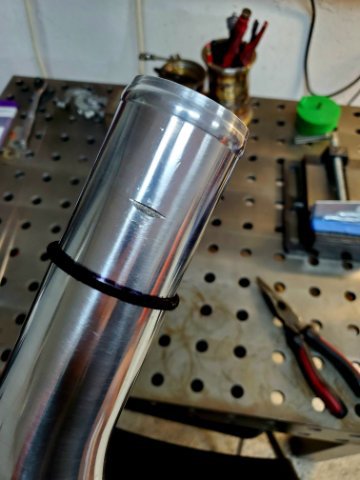
The first charge pipe modification is to angle the entry into the intercooler. I'm going to do this in the area inside the rad support so the angles and measurements are critical. Although the hot side pipe doesn't touch at rest, it was obviously wearing through with the dynamic motion of the engine. Like most home garage fabricators, I don't have a lot of pro tools at my disposal. I like to mark tubes with my wife's hairbands, and ensure level cuts and welds with Home Depot stir sticks.
-
Tonight I started prepping for some welding as I'd like to redo some of my charge piping. I mostly cleaned off my welding table and started running some beads on scrap. I tried a few different filler diameters and types from my scrap bin until I found a suitable bead and penetration profile I was happy with. It seems 3/32 purple e3 and 3/32 ER4043 works the best on this 2mm wall pipe of unknown alloy. My AL welding is still pretty terrible but better than coming in cold after a long while away from the torch like I usually do.
-
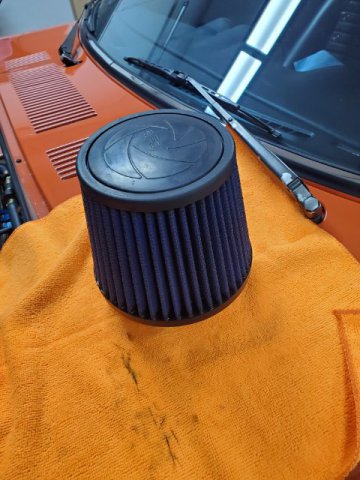
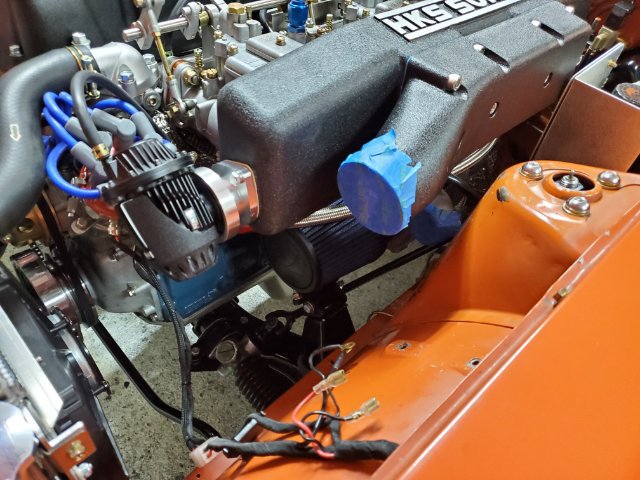
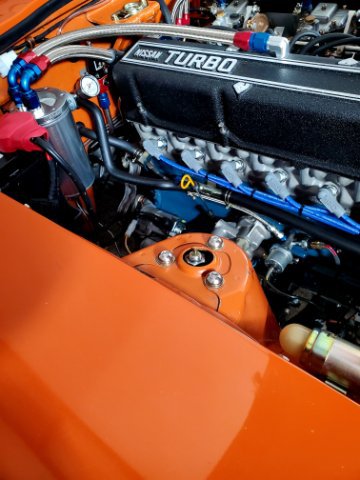
Yeah for the price its worthwhile if you go through gaskets a lot. For me I'll go through a gasket every year or two and there is basically no work involved in replacement. Either way it's on so we'll see how it lasts and I'm glad people are still making new parts for our cars. Tonight I finished cleaning and oiling my hot air intake and getting it back on, along with a general inspection of the turbo and lines. The turbo filter is a pita on my car due to how tight everything is, so either the coil or BOV and charge piping need to be pulled or the splash plan and swaybar to service it. It will be even worse with the AC in place. When I do my engine bay vent fans I plan to route cold air to the filter from the rad support, but that is a project for another day. I plan to install the charge piping last, as the engine will probably move a bit when I pull the trans.
-
@rossman without a doubt it is a superior solution to the disposable valve cover gaskets that fall apart and tear after a few uses. It also doesn't stick to the head on removal and no rtv needed on the head side. Mainly, it is tricky to align and install cleanly whereas for the disposable gaskets you just wipe down the surface and slap it on. It would've been nice if the edges were molded into a U channel or with alignment areas that go into the cast channeled recesses of the VC to take some of that alignment guesswork out of the install. I got mine installed cleanly and really like it so far, but I would've just gone with another disposable had I known how annoying the install was going to be.
-
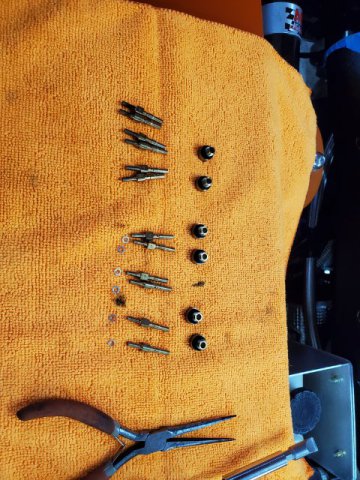
This AM I swapped back to 45 pump jets and added a bit more volume. When I put in the 40s I was attemting to tune for the fireball out the exhaust when unloading the motor between shifts which I now suspect was due to losing timing. I suspect 45s are a good size from what I recall earlier this summer but I won't know until I start shaking things down again.
-
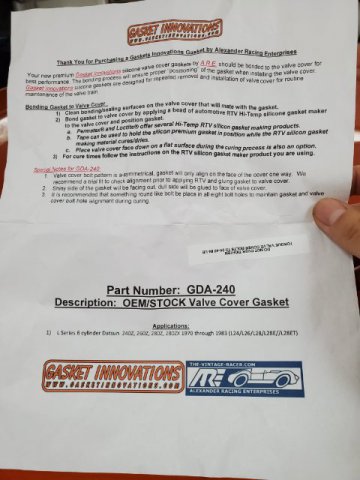
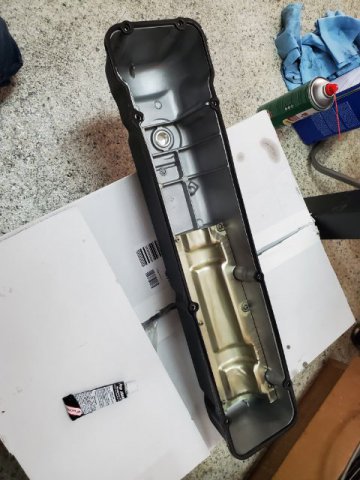
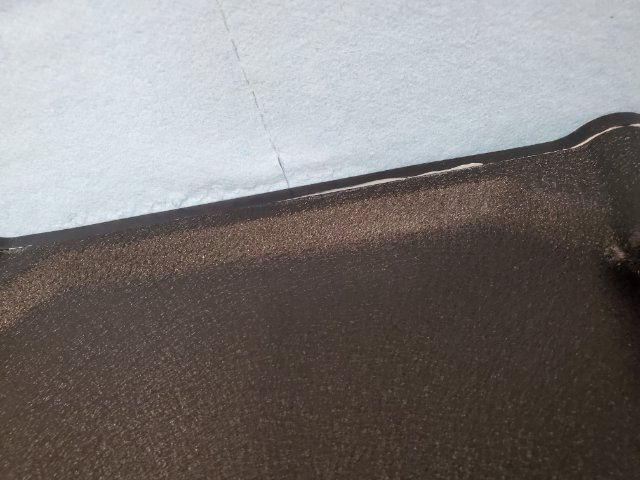
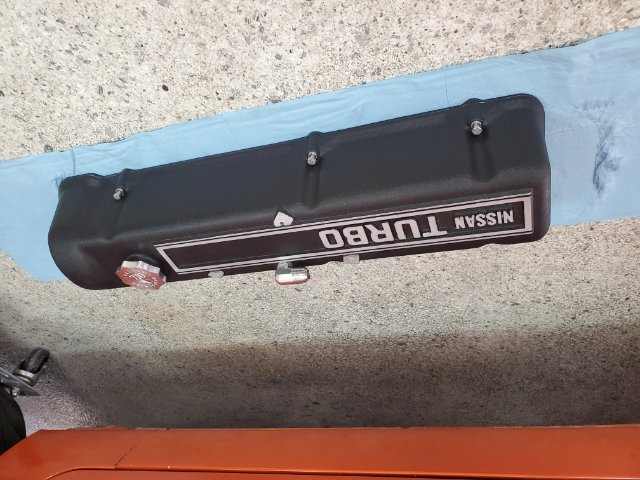
Heard from my friend last night that they'll be done with my clutch tool sometime this week so I figure I'll wait a couple days. This AM I installed a new silicone valve cover gasket. I originally thought it was a slip over gasket but apparently it needed to be rtv'd on. Had I known I wouldn't have used it but its all done now. I didn't have black rtv which would have been ideal so I cleaned and skimmed the cover with gray hondabond. Let it set up with the bolts in place on the gasket then wiped the edges while the rtv was just starting to set to remove the gray edge. Later this week I'll do some welding on the car and pull the driveline again.
-
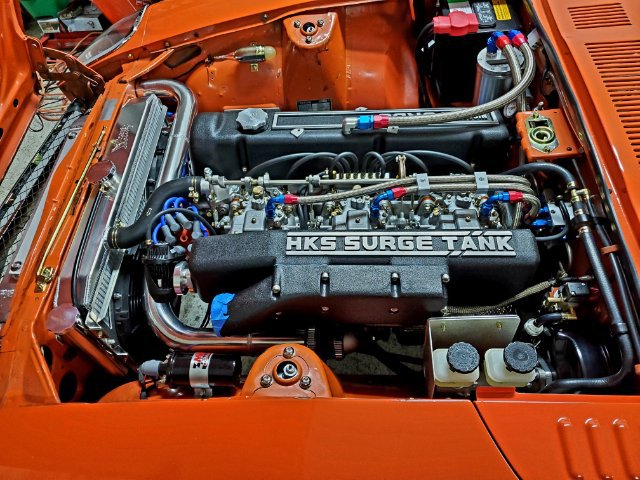
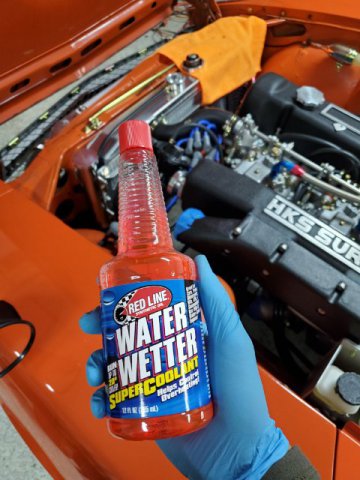
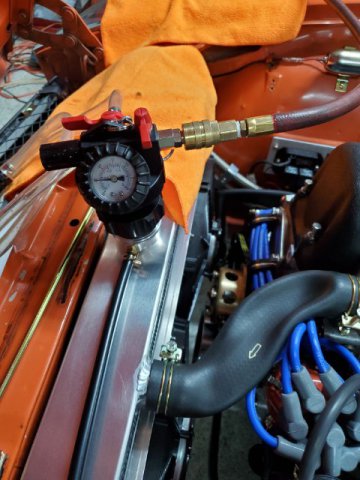
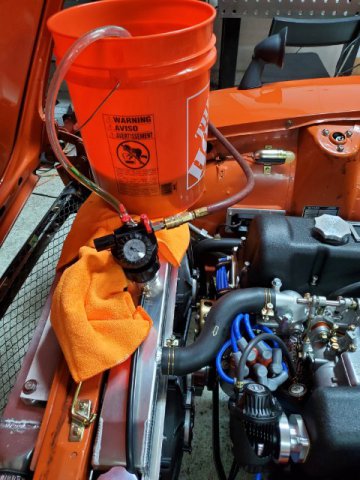
Had a few mins after dinner so I vacuum tested and filled the cooling system. I suspect the system isn't full as I know how much I drained out. So I'll need to fill and bleed with a funnel when I heat cycle. Technically at this point if I fill the trans and install the charge piping, the car is ready to drive. But after losing the harmonic balancer I still feel like I should pull the trans and check the flywheel and clutch pack bolts for torque. I don't suspect anything, but you never know. I guess I'll sleep on it and decide tomorrow.
-
Out of time this AM but I managed to get most of the cooler packaging and a bunch of other misc. items reassembled, along with filling the oil. Even with a partially filled system it still took 8 quarts which is ridiculous. Later today I'll finish filling the fluids and put a wrench on everything again.
-
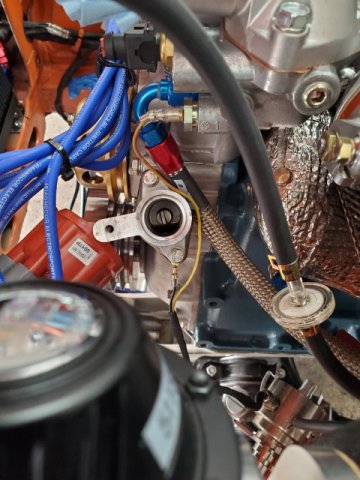
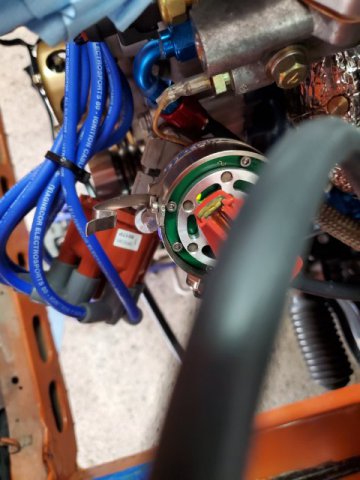
Had a few mins after lunch so I installed the oil pump and dist drive. I used a new oe gasket, and torqued everything to factory spec. Then I retimed the 123. I know the spindle position doesn't matter with the 123 but I lined up the dist drive spindle at the OE position anyways. That is the last technical aspect of reassembly, so tonight I am going to wrap up the other pieces so I may start filling fluids tomorrow.
-
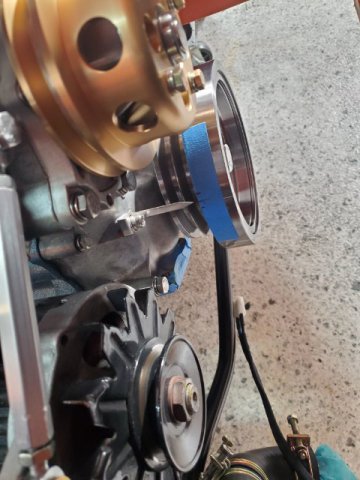
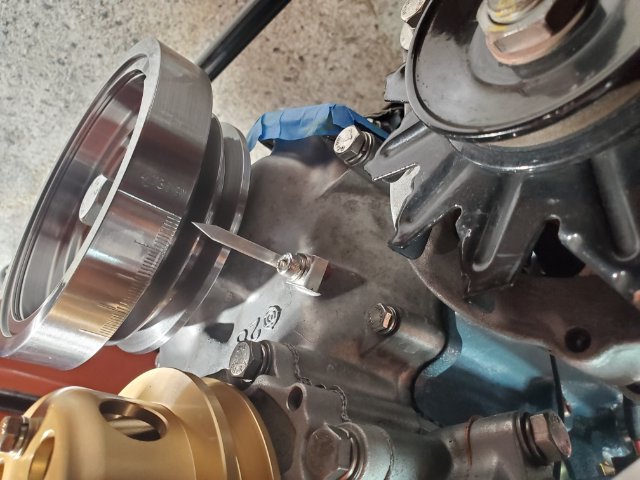
This AM I finished setting mechanical tdc. I suspected the new BHJ damper was clocked slightly different than the last one, which it was. So I rebaselined with the piston stop method, and reset my tdc pointer to 0 on the new damper. When I get a break later today I'm going to install the oil pump/dist drive and retime the 123.
-
This AM I'm organizing the garage and planning the weekend. I'm on cooking duty today, so I think the objective will be to retime the ignition before the day takes off, and hopefully get all of that wrapped while the bird is in the oven a bit later in the AM. This PM I want to get the radiator back in. Other than that, it's just the charge pipes and fluids. I still want to drop the trans and inspect but I lent my OS Giken clutch install tool to my friend and forgot about that. I'm contemplating getting back on the road this weekend first and inspecting later, but this is a fairly ideal time to do it before filling fluids again.
-
So to close this chapter in the turbo build hopefully for the last time, what I experienced: 1. Alternator bolt loosened up fell out I should've taken this as a sign to check the entire rotating assembly for torque as I know for certain everything was torqued to spec. Likely this was due to the crank damper starting to walk off. 2. Spitting fire out of the exhaust with vacuum advance on/off boost transitions Early on, I was throwing fire out the exhaust between shifts with no vacuum advance so I dialed some into my tune and it resolved that issue completely. Later the flame out the exhaust on/off boost came back even with the vacuum advance. This happened after I lost the alternator bolt so likely the crank bolt was already loose and the worm gear was walking and losing some timing off boost between shifts. When back on the throttle/loading up everything felt fine as the worm gear moved back. I mistakenly thought this was due to the pump shot but knowing what I know now I'm fairly certain it was due to the worm gear and pulley walking when unloading the motor. Which reminds me, when the holiday slows down I'll swap the 40 pump jet back to 45s to rebaseline the tune as the 45s were working great before all of that happened.
-
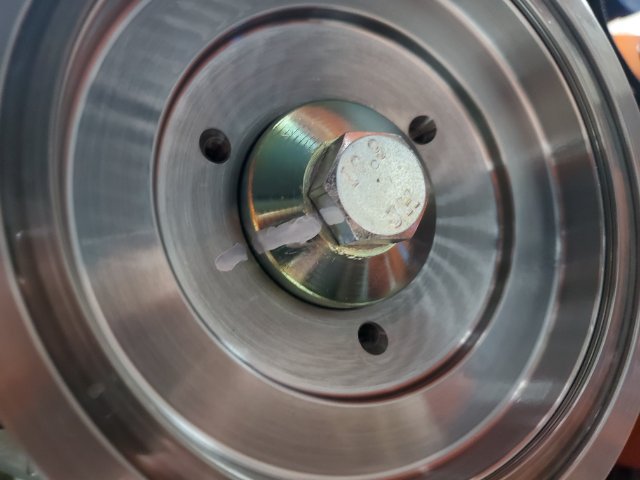
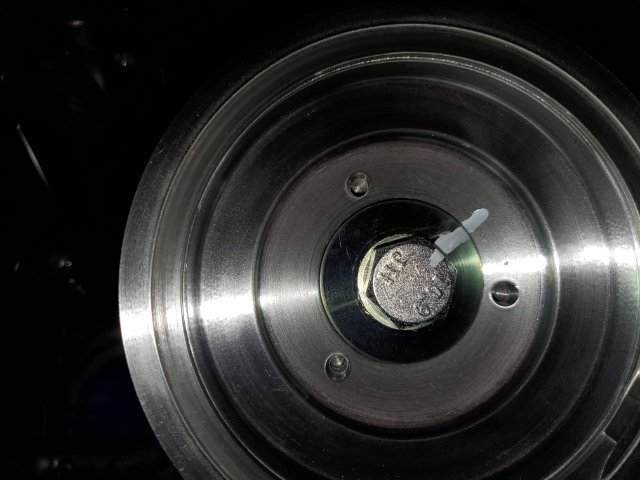
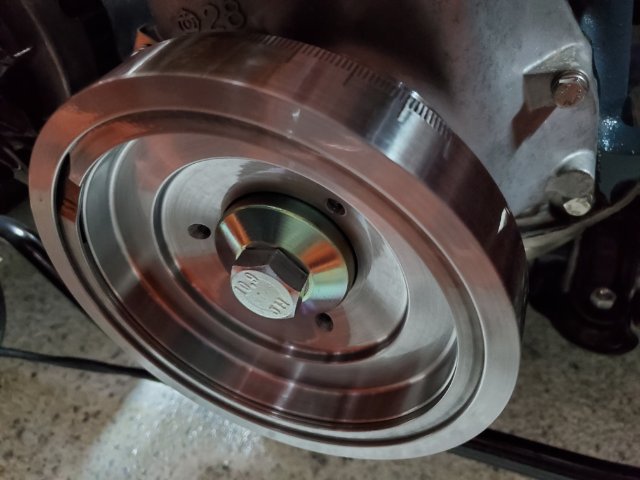
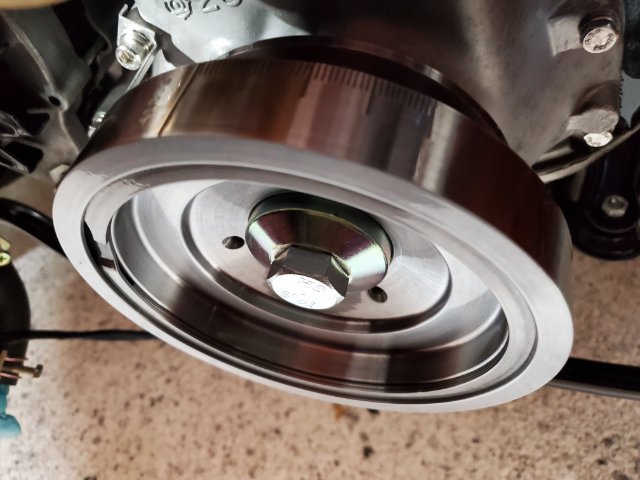
Finally just for my own personal peace of mind I paint marked the bolt to the washer to the damper. Every time I inspect the car I'll take a look at the witness marks to see if anything has moved.
-
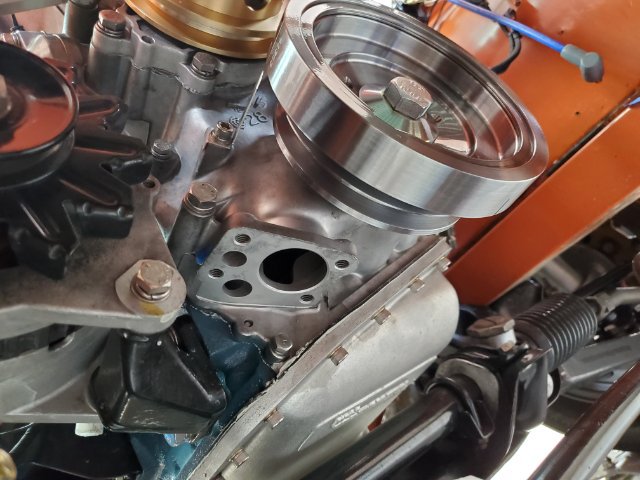
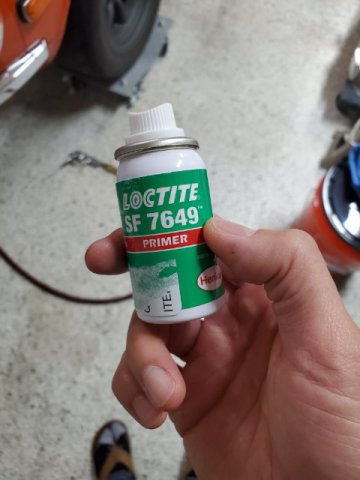
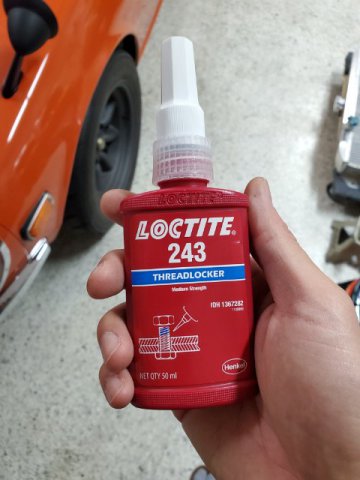
I figured this weekend will be fairly packed so I went ahead and torqued on the crank pulley bolt. I ensured the new bolt did not bottom out in the snout. It had about 3mm or 2 threads of headroom with the washer before bottoming out. I cleaned out the crank snout and the new bolt with lots of brake clean, dried it, then primed them both in with loctite primer N 7649 and allowed to flash off for 15 minutes or so. Then I liberally applied loctite 243 (exp date 2024) to the crank bolt and worked it in and out of the threads as I turned it in. Finally I torqued it all down to 150ftlbs with my wife stepping on the brake in the car. I'm going to let this cure out for the next week or so as I reassemble the car. Hopefully I didn't do anything wrong.
-
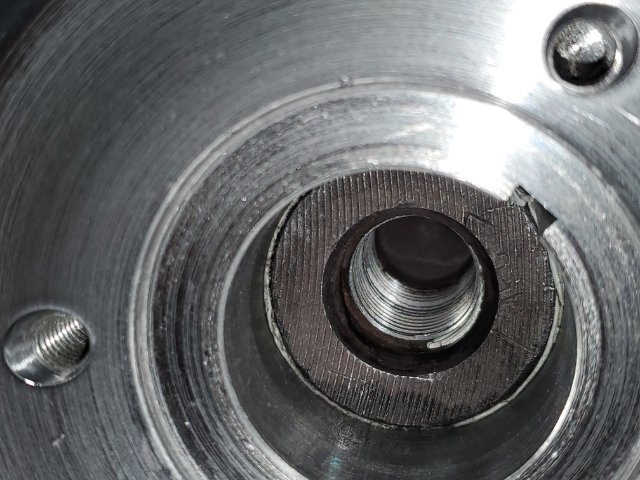
And a better view of how shallow my crank snout actually is. I think if I ever have the engine apart again, I'd like to have the blind hole depth increased if it possible and a timesert or something inset to get to at least 1.5d on a 16mm bolt or 24mm with some headroom to ensure no bottoming out.
-
Today I did some final checks for bolt depth and thread engagement. My snout is fully threaded to the bottom but is shallow which I believe is common with some cranks. I get around 18mm of thread engagement on a 16mm bolt with a thread or two to spare in the snout/not bottoming so around 1D. Ideally I'd get 1.5D, but without having the crank machined I don't believe this is possible. Later today or tomorrow I'll torque it in to 150ftlbs with some loctite primer N and 243.
-
Keeping at one thing per day until we're back on the road. Tonight I finished uprating the boost control lines from 4mm to 6mm.
-
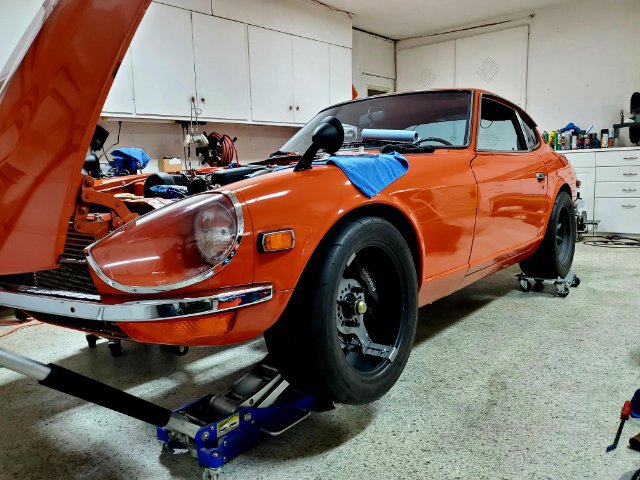
Had a few minutes this evening so I adjusted the ride height roughly back to where it was before and test fit a 245 again in the front. I think I need to find a better way to jack the lca in the front to get true ride height but it looks like the 245 will clear everything in the front as well, steering lock to lock.
-
I got the fronts back together over lunch. I set them to add maybe 0.75 deg of neg camber and some positive caster. The front camber hats also lowered the car by maybe half and inch so I'll need to raise it back up. I think my short rear springs will be in later this week so once I get those in then I can take the final measurements for the custom wheels. So far as I can tell I need something like +12-20 offset in the rear. The fronts are tricky, because likely I'll need to run a spacer to clear my brakes.
-
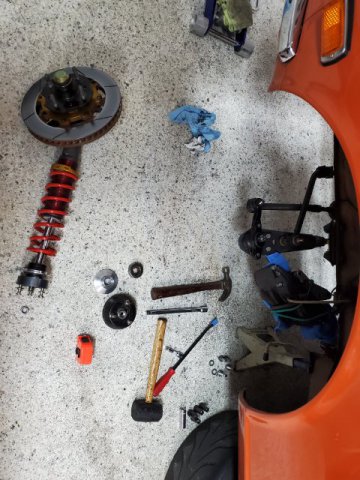
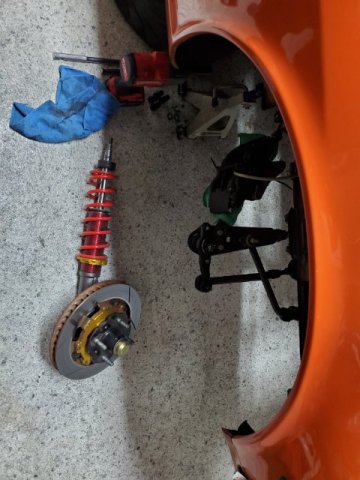
Trying to keep at it for the sake of more traction. Tonight after dinner I had about 15 mins so I fully disassembled the front sus and tom AM before work I plan to degrease and regrease everything to prepare for reassembly over lunch or after work. The nice thing is my wife is up every morning at 4 or 5 AM and I don't start work until 6 or 7 so I have an hour or so every AM to do something.
-
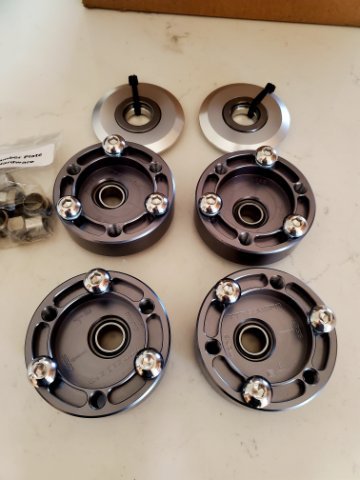
This morning my t3 top hats came in so I started to install them. These will enable me to run 245 or wider tires with a bit more camber and caster adjustment from the top. With the added turbo power and trq, I'm sure they will tighten things up a bit as well. It seems I may be missing a couple of parts so I'll call t3 next week to confirm.
-
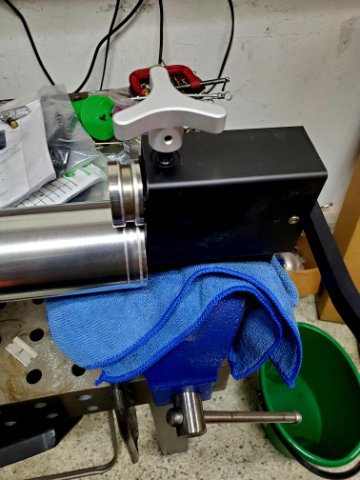
Tonight I fixed my hot side charge pipe. Bead rolled the ends and reapplied a brushed finish to the pipe by hand, which was a massive pita.
