A to Z
-
Posts
1072 -
Joined
-
Last visited
-
Days Won
32
Content Type
Profiles
Forums
Blogs
Events
Gallery
Downloads
Store
Everything posted by A to Z
-
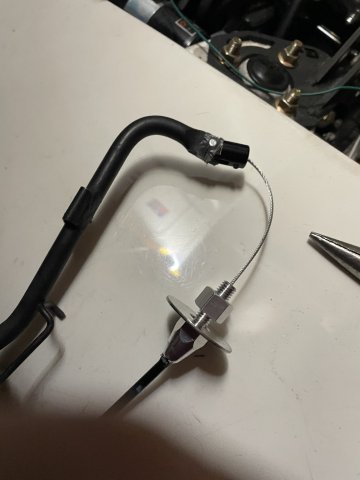
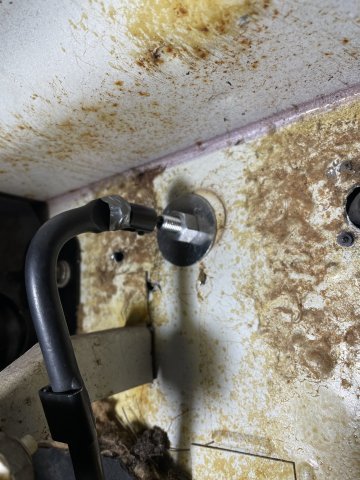
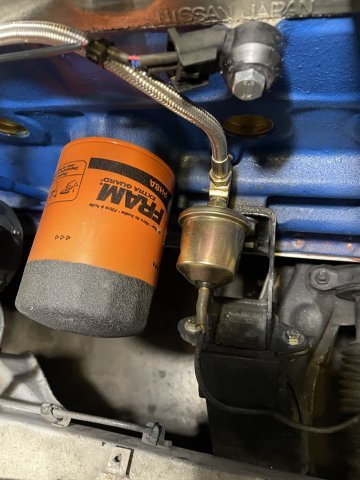
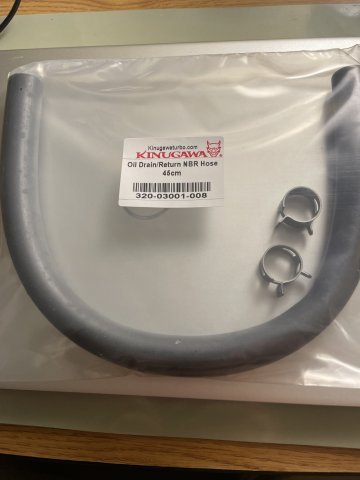
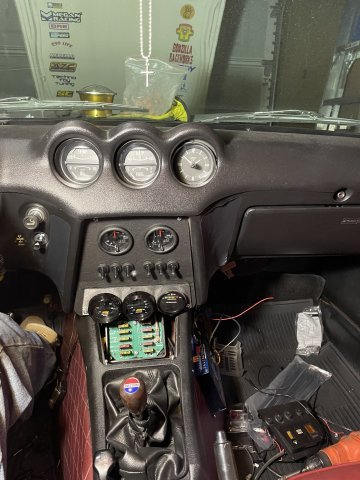
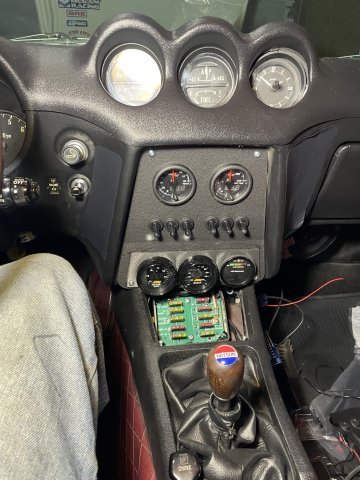
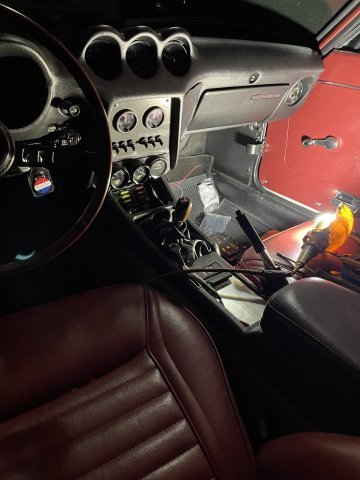
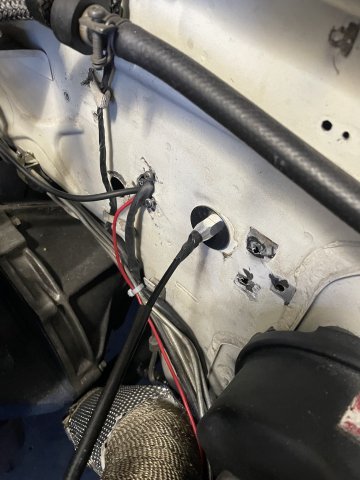
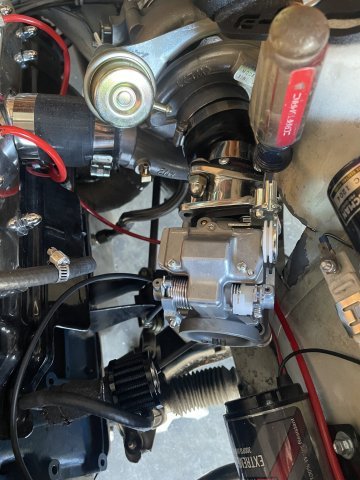
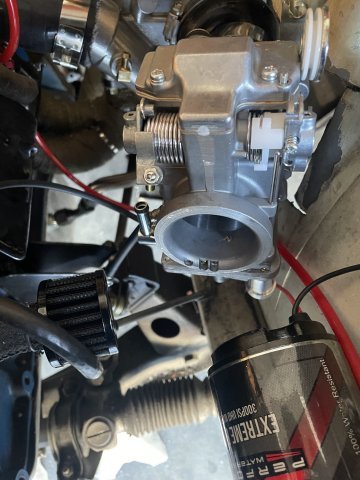
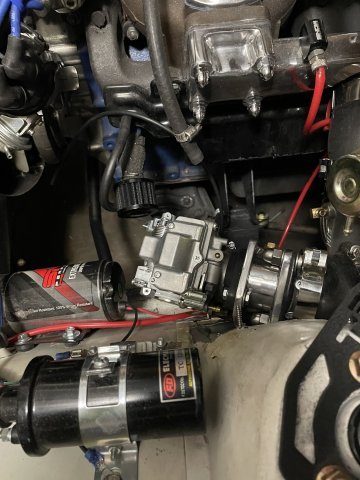
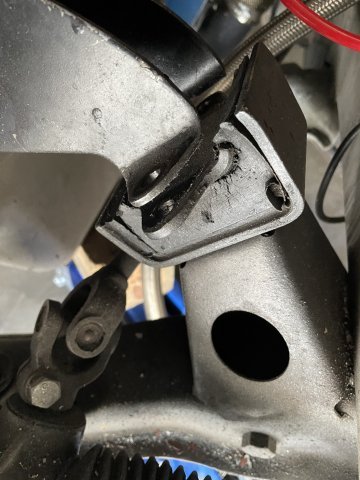
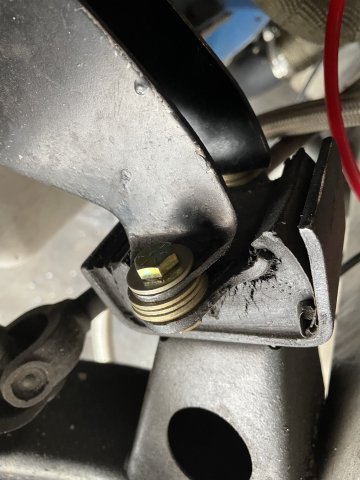
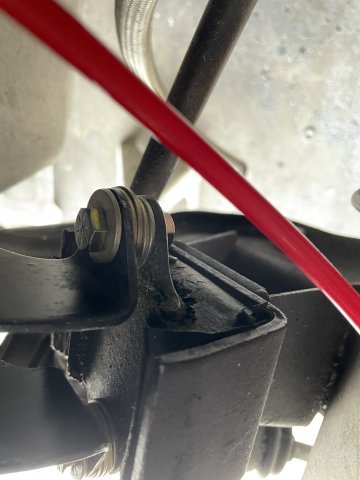
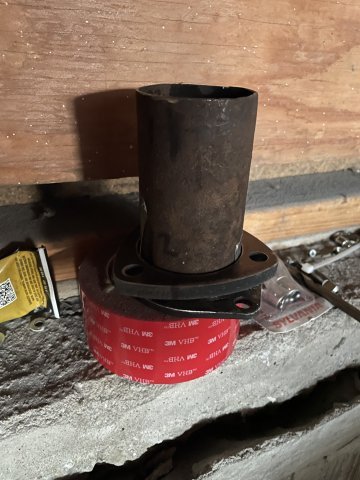
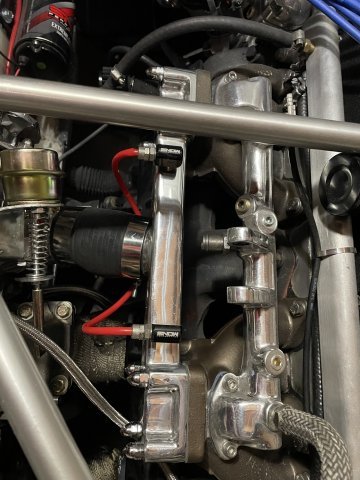
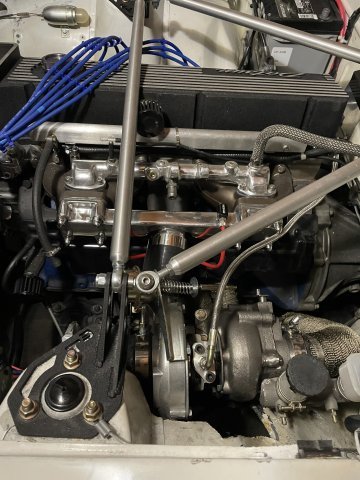
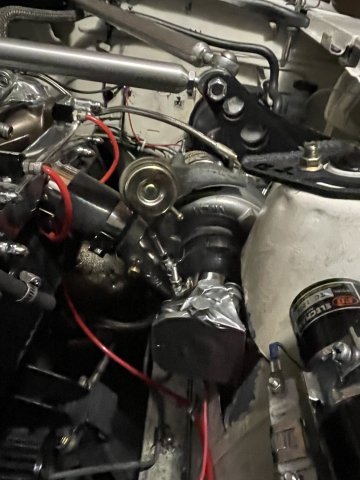
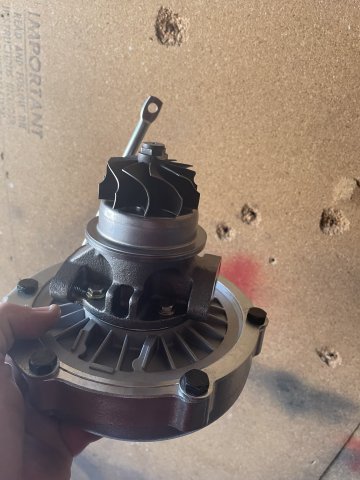
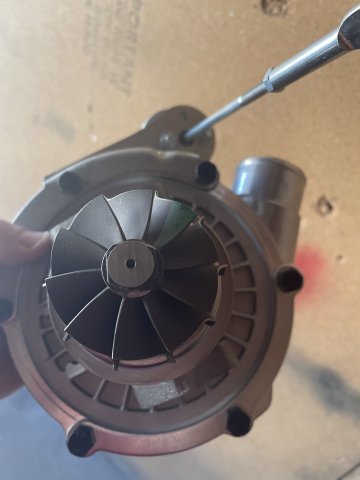
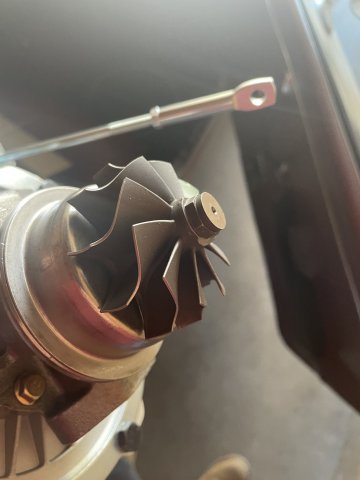
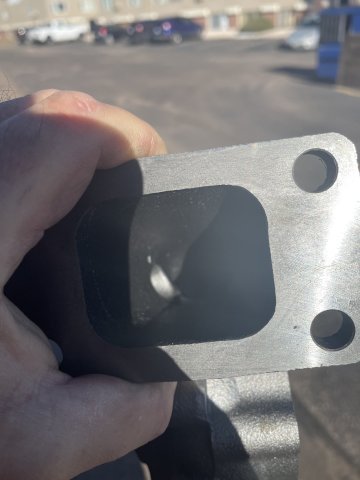
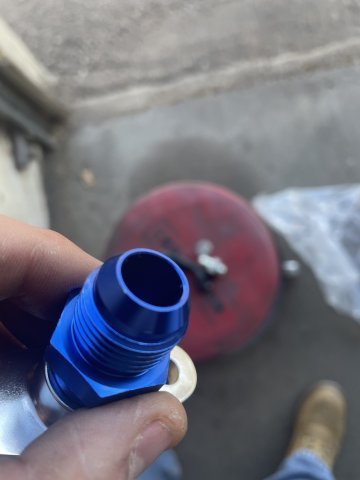
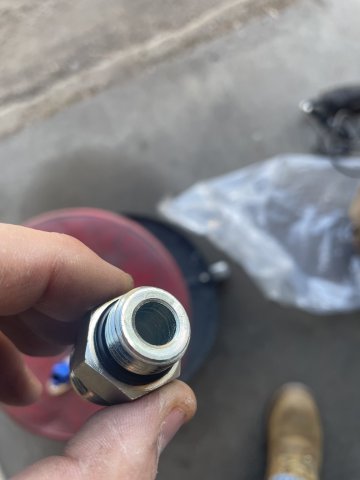
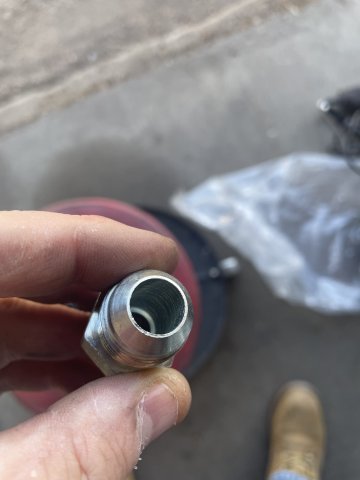
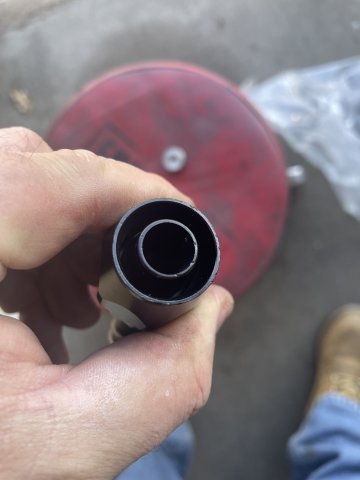
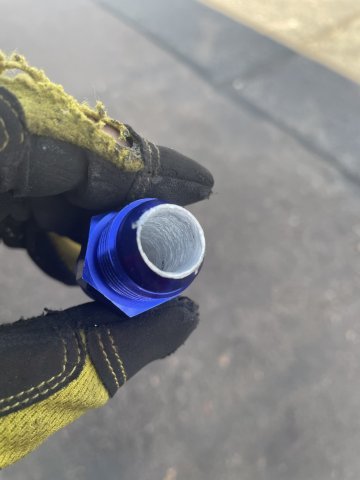
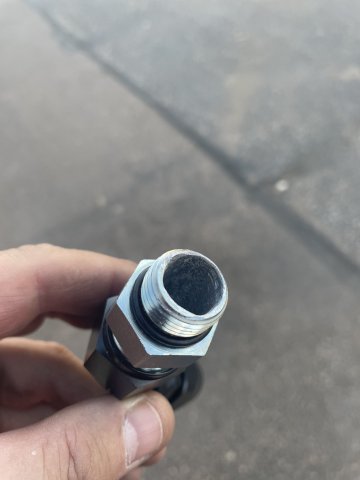
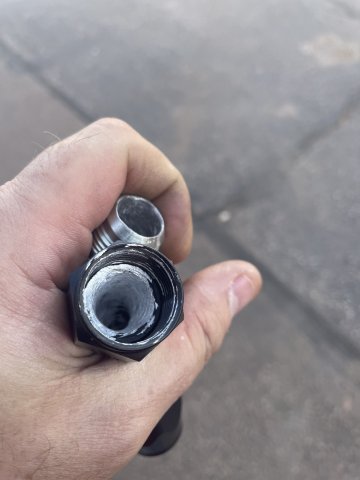
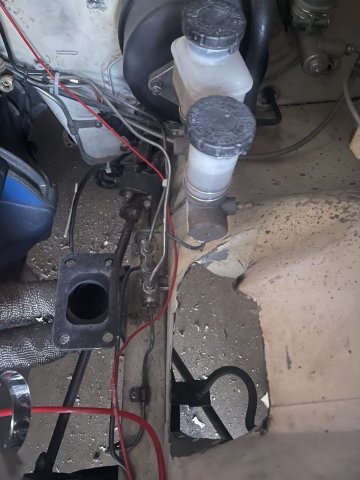
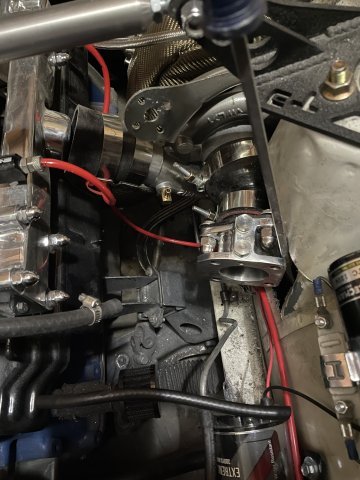
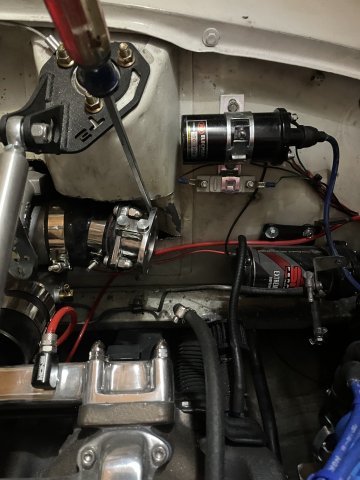
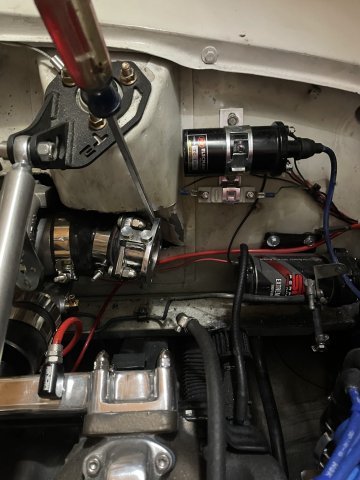
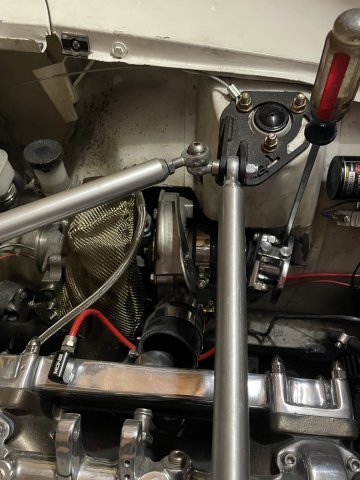
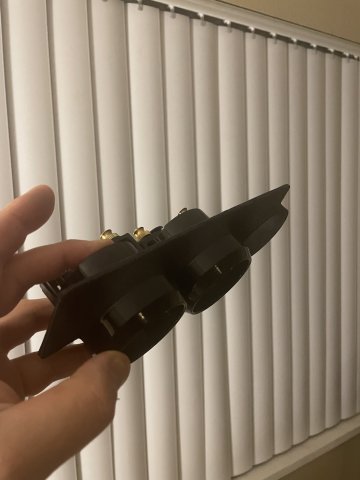
 01-11-2025 Turbo Project Update: I managed to get the throttle cable attached to the gas pedal today. It took a bit of playing around. It was so hard getting up there under the dash, I ended up having to just mark where I wanted the throttle cable cut, and then taking everything out and assembling it off the car and then re-installing. To make sure I had the cable in the correct location, I used tie wraps to hold the carb all the way open and then held the gas pedal floored and then marked where to cut the cable. In installing the cable, I additionally put a layer to duct tape over it to keep the circular clip from falling off., and with the washer on the engine compartment side, I had to cut a channel so I could then slip it in place, turn it so the notch faced down and then tightened it up. Worked perfect. I then went to the other side of the engine compartment and finished getting my knock sensor mounted and with a bit of red loctite on the threads, once dried it will be permanent and should work well. I then pulled all wires back and tie wrapped them where needed so everything looks clean and tidy. I then straightened out the last of a small wiring bit in the secondary fuse panel, finished wiring back uo the UEGO A/F sensor wiring, and pulled the Ambient Air antenna out through the hole and the interior work is done. I then wired in the J&S Safeguard knock sensor. II decided to up-size the turbo oil drain, and my larger hose arrived, now to get the fittings and work on that next time. It doesn't seem like much, but I got a lot of the work required done today. It was 41 degrees in the garage, so good thing I bundled up. Getting much closer to project completion. Pics:
-
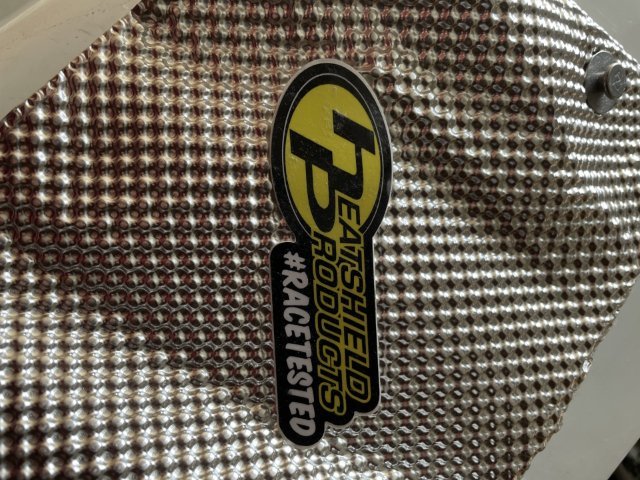
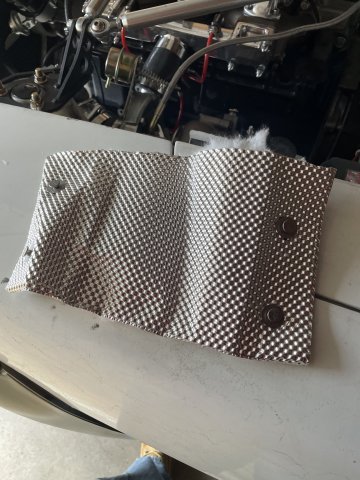
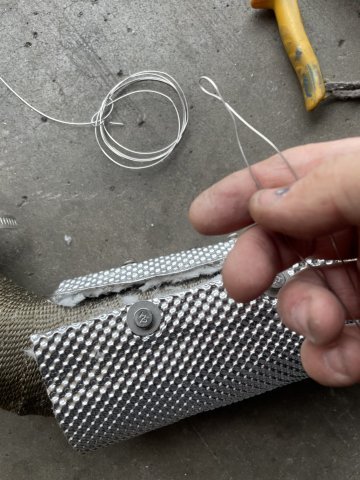
There has been some concern on my turbo build concerning turbo heat and my brake master cylinder being right next to it. I am using a turbo blanket AND a blanket over the master cylinder. From what I am seeing it will work. Here is a test a guy did when just the use of the turbo blanket lowered the turbine temperature from 750 degrees to 176 degrees! That is a 574 degree temperature drop! Watch this! AND keep in mind I will have 2 layers, turbine and the blanket over the master cylinder. So, good to go! We move forward.
-
01-04-2025 UPDATE: I got it wired in and installed.
-
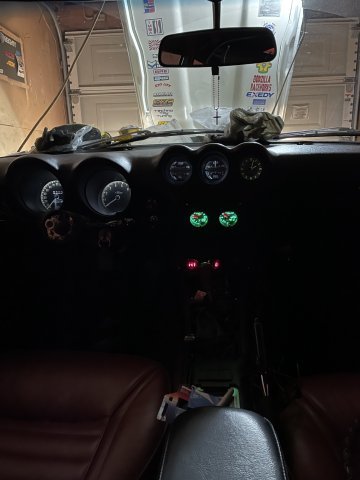
01-04-2025 TURBO PROJECT UPDATE. I got the J&S Safeguard knock sensor and timing retard installed in the car, and got the gauges in. VERY cold, and no heat in the garage. Not much fun. Pics:
-
Really? May I see a pic?
-
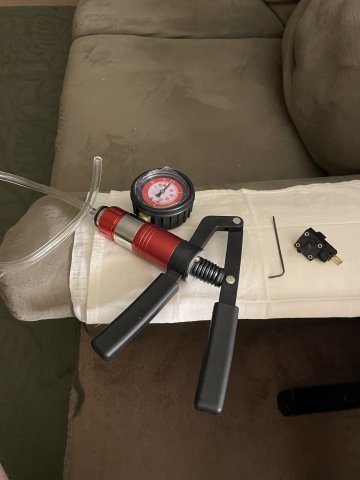
I tested the wastegate as well, with the spring I added, My boost crack pressure (psi boost amount when the waste first cracks open at all) is 5.0-5.5 psi....and gate is fully open at 18 psi. It is about 90-90% open at 15 psi, but just that little more pressure forces it all the way open. Since I shift at 4500-5500, it will interesting to see what boost I am getting at that shift point. I am thinking 7-8 psi. Again, it's just a fun toy. Boost switch for water methanol kicks on at 3 psi..... Should get 20-30 horsepower more at WOT with this, with the water/methanol and all. Doesn't really matter, it's just a cruiser. 250 at the crank is my guess, 200 at the rear wheel.
-
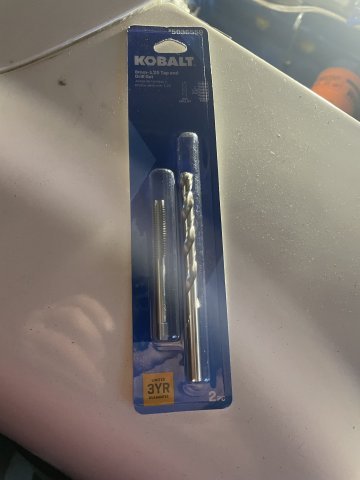
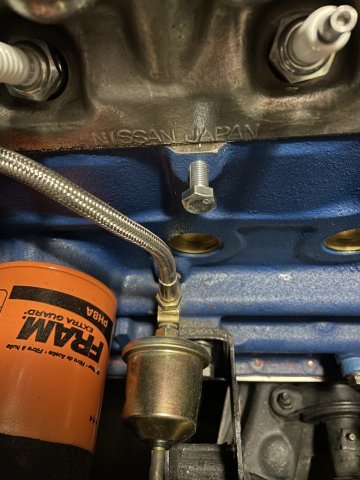
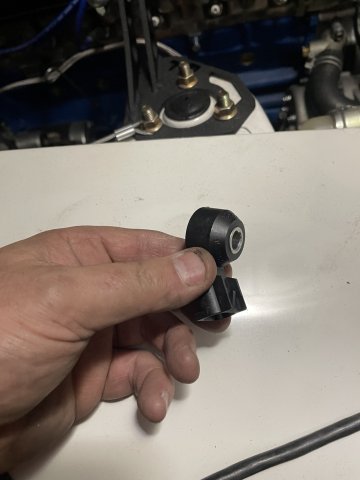
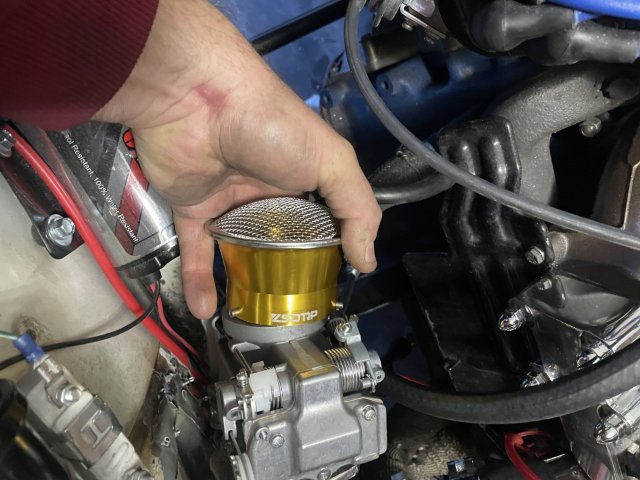
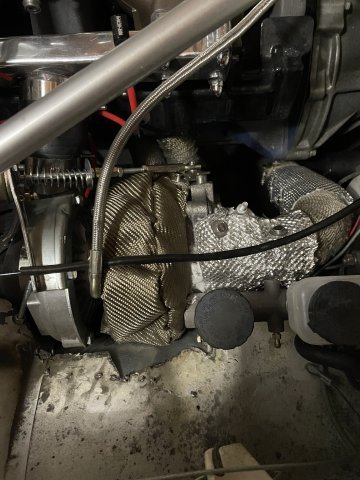
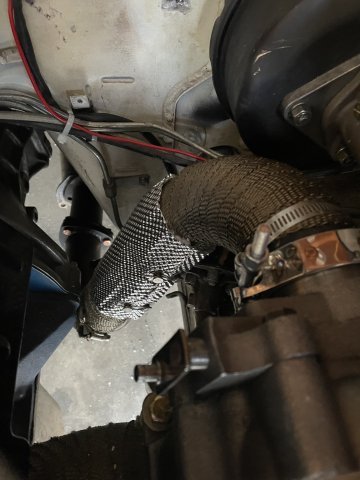
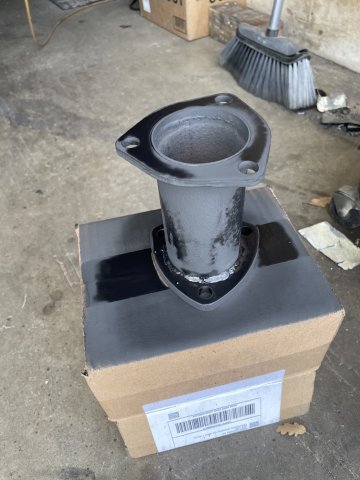
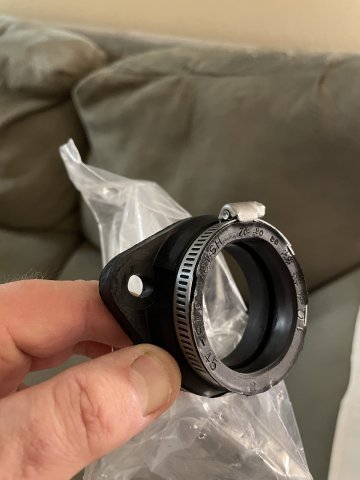
12-28-2024 TURBO PROJECT UPDATE. Well, I got the work all done in the wheel well and painted up, and then I got a bunch more done. The hole for the knock sensor I drilled out and tapped, but the bolt I have is too short, so another trip to the store. I got the throttle cable all in, and the 3/8 fuel line. On the exhaust, I wrapped the area over the steering bushing, and the area next to the brake master cylinder. It needs just a bit more work, but then it will be set. My pipe piece to tie the exhaust in is still a bit off....I think I will limp it over to the shop and let him fix it this time. My velocity stack arrived, but somehow the wires got crossed, it doesn't fit over the throat but is the same size....no worries a piece of 2" hose and 2 clamps and that will be done. Getting closer. Pics follow.
-
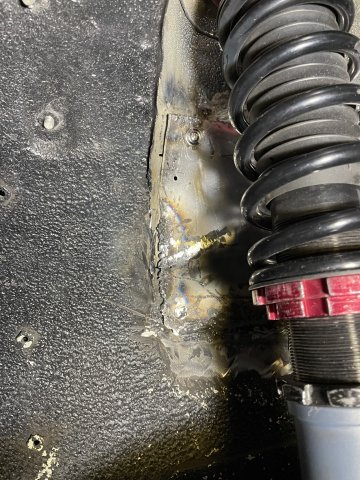
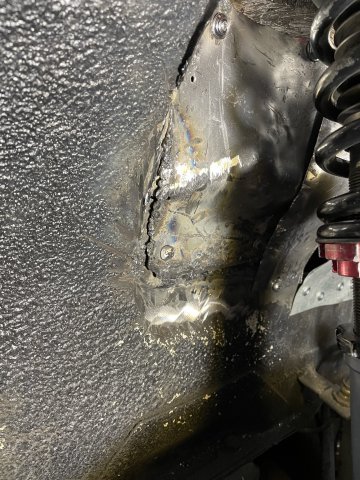
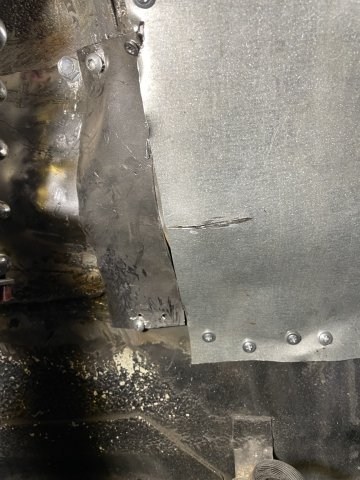
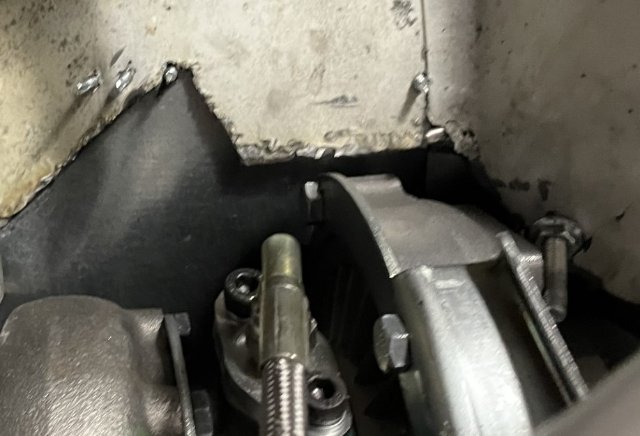
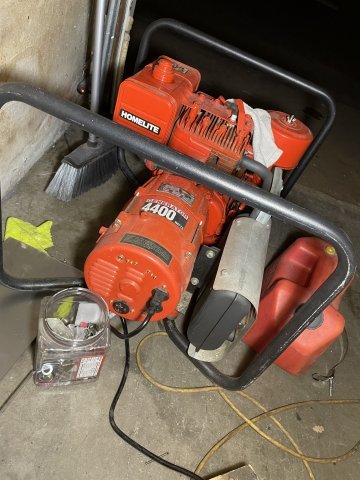
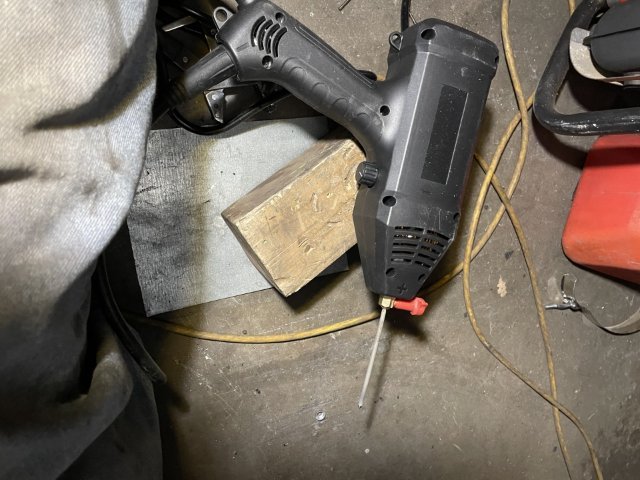
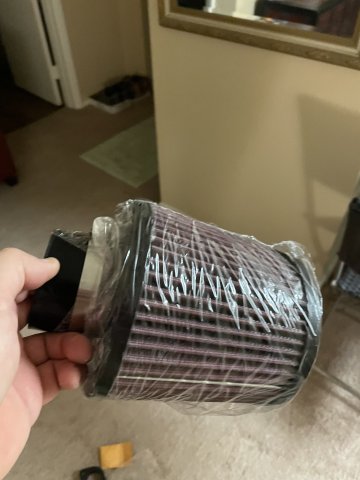
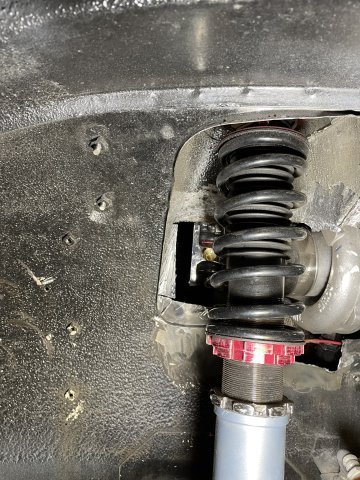
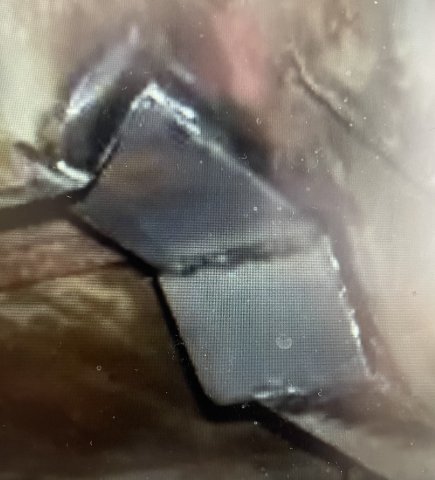
12-21-2024 TURBO PROJECT UPDATE: So I changed the plan. I bought a used generator and a handheld arc welder and will attempt to weld in the panels to fix the strut tower area. I used 16 ga. steel, which yes, is thick, and that means it is hard to massage and bend around. I took some measurements and cut out the first piece, then had to find places to put it while I beat on it with a ball peen hammer. then it was just back and forth trying up there, then more work, back and forth. I got it almost where I wanted it, but I found that, it seems to work much better for me to screw and bolt it in, to "pull" it up tight in some spots and then use my cheater pipe, a long, big screwdriver and the hammer and keep forming it where I wanted it. The pic below shows the 2 pieces of 16 gauge in the strut tower area, then I had some real thin sheet metal that I used to cover up the turbo behind the shock tower. It is also tek screwed on, at least for now. It took a bit more fabbing, but I was able to get the carburetor on and pulled out into the open spot. Unfortunately, the big K&N filter won't be used. If you want it/need it, let me know. I took two close up where you can see the new sheet metal from inside the engine compartment. This, of course, will be all cleaned up and painted when done. Being a REAL beginner with the welder, I am having a real hard time with it....I will have to watch more videos to get it to work better. I am set at 20 amps, the lowest setting, and the rod likes to stick when I try to start welding. Irritating, but as I have found with everything else on this car.....I end up having to do EVERYTHING myself. Pics follow, cheers!
-
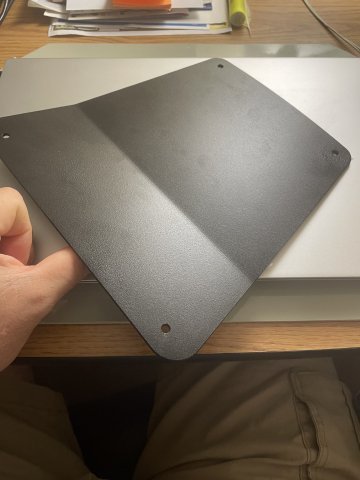
12-19-2024. Dash center plate painted up.
-
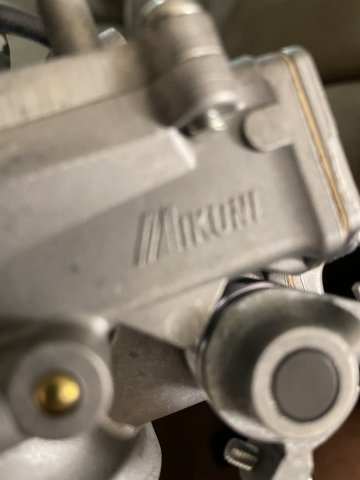
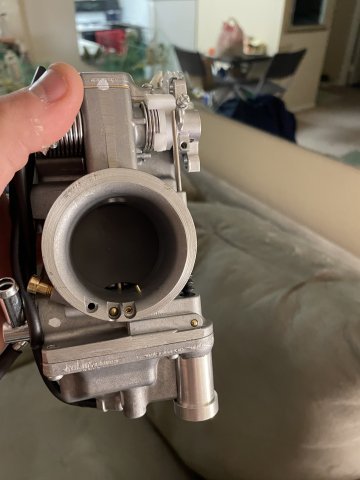
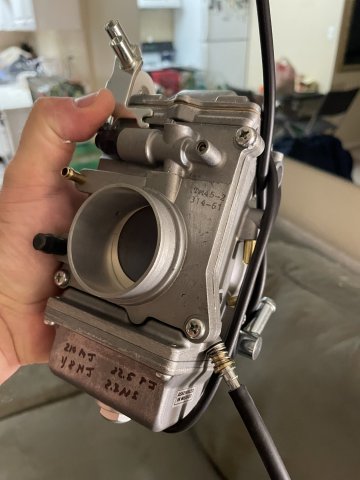
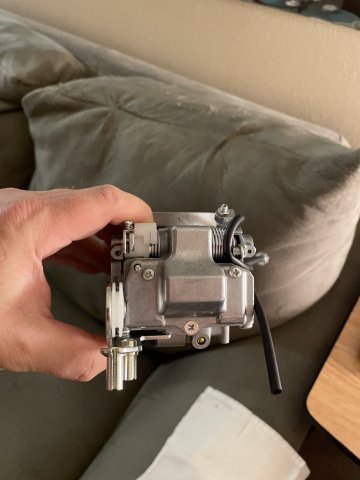
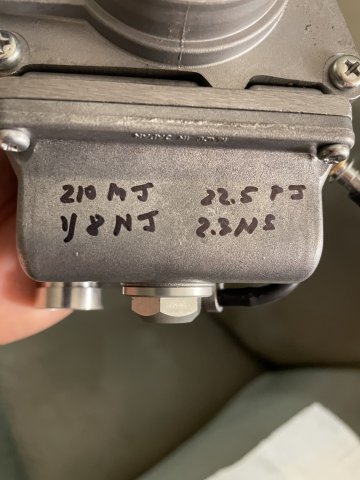
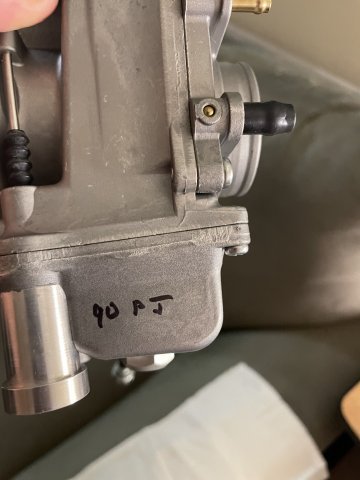
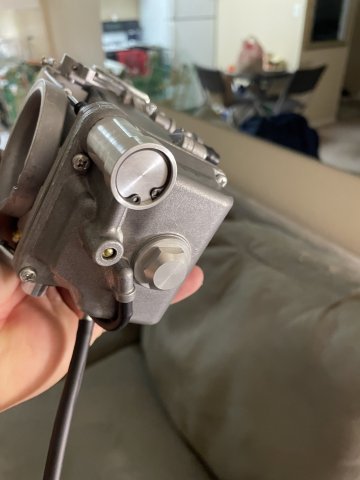
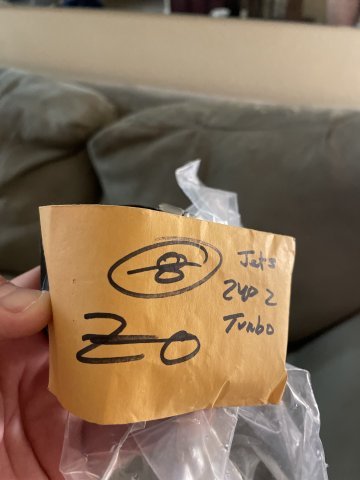
12-17-2024 Turbo Project Update: I managed to get my exhaust piece welded today and then I painted it with VHT 2000-degree flat black paint. Then I unboxed my new Carburetor, a Mikuni HSR 45 that has been modded by John at v-performance to work on my turbocharged setup. I also got the bottom gauge cluster mounted in my dash center panel. because of a few scratches, I will have to mask off everything, wipe it down and give the backing plate a couple coats of black wrinkle paint. Pics follow:
-
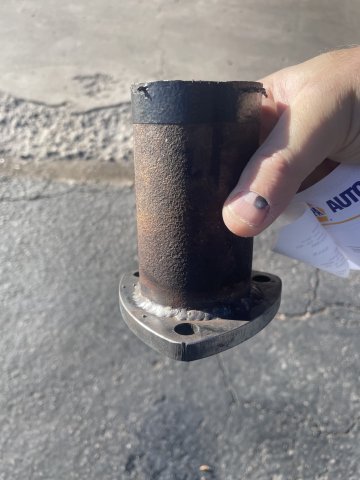
12-16-2024 Turbo Project Update. I was able to go ahead and use a pressure setup and set my Water/Methanol switch to 3 psi for when to start spraying the mix. I also took the piece of exhaust I needed to tie back in to the exhaust system with a flange and got it welded. Now I have to install and mark where to clock the other flange and get it welded. I already have the gaskets, so After the second flange, a coat of high heat paint and install and exhaust is done.
-
after complete I can also then take it to a shop and they could reinforce with a bead. No one wants to do mobile welding anymore.
-
The sheet metal, being pretty thin this isn't going to allow for a very deep weld. just tack welds. Additionally, in talking to a pro body and paint guy, he stated that 1-1.5 inch strip of 3m panel bond will be stronger than the metal itself, and so he recommended that. This isn't butt welds, but lap weld with a thick overlap. Where a weld would be 1/4 of an inch wide, the panel bond will be over an inch wide.
-
12-15-2024 UPDATE: Today was one of those days where it felt like it was hard to get a lot done. Everything wanted to fight me...irritating. I started with removing the bolts from the driver's side motor mount, and carefully jacking under my oil pan with a wood block on top of the jack. I then installed 1/4" thick of grade 8 washers, along with grade 8 bolts and nuts. I worked on my exhaust, finding I only need a 5 inch piece to close it back up, and so I cut some old pipe I had, and it was tough, but I was able, with duct tape, to hold both flanges up and mark them and the pipe for reference to weld them on. I finished clearancing between the turbo and the brake master cylinder, and then cleaned up the area with brake cleaner. The master cylinder needs to be bled again. I also pulled the front wheel off and cleaned up the cut-out area a bit and got a 1-1.5 inch border of clean steel I can use to Panel bond cut and formed pieces of 16 ga. steel. I was able to cut to fit a new intake hose piece, and it sits well....not 100% straight, as the turbo no longer lines up perfectly with the intake, I did what I could. Pics:
-
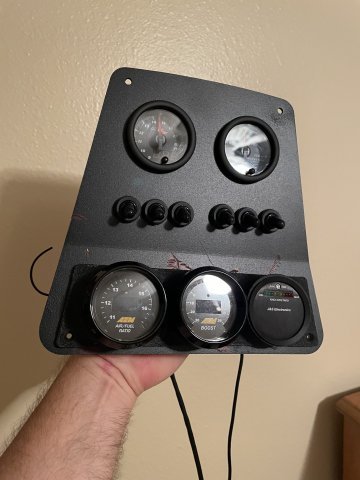
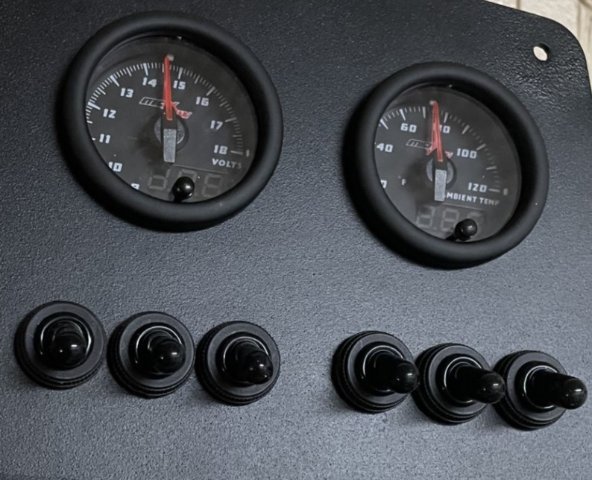
2-12-2024 Dash Center Plate Project Update: Go the triple gauges set up and got the majority of the wiring behind the panel done. When completed I will be able to carry it out and with a few connections have it installed. Getting closer.
-
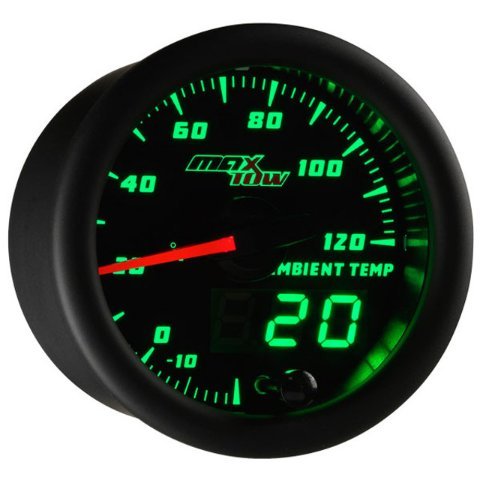
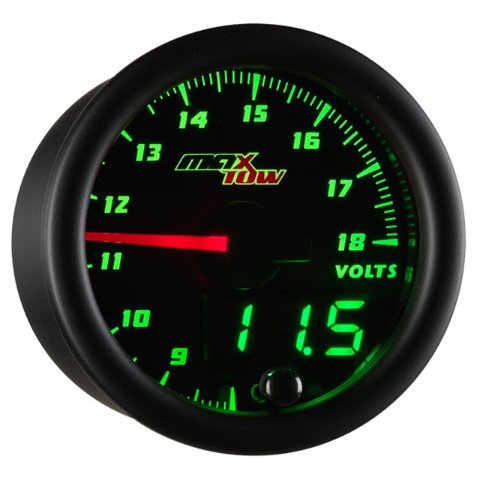
12-11-02024 Dash Center Plate Project Update: My 2 upper gauges I bought from Mx Tow arrived, and I got them in the plate and tightened down. See pic.
-
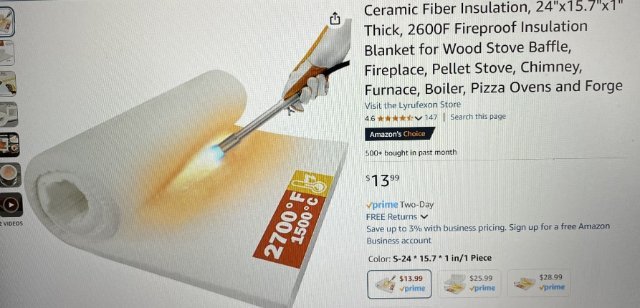
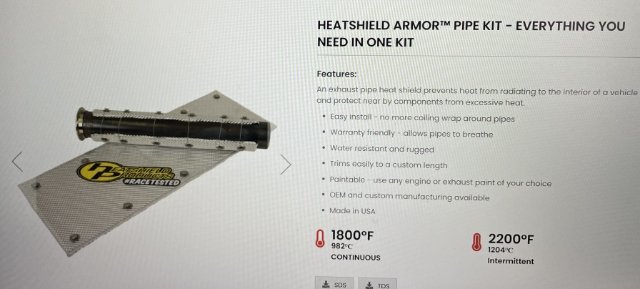
Because the hot side of my turbo is right next to the brake master cylinder, I have purchased 2 items to keep the heat off of the master cylinder. The first is an exhaust blanket made by Heatshield Products with a continuous temp acceptance of 1800 f and then I also ordered a roll of 1" thick "Lyrufexon Ceramic Fiber" which has a tolerance up to 2400 f. Cheers!
-
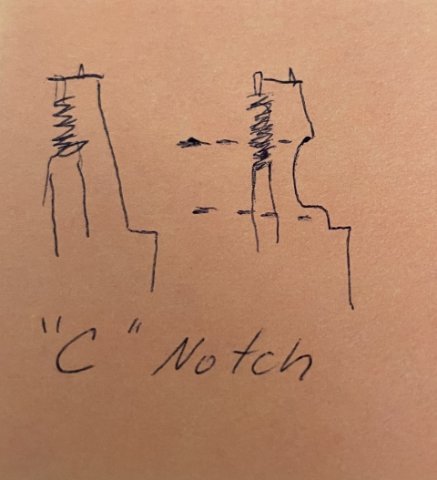
I'm not willing to cut the tower...I already have! So why continue? Well, I guess because it was hell getting it in, and a little more clearance work can get it done at this point. I talked to my welder. When done the metal on the shock tower will basically look like a "c" channeled frame does when clearanced. I have some "Lyrufexon Ceramic Fiber" I can put between the brake master cylinder and the hot side. It is cut to fit, is 1" thick and has a rating of 2400 F. I will just have to make it look decent once installed. I understand what you are saying....but I am so far into going this route, that I am on the path and just have to finish it out. The mere thought of taking it out makes me weak just thinking about it. It is in, and tightened up and will function, just needs some more creativity.
-
As I mentioned, the welder will do it the best way. Another crisis averted.
-
I appreciate your concern. No one else even asked about it. As I stated, the strut tower is going to be reinforced. the amount cut didn't completely cut it, and hasn't changed the ride height or anything, but will be addressed before leaving the garage. I have a guy I know and he is a mobile welder. He welded my coilovers, so with some thick plate and some sheet metal, he can come in from under the fender and build bracing and close it up. Will be perfectly safe and actually strong once done. The closeness to the brake master cylinder, I have worked on, and I will be putting a layer of high-temp insulation between them as a safety precaution, cut to fit, and is rated to 2400F. Attached is a drawing I have made. The welder is an active drag racer and his input will of course be taken to make it stronger that it was being just thick sheet metal spot welded together with bends from Yokohama. It will be stronger than it was. Even though it is just a cruiser, I wouldn't leave it weakened. It will be better than before.
-
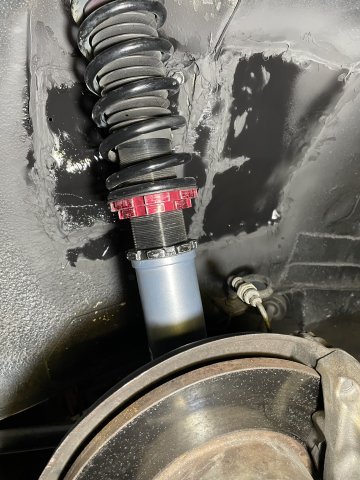
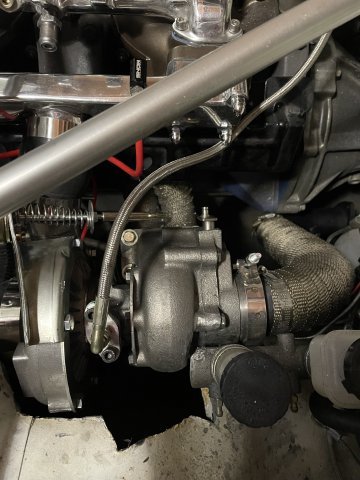
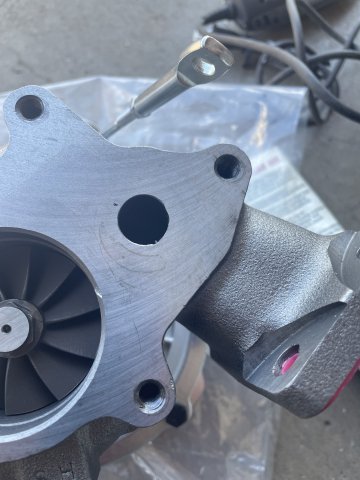
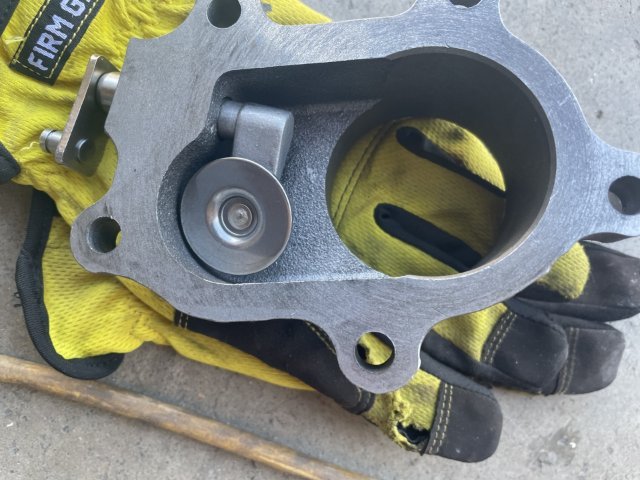
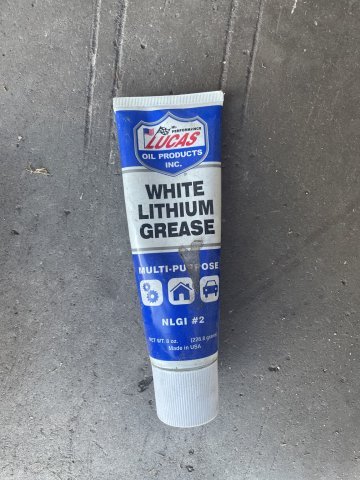
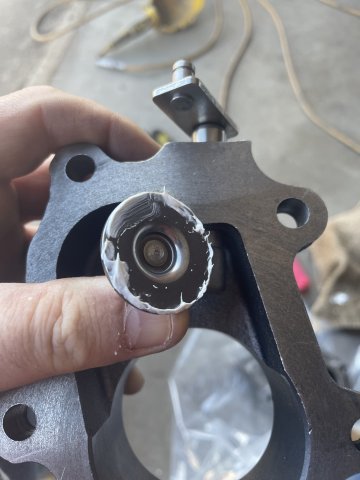
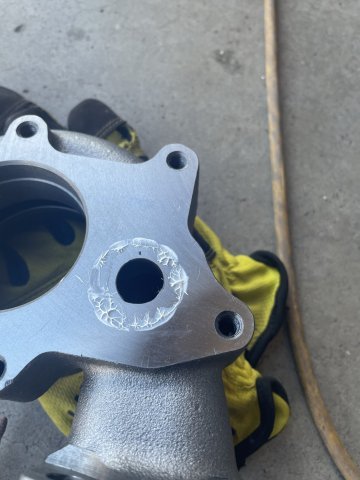
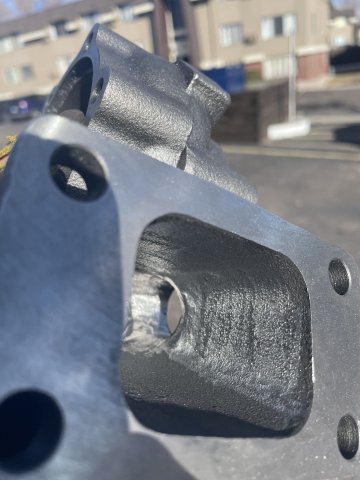
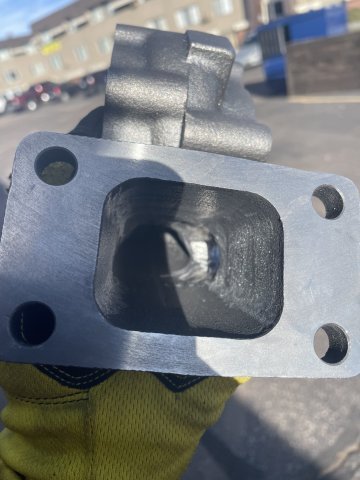
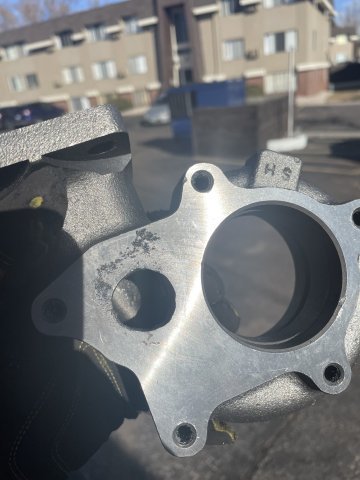
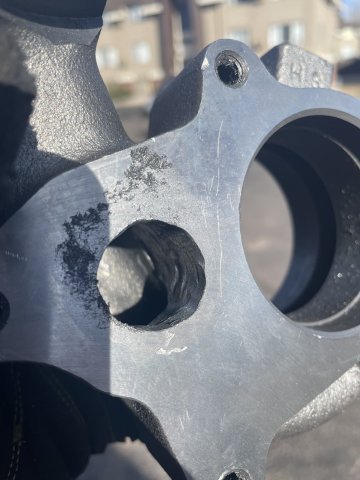
12-07-2024 Turbo Project Update. Pearl Harbor Day. REMEMBER. Boy, today was a L O N G one. I started by porting the waste gate my hot side/turbine housing. I used white lithium grease to mark it, and then went out porting it until I was at a spot where I needed to leave enough for the foot to seal. then I got ready to clock the wheels, so that my oil drain would be right at the bottom and oil feed at the top. This is when the trouble started. My turbine would not bolt up to the J pipe. there was no room. So, I made a big mistake. I ASSUMED the T3 housing would be the same as the original RayJay housing....not even close. So, a decision had to be made....make a new J pipe or make all of this work I have done to install it...work. I went ahead and started cutting the inner fender to get the turbo to fit. unbelievable trial and error, fit, refit back and forth, after what seemed forever I was able to the put the turbo on, get it clocked. I ported out the oil drain hardware, as I have read that the 10AN kit that is sold tends to be just a hair to small and the oil can't drain fast enough, and will back up in the turbo. So, as the pics below show, I was able to get all of them ported out, and I assembled the drain line with thread sealant, installed it and then dropped the turbo back on. So, with 10-15% of the turbo in the wheel well now, and more needing to be cut, especially into the strut housing, I had to think it over, and I decided, I can have the mobile welder come over and weld up and reinforce the strut tower and all will be well....I also came up with a way to have the carb come back "in" completely to the engine compartment on an angle, and will sit right behind my snow performance water methanol pump, and the coil and electrical. It really took a along time to get the complete turbo in, I had to grind on the turbine housing and the brake master cylinder to get it to fit, and then a bit more so I was able to get the turbo blanket on as best as I could for now. I will get some high temp insulation to put between by brake lines and the turb as soon as I can. So, crisis averted. And when it is done, I will have it all cleaned up and will look very presentable. Pics follow. Cheers!
-
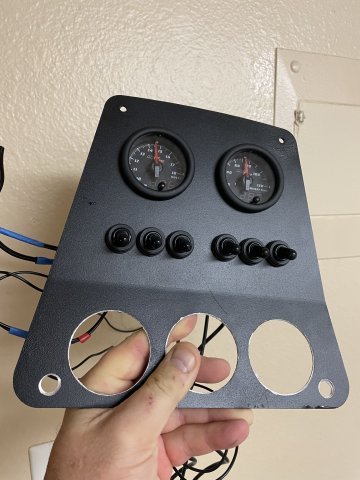
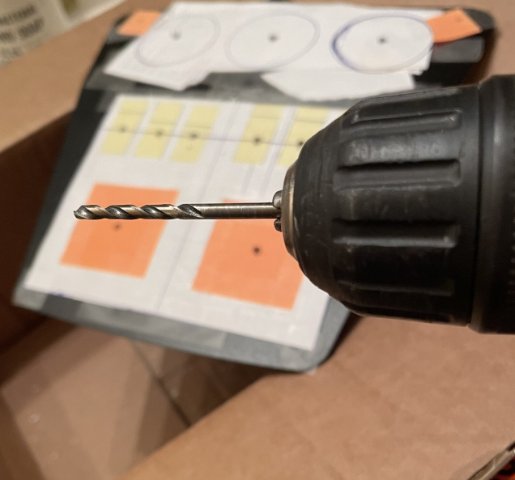
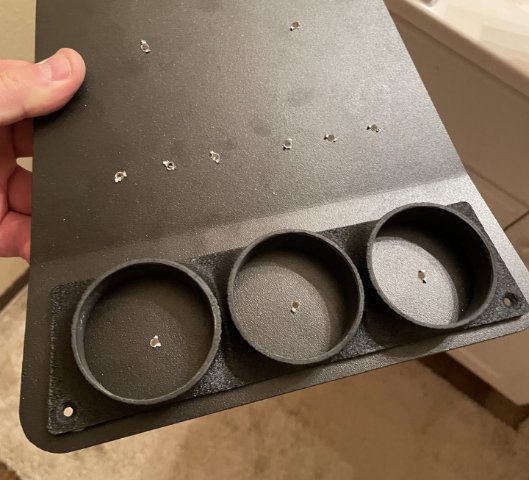
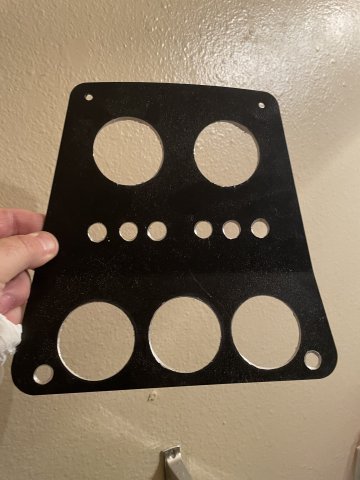
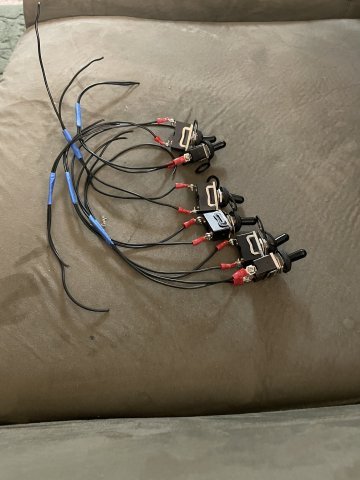
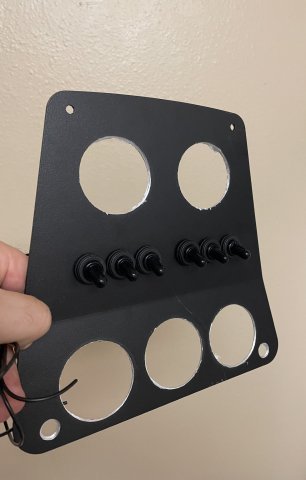
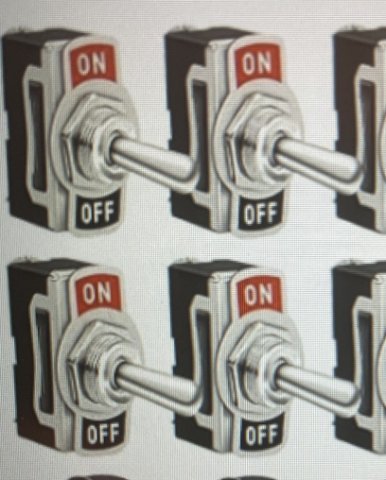
12-04-02024 Dash Center Plate Project Update: My switches came in already, So I went ahead and drilled out all the holes and mounted the switches in. I like the look with the waterproof covers that screw on. The big holes will need a little adjustment here and there but coming along pretty good! Pics follow
-
Thanks! I will do my best.
-
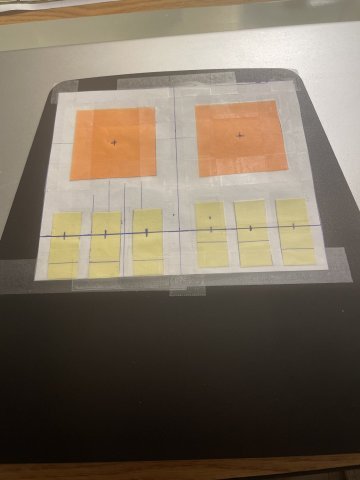
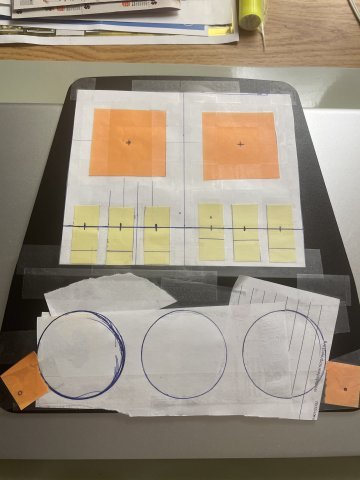
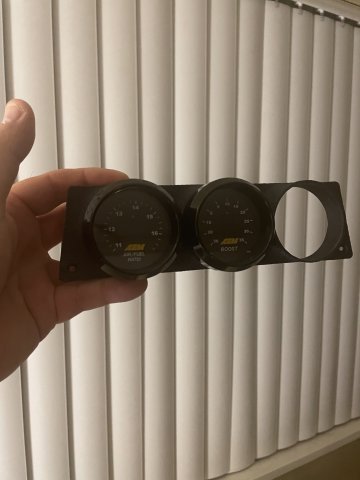
I decided one of the very last things I will probably do with my 240Z is replace the center dash area with a custom plate with switches and gauges. I started by getting the plate from Skillard, and made sure to spend the extra 10 bucks for the satin powder coating. Nice piece. I then went about taking measurements and figuring our just exactly how I wanted it to look, what I needed it to have and what would make it look cool. Earlier I had added 5 switches to the fuse box cover plate, and now that I am going to do this, I will move those wires up to switches, and eliminate those switches in the cover. Since that plate will now have holes, I will have to decide whether I wish to replace it with another stock piece, or cut a piece of aluminum to fit. Do any of you know someone who makes that plate? I asked Ben at Skillard and he doesn't. Anyway, I decided to go with the old fashioned toggle switches, and then in the space above it, I am going to add two 2 1/16" gauges I found online from "MaxTow".....apparently they are used by truck guys, but of all the gauges I found, they were the nicest looking .....in my mind at least. I spent some time tonight drawing out all the holes needing to be drilled on the back of the piece, and I am hoping that by going from the back out, the powdercoating will survive. I am also attaching pics of the gauges and switches I have ordered.....and another pic of the triple gauges I already bought from MilkFab....still waiting on my Knock sensor gauge to come in. Comments welcome. Cheers!