-
Posts
1071 -
Joined
-
Last visited
-
Days Won
32
Content Type
Profiles
Forums
Blogs
Events
Gallery
Downloads
Store
Everything posted by A to Z
-

1978 Datsun 280z No Acceleration Above 4000 RPMs
A to Z replied to Kad77's topic in S30 Series - 240z, 260z, 280z
first is idle, then carb. once the SM needles are in, you need a sync tool. if you need further help, I can make it easy to understand. -

1978 Datsun 280z No Acceleration Above 4000 RPMs
A to Z replied to Kad77's topic in S30 Series - 240z, 260z, 280z
SU's on an L28, you need SM needles. I had the same problem. I set the idle at 20 degrees at idle with vacuum disconnected and plugged. then I added the SM needles. problem solved. The SU's are made for 2400cc's. you have 2800cc's. and the timing needs to be correct. The manual for the L24 is 18 degrees at idle with vac disconnected and plugged. I went 20 because I am at 6000 ft elevation. Again, I had the same issue. turn the screws down 1.5 to 2 turns. SU's are known for going lean at high RPM's. -
Looking again at the pics.....if you don't want to dip it, no sense in really even trying to restore it. It needs it so desperately, you should do it, or just find another Z car IMHO.
-
the car body after acid is put into a vat of neutralizing solution, the car is completely submerged....hence there is no acid left to weep out. There simply is no other way to get all the rust out. The water gets into every single crevice there is. People talk about bare metal between pieces of metal.......it would be there either way.....these cars were built out of raw steel and THEN painted. The panels were not individually coated and then assembled. They didn't do it that way. The only downside to a dip is the amount of work to completely remove EVERYTHING from the shell....and of course the transport to and from. Some Z projects are SO rusty, I can't believe anyone wouldn't want to get all the rust off!
-
Most car companies are going to have a switch operated off of intake temperatures is my guess. If you want it basic, you can put it on a toggle switch and then turn it on and off as needed and maybe add an intake temp gauge to the cabin somewhere. Another option is maybe tee off of the electric fan and let the fan operation also turn the intercooler fan on and off? Call Godzilla Raceworks in Texas and ask them what they think.
-
well, there are a few things to figure out. Are you going to have a hydraulic clutch or just a normal cable clutch? The Tremec transmissions are really nice and I recommend those. Mike Forte at Forte's Parts Connection in Massachusetts is a real good guy and could set you up with a complete kit. You will need an engine flex plate, a flywheel, flywheel bolts, a clutch kit with throw-out bearing and sleeve, a transmission, A shifter, shift boot and shift knob, A transmission mount, and a U joint to attach to a shortened driveshaft. JTR (Jags that run), has all of this figured out, and you really just need to call them and get the skinny on what to do. Lastly, you will need to be able to hook up your speedometer to the trans, so ask about that as well. Click on this to start: JTR Stealth Conversions V8 Swaps Forte's Parts Connection: click below: Forte's Parts Connection
-

1978 Datsun 280z No Acceleration Above 4000 RPMs
A to Z replied to Kad77's topic in S30 Series - 240z, 260z, 280z
With the SU's, I would go with SM needles, turn the mix screws about 2 turns down from the top, re-sync the carbs, and verify ignition. should have 18 degrees advance at idle with the vacuum disconnected and plugged. ~Joe -

1978 Datsun 280z No Acceleration Above 4000 RPMs
A to Z replied to Kad77's topic in S30 Series - 240z, 260z, 280z
do you have an adjustable fuel regulator? If so richen it up a tad and take it out and see if it helps. -
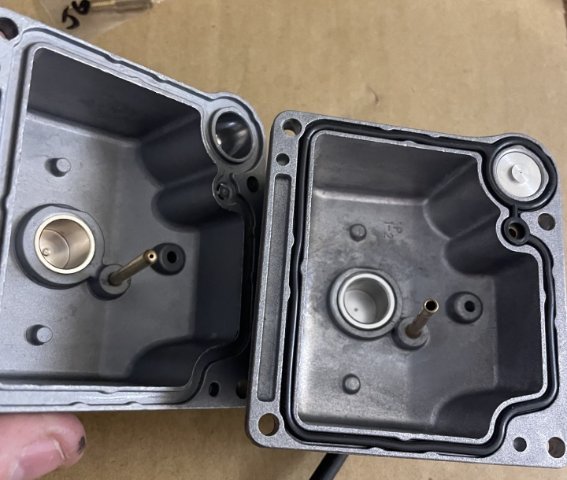
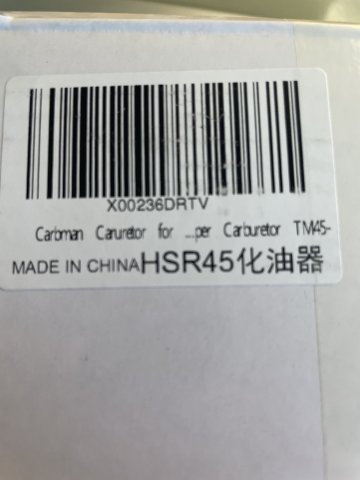
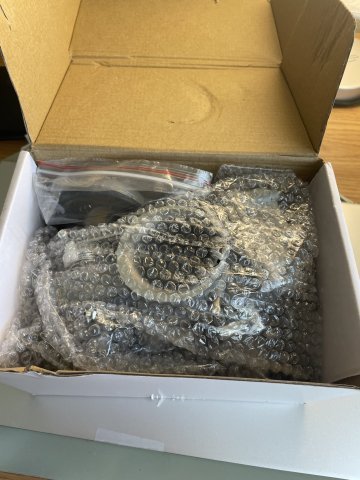
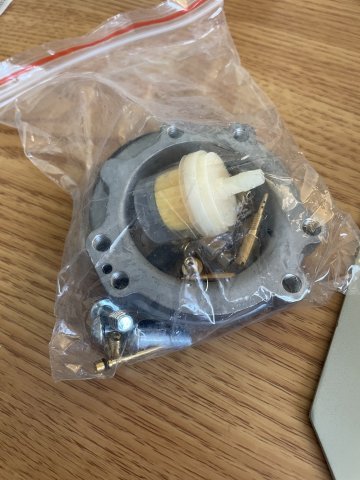
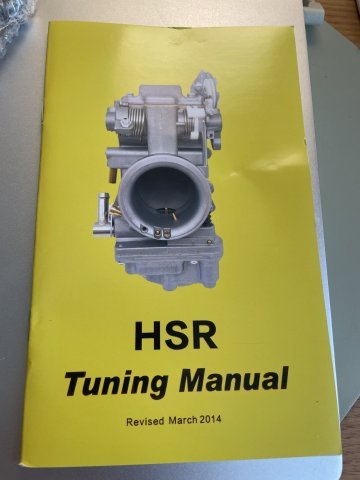
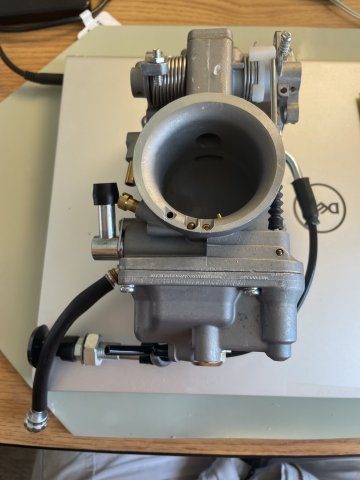
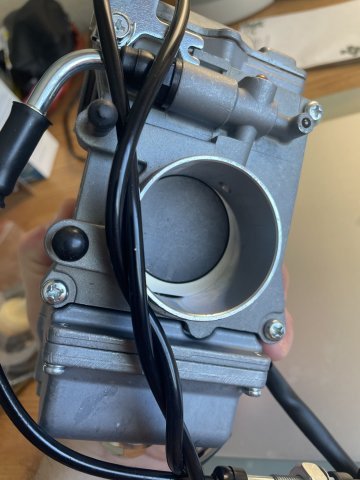
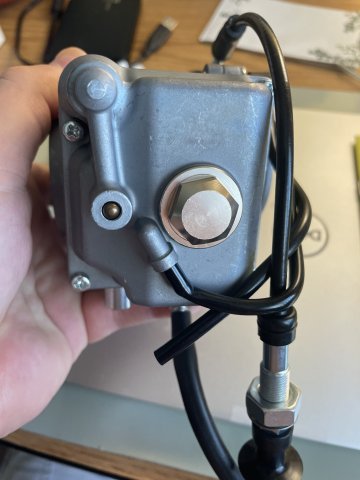
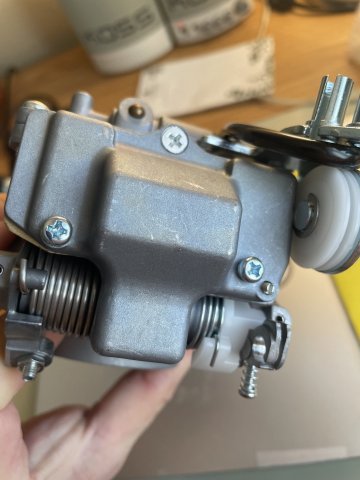
03-23-2025 TURBO PROJECT UPDATE: here are float bowls for the Mikuni HSR carb for my turbo setup. You can see the difference between an unmodified one and the modified one on the left. the overflow tube, look how much larger diameter it is, and the upper right-hand corner of the float bowl is modified, to increase flow for the accelerator pump, advertised as 50% more fuel flow! I had so many problems with my mikuni that I ordered a china copy off of Amazon for $113 shipped to learn about the carb......when it arrived it is EXACTLY the same carb! Some of the knockoffs are not similar, but this is a carbon copy. My mikuni I am convinced is a factory defect. I went ahead and changed all the jets in the china carb to mikuni jets, and put the modified float bowl on there. It is now "correct" and ready to go on!
-

Chevy 350 Auto to Manual transmission swap
A to Z replied to Mefromstatefrom's topic in Gen III & IV Chevy V8Z Tech Board
well, the fun of driving the Z car will go WAY down if you keep an auto trans instead of a manual. I have had both. Manual all the way. At least for a Z car....muscle car would be different. -

1978 Datsun 280z No Acceleration Above 4000 RPMs
A to Z replied to Kad77's topic in S30 Series - 240z, 260z, 280z
what elevation are you at? The stock SU needles are a compromise between power and emissions to a point. "SM" needles are a performance needle set. they give more fuel at higher RPM's. Being a L28 engine, it IS larger than the factory L24 engines these carbs were intended for and that may be at least some of the cause if not THE cause. When installing the needles there is a process to make sure they are installed just right. I would recommend some SM needles. Try "Z Car Depot". Did your setup ever pull to 6K or has it always been like this? -

'77 280Z Track Car Father & Son Project
A to Z replied to RCVTR's topic in S30 Series - 240z, 260z, 280z
A lot of progress! finding the motivation to keep going is key. A lot of projects stall and never get finished. -

'77 280Z Track Car Father & Son Project
A to Z replied to RCVTR's topic in S30 Series - 240z, 260z, 280z
Wow. Good job. that's a lot of work! -
Congrats. The shell appears to need a "strip and dip" if possible. If not, then you will have to figure out how you will deal with the level of rust you have. KlassicFab Vintage JDM is the place to get replacement sheetmetal Skillard is a great place for things like a custom dash, etc. If you go on Facebook, there are also many pages that are worthwhile. If you wish I can name them for you. "S30 life" is a good place to start The engine has the flat top carburetors which is a 1973-1974 thing. Either the engine with carbs was swapped in or it came that way. I would think August is a bit early in the 1972 year to see them, but it is what it is. I personally would make sure the title is free and clear before proceeding very far.
-

1978 Datsun 280z No Acceleration Above 4000 RPMs
A to Z replied to Kad77's topic in S30 Series - 240z, 260z, 280z
IGNITION. Check your timing. Disconnect and plug the vacuum advance. Shoot for 18-20 degrees advance at idle. Have you sync'd the carbs? are oyu getting any popping if you rev to 4000 and let off the gas and down shift? If it is a lean condition, you may need some "SM" carb needles. -

Fast Floridian's 240Z Track Build
A to Z replied to FastFloridian's topic in S30 Series - 240z, 260z, 280z
Boy, someone butchered the heck out of your console! -
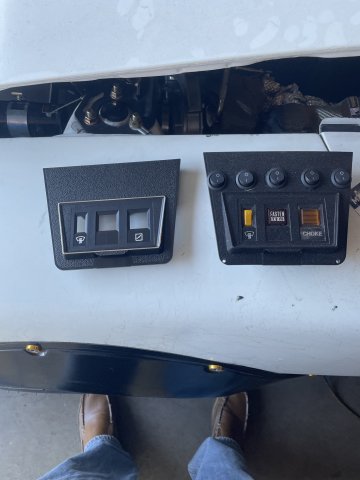
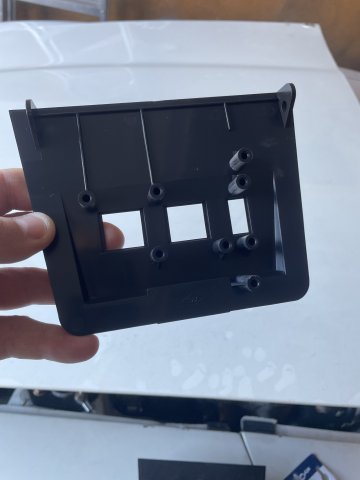
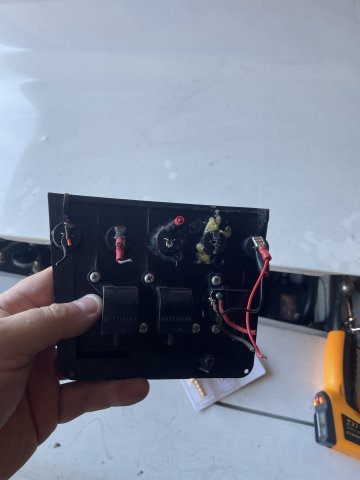
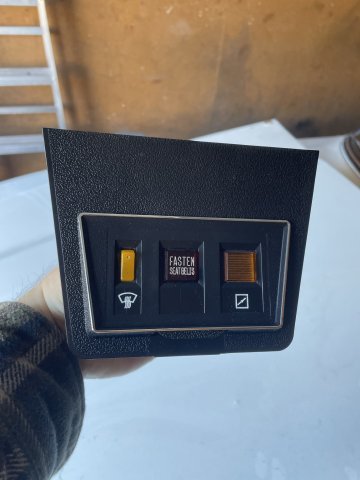
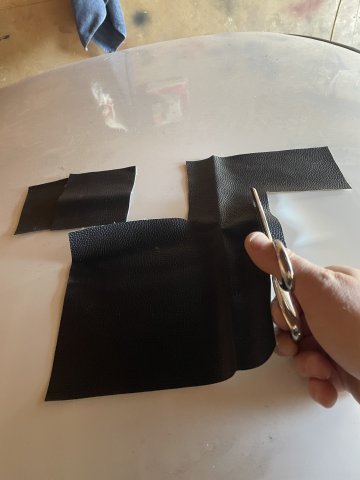
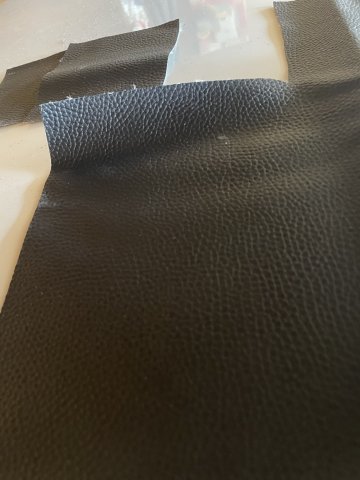
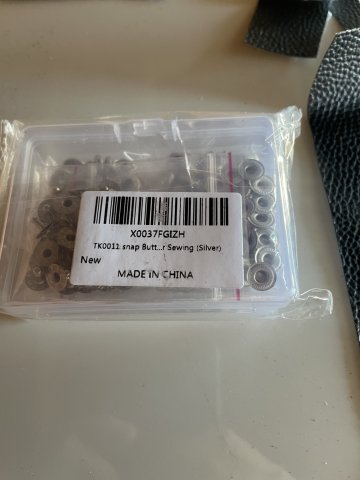
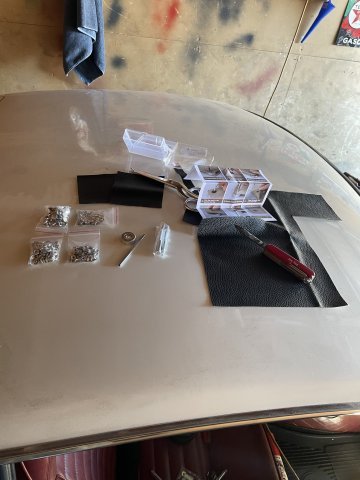
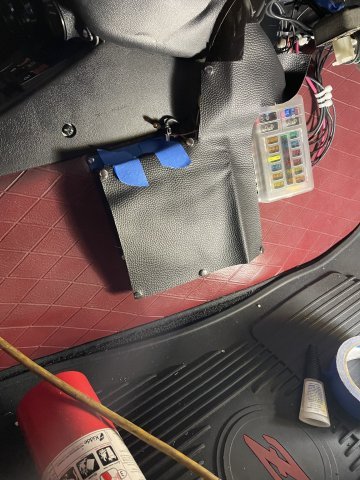
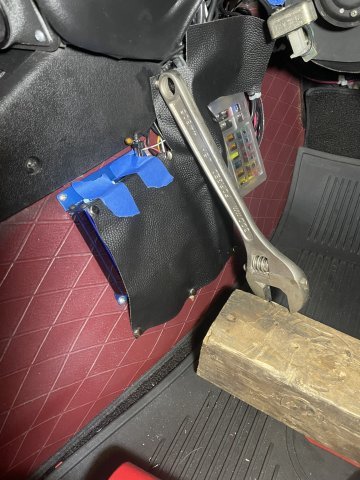
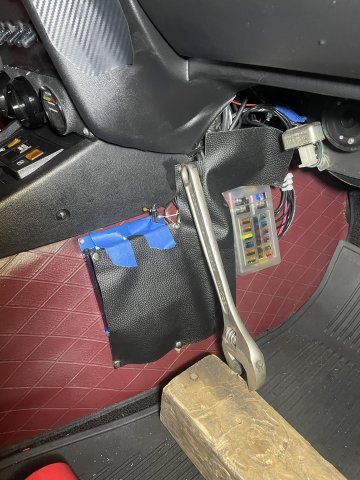
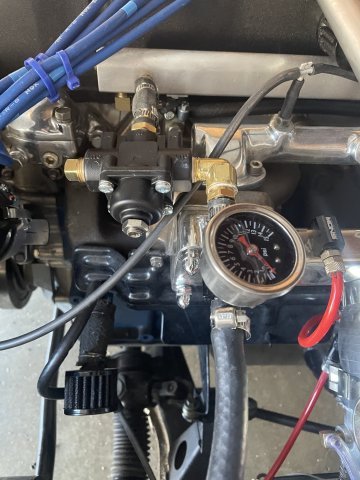
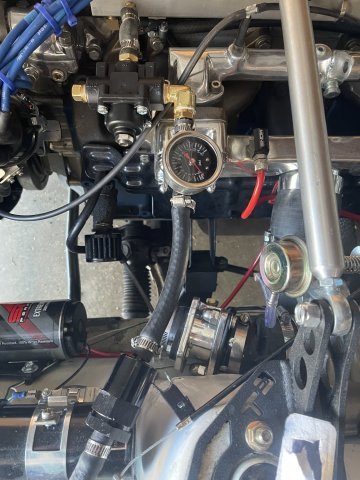
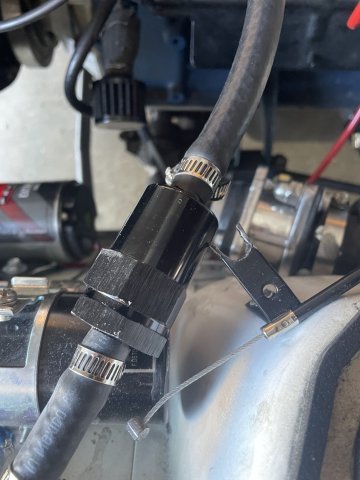
03-08-2025 TURBO PROJECT UPDATE: As the carb is still at the shop, I did a few other things today. I received the reproduction Fuse box console cover, and moved all the factory attachments to the new plate and reinstalled, then I worked on the cover of the wiring exposed in the passenger side trans tunnel. The material is a faux leather material I got on eBay as well as a button kit. After figuring out how the buttons are installed, I then held the upholstery in and kept trimming it with scissors until I had the pattern I wanted and then added the snaps. I had to use tape, and tools, wood block etc. to hold them in place as the Gorilla glue dried, so in looking at the pics you will see the tools being used moved as they are being used to hold the snaps in place while the glue dries. Lastly, I had to make a trip to Lowes for additional hardware, but was able to get the upgraded fuel pressure regulator setup installed and sealed up with thread sealing dope. See pics attached. Cheers!
-

Fast Floridian's 240Z Track Build
A to Z replied to FastFloridian's topic in S30 Series - 240z, 260z, 280z
Sure. The end result is to avoid twisting of the unibody. Many ways it can be done. -

Fast Floridian's 240Z Track Build
A to Z replied to FastFloridian's topic in S30 Series - 240z, 260z, 280z
yeah, Bad Dogs I hear are good, and that you can put them over the factory ones, but if the factory ones are rusty, then they need to be repaired/patched first or removed and replaced with these. I I think they way blok did his with thick heavy steel is probably the ultimate (the youtube link I posted earlier). -
The only cutting that should be required is above each wheel well to get the proper fitment of the Rocket Bunny kit and the correctly sized wheels and tires.
-
Doesn't the factory baffling wall work sufficiently? I am asking as I thought it was sufficient as is.
-

Fast Floridian's 240Z Track Build
A to Z replied to FastFloridian's topic in S30 Series - 240z, 260z, 280z
looks like you have a good start on it. My concern would be the rails. they made need to be patched, and using a V8, and modified at that, BEEFY rails would be a good idea. Some guys have even using thick steel runs of pipe that are U channel . I attached pics of my car and some of the patching done. MY car had 45K original miles and 30 years of its life sitting in an airplane hanger and I STILL had to fix the rails. I attached a close up pic I got from one of your pics, and it already looks like it needs attention. here is a link to watch : -
Please, pics!


