A to Z
-
Posts
1072 -
Joined
-
Last visited
-
Days Won
32
Content Type
Profiles
Forums
Blogs
Events
Gallery
Downloads
Store
Everything posted by A to Z
-
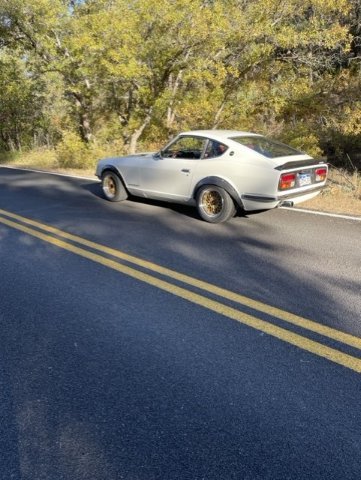
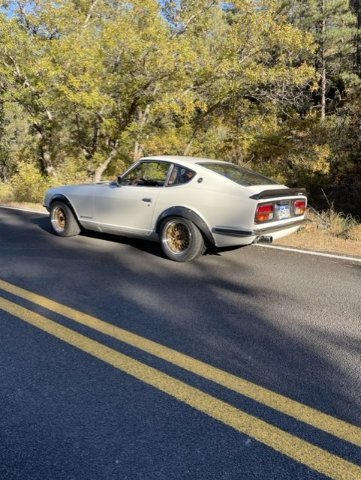
Lazarous post. Just bougth a set of the flares, version 1, for when you aren't using the kit. Made out of FRP. I might paint matching white.
-
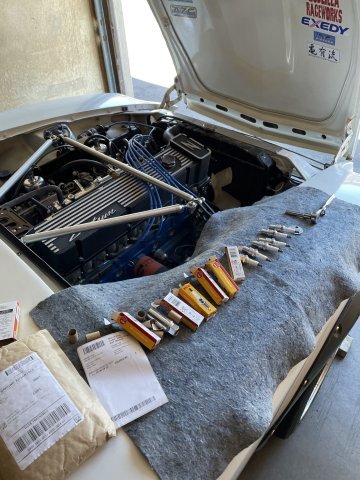
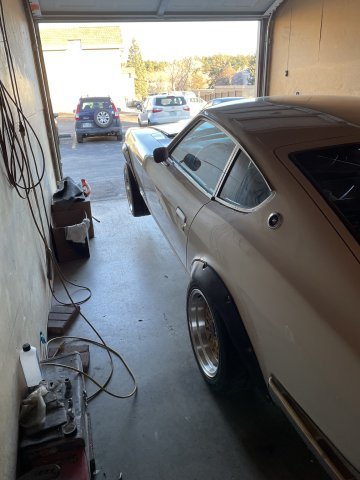
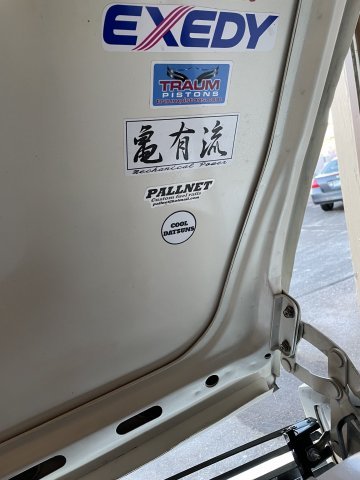
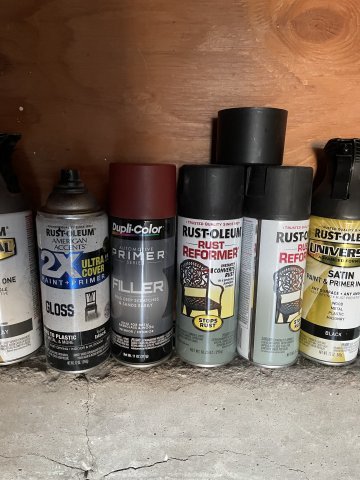
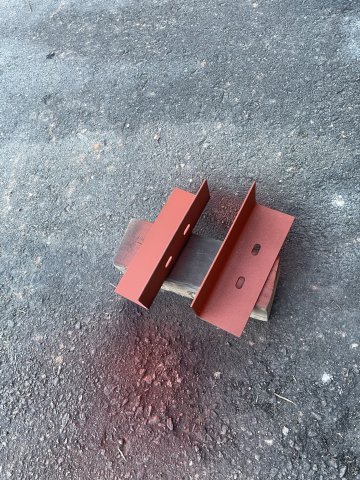
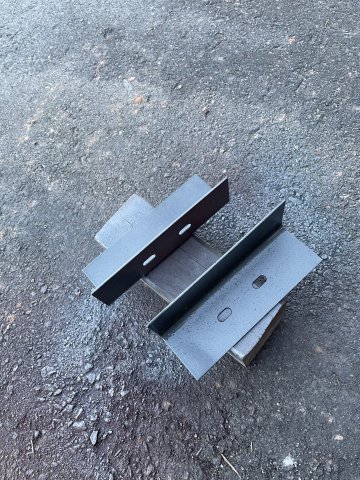
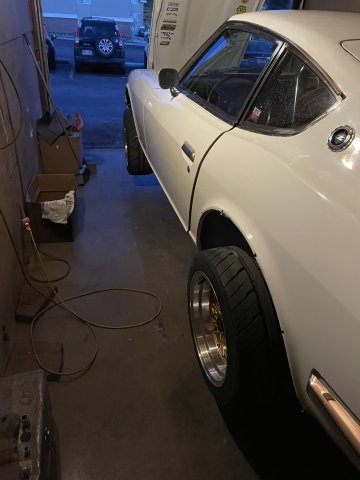
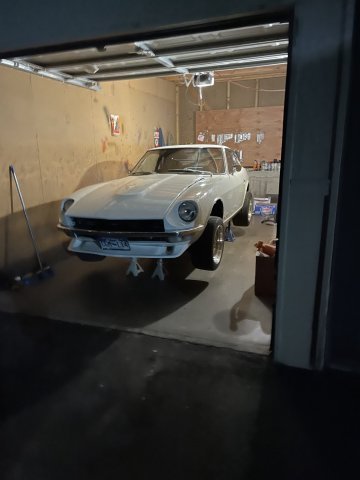
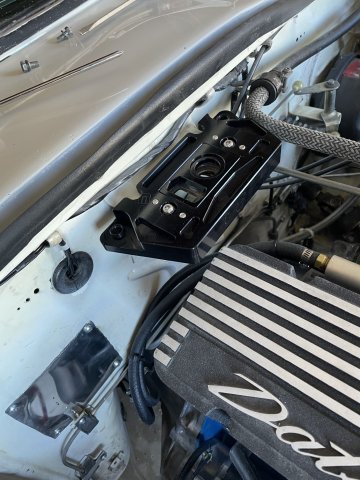
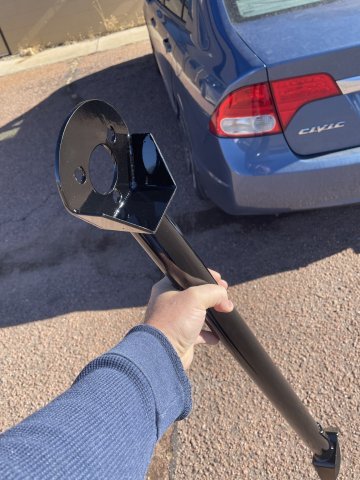
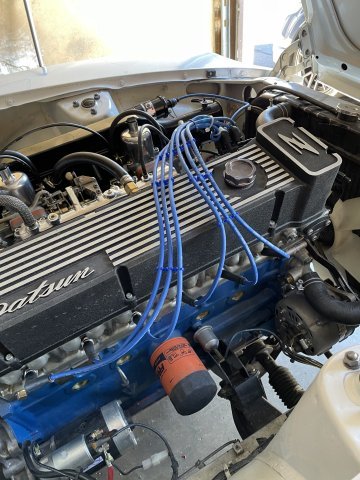
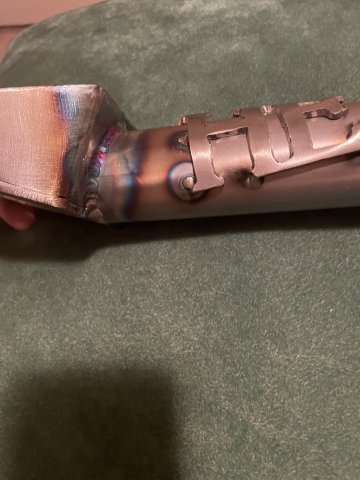
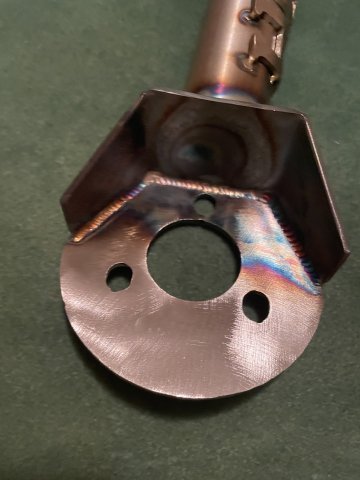
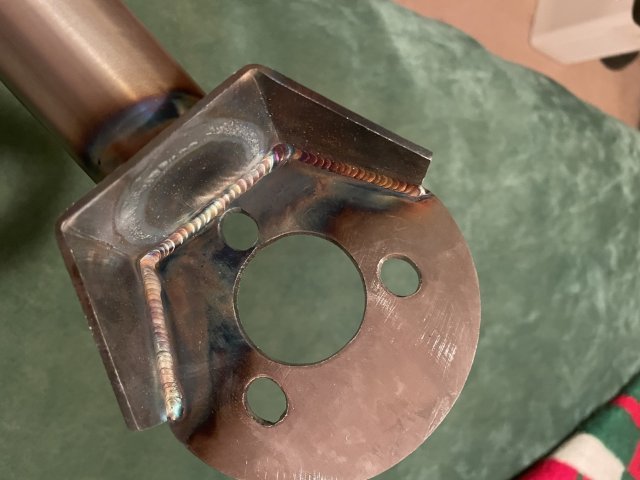
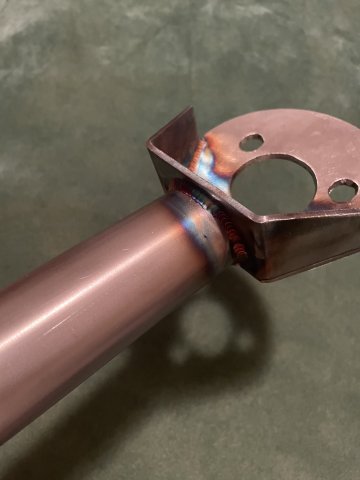
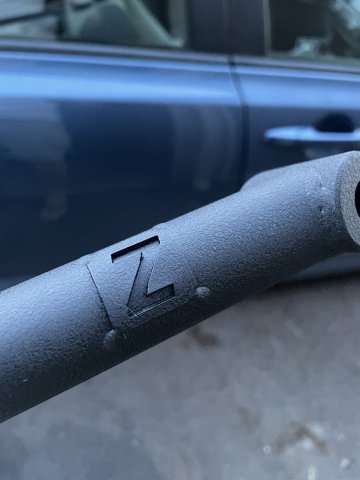
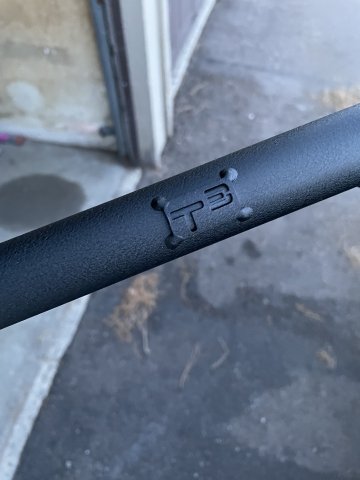
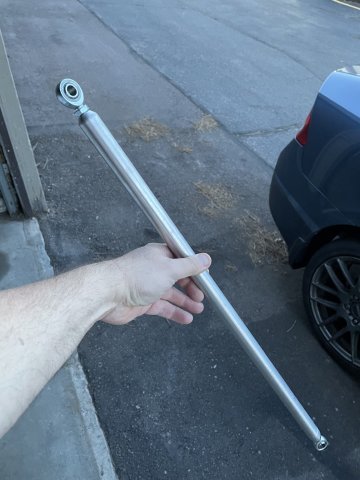
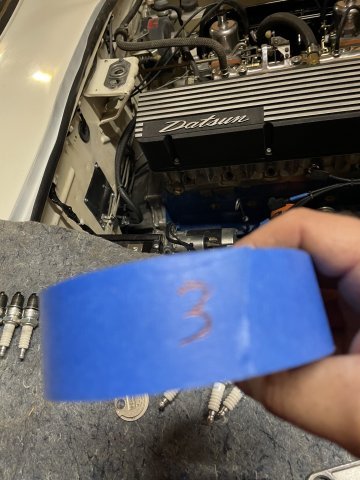
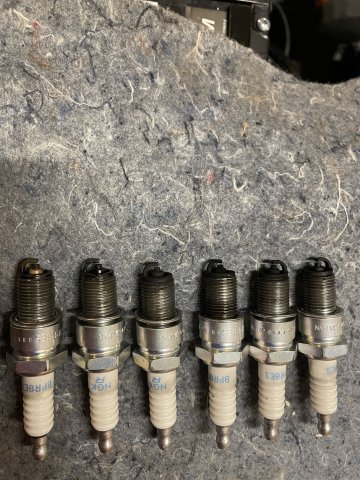
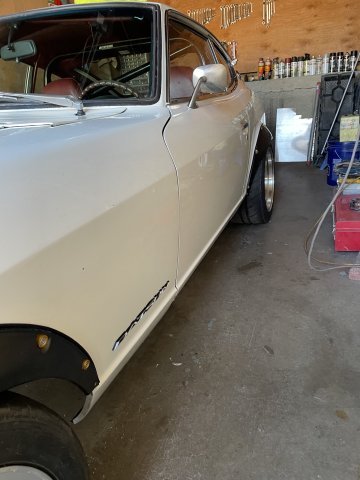
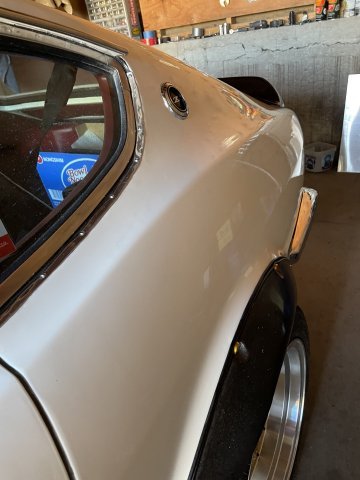
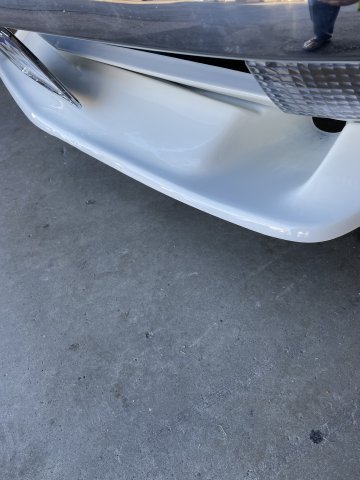
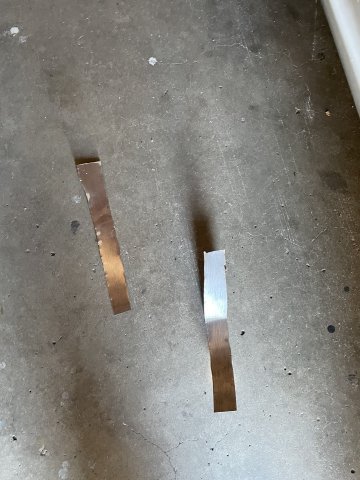
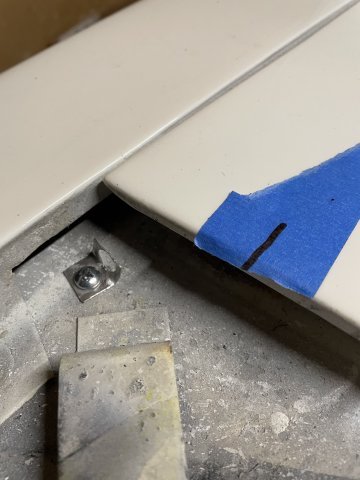
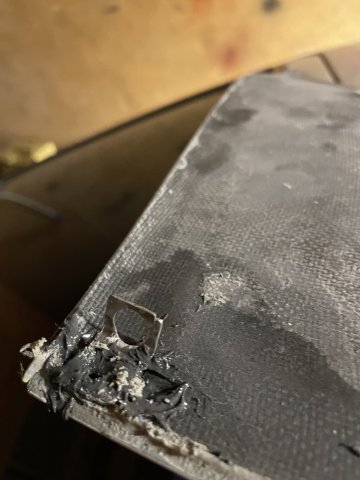
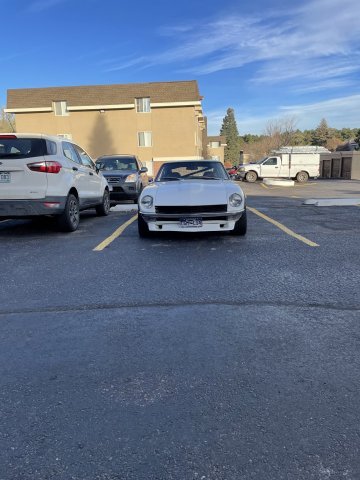
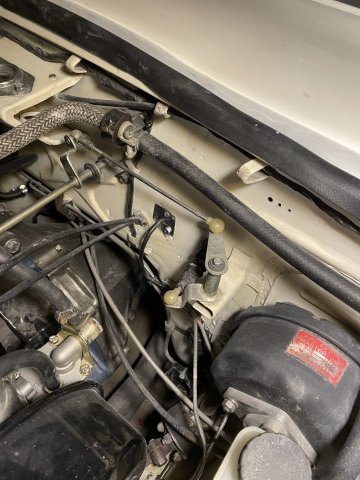
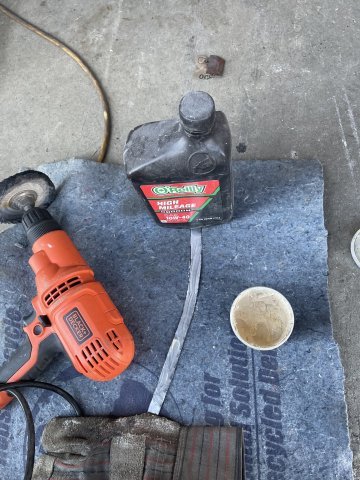
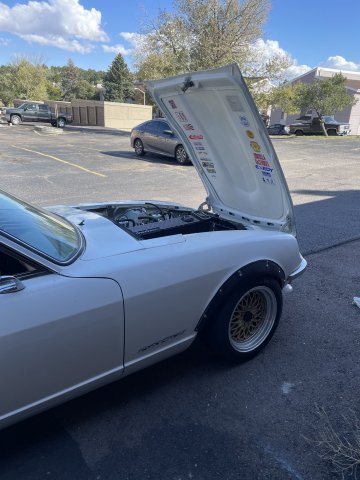
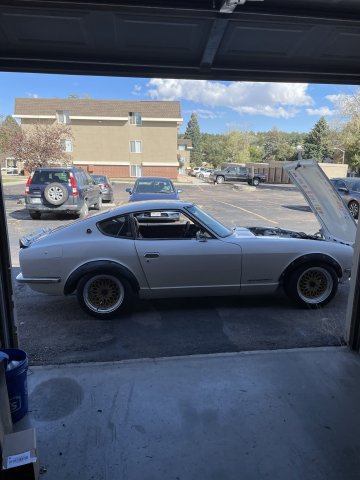
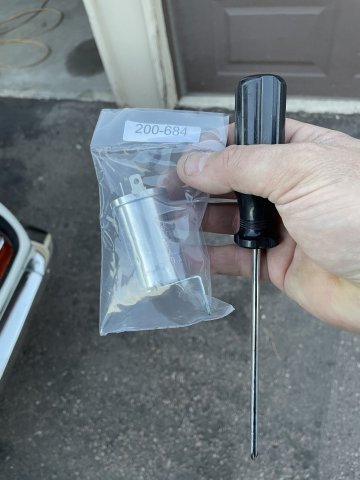
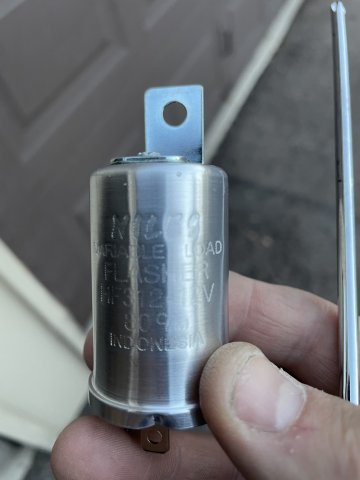
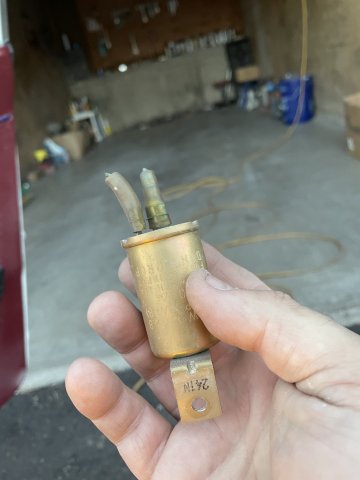
 01-28-2024 UPDATE: Busy day! I went ahead and pulled the NGK BP8 plugs and gapped the BP7 plugs (one heat range colder instead of 2 ranges cooler) at .031 and installed and removed the air box. I started the car and got it warm and then re-synched the carbs and took it for a drive.....the new spark plug wires and plugs made a BIG difference. She runs VERY strong now......strange that afterward I pulled the plugs and #6 is burning clean, 1-5 are rich....not sure why, but she really runs good now.....all 6 firing! I then put a couple stickers under the hood that I had and then jacked the car up all the way around. I did this to remove the flares and get it ready to install the new front and rear sway bars. I bought the rail reinforcement plates from Z car Depot, that are made of 12 ga. steel and are recommended on the 240Z's when using a larger front sway bar. Well, I sprayed them with a coat of Rust Reformer, Primer and then top coat of some Satin Grey paint I had left over.....I just wanted to paint the raw sheet metal that will be against the rail when they are welded in. I removed all the fender flares and have decided to go in a different direction.......I ordered some of the PRICY Speed Forme flares and will install them, with the understanding I may have to lower the car to make it look right afterward. I really don't want to lower it any more, but I will if it needs it. The new front sway bar is the 25mm ST front sway bar, and the rear is the Techno Toy Tuning rear sway bar, 3/4 diameter. Here are some pics:
-
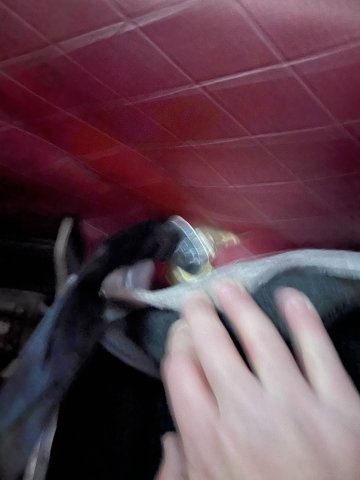
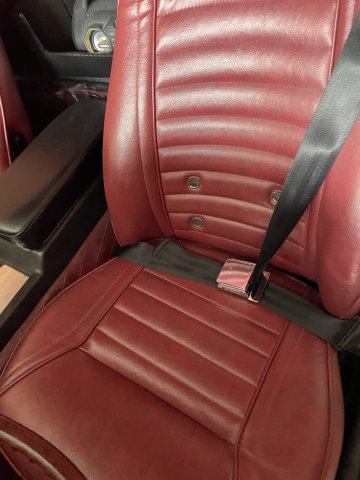
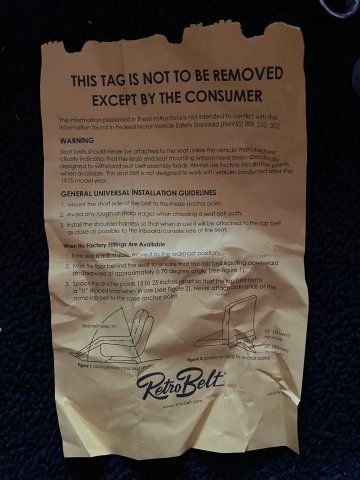
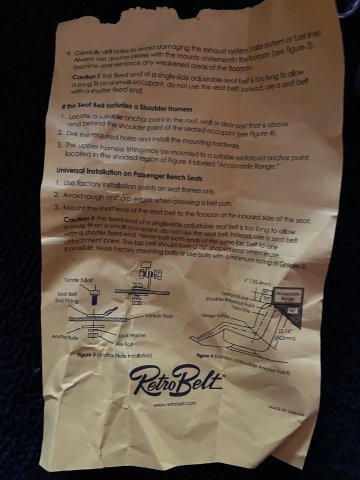
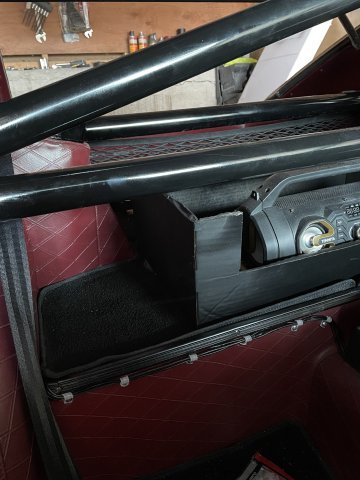
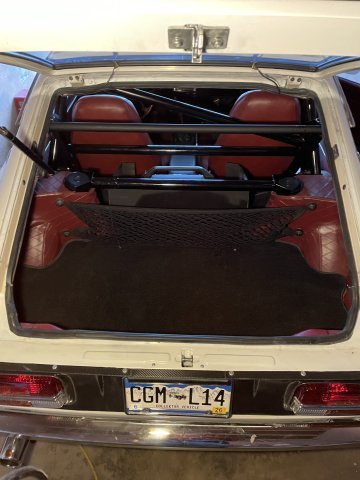
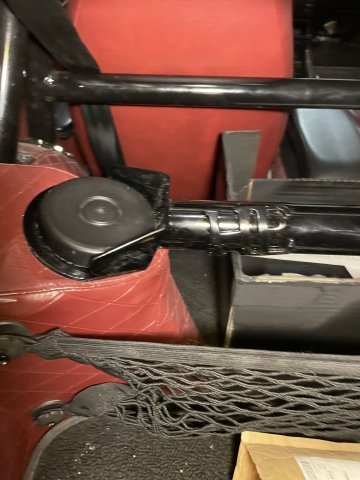
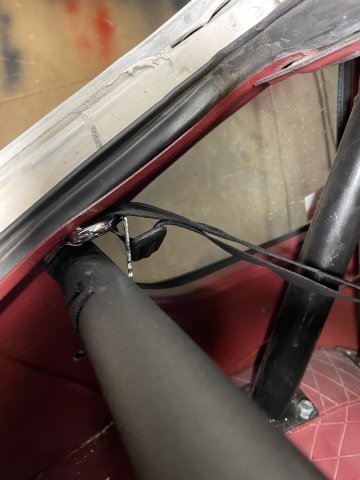
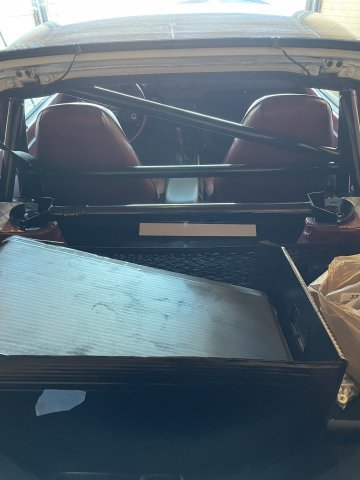
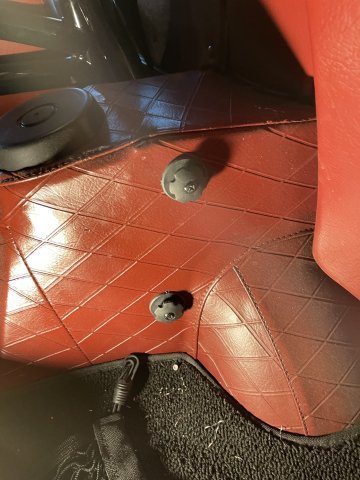
01-21-2024 UPDATE, I finished getting my new Retro Belt seatbelts installed. Removing the old belts, and having to vac out dirt in the pockets etc. As with anything "universal" you have to fiddle with and work with, to get them just right for your application. I like them. I also strapped down the wires I have running behind the passenger seat to the wall....I can paint them when it gets warmer...mask off and spray with red interior paint to make them blend in.....but who knows I may leave them as they are now.:) I also got the 2 hooks installed in the hatch area to hold the bottom of my cargo net down. Sounds like easy stuff, but it was a bit of a fight. Anyway I managed a few pics. Started getting cold so I went in. Cheers.
-
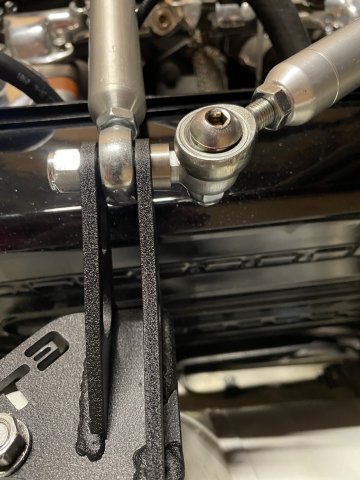
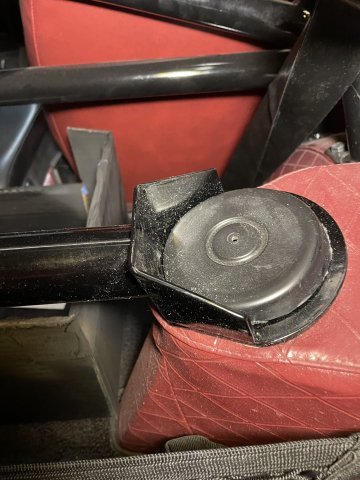
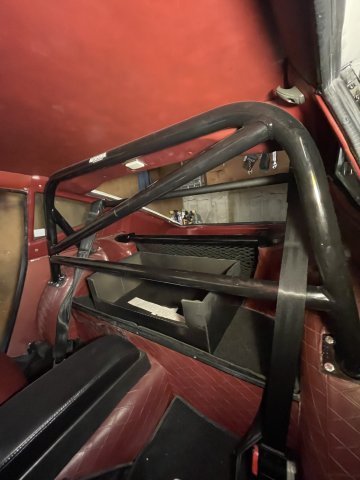
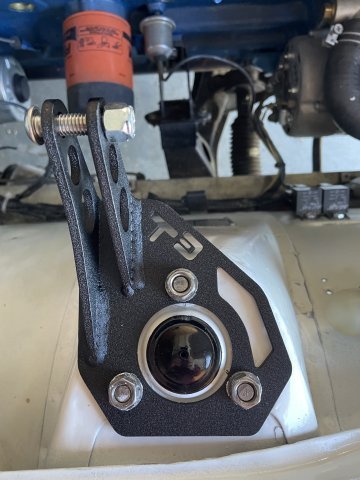
12-30-2023 UPDATE. I got out to the garage today, an started with getting the front strut bar and tri bar setup I bought form Techno Toy Tuning isntalled. Then I went ahead and installed the rear strut bar from Humble Engineering. I was able to take off some material to get the caps to fit back over the bolts on the rear towers. Then I went ahead and installed the C pillar bar from Techno Toy Tuning. I had to remove the plastic beautification caps over the new seat belt pulleys so the bar could be installed over them. For some reason the C pillar bar was cvery challenging to get on....the seat belts are from Retro Belts, and so it was a bit different than factory belts. See pics:
-
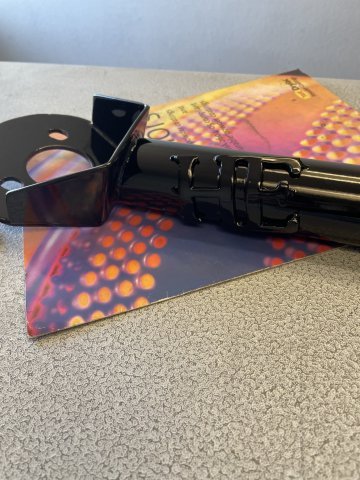
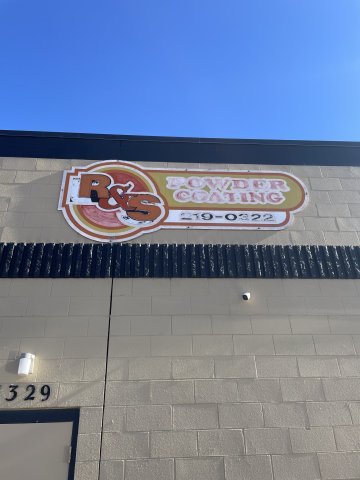
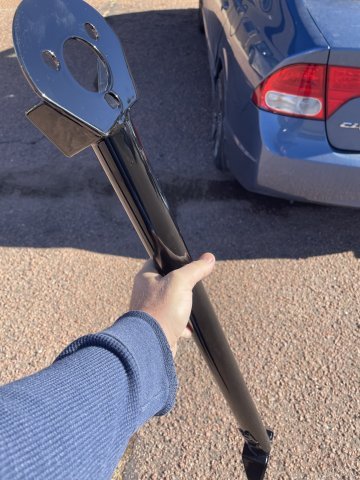
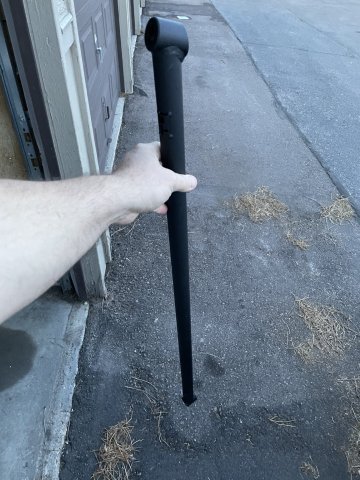
12-28-2023 UPDATE: I picked up my rear strut bar from the powdercoaters. I used R&S Powdercoating here in the Springs. Price is BETTER than even half the price quoted by the competitor down the street. Gloss black. Last pic it is just sitting in place....I havent bolted it down yet. Cheers!
-
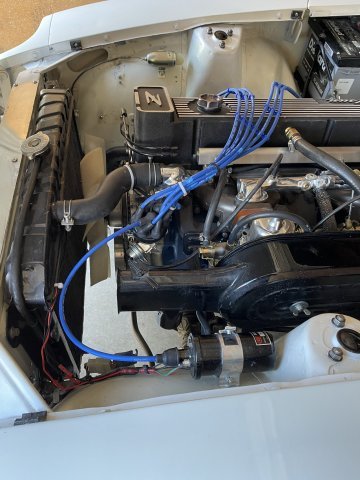
12-26-2023 UPDATE. COLD out, even in the garage, but I went ahead and installed my new NGK spark plug wires. I will probably need to get some more black tie wraps to make it look even better. Tight fit getting all the wire ends on the dizzy with the small cap! My rear strut bar is at the powdercoaters as of today as well. PICS:
-
Nice looking piece.
-
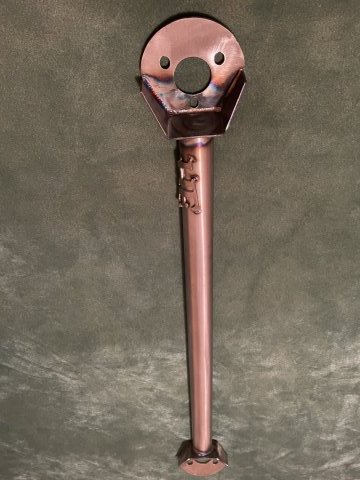
12-22-2023 My Humble Engineering "HE" rear strut tower brace arrived. Look at the quality.
-
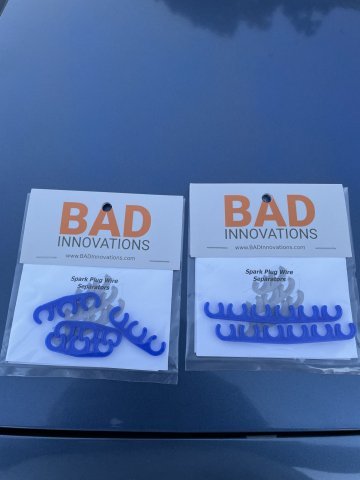
12-17-20203 UPDATE: New parts arrival. I went ahead and took advantage of some holiday sales and ordered from Techno Toy Tuning a "C" Pillar bar (black crinkle finish), a front strut bar AND the tri bar from TT3 that goes with it. I also decided to cry uncle on my Taylor cut to fit spark plug wires. They just don't work very well, number 6 wasn't even firing.....I went ahead and got a brand new set of NGK spark plug wires which are the OE replacement. The blue ones with the wires numbered. I also found the one place that seems to sell wire separators that are 6 wires wide (on eBay Motors). They are also blue. My new NGK spark plug wires that are 1 heat range cooler instead of 2 ranges came in (BPR7ES). My rear strut tower bar is coming in from Humble Engineering, and it needs to be painted or powdercoated.....It hasn't arrived yet. So, now I have some fun work to look forward to. Here are a few pics.
-
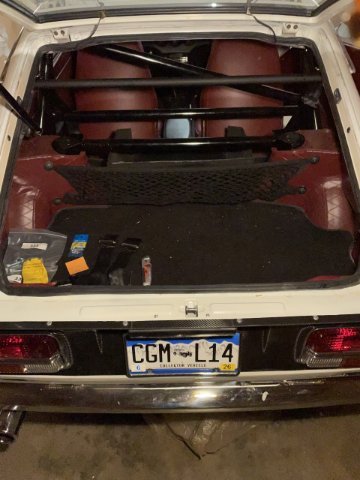
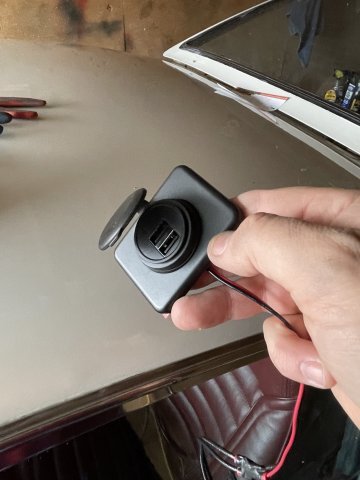
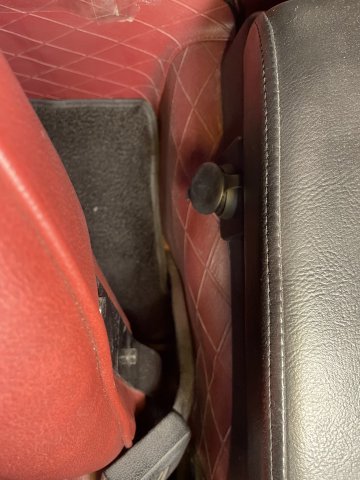
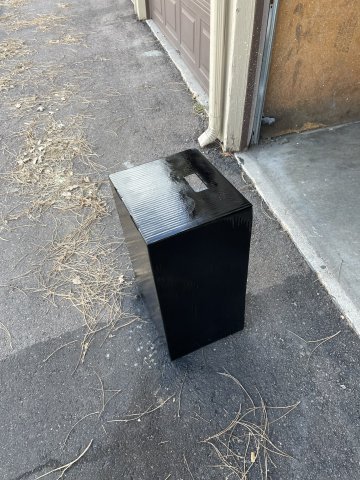
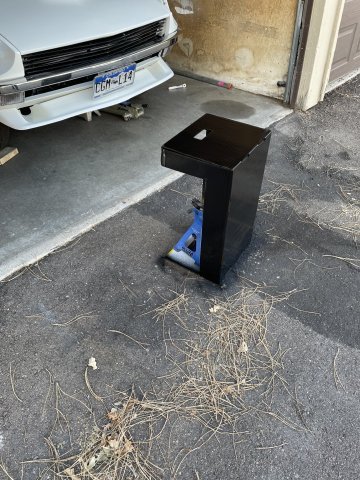
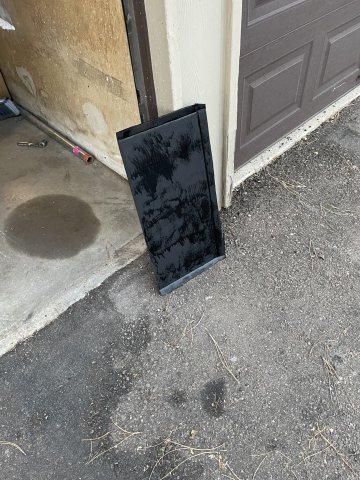
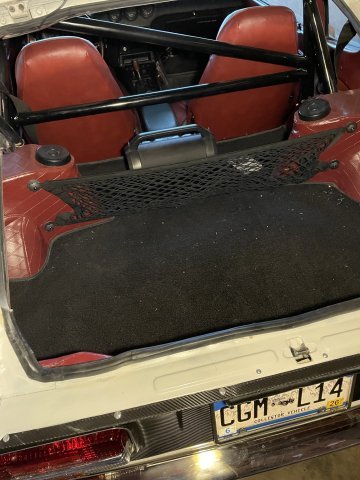
11-18-2023 UPDATE: Punch list items today. I re-isntalled the cowl and used Tie wraps to pull down the sides, my idea worked! Then I installed some odds and ends pieces I got to make things just a bit nicer. I installed a dual USB port where I can use it to plug in my portable stereo for charging, or Phone or any other use. The port Is on the back passenger side of the console (see pic). I also Installed a net in the hatch area to keep things up front where I want them, and then painted up the box that will hold my portable stereo and a tool kit wrapped up in a cloth. My new set of Spark Plugs came in, again 2 steps colder like the last ones....NGK BPR8ES. Gapped again at .031......I pulled the old plugs and kept them in order from right to left. numbers 1-4 are rich but dry, number 5 was wet and black....that's the fouled one! Number 6 strangely is lean but wet! The price of figuring out the mixture, when kept rich for any time at all, this happens. See attached pictures.
-
11-12-2023 odds and ends. see pics.
-
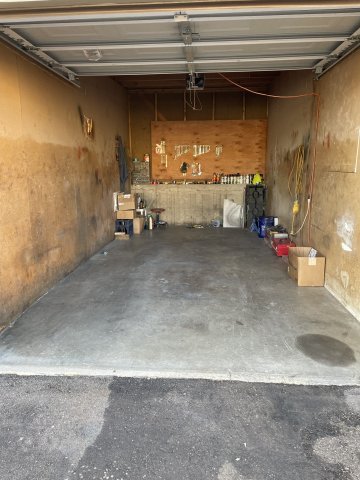
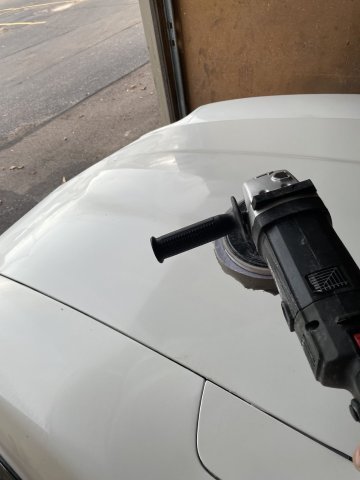
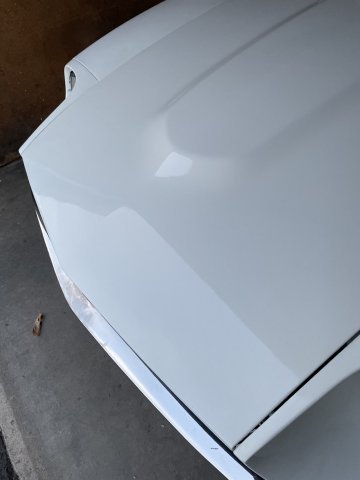
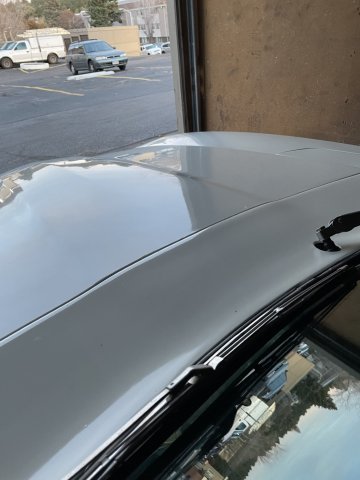
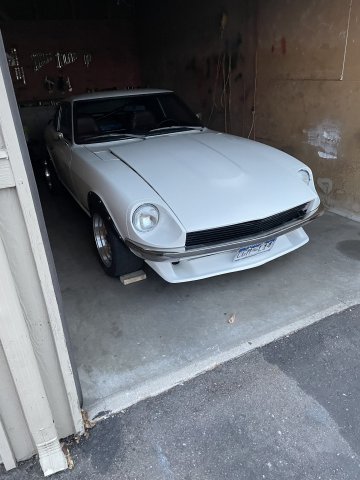
11-05-2023 UPDATE. I pulled the Z out and spent the majority of the day cleaning out the garage. It took a long time....making the transition from being a bay where reconstruction of a car was being done.....to a bay to park it in, with everything put back correctly.....quite a bit of work. I did get the front strut top plastic caps painted up and installed and then did some paint correction of the roof and hood, followed by more of the Meguiars Pure Caranauba wax. Several pics afterward to show the gloss that is coming out. Pics:
-
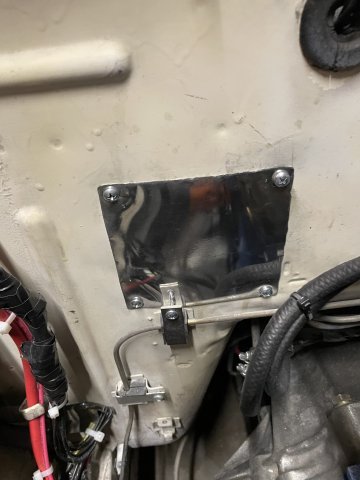
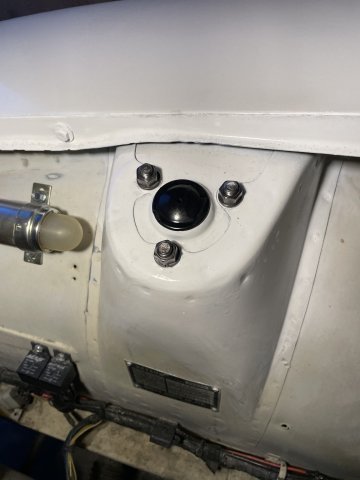
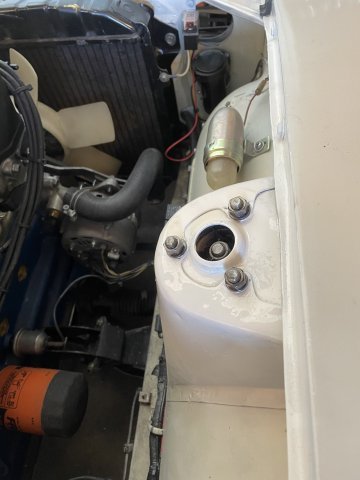
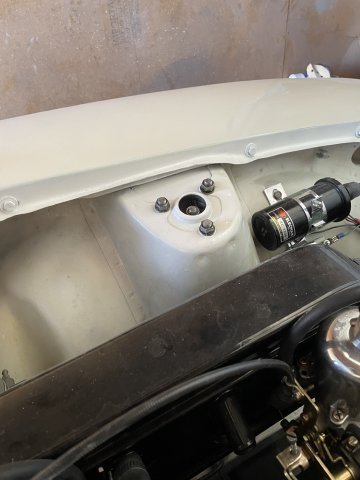
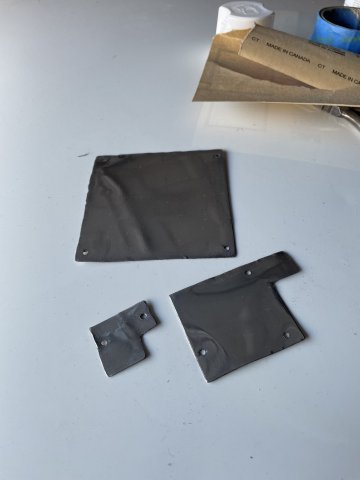
11-04-2023 UPDATE: More odds and ends. I got the engine compartment closer to being acceptable. The sides are all sanded and polished out, and today I got the tops of the struts looking the way I wanted them to. I also used the plate aluminum I had to make plates to cover holes in the firewall. After I got them cut out and cleaned up, I drilled the mounting holes and polished them. I was able to get them in place with some old screws.....I need to get some new screws to make it look ok I have a punch list of things to finish, and so I am just working my way down it. Here are a few pics.
-
SU carb question....SM needles, 5.5 turns down.....wow
A to Z replied to A to Z's topic in Fuel Delivery
UPDATE. Seat of the pants tuning, and trial and error.....2.25 turns down, 20 degrees timing at idle with vacuum plugged at 6400 ft. elevation. runs pretty good! -
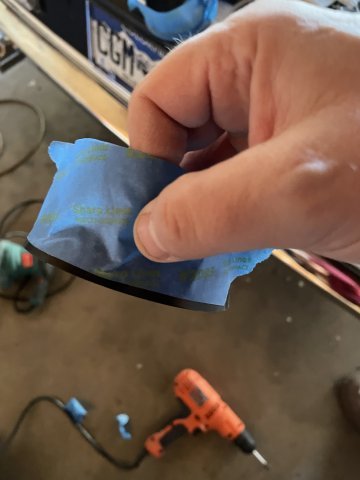
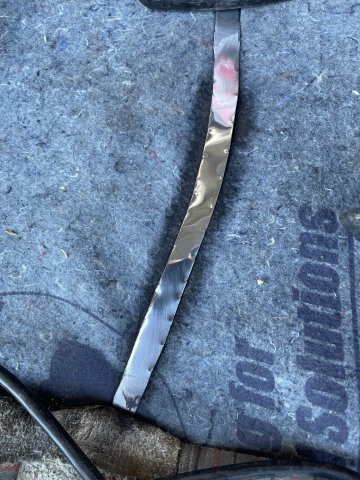
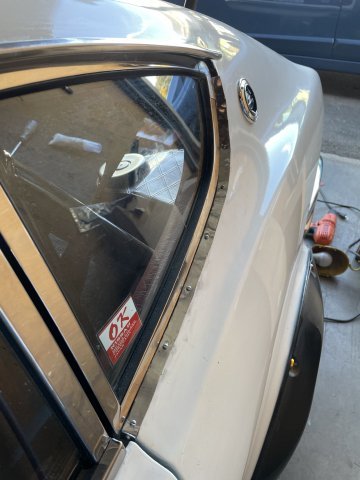
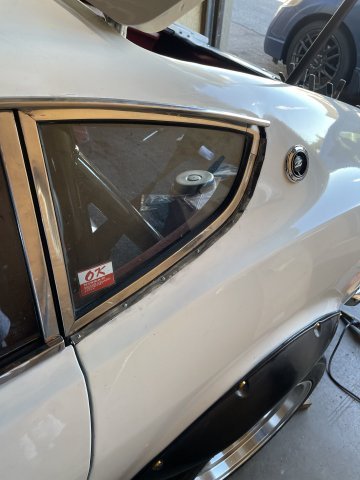
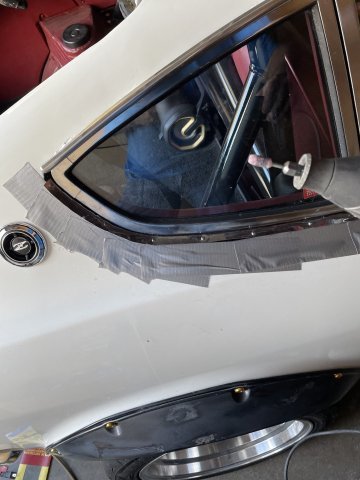
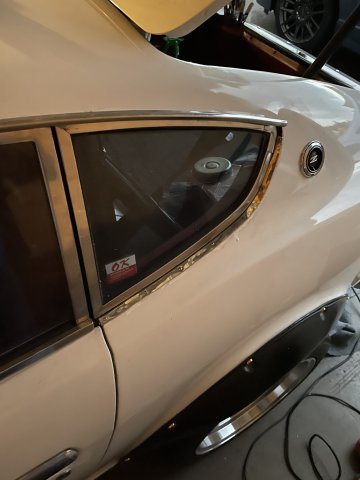
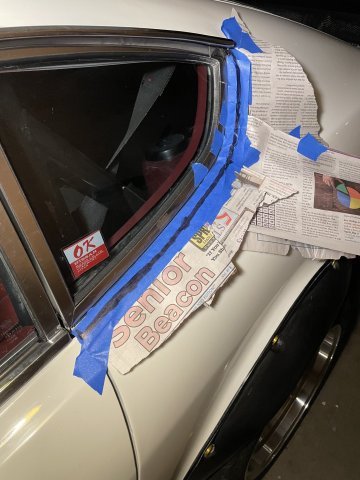
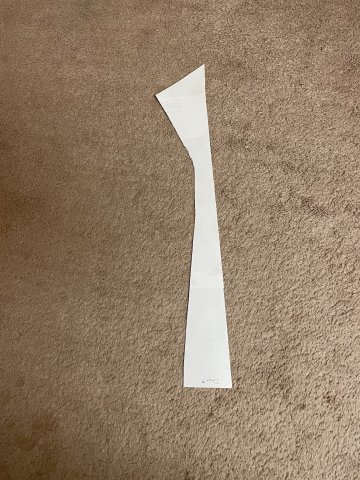
10-22-2023 UPDATE: I decided to work on my project of putting a strip of polished aluminum below each quarter window. I picked up from thin sheet aluminum at Lowes, and grabbed a handful of small screws and jumped in. In the pics, if you see some touch up paint.....I had to touch up a few spots.....once it is dry I can sand it smooth with 2000 grit sandpaper I have and polish it in. A real unique look to the car....A touch of P51 Mustang. PICS:
-
that looks awesome.
-
Thank you so much. It has been a journey.
-
10-15-2023 UPDATE: I had a few spare hours today, so I went out and started cleaning up parts on the car here and there, finishing it up, then I checked my timing, still good, 20 degrees advance, 45 total with advance, works great at this elevtation (6000-6400 ft.) I also went out and did seat of the pants tuning, and got it running good at 2 3/4 turns down on the SU's, then I put my airbox back on, and had to raise the screws to where they are a total of 2 1/4 turns down now. The airbox, cut enough air off to have to take out fuel almost 1/2 turn. Engine was running weird, a tad rough and not as smooth of a sound as is normal for these engines...wasn't sure, but then after I was done tonight I realized that it must be a fouled plug from all the tuning.....colder plugs and it being pig rich for a while took it's toll. I will usut pull the plugs, clean them up and re-install. My new BOSCH 4.9 O2 sensor didn't help. Now instead of my gauge saying "---" which according to AEM means too lean to read....the gauge reads either 14.6 or 14.7 all the time....so I turned it off and did seat of the pants. She is runner! ( even with foulded plugs). Before I coming in I started on the project I have been wanting to do with the 1/4 windows. If you look at S30 2+2's, the quarter window has a polished trim piece right below the 1/4 window trim. I am copying that.....I am going to make thin aluminum strips, but I will drill holes in it and attach with some nice stainless screws, and will polish the aluminum strips up to a high shine. See pics for an idea of what I am talking about. The template is in paper now, so I will keep working on that. I actually have a Z I can drive. Funny, but it is actually weird. Since I have had her, it has been a non-stop plow forward with head down.....to get things done, ignoring small things to get the big things done......And I now almost have the little things done, but after2 years of 4 months of just work, work, work....it is an adjustment....it shouldn't be, but it is....it has been so involved....having to do EVERYTHING myself as no one is around to do it, or they want stupid money to do it. Aside from a cheap paint job and some machine work on the engine before I assembled it, it has been all me. When I started I was shocked when things would break, snap off etc., now, I expect it. Bolts on datsuns snap off. The car is actually ready for some wax and Armor All! PICS:
-
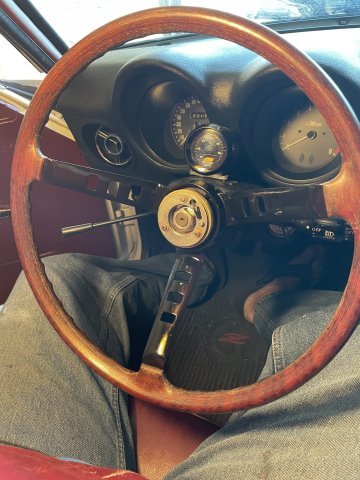
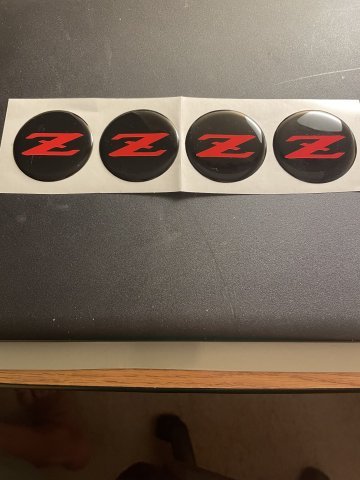
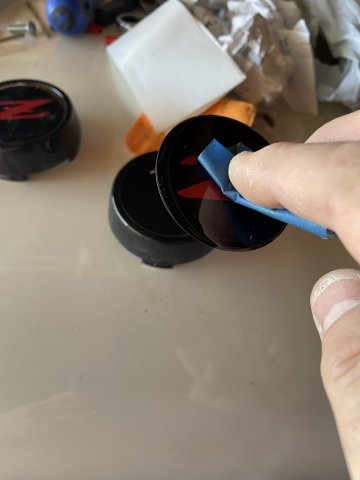
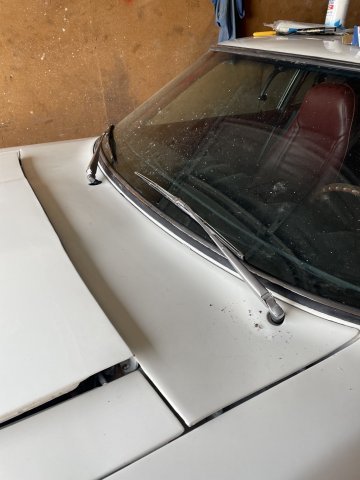
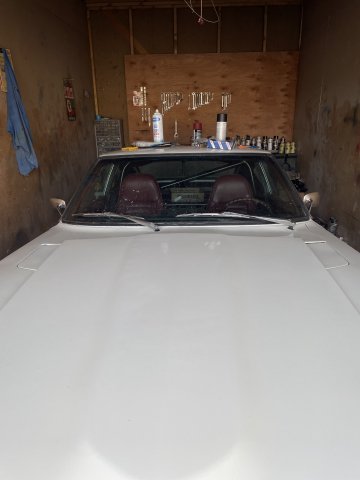
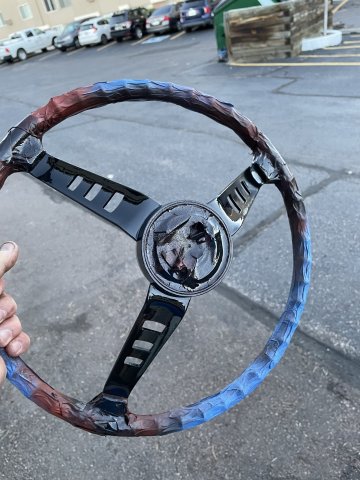
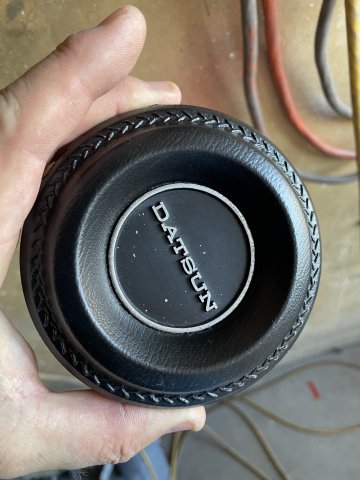
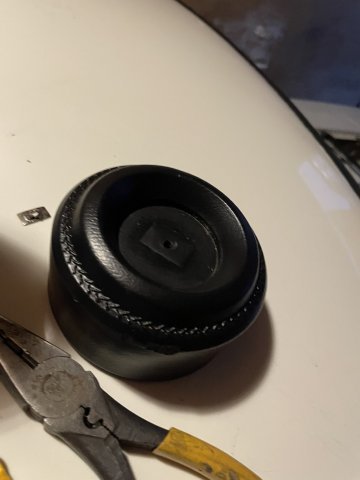
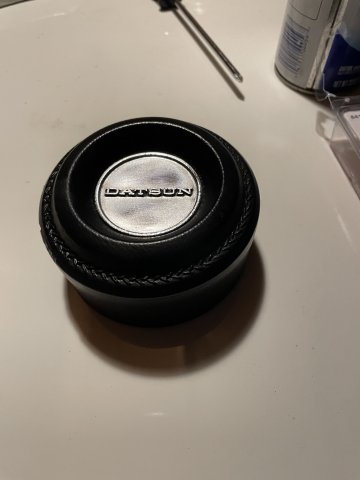
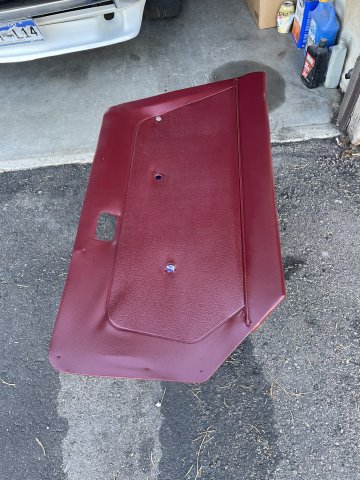
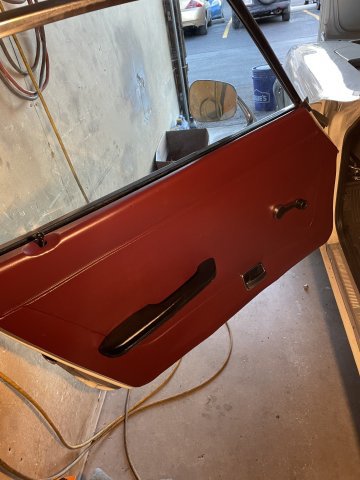
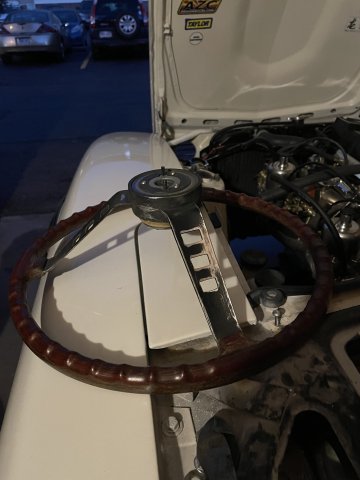
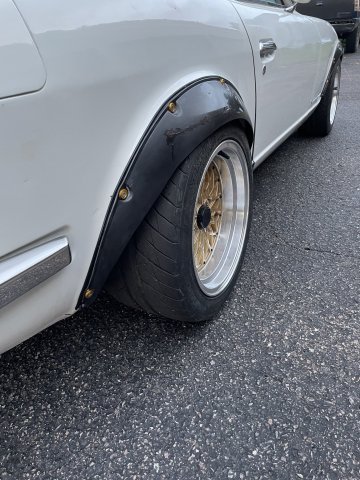
10-14-2023 UPDATE. I started with painting the turn signal stalk, as the factory paint was looking very worn....then I installed the steering wheel. I went ahead and ordered a new repro horn pad as my attempts at restoring the original just were not working. After that, I jacked the car up and changed out the o2 sensor to a new BOSCH 4.9 unit. Hopefully this will make the gauge act right. Then I finished up wiring the new Honda wiper motor to work on a toggle switch (model WAI-WPM 5423). I have it set up on single speed only, low speed, and is only there to keep the car street legal. I went ahead and put new blades on the wiper arms and installed. Not sure if I like them on there or not honestly. After that, I worked on my door panels. I deleted the factory push in tabs that hold the door panels on, and went with chrome screws and finish washers. I like the look much better. My emblems for the center caps on my wheels I ordered from SINIS on Facebook arrived and I got them on. I also drilled 2 small holes and used 2 small screws to hold the factory fuse box cover down....I may paint them black to blend in later, but not sure. Steps forward. Not sure on the flares now. I am finding that the rear driver's side (left side) flare is rubbing on the tire and is trying to make a groove, hasn't happened yet as far as damage to the tire, but is making me think about what other options there may be. Took the car for a short spin, and can't figure out how it was running good when I parked it, now it's acting out of tune.....Anyhow, I grabbed a few pics.
-
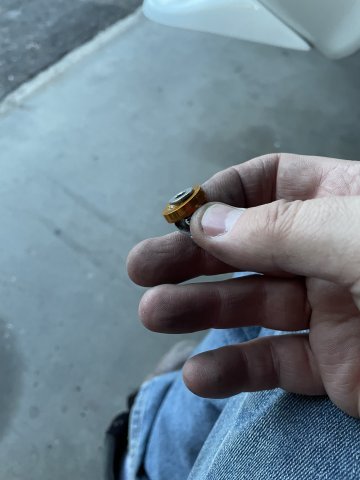
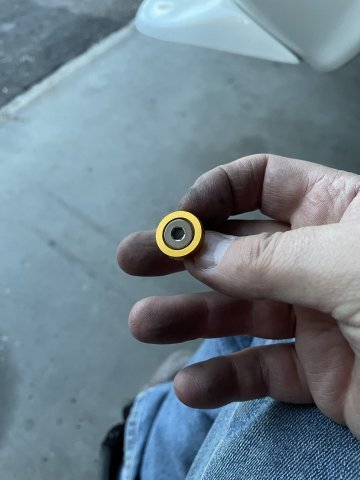
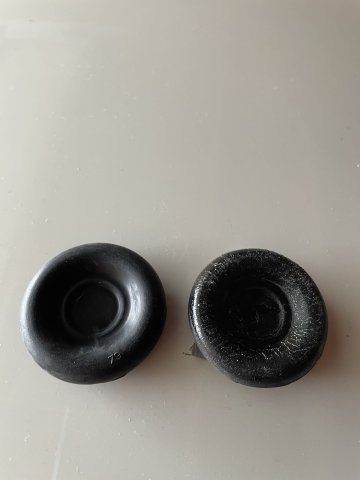
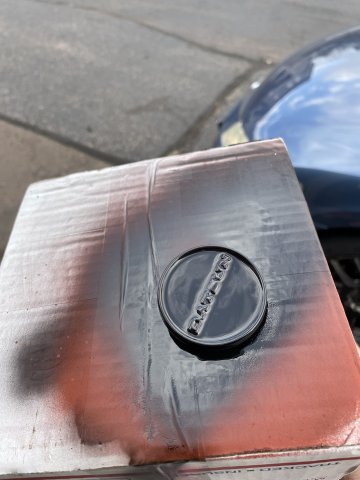
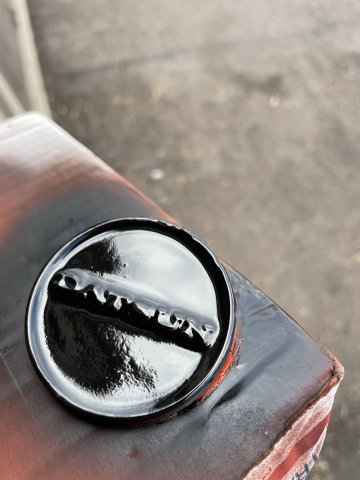
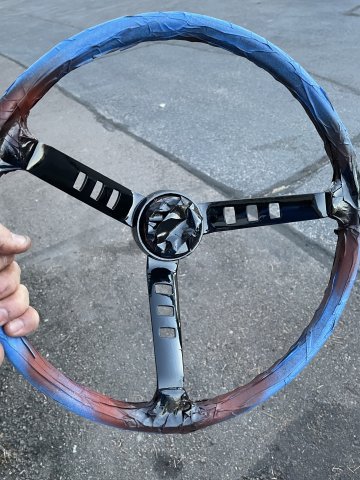
10-12-2023 Update. Center medallion for the horn button is coming along. The way the paint laid out it has a leather grain look to it, which matches the horn pan....crazy coincidence. Once dry, I will use a knife and carefully scratch the paint off the top of the letters and the outside circle. PICS:
-
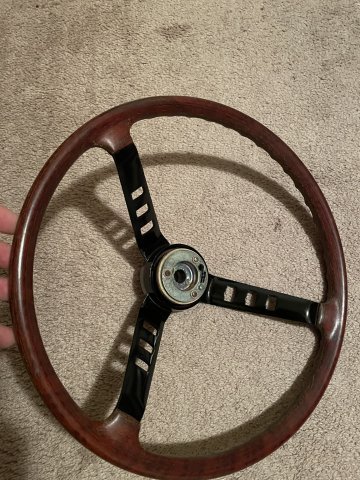
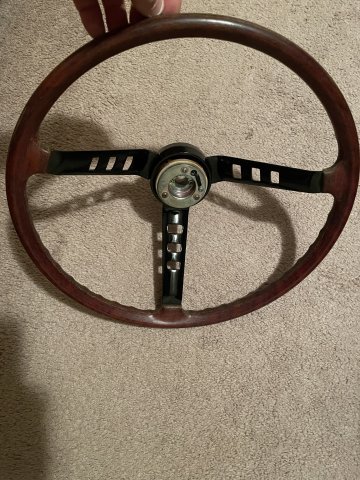
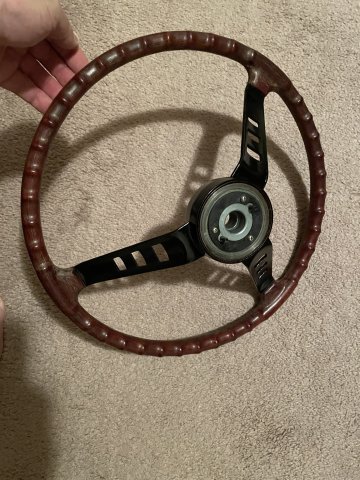
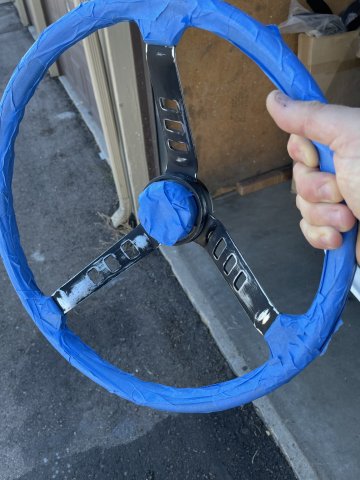
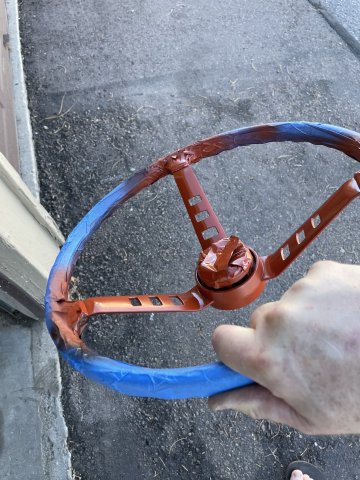
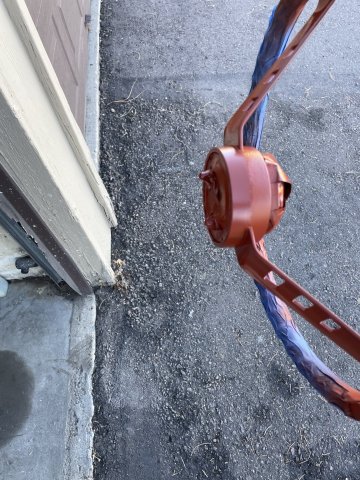
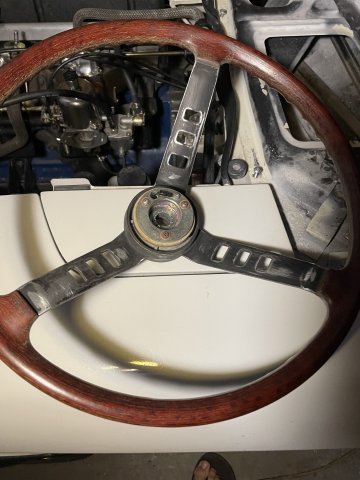
10-11-2023 UPDATE: Steering wheel.....buffed rim with 0000 steel wool, sanded, primed and repainted spokes with black engine block paint with ceramic additive.
-
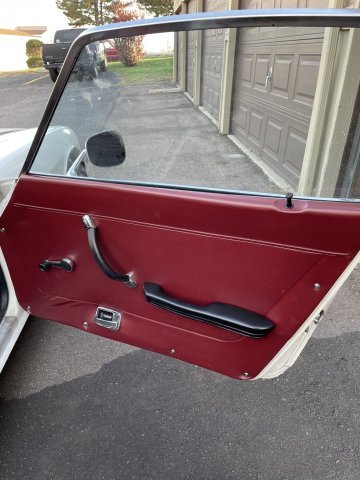
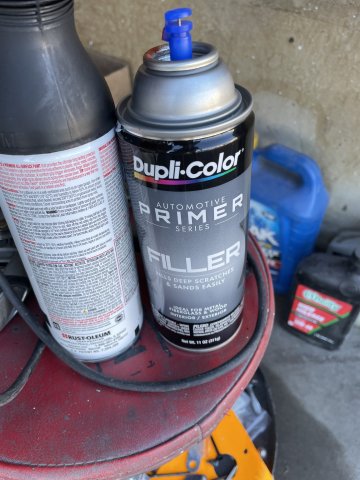
10-08-2023 UPDATE: I painted the steering wheel and it went horribly! I had to set it to the side and let it dry while I worked on other things.....later I coated it in filler primer and let it dry, and then sanded it smooth, and then painted again, came out GREAT! I took the center horn button, and removed the center piece, and wire wheeled all the paint off. it is a solid chrome piece. I mounted it as is to see if I liked it this way, or should I paint and then carefully scratch the paint off the letters and ring.....anyway, I also repainted the passenger door panel and arm rest and while apart I white greased the door latching mechanism like I did with the other side and then put it all together. I also managed to do a lot of odds and ends, little clean up here, clean up there. I am just closing up loose ends, as the finish line is withing rock throwing distance now. PICS:
-
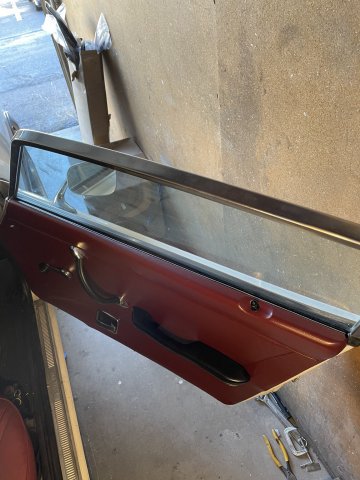
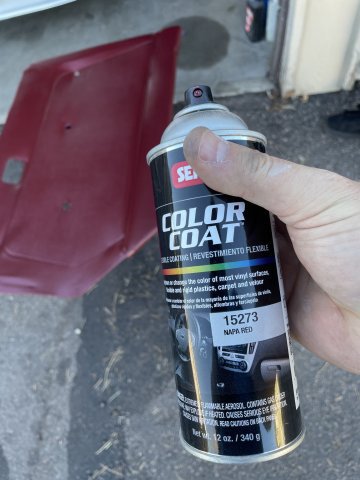
10-07-2023 UPDATE. I started with getting the hazard relay/clicker wired back in....works wonderful....and then wired the volts gauge to a toggle switch....removed the second volts gauge and cleaned up the gauge bracket and re-installed. I then installed new motor mount bolts....Grade 8 bolts. I am working on the wiper motor, and having a hard time getting it to work, so I got to a certain point, and then left that for another day and went to pulling the driver's door panel, repainting it and the arm rest with SEM interior paint, Napa red and Landau black. While apart, I lubricated the door handle and opening mechanism with white grease, works much better now! I got the driver's door put back together, and then pulled the steering wheel to clean it up. I went over the whole thing with 0000 steel wool, and I was able to get the look I wanted on the simulated wood doing just that (matches the shift knob).....for the spokes, I then sanded them down and hopefully will get them painted tomorrow, God willing. I finally get to do "fun work". PICS:
-
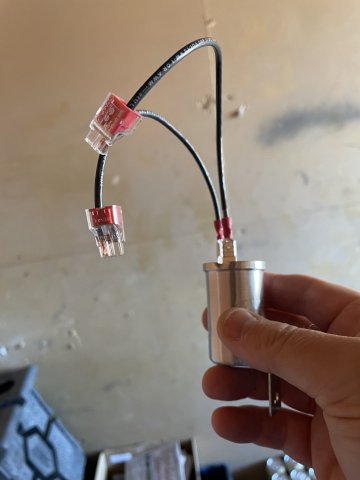
10-01-2023 UPDATE: Tuning. So many issues, I started over on tuning.....timing was way too low. I set it at 20 degrees at idle no vacuum, all plugged off, I reset the mixture screws on the carbs, went down 2.5 turns, resynchronized the carbs. DARN SHE RUNS! feels like 200 horse and loads of torque. little denotation under load, turned the mix down just a hair.....pinging all gone. The 280z never ran THIS HARD. some of it must be the gears.....no bog, squat and roar! After this, I cleaned up the garage and got rid of a lot of clutter. I also managed to locate the Hazard clicker. When I went to take it off, the leads were already broken off! So, I will fix the wiring and re-install. I am now at the point, where the majority of work left is beautification. Cheers. Pics below:
-
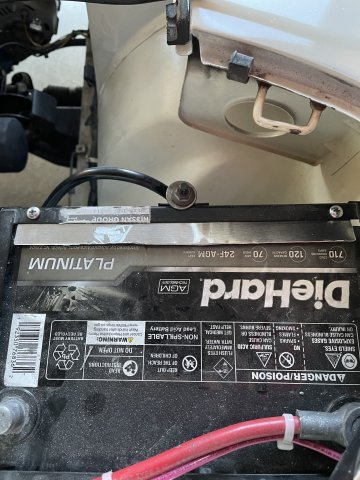
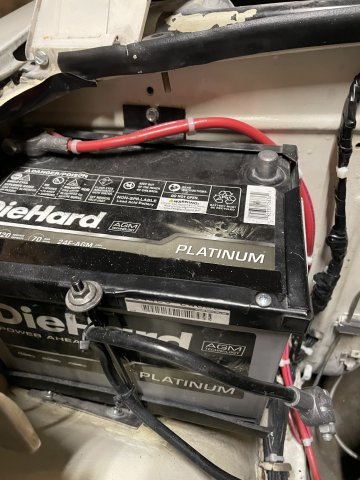
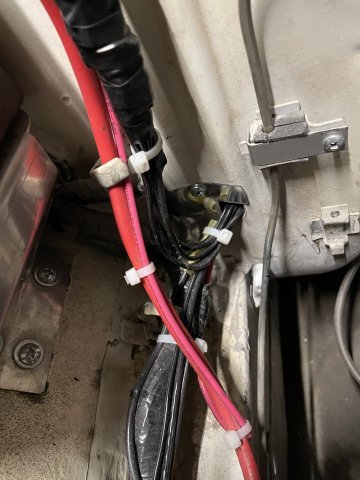
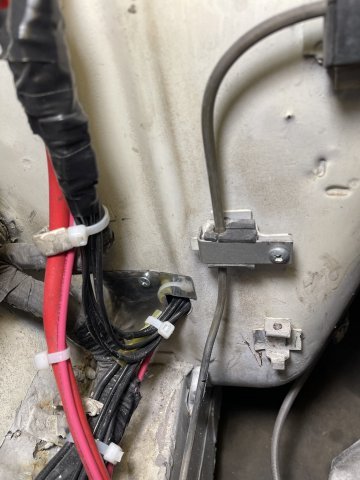
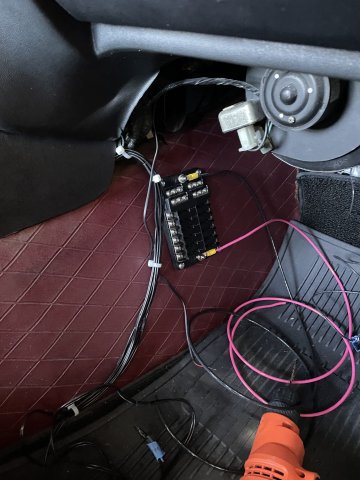
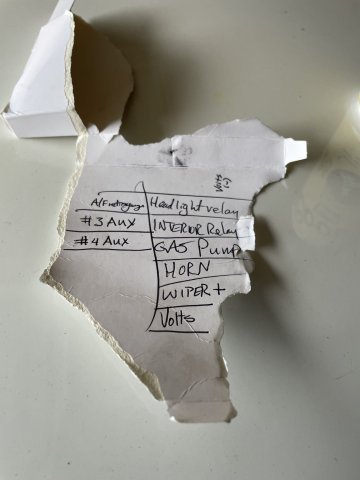
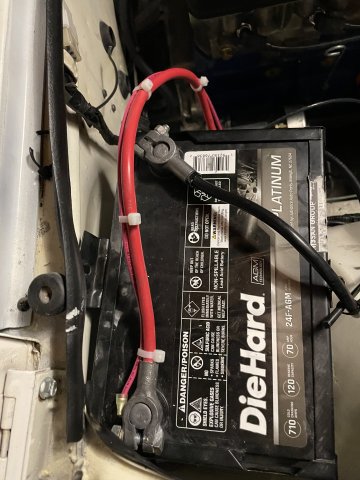
09-30-2023 UPDATE. Wiring again! I went ahead and installed a secondary fused box, so instead of having a bunch of wires hooked to the battery, I have one big wire from the battery to the box, and all the accessories are now fused and it is a much cleaner installation! I also went ahead and installed my SM needles, but it still isn't enough. I have had to keepo turning the mixture screws down until it stops popping, and my A/F guage keeps showing "---" which apparently means too lean to read. I need to re-establish my timing and figure out what to do....when driving I can smell the raw fuel, but no black smoke, and it now rev's to 5000 instead of just 4000. I can feel it being held back, like a governor....but even with the hold back, I can feel the torque. She is a strong one! I just have to get the carb situation figured out. Do I really need to sand and polish SM's for more fuel? I need to study this some more. Here are a few pics.