A to Z
-
Posts
1070 -
Joined
-
Last visited
-
Days Won
32
Content Type
Profiles
Forums
Blogs
Events
Gallery
Downloads
Store
Everything posted by A to Z
-
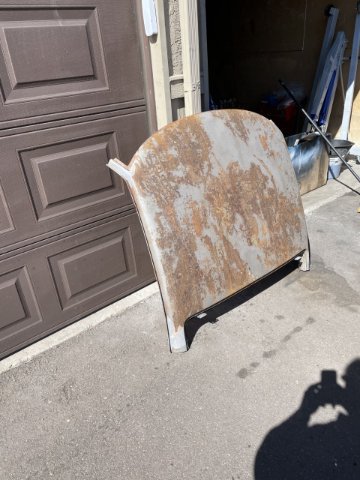
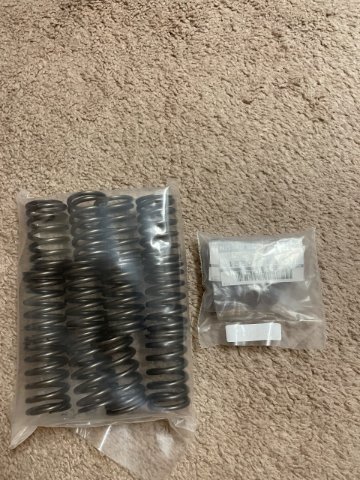
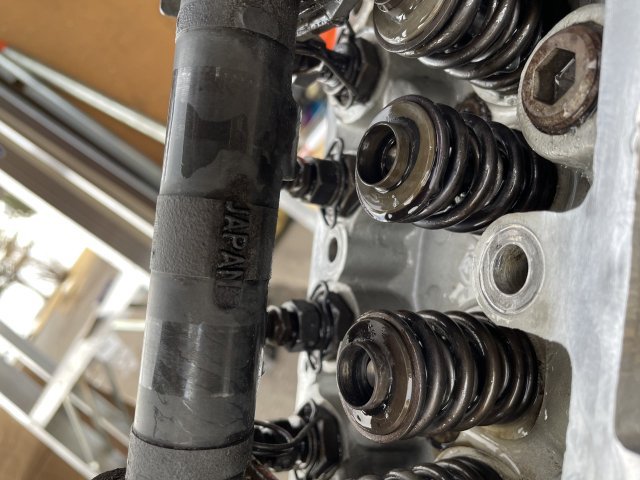
 03-13-2023 UPDATE. Several things going on today. My new valvesprings and NOS Nissan valve stem seals arrived, so I can now finish up my head. I bought a valve lap kit, and will go over the valves lap them in just to make them completely fresh, then install the "A" cam I have with the matching rockers for each lobe and lashpads, and use my YOST oil spray bar. I also dropped off the items I had prepped for either powdercoating or polishing. The SU carb tops, the crossover pipe and the thermostat top and bracket are at the polishers. I dropped off my intakes, the grill and carb heat shield at the powdercoaters. I believe I will drop off my air box tomorrow as well. I debated replacing the air box, or painting it myself back to orange, or going with a nice glossy black powdercoat. Gloss black has won out. I like the factory air box the best. So, the grill, heat shield, and air box will be powdercoated gloss black, and the Intakes will be a light bronze in a satin finish to give it the "magnesium look". The front cover and fuel lines will be painted by myself instead of powdercoating. I can get them the way I want and save the money. Everything is expensive now! I also spun by Whistler machine here in town to pick up an assortment of screw in plugs for the intakes as I removed the heat pipe, and a couple in the crossover pipe and still some that I didn't care for the look of. And as I mentioned, I picked up the roof today from Junkyard Jenny's in Ft. Lupton, Colorado. It came off of a 260Z that was actually way too nice to have been parted out....breaks the heart. Also found out the machine shop is done with the block except clearancing....so very soon, the engine will come together and we can get it all back to running again.
-
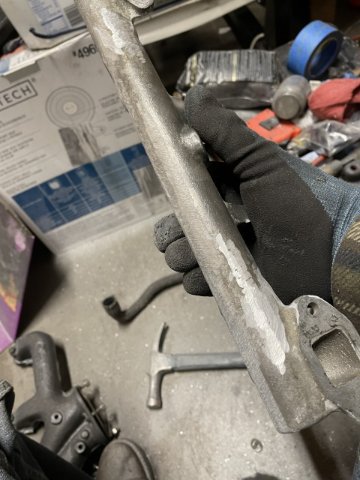
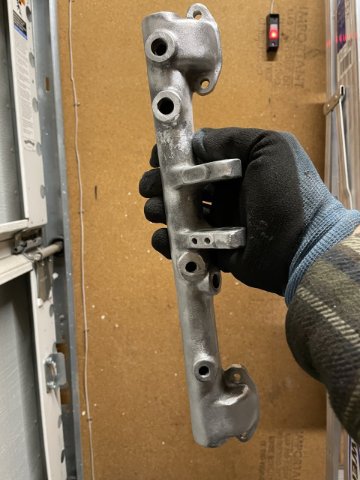
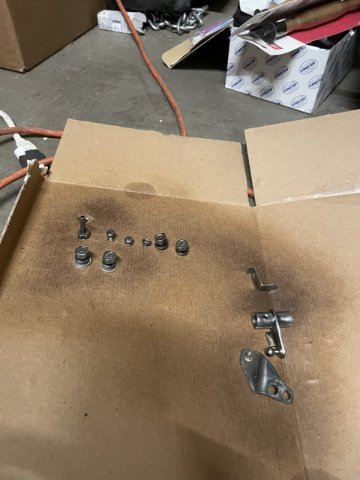
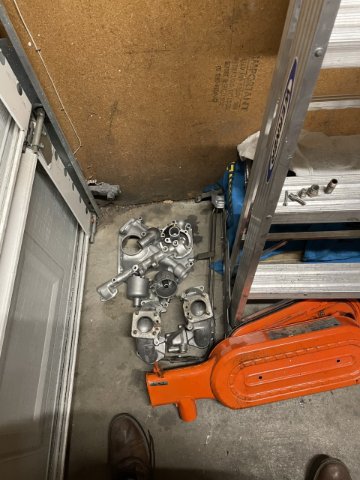
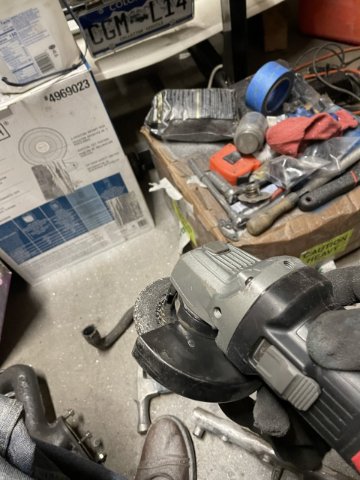
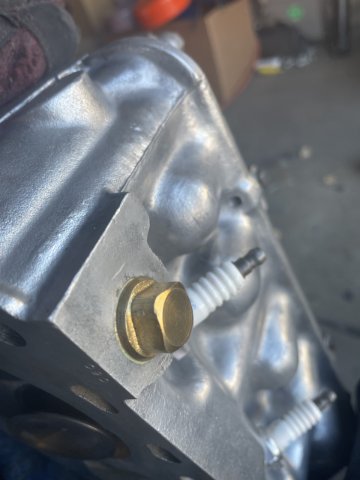
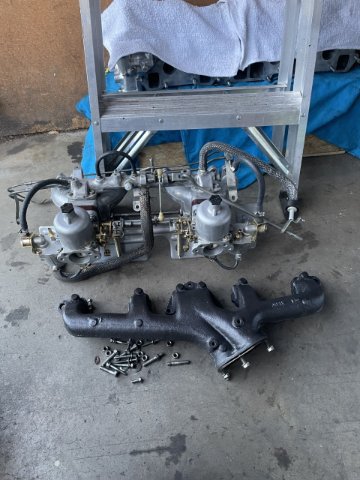
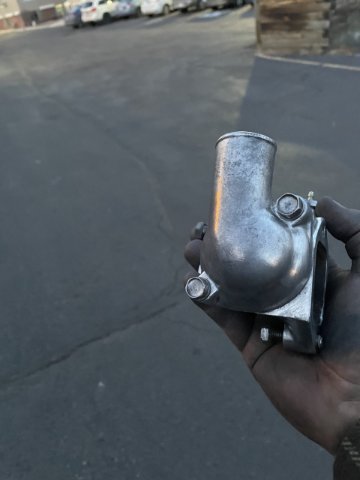
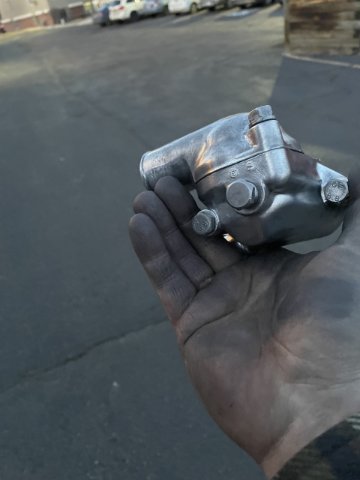
3-11-2023 UPDATE: I took the day to pull apart my intake manifold, as I am going to powder coat the intake in a satin light bronze. It will give it the Magnesium look. So I took the carbs off, and the cross over tube, then removed the heat tube between the carbs.....one of thsoe bolts was so hard I had to put it in a vise , use a pipe wrench AND my cheater pipe pulled out to the max to get it off! Thanks to the guys at my nearby O'Reilleys for letting me use their vise and one of the guys helping me get it out. The other one I merely had to stand on the wrench on the garage to get it loose! SO....I will plug those holes. I additionally will be having my air cleaner box powdercoated, not sure on the color yet. Maybe a transparent candy orange? The heat shield for the carbs will be getting powedercoated (color? not sure yet) and the bottom part of the thermostat bracket will be getting powdercoated in lght satin bronze as well. The top will be getting polished along with my SU tops and the cross over tube. Front cover to be either polished or powercoated, still deciding. So in the pics you will see my pile. OH! and the fuel piping I am also going to get powdercoated.....possibly chrome powdercoat, or a candy yellow that mimcks the zinc coating they had new. I did spend the majority of the time on the cross over tibe. Using my die grinder and file, I chopped off the unneeded brackets (smog stuff) and then went over the flash and casting marks, then used the file to smooth it out good enough for the polisher to be able to make it straighter with his sanding and then polishing. I also wire wheeled up the bolts, and pushed them through cardboard and painted the heads, 3 silver then clear... all engine paint, 1 washer for the exhaust manifold that I forgot to paint in flat black exhaust temp paint, and the others in clear. So, my head work waits until next time. Here are some pics. Cheers!
-
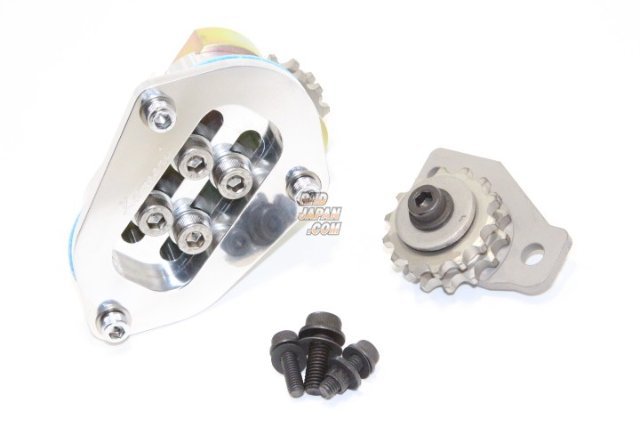
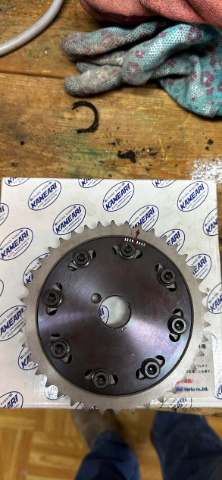
Oh, By the way, I went ahead and ordered a Kameari Dual Idler cam chain adjsuter. JDM-PARTS has a few in stock, I chose the polished one.
-
Video. CLick below: Facebook
-
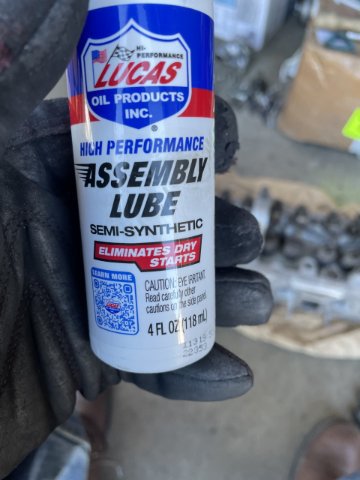
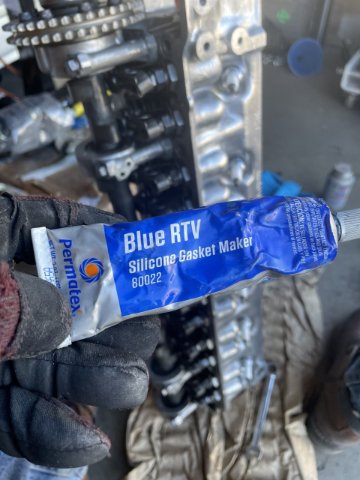
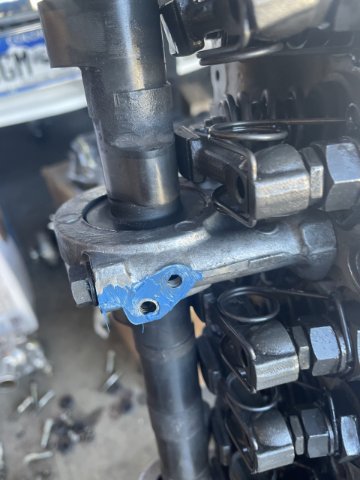
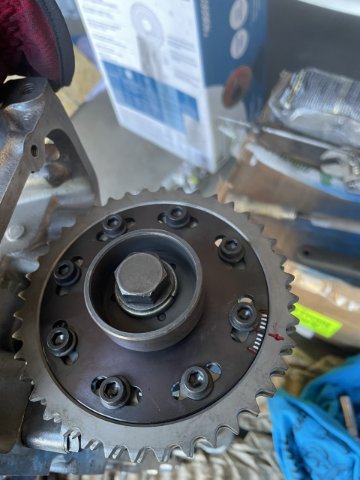
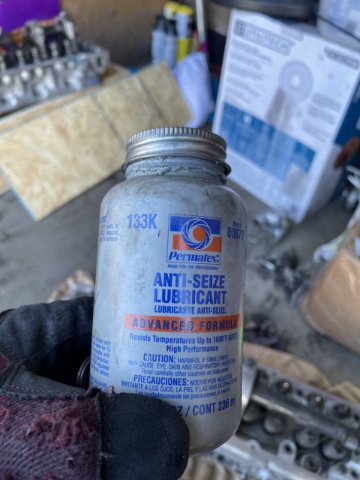
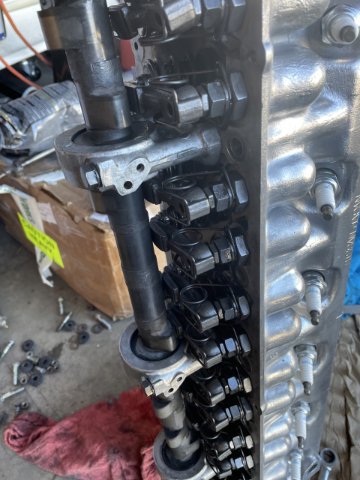
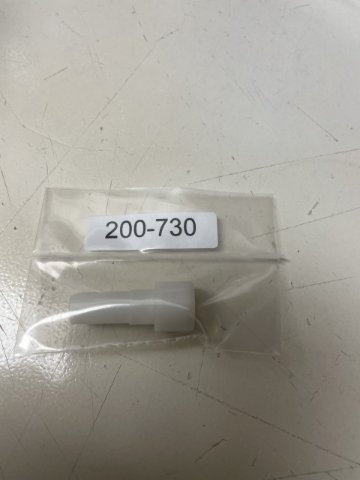
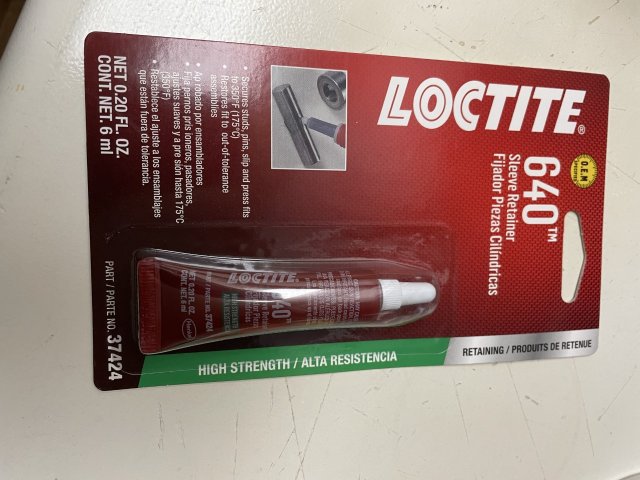
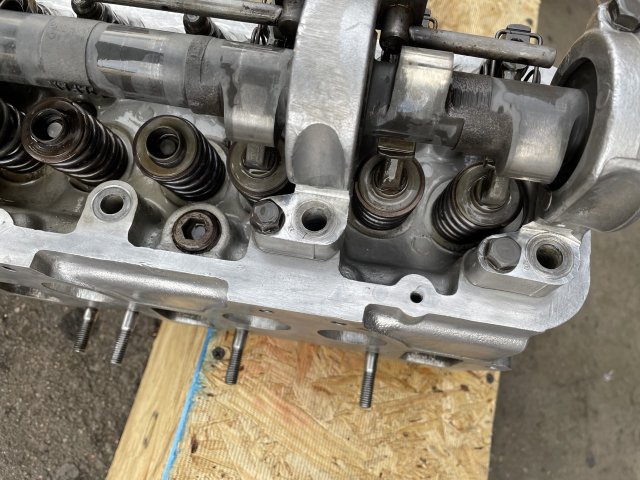
03-05-2023 UPDATE: Initially I had concerns that my stock cam would be too small....and that as a consequence the Pressures in the cylinder would be too high...... Well this cam I got with my head....it's actually a RACE cam.....to get it to work, I would have to carve up my pistons' valve reliefs a ton deeper and STILL have to put a thicker head gasket on just to get the valves at max lift to clear......So I went online and figured out the Static Compression, and Dynamic Compression, which is the real world compression the engine has with the cam opening and closing acording to its degrees. So when I put all my stuff in the calculator, the stock cam turned out to be fine (WOW).....so I am going to install it in my ported head with the big intake valves, and then I can use the adjustable cam sprocket I have to fine tune it. So at any rate, today I went out to the garage and got some things done.......I took the cam towers off the head, removed the shims, 3 under each tower, which is .060 making up for the milling of the head at .060. Using some assembly lube I put it all back together, turned all the lash adjusters down, put the Kameari adjustable sprocket on and with a pipe wrench tuned the cam over to get some rough measurements. It is these measurements that I have been fighting with, doing the math, etc., and that is when I ran the numbers with my existing "A" cam......Dynamic cylinder pressure of 183 which is good. At sea level it would be 219, but because I am at 6400 feet elevation it is only 183. Dynamic compression is 10.03 to 1.......still quite a drop from the static compression ratio of 11.54.....so no problem with the pump gas and I should be able to run full timing. After this I cleaned up my intake and carbs, and then the exhuast manifold....and then just went ahead and gave it another coat of hi heat paint.. The reminaing bolts that were dirty I went ahead and wire wheeled them up, then decided to check the mail and go in. Also have my Loctite 640 for keeping my redi-sleeve on the rear seal journal. Yes, my Electramotive L4-02 cam with 500-1000 miles on it is for sale. A little pic heavy, but as I have said, it is a recording of the work performed. Enjoy.
-
I have a Kameari Adjustable cam gear. The lines on it, do any of you know how many degrees each line is? Thanks.
-
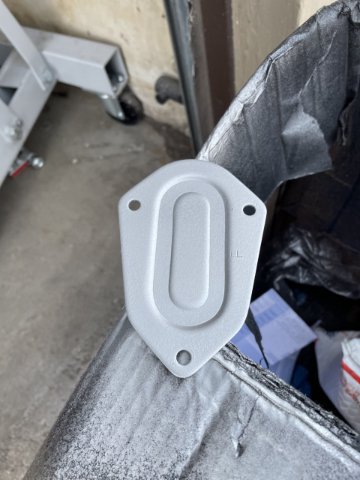
Oh yeah. I had it almost done, then decided to tear it apart and convert to manual trans, change to a 4:11 rear end, and build a bigger engine. 03-05-2023 UPDATE: Initially I had concerns that my stock cam would be too small....and that as a consequence the Pressures in the cylinder would be too high...... Well this cam I got with my head....it's actually a RACE cam.....to get it to work, I would have to carve up my pistons' valve reliefs a ton deeper and STILL have to put a thicker head gasket on just to get the valves at max lift to clear......So I went online and figured out the Static Compression, and Dynamic Compression, which is the real world compression the engine has with the cam opening and closing acording to its degrees. So when I put all my stuff in the calculator, the stock cam turned out to be fine (WOW).....so I am going to install it in my ported head with the big intake valves, and then I can use the adjustable cam sprocket I have to fine tune it. So at any rate, today I went out to the garage and got some things done.......I took the cam towers off the head, removed the shims, 3 under each tower, which is .060 making up for the milling of the head at .060. Using some assembly lube I put it all back together, turned all the lash adjusters down, put the Kameari adjustable sprocket on and with a pipe wrench tuned the cam over to get some rough measurements. It is these measurements that I have been fighting with, doing the math, etc., and that is when I ran the numbers with my existing "A" cam......Dynamic cylinder pressure of 183 which is good. At sea level it would be 219, but because I am at 6400 feet elevation it is only 183. Dynamic compression is 10.03 to 1.......still quite a drop from the static compression ratio of 11.54.....so no problem with the pump gas and I should be able to run full timing. After this I cleaned up my intake and carbs, and then the exhuast manifold....and then just went ahead and gave it another coat of hi heat paint.. The reminaing bolts that were dirty I went ahead and wire wheeled them up, then decided to check the mail and go in. In the mail was my new Transmission vent tube. The old vent tube was loose and could be pulled out. This one you have to tap in. The Z Car Depot has them for about 8-9 bucks. Also have my Loctite 640 for keeping my redi-sleeve on the rear seal journal. Yes, my Electramotive L4-02 cam with 500-1000 miles on it is for sale. A little pic heavy, but as I have said, it is a recording of the work performed. Enjoy.
-
moderator pls delete
-
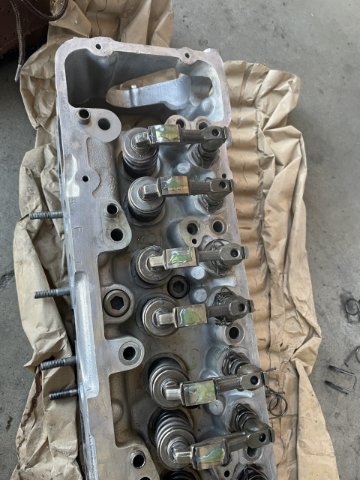
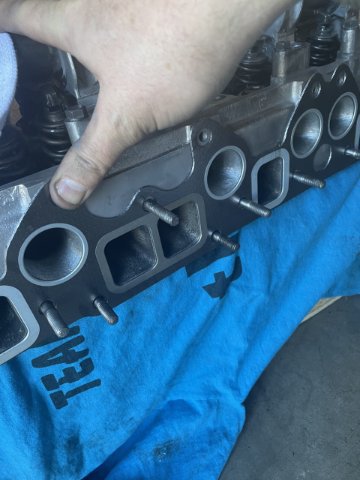
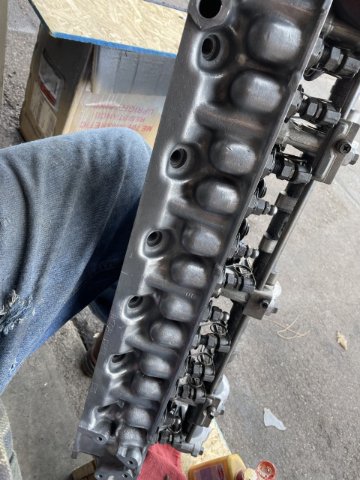
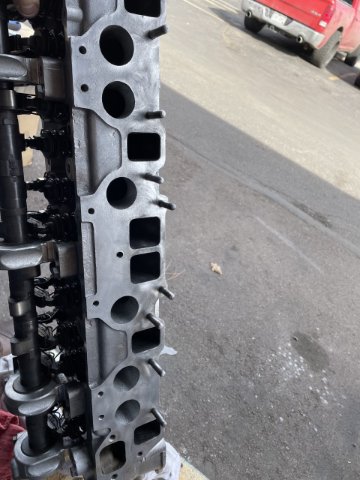
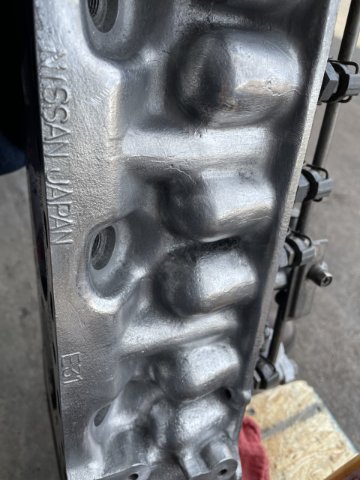
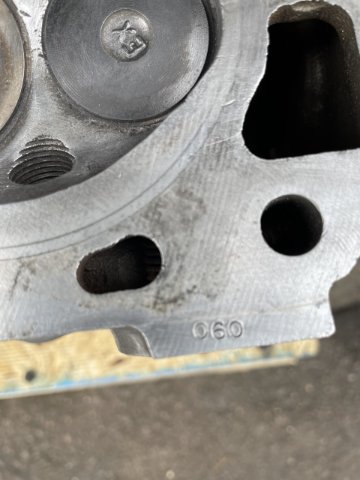
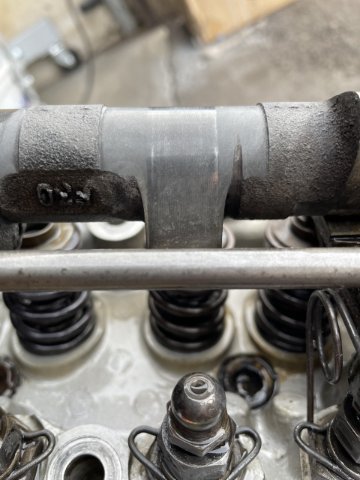
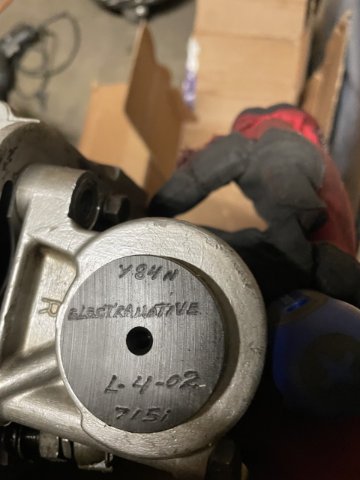
Time for an update. The short block is still at the machinists,:( and I got the chance to buy an E31 head that is ported, with L28 intake valves, Electramotive L4 cam, springs all the good stuff, 500-1000 miles on it. Well, the head arrived and I took some time today to clean it all up. Using a brass wire wheel attachment in the drill I cleaned the whole thing, and then CC'd a chamber. The head was shaved, and the machinist left .060 stamped in the corner....it's a lot huh? It cc'd at 37.5cc and stock would be 42.4, so 5 cc less. I used some brake cleaner and a toothbrush and I got it all clean and ready to go. In the pics to follow you can see how clean the valley around the valves, look how clean I got it. Here are the cam specs. I found these on here, from May 26, 2006, member: Phred Electramotive L4-02; Y84N; 7151. Ground by Ron Iskanderian at Isky cams a LONG time ago. Intake Lift .562 Exhaust Lift .552 I.O. 22 btdc Duration 247 Degrees E.O. 46 bbdc Duration 246 Degrees I.C. 45 abdc Intake lobe center 101.5 E.C. 20 atdc Exaust lobe center 103 This is at a .050 Valve Lift Lash (cold) .008 intake, .010 exhasut
-
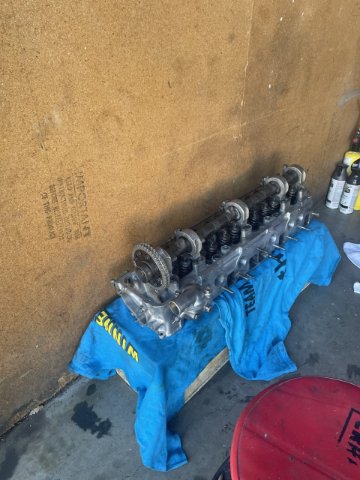
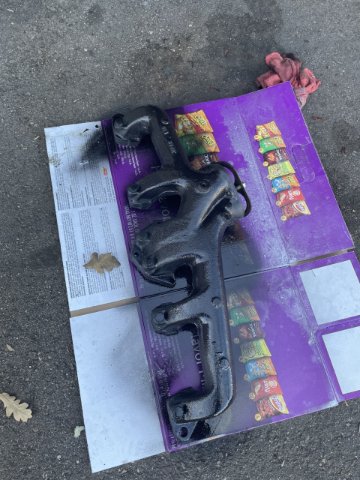
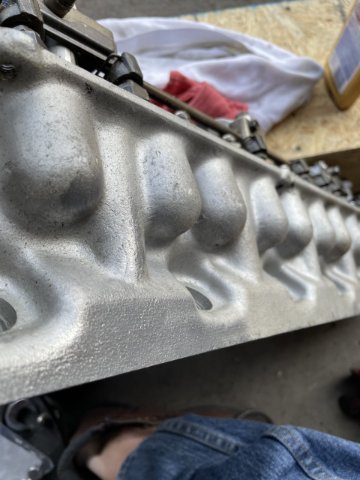
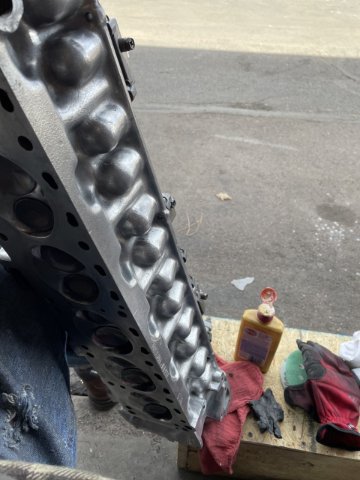
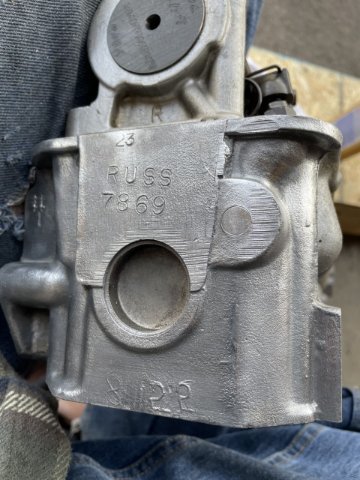
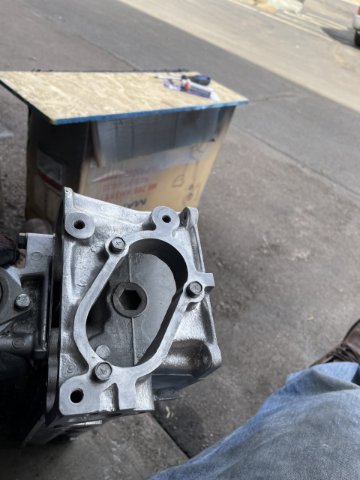
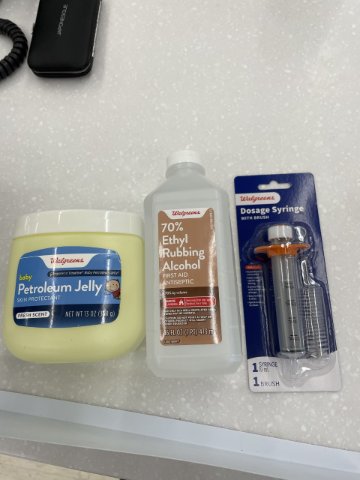
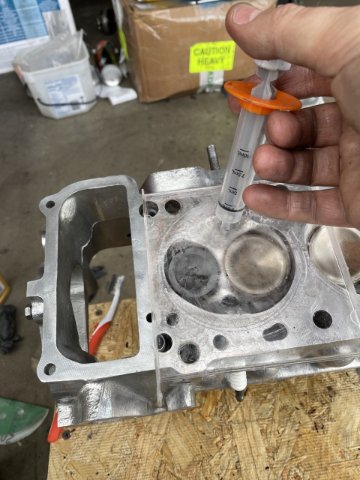
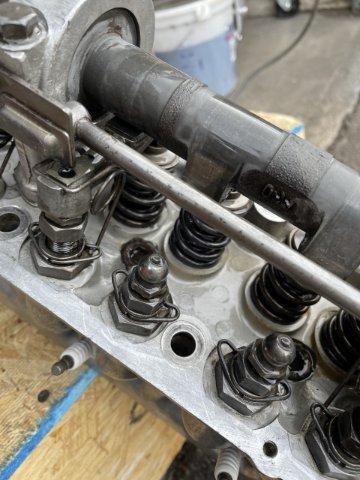
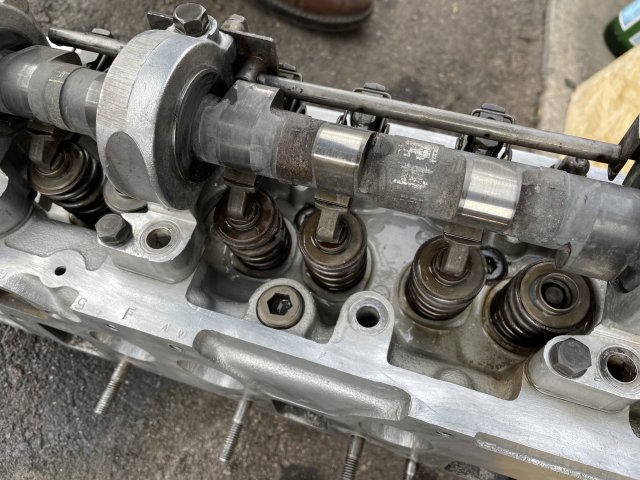
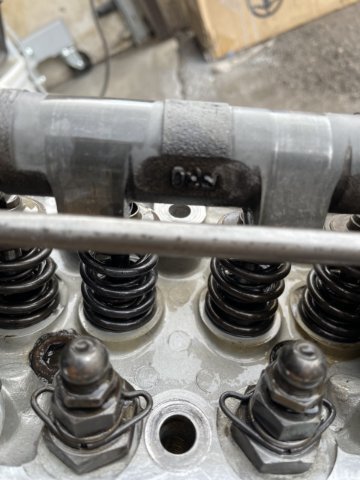
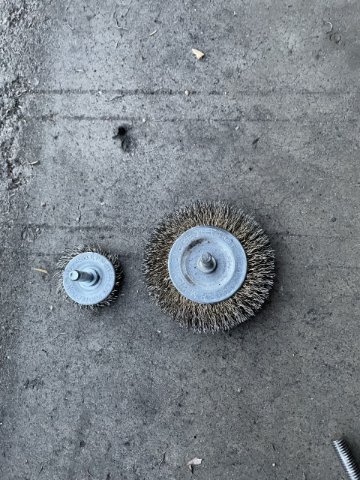
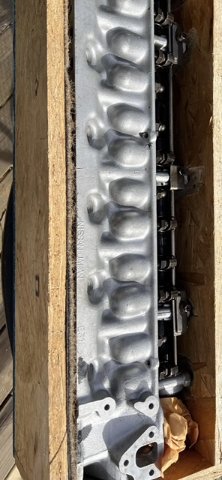
02-25-2023 UPDATE: A busy day, and today was cylinder head day. I started by using a wire wheel attachemnt in my drill and cleaned out the chambers and a couple spots that had material built up on the mating surface. After that I then went over the outside surfaces of the head, then going over it in a few spots with some fine sandpaper and then buffed it to a shine. Then with brake cleaner and a toothbrush I cleaned the whole head up. In the pics you can see how clean I was able to get the valley inside the head. Next was to cc a chamber. I found that the machinist marked the head .060 after he shaved it.....quit a bit huh? Well, it explains the 3 shims under each cam tower. I used a CD case cover and drilled a hole in it, and then got some vaseline and rubbing alcohol and a syringe. Reading, I found out that Milli Liters (mL) the same as cc. So, I went ahead to cc'd a chamber. 37.5cc. Stock was 42.4, so 5 cc lost in the milling. In the pics you will notice the cam is dry....brake cleaner does that! You can tell the cam was ground on a factory blank, and you can see how the lobe is even maybe even a little lower that the cam shaft itself. At this point, I set it to the side and began stripping everything off my factory head. I was at this time I noticed my head is actually an E88!! I don't know how I have read it wrong for almost 2 years, but off the car, in the light, I found out I didn't have an E31 head after all! What a shock! Well, next was cleaning up the thermostat housing. It's not completely done, but form the pic you can see it getting close. Took a while, but I like the direction it is going. Kind of pic heavy, sorry.
-
Give Godzilla Raceworks a call. The are into Turbo builds
-
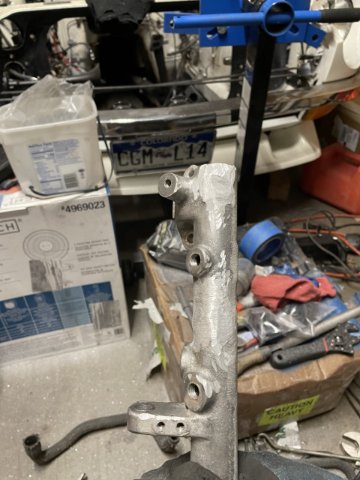
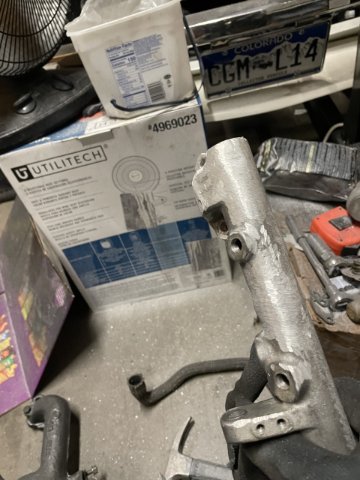
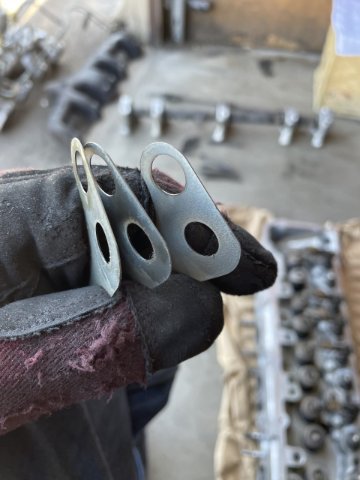
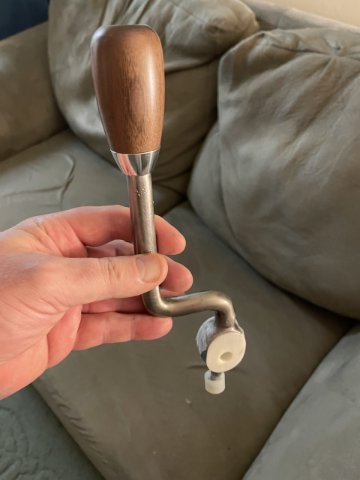
here is the cam I have. Now to search and find out the specifics so it can be degreed in.
-
I found the cheapest and fastest way to get your head ported, is to go on to a lot of forums and start asking if anyone has a ported head they would sell? You wouldn't believe how many guys have one, that has just been sitting. I grabbed one with the cam, lifters, correct lash pads, proper valve springs ..... everything. 500 miles on it, sitting for years and got it for half of what it would cost just for the work, not including the price of the head. And it has an AWESOME cam! Never hurts to just ask around!
-
would make a big improvement if it works as advertised or envisioned.
-
Since I started this thread, I have learned a lot about this. The basic idea is that when you increse the size of an engine, you need to incresae the size of the cam as well. Adding stroke changes the STATIC compression, and too high of a static compression becomes an issue for several factors, one of which is pump gas will be harder to run......timing has to be pulled back, etc. you have to find a fine line on what your usage is.....pump gas? 93? 91? elevation? carburetion adequate to feed the beast? compression adjustments if necessary with a thicker cometic head gasket?....but you can't go too thick before quench becomes too much and affects the cylinders ability to burn the mixture efficiently. When all is said and done, richening the mixture or even going 1 step or 2 stewps with a colder spark plug can help you live with pump gas with a higher compression ratio.
-
Shoot Tony D a PM on here. If you ask him nicely, he may help you out.
-
The little bit I do know about this, is that you need to upgrade your oil pump to a 280ZX turbo pump to handle the excess oil flow.
-
The cam I have for my stroker is here. I got as a part of a ported E31 head setup I bought. It is an Electramotive L4-02. Presently I do not have a cam card to get it degreed in correctly. Do any of you have a cam card? Do you have any info you would share with me? Id like to know all there is to know about it......thanks in advance. Here is a pic of the end of the cam.
-
There are a lot more options than you will hear about. Dave Rebello has built several big bore engines from L24 and L26 blocks. Some racing classes in England require it, so it has to say it on the side of the block. Both blocks carry a "P30" casting, and have an 83mm stock bore. Also most guys see an L26 block as a throwaway....so get it for next to nothing, and if it passes Maganaflux its good to go. From Dave, I learned that you can safely take one out 2.5mm to 85.5mm on the bore. That's .020 under stock L28 bore. Sleeving the block. YES it can be done. An L26 block can have all 6 bores sleeved, and costwise it can be done for about $150 per cylinder INSTALLED. Sleeves can be custom made if necessary to meet the need. Melling makes sleeves in 3/32 or 1/8" wall thickness AFTER final bore size. So you order 90mm internal bore sizing with a 1/8" wall. It IS possible that at some point, the sides of the bores may need to be milled flat so they can sit next to each other properly in the block. Granted, some sleeves have a larger diameter stepped neck to support them, but it isn't necessary in an L6. What the machinist has to do is simply bore it out for the sleeve but stop short....say 3/8's of an inch or 1/2 of an inch. This leaves a "step" for the sleeve to sit on. If needed they can simply machine off the length off the sleeve but leave it a tad long, so that once inserted, the block can receive a quick clean up mill. Once done, you can't even tell it's been done. If necessary the boring maching can then be taken back in and machine the step flush with the internal bore of the sleeve.....although it should be noted the pistons doesn't come down that far. So the step and the head hold the sleeve in tight. If someone wanted to be anal, they could weld the bottom of the sleeve in, but the press fit should be strong enough to hold it. You could always bore the step almost flush, weld the sleeve, and then bore the step flush with the weld making it one piece. In short, if the block has been magnafluxed and is free of racks....use it. YES F54 280ZX blocks are said to have more ribbing between the bores, but they are also more common than not to be too thin to do any boring much past stock. The sleeve gives you the thickness for good ring seal. Whether the larger sleeve affects cooling to a degree that would be conerning, I do not know. F54 is more expensive, and if you are going to sleeve it, is it still worth it? I suppose if the extra webbing it still there after boring for the sleeve, then it would be nice....but I am a street car guy, and so, I would go with the P30 and feel great about it.. My L26 block, I took to 85.5. I would not hesitate personally to sleeve all 6 and go with a 90mm pistons if I did it over again. Just make sure you have the head gasket that will accept the bore you go with. Peace.
-
thanks! 2-22-2023 UPDATE: Kind of in a holding pattern right now. Short block is being finished up....have to wait in line. The Ported Head I bought from Dan Carroll has been shipped....the Electromotive cam in there is shrouded in mystery....On Steve Ehlers advice, I called Isky cams and talked to Ron, who was the one who ground these cams. As soon as the cam is here I will write down all the info on the back of the cam and get back with him to see if he can get me the cam card to degree the cam just right. Mark FL helped me out with a new and unused .080 Cometic headgasket and a Kameari adjustable cam gear sprocket. And since my coil died a while back, I went through MSA and got a FAST PS20 coil and a chrome bracket. It really wouldn't have killed the people at FAST to put the sticker on straight!:)
-
old topic.....but it would seem a thicker head gasket from Cometic would have eliminated the valve to piston interference. I dont know how you had valve interference with 525 lift. Guys run a lot more lift than that with much higher compression.
-
Interested in a L6 head already ported.
-
Here's a bit of a complicated question. My L6 has a diesel crank and H beam 240Z rods, and Rebello custom pistons set at 10.0 to 1 compression at zero deck height with my E31 head. The cam is the stock "A" cam. Because I am adding basically 1/2 inch of stroke, how will the stock cam act? I am thinking the cylinder pressures will be higher and port velocity will probably go up, but wondering what to expect.......will the timing have to be backed off? Opinions/comments please.
-
ready to go!