A to Z
-
Posts
1114 -
Joined
-
Last visited
-
Days Won
44
Content Type
Profiles
Forums
Blogs
Events
Gallery
Downloads
Store
Everything posted by A to Z
-
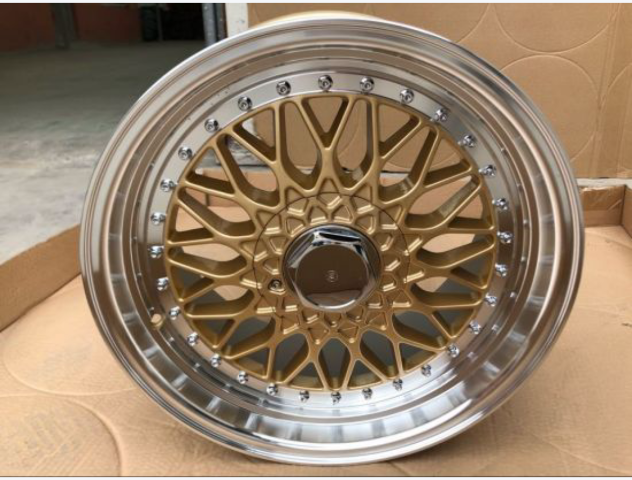
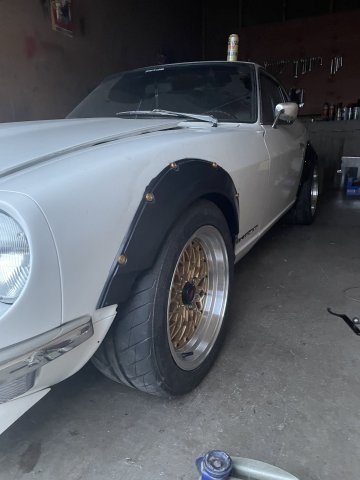
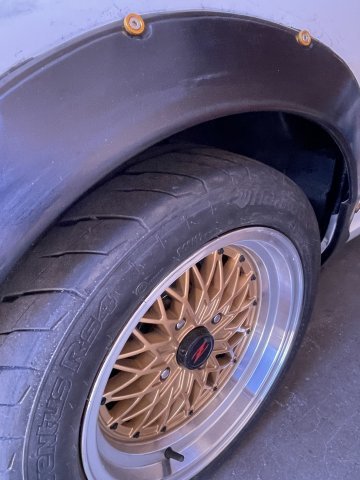
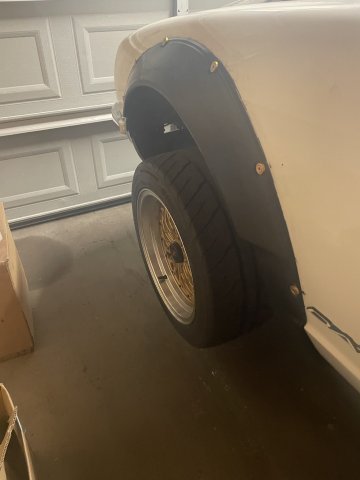
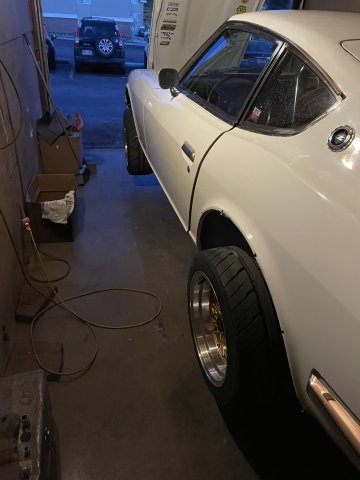
 I custom ordered some forged wheels from China for my Z. 17" X 8/9 with -36 offset. Gold Mesh, BBS RS design. Yep, fakes, I don't care.....it won't say "BBS" on them anyway. AND.....as I said they will be FORGED (yes it costs more). Will be probably 30 days before I see them. $190 per wheel. Just couldn't pay 3-4K for a rebarrelled wheel. So....$780+450 shipping, so $1250, and just need tires. Shopped around online on the made_in_china webpage for a couple days, there are many companies will make whatever you want. I could have paid double and got 3 piece, but I don't NEED that, they will "look" like 3 piece, but won't be. See the pic below, but keep in mind, -36 offset....DEEP rim. I will have SINIS make up some center cap covers like he did for my 15"s. Anyone interested in going that route, drop me a PM. Asian car~Asian wheels. P.S. Where are you going to find a wheel for under 200 bucks that is FORGED? I cut the middleman out, went direct from China.
-
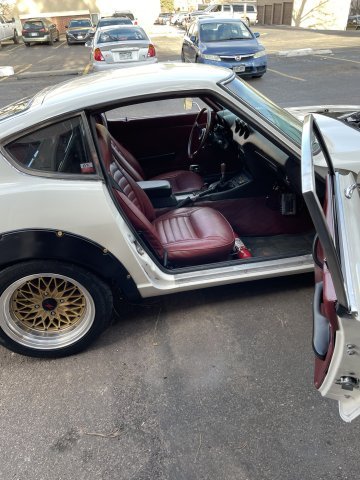
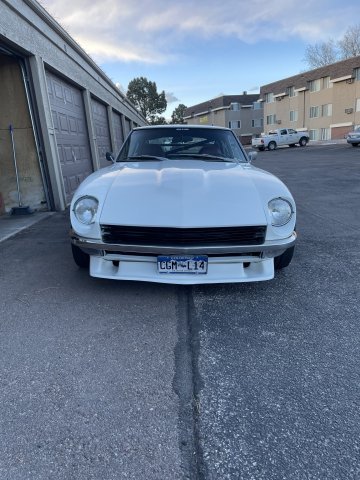
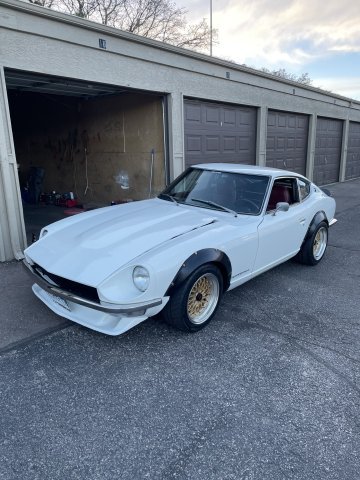
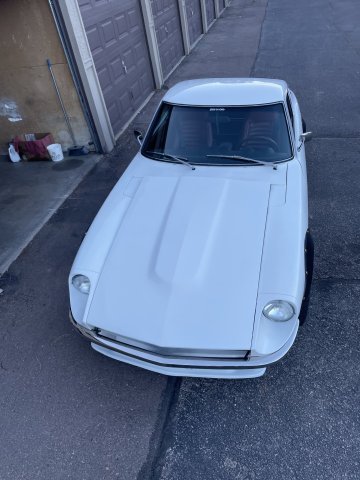
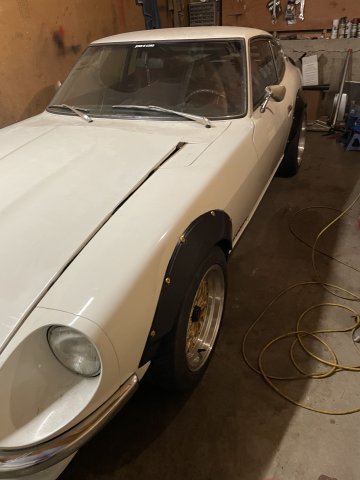
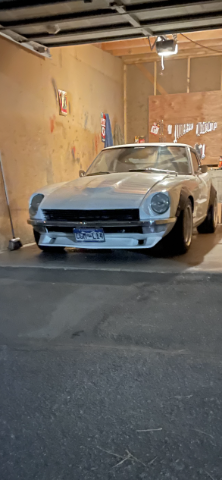
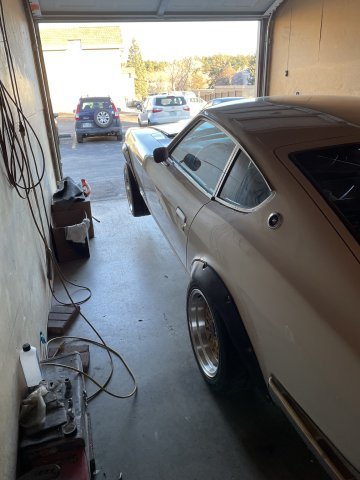
03-31-2024 UPDATE: Happy Easter. Rememberance of the day the Lord Jesus came back to be seen and commune with his apostles before leaving to prepare the "House" for those that come to him. I took today to work on the Z some more. Basically just more and more finishing up all the little things.....Started with a full wax and armor all on the flares, winsdshield, & back hatch weatherstripping. Then sat down, and one wheel at a time, clenaed them up with armor all, a screwdriver and a rag. Then I started with interior cleanup and fixing little do~dad's everywhere....Every time I drive it, I make a mental note of everything not working right, and fix it. Then I took it for a drive and everything is just right. It is like the car is getting "seated in"....and things are working better together now. Power is great, a lot of torque, suspension corners FLAT. Loud exhasut, and the car gets attention everywhere it seems. I took A LOT of pics, and I will post them, but be advised it is pic HEAVY. Cheers! My observations from today's drive, now that it is a "car" again: "Boston George, After working some more on it today, I took it out and drove it some more. I am pretty jaded. Driven a lot of cars, and what is surprising, is how this car makes me feel like I did 36 years ago. My Mustang is no where near as "fun" to drive. I WANT to toss this around. The power delivery, the suspension, the sounds, everything is just spot on perfect. I never thought I would feel that way in a car again. Really flabbergasted! I drove datsuns hard as a kid, I felt like a kid again. "
-
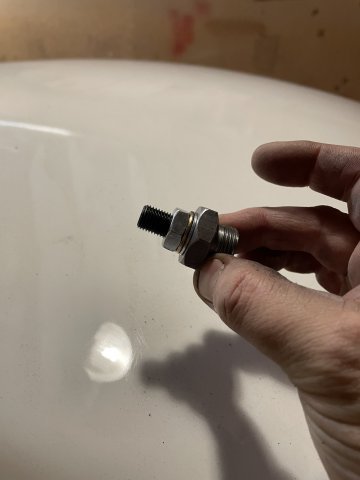
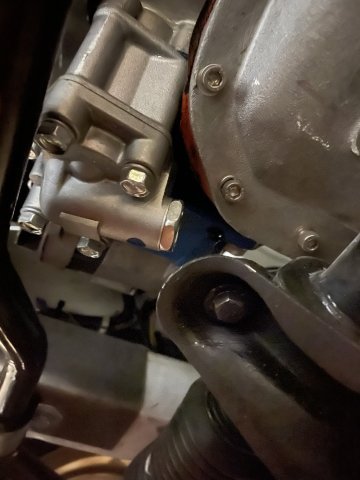
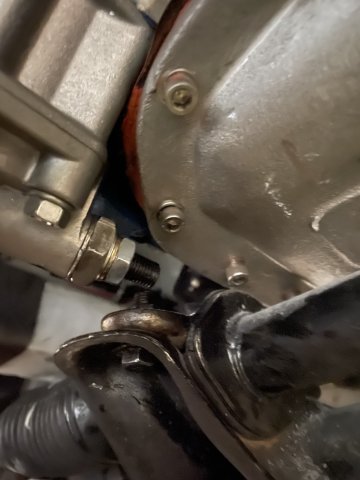
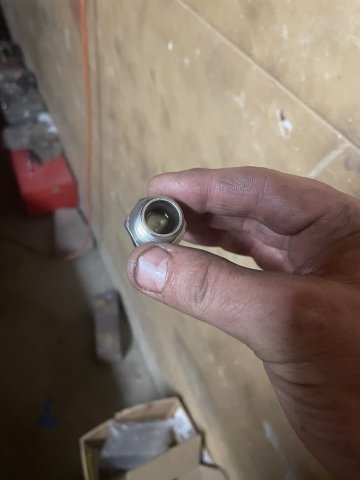
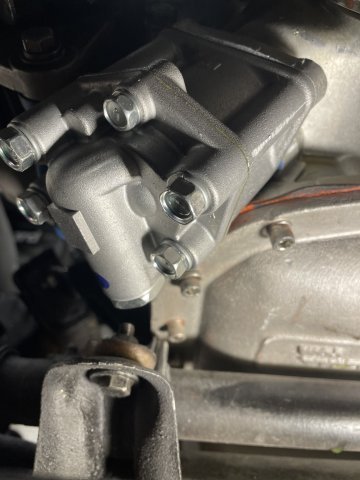
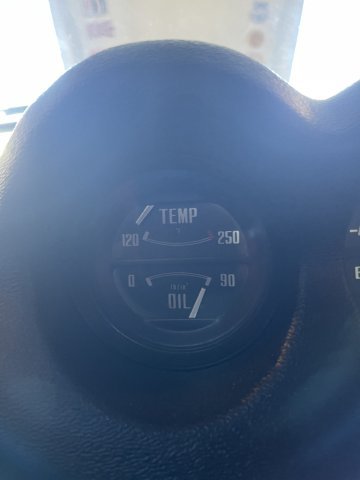
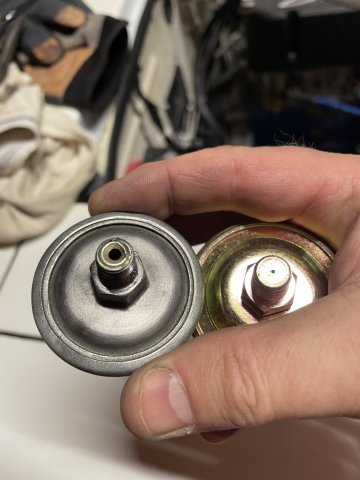
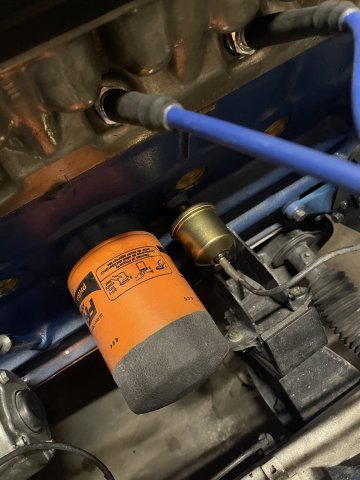
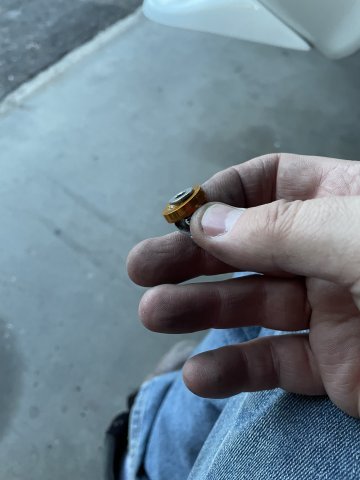
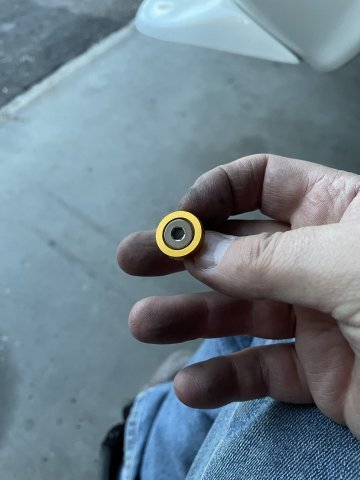
3-30-2024 UPDATE: I ended up replacing the factory NOS oil pump, as it was failing with a Kameari Oil pump. Nice unit, but the idling oil pressure was 90 psi! So, I ended up getting the adjustable oil pressure nut setup from DP Performance.....problem is, 90 Psi was at the lowest adjustment....So I took it apart and with my die grinder ground off the "tit" inside and then also put a washer between the nut and the housing witch has the effect of making the nut farther away when tightened. Oil pressure dropped to 45 at idle. So, it worked! I also found out, that on initial startup the detonation was from degraded fuel not too hot of a spark plug. I am currently using the standard heat range plug....NGK BPR6ES. Gapped at .031~.032 it works great, really woke the engine up! Timing is 20 degrees at idle, 91 octane fuel at this altitude which burns like 93 at sea level, 11.54 to 1 compression, no pinging! SU's are one click from 2 1/2 turns down......Very strong, and the stroker works well with the stock "A" cam grind on the streets. Nice power and the 4:11 rear makes it even more so. Mid range is a lot more than you would expect for an L6. Next post eventually will be a DYNO test result to close out this thread. Anyone contemplating building one, feel free to drop me a note. Cheers!
-
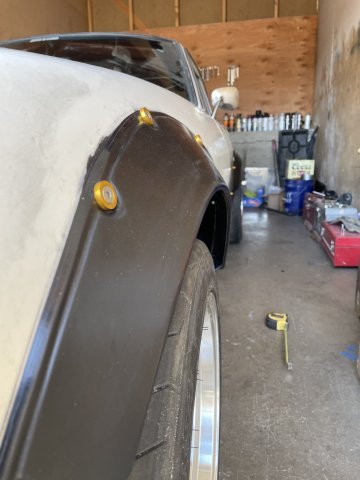
03-20-2024 UPDATE: Wash day, to include engine compartment. used a leaf blower to dry the engine compartment out, and it helps keep water spots away also. A day of fixing little things all over and just finishing everything all up, squeak here, squeak there......something loose, etc. I also went ahead and pulled the BR7 plugs and put normal heat range NGK BR6ES plugs in at .031~.032 gap. It woke her right up! So, the detonation at first engine start up was old degraded gas, not good 91 octane stuff. Took a few pics. Fun little go kart!
-
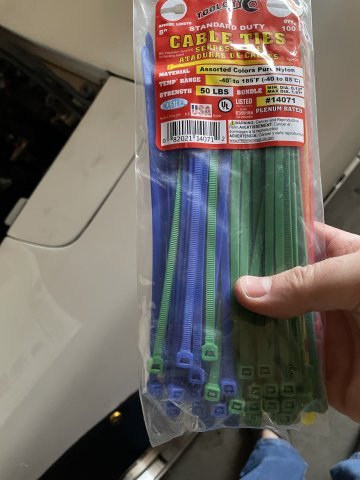
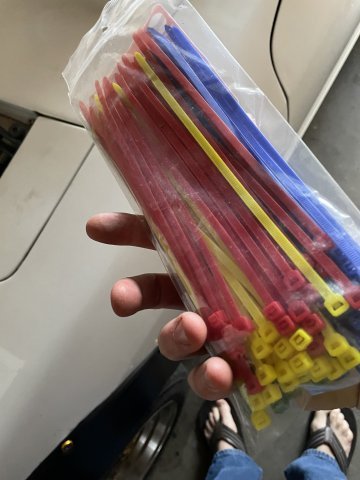
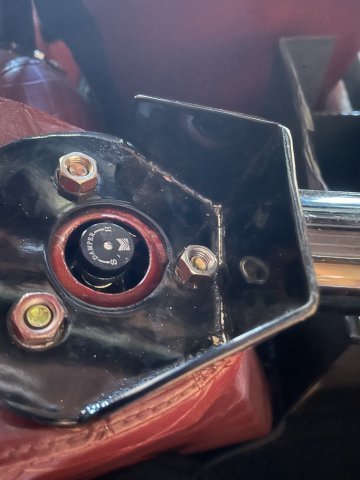
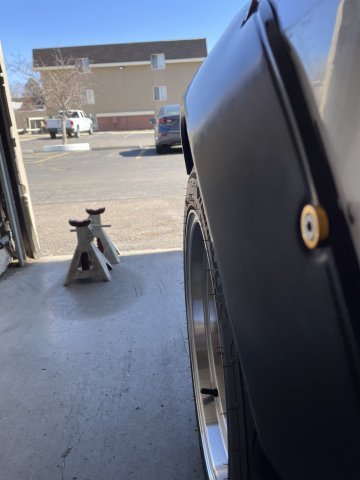
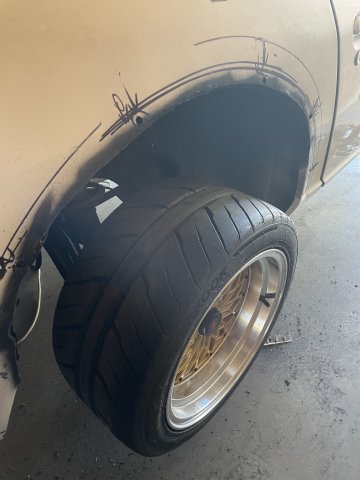
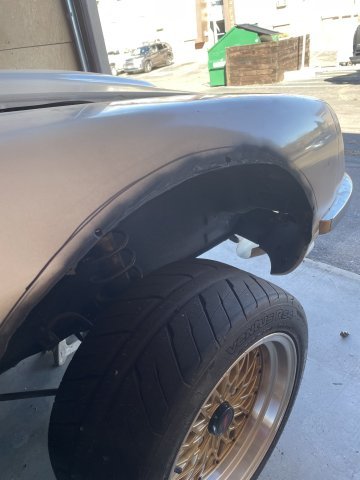
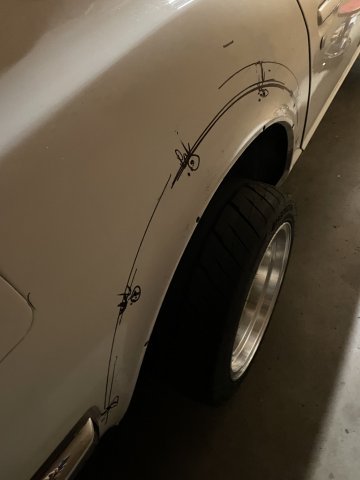
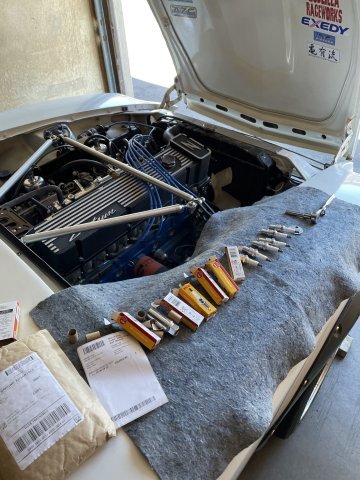
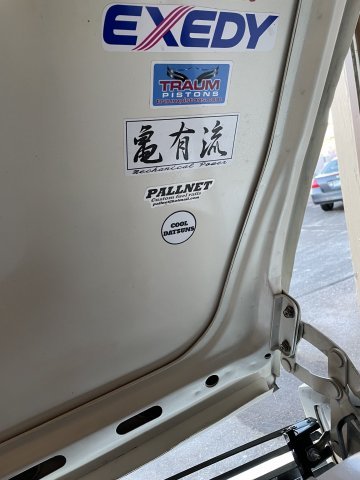
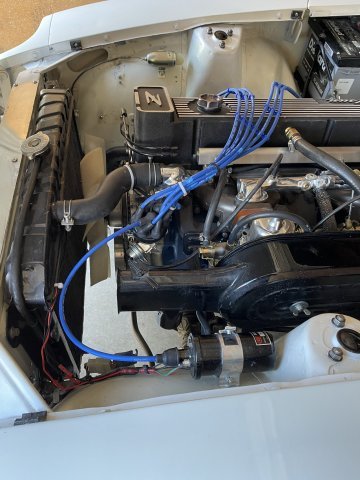
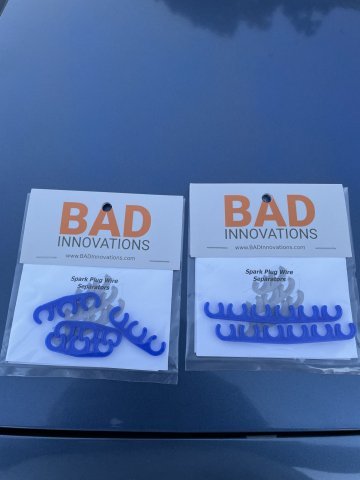
03-24-2024 UPDATE. I had a couple hours with nothing to do today, so I went out and used some denatured alcohol and a rag and wiped off all the Sharpie marks on the paint from installing the fender flares, and then on my rear shock towers, I swapped out the nuts for thin nuts or "Jam nuts". After that. the caps fit back on nicely! I put the caps over the front struts as well. Took a few moments to touch up some paint chips and then I took a hair dryer and removed a couple stickers under the hood and updated them. Then I decided to take her for a spin.....I think the plugs may still be too cold, so I will have to go back to the regular plugs, and see if the detonation I had when the engine was first started was becasue of degraded fuel. Even at that, she has a lot of power, but with this suspension, I am much lower and stiffer....bumps in the road toss you around like your on a bucking horse or something. I then stopped at a gas station and went to fill her up, and it looks like a couple of other hoses started to leak after 3/4 tank of fuel.....the ones I haven't touched yet. So, the deal is......dont fill over 1/2 tank until I can lower the tank just enough to change ALL of the hoses and make it go away permanently! I made sure to take plenty of pics with the new flares and lowering. Front wheels are also spaced out another 1/2 inch. If the car looks like it's dirty, IT IS! It needs a bath and some Armor All on the flares and sidewalls! Not to mention the engine needs to be cleaned. Oh! I also took a few moments and switched the tie wraps I was using on my spark plug wires to blue to match better. I found the multicolor set at Ace Hardware in case anyone else needs some. Cheers!
-
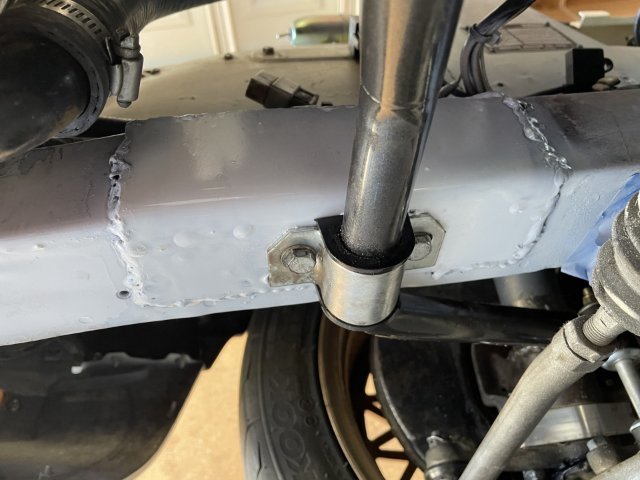
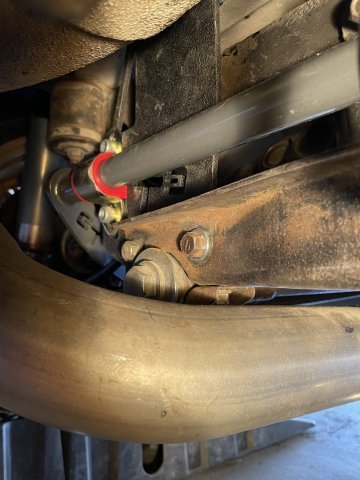
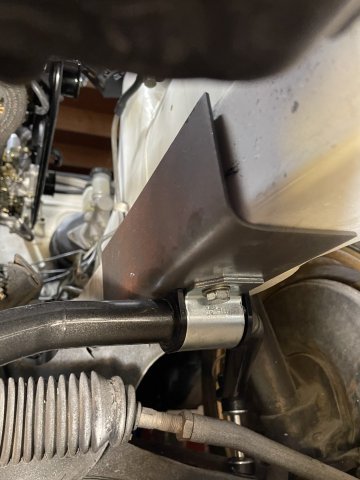
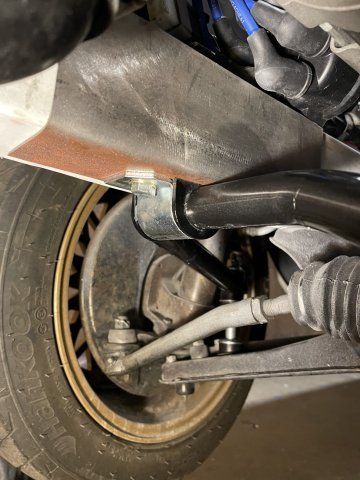
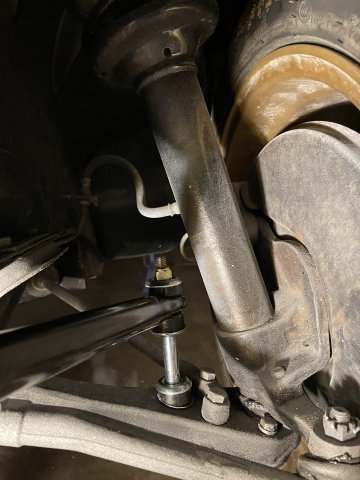
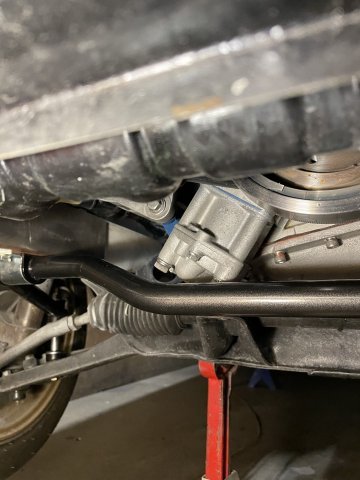
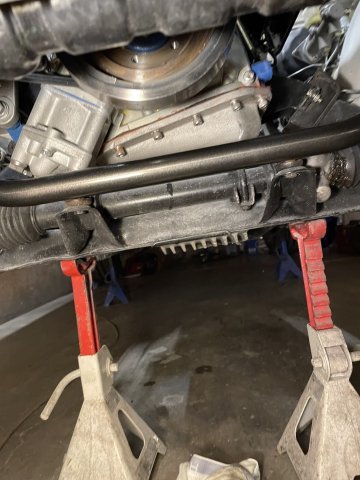
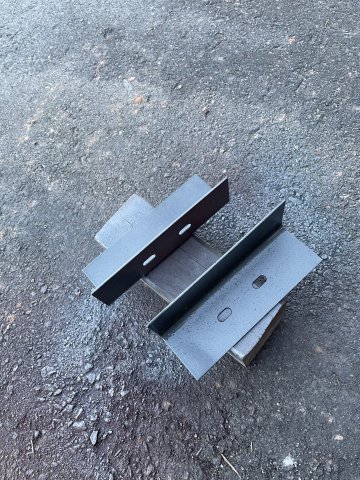
03-21-2024 UPDATE: Ok, so I started with taking the front sway bar off, cleaning up the reinforcement plates and painting them. Then, while they are drying I went to the rear end and finished tightening up the "drop down" brackets for the rear sway bar then installed the rear sway bar. After that it was time to break out my new Motive Pressure Brake Bleeder and give it a shot! Trial by error, and the first thing I found out is, you have to put the adaptor plate over the master cylinder VERY tight. 15 psi sounds like nothing, but it will leak if you don't have it on there as tight as you can get it. I also found out it works better if you put a quart of brake fluid in there....it may be weight from having that much in the bottle, but it will build pressure much better that way. So, with this deal you have to pump and pump and eventually it reaches 15 psi. Then go one wheel at a time and bleed them out. When I was done, the pedal felt stronger than it ever has, so that is great news! After that I went ahead and re-installed the front sway bar on the now drier paint. I then had to go back and touch up a few things in the rear wheel wells, and had to paint some inner wheel well spots, mainly a portion of the old wheel lips down low where you can see it with the flare on....painted black and all good! Dropped her back down, torqued the wheels on, and I am done for quite a while underneath! Busy day! Pics:
-
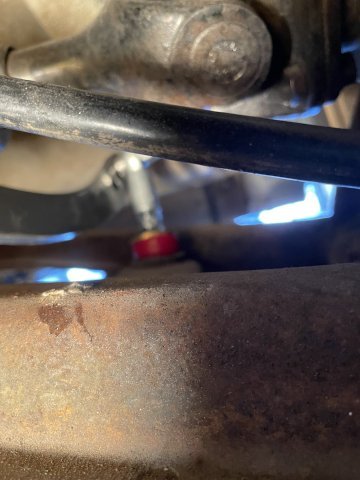
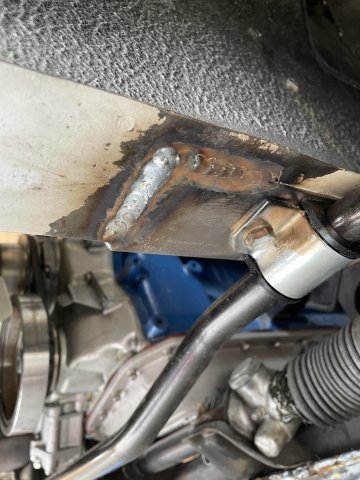
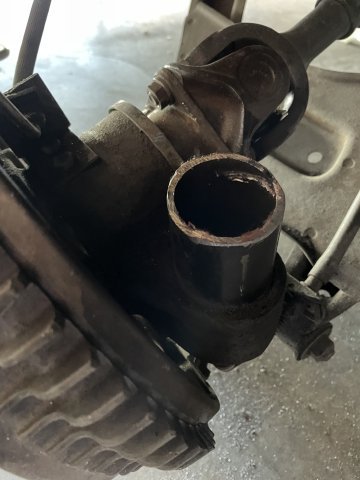
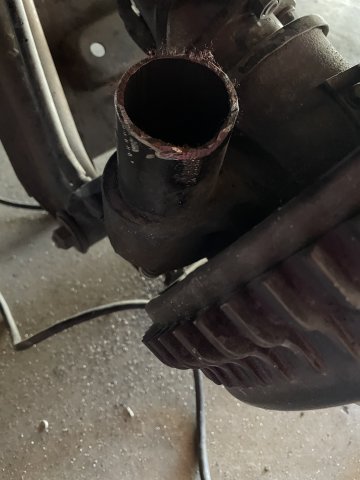
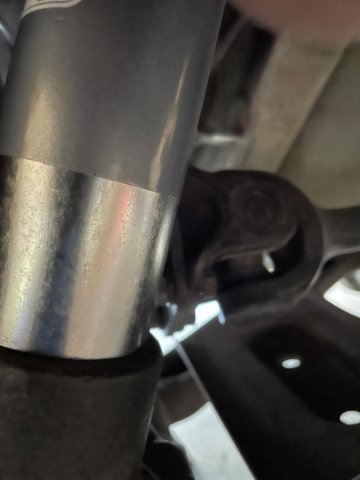
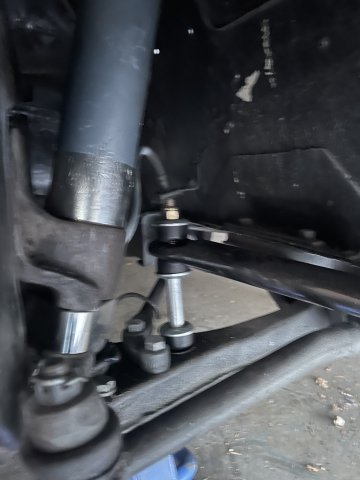
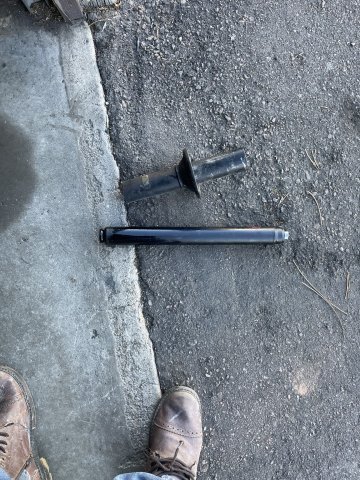
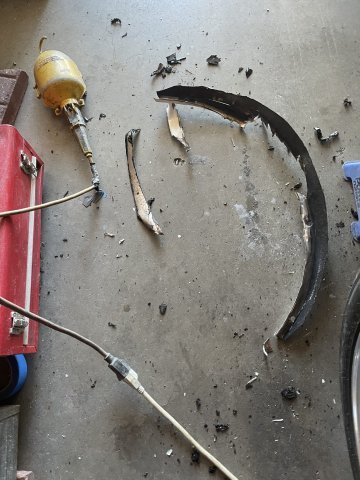
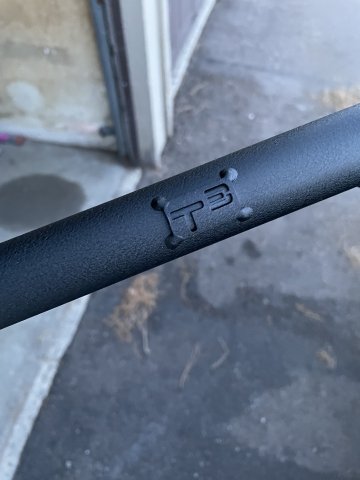
03-11-2024 UPDATE: I replaced 2 pieces of metal brake line that were damaged in the coilover job, the rear piece was nicked pretty good (see pics below) and a front one broke when I tried to bend it a bit. After that, I went ahead and bled the brakes, and as usual, they aren't good enough, so, just like last time, I will limp down to a garage and have them vacuum bleed them to give me back my nice pedal feel. After that I took my die grinder and cleaned up the welds on the bottom of the K member, and used a dremel on the other spots, then I went ahead and tackled getting my DP Oil pressure adusuter for my Kameari oil pump working and lower the pressure a bit. The DP adjuster "as is" wasn't going any lower, so I removed it, took it apart, and with my die grinder ground off the little tit on the end of the rod which would let the spring relax more, and then I came to a revelation.....a washer would push the adjuster out a bit and relax the spring even farther. So I took a washer and with my dremel make it fit and then assembled. It's a thick washer so it will have an even more noticable effect. I started the car and checked the gauge....isntead of 90 psi at idle I now have 40-45! I like that. if I ever wanted to bump it up a bit, I could use the adjuster or just wap out the thick washer for a thinner one! I then went ahead and torqued down the front suspension from the coilover swap, and got the wheels back on. At this time, I went to the rear, to take a look at what I was going to have to do to get the rear Techno Toy Tuning rear sway bar on. The factory drop downs are 2 thick steel plates vertically on each side of the rear differential. Thsoe have to be removed and replaced with the Drop down from Techno Toy tuning. Easier said than done. It fought me the whole way, but I was able to get it all back together loosely and now that the TT3 Drop downs are in, putting the bar on is just putting bushings on the bar, running the new bolts through the holes, and then install the end links in the holes already provided in the rear A arms. Whew! Tired again, but true progress made today. See pics!
-
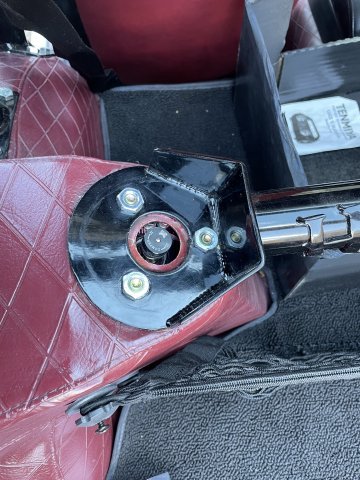
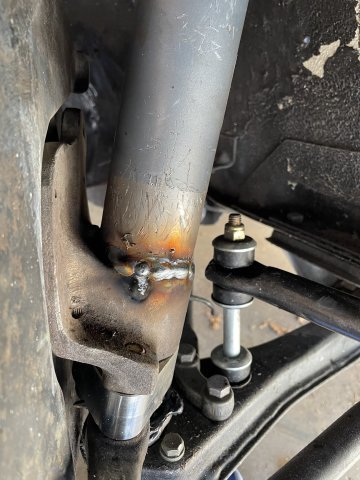
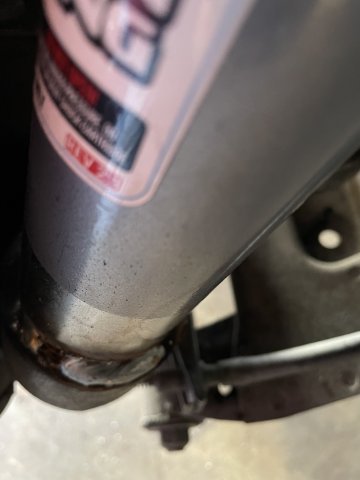
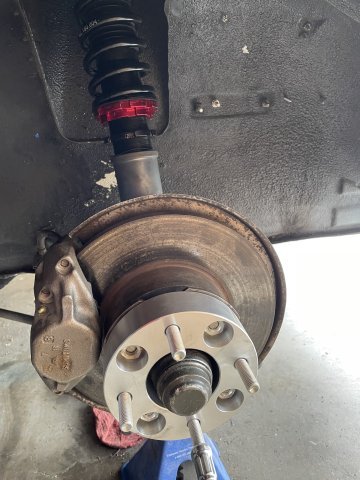
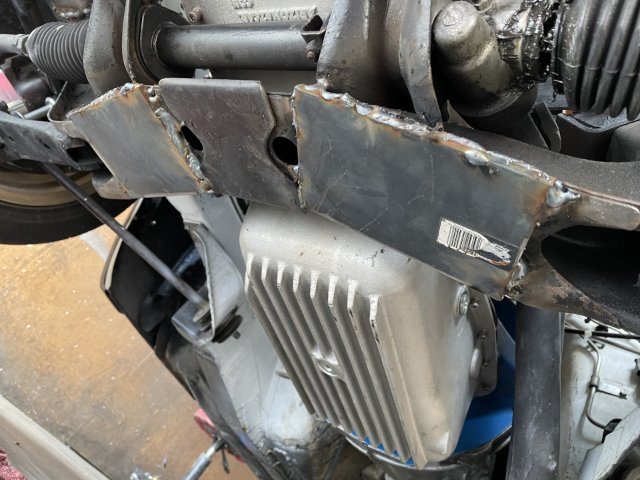
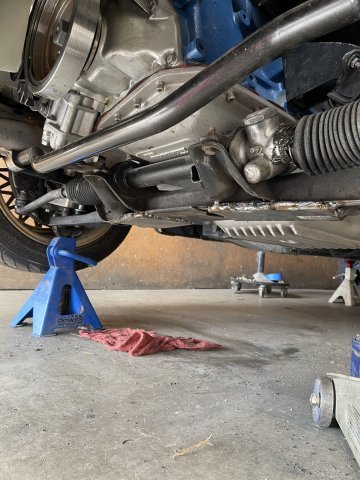
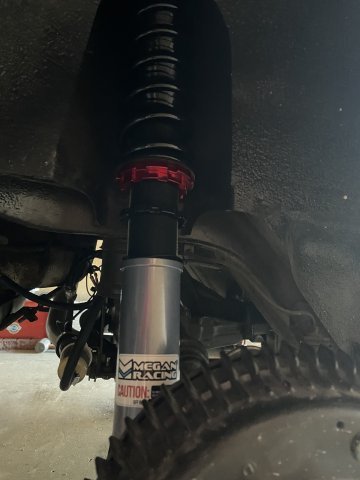
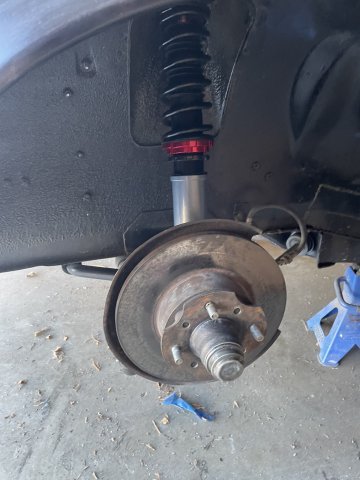
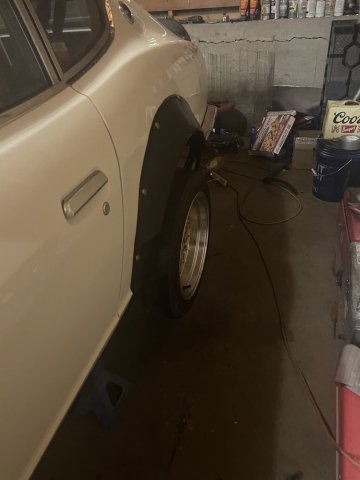
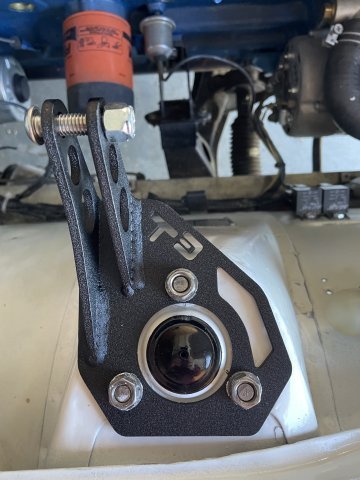
03-07-2024 UPDATE. Mike from Juggernaut Welding in Colorado Springs came by this morning, and welded my coilovers to the spindles, welded the bolt heads to the sheet metal for my rear sway bar reinforcement, welded in my reinforcement brackets for the front sway bar and added 2 thick steel plates to he bottom of my K member to strengthen it up. After he left, I went to work, installing the 1.5 wheel spacers on the front, to match the 1.5 inchers I already had in the back, and then got acquainted with my coilovers, getting them turned down. I have 1.5-2 inches of ground clearance, and the space between the tire and flares looks good. I used my die grinder to clean up the plates I made to reinforce the rear sway bar mounts where they bolt through the floor, giving them a coat of gloss black engine block paint afterwards. Here are a few pics of the day. Video: click on facebook link below. (16) Facebook
-
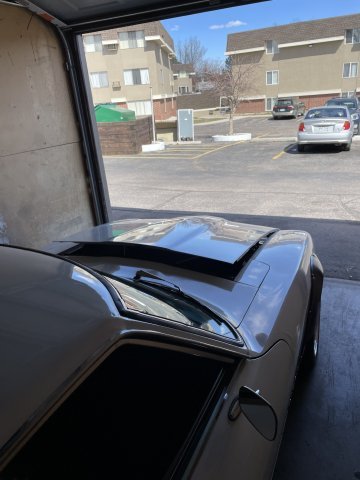
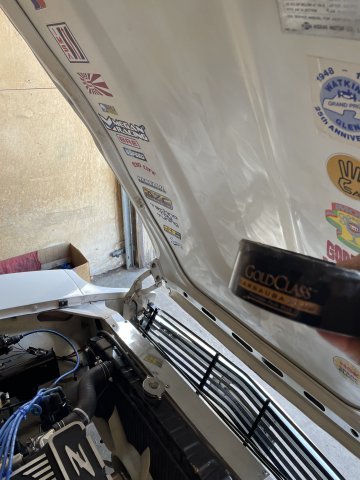
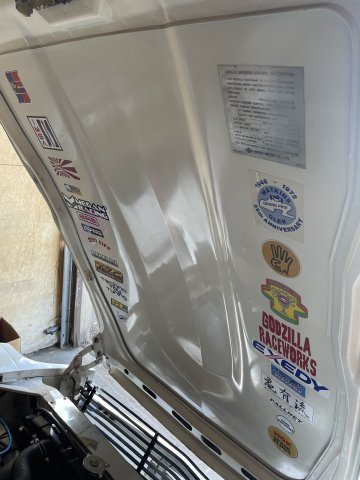
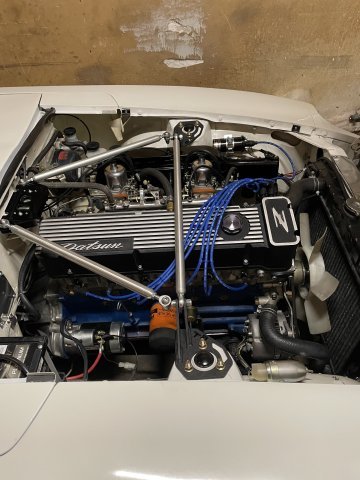
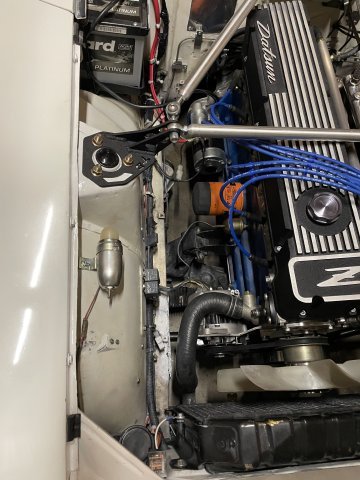
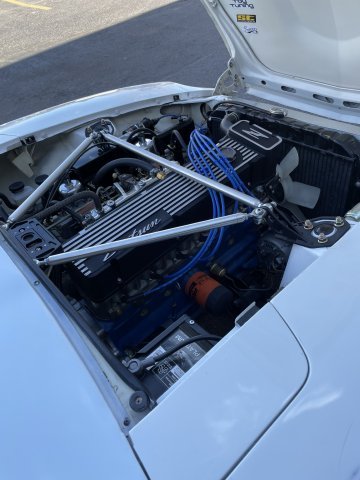
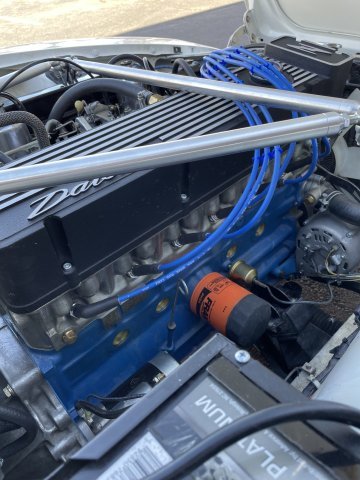
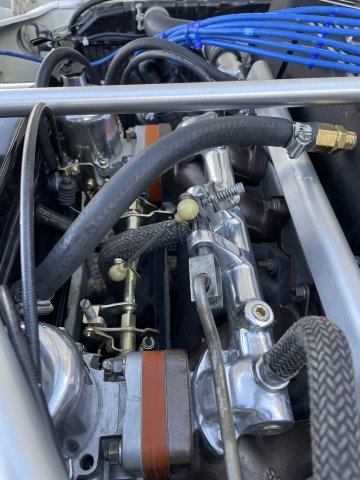
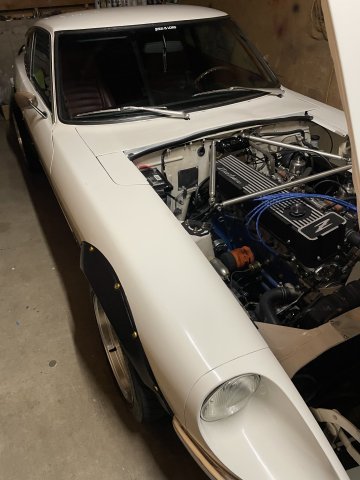
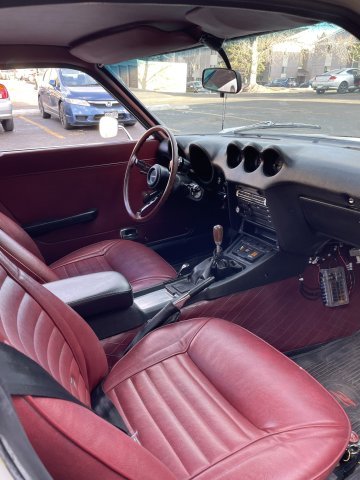
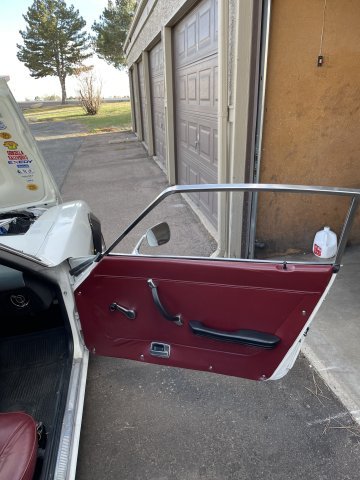
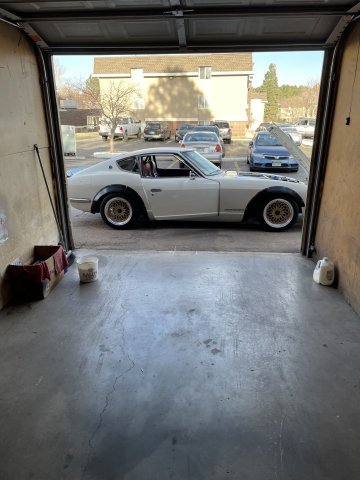
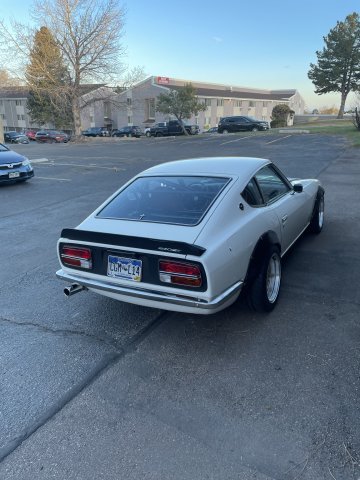
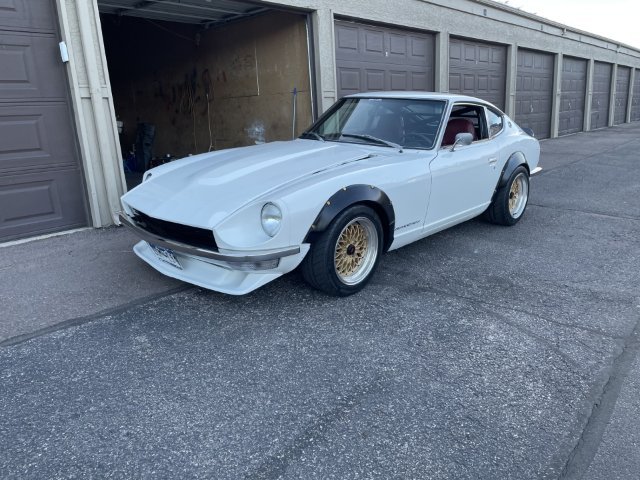
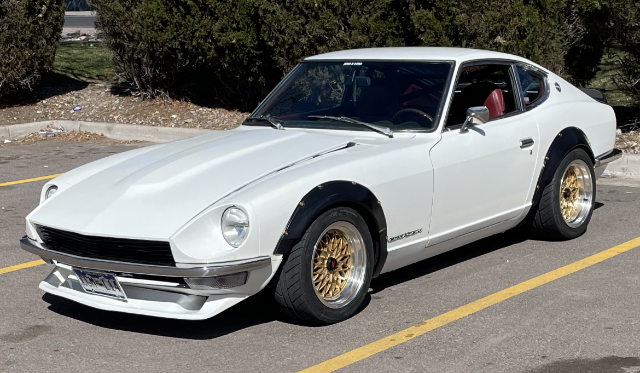
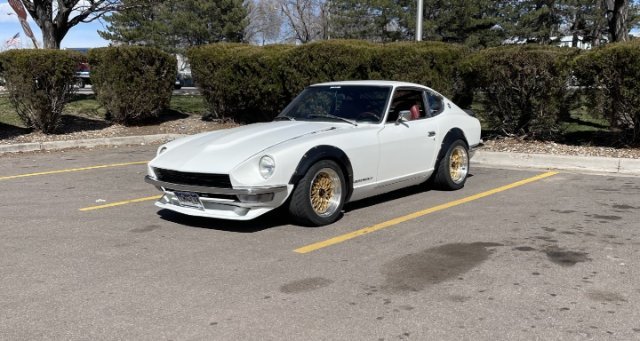
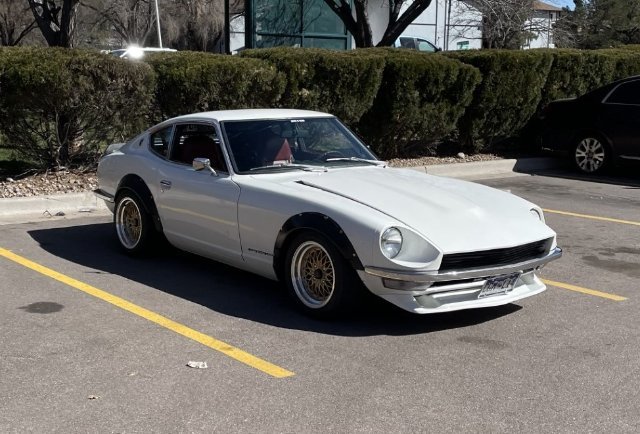
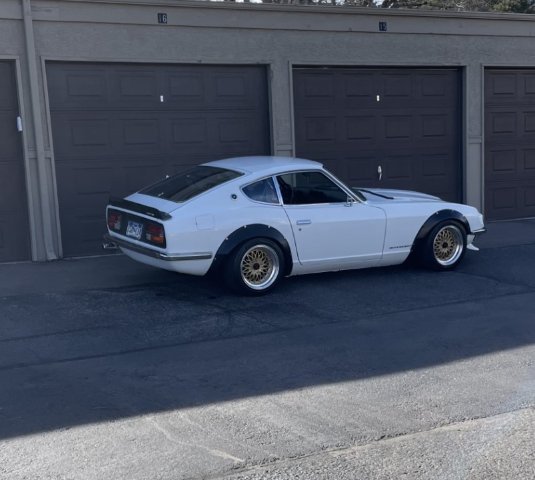
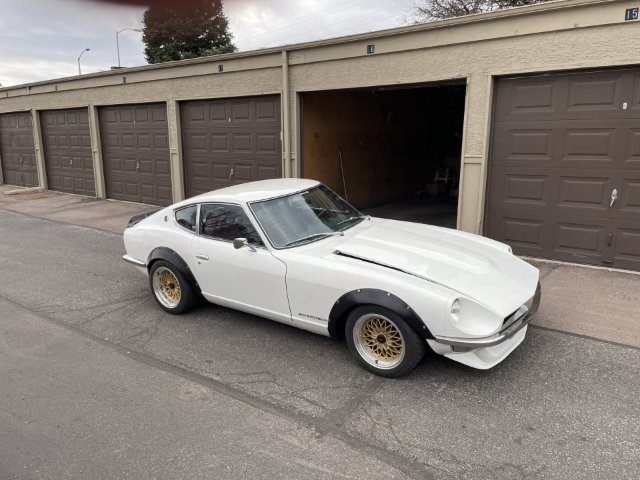
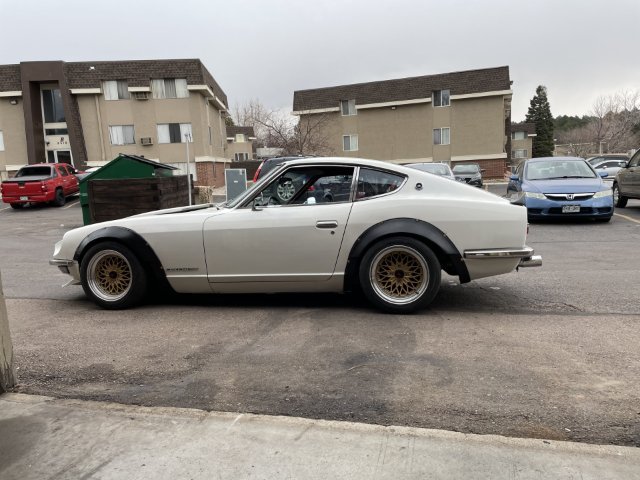
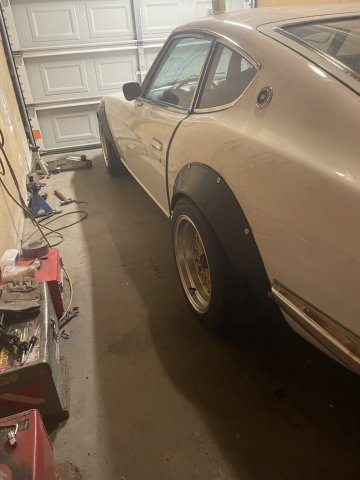
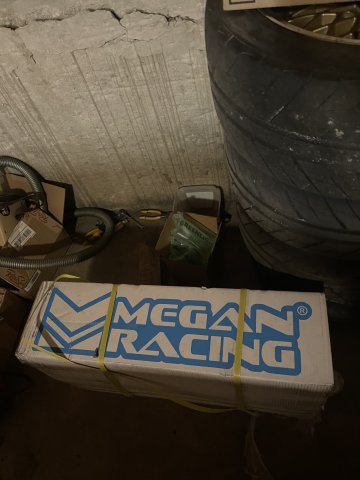
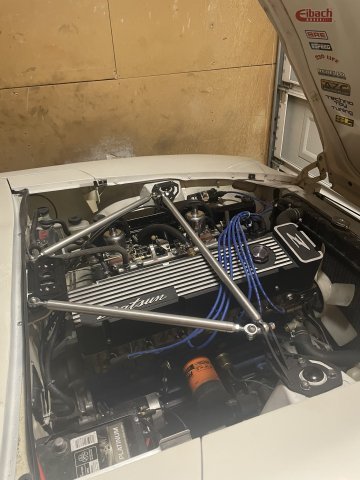
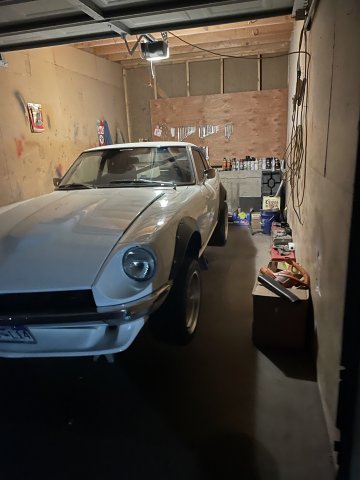
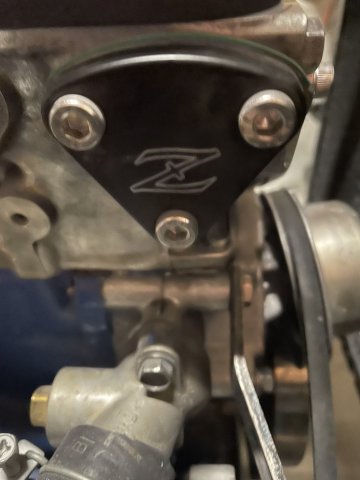
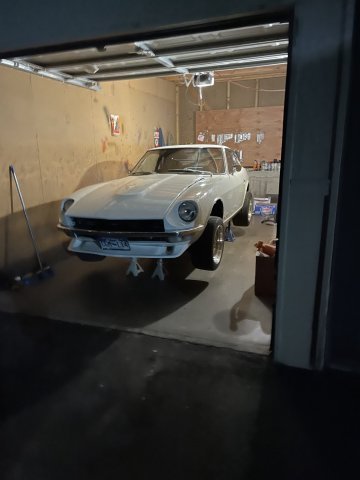
One of the Facebook pages asked for a rundown on my car. Since it took awhile, I decided to add it here. In June of 2021 I bought this car off eBay with an auto trans and a huge sunroof. I have done almost all the work myself....I replaced the roof panel with one off of a 260 I got from Junkyard Jenny and a new windshield I installed myself (major PITA job), and chased down the pedals, and a shifter from Steve Ehlers that I then heated and bent to work with a 280ZX close ratio 5 speed I had rebuilt by PST in Colorado SPrings. Complete conversion clutch kit is all new Exedy I got through GodZilla Raceworks in Texas. The rear is a K case 4:11 out of an 820 pickup that I bought from a guy online in great shape, and then wIth the Help of Dave Rebello and Steve Bonk as well as Ehnes Rink Machine Shop here in town, I built a 2.9 stroker out of a L26 block that I bored 2.5mm (.100 over) with Rebello/Traum custom flattop forged pistons, Steve Bonk K1 133mm (L24 length rods) that are H beam and forged with ARP 2000 bolts, and a V07/LD28 doesel crank I got from Whitit Sitticharoen in Thailand for 800 bucks shipped to my door (came in 4 days). being an old crank, I had to have it straightened, jounals taken down 10 under all the way across and a Speedi Sleeve on the rear jounal with the rear main. The Head is an early E31 that Russ Racing Engines in Florida shaved .080, and fully ported out with larger exhaust valves, that I fitted with the early "A" cam, a Yoes spray bar, a japanese timing chain, and Kameari adjustable cam gear sprocket and a Kameari Dual Idler cam chain tensioner, and a Kameari oil pump with DP Racing pressure adjsuter nut system has been added. With my factory Nissan head gasket I have 11.54 to 1 compression. I went with the Arizona Z car Aluminum Deep Sump oil pan, and the factory exhaust manifold that I de-smogged by cutting out the probes, welding the tops of the probe bolts and grinding smooth, and then bolting a mandrel bent 2.5" MSA exhaust system to. The factory carbs were rebult by Sal Ceja, and some polishing on the tops and the equalizing tube done by J&S Polishing in Colorado Springs. I went with a custom designed BSPEED valve cover, and a breakerless ignition eBay Special from the guy on here "Jeremy Wilbur". I used a BHJ Damper, that is a single groove unit designed by Dave Rebello in conjunctionwith the engineer team ay BHJ. I also added the Techno Toy tuning front tower brace and tri bar setup, ST front sway bar, and a Techno Toy tuning rear bar is waiting to be put on along wiht a new set of Megan Racing Coilovers. It's pretty cool. I got the body in somewhat decent condition and had a guy on Facebook Marketplace give it a cheap paintjob with clear coats, and I restored the interior to facotry Red, but added an Autopower race rollbar, As well as a rear strut tower brace and a Techno Toy tuning C pillar brace.. Wheel are gold mesh copies of Road tar wheels I got off of eBay from a guy in thailand that sells knockoffs, they are 15X8 and 15x9 0 offset that I have adjusted with spacer to get them where I wnat them and the 225/50ZR15 and 245/40ZR15 hankook RS4 tires are covered by Speed Forme flares. Megan Racing Coilovers,and Z Car Depot bump steer spacers are also in place. Added a BRE front spook spoiler, and a carbon fiber covered 432 style rear spiiler pretty much rounds it out. Aftermarket brakes are about the only thing not done. Originals are new or rebuilt, and are "adequate" I suppose for now. Its been a BUSY 2.5 years. The car is a true 10 footer quality. Mike Perrot asked me to give a rundown on the car.
-
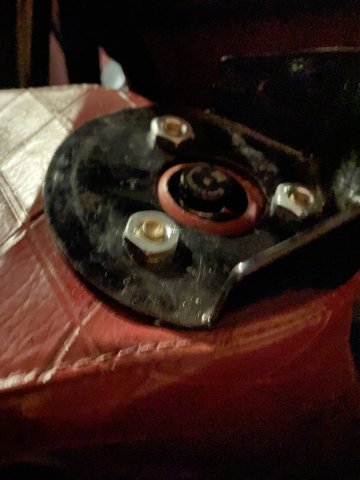
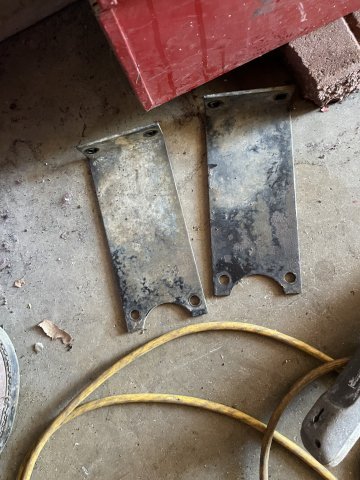
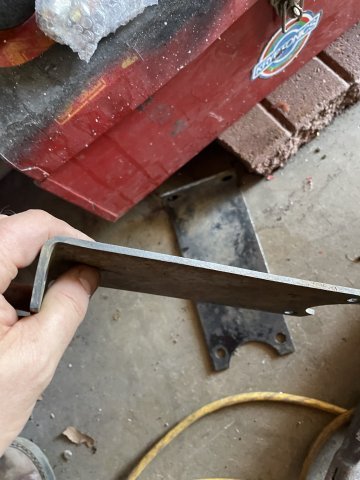
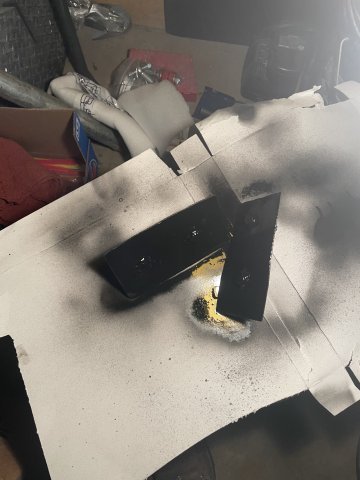
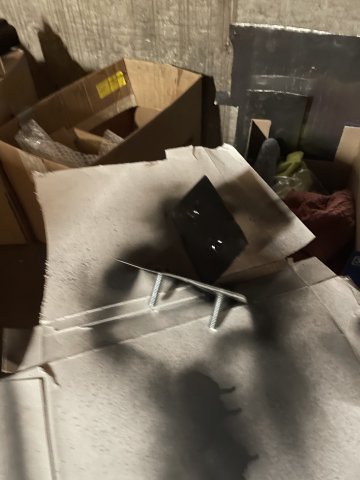
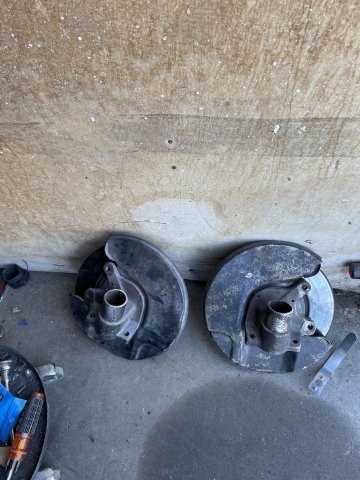
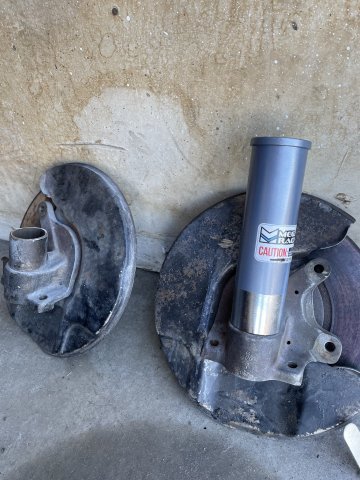
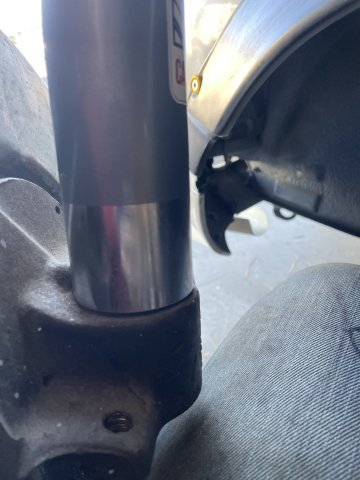
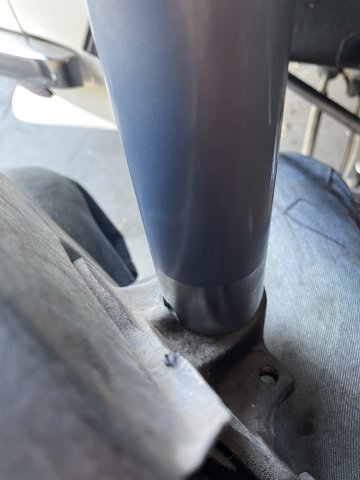
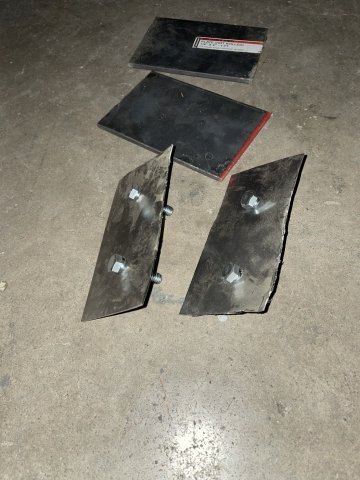
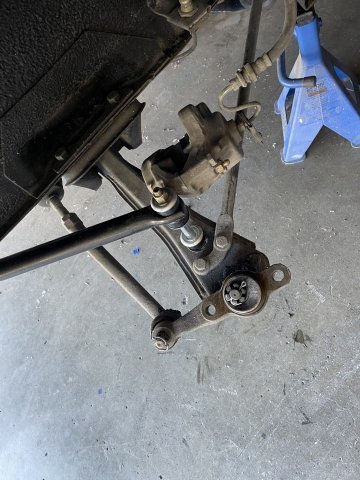
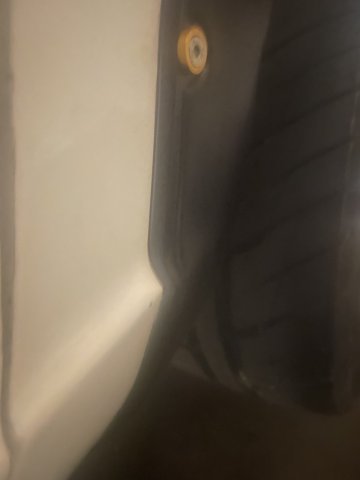
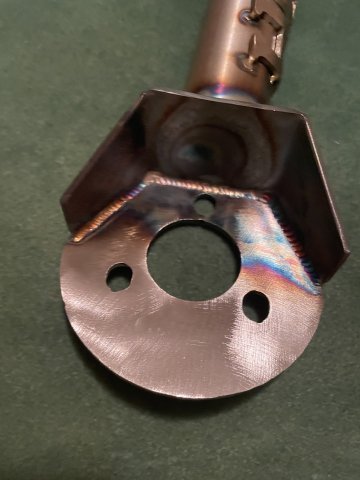
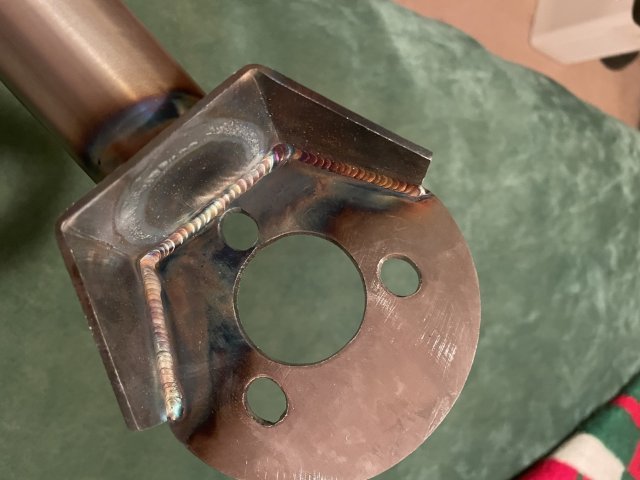
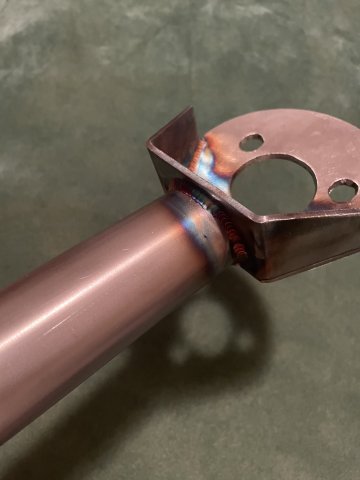
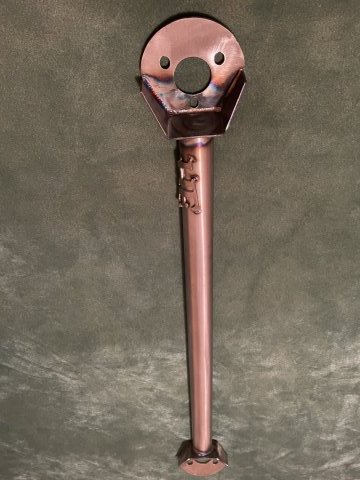
03-02-2024 UPDATE> Today I finished cutting the strut "nubs" and then fitted the suspension to the car. It is together and is waiting welding to weld them in. I also took two 16 ga steel plates and drilled holes in them for when the rear sway bar brackets mount up and have 2 holes that go through the body. These plates will disperse the weight and will give a strudy point where they are supposed to bolt up. The bolt heads will be welded to the plates and the sway bar brackets will bolt up tightly on the other side. It will make it sturdy. I know they are ugly cuts....it was getting dark, so I just drilled the holes so I can have the bolt heads welded to it, later I will clean the plates up nice and pretty. In putting the front suspension together, I also installed the bumpsteer spacers I got from Z Car Depot. pics:
-
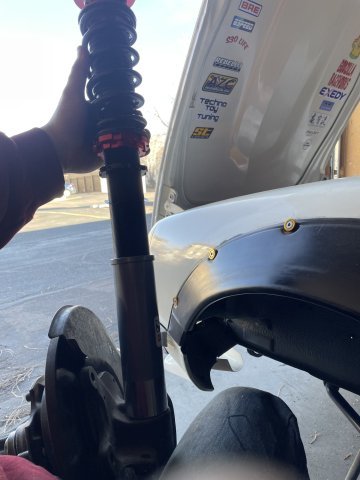
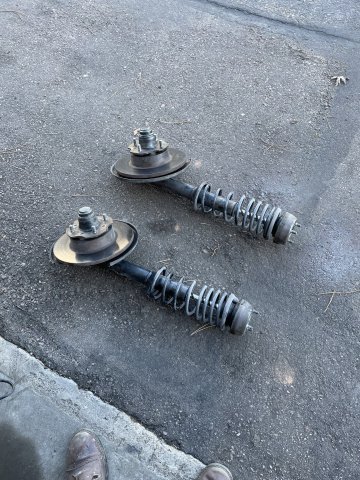
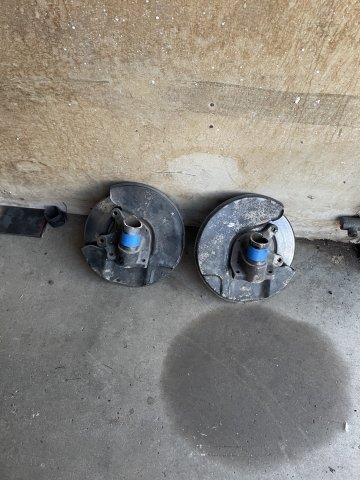
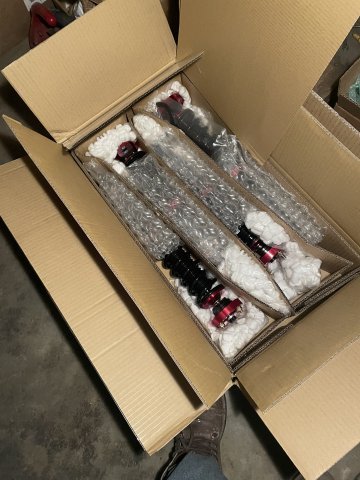
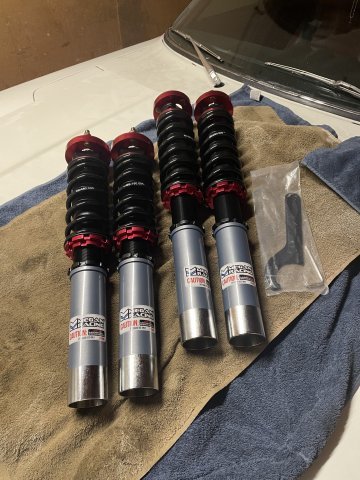
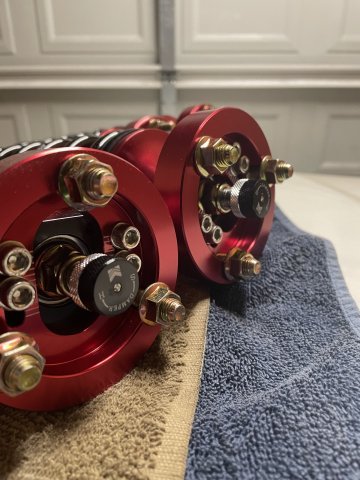
02-25-2024 UPDATE: Long day. very tired. I removed all the struts from the car, removed the springs and strut cartridges, and did a quick cut on the strut tubes. Then I marked off where I need to cut next time with my sawzall. Before removing the struts, I lowered the car and took some pics and some measurements to see how much lower and how much out I needed to me to make it look the way I wanted it to. Then I busted the lug nuts loose and put her back up in the air. After I had done the strut work, I opened up my new box of Megan Racing Coilovers and looked them over and took more pics. I also have 1" bump steer spacers I got from Z car Depot....cheapest place I found. Very labor intensive day. Check out the pics and video. To access the video you will have to click on the writing underneath "Video" and scroll to the end of the pics. cheers. Video (click below, scroll to the end of the pics) : (20+) Facebook
-
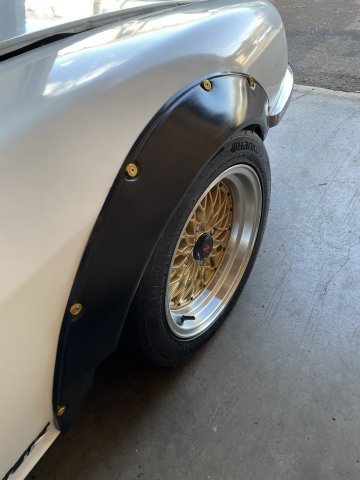
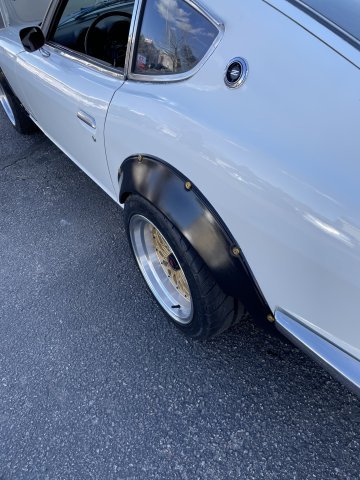
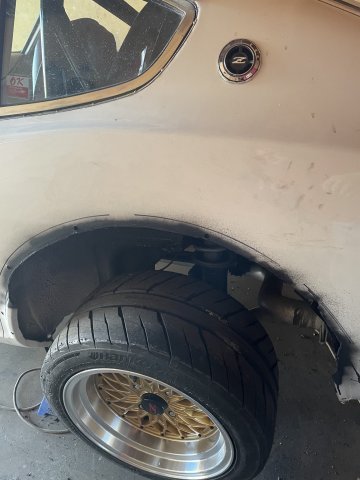
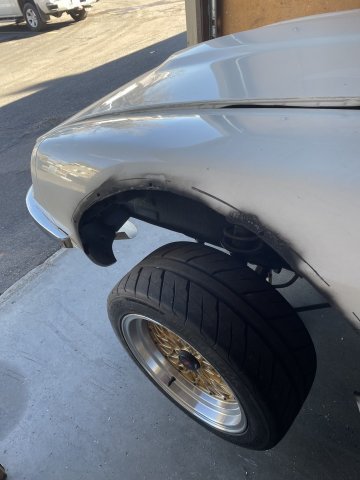
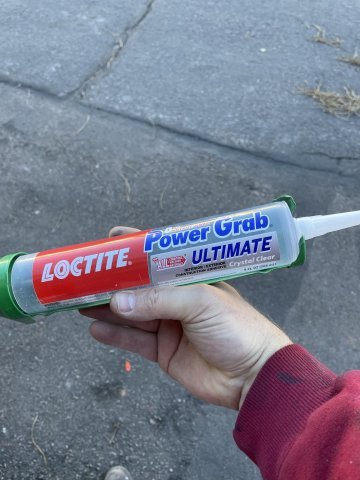
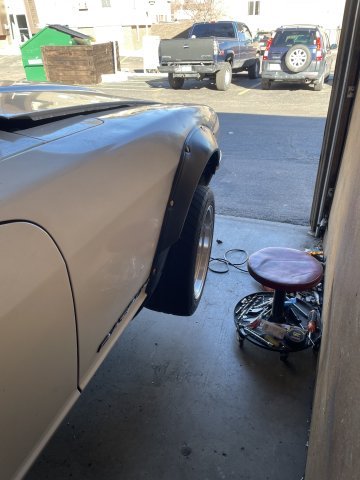
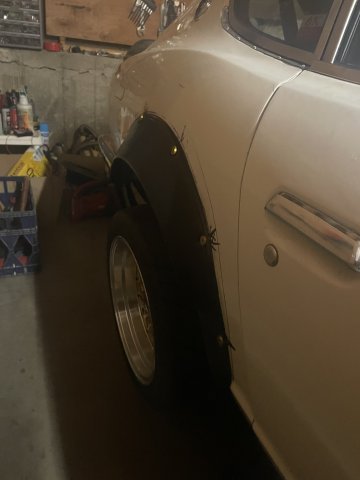
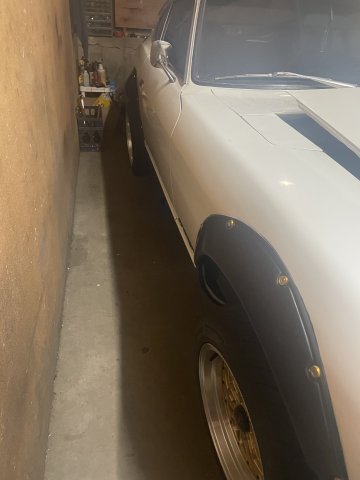
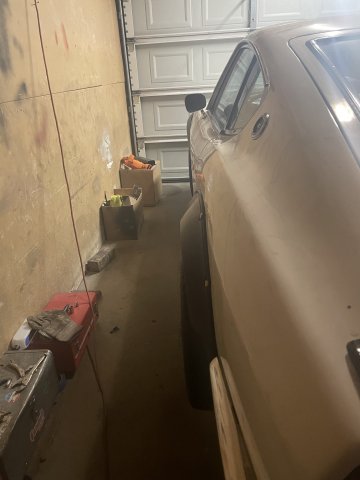
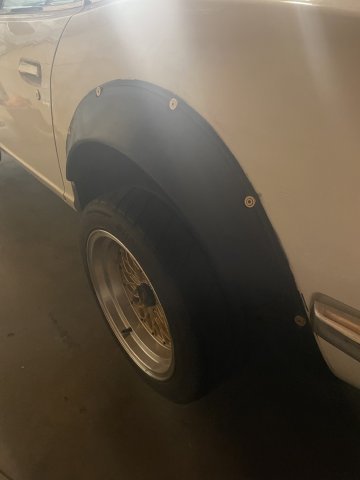
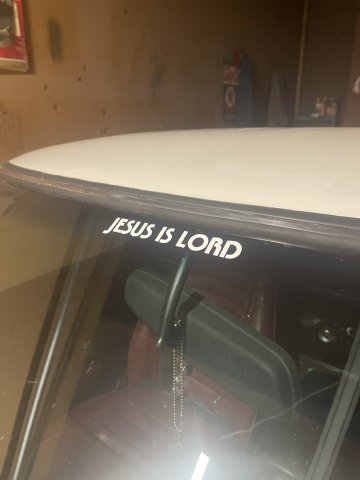
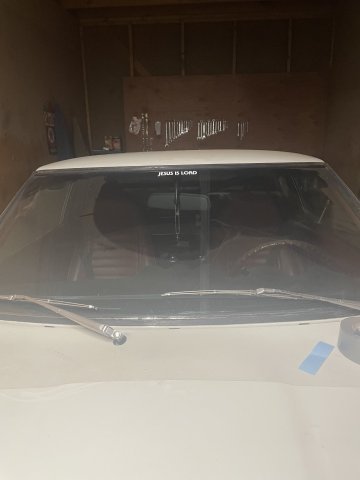
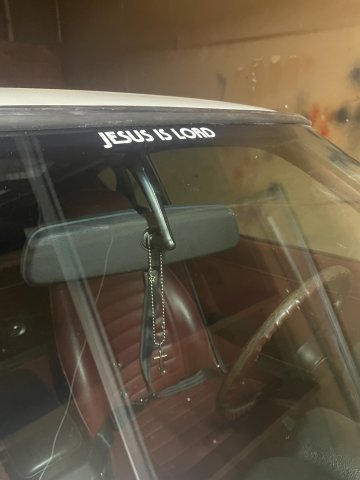
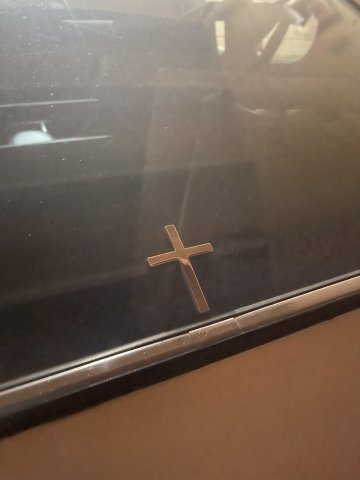
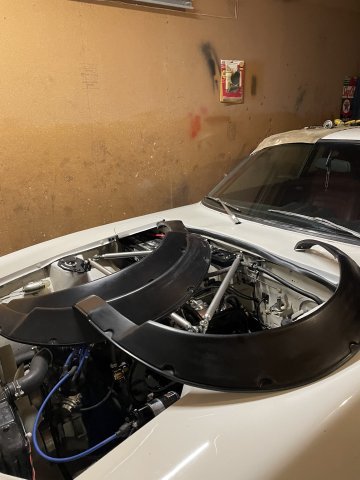
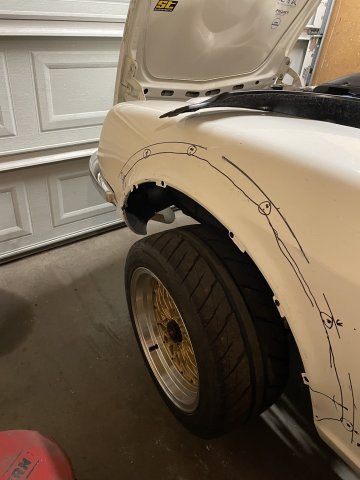
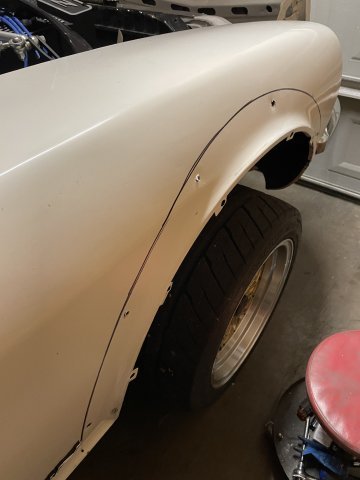
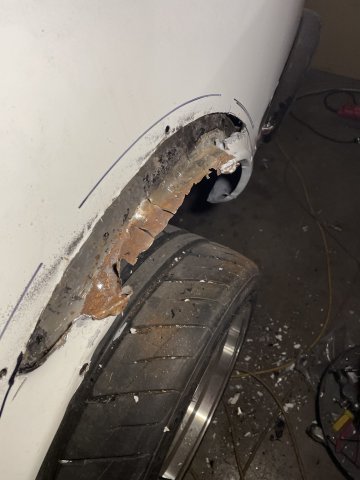
02-19-2024 UPDATE: So I went out and finished cutting the wheel wells for the flares, and then I cleaned up the sharp edges and sprayed a little engine block paint on the exposed metal. I then installed the front flares, and then went to the rear, and used Loctite Sealant betwwen the two layers of sheetmetal....IT IS NOT CAULK. It looks like it but it is a very strong constuction adhesive, similar to what I used between the stitch welds on my under body rails. Once dried it is STRONG. Anyway, after that I installed the rear flares, having to use longer bolts to get it done. I had enough time left to go ahead and install my DP Products adjustable nut for my oil pump. Leaving it on the adjustment it was already on, I started the car, and the oil pressure was already down....so I know this will work, and I will fine tune exactly where I want the oil pressure later. Even expensive flares such as these from Speed Forme do not just fit right on. They still come out of a mold, and you have to be ready to open holes a bit larger etc., to be able to shift them to where they should be and then tighten down. Lastly, I applied a Jesus Is Lord" sticker to the front windshield up top. See pics below. Cheers!
-
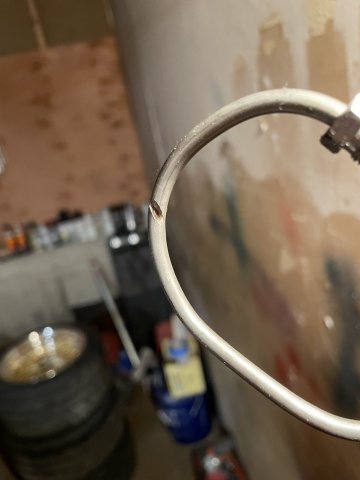
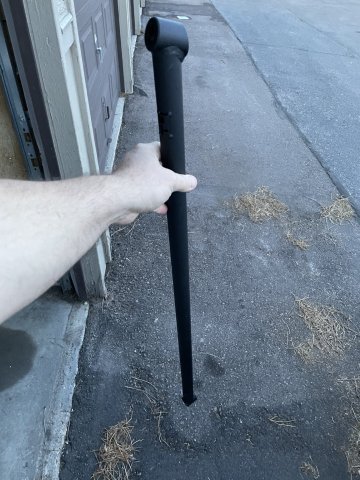
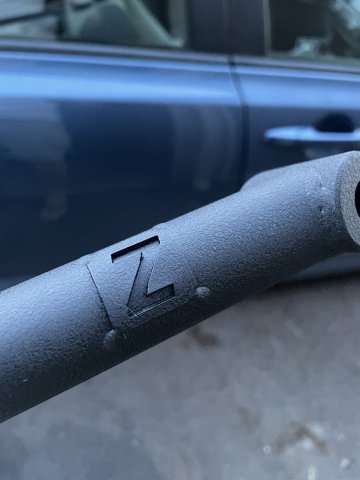
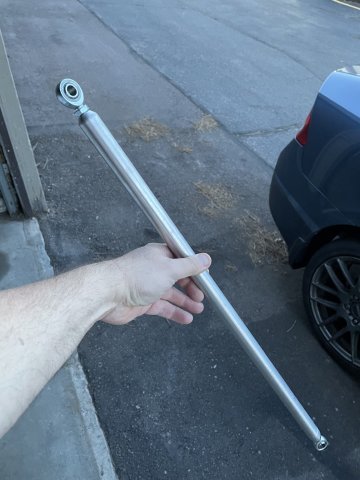
Hello all. I am getting ready to install my TT3 rear sway bar, and there aren't any instructions....no sweat, it's pretty straight forward except where exactly in the rear arms am I supposed to drill holes for the end links to attach? Also the pieces where the swar bar mounts there are 2 locations, one about an inch higher than the other. I guess it is for lowered cars? Any help is appreciated, thanks.
-
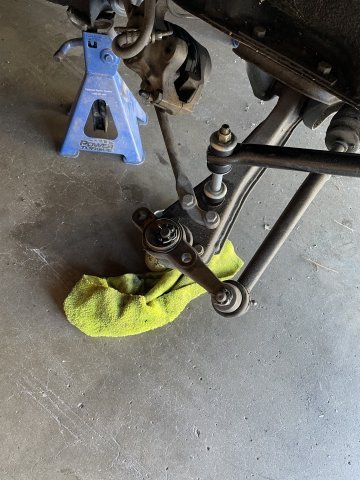
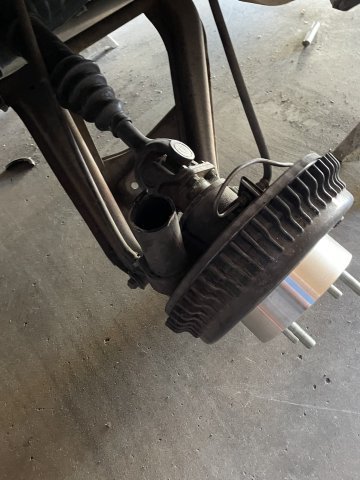
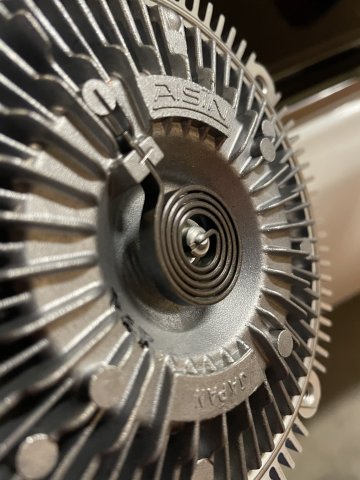
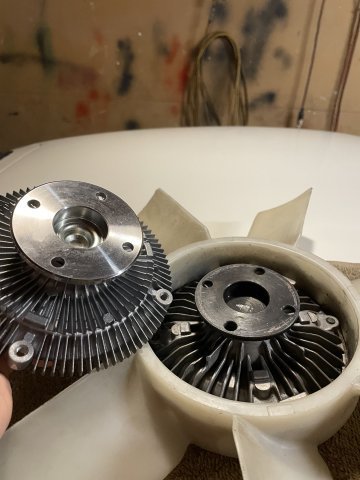
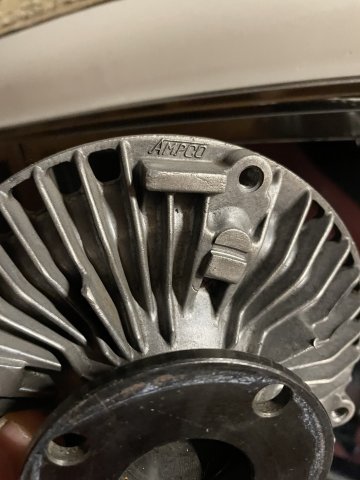
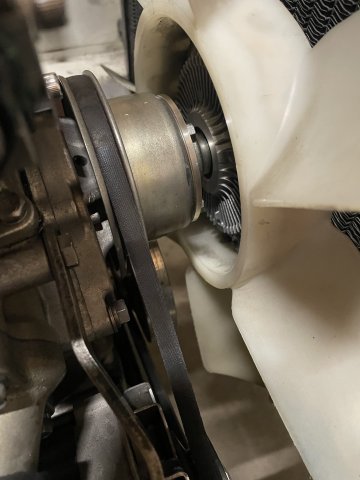
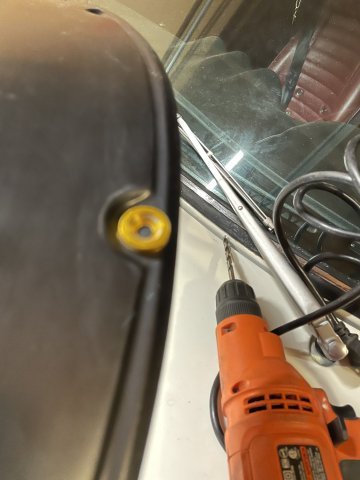
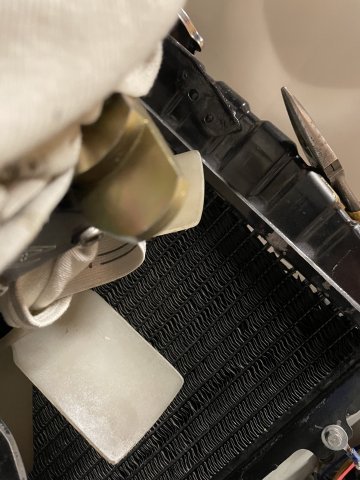
02-08-2022 UPDATE: I went ahead and swapped out my old fan clutch for the new one, and then I swapped out the oil pump for the Kameari one I bought. I used needle nose pliers to hold up the distributor shaft and it worked! On startup my oil psi is at 90! At idle! I then started prepping the flares and then I marked the fenders and quarter panels so I could drill the holes and begine cutting them up to make clearance for future lowering. I ordered some Megan Coilovers yesterday, so I will now be able to set the ride height EXACTLY where I want it. Anyway, today's work took a tad over 8 hours to get to the stopping poing point, I had to stop because I ran out of cutting wheels for the die grinder about halfway through the last wheel well to cut! Pic and video's follow. For the video's click on the links below, which will take you to Feacebook, the videos are at the end of the pics. I am not able to load the videos on here. Sorry ! Cheers! Video's, click below for each one: (6) Facebook (6) Facebook
-
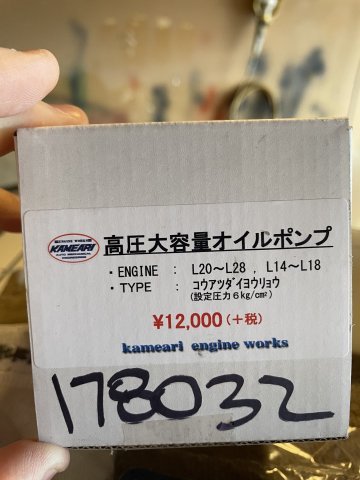
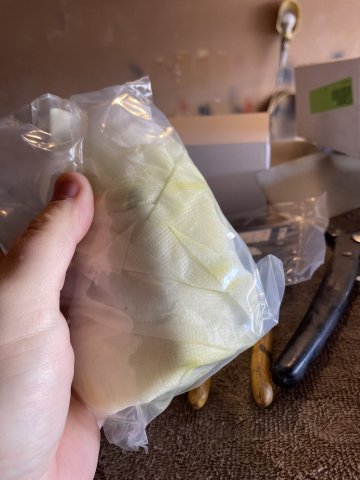
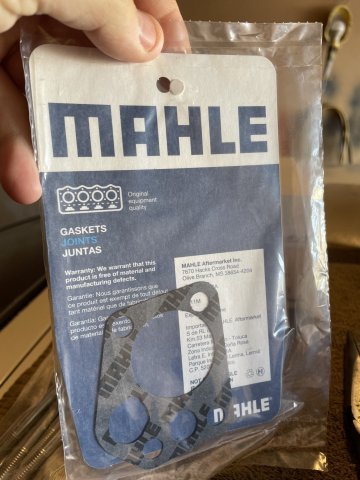
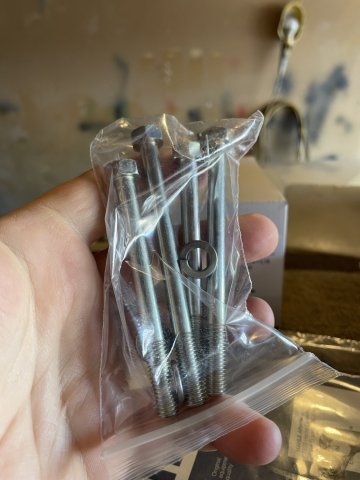
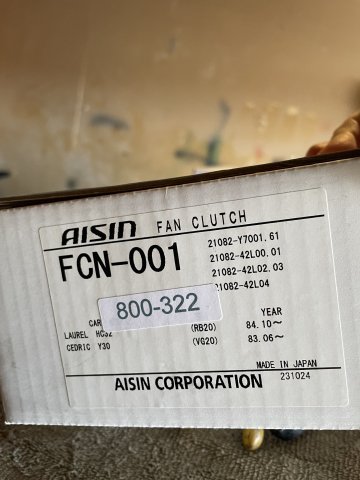
02-06-2024 UPDATE. Parts started arriving. Speed Forme Flares from Osaka, Japan . Kameari oil pump and some new bolts and a good gasket from Mahle, And an Aisin fan clutch from Japan. So this stuff, along with the TT3 rear sway bar will give me something to do the next decent day I get to work on the Z car. Few pics
-
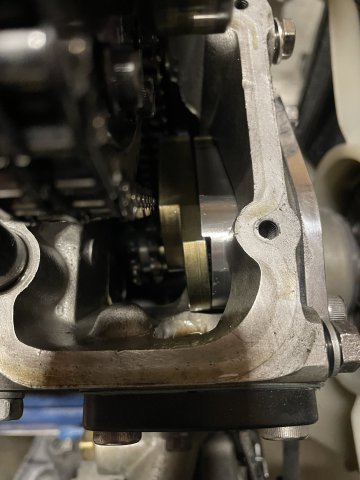
02-02-2024 UPDATE: Ok, so I noticed, and others mentioned it also, that my gear drive was WAY noiser than usual.....and I had already noticed my oil pressure was down. So, after some thought, I realized that the tenshion on the dual idler gear drive was too tight, and that I needed to swap out the oil pump. So, parts were ordered, and today I went out and started by removing the valve cover, and inspecting the cam chain and the area for the chain tenshioner. The chain and sprockets were fine, thank goodness, and I was able to see where the bottom corner was hitting the head, and that was the reason there wasn't any tension adjustment available! So, I got it pulled up to where I could wrap it all off, and then I carefully used my die grinder to round up that bottom corner and take it in a bit. IT WORKED! Once re-installed, I was able to freely move it around, and I went ahead and set the adjustment right where I wanted it. This will make it noticeably quieter, and is also easier on the chain. I then went back and removed the oil bar and retorqued the head to 61 ft. lbs, re-installed the oiling bar and closed everything back up. Next, was swapping out the oil psi sensor which may have had something to do with the gauge registering so low, and my water temp sensor isn't working so I put a new one in as well. The front of the head is much cleaner now, and I used some spare bolts to put in empty holes to give everything a more finished look. I pulled the fan, so I can swap out the old wornout fan clutch for a new one......it was supposed to come in today, but didn't make it, so that will be next time. I then decided to remove the stock front sway bar and install my new 1" ST front sway bar. Per the instructions I used the lube that came with it on all bushings and then installed the bar.....with the 12 ga. steel reinforcement plates. I will wire wheel around the edge of both and get them welded on when time permits. I ordered a Kameari oil pump, and when it arries, I will swap it in, then get my new Techno Toy Tuning rear sway bar installed and the new Speed Forme flares that will arrive from Osaka next week. I got the fiberglass ones, and will decide if I want to have them painted white to match the car, or leave them as is. Here are some pics. cheers! VIDEO'S (2, click on each one at a time to see on Facebook): Facebook Facebook
-
Lazarous post. Just bougth a set of the flares, version 1, for when you aren't using the kit. Made out of FRP. I might paint matching white.
-
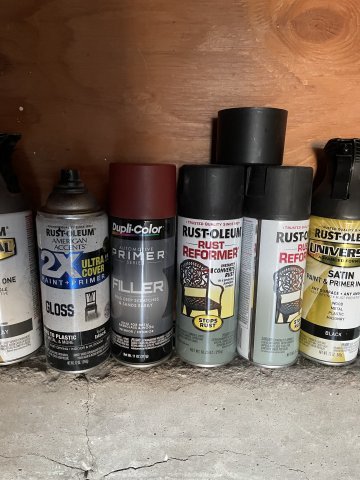
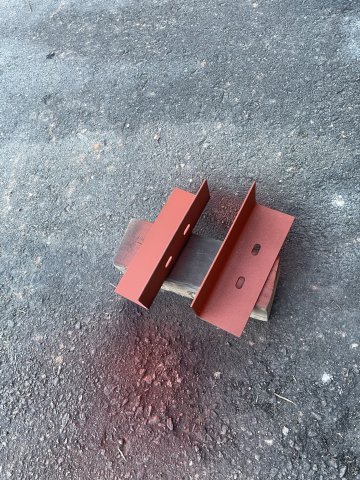
01-28-2024 UPDATE: Busy day! I went ahead and pulled the NGK BP8 plugs and gapped the BP7 plugs (one heat range colder instead of 2 ranges cooler) at .031 and installed and removed the air box. I started the car and got it warm and then re-synched the carbs and took it for a drive.....the new spark plug wires and plugs made a BIG difference. She runs VERY strong now......strange that afterward I pulled the plugs and #6 is burning clean, 1-5 are rich....not sure why, but she really runs good now.....all 6 firing! I then put a couple stickers under the hood that I had and then jacked the car up all the way around. I did this to remove the flares and get it ready to install the new front and rear sway bars. I bought the rail reinforcement plates from Z car Depot, that are made of 12 ga. steel and are recommended on the 240Z's when using a larger front sway bar. Well, I sprayed them with a coat of Rust Reformer, Primer and then top coat of some Satin Grey paint I had left over.....I just wanted to paint the raw sheet metal that will be against the rail when they are welded in. I removed all the fender flares and have decided to go in a different direction.......I ordered some of the PRICY Speed Forme flares and will install them, with the understanding I may have to lower the car to make it look right afterward. I really don't want to lower it any more, but I will if it needs it. The new front sway bar is the 25mm ST front sway bar, and the rear is the Techno Toy Tuning rear sway bar, 3/4 diameter. Here are some pics:
-
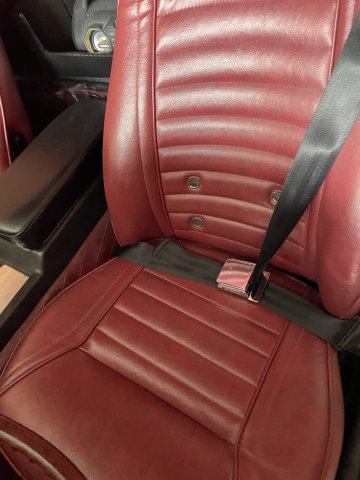
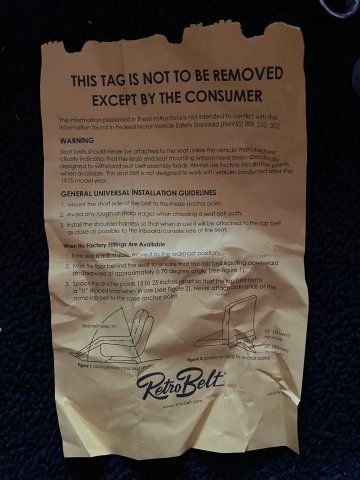
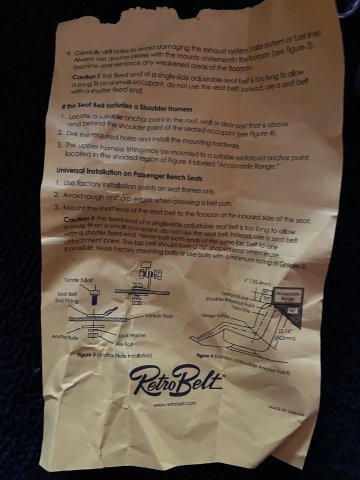
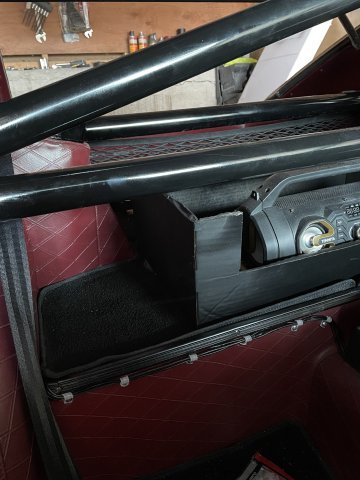
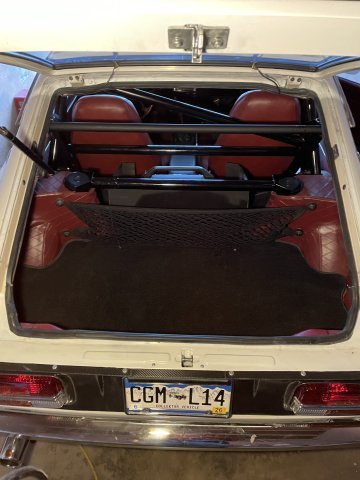
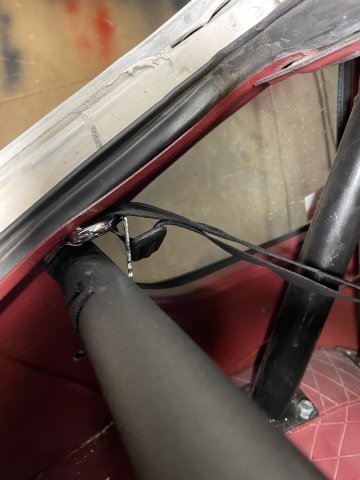
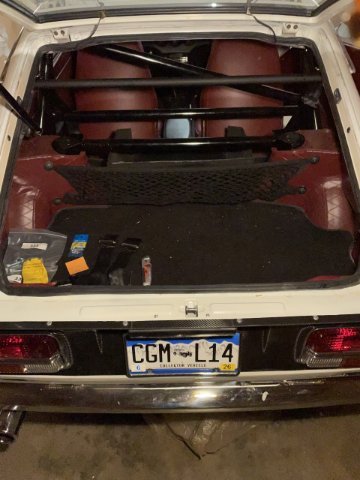
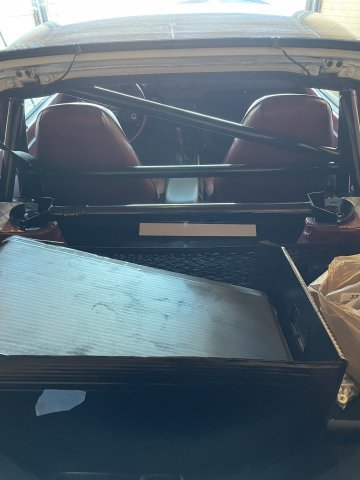
01-21-2024 UPDATE, I finished getting my new Retro Belt seatbelts installed. Removing the old belts, and having to vac out dirt in the pockets etc. As with anything "universal" you have to fiddle with and work with, to get them just right for your application. I like them. I also strapped down the wires I have running behind the passenger seat to the wall....I can paint them when it gets warmer...mask off and spray with red interior paint to make them blend in.....but who knows I may leave them as they are now.:) I also got the 2 hooks installed in the hatch area to hold the bottom of my cargo net down. Sounds like easy stuff, but it was a bit of a fight. Anyway I managed a few pics. Started getting cold so I went in. Cheers.
-
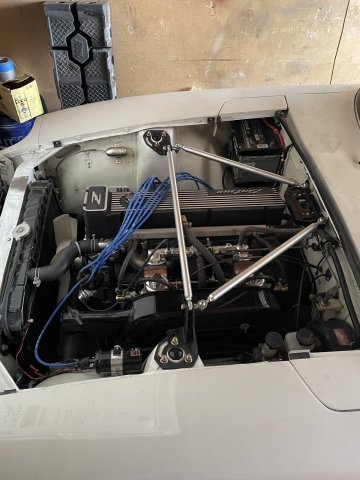
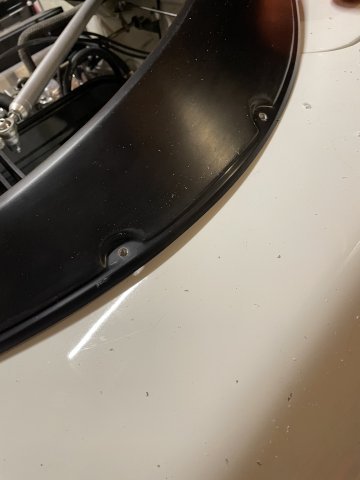
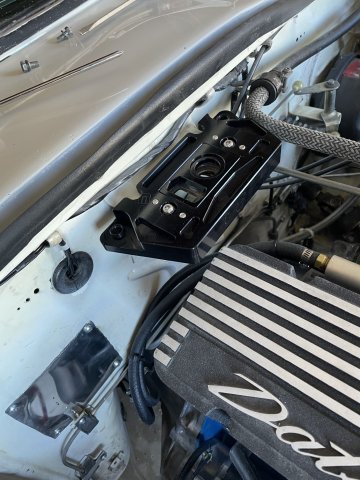
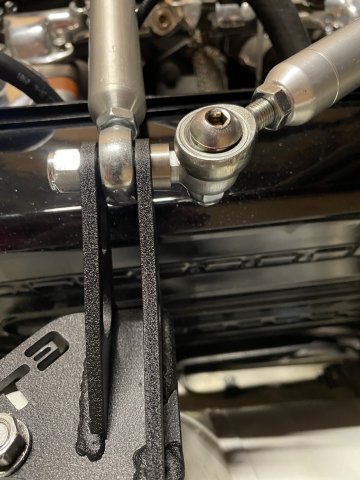
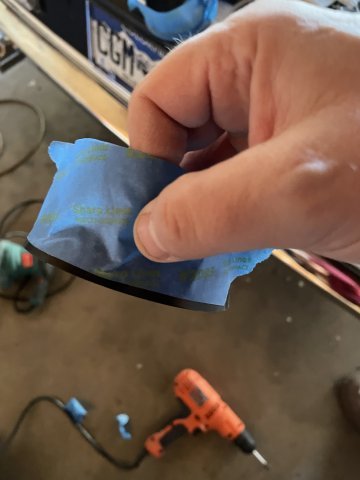
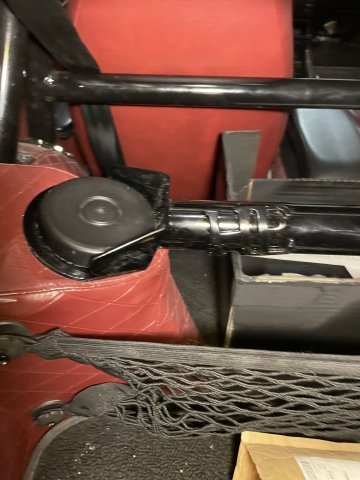
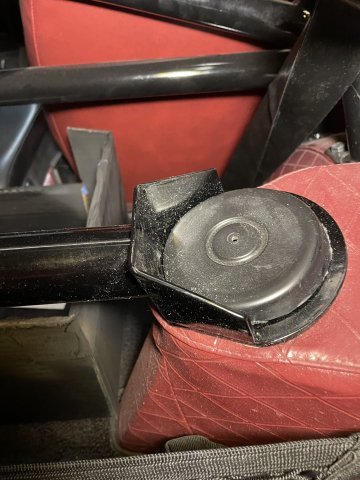
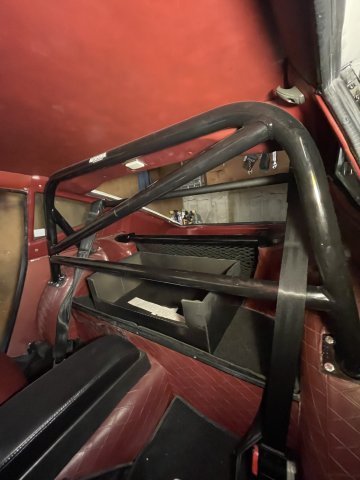
12-30-2023 UPDATE. I got out to the garage today, an started with getting the front strut bar and tri bar setup I bought form Techno Toy Tuning isntalled. Then I went ahead and installed the rear strut bar from Humble Engineering. I was able to take off some material to get the caps to fit back over the bolts on the rear towers. Then I went ahead and installed the C pillar bar from Techno Toy Tuning. I had to remove the plastic beautification caps over the new seat belt pulleys so the bar could be installed over them. For some reason the C pillar bar was cvery challenging to get on....the seat belts are from Retro Belts, and so it was a bit different than factory belts. See pics:
-
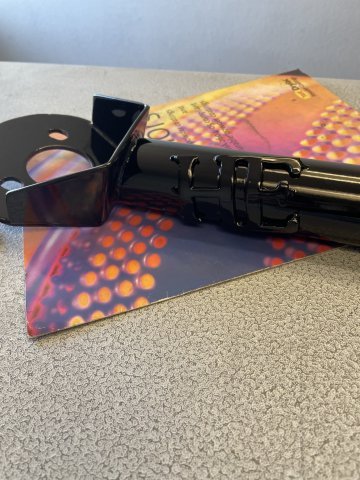
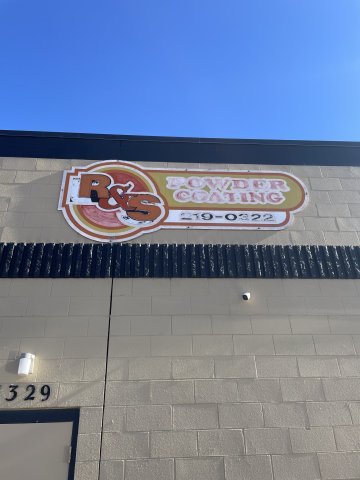
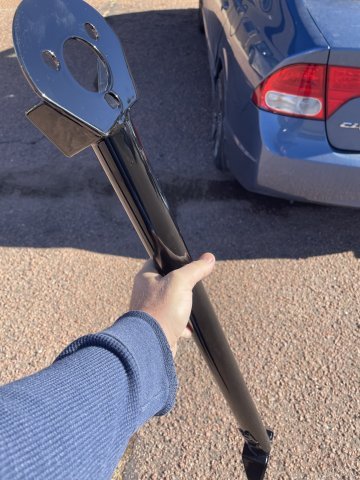
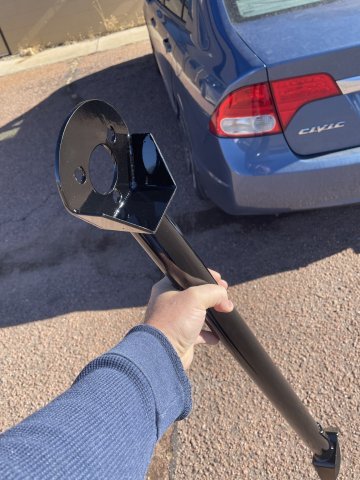
12-28-2023 UPDATE: I picked up my rear strut bar from the powdercoaters. I used R&S Powdercoating here in the Springs. Price is BETTER than even half the price quoted by the competitor down the street. Gloss black. Last pic it is just sitting in place....I havent bolted it down yet. Cheers!
-
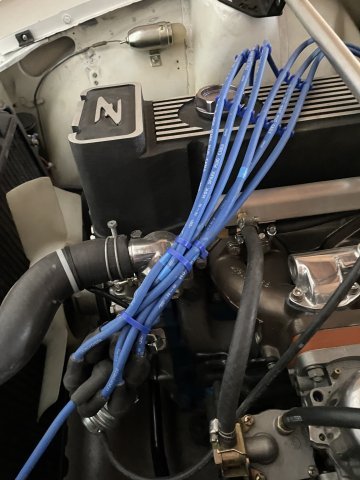
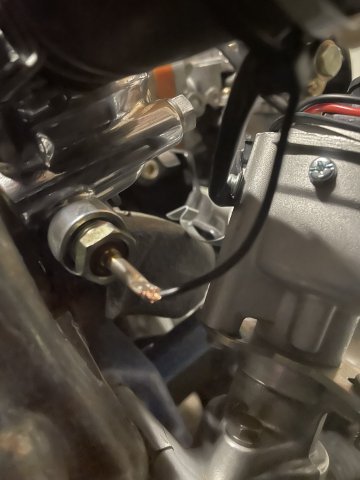
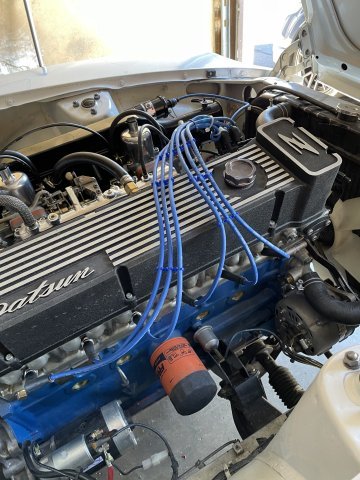
12-26-2023 UPDATE. COLD out, even in the garage, but I went ahead and installed my new NGK spark plug wires. I will probably need to get some more black tie wraps to make it look even better. Tight fit getting all the wire ends on the dizzy with the small cap! My rear strut bar is at the powdercoaters as of today as well. PICS:
-
Nice looking piece.
-
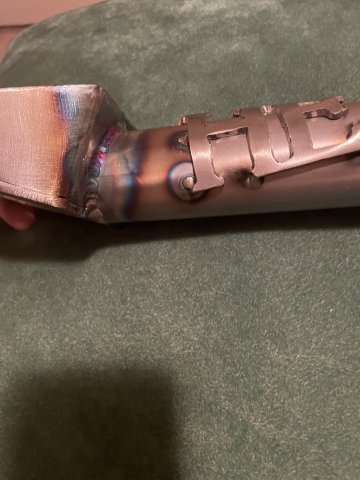
12-22-2023 My Humble Engineering "HE" rear strut tower brace arrived. Look at the quality.
-
12-17-20203 UPDATE: New parts arrival. I went ahead and took advantage of some holiday sales and ordered from Techno Toy Tuning a "C" Pillar bar (black crinkle finish), a front strut bar AND the tri bar from TT3 that goes with it. I also decided to cry uncle on my Taylor cut to fit spark plug wires. They just don't work very well, number 6 wasn't even firing.....I went ahead and got a brand new set of NGK spark plug wires which are the OE replacement. The blue ones with the wires numbered. I also found the one place that seems to sell wire separators that are 6 wires wide (on eBay Motors). They are also blue. My new NGK spark plug wires that are 1 heat range cooler instead of 2 ranges came in (BPR7ES). My rear strut tower bar is coming in from Humble Engineering, and it needs to be painted or powdercoated.....It hasn't arrived yet. So, now I have some fun work to look forward to. Here are a few pics.