A to Z
-
Posts
1108 -
Joined
-
Last visited
-
Days Won
43
Content Type
Profiles
Forums
Blogs
Events
Gallery
Downloads
Store
Everything posted by A to Z
-
 The reason I post my not so great work, etc. is to show guys that you CAN do it yourself, if you can live with just a driver quality. Too many times, I see the idea of "you either have to have junk or full out restored". That doesn't have to be the case. I have a perfect Mustang. It's not so great. You worry about every little thing, this is more of a carefree sports car.
 -
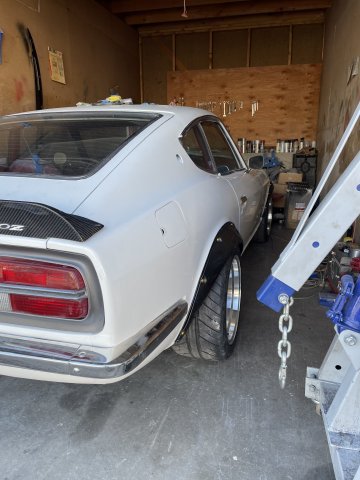
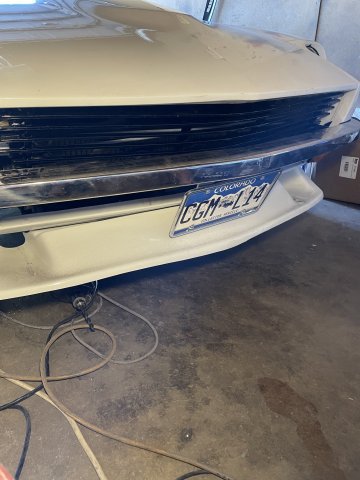
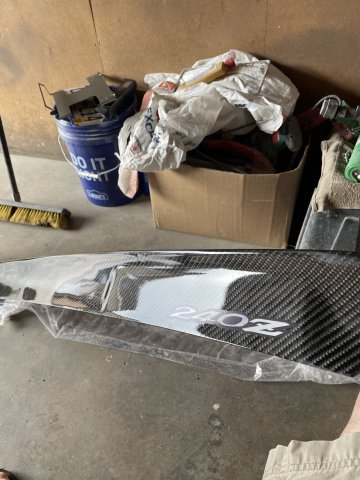
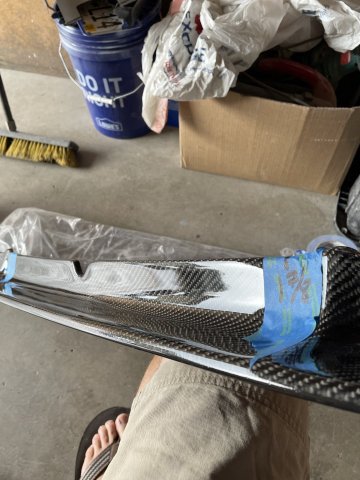
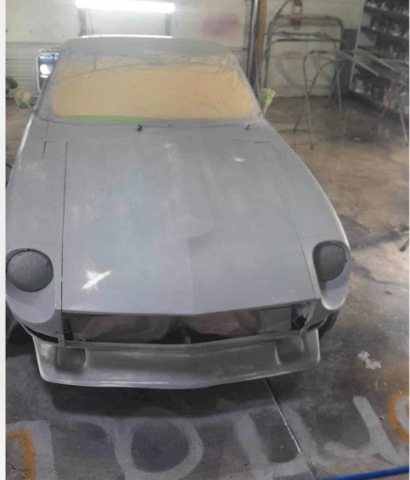
My gloss black powdercoated grill turned out nice.
-
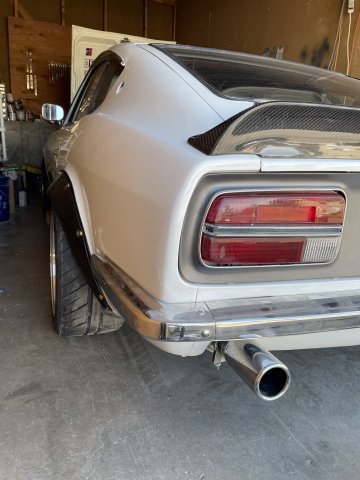
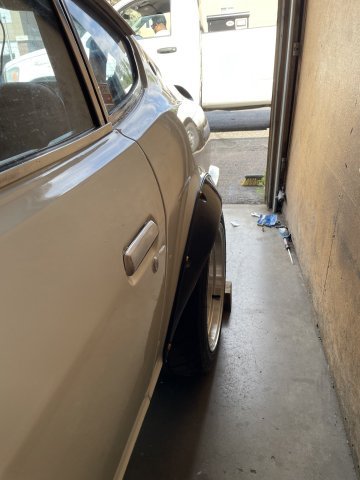
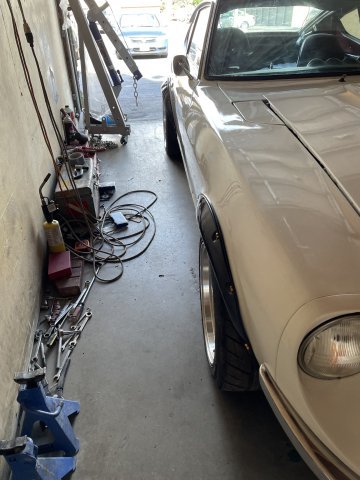
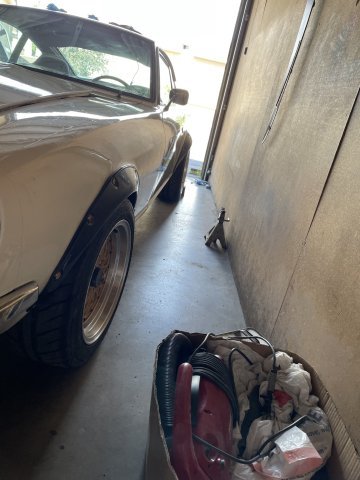
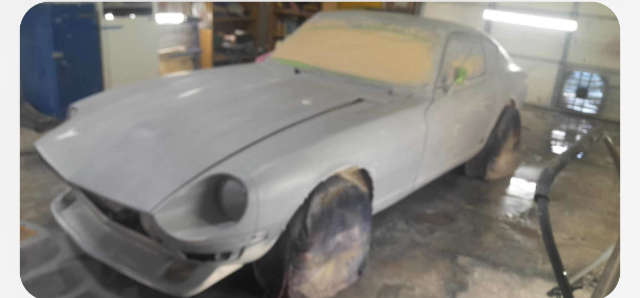
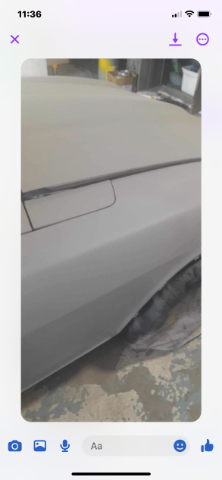
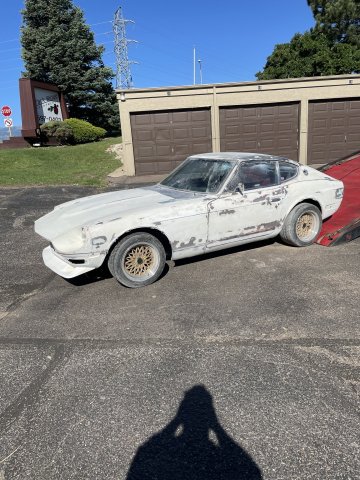
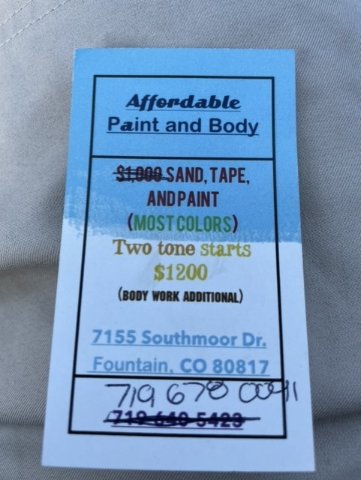
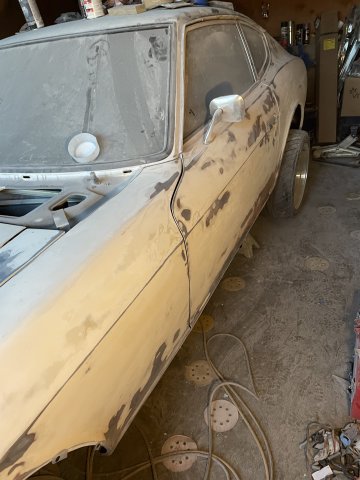
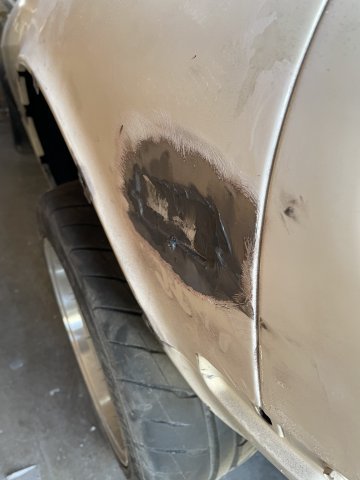
It has unique, custom flares that are a love it or hate it deal. These are universal fit, and I wanted a one off setup.....to cover the tires AND eat up the wheel well to tire gap. Cost 30 bucks on eBay. I have a backup set, and these were painted Charcoal Metallic with clear, but they need to be sanded and buffed out. If you look carefully, you can see I got them to carry on the line of the stock lip. I get the "It looks stupid" comments as well as thumbs up's, so I don't know.....I like them, they are unique, and I did it. In Japan you see custom flares, but everyone here all does them the same for the most part. If anyone reading this hates them, I can live with that....I like them and few others do as well. The paint job is a cheap paint job. It was either this or DIY with tractor paint, so this is better. I am having to do paint correction. There is dirt and dust in the paint and some areas where the clear is dull down at the bottom, so 2000 grit sandpaper, Turtle wax rubbing compound and a buffing wheel with some compound will fix that. A couple spots where it looks like the air hose touched it when it was wet, that kind of thing. He did tell me he put 3 coats of color AND clear, so that gives me some thickness to work with on sanding and buffing. I had a tad bit of overspray lines on the rubber I have gotten off. 1500 bucks and 5 day turnaround means there is a tradeoff, and ANY bodywork that isn't perfect shows right through...the clear magnify's it. So, the car is unique, one off and I will treat the imperfections as art. and Life so on. Jesus is Lord.
-
07-16-2023 UPDATE. Busy putting everything back on and cleanup.

-
thanks guys
-
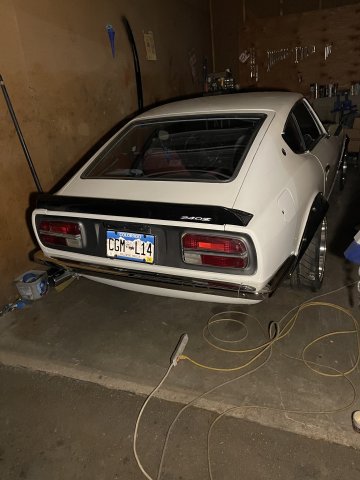
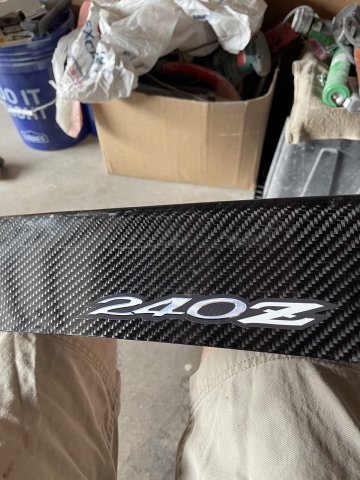
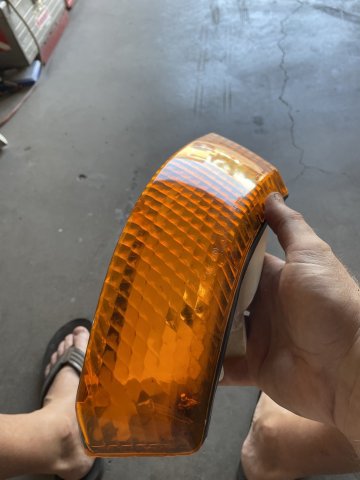
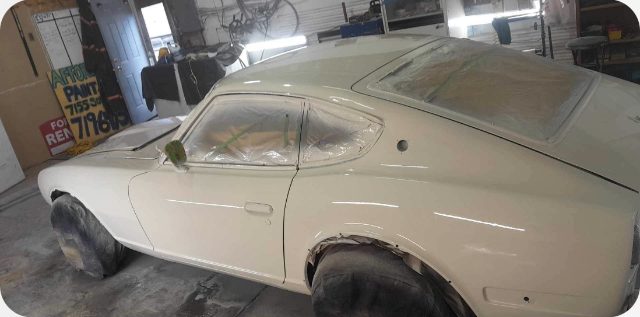
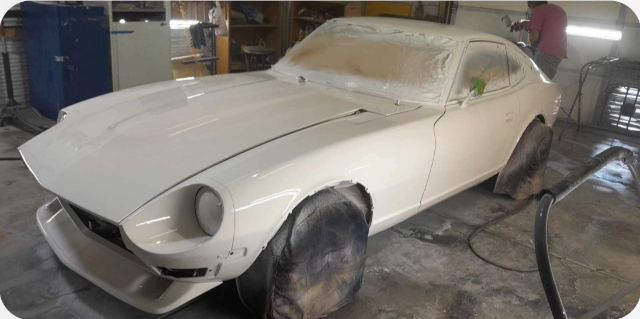
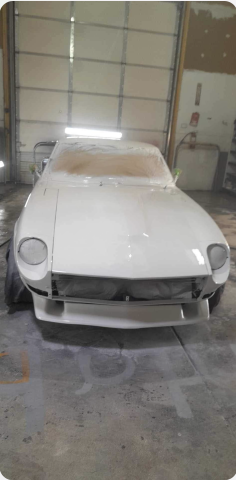
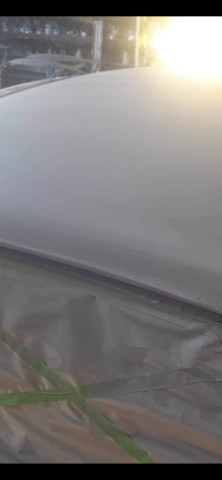
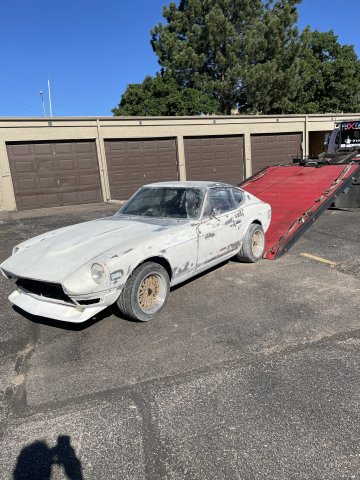
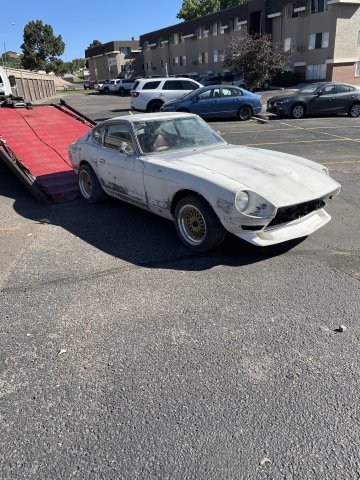
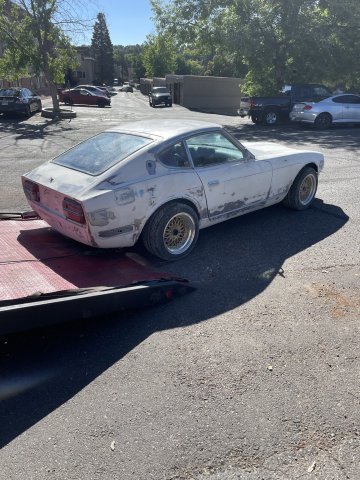
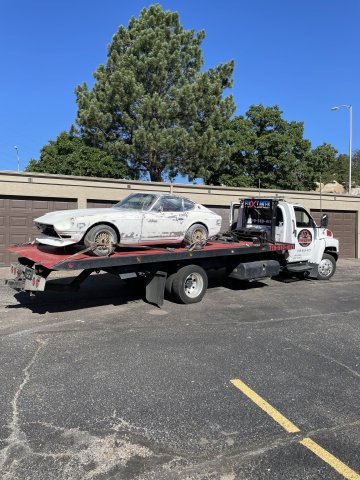
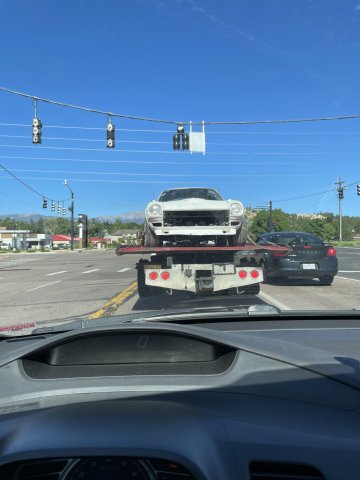
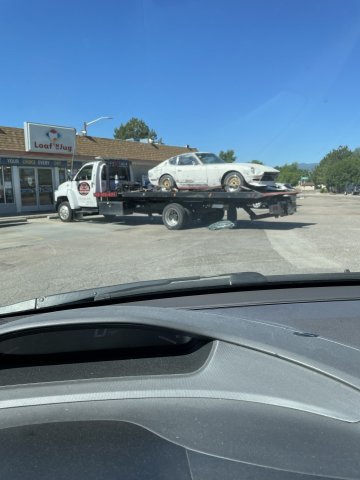
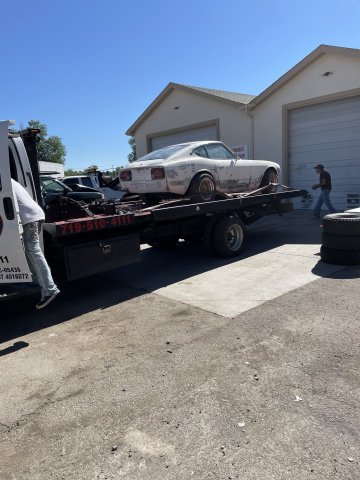
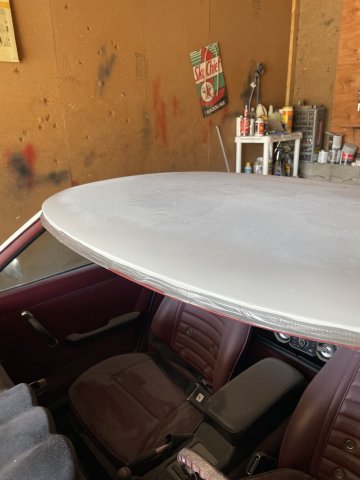
07-15-2023 UPDATE: Knowing the Z was being delivered back from the painter today, I went out to the garage to keep prepping the garage and some of the items so that I could immediaelty start putting the stuff back on. I glued some rubber washers on to the ends of the bumpers where they meet the body when tightened down, and 2 rubber washers under the rear spoiler. I then added a 240Z sticker to the back. polished out my tailight lenses and then my Z car showed up. Once it was in the garage I started putting the exterior items back on and God willing will do more tomorrow. 5 day turnaround at the painters is great! Pics follow.
-
I made the decision to leave some things on. It won't be a problem. So, "the blame" falls on me. I acted like it was my car and my decision. The painting I had done previously, was flaking off and didnt work out very well.
-
more:
-
more:
-
more:
-
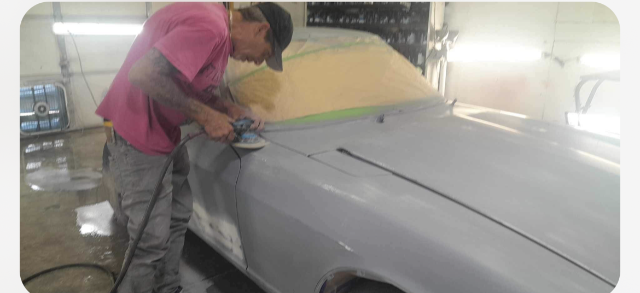
07-14-2023 UPDATE: Rob is finding a lot of "bulls eyes" in the primer, so he is sanding /blocking and working on it. He is a hard worker.
-
No Sir. Tape and Paint. Works fine.
-
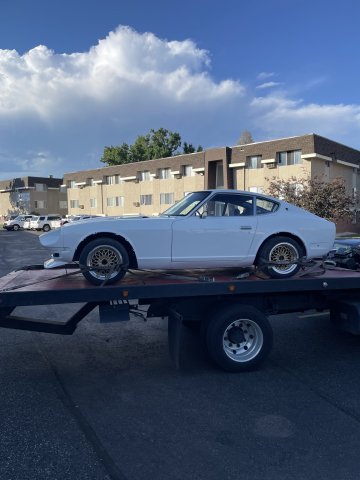
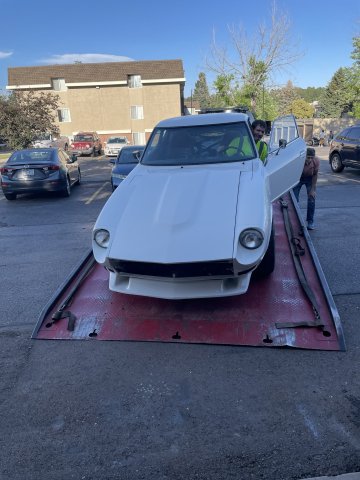
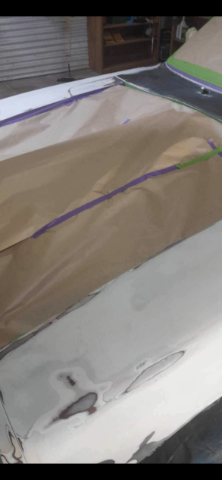
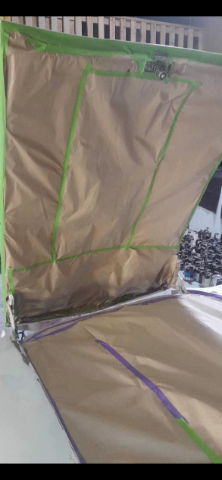
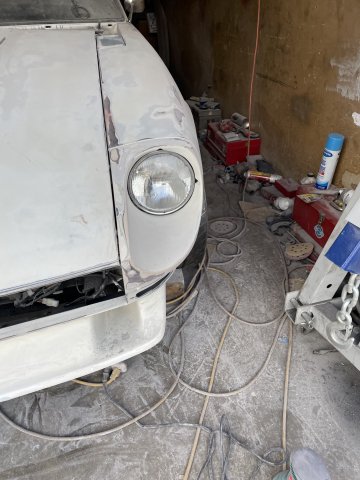
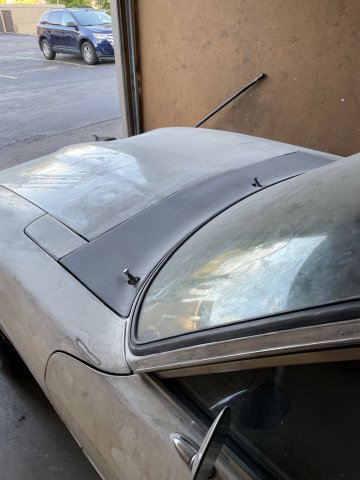
07-11-2023 UPDATE: Z car went to the body and paint shop today. It sure was nice to see her out in the sunlight again. Pics :
-
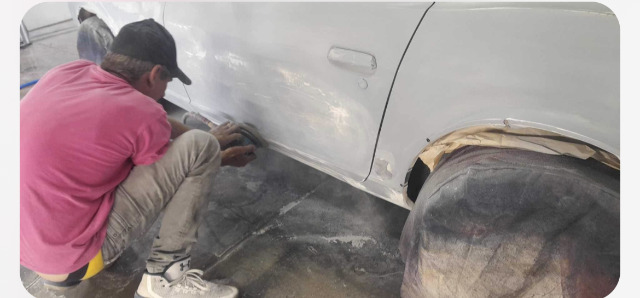
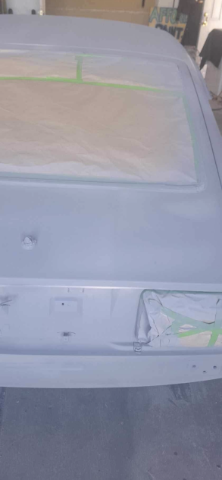
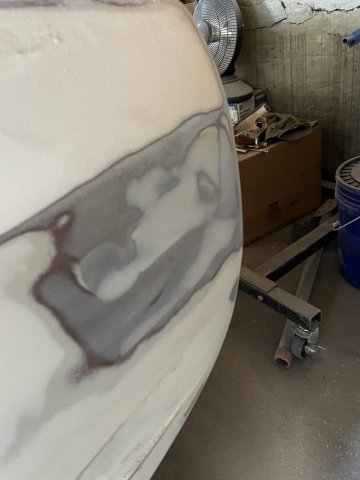
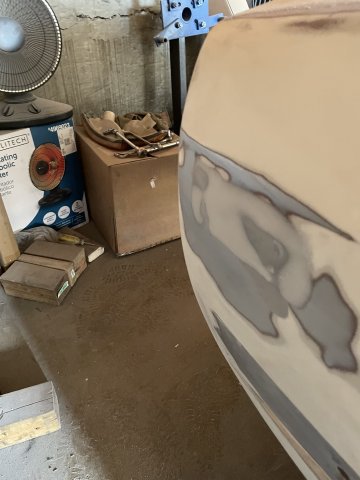
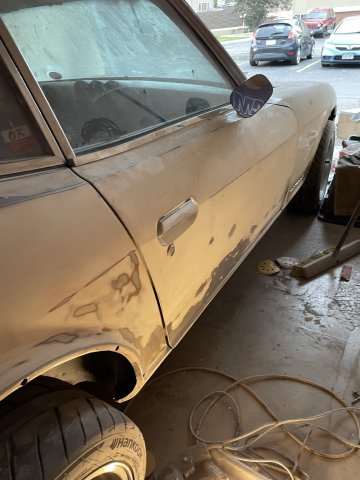
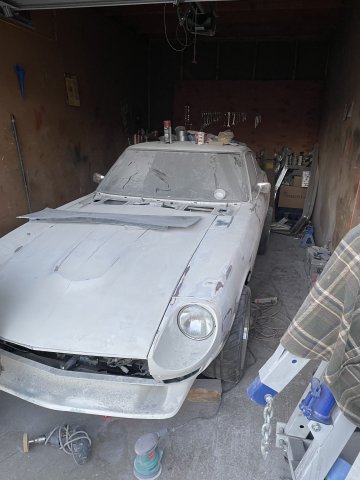
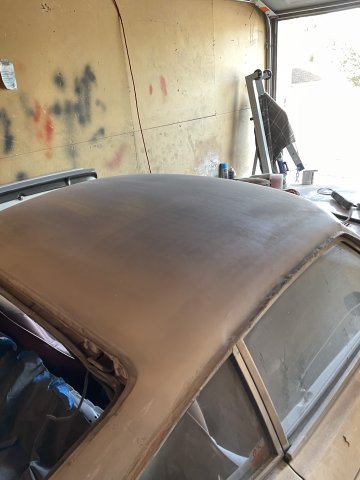
07-09-2023 UPDATE. Car is sanded! I got the car all sanded and ready. Needs a bath and taping, and goes to the painter ASAP. I still have to sand and do some trimming on my flares, but progress. My plan is to have the flares painted gloss black, or a charcoal grey metallic. Such a dusty thankless job. Pics.
-
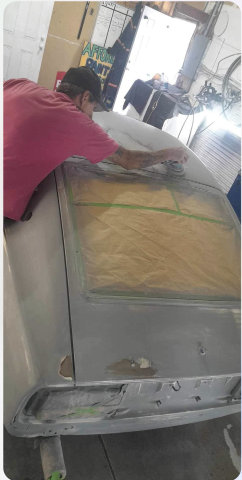
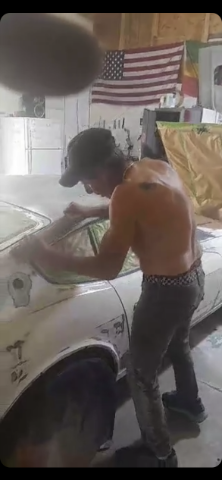
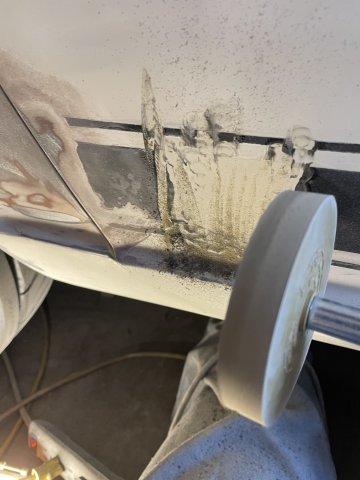
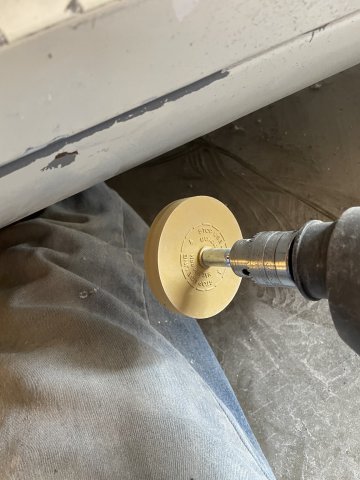
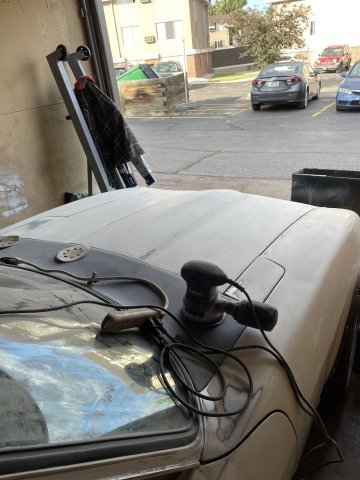
07-08-2023 UPDATE: Sanding continues. I have it about 80-90% done now. I decided to try the Caramel Wheel I got, it actually takes the side stripes off better than wire wheel! I have been going panel by panel with my orbital sander, first I use 80 grit on it to get it all roughed up, then 320 to smooth it out. I work on that panel until ready to go, then move to the next. Using A LOT of 320 grit sanding discs! I am glad I bought a bunch of them online. VERY dusty, but not real hard. Some panels took awhile, as I kept at them until they were done, then moved on as I said. Here are a few pics. :)
-
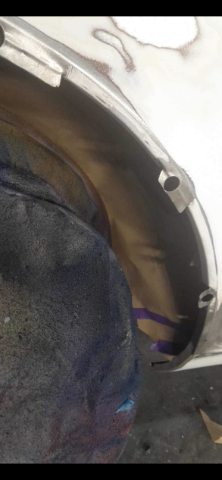
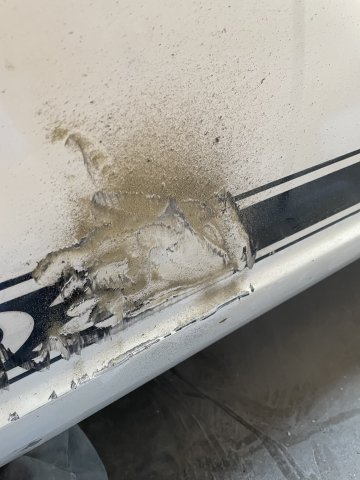
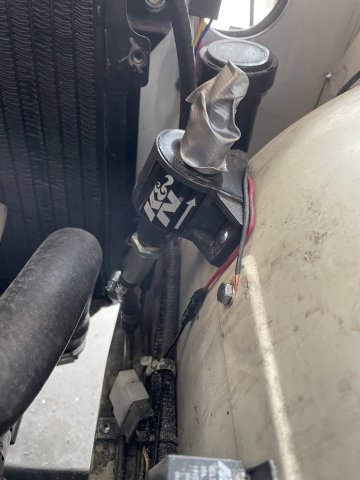
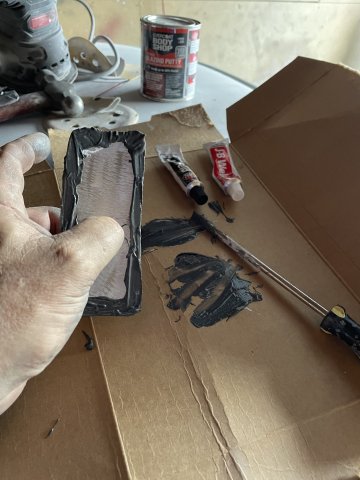
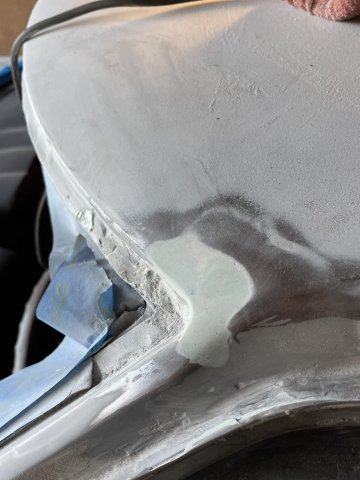
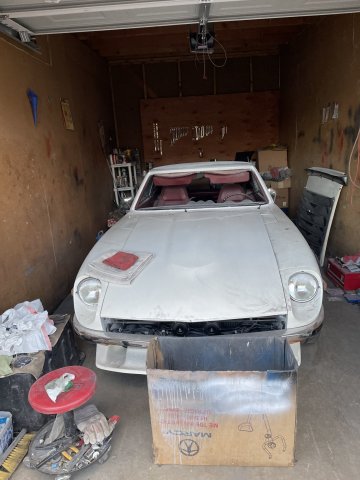
07-02-2023 UPDATE: I spent a few hours in the garage......I went ahead and mounted up the K&N Electric Fuel Pump and Filter I had, and I rigged it up and tested it, pushes plenty of fuel. Engine still won't start....I fiddled with it a bit, figured out it was electic, and decided to give it some thought, and pressed forward on body prep. I removed the flares, the front bumper, front blinkers, and then cut strips of metal out and then bonded them to the inside of the fenders where the side parking lamps holes were. I also covered the antenna hole. Once dried, I will use all metal filler and then Glaze with hardener to block sand them smooth. PICS:
-
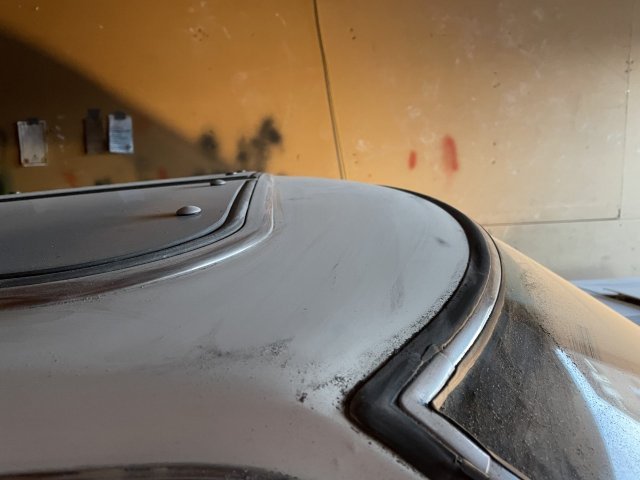
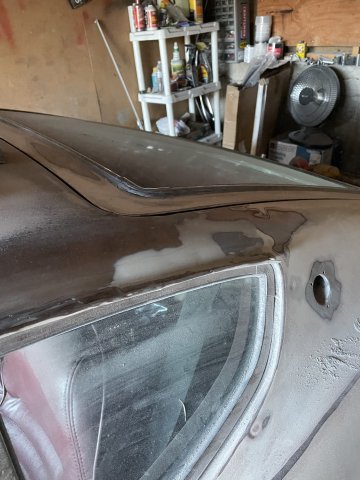
Even in Sanded condition, the difference is huge.
-
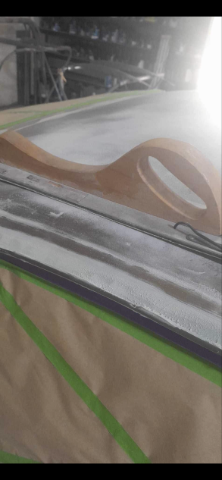
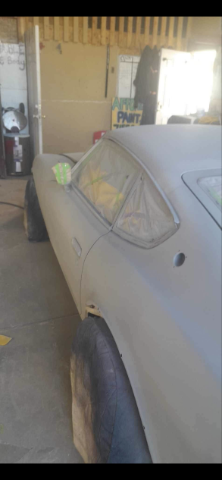
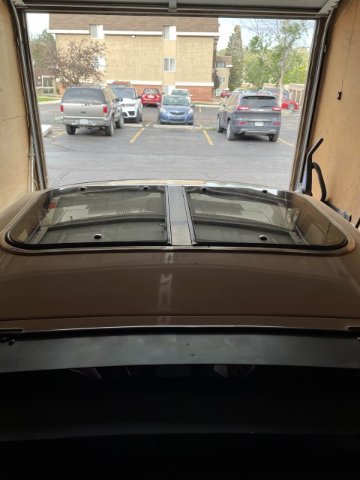
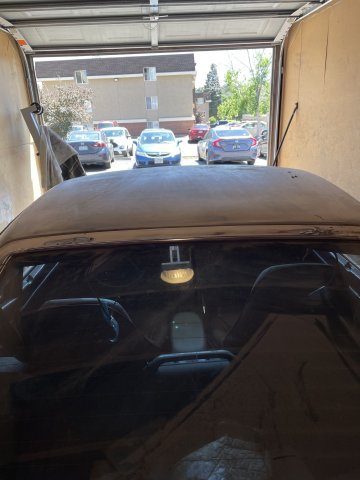
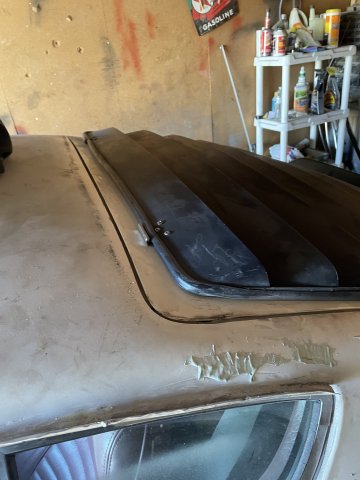
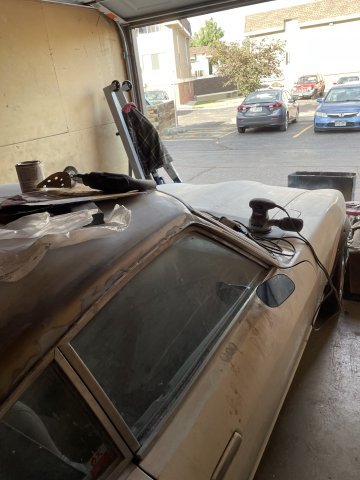
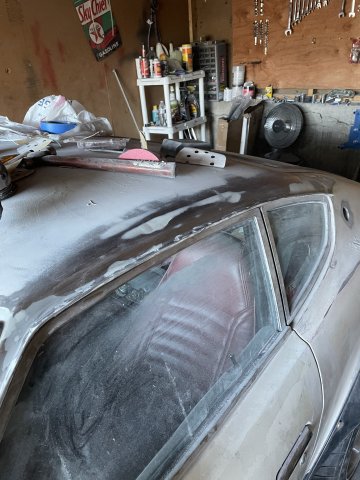
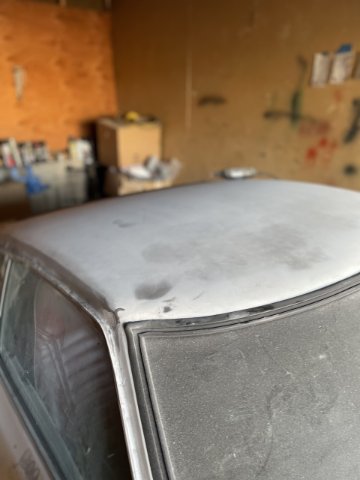
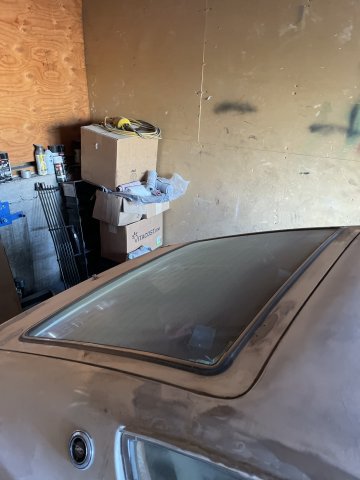
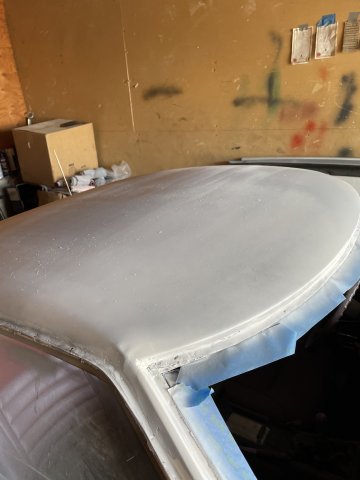
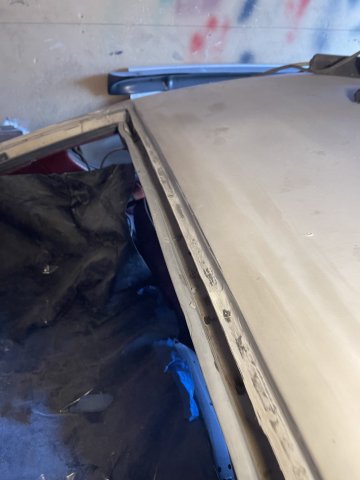
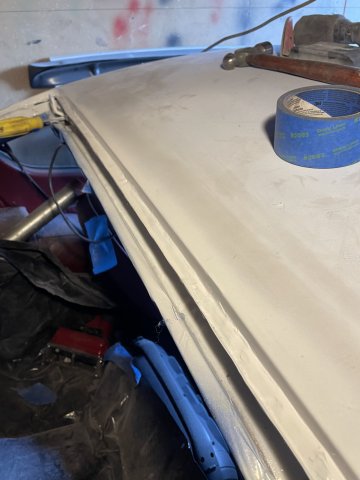
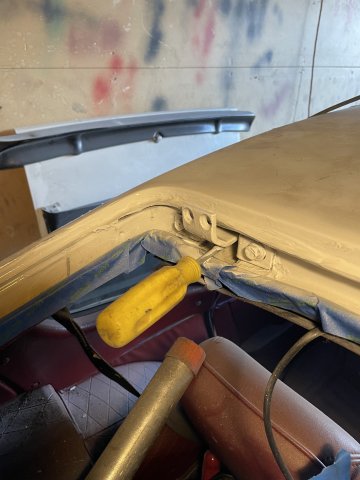
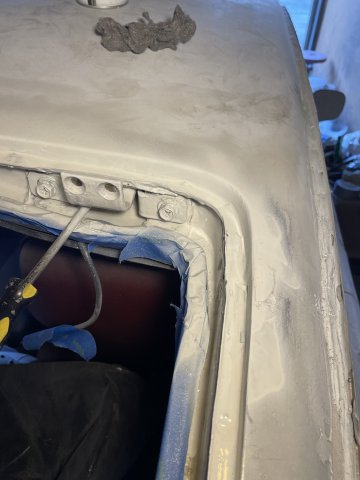
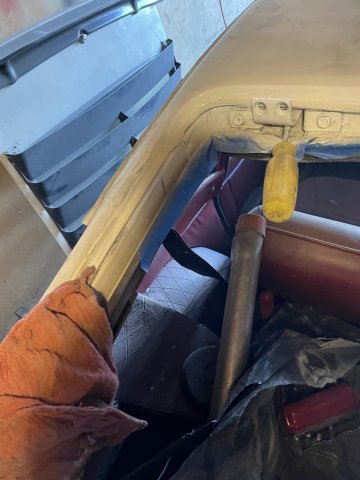
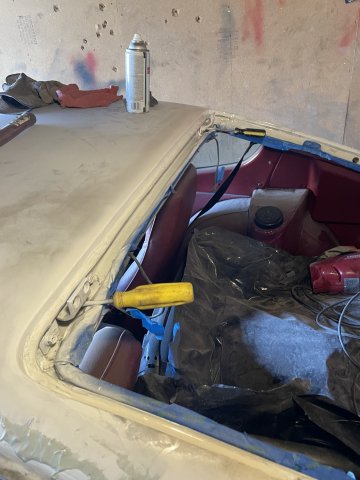
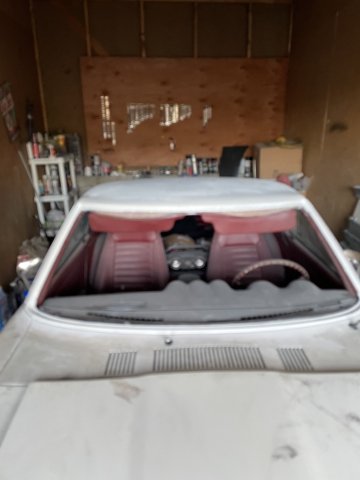
240Z. Sunroof removal. Before and after pics:
-
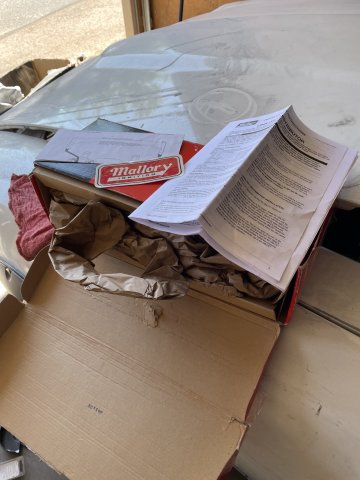
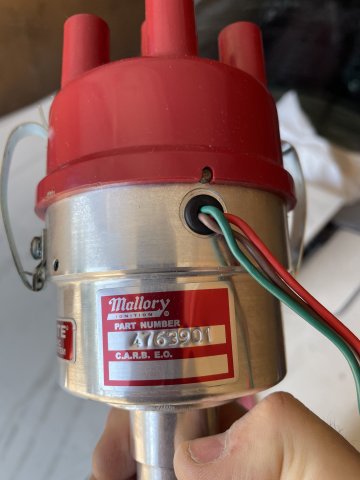
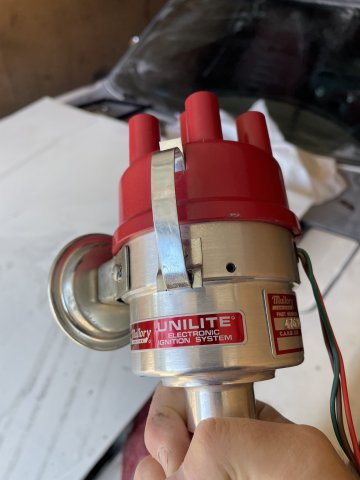
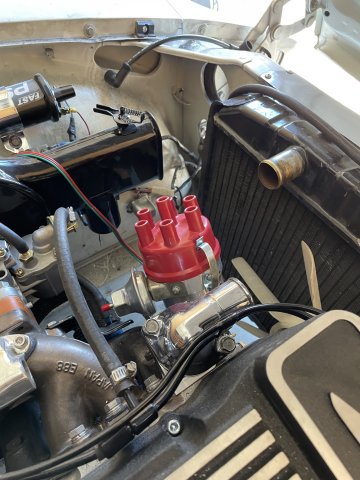
07-01-2023 UPDATE: I decided to do a little engine work first, by swapping out my old distributor for a new, in box one I bought from a guy online. I also connected up the radiator hose and poured the coolant back in. I went to start, and everything spins over great, but no fuel to the fuel filter.....so the electric fuel pump I bought will be going on. I will do a quick wireup and bypass to see if that fixes it. So, at that point, I closed the hood and went back to sanding. After sanding the hood and hatch, I turned my attention to the roof sides at the rain gutters. I was able to get the left (driver's) side done, and the right side is about 75% there. I tried the wire wheel attachment on the side stickers, and it 50% removes them, 50% smears them. But after that and then using the orbital sander and 80 grit sandpaper, it takes them all off and down to smooth metal. So, forward progress on getting her ready to go to the painter's. PICS:
-
Additional pics from today. I fitted my fiberglass cowl with no vents ( from MSA) and sanded it down. Perfect fit!
-
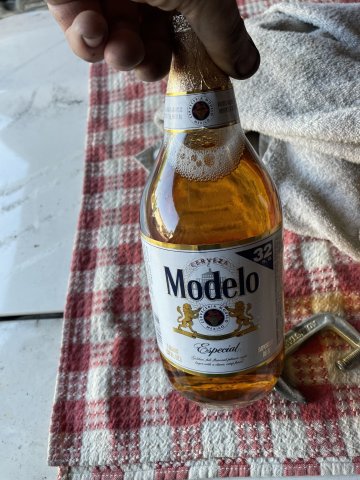
06-25-2023 UPDATE. Roof conversion complete! I got the hatch installed and fitted correctly, and AFTER a very long fight, I got the windshield in. BIG learning experience. I recommend to just let the pro's do it....I wanted to DIY, and it was a bear! The postives are, 1. I didn't crack the windshield, and 2. Install was FREE...it is complete! I then removed the louvers, and some other bits and began sanding the body all down. Once the body is all sanded down, then it will be time for paint. At some point, I will go ahead and start it.....and but I am tackling the last hard job while I still have the mental motivation to do so. Feels very good to have a 240Z without a sunroof, and to have a manual transmission. You know the job is hard when you have to have some beer to celebrate! Here are a couple pics.
-
Thanks Ken. Everything has been a learning process.
-
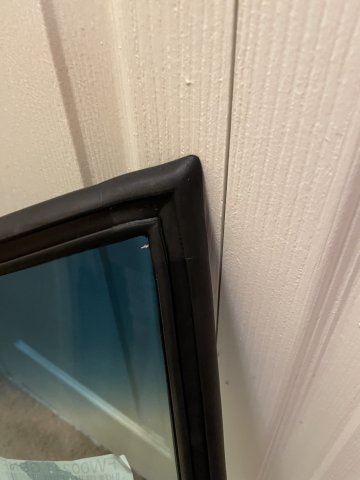
06-20-2023 UPDATE: i had some time, so I went ahead and put the rubber weatherstripping on the new windshield. Tough on the fingers! You have to really work, and pull the rubber lip out and over then push it down and keep going....having never done it before it was a learning curve. Another step done. Now I need to put the rope in, and lubricate the rubber before install. I also straightened out my stainless trim to go in the weatherstripping when all done. Pics.
-
from sunroof to finished except glass install and hatch in 25 hours work over 3 days. I am tired!
-
06-18-2023 UPDATE. More roof work. I went ahead and sanded down the entire roof....320 wasn't cutting it, so I used 80 grit on my orbital sander, that got it nice and smooth. I then worked on the frame for the windshield, the rain gutters and roof sides and the rear above the hatch. Using some glaze with hardener, my Orbital with 80 grit and 320 grit, my die grinder, my Dremel with the small drum wheel, steel wood, and some hand sanding, I was able to get the windshield area finished and painted. Same for the upper hatch area. I will give it several days to harden, and then go ahead with installing my new windshield and re-install the hatch. At that point, it will be "dried in"....and body work won't have to continue to fill the cockpit with dust, etc. Here are some pics. Nice to have a 240Z with the sunroof gone, and to now have a manual trans.