A to Z
-
Posts
1070 -
Joined
-
Last visited
-
Days Won
32
Content Type
Profiles
Forums
Blogs
Events
Gallery
Downloads
Store
Everything posted by A to Z
-
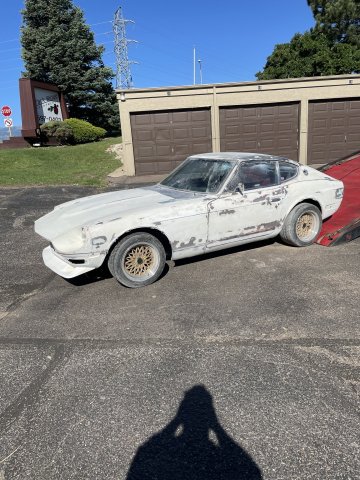
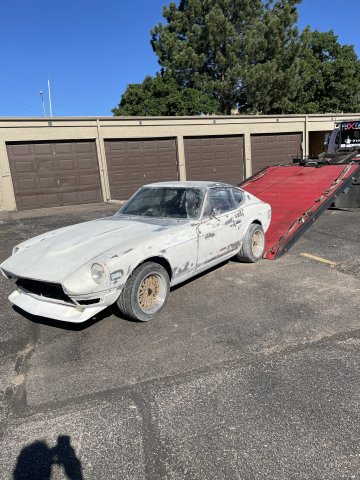
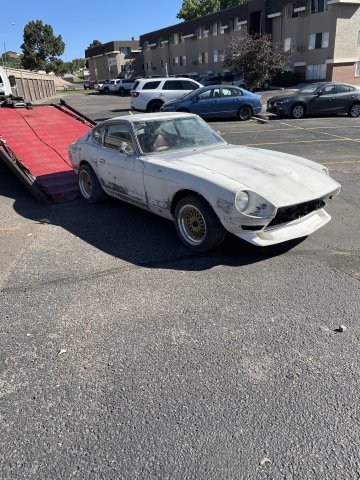
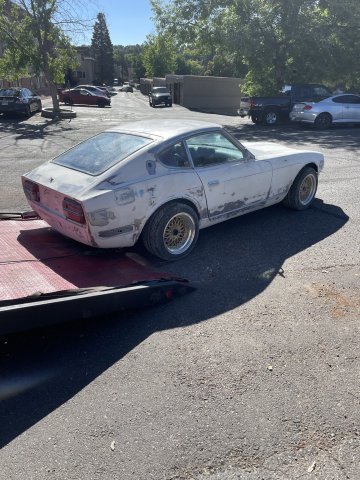
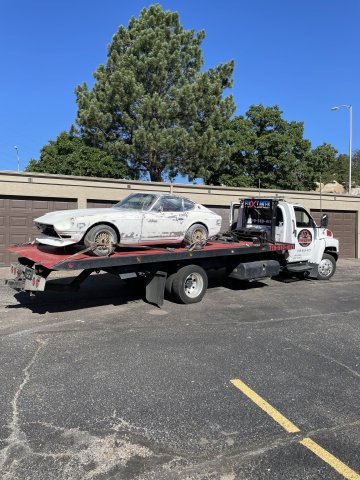
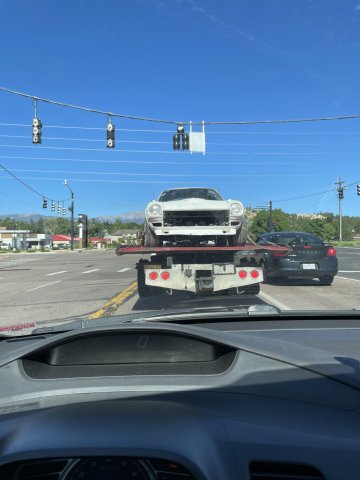
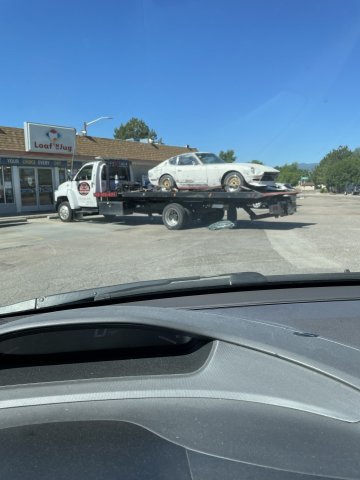
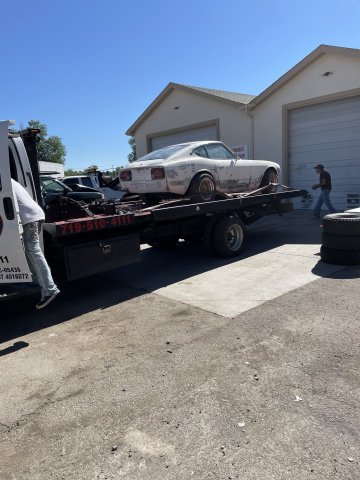
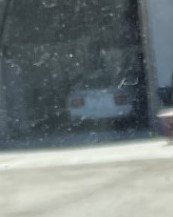
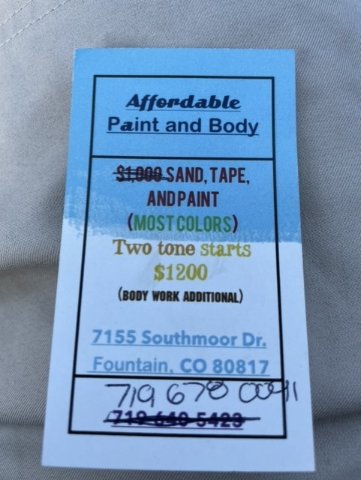
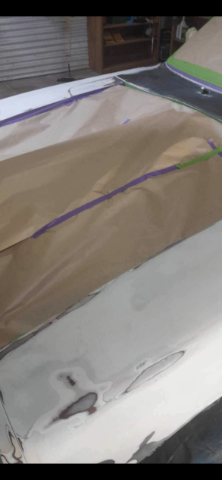
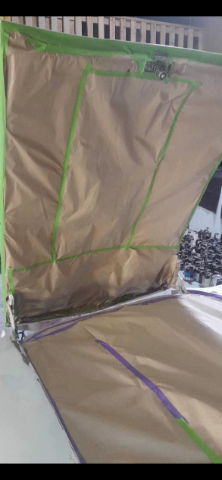
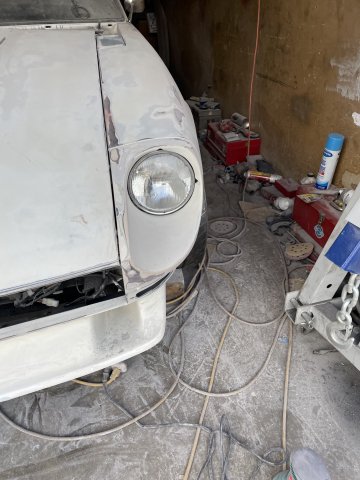
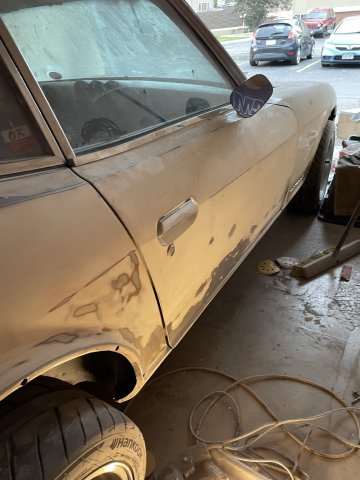
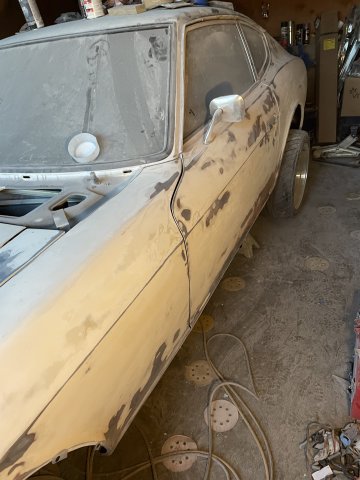
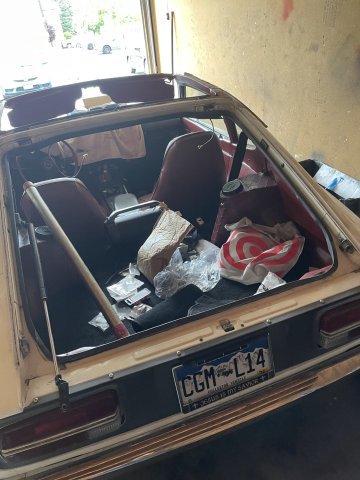
 07-11-2023 UPDATE: Z car went to the body and paint shop today. It sure was nice to see her out in the sunlight again. Pics :
-
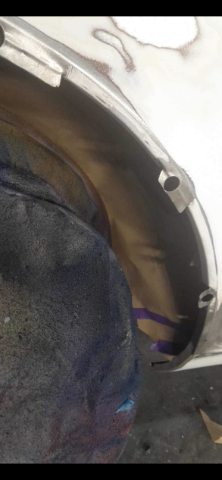
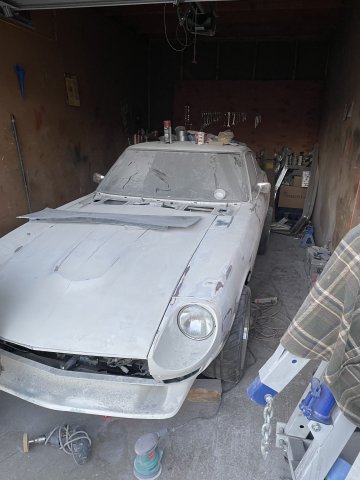
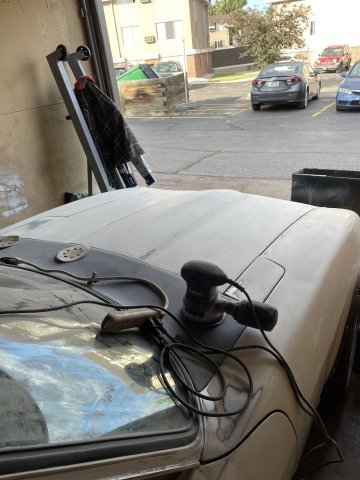
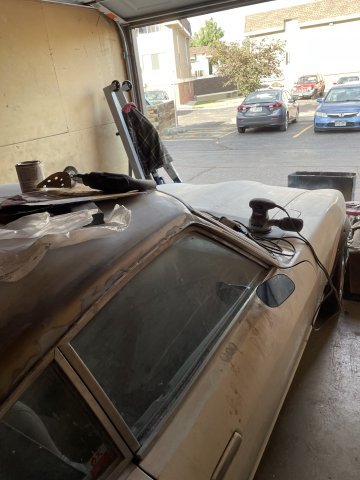
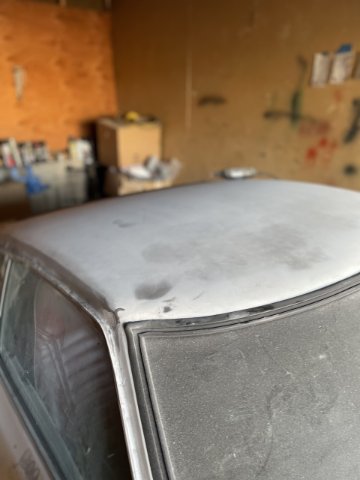
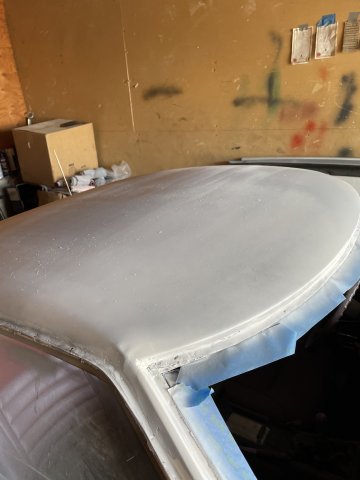
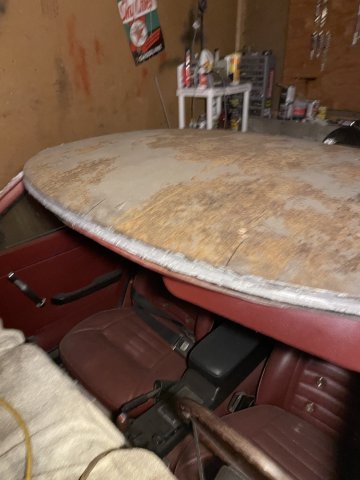
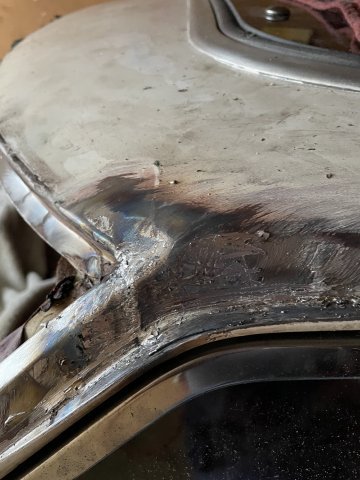
07-09-2023 UPDATE. Car is sanded! I got the car all sanded and ready. Needs a bath and taping, and goes to the painter ASAP. I still have to sand and do some trimming on my flares, but progress. My plan is to have the flares painted gloss black, or a charcoal grey metallic. Such a dusty thankless job. Pics.
-
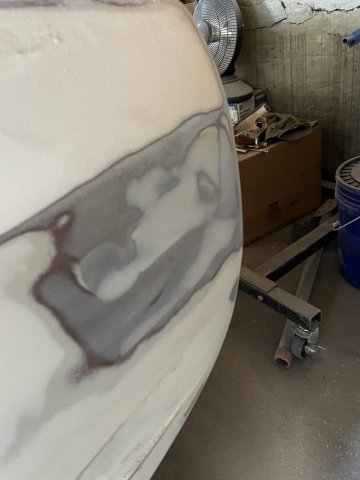
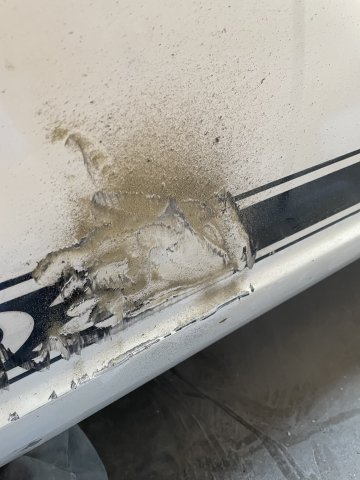
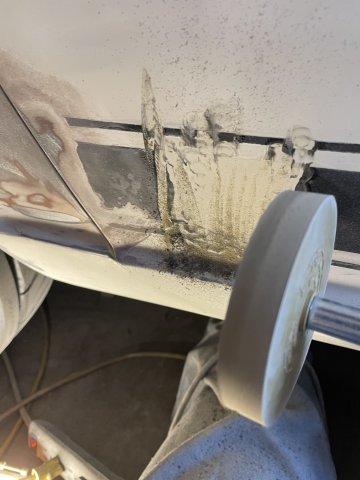
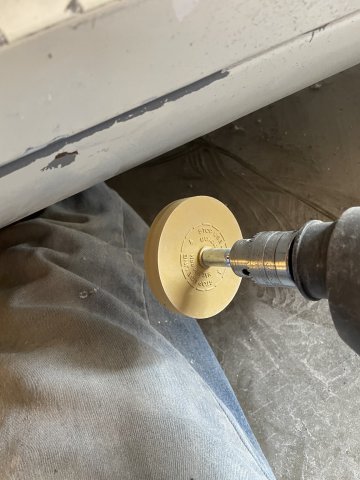
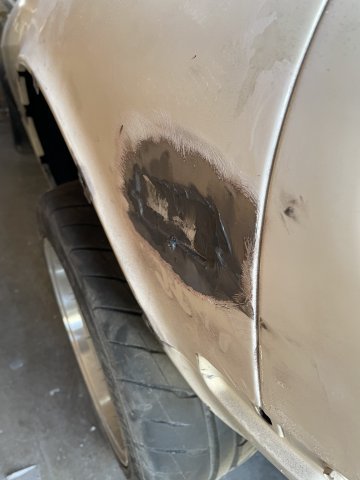
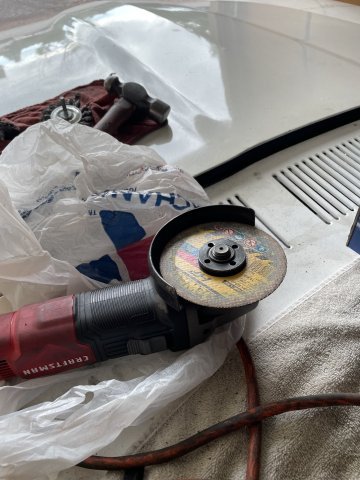
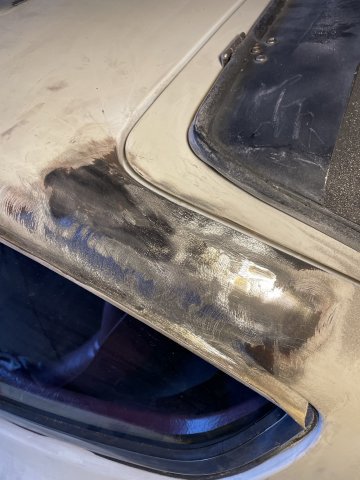
07-08-2023 UPDATE: Sanding continues. I have it about 80-90% done now. I decided to try the Caramel Wheel I got, it actually takes the side stripes off better than wire wheel! I have been going panel by panel with my orbital sander, first I use 80 grit on it to get it all roughed up, then 320 to smooth it out. I work on that panel until ready to go, then move to the next. Using A LOT of 320 grit sanding discs! I am glad I bought a bunch of them online. VERY dusty, but not real hard. Some panels took awhile, as I kept at them until they were done, then moved on as I said. Here are a few pics. :)
-
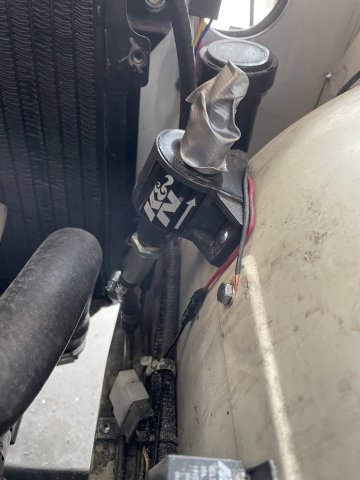
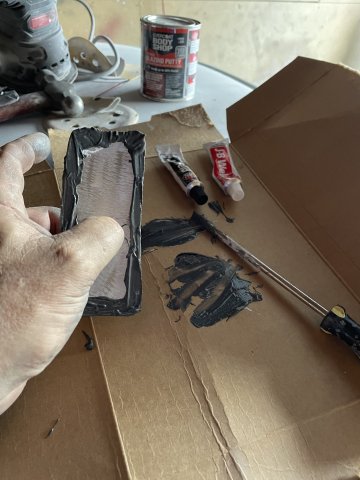
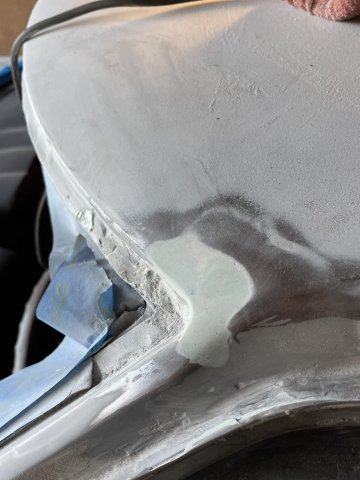
07-02-2023 UPDATE: I spent a few hours in the garage......I went ahead and mounted up the K&N Electric Fuel Pump and Filter I had, and I rigged it up and tested it, pushes plenty of fuel. Engine still won't start....I fiddled with it a bit, figured out it was electic, and decided to give it some thought, and pressed forward on body prep. I removed the flares, the front bumper, front blinkers, and then cut strips of metal out and then bonded them to the inside of the fenders where the side parking lamps holes were. I also covered the antenna hole. Once dried, I will use all metal filler and then Glaze with hardener to block sand them smooth. PICS:
-
Even in Sanded condition, the difference is huge.
-
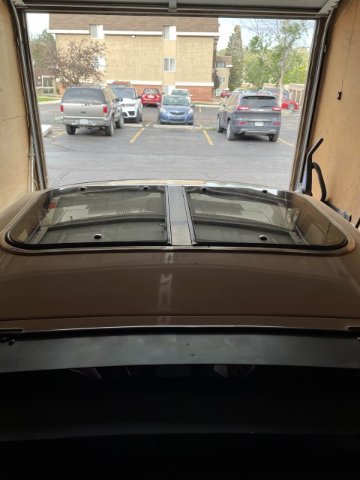
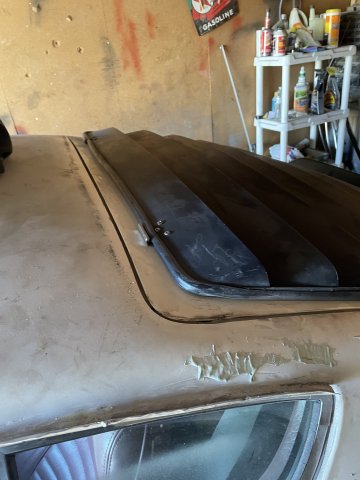
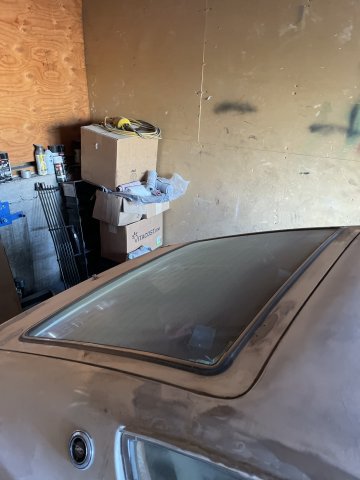
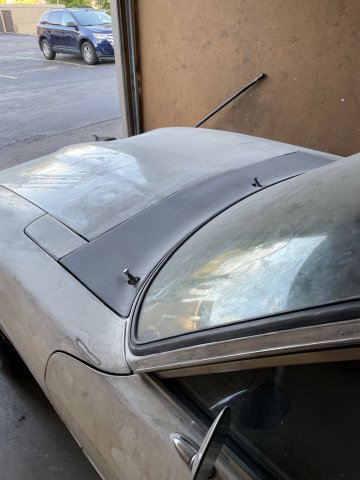
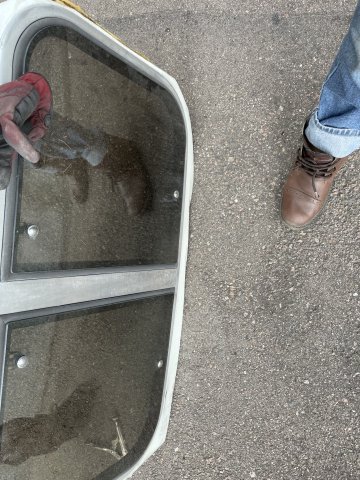
240Z. Sunroof removal. Before and after pics:
-
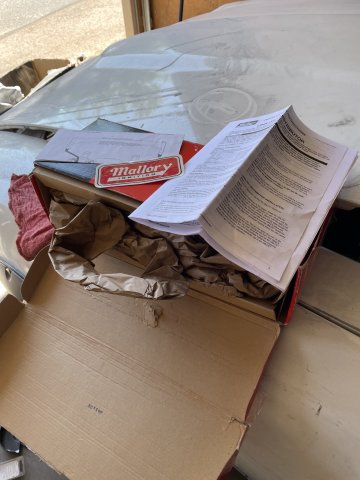
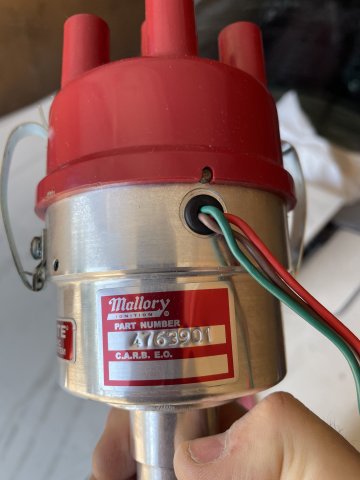
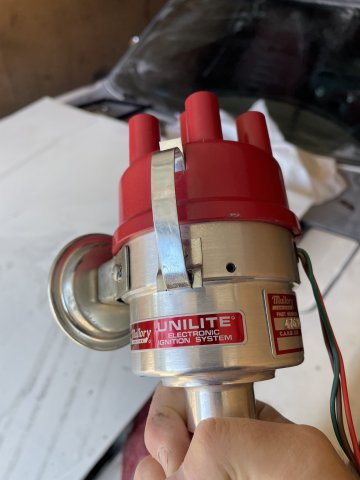
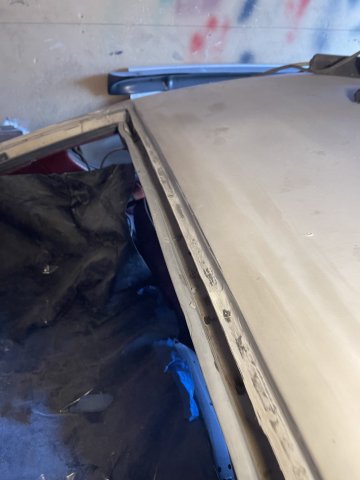
07-01-2023 UPDATE: I decided to do a little engine work first, by swapping out my old distributor for a new, in box one I bought from a guy online. I also connected up the radiator hose and poured the coolant back in. I went to start, and everything spins over great, but no fuel to the fuel filter.....so the electric fuel pump I bought will be going on. I will do a quick wireup and bypass to see if that fixes it. So, at that point, I closed the hood and went back to sanding. After sanding the hood and hatch, I turned my attention to the roof sides at the rain gutters. I was able to get the left (driver's) side done, and the right side is about 75% there. I tried the wire wheel attachment on the side stickers, and it 50% removes them, 50% smears them. But after that and then using the orbital sander and 80 grit sandpaper, it takes them all off and down to smooth metal. So, forward progress on getting her ready to go to the painter's. PICS:
-
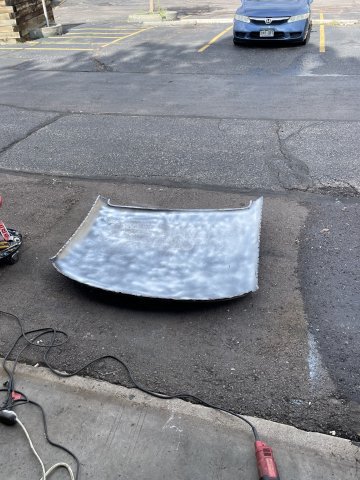
Additional pics from today. I fitted my fiberglass cowl with no vents ( from MSA) and sanded it down. Perfect fit!
-
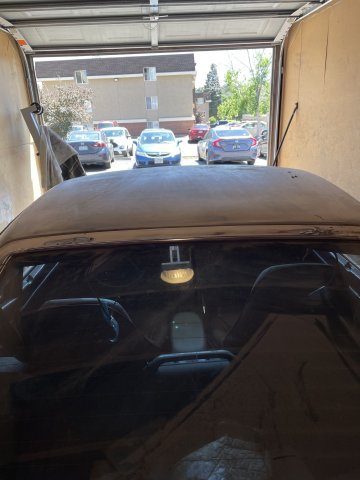
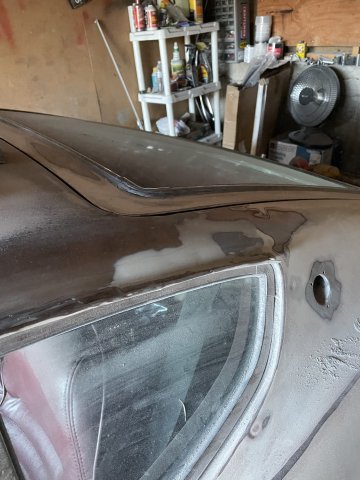
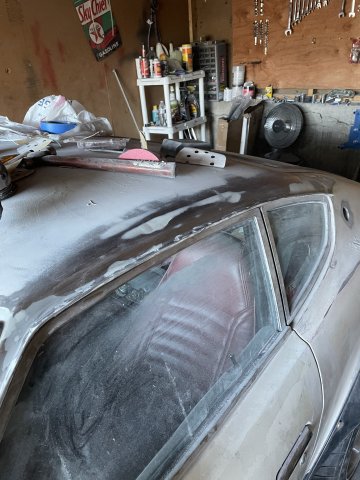
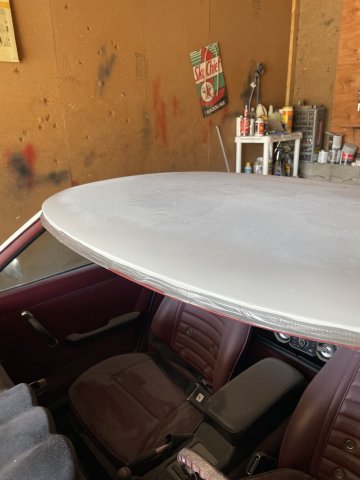
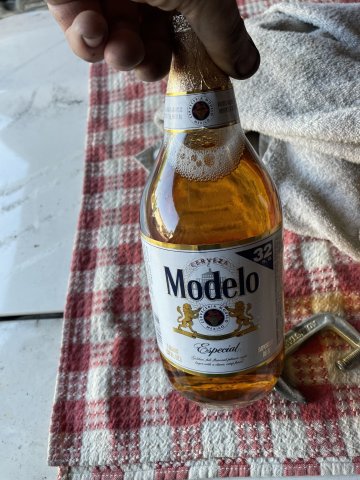
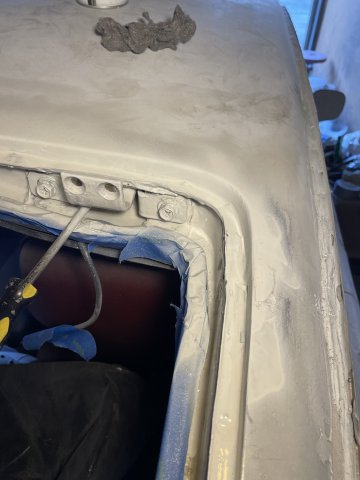
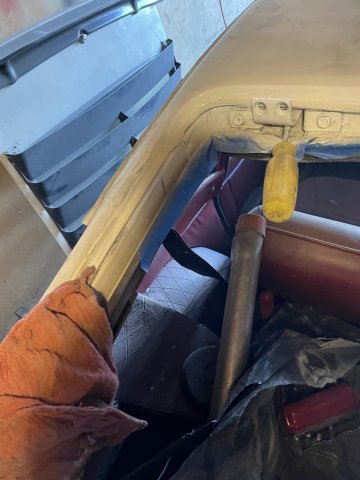
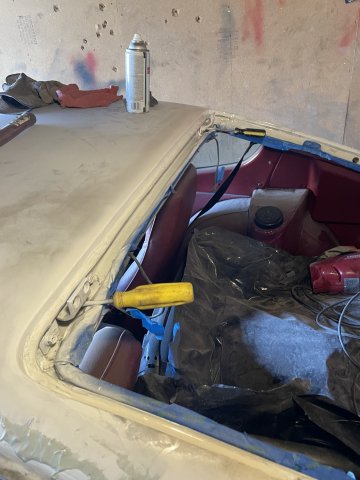
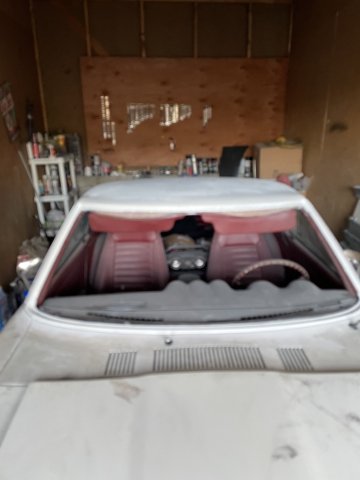
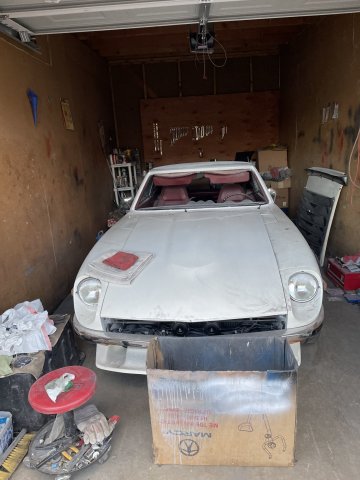
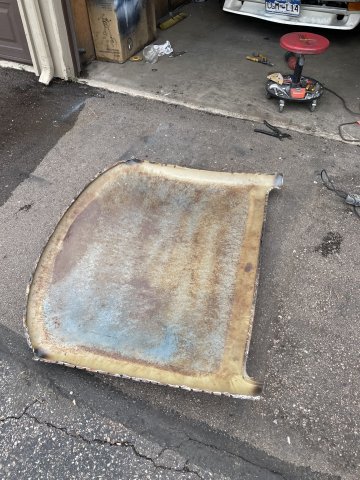
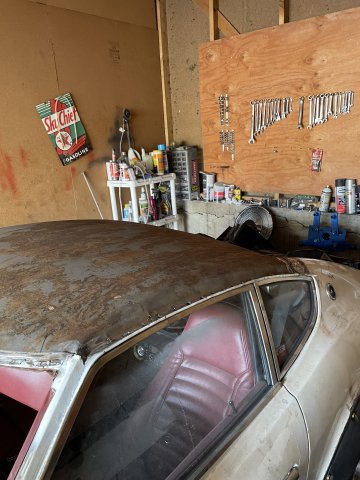
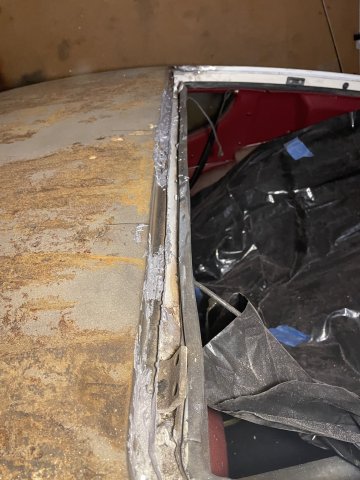
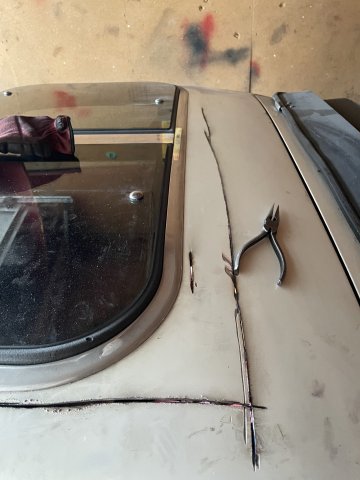
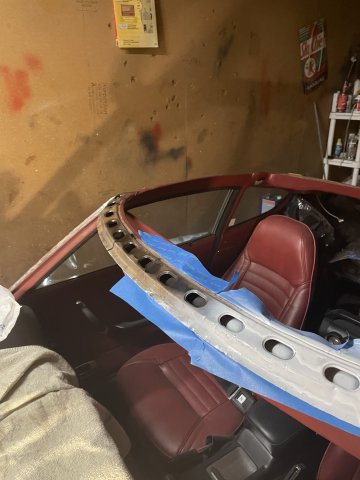
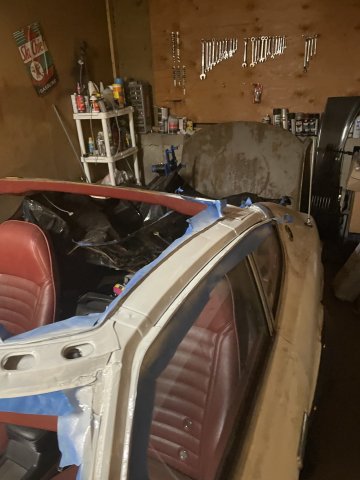
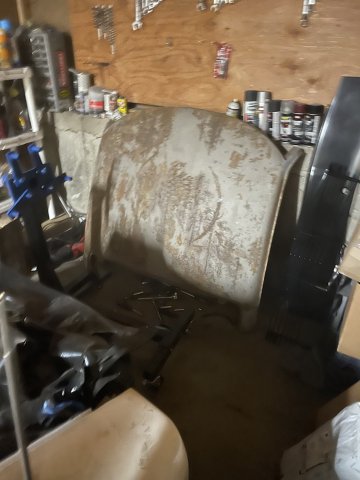
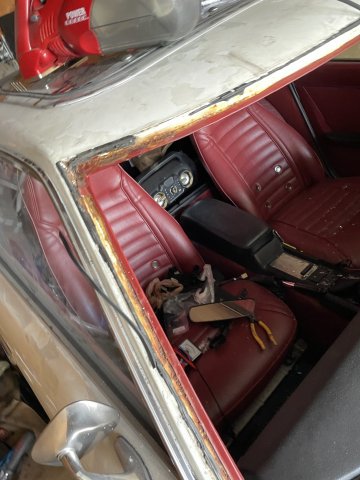
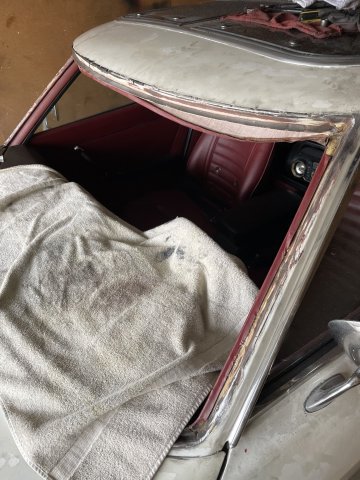
06-25-2023 UPDATE. Roof conversion complete! I got the hatch installed and fitted correctly, and AFTER a very long fight, I got the windshield in. BIG learning experience. I recommend to just let the pro's do it....I wanted to DIY, and it was a bear! The postives are, 1. I didn't crack the windshield, and 2. Install was FREE...it is complete! I then removed the louvers, and some other bits and began sanding the body all down. Once the body is all sanded down, then it will be time for paint. At some point, I will go ahead and start it.....and but I am tackling the last hard job while I still have the mental motivation to do so. Feels very good to have a 240Z without a sunroof, and to have a manual transmission. You know the job is hard when you have to have some beer to celebrate! Here are a couple pics.
-
Thanks Ken. Everything has been a learning process.
-
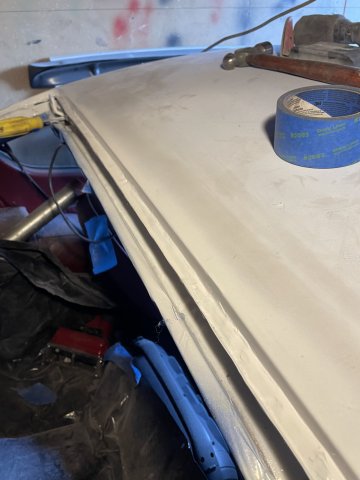
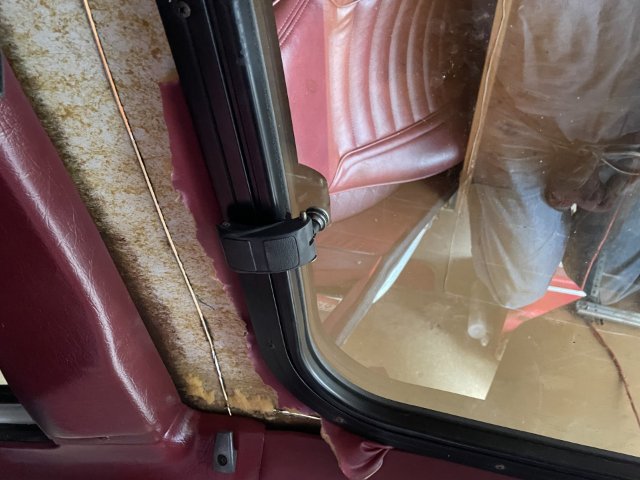
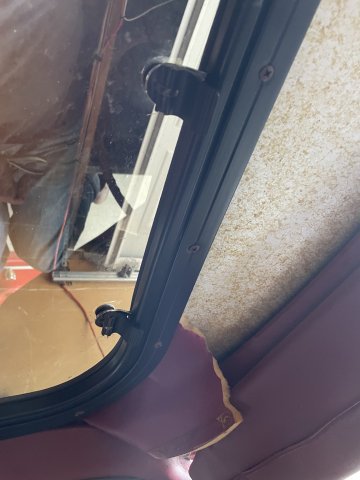
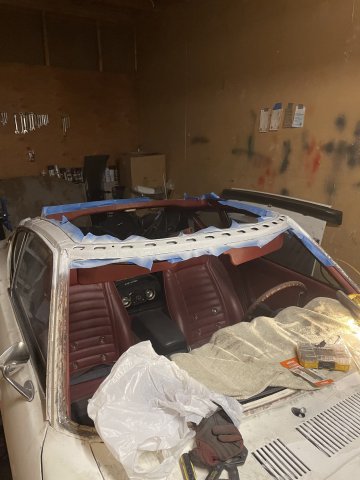
06-20-2023 UPDATE: i had some time, so I went ahead and put the rubber weatherstripping on the new windshield. Tough on the fingers! You have to really work, and pull the rubber lip out and over then push it down and keep going....having never done it before it was a learning curve. Another step done. Now I need to put the rope in, and lubricate the rubber before install. I also straightened out my stainless trim to go in the weatherstripping when all done. Pics.
-
from sunroof to finished except glass install and hatch in 25 hours work over 3 days. I am tired!
-
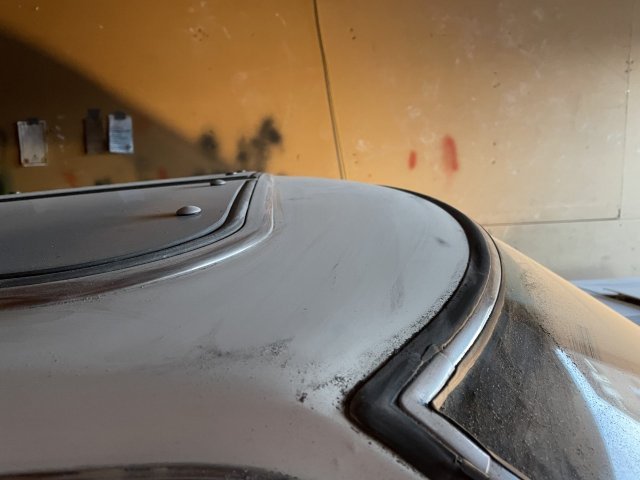
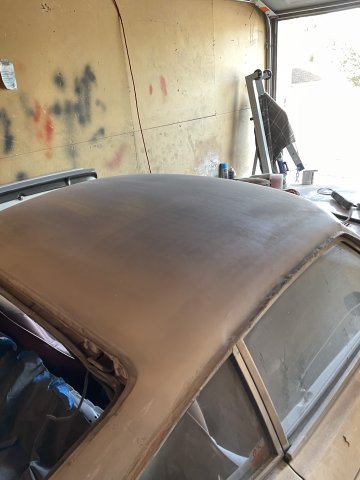
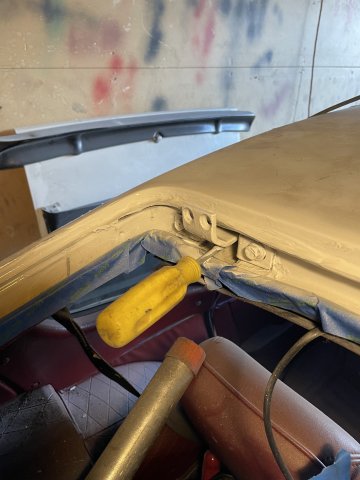
06-18-2023 UPDATE. More roof work. I went ahead and sanded down the entire roof....320 wasn't cutting it, so I used 80 grit on my orbital sander, that got it nice and smooth. I then worked on the frame for the windshield, the rain gutters and roof sides and the rear above the hatch. Using some glaze with hardener, my Orbital with 80 grit and 320 grit, my die grinder, my Dremel with the small drum wheel, steel wood, and some hand sanding, I was able to get the windshield area finished and painted. Same for the upper hatch area. I will give it several days to harden, and then go ahead with installing my new windshield and re-install the hatch. At that point, it will be "dried in"....and body work won't have to continue to fill the cockpit with dust, etc. Here are some pics. Nice to have a 240Z with the sunroof gone, and to now have a manual trans.
-
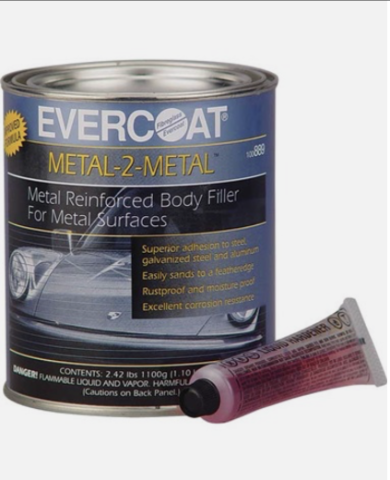
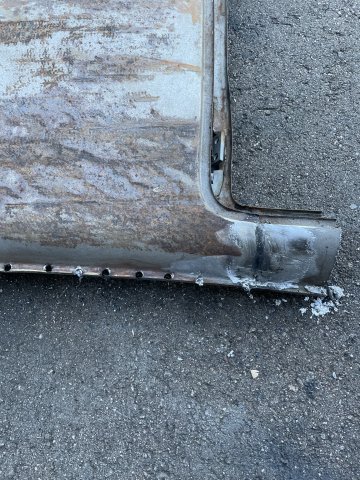
I have had such good luck with JB weld in the past, and now they sell it where it dispenses both at the same time in just the right mix......that you stir it with a screwdriver until it is dark grey and its ready. Most JB Weld failures are from poor preparation. Both sides have to be bare and clean. However, please note it isn't just the epoxy, but screws cut off and heads ground flush AND the wire wheeled the surface area with old holes wire wheeled to be bare, and then coated with Metal 2 Metal, which is a resin with aluminum filings. so, 3 methods used. Once done I inspected it, it is tight as a drum! Much stronger than the factory spot welds. Keep in mind, it is NOT structural, but just the skin. There is no weight on it. I have welded the rails when they were repaired, but non structural I have used epoxy. I also used the Metal 2 Metal to push into any spots/areas where the 2 layers are together.
-
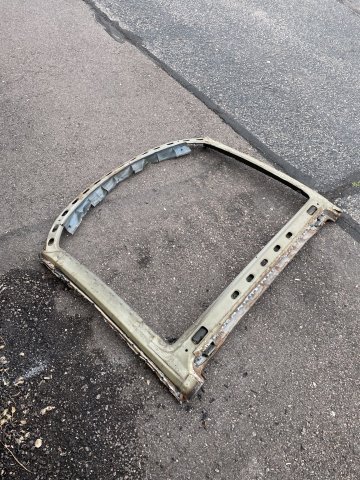
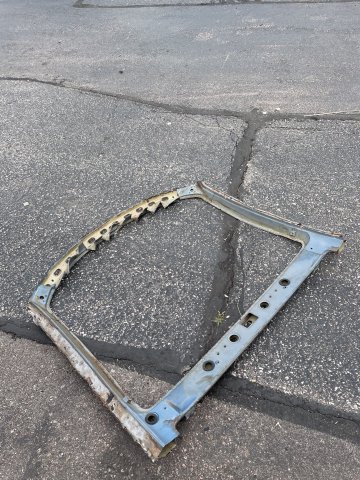
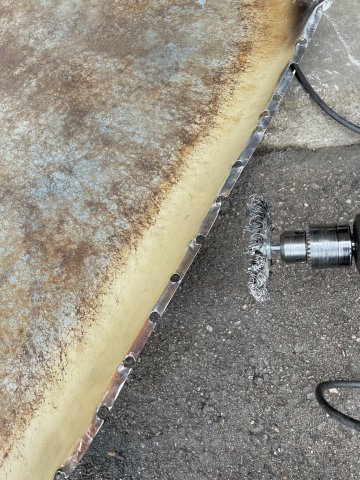
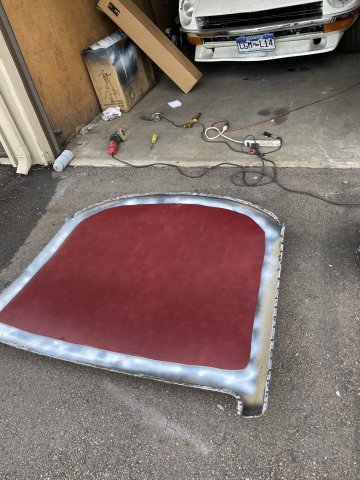
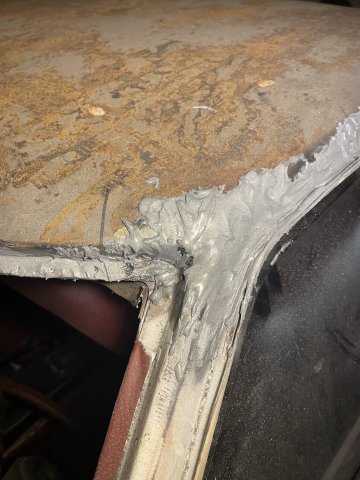
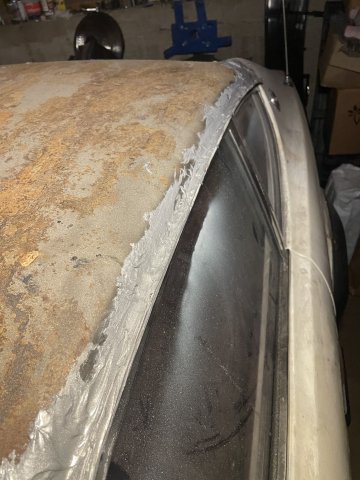
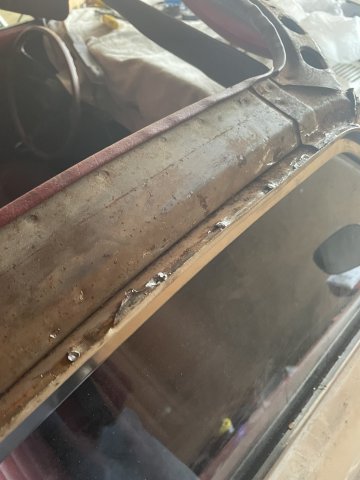
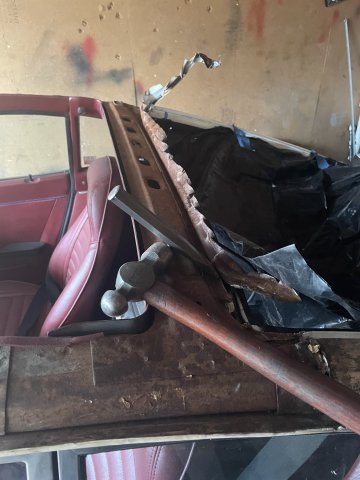
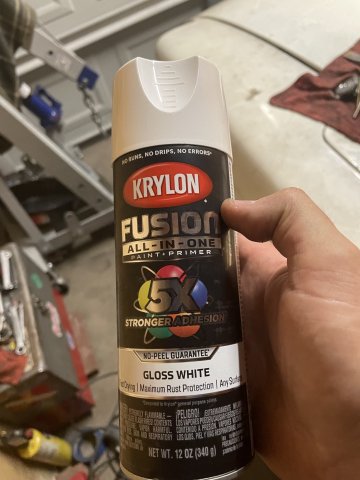
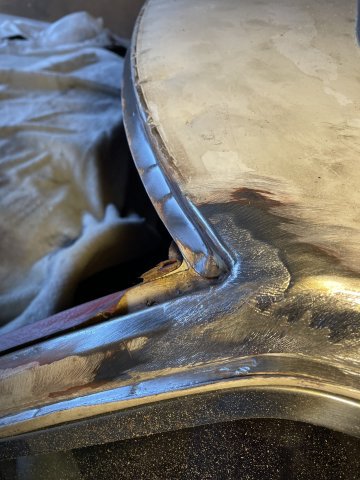
06-17-2023 UPDATE: More roof work. I started the day my cutting, and chiseling the roof skin off the donor roof frame. It seemed like it took forever, but it finally came off. I then went around the edges and straightened it out, then ran a grinder and wire wheel across those areas and then fitted it to the car. Once on the car, I used an old screwdriver and a hammer to re-fit it to the car. After that, i took it off and did a quick clean up on the little bit of surface rust, with a light coat of Rustoleum Rust Reformer and a dusting of Krylon white, and then insalled the headliner. The headliner I got from Motorsport Auto (MSA) and it came with a can of headliner aerosol glue. So I laid the headliner in place, pulled one side back sprayed the metal, laid it down and then pulled the other side up and did the same. READY TO GO! Then it was time to use the wire wheel to remove the paint from the spots where my JB Weld 2 part was to be applied, then I used a screwdriver to mix all the spots, then installed the roof. I used clamps to hold it, then went about Installing tek screws to the places in between the bonded sections. Afterward, I went with my die grinder and ground the screw heads down flush and cut off the exposed screws on the backside. Then I took my die grainder again, and smoothed out the entire surface area all the way sround, and then went over it with a wire wheel to remove any paint showing through the old holes. The old holes are to be used!.......I then applied a coat of "metal 2 metal" across all the areas, to smooth out the area, and to fill in the holes, thereby acting as a 3rd step to bond the roofskin on. Then I used the metal2metal to build up the windshield post upper areas and back areas that had been leaded in. Tomorrow, God willing, I will work on some more. So, roof skin, is attached by epoxy, screws and all-metal filler....it's not going anywhere! Here are some pics:
-
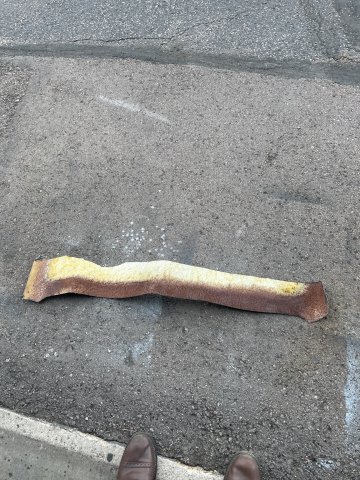
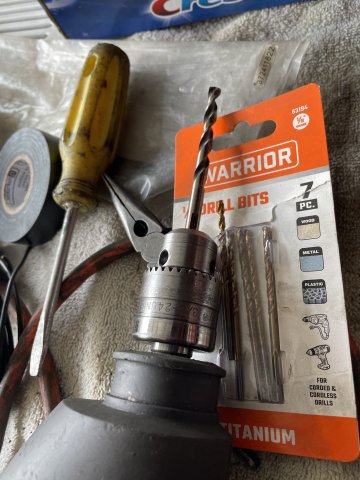
06-10-2023 UPDATE. Today I removed the roof skin, prepped the area and started on getting the donor roof skin ready to go. I used Rustoleum Rust inhibitor spray and then Krylon gloss white over the skin frame to seal it up after cleaning it all up with a wire wheel in my electric drill and vacuuming it up. I had to use a cold chisel with a hammer, tin snips, a die grinder cutting wheel which i completely wore down (see pics) an old screwdriver, my die grinder with a fresh grinding wheel, a couple drill bits and some pliers. MAPP gas torch made REAL fast work of the lead, melted it right up and I used the handle of an old toothbrush to push it out of the way. The rear hatch bolts were so tight I had to use my hammer screw remover to get them out! I have a few short videos I made in addition to a TON of pics. see below. Cheers! For video's, click under here, and scroll through the photos:
-
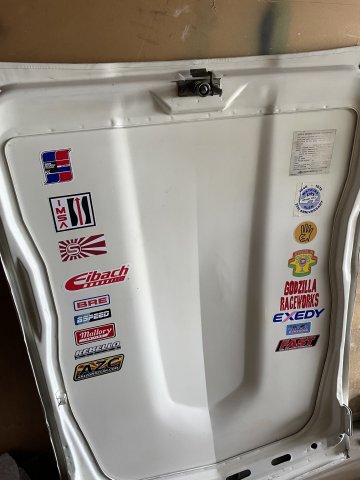
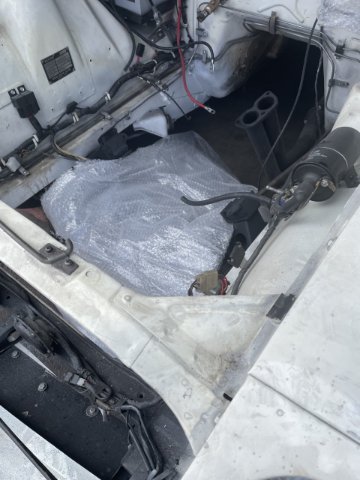
06-03-2023 UPDATE: I went ahead and put the remaining stickers I had on my hood underside and then bled the clutch slave cylinder one last time, putting grease around the threads to make sure no air was being sucked in. Then I added a Spring I bought from O'Reilley's to help pull it back when the clutch isn't pushed in. Then I installed the hood and adjusted it to get it just right. It was to have the hood on for the first time in at least 4 months! After that, I started the process of getting the windshield out and getting things ready to drill out the spot welds on the roof and swap on my spare roof that doesn't have the sunroof. As the pics show, it wasn't a hard job, just messy......I kept the vaccum there and periodically kept vacuuming. So, the car is on the ground, and progress continues. See pics: Video's, clinck under here and forward through the pics to the end. 3 videos in all.
-
Thanks. Let me see how the painting goes, I may take you up on it.
-
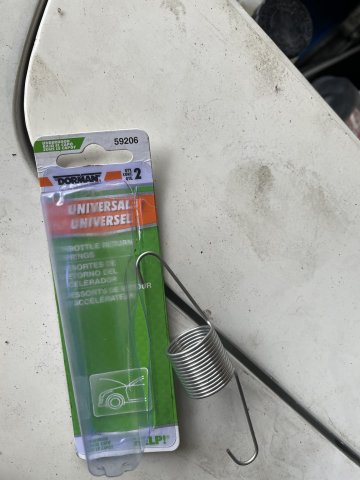
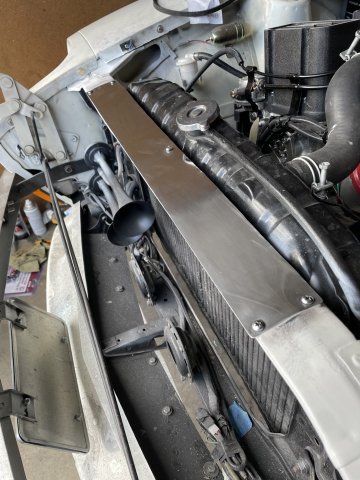
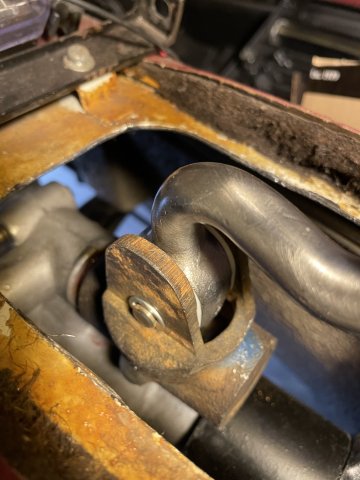
5-27-2023 UPDATE: long day in the garage getting everything put back together. I went ahead and cut and mounted a piece of plate aluminum I got at Lowe's on the radiator support. Then used a polishing wheel in my electric drill and some Mother's Mag Wheel Polish to make it look better. Then I went ahead and leveled the car out better and topped off the 80/90 in the trans and rear diff. After that I went ahead and tightened things up and changed out the carb isolators and got all the gasket maker off. After that I jumped on the clutch issue. I got a Vaccum bleeder from Harbor Freight and used it to try and get more air out of the system, Then after looking at it, took the slave cylinder off and made some decisions....I drilled a hole in the clutch fork end and then took a long bolt I had with 2 nuts on it, and cut it just a hair longer than the factory Exedy pin. I installed that and then drilled a small hole in the end for a spring to help pull it back like the original Z's had. I noticed I had nothing for the spring to hook on to on the other end, so I took a large fender washer, bent a 90 degree in the end, and drilled a hole....then I opened up the other side so I could slide it under the bottom mounting bolt and Voila! I place for a spring! Doesn't sound like much, but took 8 hours. Anyhow, here are some pics: Click below for videos Scroll to the end (11) Facebook
-
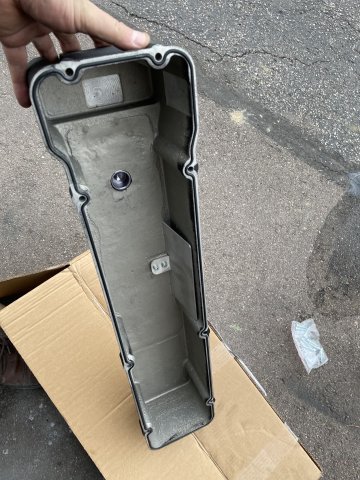
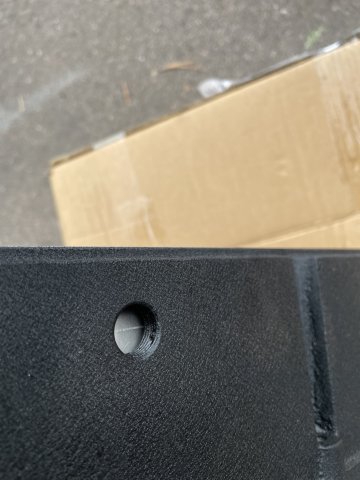
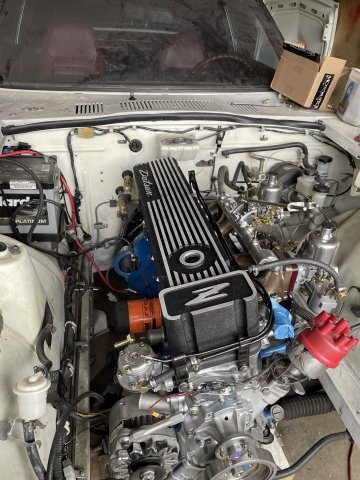
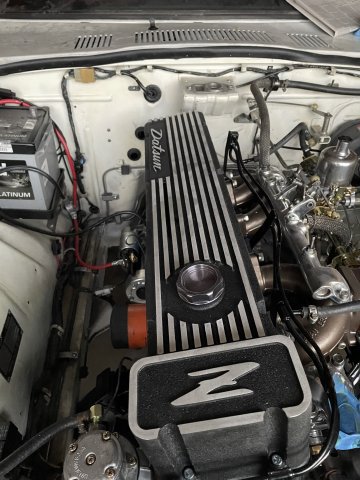
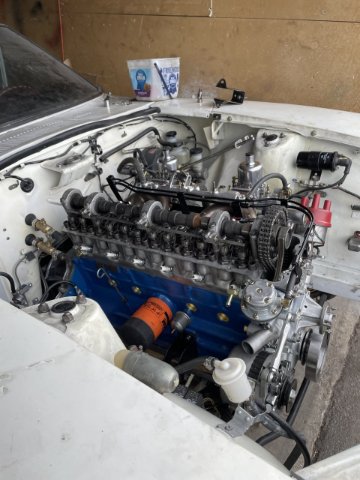
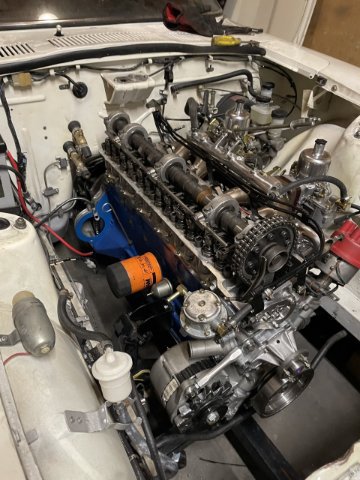
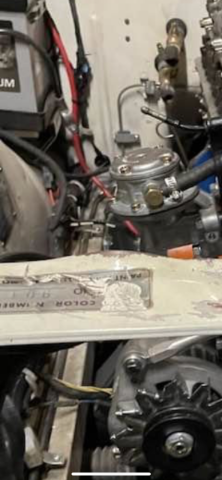
Valvecover info! This is from BSPEED in New Zealand. Custom done they way I wanted it. I didn't know until it arroved it has a gasket O ring style already in the vavlecover! One thing to note. The port for the breather or vent hose conflicts with the factory fuel lines. I pulled mine down some to clear the fitting and hose and will finish bending them around the brass fitting once I get it. The oil fill cap comes with it and is a nice piece, and it came with hex head bolts. Here are some pics:
-
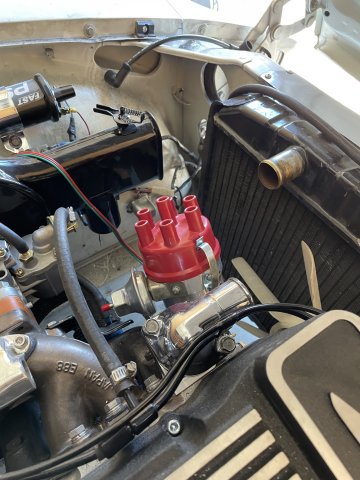
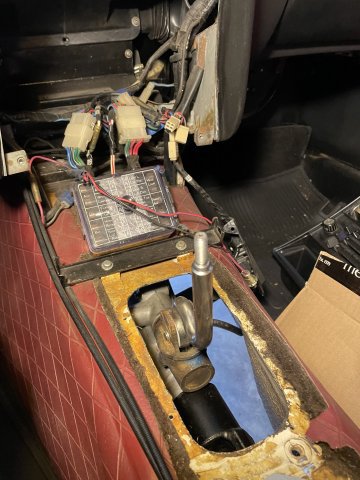
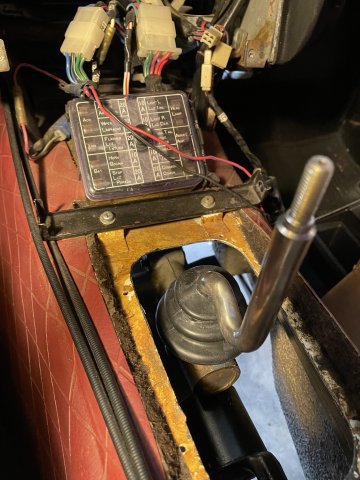
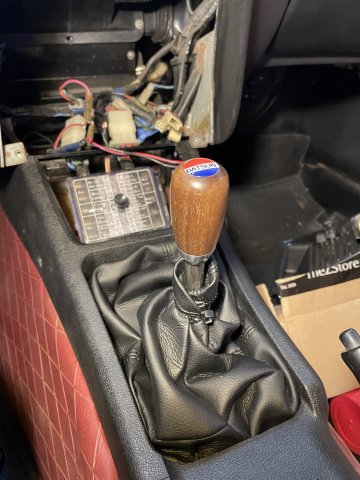
5-20-2023 UPDATE: Reassembly. Putting everything back in now that the new drivetrain is all bolted in. I started with putting the bent shifter in, then the console, sift knob etc. Then I went and started working on the part of the radiator support that was dinged up on engine installation. After that it was just installing all the stuff.....the New valve cover Is nice, and I didn't know it came with a gasket o ring style built in to the head! The port on the side where the breather goes conflicts with the factory fuel lines, so I had to pull down on the lines carefully, and when I get the brass fittings needed to hook up the hose back to the air box, I can finish making that look nice. Good progress. Here are some pics:
-
wow, you made your own roof! You are way beyond my capabilities. I bought a roof off of a Z. The plan is to heat up and rempve the lead, drill out the spot welds and just replace the skin. Do it once, do it right.....fire and forget.
-
04-21-2023 UPDATE. Wow another killer day, took a long time but I got everything underneath back together and ready to go. No pics . But it was a real pain. Everything fought me. How many time do you have to PB blast and torch heat a fill plug? Not one but TWO plugs! Man o man. It was a test of PERSISTENCE. Now I can Take it off the jack stands and Do the “fun”’stuff. My work clothes are so dirty from rolling around under The car, I felt like a Homeless guy when I went in for the night….man my shoulder hurts! Getting old! Avalanche amber tastes good! If I drink beer, it is indicative of a tough day in the shop. This is fun, right?
-
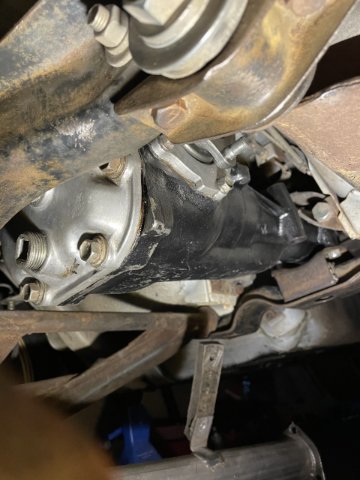
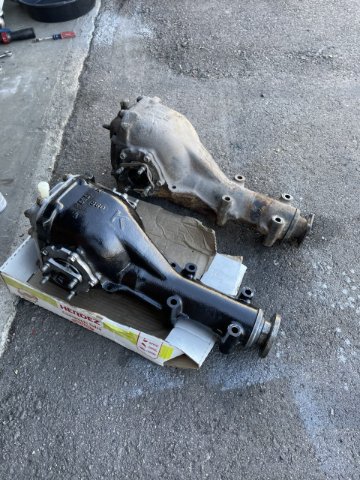
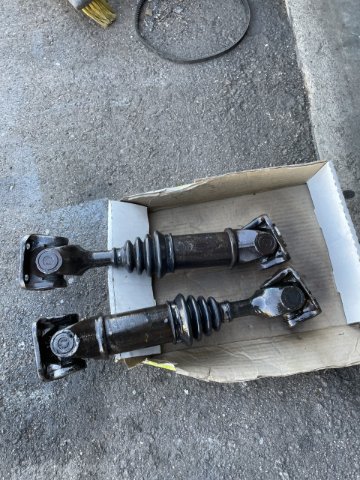
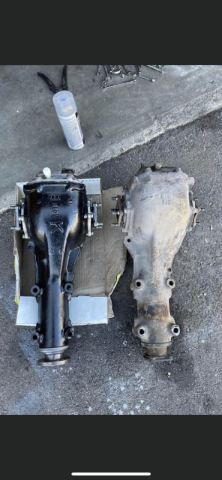
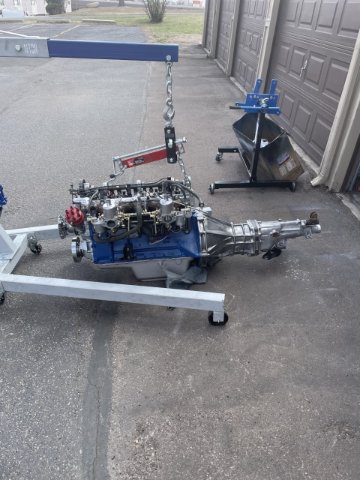
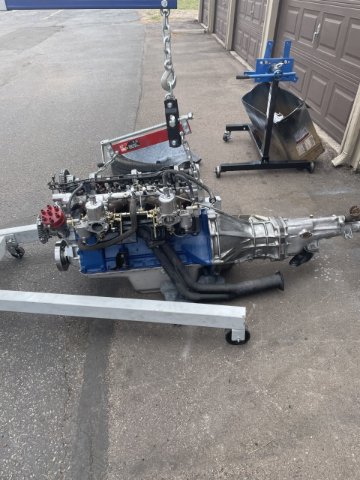
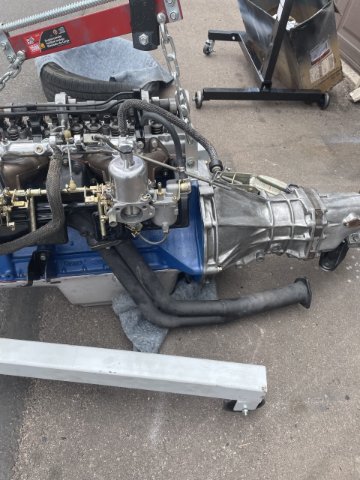
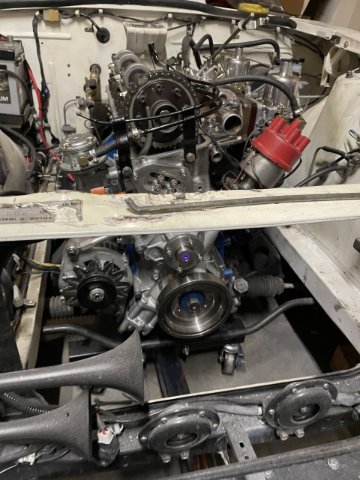
04-16-2023 UPDATE: It took all day! Rear end swap. I removed the original 3:54 rear end, and swapped In my “K” case 4:11 geared read end. Both are R180 Units. I cleaned my axle shafts and clear coated them. So the hard part…on the ground doing this and Both are-cast iron cases, so yeah…..they’re are pretty heavy….getting the new one in took awhile. I finally had to get it up on a tool box then lift each side and Keep sticking wood under it front and back….then when close enough to the holes I took a deep breath and got the rear bolts through…whew! I put nuts on there to keep it steady and then jacked up the nose and bolted it up. Not a one man job. So I will finish it later but the center pumpkin is in and cinched down. Yep, I will touch up the paint…..just because. Pics! All reactions: 11
-
04-13-2023 UPDATE: I pulled the trans back off and wiped off the excess grease and fixed the clutch fork dust cover, then installed the engine. 2 nearby guys came over and helped…It wouldn’t have gone in without their help. It fought us every step of the way, it was incredible how hard it was….also found out things like the motor mounts are different from one side to the next…BUT, it is in! Car sunk down about 3-4 inches with it in. At least it seems that way. Pics